This post and photos may contain Amazon or other affiliate links. If you purchase something through any link, I may receive a small commission at no extra charge to you. Any supplies used may be given to me free of charge, however, all projects and opinions are my own.
Have you ever seen a Cricut hack video on TikTok and wondered if it really worked? I’ve had so many Cricut hacks popping up on my TikTok feed lately I decided to test the 10 most popular and see if they really work or not.
Is a lint roller a good replacement for transfer tape? Can you use heat to release vinyl from the backer? Today I’m testing these hacks and eight others to help save you time on hacks that don’t work.
Are you new to Cricut? Check out my 7-Day Free Cricut Course. This course will help you get your machine out of the box and get crafting today!

Cricut TikTok Hacks – Should You Try Them?
You can actually watch me test out these 10 TikTok Cricut hacks by pressing play on the video below. I do want to warn you that several of these hacks I’m testing today are a fail for me. If they’ve worked for you in the past and you like them, continue to use them.
I am using my Explore Air 2 to test all of the hacks that involve a machine today. Those hacks should work with any Maker or Explore machine.
Supplies Used
Cricut TikTok Hack #1 – Print Then Cut Tape on Sensor
This first hack has been popping up all over the place. The hack is to use a clear matte tape to help your Cricut machine read the registration marks on glossy or colored materials for Print Then Cut projects.
I have used matte tape successfully before. The way I have always used it is to put the tape on top of the registration marks.
This TikTok hack calls for placing the matte tape on the Cricut sensor itself. The hack is that with the matte tape on the sensor, you’ll never have to put tape on the registration marks again.
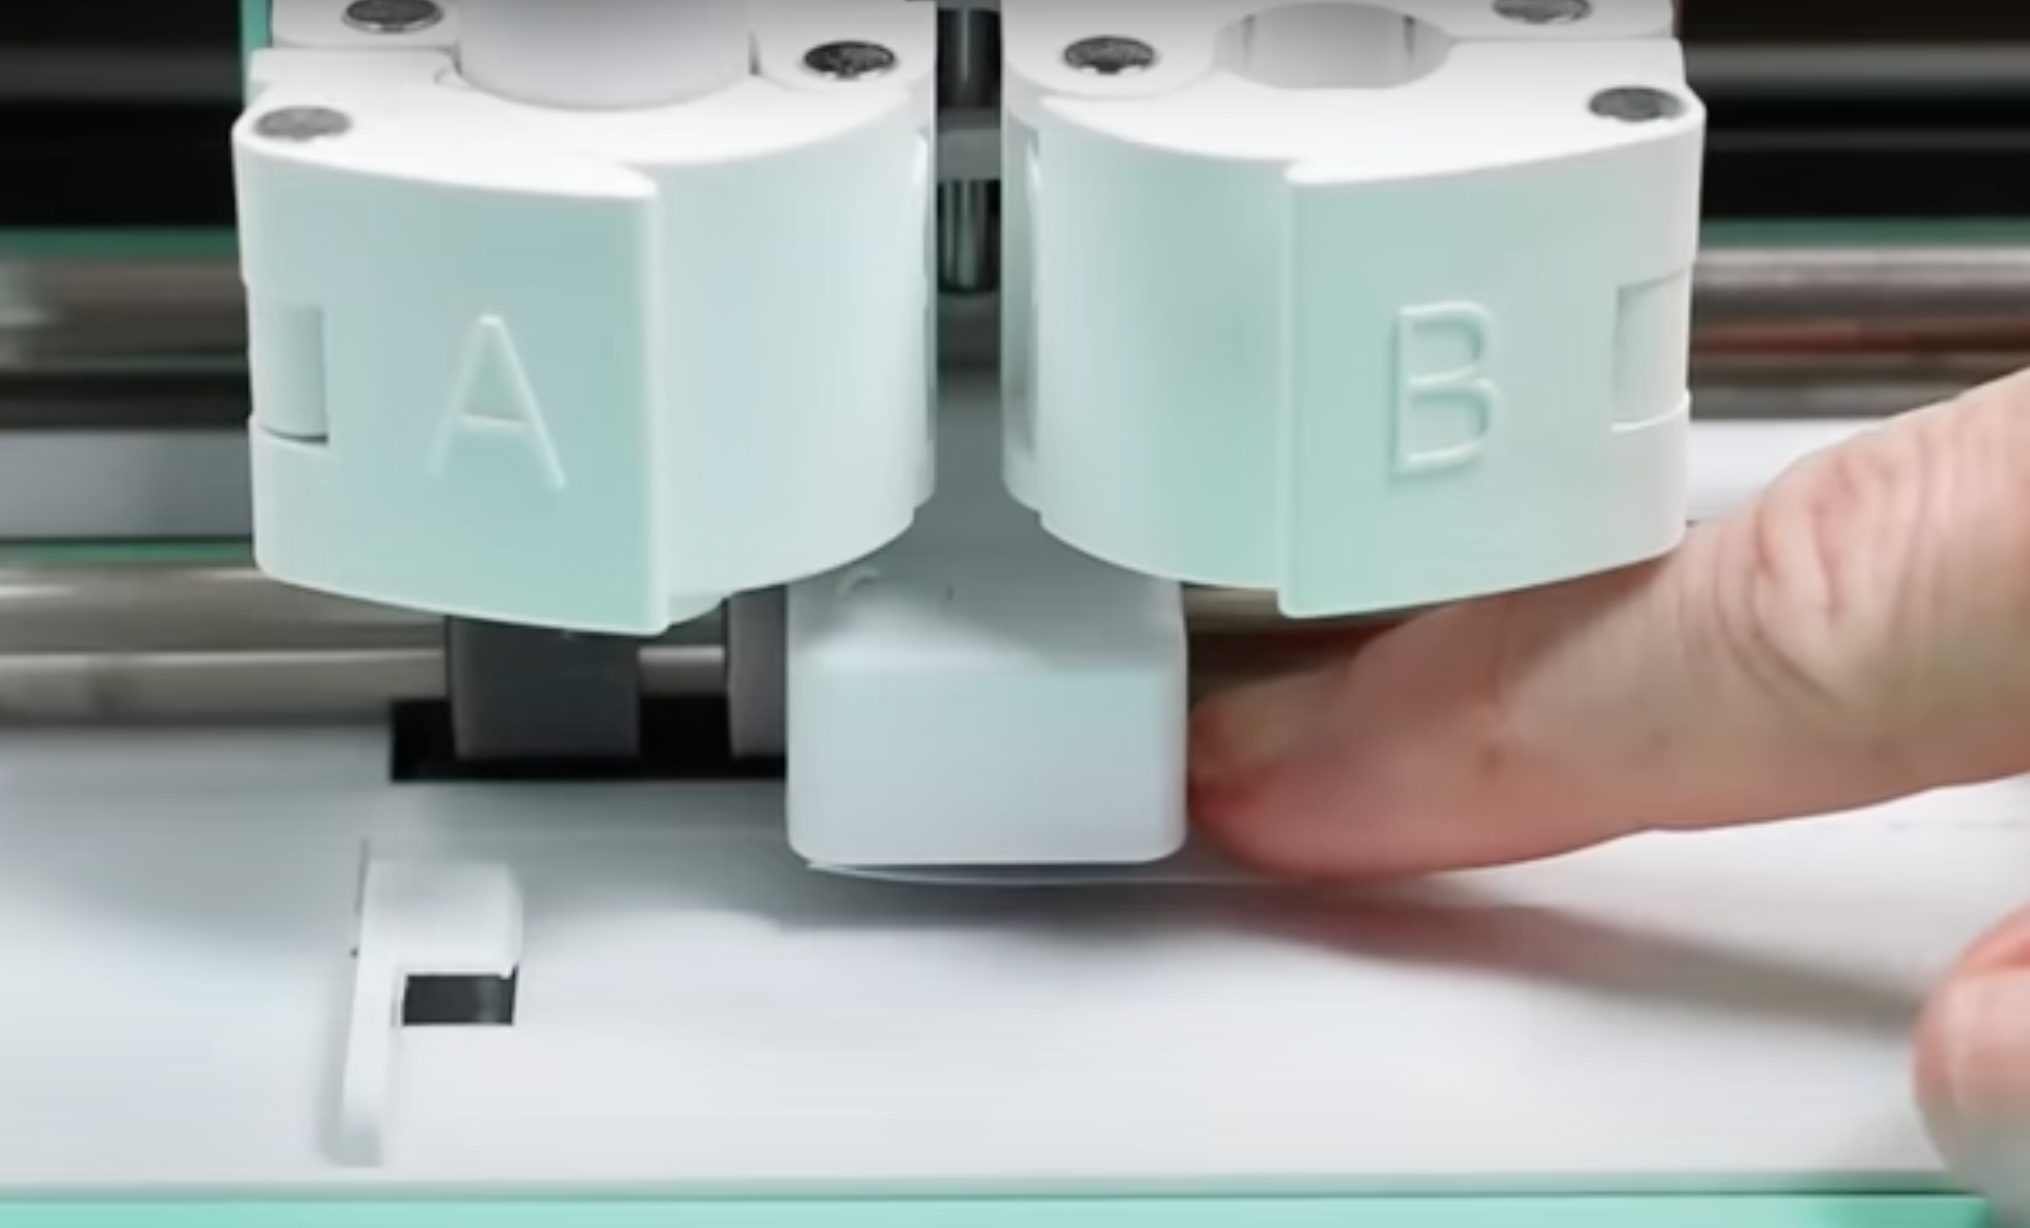
If you have trouble placing the tape on the sensor I recommend removing the blade and then using the Cricut spatula to push the tape up into place all the way across the sensor.
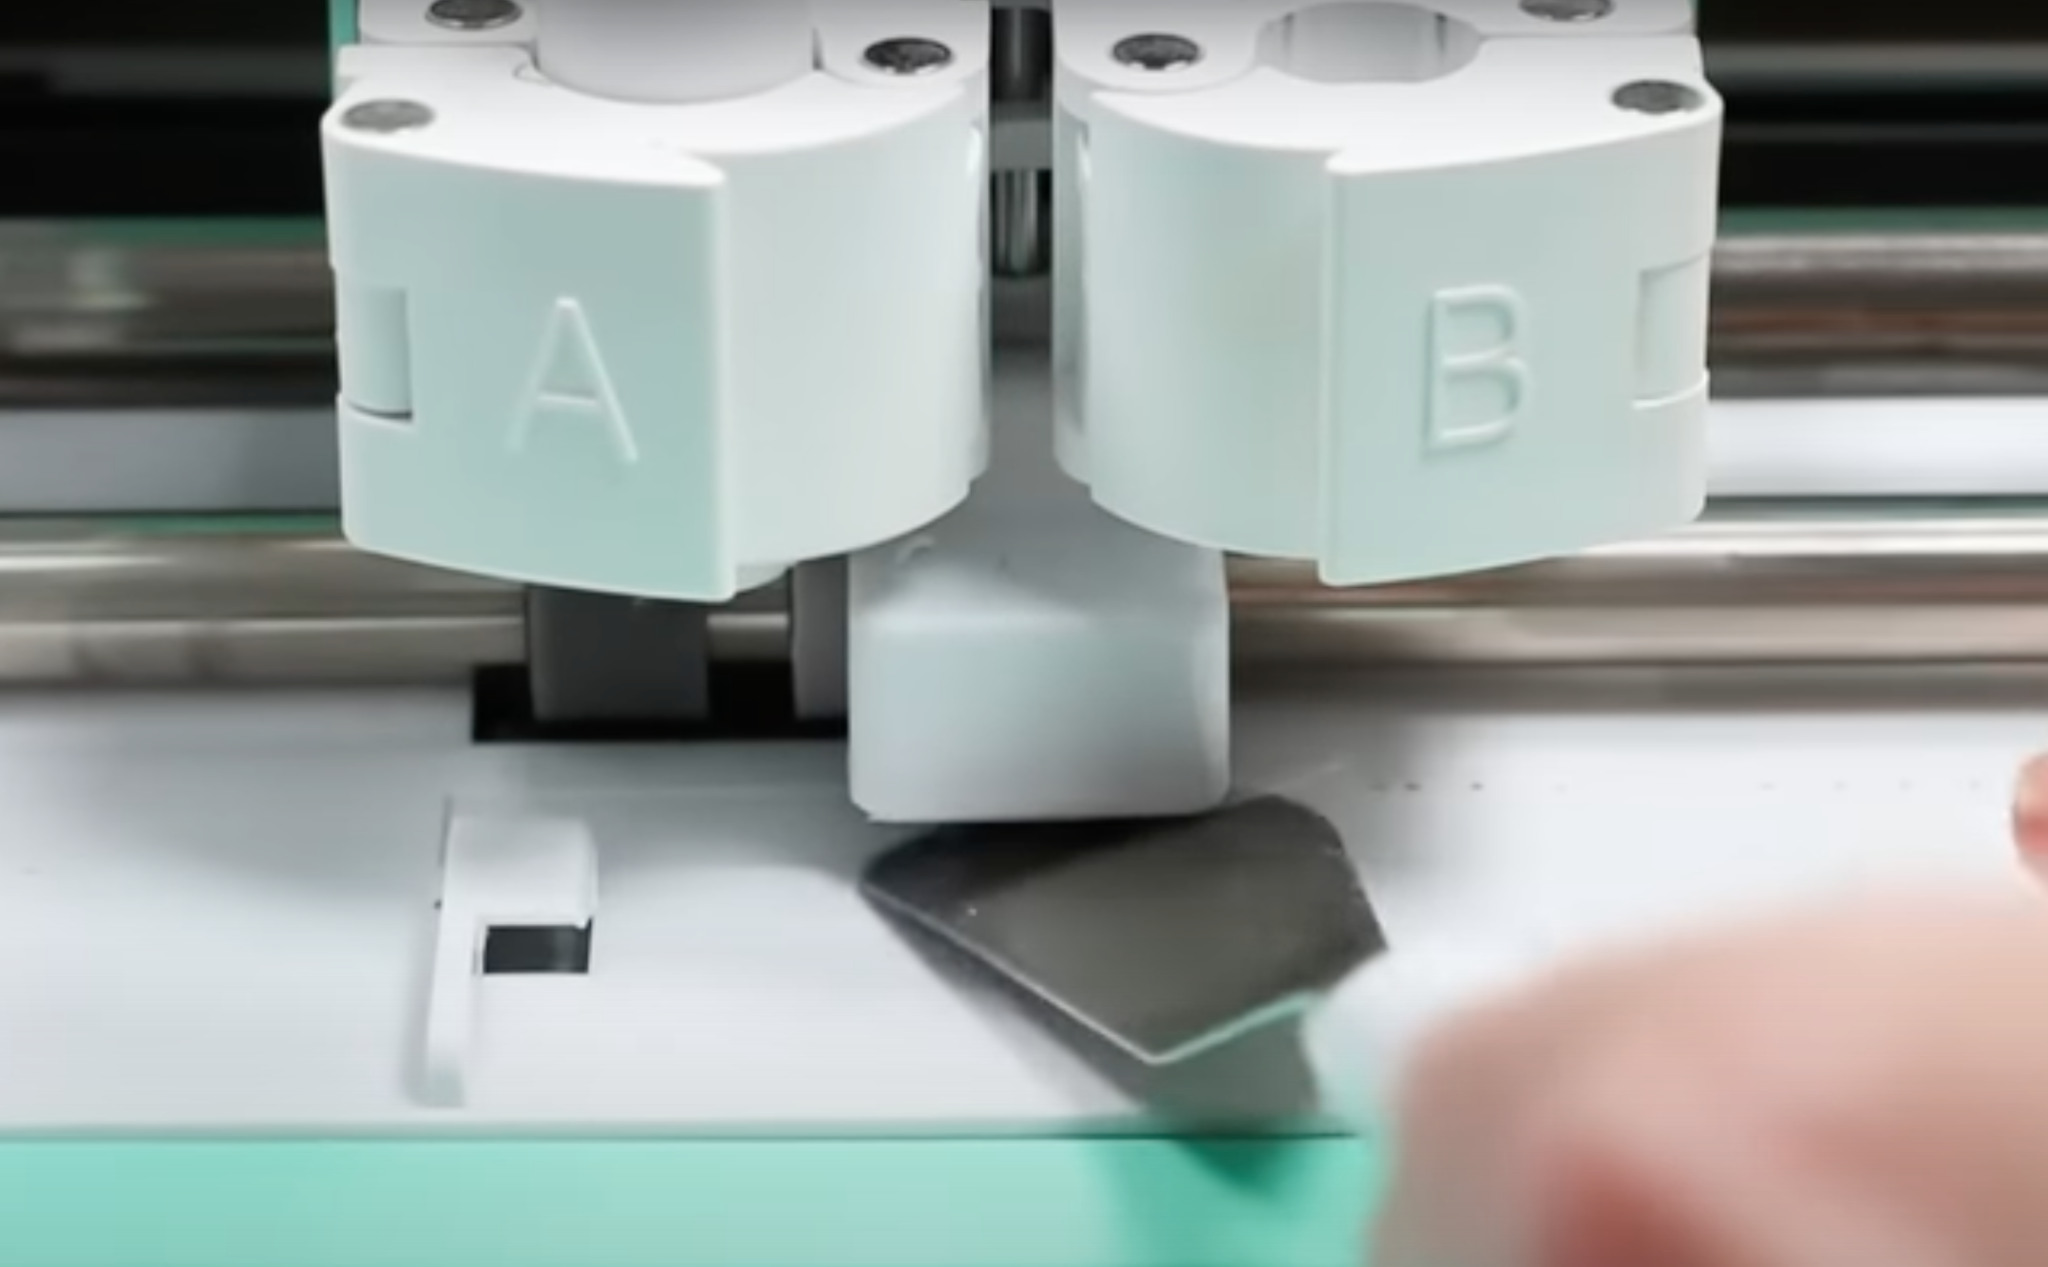
After following the steps above, I loaded the mat into the Cricut machine and then pressed the Go button.
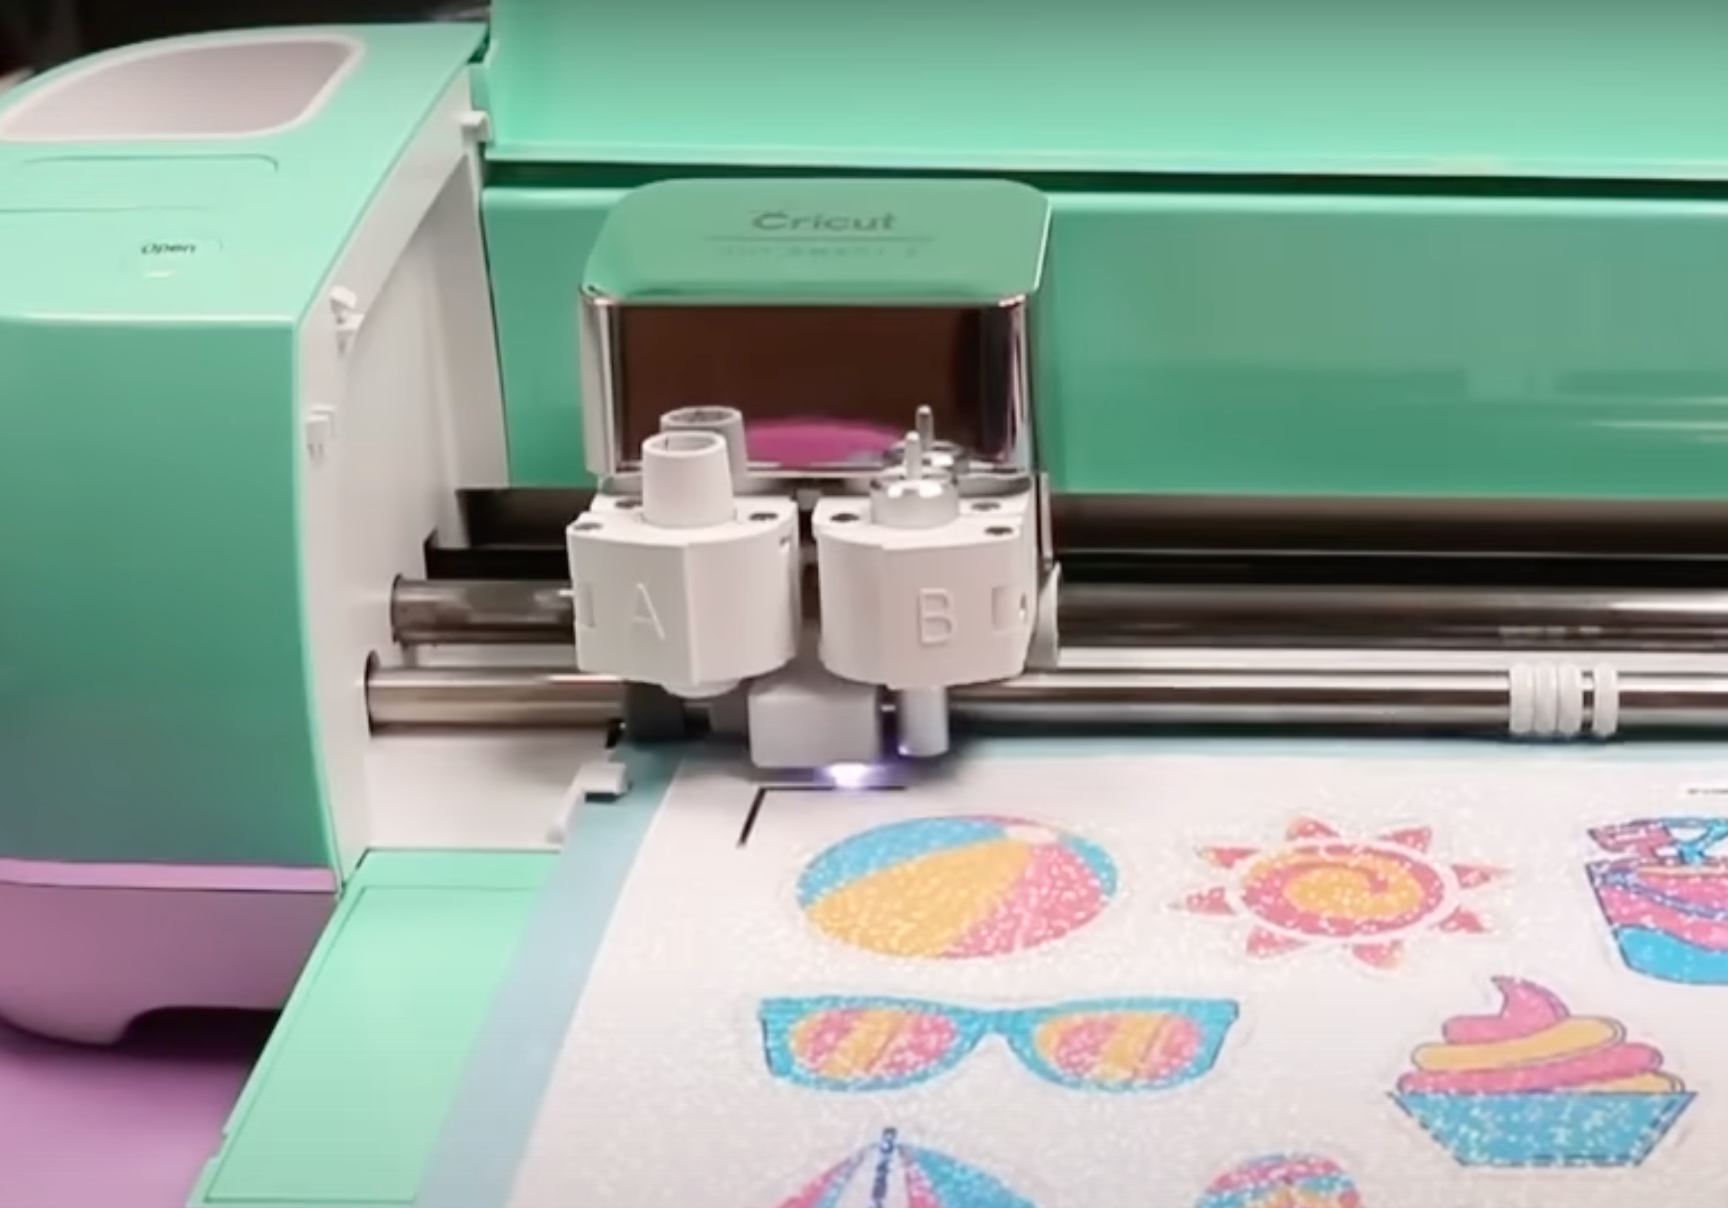
My Explore Air 2 just kept trying to read the registration marks over and over again. It was never able to read the registration marks with the matte tape on the sensor. I tried multiple times repositioning the tape and it still never worked.
Cricut TikTok Hack #2 – How to Replace the Plastic on Cricut Mats
Another Cricut TikTok hack I’ve seen is using the top of your Cricut machine to hold the Cricut mat in place to easily replace the clear plastic sheet.
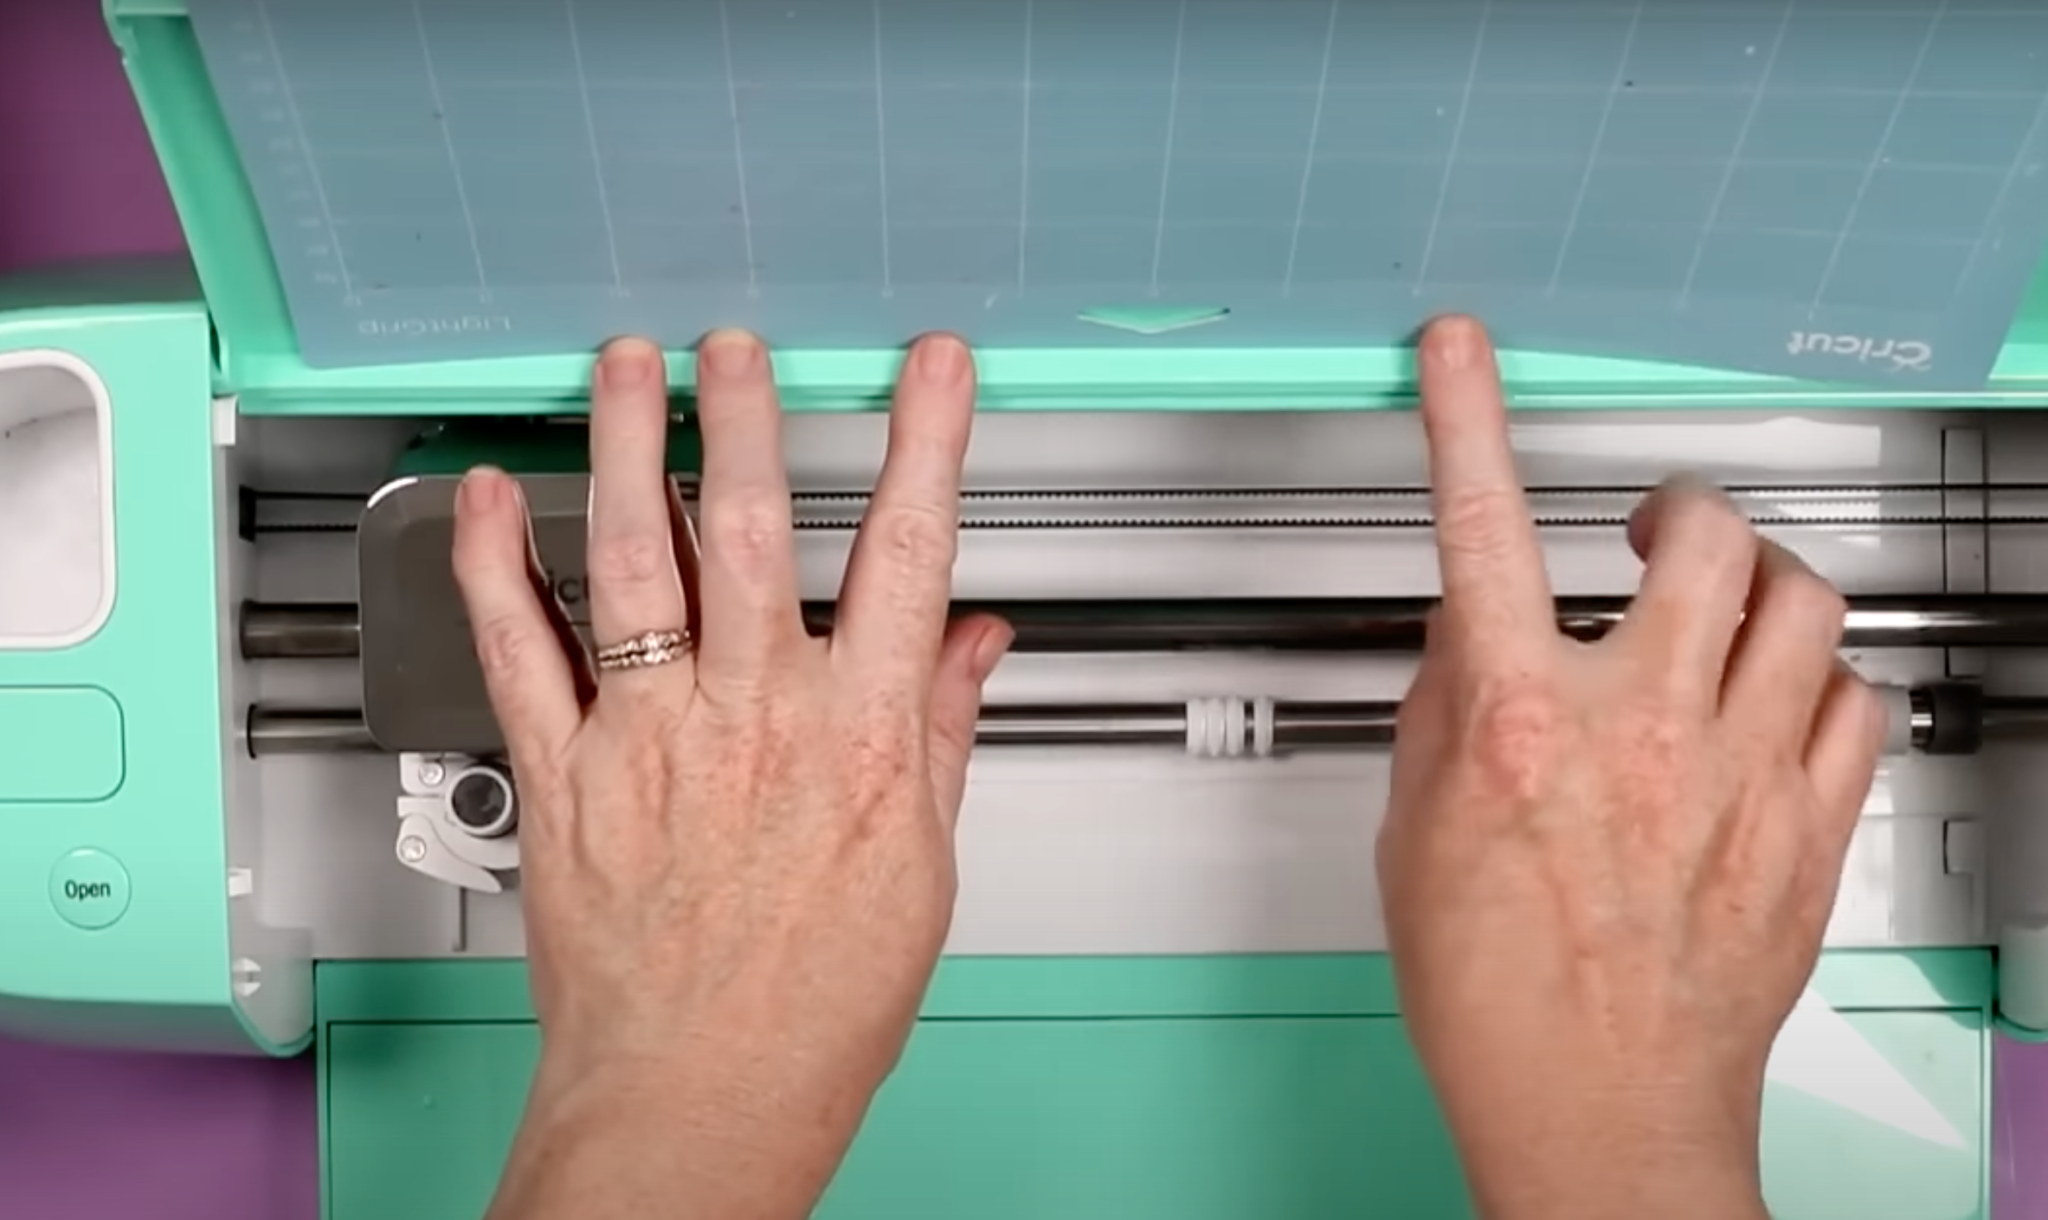
The biggest problem people have with lining up the clear plastic sheet is that it can stick on the mat in the wrong place. By using the top of a Cricut machine, you can align the plastic sheet without it sticking to the mat.
Maker machines and the Explore 3 all have a slot where the mat fits easily. I wanted to show you that it can be done on the Explore Air 2 as well.
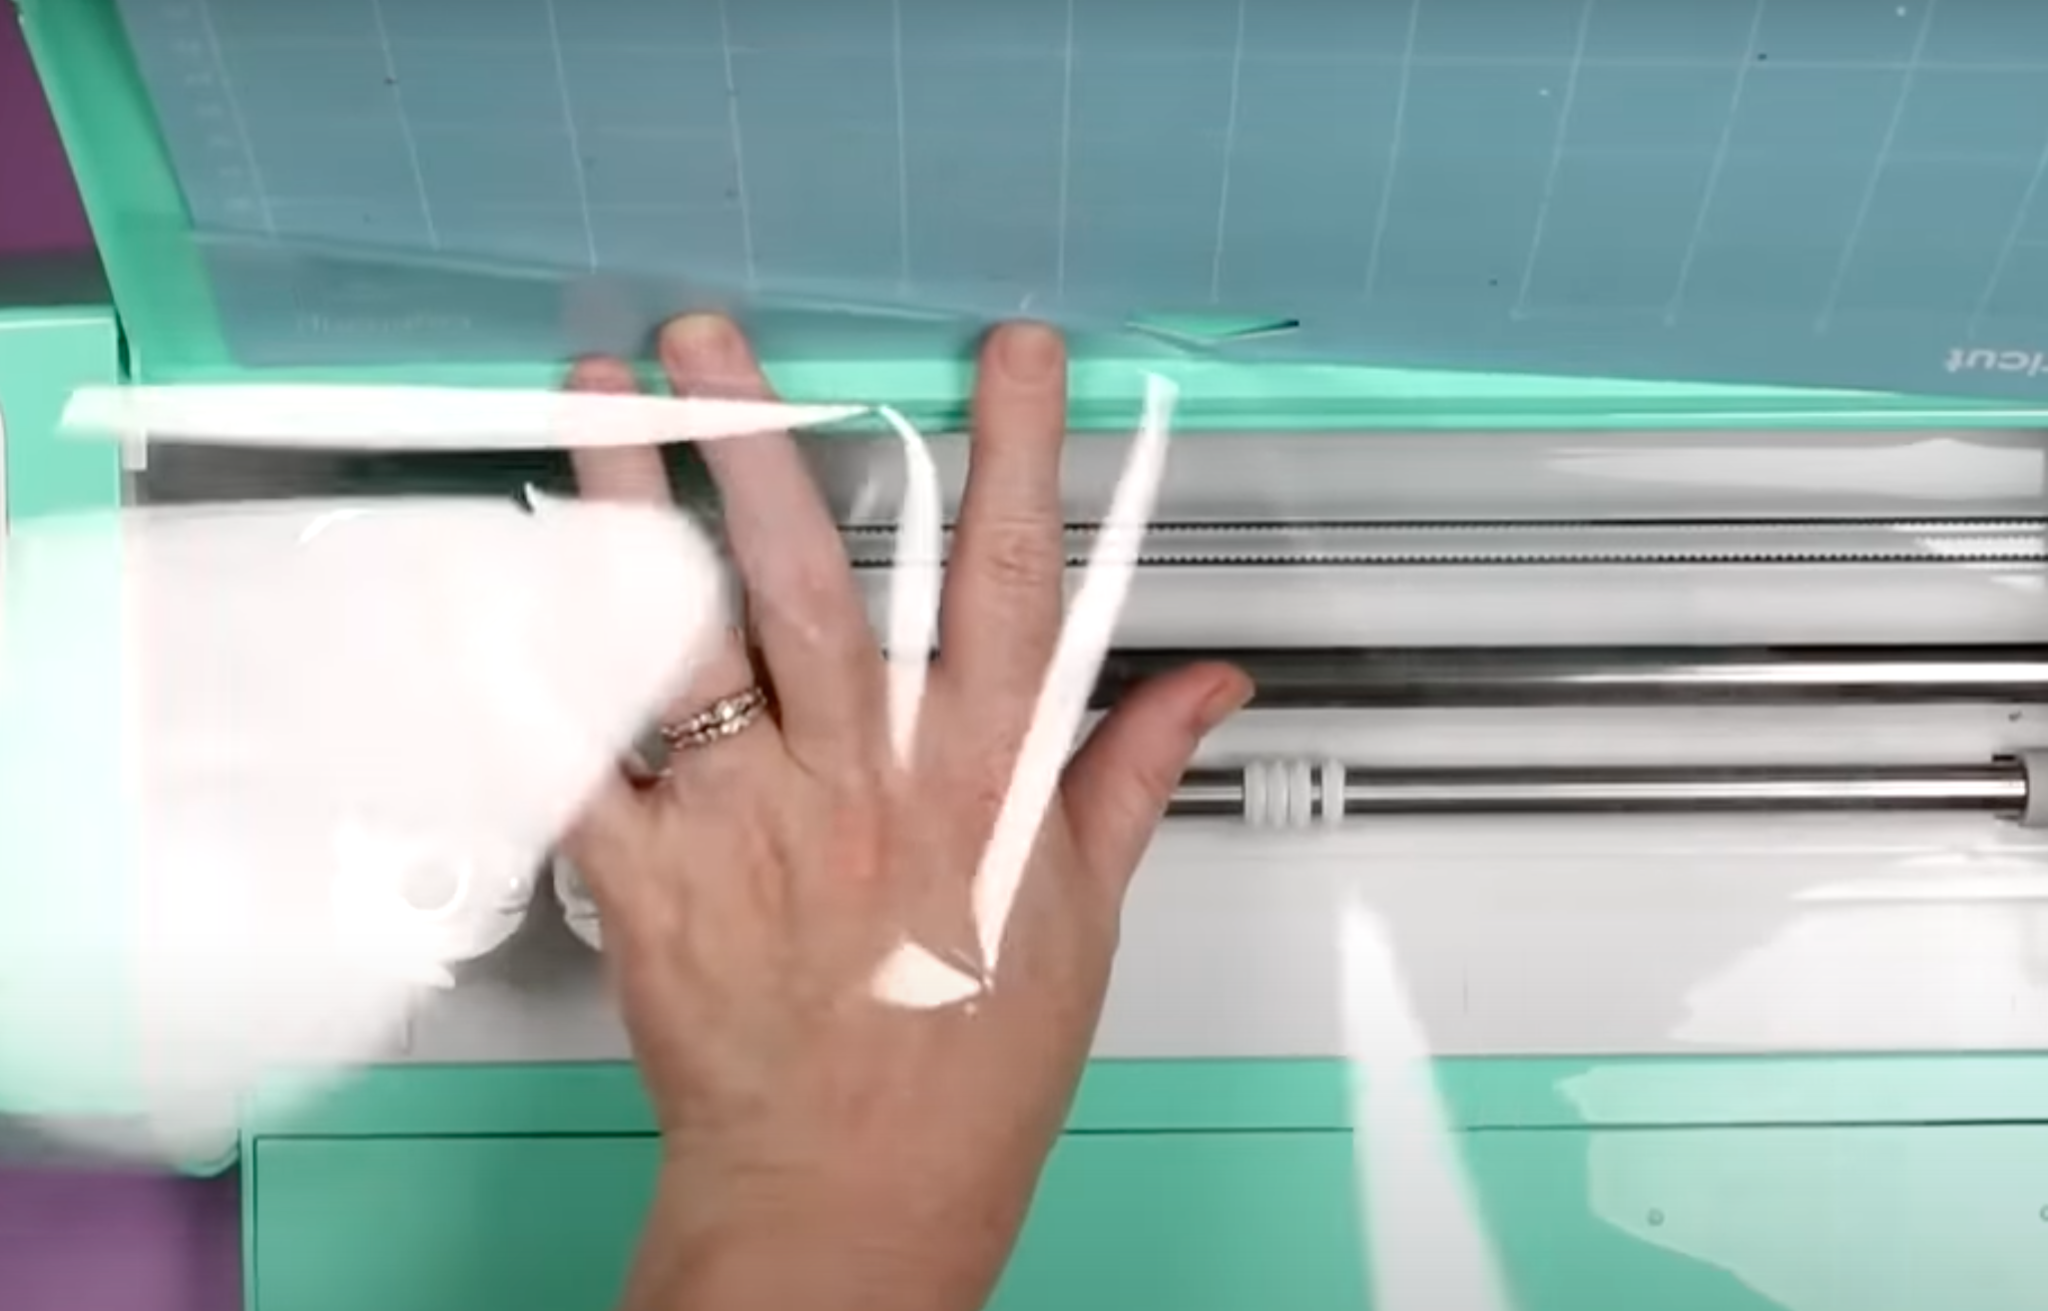
Once you have the plastic lined up, you can smooth it up and across the entire mat and it’ll be perfectly in place.
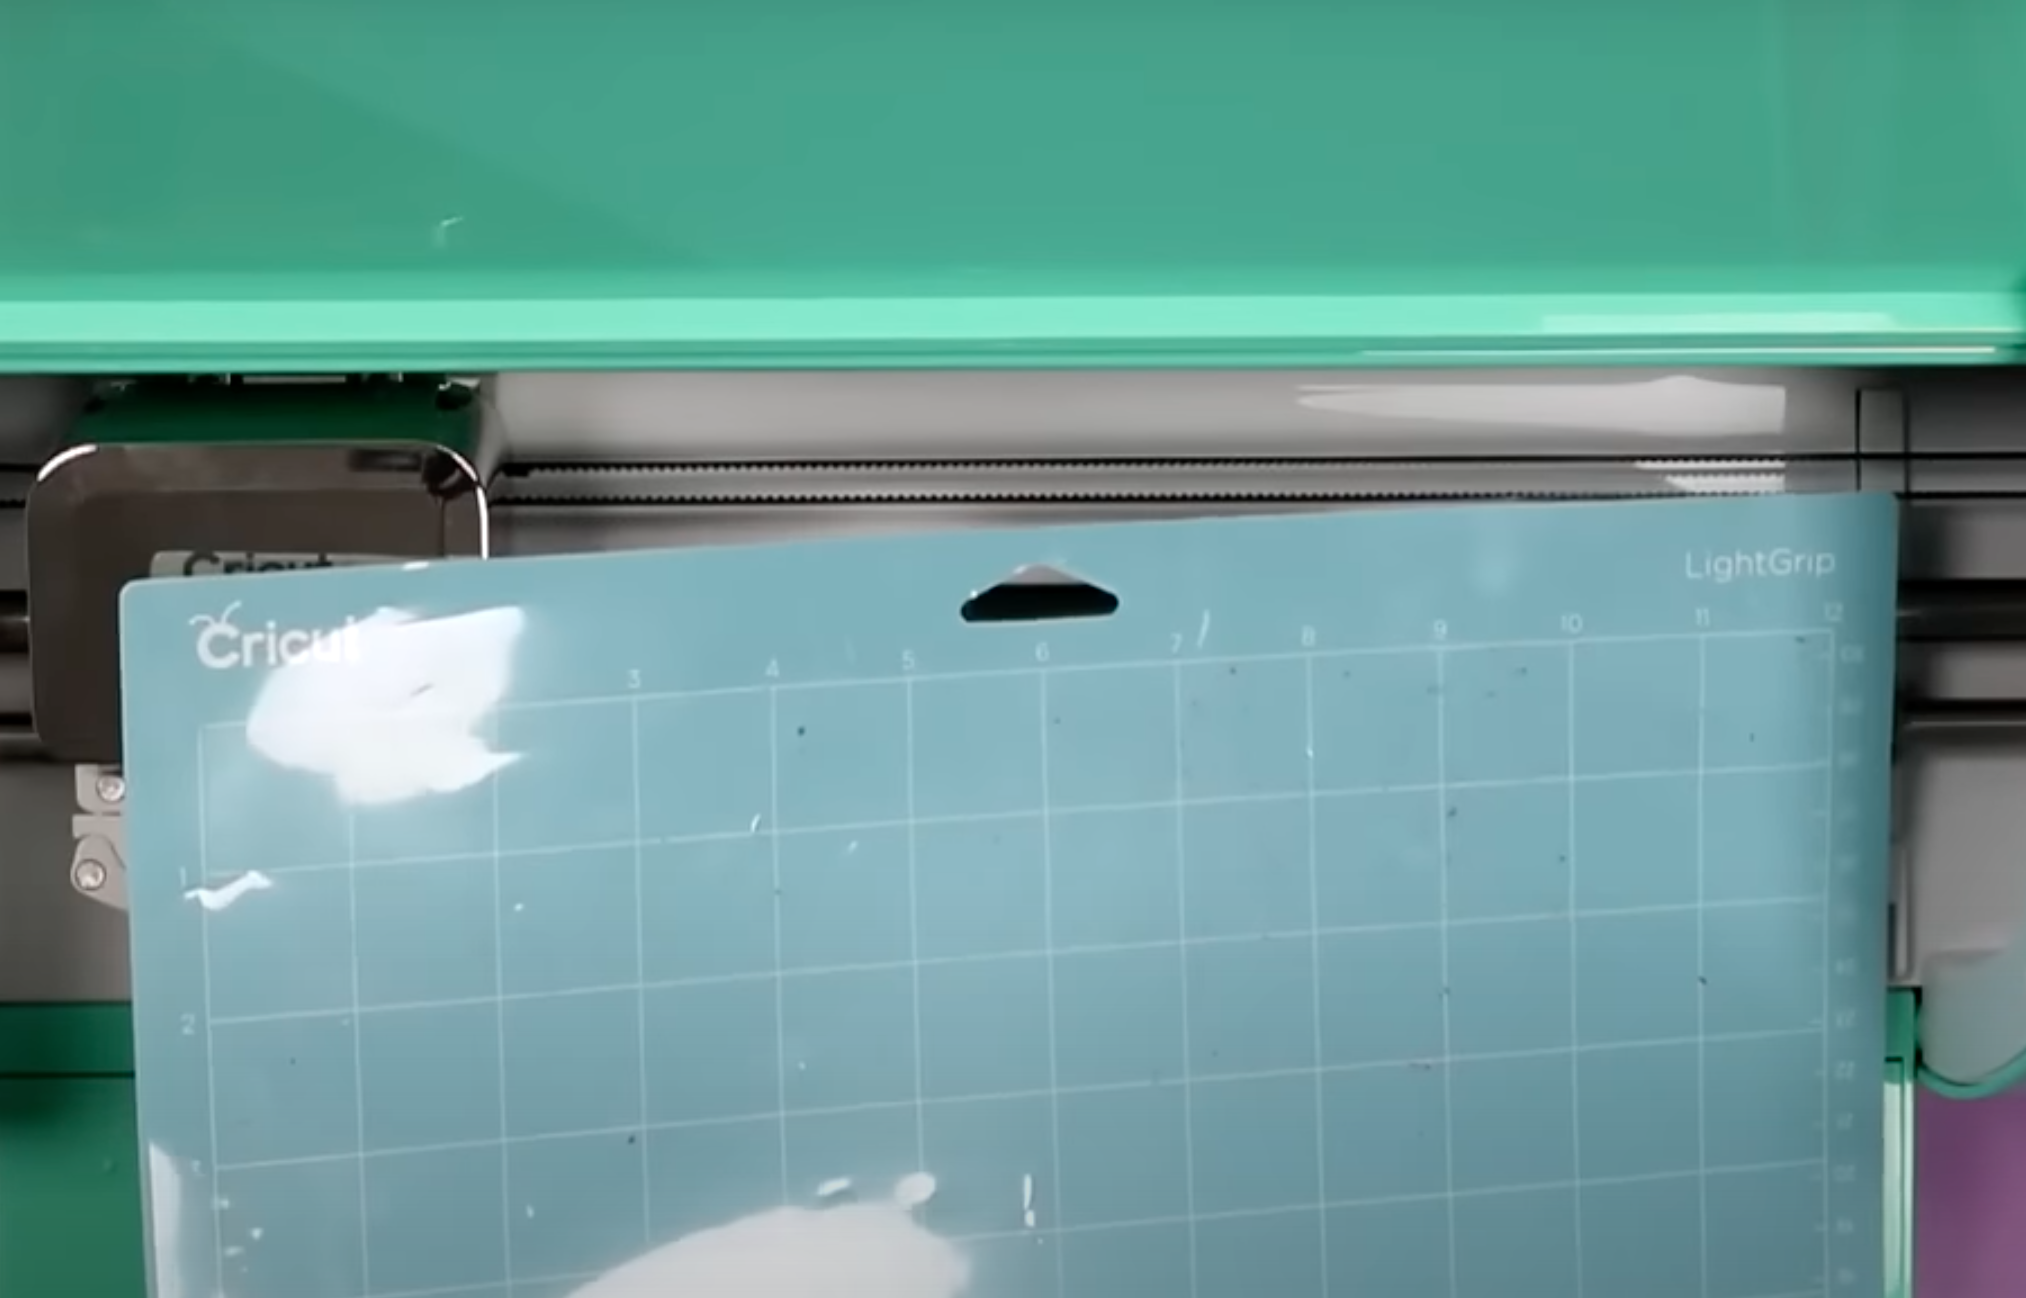
This TikTok hack works great. I do think it’s easier on Maker or Explore 3 machines but it worked on the Air 2 as well. If this is something you struggle with, I definitely recommend trying this hack.
Cricut TikTok Hack #3 – Use Vinyl Tube to Hold Up Cutting Mat
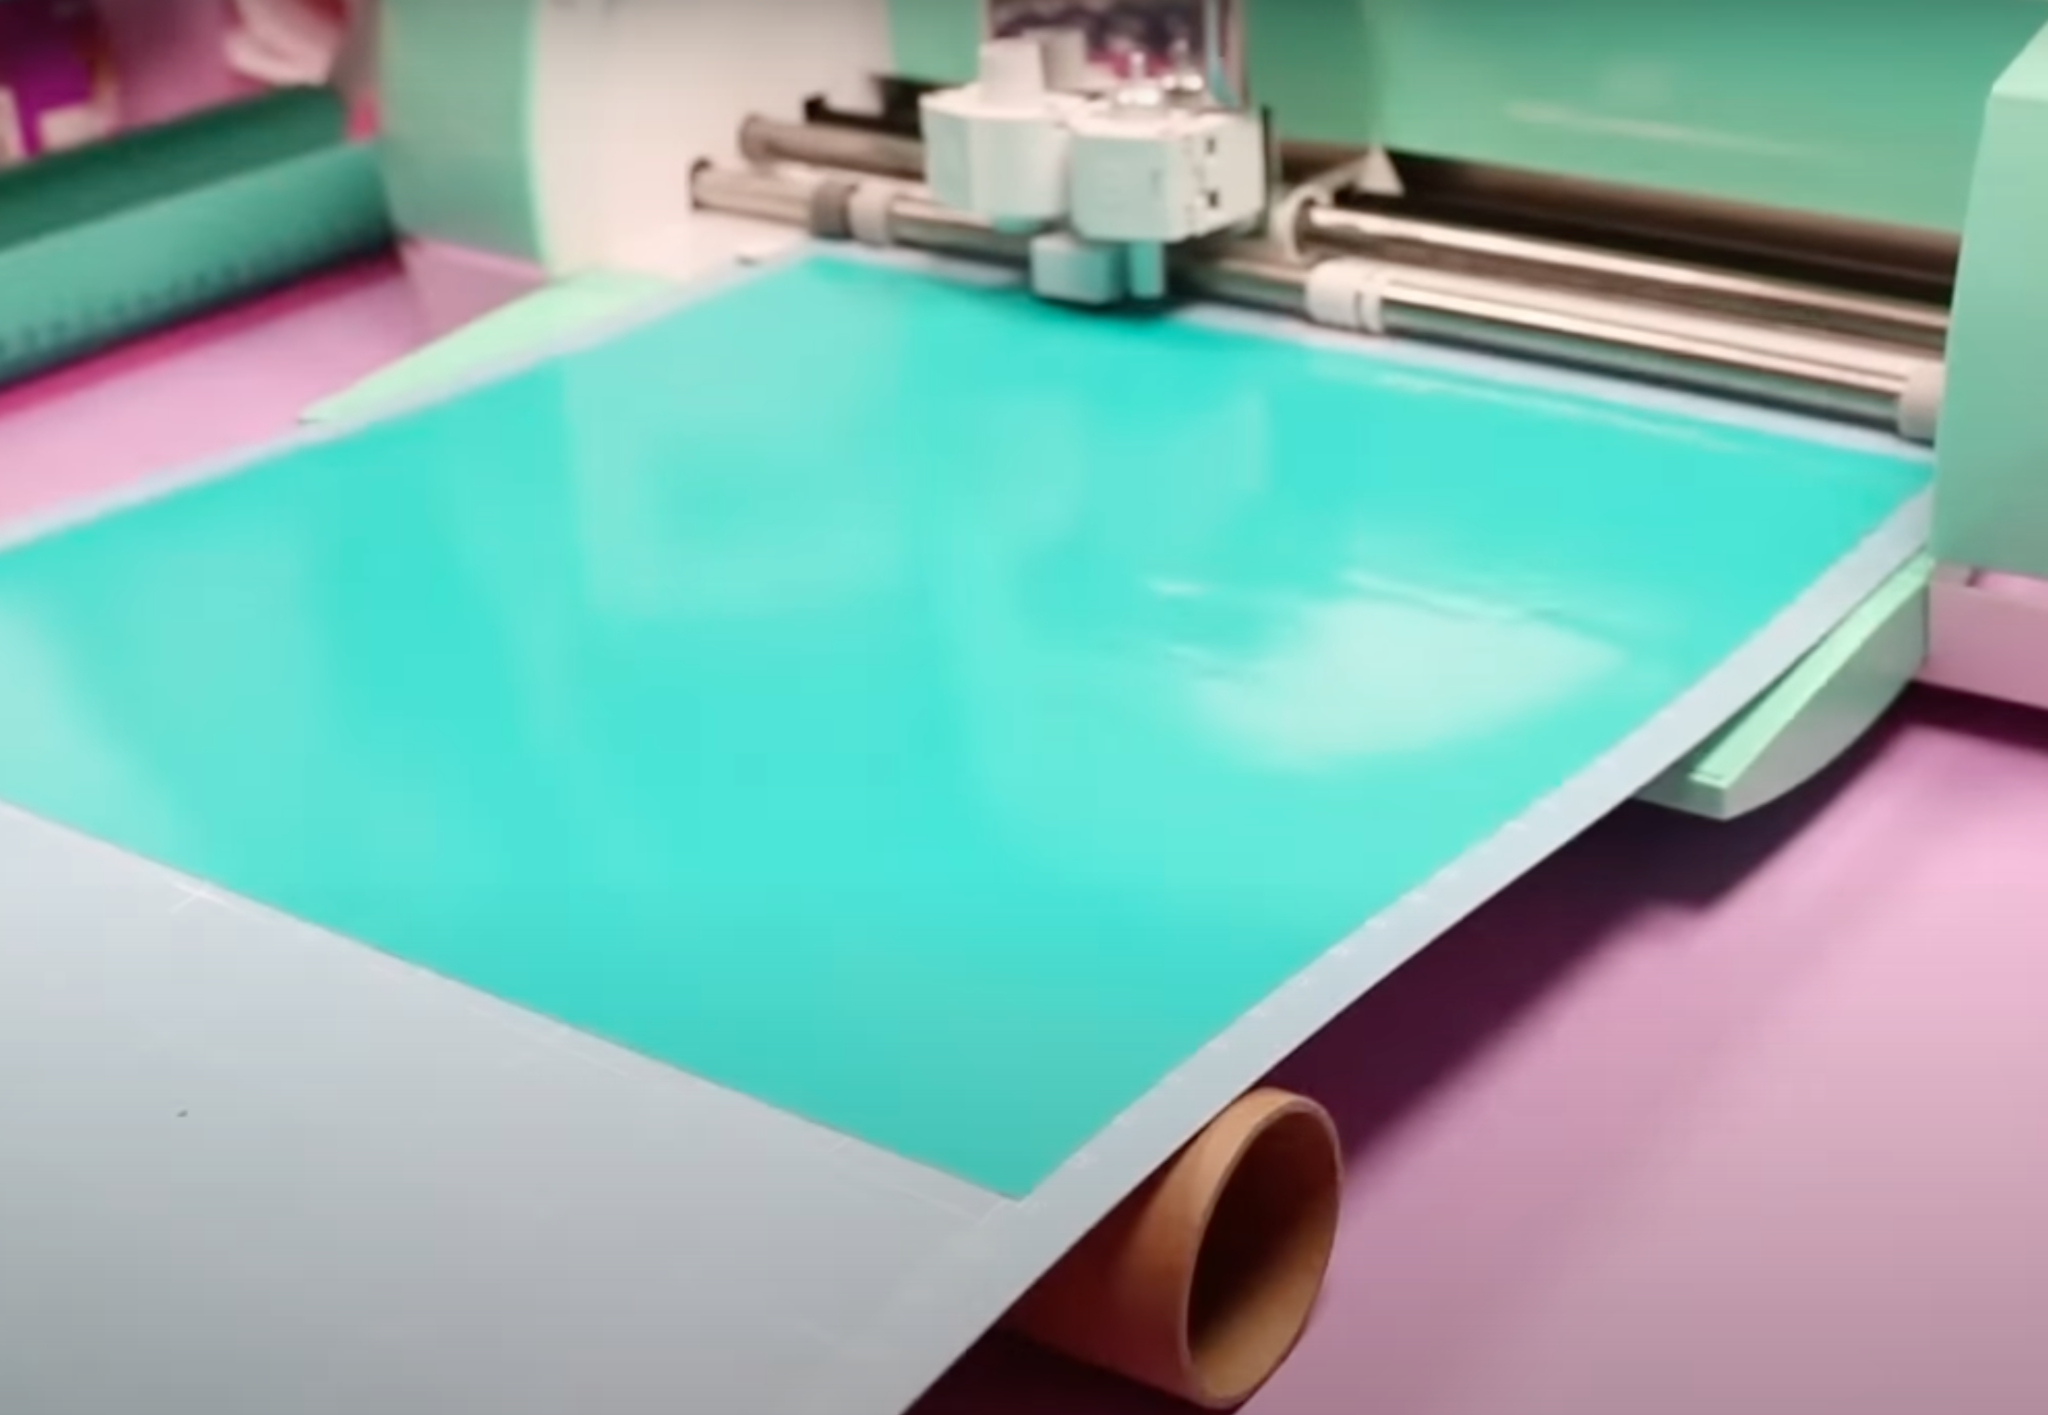
This next hack is one that you may find helpful, especially if you’re using the Cricut 12″ x 24″ mat. For this hack, we’re using an empty vinyl roll and placing it under the Cricut mat so it’s more level with the cutting blade.
This does lift the mat up but I would say it’s not something I feel is needed when using a table like this. I’ve never had my Cricut struggle because the mat isn’t even with the blade.
Cricut Tray Extender
I wanted to test out another option for lifting the Cricut mat. This is a Cricut tray extender. It fits on Explore Air 2 and Explore 3 machines.
This also helps lift Cricut mats so they are level with the Cricut blades. I don’t feel this sticks out long enough to make much of a difference for lifting the mat.
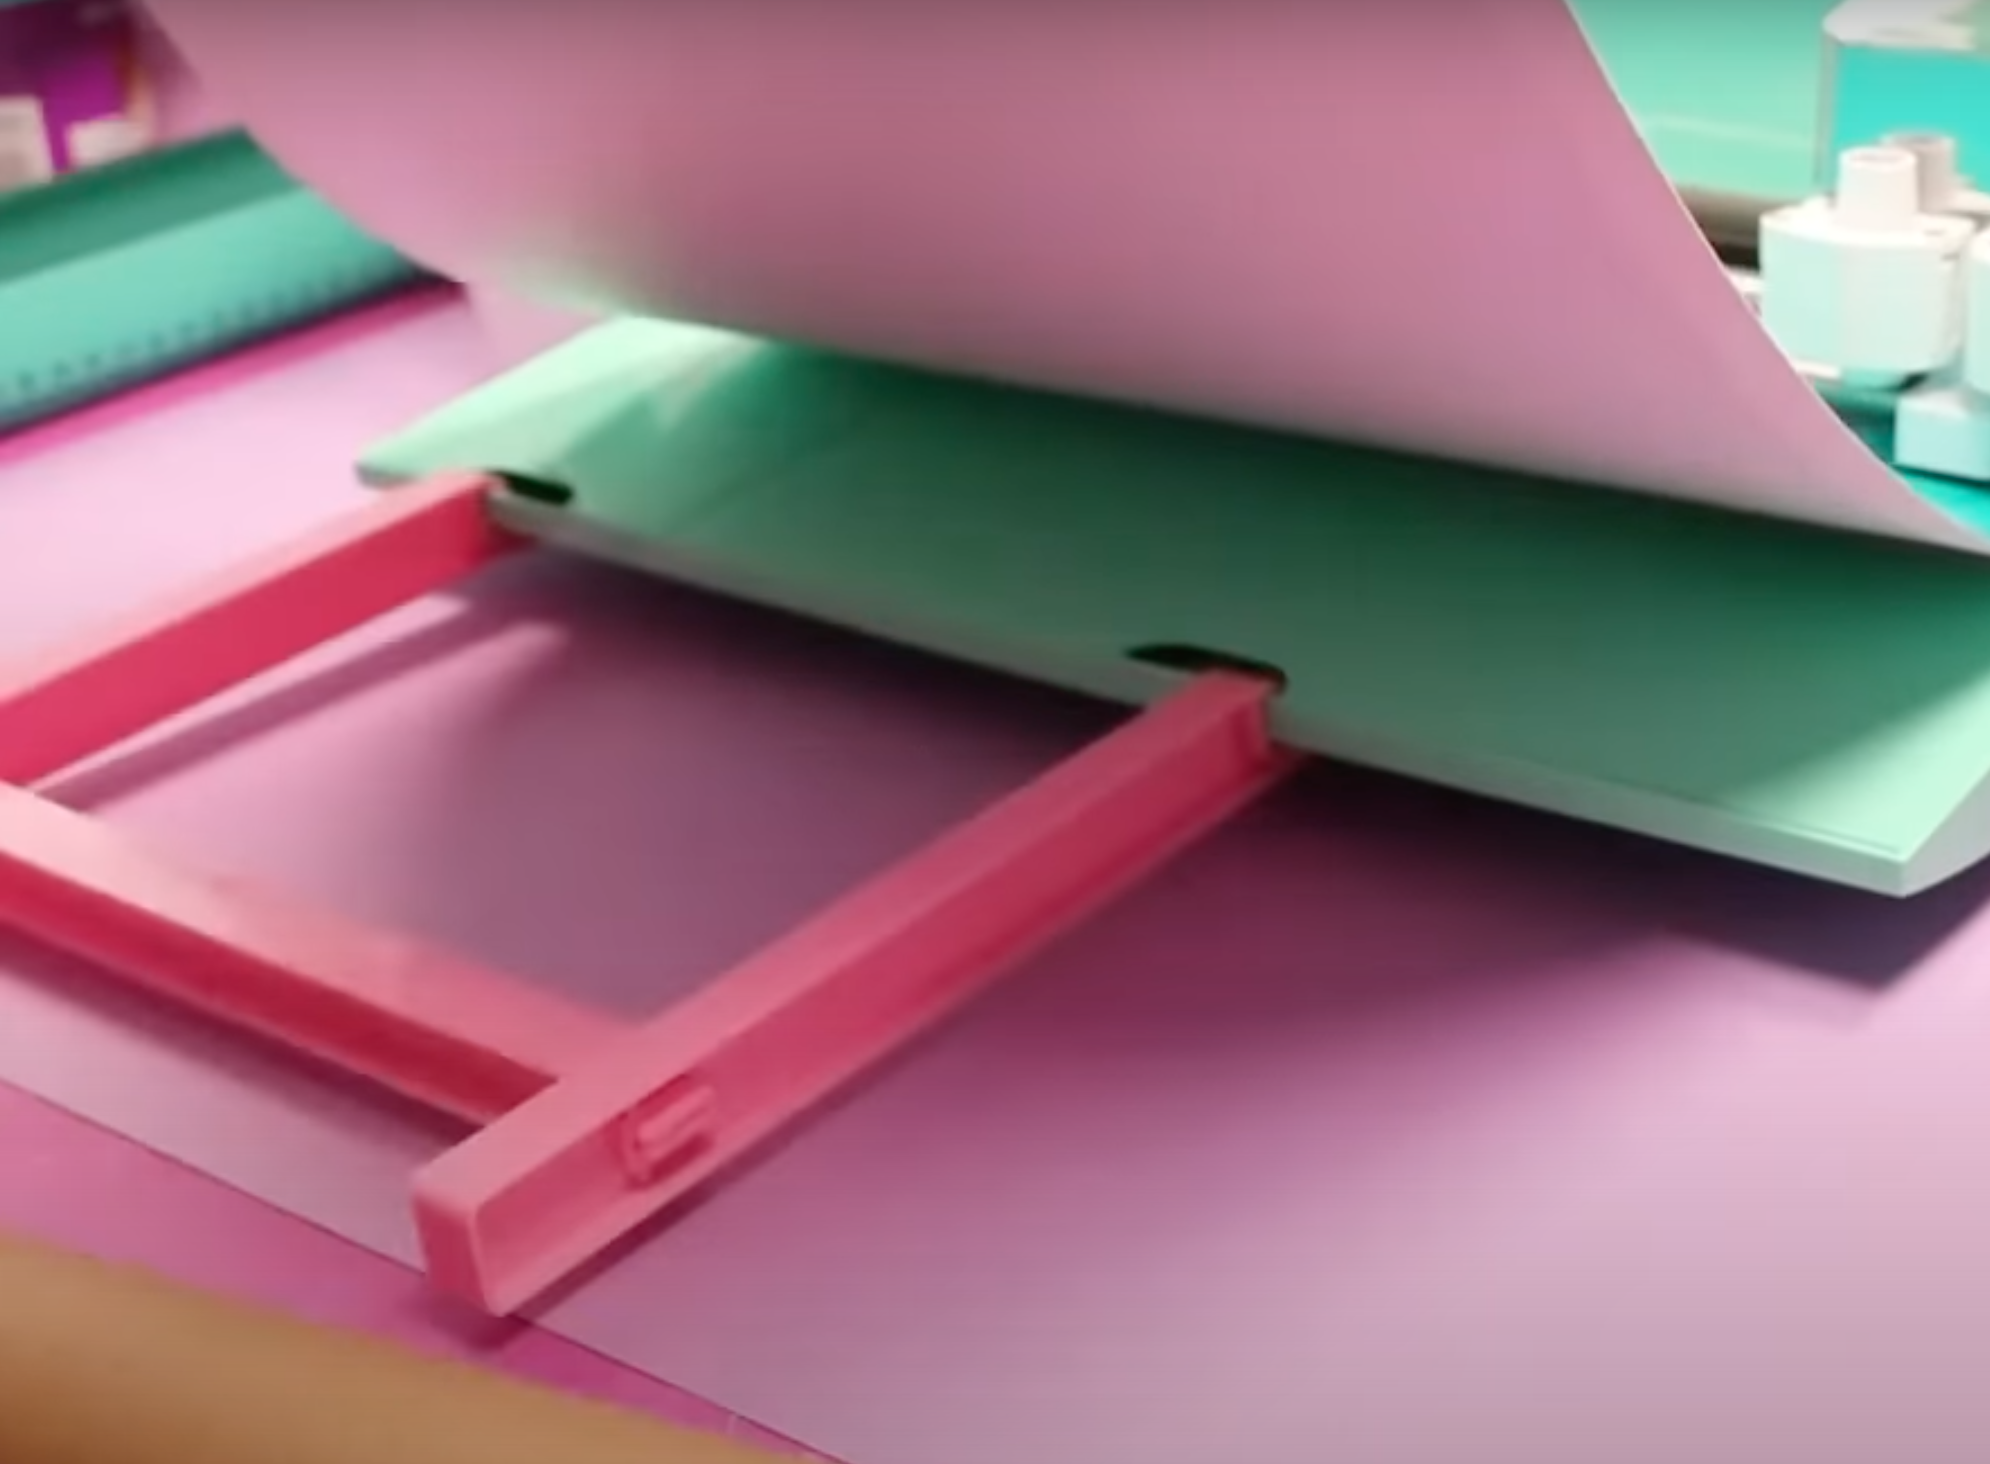
Since both of these options are made for a Cricut machine that is sitting on a table I don’t find them helpful. My Cricut machines all cut fine with the mat sitting on the table while being fed into the Cricut machine.
Using a Yardstick to Hold Up Cutting Mats
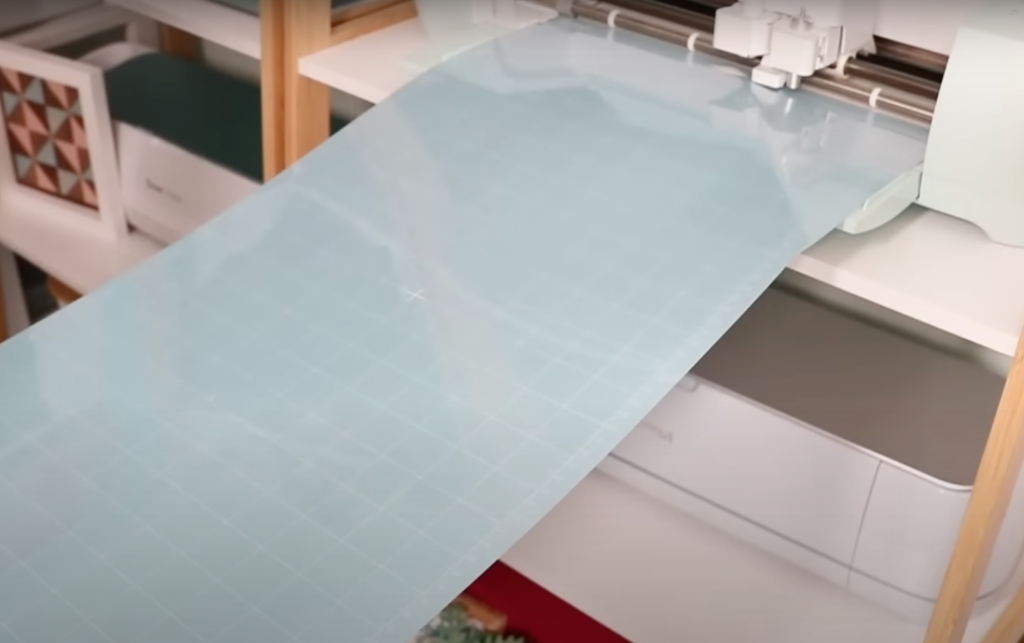
The only time I find any of these tray extenders helpful is if you’re using a Cricut machine on a shelf. The vinyl roll hack above doesn’t work in these cases and the tray extender isn’t long enough to help.
The hack I think works best in these cases is using a yardstick under your Cricut machine.
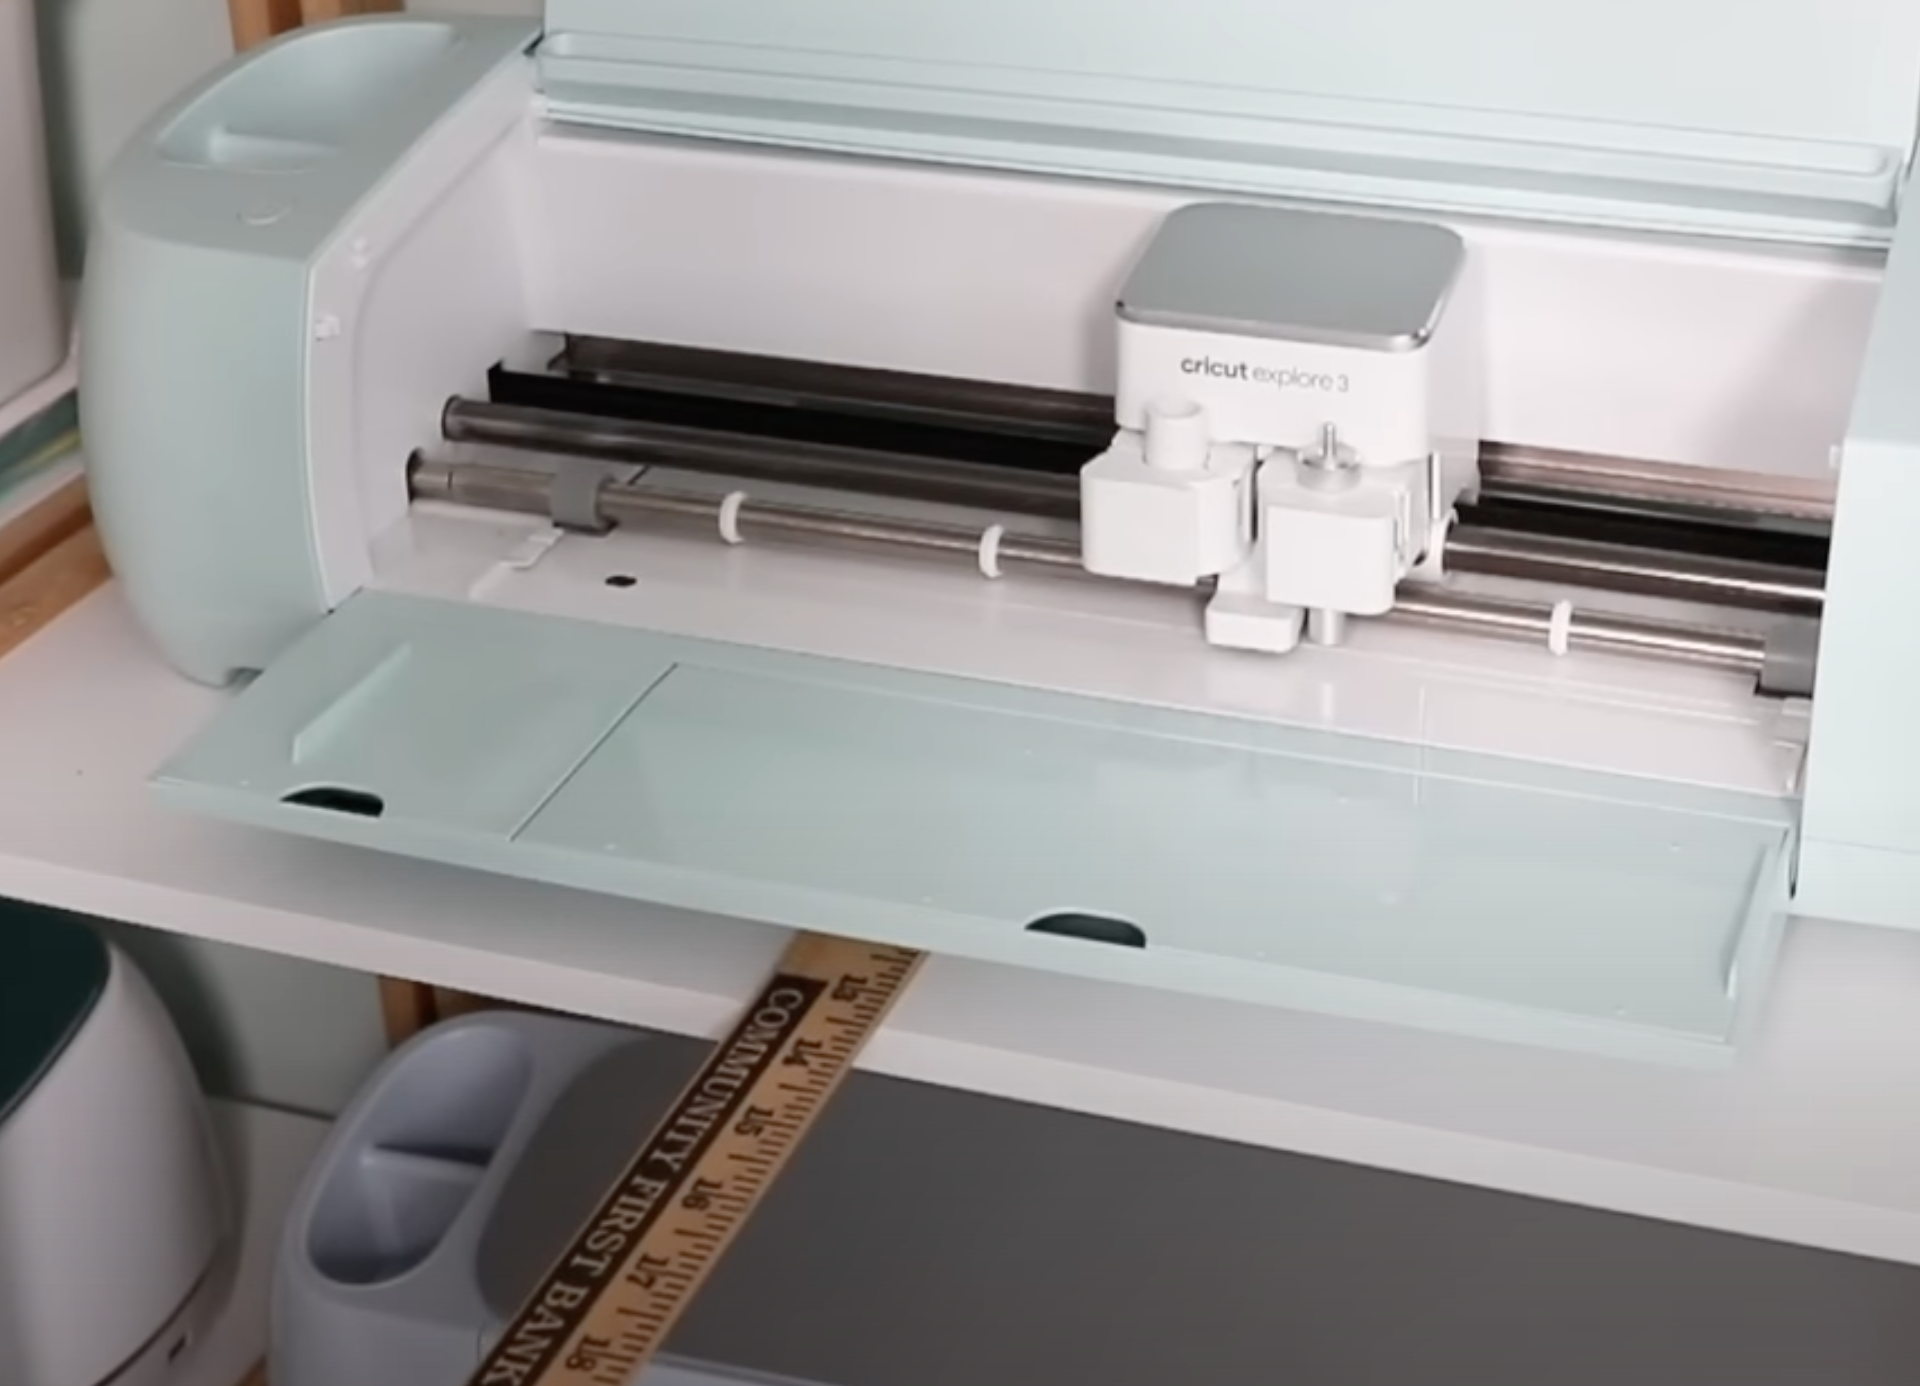
With any Cricut machine, you can slide the yardstick under the machine, and then the mat will sit on the yardstick instead of hanging it off the shelf. You can see that the yardstick extends far enough to hold even a 12″ x 24″ mat up so it feeds straight into the Cricut machine.
Cricut TikTok Hack #4 – Add Offset to Vinyl to Help with Weeding
I’ve seen this Cricut hack popping up all over TikTok lately. People are adding an offset to the outside of their vinyl design to make weeding the design easier.
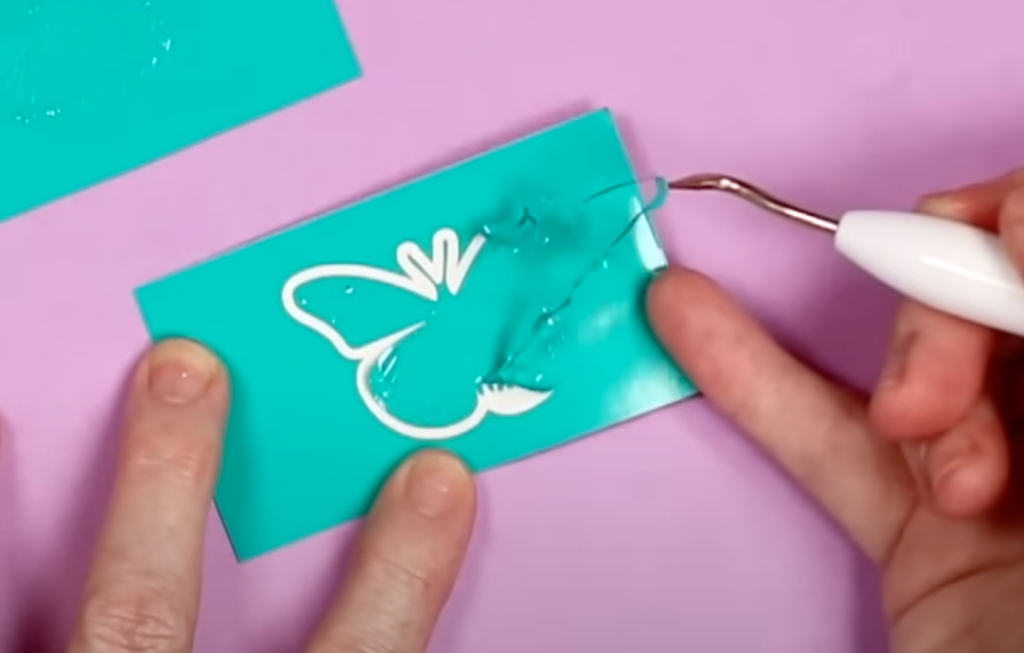
I did not find this hack useful at all. I had to weed the offset and then still had to weed the design like normal. Having an offset on the outside of the design did nothing to make weeding easier.
Cricut TikTok Hack #5 – Use Lint Roller to Weed Vinyl
Another hack showing up on TikTok is using a lint roller to weed small pieces from vinyl designs.
Extra Sticky Lint Roller
To test this hack I am using an extra sticky lint roller. The hack says you can roll the lint roller across the vinyl and it will pick up the little pieces to make weeding vinyl easier.
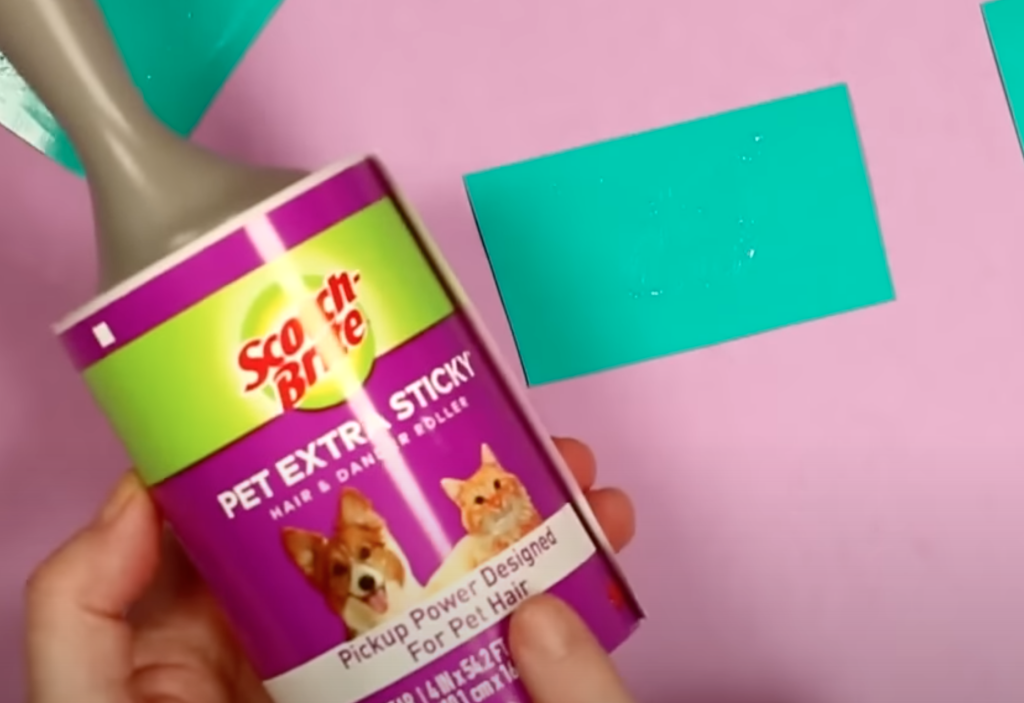
To begin, I am using a brand-new lint roller and rolling it over the vinyl design to see what it picks up.
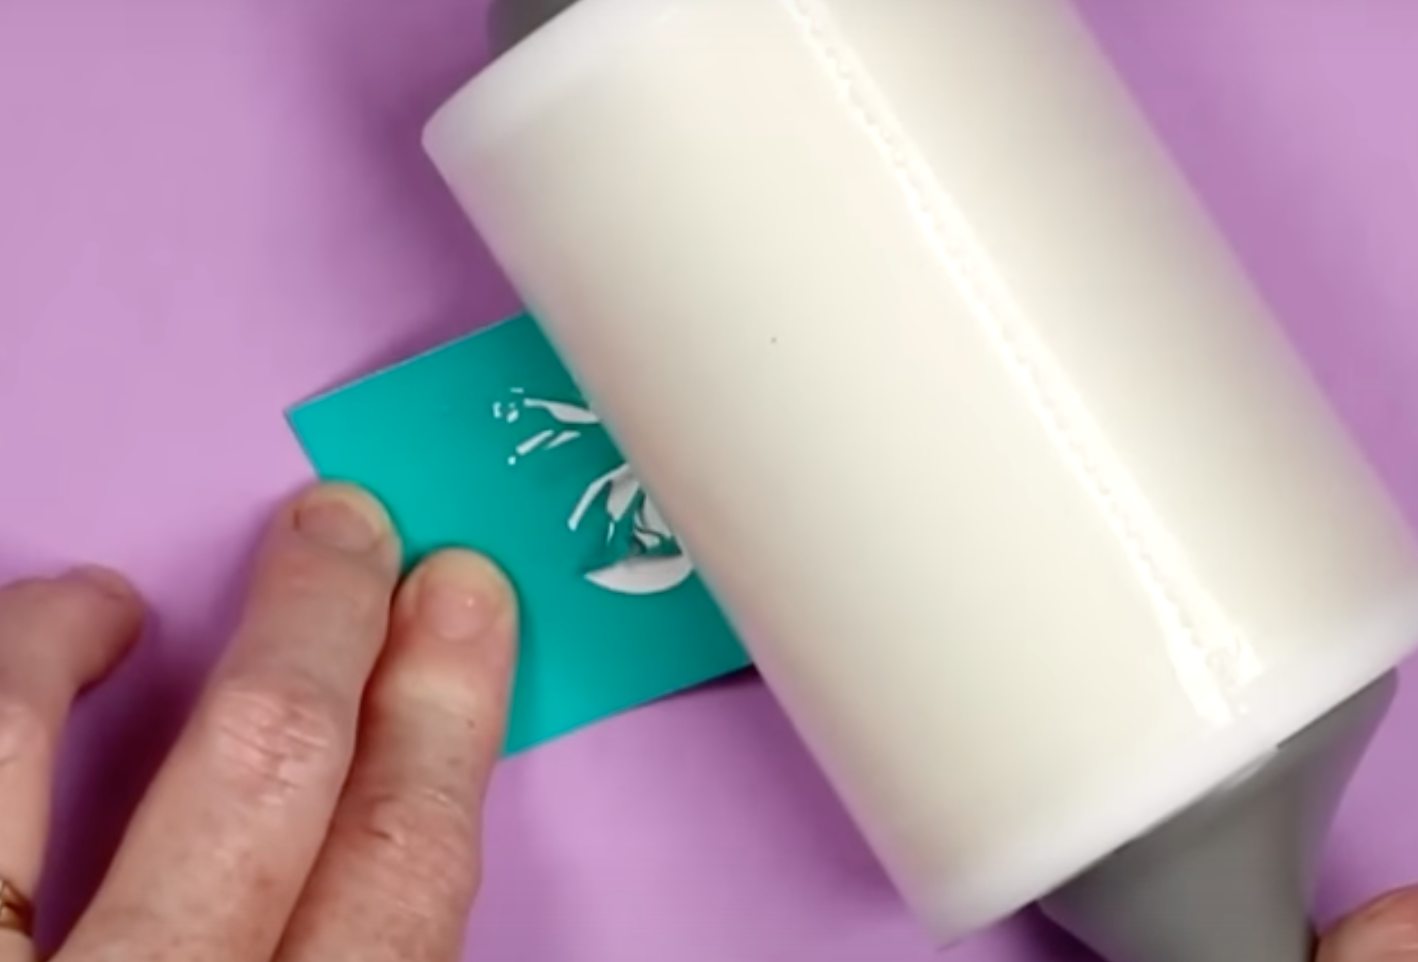
With the extra sticky lint roller the vinyl is sticking to the lint roller. Unfortunately, all of the vinyl is sticking to the lint roller, not just the parts that need to be weeded away.
Standard Sticky Lint Roller
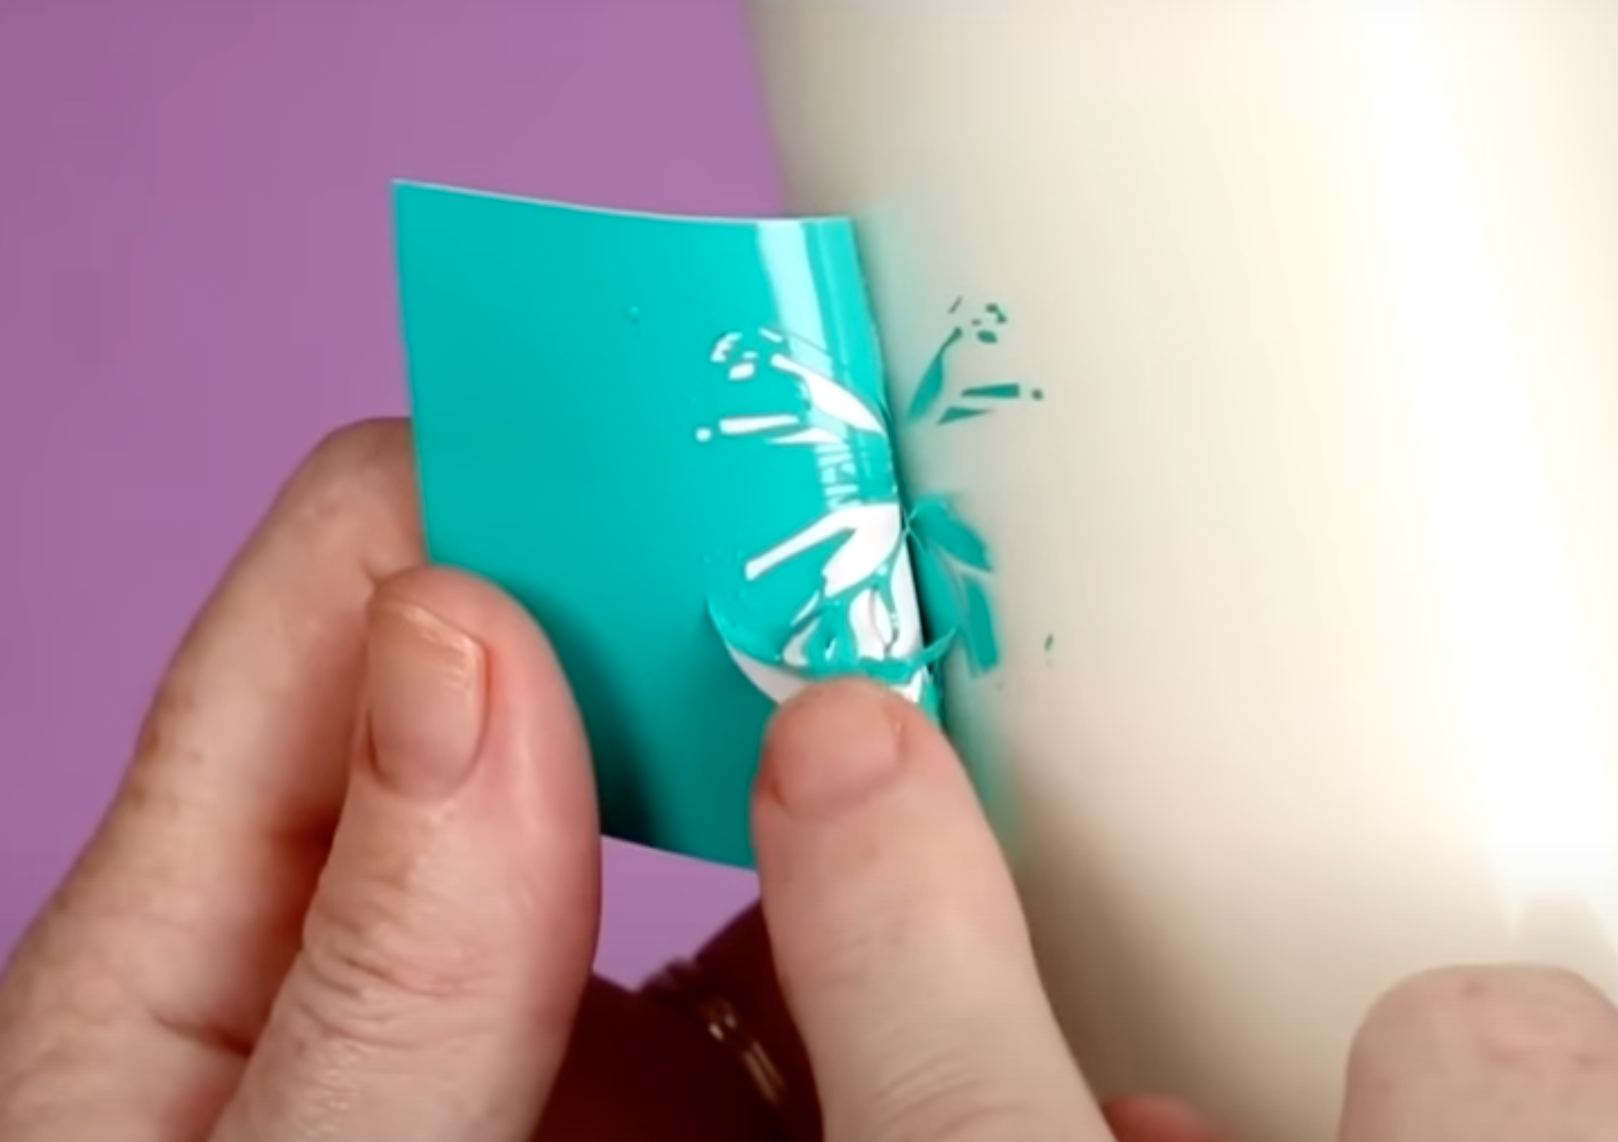
The extra sticky lint roller seemed to be too sticky so I decided to test a regular lint roller.
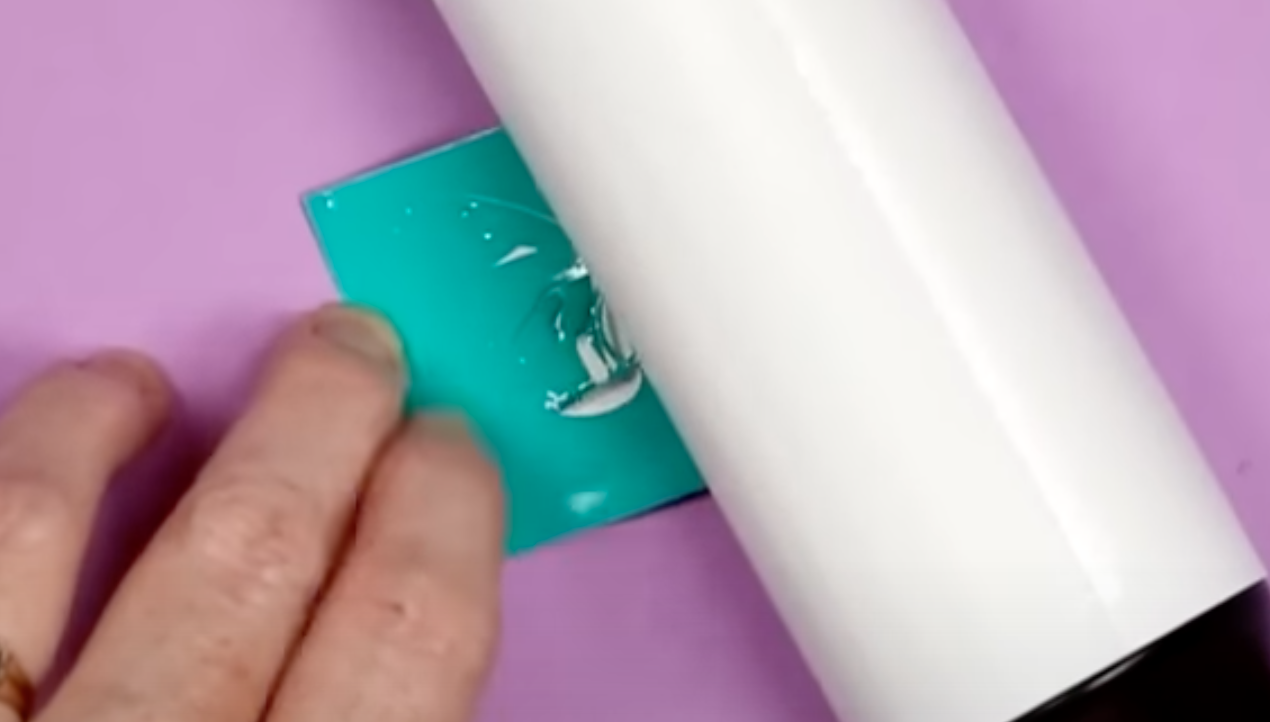
As you can see, even with the regular lint roller, all of the vinyl is lifting and sticking to the adhesive. This hack may work with a design that is less intricate but for a design like this butterfly this hack didn’t work at all.
Cricut TikTok Hack #6 – Use End of Weeding Tool as a Vinyl Weeding Cup
Did you know that the end of your Cricut weeding tool comes off? This TikTok hack suggests you remove the end of the weeding hook and then use it to collect the small pieces of vinyl you weed out of your design.
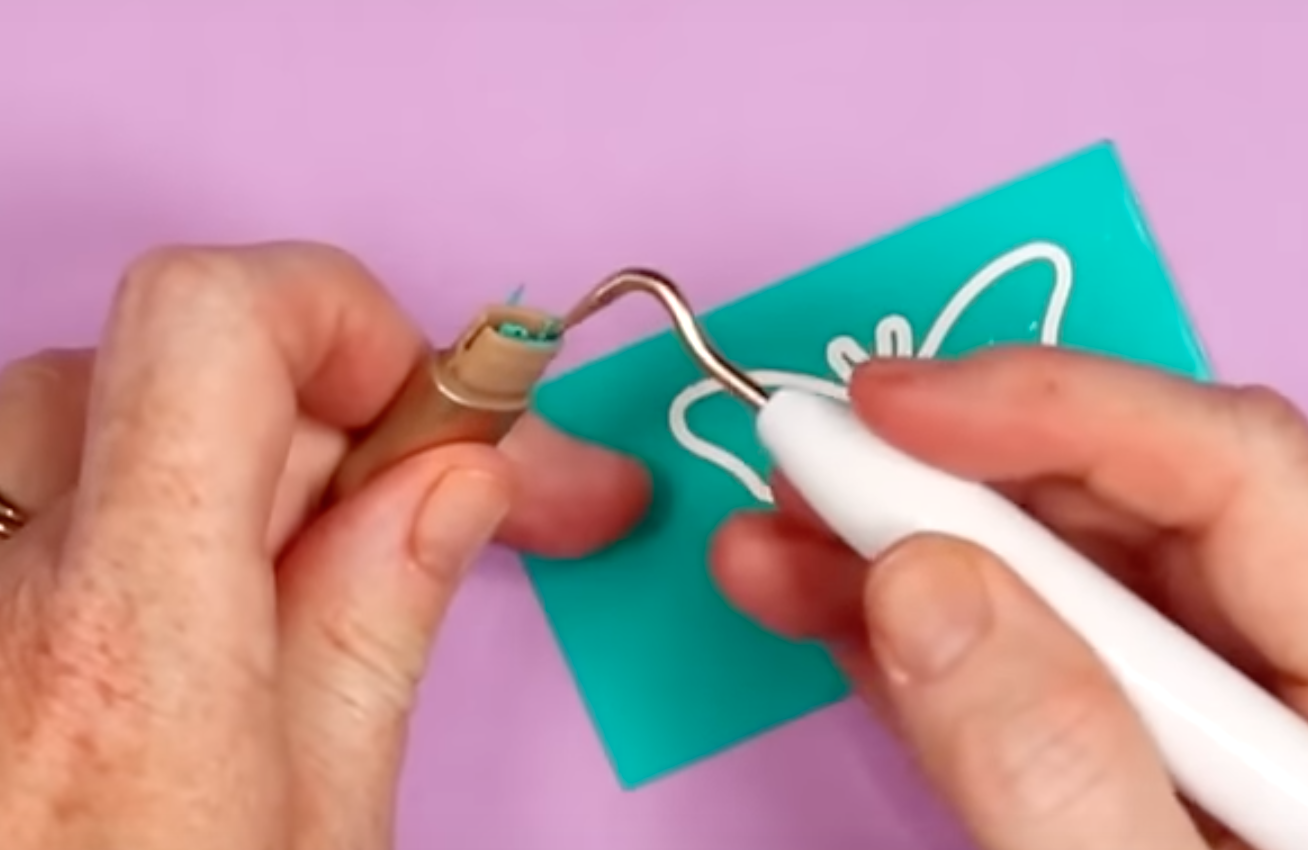
This hack does work. You can add little pieces of vinyl to the top of your weeding tool. I don’t think this would work well for larger pieces.
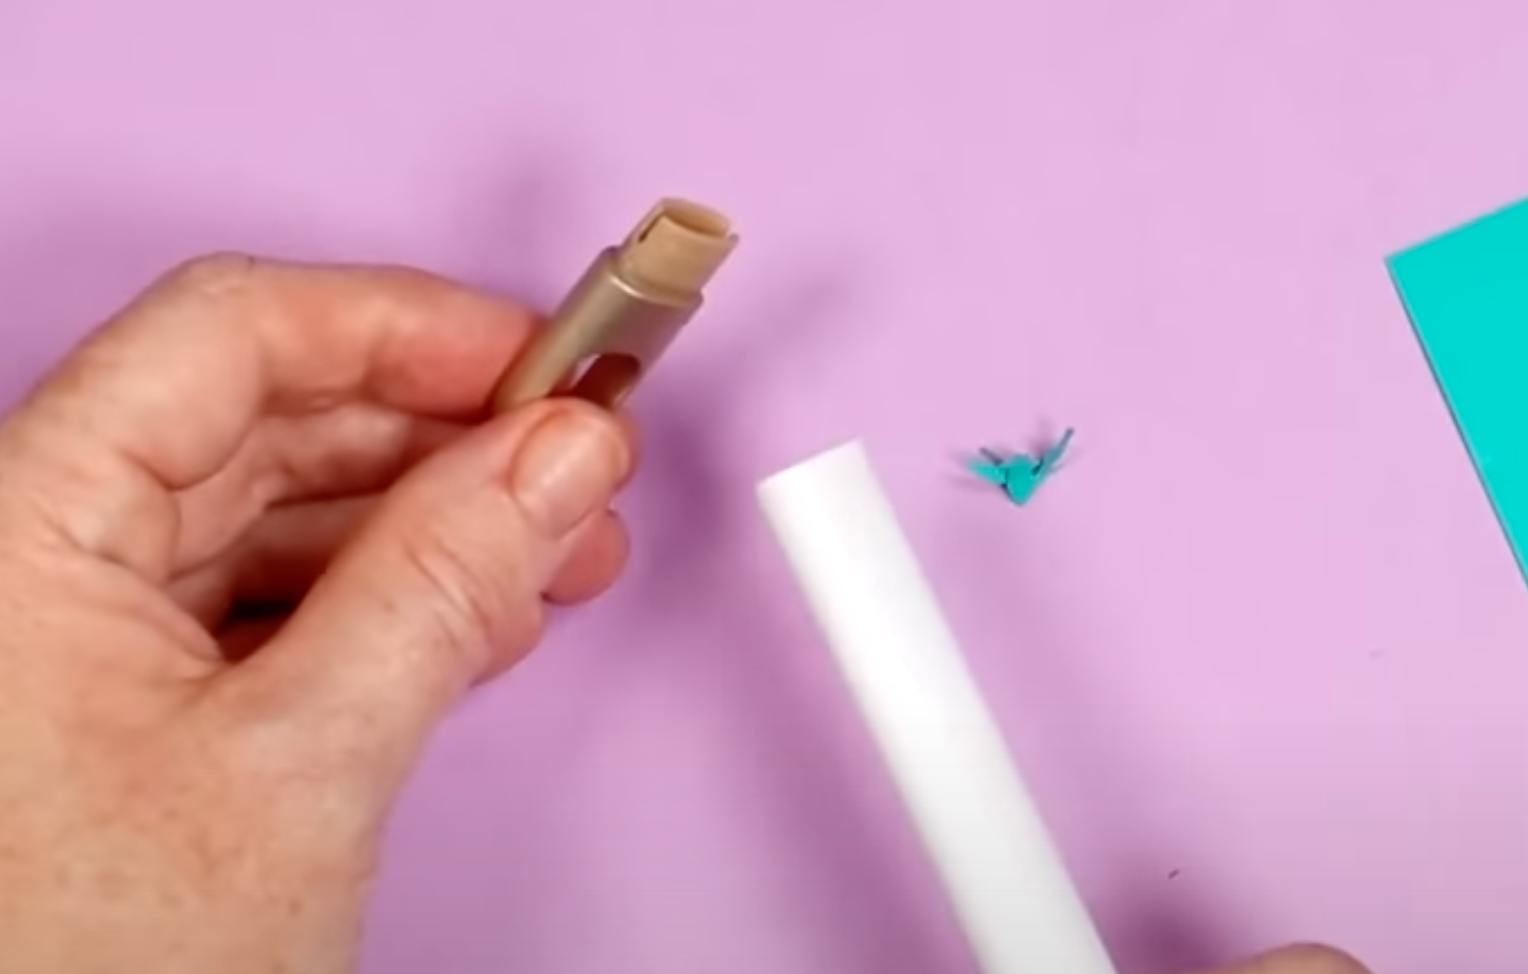
I do also think cleaning out the top of the weeding tool is a bit difficult. Over the years I have used other vinyl scrap collectors that stick to the tabletop and I think they work much better.
Cricut TikTok Hack #7 – Use Heat to Release Vinyl from Backer
This next Cricut TikTok hack is one I’ve been using for a long time. Using heat to help vinyl release from the carrier sheet is a hack I use and recommend. Especially with Cricut Smart Vinyl.
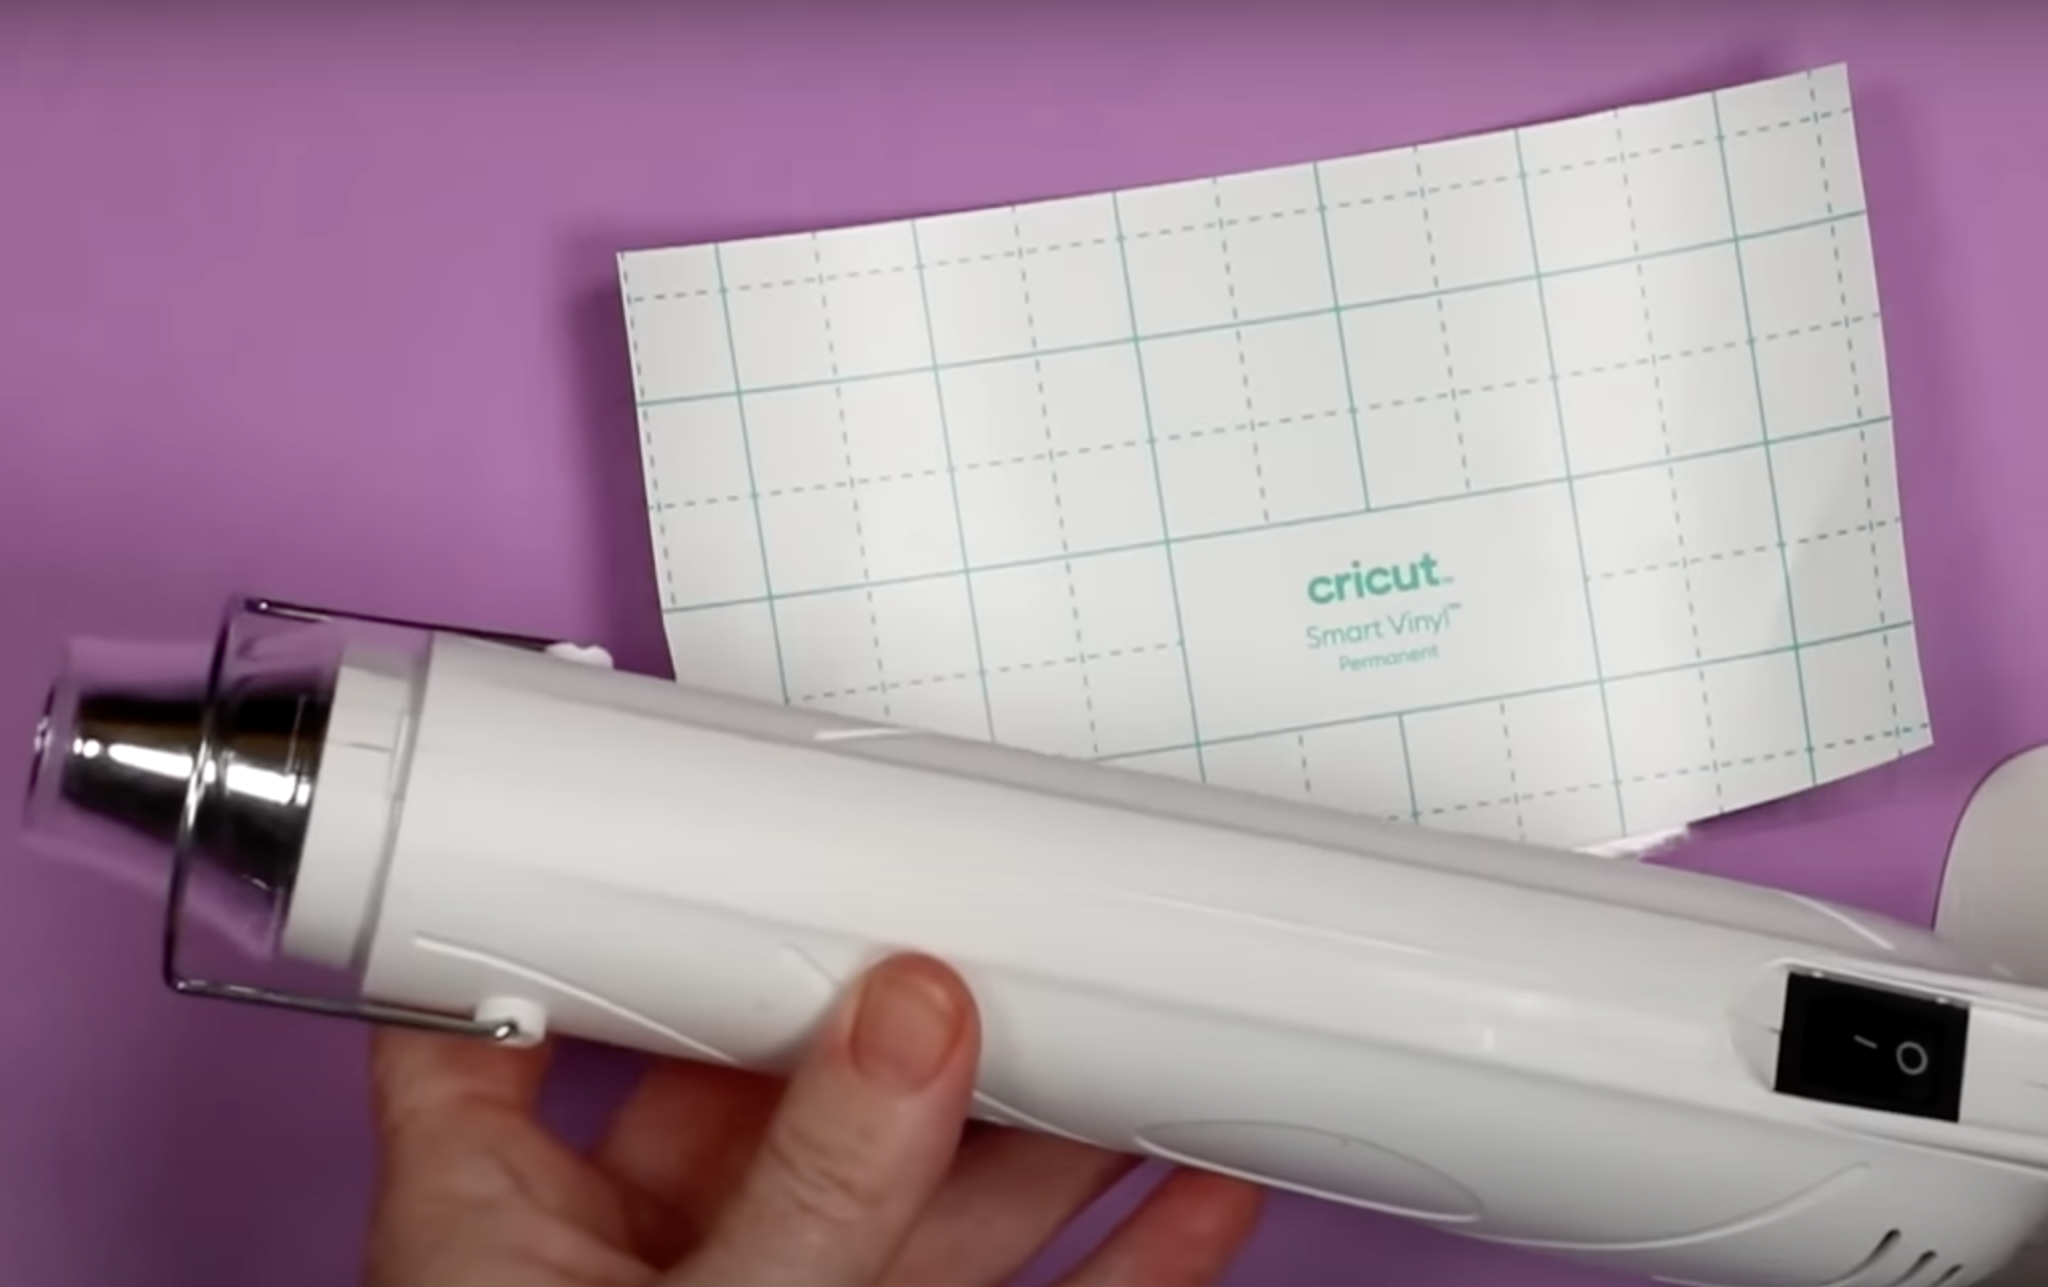
I do think that Cricut has updated their Smart Vinyl but if you have any of the old stuff or have any other vinyl that isn’t releasing from the carrier sheet this hack may work for you.
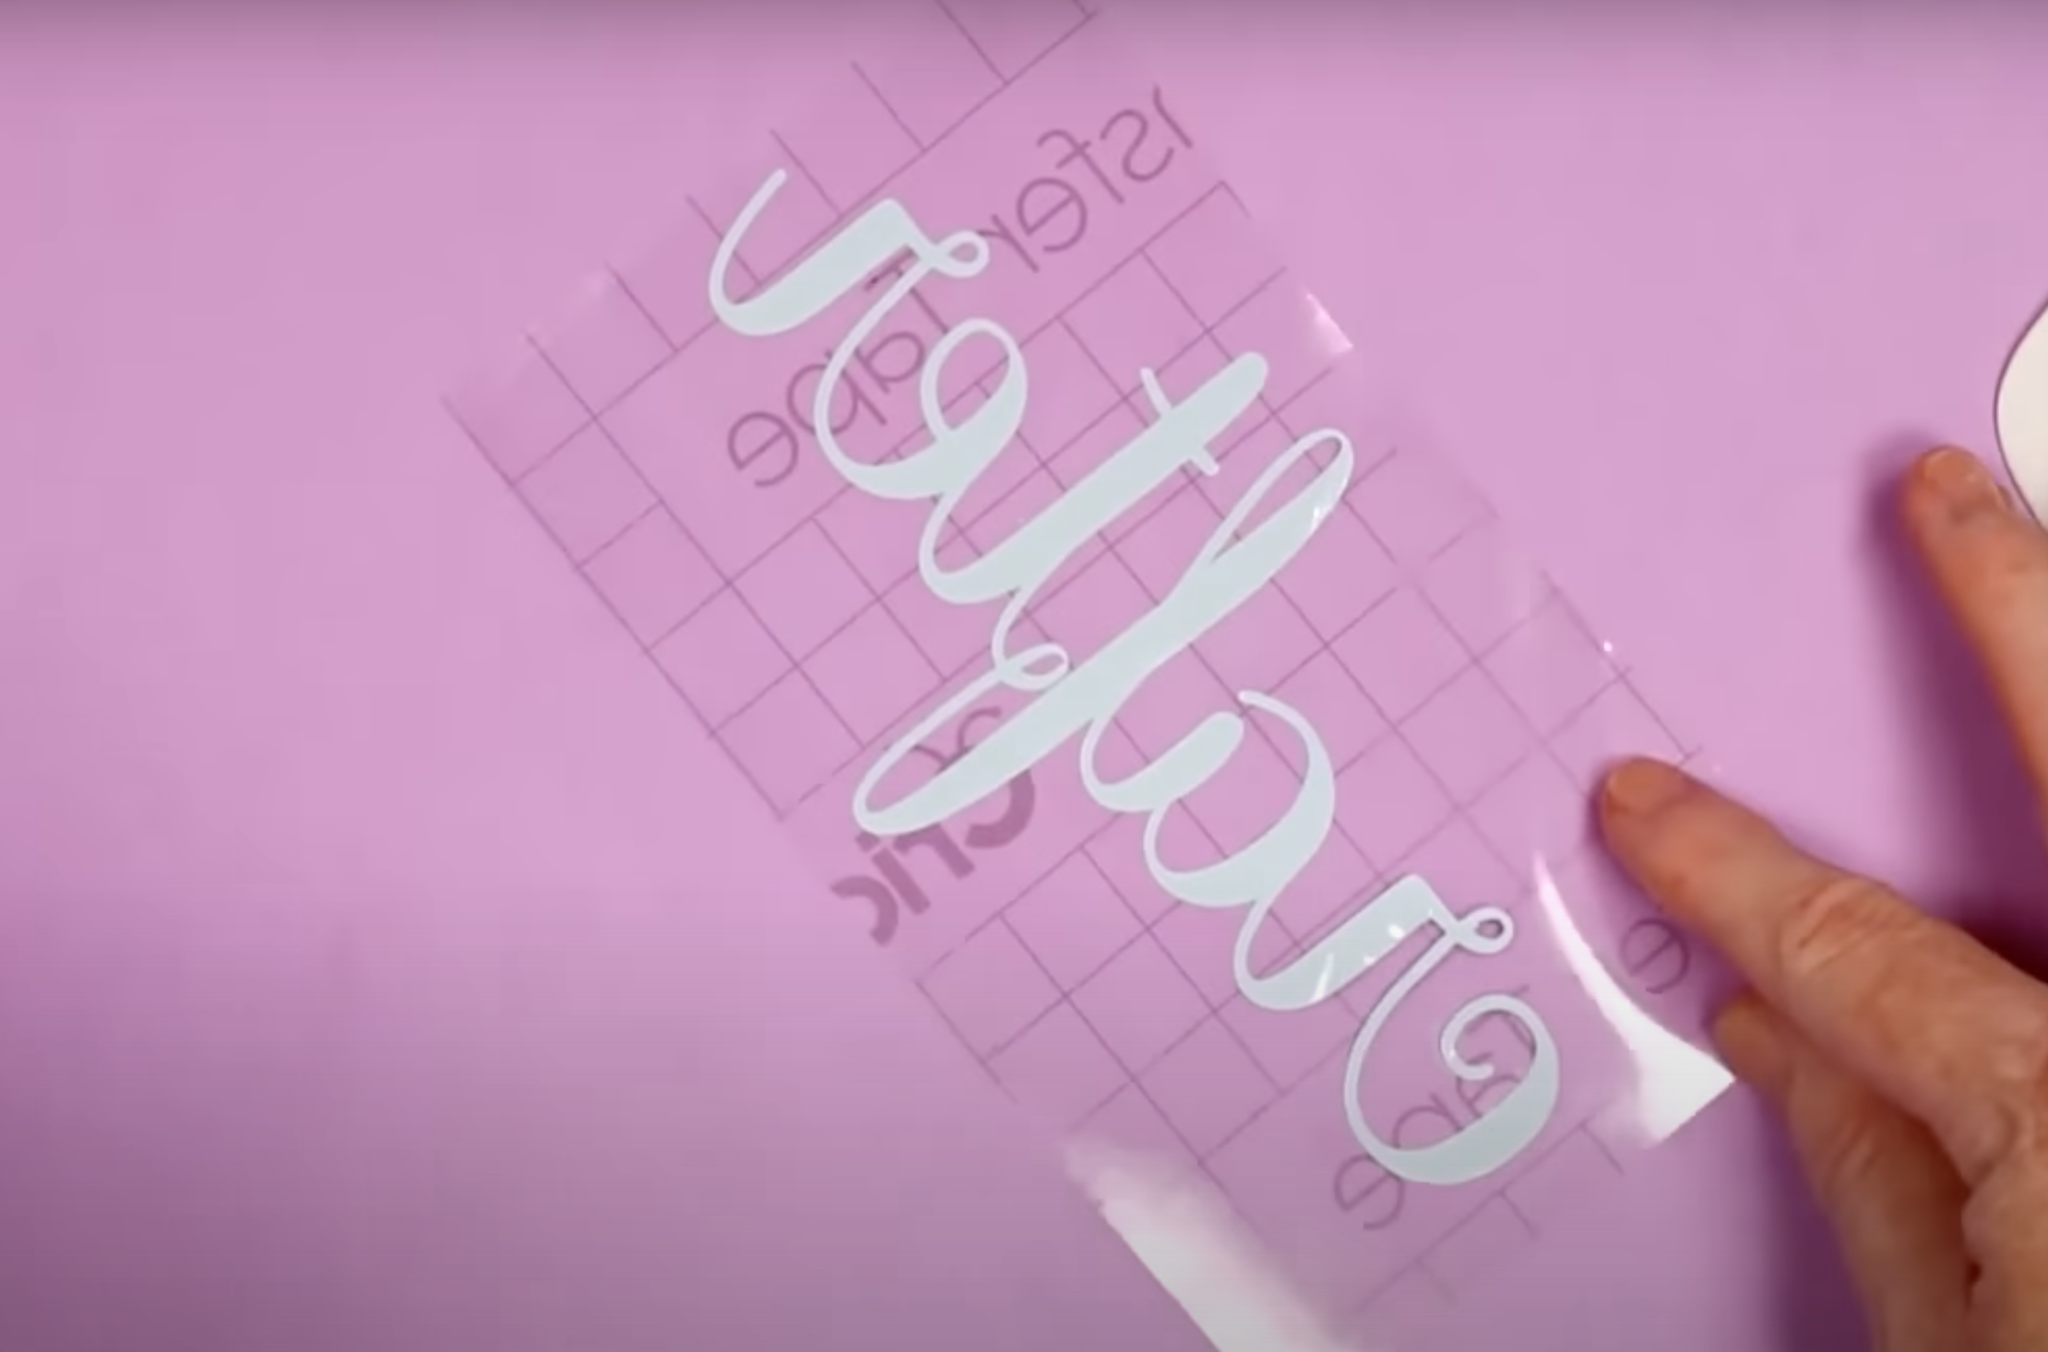
Use a low temp heat gun or blow dryer to heat up the back side of the vinyl carrier sheet and then use a scraper tool to burnish the vinyl onto the transfer tape. This should release the vinyl from the carrier sheet.
Apply Heat to the Whole Backside
Depending on the size of your vinyl piece you may need to heat up the carrier sheet in sections.
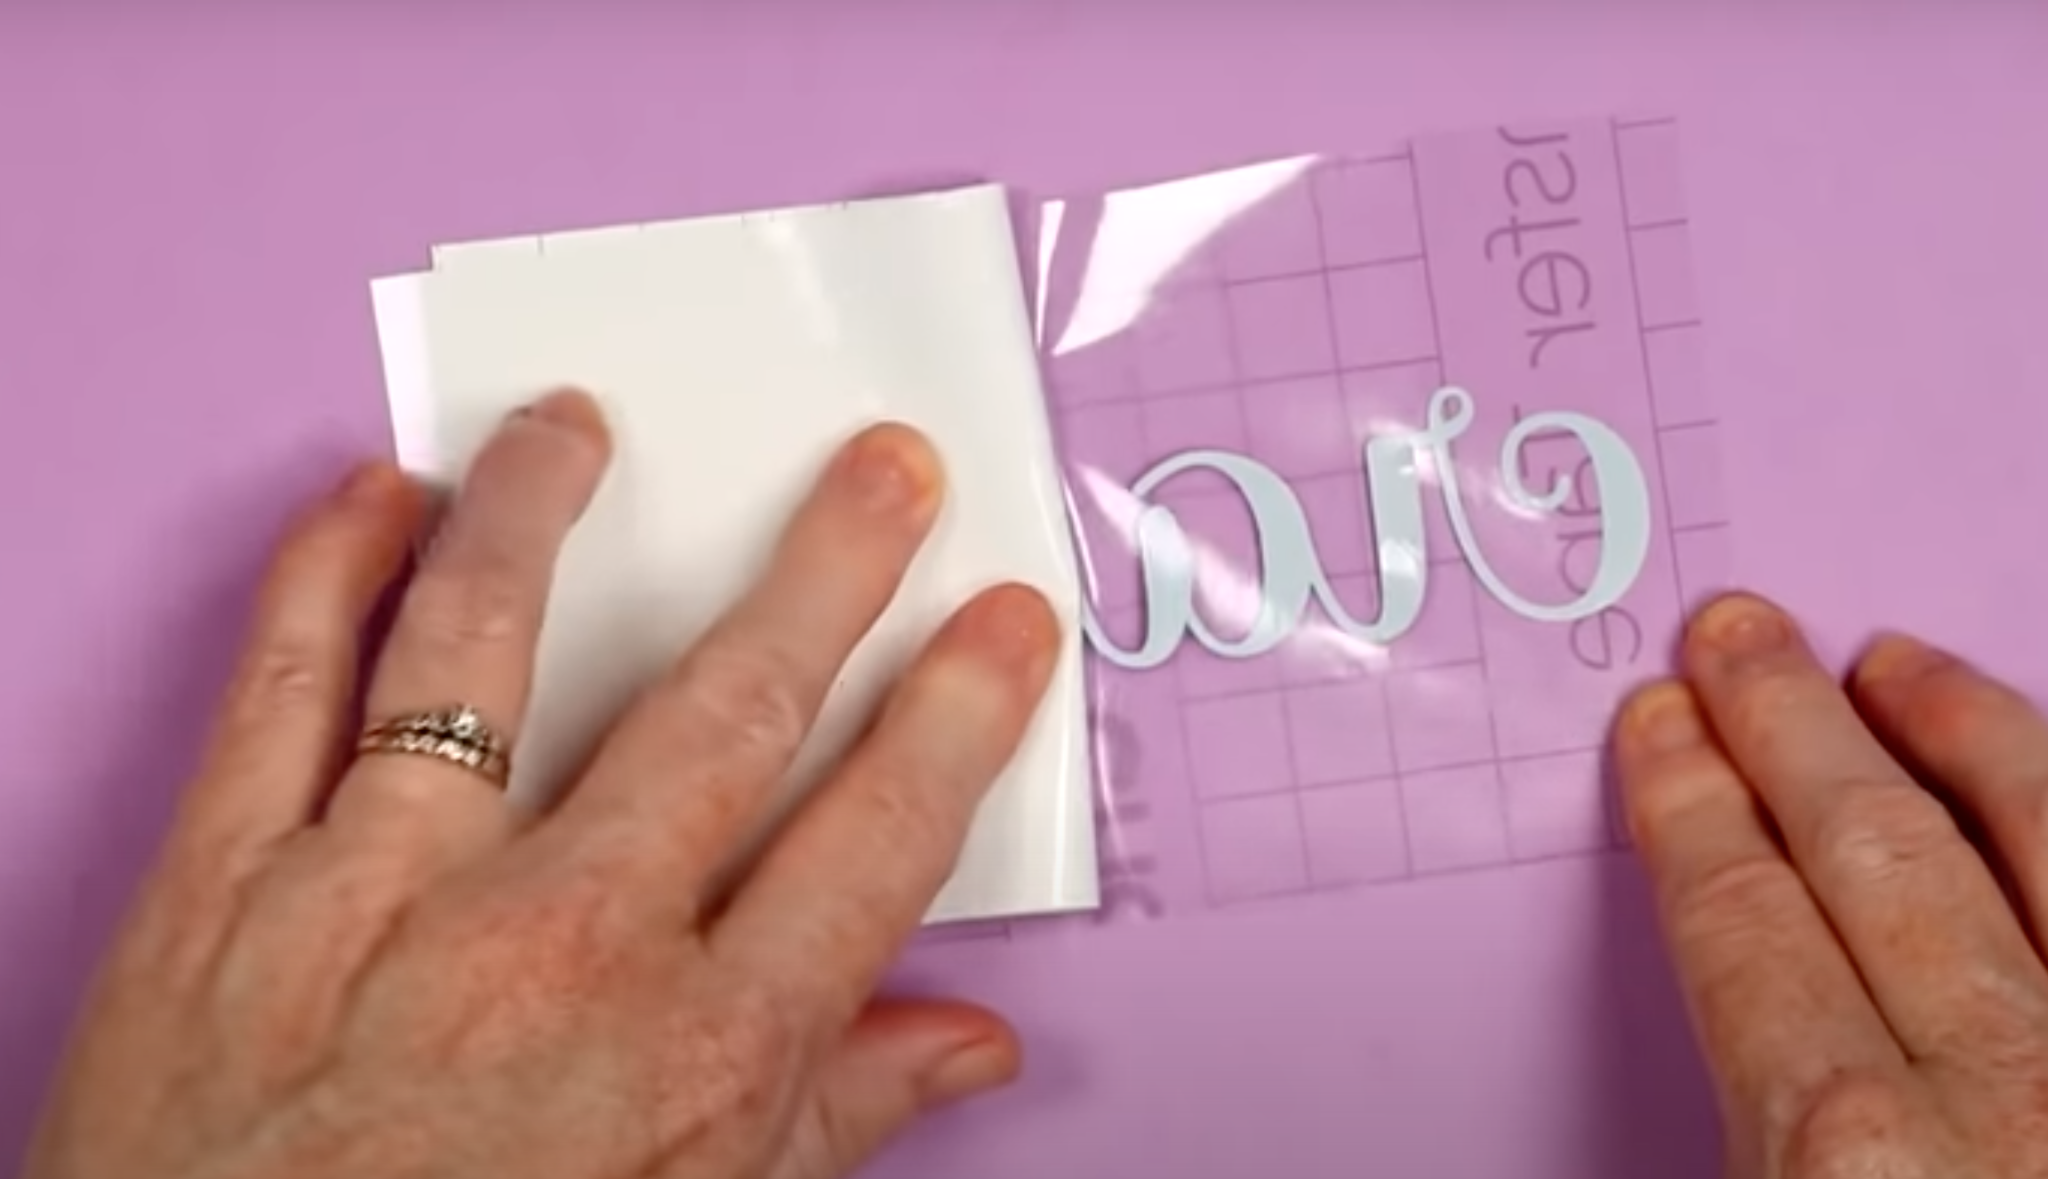
With the entire back of the carrier sheet heated up, it should peel back easily. If you need to, work in sections to make sure the whole carrier sheet peels back revealing your vinyl stuck to transfer tape.
Cricut TikTok Hack #8 – Use Cricut Roll Holder to Hold Cup in Place
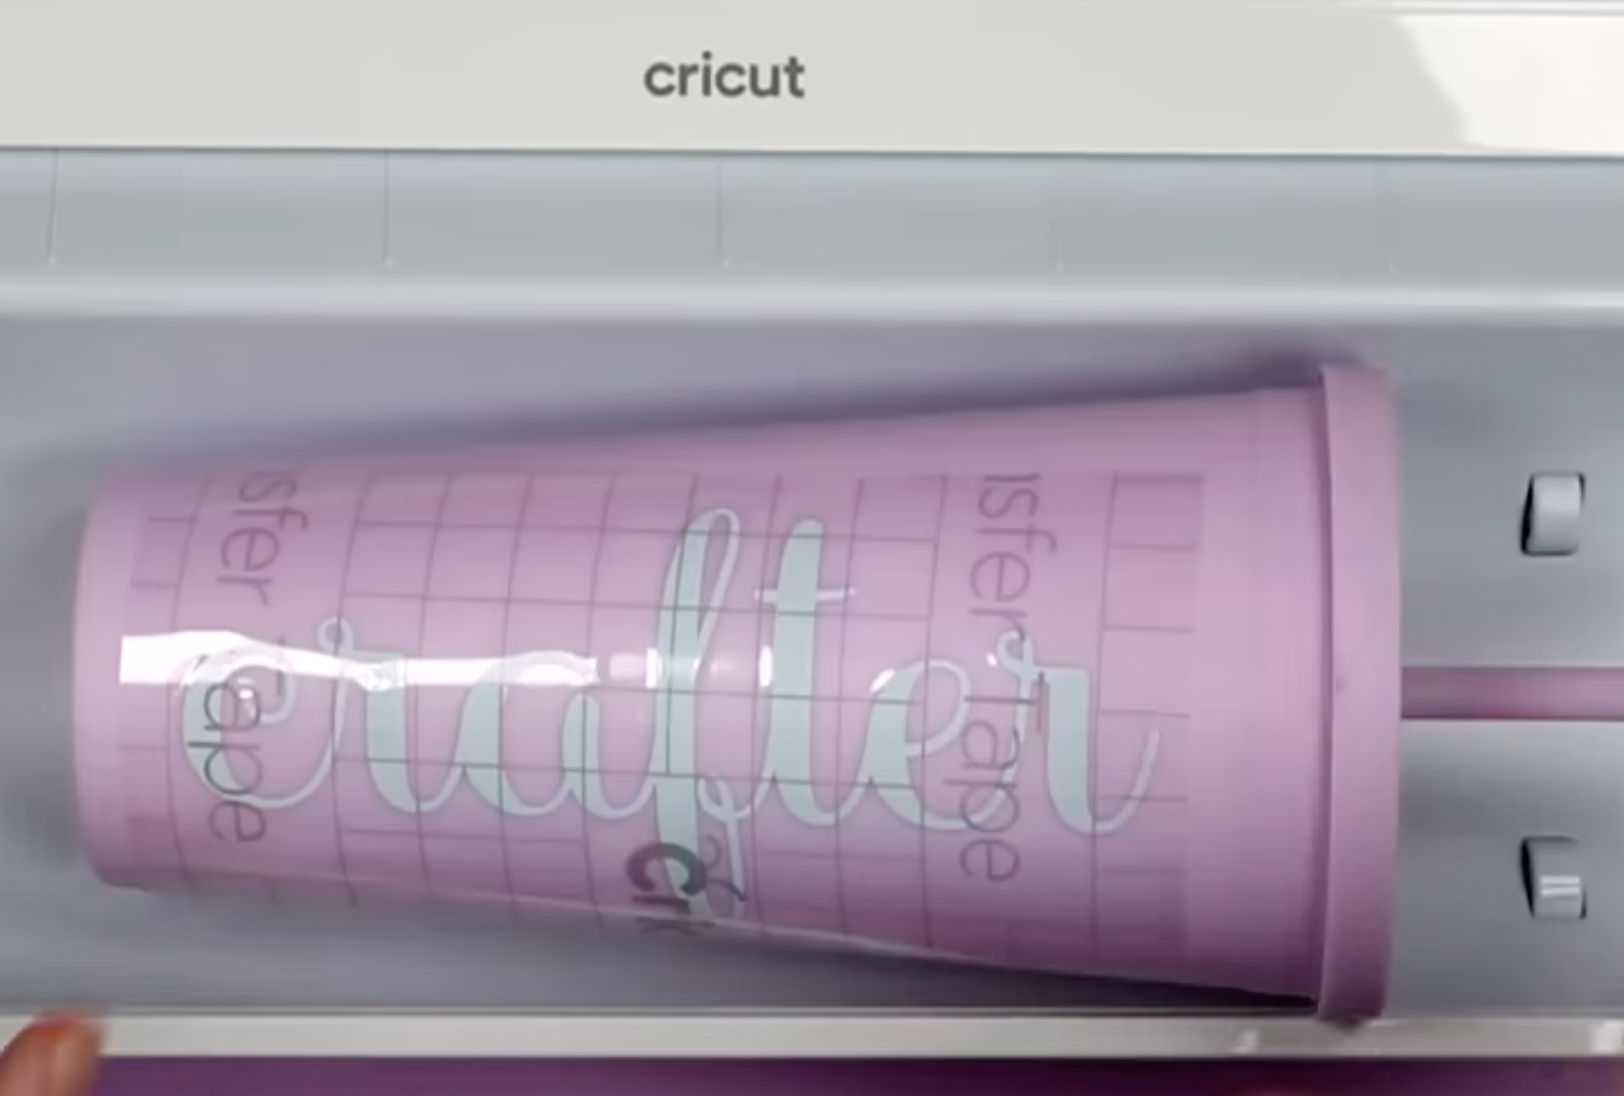
This is another great hack! If you own the Cricut Roll Holder, you can use it to hold tumblers or cups in place while applying vinyl.
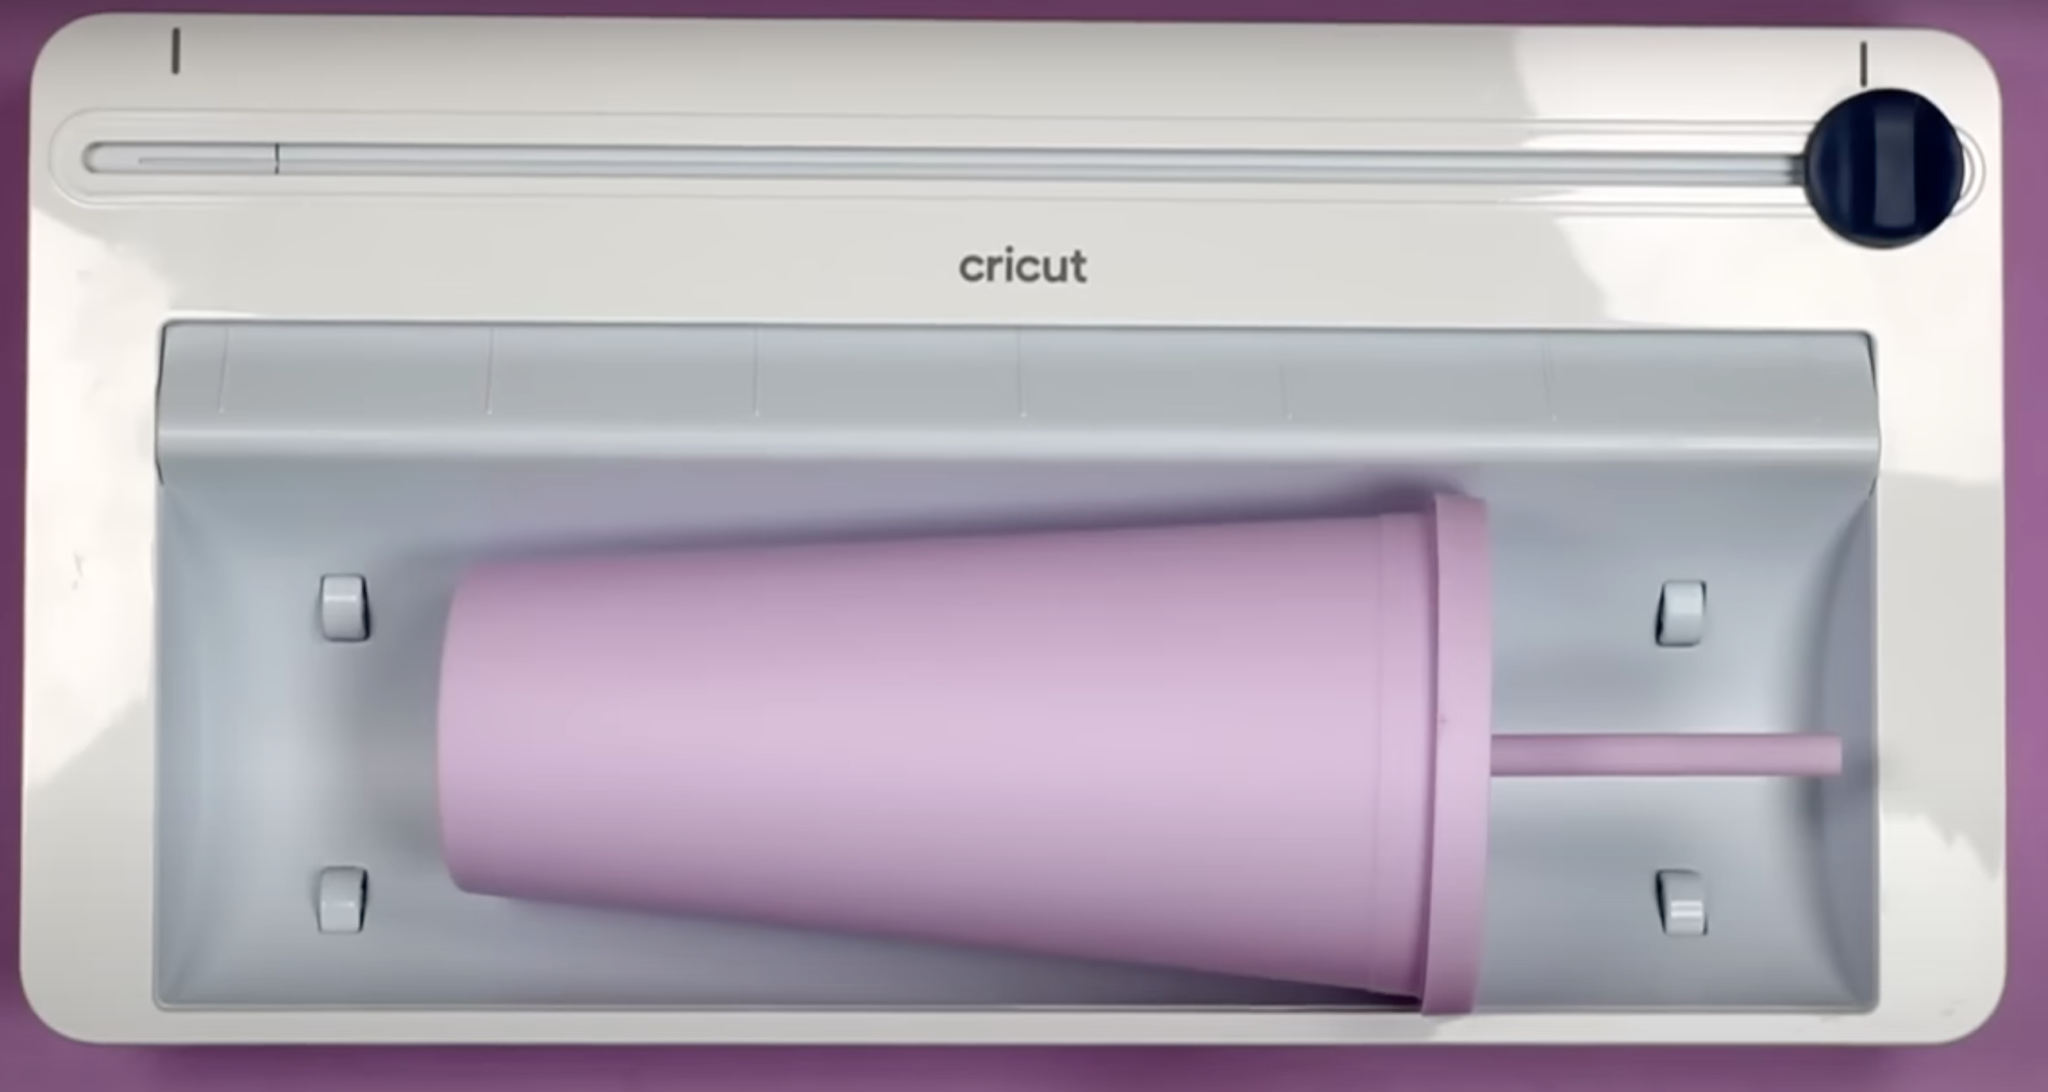
This hack works really well. You can easily align your design without the tumbler rolling away using the Cricut Roll Holder.
PYD Life Cup Holder
If you don’t already own the Cricut Roll Holder another option is this PYD Life Cup Holder. This is another cup holder so I wanted to test it out to see how it works.
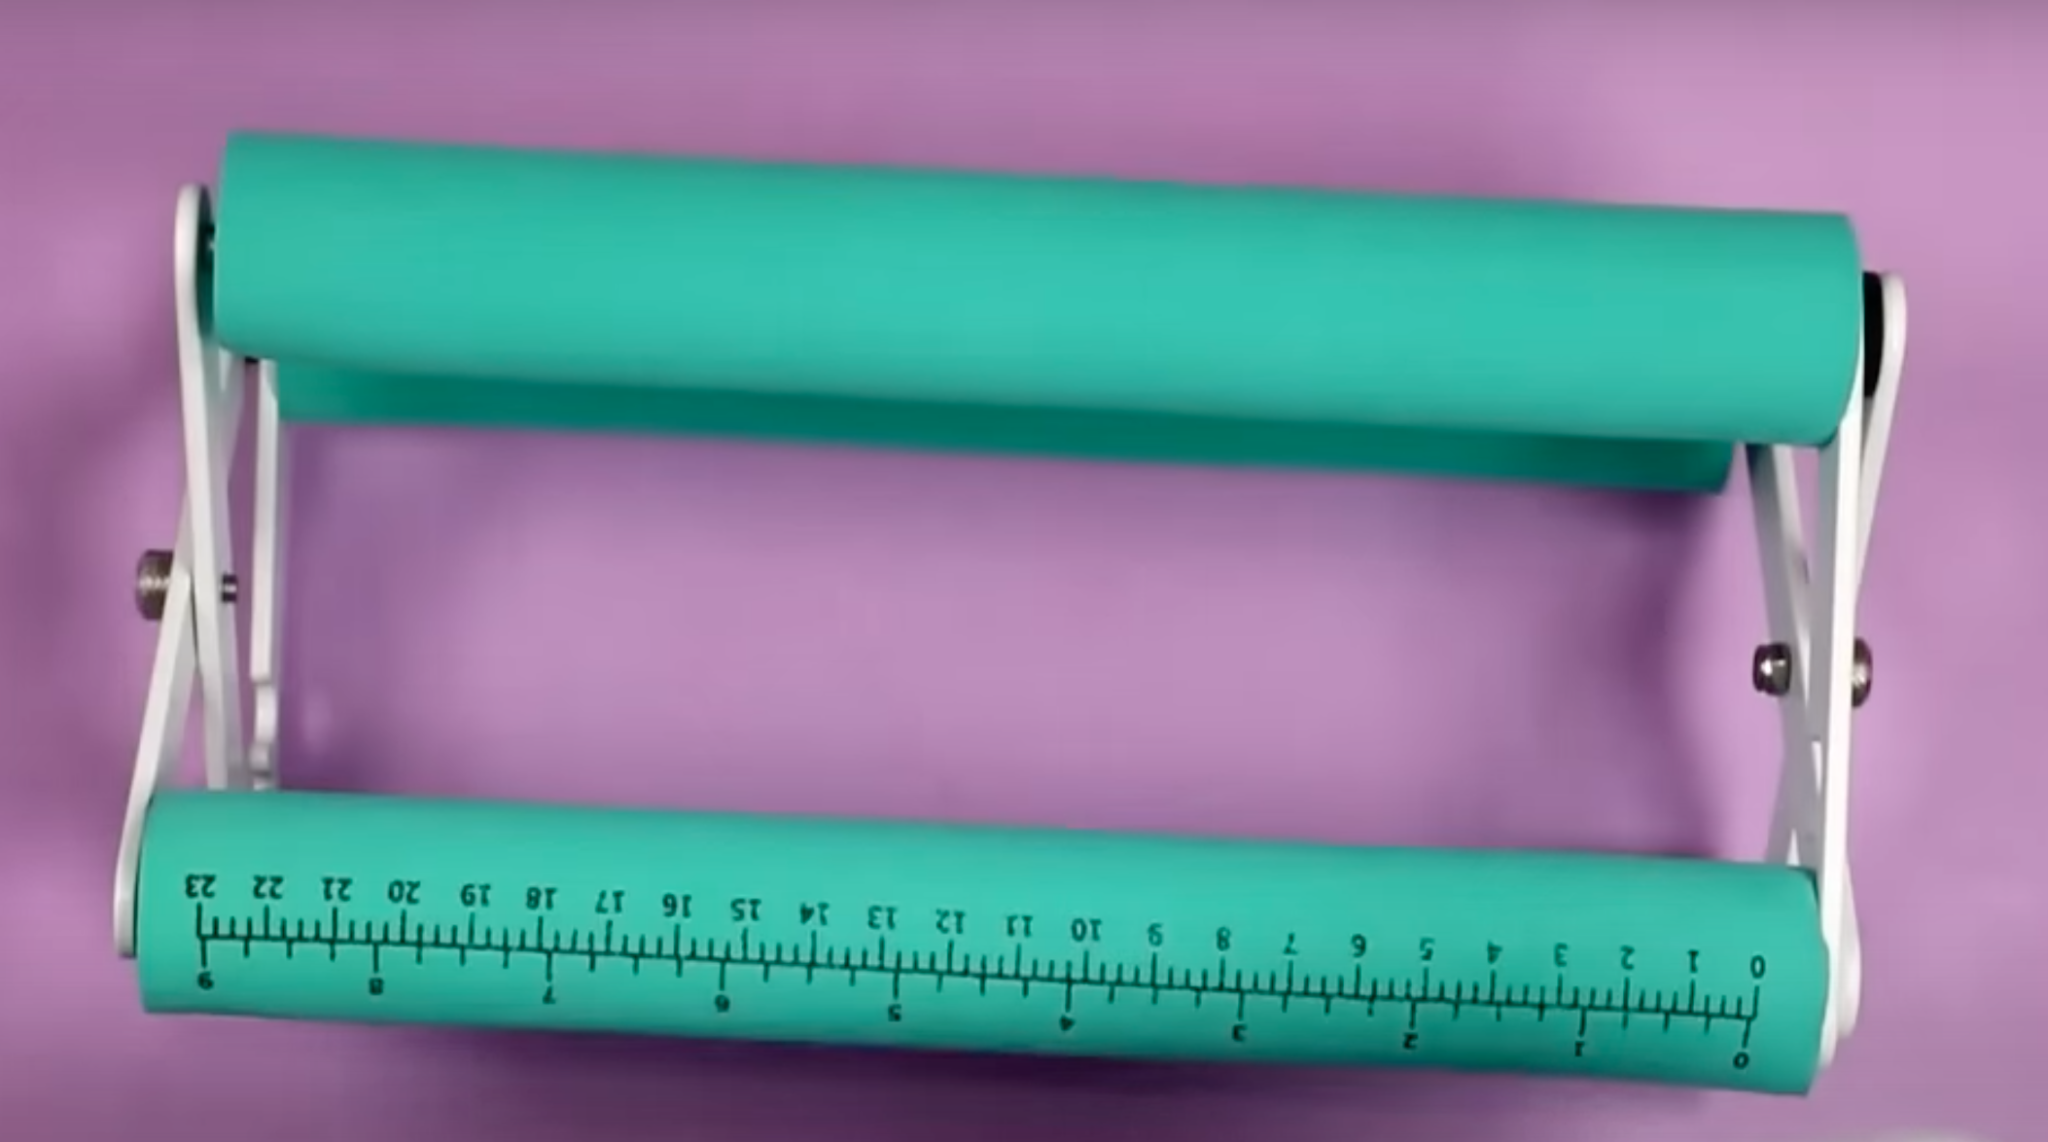
I like this product for a couple of reasons. I really like that it can be adjusted to fit the size of your tumbler or cup. It also has measurements along one side which makes aligning your design easy.
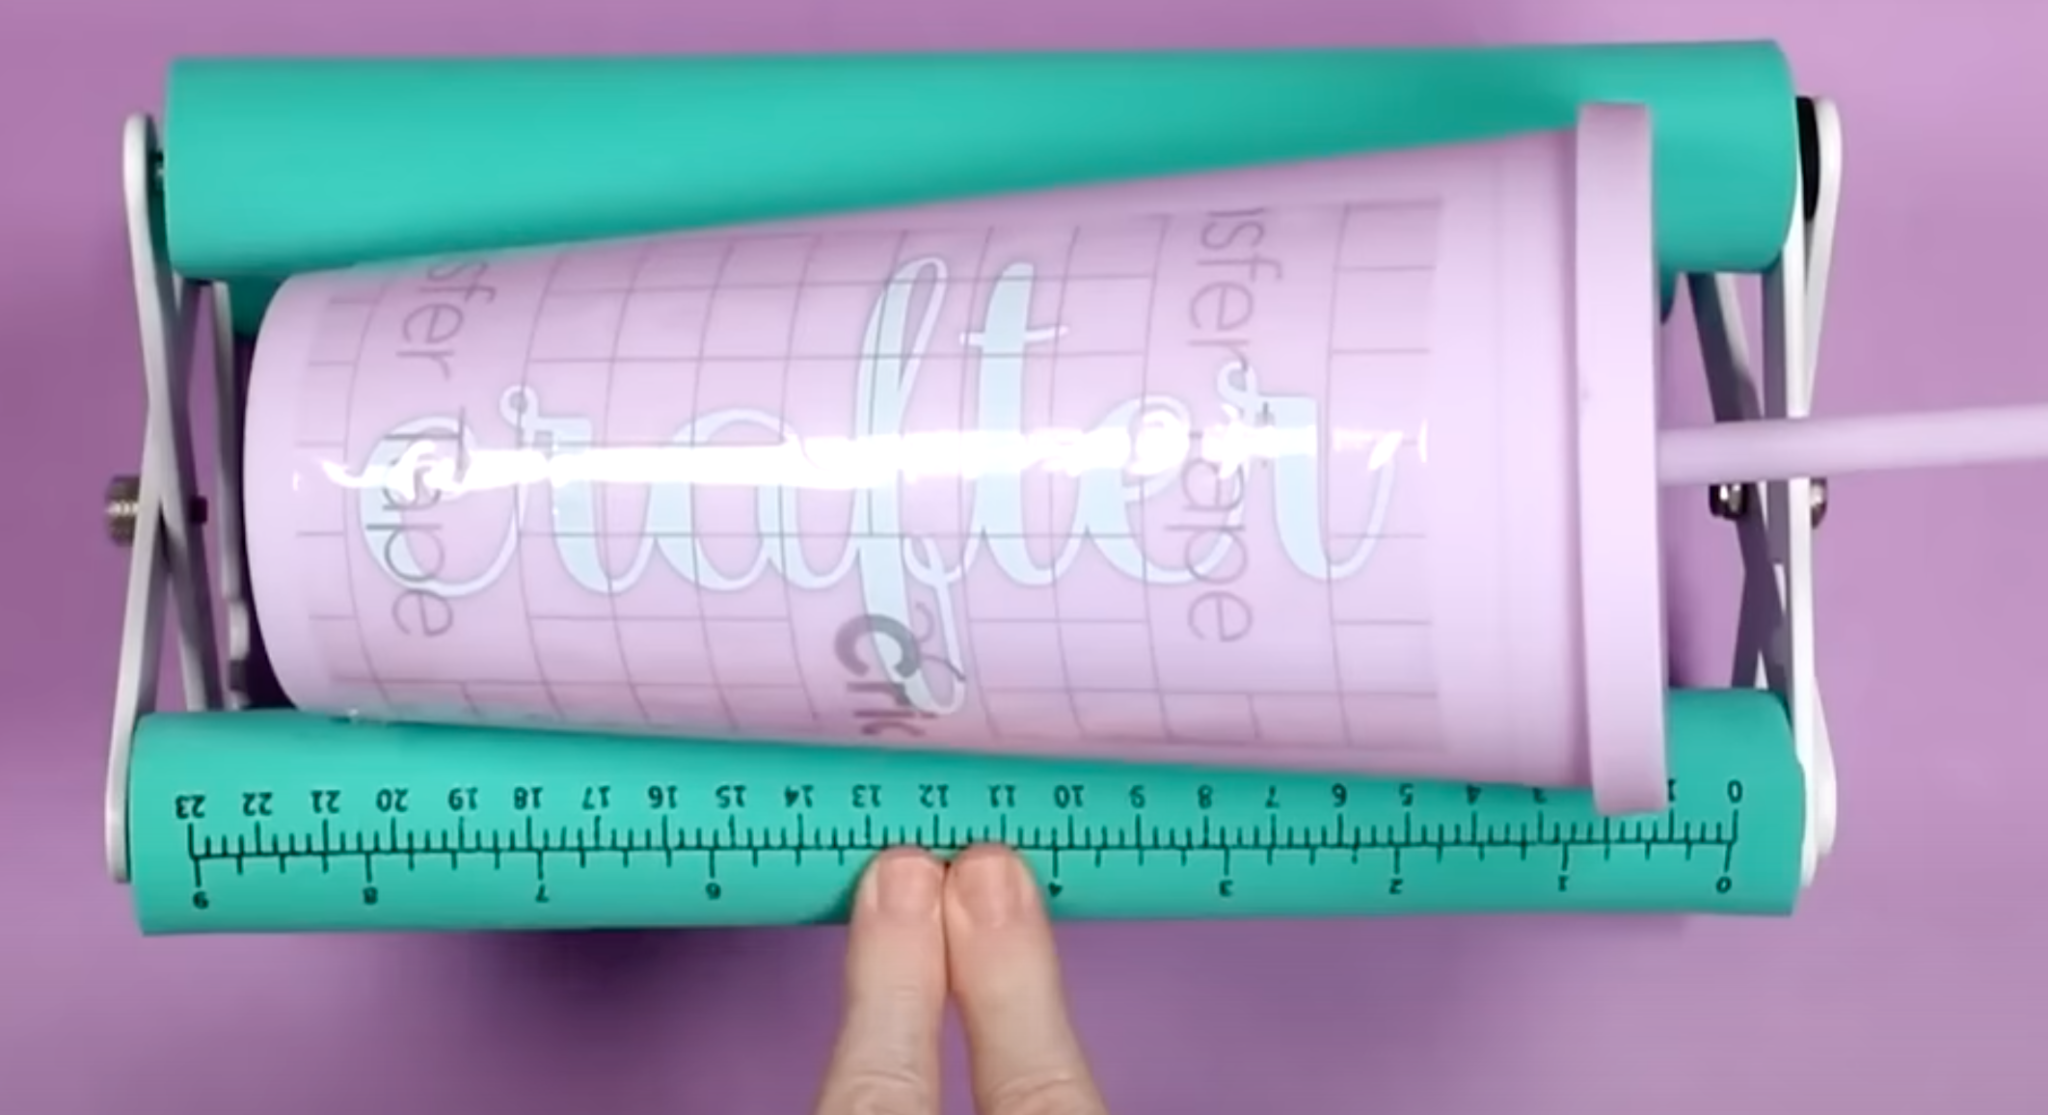
Once you have the design in place, use a scraper tool to burnish it down onto the tumbler and then peel back the transfer tape.
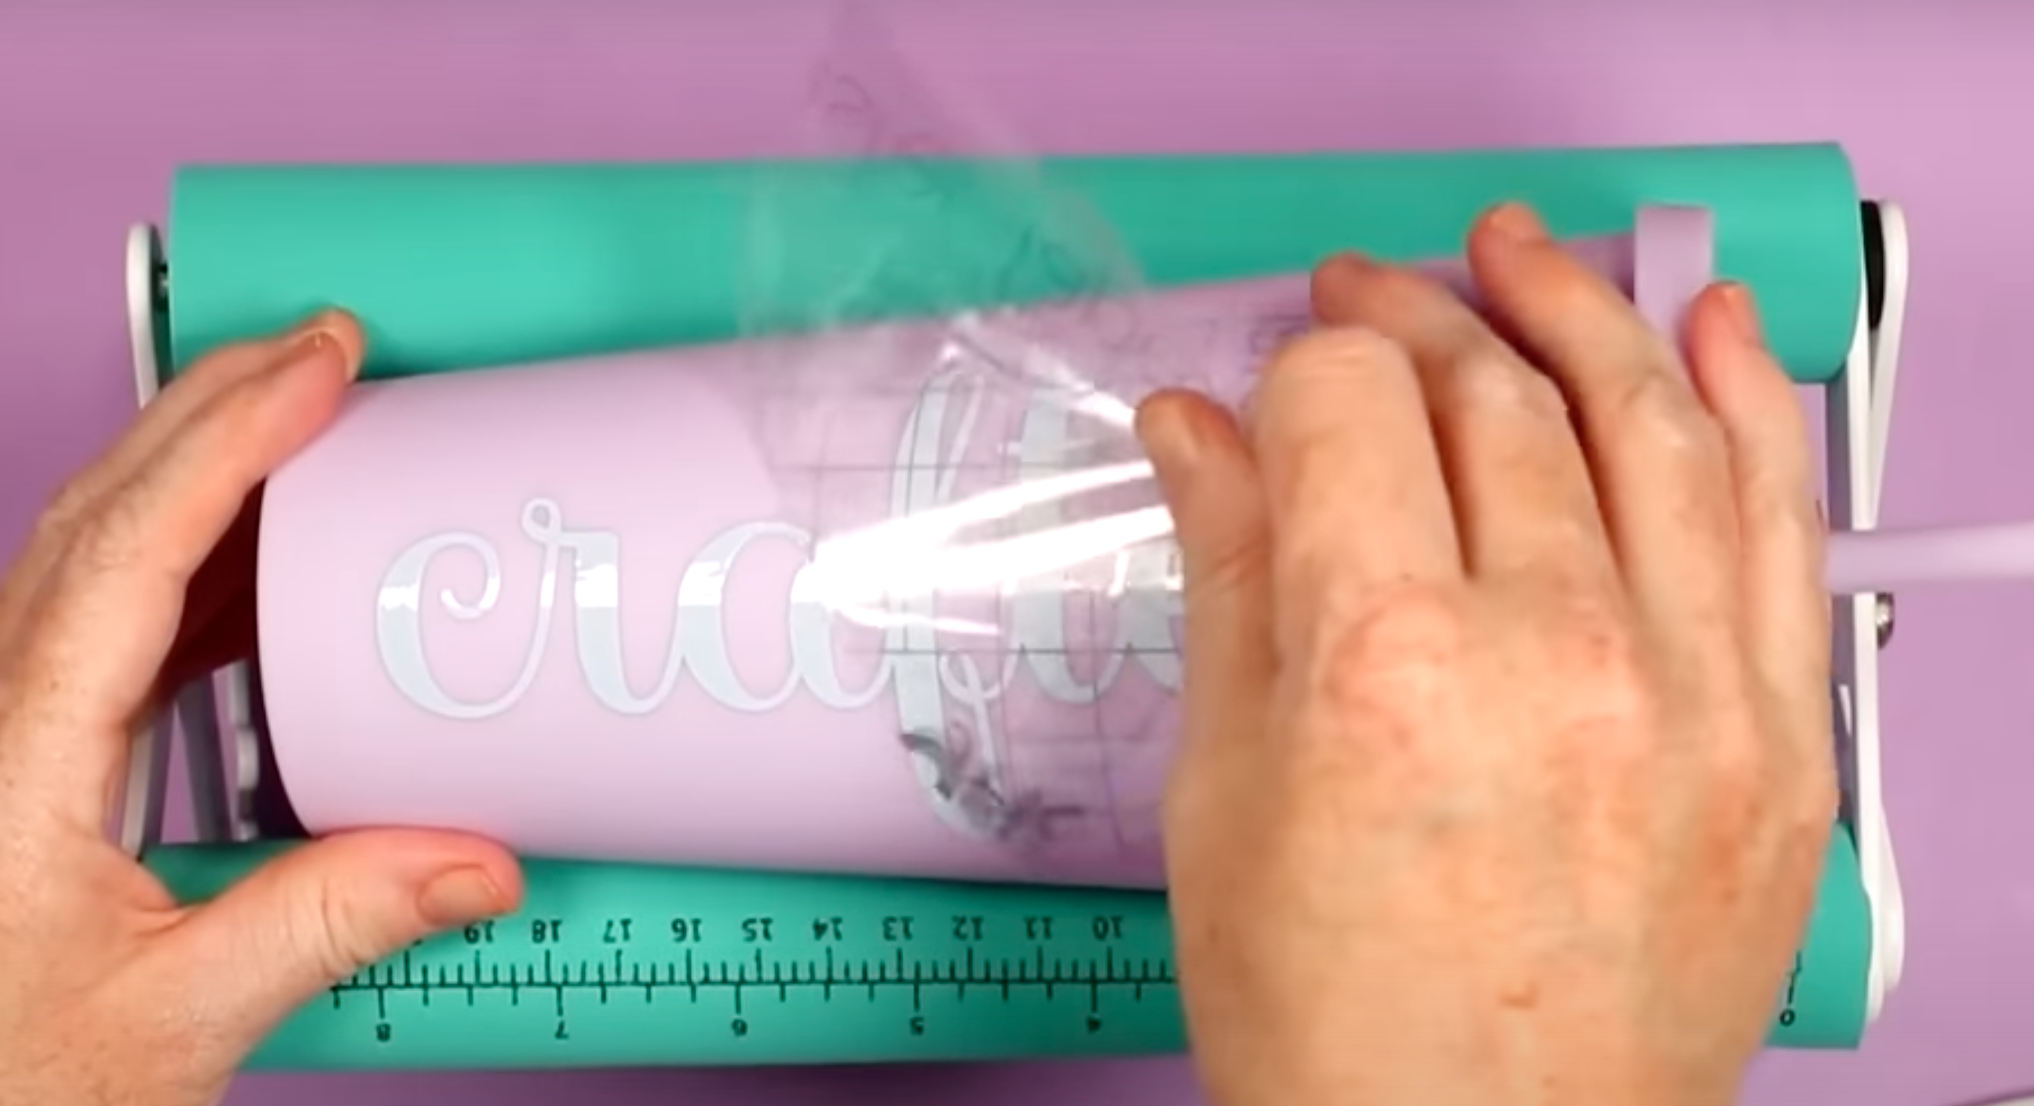
Both of these options worked really well. I recommend this hack to help with placement on cups and tumblers.
Cricut TikTok Hack #9 – Use Lint Roller as Transfer Tape
If you’re looking for a different option for transfer tape, you may have seen the hack of using a lint roller as transfer tape.
Regular Sticky Lint Roller
First, I am attempting a regular lint roller. I’m peeling a sheet of the lint roller off the roll and then applying it to the vinyl.
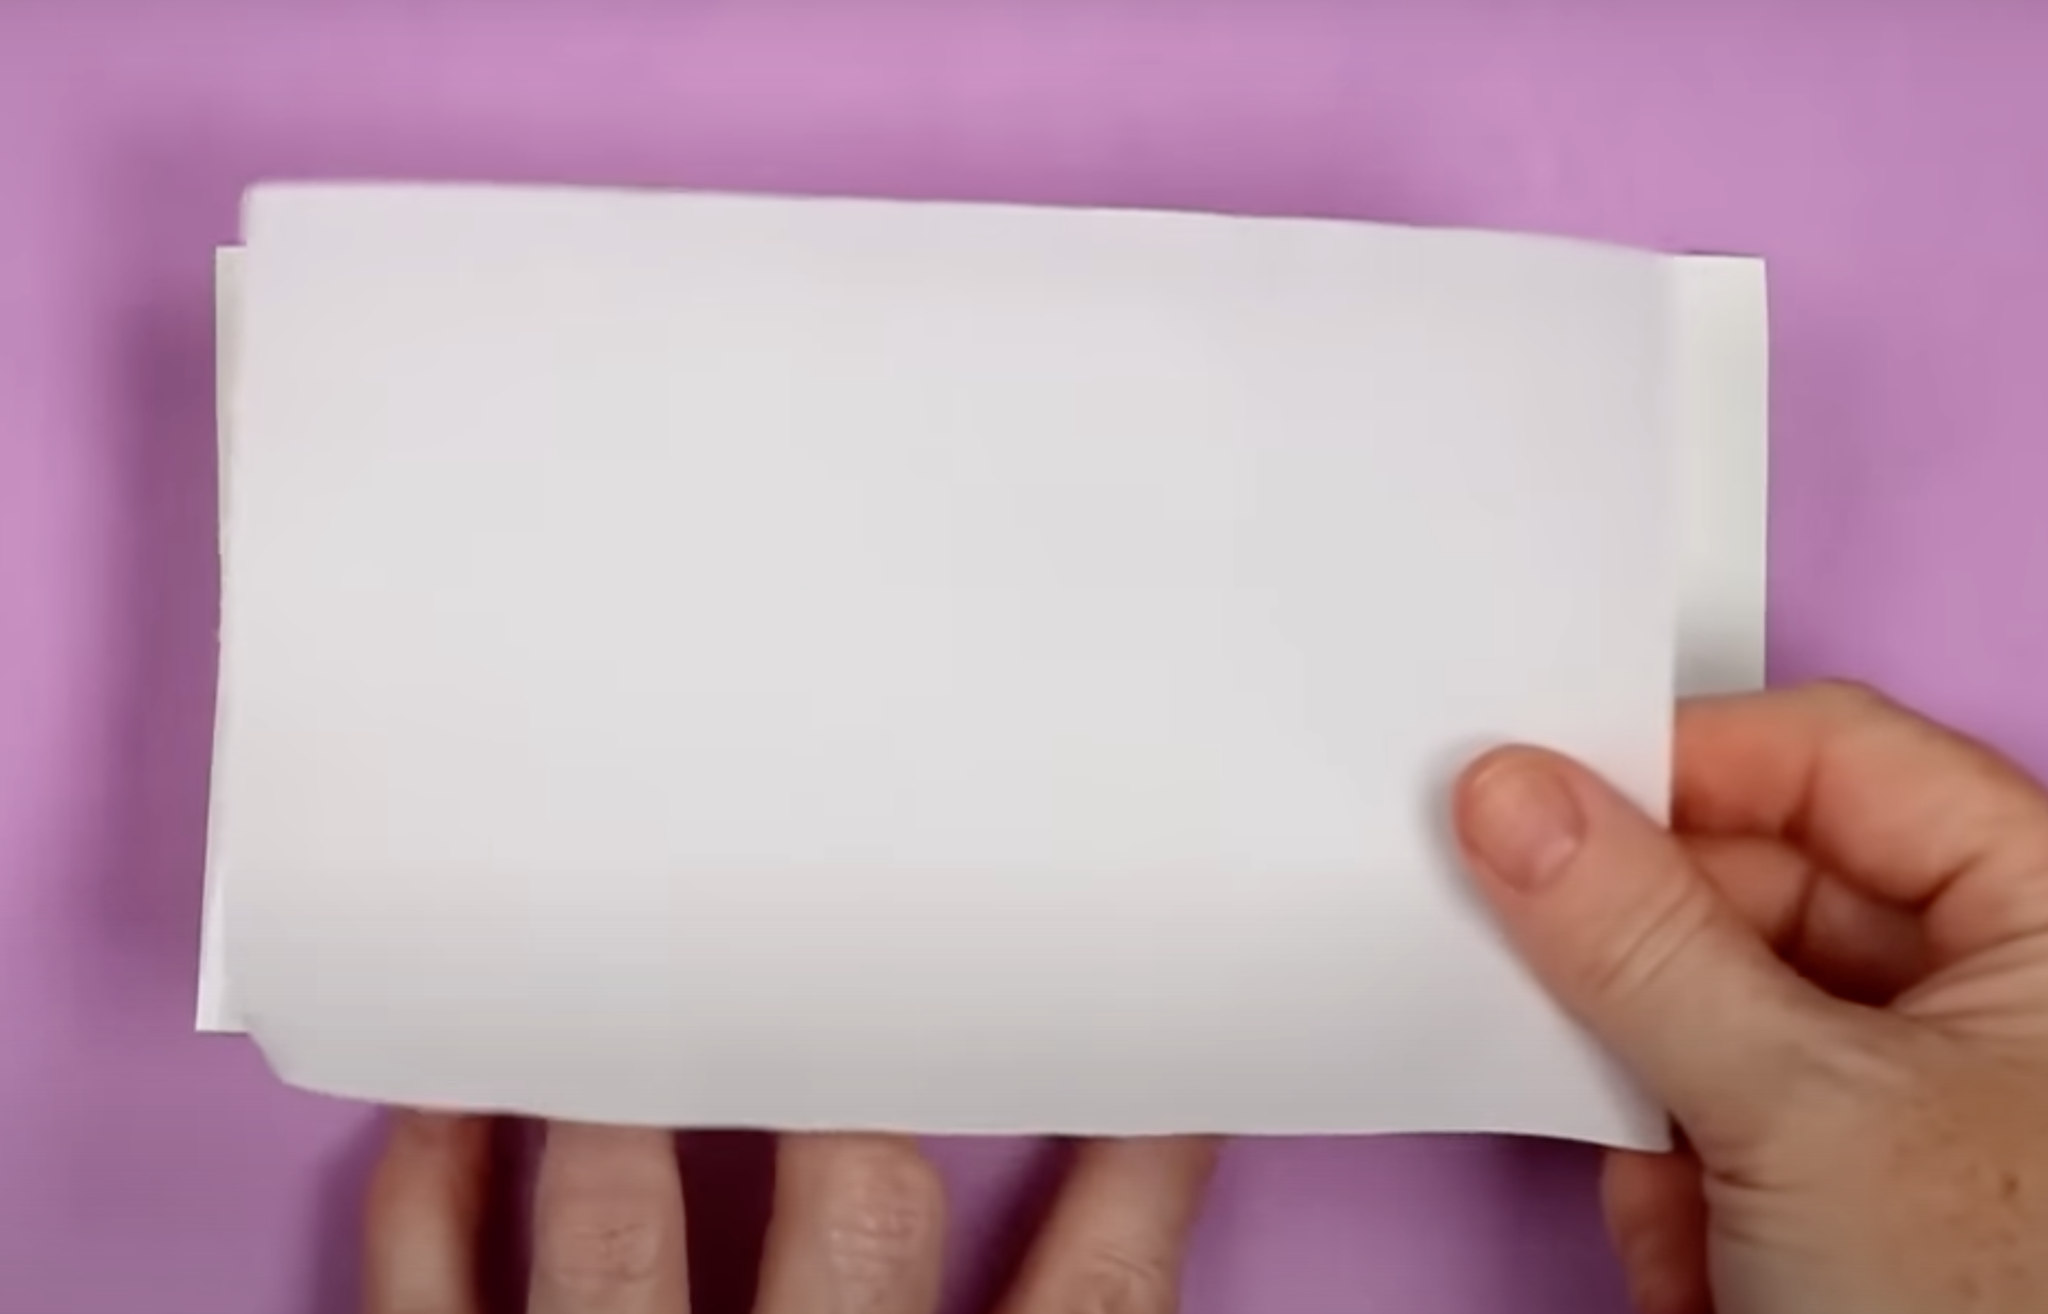
Use a scraper tool and scrape both the top and bottom to push the vinyl onto the lint roller.
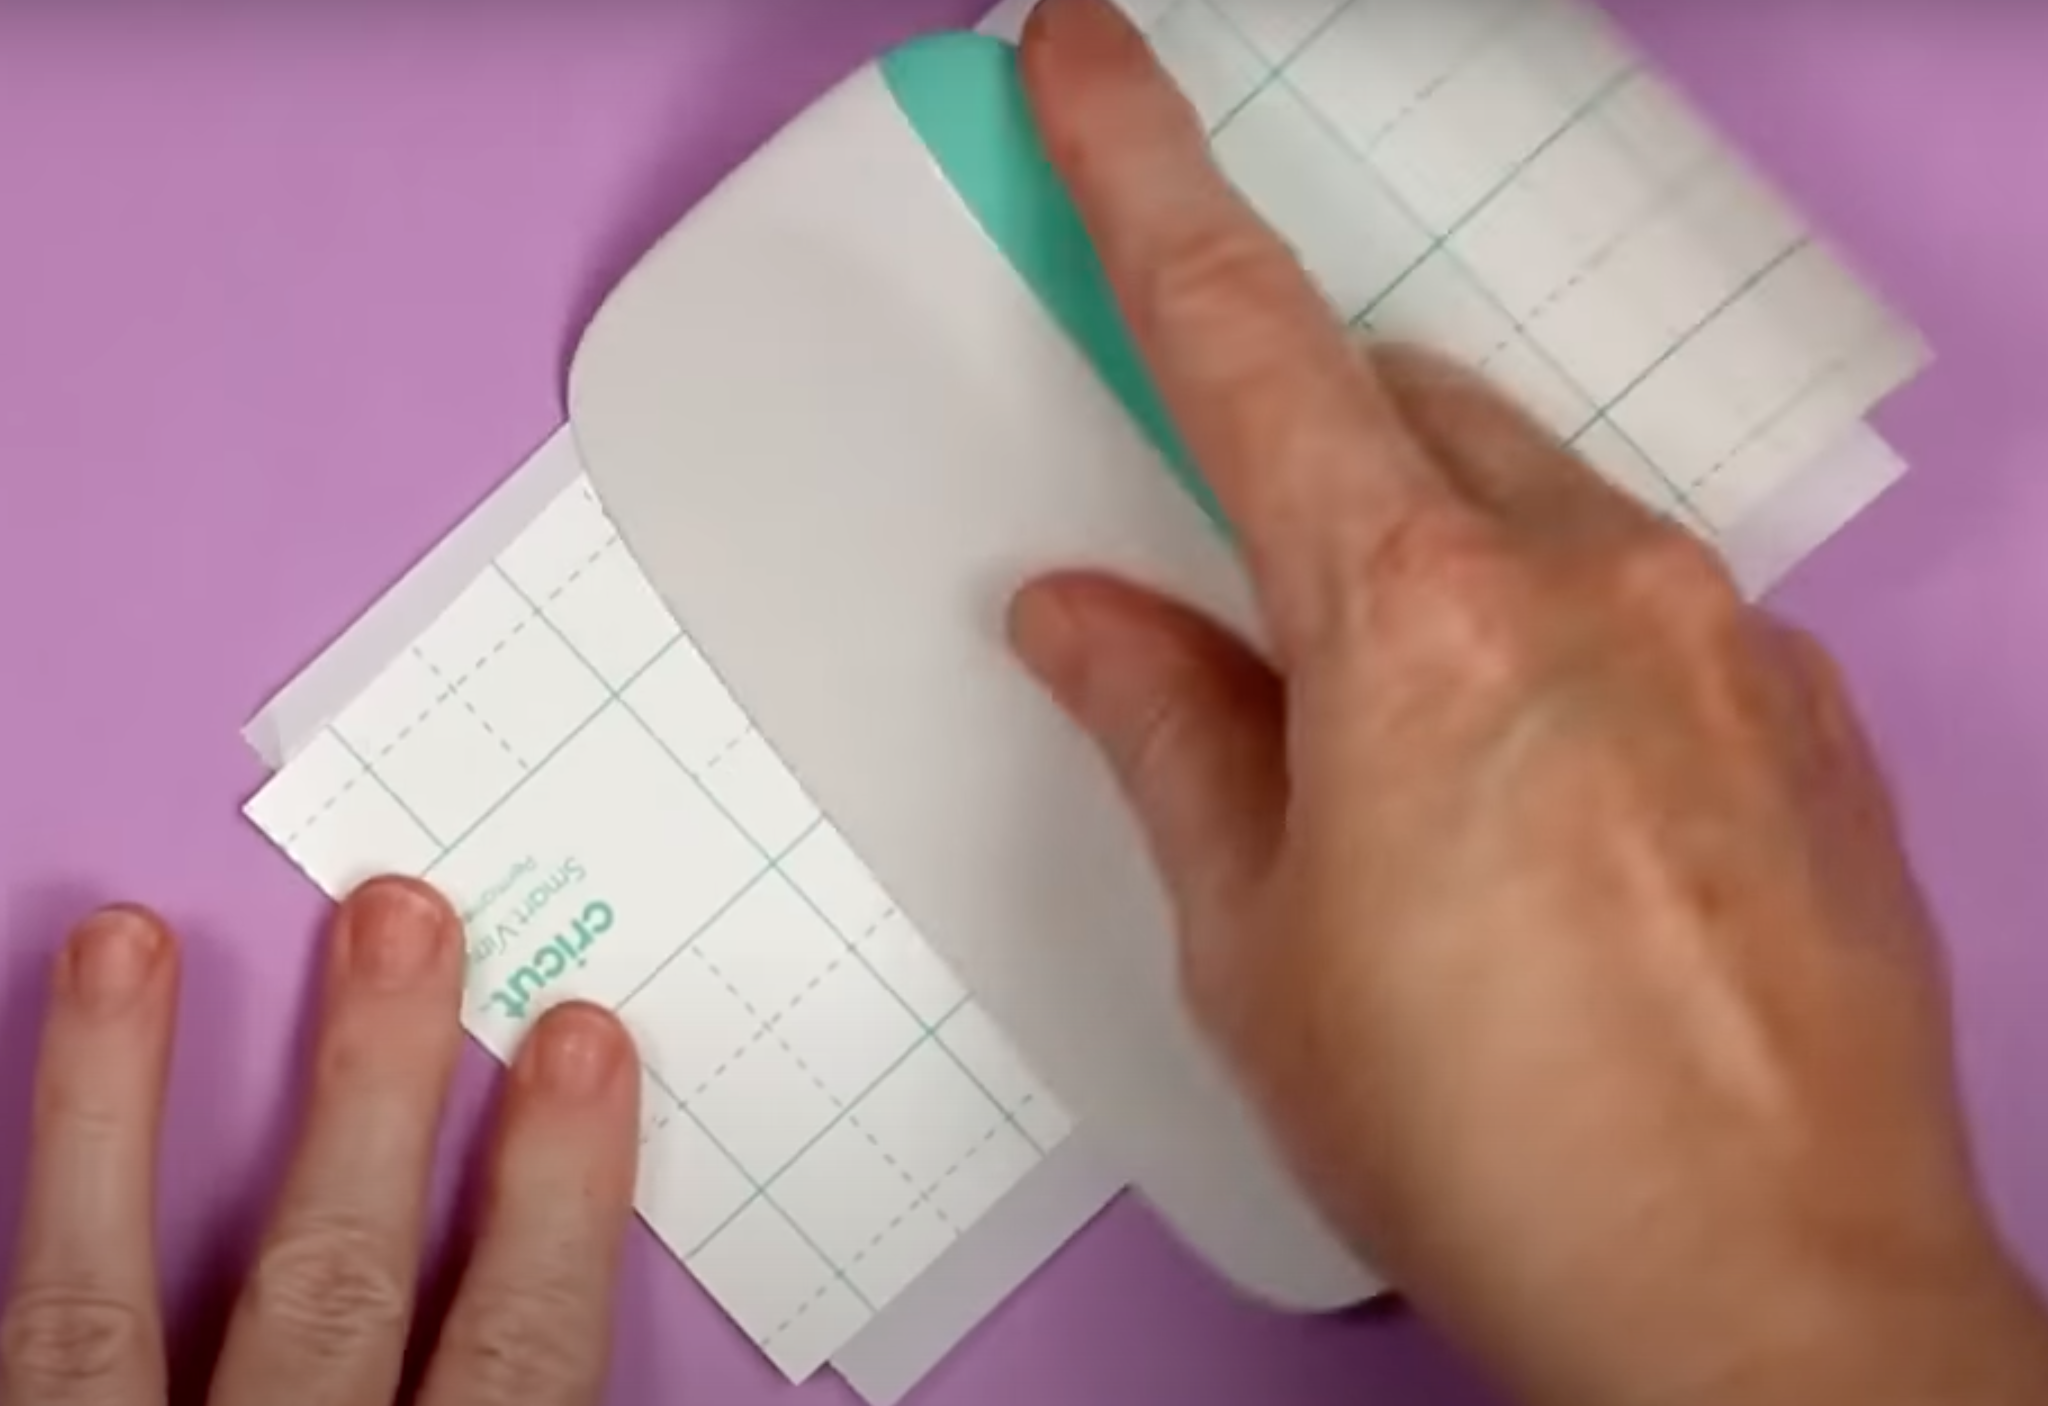
With the regular lint roller, I could not get the vinyl to release from the carrier sheet.
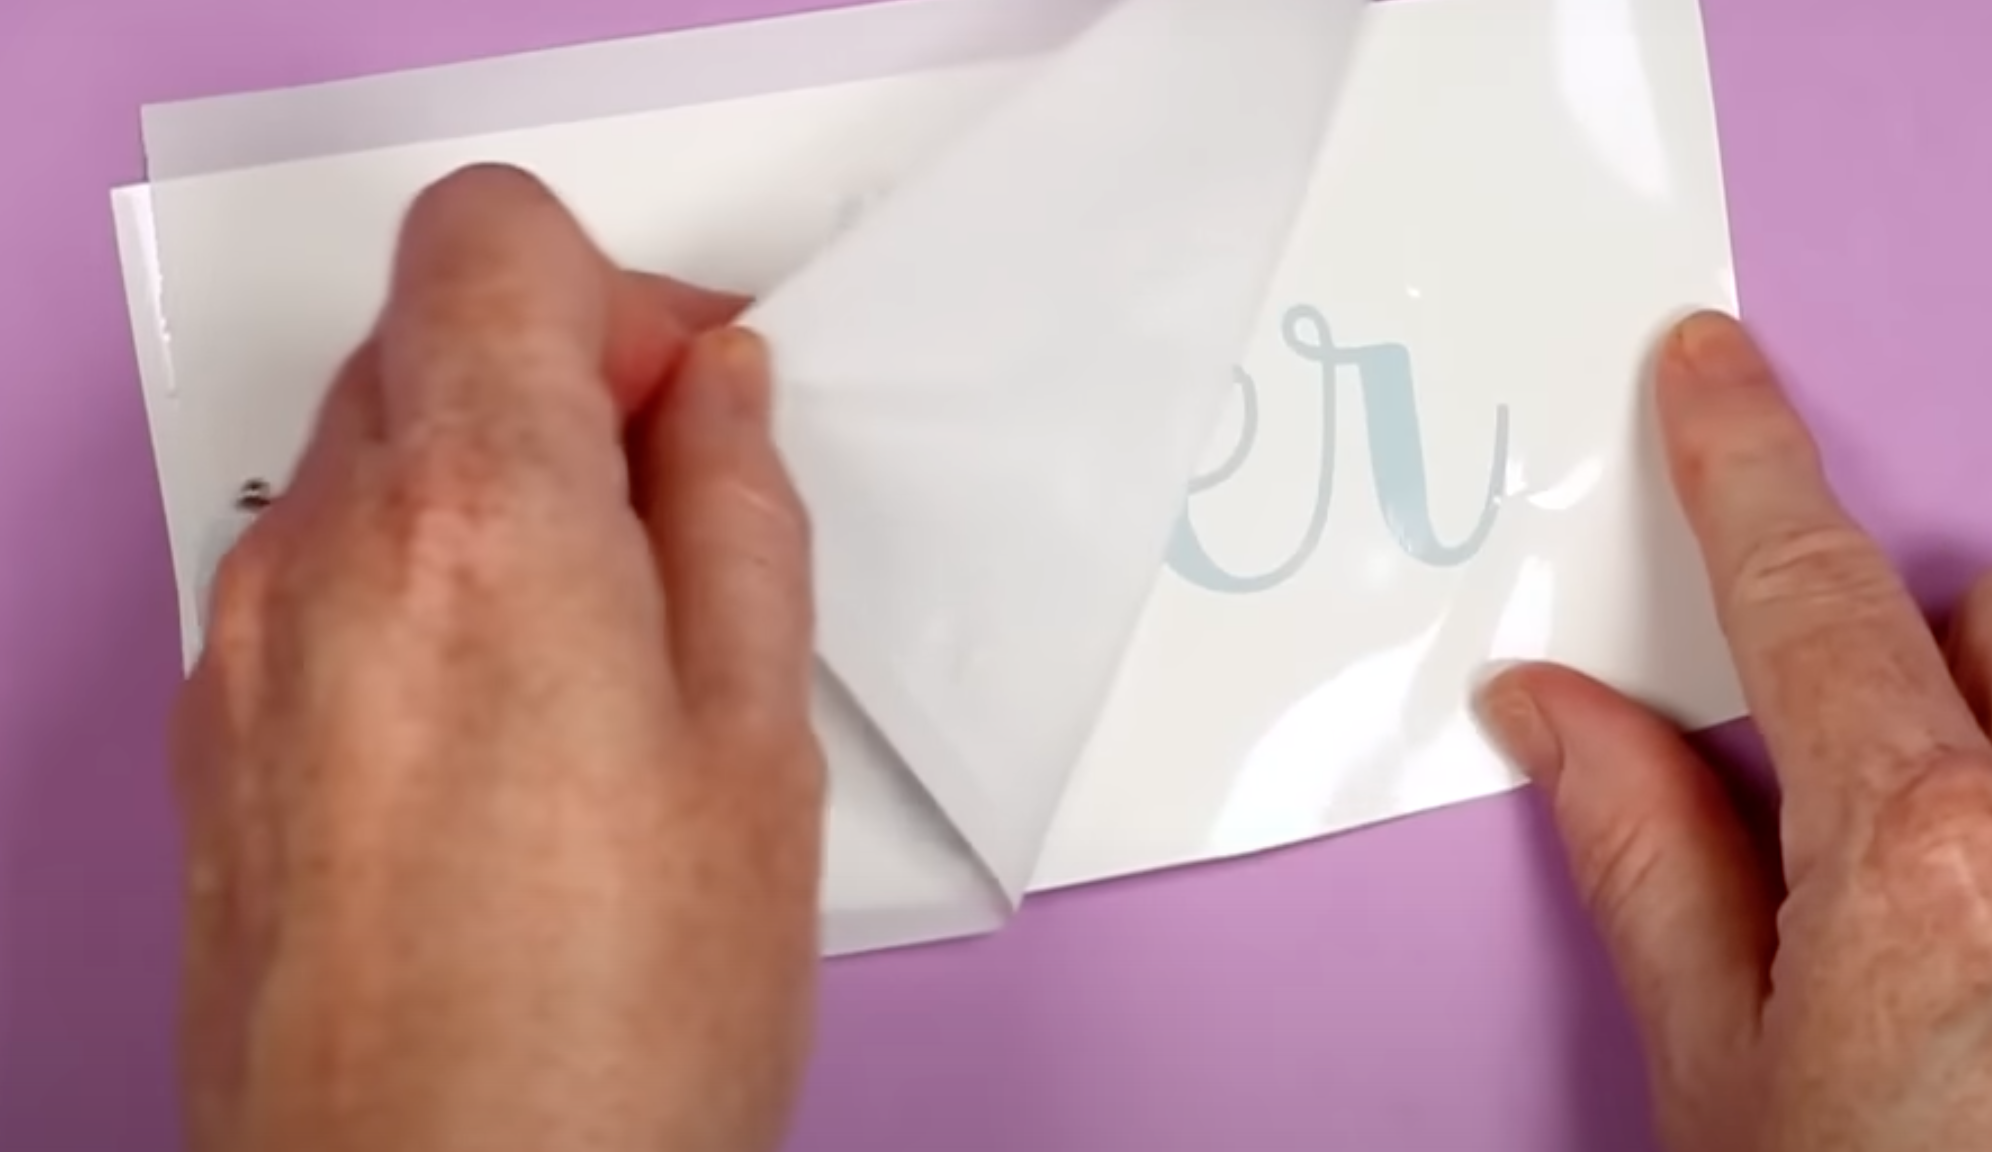
Extra Sticky Lint Roller
Next, I’m trying the extra sticky lint roller. This lint roller has a stronger adhesive than the regular lint roller.
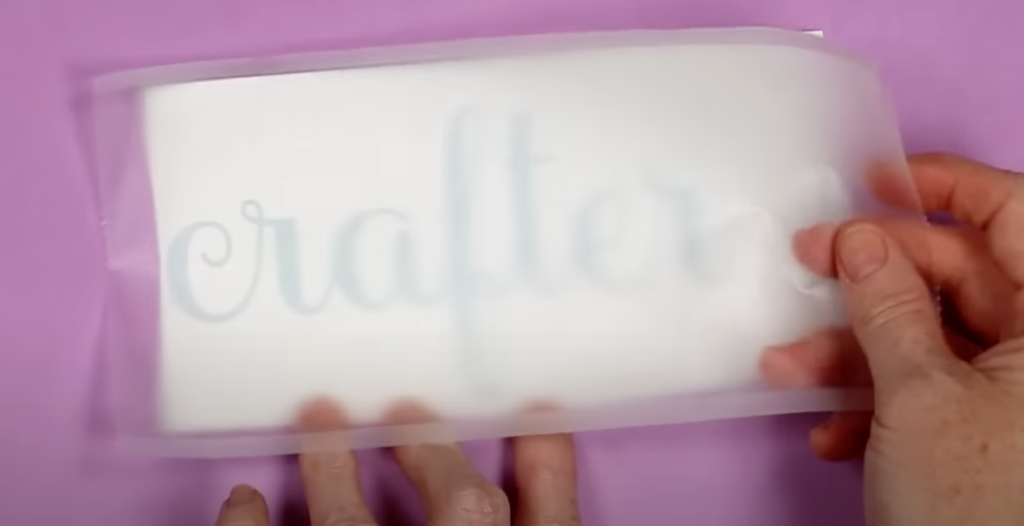
Following the same steps I did before I tried to get the vinyl to stick to the lint roller. I could not get it to release from the carrier sheet. I decided to take it one step further and use heat on the back of the carrier sheet to see if it would release.
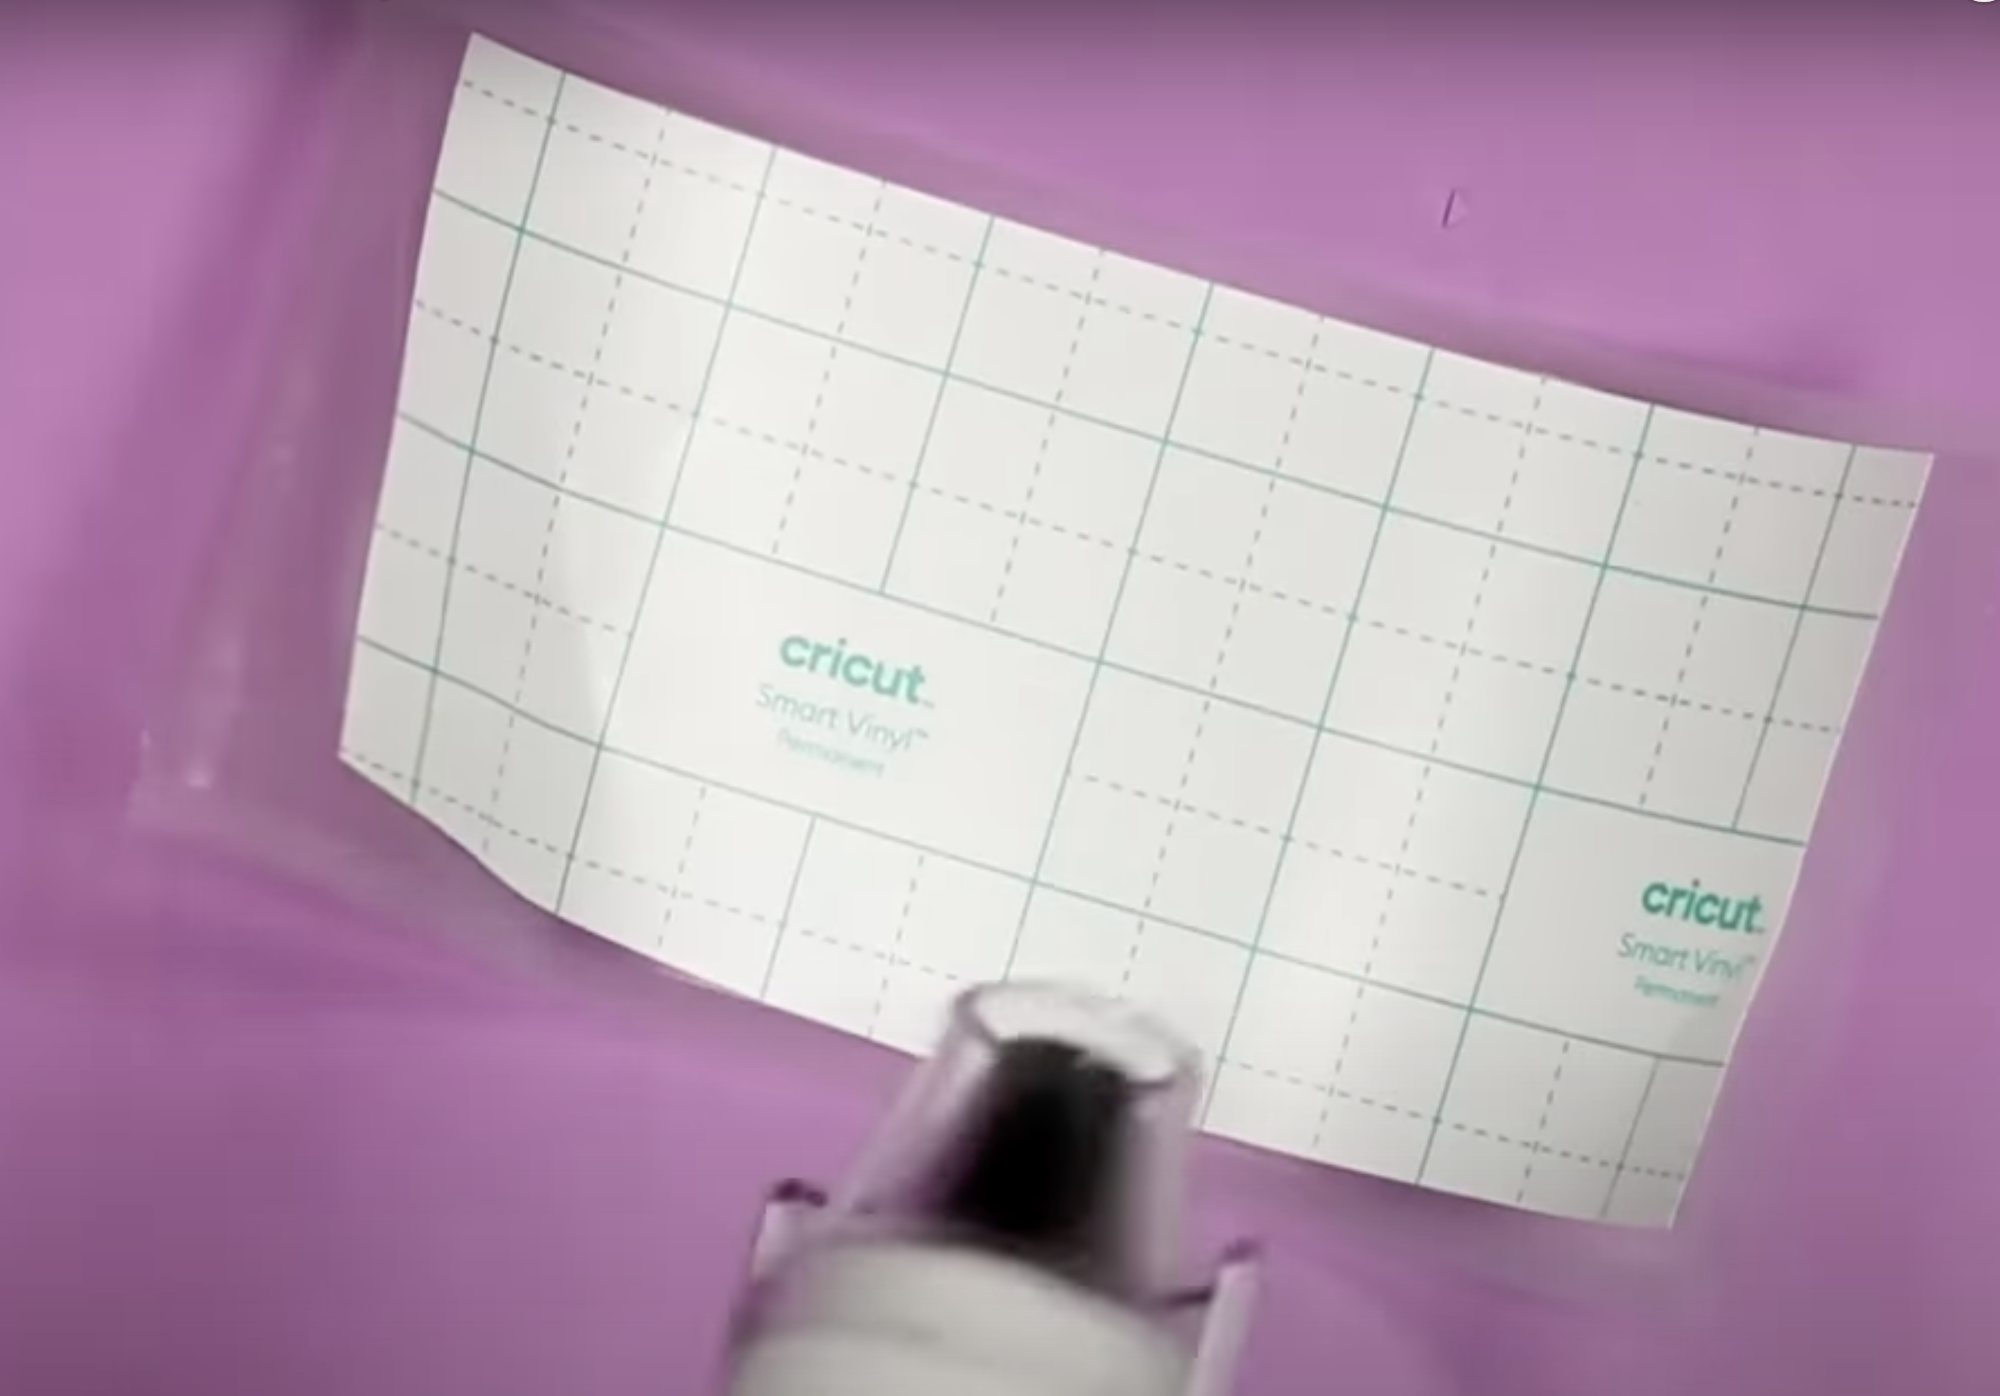
This did work a little bit but not consistently and I still had to work a LOT to get it to release at all.
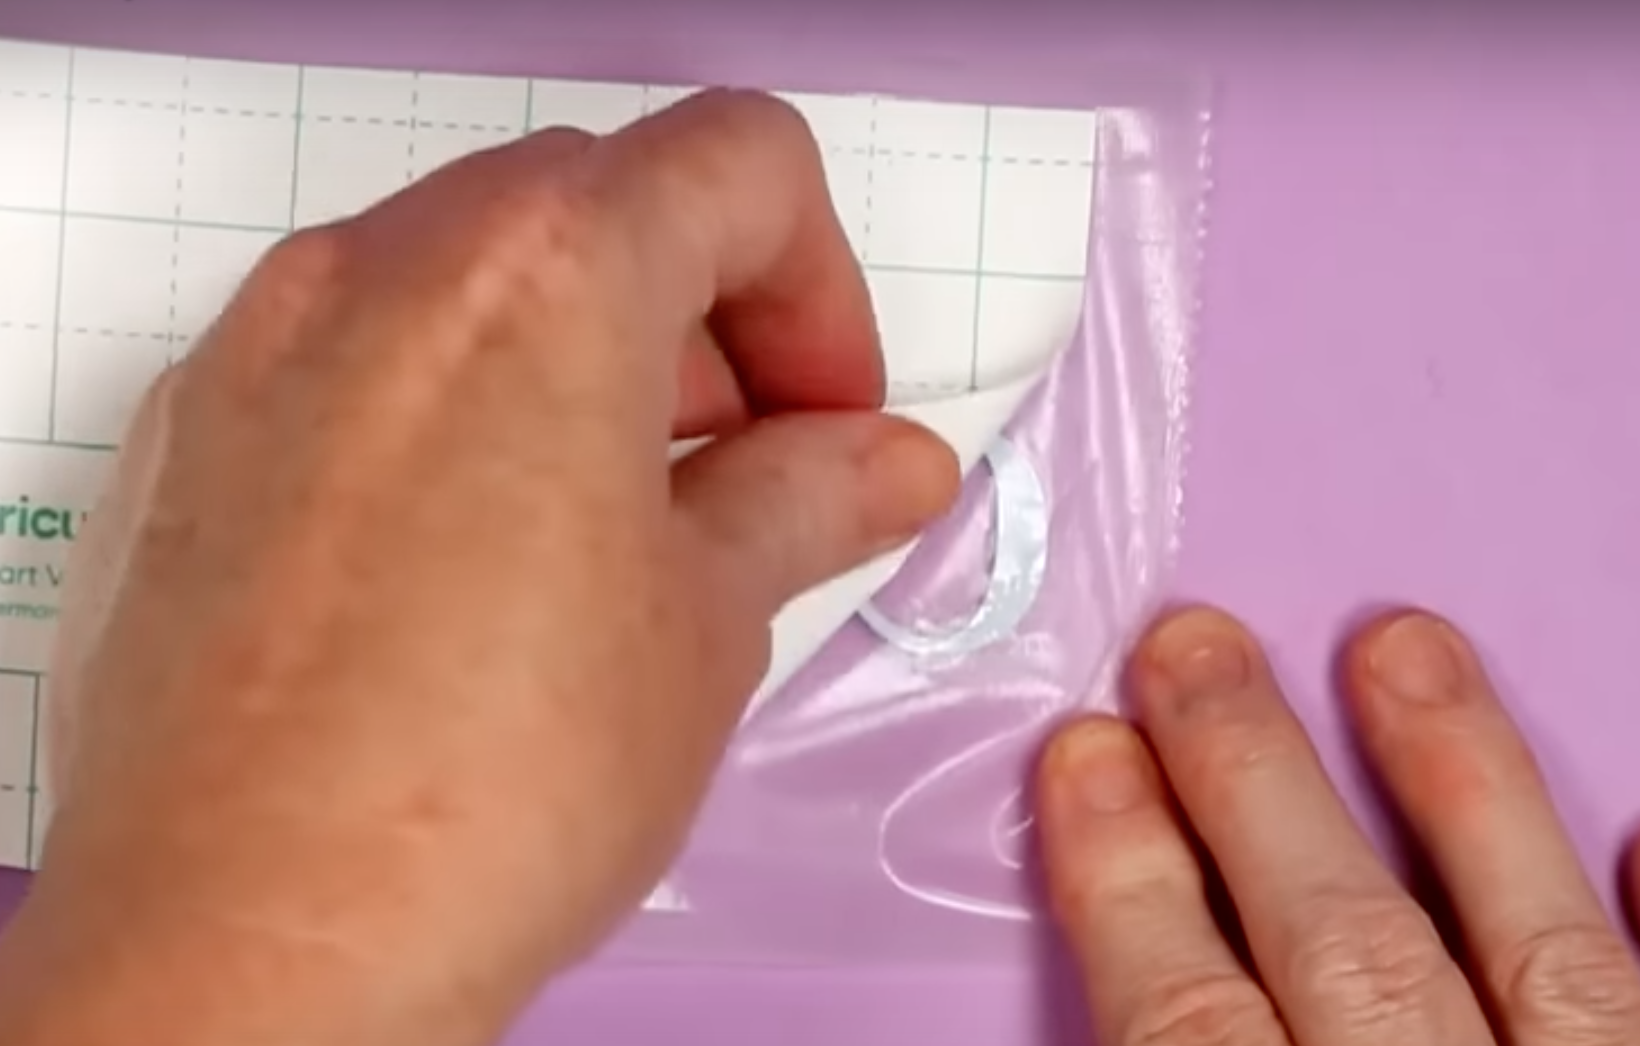
I don’t recommend this hack at all. I think you’ll end up with a lot of wasted material.
Cricut TikTok Hack #10 – Place Cardstock Right Side Down on the Mat
The last Cricut TikTok hack I’m testing today is the tip to place your cardstock onto the Cricut mat right side down on the mat. Sometimes, when cutting cardstock the corners and points can get wrinkled causing the design to look less than perfect.
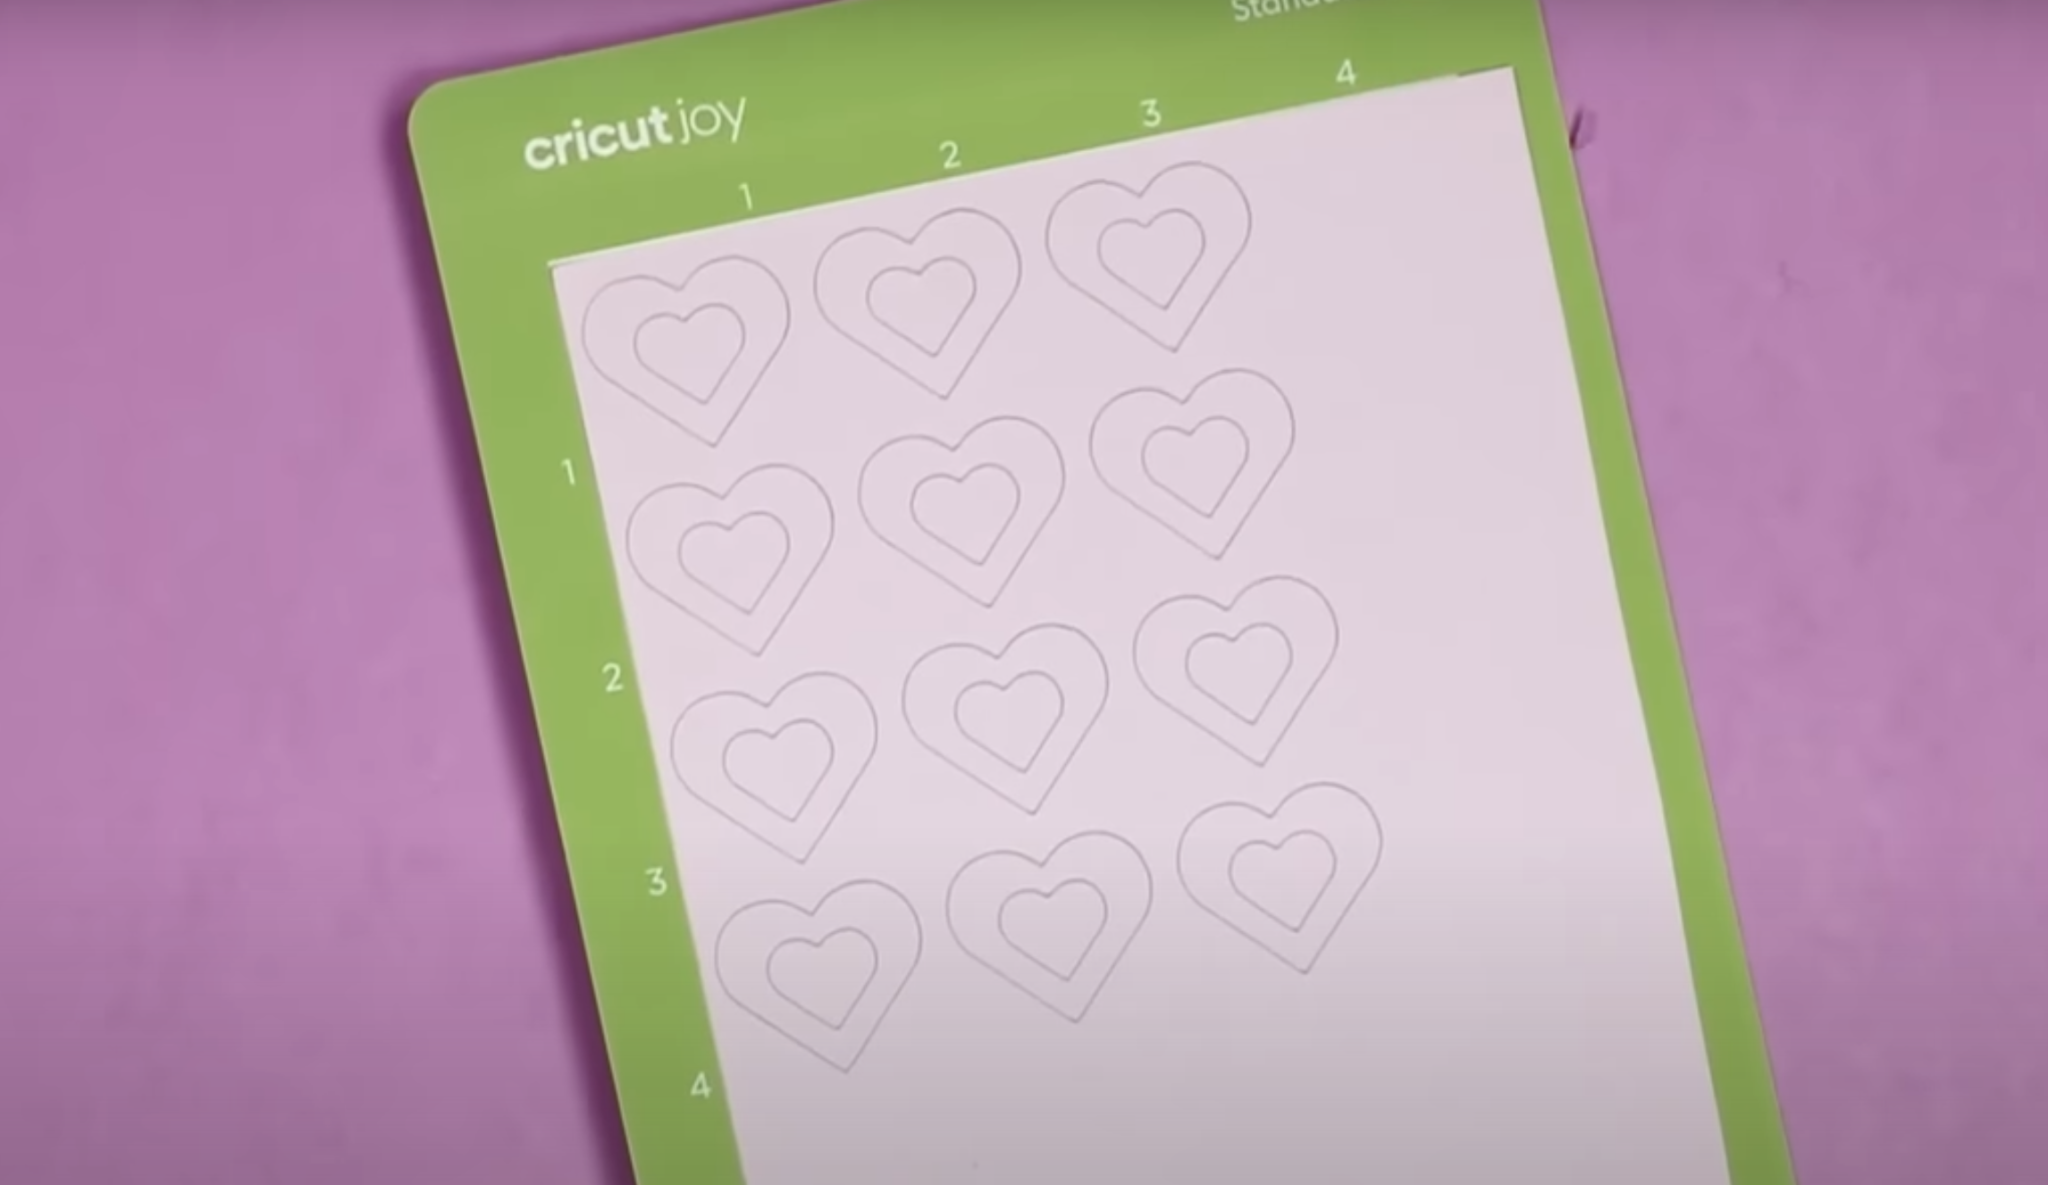
By placing the material right side down on the mat you’re protecting the design from being ruined.
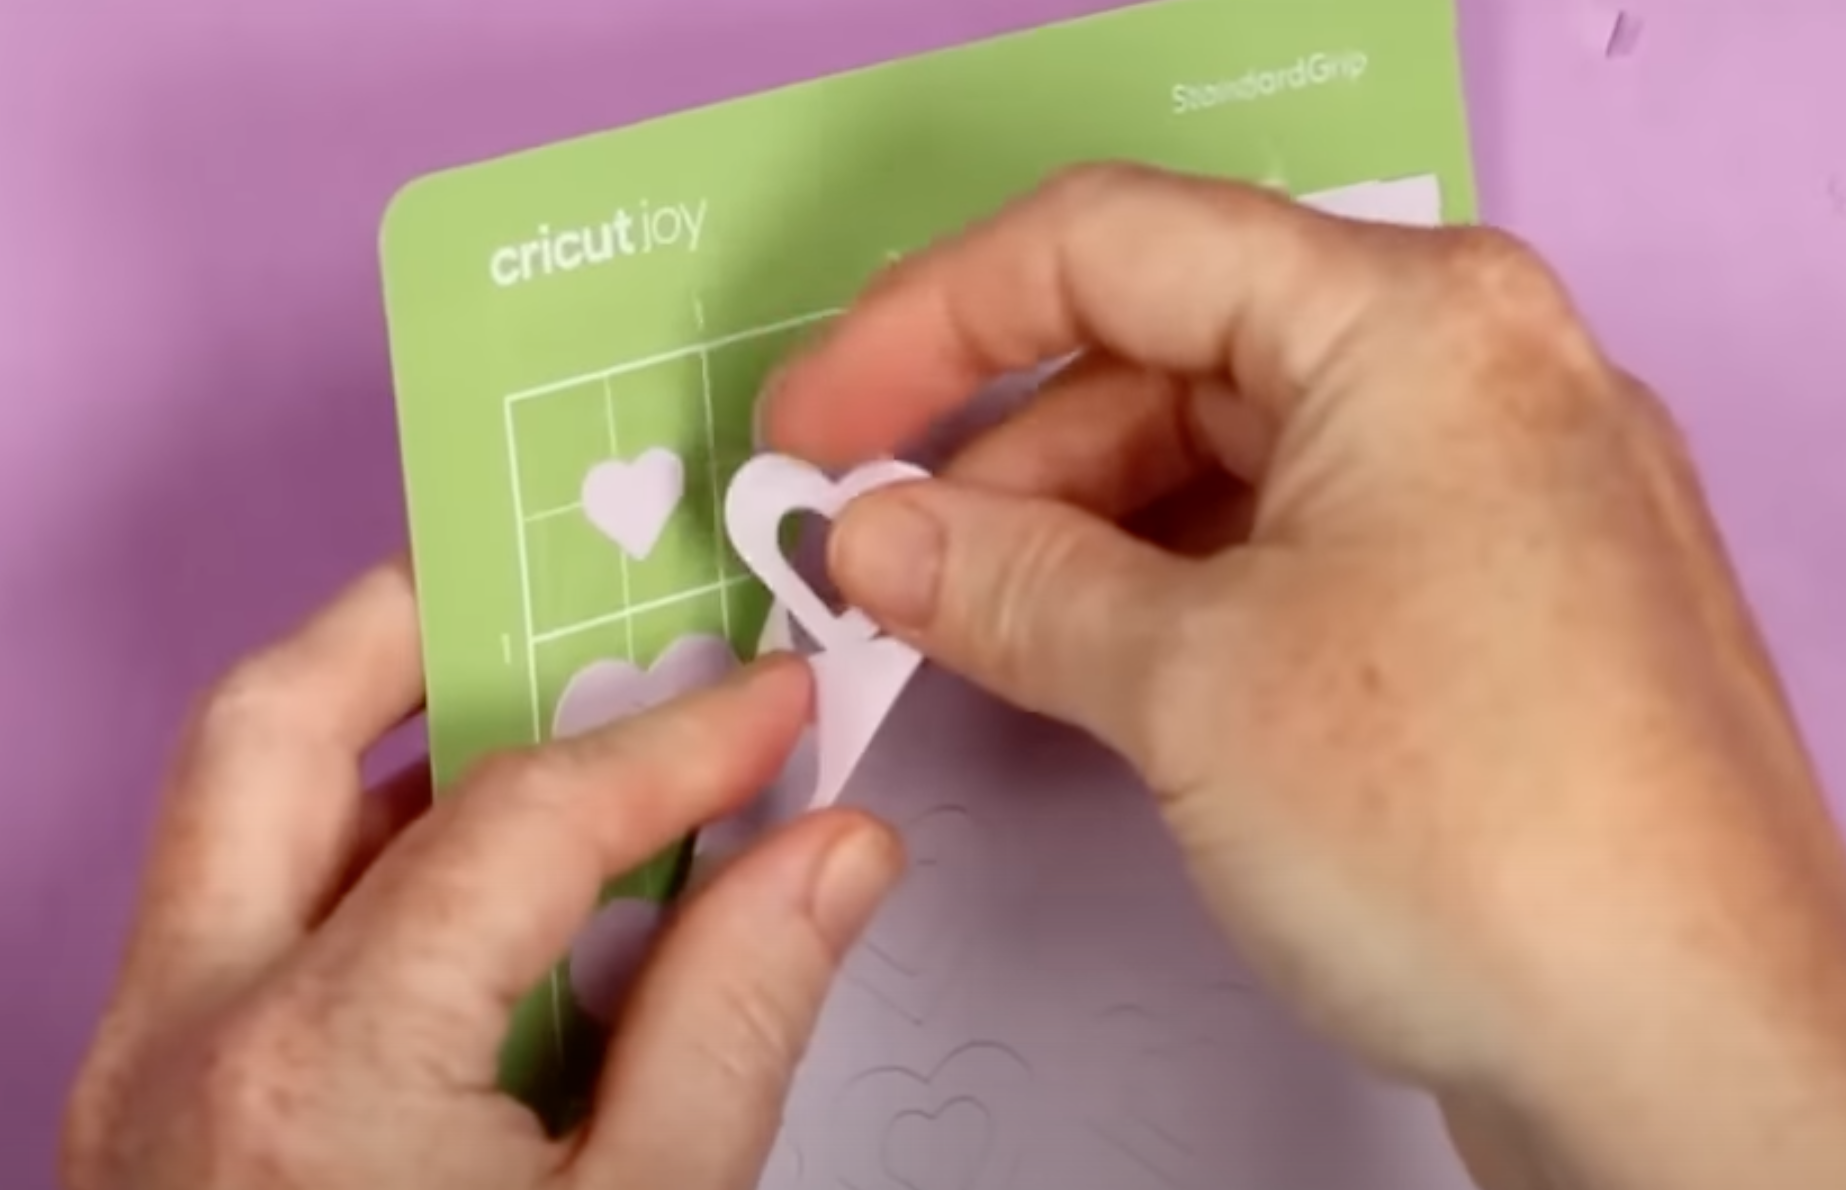
You’ll remove the cardstock from the mat just like you would any other cardstock project.
You can see in the photo below that the tip of the heart looks perfect. This is the side that was against the mat. There is no wrinkle from where the blade pulled across the area.
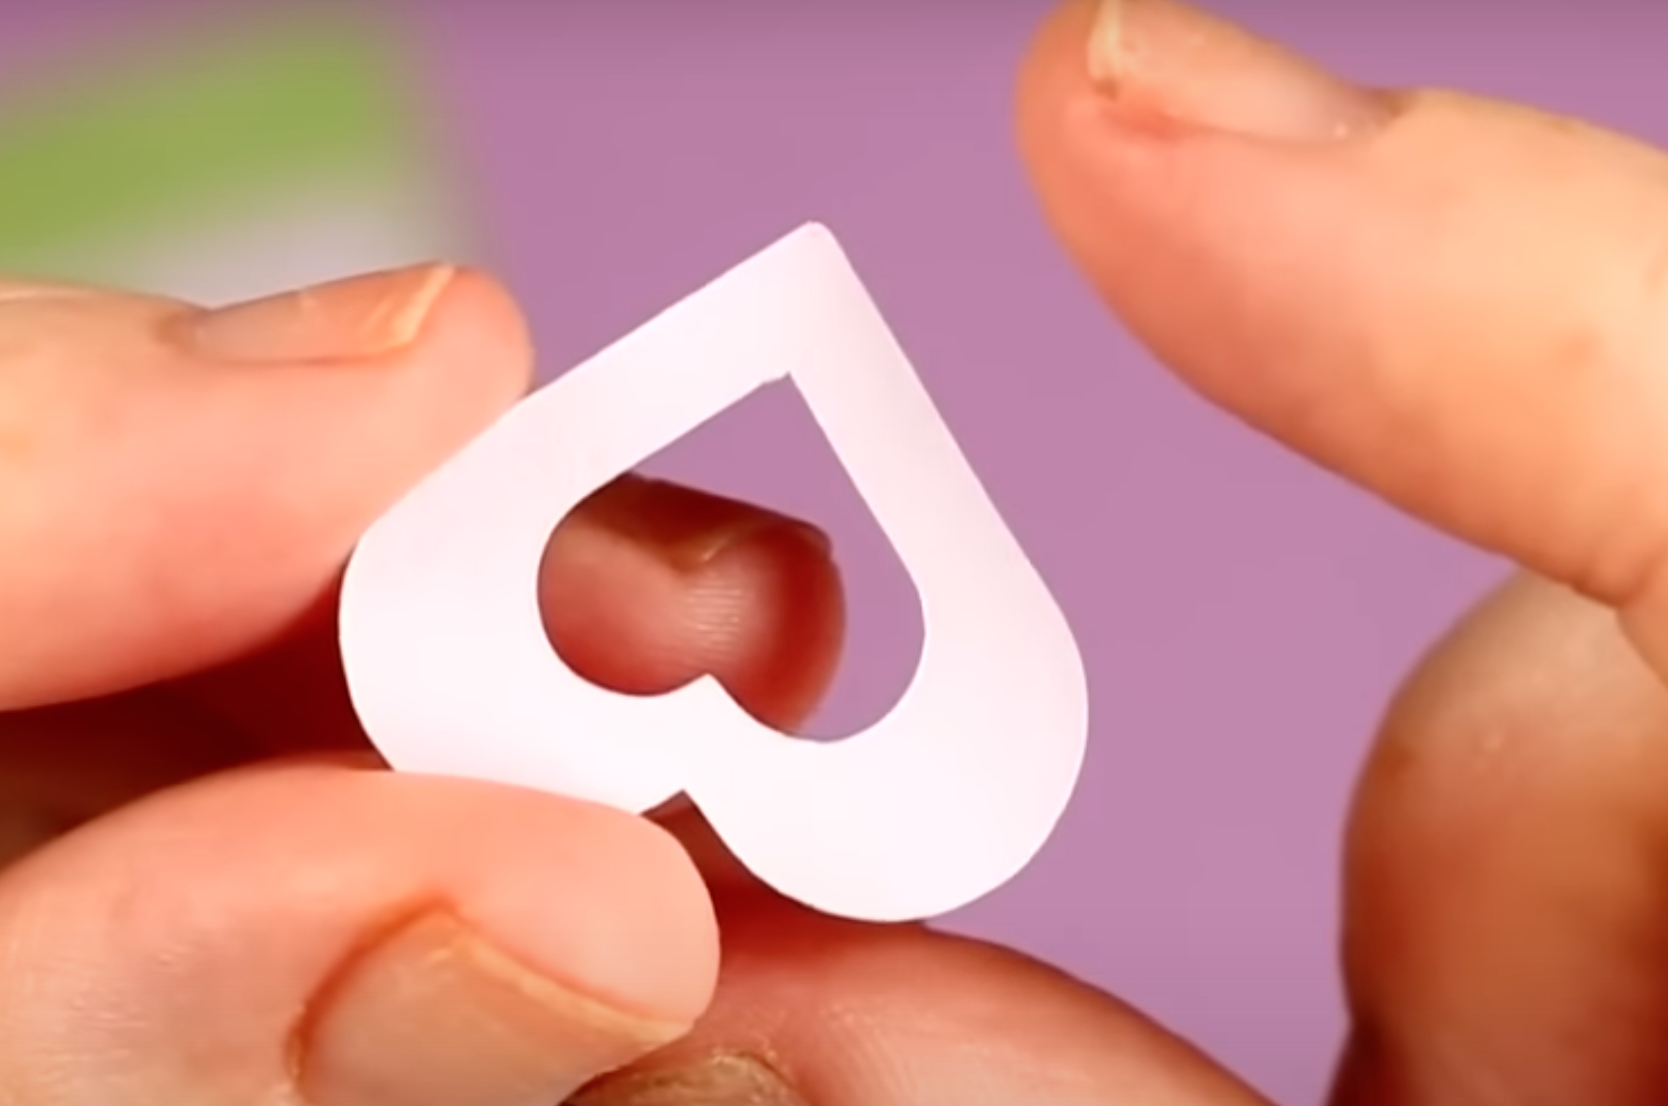
This is a really great hack, especially when working with small or detailed designs. I would recommend trying this TikTok Cricut hack.
Final Thoughts on Cricut TikTok Hacks
Now that we’ve tested all of these different Cricut hacks which one is my favorite? I think my favorite has to be the last hack of placing the paper right side down on the cutting mat. This is something I have struggled with and I love that this solves the problem.
I also really like the hack of using heat to release vinyl from the carrier sheet. This is something I’ve been using for years and it does work really well with vinyl that doesn’t want to release from the carrier sheet.
Some of these did not work at all for me. I wouldn’t recommend them but if you have had success using them continue to do so, everyone crafts differently.
I hope I’ve helped you with some of the Cricut TikTok hacks you may be seeing. If you have any other questions, leave them in the comments and I’ll answer them for you.
