This post and photos may contain Amazon or other affiliate links. If you purchase something through any link, I may receive a small commission at no extra charge to you. Any supplies used may be given to me free of charge, however, all projects and opinions are my own.
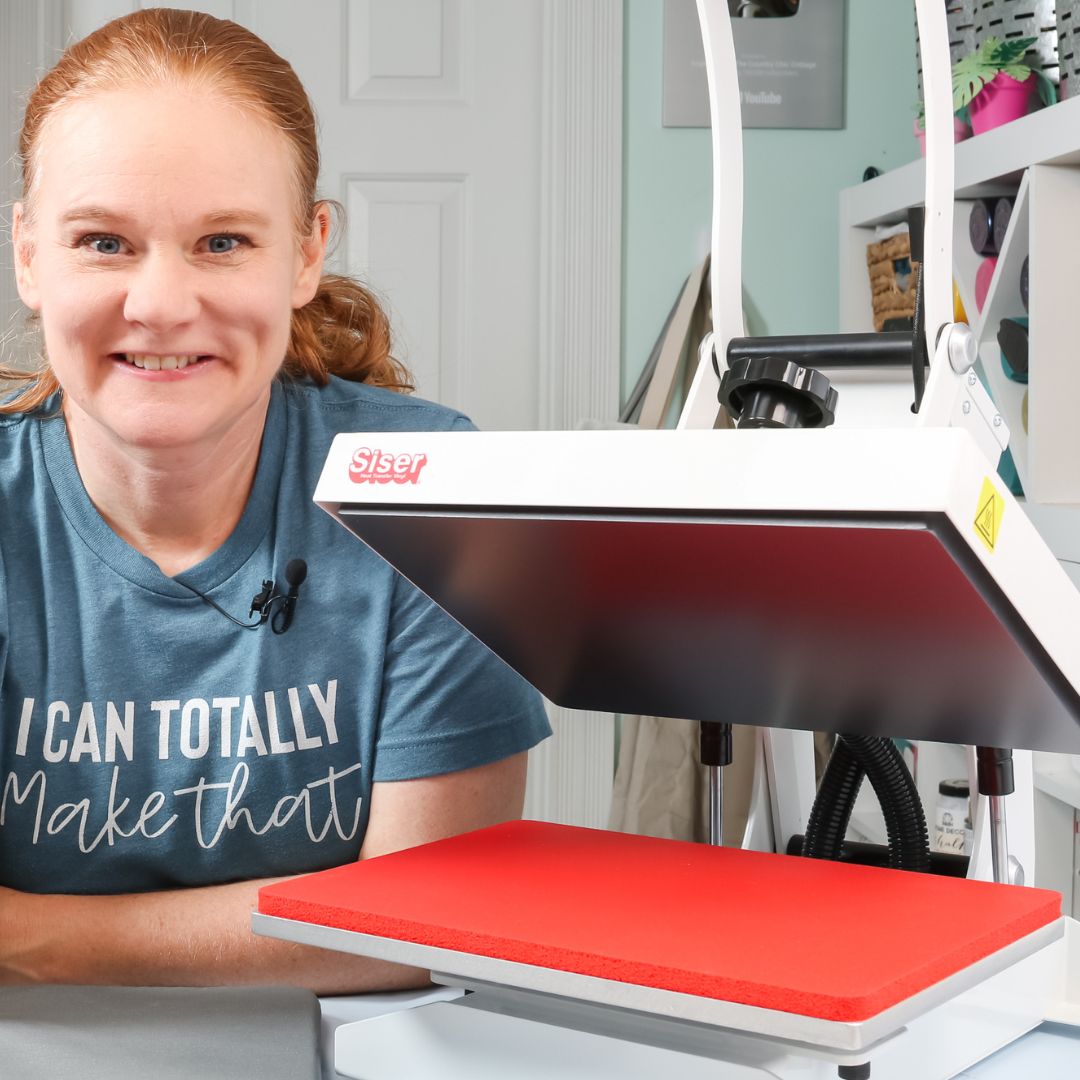
Today I’m going to share 5 of my favorite heat press hacks with you. These hacks will help you get the best results with your heat press.
Plus I have something extra special for you! If you’re trying to figure out which heat press you need in your craft space, you’re going to love the new course Cori George and I created called Heat Press Roadmap.
I’ll share more about Heat Press Roadmap at the bottom of this post so make sure you check that out.

Heat Press Hacks You Need to Try!
You can watch me go through each of these heat press hacks by pressing play on the video below. There you’ll see how I am implement each of these hacks in my own craft room.
Once you read through the hacks I’m sharing, head over to Hey Let’s Make Stuff for 5 more hacks. These hacks are in no particular order. I use and recommend them all every time I craft. Let’s dive into some of my favorite hacks!
HACK #1 Check the Temperature of Your Heat Press
First up is ensuring your heat press temperature is correct. If you think your heat press is not coming up to the right temperature or that it has hot or cold spots, checking the temperature can often help with the issues you’re having.
To check the temperature, I use a digital infrared thermometer. Whichever type of thermometer you choose to use make sure you’re not pointing it at the heat press platen. Because the heat press platen is often reflective it can give you readings that are inaccurate.
What I recommend instead is closing the heat press for at least 60 seconds set at the correct temperature. When the time is up immediately point the heat gun at the pad that is on the bottom.
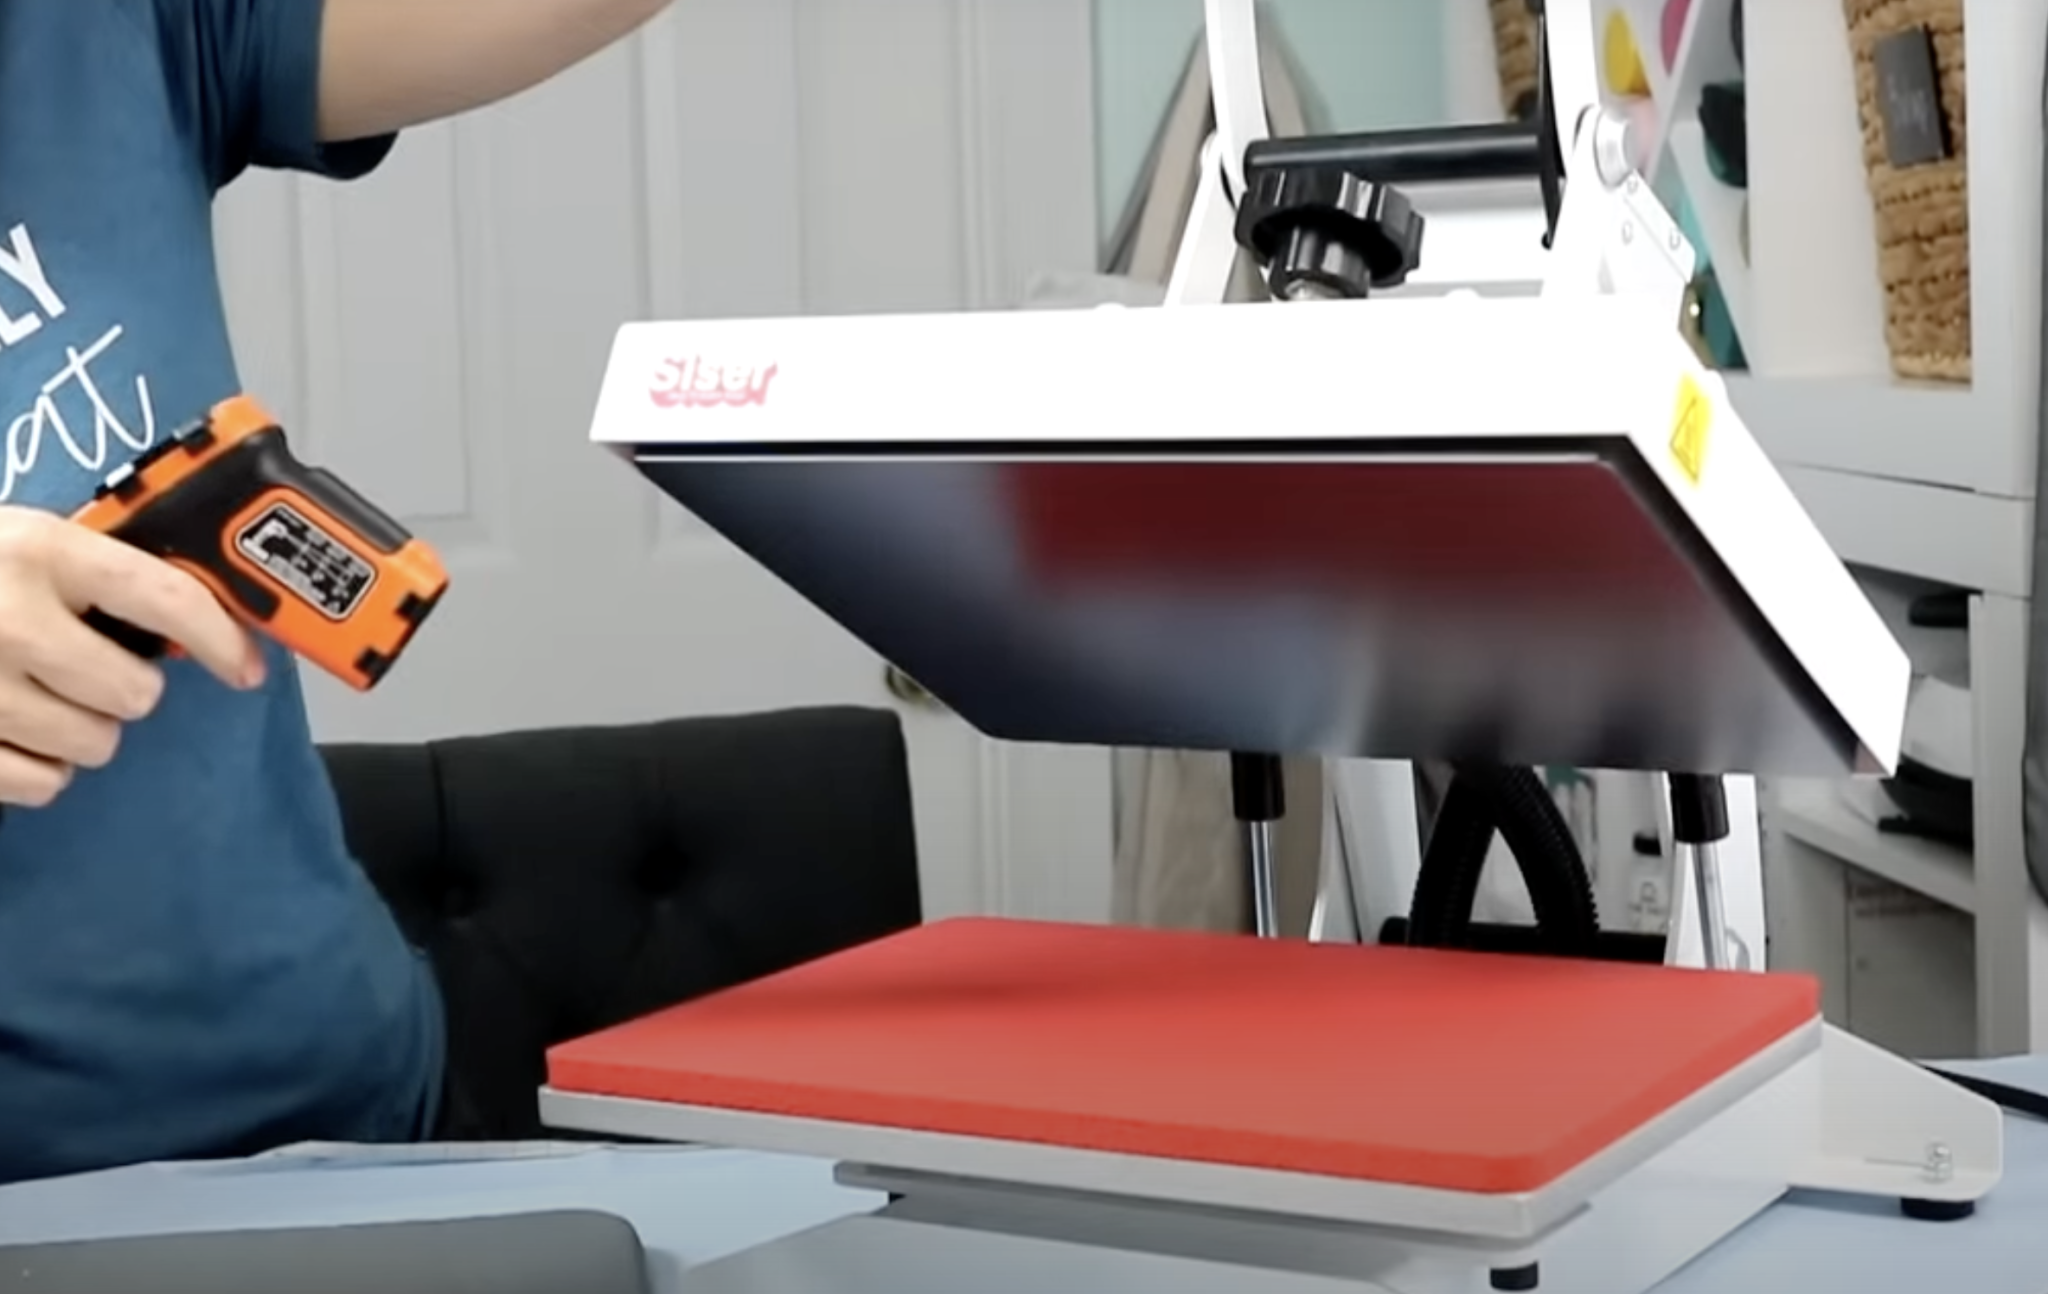
If the bottom pad is reflective, place something that is not reflective on it before applying heat and check the temperature of that area.
The temperature may drop a few degrees but it should be fairly accurate. It will definitely be more accurate than pointing it directly at the heat press platen.
If you know the temperature of your heat press is off, you can make adjustments to your settings. These adjustments help make sure you’re using the right temperature for your material.
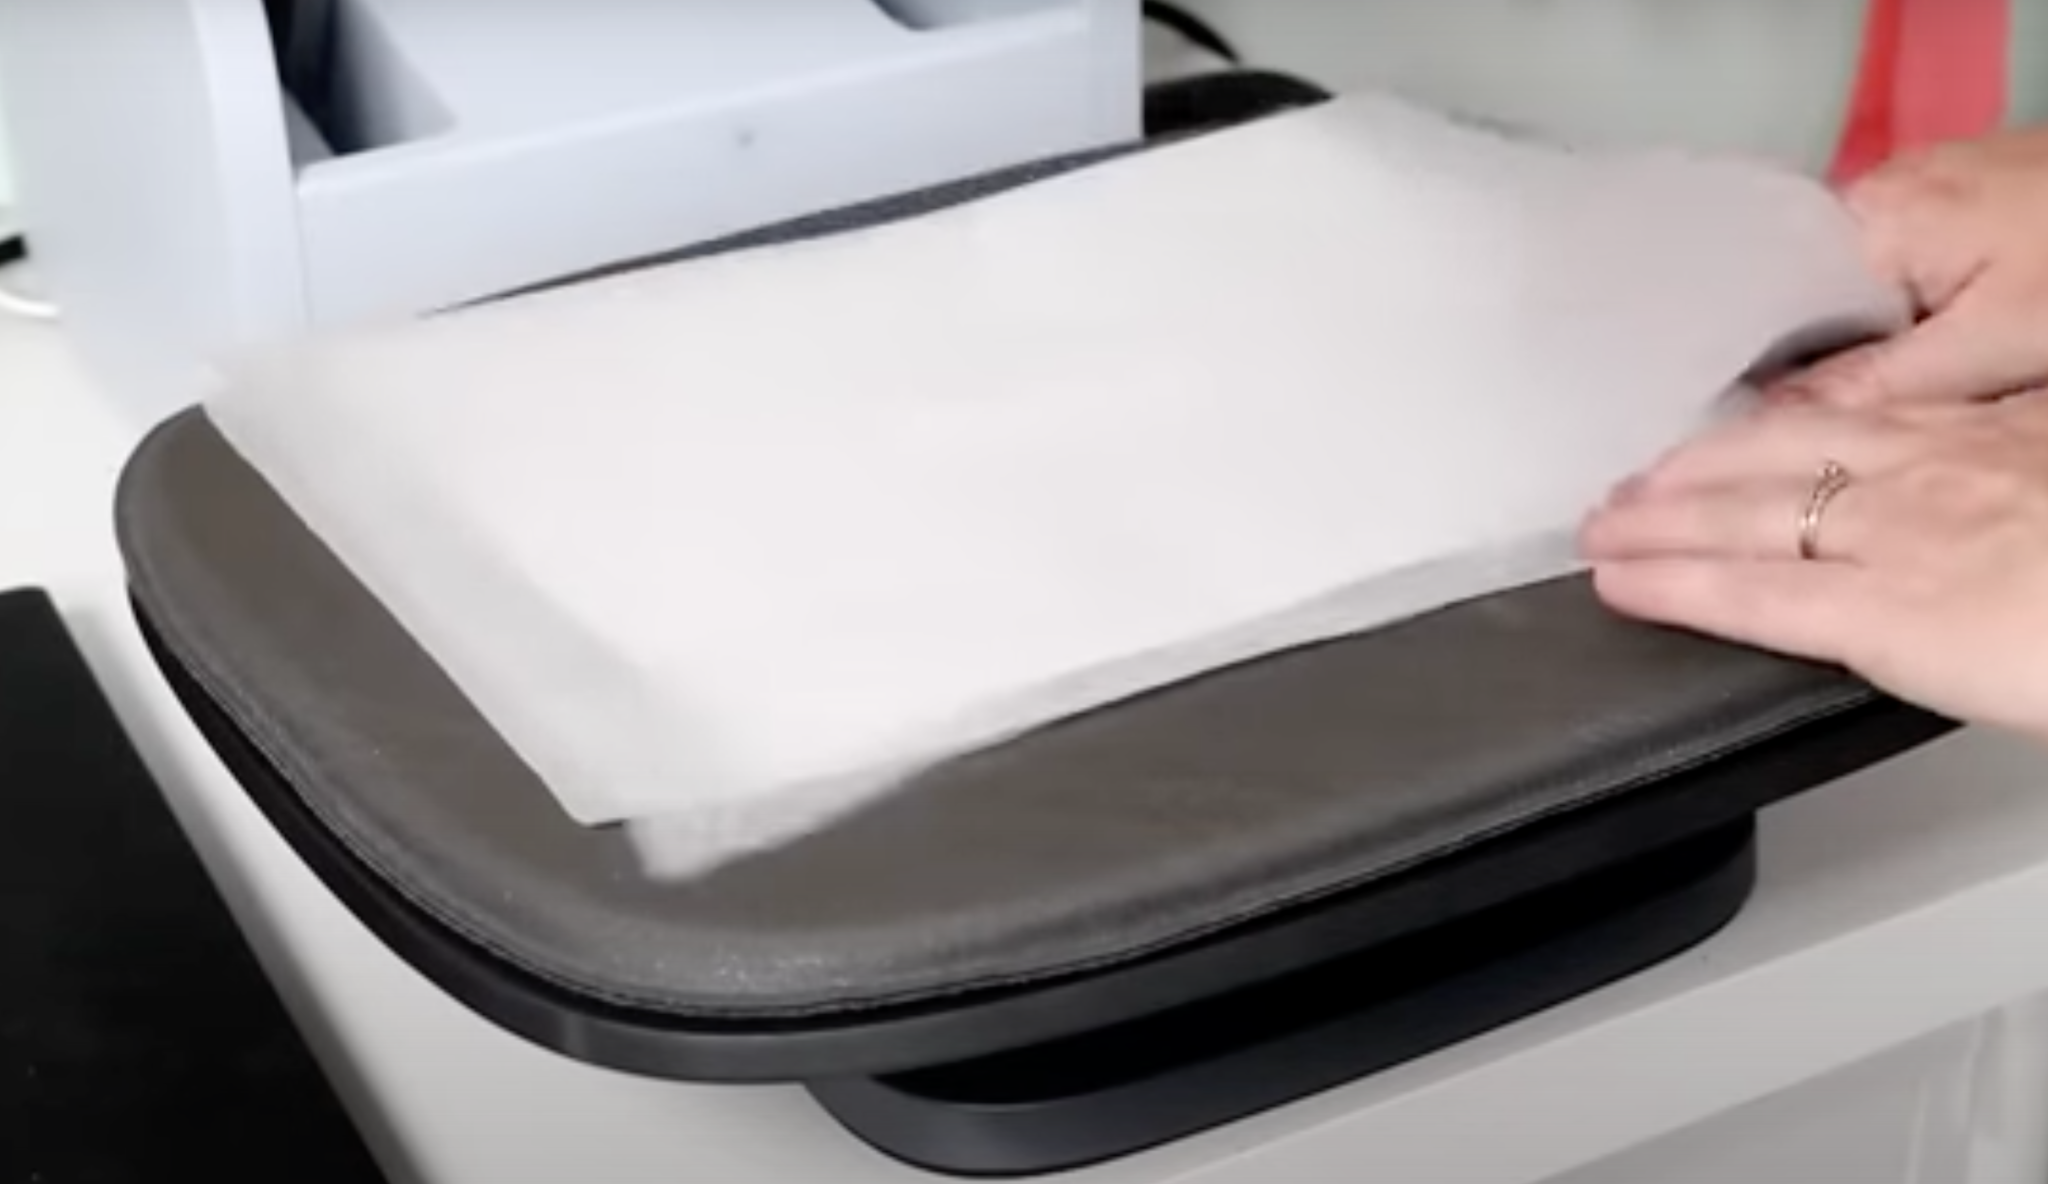
HACK #2 Attach a Teflon Sheet to the Heat Press
If you use your heat press for HTV, you may be using a Teflon sheet. Teflon sheets are great when layering HTV to protect the bottom layers. It’s also helpful when you’re using more delicate materials.
Forgetting to use the teflon sheet can ruin your project which is never a good thing.
My hack here is to use magnets to hold the teflon sheet in place on your top platen. Using the magnets to hold the teflon sheet in place removes the possibility of forgetting to add it.
If you don’t like the idea of using the magnets to hold the sheet, places like Heat Transfer Warehouse make Teflon sheets that form fit around the top platen depending on the size of your heat press.
Either of these options removes a step you may miss in the crafting process.
IMPORTANT: This hack is only for HTV projects. You don’t want to use a Teflon sheet with sublimation projects as that may trap moisture or even ruin the Teflon sheet.
HACK #3 Keep Cheat Sheets Handy and Nearby
I love having things nearby that help me craft smoothly. If you have cheat sheets or heat guides you like to follow for your crafting, keep them close to your heat press.
To protect the pages, I like to laminate them as this helps them last longer.
If you’re looking for great cheat sheets, check out the Sublimation Cookbook by Jennifer Maker. It’s really good and is filled with tips you’ll likely find helpful.
I’ve found having these sheets nearby reduces mistakes with projects. That means it saves me time and money in my crafting.
HACK #4 Reuse Protective Paper and Heat-resistant Tape
I love sharing tips that help save supplies and money. Whenever possible, I reuse my protective paper and heat-resistant tape from sublimation projects.
If after applying heat to your project, there is no ink on the tape or protective paper I reuse it.
I will note that I use Artesprix protective paper, I feel like it holds up really well to heat. Often butcher paper yellows when high heat is applied. That yellowing can transfer to your blank if you reuse it.
Do not reuse supplies that have ink on them as that ink will transfer to your new blank.
For heat-resistant tape, you can reuse it as long as it is still sticky enough to hold your print in place. When it comes to the tape, I usually save it when I’m working on a few projects at the same time. By sticking them to the edge of my table, I can easily grab them and use them on the next project.
I’ve saved a lot of protective paper and heat-resistant tape by saving supplies that have no ink on them and using them again.
HACK #5 Threading
My final heat press hack is a process called threading. Threading is sliding your fabric blank over the heat press so you’re only working with one layer of fabric at a time. This helps eliminate dealing with wrinkles and seams from a second layer of fabric.
Separate the layers of your shirt and slide the portion you’re applying the print to onto the bottom of the heat press.
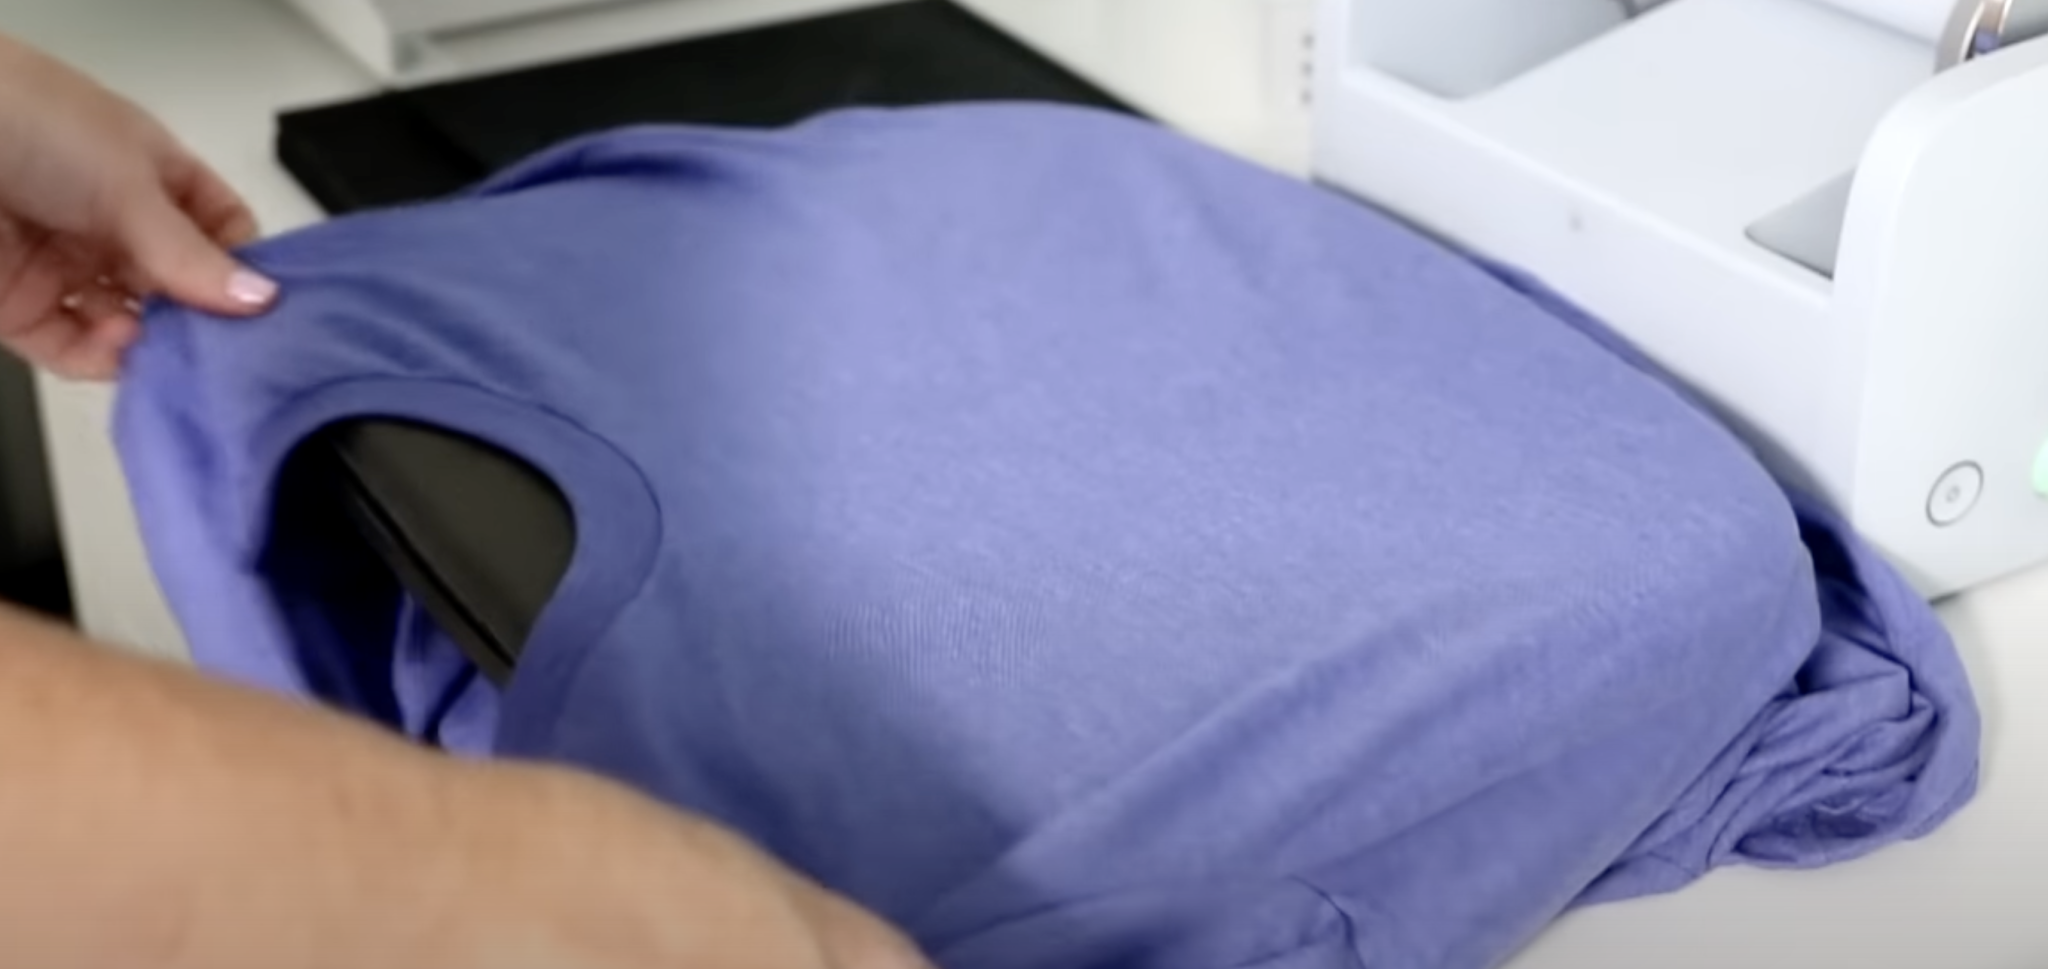
This usually works best if you do that from the bottom of your shirt so make sure you’re orienting your design correctly. If you’re using sublimation, don’t forget to put protective paper under the shirt to protect your heat press from any ink blowout.
If no ink gets on that protective paper, you can reuse it for multiple projects. This can help speed up the pressing process since you don’t have to keep placing the protective paper inside each shirt.
Join Heat Press Roadmap
There you have them, 5 heat press hacks you should try today. From checking your heat press temperature to money-saving tips like reusing supplies, these hacks will have you crafting smarter and faster today.
For 5 more hacks you need to try, head over to Hey Let’s Make Stuff to see what Cori recommends.

Not sure which heat press is for you? Heat Press Roadmap has your answer! This extensive course is designed to guide you on your journey to deciding on the best heat press for your needs, space, and budget.
Join Angie Holden and Cori George as they explore 17 heat presses in 27 videos. Get the details and sign up for Heat Press Roadmap here!
If you’re trying to figure out what heat press you should purchase, Cori and I created Heat Press Roadmap to help answer questions you may have about different presses. Heat Press Roadmap was designed to help you purchase the correct press or upgrade to a better press.
People often ask me “What heat press should I purchase?” “Is an EasyPress the right press for me?” “What size heat press should I purchase?” – we’re answering these questions and more inside the roadmap.
With 27 workshops covering 17 different heat presses including three different types of auto press, we’re covering a broad range of different presses.
Heat Press Roadmap also includes bonus SVG and sublimation files you can use with your heat press to create all of the different projects we make in the roadmap. We show you how to make different projects with the different heat presses right within Heat Press Roadmap.
Make sure and check out Heat Press Roadmap and get the right heat press for you!
I hope you’ve found these hacks helpful. If you have any questions, leave them in the comments and I’ll be happy to answer them for you!