This post and photos may contain Amazon or other affiliate links. If you purchase something through any link, I may receive a small commission at no extra charge to you. Any supplies used may be given to me free of charge, however, all projects and opinions are my own.
Have you ever wanted to add color to your engravings? Today I’m going to show you how to get color engraving with a Cricut machine that can help add detail to your engraved projects. I’ll show you how it works on both aluminum and acrylic and teach you how to make a project with this process.
If you’ve never used your Maker to engrave before, I have a whole post on how to use the engraving tool to help you get started. You can also use an Explore series machine for engraving and I have a post on that here.
Adding Color to Engraving on Acrylic and Aluminum
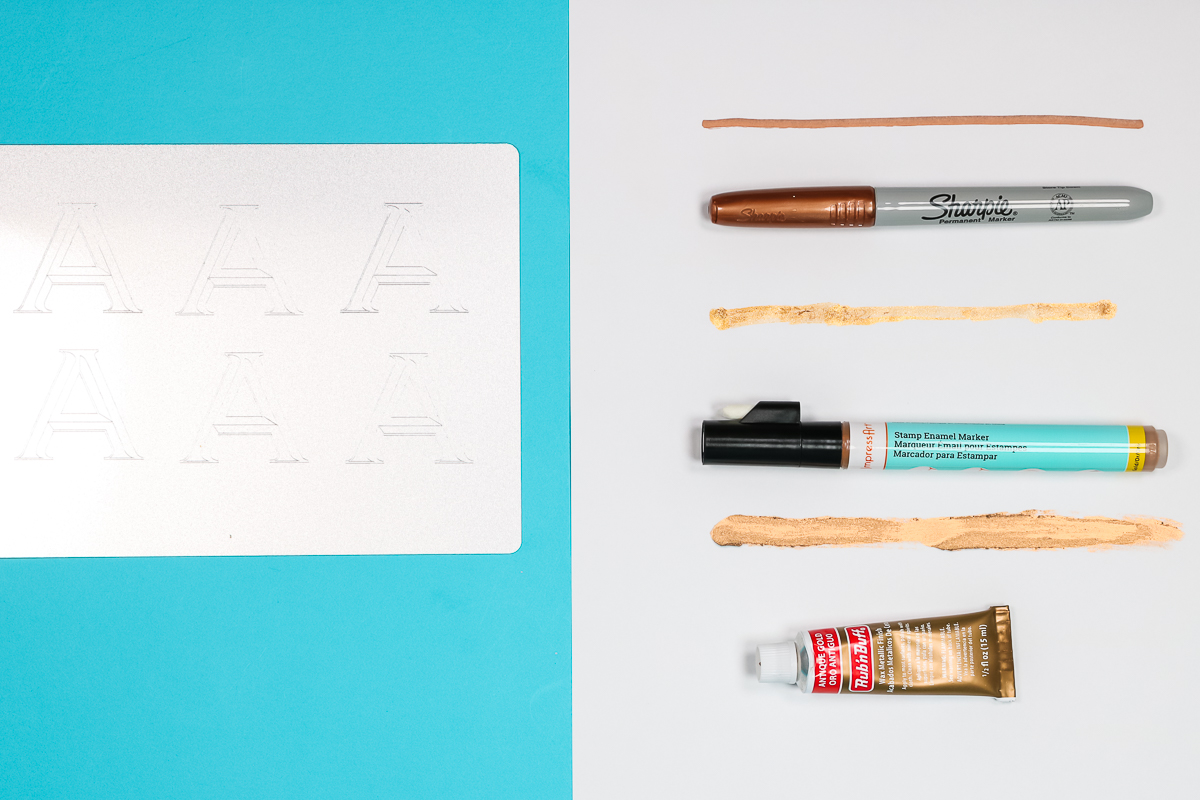
For this process, I am going to compare using a Sharpie, a Stamp Enamel marker, and Rub ‘n Buff on both aluminum and acrylic blanks. By testing each of these different products, we’ll be able to determine which gives the look we’re wanting.
You can actually watch me test out all of these different products for adding color to engraving with your Cricut by pressing play on the video below.
Why Add Color to Engravings?
Adding color to engraving on any surface helps bring out details making them easier to see. This is especially helpful when your design has letters or other small details that may be hard to see.
Each of the options I’m using comes in a variety of colors. Sharpies come in a full rainbow of colors. Impress Art Stamp Enamel comes in nine different colors. Rub ‘n Buff also comes in a handful of different colors including a variety of different gold options.
Adding color to engravings allows you to add more detail, customization, and personalization to your engraved projects.
Supplies Needed to Get Color Engraving with a Cricut
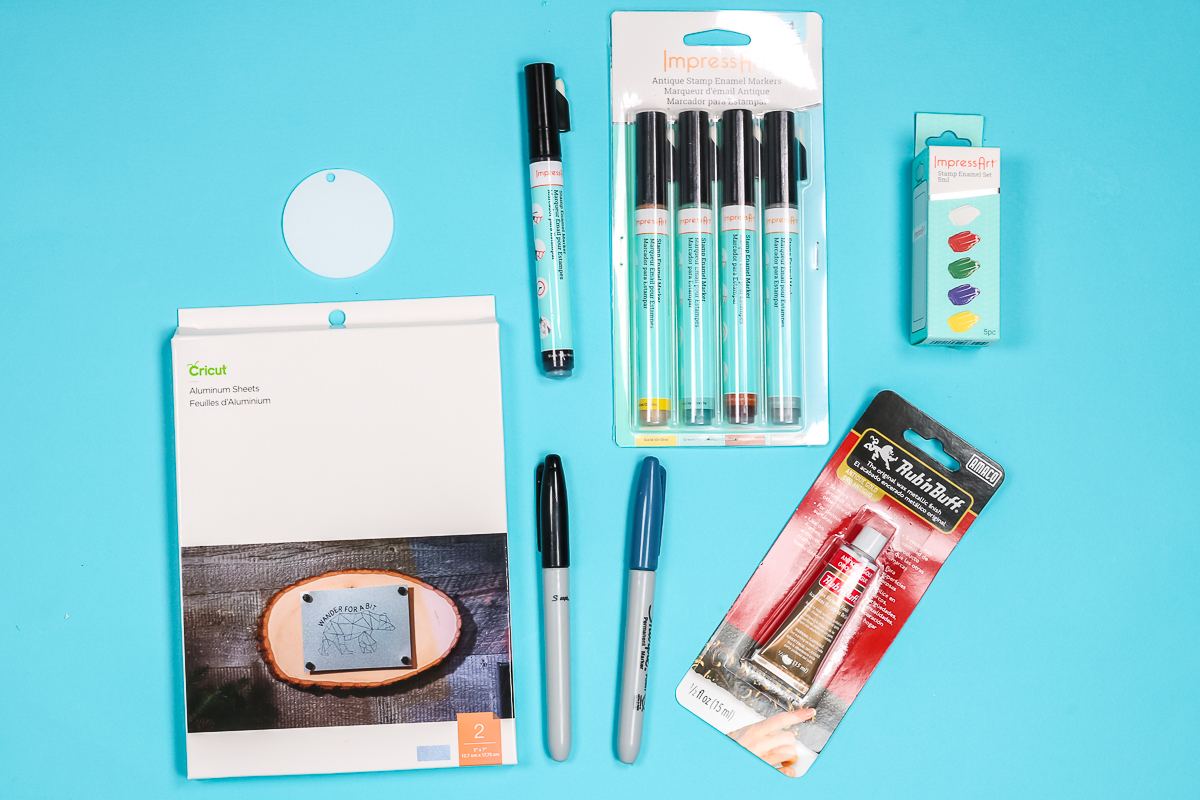
I am using Cricut Aluminum Sheets and clear acrylic rounds. The clear acrylic has a protective film on it, make sure you remove that before engraving.
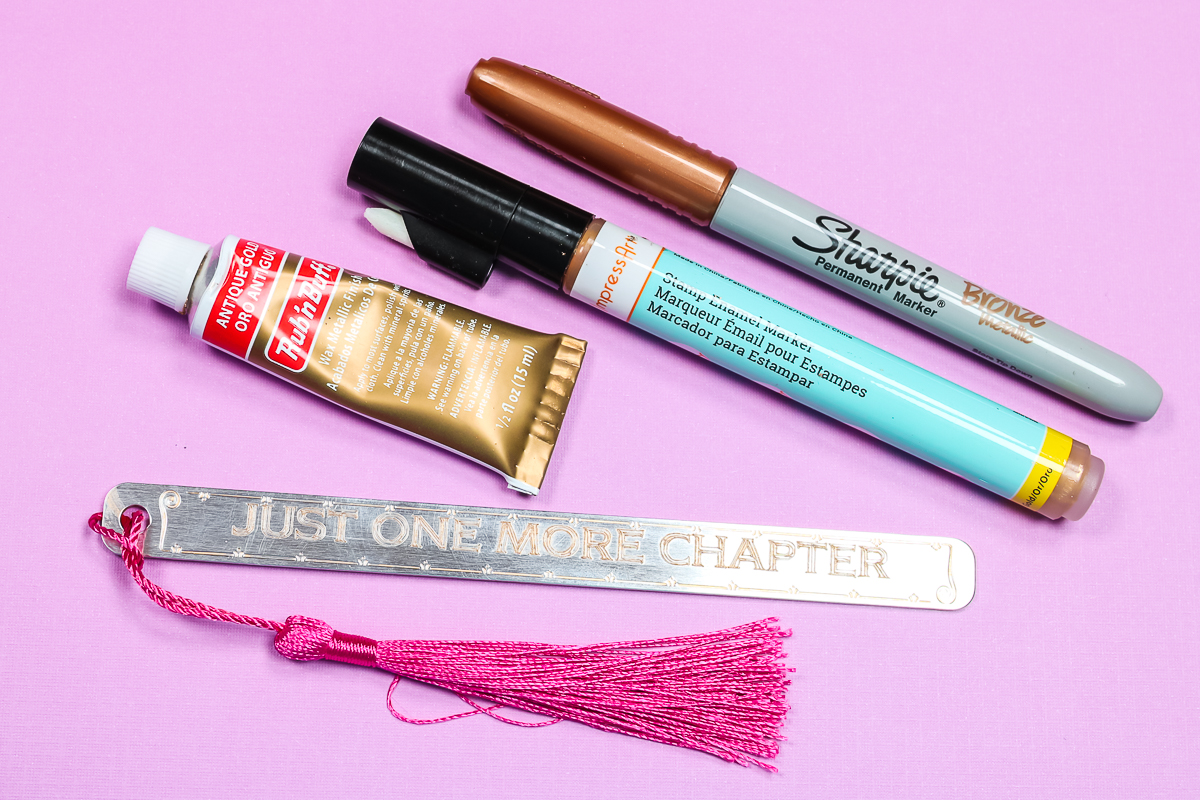
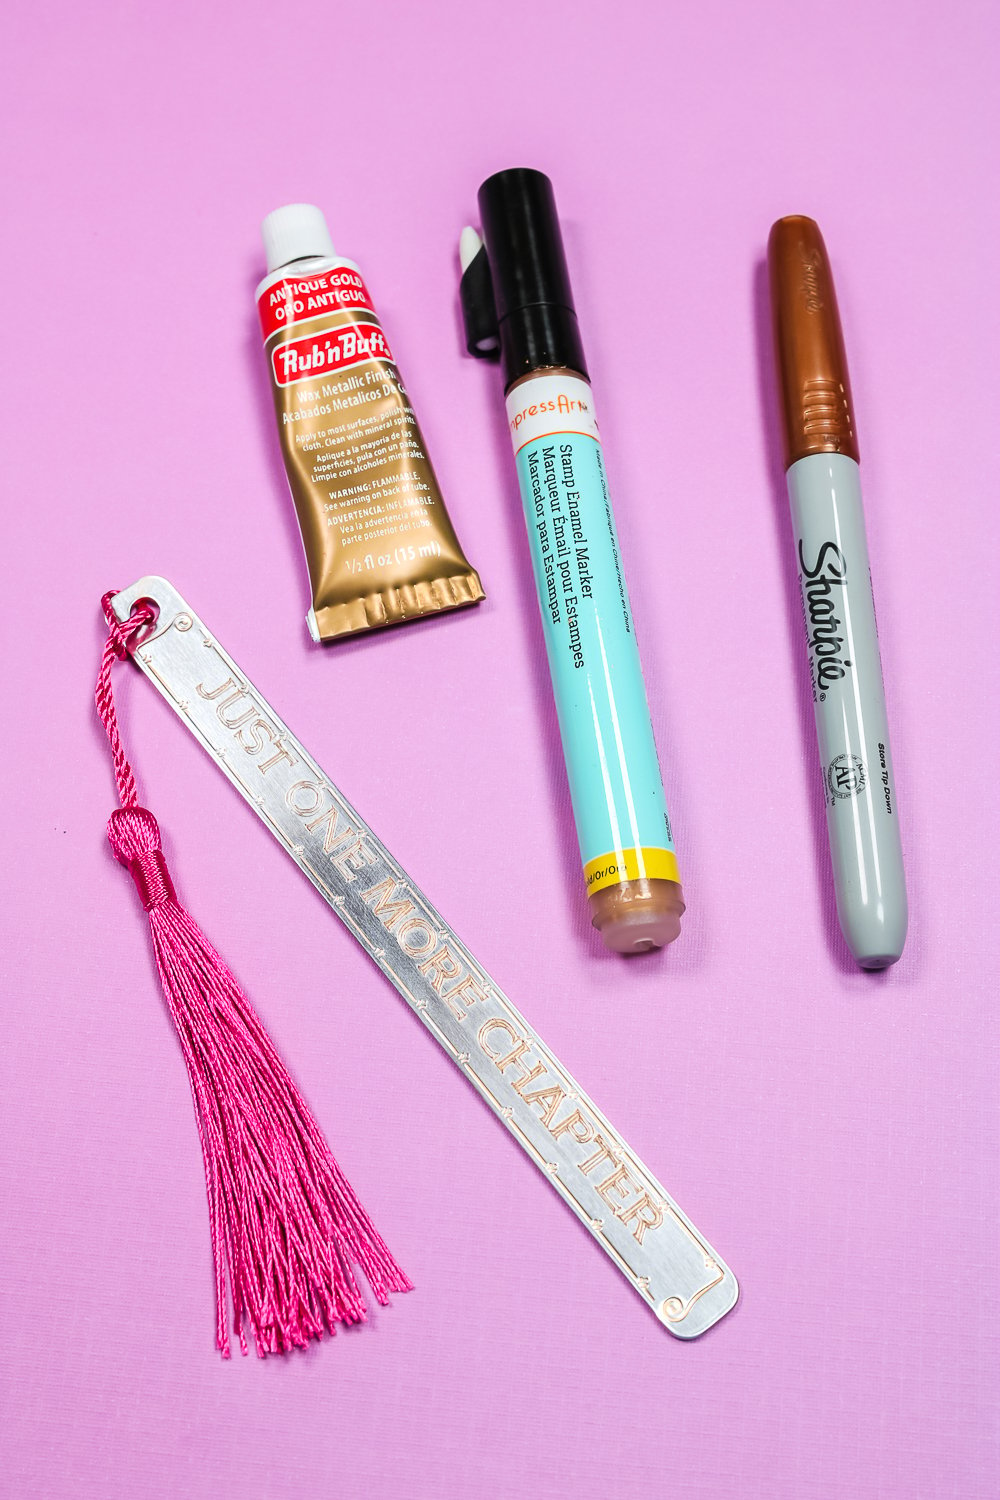
In order to get the best comparison I selected colors that are comparable. So I used the gold Stamp Enamel Marker, Antique Gold Rub ‘n Buff, and Bronze Metallic Permanent Sharpie.
What Cricut Machine Can I Use to Engrave?
Cricut Maker and Cricut Maker 3 both have a Cricut engraving tool that can be used for engraving aluminum and acrylic.
If you have an Explore 2 or Explore 3, there are off-brand engraving tools you can purchase on Amazon. I have shared in the past how to use them but you need to know that using a tool in your Cricut machine that is not made by Cricut may void your warranty if anything happens to your machine.
Color Engraving with a Cricut Machine
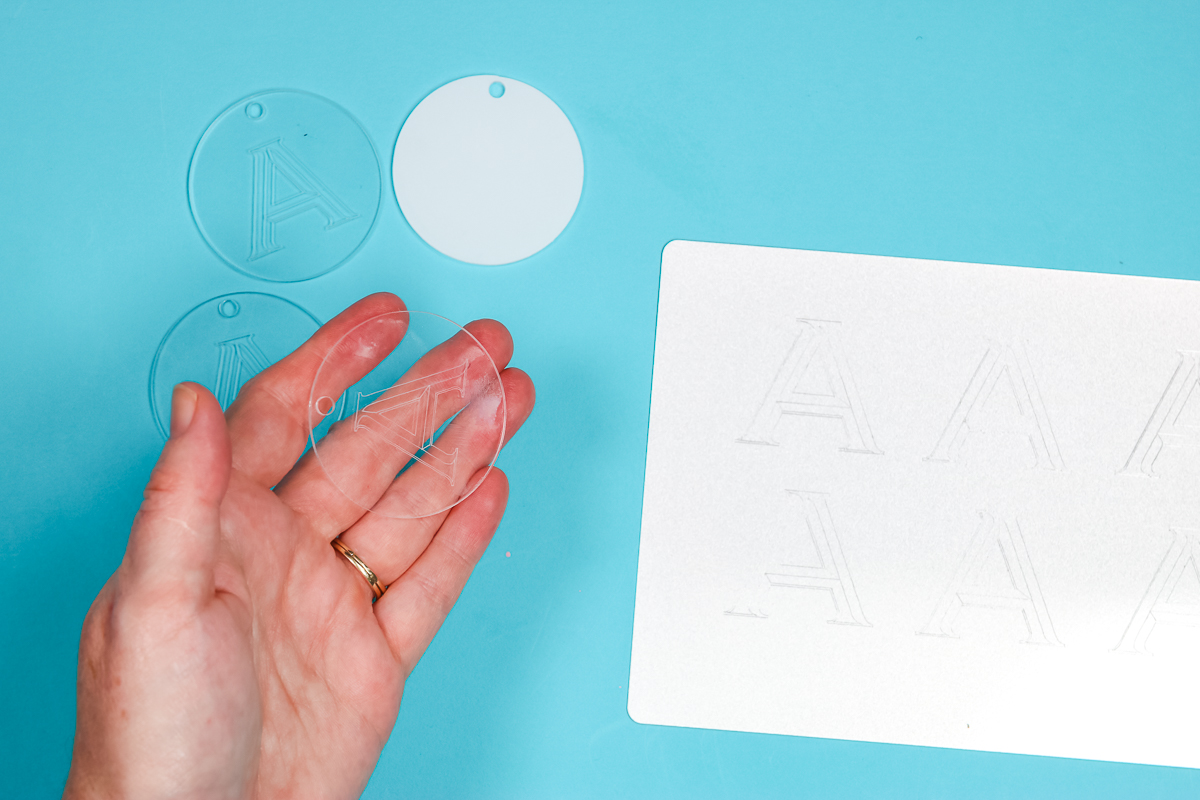
I used my Cricut Maker and the Engraving Tip to engrave multiple A’s onto the aluminum sheet. This will allow us to compare the different coloring options on the exact same design. I then engraved the same A’s onto the acrylic so we can see how things compare on that surface.
How to Apply Color onto Aluminum Engravings
I am going to walk you through the process of adding color with each of these different products and then we can compare how they look and which one is the best option, in my opinion.
Applying Color with a Sharpie
To apply color using a permanent Sharpie marker, I am literally just coloring over the entire letter making sure to really get into the engraved areas.
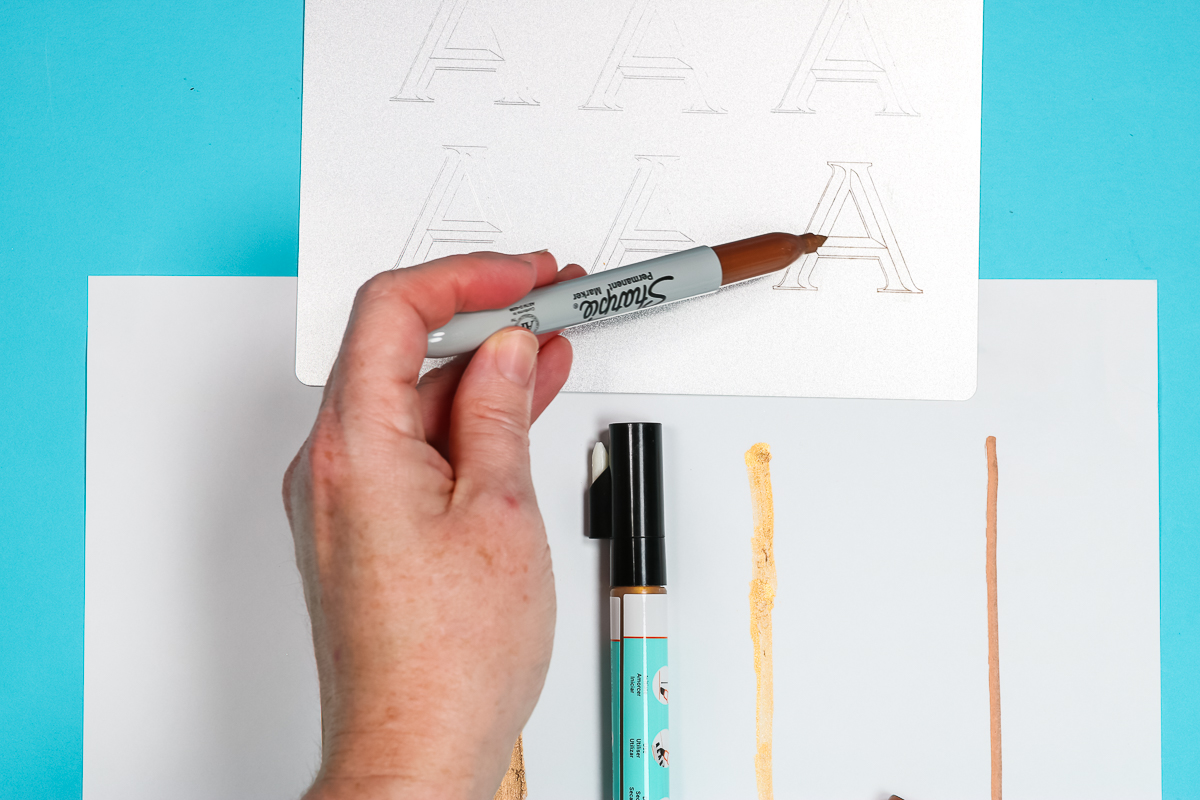
Once I finished coloring the whole engraving, I allowed the ink to sit for about 10-15 seconds and then wiped it down. You can use a paper towel or a lint-free cloth to remove all the excess ink. Any excess ink that doesn’t come off with a dry cloth can be removed with a slightly damp cloth.
After one application, there wasn’t much change. The great thing about this process is you can add as many coats as you want to get the look you’re going for
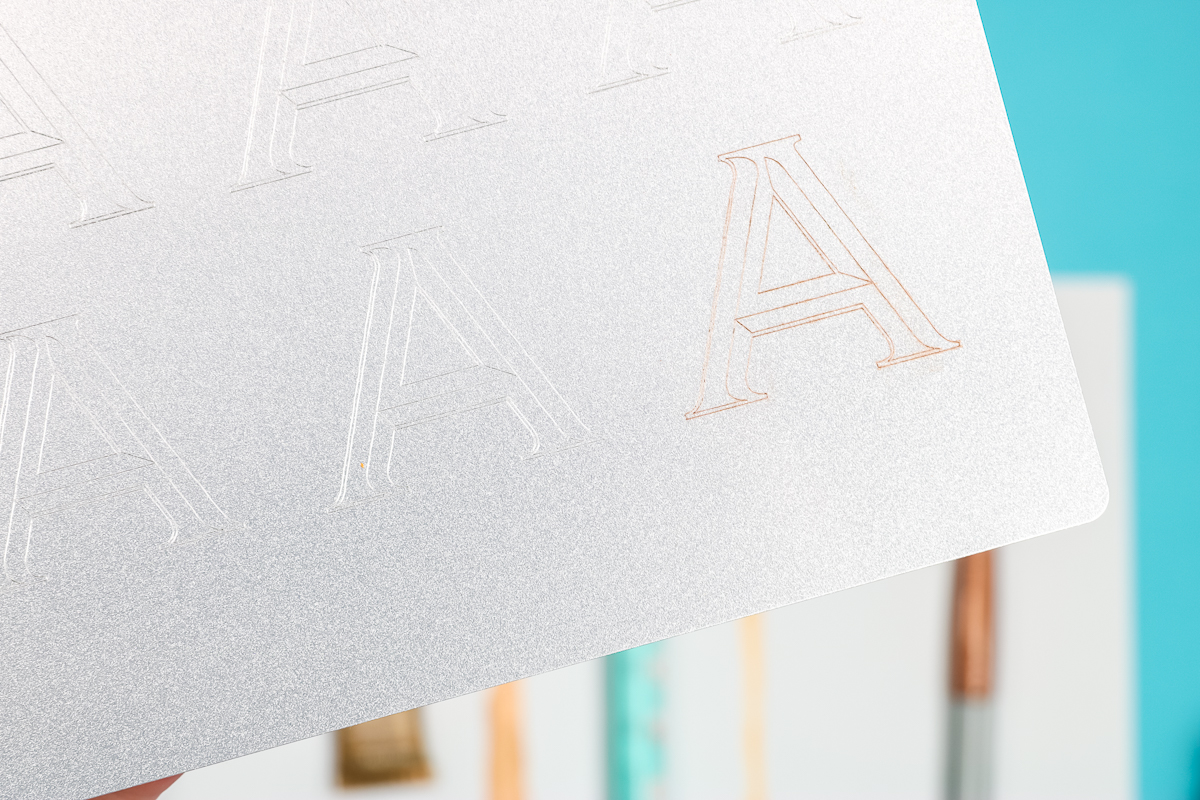
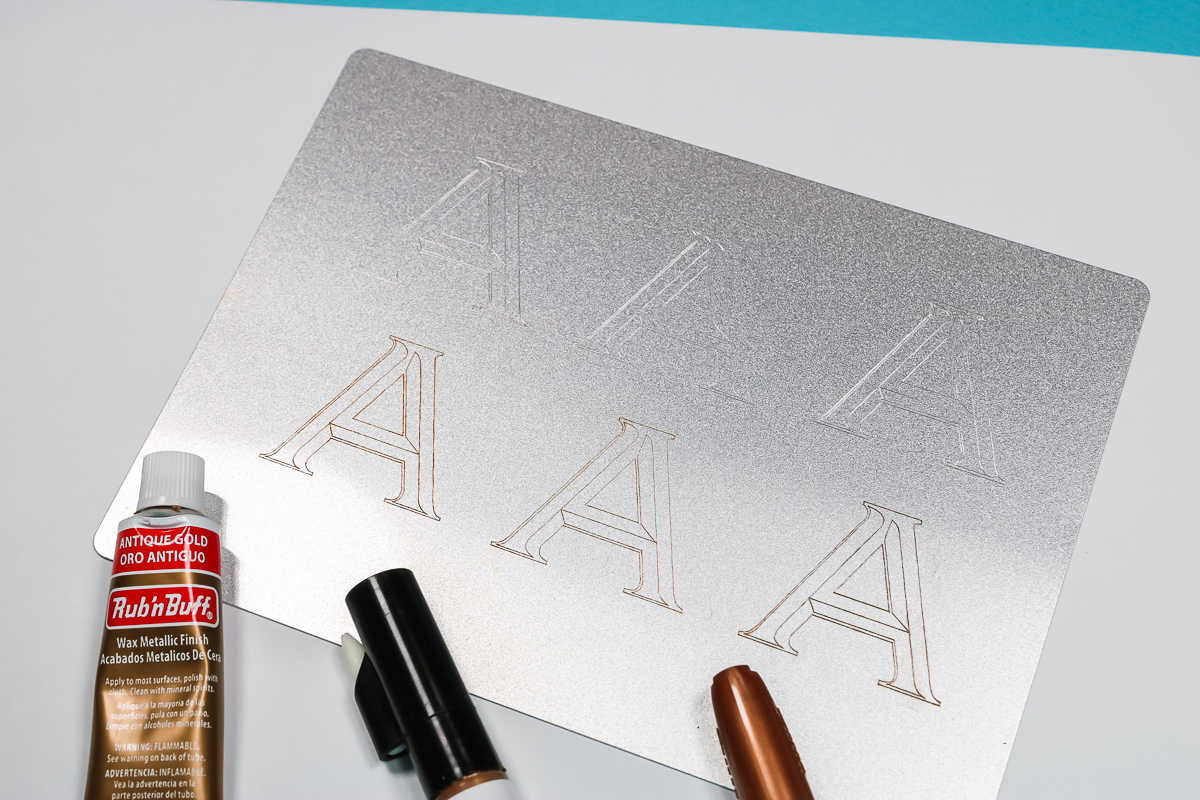
After two coats of the Sharpie, you can see that it’s a bit darker in all the engraved lines. In the photo above, you can see the difference between the plain engraved design and the one with the Sharpie added. You can see with the Sharpie it’s much easier to see what is engraved.
Adding Color with Stamp Enamel Markers
Next, we’re going to use the Enamel markers. These are great for larger designs as they have a much longer drying time. I am using the gold marker and to get it working we’re going to press down on it like you would a chalk marker or paint marker.
Once the marker is flowing, we’ll just use it like we did the Sharpie. Rub it across the engraving making sure to get it down into all of the engraved lines.
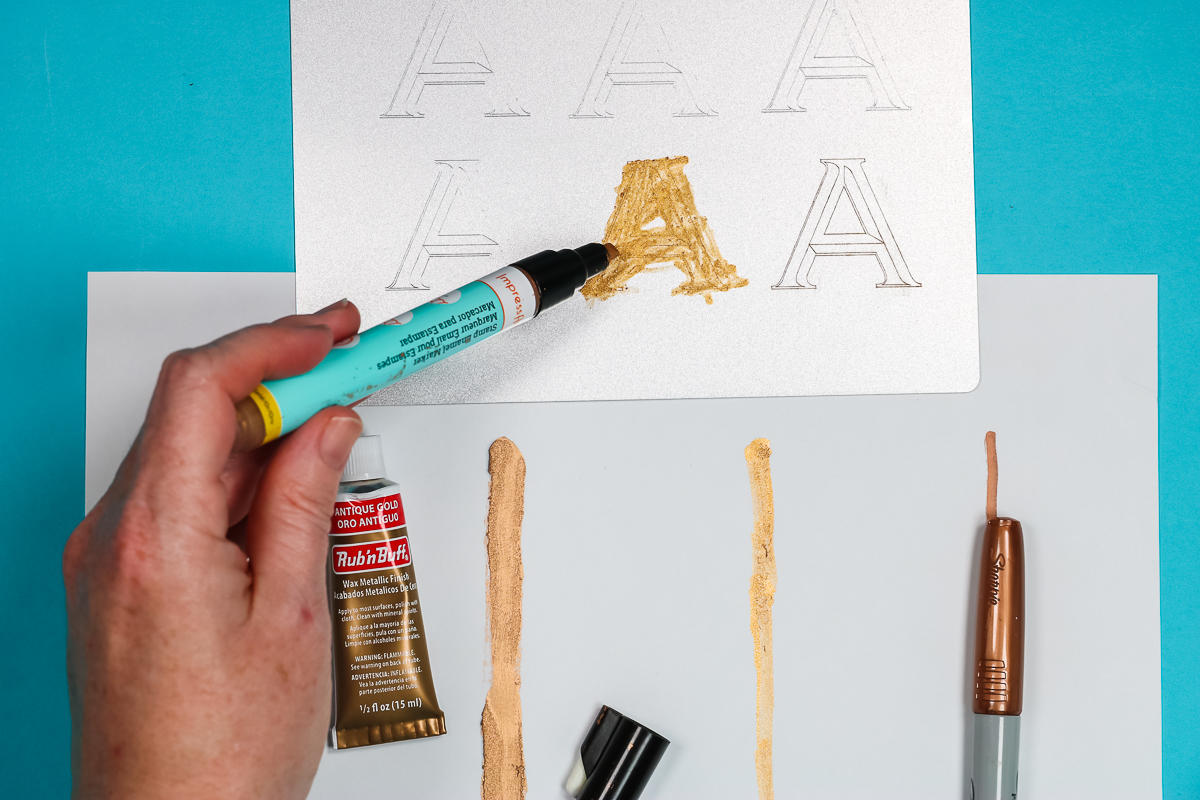
Because this has a one to three-minute dry time it’s easier to apply over larger engraved areas. Just like with the Sharpie, when you’re done applying the enamel you can use a cloth to wipe off the excess. If it’s not as dark as you want, you can apply another coat.
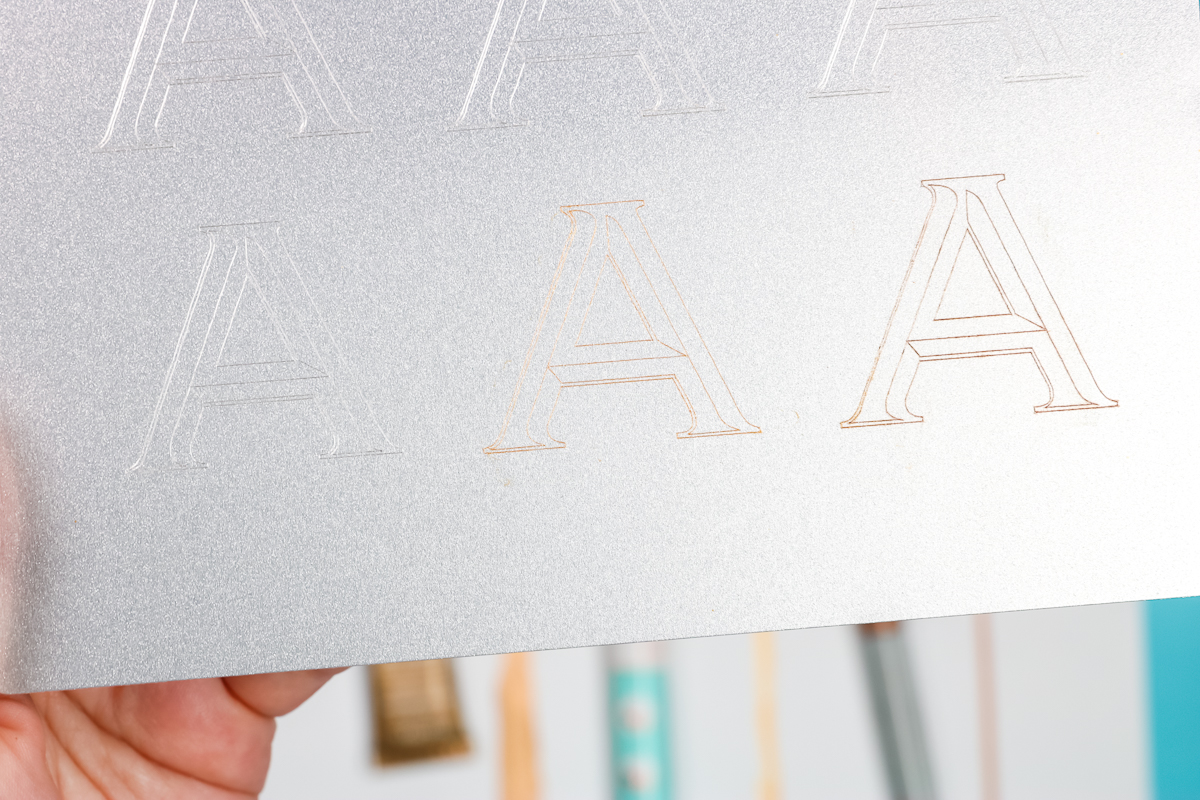
To make sure it was a fair comparison, I applied two coats of the enamel marker and you can see it’s down into the engraving well but not as dark as the Sharpie marker.
Applying Color with Rub ‘n Buff
Rub ‘n Buff is a little different than the enamel and Sharpie. This product actually says to clean with mineral spirits. I don’t want to do that so I’m wearing gloves.
As you can see, I’m just using my finger to rub the Rub ‘n Buff into the engraving. Go over it really well but quickly.
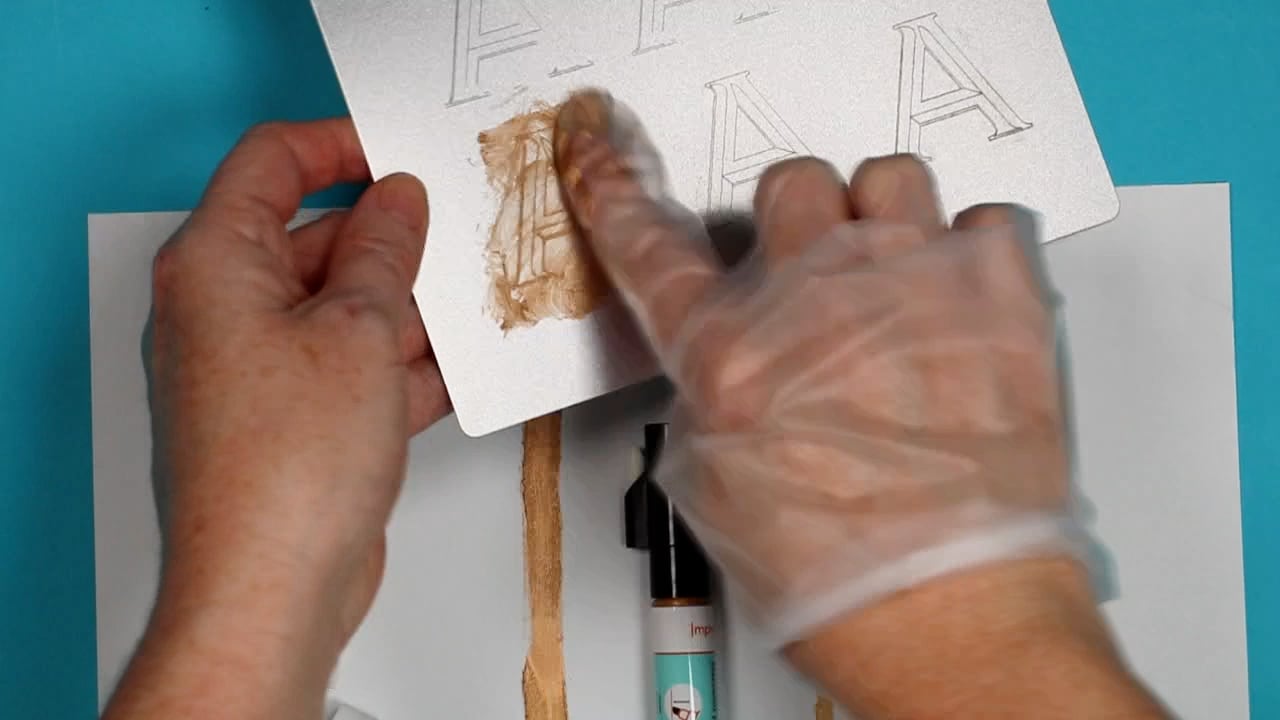
I do recommend rubbing the excess off with this product immediately. If you have areas that won’t come off with a dry cloth, you can use something damp and that will help.
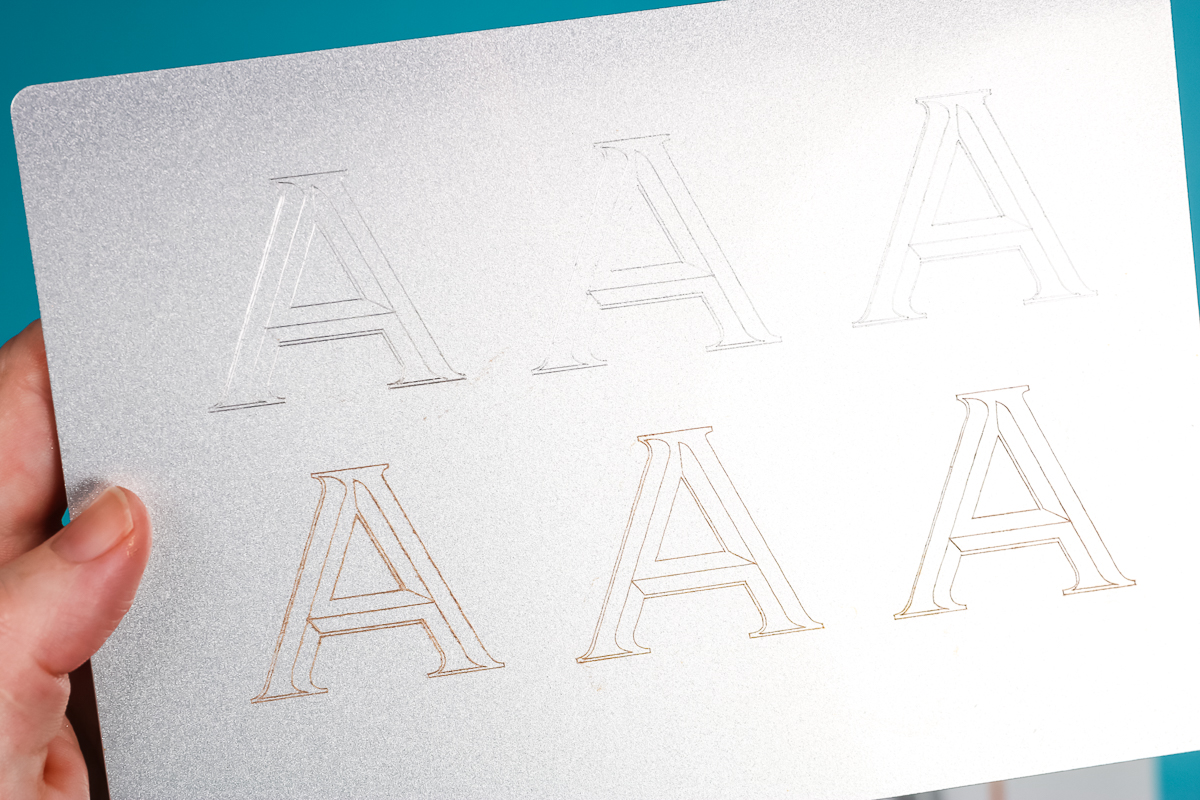
If you wanted, you could apply a second coat but I don’t think it’s needed for this comparison. It’s already the darkest of the three without doing a second coat.
Which Product Works Best on Aluminum?
Here you can see all 3 products and how they look compared to each other and the engraving with no color added. I think the Rub ‘n Buff worked the best out of these 3 options. With just one coat, the engraved lines all stand out really well and look great.
How to Apply Color on Acrylic Engraving
I’m going to use all of the same products to apply color to the engravings on acrylic. The process is the exact same, add each product to the engraving and then wipe off the excess with a cloth. Just like before you can add additional layers if needed to darken the lines.
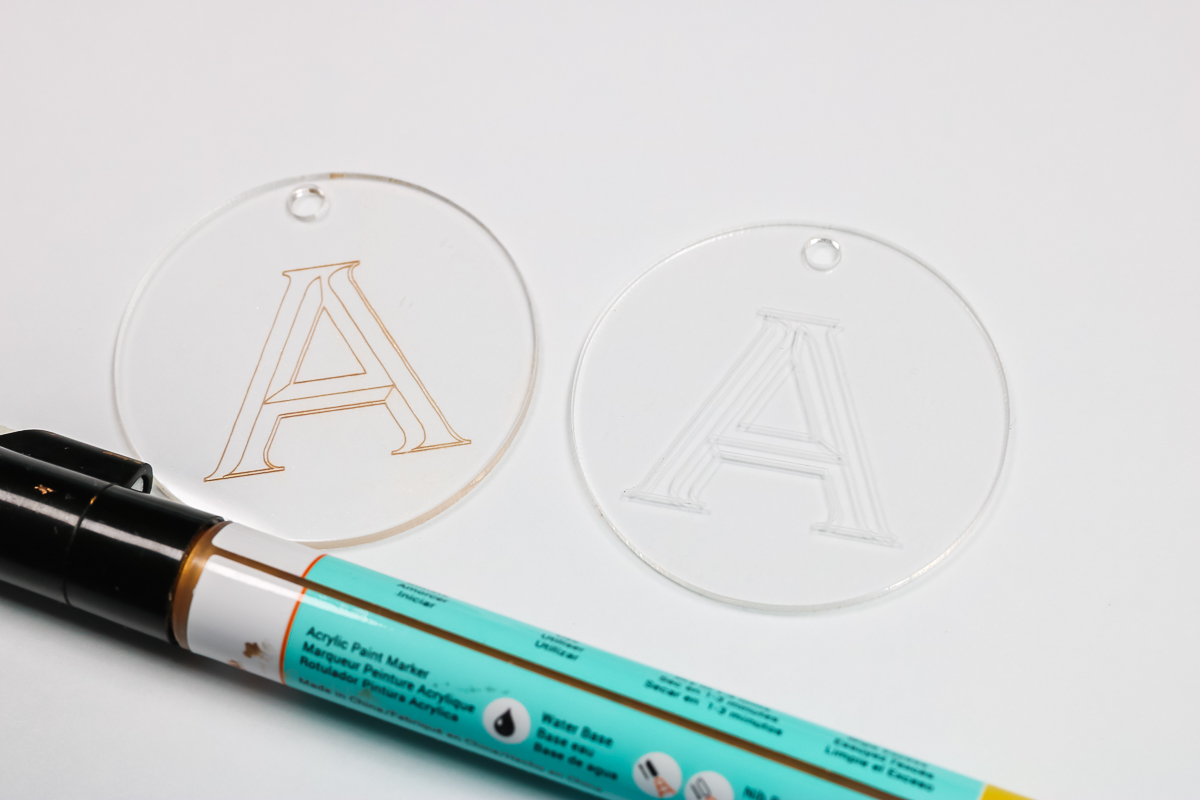
Here you can see the difference between the acrylic engraving without anything added and with the enamel applied. Without the enamel, the lines aren’t easy to see at all.
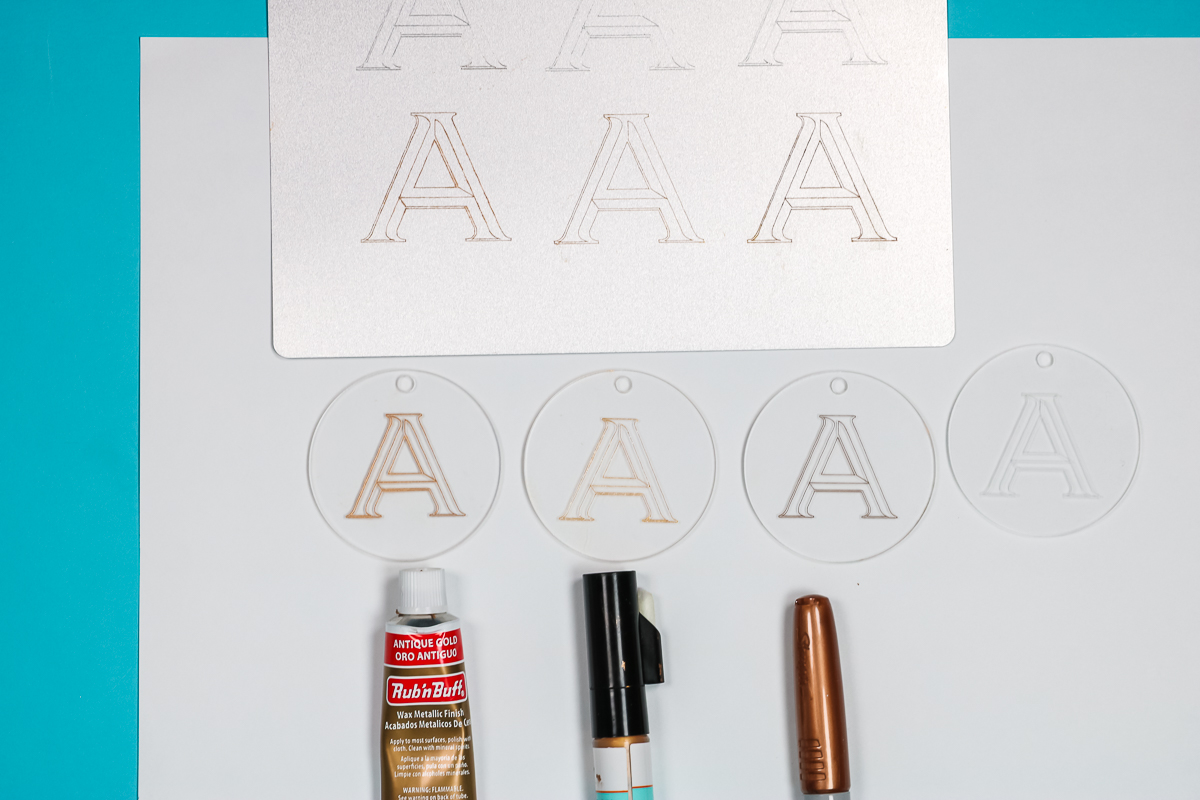
I do think all 3 products show really well on the acrylic. Clear acrylic is also fun because you can choose to apply the products to the front or mirror your image and apply it to the back, each option will give you a slightly different look.
Just like with the aluminum, I think the Rub ‘n Buff really wins here. Again, I only used one coat compared to the two coats of the enamel and Sharpie. It is definitely darker and is really easy to use as long as you have a small engraving.
How do I Color Large Engravings?
For larger engravings, you have a couple of options.
First, you can work in small areas. If your engraving had different sections, you could work in one area at a time and wipe off the excess as you go. Rub ‘n Buff especially dries fast, you would need to work in small sections if you’re using that.
A second option is to use the Stamp Enamel marker. It actually dries much slower which means you could color more of the engraved area at once before needing to wipe it down.
How to Make a Bookmark with Color Engravings with a Cricut Machine
Because my favorite of the three was the Rub ‘n Buff I am going to use it to make an engraved bookmark. I am using a Cricut Maker and a metal bookmark blank that actually already has a little engraving around the sides.
How to Locate Engraving Blank on Cricut Mat
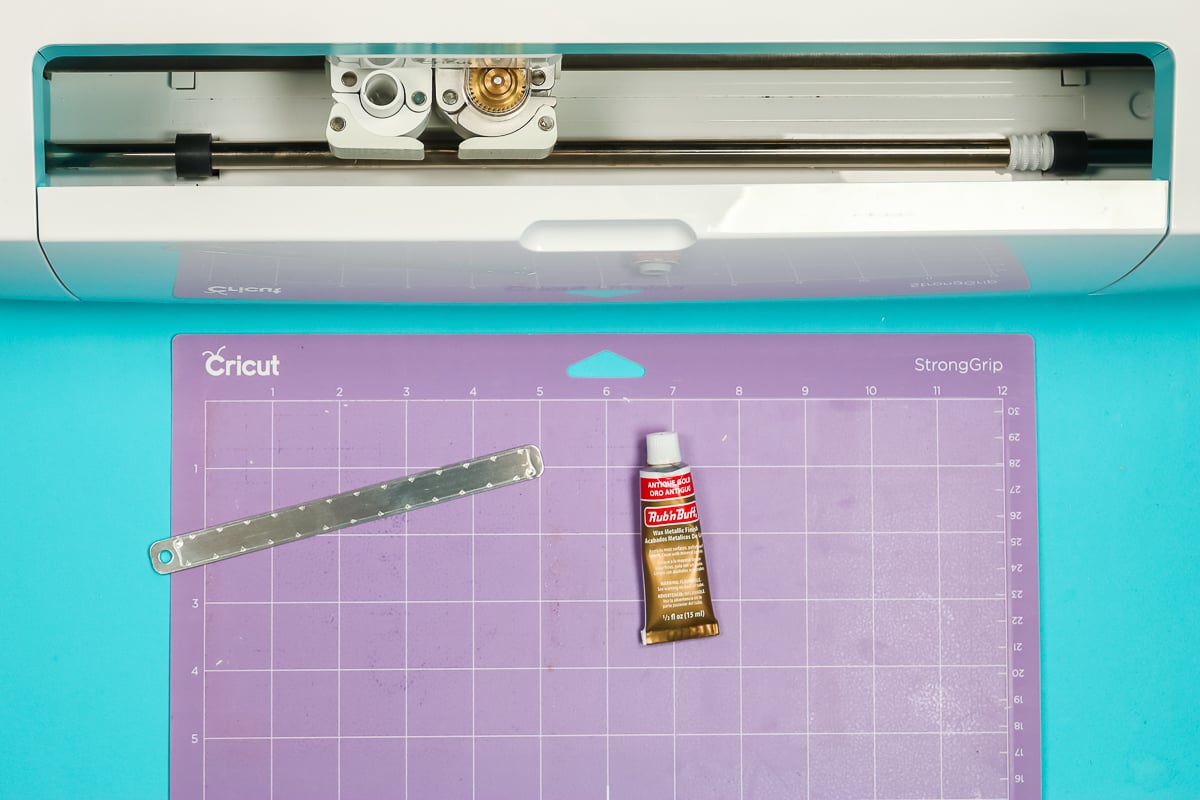
To begin, locate the bookmark on a StrongGrip Cricut cutting mat. I find it easiest to line the bookmark up on the gridlines on the mat. Center the area you want to engrave onto a cross point on the grid. I have centered my bookmark on the 5″ line and the 1″ line.
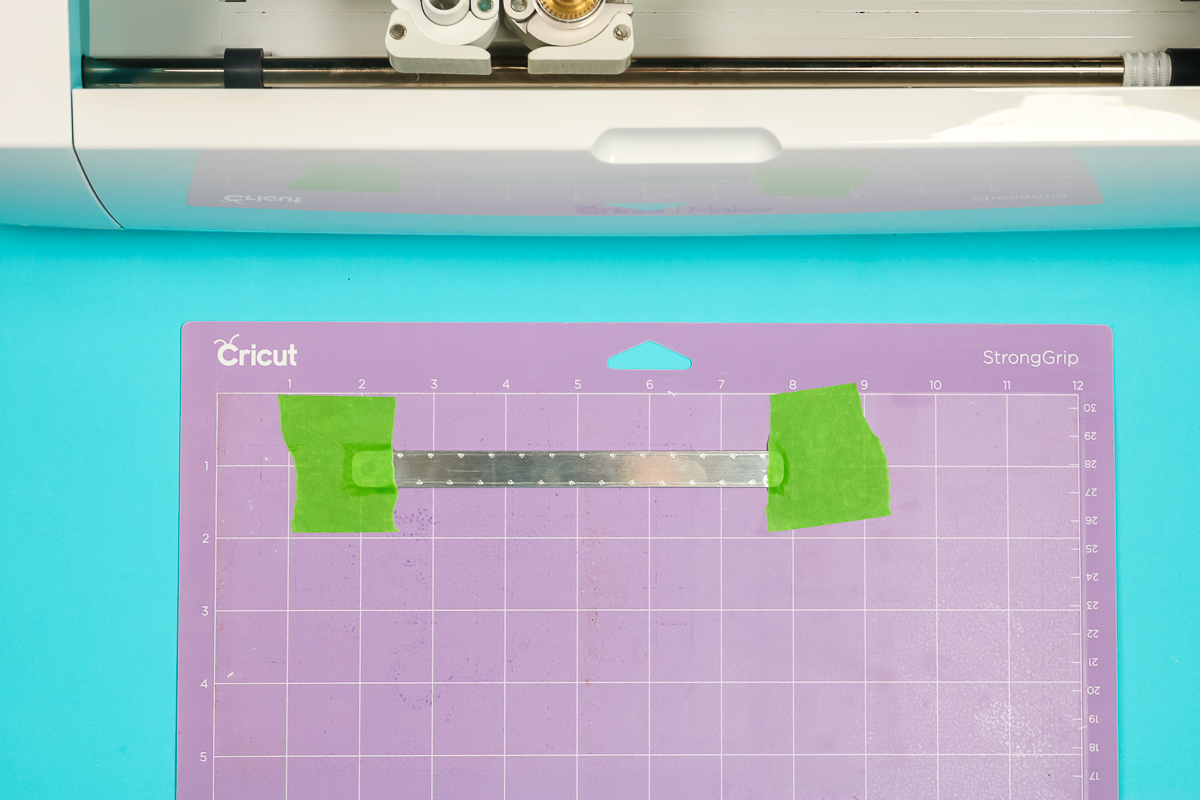
I have a full tutorial on engraving and how to locate your blank on the mat. If you’ve never engraved with your Cricut before, I recommend starting there. That tutorial will also help you set up your design in Design Space.
With smaller engraving blanks like the bookmark, you can use Transfer Tape added to the mat to hold it in place. This is helpful if you don’t have room around the edges to tape it into place.
This bookmark has room on each end so I am just going to add some painter’s tape to help hold it in place.
How to Locate Engraving Design in Design Space
To create your engraving design, you’ll need to open Design Space and create your design. If you’re using text as part of your design, check out my post all about choosing the right engraving font. Make sure you change any lines to an engraving line and then click Make It.
On the mat screen, you’ll move your design so it lines up with where your blank is on the mat. You can zoom in on the mat to help you get it located correctly. Once the design is located, click continue and then we can select our material.
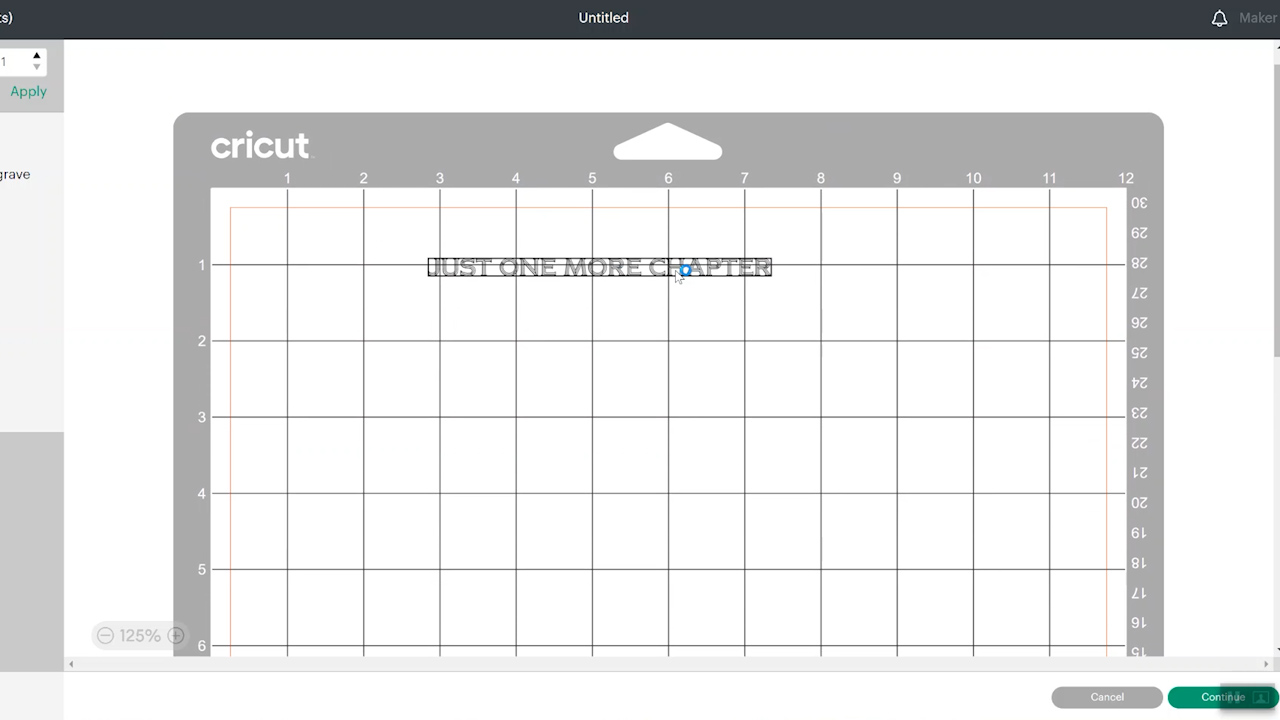
I am choosing stainless steel as my material and then am selecting more pressure on the material screen. Add the Engraving tool to your Cricut machine and then move the start wheels all the way to the right. We do not want the star wheels to roll over the blank. Click load and then Go. Your machine will do all the engraving.
NOTE – make sure your blank fits under the roller. If it is too thick it won’t load and can get jammed in your machine.
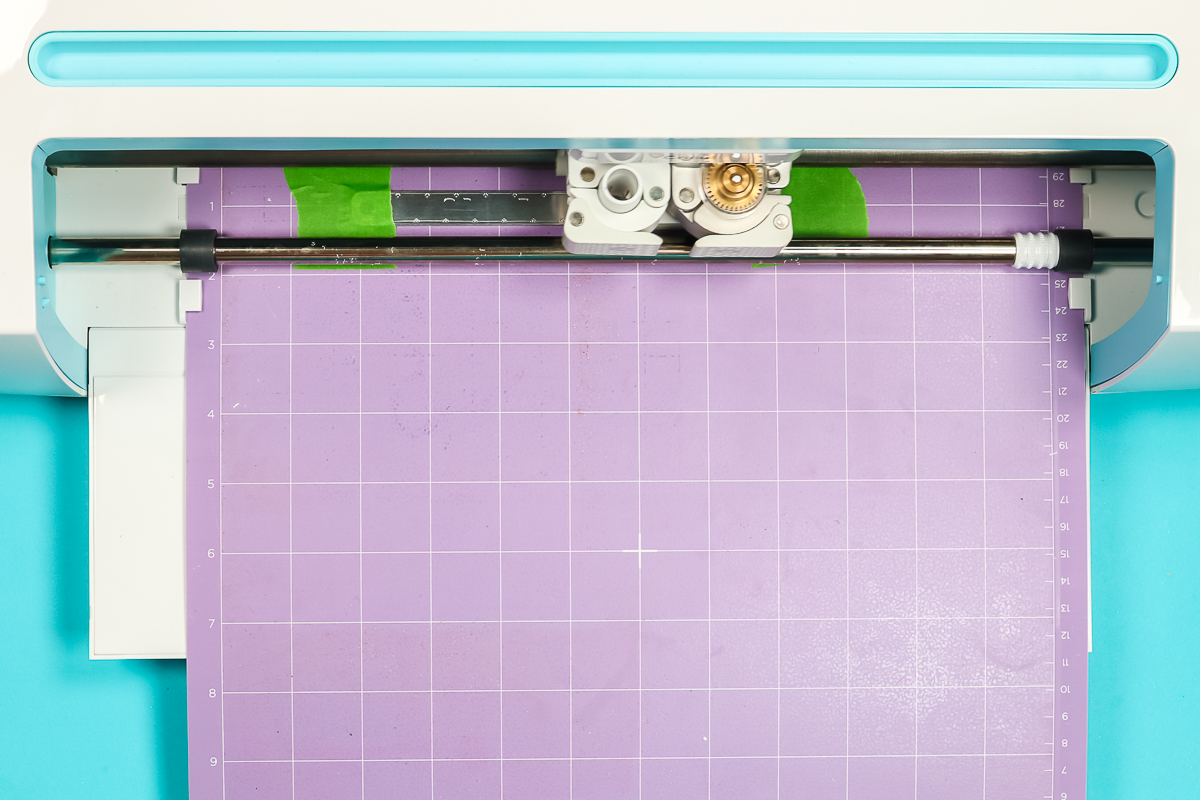
How to Add Color Engraving to a Metal Bookmark
Once the machine is done engraving unload your mat. Look at that beautiful engraving! I’m always really impressed at how well my Cricut machine can engrave.
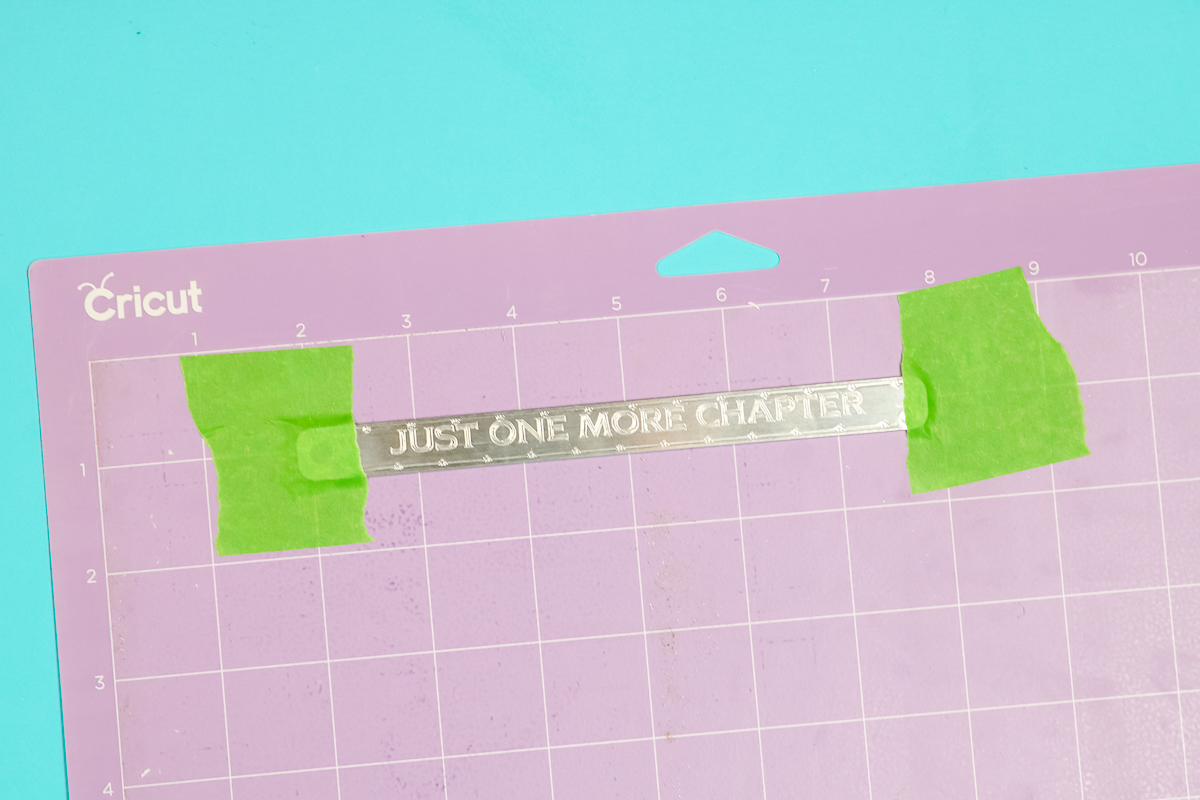
To finish off our bookmark, use the painter’s tape that was holding it to the mat to remove any little metal pieces that are on the bookmark itself. I like to go over it a few times and get it completely cleaned off. Now we can peel the bookmark off the mat and apply the Rub ‘n Buff.
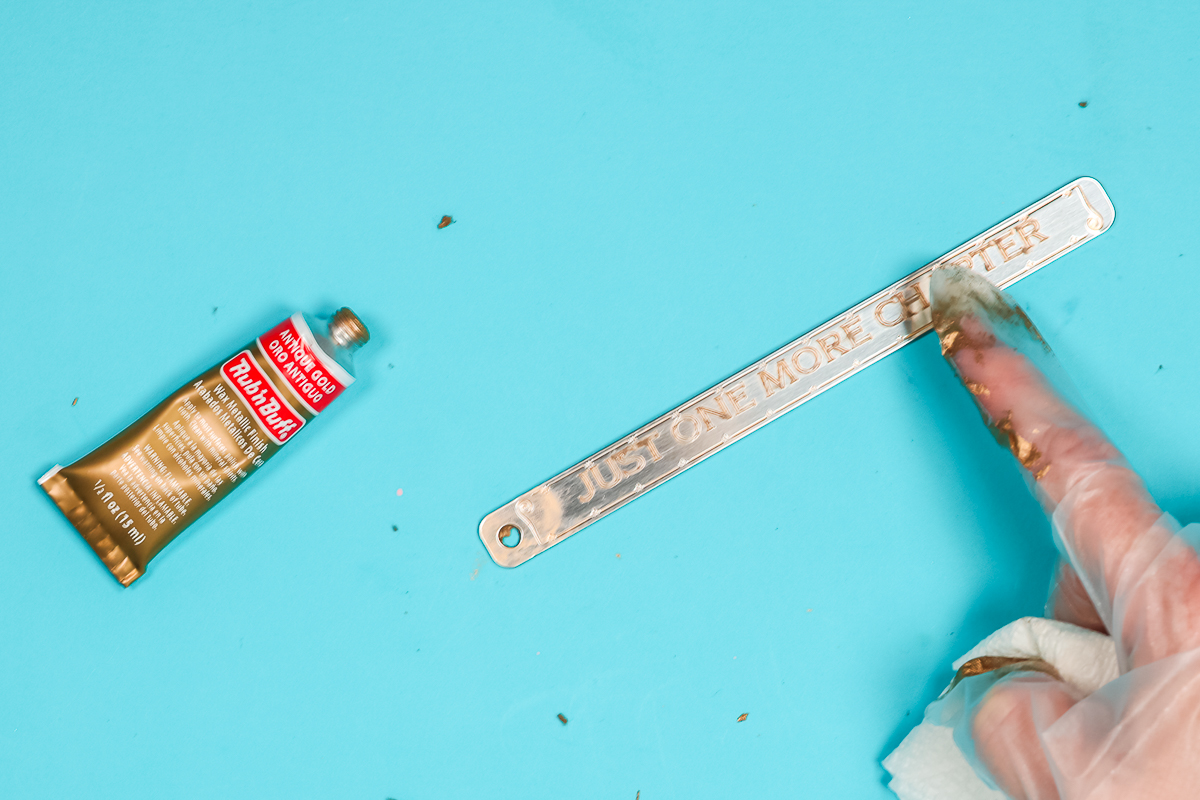
The process for applying the Rub ‘n Buff is the same as we did before. Use a gloved finger to wipe it over the entire surface making sure to fill in all the engraved lines.
Wipe it down quickly to remove any excess and repeat as needed. I didn’t want the Rub ‘n Buff to dry before I was done so I worked in sections about 1/3 at a time. Once I was completely done, I wiped the whole thing down with a damp cloth to remove any excess that didn’t come off with the dry cloth.
NOTE: I recommend using a lint-free cloth, the engraving can cause the cloth to leave fibers on the bookmark.
To finish the bookmark we just need to add the little tassel. Isn’t it great!
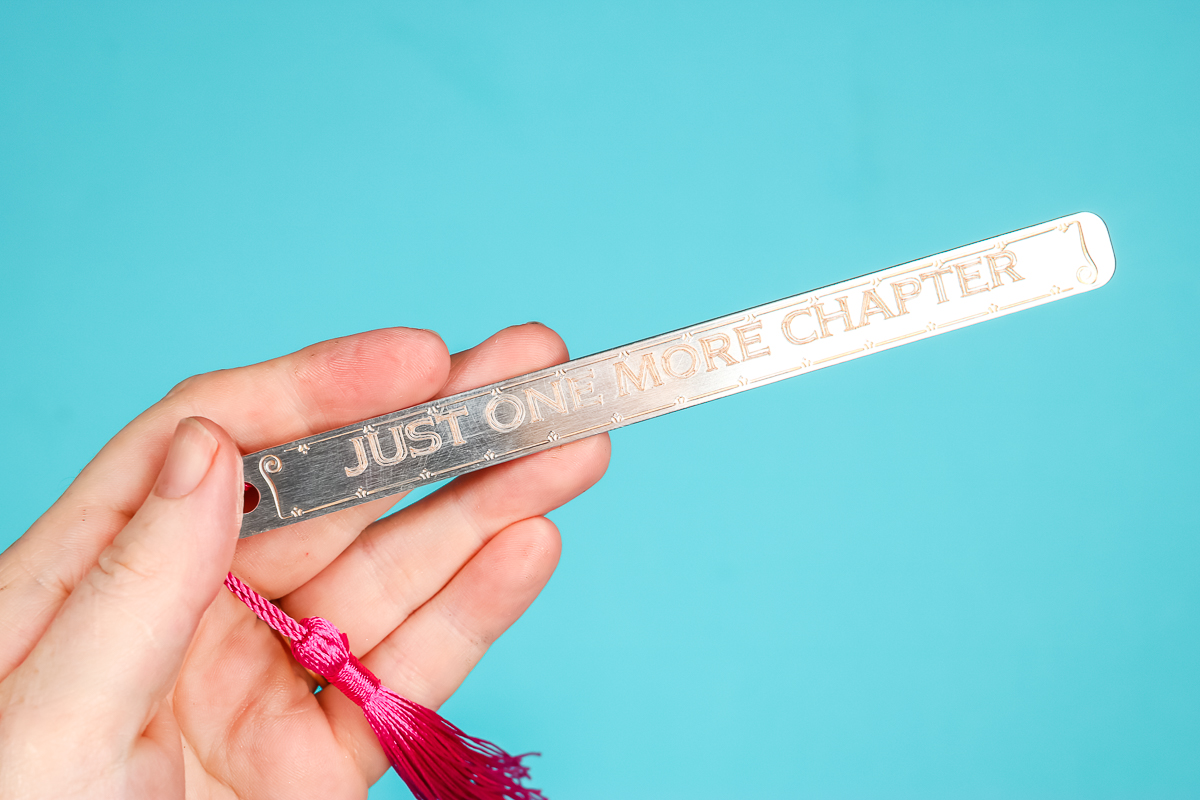
Final Thoughts on How to Add Color Engraving with a Cricut Machine
Adding color engraving with a Cricut is a really fun project. I love how the bookmark turned out and we learned different ways to add color to engravings.
My favorite was the Rub ‘n Buff, it comes in a wide variety of colors but they all are metallic looking. If you want something other than a metallic look, the stamp enamel and Sharpies are great options. Both come in a wide variety of colors and work really well.
I had success with all 3 products I tried today. Just remember you may need to do more than one coat to get the color as dark as you want it.
How Permanent is the Color?
Once the color is down in the engraving and dried I would allow it 24 hours to really dry before use to be on the safe side. Once it’s completely dried, it’s not going anywhere so each option should be fairly permanent.
I do want to note that the Stamp Enamel marker from ImpressArt is water-based. If you soak your finished project in water, it will likely come off. I will call it permanent but not waterproof.
I hope I’ve answered all your questions about color engravings with a Cricut. If you have any additional questions, leave them in the comments and I’ll get those answered for you.

