This post and photos may contain Amazon or other affiliate links. If you purchase something through any link, I may receive a small commission at no extra charge to you. Any supplies used may be given to me free of charge, however, all projects and opinions are my own.
Are you ready to start crafting for summer? Cricut recently released UV color changing HTV that is perfect for all your summer apparel projects! With four different colors available, there’s sure to be one that is perfect for your project.
If you’re just starting out with HTV, my How to Use Iron-on tutorial is a great place to start.
What is Color Changing HTV?
Color Changing HTV is an iron-on material that changes color in UV light such as sunlight. That’s why this is an awesome product for summertime projects.
Remember the hyper color clothing that used to change color in heat? This works similarly but with light instead of heat. You can see me using this product in the video below!
How Does Color Changing HTV Work?
This HTV comes in a white tube. When you open the tube, you’ll see it’s in black plastic. This is to protect the HTV from any sunlight during the shipping/storage process.
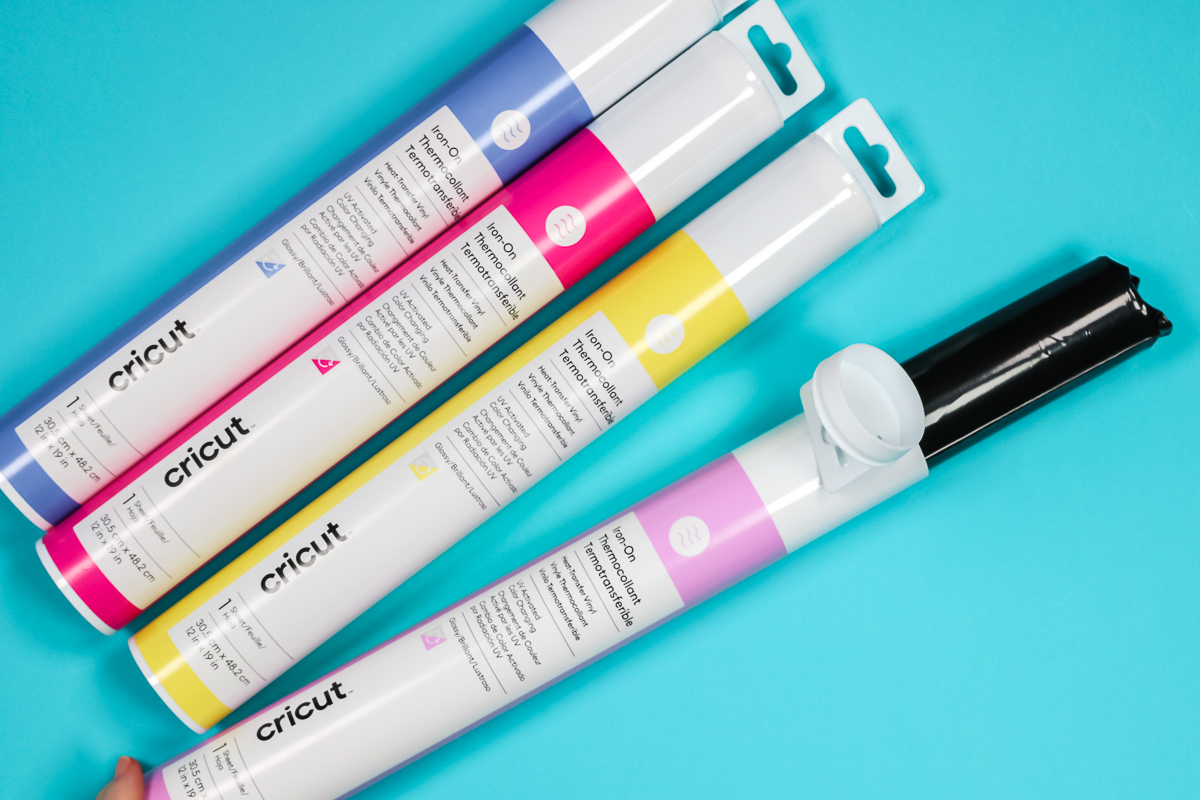
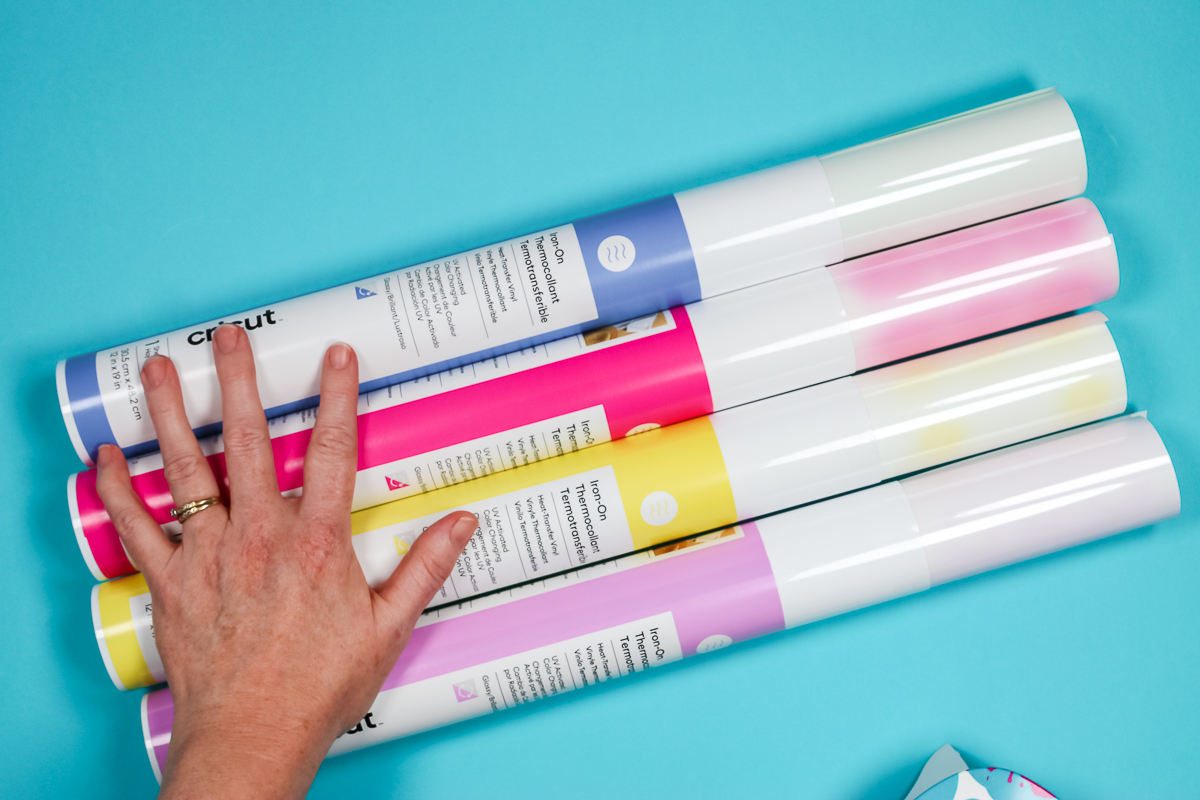
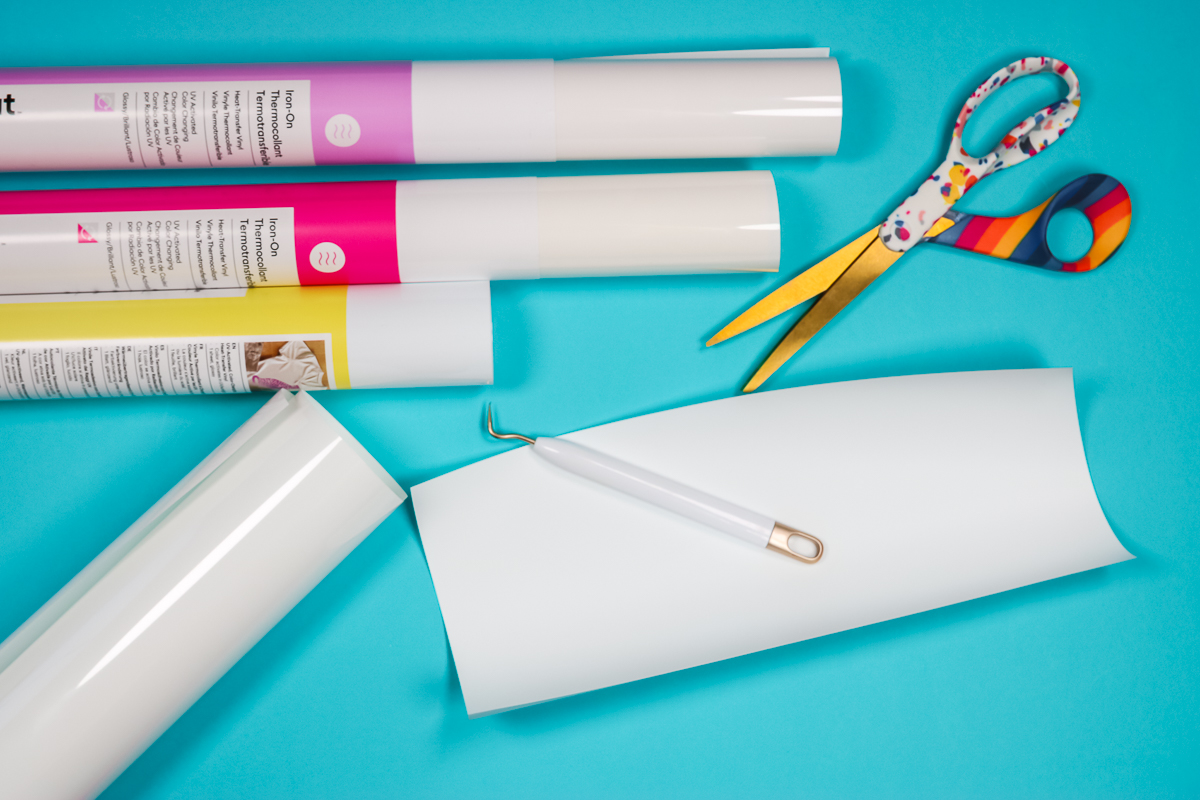
When you open the plastic, you’ll see that all of the different colors are actually white until sunlight hits them. The UV-changing HTV looks exactly like a regular white HTV. If you remove it from the packaging, side by side you cannot tell the difference.
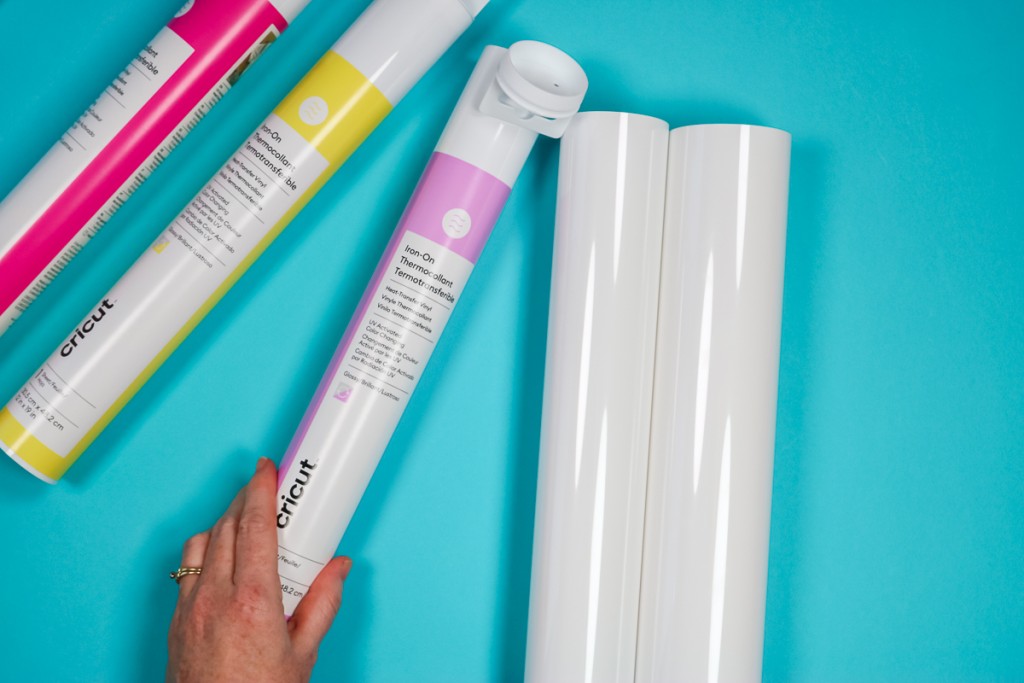
I recommend returning the leftover HTV back to the tube to protect it from sunlight and to know what color it is.
The photo below shows you that outside of the tube, there is no way to know which color is which until sunlight or UV light hits it.
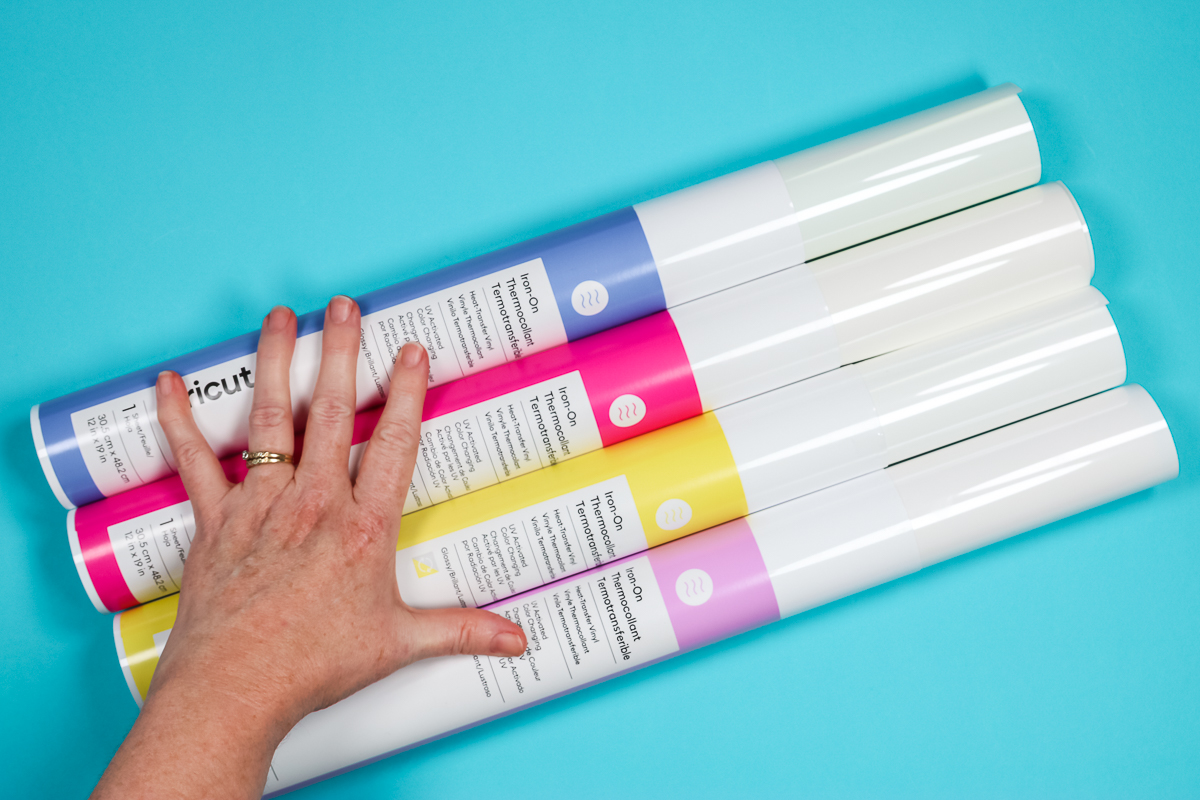
How UV Changes the Color
To show you how the Color Changing HTV changes with UV light, I have a small UV light that I’m going to place over the top of the iron-on. It doesn’t take long in the UV light for the color to start changing.
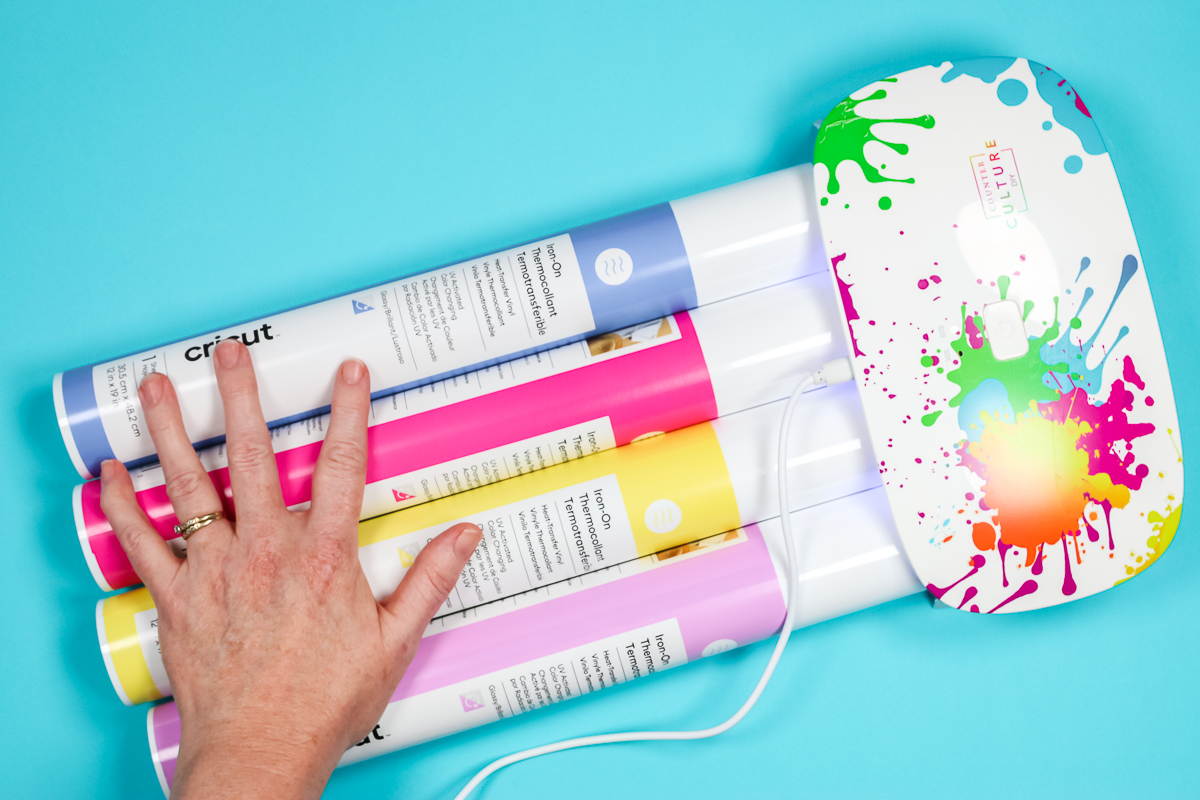
After the light is applied you can see the color appear on each different roll. Obviously, directly below the light bulb is darker and the blue was farther away from the light so it didn’t change as much as the others.
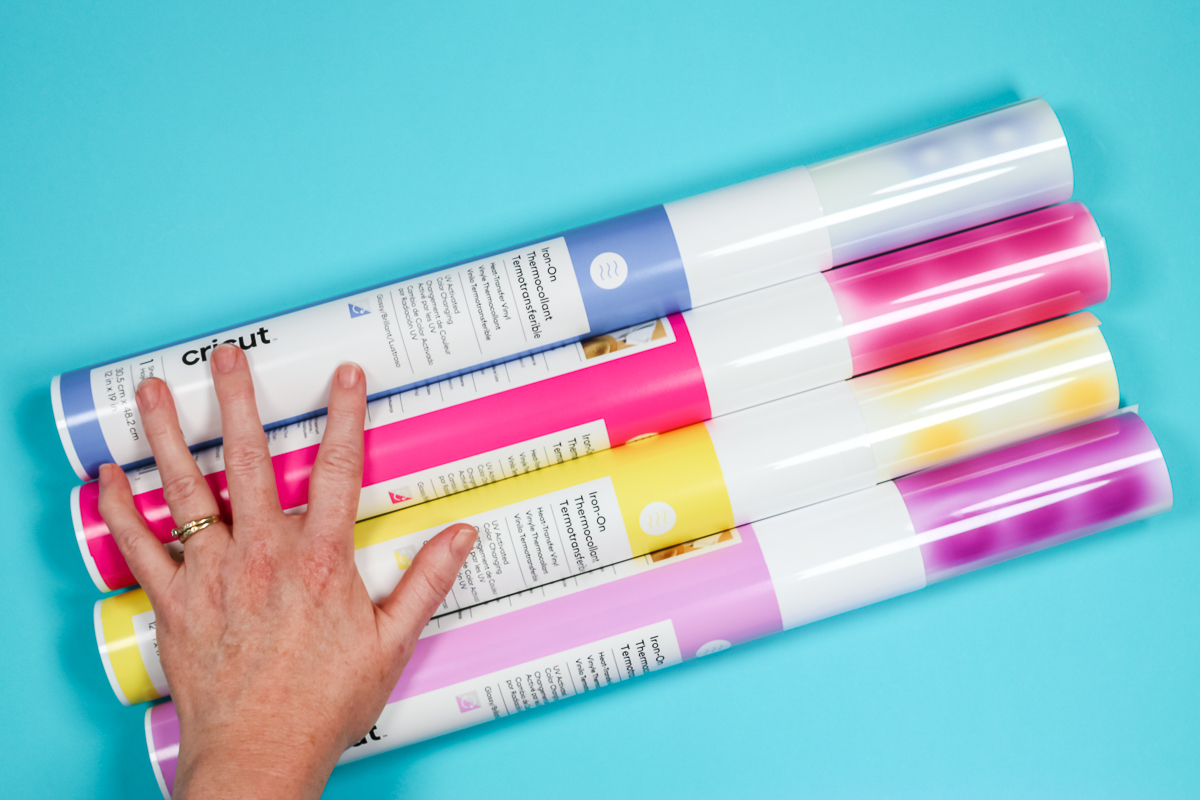
The color will begin to fade when it’s taken away from UV light. The longer it is exposed to UV light the longer it will keep the color even in the shade.
What Blanks Will Color Changing HTV Work On?
Color Changing HTV is a regular Iron-on material that can be used like any other HTV. You can use it on any surface you can use a regular iron-on material on.
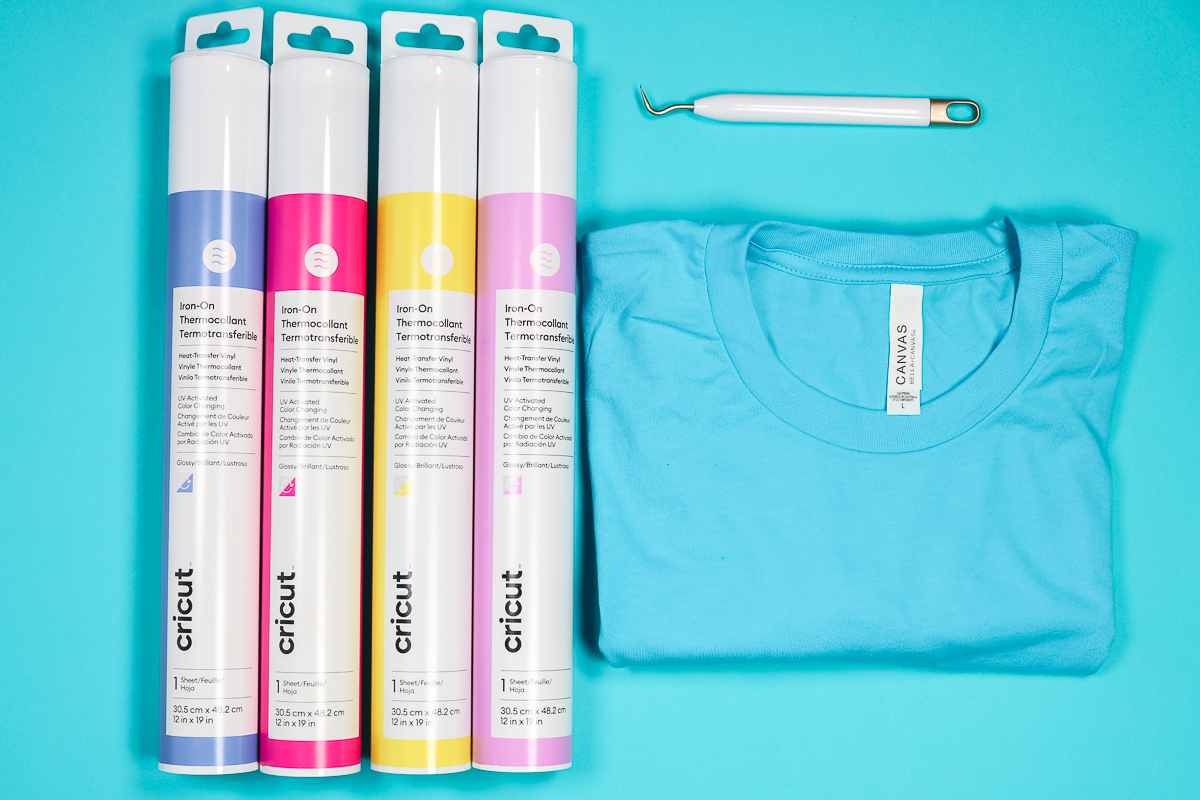
For my project, I am using three colors of Cricut Color Changing HTV, pink, yellow, and violet. I want to recommend choosing a color shirt that will look good when the HTV is white and when the colors change in UV light.
Indoors and out of UV light the HTV will be white, which means a white t-shirt may not be the best option for these projects.
I do recommend using it on projects that will get sunlight since that is what changes the color.
Supplies Used for Color Changing HTV Shirt
How to Make a Color-Changing HTV Shirt
To make my project, I started with the design in mind. Knowing the project you want to make and the design you want to use will make choosing the right color blank easier.
My sweet summertime design has three colors and I’m going to cut each of them out with my Cricut machine.
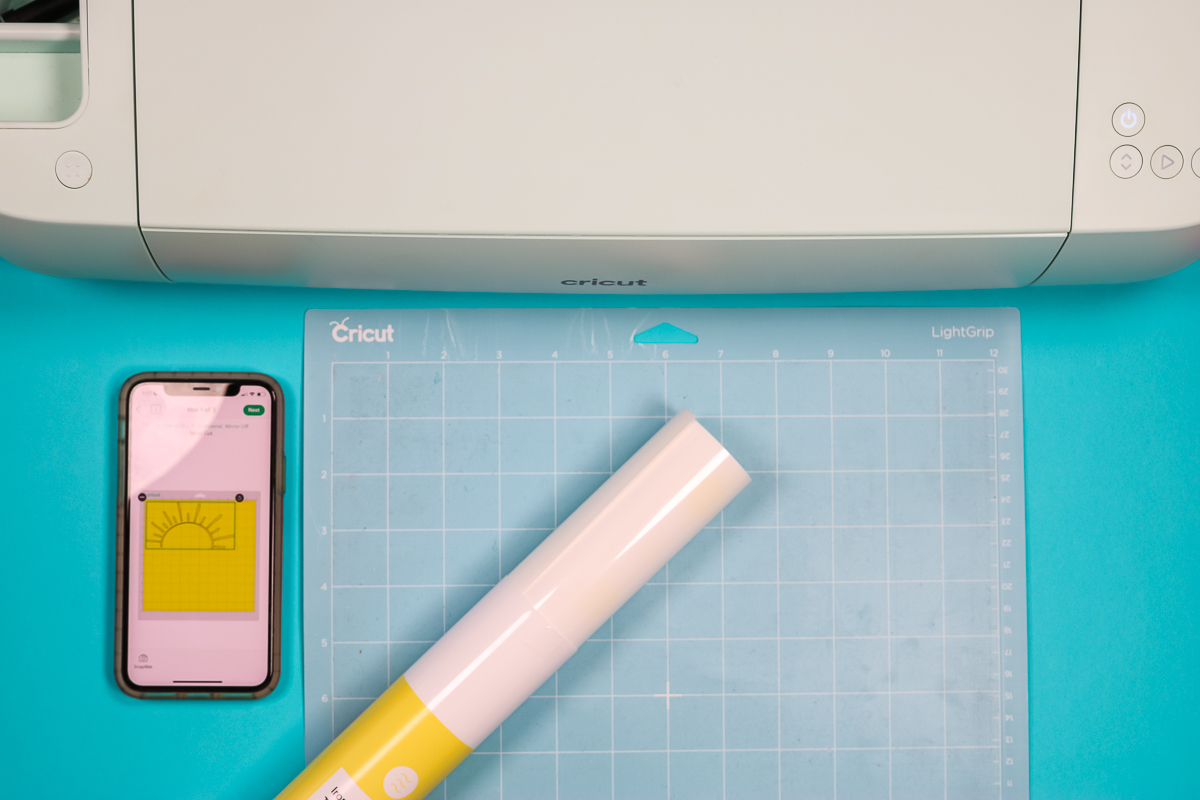
Cutting color-changing HTV is the same as cutting other HTV materials. I am using a blue LightGrip mat. You’ll want to place the material on the mat shiny side down.
Make sure the material is stuck down really well. I like to use a brayer to really stick it to the mat.
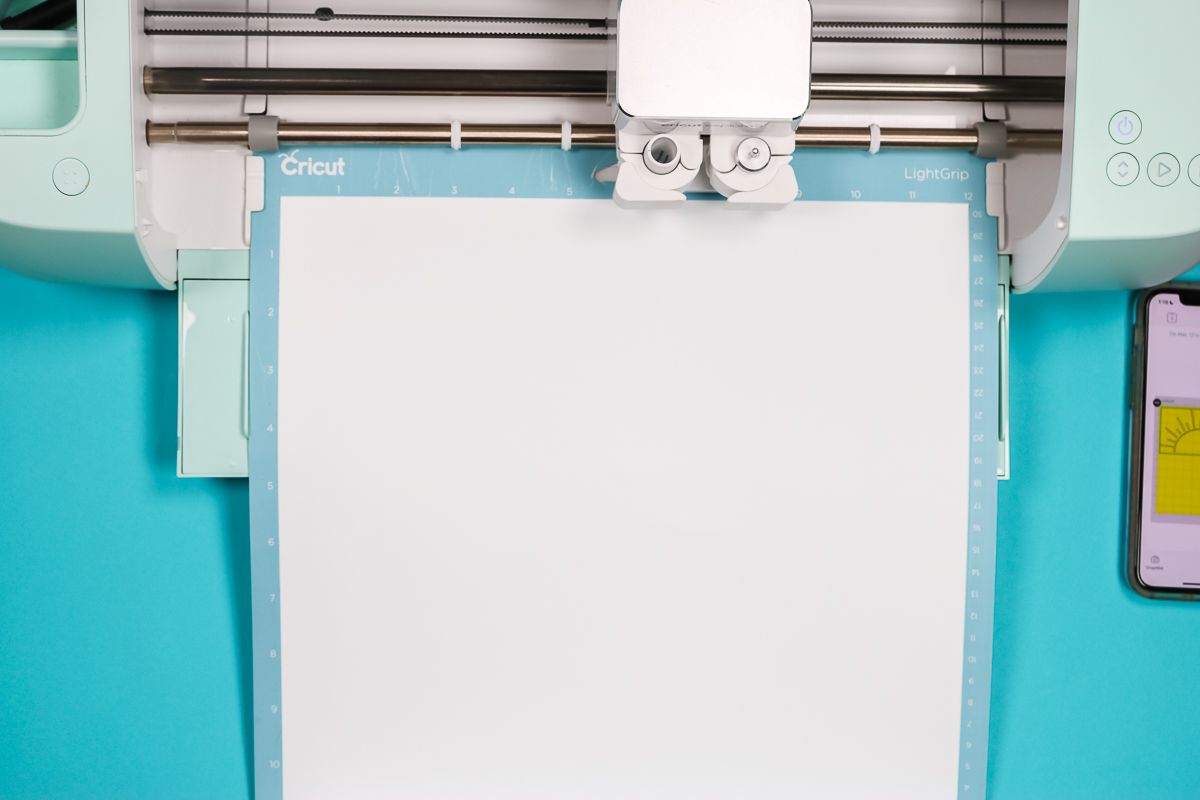
Because this is an iron-on material make sure you mirror each mat of iron-on.
I found that the Everyday Iron-on setting worked fine for this project so we can select that material setting and load the mat into our machine. Press Go to cut out the design.
How to Weed Iron-on
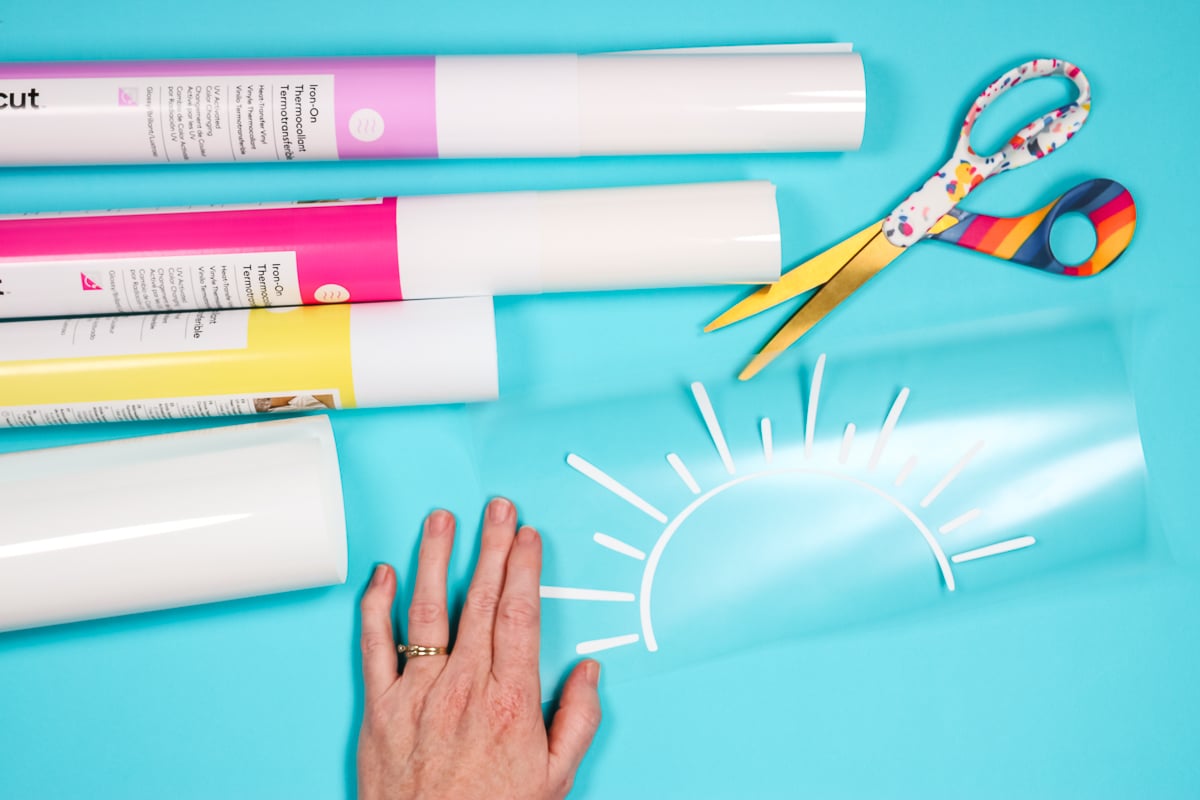
Color Changing HTV weeds exactly the same as other HTV materials. Use a weeding tool to remove all the excess HTV material. Don’t forget the inside of the letters.
This HTV weeds very easily with the weeding tool. I had no problems getting it to weed at all.
Weed each color of HTV and make sure you place what’s left back in the correct tube right away so you don’t mix them up.
How to Layer Color Changing Iron-on
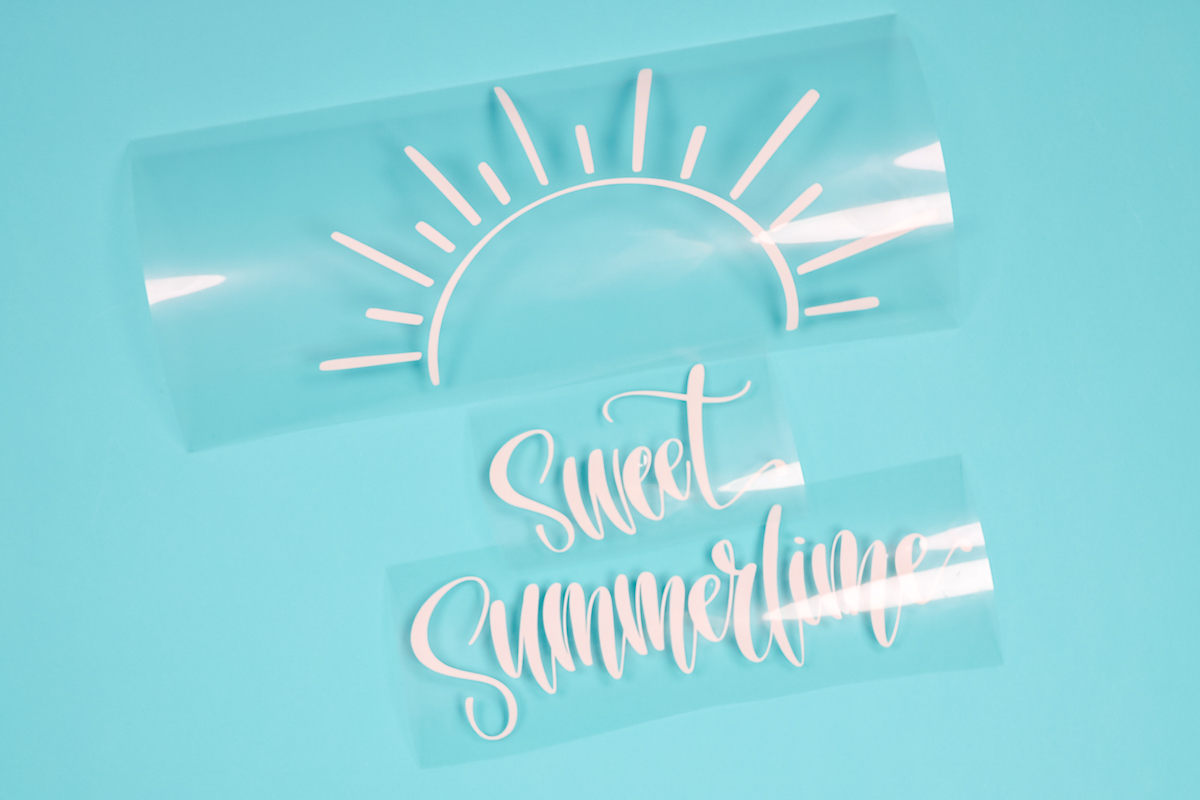
Here are all three pieces we cut out and weeded. Although these pieces are all different colors, you cannot tell at this point.
This is why it’s important to make sure your t-shirt will look good with white HTV and with the different colors you use when they’re in sunlight.
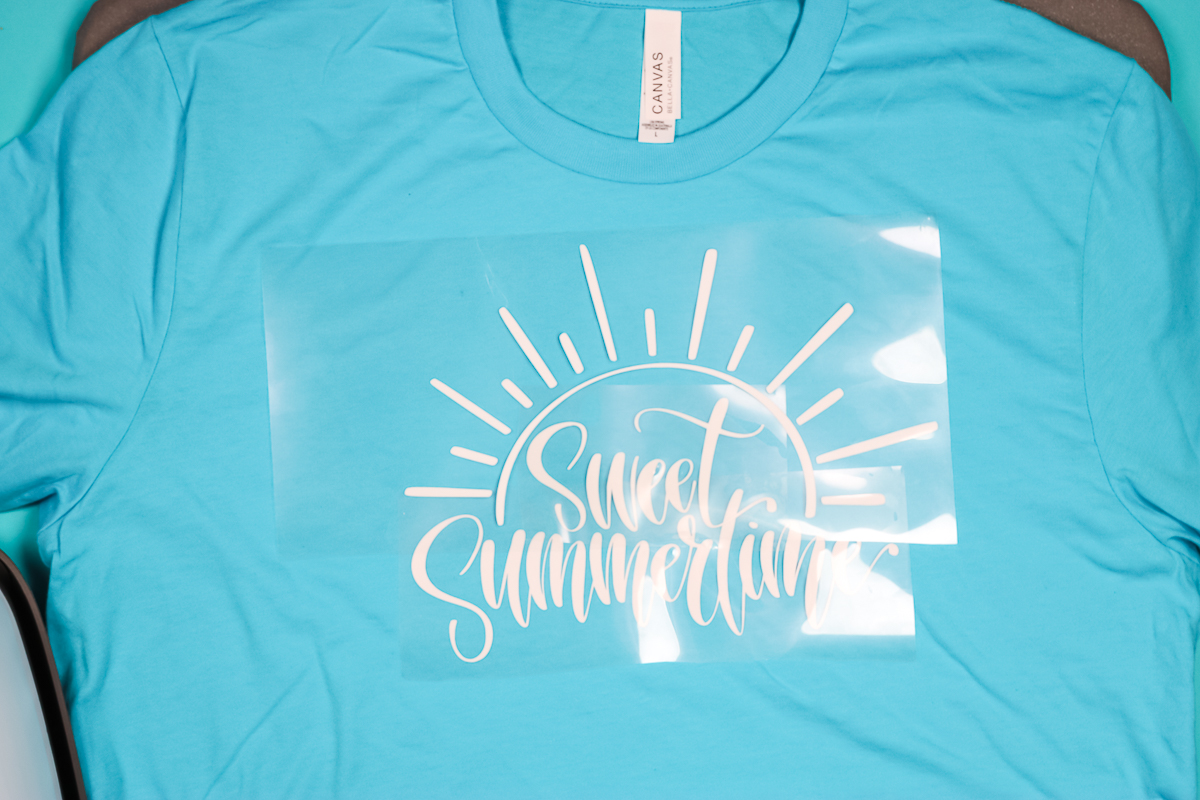
Before we apply the HTV to our shirt, we need to make sure it’s laid out how we want it.
I’ve moved mine around to make sure they’re layered exactly how I want them. You can tell in the photo above that the bottom of the T in sweet is the cross to the T in summertime. This does make it a little easier to make sure things are laid out correctly.
How to Prepare a Shirt for HTV
For UV Color Changing HTV and a 100% cotton shirt, the settings are 315 degrees for 30 seconds.
To prepare our shirt, we need to pre-press it for about 5 seconds to make sure all the moisture is removed from the fabric.
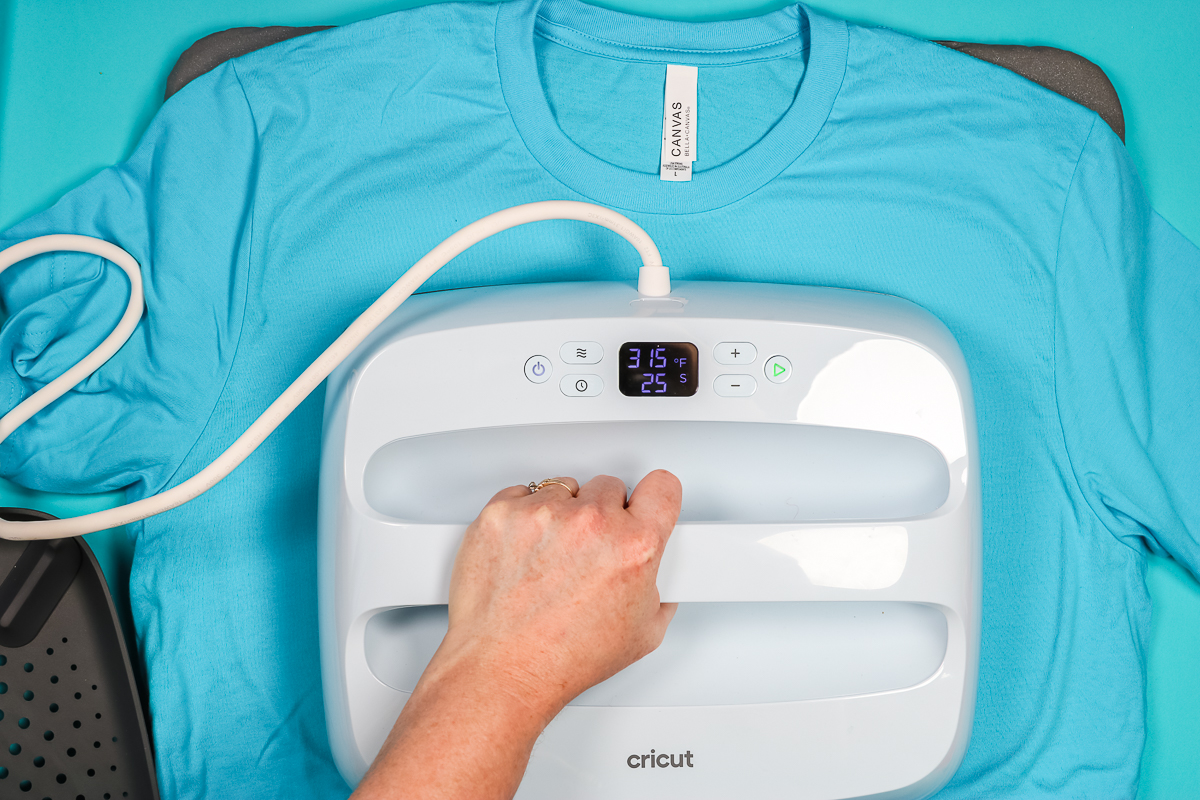
NOTE: I am using my large EasyPress 3 because it will cover my whole design. If you’re using a larger design or a smaller EasyPress, you can press the design in sections.
How to Press UV Color Changing HTV
With all the layers located where I want them on the shirt, I am going to remove 2 layers and press the Summertime layer first.
Remember this only changes with UV light so it will not change with the heat. It will still be white after the heat is applied.
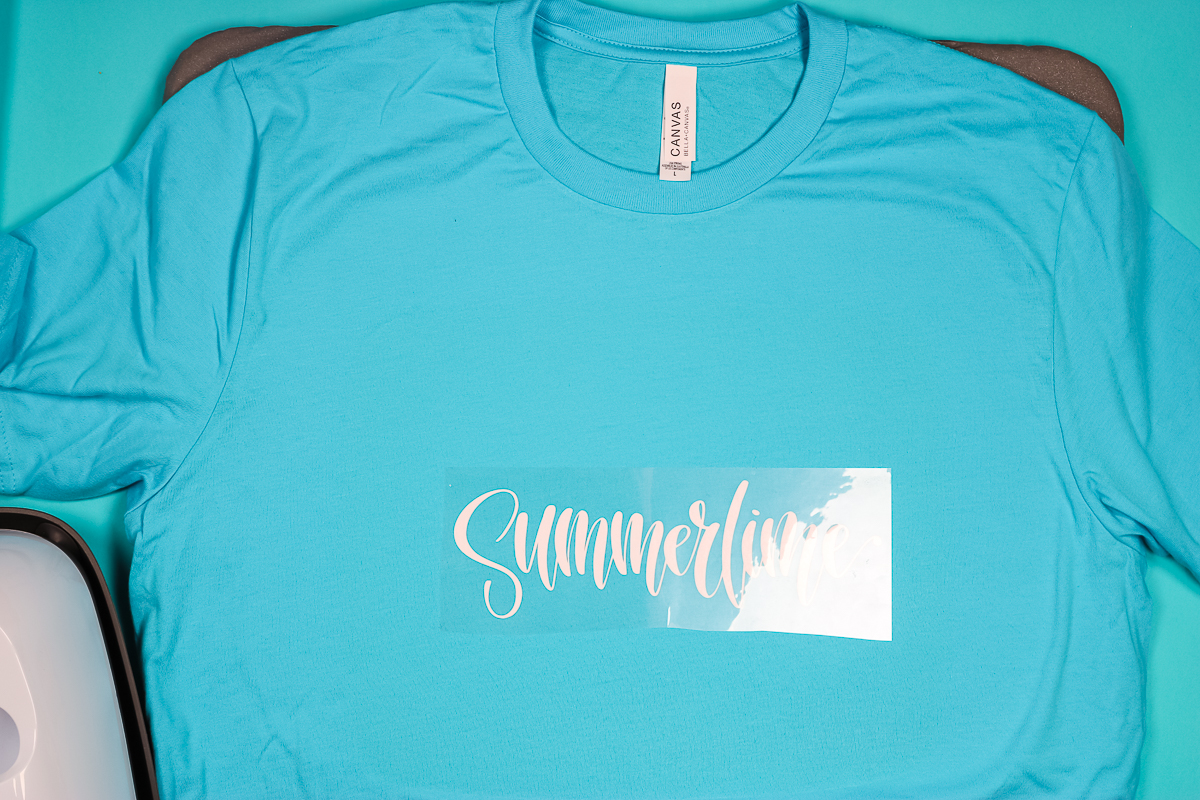
Because we’re layering this iron-on I’m going to press the first two layers for less time because they’ll end up being pressed more than once. I’m pressing for about half the time that is called for for the first 2 layers.
This product is a cool-peel HTV. Even though we’re pressing it for less time, you want to let it cool before you peel back the carrier sheet.
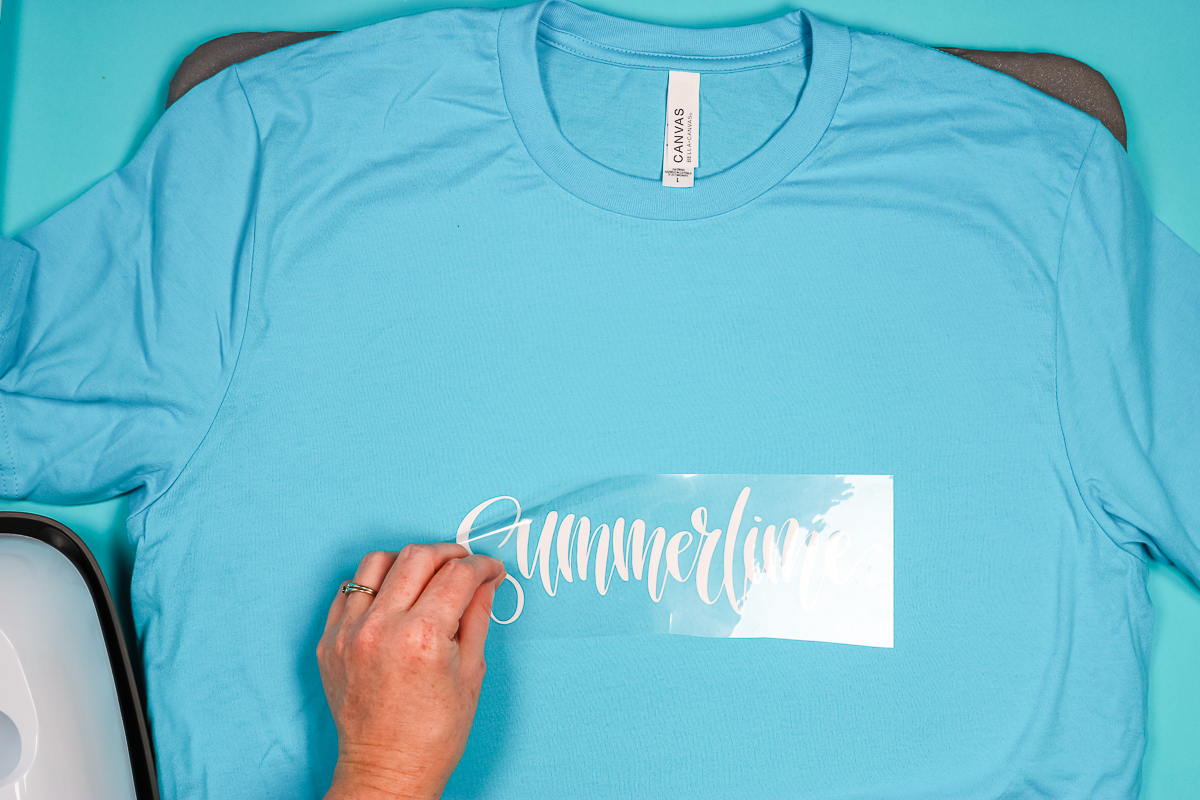
Go slowly as you peel back the carrier sheet to make sure everything is stuck down and releasing from the carrier sheet.
IMPORTANT: Don’t throw away the carrier sheet. We’re going to use this to protect the iron-on from the heat plate of the EasyPress when we press the other layers.
How to Press Middle Layers of HTV
For the second layer of HTV, locate it in the correct position. I want the t’s to overlap correctly. With that piece in place, replace the carrier sheet over summertime so none of the EasyPress is sitting right on top of the HTV material.
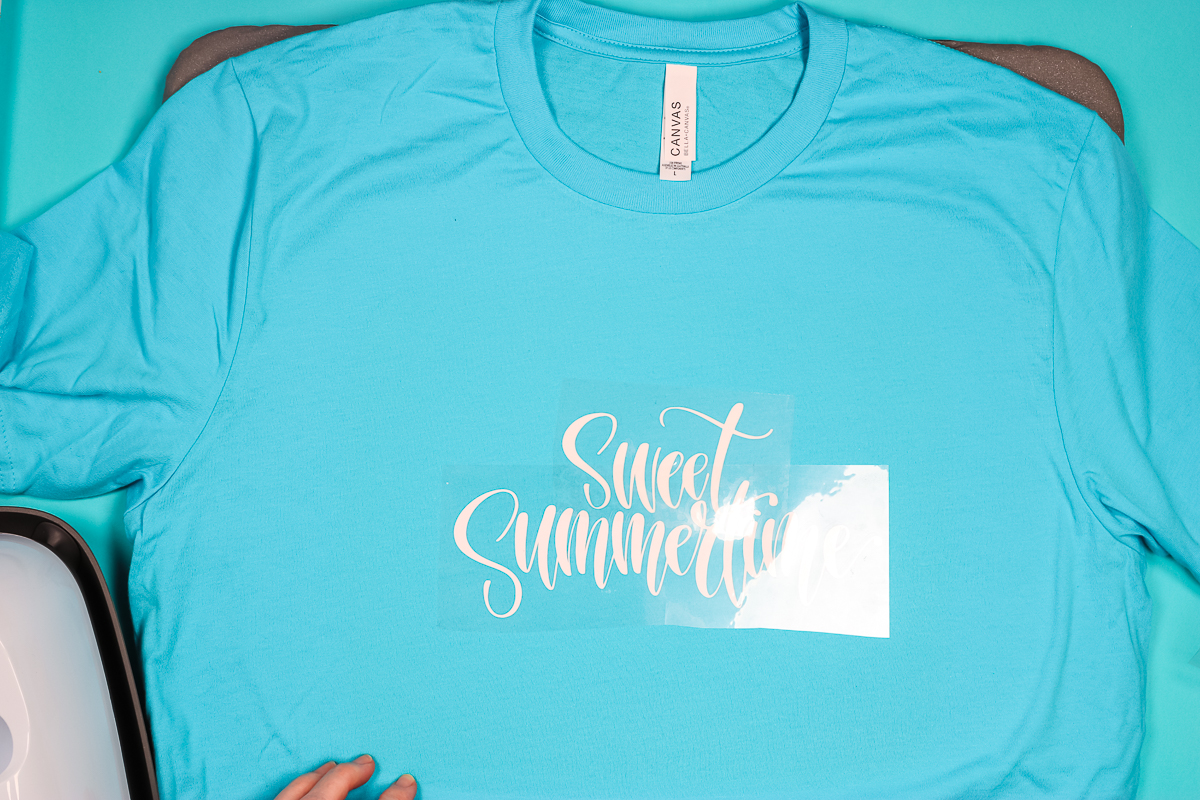
For the second layer, press for about half the time again. We don’t want to press for too long because we have one more layer to press on top of these.
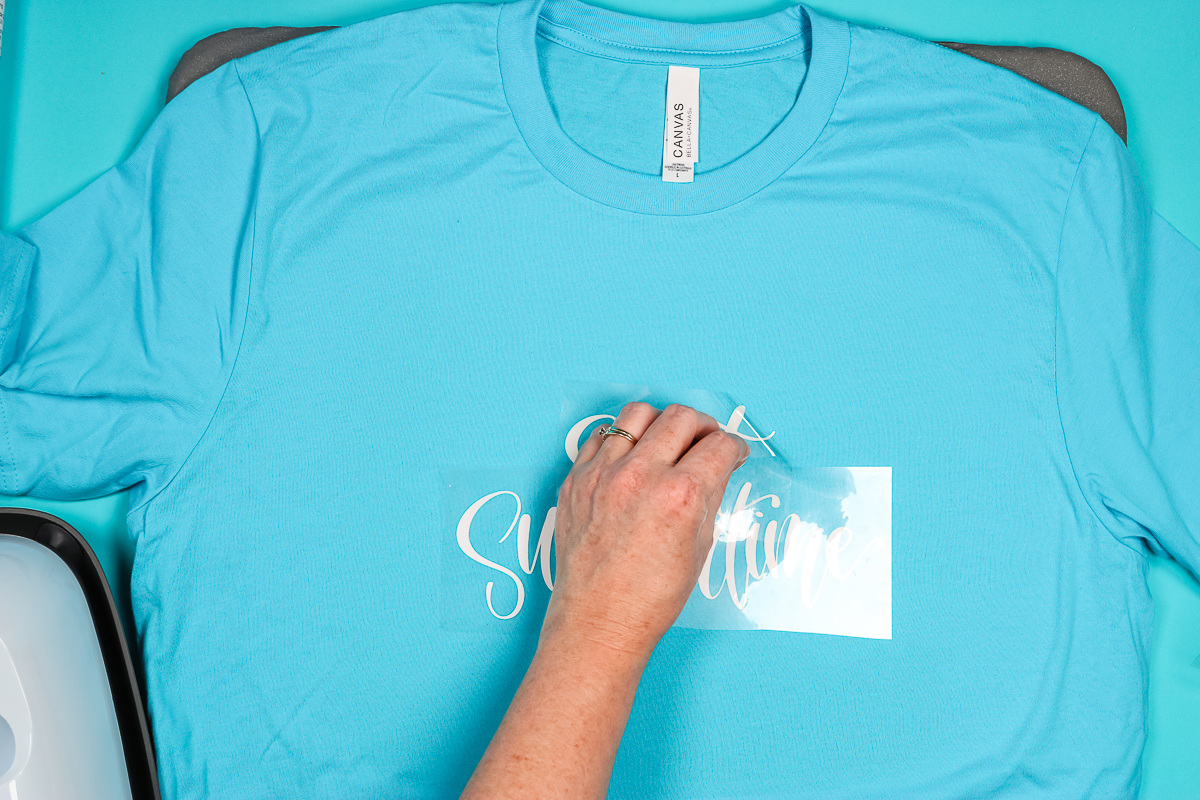
Allow the HTV to cool and then peel back the carrier sheet from both layers. Remember to keep those carrier sheets.
How to Press the Top Layer of HTV
For the top layer of the design, locate the sun piece. With it in place, the whole word “Sweet” is covered with the sun carrier sheet.
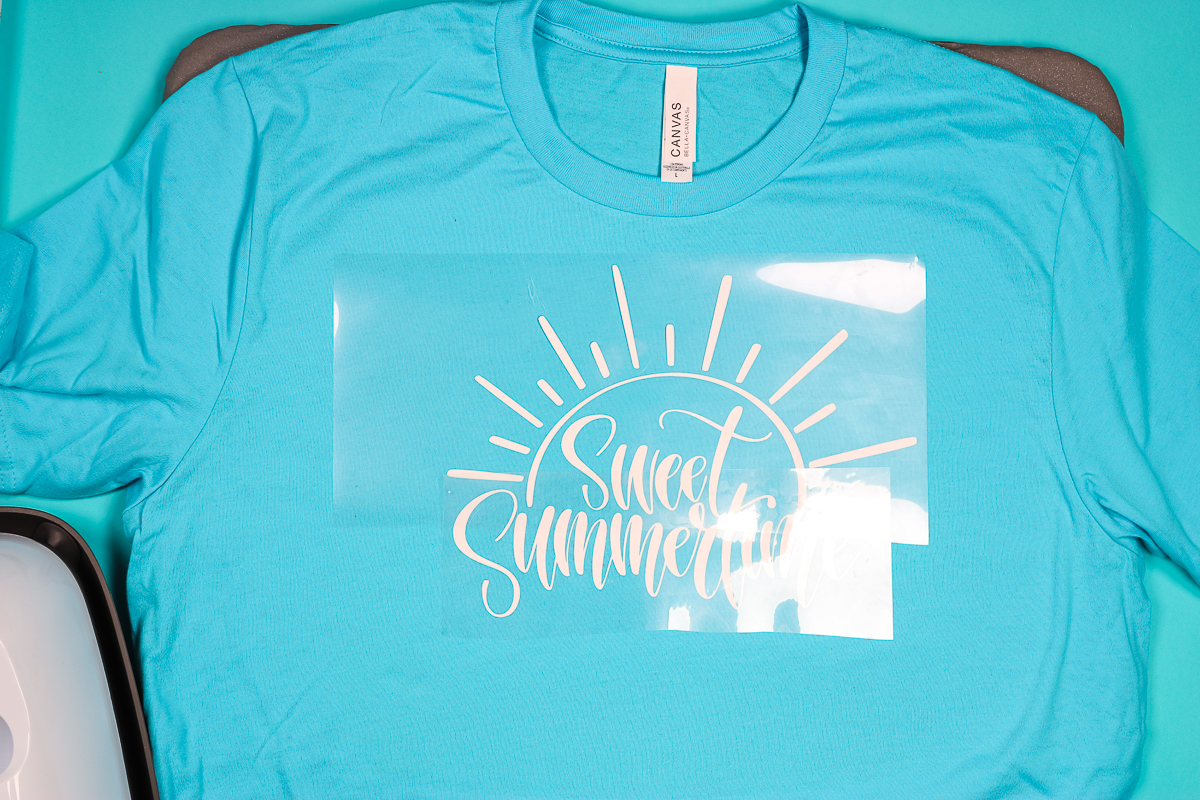
I am going to replace the carrier sheet over the top of summertime so all the HTV is covered. Since this is our last layer, press with firm pressure for the full time. That is 315 degrees for 30 seconds.
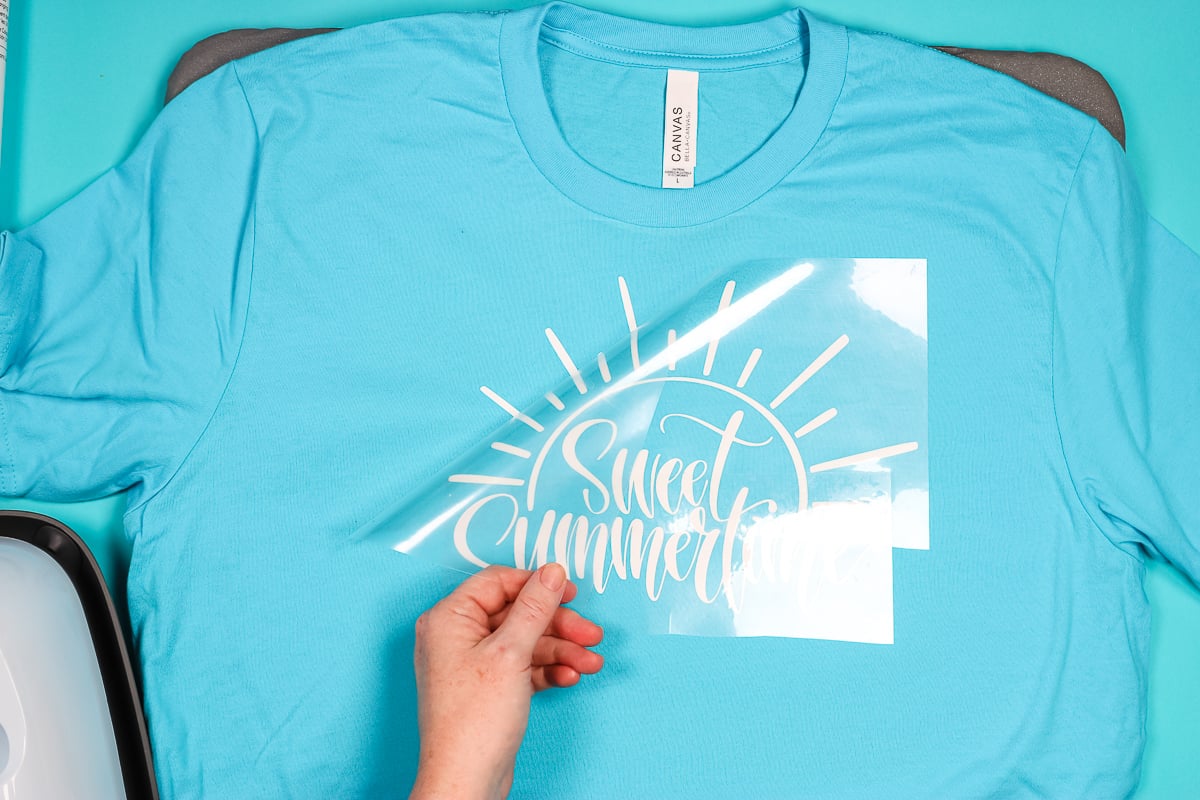
Allow the HTV to cool before trying to remove any of the carrier sheets. Slowly peel the carrier sheet back making sure the design is stuck down well everywhere.
Close Up Look at Pressed UV Changing HTV
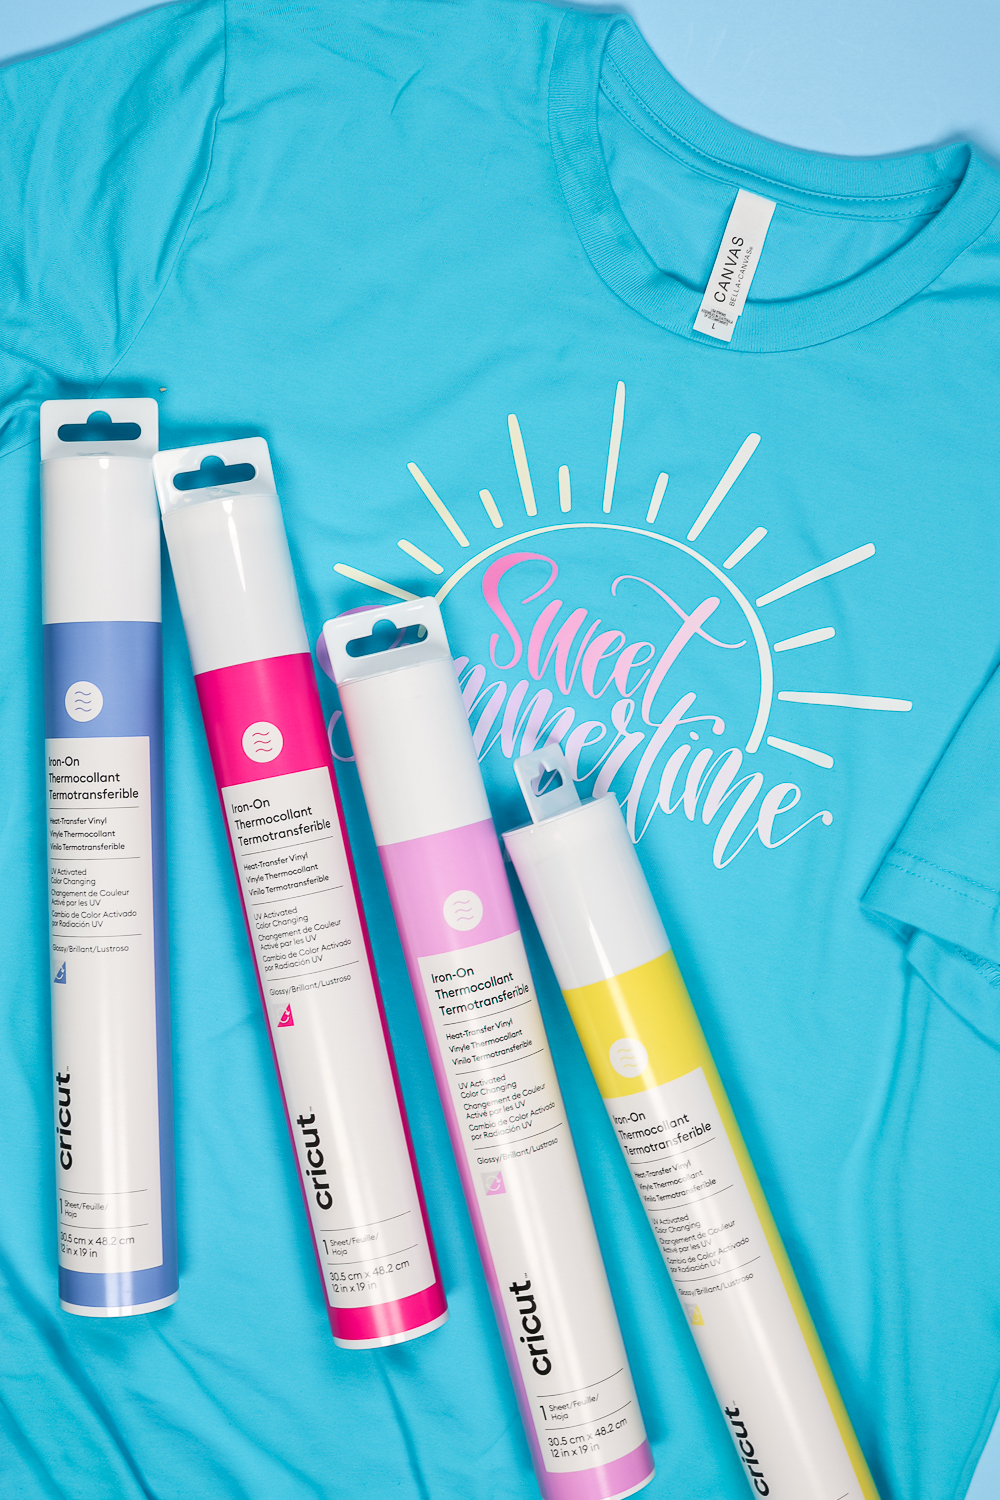
Here’s a close-up look at the finished design. You can see that right now it looks like the whole design is done in white HTV.
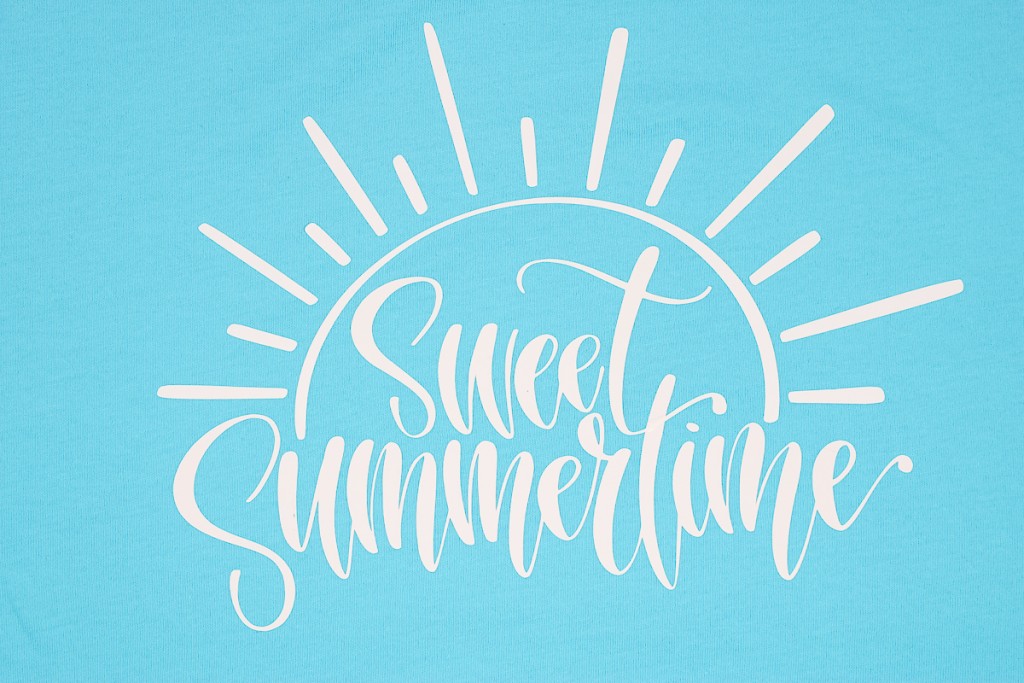
I really love how quickly it changes when UV light hits it. You don’t have to wait to see the colors change which makes it so fun.
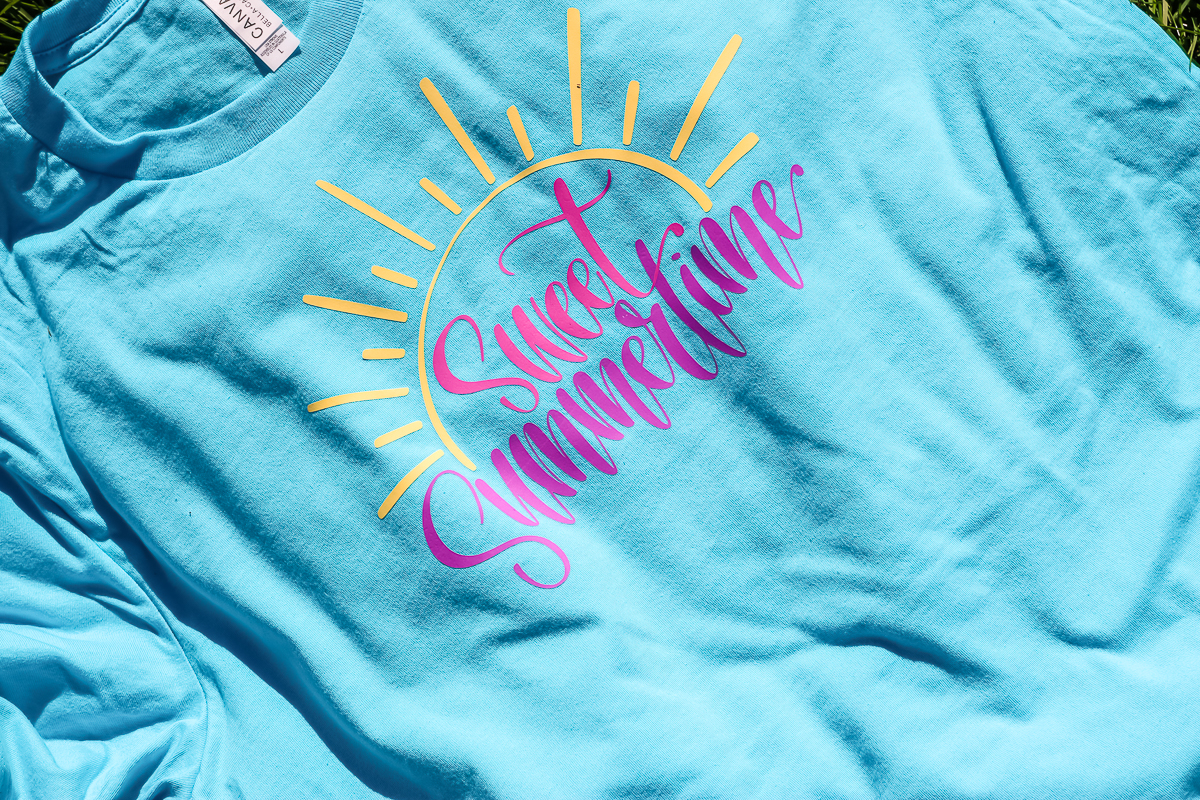
Here’s a close-up of how it looks after being in the sunlight. I wanted to show you how much the color changes in the sun.
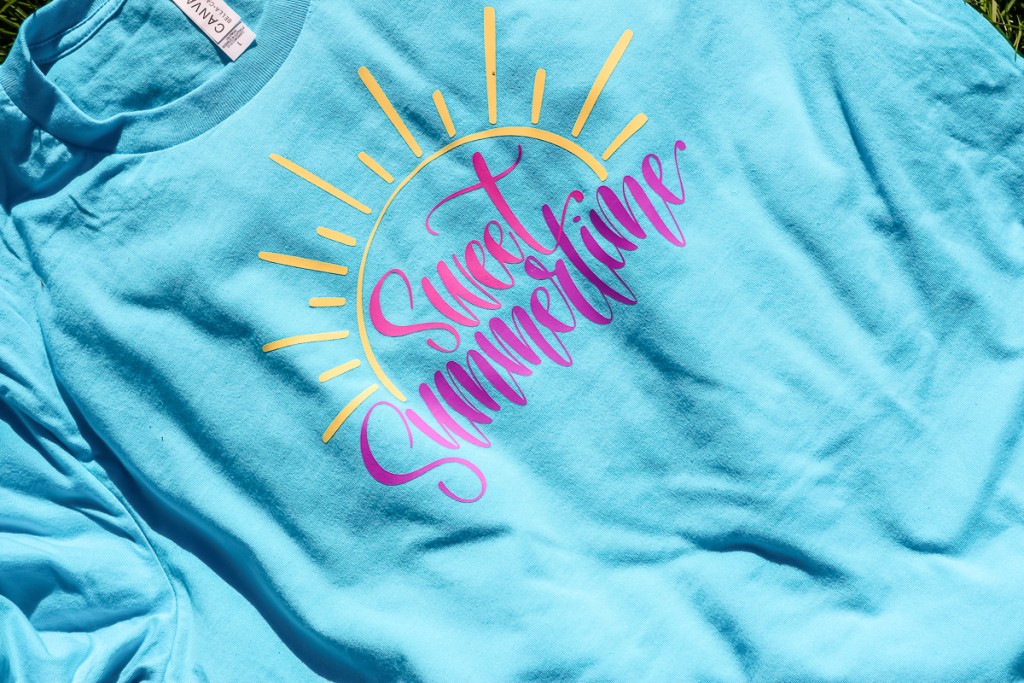
Look at how vibrant the colors are. I think the colors match the color on the tube really well. The sunlight really, really brings out the colors.
Now let’s look at the shirt in the shade. You can see that the color fades when the UV light is taken away.
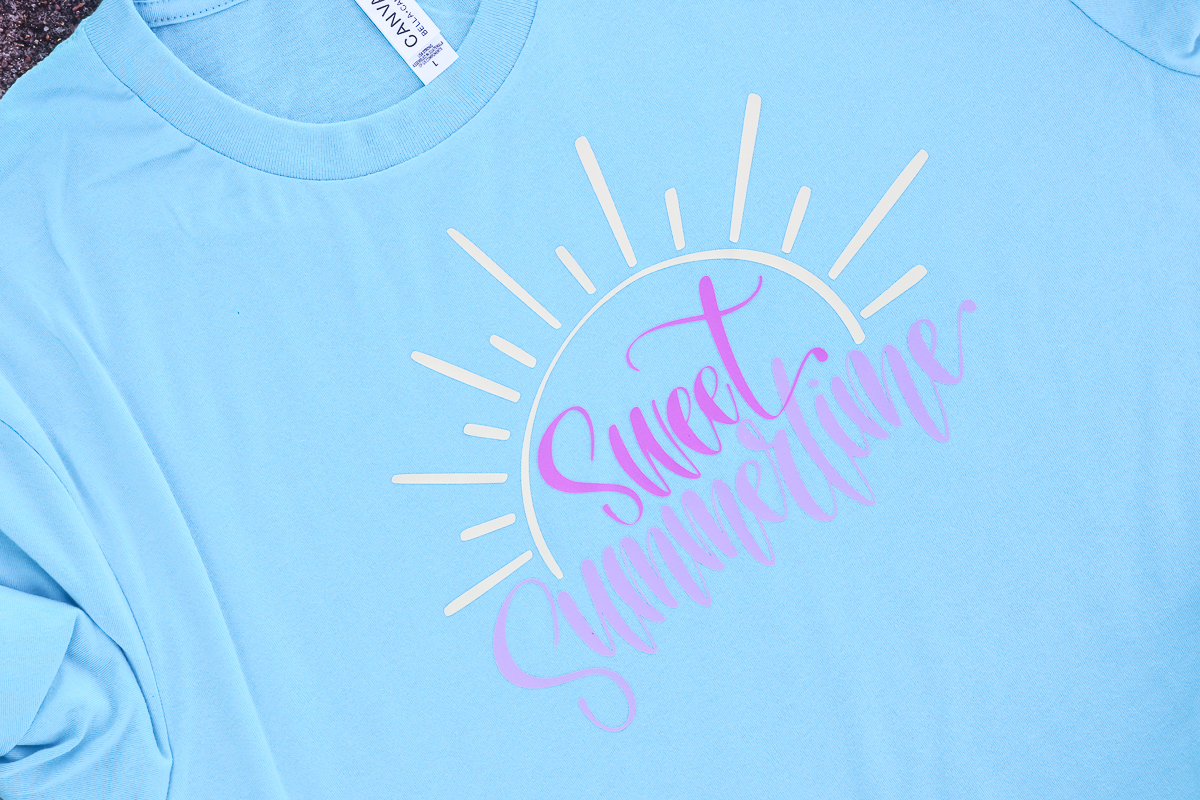
In the shade, the colors become more pastel. This is a great example of all the different colors this same HTV can be. So make sure you’re keeping that in mind when choosing your shirt color.
Final Thoughts on Color Changing HTV
I think Cricut did a great job with this new product. It cuts and weeds easily. With the EasyPress, it presses wonderfully. I used the EasyPress but this product can be used with any heat press just like a regular HTV can.
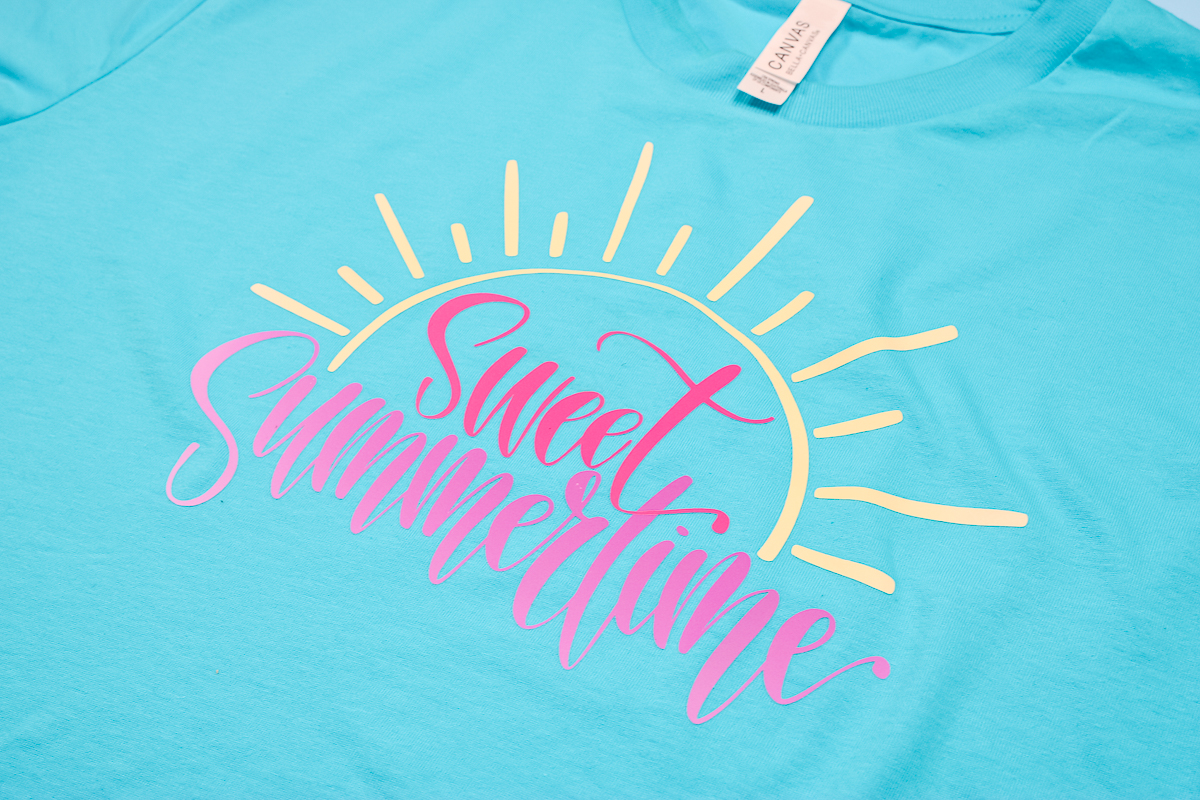
I did want to let you know that the longer the HTV is in the UV light the longer it will hold the color. It takes longer to return back to white after extended exposure to UV rays.

I hope I’ve answered any questions you may have about Color Changing HTV. If you have any others, leave them in the comments below and I’ll get those answered for you.
What else can you make with Bella+Canvas shirts? Try the projects below as well!
If you’ve ever wanted to add sublimation designs to cotton fabric, I will teach you the best products to use and how to turn your favorite cotton tee into a sublimated shirt.
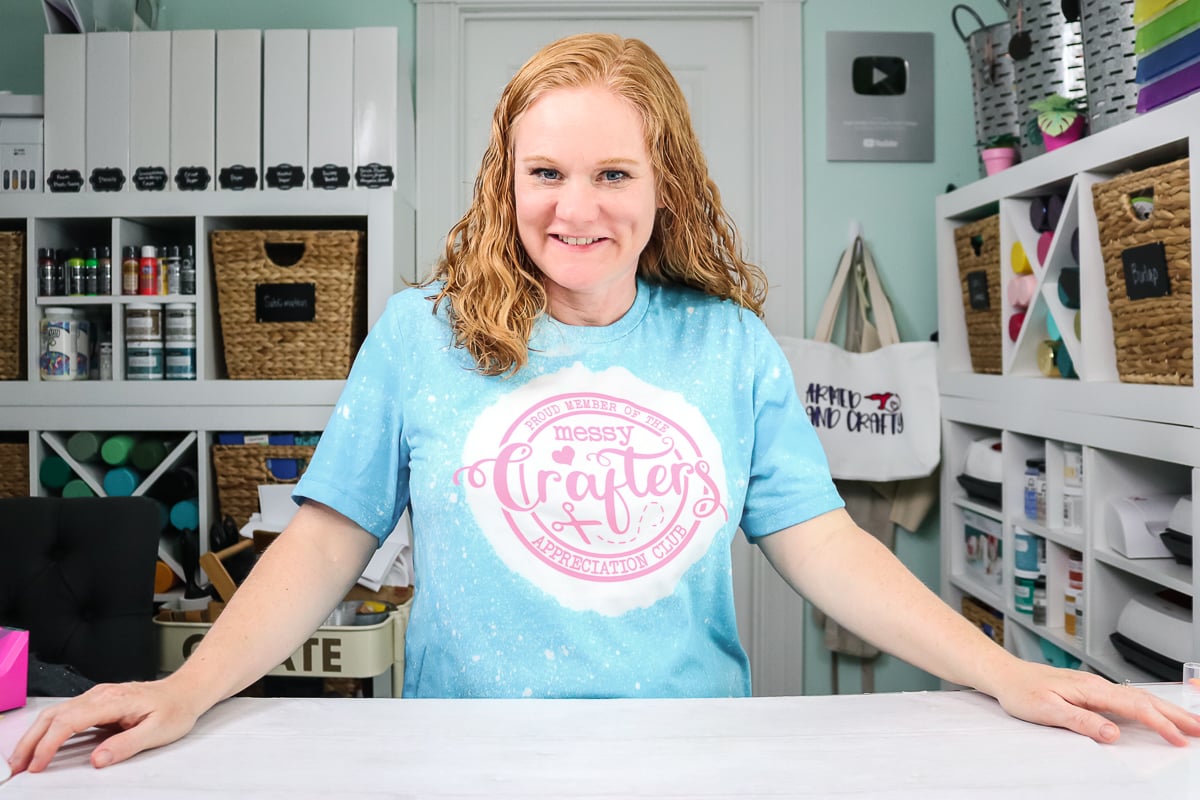
Learn all about bleaching shirts with a variety of methods! Perfect for adding sublimation or even HTV designs! #bleaching #cricut #sublimation
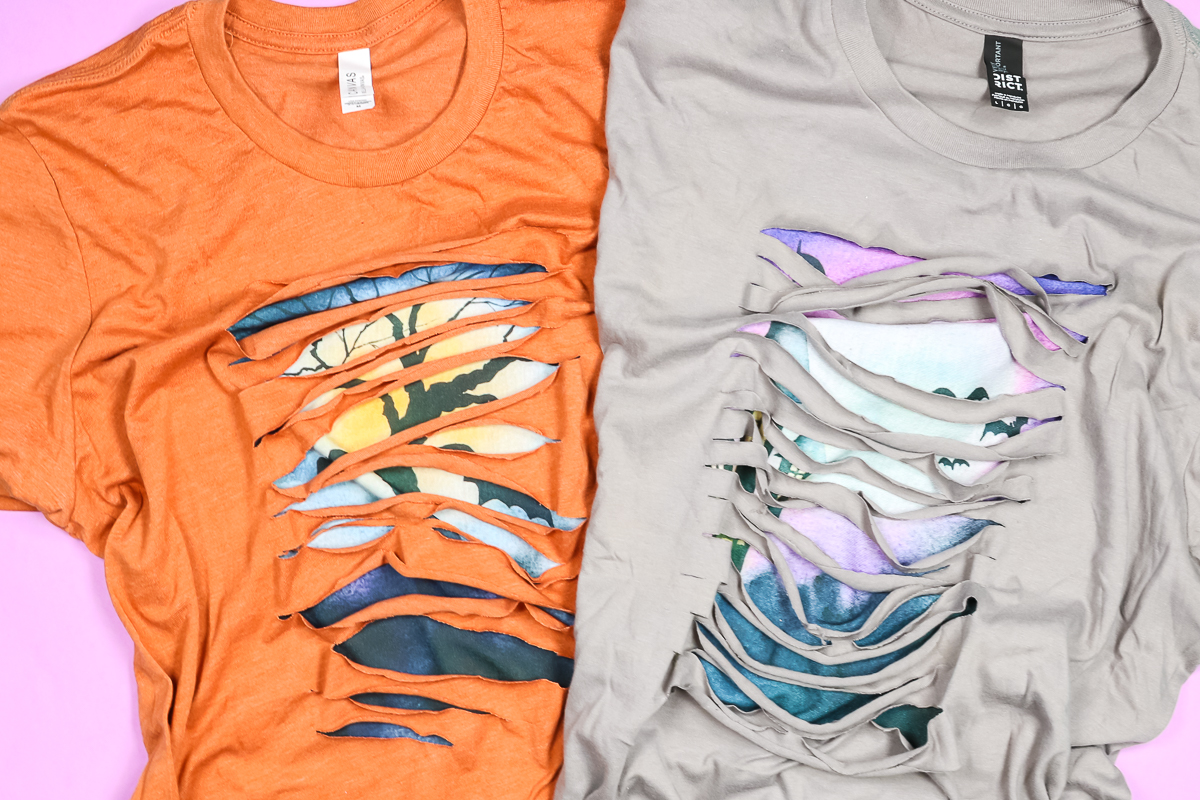
Make a peek-a-boo sublimation shirt for Halloween! You will love this method of using cotton shirts for sublimation. Keep reading to learn how. #sublimation #sublimationshirt #halloweenshirt
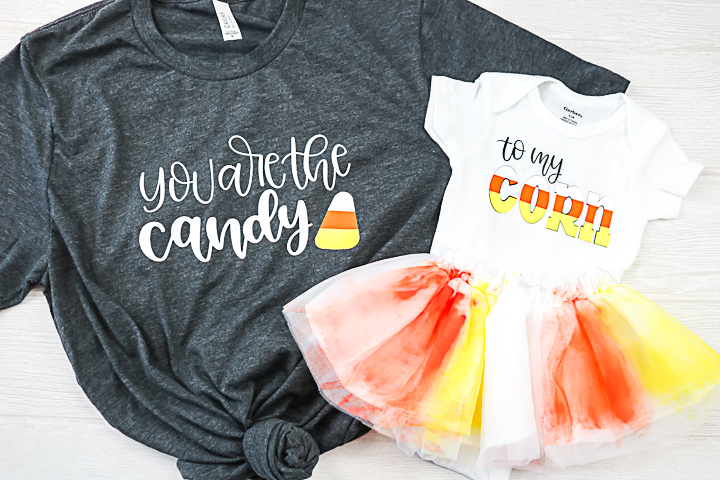
Make these mommy and me shirts in minutes with Siser HTV and your Cricut machine! So easy to make and perfect for fall with a candy corn theme! #fall #mommyandme #cricut #cricutcreated #halloween
To print the instructions for this project, use the card below!
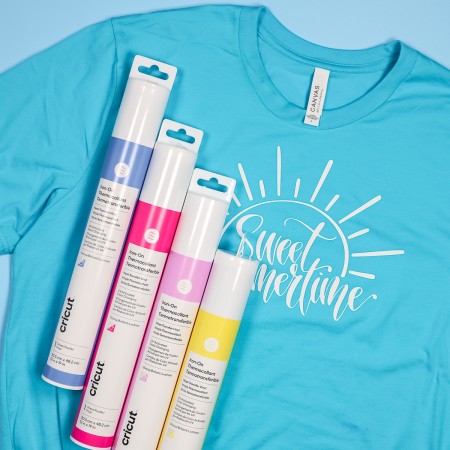
Supplies
- BELLA+CANVAS Shirts
- Color Changing HTV
Instructions
How to Make a Color Changing HTV Shirt
-
To make my project I started with the design in mind. Knowing the project you want to make and the design you want to use will make choosing the right color blank easier.
-
My sweet summertime design has three colors and I’m going to cut each of them out with my Cricut machine.
-
Cutting color changing HTV is the same as cutting other HTV materials. I am using a blue LightGrip mat. You’ll want to place the material on the mat shiny side down.
-
Make sure the material is stuck down really well. I like to use a brayer to really stick it to the mat.
-
Because this is an iron-on material make sure you mirror each mat of iron-on.
-
I found that the Everyday Iron-on setting worked fine for this project so we can select that material setting and load the mat into our machine.
-
Press Go to cut out the design.
How to Weed Iron-on
-
Color Changing HTV weeds exactly the same as other HTV materials.
-
Use a weeding tool to remove all the excess HTV material. Don’t forget the inside of the letters.
-
This HTV weeds very easily with the weeding tool. I had no problems getting it to weed at all.
-
Weed each color of HTV and make sure you place what’s left back in the correct tube right away so you don’t mix them up.
How to Layer Color Changing Iron-on
-
Here are all three pieces we cut out and weeded. Although these pieces are all different colors you cannot tell at this point.
-
This is why it’s important to make sure your t-shirt will look good with white HTV and with the different colors you use when they’re in sunlight.
-
Before we apply the HTV to our shirt we need to make sure it’s laid out how we want it.
-
I’ve moved mine around to make sure they’re layered exactly how I want them. You can tell in the photo above that the bottom of the T in sweet is the cross to the T in summertime. This does make it a little easier to make sure things are laid out correctly.
-
With everything laid out how I want it I’m going to remove the HTV from the shirt and prep the shirt for pressing.
How to Prepare a Shirt for HTV
-
For UV Color Changing HTV and a 100% cotton shirt the settings are 315 degrees for 30 seconds.
-
To prepare our shirt we need to pre-press it for about 5 seconds to make sure all the moisture is removed from the fabric.
-
I am using my large EasyPress 3 because it will cover my whole design.
-
If you’re using a larger design or a smaller EasyPress you can press the design in sections.
How to Press UV Color Changing HTV
-
With all the layers located where I want them on the shirt I am going to remove 2 layers and press the Summertime layer first.
-
Remember this only changes with UV light so it will not change with the heat. It will still be white after the heat is applied.
-
Because we’re layering this iron-on I’m going to press the first two layers for less time because they’ll end up being pressed more than once.
-
I’m pressing for about half the time that is called for for the first 2 layers.
-
This product is a cool-peel HTV. Even though we’re pressing it for less time you want to let it cool before you peel back the carrier sheet.
-
Go slowly as you peel back the carrier sheet to make sure everything is stuck down and releasing from the carrier sheet.
-
Don’t throw away the carrier sheet. We’re going to use this to protect the iron-on from the heat plate of the EasyPress when we press the other layers.
How to Press Middle Layers of HTV
-
For the second layer of HTV we’re going to locate it in the correct position. I want the t’s to overlap correctly.
-
With that piece in place we’re going to replace the carrier sheet over summertime so none of the EasyPress is sitting right on top of the HTV material.
-
For the second layer we need to press for about half the time again. We don’t want to press for too long because we have one more layer to press on top of these.
-
Allow the HTV to cool and then peel back the carrier sheet from both layers. Remember to keep those carrier sheets.
How to Press the Top Layer of HTV
-
For the top layer of the design we’re going to locate the the sun piece right where we want it.
-
With it in place the whole word “Sweet” is covered with the sun carrier sheet.
-
I am going to replace the carrier sheet over the top of summertime so all the HTV is covered.
-
Since this is our last layer we’re going to press with firm pressure for the full time. That is 315 degrees for 30 seconds.
-
Allow the HTV to cool before trying to remove any of the carrier sheets.
-
Slowly peel the carrier sheet back making sure the design is stuck down well everywhere.
