This post and photos may contain Amazon or other affiliate links. If you purchase something through any link, I may receive a small commission at no extra charge to you. Any supplies used may be given to me free of charge, however, all projects and opinions are my own.
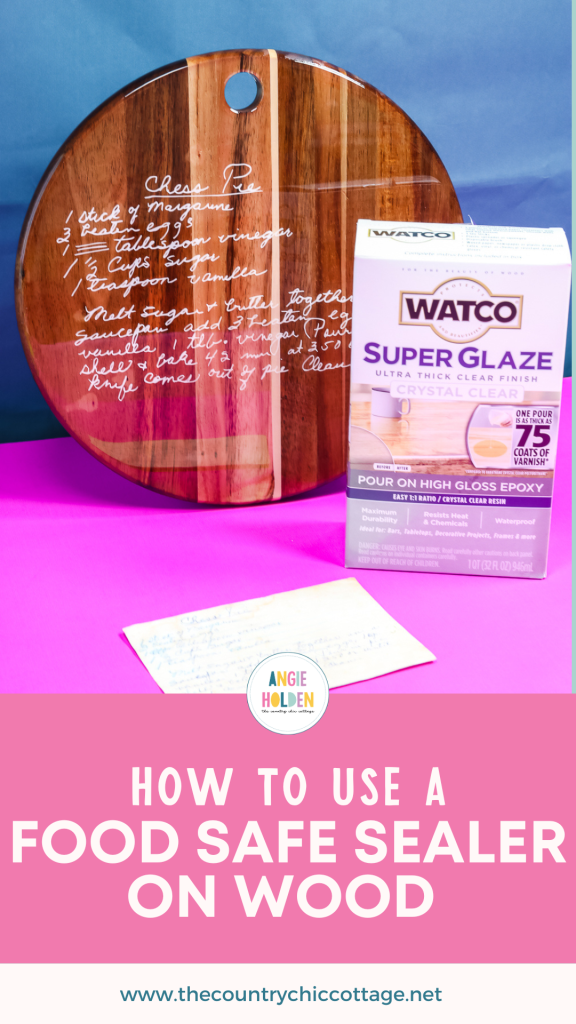
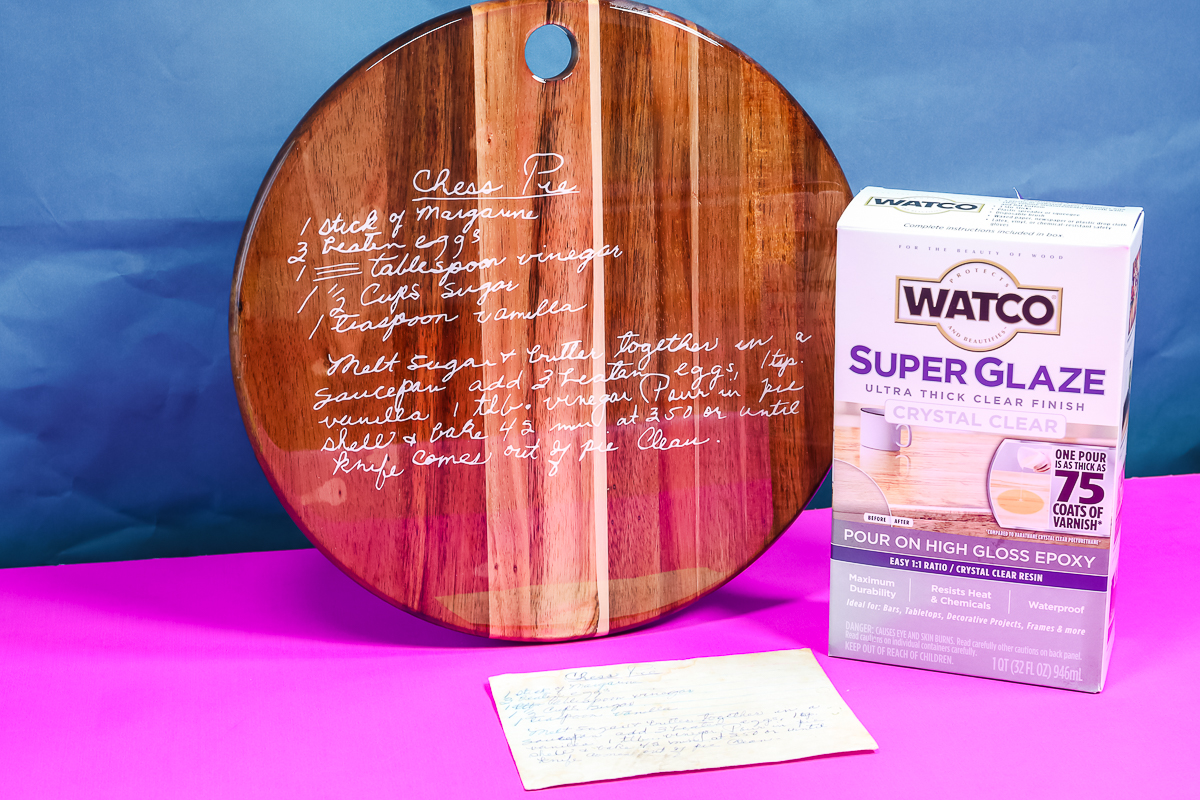
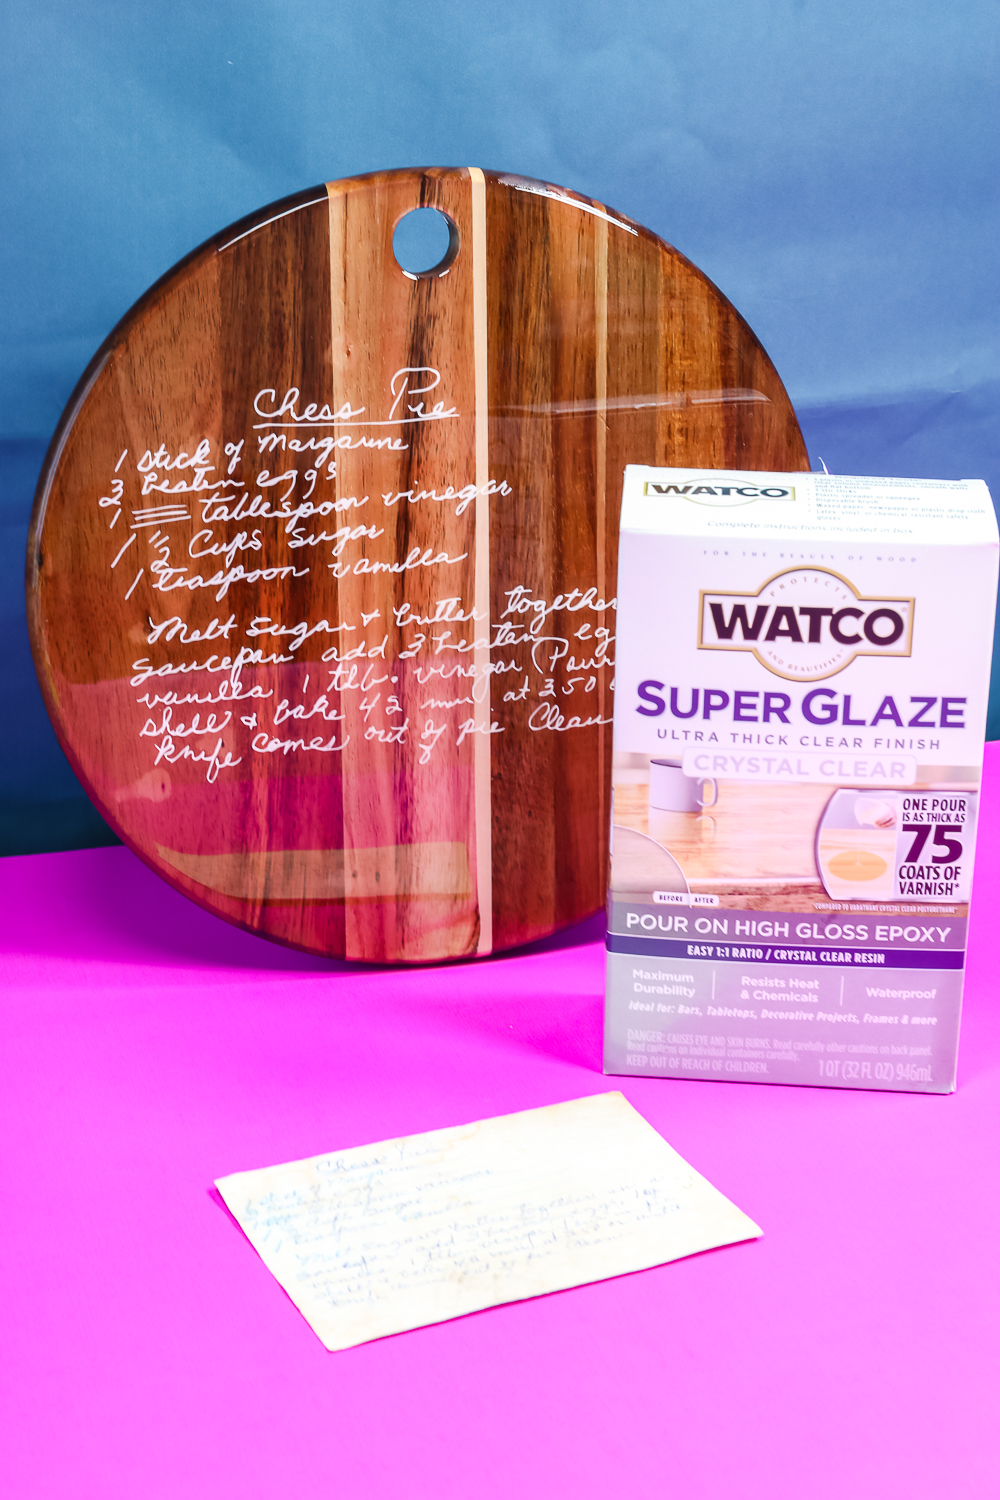
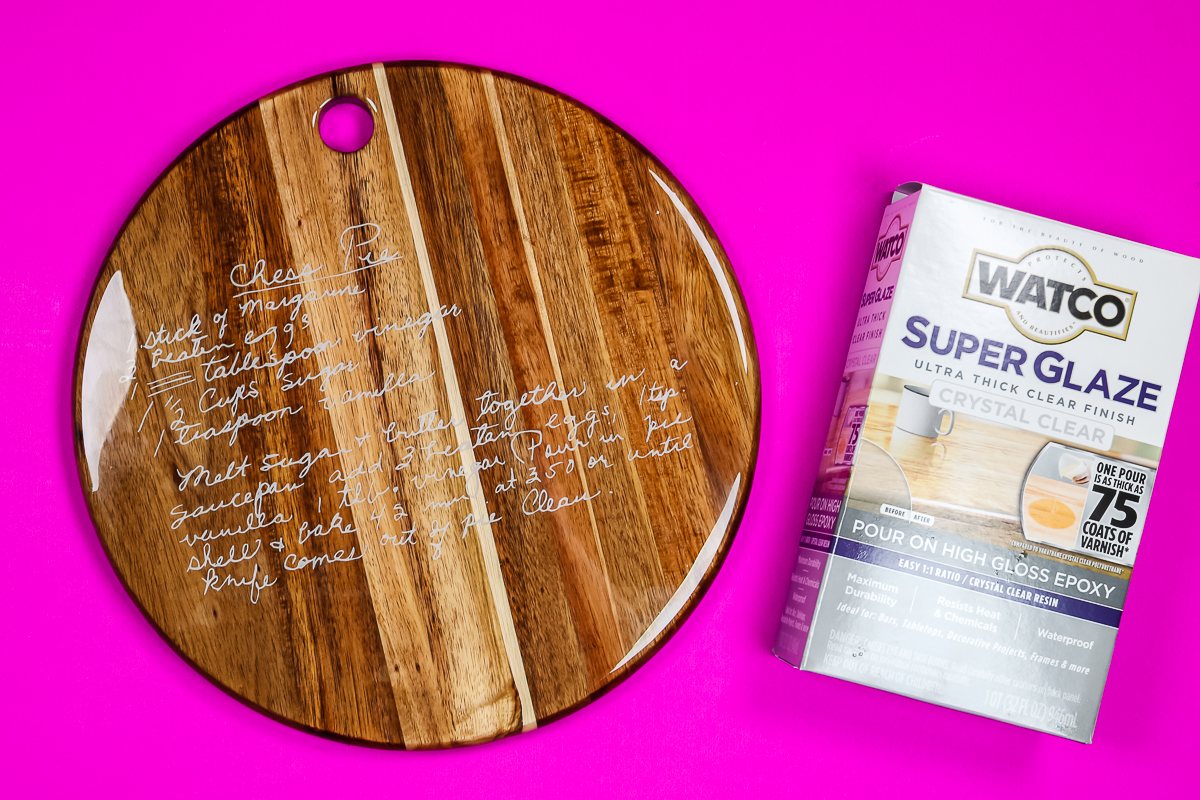
You have been asking me about a food safe sealer for vinyl and I finally have one that I love! So, today I am going to share a handwritten recipe project and show you how to seal the vinyl to make this one a food serving tray.
I took a handwritten recipe card for this one and converted it into a Cricut cut file. The process was fairly easy but it was time-consuming. I must say, however, that it is TOTALLY worth the time and effort! I love how this one turned out!
This post is sponsored by Watco, however, all projects and opinions are my own.
Food Safe Sealer for Cricut Crafts
If you have been searching high and low for a food safe sealer for your projects, this is the one post you need. I am going to share my favorite sealer and how to use it below. There are quite a few steps, however, in the end, it is totally worth the effort.
You can click play on the video below and watch me make this food serving tray. You might just find yourself digging through your old handwritten recipes to find one perfect for your own version of this project.
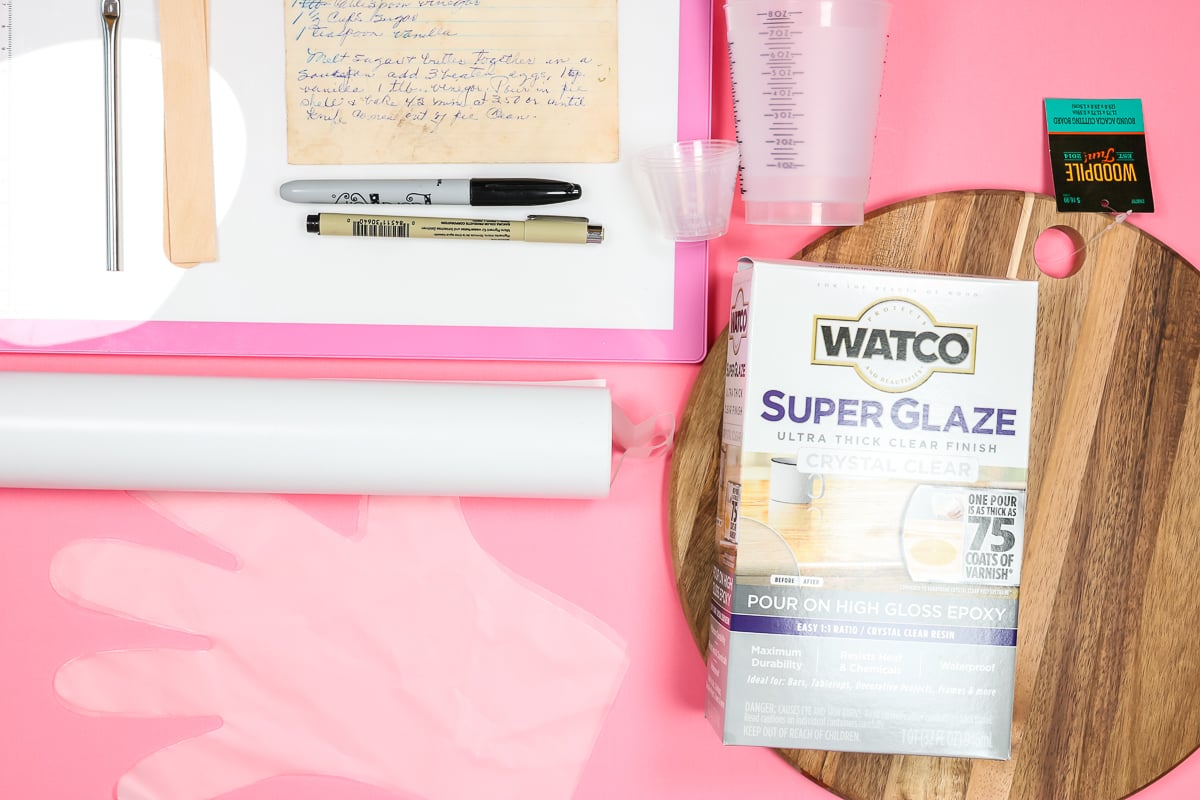
Supplies Needed:
How to Convert Handwritten Recipe to Cricut Cut File
First, you will need to get your recipe into Cricut Design Space to cut it. The process below is what I found to be easiest, however, you can try other methods as well.
Trace Recipe Card
If your recipe card is old, it is probably yellow with age and has stains from years of use. If this is the case, tracing the handwriting to a new piece of paper may be the easiest method to make a cut file that is usable.
I add my recipe card to a lightbox and tape it into place. Then add a piece of copy paper over the top and tape that down as well. Then trace with a black pen in as large of a tip as you can use.
NOTE: If you do not have a lightbox, you can try just using a well-lit window for this portion of the tutorial.
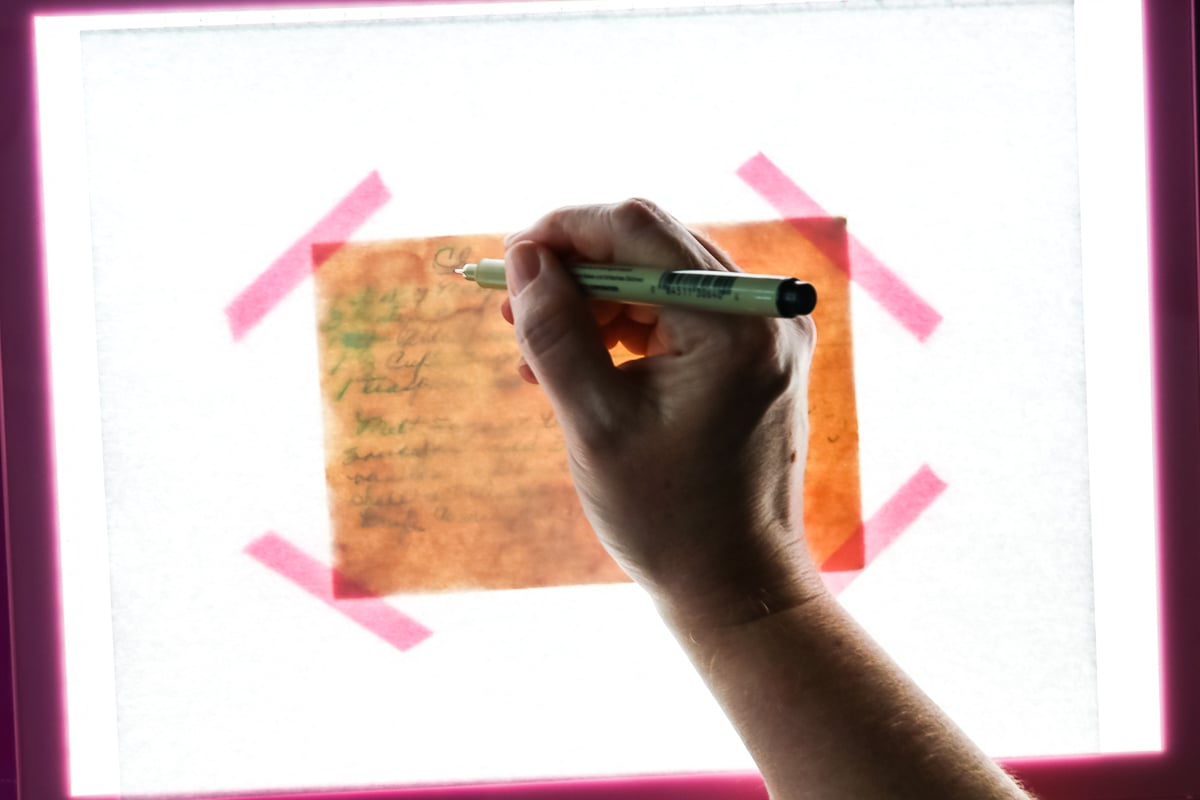
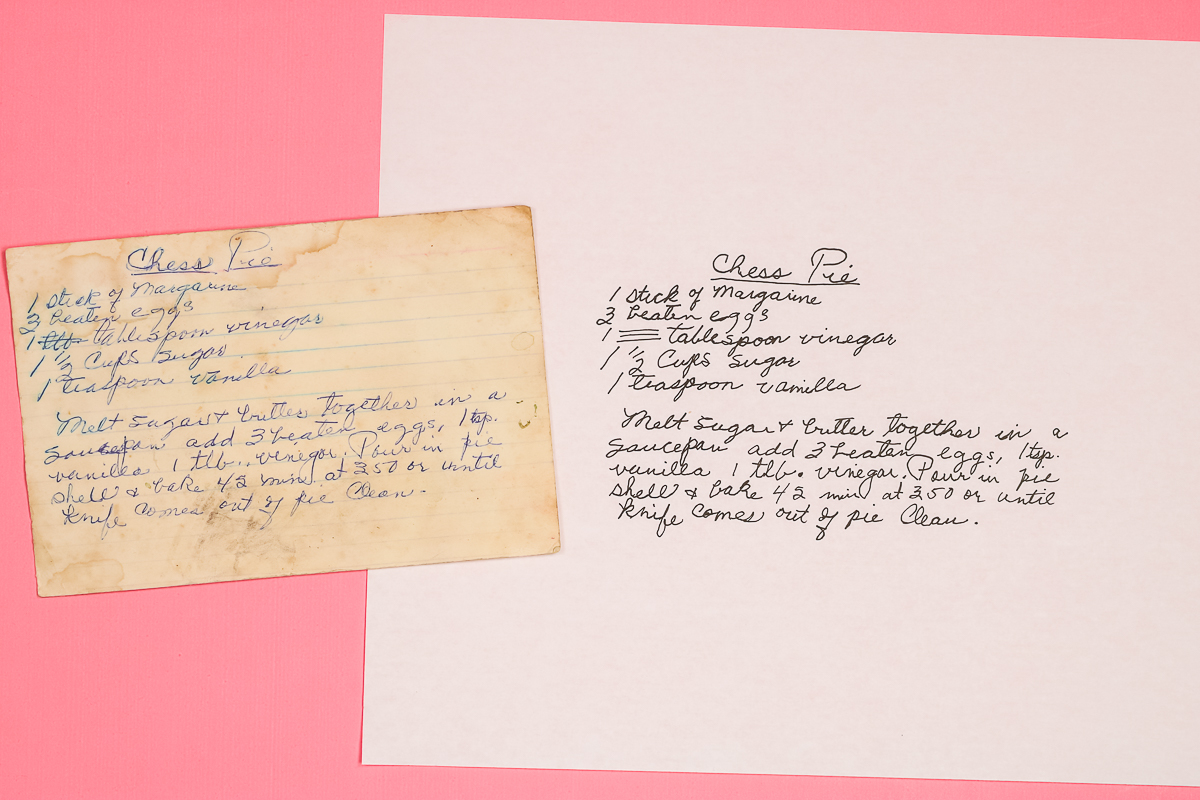
Trace all of the handwriting. You can leave out mistakes if you wish or leave them in. Once you are done tracing, remove the copy paper and you have a clean copy of your recipe ready to upload to Design Space.
Take Photo and Upload to Design Space
Take a photo of the copy paper with your phone to upload to Design Space. You can also scan it in or even use a scanning app on your phone. I found it best to use a scanning app and scan the sheet like it was a black-and-white document.
Upload that photo to Cricut Design Space. When you are uploading, you will want to remove the background from the image. You can use the automatic background remover if you have Cricut Access.
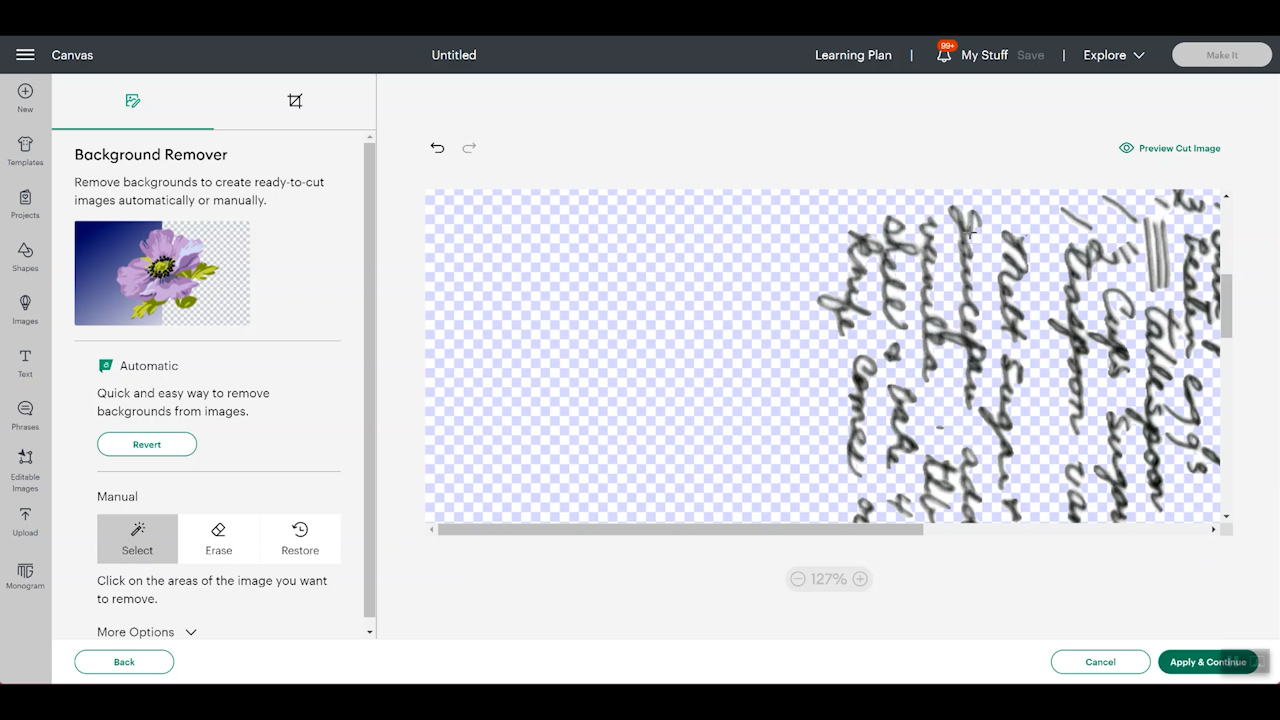
NOTE: You can use one of the free background removers in this post outside of Design Space and upload the image with the background already removed if you would like.
Keep removing the background from the image and the centers of any letters until you have a clean cut file. You can also use the eraser tool in Cricut Design Space to clean up your image. Your goal is to have a handwritten recipe that is all cut lines for uploading.
Add to Canvas and Resize
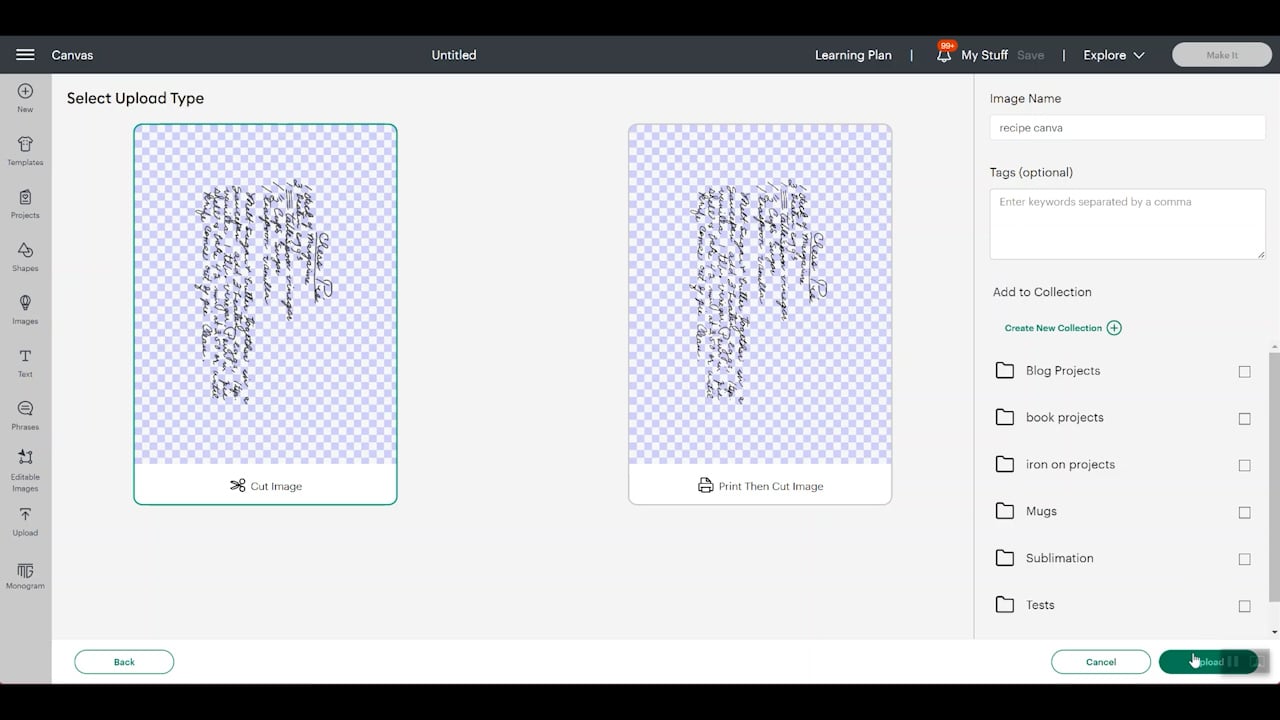
Save your image as a cut file then add it to your canvas. Resize the image in Design Space to fit whatever surface you are going to add it to.
NOTE: At this point, your lines should be cut lines and your image should look exactly like you want it to cut! If it does not, repeat the upload steps and try removing more of the background to clean up your image.
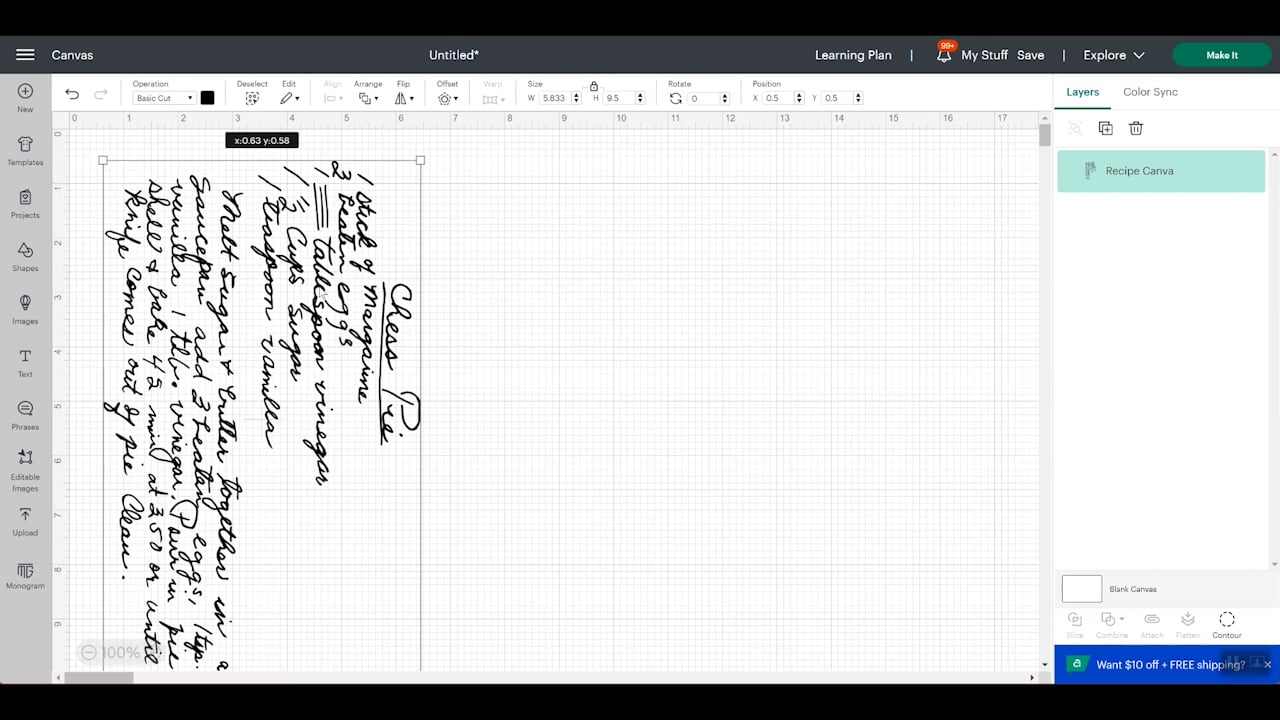
Cutting and Adding Vinyl to Surface
Now that you have your handwritten recipe in Cricut Design Space, it is time to cut the vinyl and add it to your surface. I am using adhesive vinyl in this case but you could also cut your recipe from HTV to apply to the wood surface.
NOTE: You can use a food safe sealer on a variety of surfaces but I am using vinyl on wood as my example project. You can even use a reusable stencil to paint your surface and then seal over the top.
Cutting Vinyl with a Cricut Machine
Click “make it” in Cricut Design Space and make sure everything looks okay with your cut file. Then click continue.
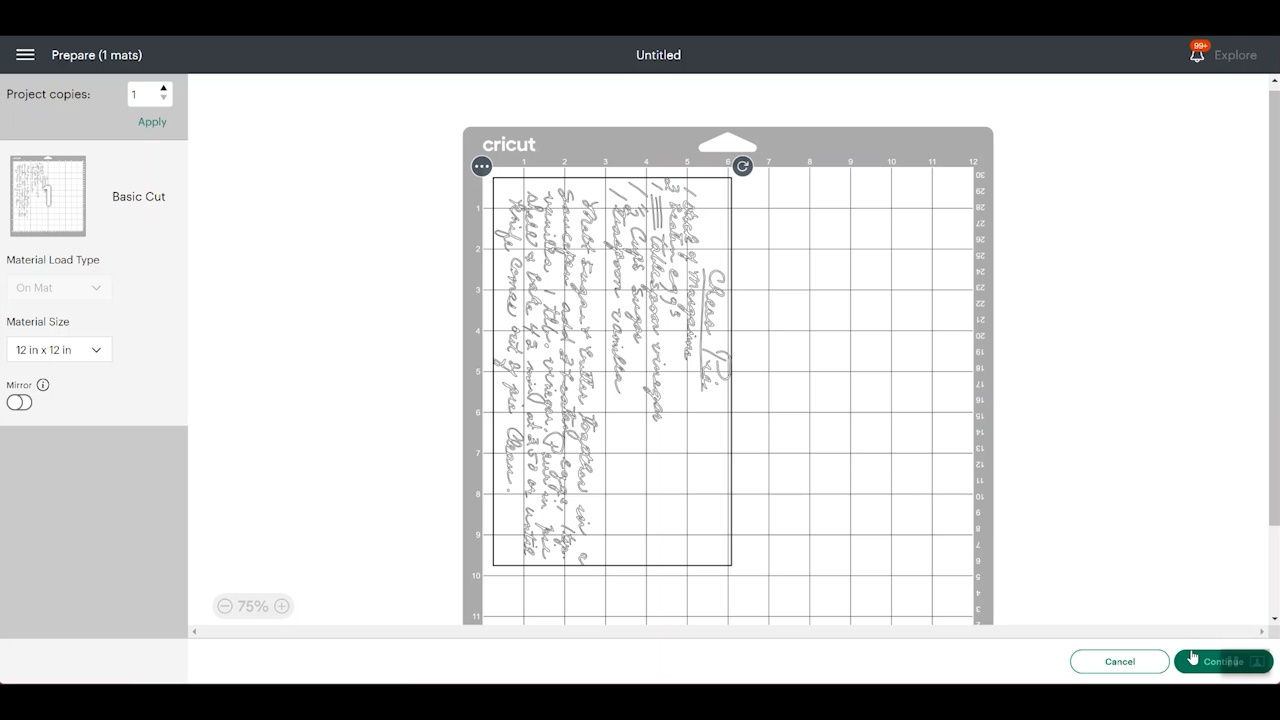
Add your vinyl to your Cricut mat face up. I like to use a brayer to really press it down into the mat. Pick “washi sheet” as your cut setting and add the mat to your machine.
NOTE: I am using the washi sheet setting as my cut lines are small and intricate. You can see more about making intricate cuts with your Cricut here.
Click the go button to start the cut. Once the cut is complete, DO NOT remove your mat. Lift up on the vinyl and make sure it is cut through. If it is not, click the go button again for another pass. I had to do 3 passes on the washi sheet setting with the vinyl brand I am using here.
NOTE: The number of passes will vary depending on your blade condition and brand of vinyl. However, the washi sheet setting works way better for intricate cuts.
Weeding Vinyl
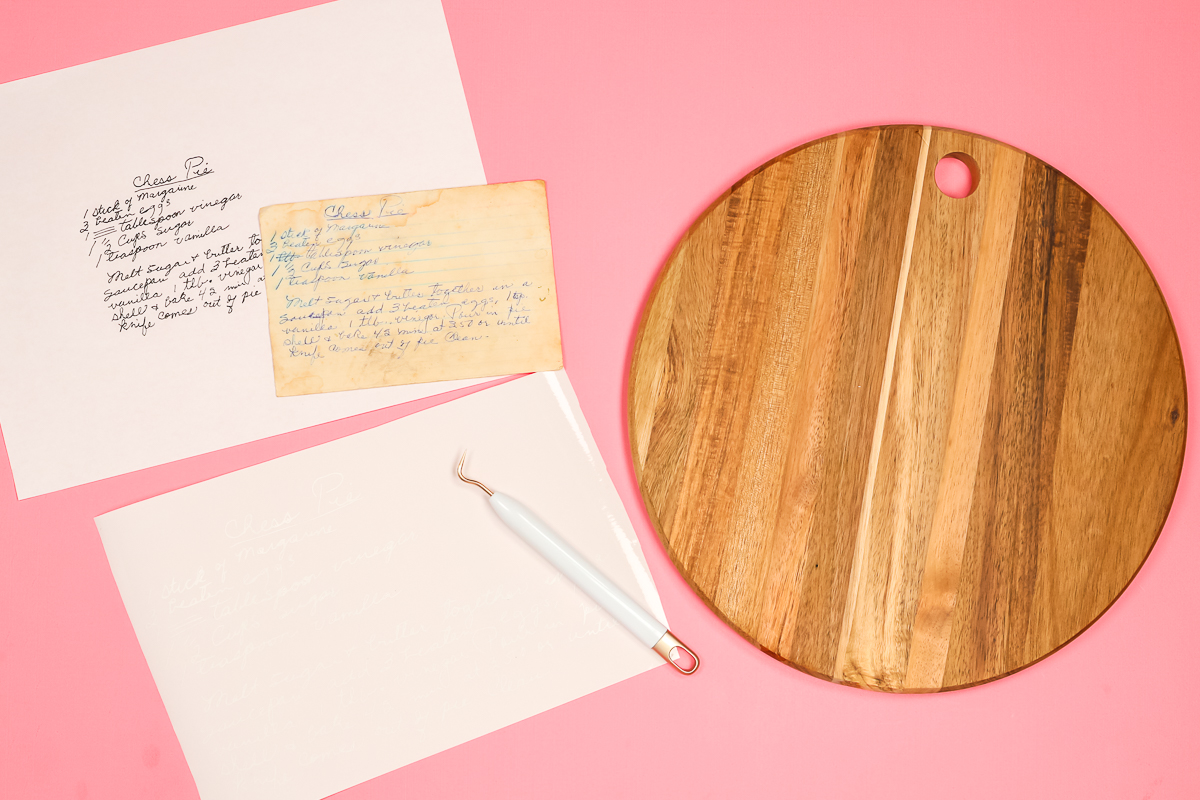
Once the cut is completely through the vinyl but NOT the backing, remove the mat from the machine. Peel the vinyl off of the mat and use a weeding tool to remove anything you do NOT want to be transferred to your surface.
Weeding intricate cuts can be tough. Go slow and carefully weed your entire design.
Adding Vinyl to Wood Surface
Now that your design is weeded, you can add it to your wood surface. Add transfer tape to the top of the vinyl and burnish it down well. You will need to burnish from both the front and the back. Then peel back the transfer tape at about a 45-degree angle.
Go slowly and make sure all of those small pieces of vinyl pick up onto the transfer tape!
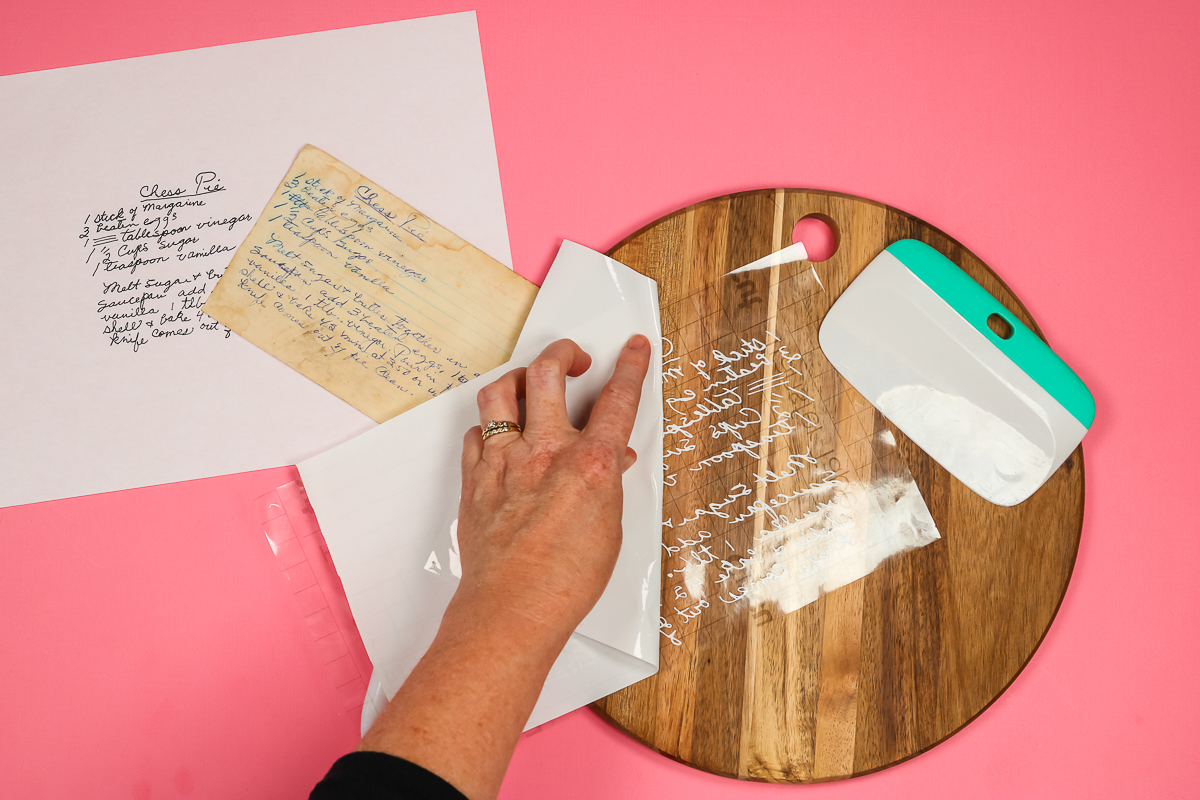
Make sure your surface is clean, dry, and smooth. Then add the vinyl in the right location. Burnish it down well.
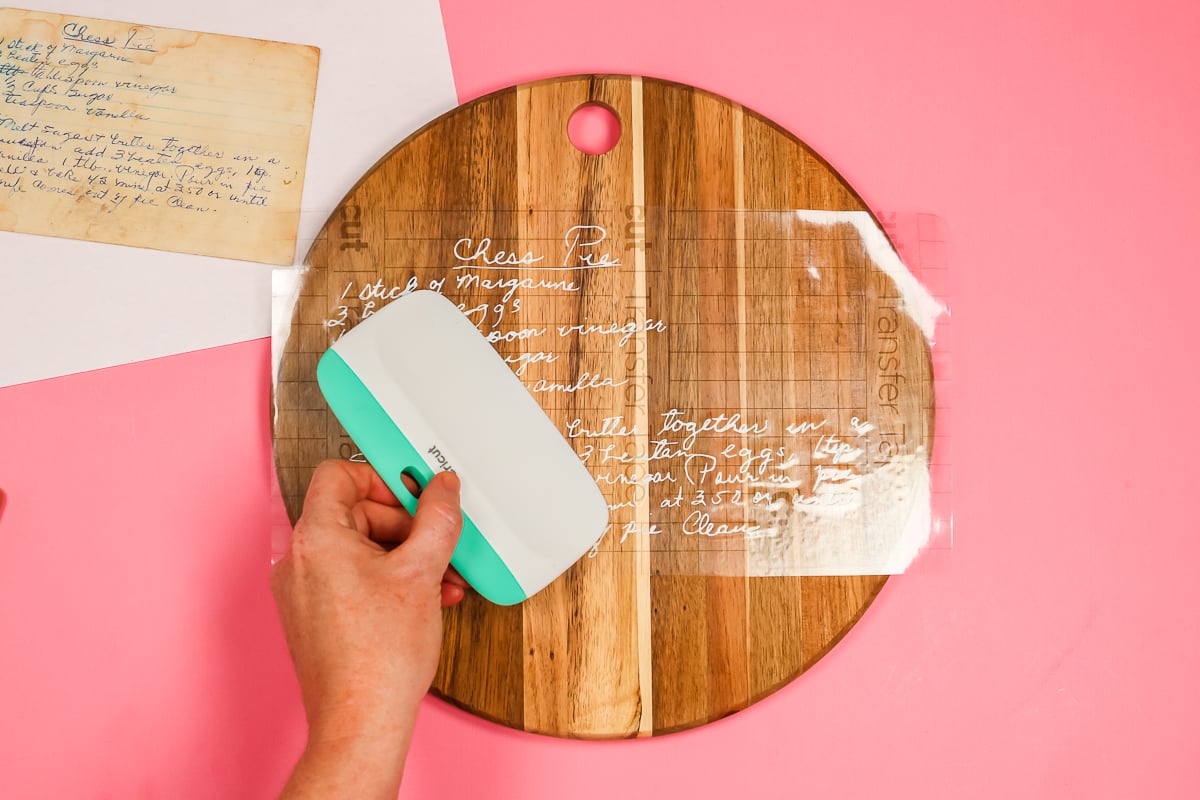
Peel back the transfer tape from the vinyl leaving the vinyl on your surface. Again, I peel back at a 45-degree angle and go slowly.
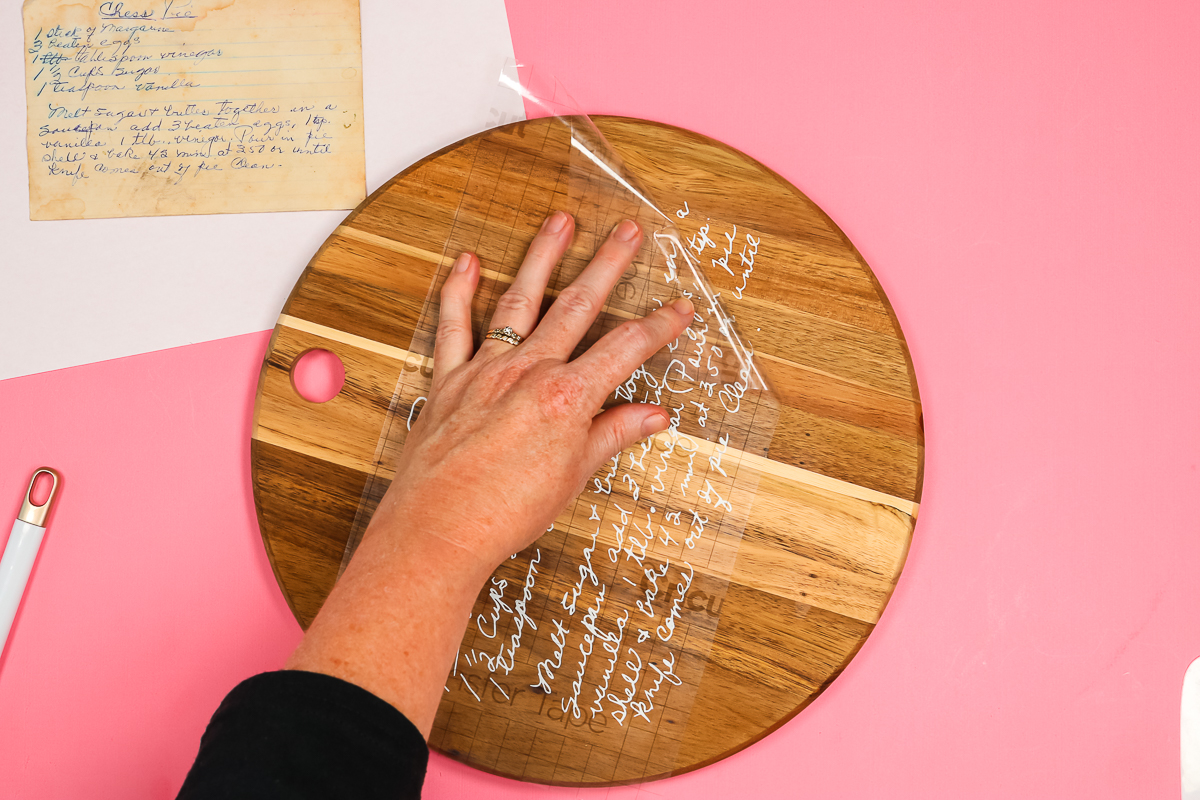
Once your vinyl is on the surface, burnish it down and make sure it is stuck. Then you can move on to sealing your project.
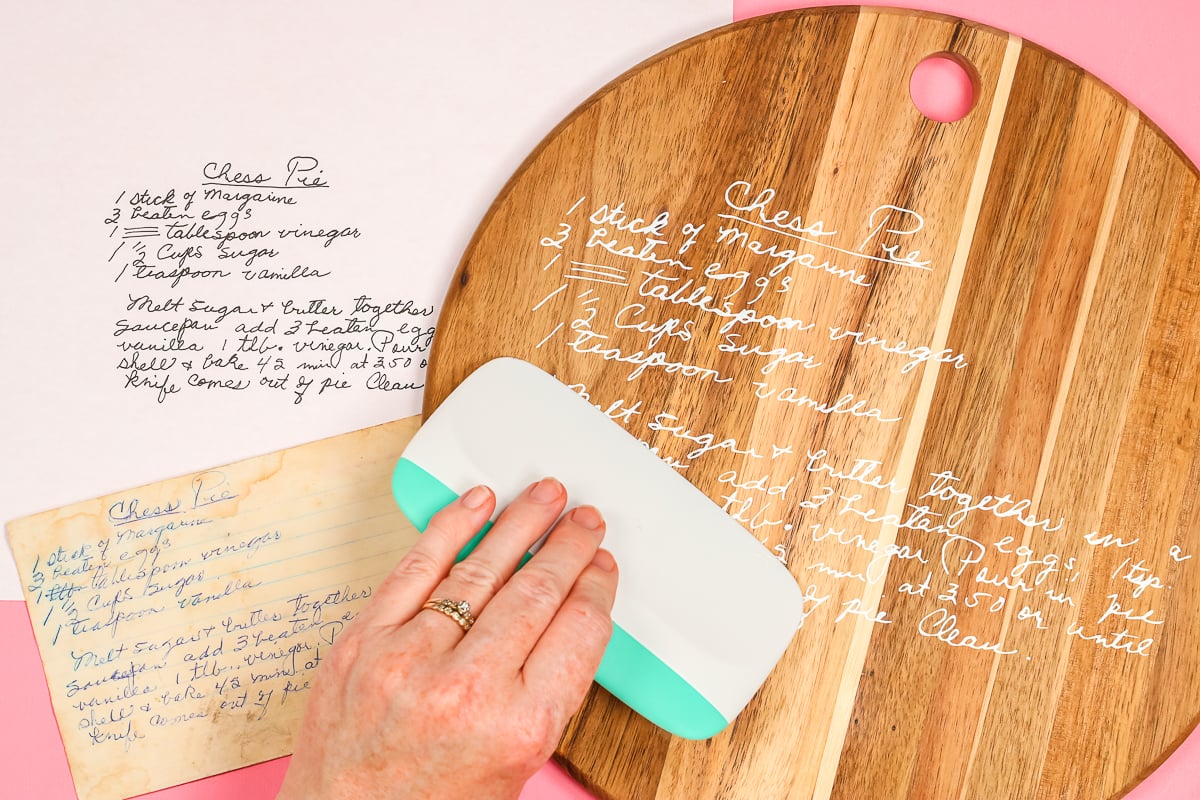
Adding a Seal Coat
Now it is time to seal your vinyl to your surface. I am going to start with a seal coat but you may or may not need this step.
NOTE: Cover your work surface with paper to catch any drips! I like to add something under my project to keep it lifted off of the paper.
Do you need a seal coat?
The seal coat is for porous surfaces like wood. This helps to prevent bubbles from rising out of the surface itself and ending up in your final coat. The seal coat is a very thin layer of product that ONLY seals the wood surface. It is NOT intended to seal the vinyl or be your final coat.
I would add a seal coat on any surface that is porous just to ensure that you do not get a lot of bubbles in your final project.
Mixing Watco Super Glaze
To start the seal coat, you will need to mix a small amount of Watco Super Glaze. This coat is intended to be 1/4 of the final coat so you do not need much. The instruction booklet in the package of this food safe sealer has calculations for you to determine how much product to mix.
Get out three empty cups that have measurement marks on the side. Be sure to follow all safety procedures during the remainder of the steps including protective gloves, eyewear, and even a respirator.
Add equal parts of part A and part B to two different mixing cups. Add part A to part B and mix for a full 3 minutes. Scrape the containers and make sure you get all of part A out of the cup. You want to set a timer for mixing. Be sure to mix slowly and scrape the bottom and sides as you mix.
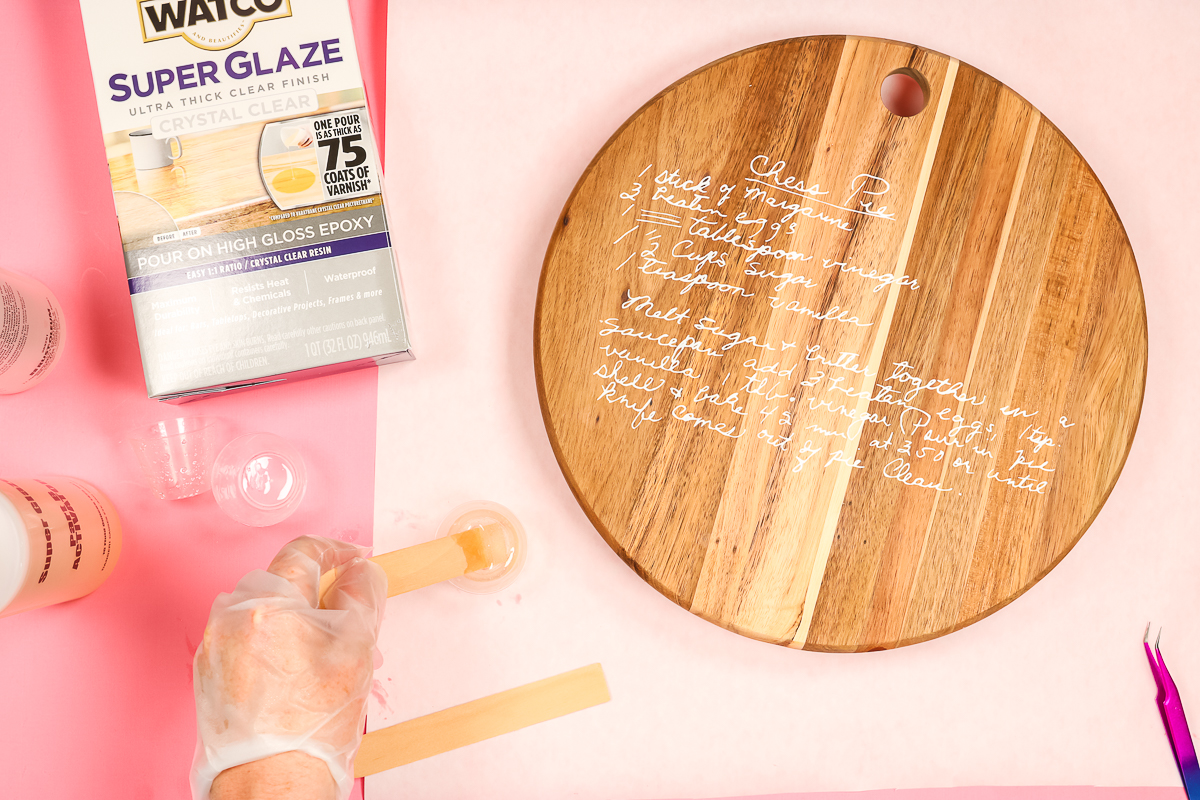
Once three minutes are up, pour the mixture into a CLEAN cup. Scrape your original cup out to ensure you have all of the product in your new cup. Then mix for three more minutes in the new cup. Again mix slowly and scrape the bottom and sides as you mix.
Applying a Seal Coat to Wood
WORK QUICKLY! Remember that you have a limited time to work with this product as it will start setting up once the parts are mixed together. I would count on 20 minutes of working time total at 70 degrees F. It may be a little more than that but that way you are prepared!
Start pouring the mixture into the center of your project. Pour slowly as it will start to expand once you pour. Use something flat like the side of your stirring stick to start spreading the coating.
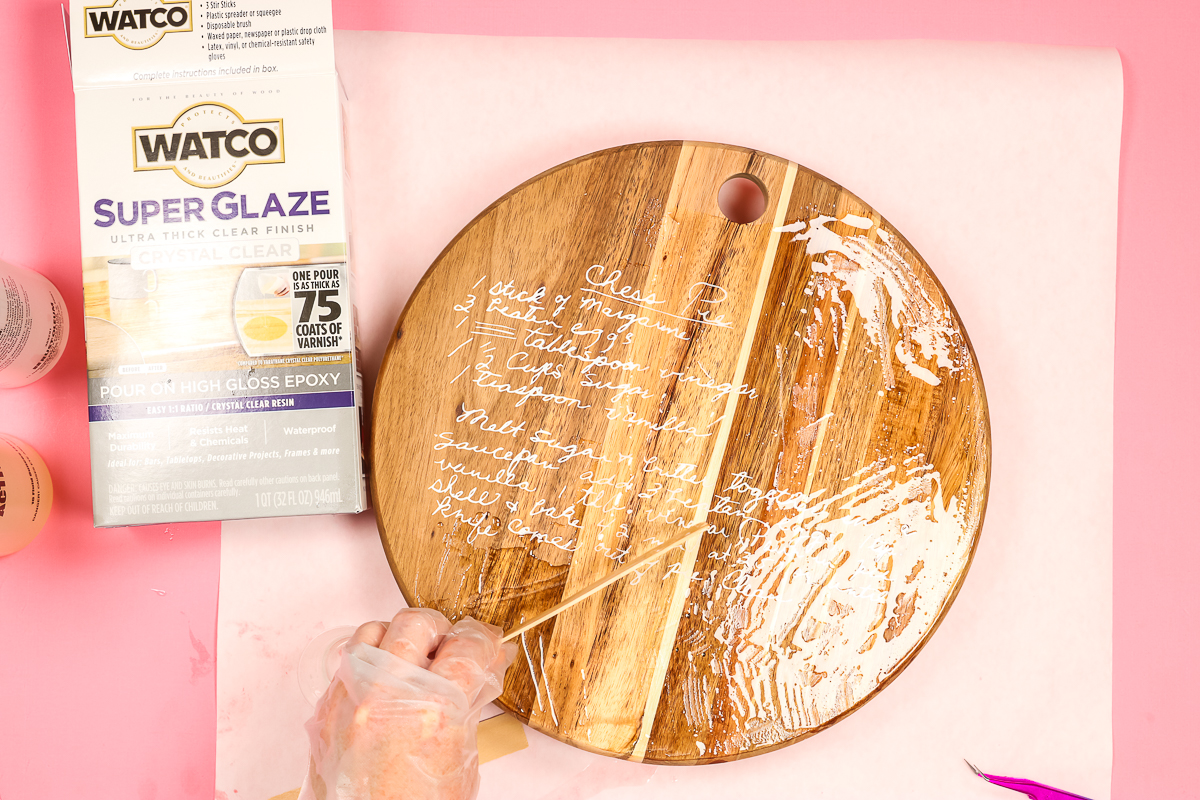
Remember this needs to be a THIN coat. Spread the mixture around until it covers the entire surface in a very thin layer. I find that popping bubbles in this layer is not needed as it is so thin.
Curing the Seal Coat
Once you have the seal coat applied, you will want to put your project in a spot where it will be level and dust free for about 5 hours. This is the amount of time it will take for the product to set up and be ready for your final coat.
The cure time will vary depending on the temperature in your space. A higher temperature will result in a quicker cure time. You can clean up any drips in this seal coat within the 20 minute time frame with a rag or brush.
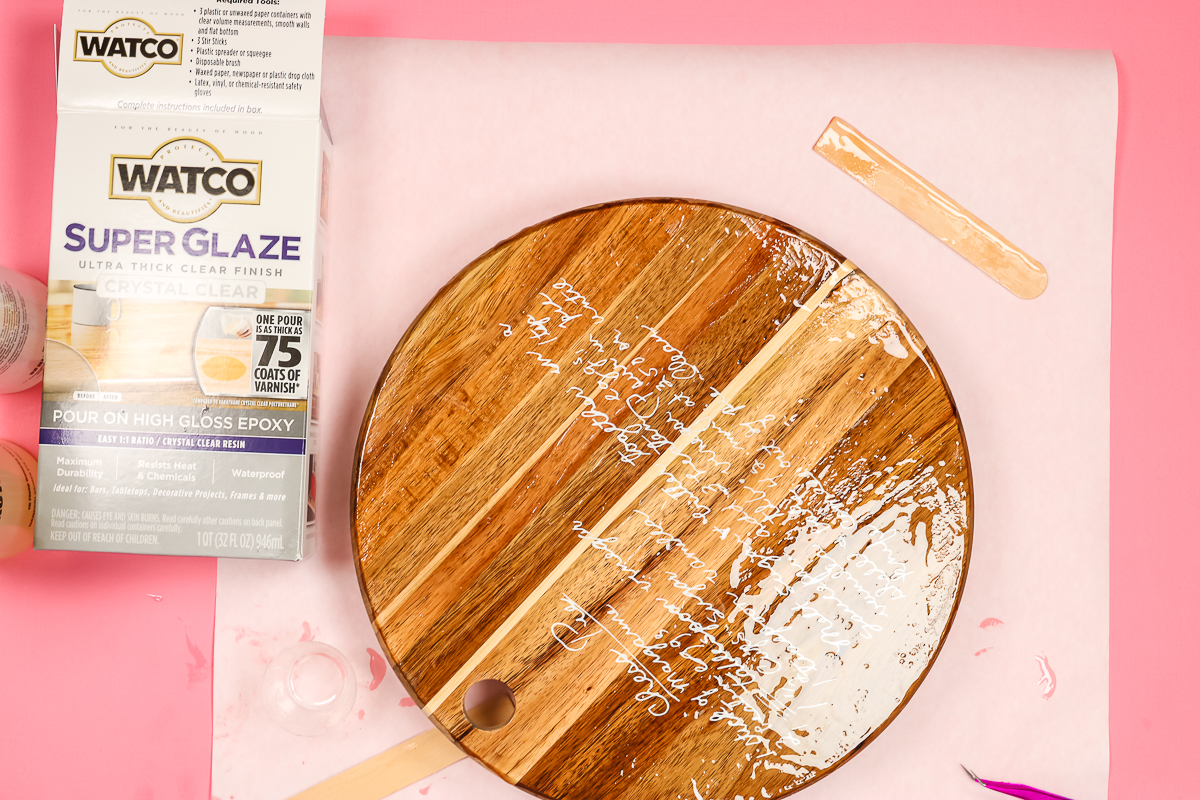
TIP: I like to put my stir stick on the paper next to my project so I can use it to see if the coating has been set up.
Adding a Final Coat of Food Safe Sealer
Once your seal coat has cured, it is time to add the final coat of food safe sealer and finish the project. This final coat will be thick, glossy, and give an amazing look to ANY project you have in mind.
Mixing Watco Super Glaze
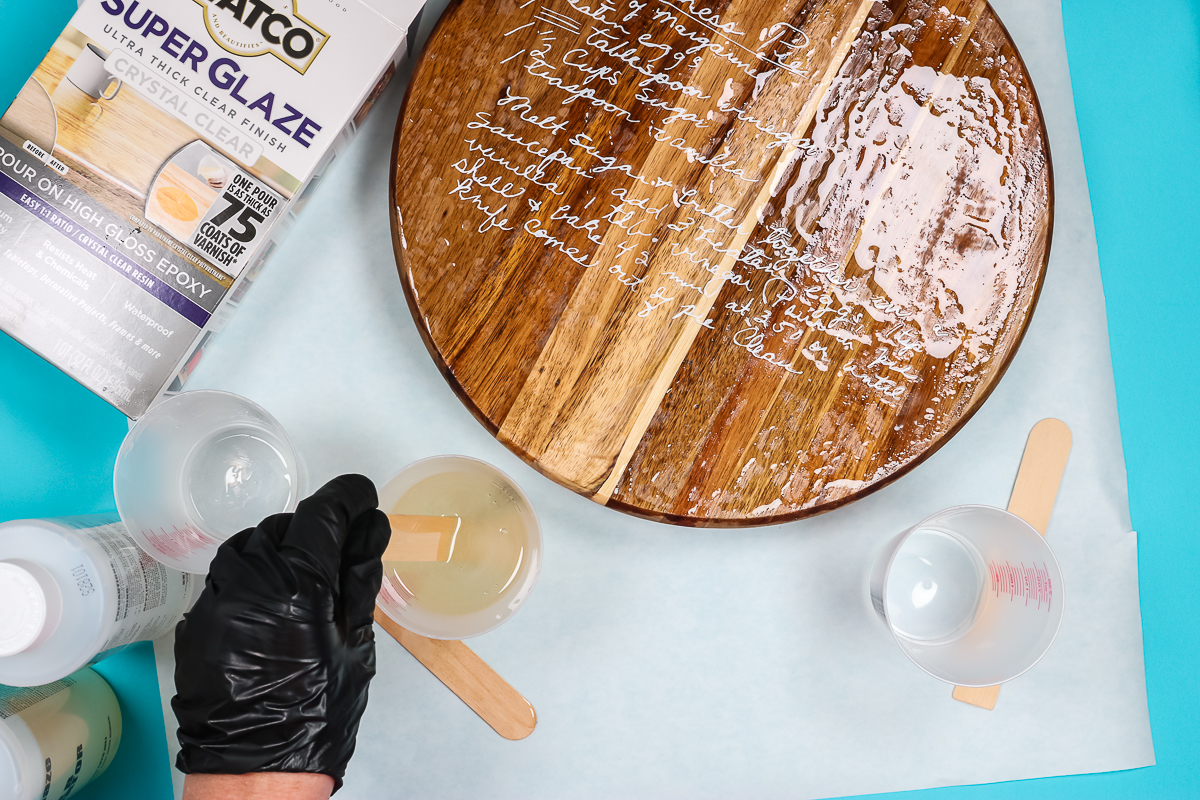
This time you will want to mix the full amount to cover the surface according to the instructions in the package. You will follow the same mixing procedure as mentioned above but this time you will have more product to mix.
- Add equal parts A and B to separate mixing cups.
- Pour part A into part B and scrape the sides of the container well.
- Mix for a full three minutes. Mix slowly and scrape the bottom and sides as you mix.
- Pour the entire mixture into a CLEAN mixing cup (scraping the sides well as you pour).
- Mix again for a full three minutes in the new mixing cup. Again mix slowly and scrape the bottom and sides as you mix.
Applying Food Safe Sealer to Wood Surface
The same rules apply for this coat in that you will have a limited working time. I shoot for 20 minutes of total time from the time that I mix part A and B together to when I am done with the bubbles popped.
Start pouring the mixture slowly into the center of your project. Pouring slowly from high up will eliminate some bubbles.
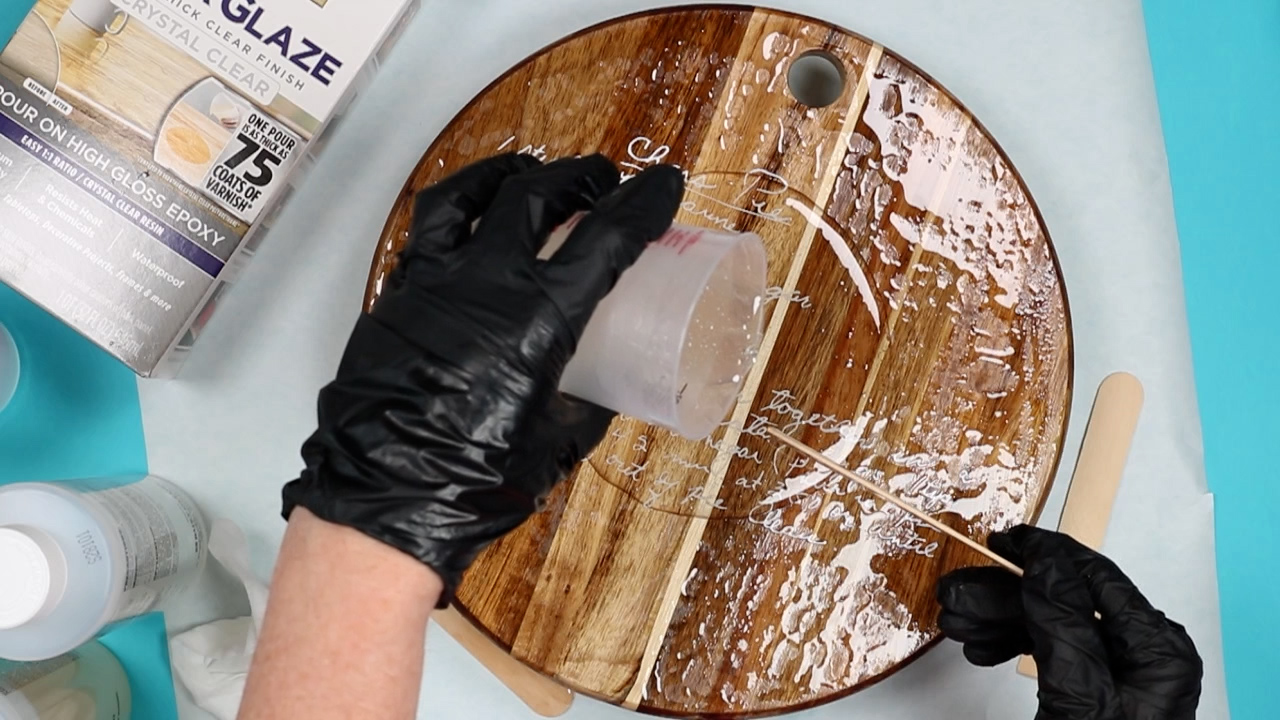
Allow the mixture to spread on its own as this product is self-leveling. You may have to push it around some especially to make sure there is an even coating over the entire surface.
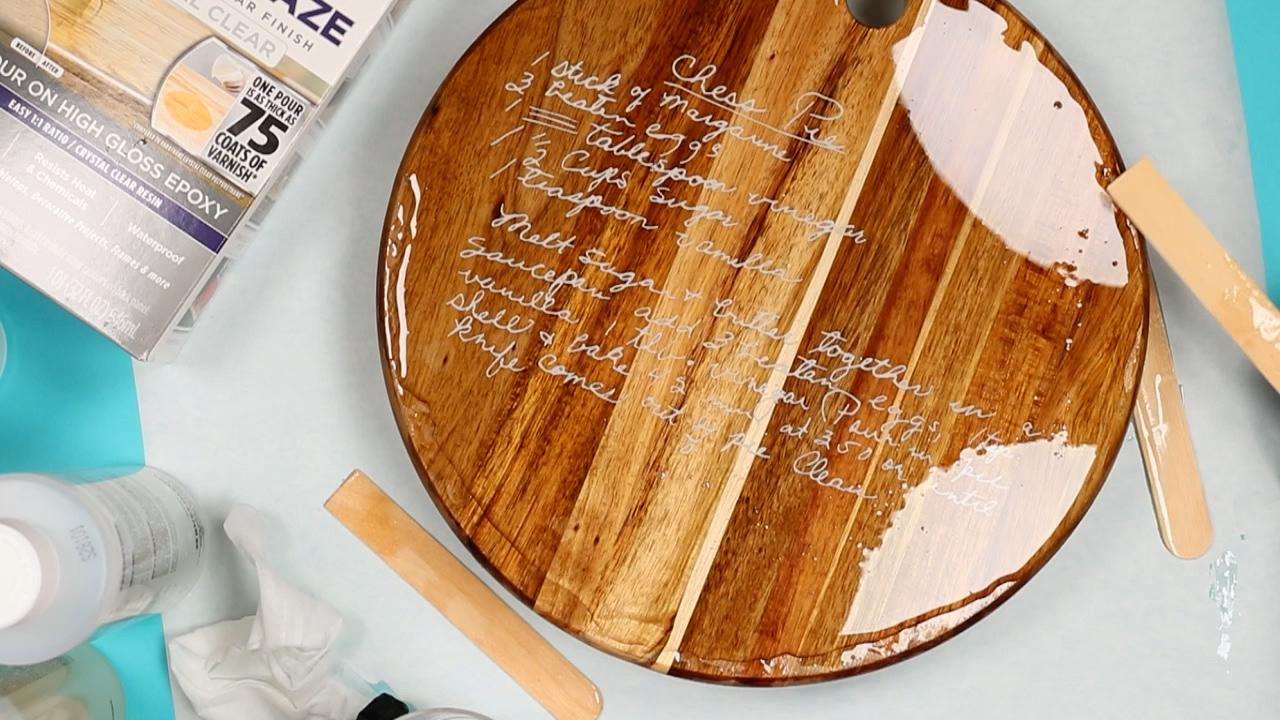
I used a disposable brush to brush around the edge as the product started pouring over the sides. I wanted it to be as even on the sides as possible.
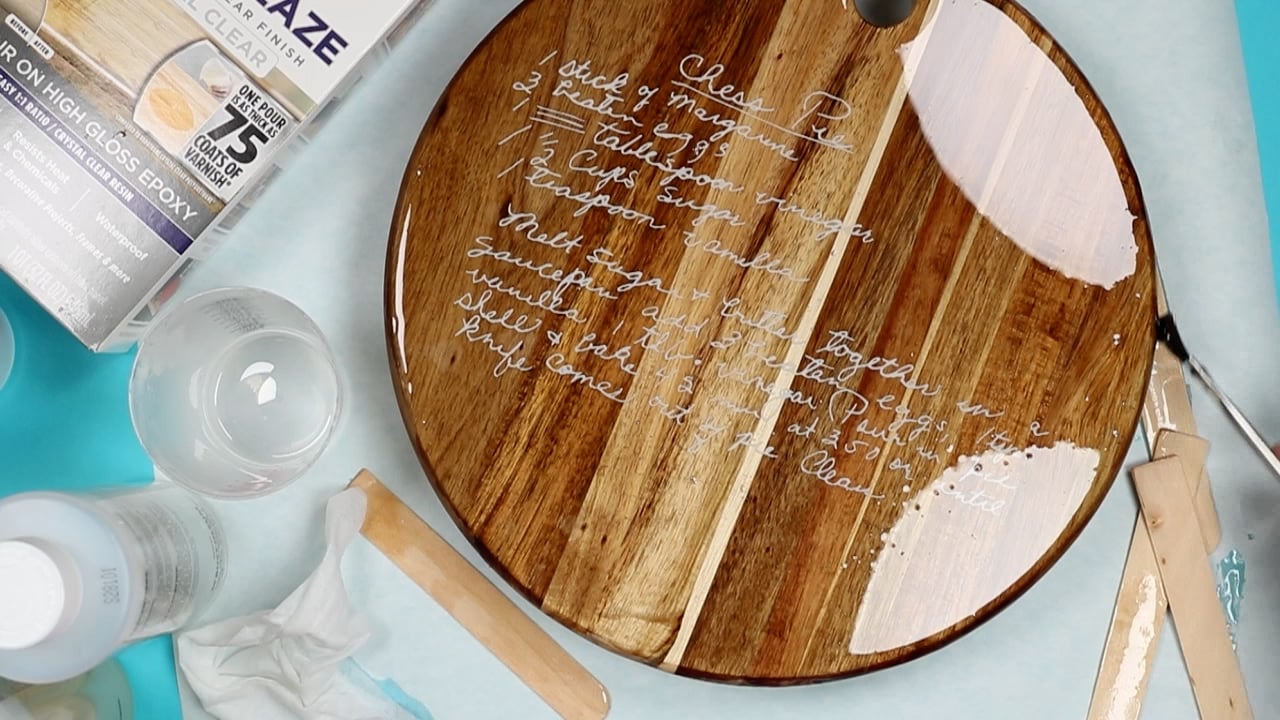
Removing Any Bubbles
Once you have an even coating that is about 1/16 inch thick on your entire surface, it is time to remove any bubbles. You can do this by blowing on the surface by any means. I use a low-temp heat gun but a hair dryer will work or you can blow on it yourself with your mouth.
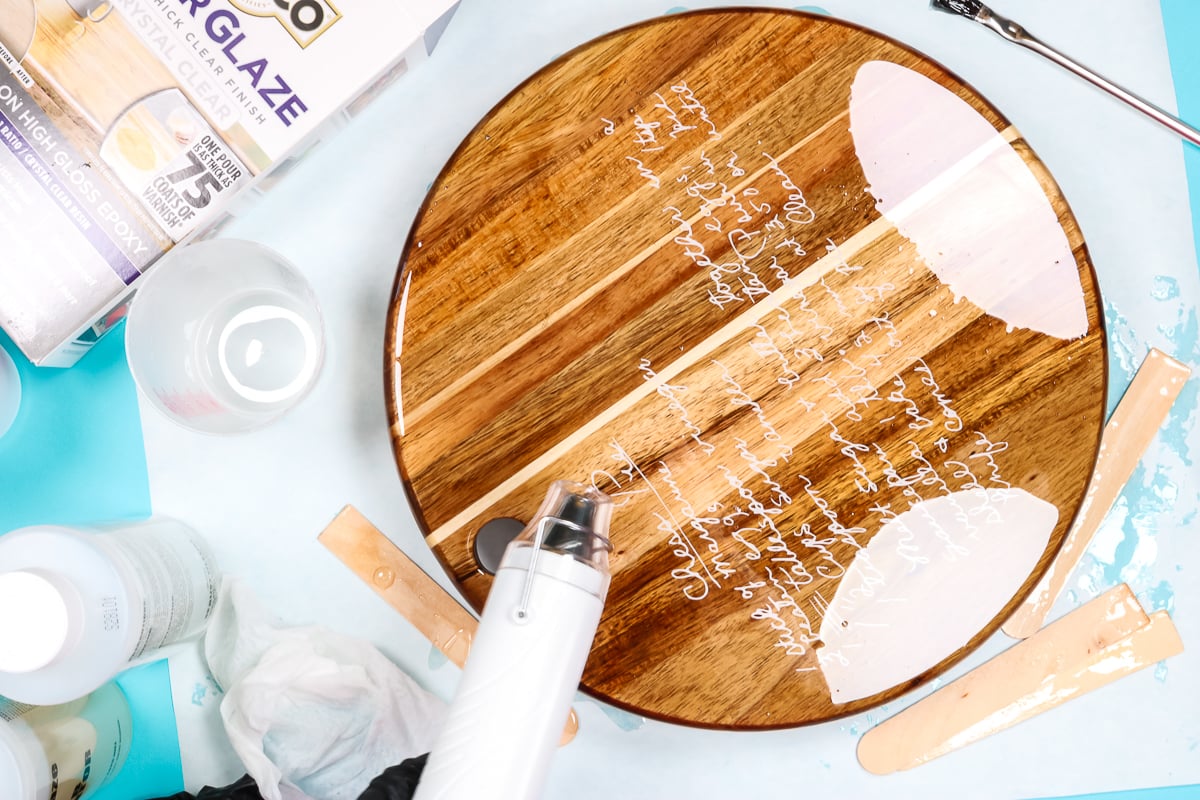
Curing Sealed Surface
Once the bubbles have been popped, you will need to let the entire project cure. It will be dry to the touch in 8 hours and fully cured in 72 hours. I like to watch the project for a full 30 minutes to catch any drips that may go over the edge.
Then put the project where it will be level and dust free. One trick is to put a large cardboard box upside down over the project so no debris can get in it while curing.
How to Use Your Food Serving Tray
Once your project has cured, it is ready for you! Use can sand off any drips that may have formed but otherwise, you don’t have to do anything else!
Now that you have your food safe sealer applied, you can use this to serve up a charcuterie board, pie, or anything else you would like! This product is NOT heat safe so do not use this for things straight form the oven.
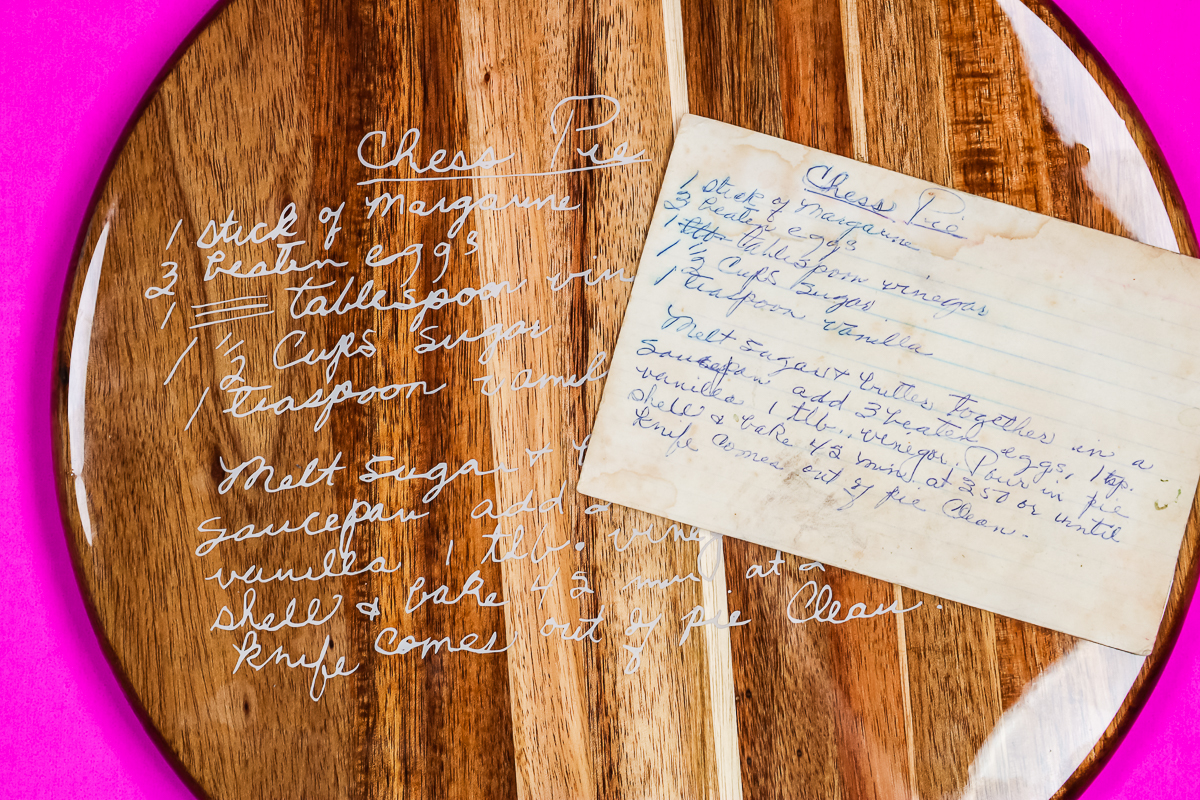
I personally love the way this one turned out and I can’t wait to turn more handwritten recipes into cut files and make more projects for my home. I love that this project looks perfect displayed on a wall but it is food safe so will work as a serving tray for a party as well.
You can use this same method for other projects as well including an outdoor sign, door hanger, or even a custom pencil holder. Be sure to keep this sealer in mind for all of your Cricut crafts.
Safety Precautions When Working with Epoxy Sealers
You always want to follow all safety procedures when working with epoxy sealers. I love them for adding a food safe sealer like this one, however, it is important to be safe when working with them!
Always wear your protective equipment including gloves, eye protection, and even a respirator.
These steps will ensure your safety and health for years to come! I hope you will give Watco Super Glaze a try! I know you will love this food safe sealer for your Cricut projects.

Love this and want more ideas? Try the links below as well!
Make your pot planters beautiful with this ladybug design! This upcycled flower pot doesn’t get much easier than this! Testors Crafternoons has excellent paint options for all of your flower pot decorating ideas.This adorable decoration will brighten up your outdoor space and have you ready for spring in no time.


Paint your own denim jacket with a stencil and Testors Craft Fabric Spray Paint.
