This post and photos may contain Amazon or other affiliate links. If you purchase something through any link, I may receive a small commission at no extra charge to you. Any supplies used may be given to me free of charge, however, all projects and opinions are my own.
If you are a sublimation crafter you know it’s a hobby that can get expensive. Today I am sharing my top 5 sublimation tips to save you money! These are tips you may or may not know and incorporating them into your sublimation crafting is sure to save you money.
If you’re new to sublimation, don’t miss my Sublimation for Beginner’s post. It’s filled with the information you need to get started.
Today I’m teaming up with my friend Cori George from Hey Let’s Make Stuff. When you’re done reading about my top 5 sublimation tips to save you money head over to her site to learn an additional 5 sublimation tips you don’t want to miss.
These tips are our way of celebrating the launch of Sublimation Camp 2023. Sublimation Camp is all about sublimation and runs from May 4th – 6th 2023. You can learn more about Sublimation Camp and how to sign up here.

5 Sublimation Tips You Don’t Want to Miss
I am not sharing these sublimation tips in any particular order, they’re all really great tips that I thought you might not already know. You can actually watch me go through all of these tips and see them in action by pressing play on the video below.
Smaller Sublimation Paper Sizes
Sublimation tip No. 1 is that sublimation paper doesn’t only come in 8.5″ x 11″ or 8.5″ x 14″ sizes. You can also purchase smaller sublimation sheets. You may be asking yourself “Why would I want a smaller sublimation paper?” I can think of a few different reasons but the main reason is that it can actually save you paper!
For instance, if you’re printing a full-wrap mug design, using a smaller piece of paper made specifically for mug wraps will save wasted paper.
Why Use Smaller Sublimation Paper Sizes?
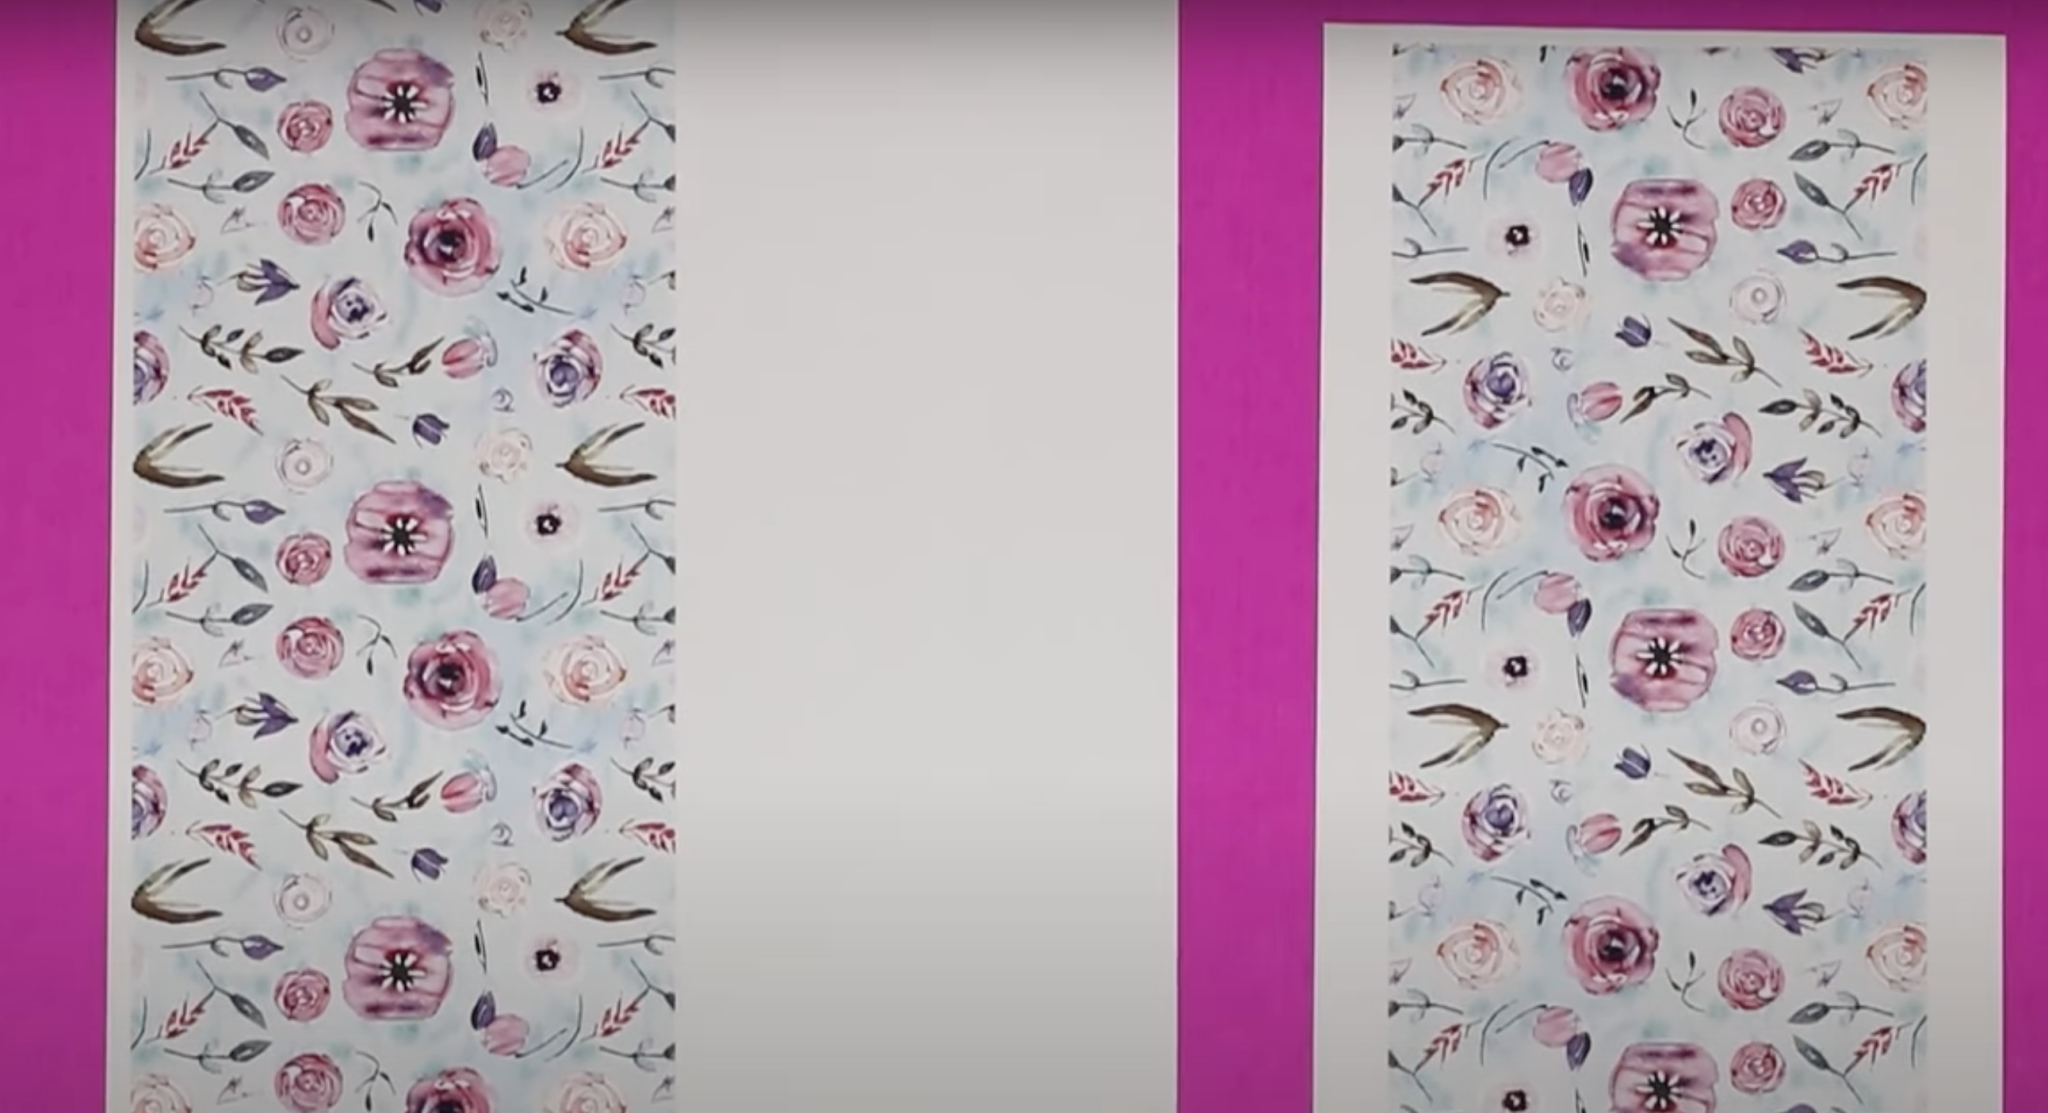
A standard full-wrap sublimation mug design would need to be printed on 8.5″ x 11″ sublimation paper. You can only print one mug wrap per sheet of paper. That means you’re wasting a lot of paper with each mug wrap design.
If I use the mug-sized sublimation paper in my sublimation printer, I will waste significantly less paper.
How to Use Smaller Paper in a Sublimation Printer
The mug-sized sublimation paper I’m using is 5.5″ x 9.5″. I think they may come in other sizes as well. The paper comes cut to size right out of the package.
Before you print you do need to change your paper size on your computer. These settings and how you change the will depend on the printer you’re using.
How to Change the Paper Size in a Sawgrass Sublimation Printer
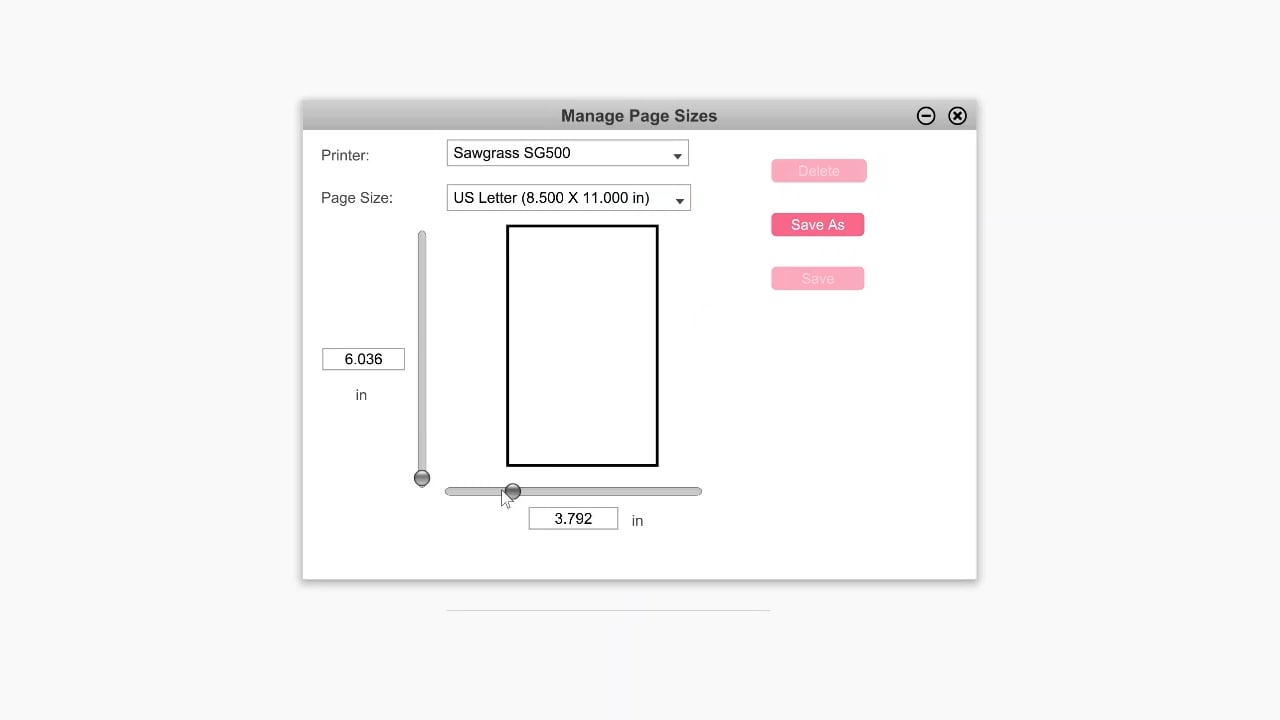
With a Sawgrass printer, you can choose any paper size. Click on Manage Paper Sizes and then add the paper size. You can add the paper size and save it and then when you want to print onto that size paper you’ll just select that size and you’ll see it in the print preview. It’s all very simple.
How to Change the Paper Size in an Epson EcoTank Converted Sublimation Printer
Changing the paper size in an Epson EcoTank converted sublimation printer is a little different. Head to the Printer Preferences and then choose the paper size. If the size you’re using is a really odd paper size, you would click on User Defined and then you can set the sizes there.
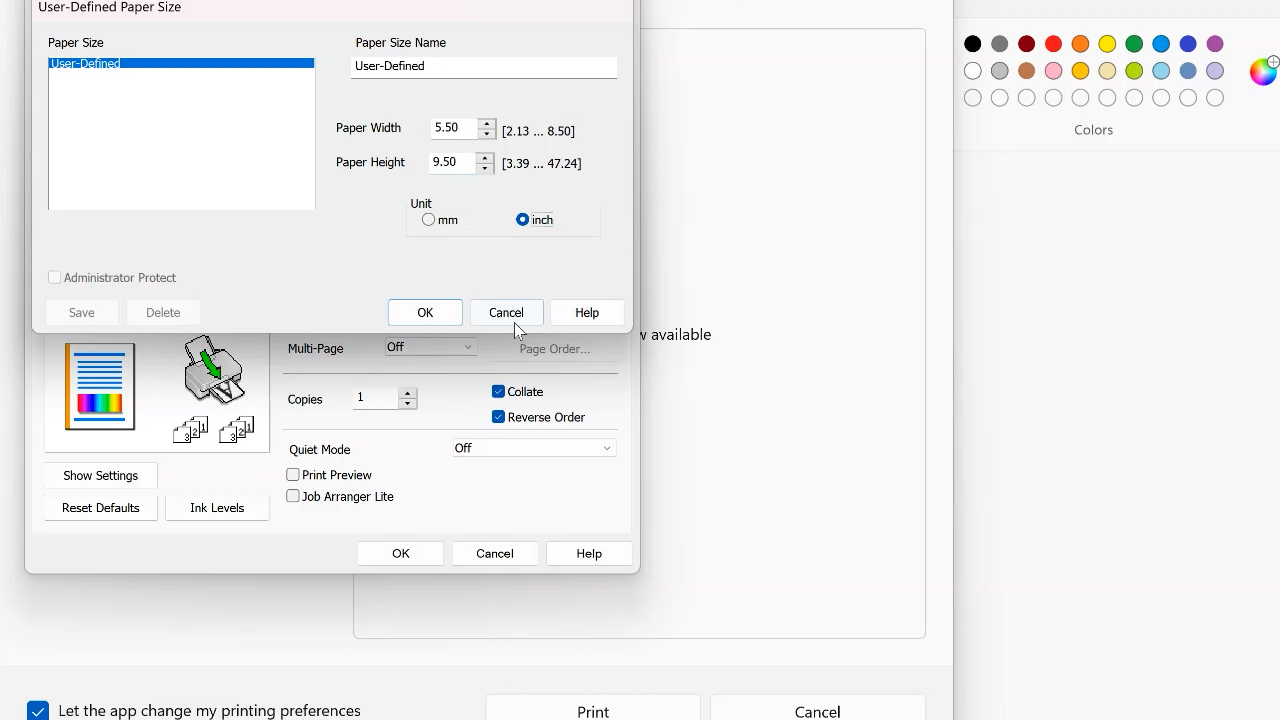
I do think making sure the print size is correct when it comes out of the EcoTank printer is a little more difficult than the Sawgrass. You may need to play with some of the properties in order to get it correct for every paper size that you use but it is definitely possible.
How to Add Smaller Paper Sizes to Sublimation Printers
Now that the paper size is changed in the computer you’ll need to add the paper to your printer. All printers operate similarly. Begin by removing any paper from your paper tray and then add the specialty paper.
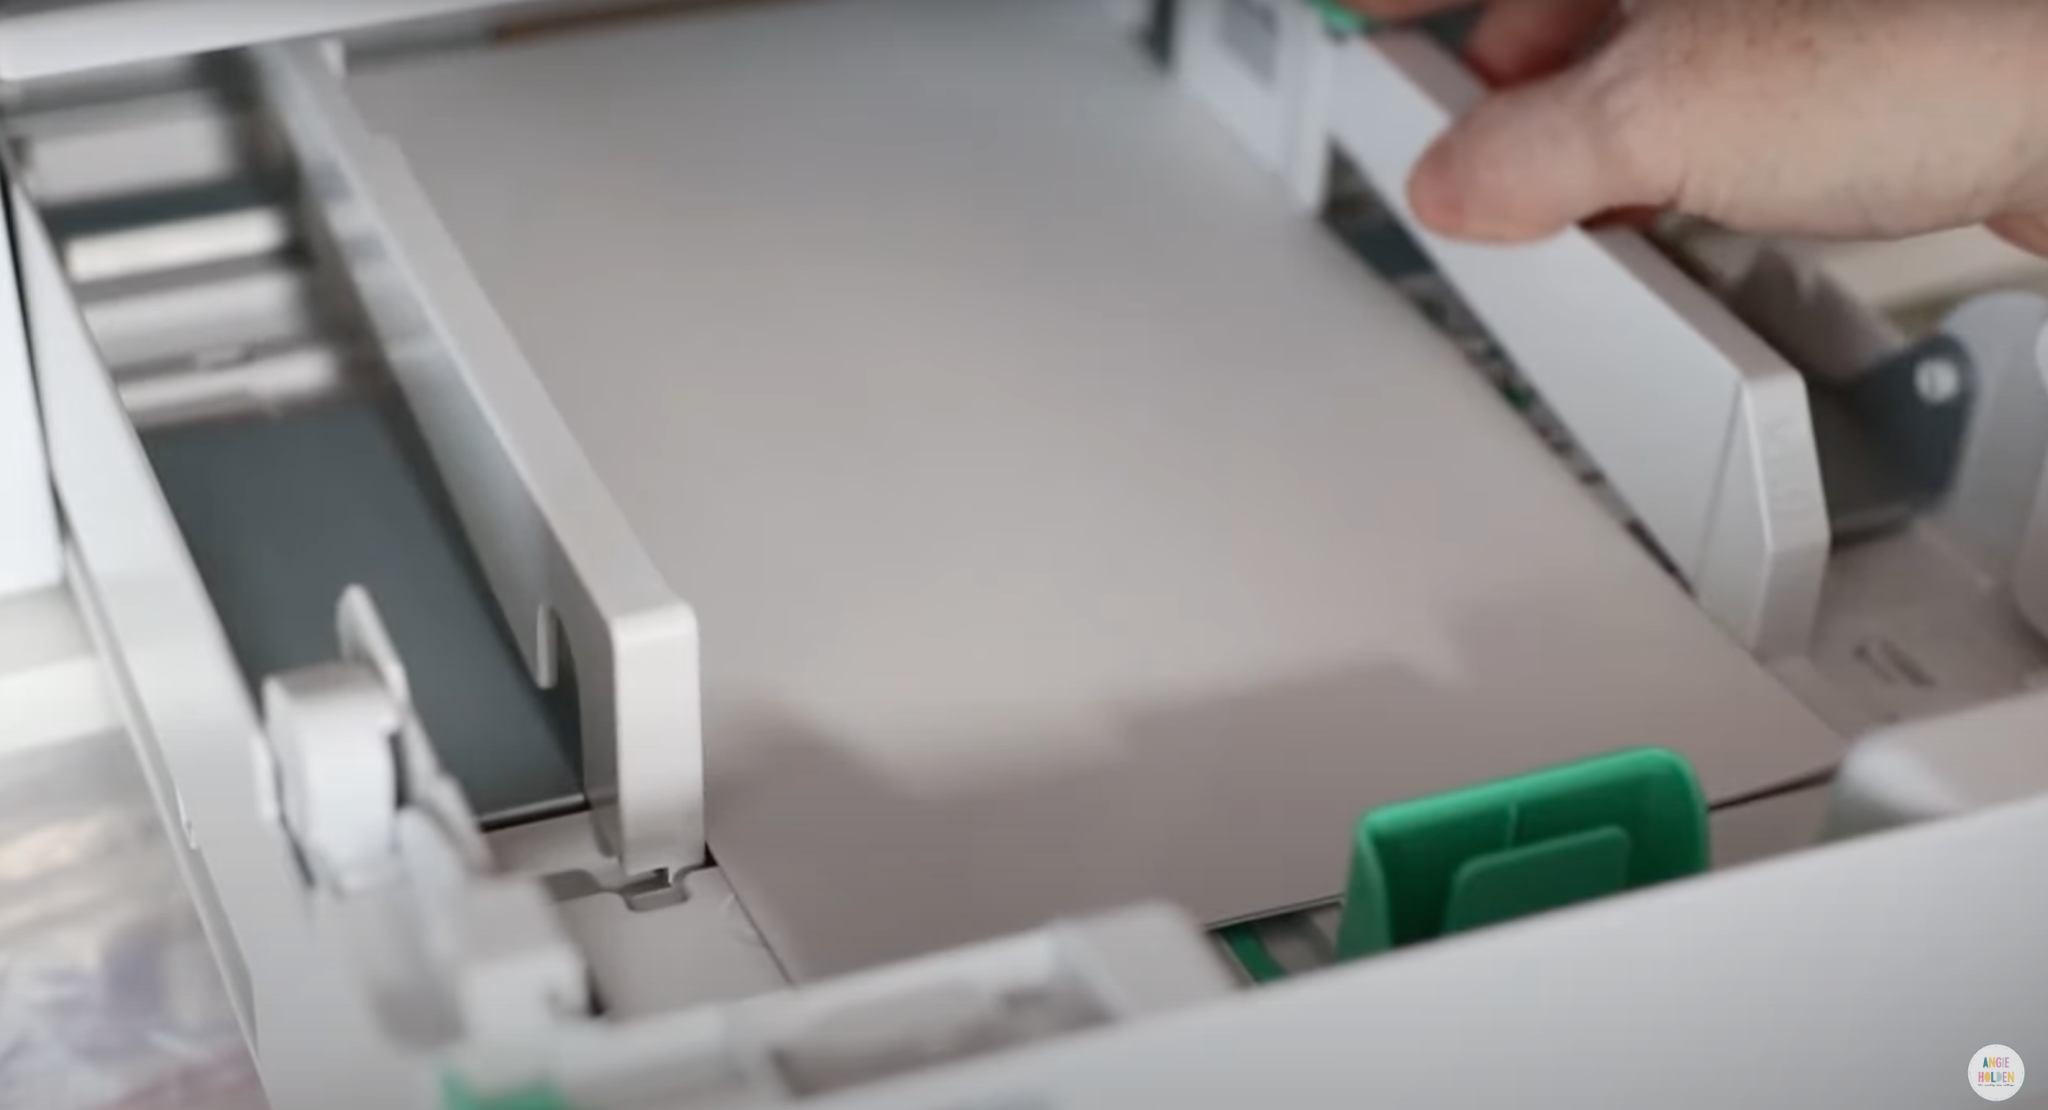
Printers have guides to help ensure the paper moves through the printer straight. Most printers have adjustable guides for the width of your paper and some have guide adjusters for the front and back as well.
When you adjust the printer guides you want to make sure your paper is centered in your paper tray. Don’t make them so tight the paper can’t move, they should just be touching the sides to keep the paper straight.
How to Print on Smaller Paper Sizes
With all the paper size adjustments made on the computer and the printer, you’re ready to print. On my Sawgrass, I was able to print on that 5.5″ by 9.5″ sublimation paper.
When you look at the sublimation prints, you can see that they are the exact same size. Using the smaller mug-sized sublimation paper I wasted much less paper. This is definitely cost-saving and is better for the environment.
If you make a lot of sublimation mugs, I would suggest keeping mug-sized sublimation paper on hand. It will save you money in the long run.
I was also able to print onto the mug-sized sublimation paper with my Epson EcoTank. I did find this to be a little trickier than the Sawgrass. There are a few more settings you’ll need to adjust but once you have those dialed in you’re going to love printing on the smaller paper and saving wasted paper every time you print.
Is Smaller-Sized Sublimation Paper Only For Mugs?
I don’t want you to think this sublimation tip is only for mugs. While this sublimation paper is mug-sized, it can be used for other projects too. I think these smaller paper sizes would be perfect for making small can koozies, earrings, sublimation pens, and more.
I love the idea of saving paper and getting the most out of my craft money. Blanks can be expensive so saving money on supplies like paper is a definite bonus.
Remove the Protective Coating from Your Sublimation Blank
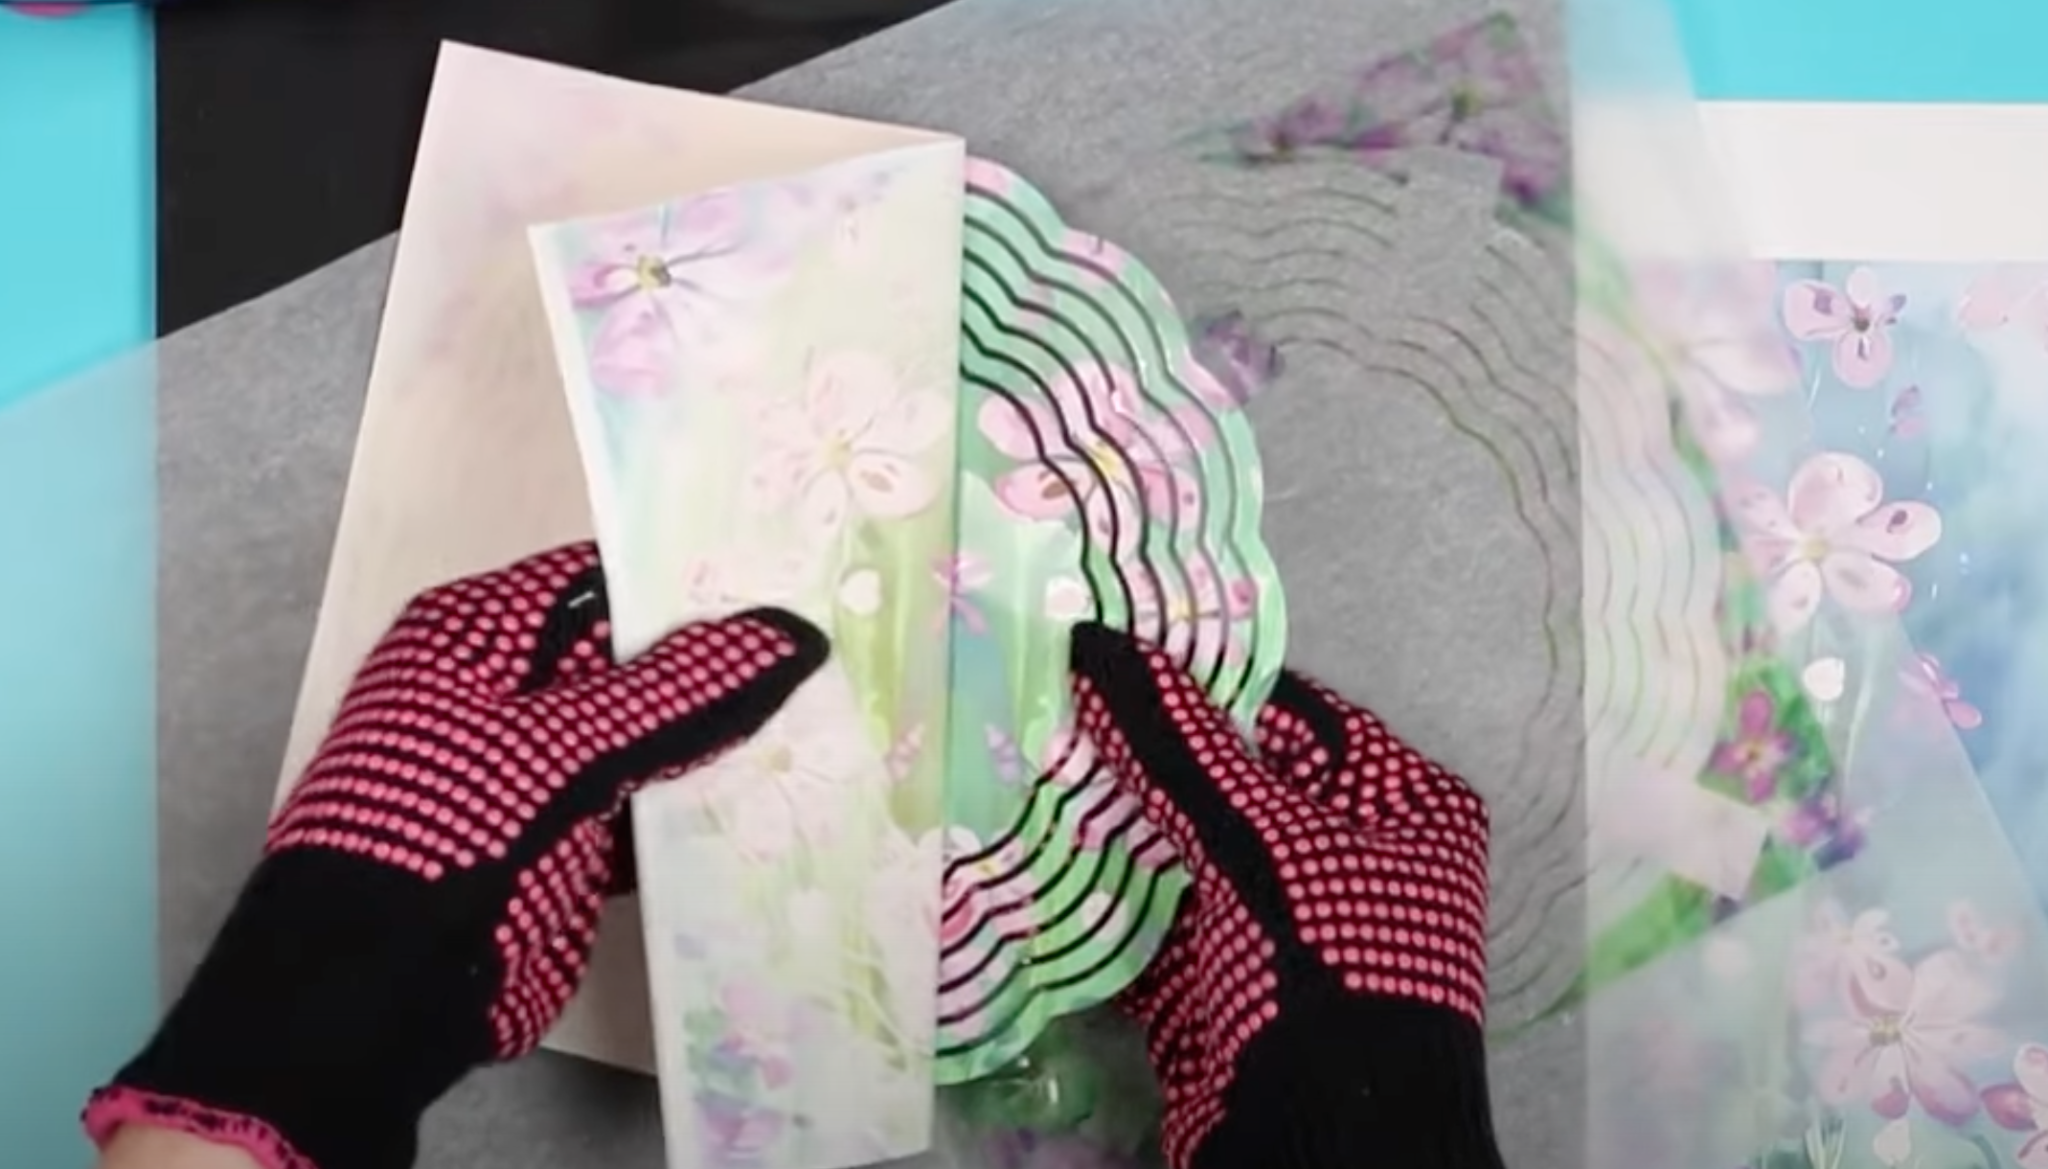
Money saving sublimation tip No. 2 is to always, always make sure that the protective coating is removed from your sublimation blank. Many sublimation blanks, even ones you may not expect, have a protective film on them to protect them from scratches until you’re ready to sublimate them.
I am the queen of not removing the protective coating before sublimating. I’m not sure why this is such a problem for me because I hate wasting sublimation blanks.
How Do You Tell if There is a Protective Film?
Hopefully, you’re remembering to check for a protective film before you press. The best way to check for a protective film is to use your fingernail and scratch at the corner of the blank and see if you can feel the film.
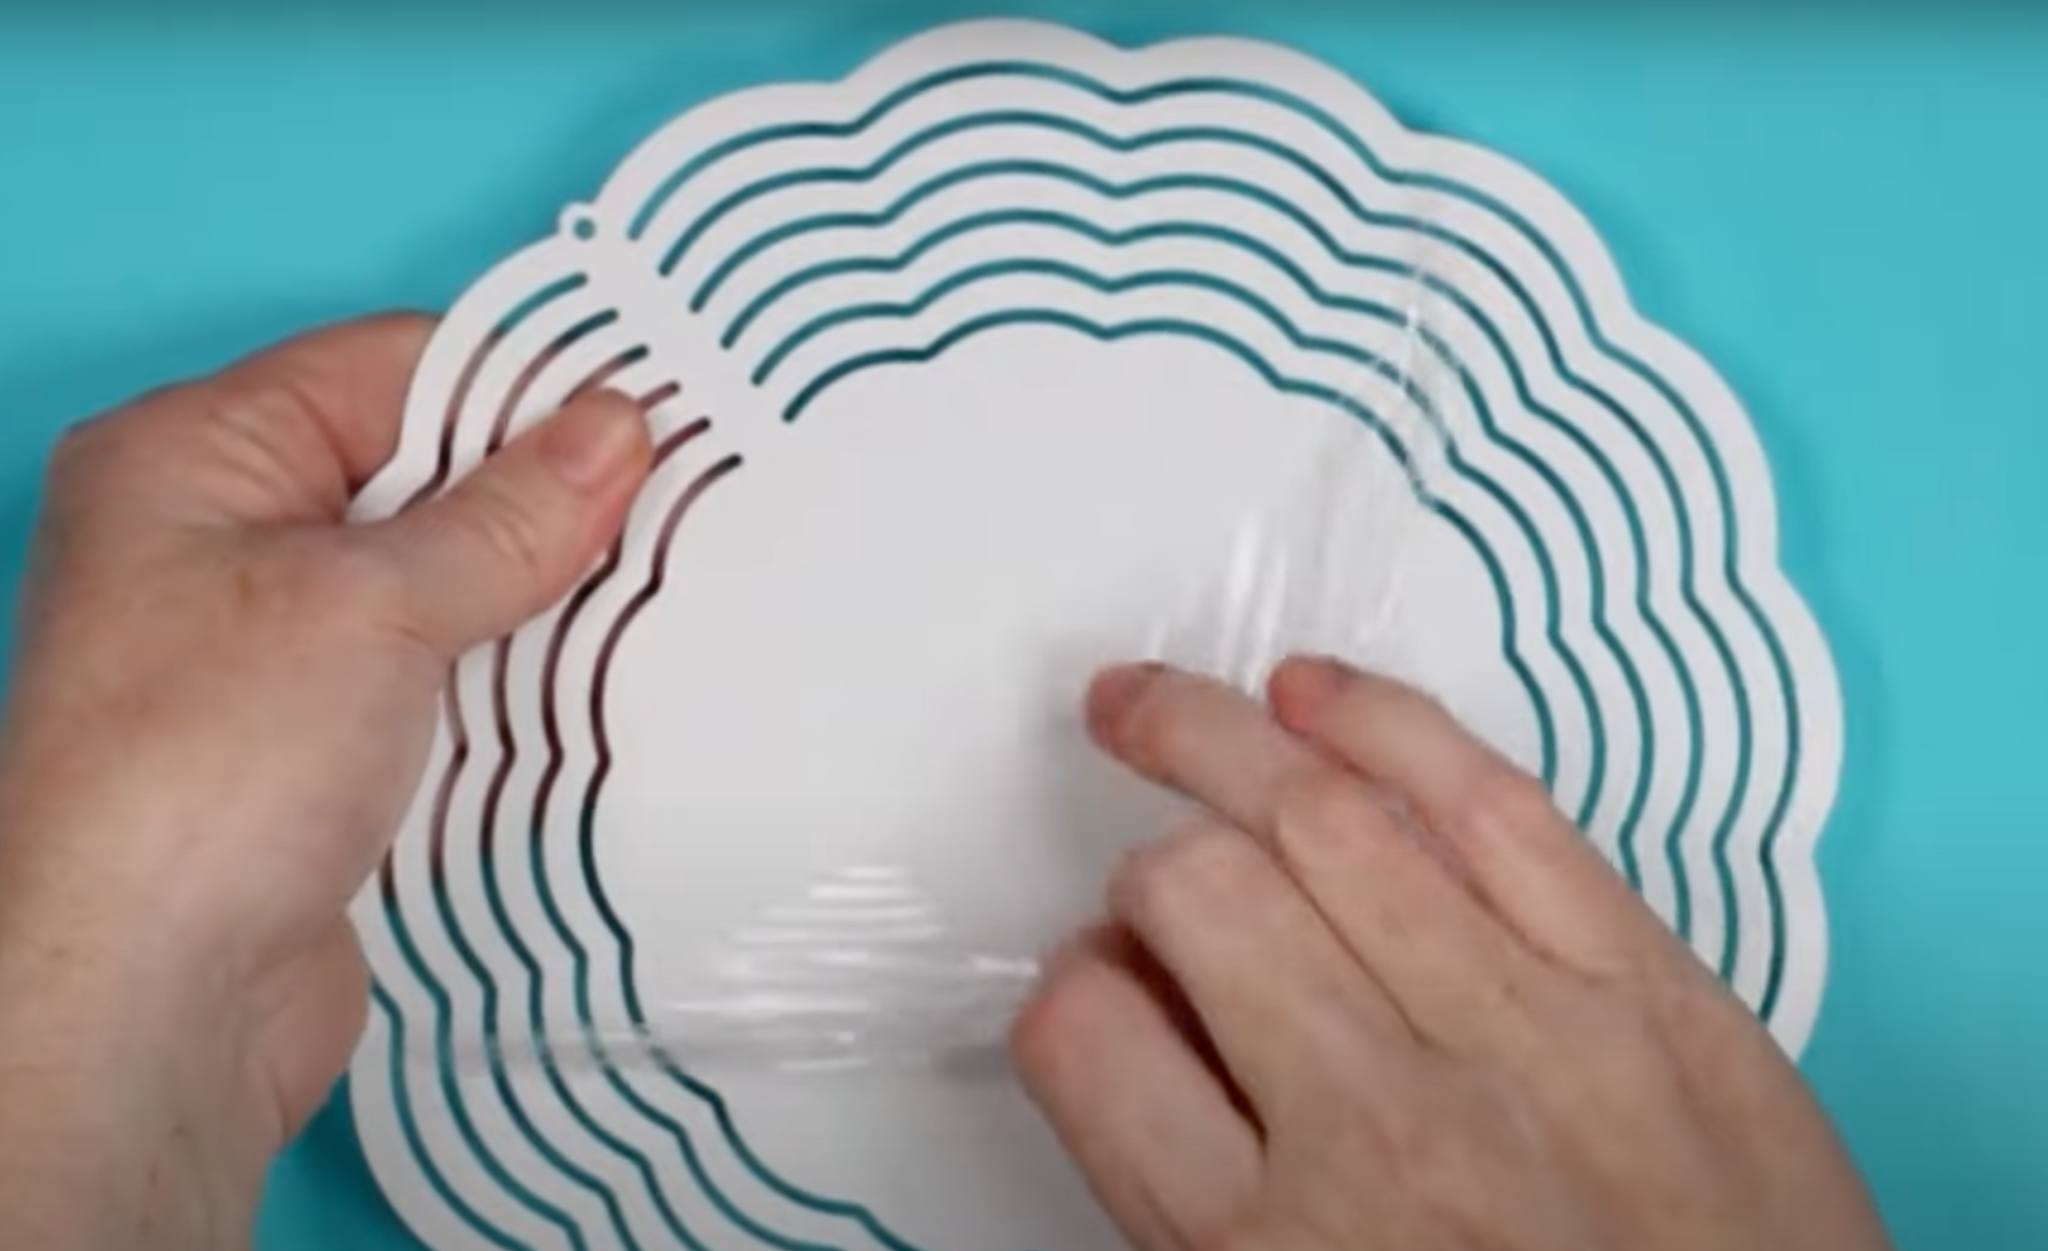
If you forgot to check your blank before applying the sublimation print, you’ll know there was a protective film if:
- Your sublimation paper sticks to the blank.
- The print looks absolutely horrible after it is sublimated.
Unfortunately, if you added your sublimation print to the blank with the protective film on it, you now have a ruined sublimation blank. I know it’s frustrating but just let it go. Grab another blank, remove that protective film, and start again.
Don’t be like me! Always check for a protective film on both sides of your sublimation blank.
Always Test Your Sublimation Print
Money-saving sublimation tip number 3 is one I cannot recommend enough. If you’ve ever seen one of my videos on sublimation, you know I recommend this every time.
I recommend always testing your sublimation print before applying the print to your sublimation blank.
The best way to do this is to purchase inexpensive 100% white polyester fabric. You can find this fabric at places like Joann. I like to buy my 100% polyester white fabric on the roll from the fabric department, this is a really inexpensive way to have something on hand to test your sublimation.
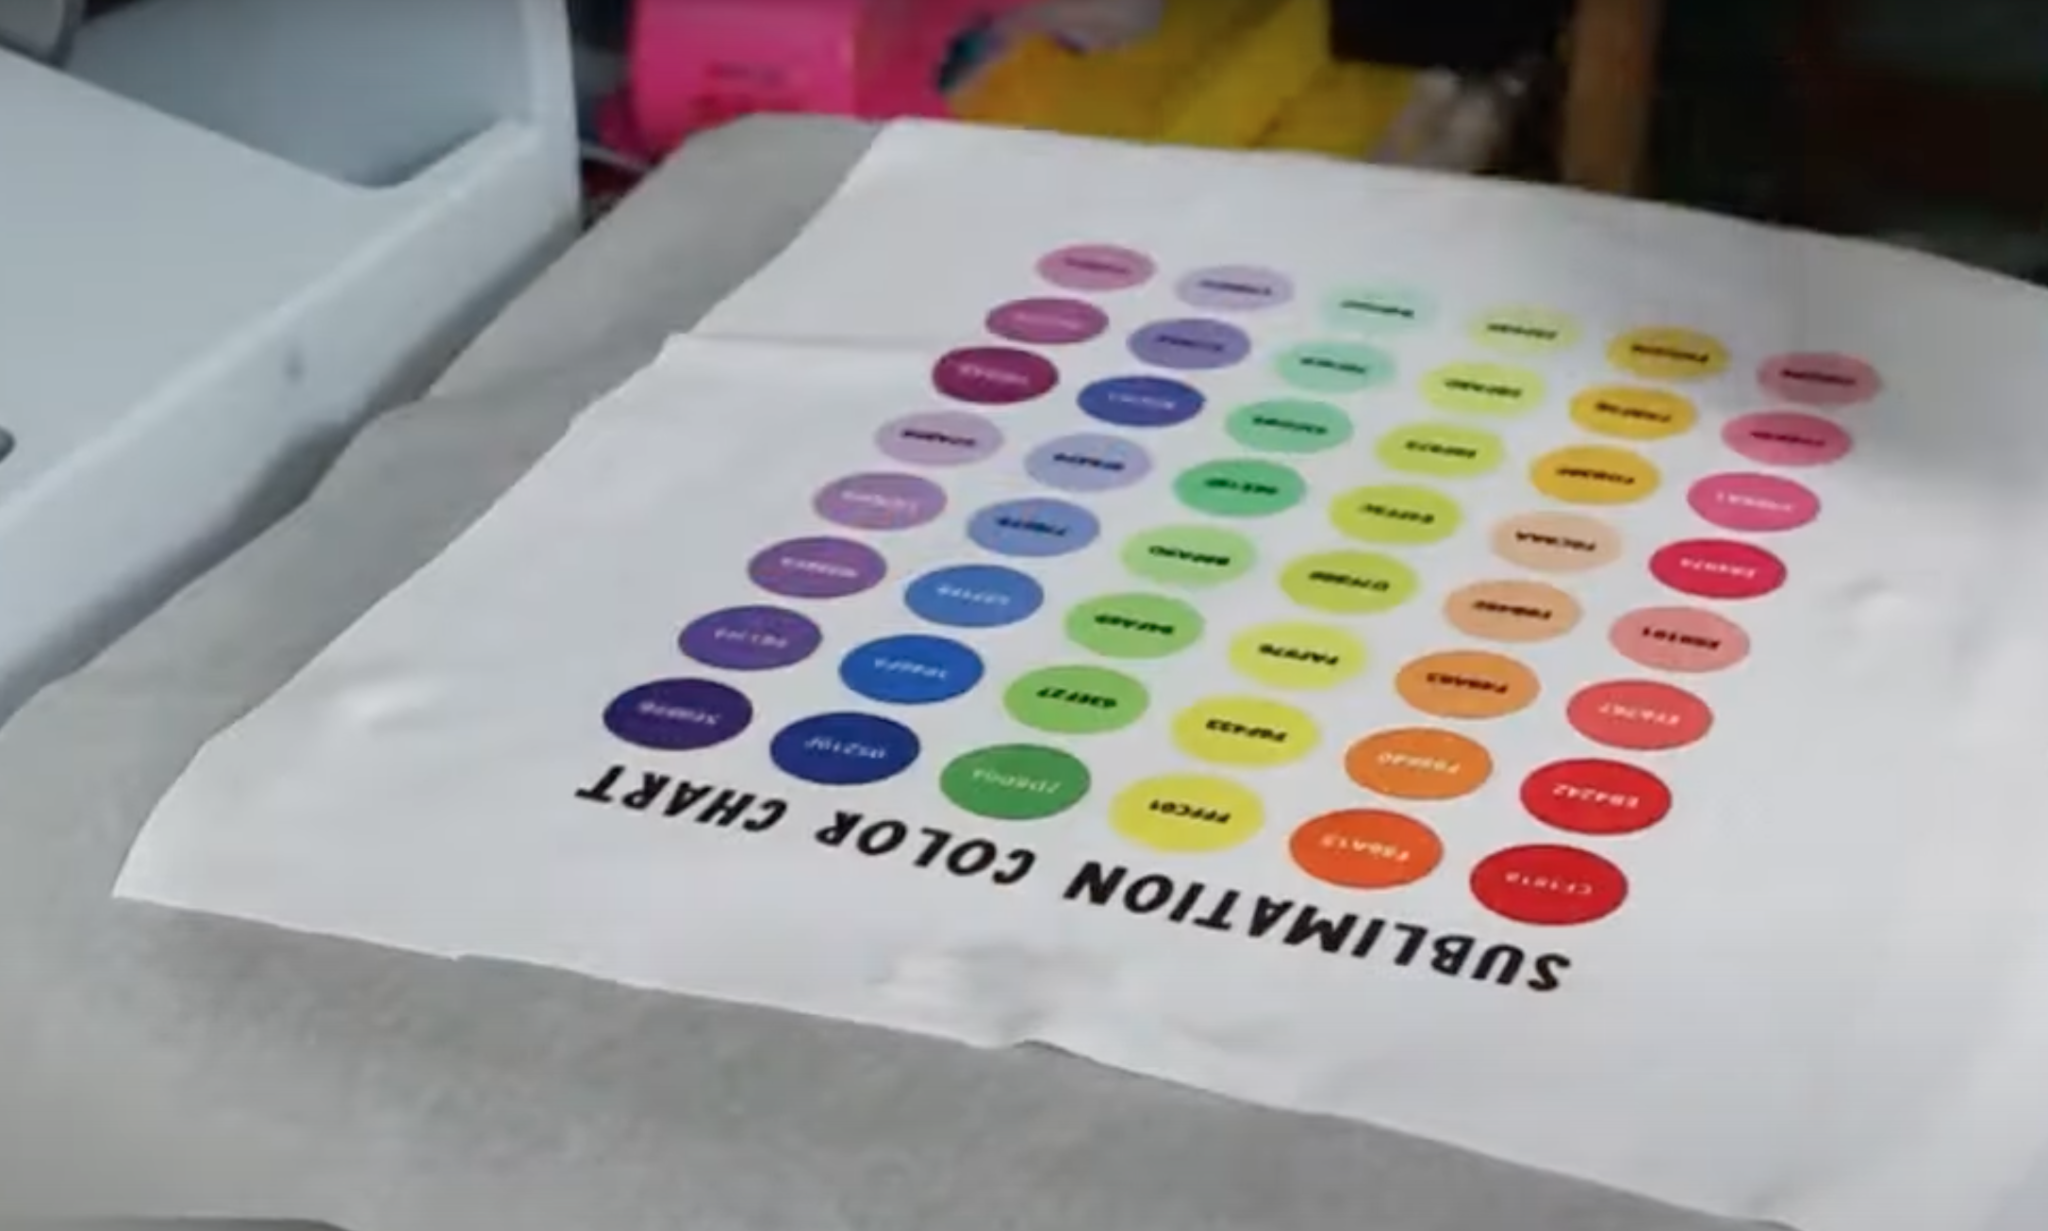
Why Do I Need to Test My Sublimation Print?
There are a variety of reasons I suggest testing your print before adding it to a blank.
One of the main reasons is to check that your printer settings are correct. Are the skin tones right if you’re sublimating a photo of your family? Are you seeing any lines in the print? Is my size correct for my blank?
All of these questions get answered in an inexpensive way when you test your print before adding it to a sublimation blank. Compared to the cost of a sublimation blank sublimation ink and sublimation paper are really inexpensive. I’d rather waste some of that than an expensive blank.
Test the Time and Temperature
My next tip is that the correct time and temperature are just as important as your print settings.
Anytime you purchase a sublimation blank it should come with recommended time and temperature settings. Those settings may or may not work with your actual setup. Your specific printer and heat press factor in with the look you’ll get for your finished product.
A good thing to note is that when you sublimate the color black is actually the last color to sublimate. All your other colors will sublimate first.
If your black looks green or has a greenish tint, that means it hasn’t sublimated completely. This means you either need more time or a higher temperature.
If the black looks brown or has a brown tinge to it, that means it’s burned. If you’re seeing brown in your black, you’ve over-sublimated. This means you either need less time or a lower temperature.
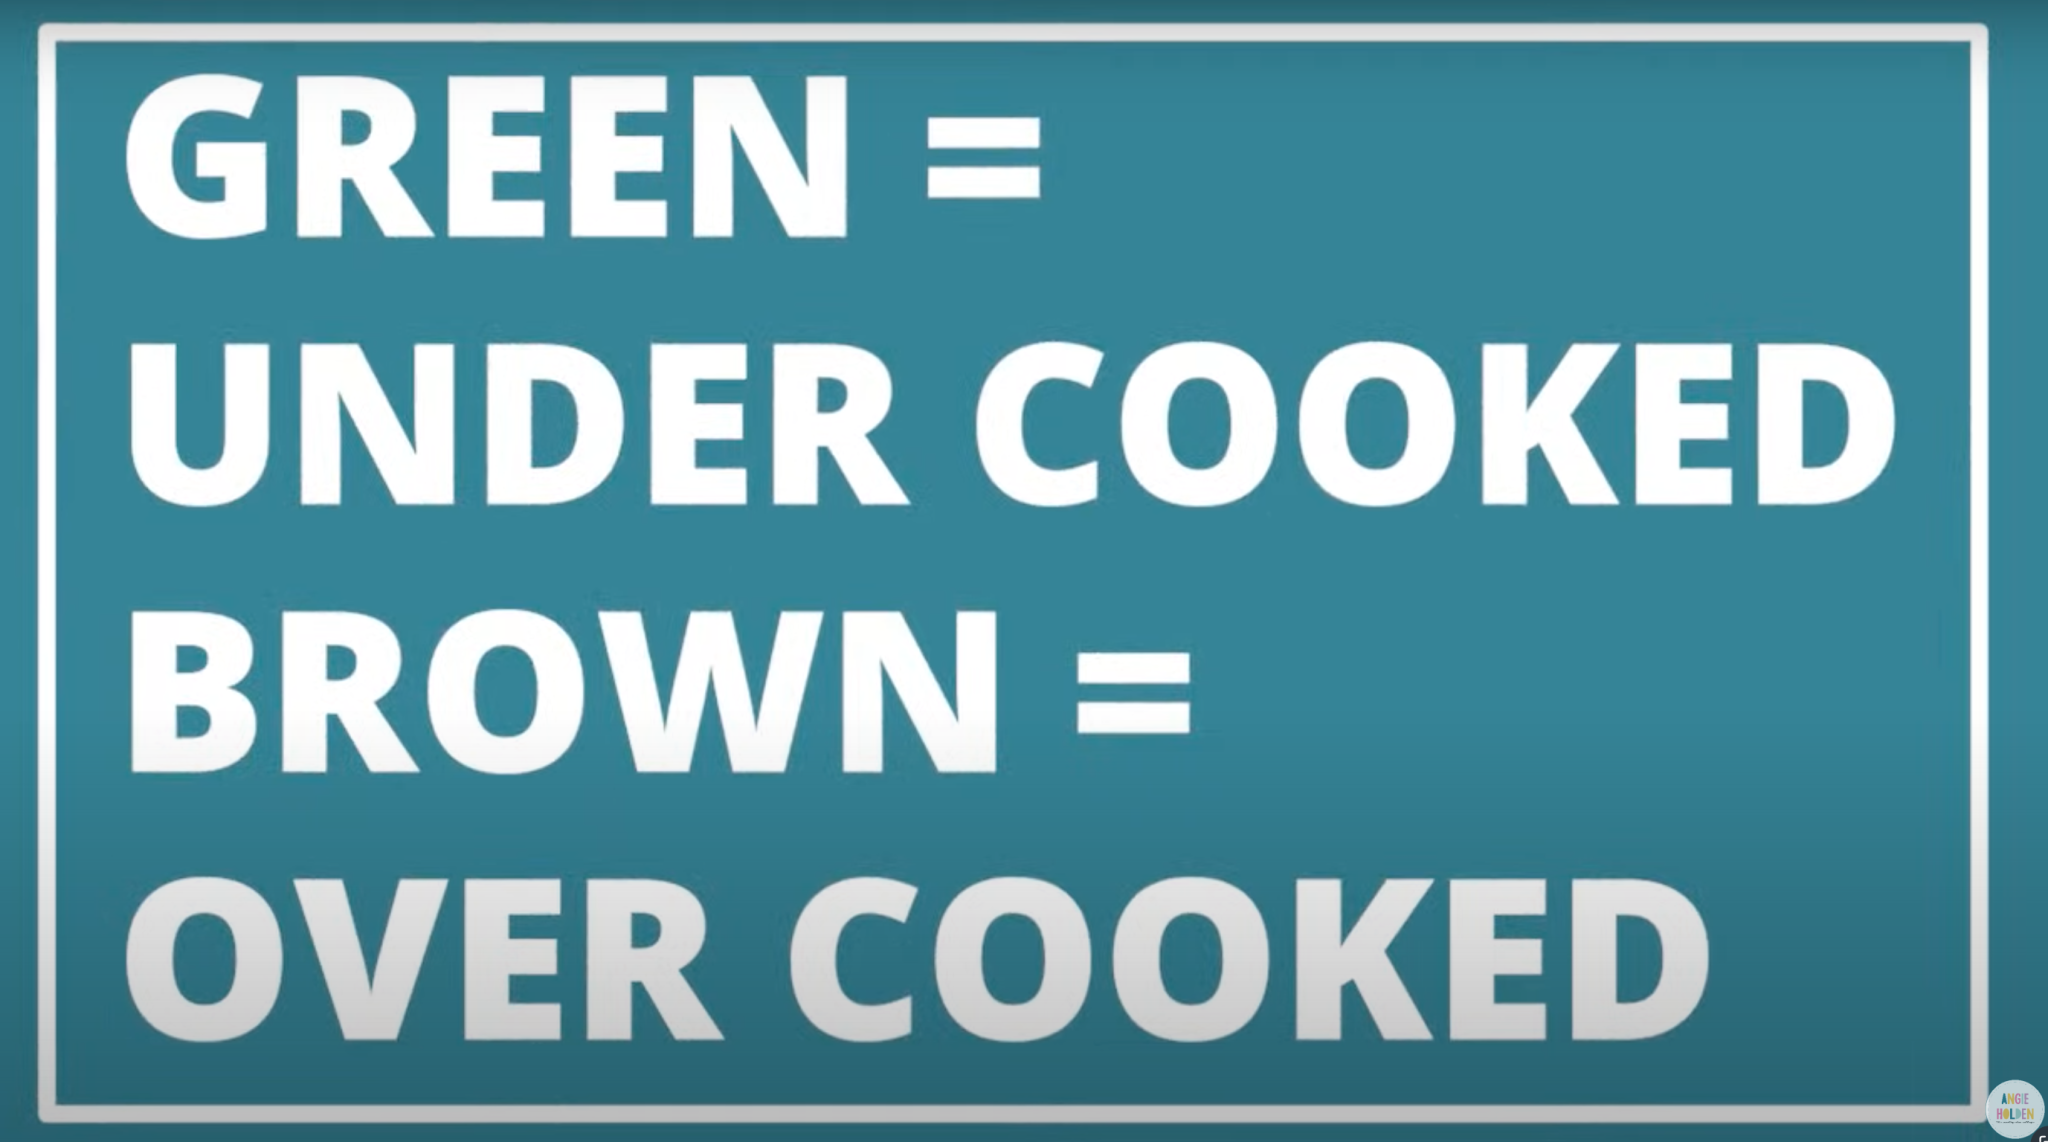
People are often surprised to learn you can over-sublimate a design. The best way I’ve found to check the time and temperature is to use that 100% polyester fabric. This will give you a good idea if the time and temperature settings are right or not.
Bonus Tip
Since black sublimates last a great way to make use of some of those messed up supplies is to save them to test on later.
Print a sheet of straight black out of your sublimation printer. Cut it into strips and sublimate it onto the messed-up blank. Because the black will go right over all those other colors you can use the messed-up blank to really dial in the right time and temperature without having to use another blank.
Print on the Correct Side of Your Sublimation Paper
My 5th money-saving sublimation tip is to make sure you’re printing on the correct side of your sublimation paper. In case you haven’t looked closely, there is a right side and a wrong side to your sublimation paper.
Typically, if you’re having trouble with your sublimation ink drying or you’re seeing roller marks through your print that means the ink is not drying on the paper as it should while it’s going through your printer.
This can happen if you’re printing onto the wrong side of your paper.
How to Tell the Difference Between the Front and the Back
The easiest way to tell the difference between the front and the back is to look at them side by side.
Some brands, A-Sub for example, actually have a watermark written on the back of the sublimation paper. While this watermark makes it really easy to tell the front from the back, people have had trouble with that watermark actually transferring to their surface with some brands.
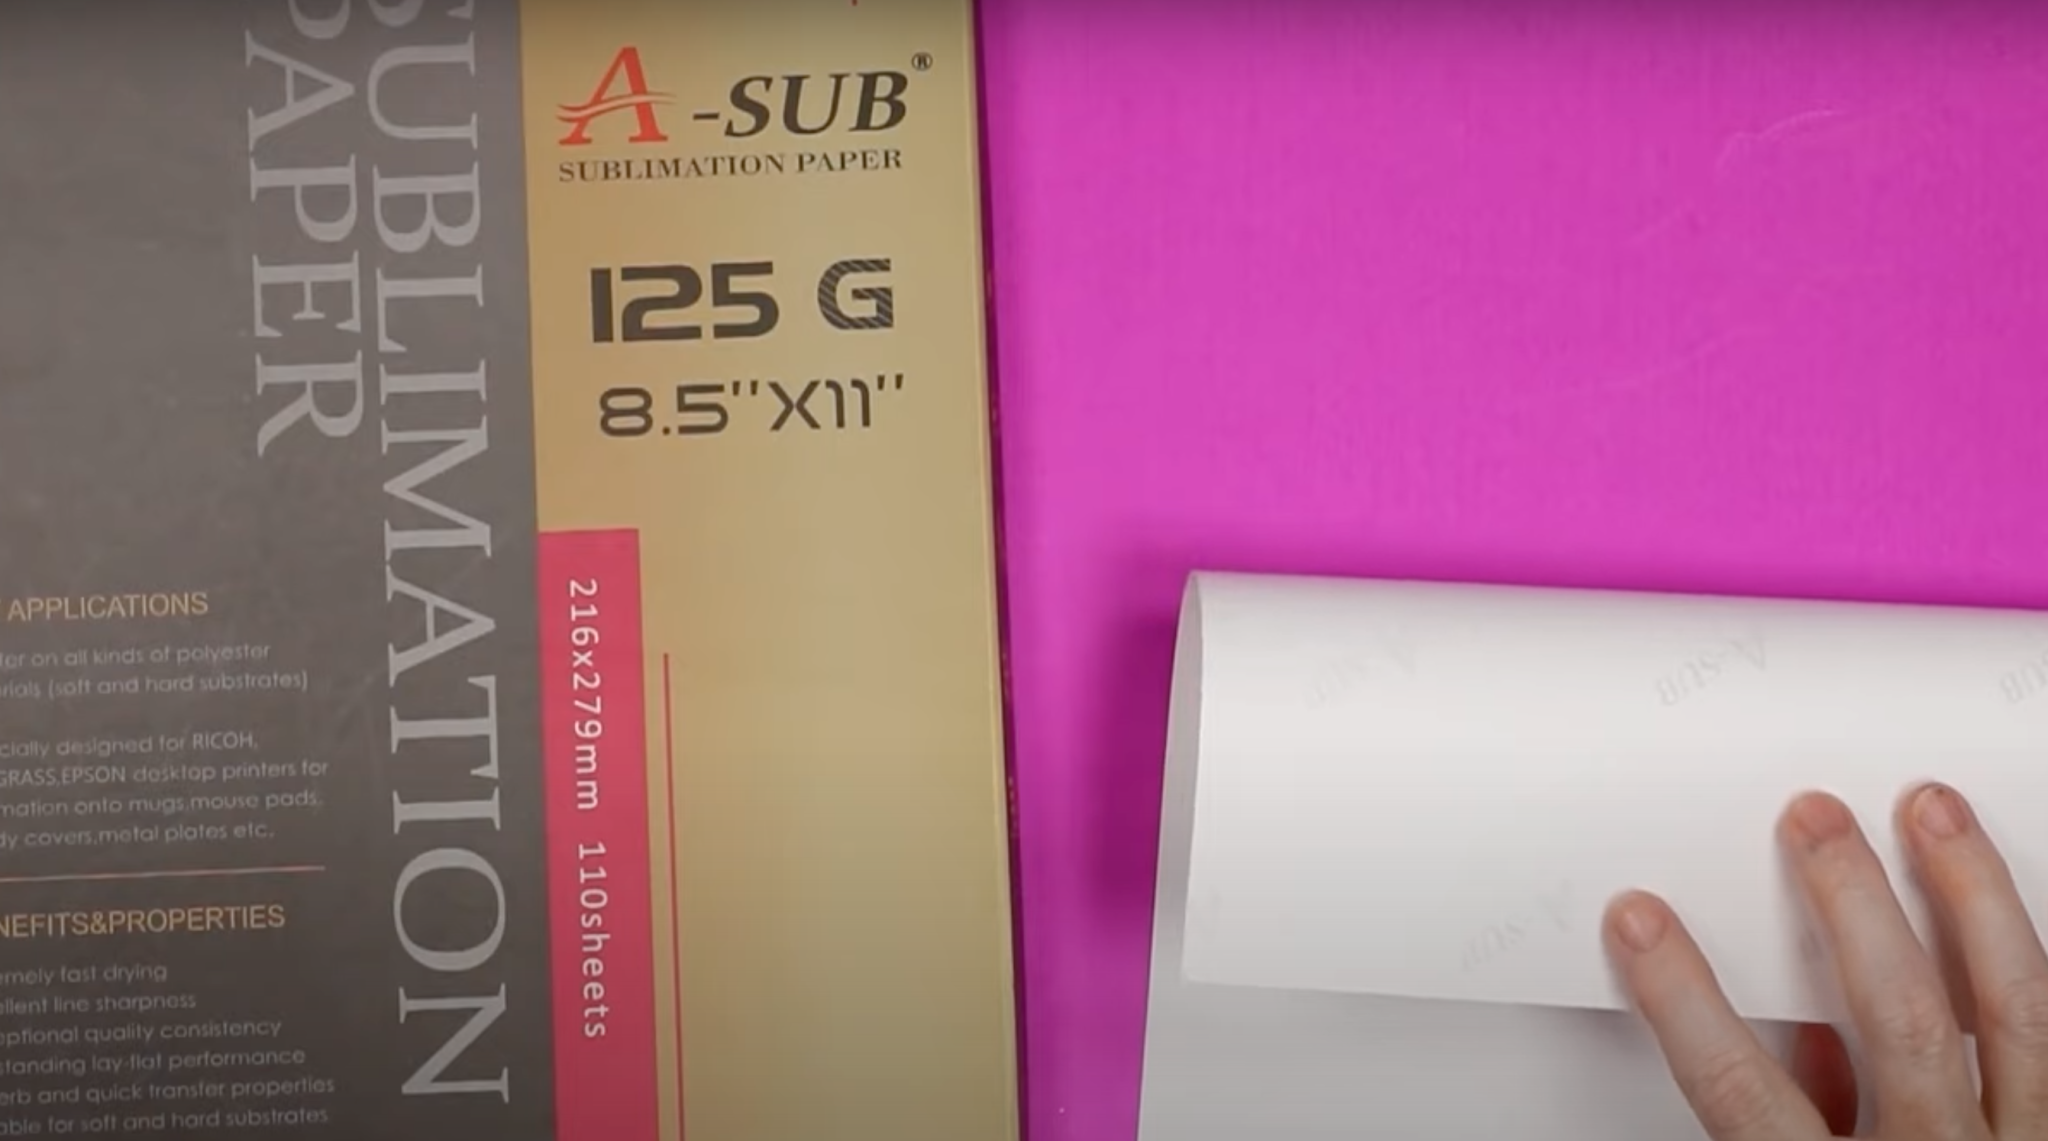
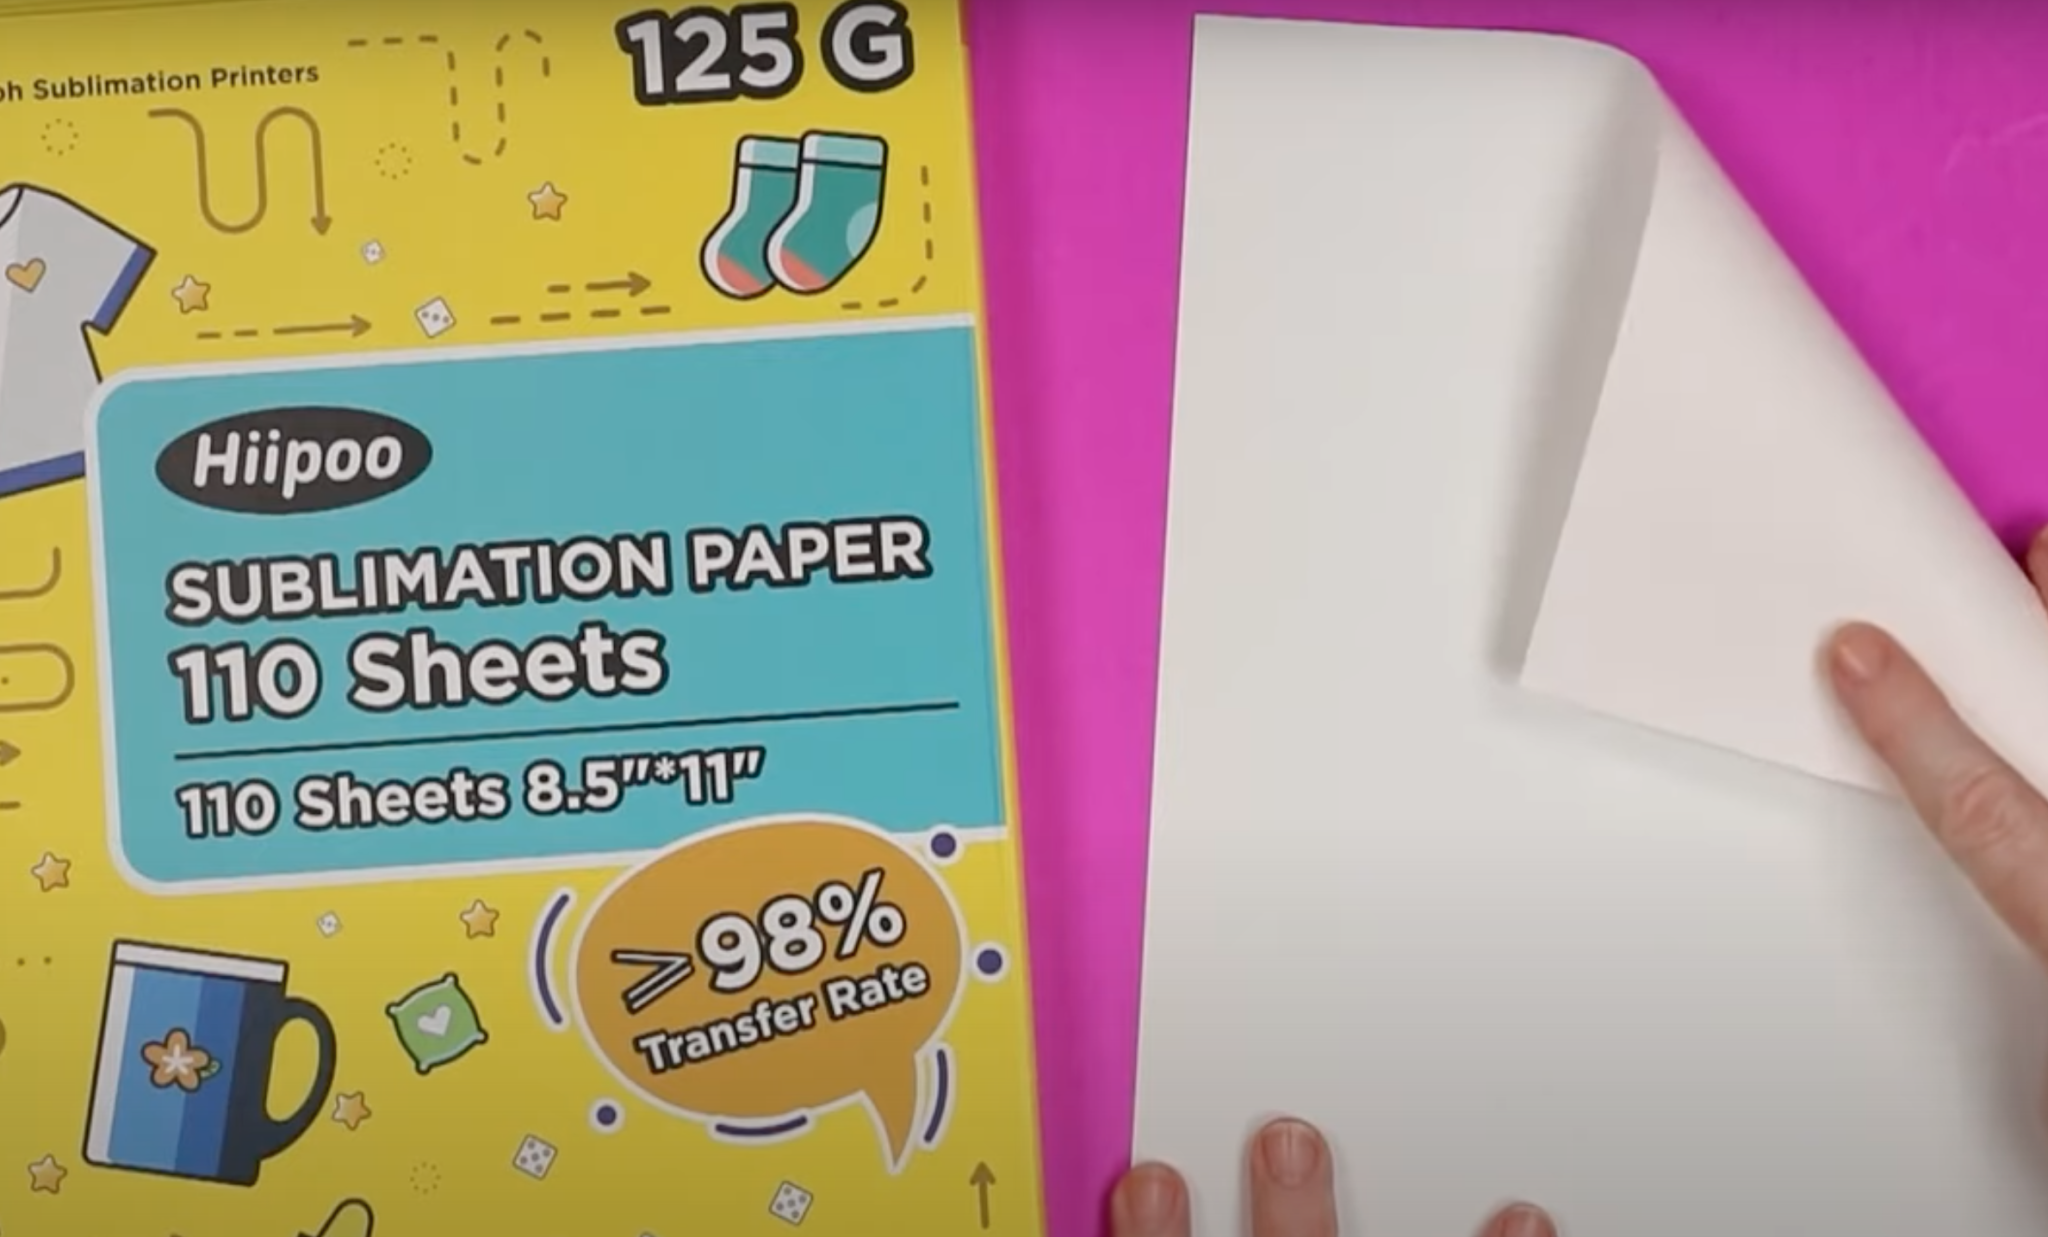
Other brands, like Hiipoo sublimation paper, are harder to tell the difference between the front and the back. The front is bright white but the back is a creamy matte color.
To really be able to tell the difference I recommend looking at the paper under a bright light and comparing the two sides. Whichever side is the brighter white is going to be the front and that is the side you want to print onto.
Other brands may have a light color to the back but a lot of them are just a cream or off-white color.
I also recommend making sure you’re using whatever paper is recommended for your printer. If you’re using a paper that says it’s for Sawgrass or Ricoh printers and you’re putting it in an Epson EcoTank printer it may not absorb the ink correctly.
If you’re using a converted EcoTank printer, make sure the sublimation paper you’re using actually says it’s for those printers right on the label. The right paper and ensuring you’re printing on the right size will lead to sublimation success.
Final Thoughts on Money-Saving Sublimation Tips
Now that you’ve learned my 5 money-saving sublimation tips are you ready to start sublimating?
Sublimation Camp 2023 is May 4th through May 6th and you can get a free pass right now. Head to sublimationcamp.com and sign up for free right now.
With Sublimation Camp, you get 27 never before seen videos from me and other camp counselors. You’ll learn everything from the basics of sublimation to more advanced techniques like sublimating on glass, sublimating on wood, and even about that DTF hack you’ve all been asking me about!
Trust me, you don’t want to miss it! Also, don’t forget to head over to Hey, Let’s Make Stuff and learn Cori’s sublimation tips!
If you have any questions about the sublimation tips I talked about here feel free to leave them in the comments and I’ll be happy to answer them for you.
