This post and photos may contain Amazon or other affiliate links. If you purchase something through any link, I may receive a small commission at no extra charge to you. Any supplies used may be given to me free of charge, however, all projects and opinions are my own.
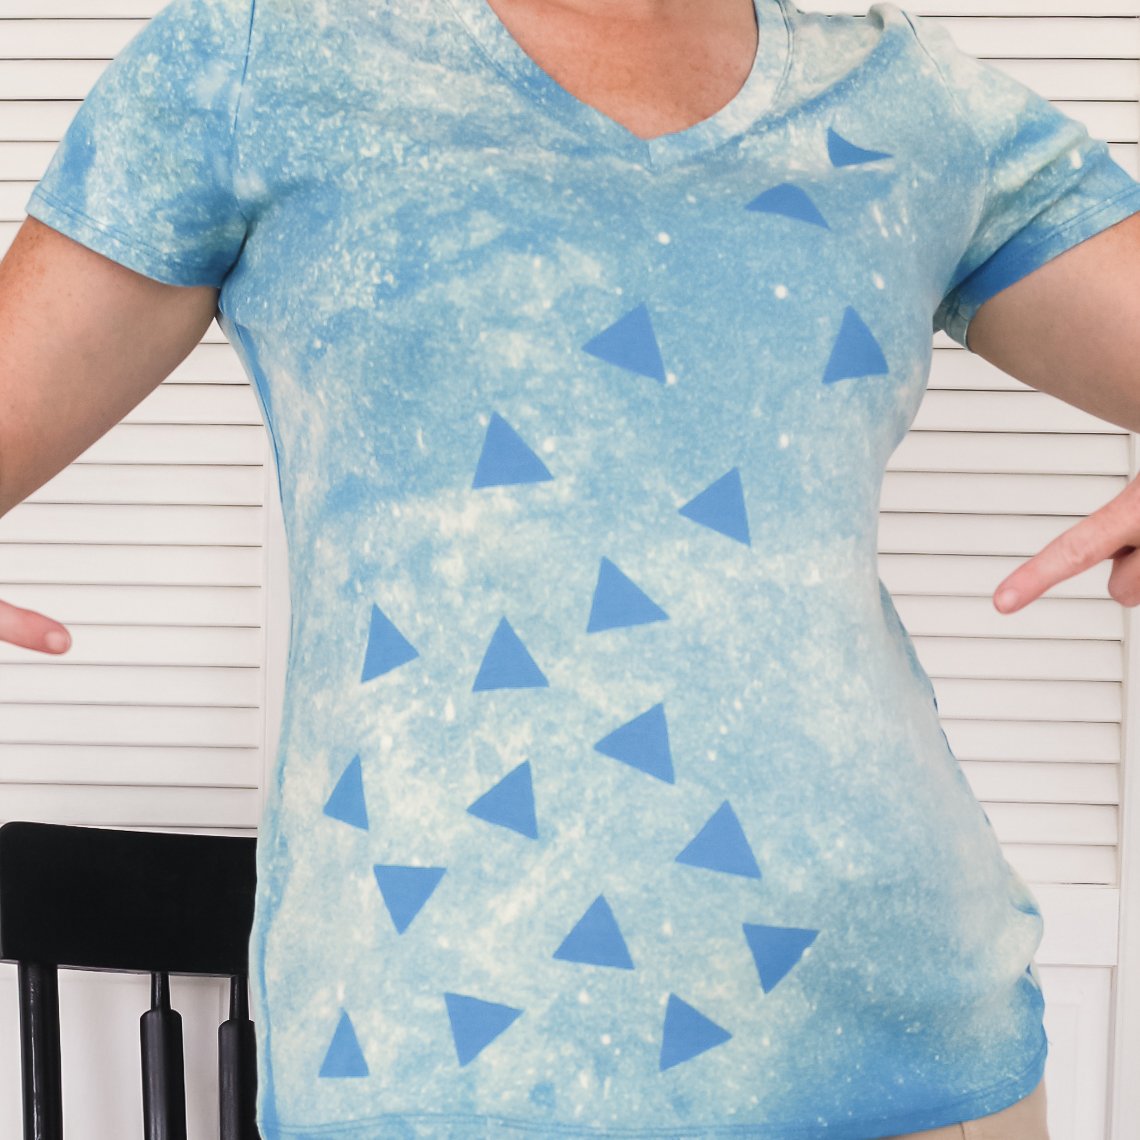
Move over tie dye! Bleach shirts are the new hot trend! Did you know that making a bleach splatter shirt is super simple and requires very little work to complete? I didn’t either! But now. Look out world. I am bleaching all the things!
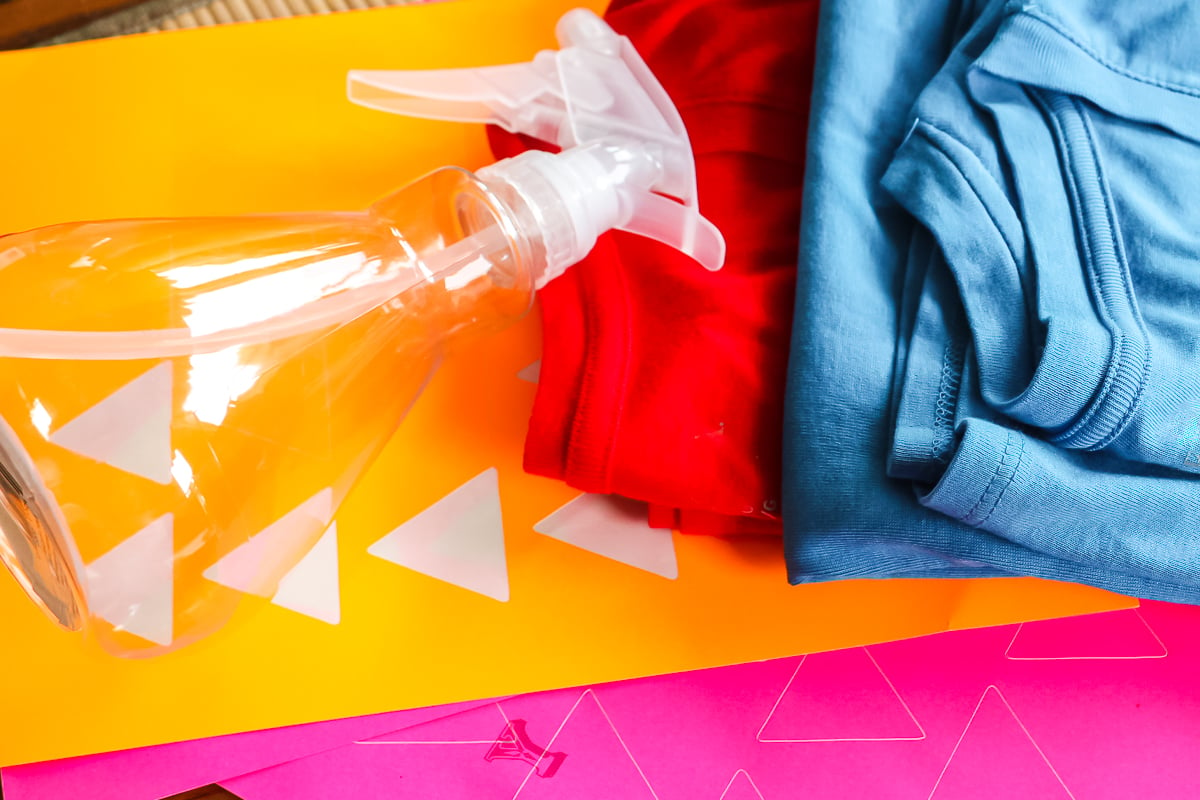
This started when I had some misprinted labels and hated throwing them out. Guess what? Extra labels? Misprinted labels? They are perfect for this project! You can also use scrap pieces of vinyl or cut-out shapes on your Cricut machine. So many ideas and so little time!
This was first published on August 26, 2014, however, I am republishing it with more information.
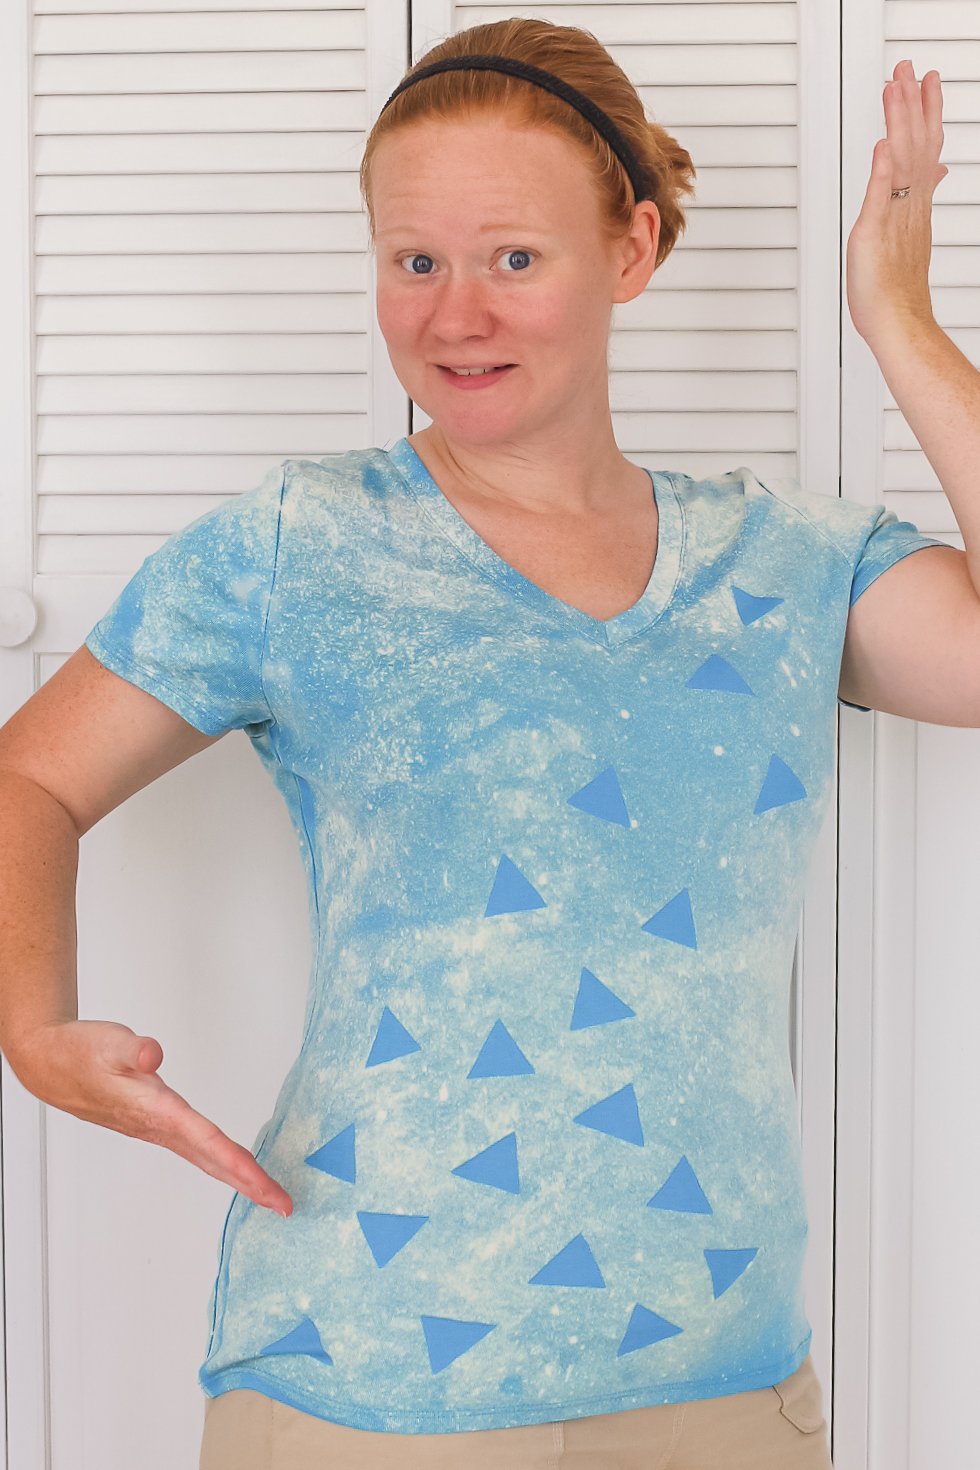
Bleach Splatter Shirt
You can make shirts like this one in minutes. You will, however, want to choose your shirts carefully as not all shirts will bleach the same. Keep reading for my tips and tricks and pick the right type of shirt for this project.
I got this idea from Practically Functional. You will want to see her post here for another design idea!
Supplies needed:
- Plain t-shirt you love (See below for more tips on picking shirts that will bleach well.)
- Spray bottle (one with a fine mist setting)
- Bleach
- Labels, stickers, or vinyl cut into shapes on your Cricut. (I used extra triangle labels from a project. Some were misprinted and some were just extra.)
- Cardboard
- Peroxide
- Water
- Paper towels
Picking a Shirt for Bleaching
Here are some tips and tricks for picking the best shirts for bleaching. Remember that not all shirts will bleach to white but you can get some really cool colors regardless!
- You do need a shirt with at least some polyester as cotton shirts can develop holes. For longevity’s sake, I would use at least a partial polyester shirt.
- A few options are Gildan soft style (65% polyester, 35% cotton) or BELLA+CANVAS (they have some great 52% cotton, 48% polyester). You can test other brands and types as well.
- Please note that some colors/brands/types just will not bleach. If you are planning on buying a lot of shirts, I would test each one before ordering in bulk.
Cutting Shapes for Bleach Stenciling
You can make a plain bleach splatter shirt but I like using some masking on the shirt to make a design. You can use any labels, stickers, tape, or even vinyl cut into shapes on a Cricut machine. Pick your favorite material and your favorite shape and get started on your shirts.
If you are using vinyl cut on a Cricut, cut any adhesive vinyl into shapes that you like. I am using triangles but you can use ANY shape that you love. Cut on the vinyl setting then peel from the backing paper to add to your shirt.
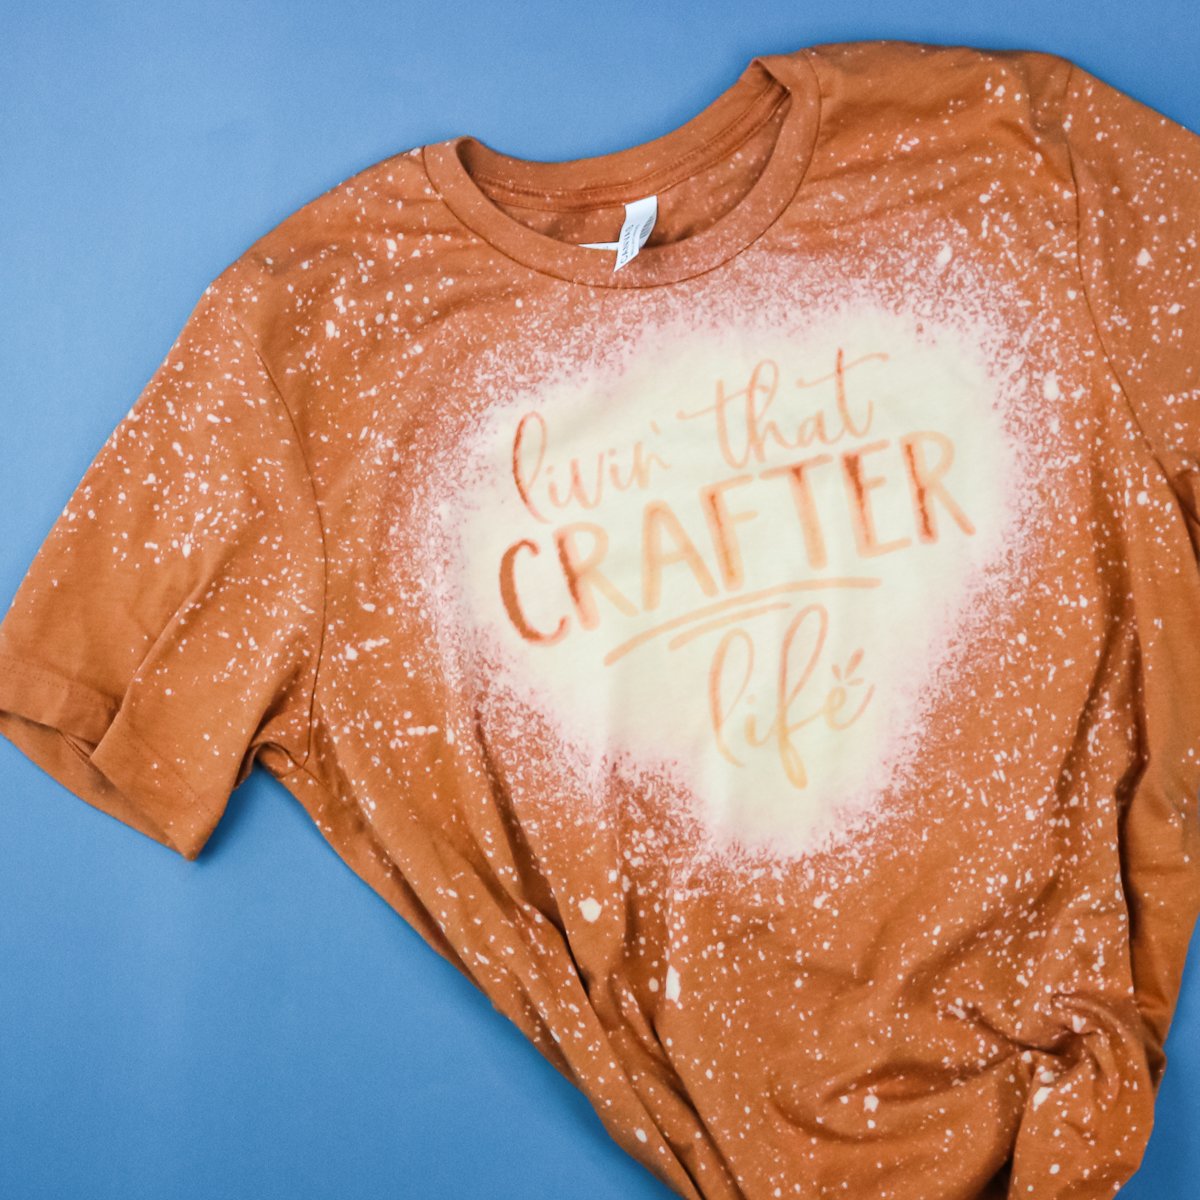
You can also make a more intricate stencil design by cutting on your Cricut. Transfer it to your shirt using Transfer Tape then start spraying your bleach on top. This allows you to make an even more intricate design with this same look. Here is an example of a shirt I have made with that technique.
How to Make This Simple Bleach Spray Shirt
Start by sticking your labels or vinyl shapes right to the shirt in any pattern that you choose. I did a “falling” pattern with my triangles. Note that I also added cardboard inside between the front and back of my shirt. I would highly recommend you do this as well.
If you are doing a more intricate design, use transfer tape to add the design to your shirt just as you would any other surface.
NOTE: You can do this project with kids however they need to be older. This is BLEACH! Wear old clothes and always use caution.
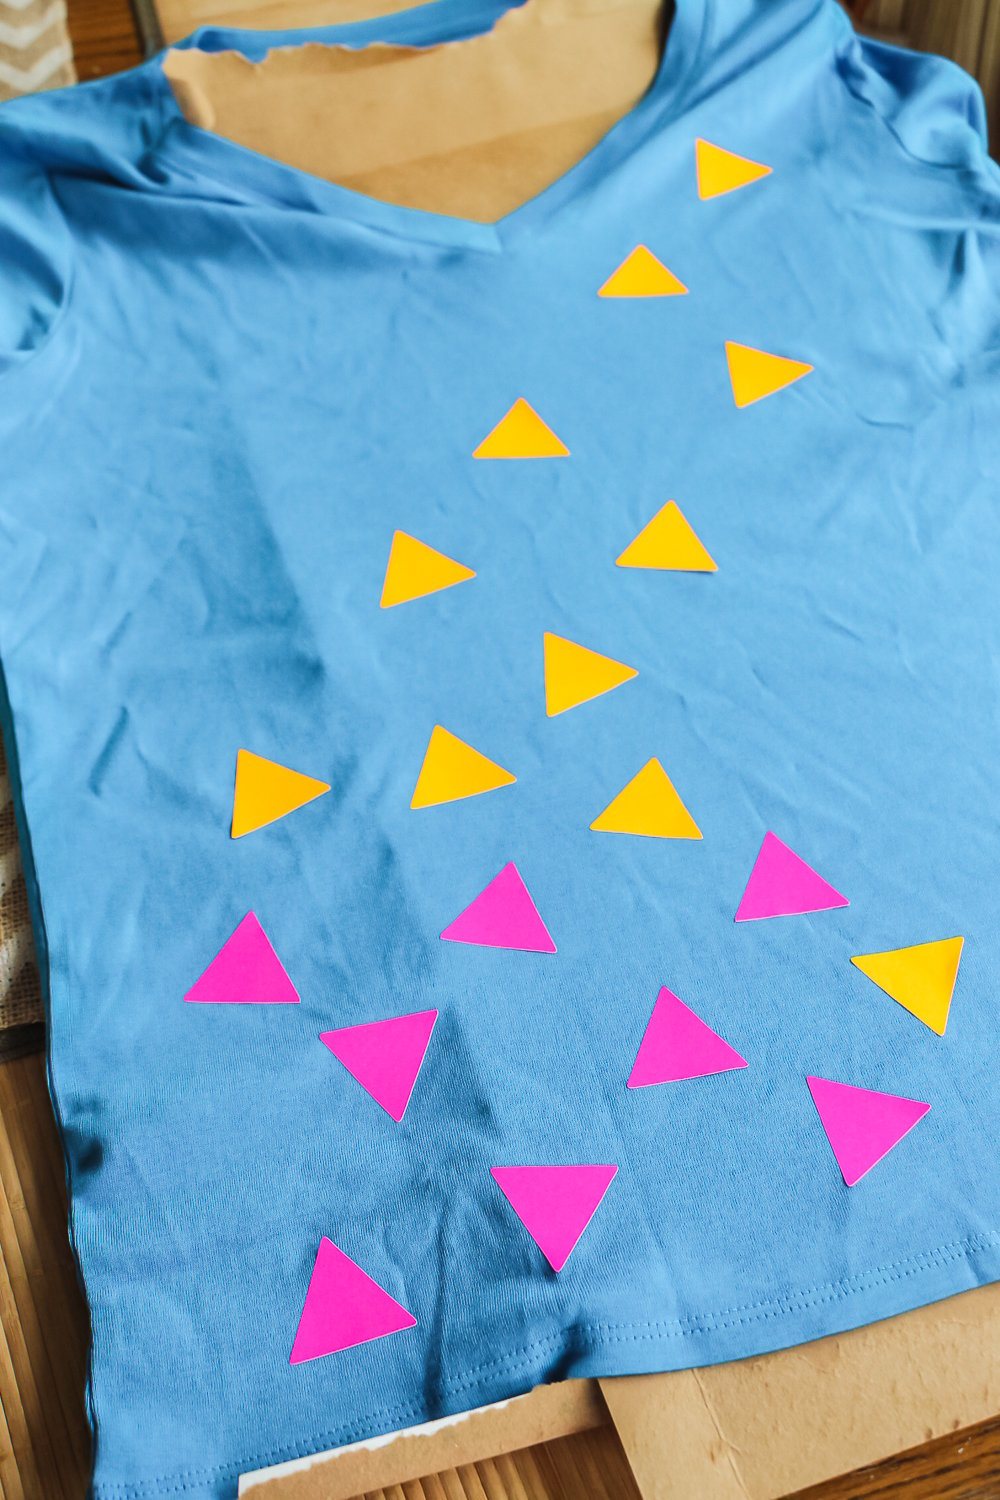
Now it is time to fill your spray bottle with straight bleach and get to spraying. You DO NOT have to dilute the bleach at all. Set the spray nozzle to the finest mist possible. Then follow this process to make a bleach splatter shirt:
IMPORTANT: Move your shirt outside for the rest of this process. I like to do this in full sunlight to get the whitest bleaching possible.
- Mist the shirt lightly with the bleach. You can concentrate more on the area where your stencil or shapes are located. Do not spray too heavily or your bleach will go under your stencil or labels and you will not have a crisp shape left in the end.
- Immediately use paper towels to blot the shirt and pick up any excess bleach.
- Wait a few minutes. The area should start to change colors. It is important to wait in between sprays so you do not get too much bleach on your shirt.
- Repeat the process after a few minutes if you want more of the bleached area on your shirt.
NOTE: Your shirt may eventually turn white in the bleached areas or it can change to other colors as well. You really cannot tell until you test the shirt brand and color with the bleaching process.
Once the front is how you would like it, you can flip the shirt over to the back and repeat the entire process. You can add a stencil to the back or even just give it a bleach-splatter look without any shapes or resist in place.
How to Stop the Bleaching Process
Once you are happy with the results on your entire shirt, it is time to rinse the shirt and stop the bleaching process. Remove any labels or stencils at this point. Then, to stop the bleaching process, mix 1/2 hydrogen peroxide and 1/2 water in a container. Dip your shirt in and rinse really well. Then wash your shirt twice in the washing machine by itself to remove any residue.
You can use the container of the peroxide and water mixture for multiple shirts. After this process, your shirt can be worn and washed as usual. The bleaching process is permanent. As long as I use shirts with at least some polyester content, I don’t find that there are issues with holes developing.
Once you follow those amazing instructions, you are left with a one of a kind amazing creation to wear out and about. What type of stencil or label will you use on your bleach splatter shirt?

Love this project and want more ideas for shirts? Try the links below as well!

Do you love the 90s-inspired fashion that is popping up everywhere? If you’re feeling drawn to those fun bright 90s designs you’re going to love today’s project. I’m going to teach you how to use screen print confetti to create a perfect 90s tee!

Keep reading to learn how to use reflective HTV and which product would be best for your project!
If you’ve ever wanted to add sublimation designs to cotton fabric, I will teach you the best products to use and how to turn your favorite cotton tee into a sublimated shirt.
