This post and photos may contain Amazon or other affiliate links. If you purchase something through any link, I may receive a small commission at no extra charge to you. Any supplies used may be given to me free of charge, however, all projects and opinions are my own.
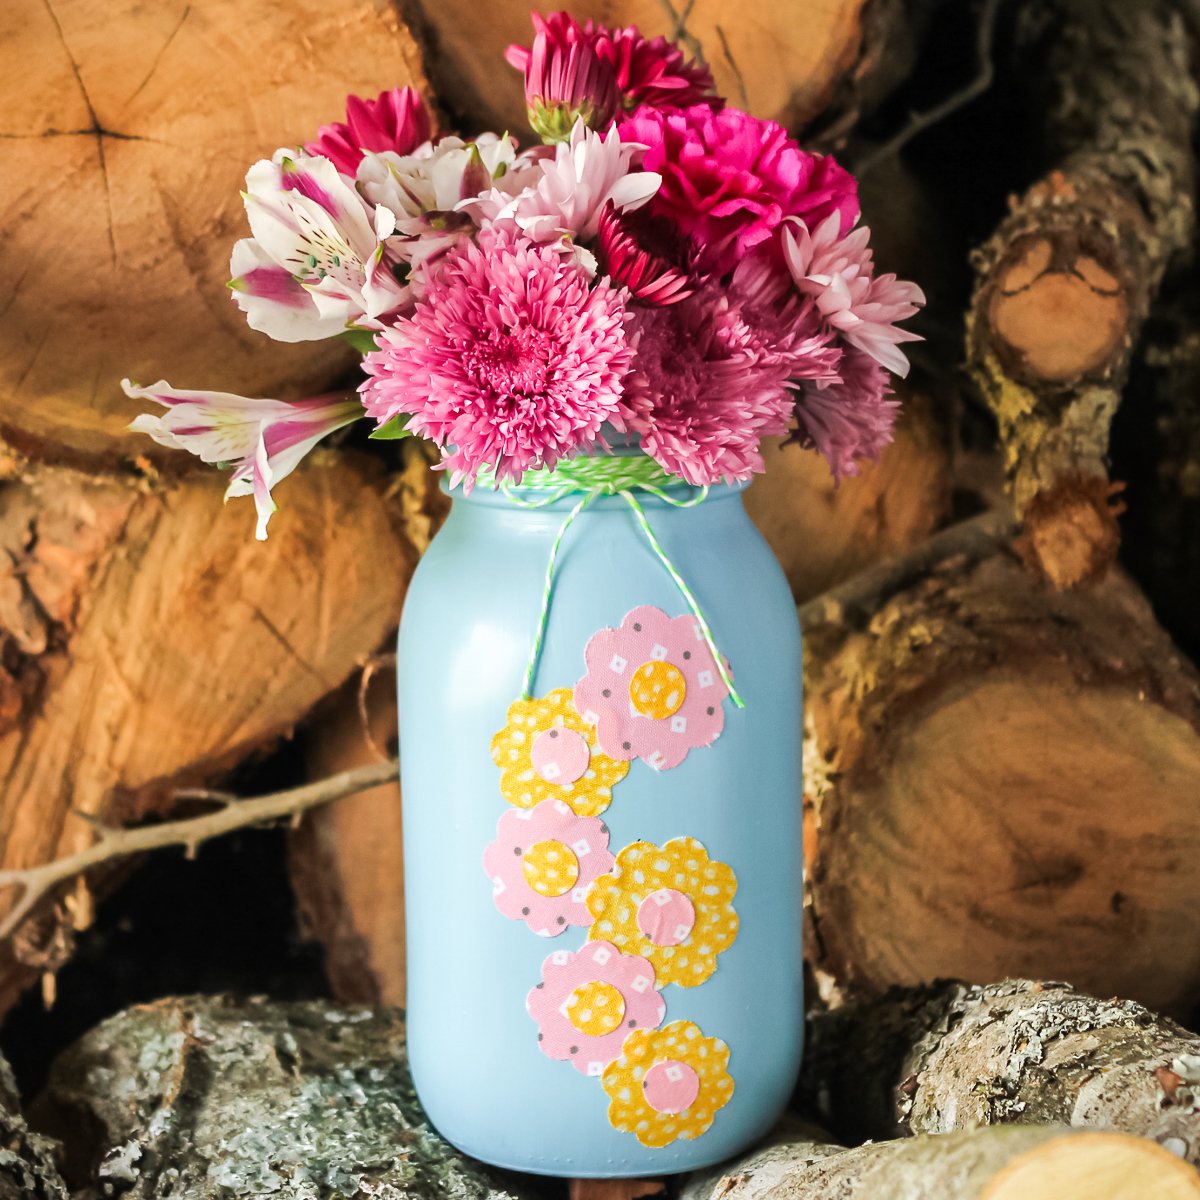
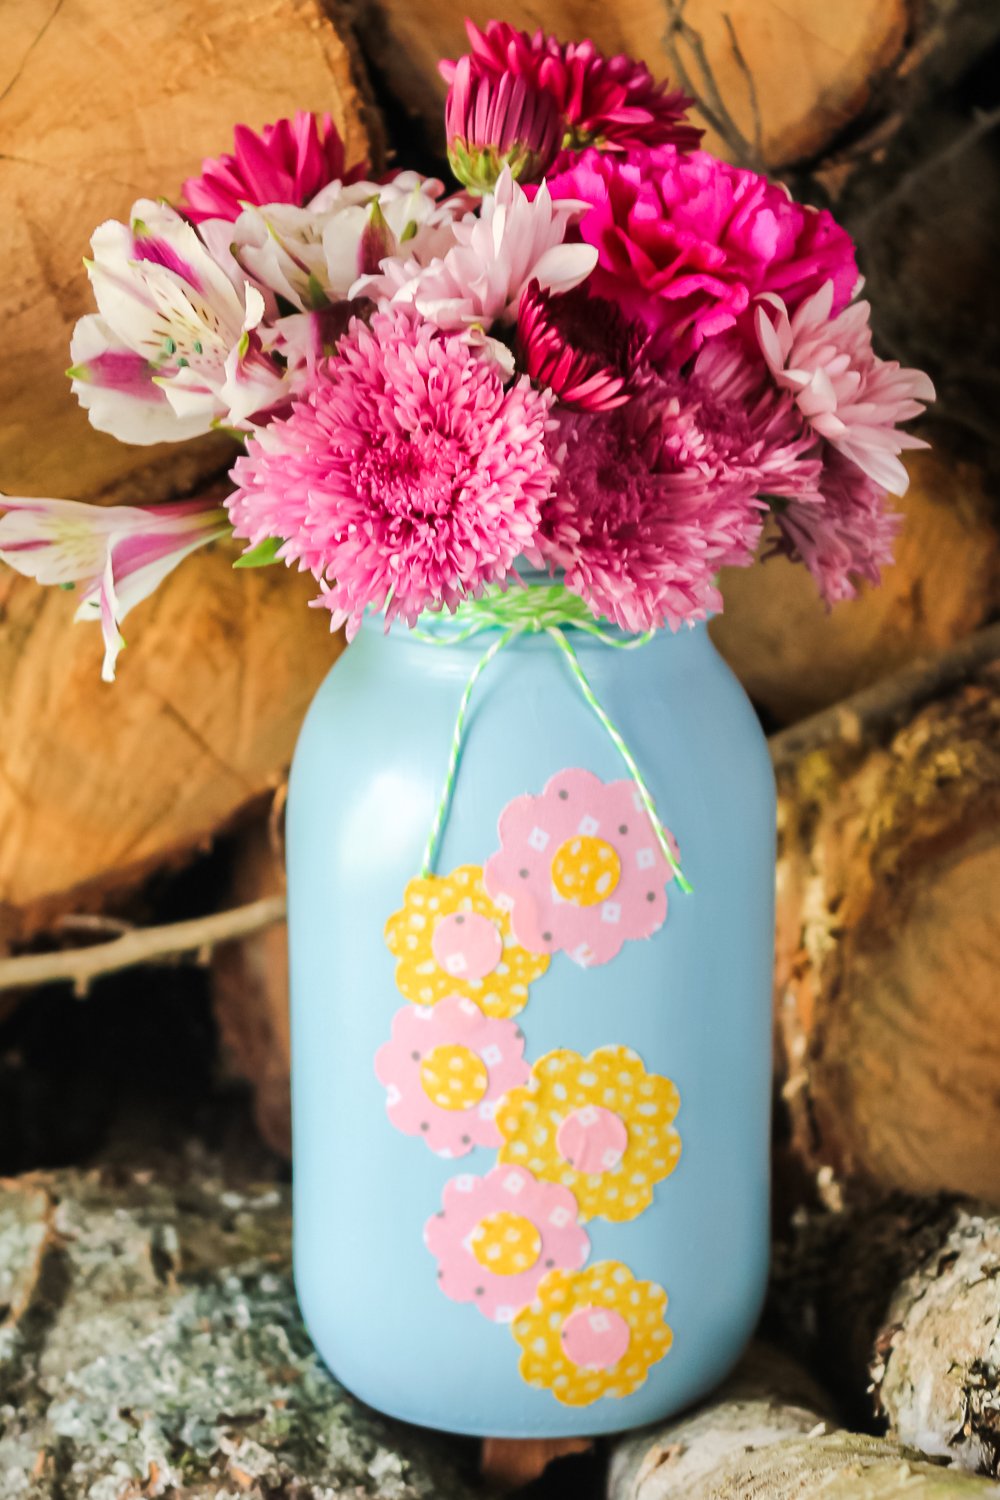
I love the fabric flowers adorning the front of this painted mason jar vase. Grab your Cricut machine and get ready to make this spring craft idea in minutes. You can make this with the fabric and colors of your choice to match your home or any spring party you may be hosting.
I am going to give you the options below for cutting the fabric flowers on your Cricut Explore or Maker series machines. The Cricut Joy does not cut fabric well enough to make a project like this in my opinion.
This was first posted on April 19, 2014, however, I am reposting it with more information.
Fabric Flowers
You can use the same techniques for making fabric flowers below for any project, however, I am going to add them to the front of a painted mason jar.
Supplies needed:
Preparing the Mason Jar
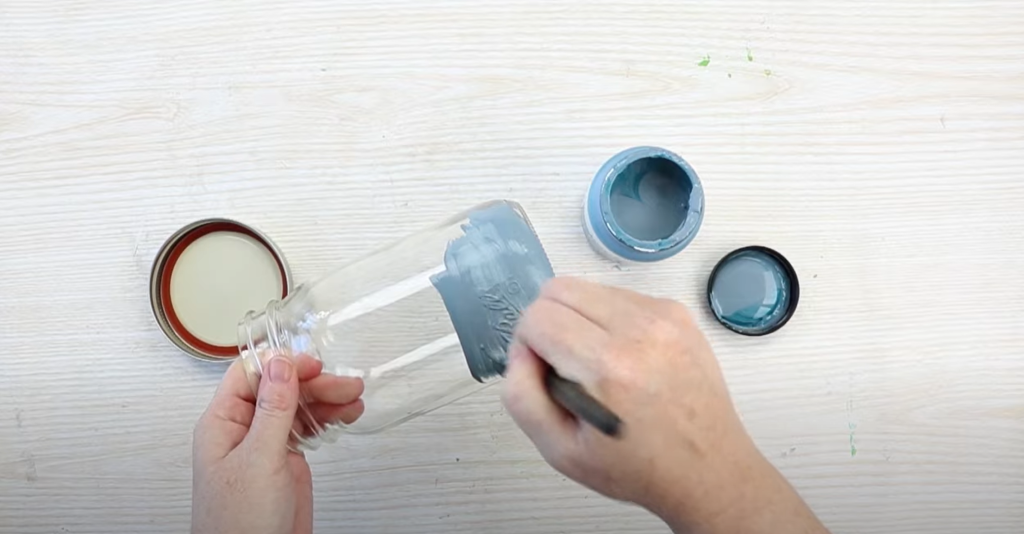
Prepare the mason jar ahead of time as you will want the paint to dry completely before you add any embellishments.
- Clean the jar well with rubbing alcohol and allow it to dry.
- Add your first coat of paint with a paintbrush and allow it to dry completely.
- Repeat with multiple coats to get adequate coverage. I needed 3 coats of paint for this mason jar.
- Allow the finished jar to cure for 72 hours if possible before continuing with the project.
Designing Your Flower Shapes
Next, you will need some flowers inside of Cricut Design Space to cut from your fabric. You can find free flower shapes right in Design Space. I am going to show you one example below but feel free to pick different types of shapes if you would like.
Click on images on the left-hand side and search for flower. Then filter for free by checking the box at the top of the screen. Scroll until you find something that will work. I am using Flower #M39CA1.
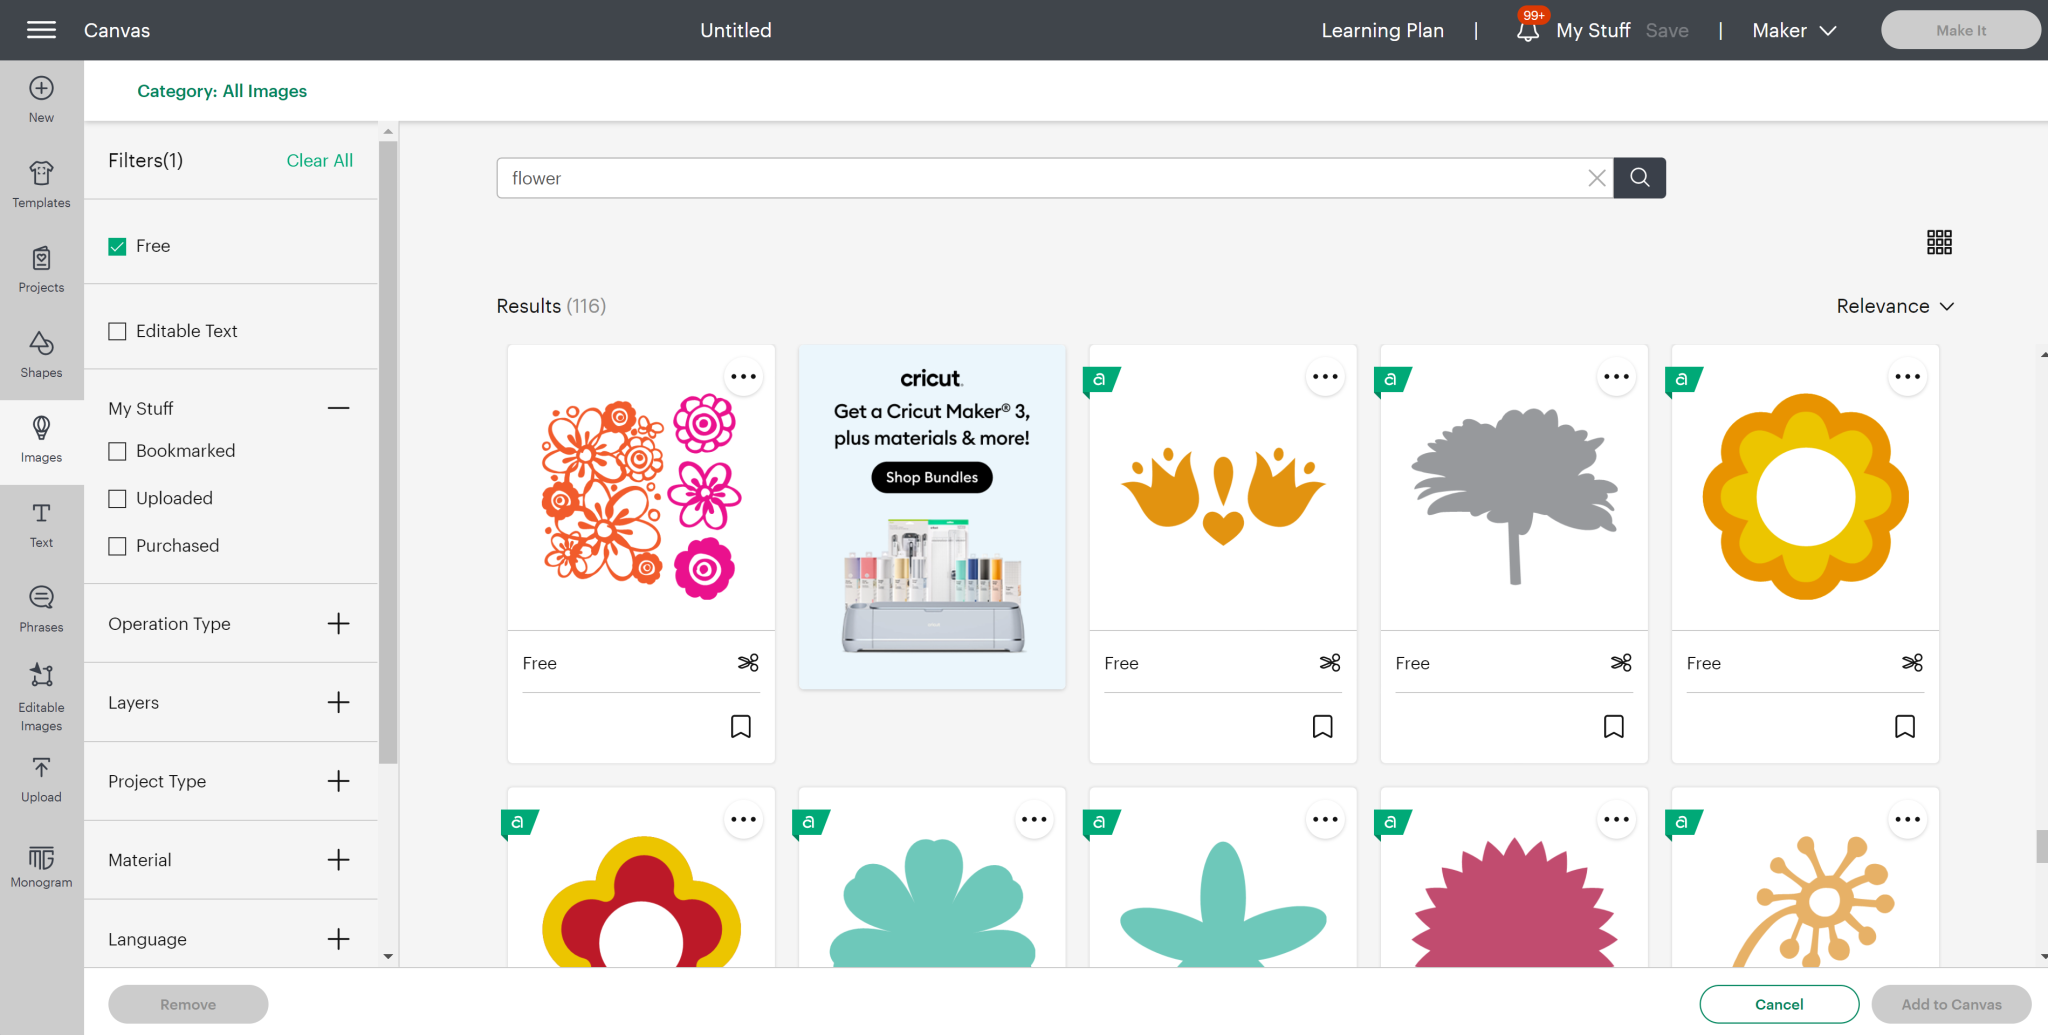
This will add a layered flower to your canvas. Click the flower and click ungroup. You can remove the flower on the right in the image below.
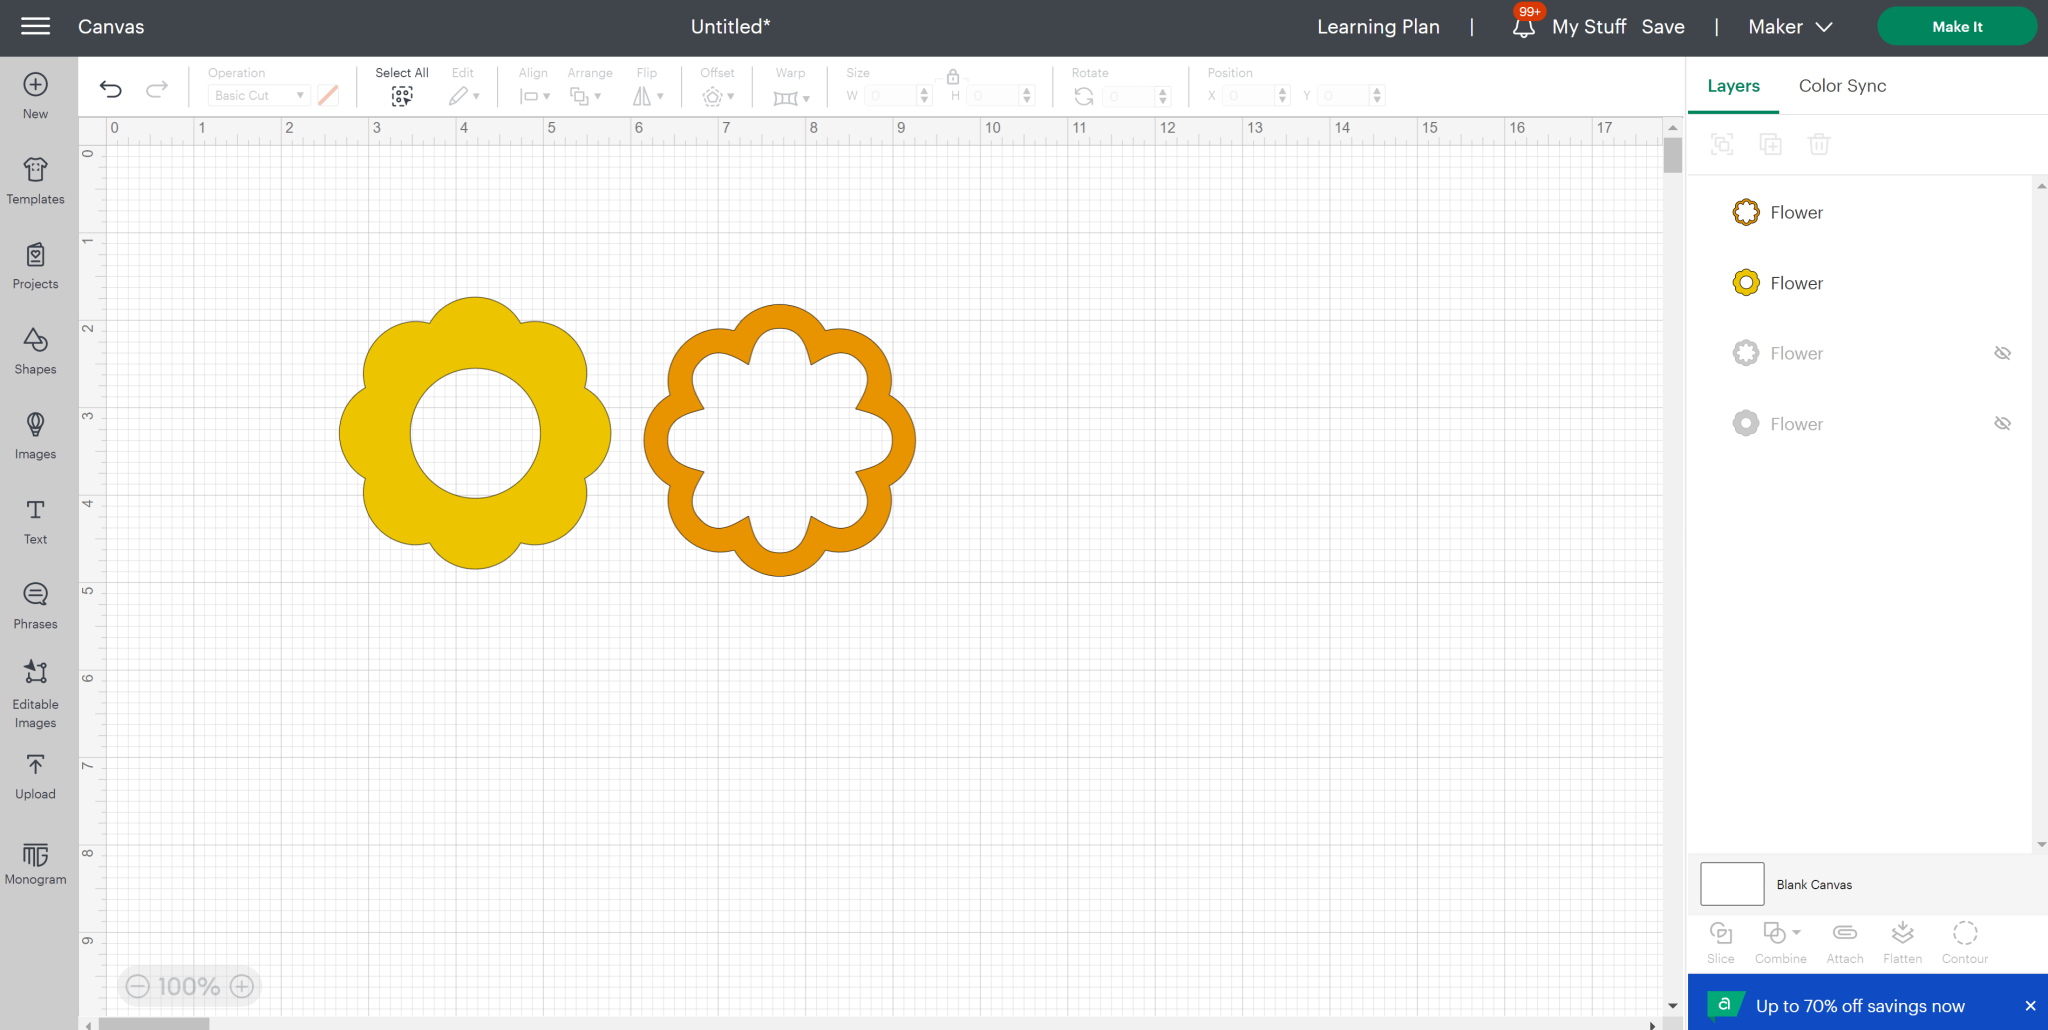
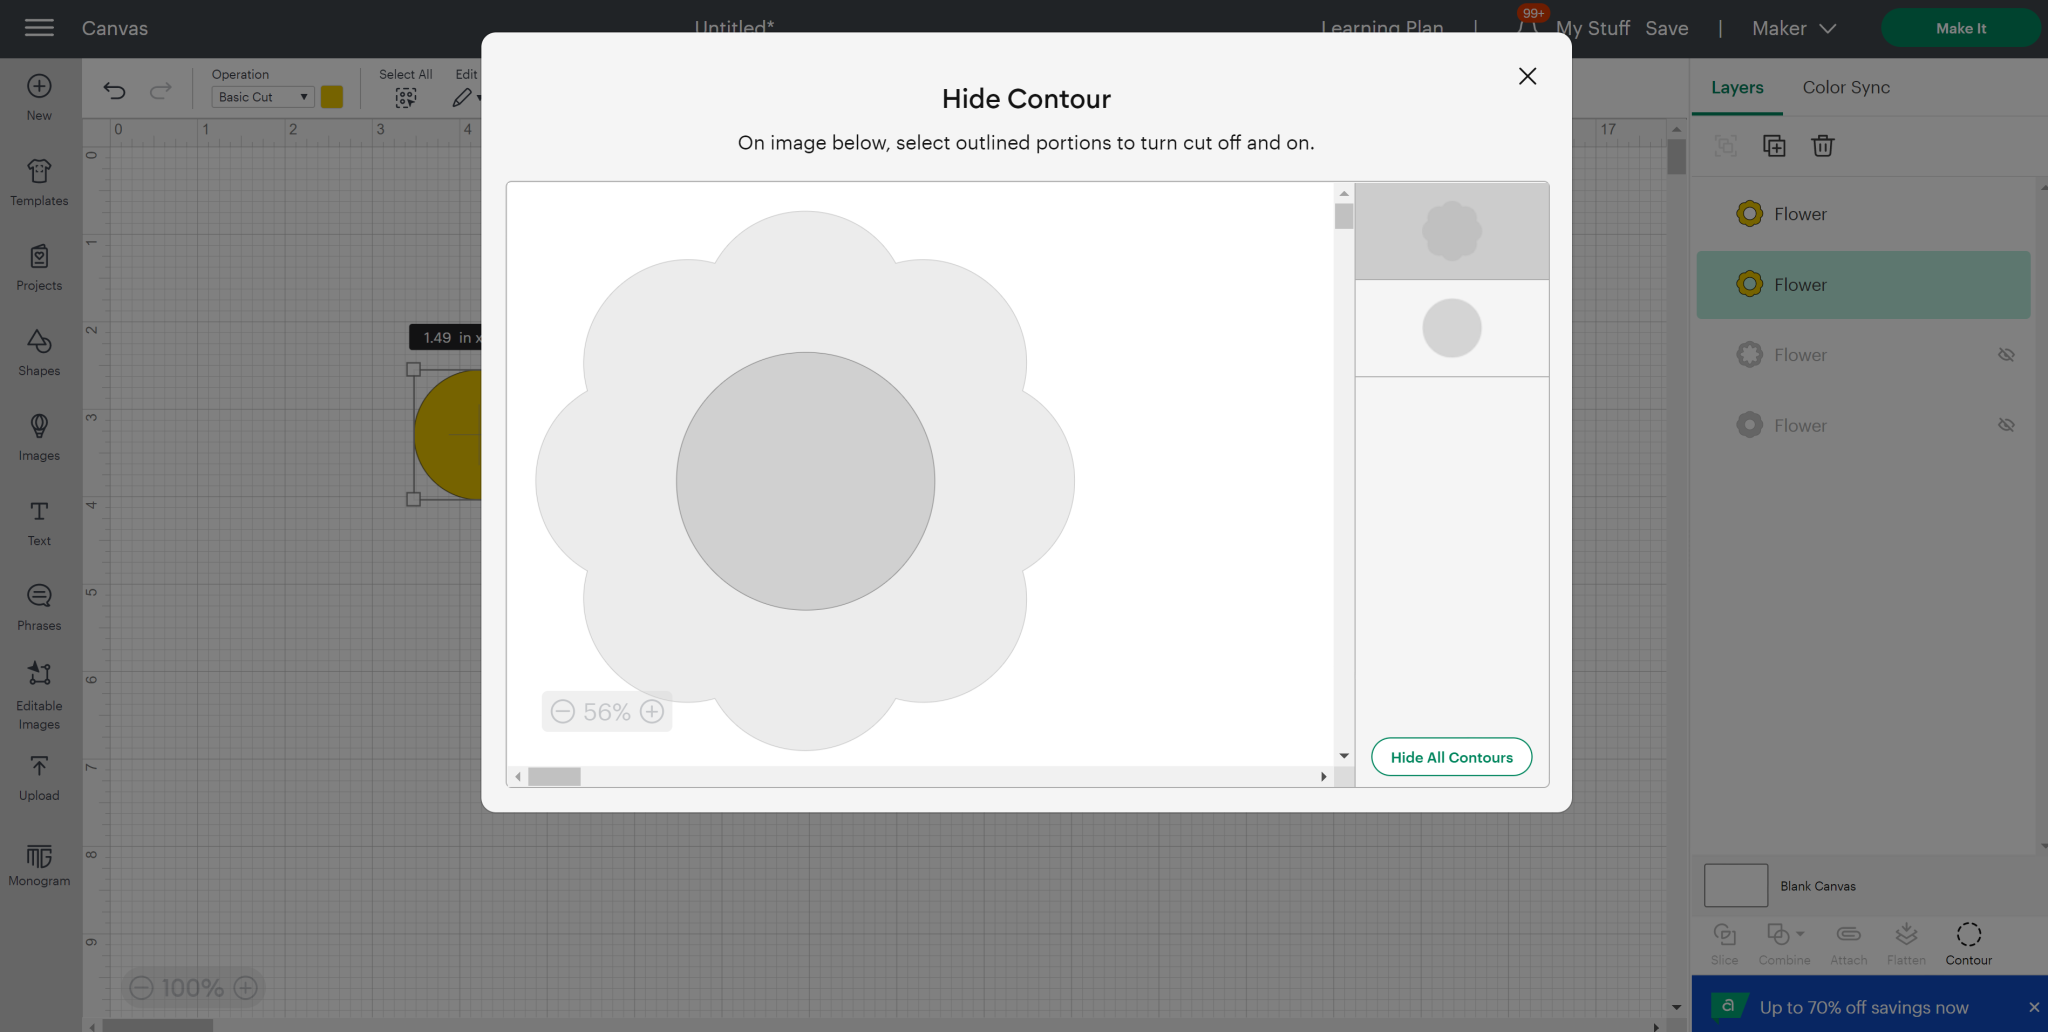
Duplicate the remaining flower shape and contour both copies. You want the outer edge left for one and the middle for the other. Just click contour then click the cut you want to be removed. Click the X to close the box.
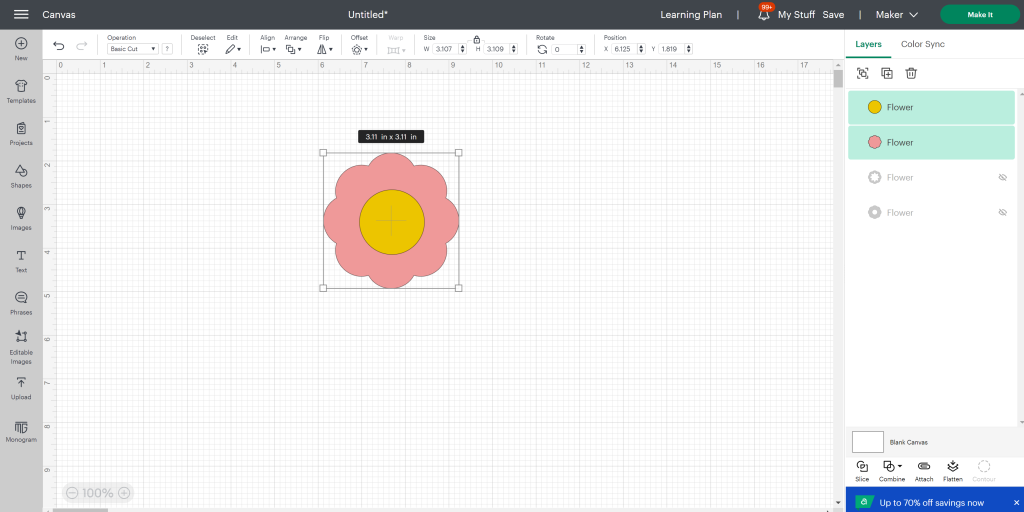
Change the color of one layer to be different from the other if you are using two fabrics for your project. You should be left with something like the image below. Resize to whatever size you would like and duplicate the entire flower before cutting.
You can also vary the colors so that some flowers will be from one fabric and others will be from the opposite fabric as I have done here. Then click make it to start cutting your flowers.
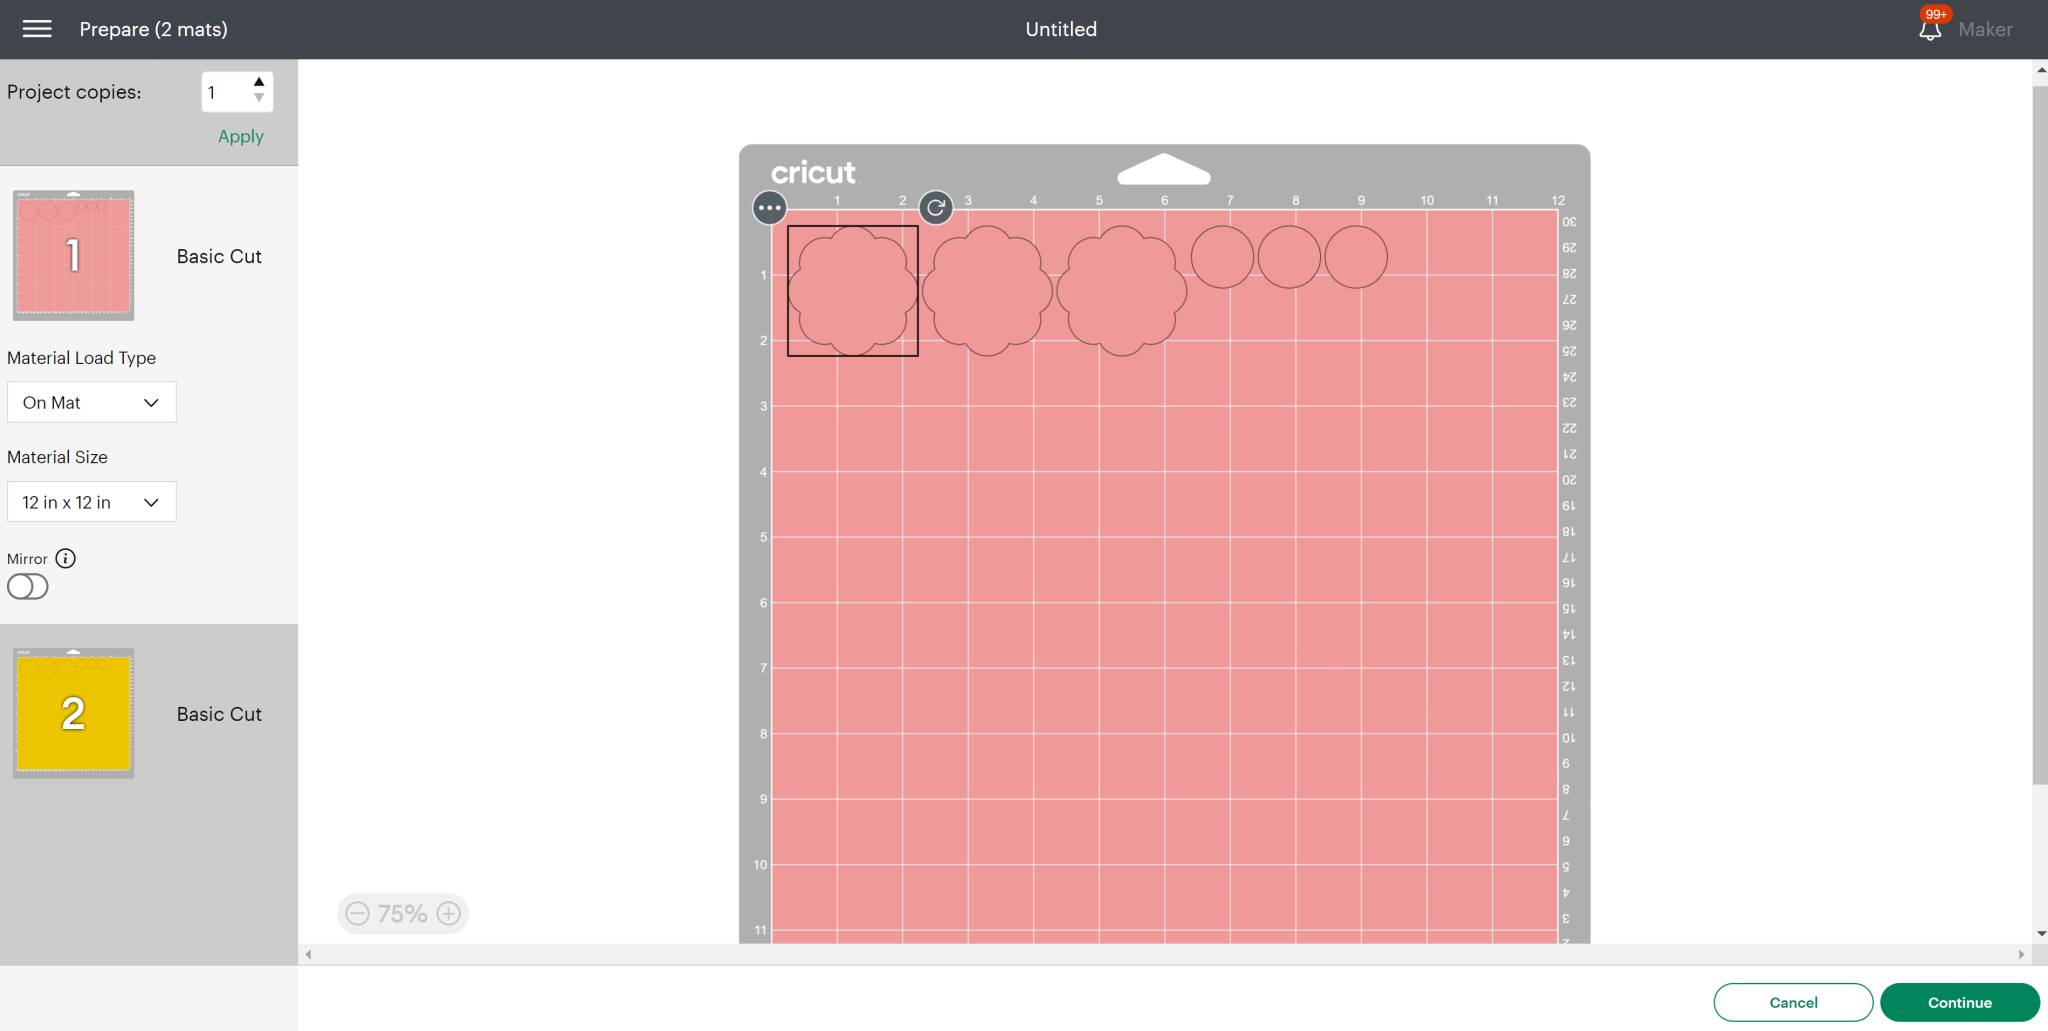
WARNING: If you are using the rotary blade to cut your fabric flowers, the smaller you make them the more likely the blade will cut into the mat. The does not ruin the mat but may shorten its life.
Cutting Fabric Flowers with a Cricut Machine
Now that you have your design, you will want to cut the flower shapes from fabric. The steps for cutting bonded and unbonded fabric are different so I am highlighting them both below. If you have an Explore series, you will have to cut the fabric bonded. With the Maker series, you can pick which option you like best.
Cutting Bonded Fabric
- Add bonding to the fabric by ironing an interfacing to the back according to the package directions.
- Place the fabric with the interfacing side down onto the fabric mat.
- Use a brayer to go over the fabric and ensure it is down really well on the mat.
- Add the bonded fabric blade to your Explore or Maker series machine. This blade is just the fine point blade in a pink housing but it does help to have just one blade for fabric crafts.
- Pick the bonded fabric setting in Cricut Design Space. You may have to turn your dial to custom on an Explore Air 2 or early machine. On a Maker series, you may have to click edit tools to change from the rotary blade to the bonded fabric blade.
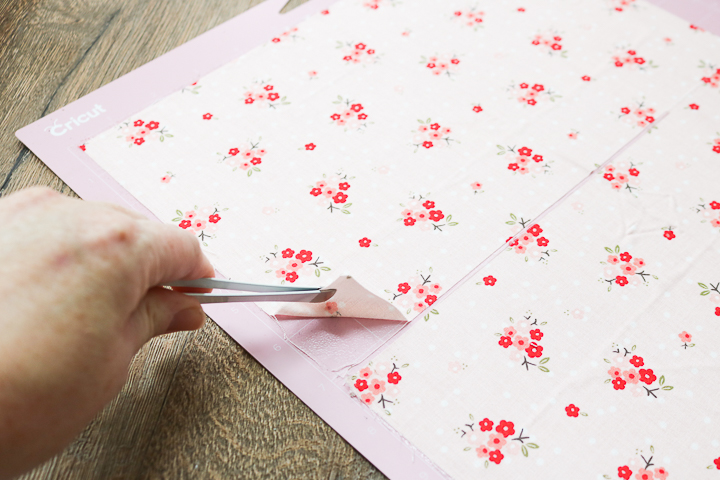
- Cut the material then remove the mat from the machine. Pick up your cut pieces with a pair of tweezers to avoid touching the fabric mat.
Cutting Unbonded Fabric
- Place the fabric on the fabric mat and use a brayer over the top to ensure it is down well. I generally cut with the good side of the fabric facing up but you can do the opposite and mirror your cut if you would like.
- Add the rotary blade to your Maker series machine. Cutting unbonded fabric does not work on an Explore series.
- Pick the fabric setting that corresponds to your material. For instance, I used a light fabric setting to cut this cotton material.
- Cut the material then remove the mat from the machine. Pick up your cut pieces with a pair of tweezers to avoid touching the fabric mat.
Which method is best?
Since I offered you two options above, which is best for this project? Cutting bonded fabric will result in less fraying when you are going to put the fabric directly on something as we are in this example. I would choose to use bonded fabric if possible.
NOTE: You can cut bonded fabric with the rotary blade (if you have a Maker) as well but again these small cuts may dig into your mat.
Making a Spring Mason Jar
Now that you have learned to cut fabric flowers on your Cricut, you can make whatever project you would like with them. Here, I added them to a painted mason jar but there are so many other options as well. You can even use them as an applique on fabric.
Use the glue of your choice to secure the fabric flowers to the front of your mason jar in any pattern that you choose. Add the small circles to the centers of each of your flowers. Allow the glue to dry completely while the mason jar is laying flat.
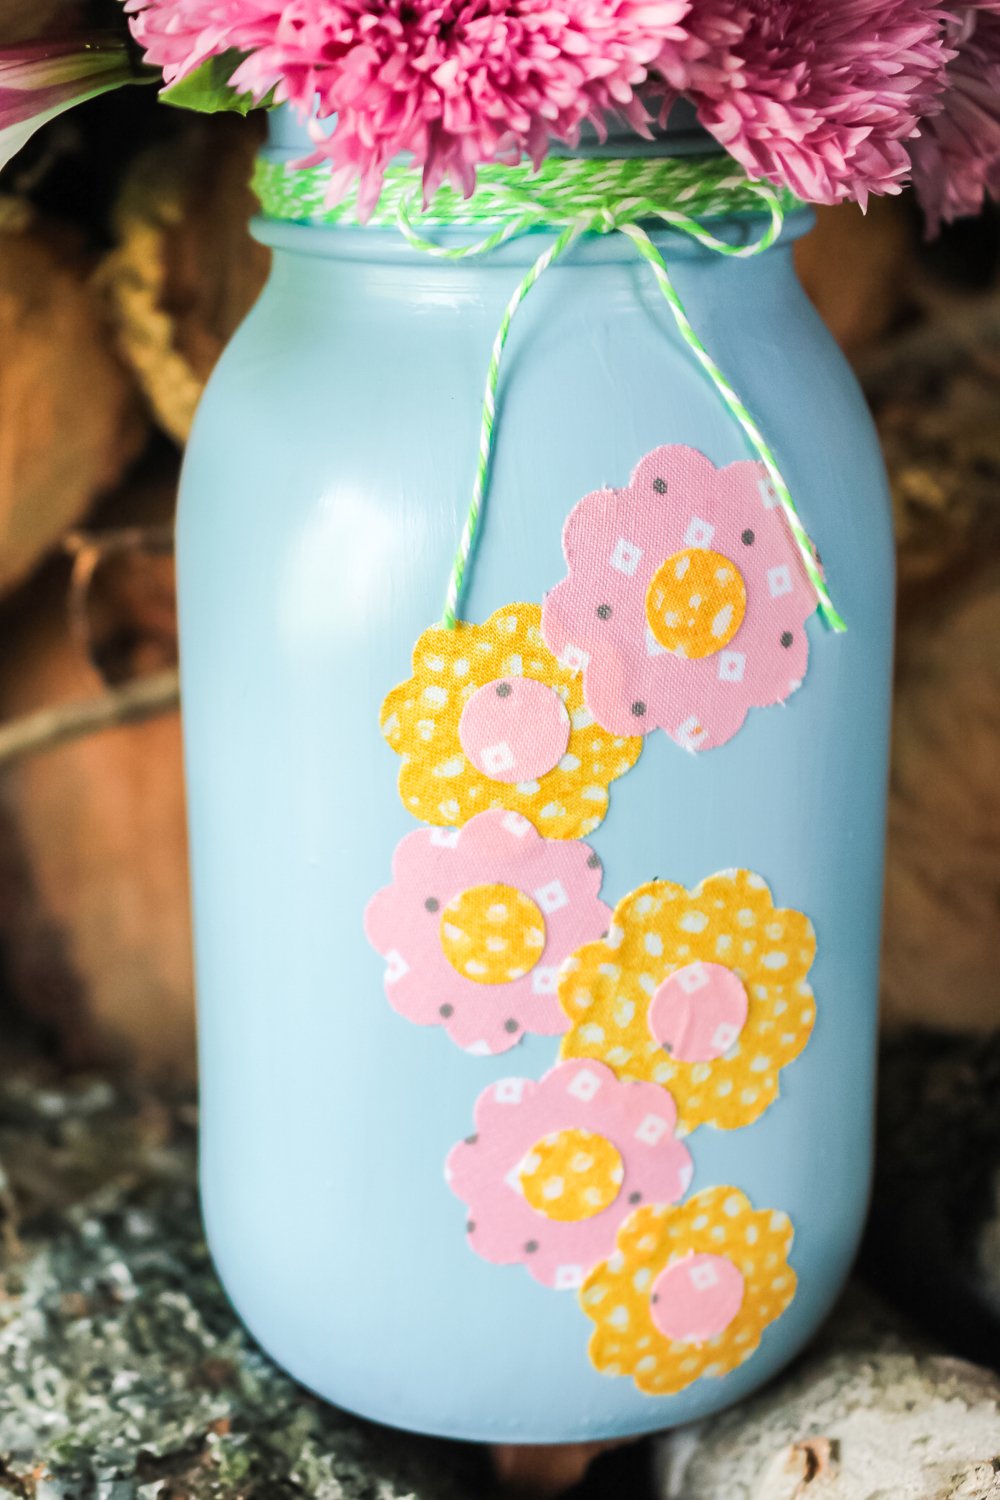
Optionally, you can wrap twine around the neck of the mason jar as well and tie in a small bow. Then just add in some flowers for a fun and festive spring centerpiece everyone will love. You can even add utensils for your party table.
Now that you know how to make fabric flowers with your Cricut, I am sure you can come up with other project ideas as well. There are so many ways to use fabric that is cut on your Cricut machine!
Need some more Cricut craft ideas? Try the links below as well!
Don’t throw away those scrap pieces! Use your scrap fabric on your Cricut to create something new.
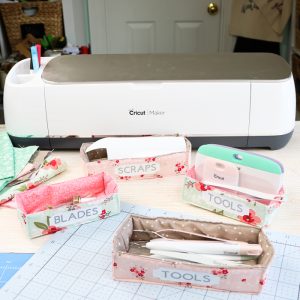
Are you looking for a convenient and stylish way to store your Cricut tools? Fabric bins are the perfect solution! Not only do they look great, but fabric bins come in a variety of sizes, colors, and patterns which makes them ideal for organizing any space.
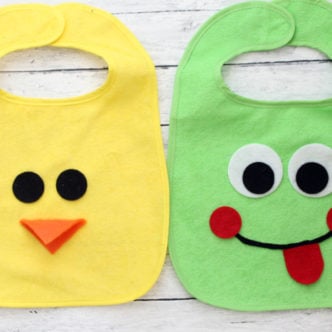
If you’re looking for a fun and easy handmade gift, why not try making animal bibs for babies? This is a quick project that can be completed in just a few hours, and it’s perfect for a baby shower gift. In this tutorial, I’ll show you how to make a cute personalized baby bib for those animal lover babies!
