This post and photos may contain Amazon or other affiliate links. If you purchase something through any link, I may receive a small commission at no extra charge to you. Any supplies used may be given to me free of charge, however, all projects and opinions are my own.
When you have special memories to store and keep safe, you need a memory box! Learn how to make an easy DIY memory box to hold your vacation (or other special) memories.
Summer just doesn’t seem complete without some sweet vacation memories. Whether you go camping, take an exotic trip, or enjoy a much-needed staycation, vacations are a chance to relax, recharge, and have an adventure while you make memories.
Sometimes memories are just in your mind, but more often, they involve physical items such as a concert ticket stub, a brochure of your favorite stop along the way, or even pictures. And often, those items won’t fit into a scrapbook. Those physical items need a home so they’ll stay safe and protected.
So how do you store them? Do you stuff them in a drawer? Toss them into a catch-all plastic bin with about 1,000 other items?
What if you made a memory box specifically to hold those items?
Try storing all of those goodies away in a vacation memory box this year. That way, they can be on display yet still out of sight.
This is also a great project for kids who go to summer camp. Kids can make their own boxes and then stow away their camp souvenirs before heading home and showing them off. Now let’s make a box to store some memories.
Note: If you are looking for more ways to preserve special memories, check out my Shadow Box Display Case for Memories!
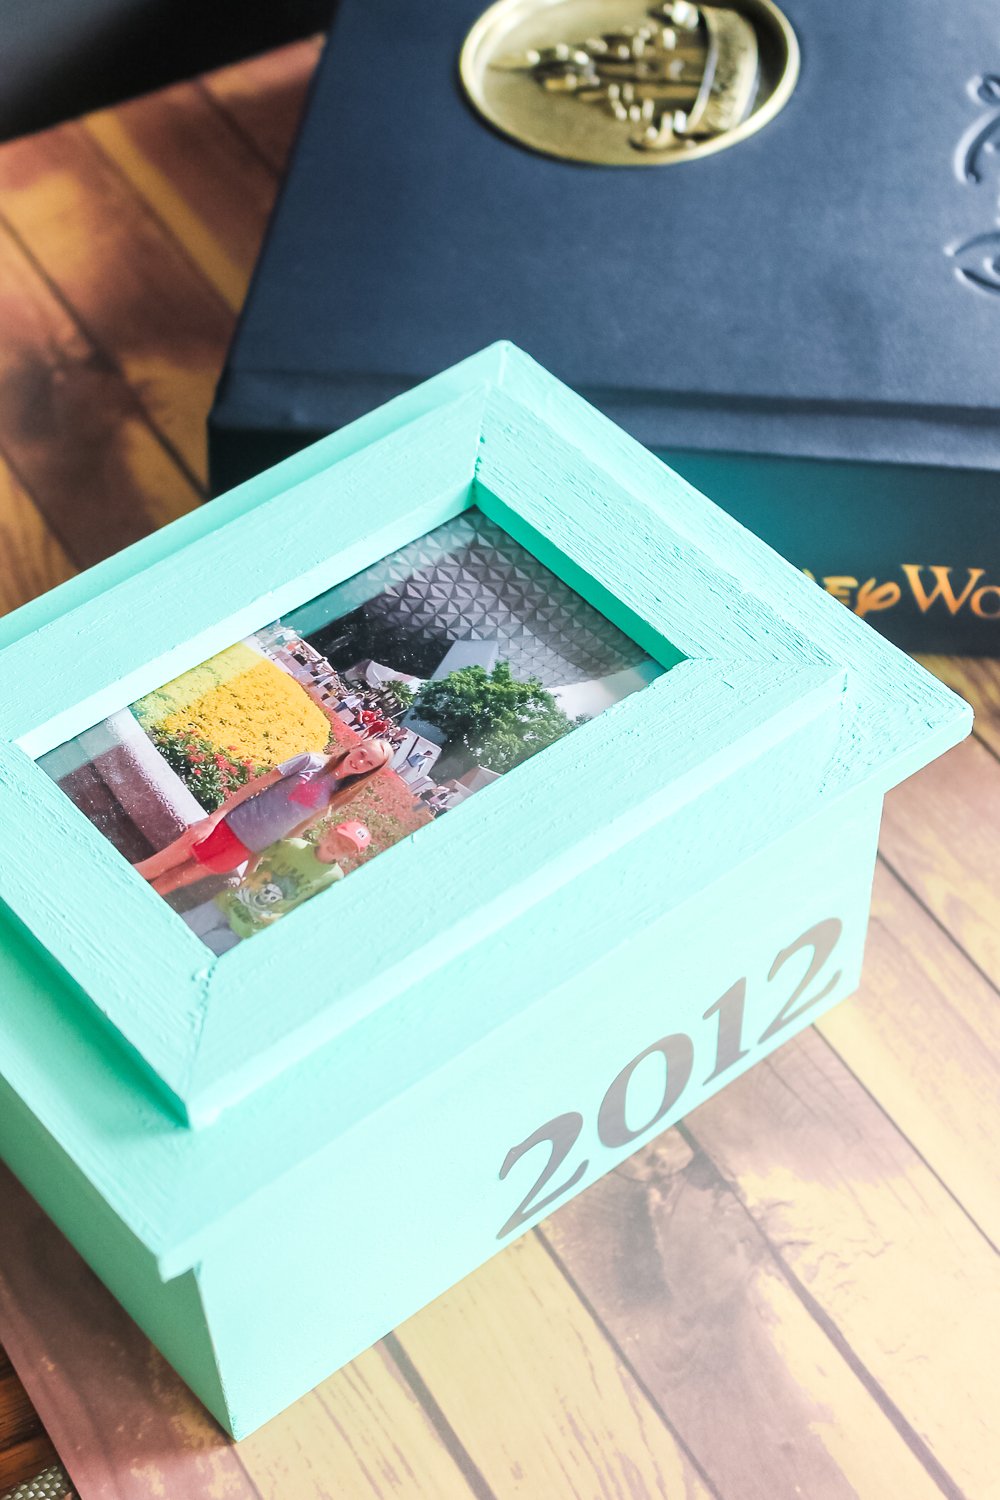
How To Make A DIY Memory Box
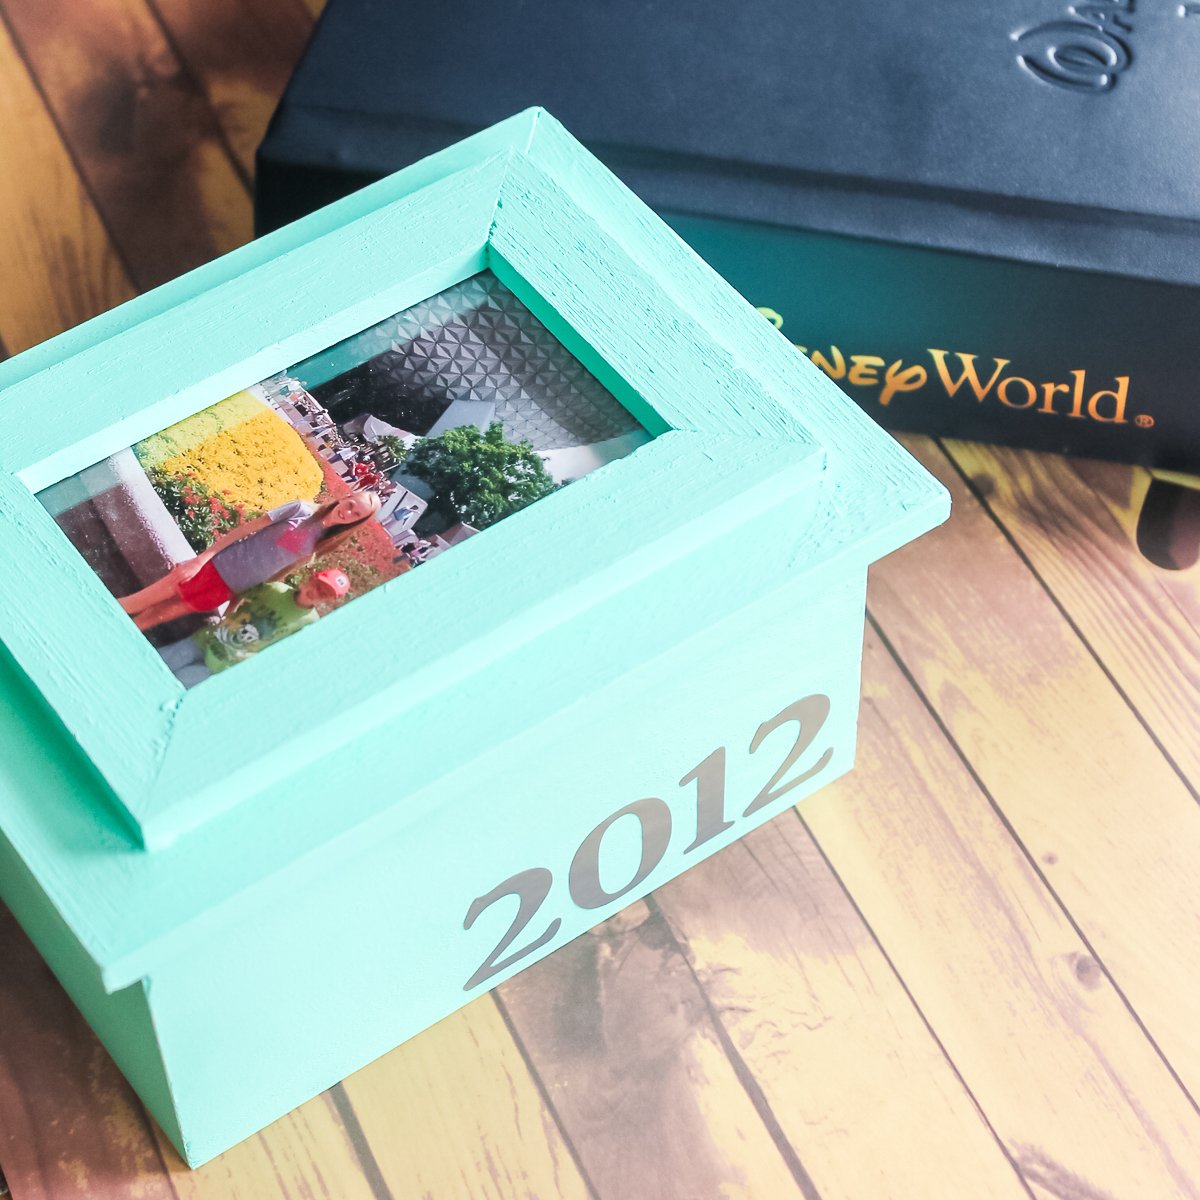
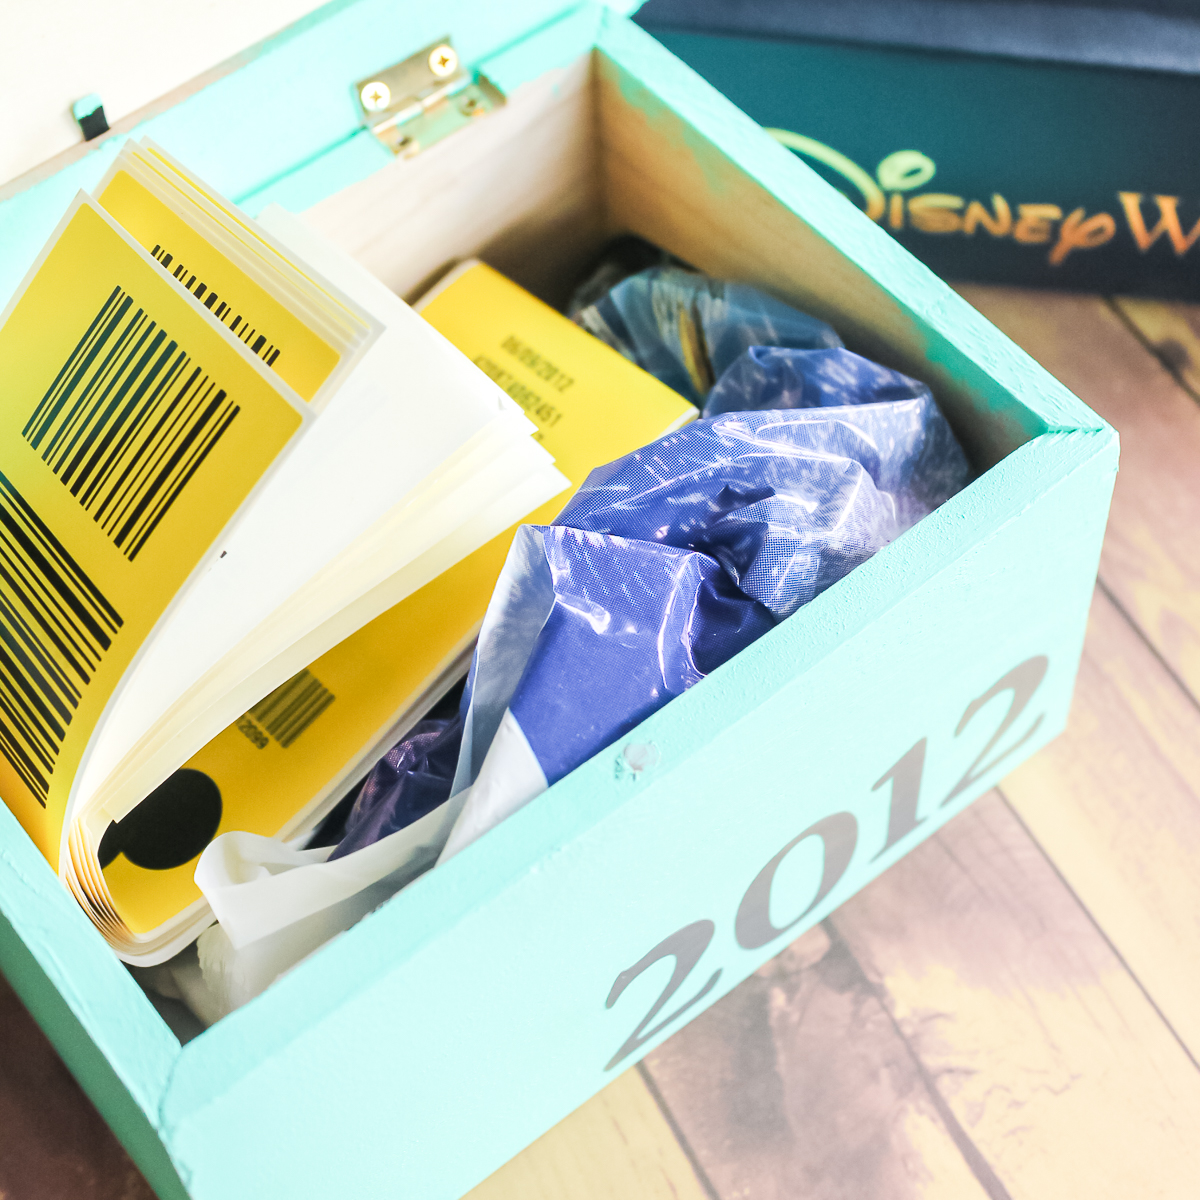
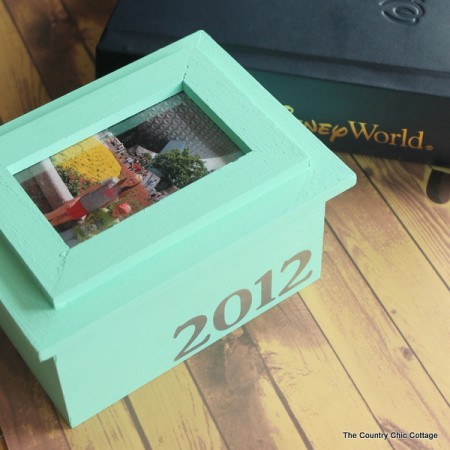
First of all, you may wonder why my box says 2012 when it’s a few years after that. Well, I am storing the memories from our Disney vacation in 2012 in my vacation memory box. I originally posted this craft in 2014 (yep, I was a bit behind!), and I’m reposting it now to update it and add a little more information.
Supplies Needed
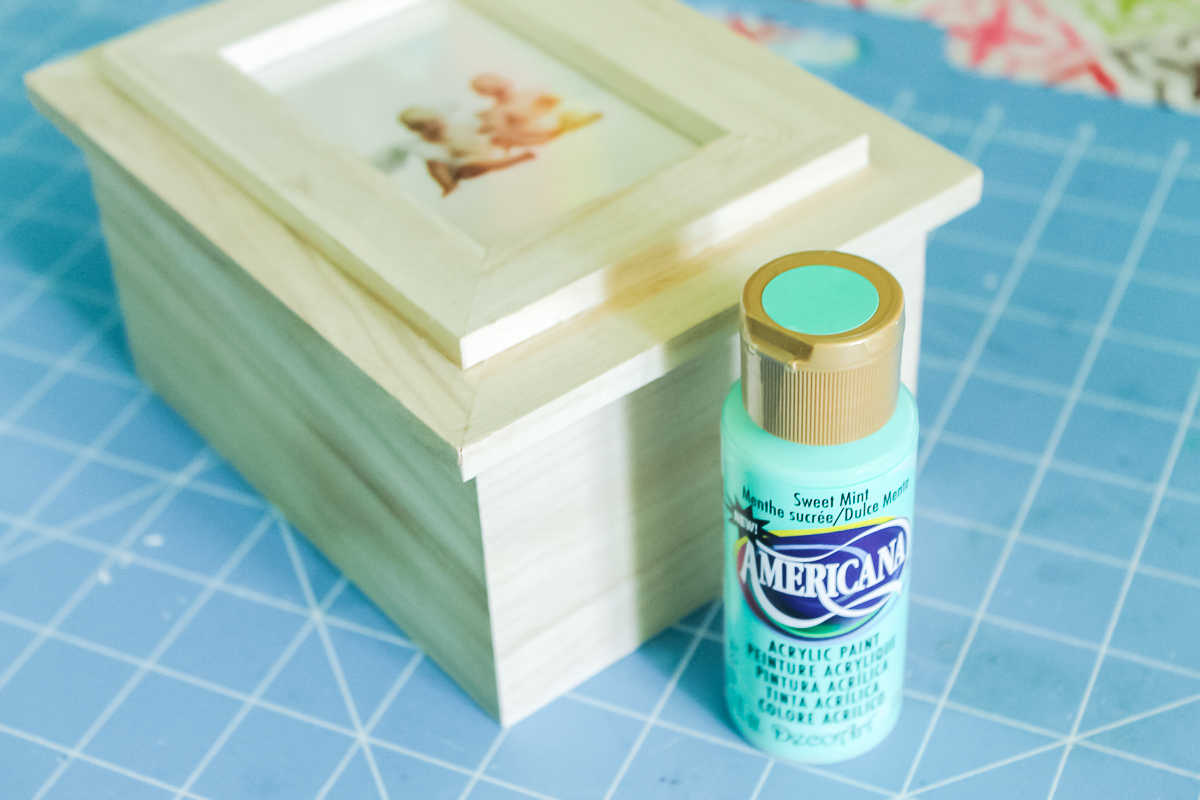
Paint Box in the Color of Your Choice
Start by painting your box with a few coats of paint. You can actually remove that top plastic where the picture goes, so you don’t have to worry about masking anything. Allow the box to dry in between coats.
You may want to paint both the inside and outside of the box for a more finished look. Be sure the paint is completely cured before adding the vinyl. I generally wait 24 hours before adding any vinyl to a painted surface.
Cut Vinyl Numbers
Next, we are going to need to put the year on the side of the box. Start by adding a year to Cricut Design Space using the text function. You can choose whatever font you like and size this year to fit the side of your box.
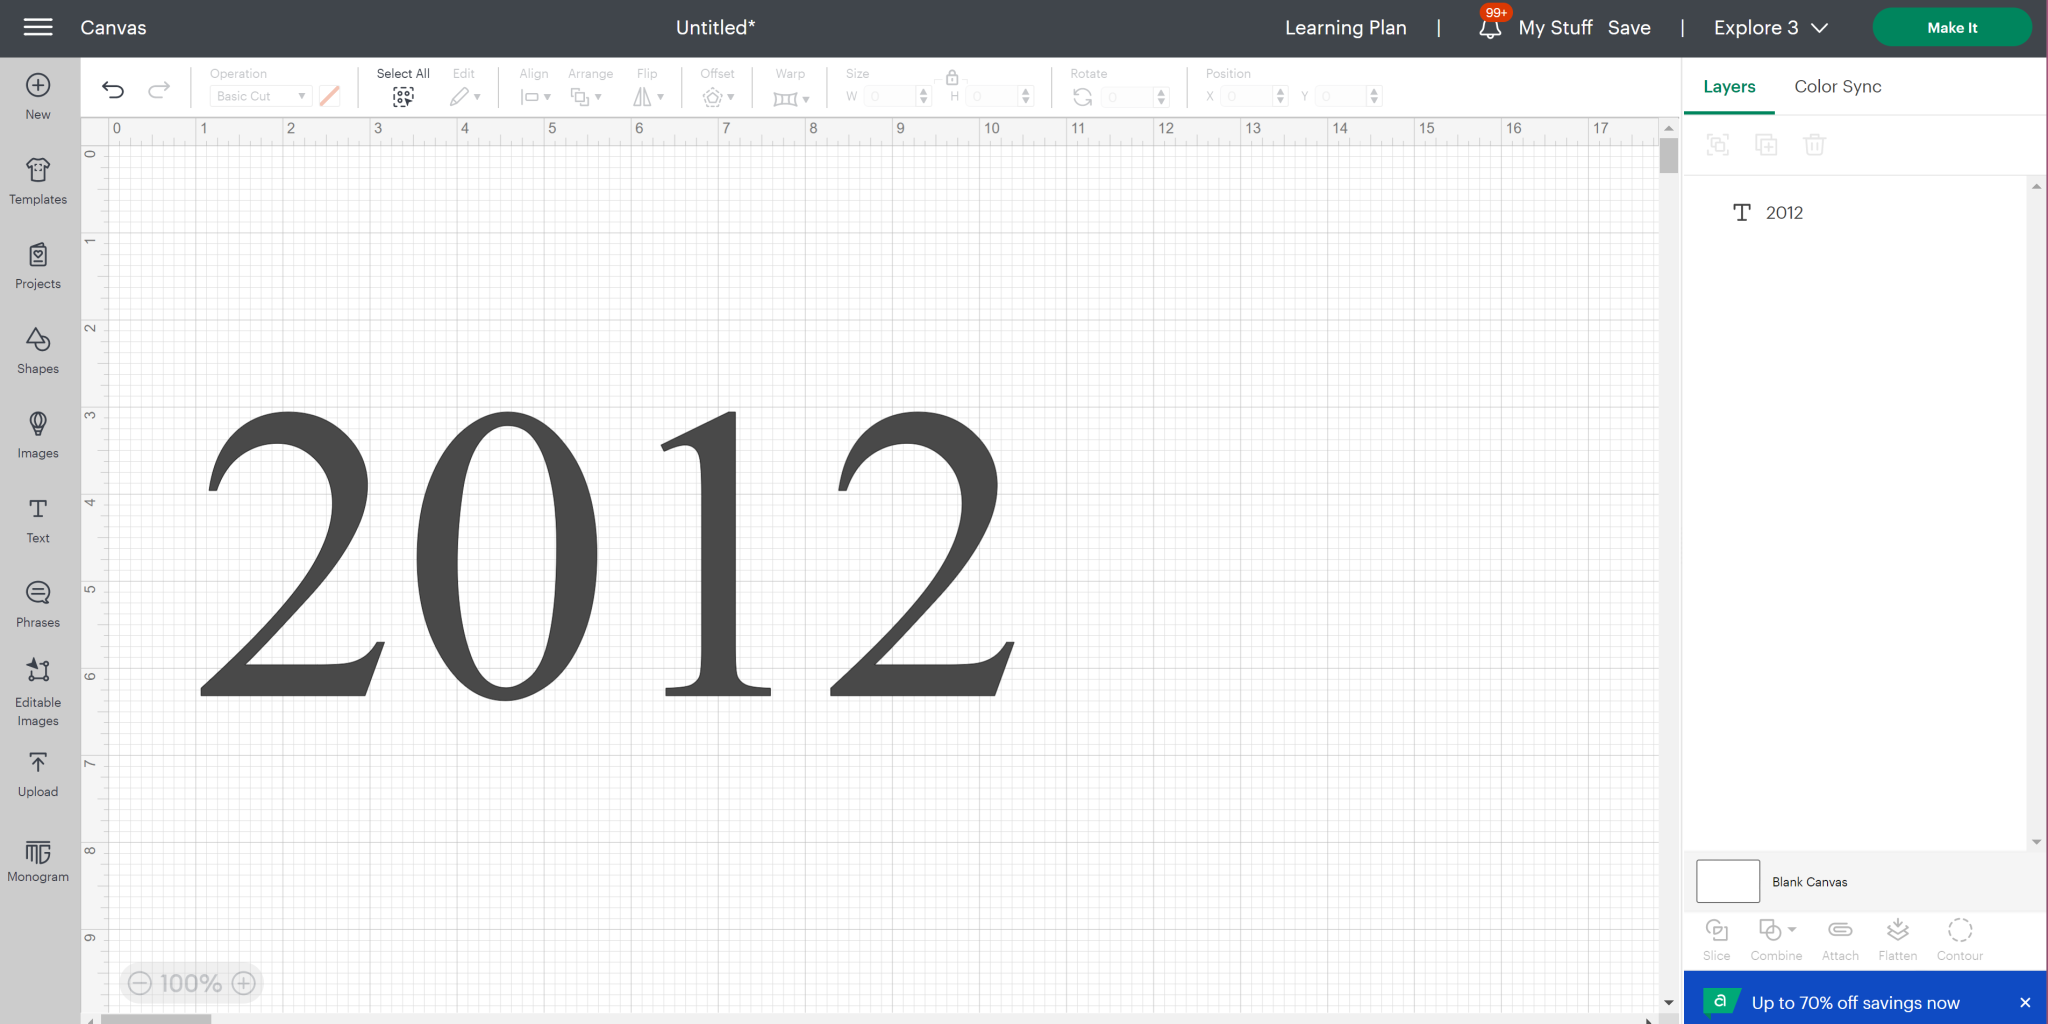
Then click Make It and cut the numbers from adhesive vinyl. Again you can use any color of vinyl that you like for this project.
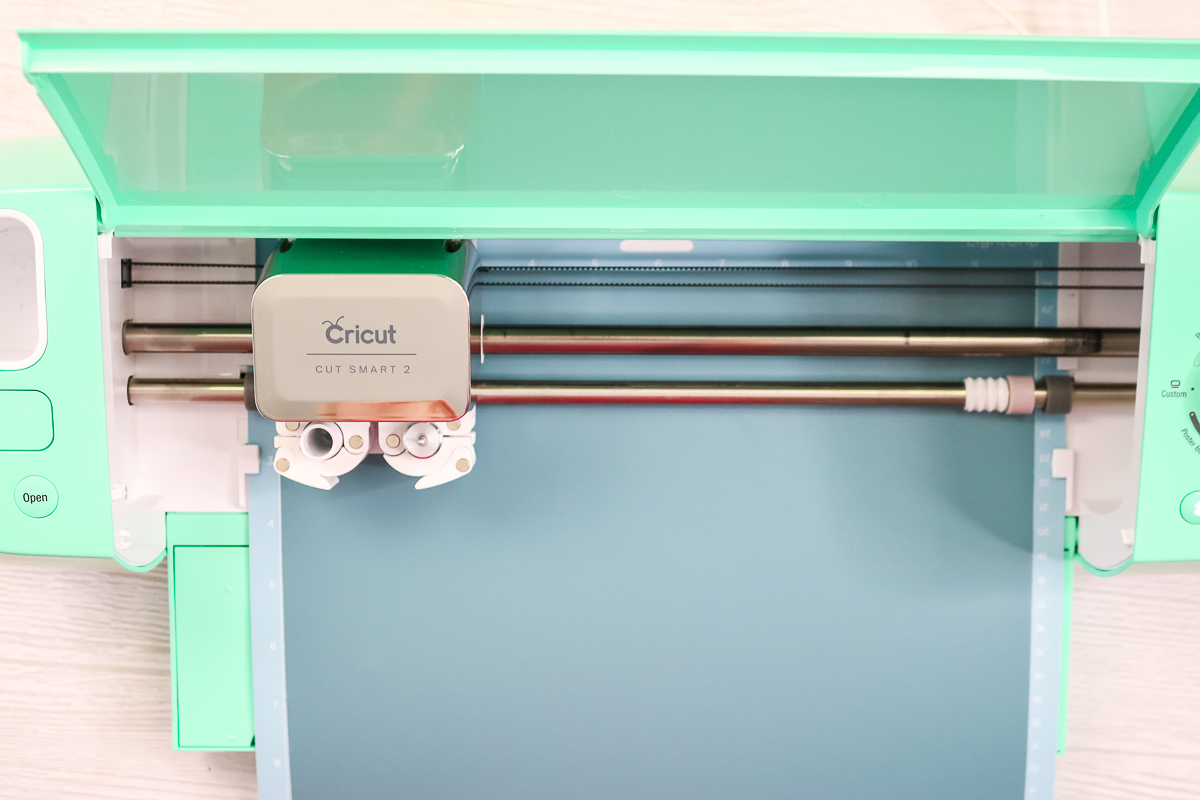
Once cut, remove the mat from the machine and weed away all excess vinyl. That includes the outside as well as things like the centers of any zeros.
Apply Vinyl to Box
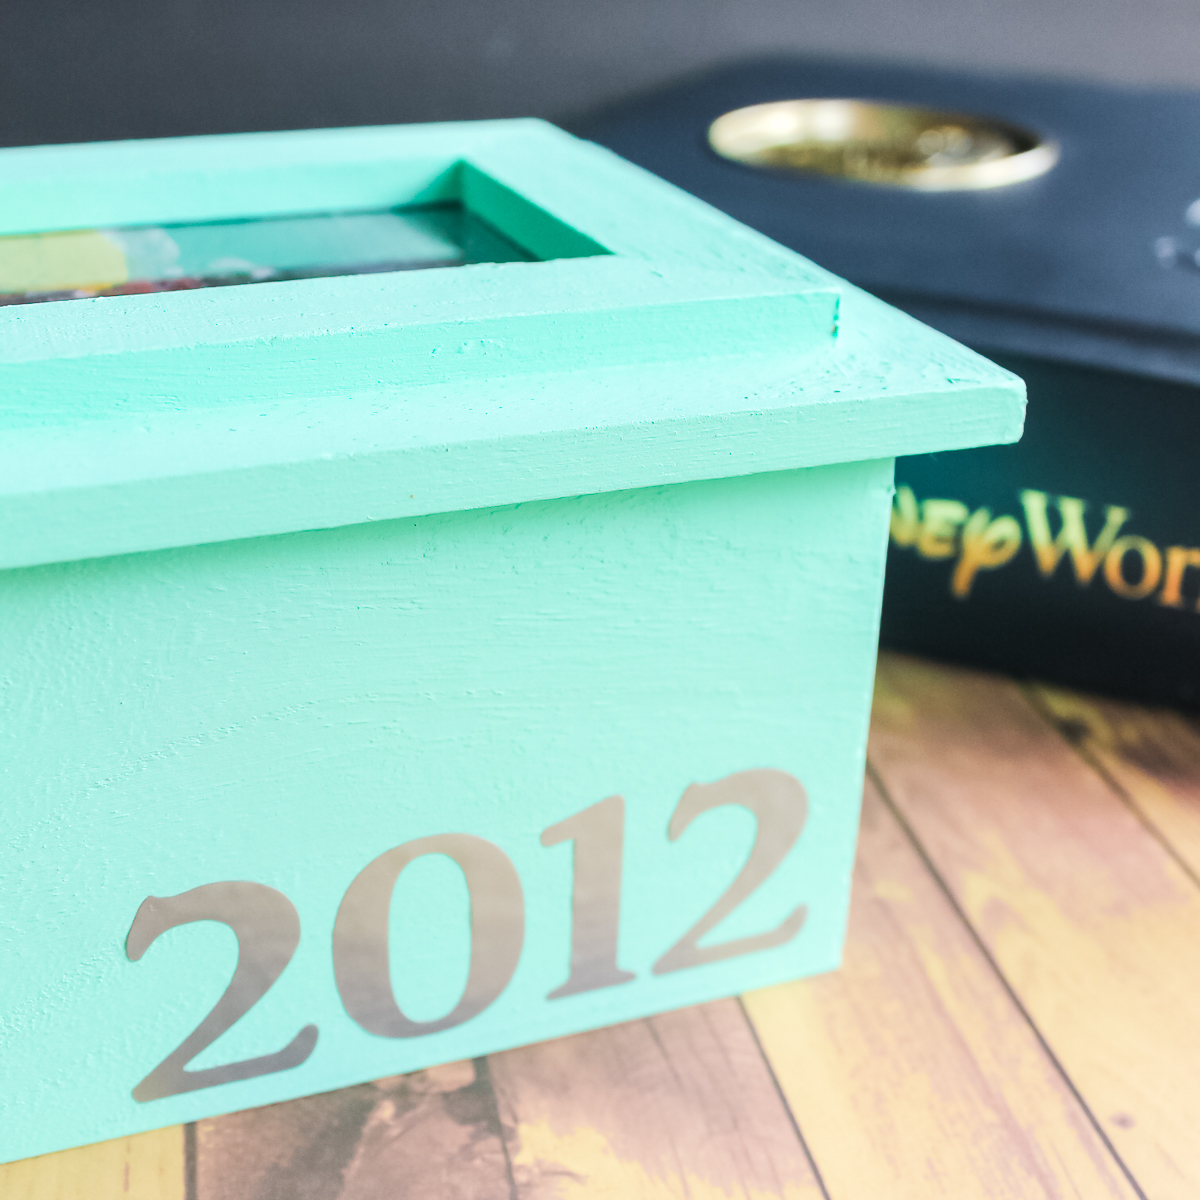
After the paint on the box has completely dried and cured, add the year by peeling and sticking the numbers into place. This is made easier by using transfer tape. Add the transfer tape to the front of your vinyl and burnish down well from the front and the back.
Peel the transfer tape back ensuring that the vinyl is stuck to it. Then apply the vinyl to your box. Burnish that well and peel back the transfer tape. Your vinyl should be left on your surface.
Add Photo and Mementos to the Box
You can then replace the plastic on the top and add a picture. Pick your favorite image from your vacation to adorn the top of your box.
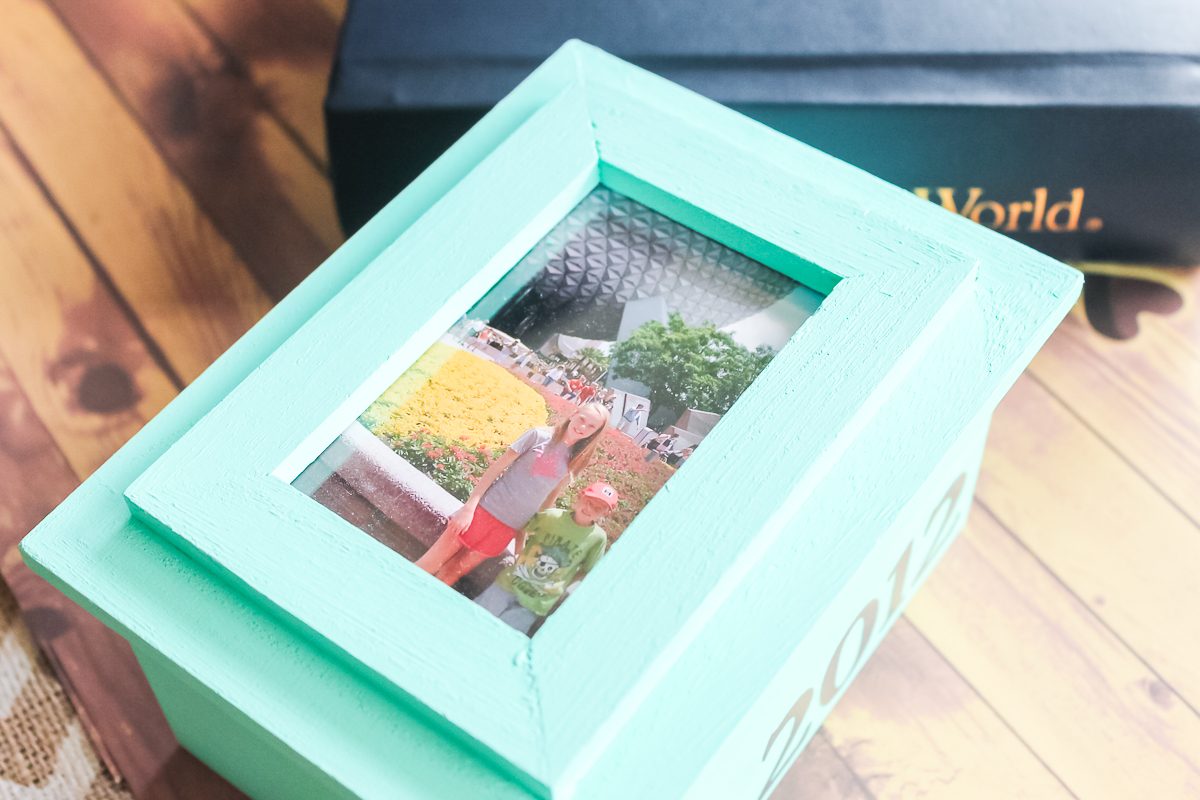
Your box is ready for some memorabilia. I have a few things from our Disney vacation in 2012 tucked inside my box. These are all things that would not fit inside a photo or scrapbook. A vacation memory box is a perfect place for larger objects that you want to keep but not display.
FAQs
Here are a couple of questions that I see readers ask about making this DIY memory box. Please check to see if I’ve already answered it below if you have a question. Don’t see it? Leave it for me in the comments!
Do I have to make a new memory box for every vacation?
The short answer is no. You could choose to do that. You could also make a vacation-dedicated memory box that you add to each year!
Or, you could even choose to make a DIY memory box for each year and add all your special memories for that year into your box.
There are many different ways to use this idea, but the basic motivation behind it is just to keep your vacation (or other special) memories safe and accessible.
Are there other ways to decorate a DIY memory box?
Absolutely! You could add painted images, felt cutouts, buttons, painted handprints, and so much more. Your memory box is YOURS – decorate it any way you want!
Add this fun project to your summer to-do list today. You can make this one yourself, with your kids, or as a kid’s camp project.
Either way, a vacation memory box is sure to make you smile every time you look at it. See that image on the front of my box? Brings back happy memories every single time.
More Craft Inspiration
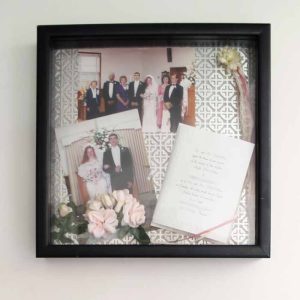
Create shadowboxes with all of your wedding mementos inside.

Make this easy DIY coasters for a gift or add them to your coffee table today!
Fill up your tree this year with frame ornaments and all of those memories you have made throughout the year!
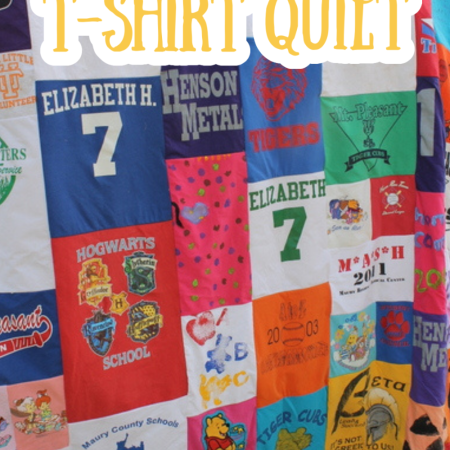
Learn how to turn your old shirts into a special, memory-filled t-shirt quilt.
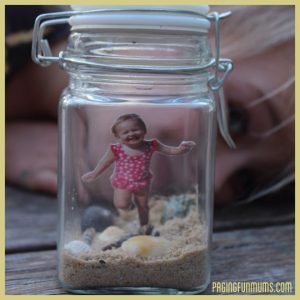
These Mini Memory Jars are so easy and inexpensive to make – a great way to capture the memories of Summer and the beach!

Want to print the instructions for this DIY memory box? Use the card below!
Easy DIY Memory Box
Learn how to make a personalized box to store all your special memories from vacation.
Instructions
-
Remove the top plastic piece where the picture goes and paint the box with your craft paint.
-
Cut out numbers from your vinyl.
-
Peel and stick the numbers to your box (or use number stickers).
-
Add a favorite picture to the top and cover it with the plastic piece.
