This post and photos may contain Amazon or other affiliate links. If you purchase something through any link, I may receive a small commission at no extra charge to you. Any supplies used may be given to me free of charge, however, all projects and opinions are my own.
Let’s make some holographic stickers with a Cricut machine. I am going to test out five different types of holographic sticker paper for you to choose from. I’ll teach you how to Print Then Cut directly onto holographic sticker paper and how to use holographic film as an overlay on your favorite sticker paper.
If you’ve never made stickers using a Cricut machine before, my tutorial about making Print Then Cut stickers is a great place to start.
Holographic Stickers
You can actually watch me make these different versions of holographic stickers by pressing play on the video below. You’ll learn which holographic sticker papers are best for printing on and which ones are better as an overlay.
You’ll also learn more about my favorite printable vinyl. Cricut Printable Vinyl is hands down my favorite product to use when making Print Then Cut stickers.
Supplies Used:
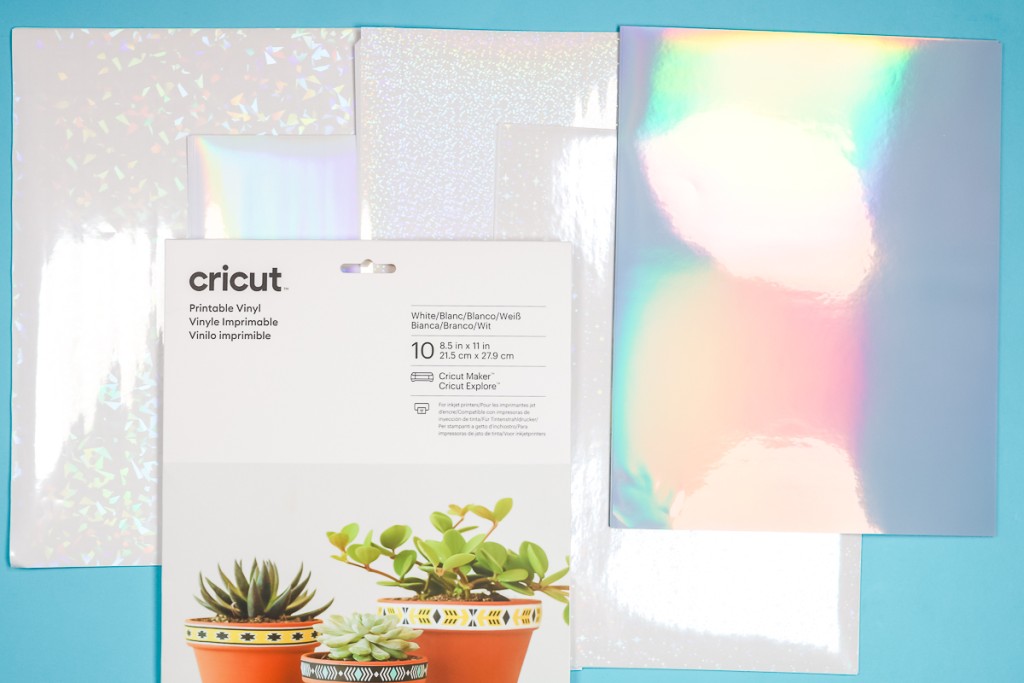
The different holographic materials we’re going to try are silver printable holographic adhesive paper and clear holographic laminate sheets. The laminate sheet pack includes versions that have stars, circles, mosaic, and a plain holographic sheet. This material I’m going to lay on top of my Cricut Printable Vinyl to get the holographic look.
How to Make Holographic Stickers
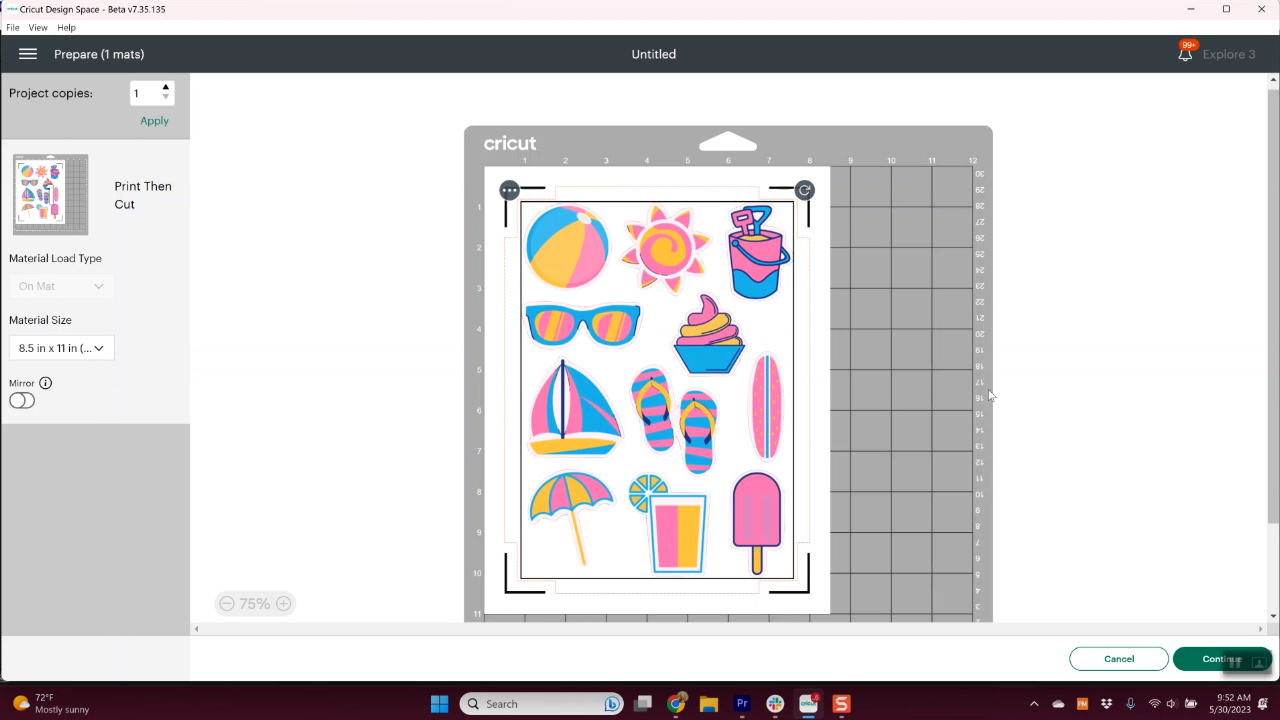
To begin, we need to upload the file to Cricut Design Space. You can use my free summer stickers file or any other file you want to use.
My designs already have an offset around them. If you’re using a sticker file, a lot of times it will have an offset. If your design doesn’t have an offset, you will probably want to add one. My video on making stickers will teach you how to add an offset.
That video will also teach you how to make stickers out of text, if you want to create your own stickers that will help you learn how to do that.
Once the file is uploaded, you’ll want to resize it so it is the right size for Print Then Cut projects. Since Cricut has updated their Print Then Cut sizes I created templates to help you maximize your print and waste as little paper as possible.
When you have everything sized how you want click Make It and you’ll see a Print Then Cut file.
How to Print onto Holographic Sticker Paper
To print your stickers, follow the prompts in Design Space. Make sure you’ve selected the right kind of paper and that your settings are correct.
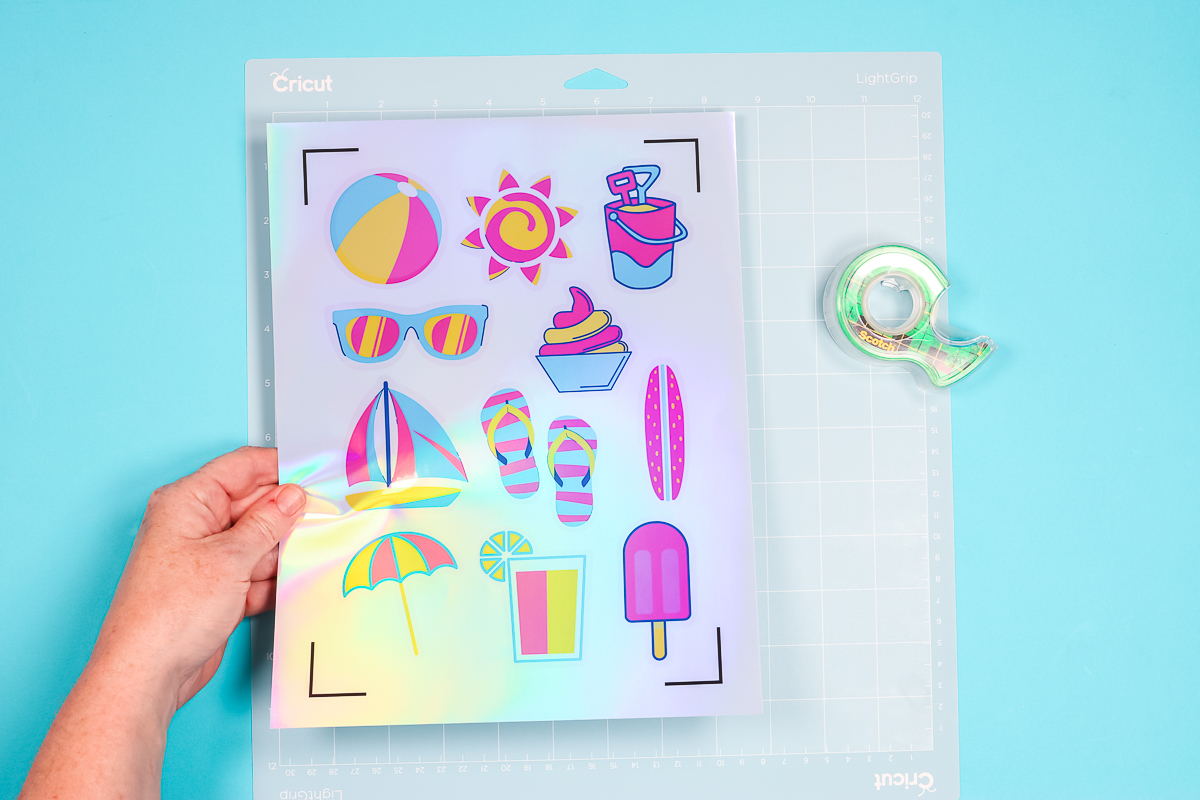
For my first holographic stickers, I am using silver holographic sticker paper. I’m happy to report that out of my printer, the ink was completely dry. With any type of glossy paper, I recommend checking the ink to make sure it is dry before handling it or putting it through your Cricut machine.
How to Cut Holographic Sticker Paper with a Cricut Machine
Now that we have our stickers printed onto the sticker paper, we can cut them out with our Cricut machine. I highly recommend doing a test cut before trying to cut an entire sheet of stickers. Different holographic materials may require different cut settings.
I want to test this silver holographic sticker paper with my Explore Air 2 and my Maker so I printed two copies of the stickers. Add your printed stickers onto your cutting mat in the same orientation as it is in Design Space.
Before you begin cutting any Print Then Cut projects, make sure your Cricut machine is calibrated. I recommend doing this any time there is a Design Space update or if it has been a while since you’ve done a Print Then Cut project.
Cricut Design Space may also prompt you to calibrate or you can do a calibration if you notice your cuts are off. See how to do a calibration here.
Cutting Holographic Sticker Paper with Cricut Maker
For the first sheet of stickers, I am using my Cricut Maker. The Maker does have an updated sensor that allows it to do Print Then Cut on white and light-colored papers.
With the Maker and this holographic sticker paper, I had the cleanest cuts using the Cricut Sticker Paper setting.
I tried the holographic vinyl setting, and it didn’t cut through. You can do another pass with the cut if this happens to you. Without unloading the mat, press the go button again for a second pass over the same cut lines.
Cutting Holographic Sticker Paper with Explore Air 2
Because sticker paper cuts with a fine point blade, you can cut it with Explore machines. The Air 2 does not have the upgraded sensor the Maker has so I wasn’t sure if it would read the registration marks.
My machine read the registration marks without any problem at all on the holographic sticker paper. Using the Cricut Sticker Paper setting the paper cut through beautifully in just one pass.
If your machine sensor isn’t reading the registration marks you can try one of two different things.
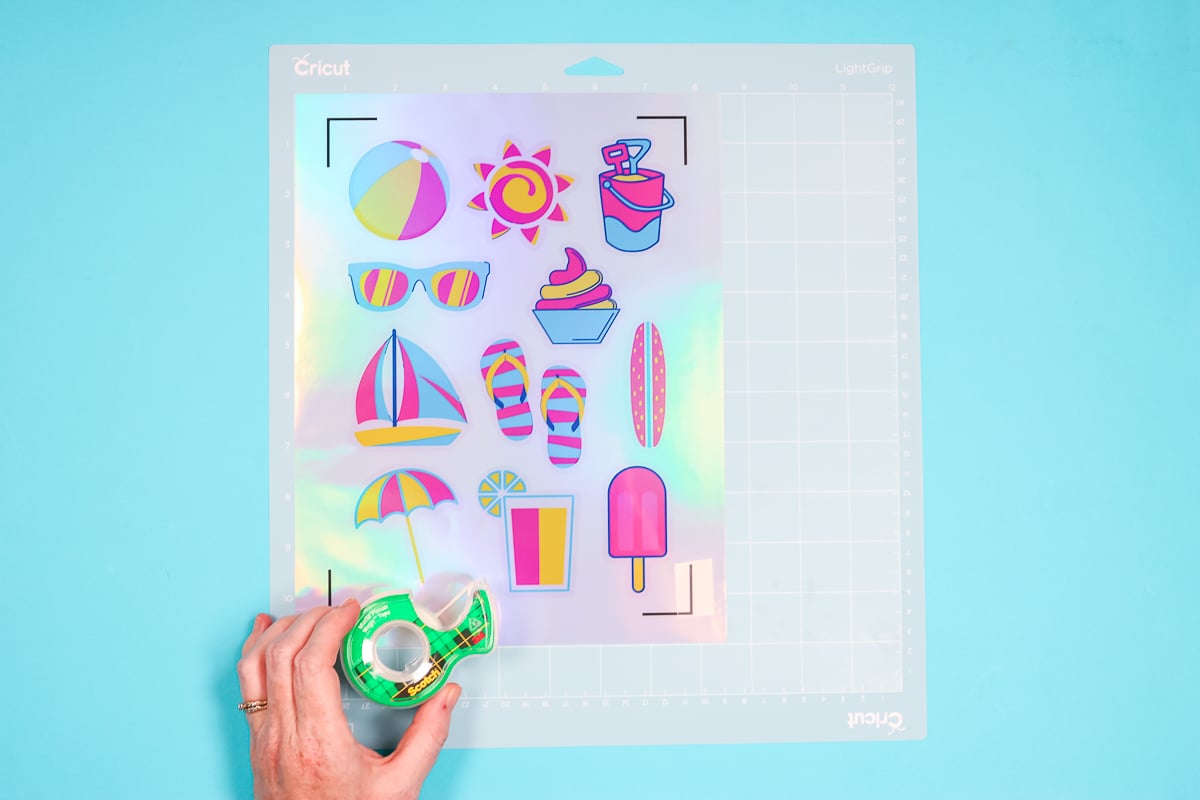
- You can try making the lines darker by going over them with a Sharpie.
- If your material is glossy it can create a glare. To solve this, add a clear matte tape over the top of the registration lines.
You don’t need to do these steps unless your machine isn’t reading the registration marks.
Once your machine is done cutting and you’ve checked that it is cut through, unload it from your machine.
What Cricut Machines Can Cut Holographic Sticker Paper?
Any Explore or Maker machine can cut holographic sticker paper. Cricut Joy does not have a sensor to read registration marks so it cannot do Print Then Cut projects.
The Cricut will perform a kiss cut with this material. That means it is cutting through the adhesive but not through the backer. If you want to cut all the way through the backing material, you will need to do an extra pass with your Cricut or choose a different cut setting.
Comparing Machine Cuts
This silver holographic sticker paper print and cut beautifully with both the Maker and Explore machines.
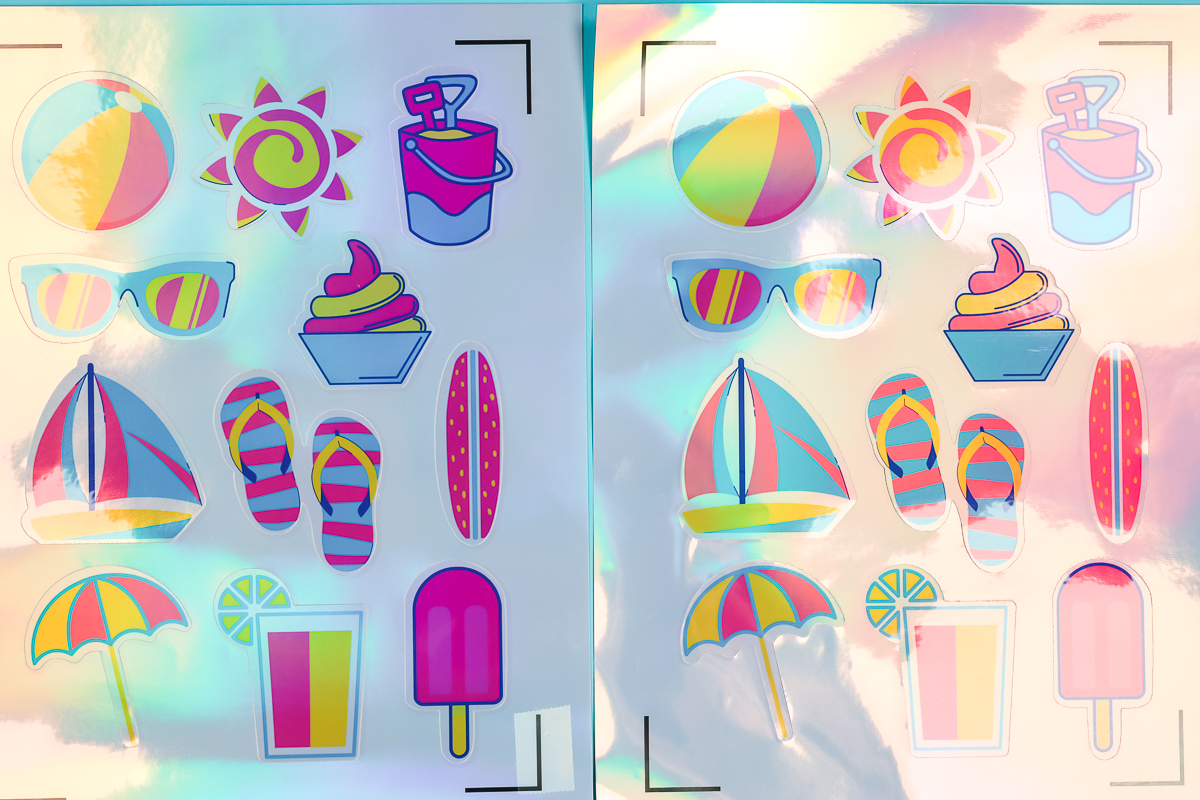
You can see the silver holographic sticker paper above. On the left is the one I cut with my Maker and the sheet on the right is cut with an Explore Air 2. As you can see, you really can’t tell a difference. They both cut perfectly, print perfectly, and look amazing.
Here’s an up-close look at those cuts, and they both look great. I do think the Maker is off a little bit, it probably needs to be calibrated. Overall they both look really good, and the cuts look perfect.
How to Use Holographic Laminate with Printable Vinyl
For these next holographic stickers, I am using Cricut Printable Vinyl and a clear holographic laminate film as an overlay.
I did try printing directly onto this holographic laminate film. It did not take the ink well at all. I had smearing from the printer itself and then, even after letting it dry for several minutes, the ink wiped right off the page.
It is possible that you can find a clear holographic sticker paper that you can print directly onto, this is not that material.
Instead, I am printing my stickers directly onto Cricut Printable Vinyl. This is my favorite adhesive printable paper. It’s thin and flexible and feeds through my printer beautifully.
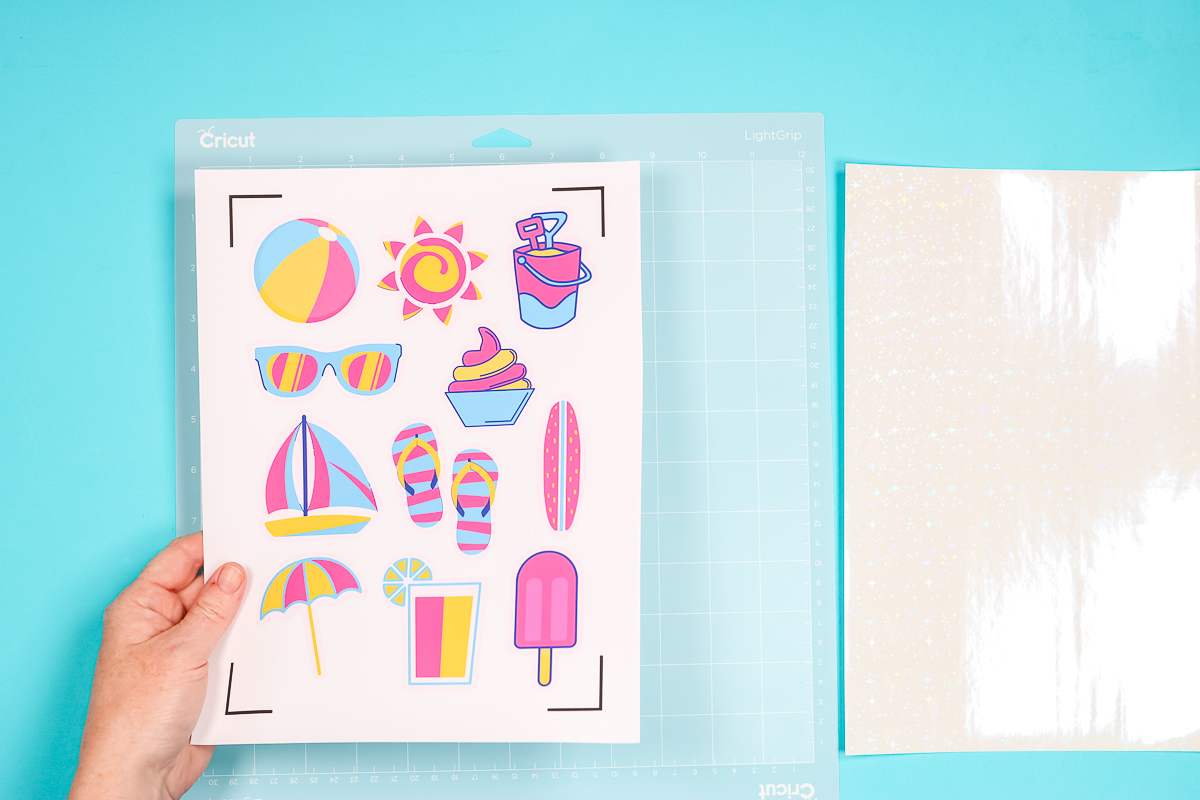
After it’s printed, add the vinyl to the cutting mat so it doesn’t move as you add the overlay.
Adding Holographic Film to Printable Vinyl
You do not want the overlay to go over the registration marks. Use your printed design to mark where to trim the holographic overlay.
To make the offset on my stickers easy to see, I made it light pink. If you’re leaving the offset white, leave plenty of room around your designs so it’s all covered by the overlay.

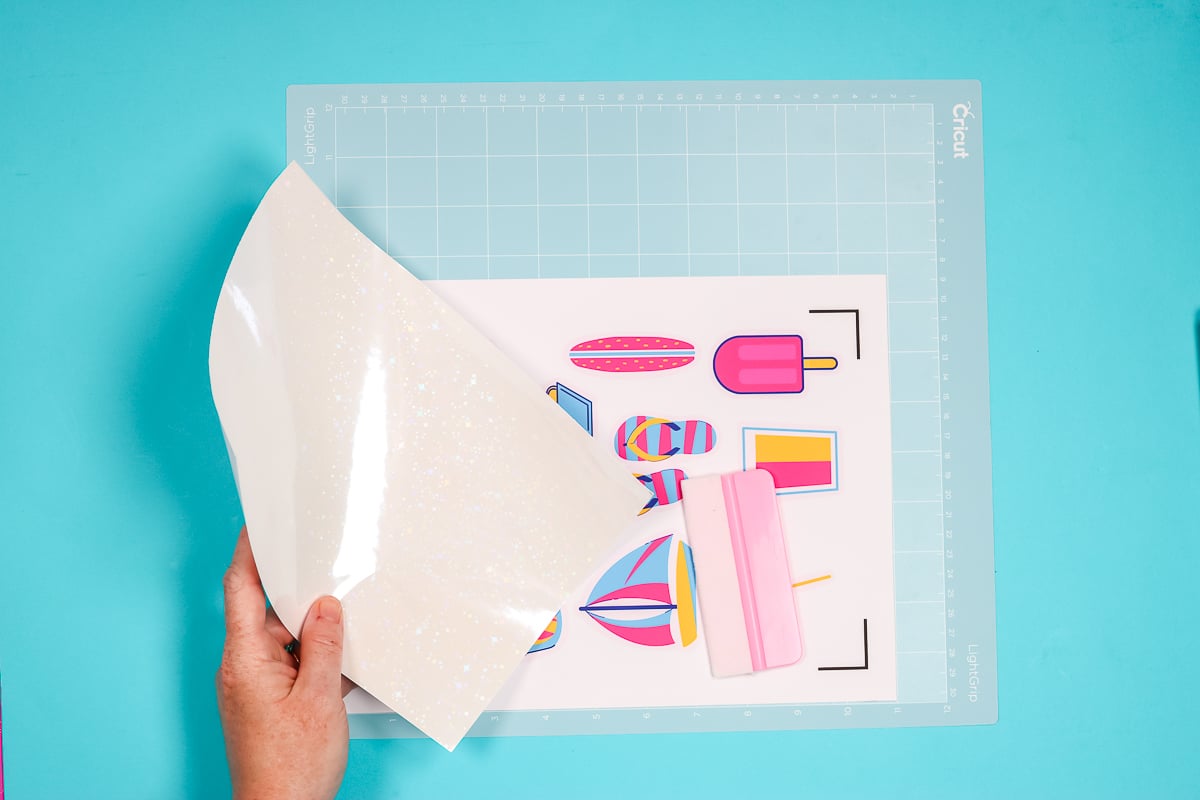
I used my paper trimmer to trim the overlay to the right size and using a felt-edged squeegee I am going to smooth the overlay on top of the printable vinyl inside the registration marks.
I do not recommend using a regular scraper to apply the holographic film. A regular scraper can scratch the overlay material. If you only have a traditional scraper, I suggest using an adhesive-backed felt and sticking that to the scraper.
To apply the holographic material, peel the film back at the corner an inch to two inches at the very top. Fold the backing sheet under so a little bit of adhesive is exposed. Then line it up to fit right inside the registration marks.
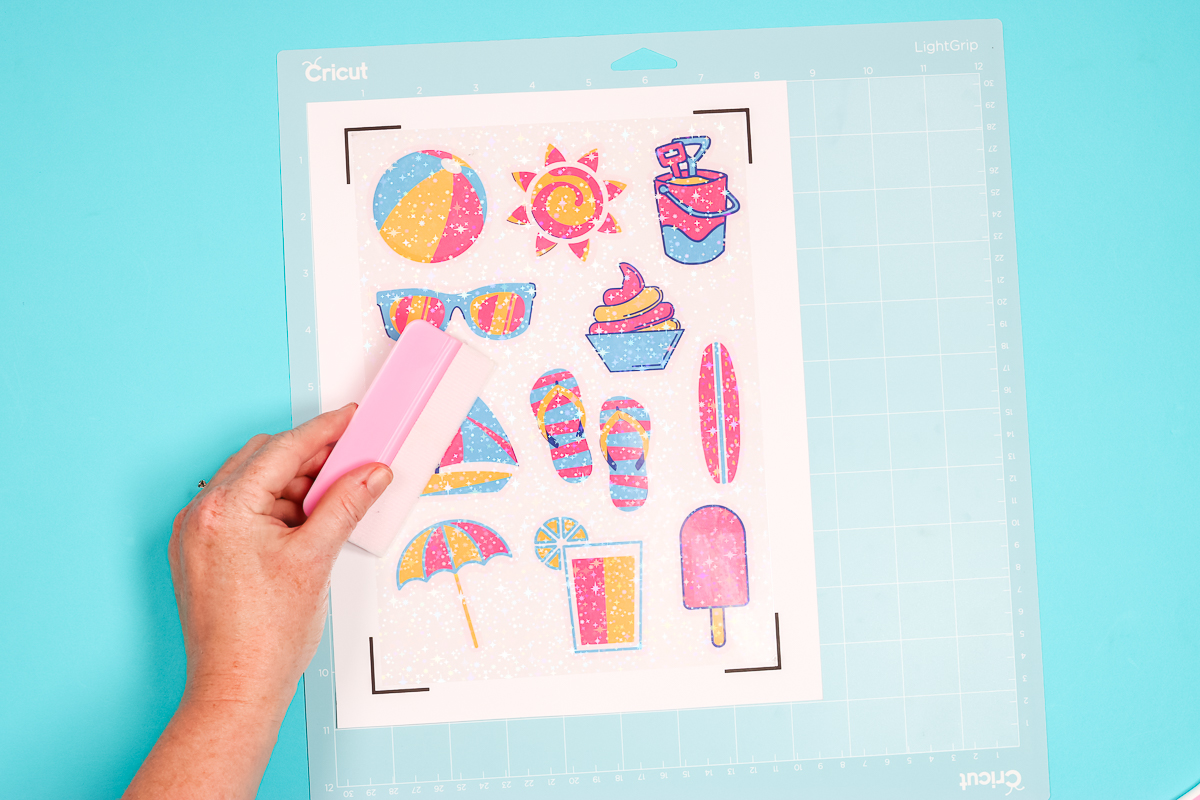
Take your time and smooth the overlay down. The goal is to have the overlay smoothed out with no bubbles within the registration marks. Slowly remove the backing and stick the laminate down as you go.
If you find when you get to the bottom of the page that the holographic film is covering the registration marks, gently lift the film and use a pair of sharp scissors to trim it back.
Cutting Printable Vinyl with Holographic Overlay
I went ahead and prepared all of my holographic overlay samples and I will be trying to cut them on the Explore Air 2. If these will cut on the Air 2, they will cut on any Cricut machine that can do Print Then Cut.
I am using the Printable Sticker Paper Clear cut setting. It worked on all of the different options. You can test other settings if that option doesn’t work for your machine.
Machine Not Reading Registration Marks
NOTE: If you notice that your Cricut is scanning the registration boxes over and over again, it’s probably messing up, and cannot read the registration marks. Cricut Design Space will then give you an error message.
My machine wasn’t reading the registration marks, I think I probably had the holographic paper too close to the registration marks. To fix this problem, you can either trim back more of the holographic film or add matte tape to the top of the registration marks to make them easier to read.
I wanted to test the matte tape option so I covered all four corners and then loaded the mat back into the machine and attempted to cut again. With the marks covered with tape, it cut perfectly.
The Air 2 was able to cut all four of the options with the matte tape over the registration marks and it worked every single time. You may not need the matte tape with something like the Maker, Maker 3, or Explorer 3 because they have an upgraded sensor. But it is an option if you need it.
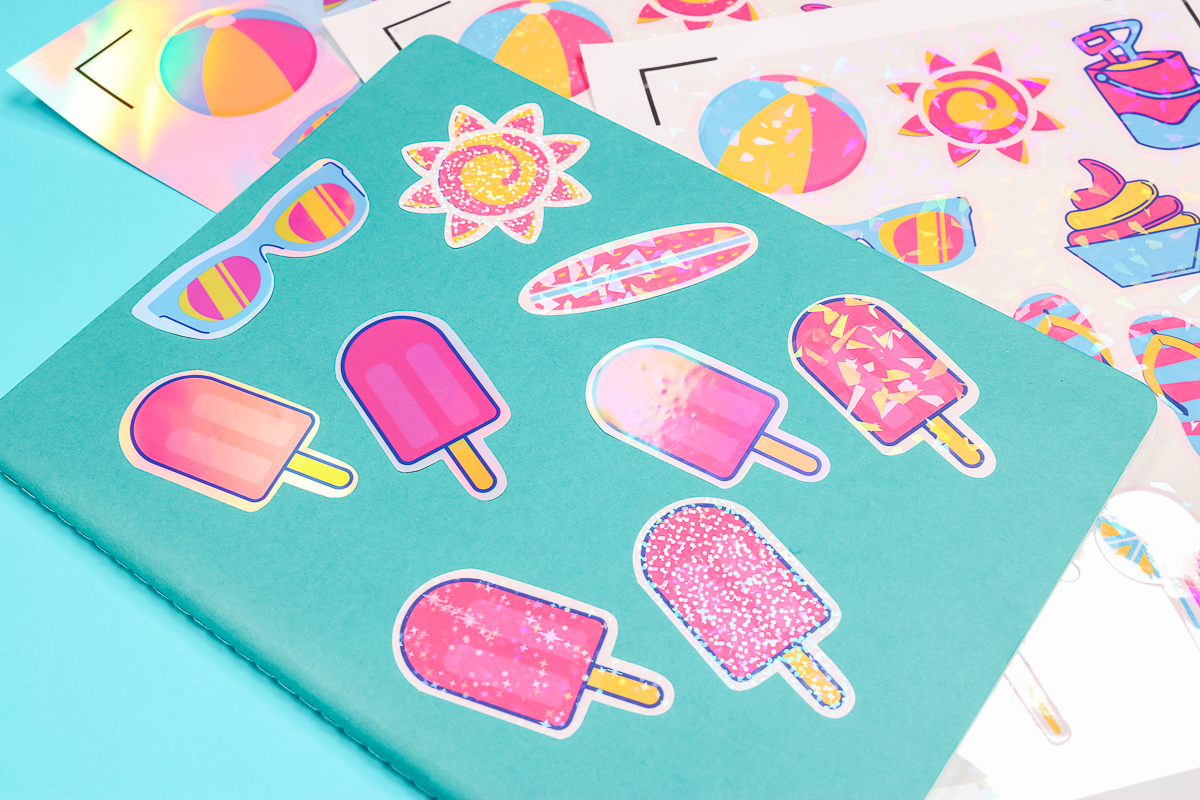
Close Up Look at Print Then Cut Holographic Stickers
Once you’re done with the Print Then Cut, remove the mat from the machine. I repeated that for all four options, let’s look at each of them.
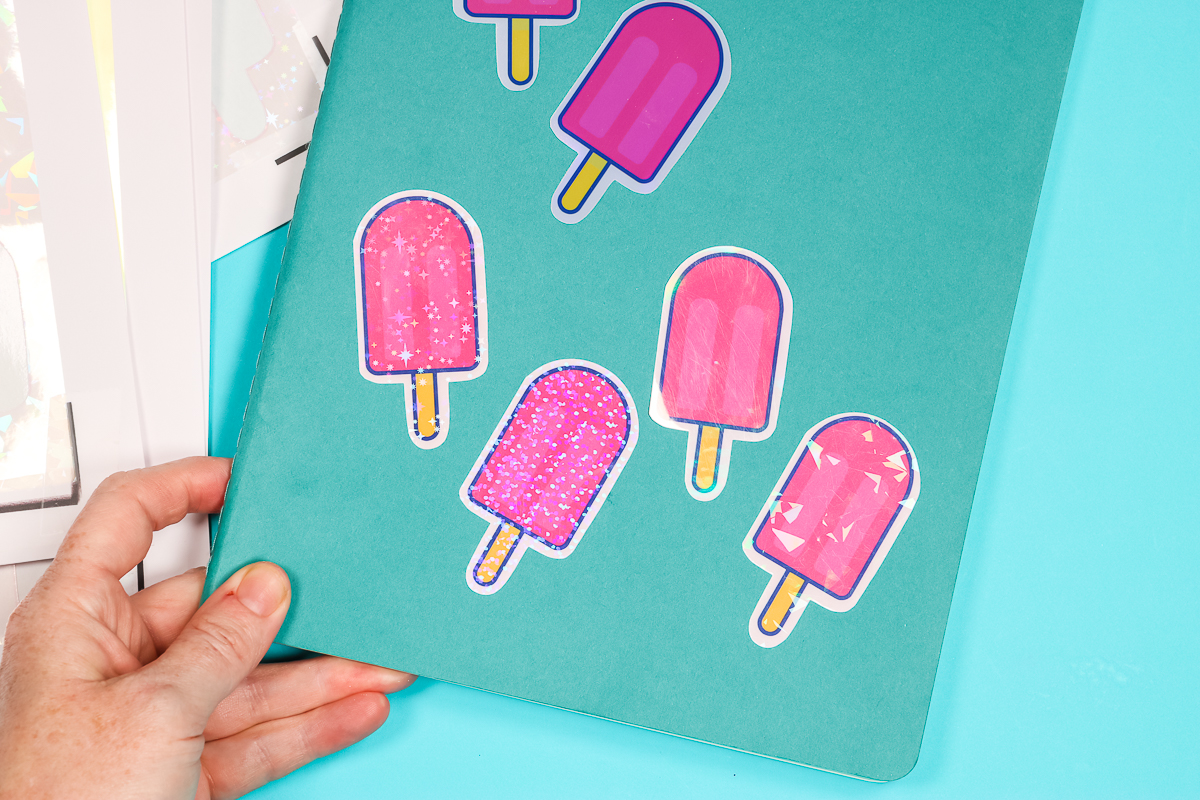
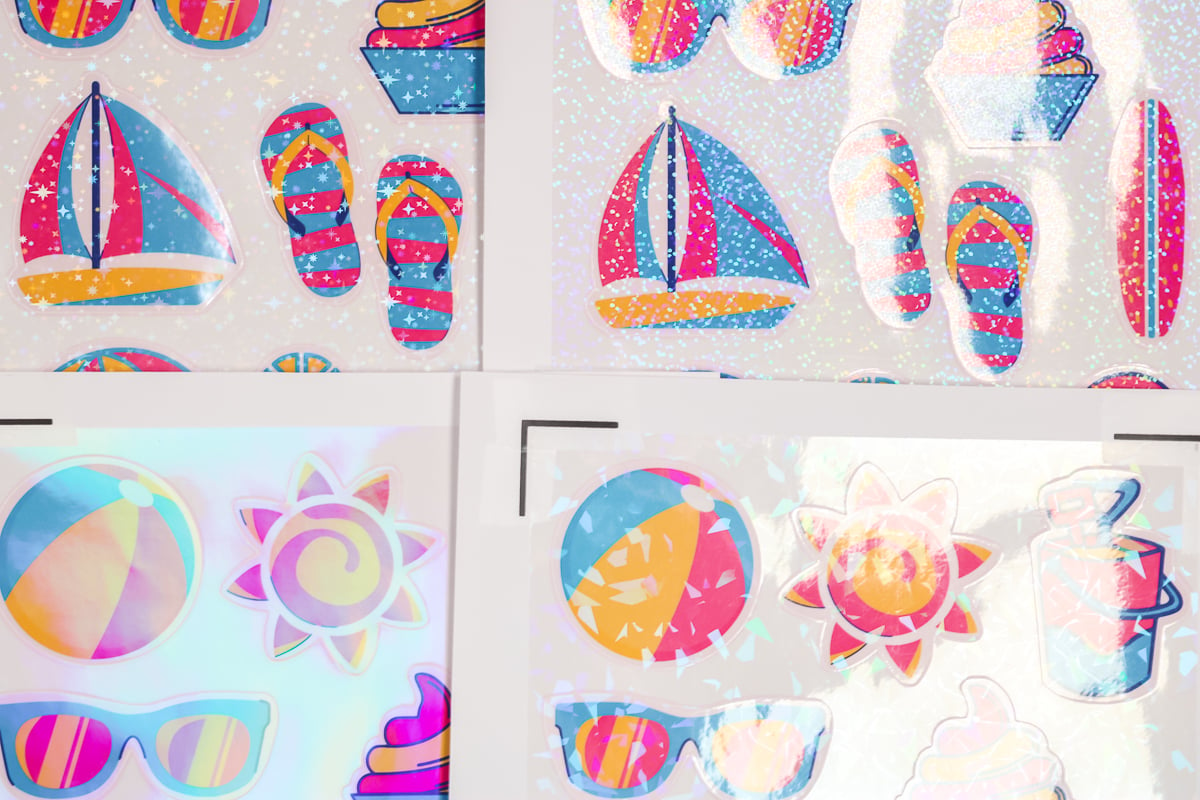
First up we have the holographic film that has the little stars on it. This one turned out really well, look at how much the stars shine.

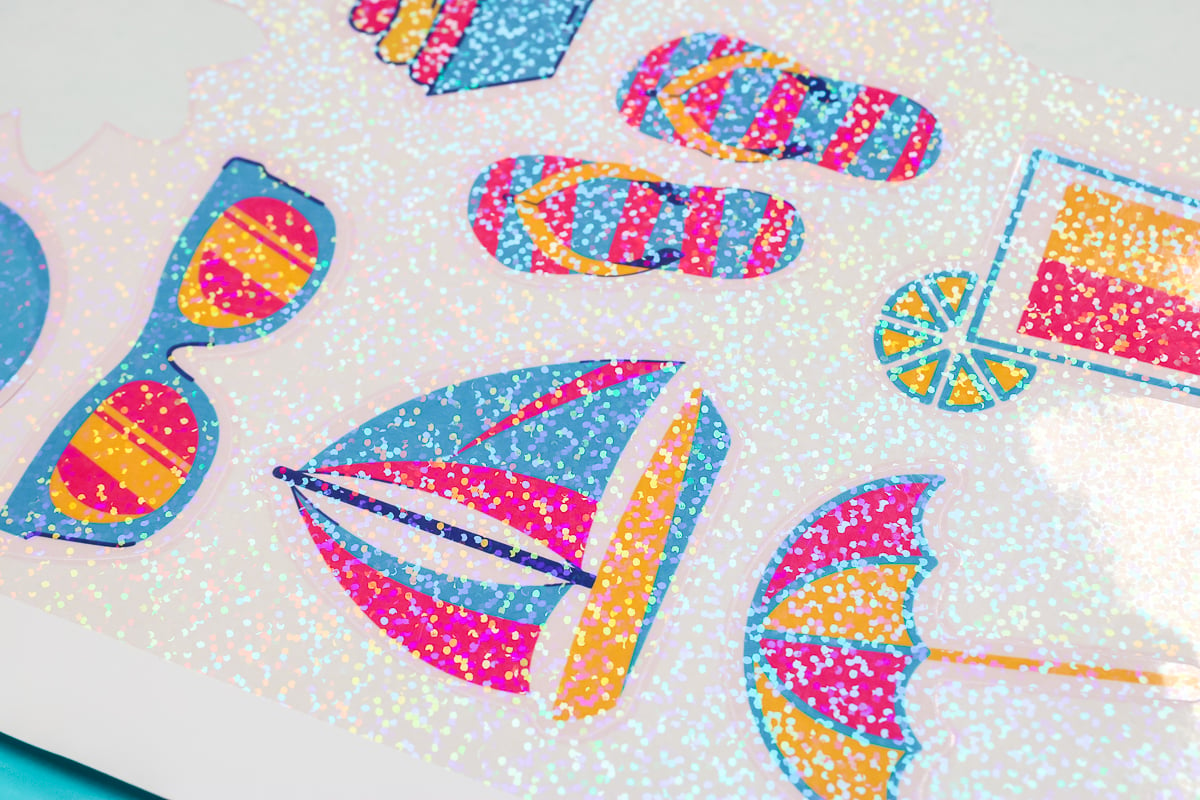
Next, we have the film that has little dots all over it. I think this one is probably my favorite. With all the little dots it’s really holographic and has so much sparkle and shine.
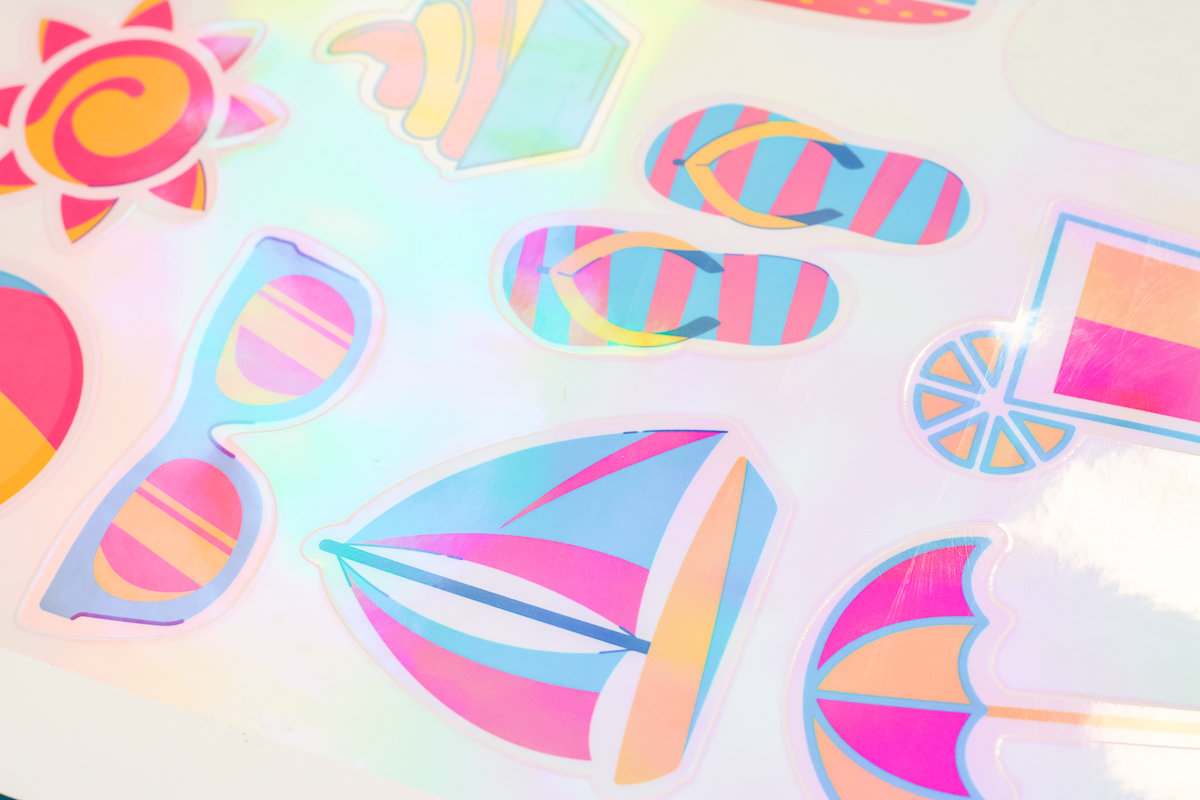
Third, we have the plain holographic sheet. This film is cool but it’s my least favorite. It’s most likely to show any scratches from applying or bending the film.
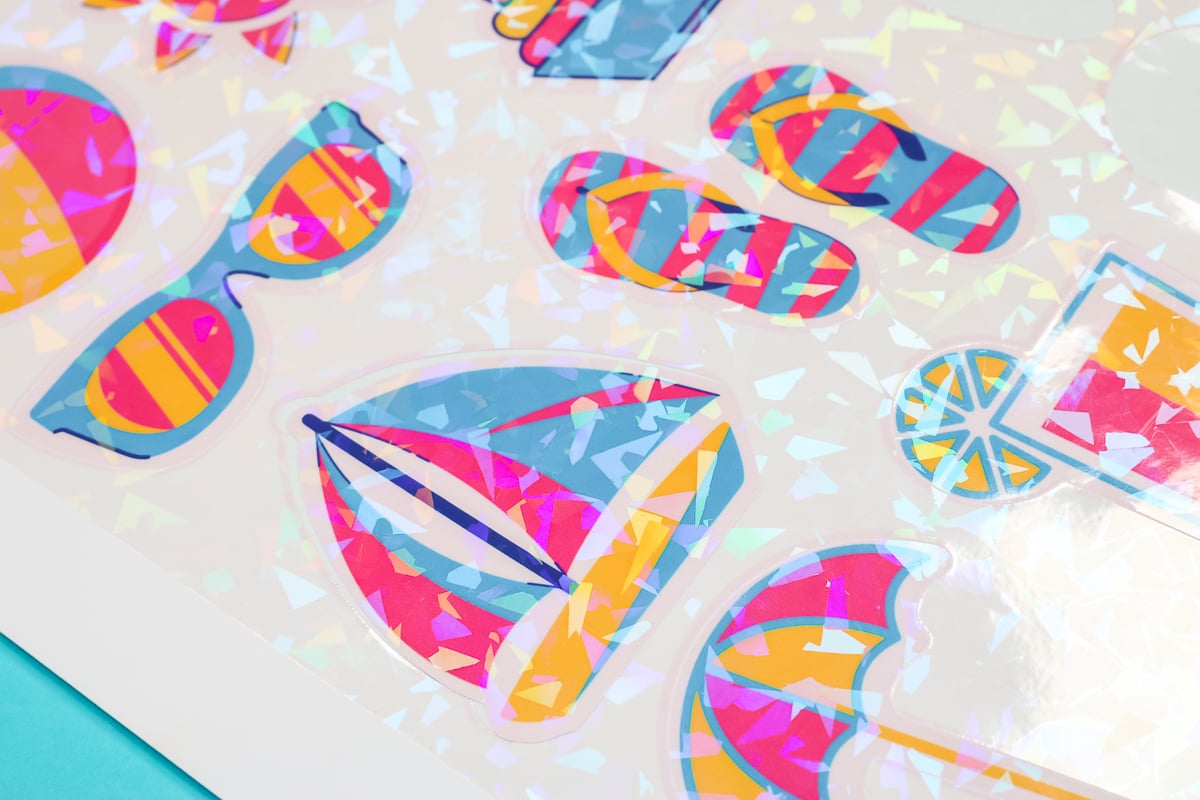
And finally, we have this mosaic-type holographic look. This is probably my second favorite. I really like the way this one reflects light and the randomness of the pattern.
Final Thoughts on Holographic Stickers with a Cricut Machine
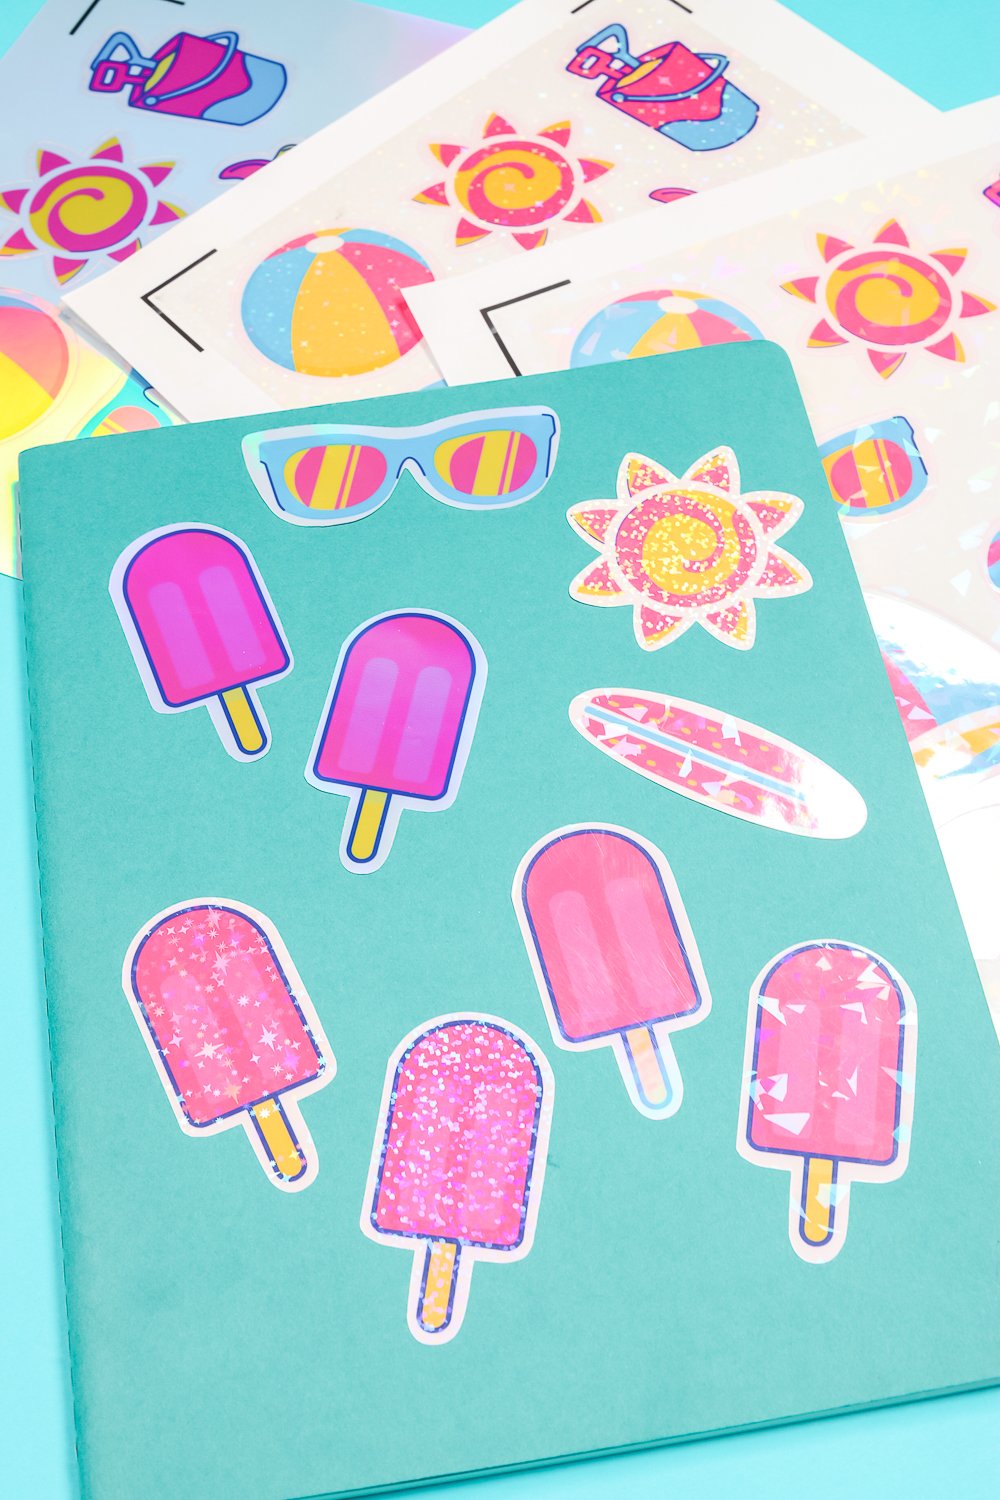
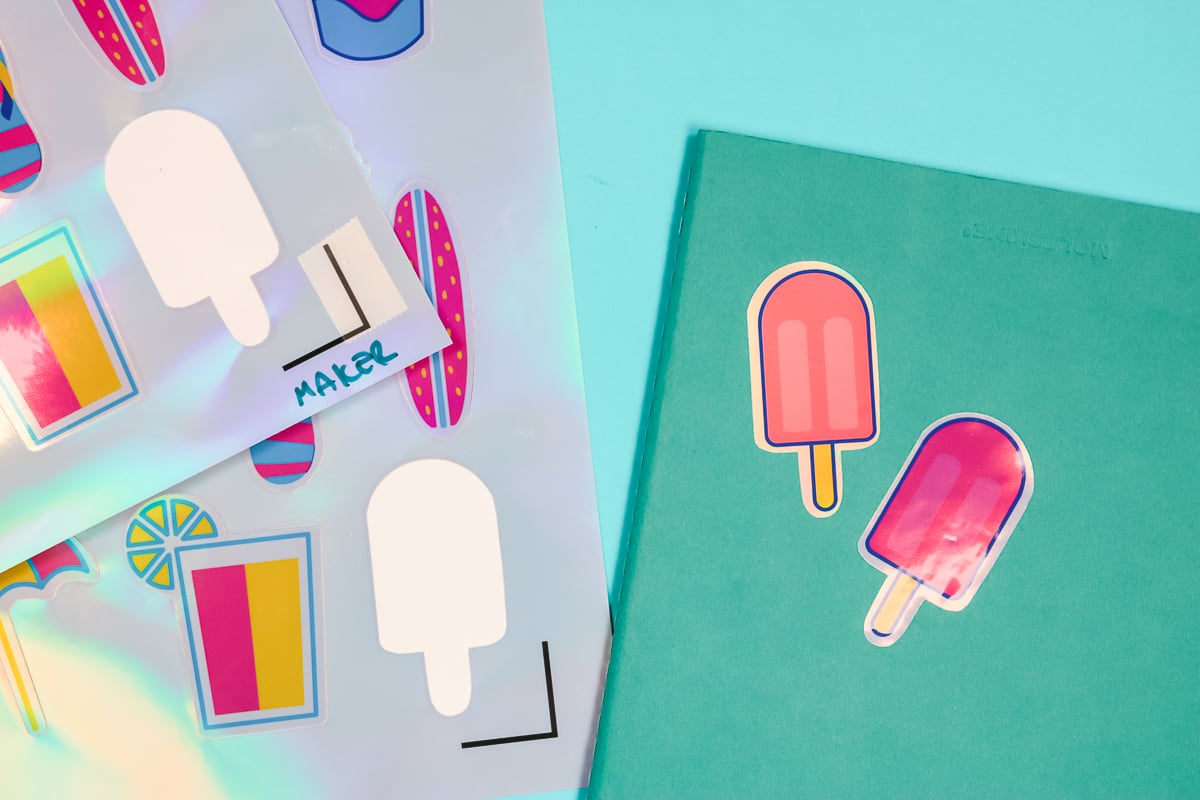
I’m happy with how these different holographic stickers cut with a Cricut machine. I personally love the look of the white sticker paper under the holographic laminate. If you want more of a clear sticker, you could try adding the holographic film over the top of clear printable sticker paper. I think that would work as well.
Each material cut perfectly even on the Air 2 machine. I love how they all have a different look. You can choose whichever material you like best and create your own holographic stickers.
I used this process to create holographic stickers, however, you could use this same process to create other projects. This could be a fun project to create a notebook cover, a sign with some shimmer and shine, or even cake toppers.
I hope I’ve answered all the questions you may have about creating holographic stickers with a Cricut machine. If you have any additional questions, leave them in the comments and I’ll be happy to answer those for you.