This post and photos may contain Amazon or other affiliate links. If you purchase something through any link, I may receive a small commission at no extra charge to you. Any supplies used may be given to me free of charge, however, all projects and opinions are my own.
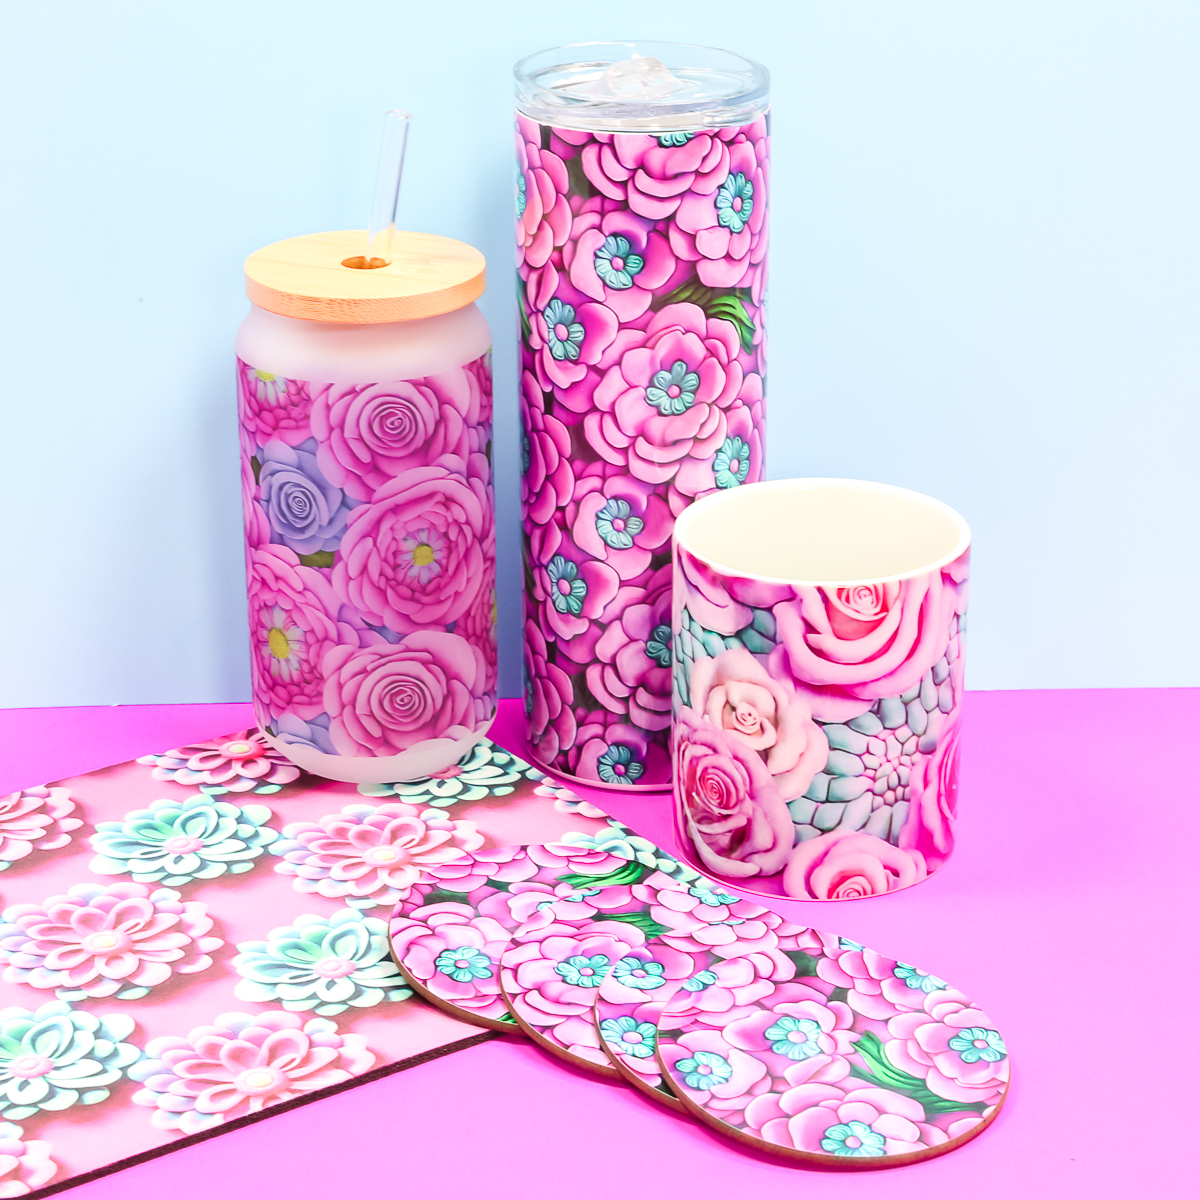
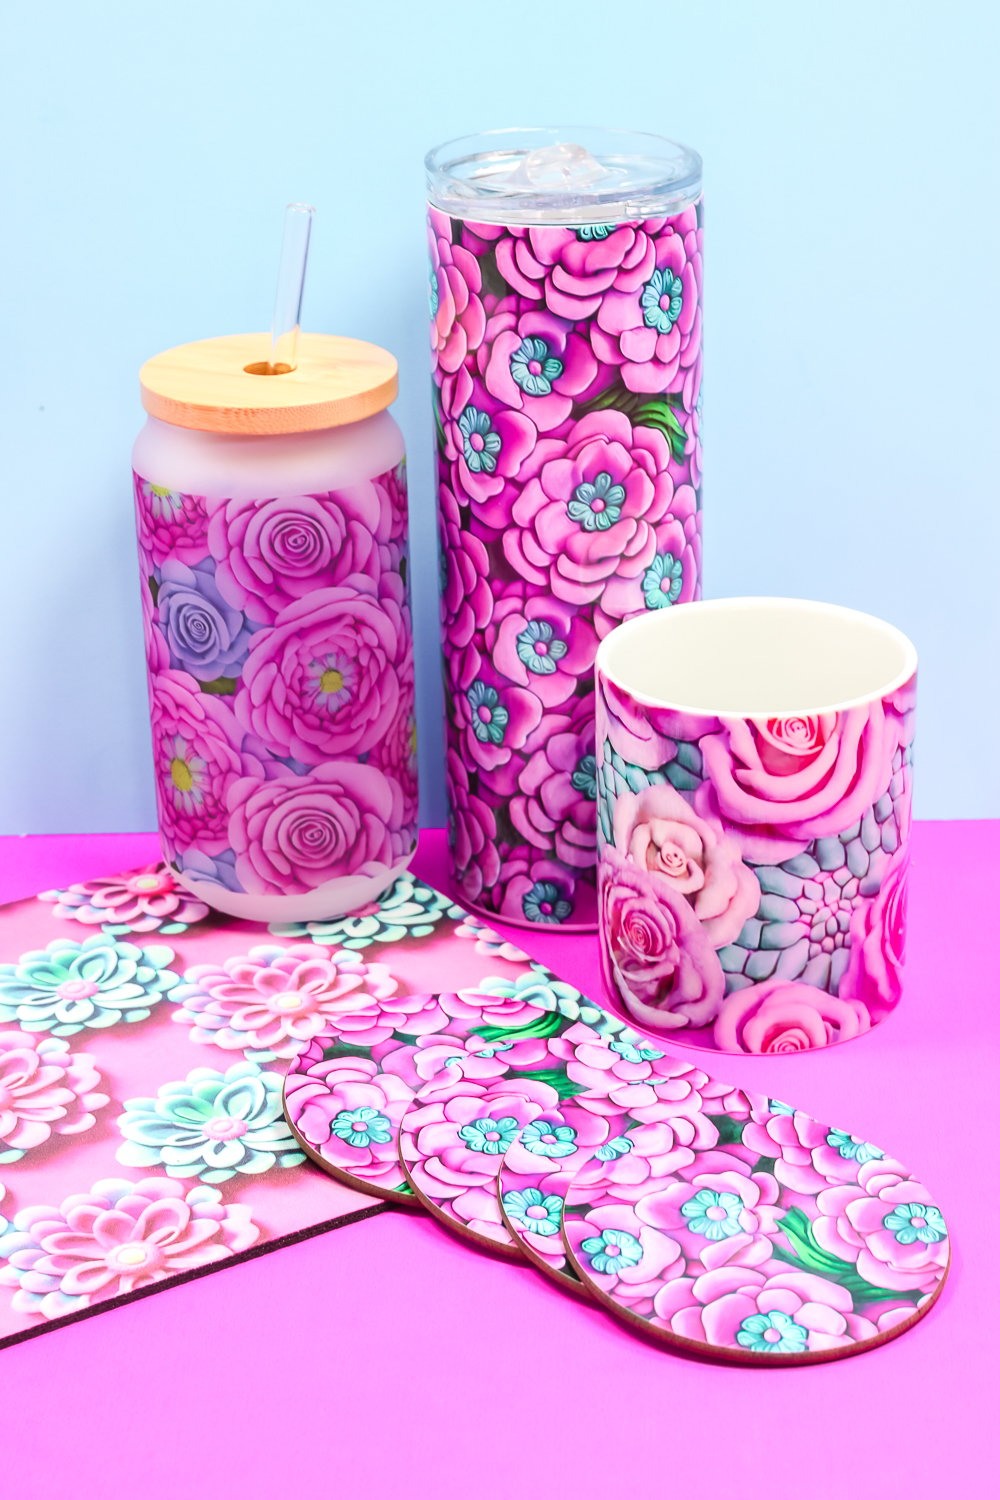
Are you ready to try the new 3D sublimation trend? I’ve been seeing 3D sublimation projects everywhere so today I am going to show you how to make 5 different sublimation projects.
You’ve likely seen 3D sublimation tumblers popping up all over the internet. I’m going to take this trend one step further and show you how to make mousepads, coasters, tumblers, and more.
Are you new to sublimation? My Sublimation for Beginner post is the perfect place to start.
3D Sublimation Projects
You can watch me make all 5 3D sublimation projects from start to finish by pressing play on the video below. You’ll learn all the supplies you need and my best tips and tricks for getting the best projects possible.
Supplies Needed
NOTE: You won’t need every supply for each project so make sure you read through the entire tutorial before you begin to make sure you have what you need for the project you want to make.
Designs Used
Blanks Used
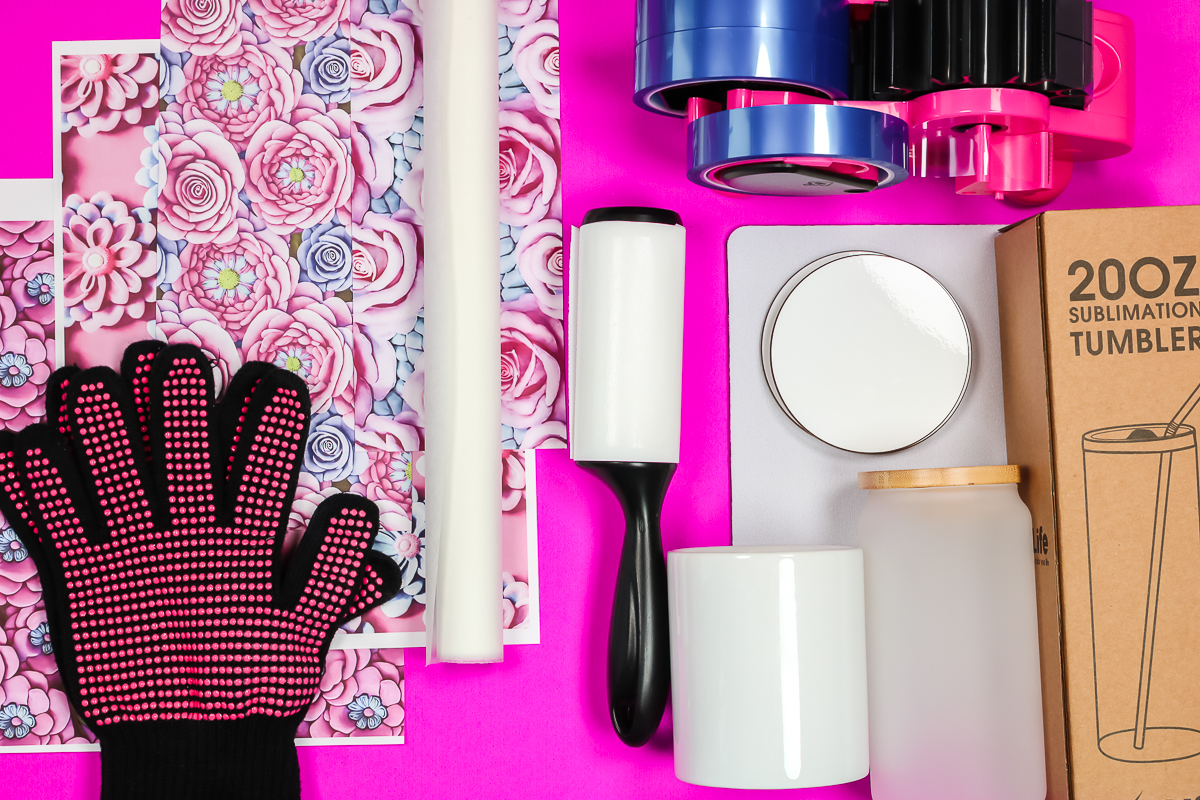
Other Supplies Used
How to Make 3D Sublimation Projects
To make our 3D sublimation projects, we need to begin with a sublimation print. I am using four different 3D sublimation floral prints for my projects today. You can get all four of them for free here.
A sublimation print is sublimation ink printed onto sublimation paper from a sublimation printer.
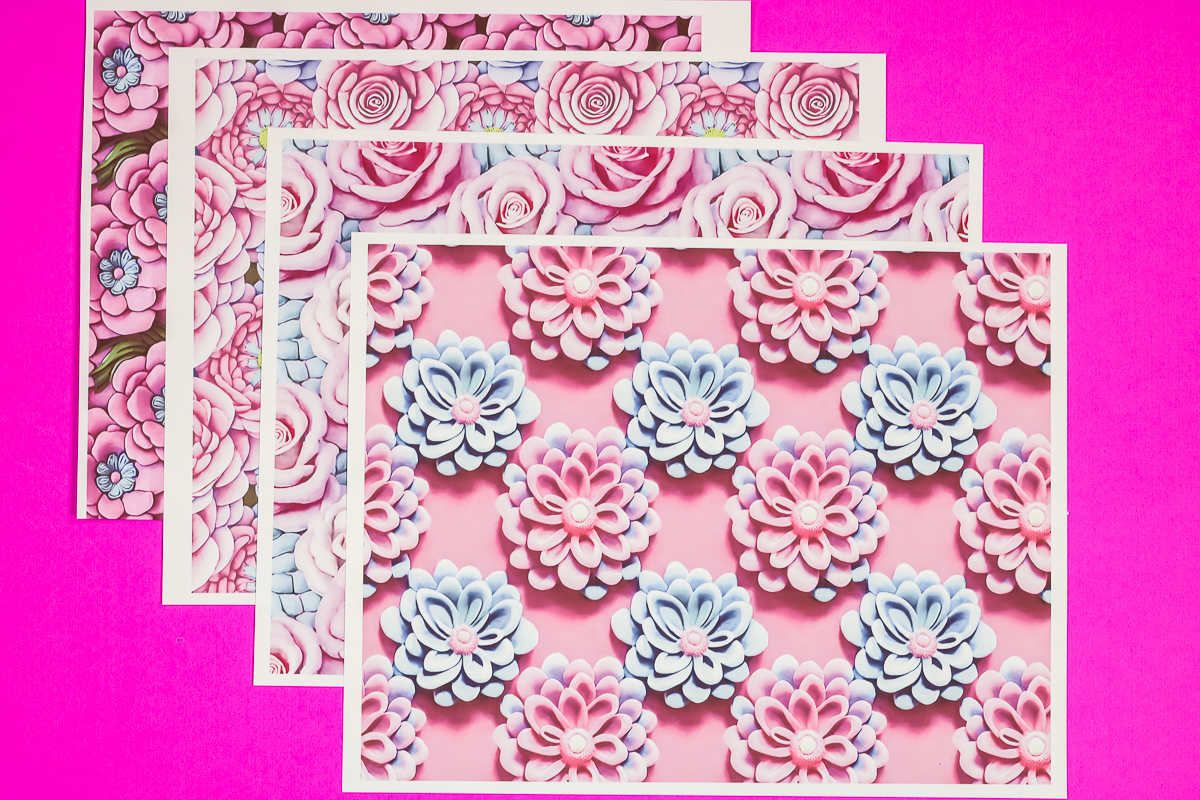
Make sure your sublimation printer is set for the substrate you’re applying it to. The settings you use determine the amount of ink your printer puts down on the paper. This can have an impact on your finished project.
You can size your design to fit the tumbler or blank you are using. You can see more about using templates in my sublimation software post.
What is a 3D Sublimation?
3D sublimation is just the type of image you’re using. As you can see in the designs I am using, the image itself looks 3D. You don’t have to do anything different in the sublimation process to get a 3D project.
You can use the 3D images I am sharing today or you can use a different image. There are a lot of different 3D sublimation images on Etsy, Design Bundles, and Creative Fabrica.
How to Make a 3D Sublimation Tumbler
For my 3D sublimation tumbler, I am using a straight side 20oz sublimation tumbler. I am also using my tumbler press.
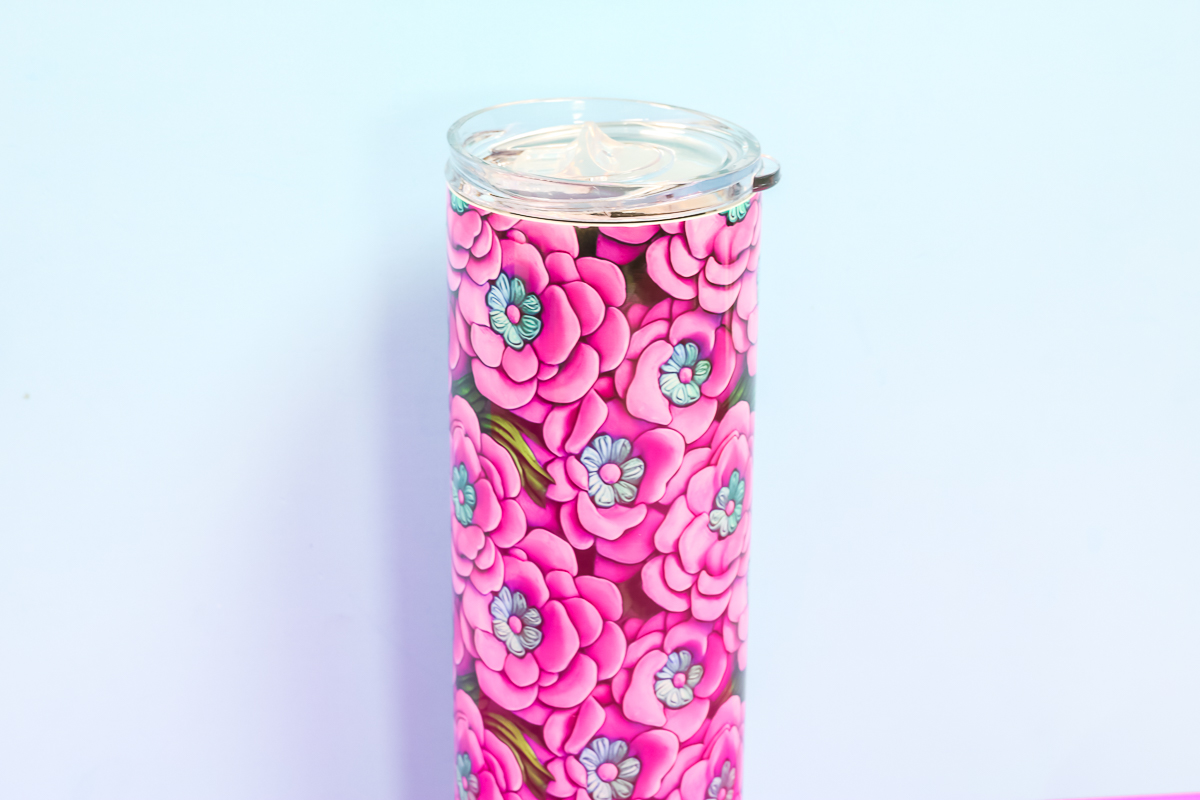
To begin you want to make sure your surface is clean. I like to use a lint roller to go over the entire thing to remove any dust and debris.
When you’re tumbler is clean, you can apply your sublimation print. I have a full tutorial on how to get the best seams possible on sublimation tumblers. You can find that full tutorial here.
Since I’m using my tumbler press for this project, I don’t need to use shrink wrap. If you’re using a sublimation oven, you will need to add shrink wrap.
First, trim your sublimation print to fit your tumbler. Then you’ll wrap your sublimation print around the tumbler and hold it in place with heat-resistant tape.
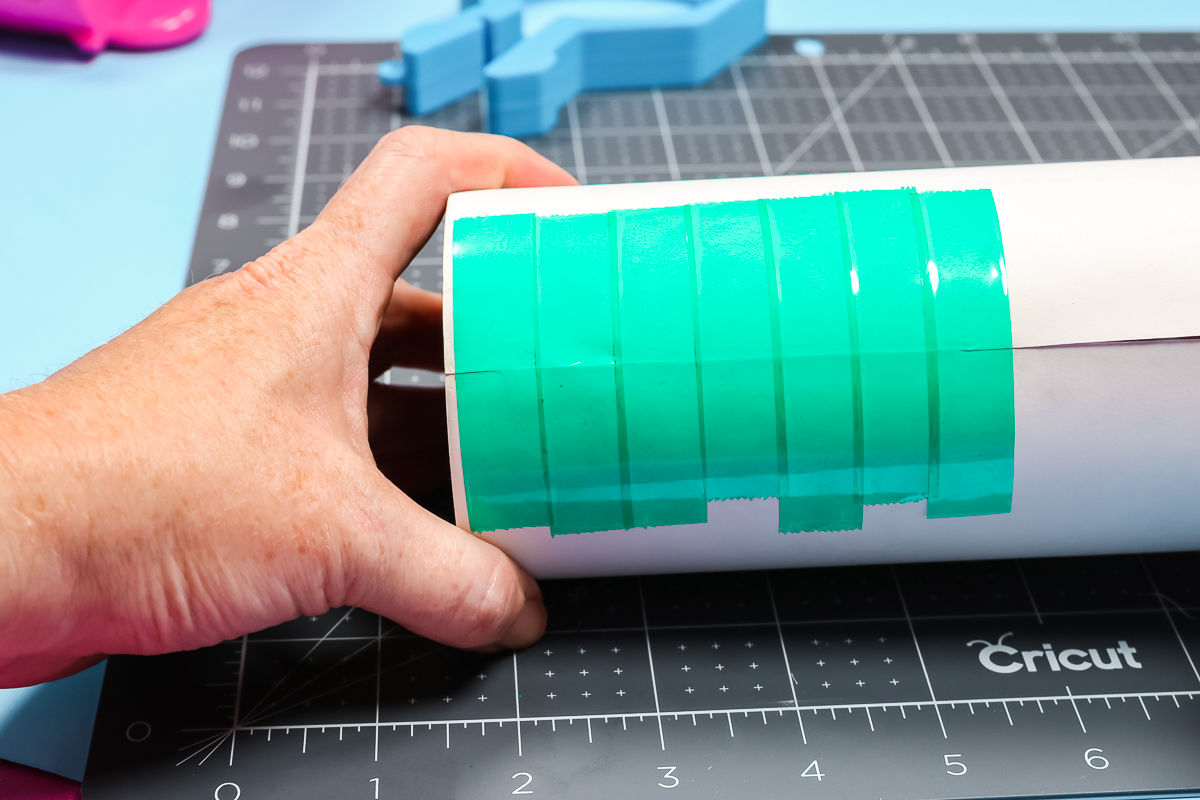
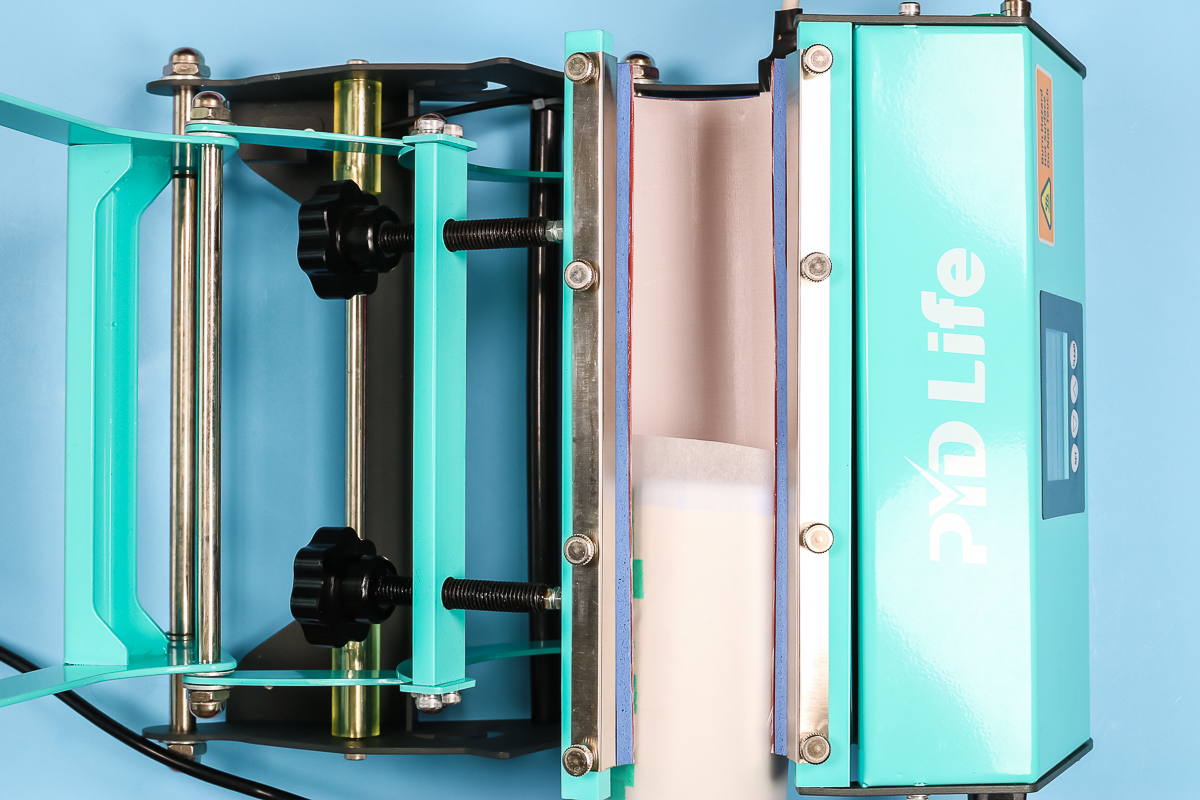
I like to wrap a sheet of protective paper around my sublimation print to protect the tumbler press. When your tumbler is prepared, place it in the tumbler press for the time and temperature your blank calls for.
Remember my sublimation tumbler video includes all of my best tips and tricks for creating the most perfect sublimation tumbler. It includes tips for lining up your design, taping techniques, and everything else you need to know.
Because tumbler presses do have a gap you’ll need to rotate the tumbler and then press again for the full time to ensure a clean sublimation print. When the time is up, use heat-resistant gloves and remove your tumbler from the press.
I like to remove the tape and sublimation print while it is still hot because I find it comes off much easier. Now you have a gorgeous 3D sublimation tumbler for yourself or to give as a gift.
Sublimation Mousepad
Our next project is a 3D sublimation mousepad. This project was really easy and a lot of fun to make. I love the final result.
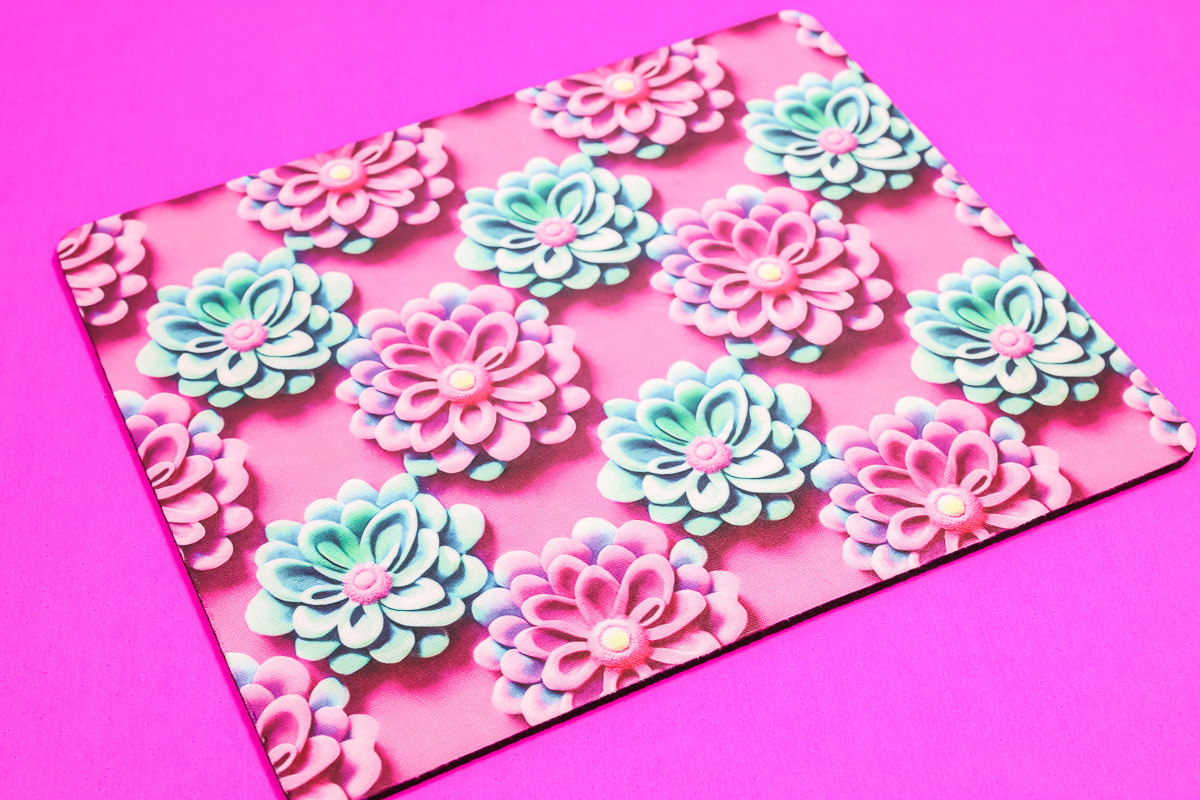
I am using my Cricut Autopress for this project but you can use any heat press you have that goes up to 400 degrees.
The mousepad I am using calls for a pressing temperature of 375 degrees for 80 seconds. I did pre-press the mousepad for about 10 seconds before I added my print.
After pre-pressing, while the mousepad is cooling lint roll the surface to remove any dust, hair, or other debris. Then tape your sublimation print in place using heat-resistant tape.
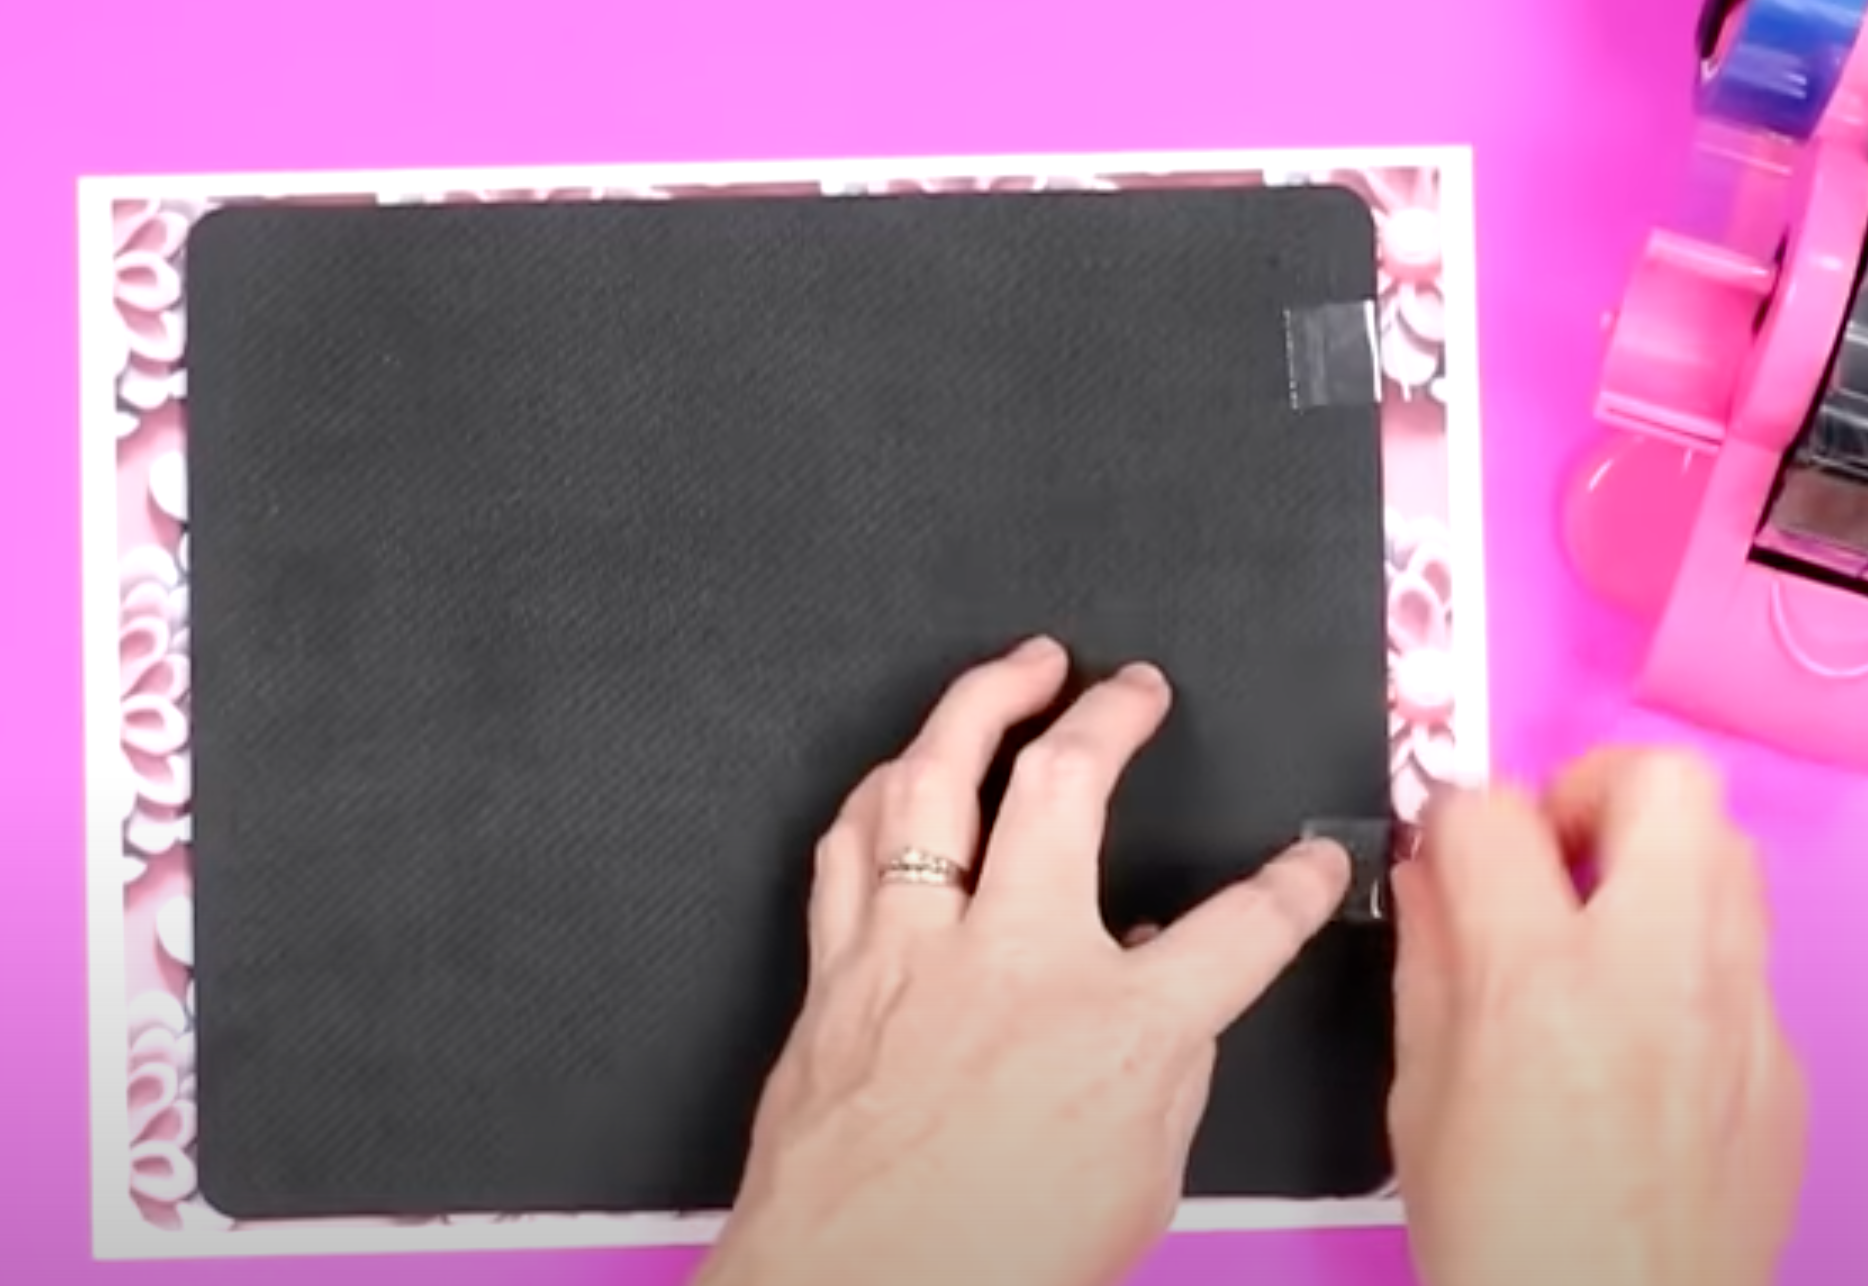
Add protective paper to both the top and the bottom and then press with the sublimation print side up for 80 seconds.
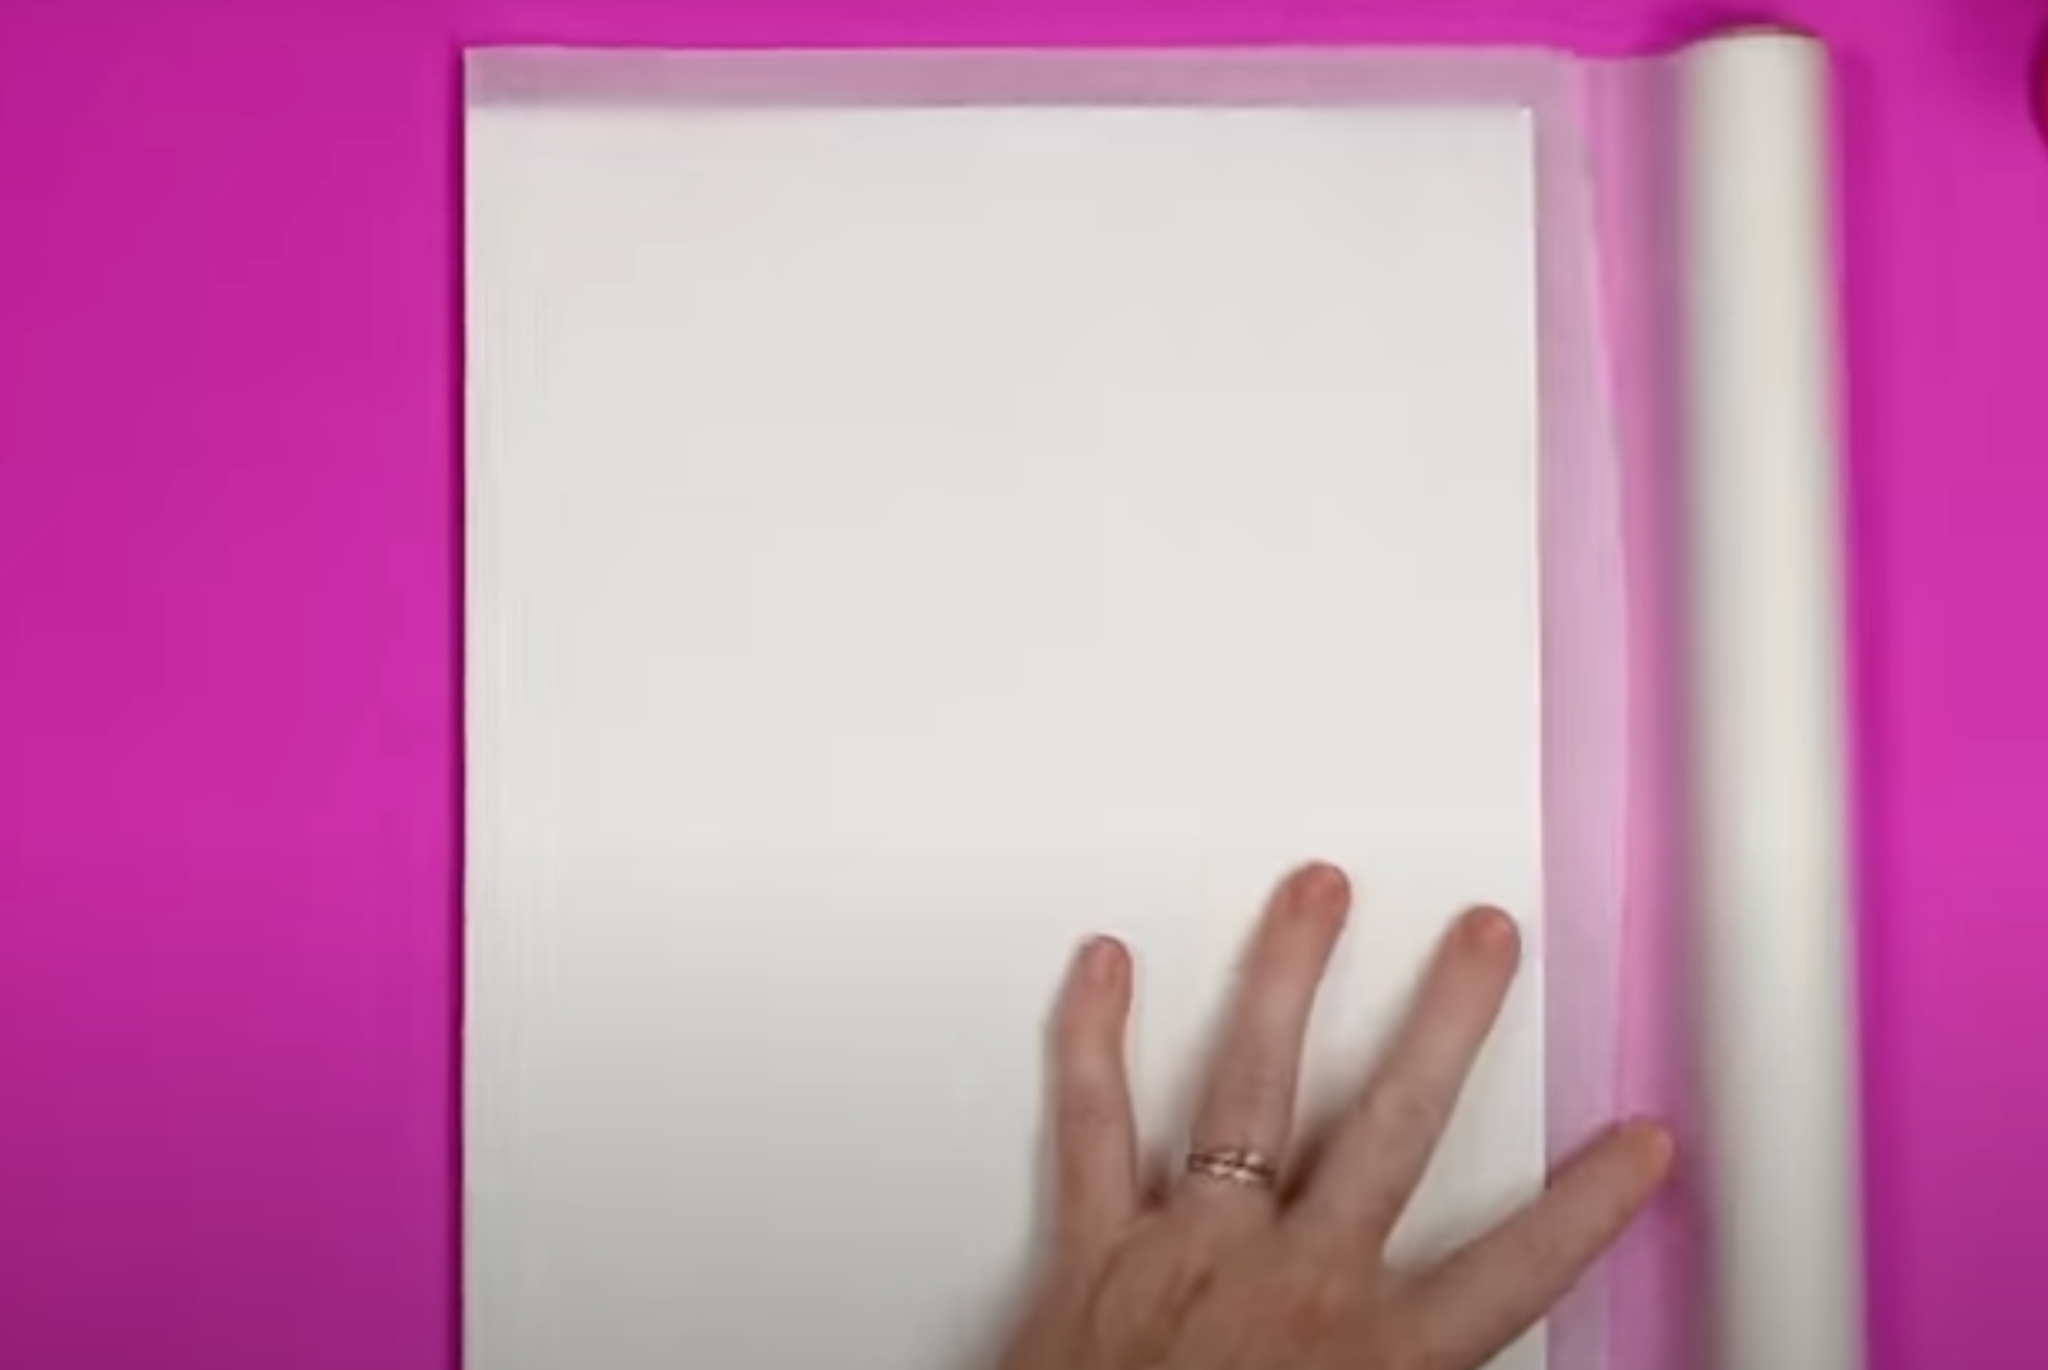
When the time is up, remove your sublimation print and heat-resistant tape and you now have the coolest mousepad in the office!
Sublimation Hardboard Coasters
For our third project, we’re going to make a set of 3D sublimation coasters. I am using hardboard coasters for today’s project and I highly recommend doing a pre-press. Hardboard is known for having quite a bit of moisture in it.
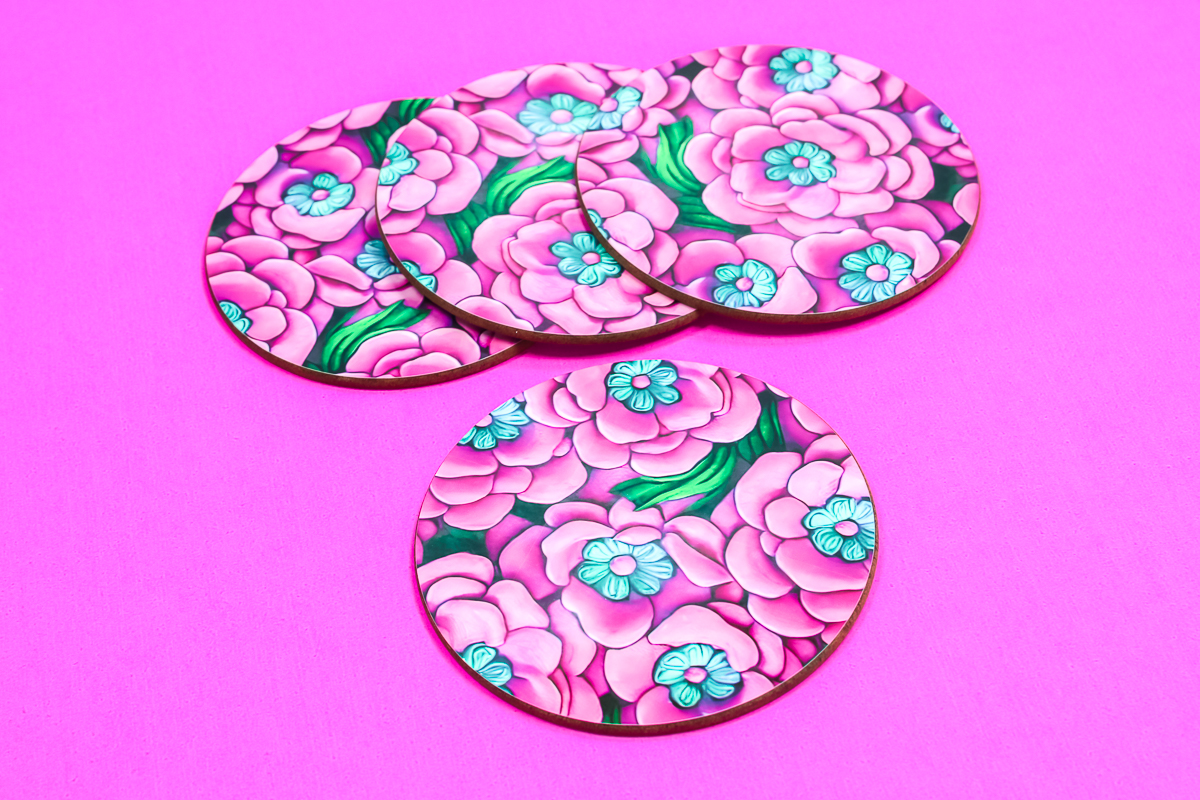
For the pre-press, I placed the coasters in my Autopress and just hovered the top over them for about 60 seconds. While they cooled, I lint-rolled the surface and then laid them on the sublimation print.
I am pressing all 4 coasters at the same time on one sheet of sublimation paper. You can trim your print and press them one at a time if you prefer. Mine all fit on one full-page print which makes it a little easier.
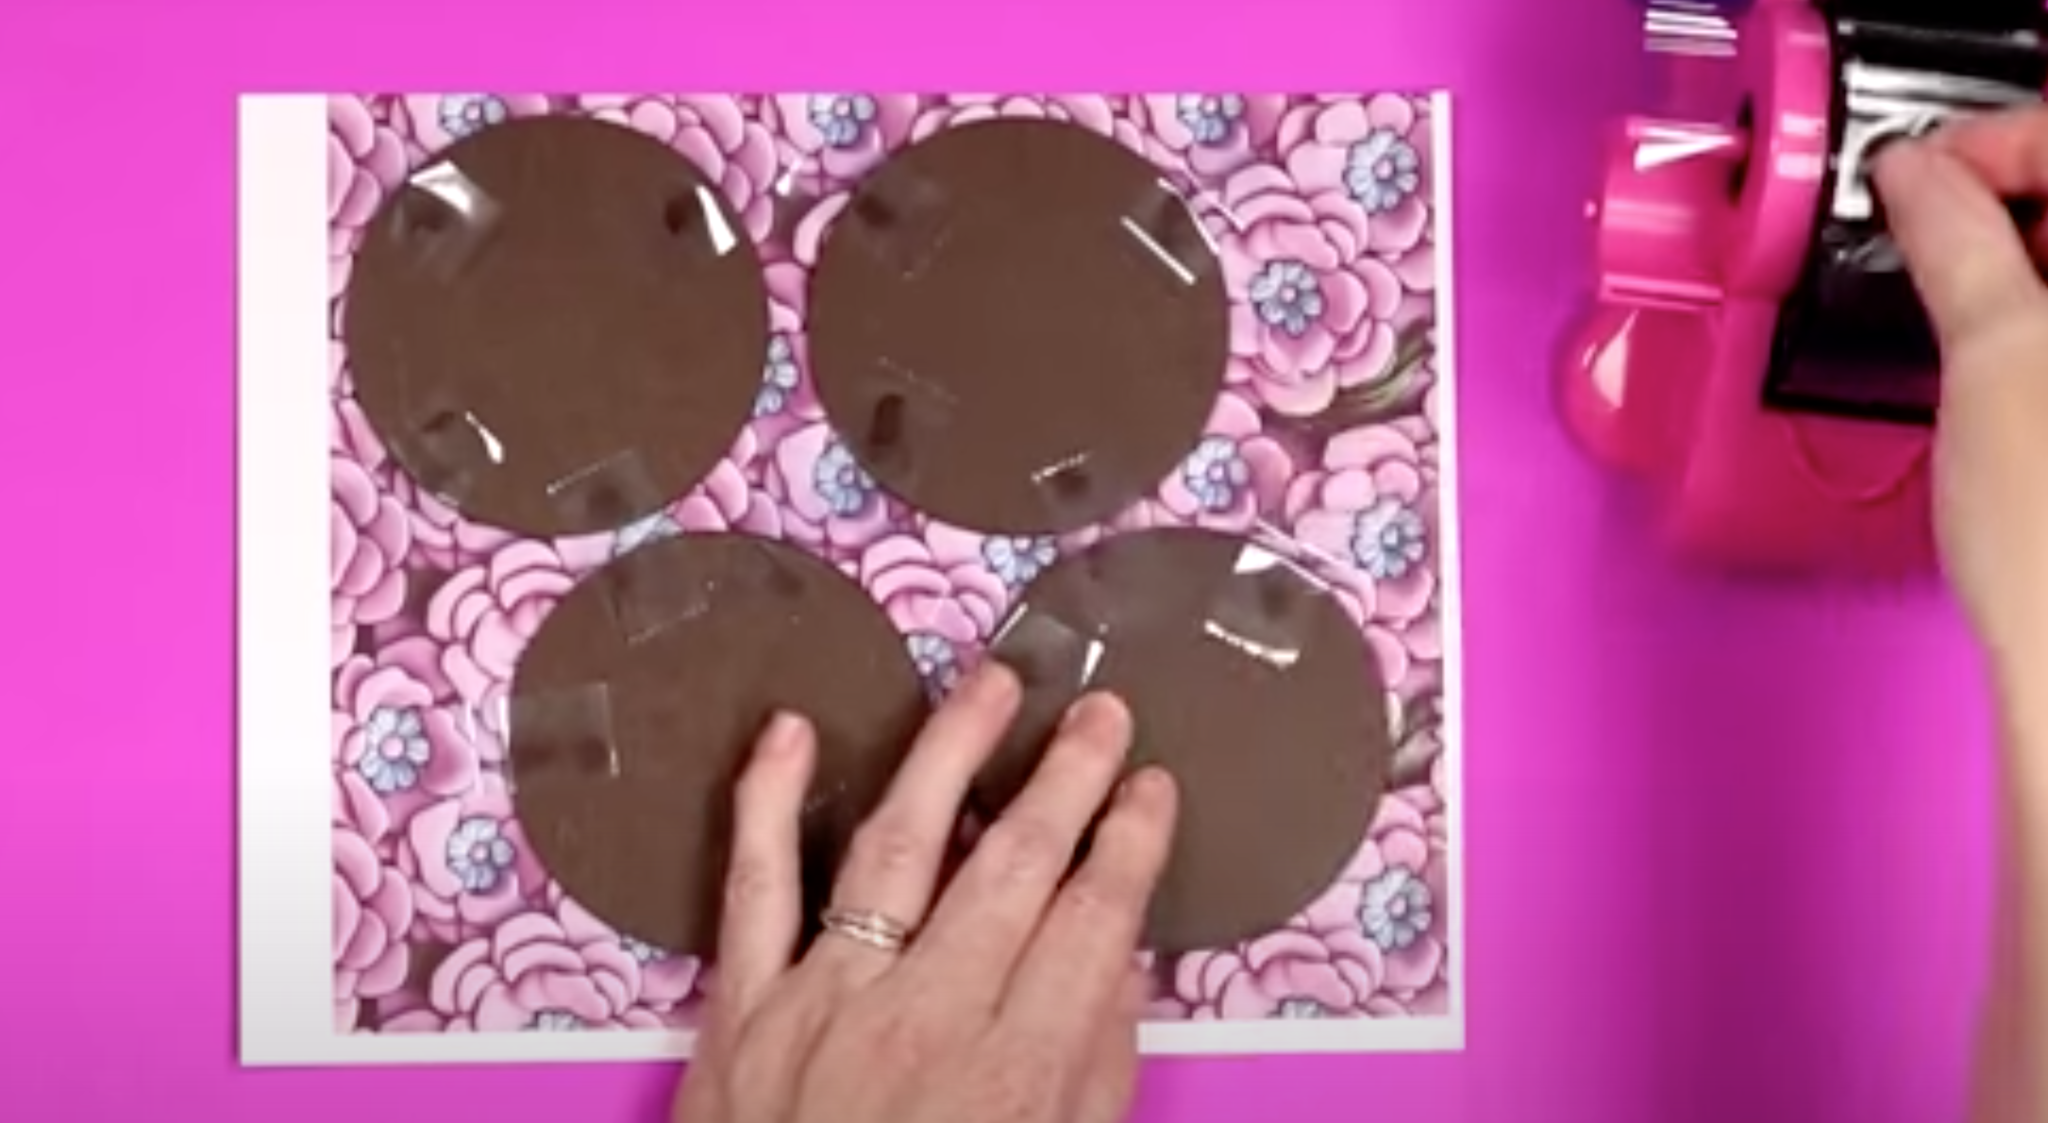
Tape the coasters in place with heat-resistant tape and then add protective paper to both the top and bottom.
The coasters I am using have a pressing temperature of 400 degrees for 60 seconds. Hardboard coasters can vary significantly. Make sure you’re checking the time and temperature for your specific blank before pressing.
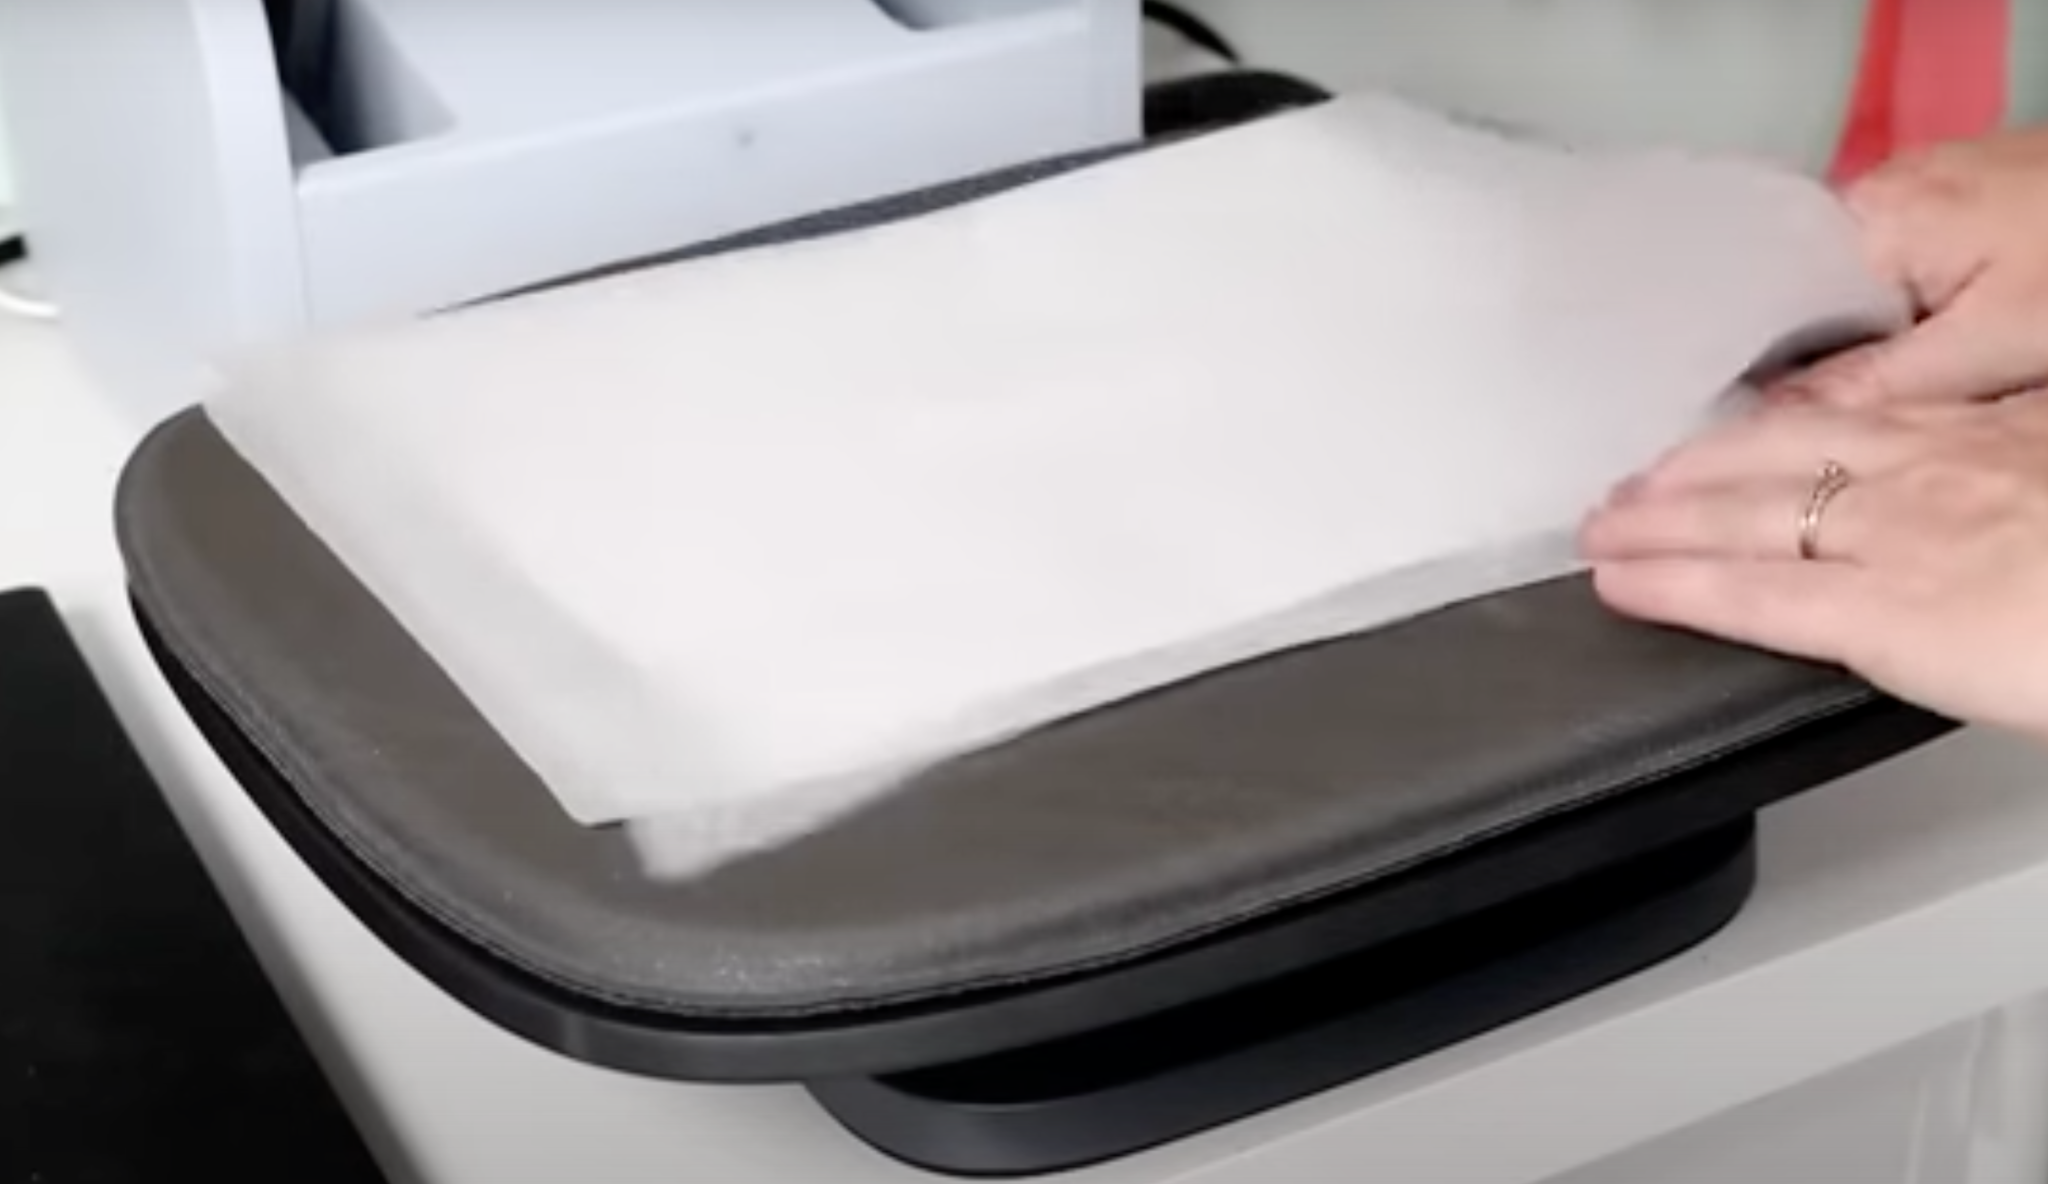
When the time is up on your heat press take out the coasters and remove the protective paper, tape, and sublimation print to reveal your finished project. I am really impressed with how vibrant these coasters turned out and I cannot wait to use them in my home.
3D Sublimation Pencil Cup
I have to admit, this is the project I’ve been most excited to try out. Since I found this little sublimation cup I’ve really wanted to try sublimating it using my Cricut Mug Press.
I am calling it a pencil cup, you could also use it as a candle holder, small planter, or even a handleless mug. I just think it’s really cute and it is sized right to fit in the mug press.
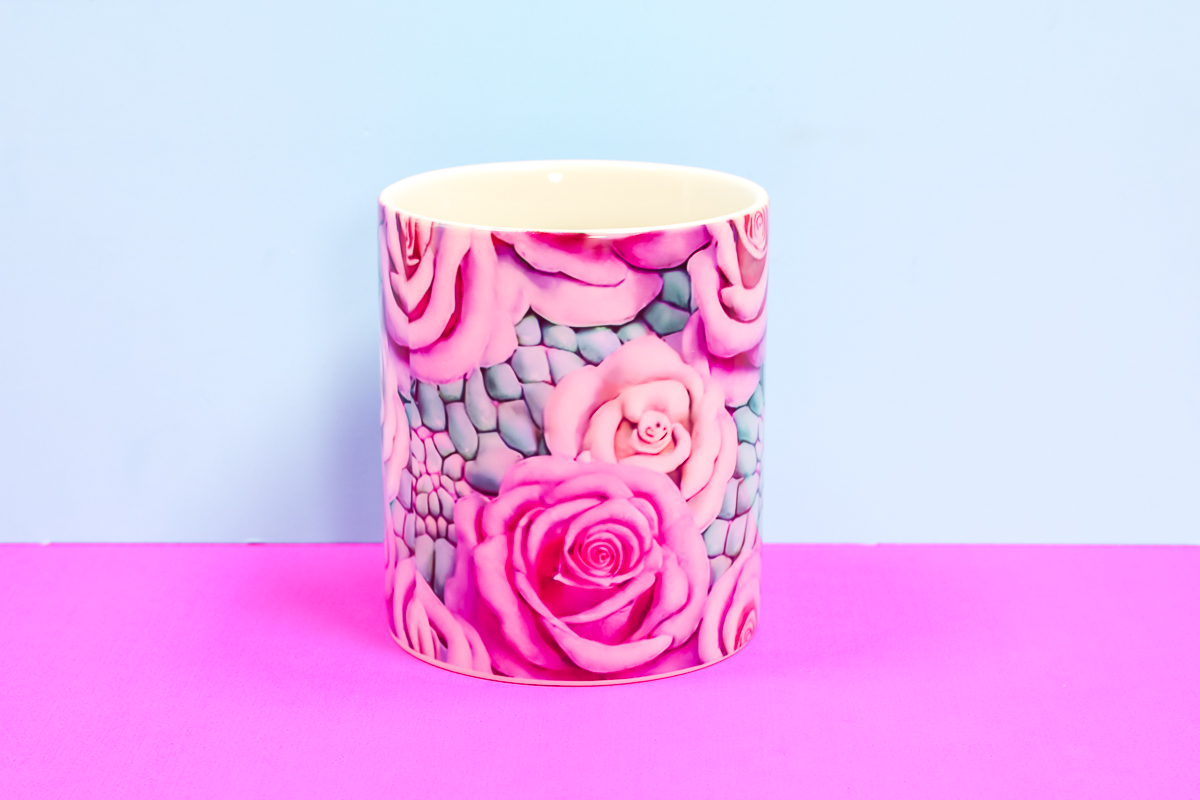
Because this blank doesn’t have a handle you will need heat-resistant gloves to rotate it and remove it from the Mug Press.
To begin, lint roll the whole surface really well and trim your sublimation print to fit around it. I am using the method where you tape the backside of one end of your sublimation print so it can overlap slightly at the seam.
This prevents the seam from getting dark since the sublimation ink doesn’t pass through the heat-resistant tape. You can read more about that in my sublimation tumbler post.
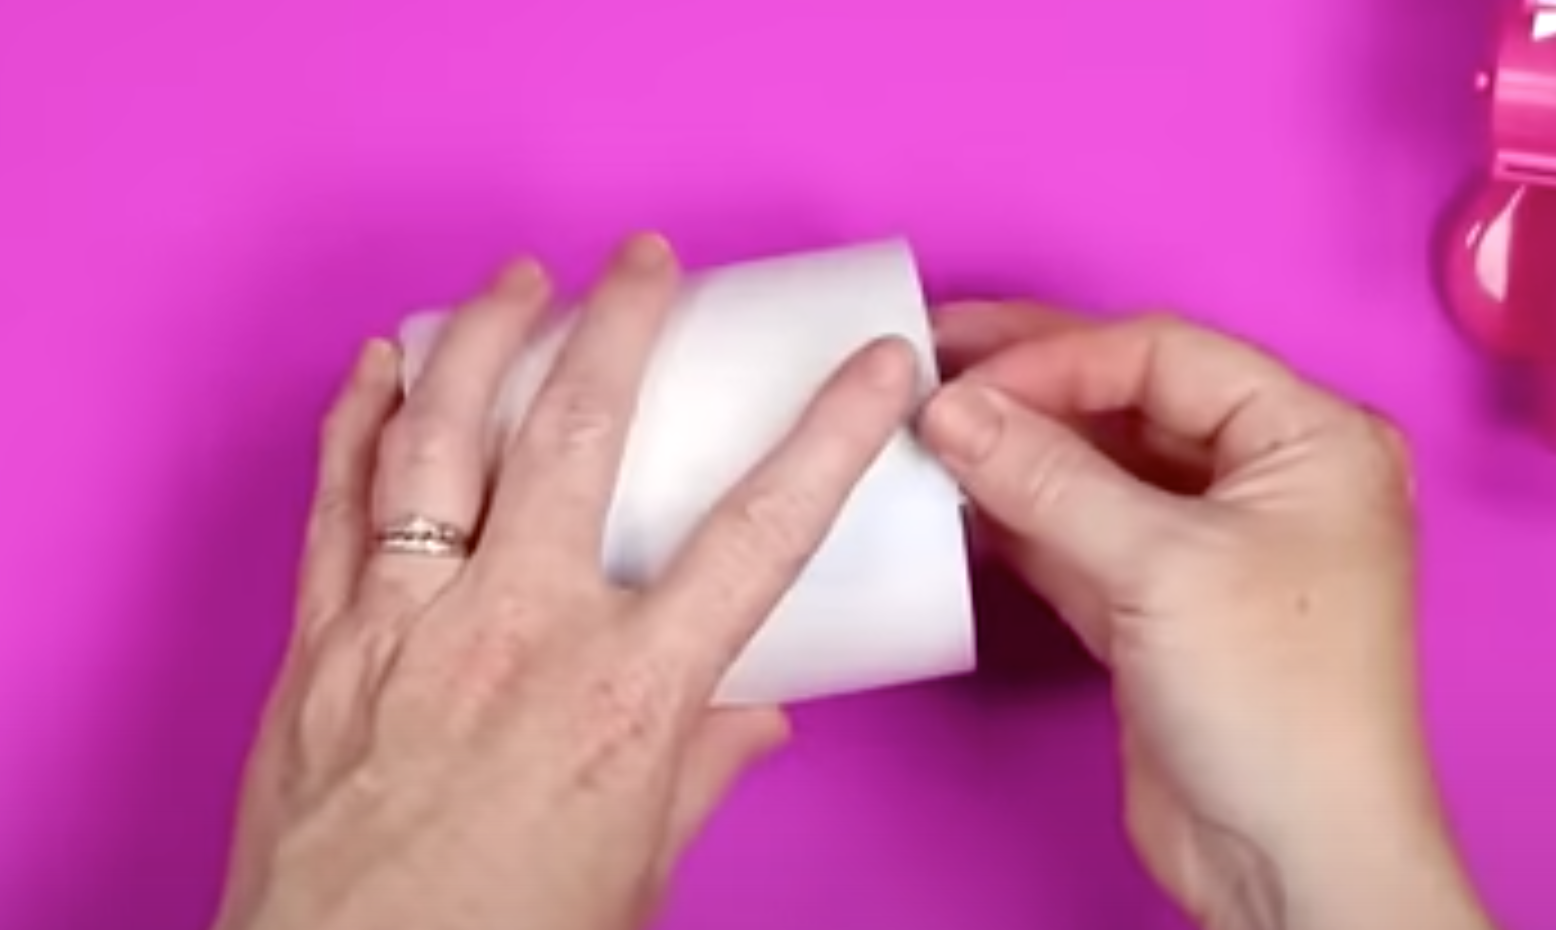
Wrapping this project is similar to the sublimation tumbler. Make sure you tape the seam really well and the top and bottom to hold everything in place.
How to Use the Cricut Mug Press to Double Press
Next, we want to wrap a piece of protective paper around it and then carefully place it in the Mug Press. Push down on the Mug Press lever and let it press for the full time.
When the time is up, lift the lever and rotate your cup. Since the Mug Press was still hot, the automatic timer doesn’t work. I kept it in the mug press for about 2 minutes and 30 seconds and then lifted the lever and removed the cup.
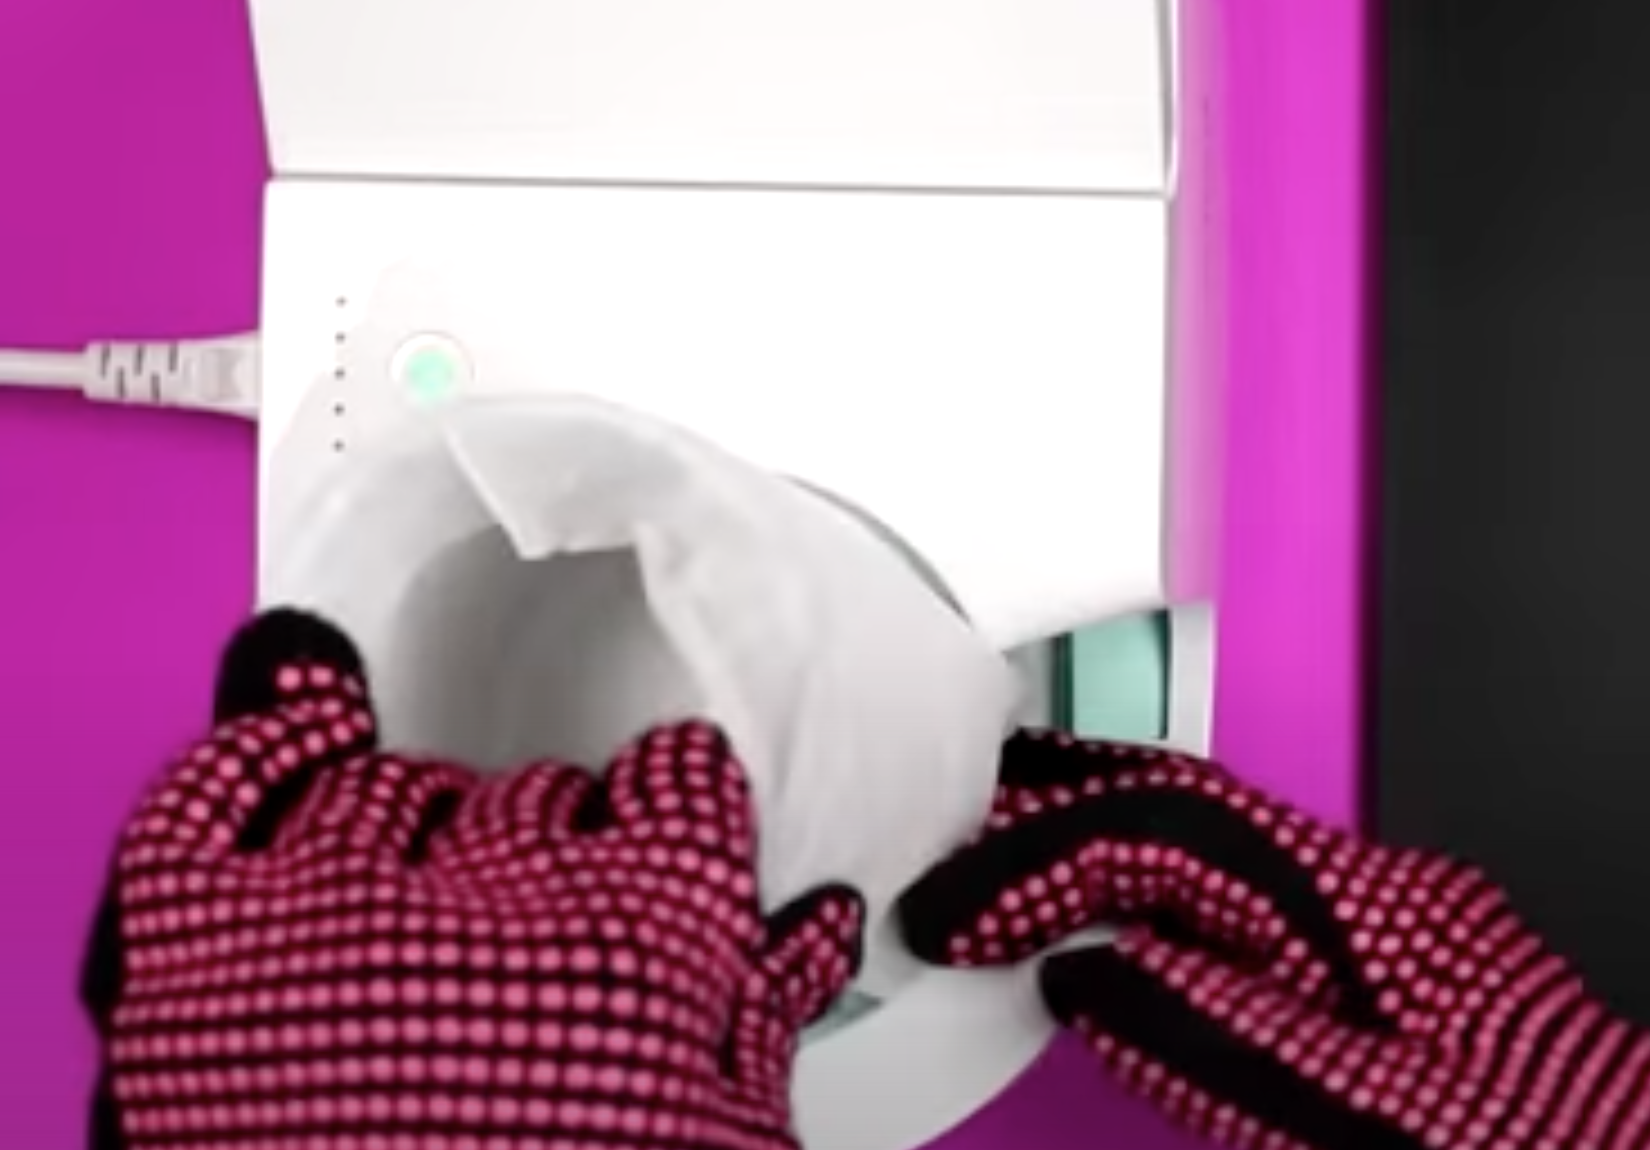
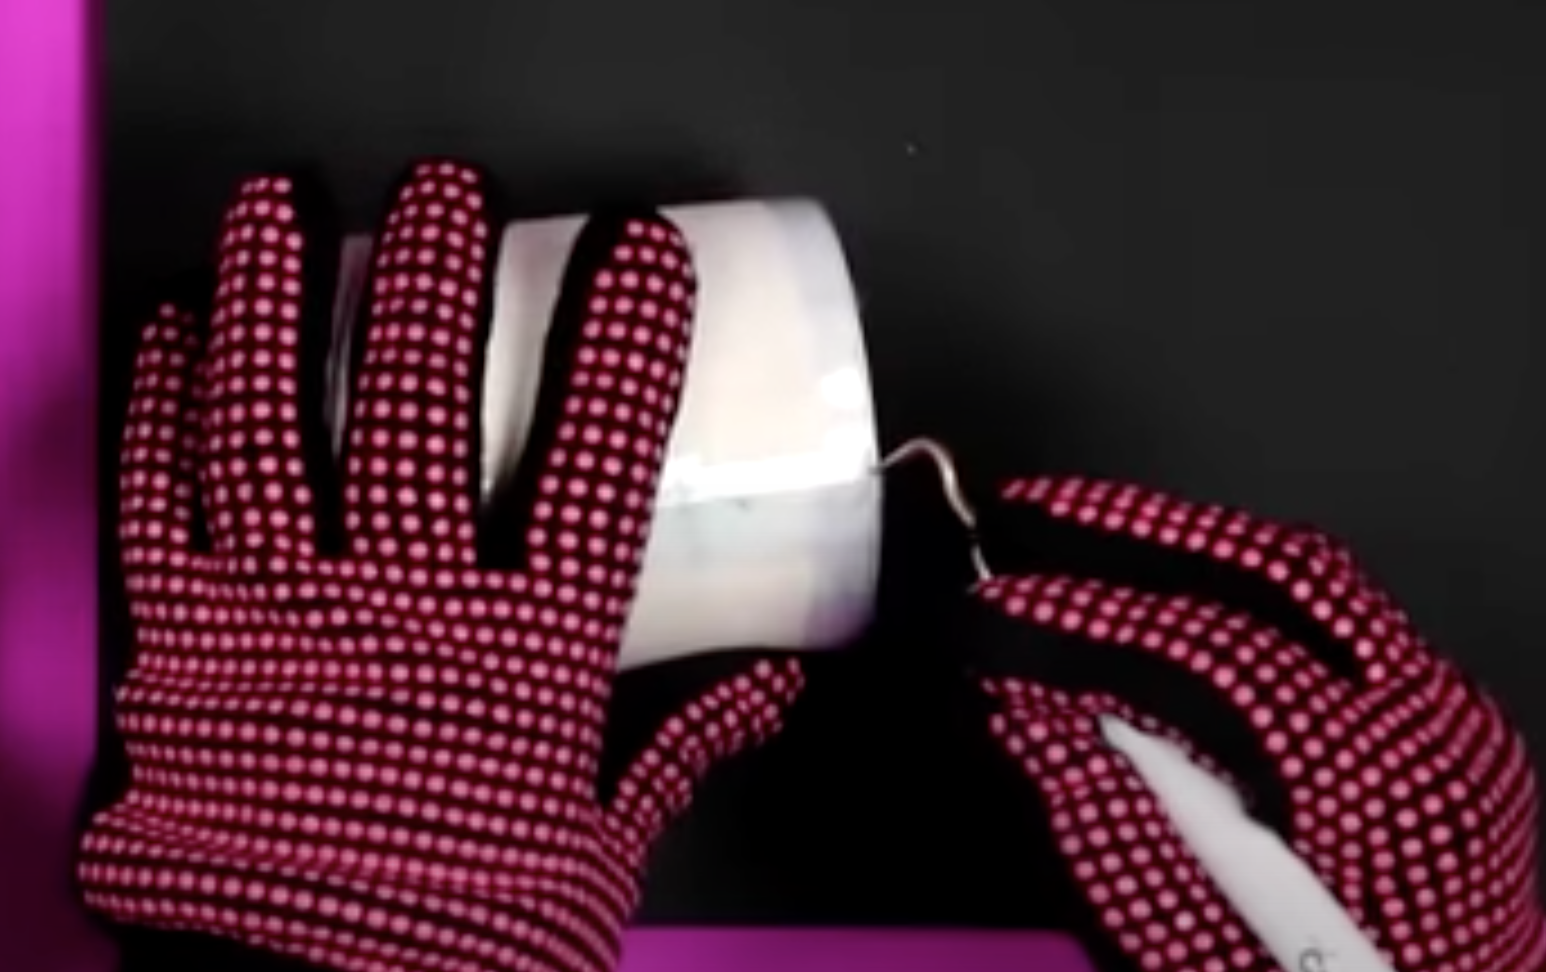
While it was hot I placed it on a heat-resistant mat and removed the tape and print with heat-resistant gloves.
I really love how this pencil holder turned out. The seam looks great and everything pressed perfectly in my Cricut Mug Press.
Sublimation Glass Can Tumbler
My last 3D sublimation project today is a sublimation glass can tumbler. These tumblers are very popular right now. Combining this with 3D sublimation prints is a match made in heaven.
You’ll need to clean the glass can really well. I recommend using a lint roller. If you need to use rubbing alcohol make sure it is completely dry before putting it in the tumbler press. These glass tumblers are known to crack if they’re wet when heat is applied.
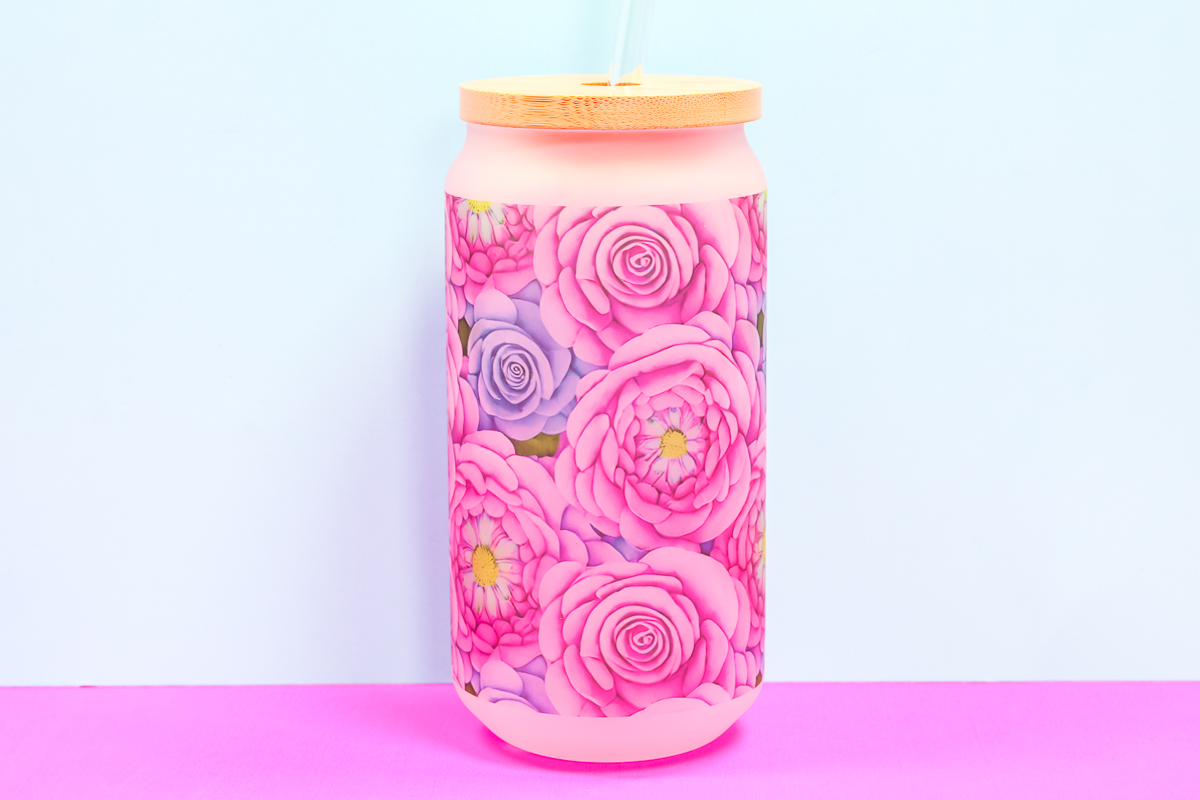
After the tumbler is clean you’ll wrap your sublimation print around it as you do other sublimation tumblers. The difference is, this one doesn’t go all the way to the top or bottom. Since it slightly tapers, we’re going to add our sublimation print to the section that is straight, in the middle.
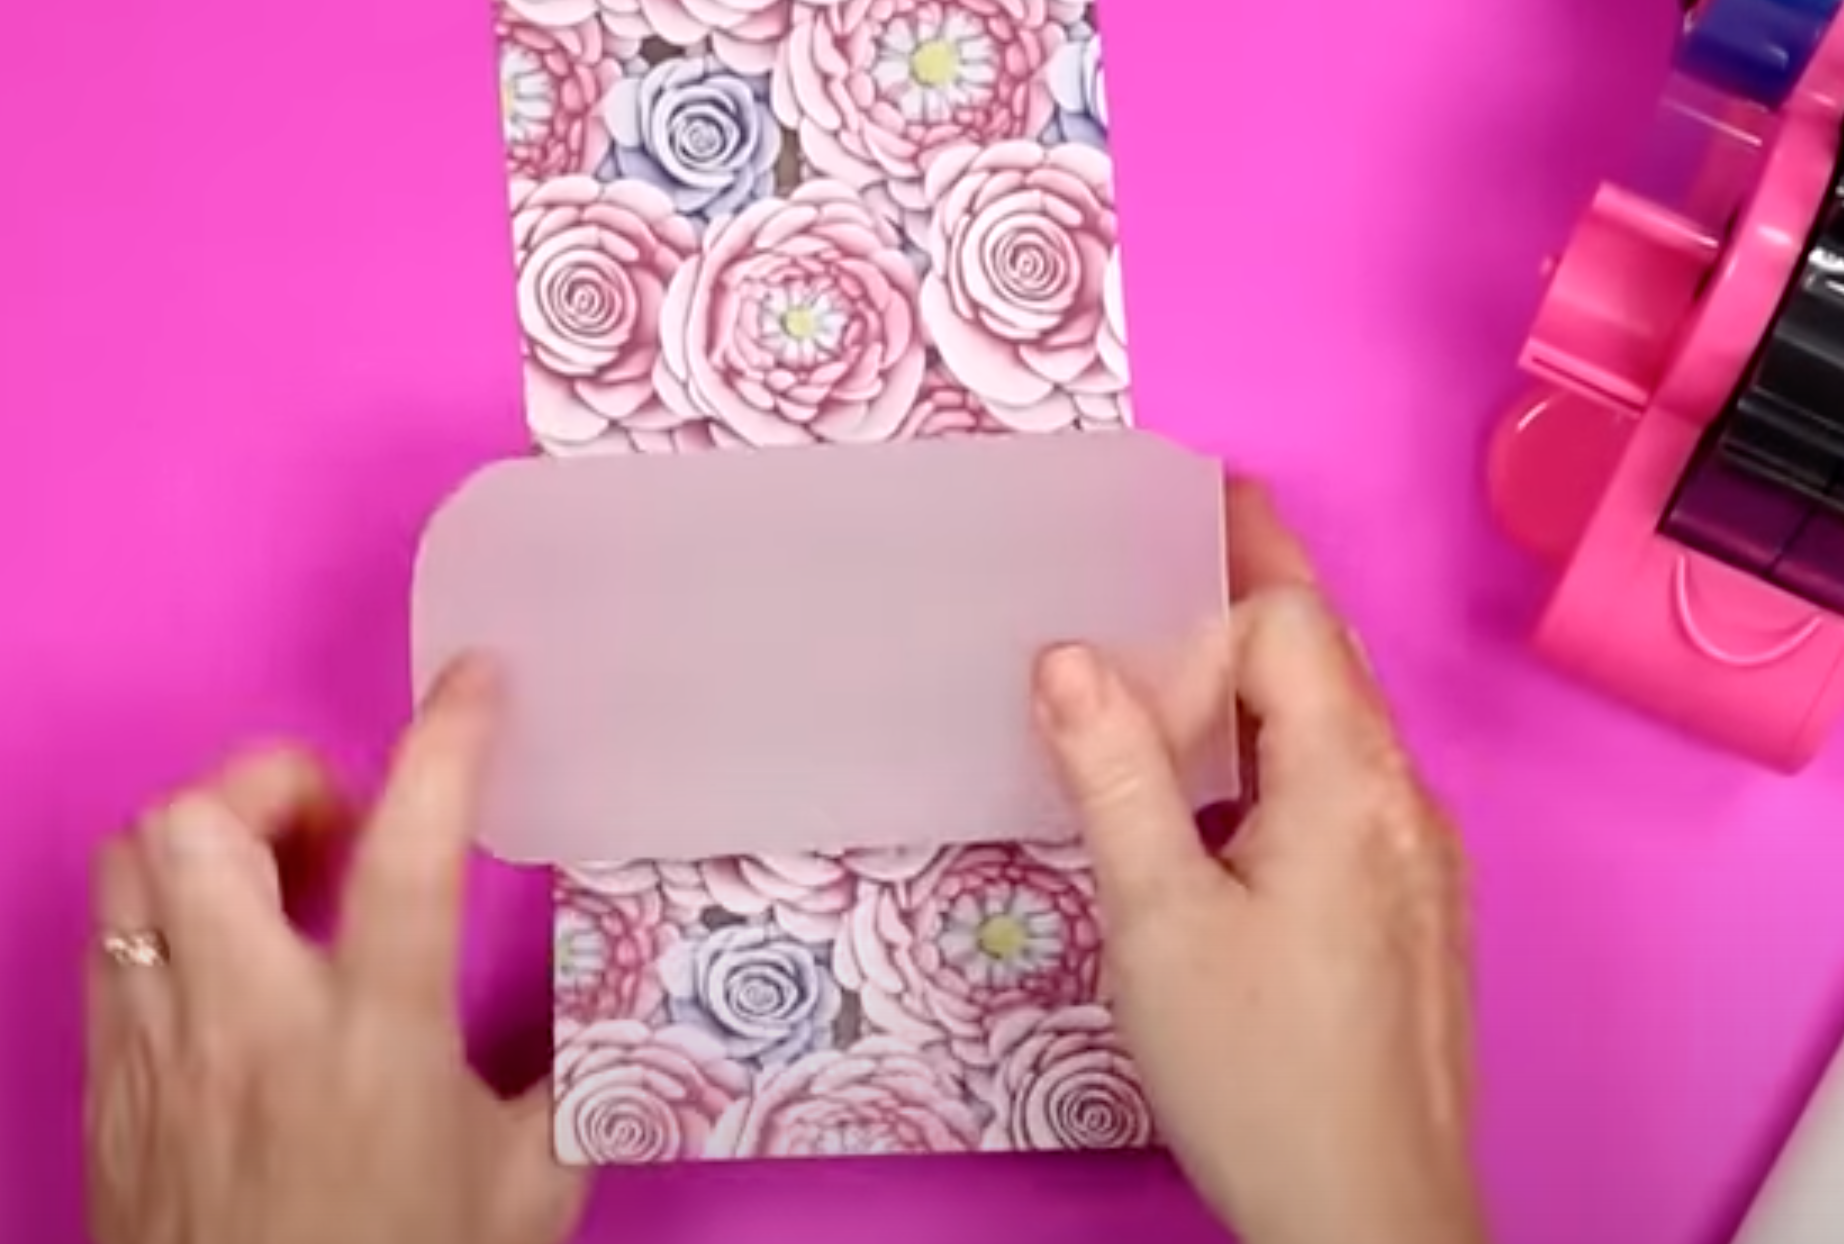
Tape your print along the seam and the top and bottom and then wrap the tumbler in protective paper.
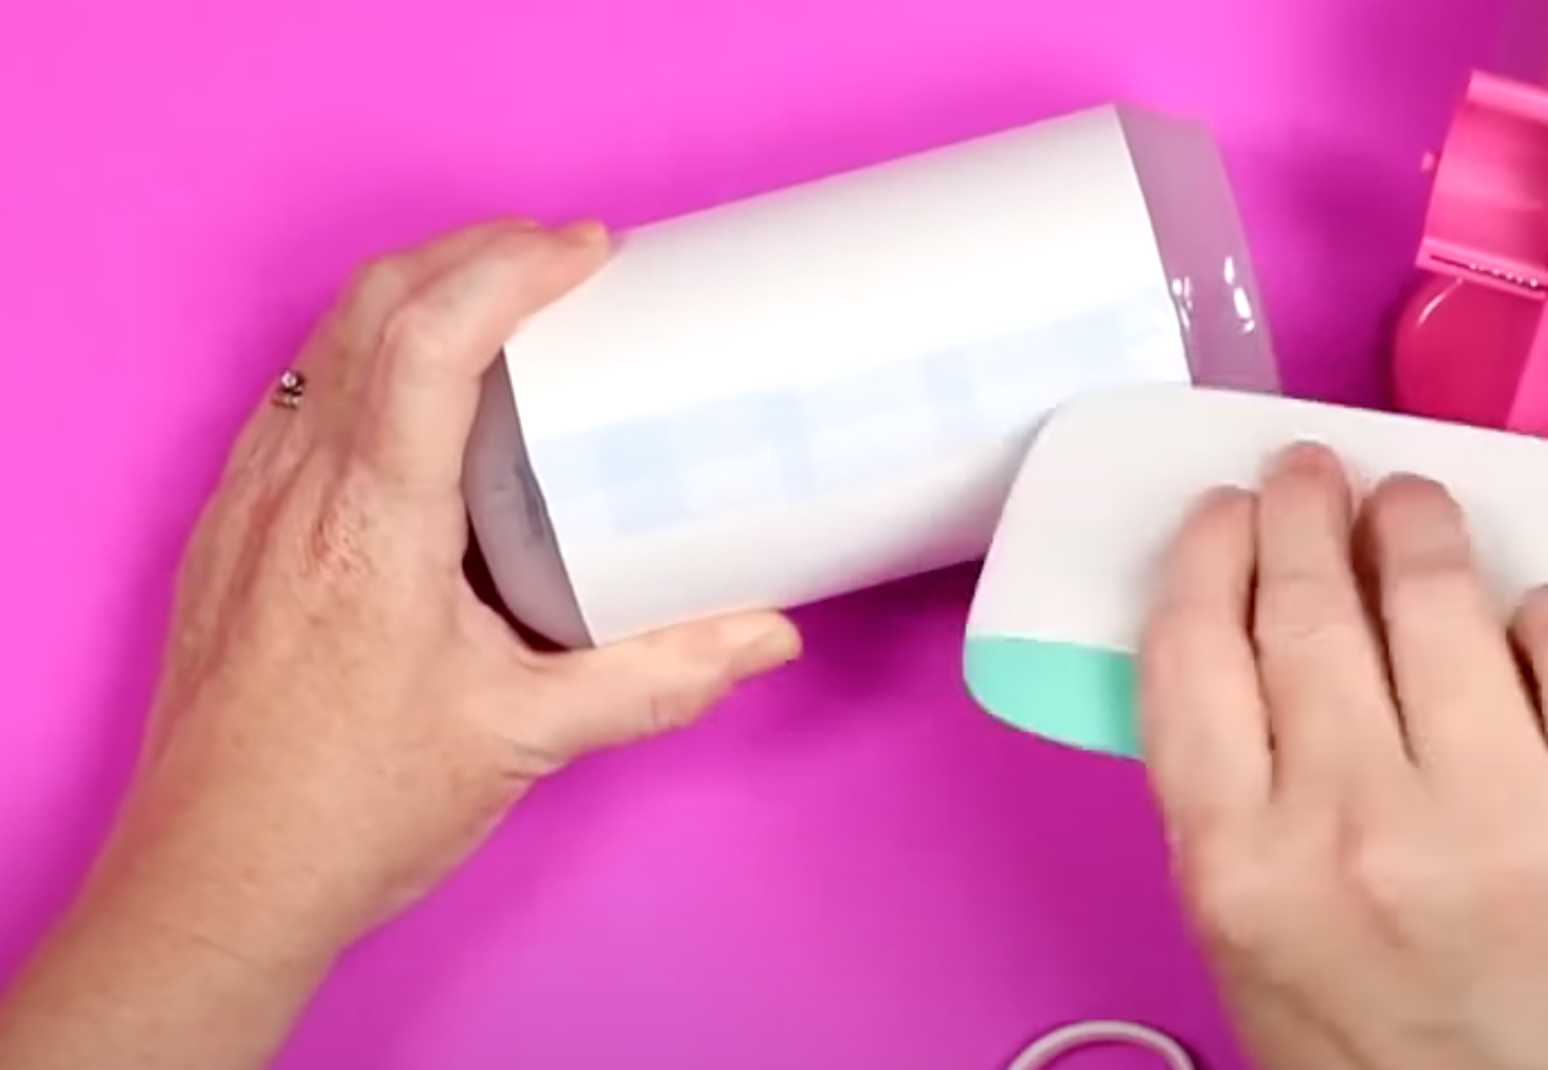
I am using my tumbler press for this project and the time for my blank is 120 seconds at 360 degrees. We’re going to allow it to press for the full time and then rotate the tumbler and press again for the full time.
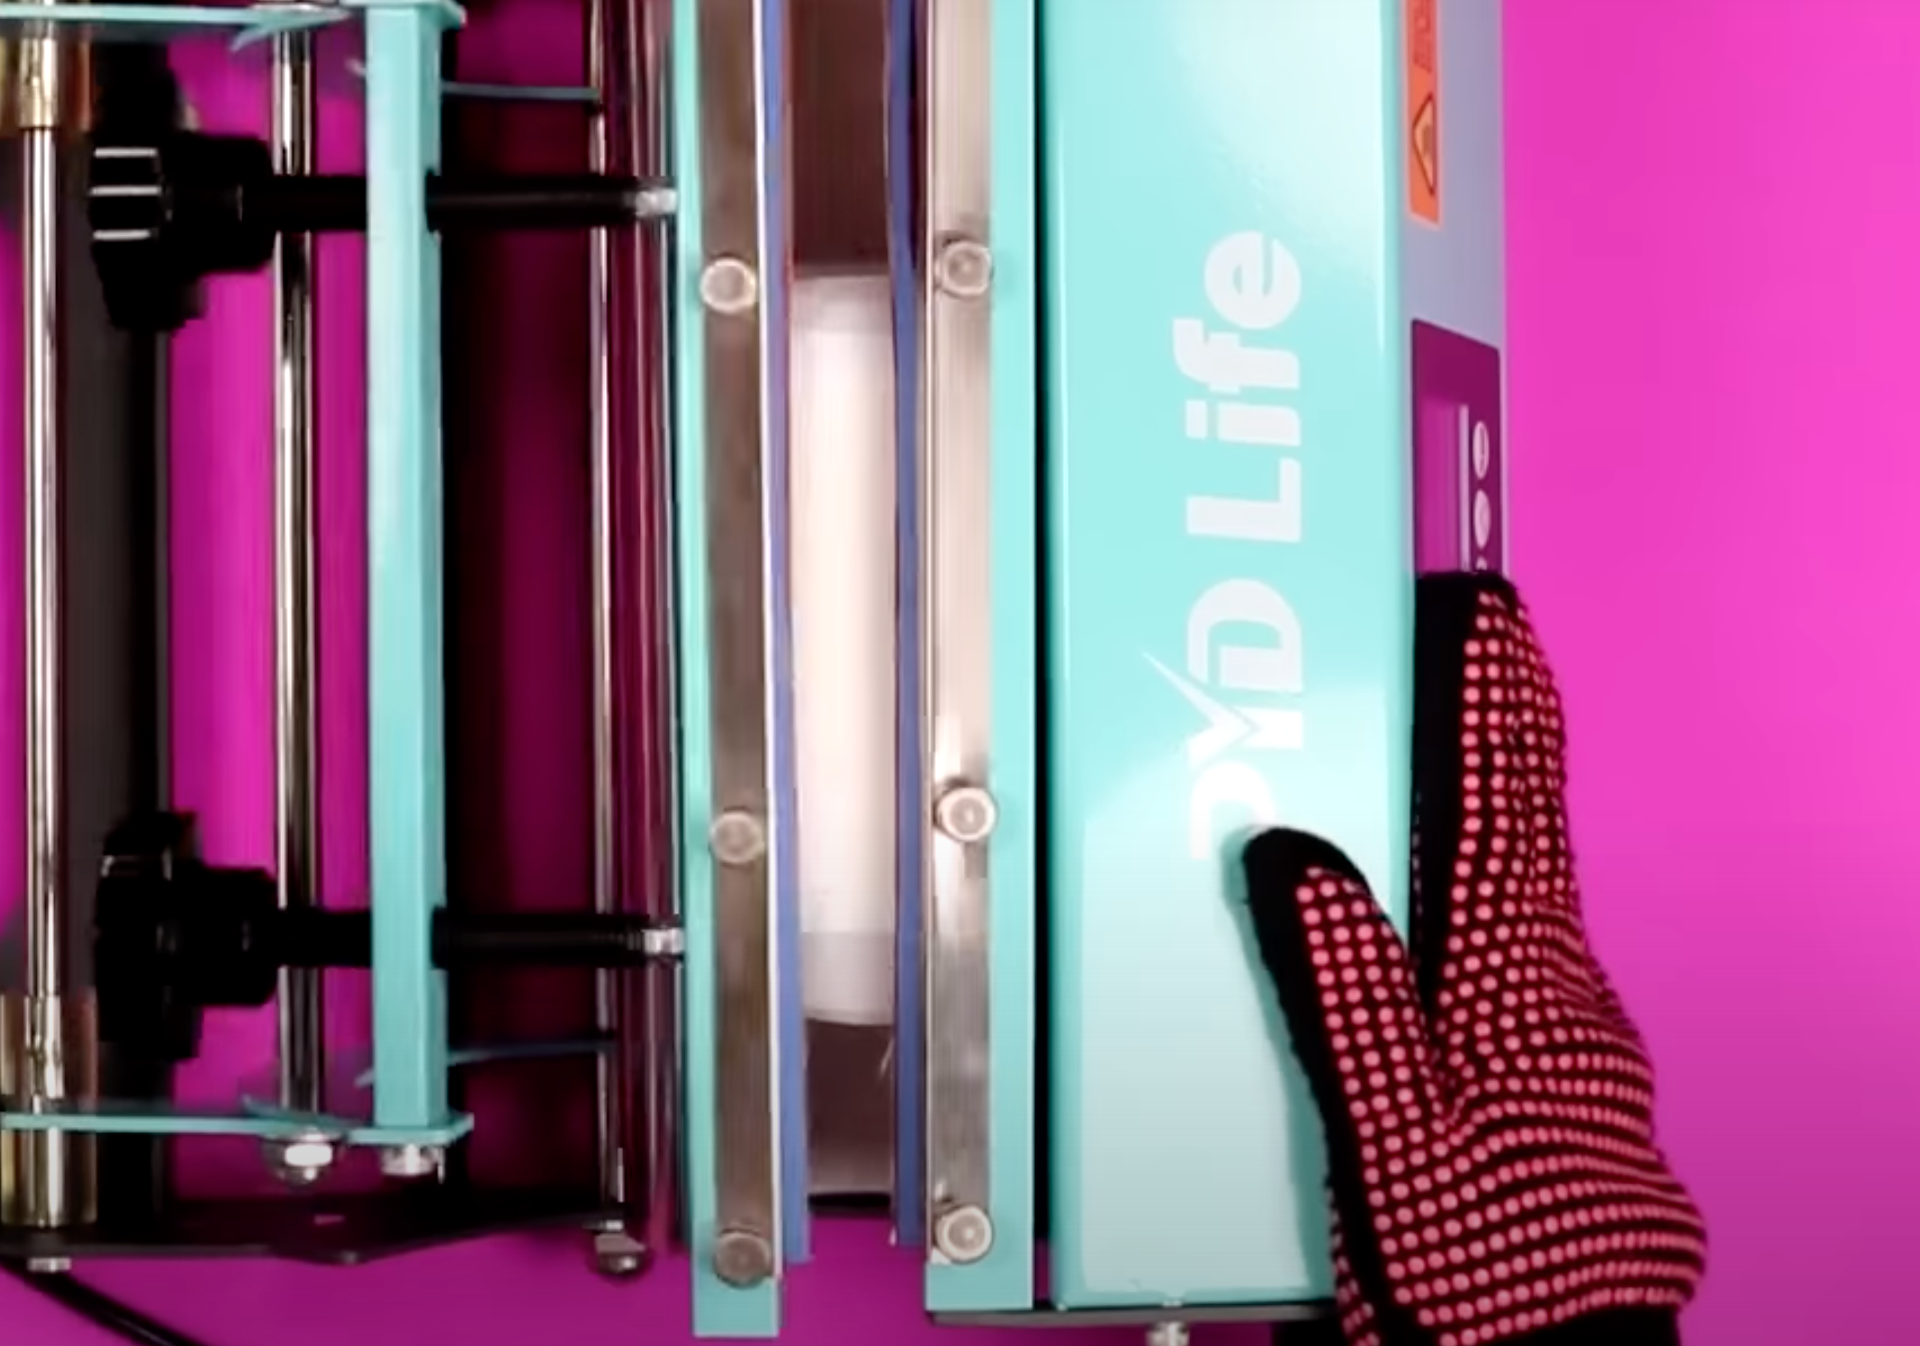
When it’s done, remove it from the tumbler press and place it on a heat-resistant mat and remove the tape and print while it’s still warm.
I really love how this project turned out. Remember, sublimation ink is transparent. Since this is a frosted glass tumbler the print isn’t as vibrant as it is on some of the other white sublimation blanks.
If we were to use a clear glass tumbler, it would be even more transparent. They are still beautiful products, just make sure to keep that in mind in case that’s not the look you are going for.
Final Thoughts on 3D Sublimation Projects
Now that we’ve finished our 5 different 3D sublimation projects which one are you going to try first?
I have to say, I am in love with this 3D sublimation trend. The prints look really cool and I love that there are so many different options out there.
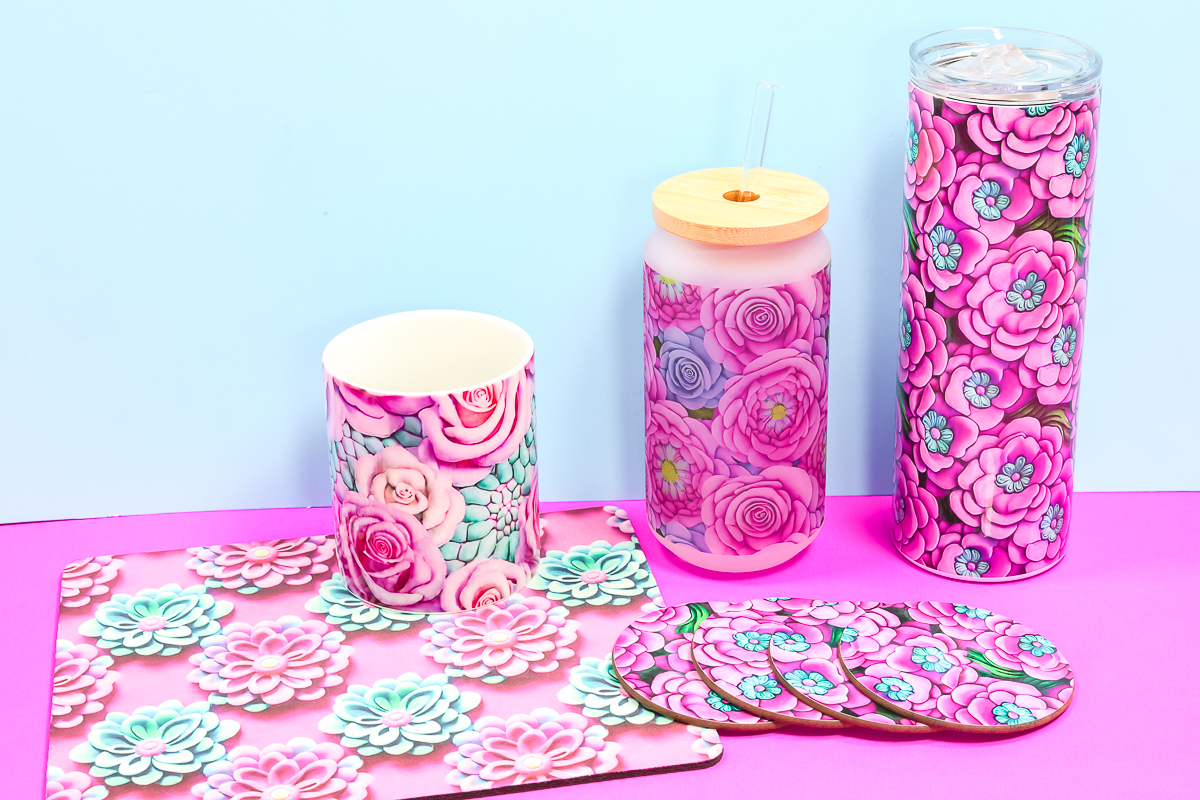
I used different 3D floral prints today but there are hundreds of different 3D designs out there. From animals to sports and landscapes to abstract designs, the options are endless.
I really can’t choose a favorite project from today. I’m really happy with how every one of them turned out and I can’t wait to use them all. I am really excited that the pencil cup worked so perfectly in the Cricut Mug Press, that was a definite bonus and the coasters turned out so vibrant, I am really impressed with those too.
I hope I’ve answered any questions you may have about 3D sublimation. If you have any additional questions, leave them in the comments and I’ll be happy to answer them for you.

