This post and photos may contain Amazon or other affiliate links. If you purchase something through any link, I may receive a small commission at no extra charge to you. Any supplies used may be given to me free of charge, however, all projects and opinions are my own.
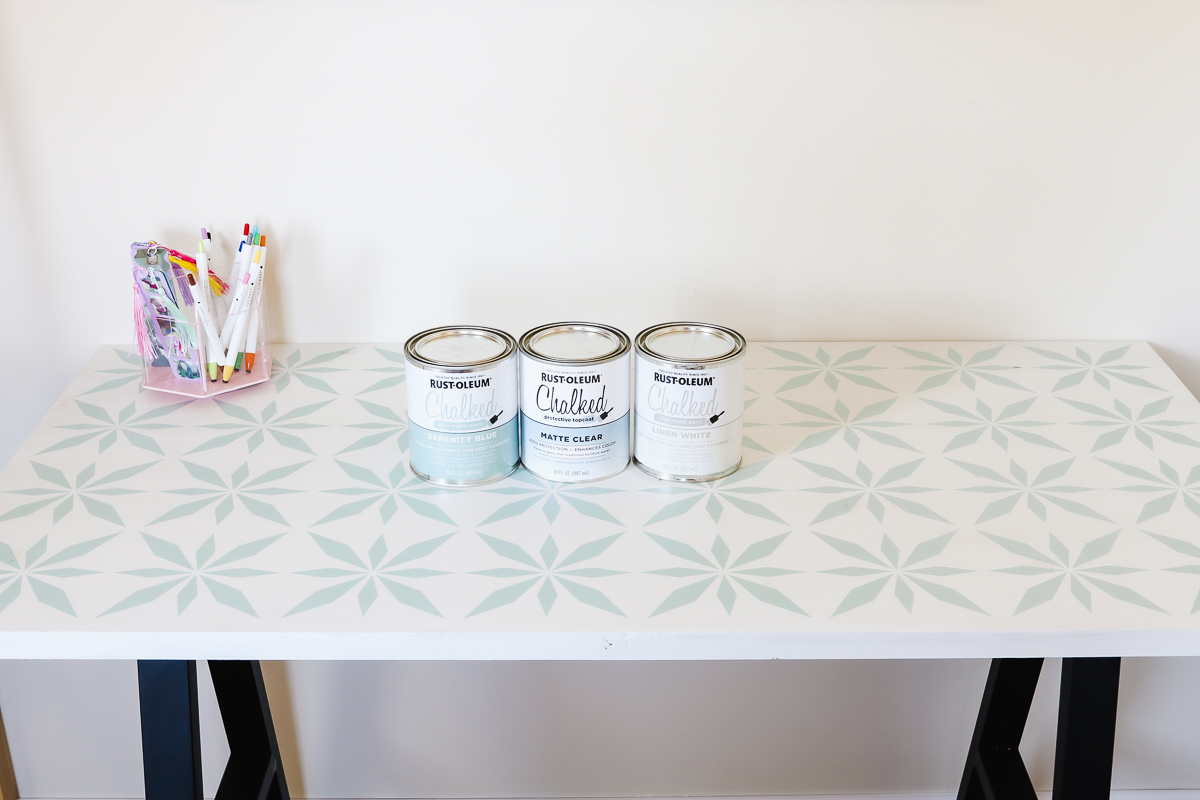
I am so excited to teach you how to make a large stencil and use it for a furniture painting project. Today I’m using my favorite Rust-Oleum Chalked Paint with Smart Stencil Vinyl that is sized for Cricut Venture machines. I am going to stencil the top of a desk but you can use this same technique for any large surface.
The stencil below is a one-time-use product. If you want to make reusable stencils, you can see more on how to do that here.
This post is sponsored by Rust-Oleum, all opinions and projects are my own.
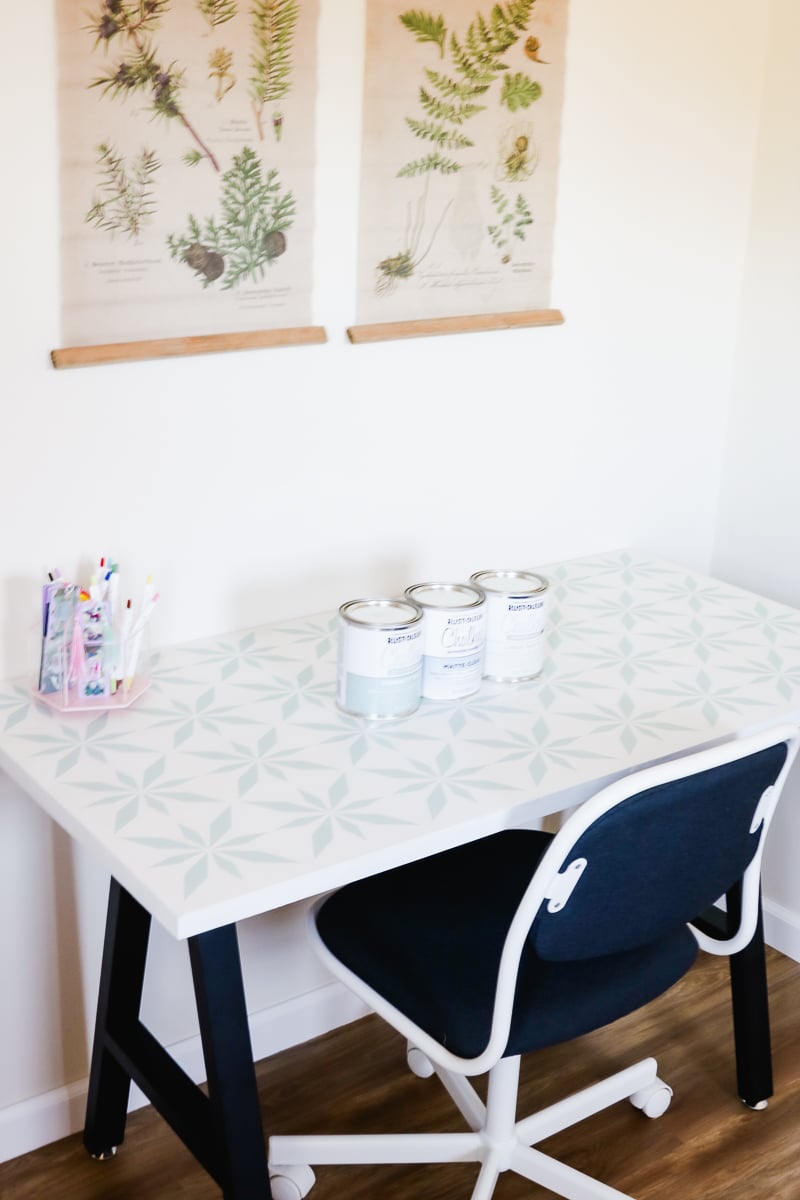
Customize a Desktop with a Large Stencil
You can watch me create this stencil and the full project by pressing play on the video below.
You can make stencils like this one on any Cricut machine but I highly recommend the Cricut Venture if you want to make HUGE stencils easily. Learn more about Cricut Venture and all the materials it can cut in my Cricut Venture review article.
Supplies Used
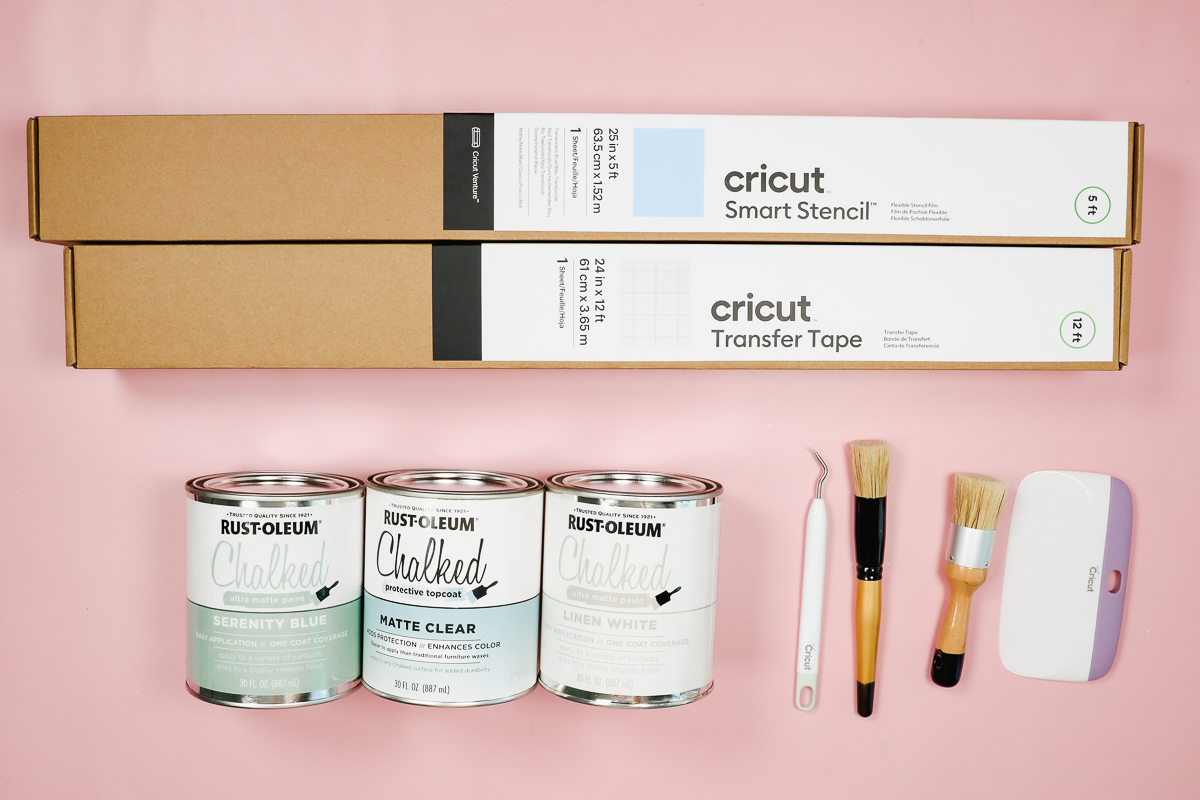
How to Paint with Rust-Oleum Chalked Paint
Rust-Oleum Chalked paint is one of my favorite paints to use when painting furniture.
First, prep your surface. When using Chalked paint, you want a really smooth surface. Use strong grit sandpaper and go over the whole surface. Sand the surface really well.
Next, clean the surface removing all dust. If your project has a glossy surface, you may want to lightly go over it with mineral spirits after sanding and before painting to remove as much of that layer as possible before painting.
Make sure it’s completely dry before beginning to paint.
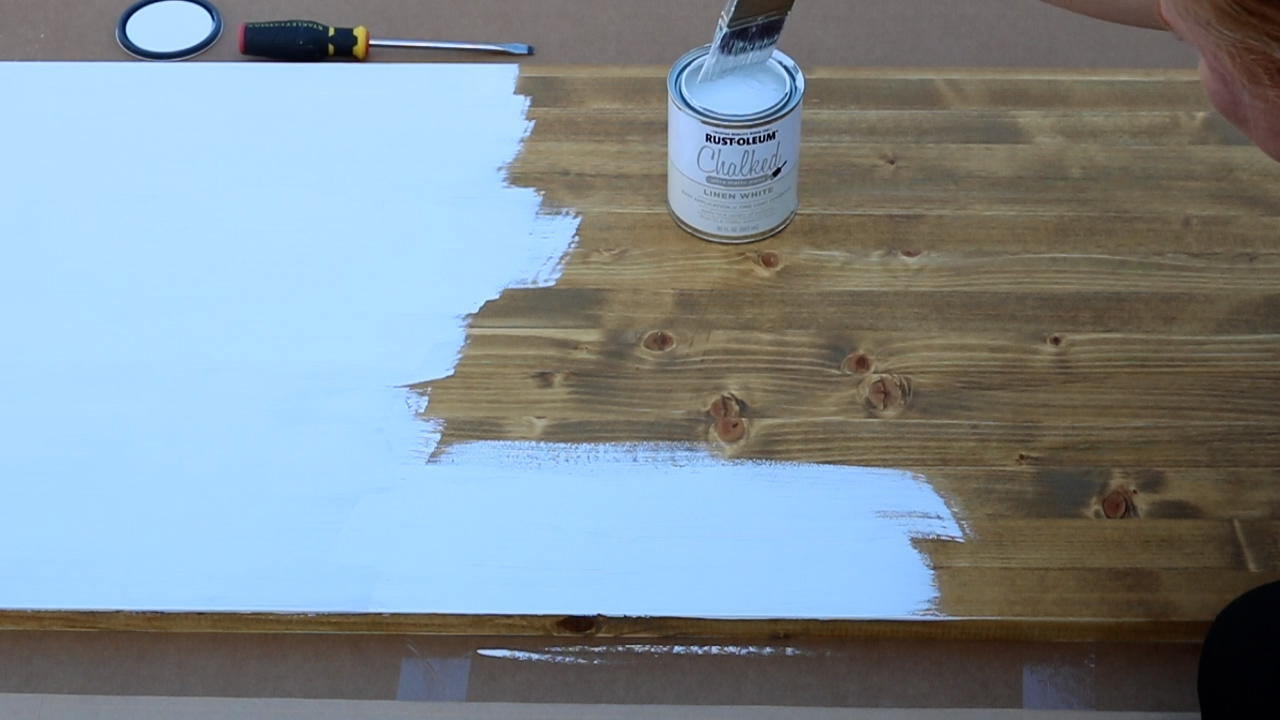
Do I Need a Primer with Rust-Oleum Chalked Paint?
One of the things I really love about this paint is that it rarely requires any type of primer. If you’re using a light colored paint like this linen white, you may need a primer.
If you notice the surface is showing through your paint or the surface has some dark staining, you can use an oil-based stain-blocking primer like Zinsser Cover Stain Primer. That will prevent any color from showing through the paint.
What Type of Brush Should I Use?
To paint the whole surface, use a high-quality synthetic brush to apply the paint. A roller brush is not recommended for this type of paint.
For the stenciling, I really like to use a good quality stencil brush. It helps prevent bleeding under the stencil.
Before you begin painting make sure you stir the paint really well. For the smoothest finish, avoid excessive brushing. Use light, even strokes, across the whole surface.
How Many Coats Can I Apply?
One coat is required for this paint but you can do as many as three if needed. For my tabletop, I ended up applying two coats because I wanted to make sure the whole thing was covered.
Rust-Oleum Chalked paint dries to the touch in 30 minutes and can be handled after an hour. If you need to apply additional coats that can be done after two hours.
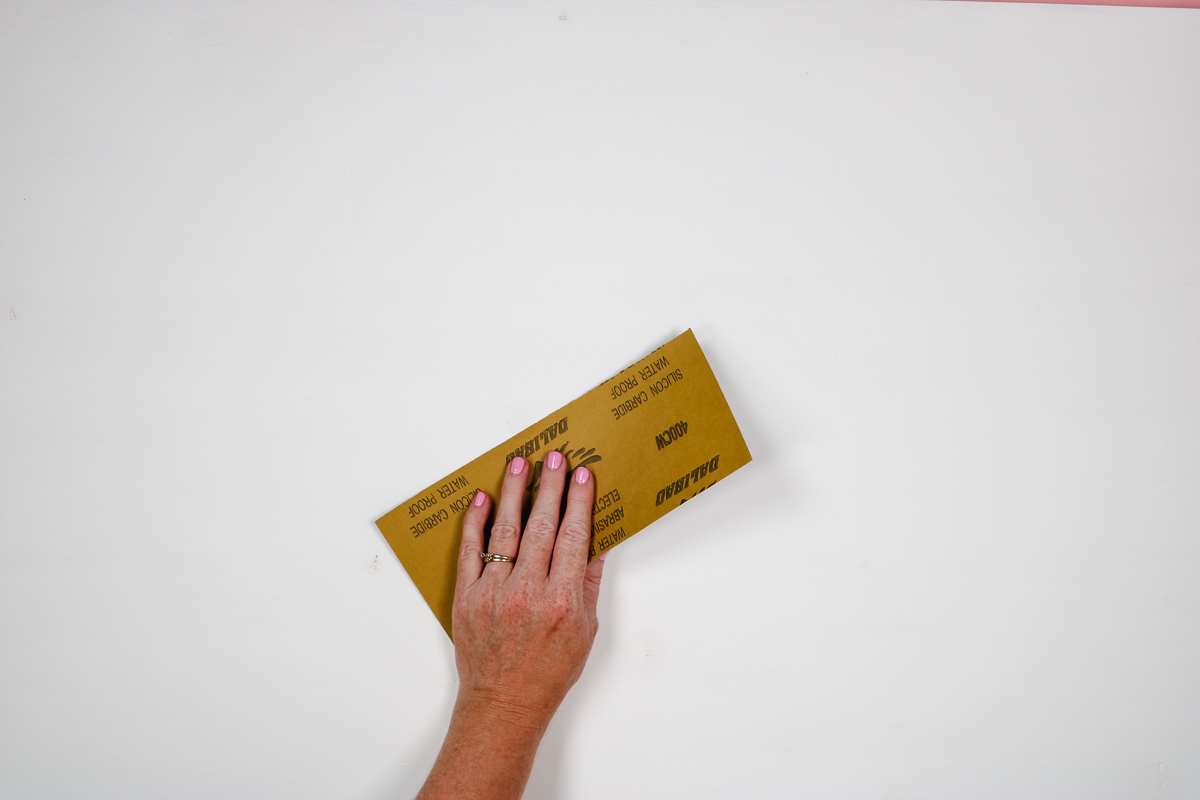
I recommend using a fine sandpaper of 300 grit or more and sanding the surface between coats. This will help achieve the smoothest finish. I sanded mine with 400 grit sandpaper between coats and on the final coat to remove any ridges or grooves.
A smooth surface is the best way to achieve beautiful finished stencil projects. It prevents bleeding to ensure crisp lines. Now that the desktop is painted let’s prepare our stencil while it dries.
How to Clean Up Rust-Oleum Chalked Paint and Top Coat
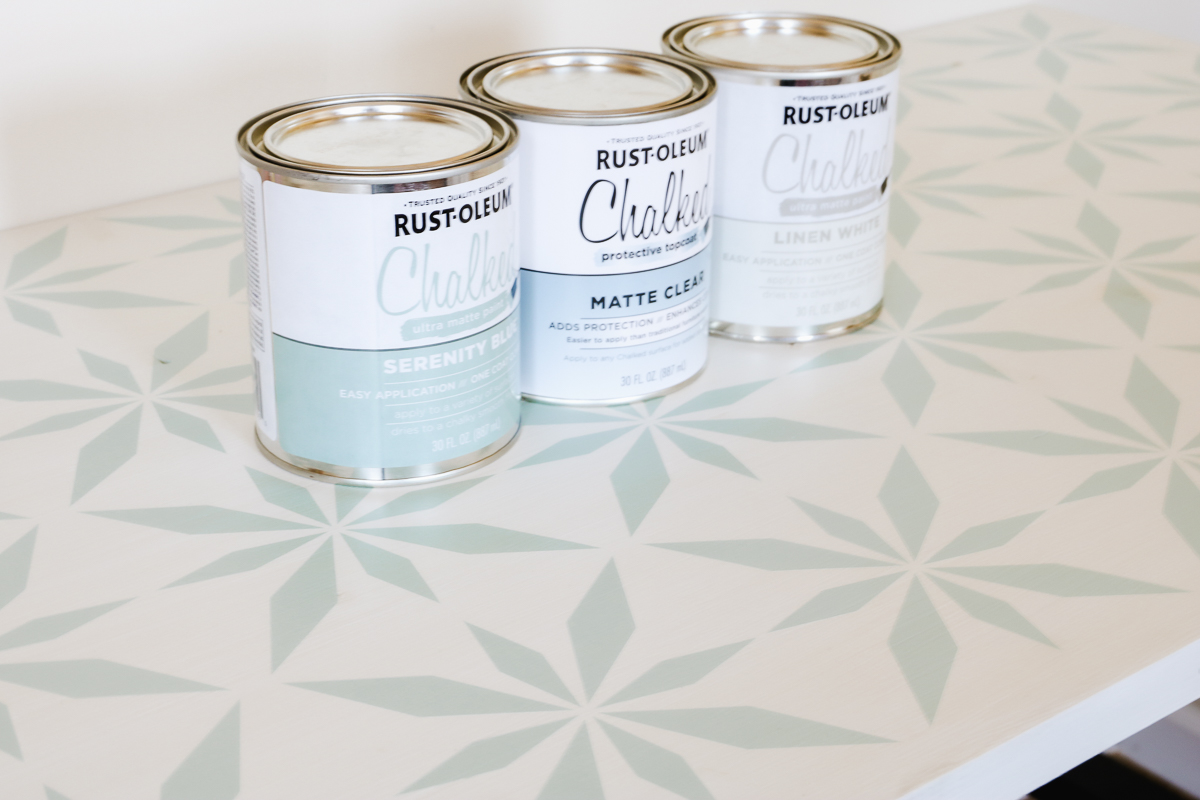
Cleaning Rust-Oleum Chalked paint and top coat is really easy. That is one of the reasons I really like working with it. These materials can be cleaned off brushes with soap and water.
How to Cut Large Stencils on Cricut Venture
This project is made easier by using the Cricut Venture to cut the new wide Smart Stencil material. Being able to cut one stencil that fits the top of the desk takes less time than lining up multiple stencils.
Cutting this stencil design on Venture is the same as cutting other smart materials.
First, you’ll upload the stencil into Design Space. Once it’s uploaded, click Add to Canvas and then resize the design to fit your blank.
Size Your Design Correctly
When working with large projects I find it helpful to put a shape onto the canvas that is the same size as my project. My desktop is 48″ by 24″ so I added a square template to the canvas and then resized it to that same size.
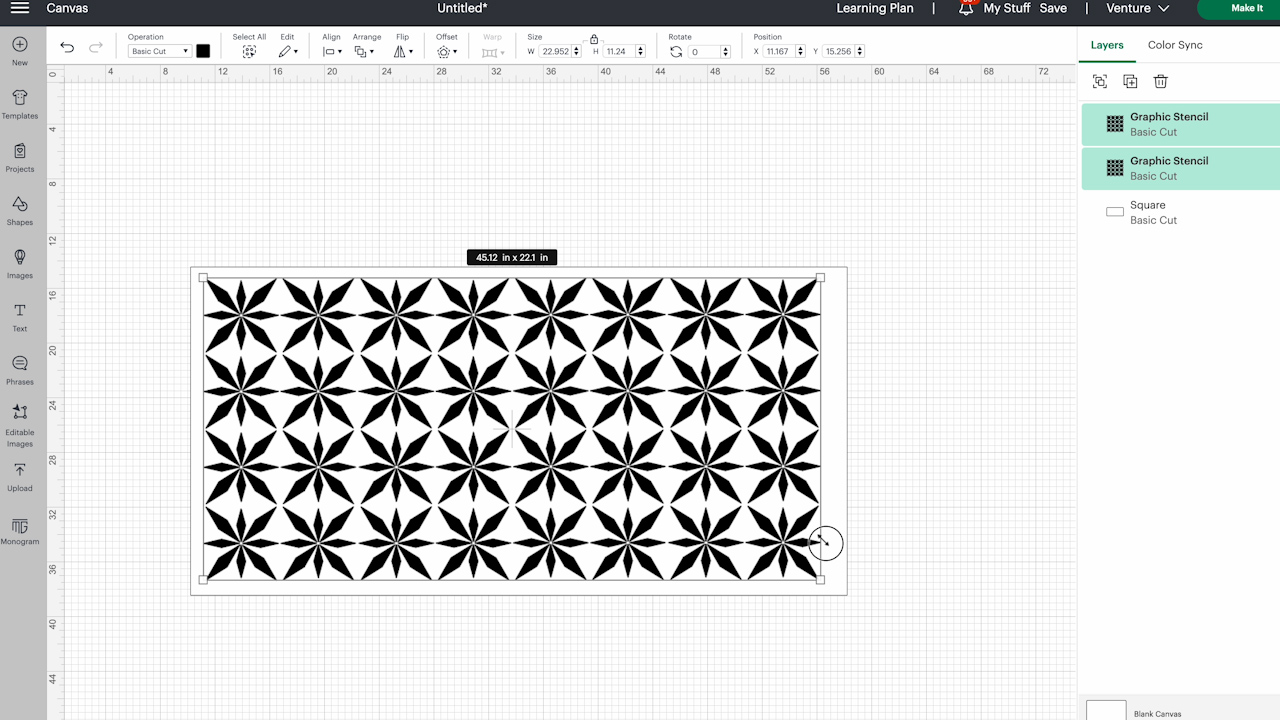
Now I can resize my stencil size to fit on the template. My stencil is almost a perfect square. To fit my desktop I will need to duplicate it to get it long enough.
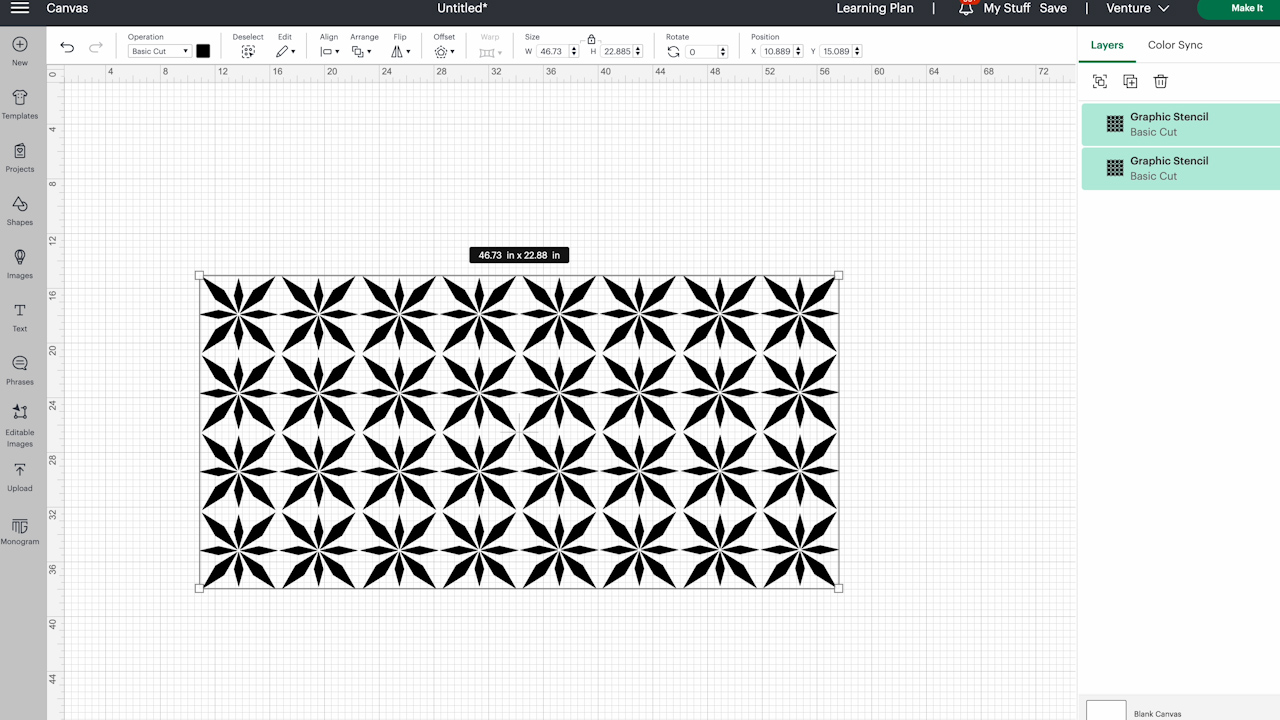
Now I can align the two stencils, attach them, and then resize them to fit on my template. When it’s laid out exactly how I want, I can remove the template layer and click Make It.
NOTE: I centered the design on the material after clicking Make It to allow for the overhang on both sides to be even and cover my table edges.
Load Material Into Cricut Venture
The Smart Stencil roll I am using is 25 inches wide and 60 inches long. My Design is under 23 inches wide and less than 60 inches long so I am within the maximum size for this material.
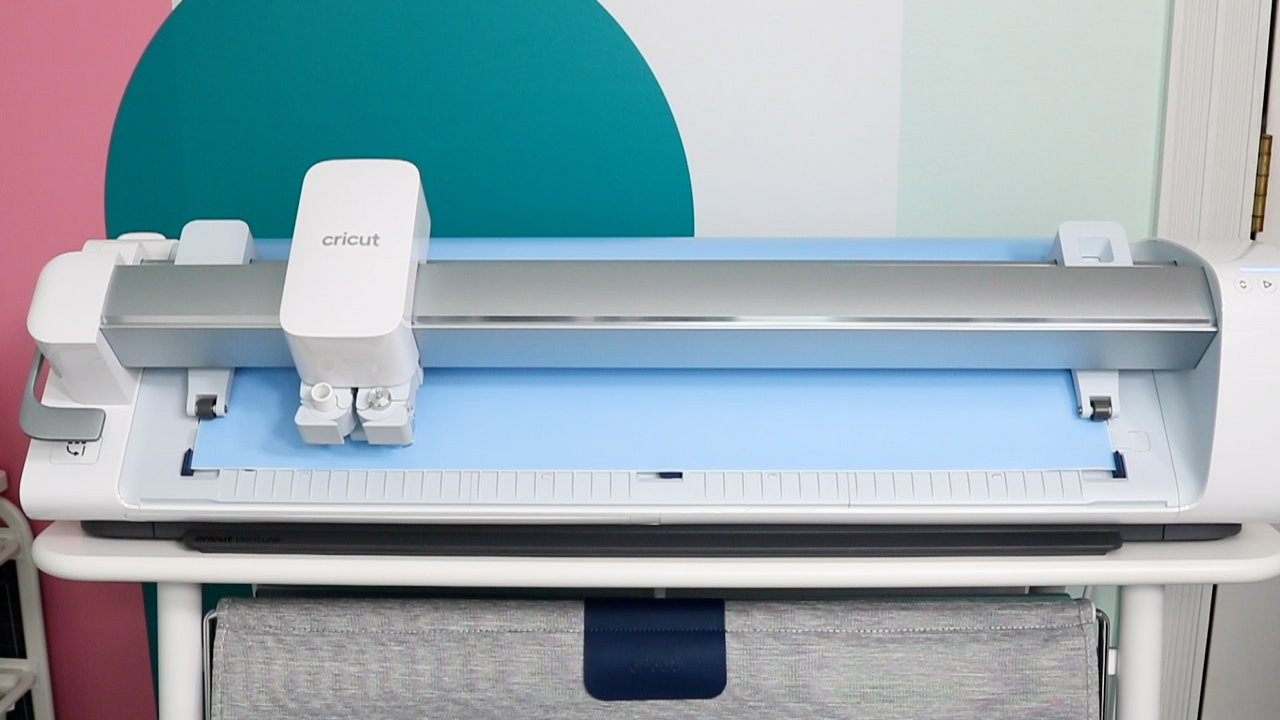
Follow the prompts on the screen. Select the material you’re using, load the material into the machine, and then press Go.
If you don’t have the auto-cutoff blade for the machine, you manually cut off the excess and remove the material from the machine or you can cut with scissors using the gridlines along the back.
How to Weed Large Stencils
Now that the design is cut out let’s weed the stencil.
To weed vinyl for a stencil, use a weeding tool to remove the design. Instead of weeding the excess we want to weed the vinyl pieces that are the design we want painted.
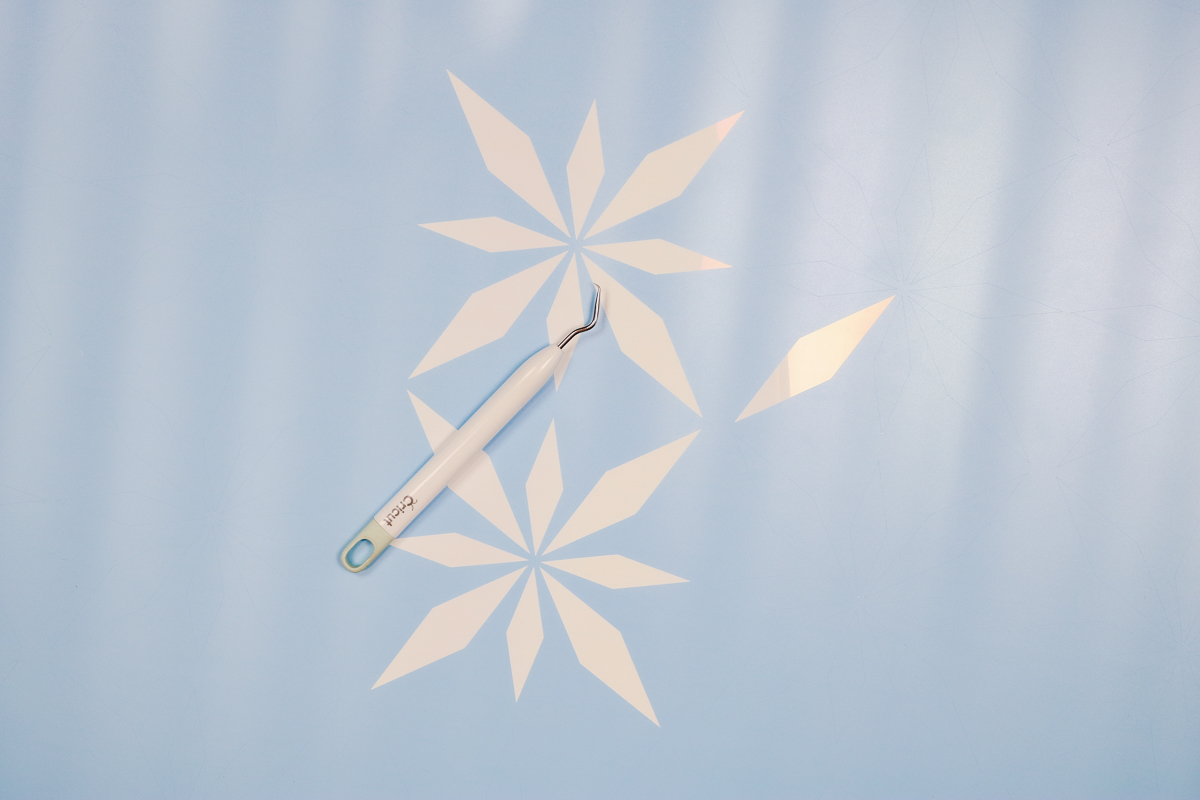
I’m weeding out all of these inside pieces from my stencil. Take your time with this part, if your design has multiple inside pieces like the insides of letters make sure you’re removing the right parts.
When the weeding is done, it’s time to apply the transfer tape.
How to Apply Transfer Tape to Stencil Vinyl
I recently shared how to create a large wall mural using Smart Vinyl. I am going to use the same technique for applying transfer tape and vinyl as I did in that tutorial. If you have any questions about the steps, check out that tutorial.
To begin, lay the stencil out flat and then measure the transfer tape to ensure it’s long enough for the design.
I like to use a quilting ruler as wide as the materials I’m using to help smooth the transfer tape onto the vinyl stencil.
Next, peel back a few inches of the backer paper from the transfer tape and align it to the top of the vinyl.
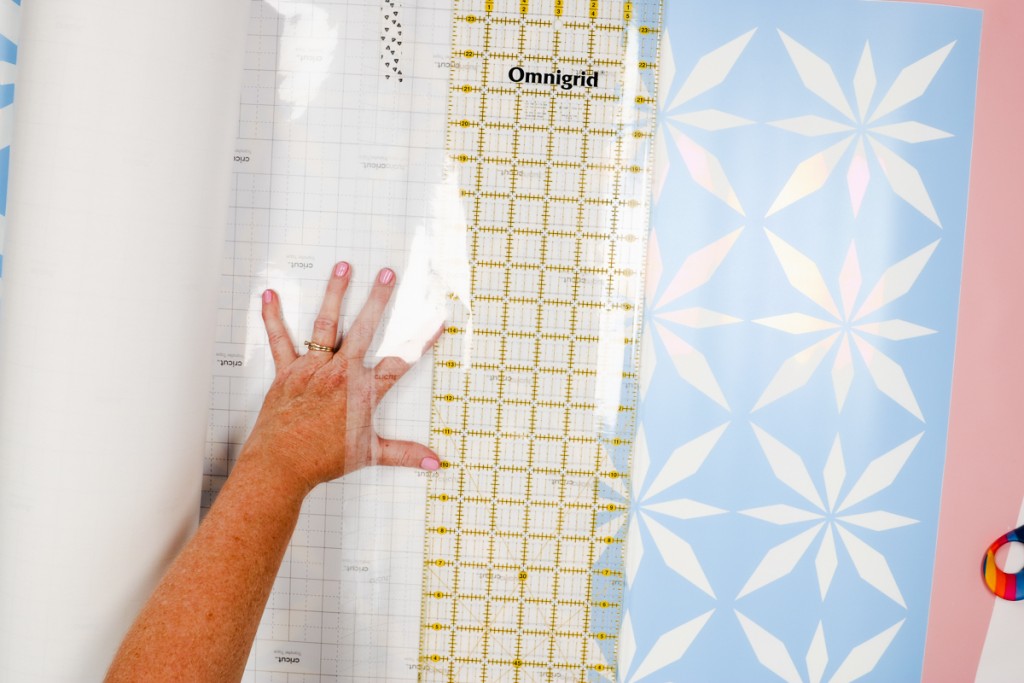
It’s important to get the top area aligned correctly, this will ensure the transfer tape stays straight as you smooth it onto the stencil. Now, take the quilting ruler in one hand and use it to smooth the transfer tape onto the vinyl as you use your other hand to peel back the backer paper.

Burnish the Transfer Tape with a Scraper Tool
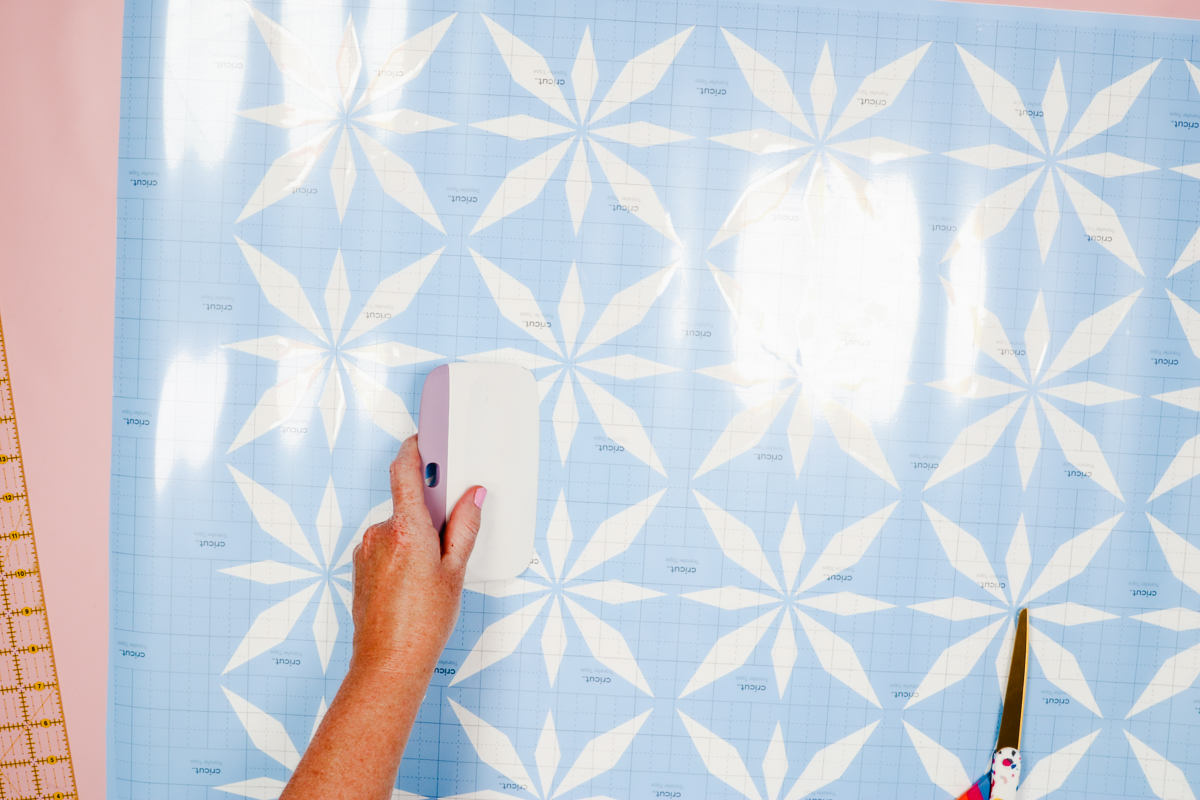
It’s important to burnish the transfer tape really well. Go over the top of the whole design and then flip it over and burnish it again from the back.
This should ensure that the vinyl sticks to the transfer tape and releases from the carrier sheet.
How to Apply a Large Stencil to a Tabletop
With the transfer tape applied to the stencil, it’s time to place the stencil on our table. Ensure the paint on your surface is completely dry and that it is smooth!
We’re going to apply the stencil just like we applied the transfer tape. Begin by lining the design up exactly where you want it without removing the carrier.
Once you have it in place, use a light grip tape like painter’s tape or washi tape to hold it in place then gently fold back a few inches and remove the carrier sheet.
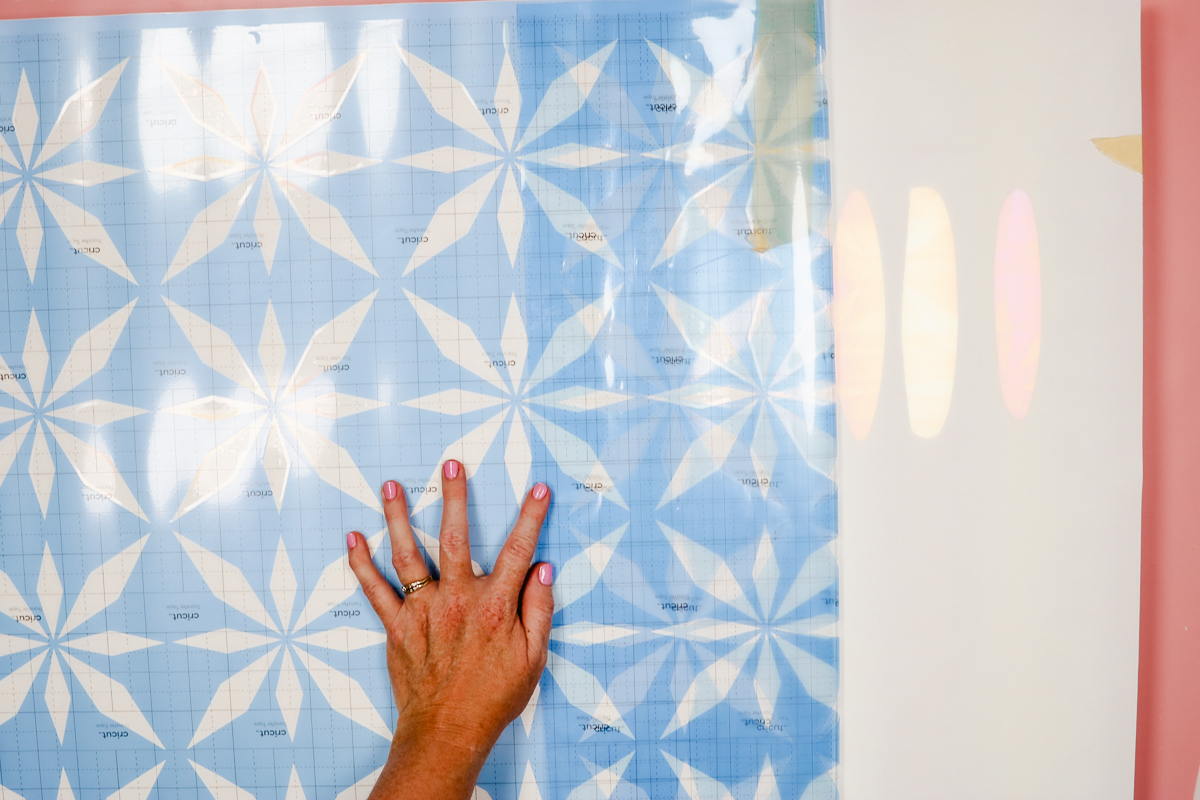
Smooth the vinyl and transfer tape into place just like we did when we applied the transfer tape. Lining up these first few inches is critical. Once those are aligned, start peeling back the carrier sheet from the rest of the stencil and smooth it into place with a large quilting ruler.
Go slowly and carefully across the entire surface a few inches at a time.
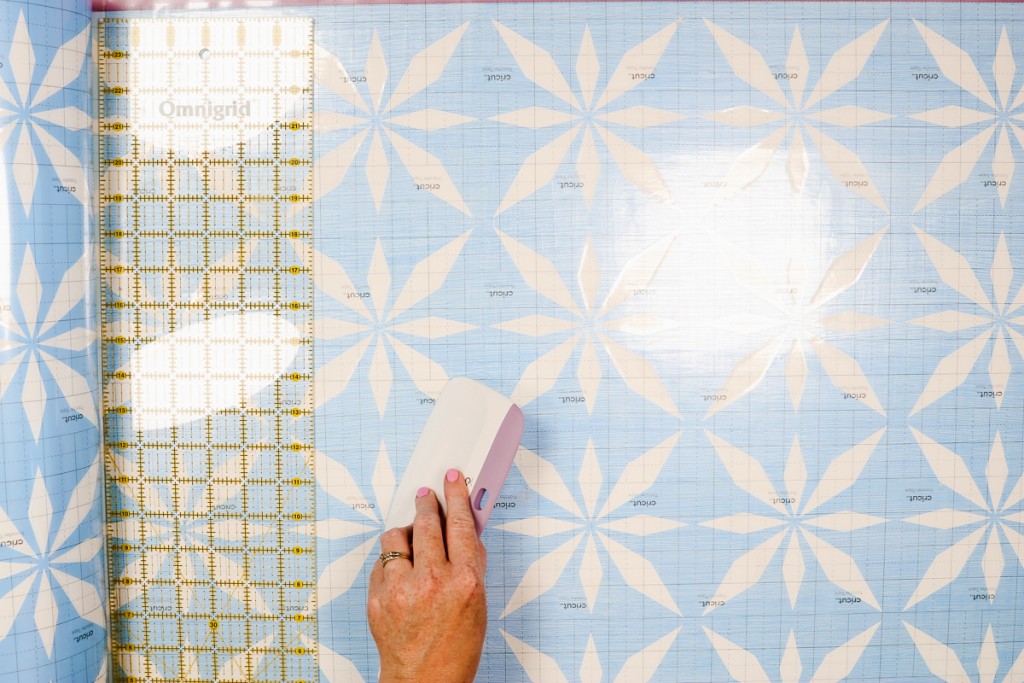
NOTE: Check regularly to ensure everything is straight and burnish the stencil material down as you go ensuring there are no bubbles.
Burnish Stencil Vinyl onto Painted Table
Go over the entire design with the scraper tool. It’s important to remove any bubbles in the vinyl so the paint doesn’t seep under the edges. When you’re sure the entire stencil is burnished well, slowly peel back the transfer tape.
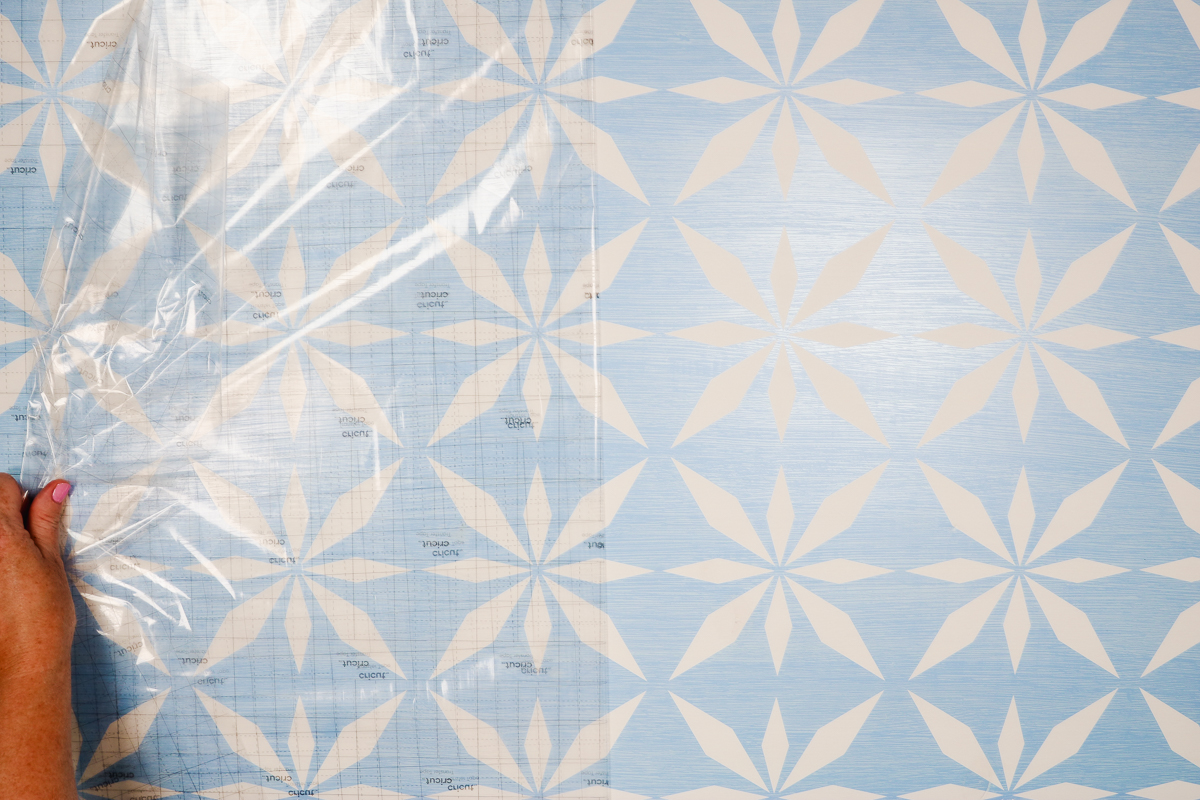
Once the transfer tape is removed, go over the whole design again paying attention to all of the edges making sure they’re stuck down really well.
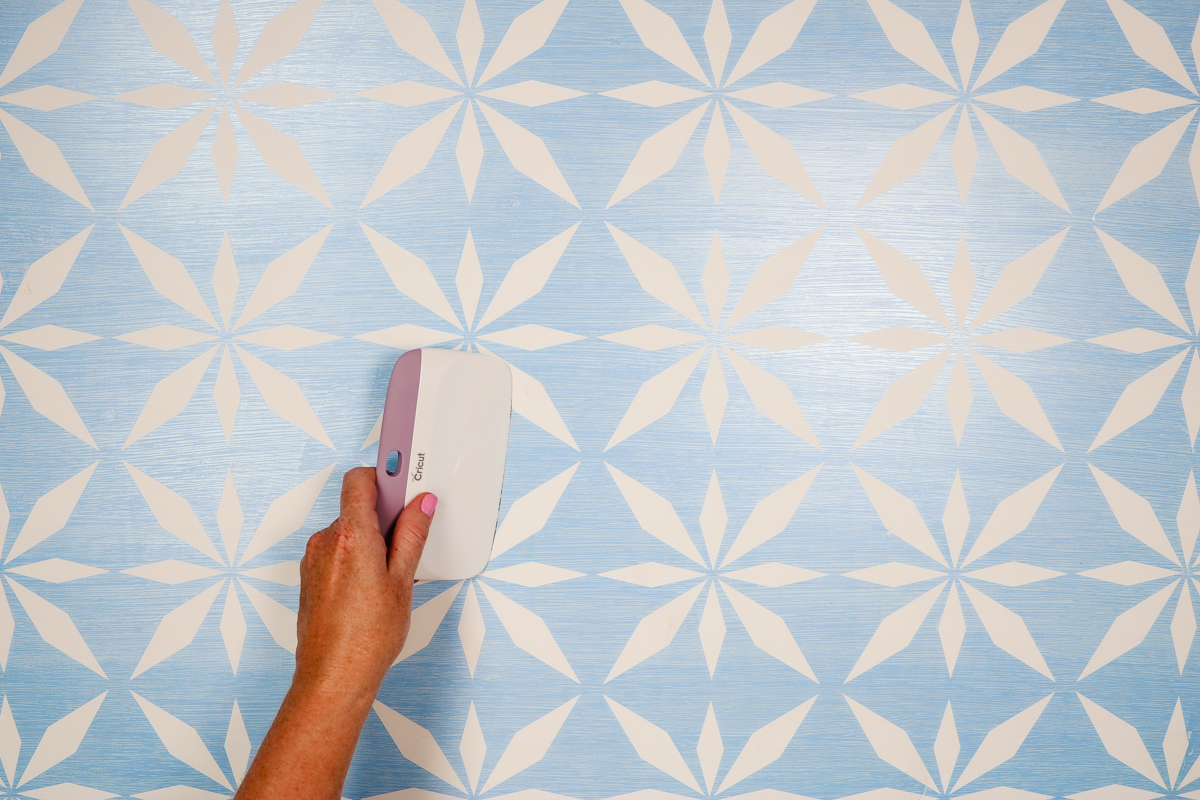
Reuse Transfer Tape
This project uses a large amount of transfer tape. As I’ve shared before, transfer tape can be reused until it gets dirty or has lost it’s stickiness.
To save the transfer tape to be used at a later date, keep the backer paper and then stick the the transfer tape back onto it. I think it would be easier to do cutting it into smaller pieces as you remove it from the vinyl.
How to Paint a Large Stencil
Now that we have our large stencil in place the painting portion is the same as painting other stencils.
If you’ve ever had problems with your paint bleeding under the stencil, a way to prevent that is to go over the stencil with the same color paint as you painted the base. This will help seal the edges to prevent any of the other colors from bleeding.
I recommend using a high quality stencil brush for the stencil portion of painting. I like to dab the brush into the paint and then tap the brush onto a separate surface to push the paint up into the bristles.
Repeat that process a few times and then move over to the stencil. Start at the outside of the design and work toward the middle.
Avoid pushing paint toward the edges of the stencil to help prevent it from bleeding under the stencil vinyl.
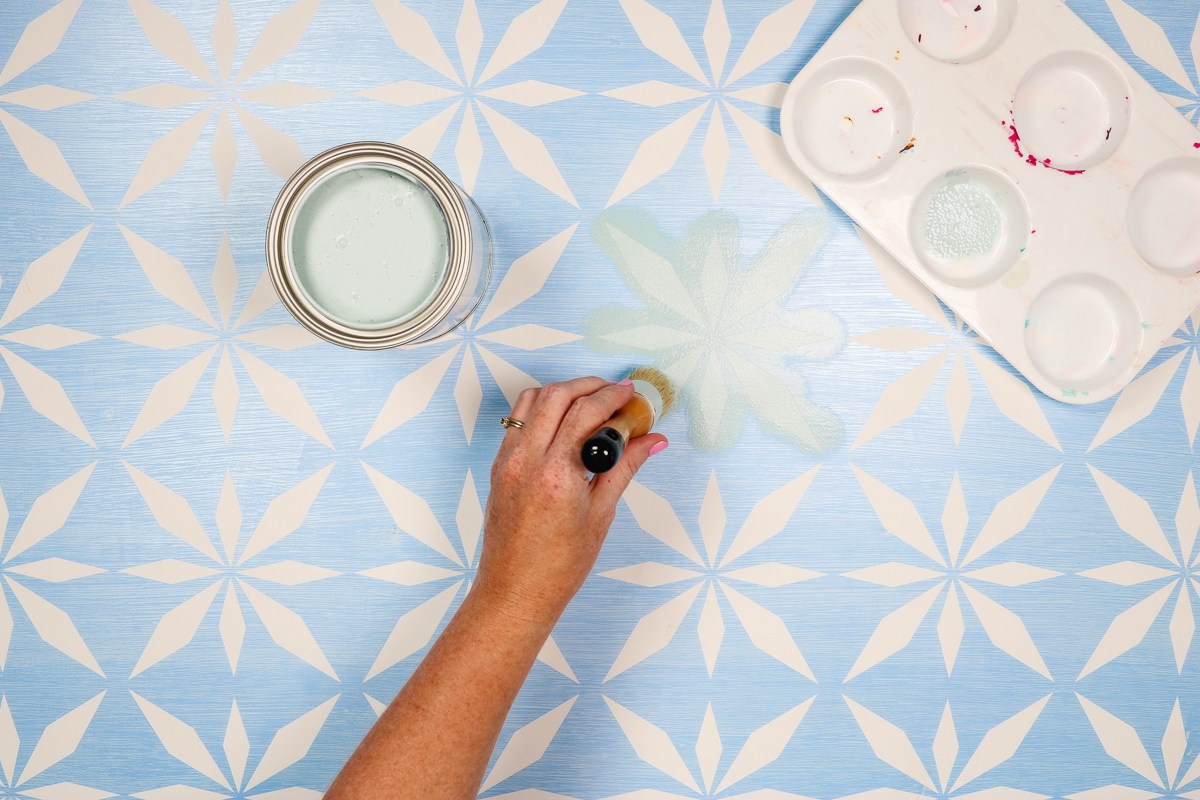
How Many Layers of Stencil Paint Should I Use?
The number of layers you paint the stencil will depend on the colors you’re using. If the base color is darker than the stencil color, you’ll likely need more than one. If the base color is lighter than the stencil color, you may only need one coat.
For my project, I preferred the look of two coats so that is what I did across the whole stencil.
Light coats are definitely preferred in this case. You’ll find that doing multiple light coats will yield a better finished product than a single heavier coat.
When Should I Remove the Stencil Material?
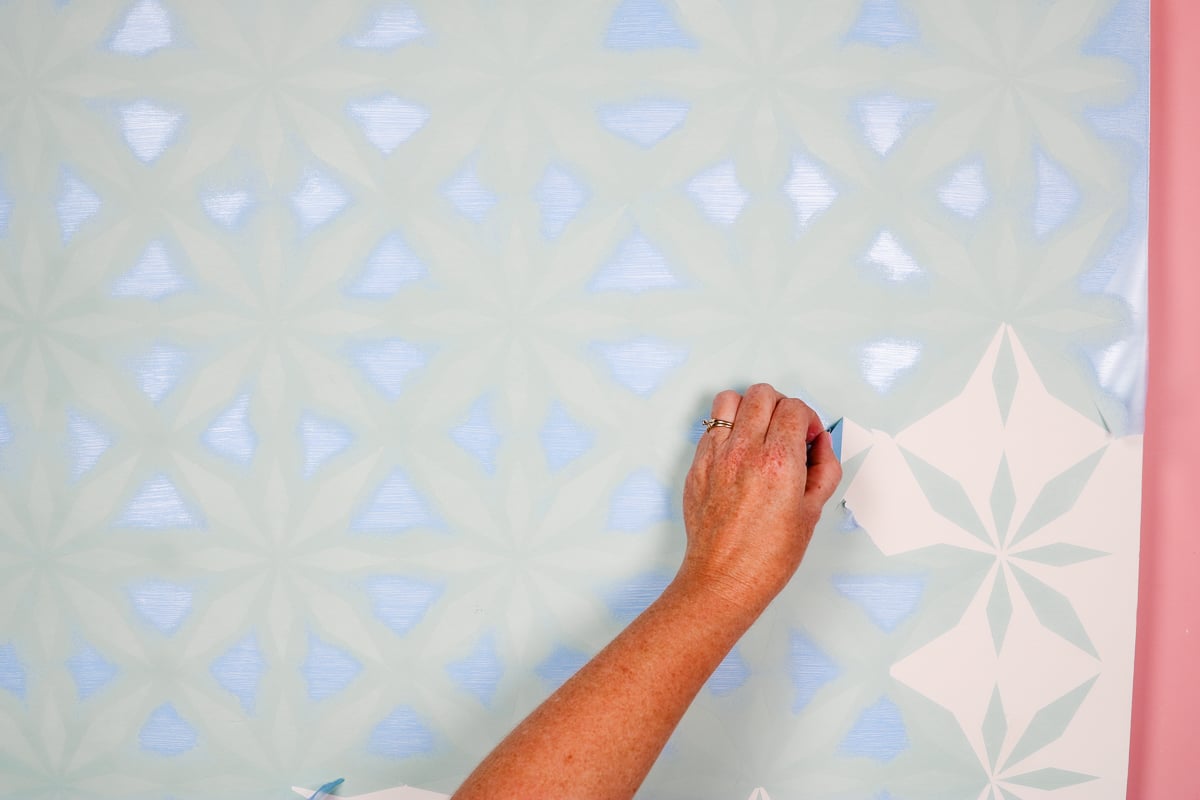
I removed the stencil material while it the second layer of paint was still wet. This helps reduce the possibility of the paint peeling.
Be careful when removing the stencil that you don’t smear the stencil paint onto the table surface. Just pull up to remove. The stencil will likely tear if the details are small. Go slowly and carefully across the entire surface.
How to Apply Chalked Protective Top Coat
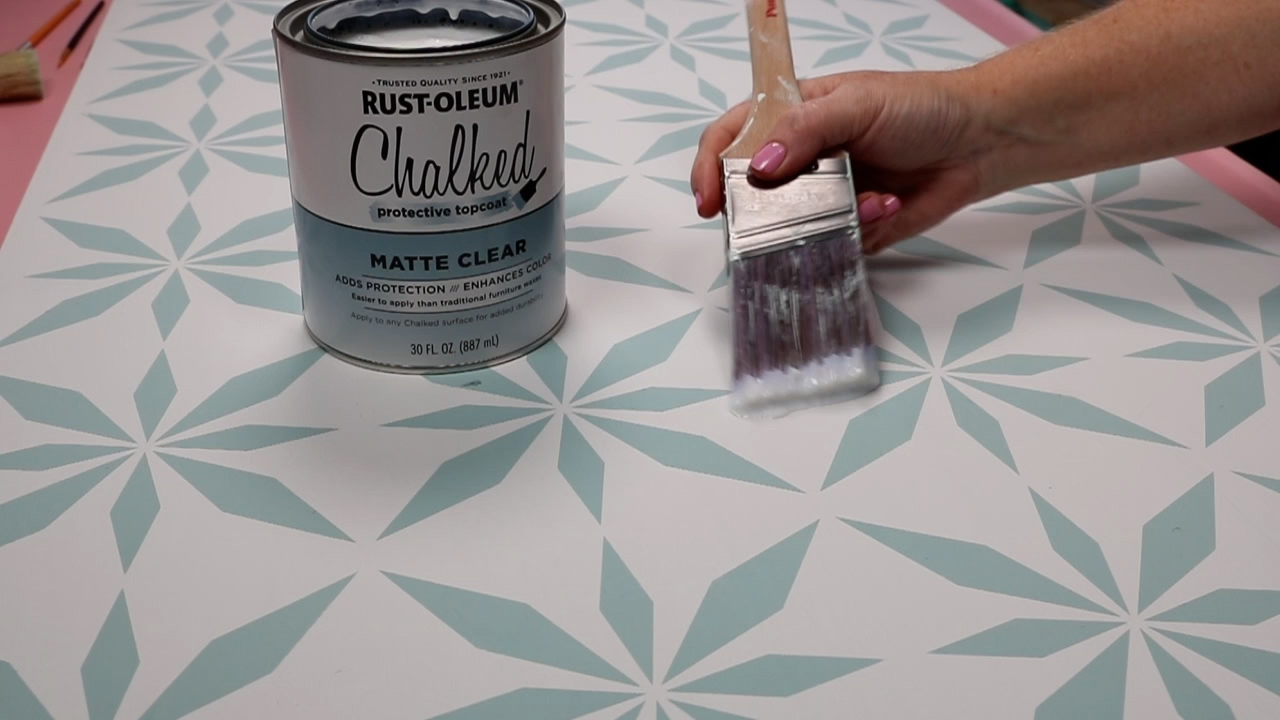
Allow the paint to dry completely for at least 8 hours before applying the top coat. Before applying the top coat stir it really well.
Again a roller brush is not recommended for this material. Use a high-quality synthetic brush and light brush strokes to apply the top coat. Avoid excessive brushing and one to two light coats is best. Allow each coat to dry for 2 hours before applying additional coats.
The top coat is dry to the touch and can be handled after an hour. Make sure you wait 2 hours before applying additional coats and then allow to dry completely before using. The dry time for Rust-Oleum Chalked paint and top coat is 2-4 hours.
Final Thoughts on Making Large Stencils with Cricut
Using Cricut Venture and Rust-Oleum Chalked Paint made creating this large stenciled project really easy. I love how well the Chalked Paint works on furniture and with the Cricut Smart Stencil material.
The biggest thing to note with this project is taking your time. Getting the transfer tape and stencil material lined up is really important so don’t rush those steps. You also need to make sure you’re waiting 2 hours between coats of paint and top coat.
This project isn’t hard but it does take time. Be aware of that time before you begin.
If you don’t own a Cricut Venture machine, you can still create large stencils. You will need to piece the design together but it can be done. Especially if you own one of the other Cricut machines that have matless cutting abilities.
I hope I’ve answered any questions you have about making large stencils with Cricut. If you have any additional questions, leave them in the comments and I’ll be happy to answer them for you.

Love this and want more painting ideas? Try the links below!
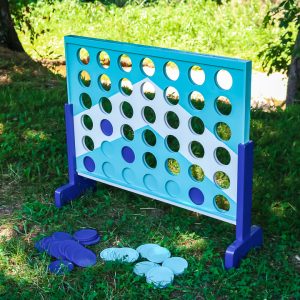
Add a customized paint job to a giant Connect 4 game that the entire family will love.

In this project, I use rust effect paint to add a rusted metal effect to this plain wood ampersand! Follow these instructions to add a genuine vintage rust look to just about any craft.
