
This post and photos may contain Amazon or other affiliate links. If you purchase something through any link, I may receive a small commission at no extra charge to you. Any supplies used may be given to me free of charge, however, all projects and opinions are my own.

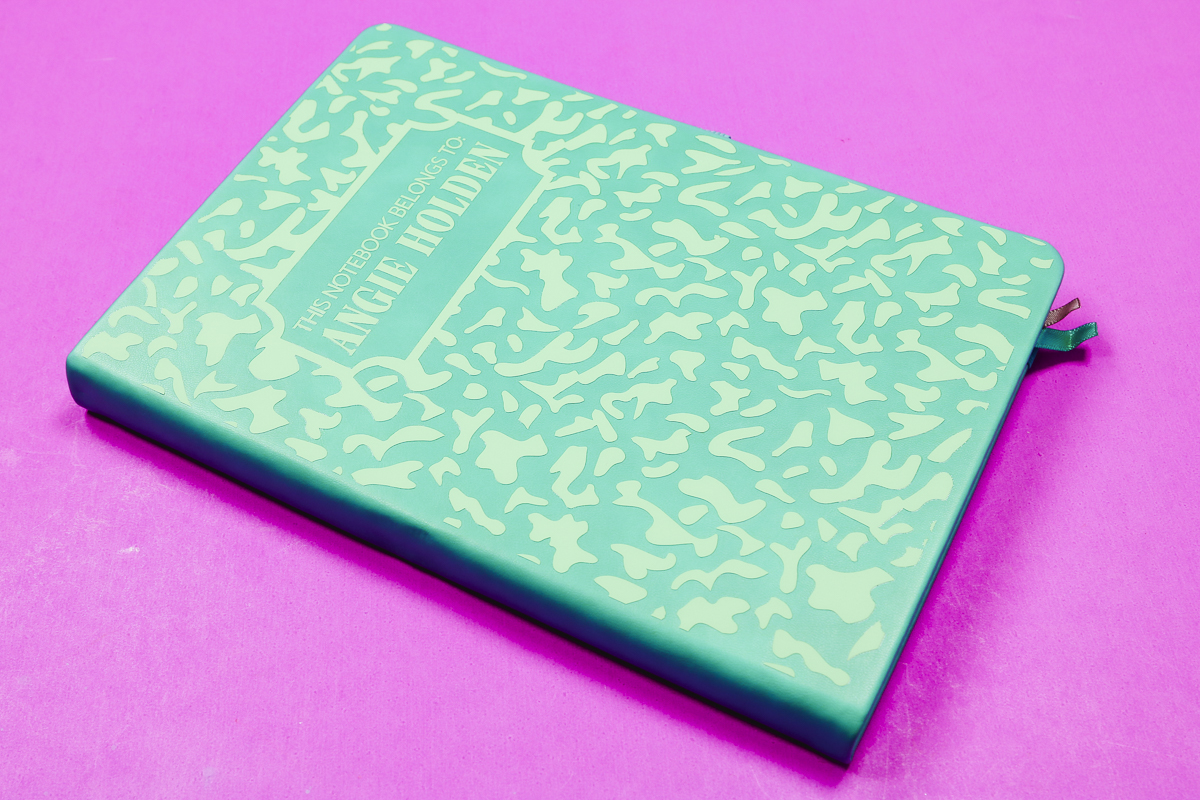
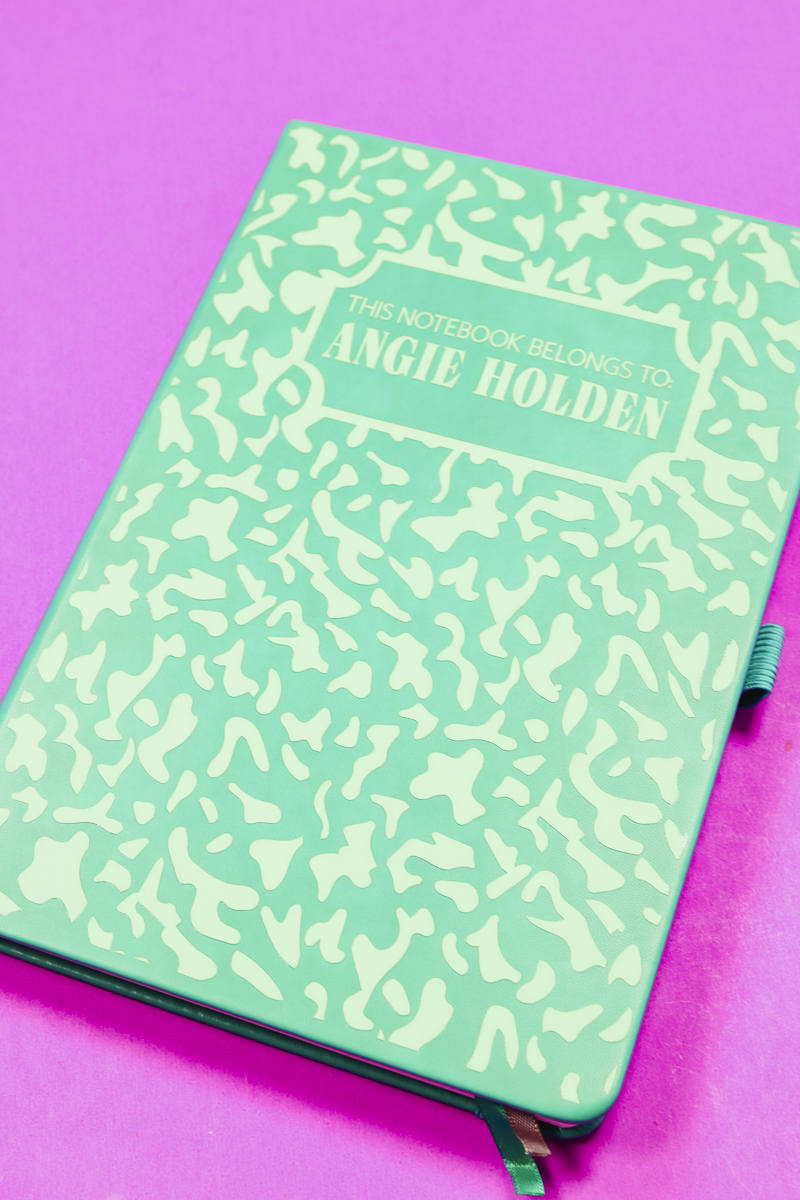
Today I’m excited to talk to you about using HTV on leather. I’m going to show you how to apply HTV on leather and faux leather to create fun projects like this leather notebook.
I’m using B-Flex GIMME5 HTV for today’s project. You’re going to love the low time and temperature required for this iron-on material.
You will need a heat source for these projects. If you are trying to find the right heat source for your crafting needs, check out my heat press vs EasyPress comparison.
You can watch me go through the whole process of creating this notebook by clicking play on the video below.
Table of Contents
Apply HTV on a Leather Notebook
I’m going to show you how to add this HTV to a leather notebook but the process will be the same for other leather and faux leather projects.
Supplies Used

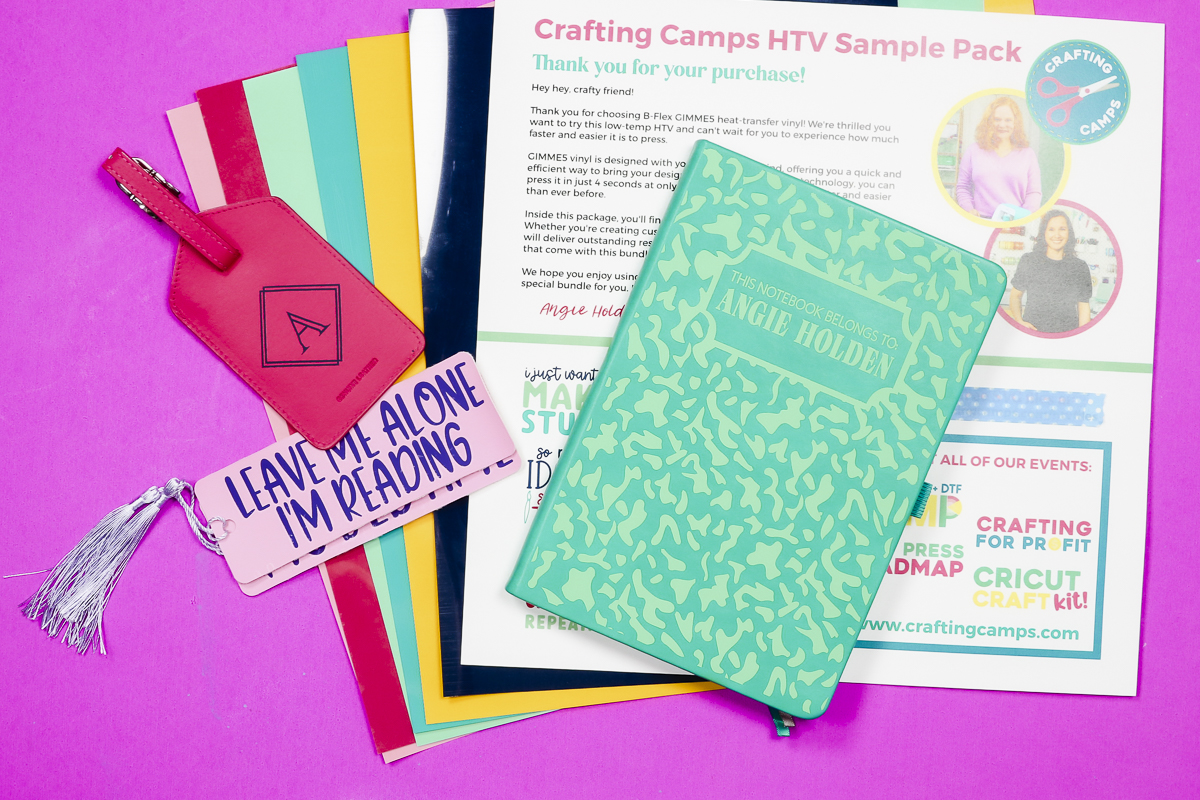
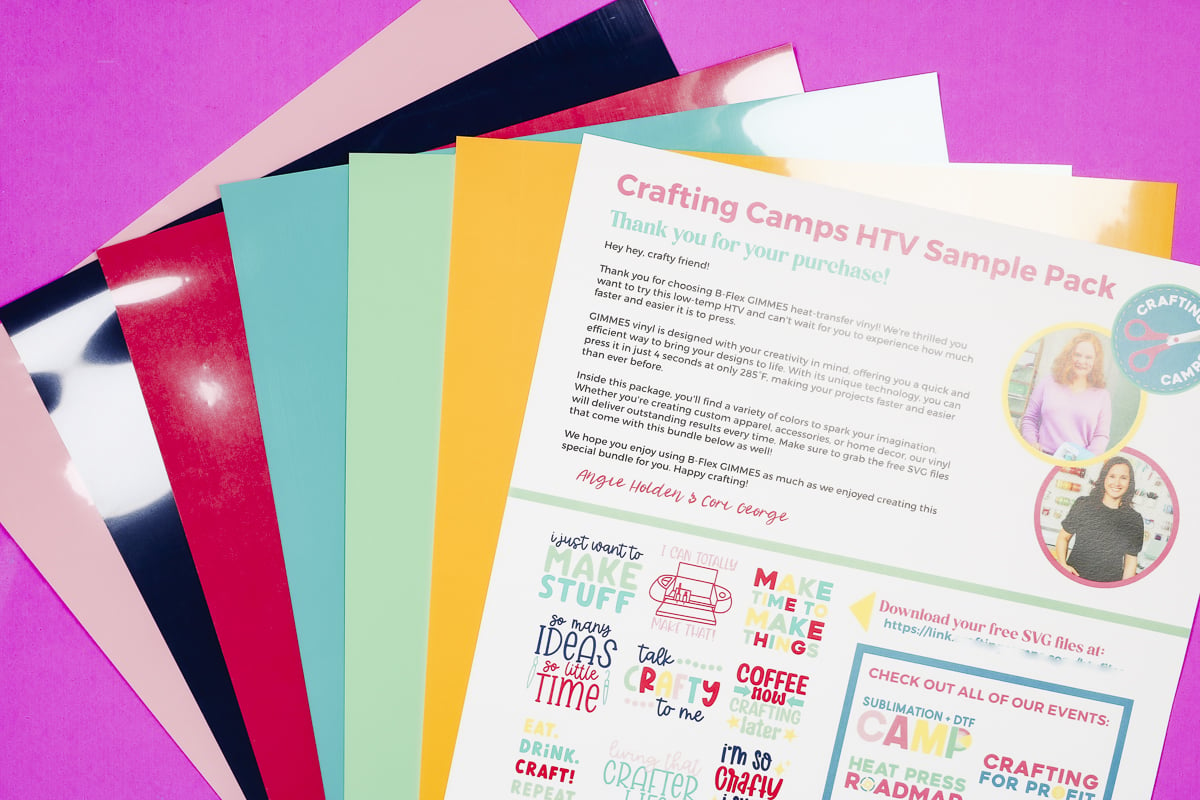
B-Flex GIMME5 HTV Sample Pack
The HTV I’m using today comes from the Crafting Camps Sample Pack that Cori and I curated with bright and fun colors that are perfect for so many projects.
The sample pack contains 6 sheets of B-Flex GIMME5 HTV that are each sized 12 x 12. When you purchase here you will also get access to 9 SVG files that include a commercial license which means you can use those designs even for projects you are selling.
I love this HTV. It is a low-temperature, low-time material, perfect for surfaces like leather and faux leather.
Step 1. Design Project
I am creating my design in Design Space. Upload the design by clicking Upload, Upload Image, and finding the image on your computer.
Click Continue and Upload. Since this file is already an SVG I can add it to the canvas.
I created this file oversized because notebooks come in all different sizes. To make sure it fits your notebook measure both the length and width of the notebook.
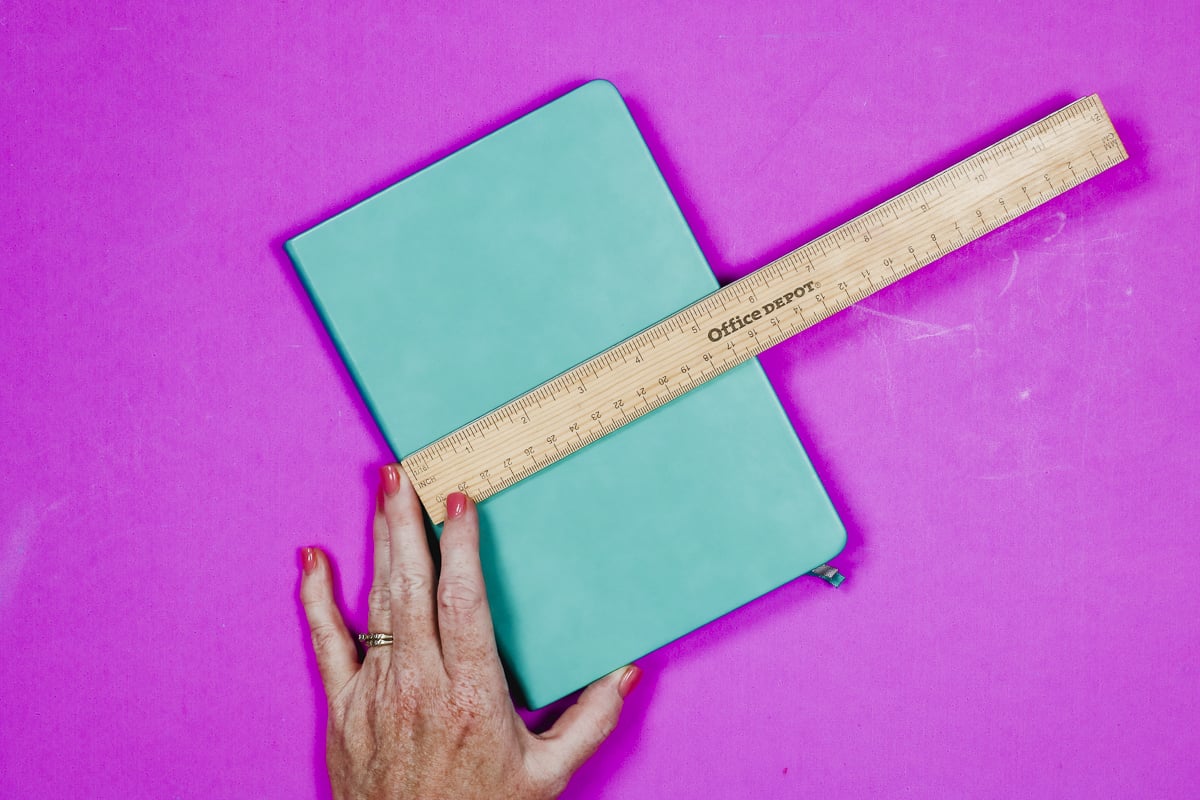
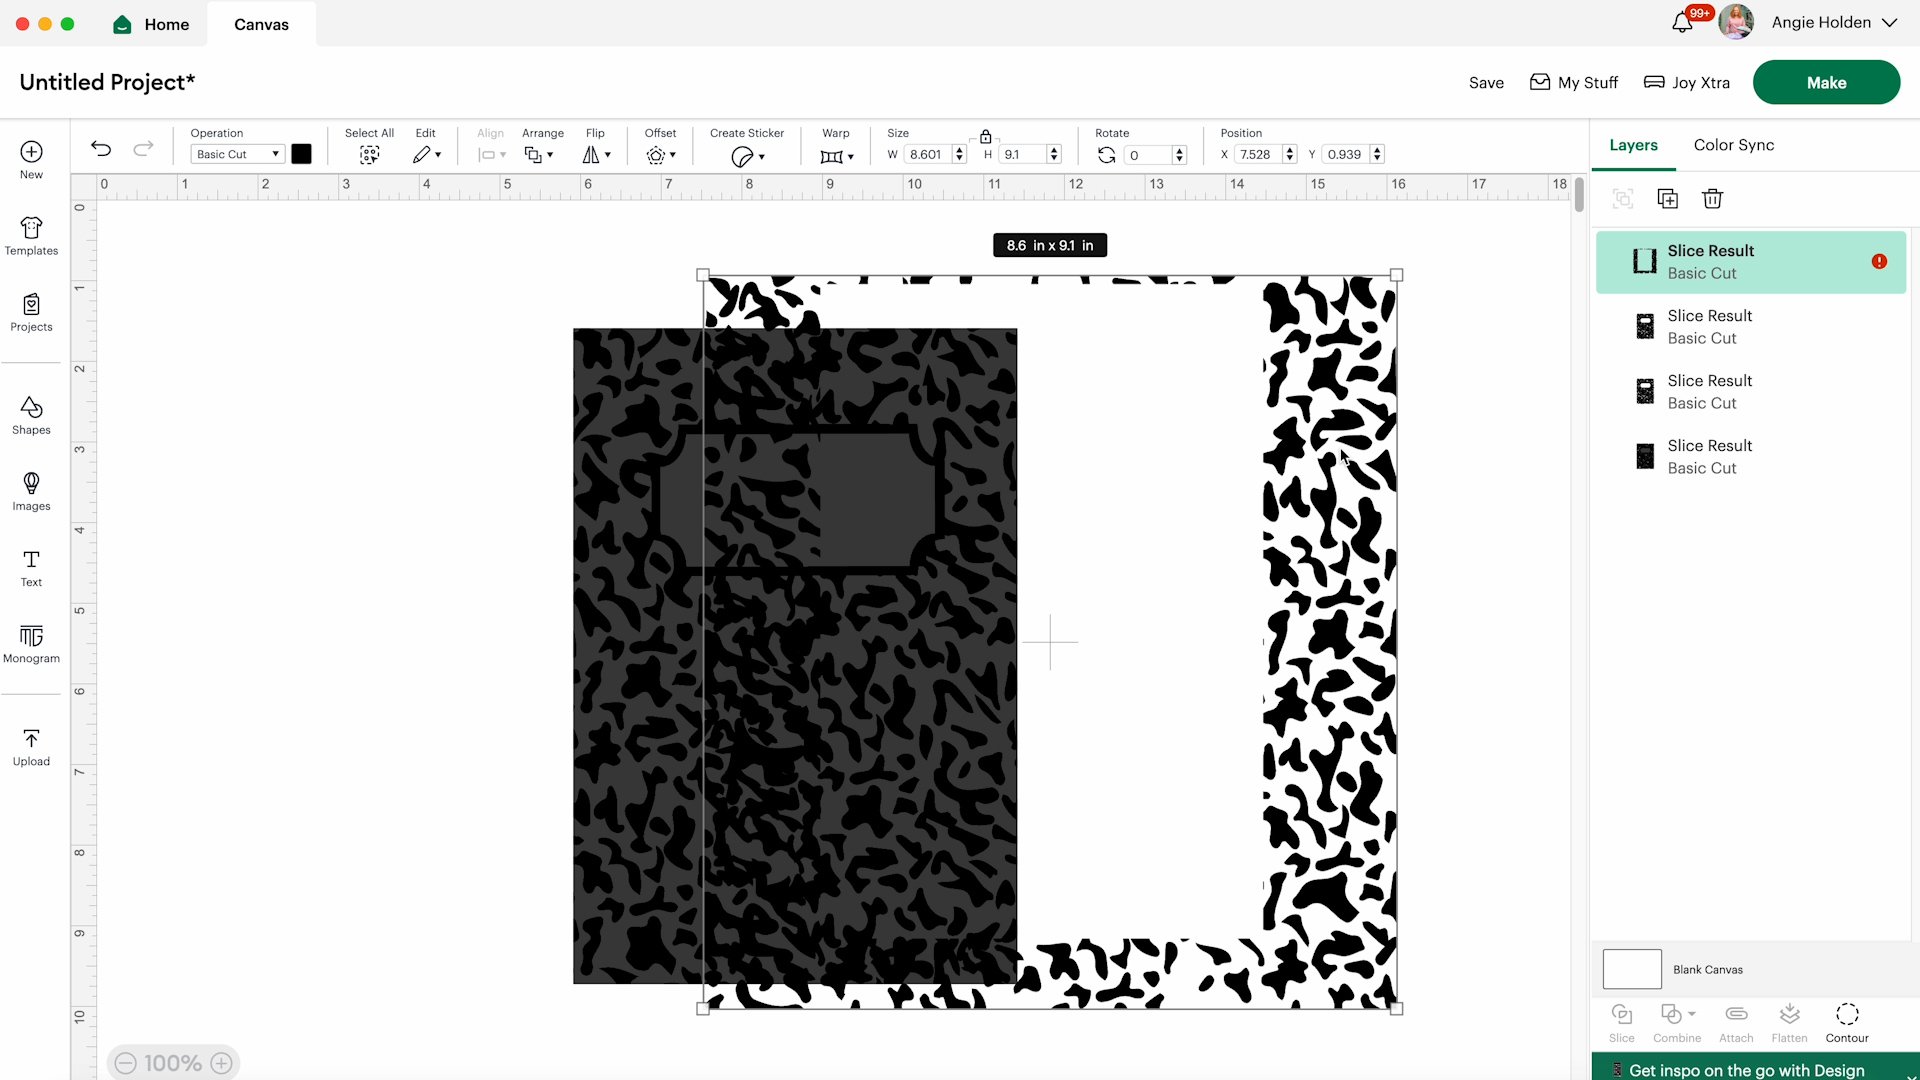
Insert a square onto the canvas and resize it to match the size of your notebook. Mine is 5.5 inches by 8.125 inches.
In the top toolbar, click Arrange and move the shape to the back so you can see the notebook design and how it fits on the shape.
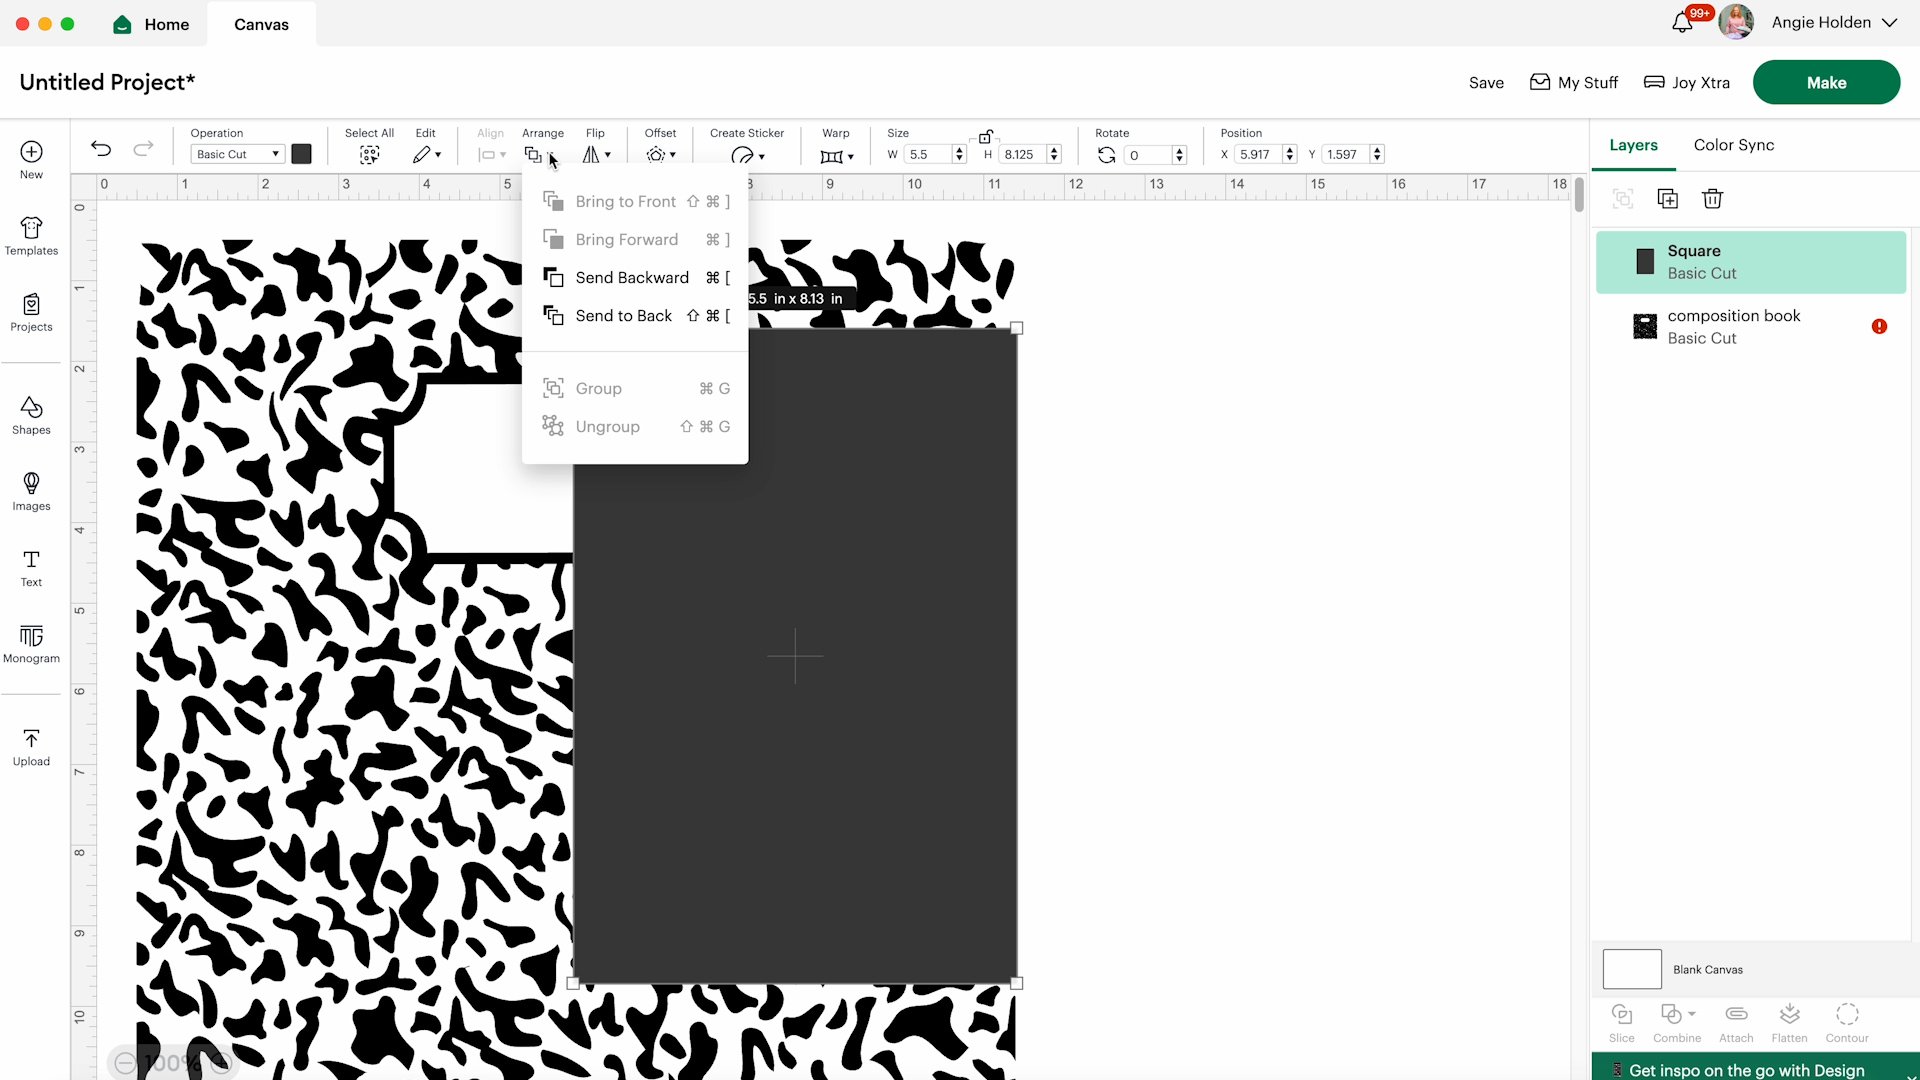
Now you can resize the design to make it look how you want and when you have it set up the way you like it, select both layers and then click Slice.
Delete the layers that you don’t need.
Now we can add text in the nameplate area. Click on the Text tool, choose whichever font you want, and then type in what you want your notebook to say.

I typed in my name and then welded the text so I could stretch it a little bit to get the look I wanted.
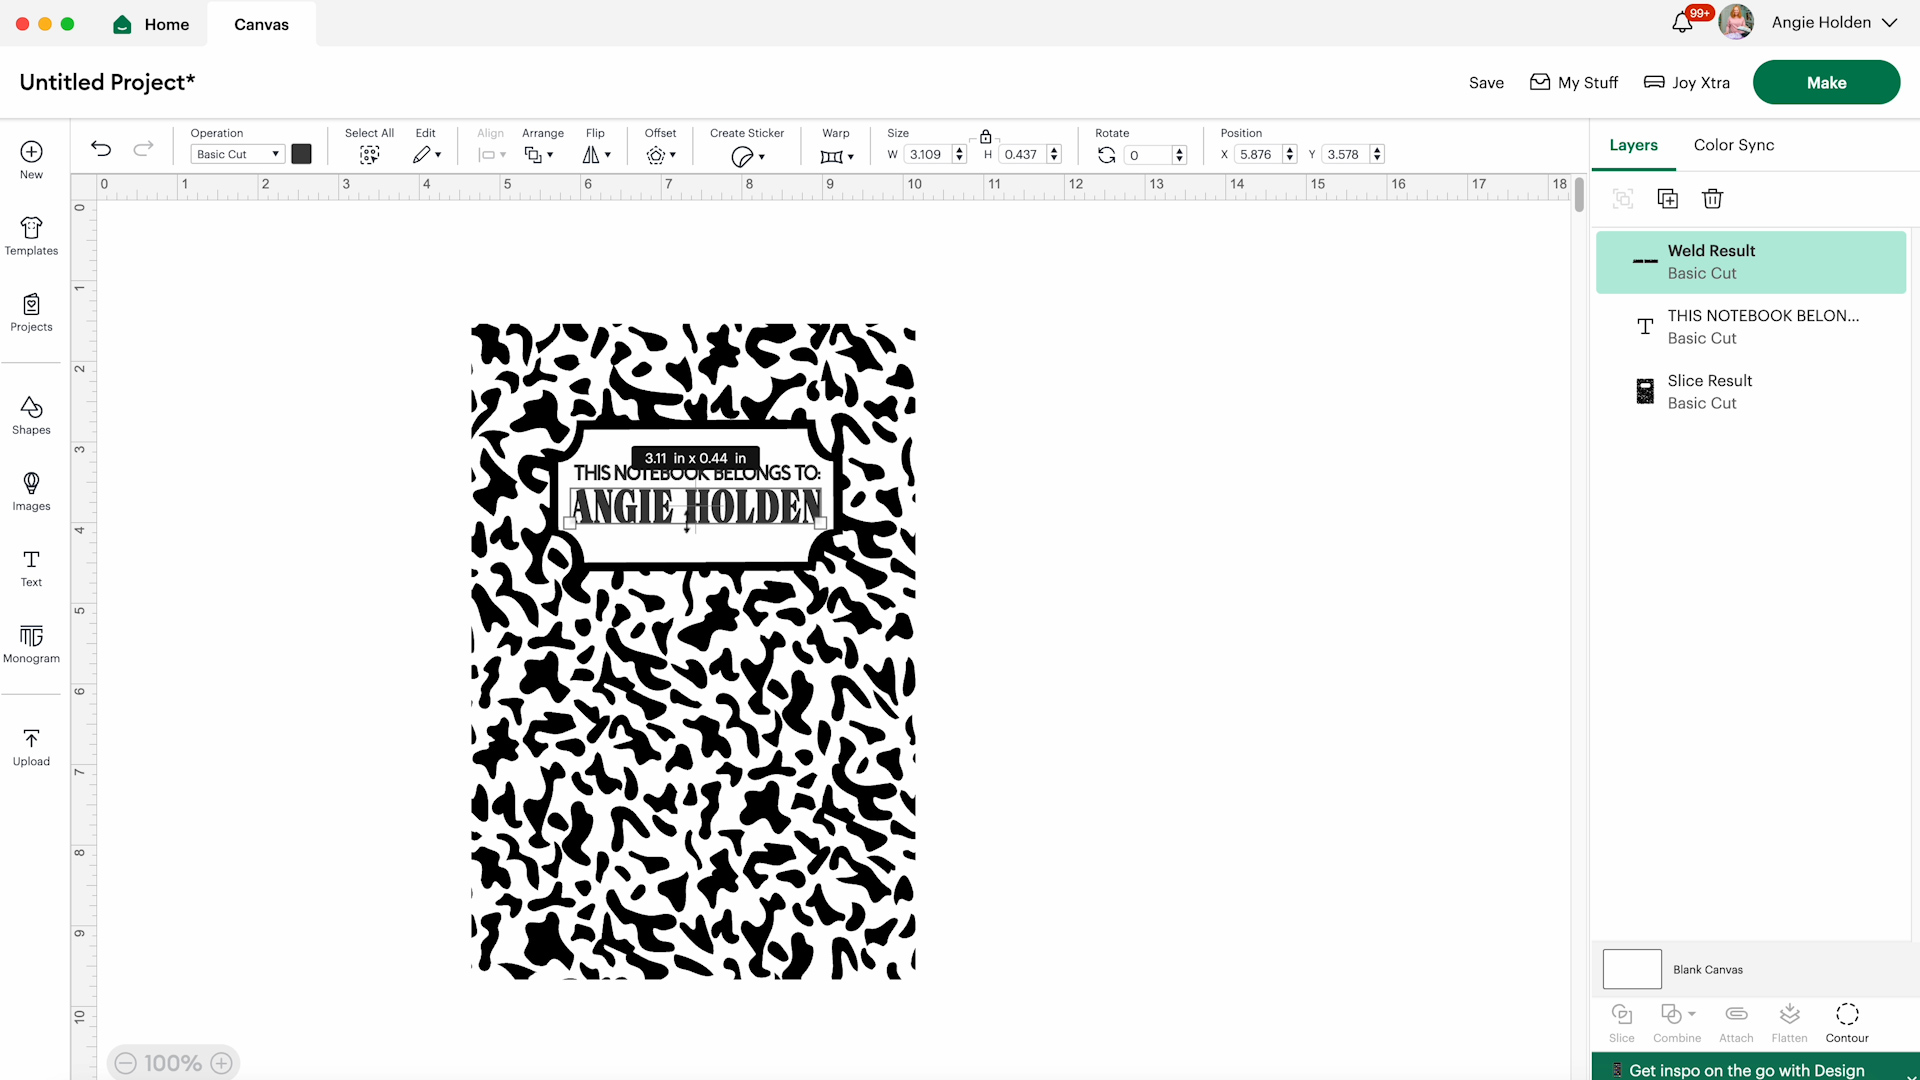
To make sure my text is centered on the design I selected both layers and then clicked Align, Center Horizontally.
I am cutting the entire design out of one color so I am going to select both layers and then click Attach. If you want your text to be a different color than the rest of the design, do not attach these two layers.
Now that our design is complete we’re ready to cut it out.
Step 2. Cutting the HTV
Make sure you’ve selected the machine that you’re using today. I am using the Joy Xtra and I have that selected so I can click Make to continue.
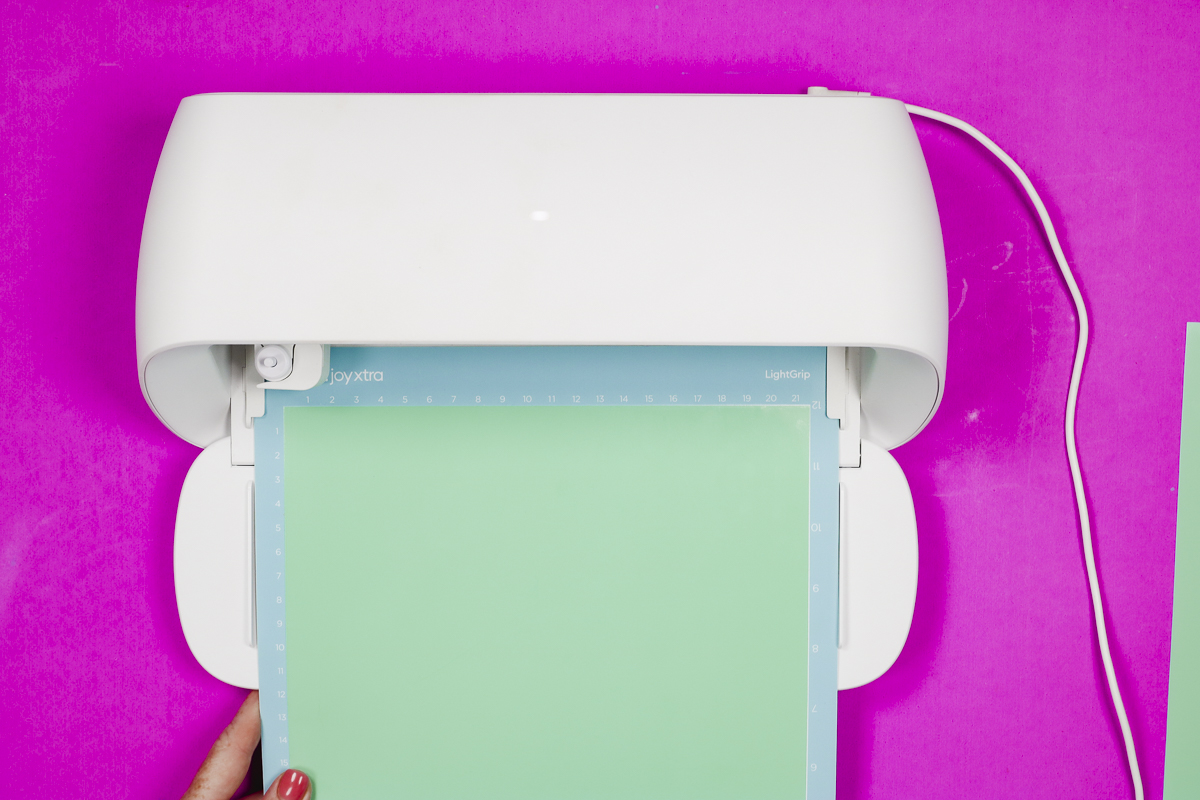
The B-Flex GIMME5 material I’m using is 12 inches by 12 inches which is bigger than the Joy Xtra mat. Use a paper trimmer to cut it down to the right size for your mat.
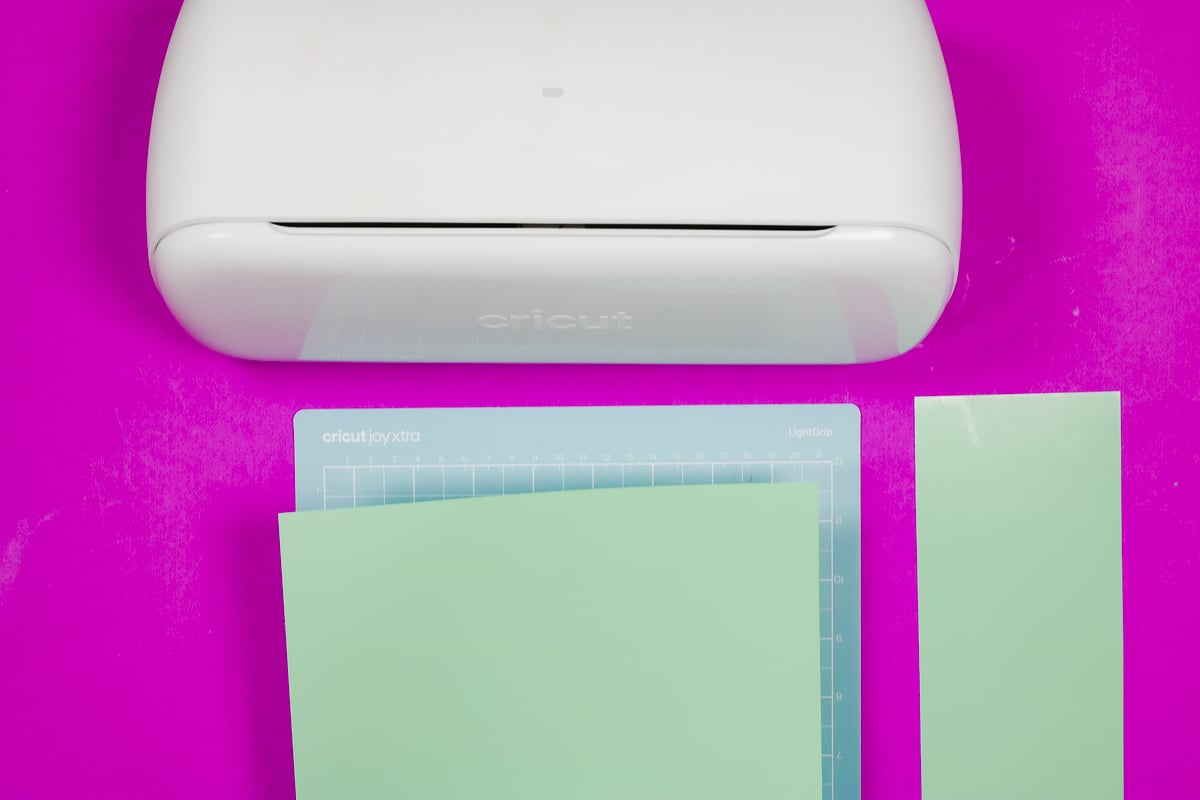
This material will be cut on a mat and because it is an HTV material we need to make sure the design is mirrored.
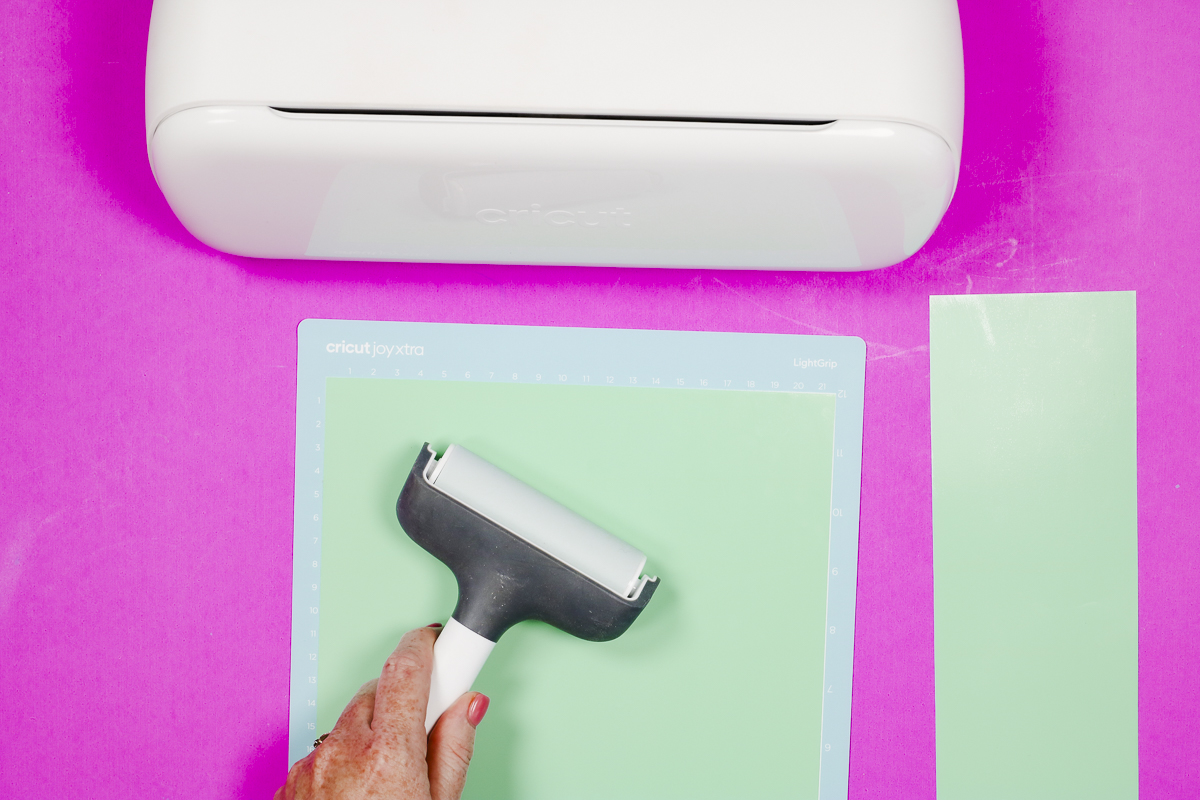
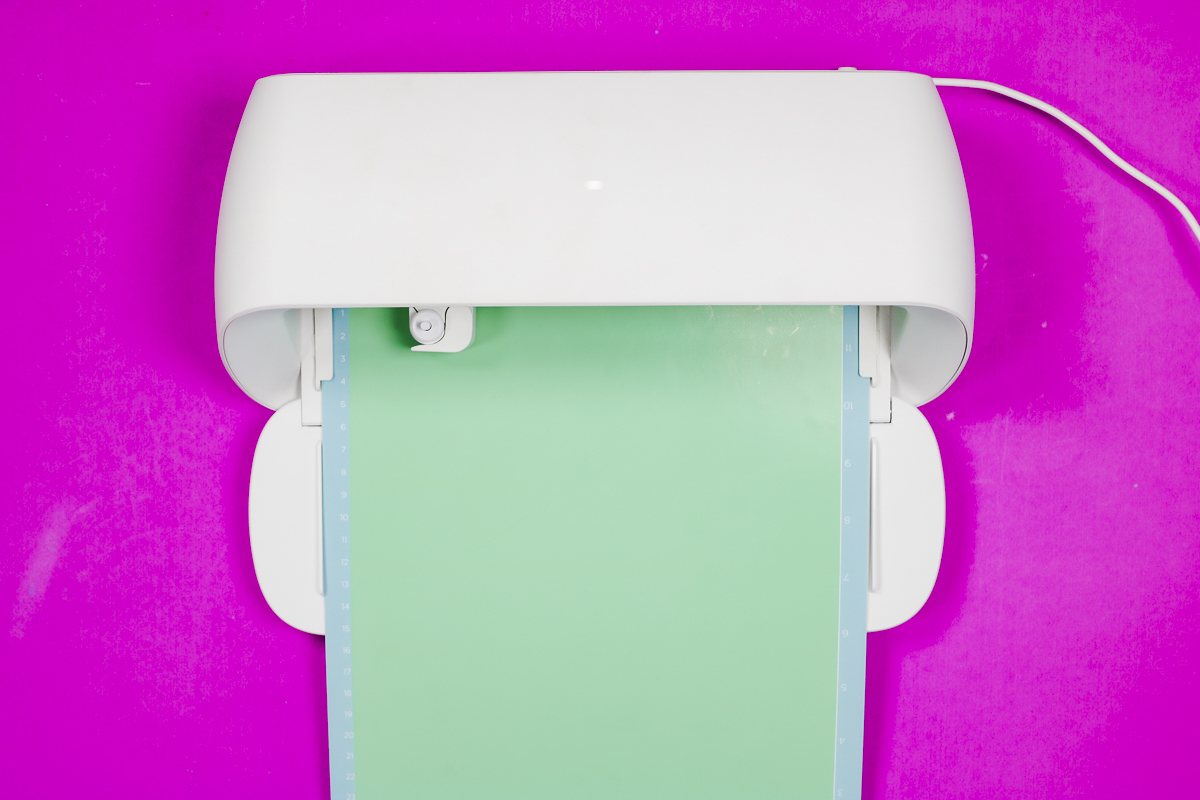
Click Continue and select the material you’re using. I use the Everyday Iron-on setting to cut this material. Add the material to the mat, shiny side down and load the mat into your machine.
Press Go in Design Space to start the cut and when the machine is done cutting click Unload on the computer to remove the mat from the machine.
Step 3. Weed the HTV
Weeding the GIMME5 HTV is the same as other brands of HTV. Use a weeding tool and starting in the corner peel back the excess vinyl.
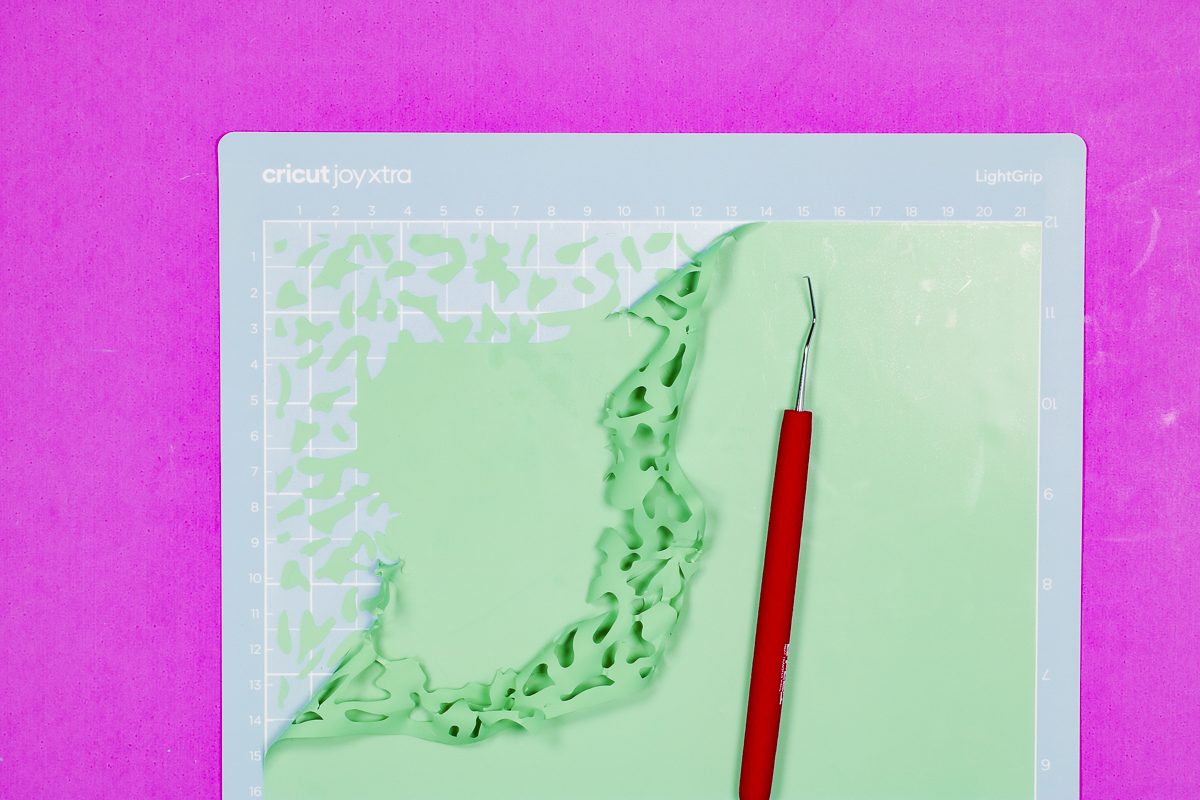
Because the text area is small go slowly around that area and make sure you don’t remove any parts like dots to i’s.
Step 4. Press the HTV on the Leather Notebook
With the HTV completely weeded, we’re ready to apply it to the leather notebook.
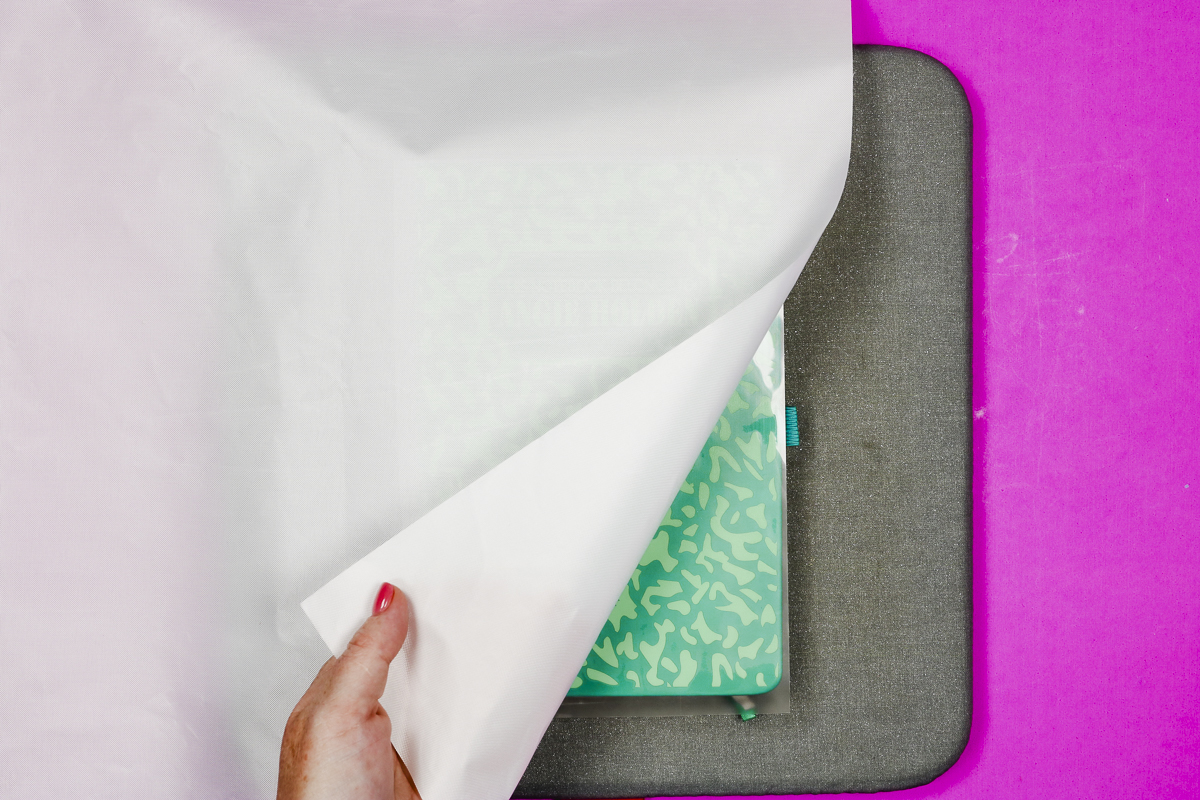
I am using the EasyPress and EasyPress mat. Place the leather notebook on the mat and make sure it’s oriented the right way. You don’t want to add the HTV upside down.
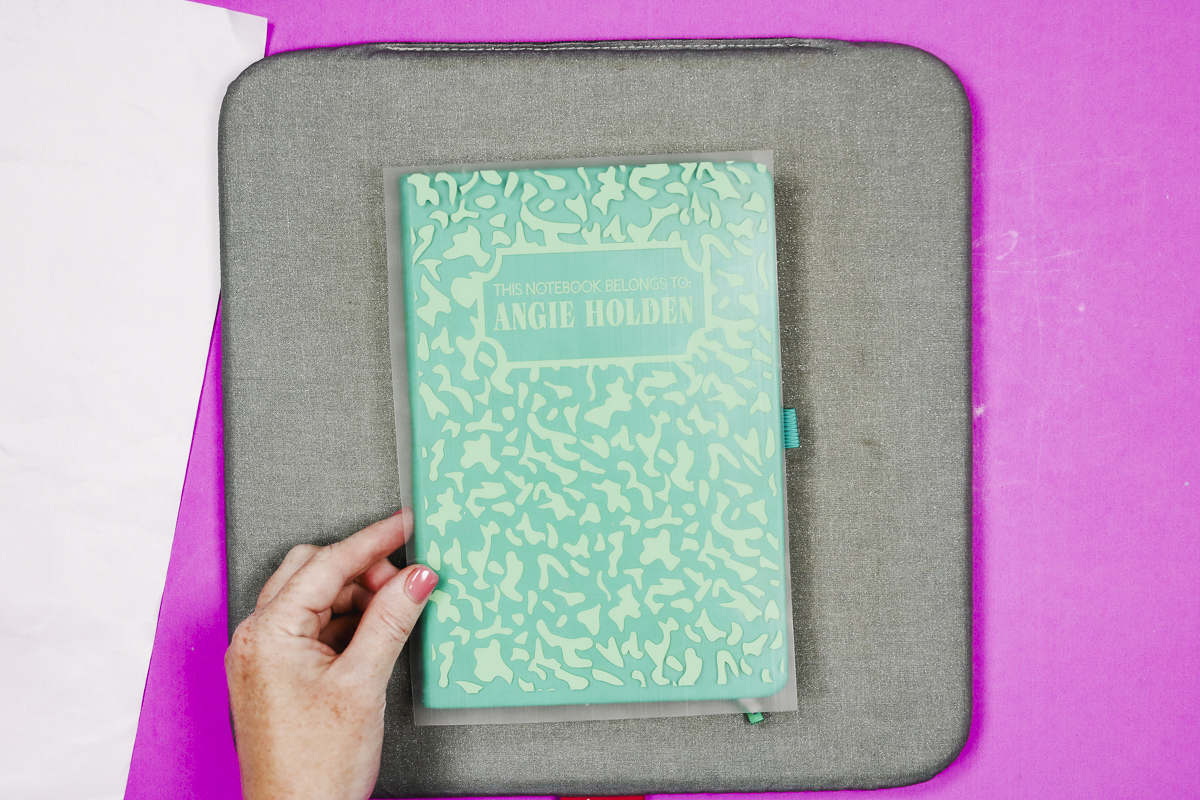
Place the HTV on the leather notebook and press down. If your carrier sheet does not cover the whole leather surface you’ll want to use a Teflon sheet or butcher paper to protect the leather from the heat source.
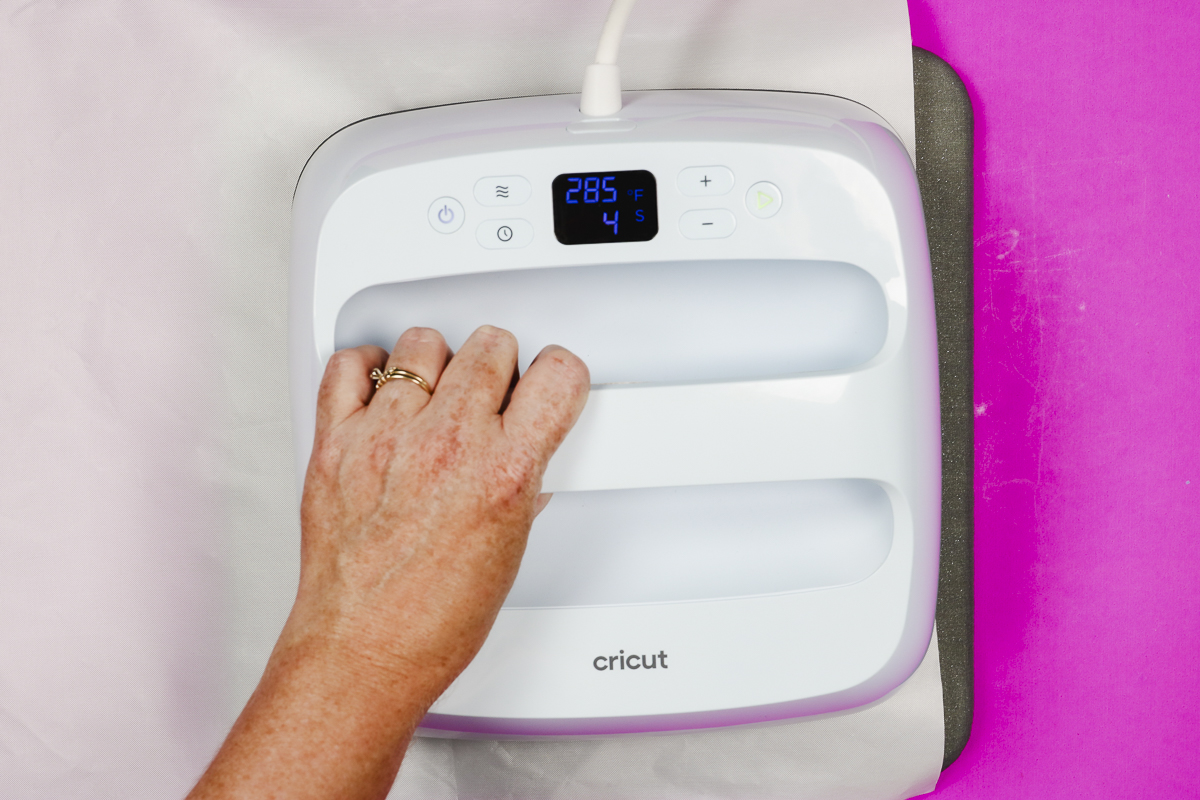
I am going to keep my Teflon sheet in place and am pressing at 285 degrees for 4 seconds with medium pressure.
When you use an EasyPress you may need to press for a few more seconds, with a traditional heat press four seconds will probably be adequate.
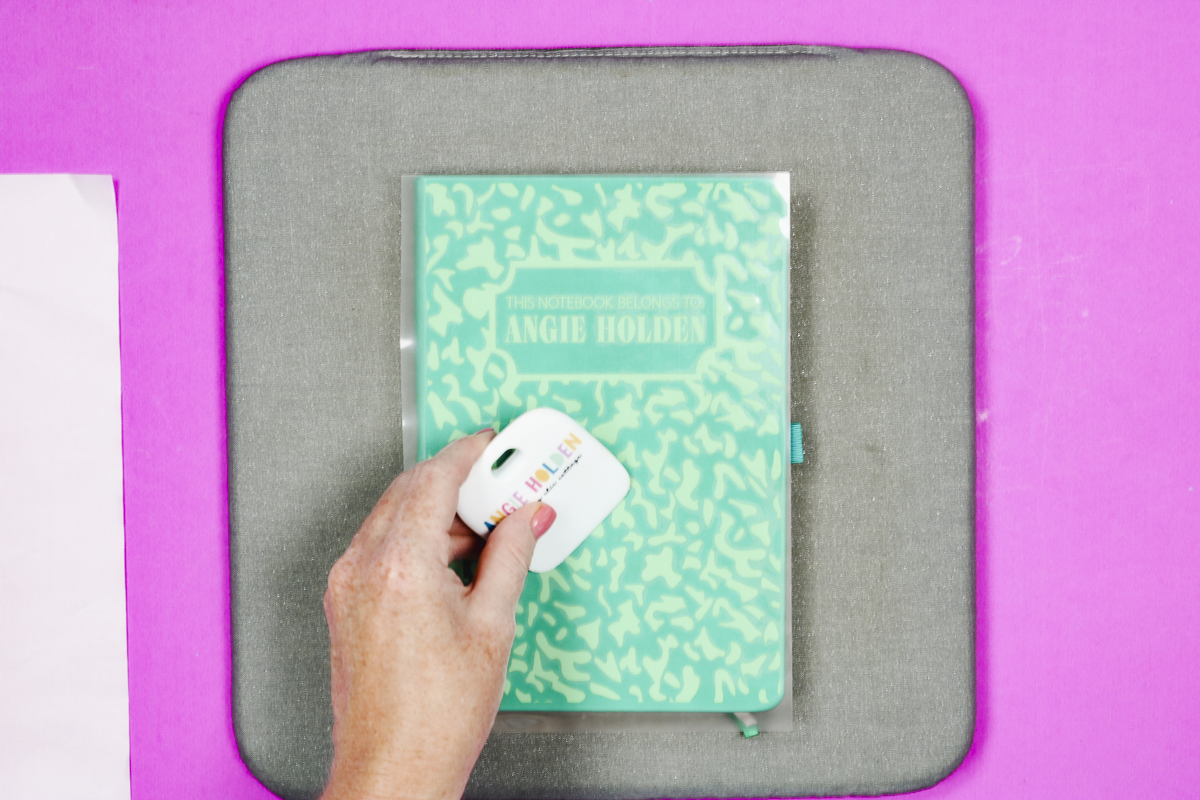
When the time is up, remove the Teflon sheet. With odd surfaces like this notebook, I like to go over the surface with a scraper to make sure the vinyl gets stuck down in all the little grooves since the surface isn’t flat.
Step 5. Finish with Post Press
After you’ve gone over the carrier sheet with the scraper slowly peel back the carrier sheet making sure the HTV isn’t peeling up.
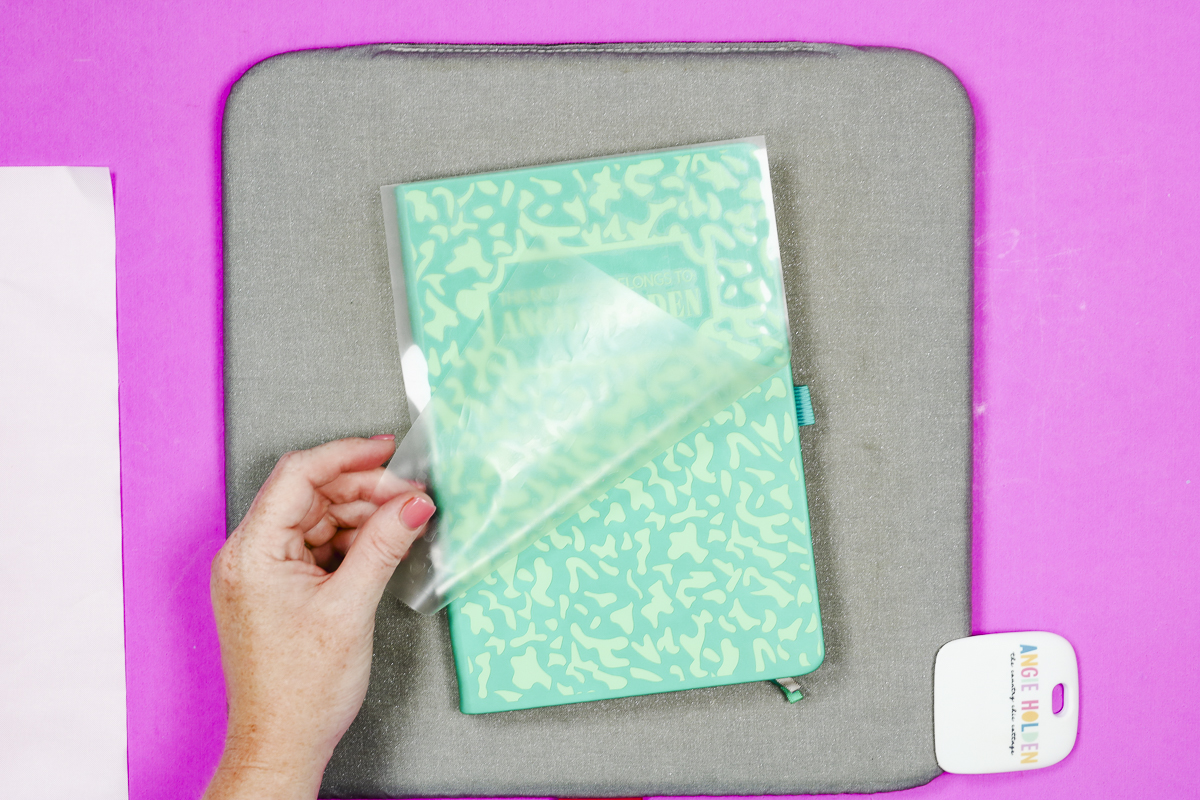
If anything is lifting, lay the carrier sheet back down and press for a few more seconds.
I like to do a post-press with things like leather. With the carrier sheet removed place butcher paper or a Teflon sheet back on top and press for a couple more seconds.

Remove the Teflon sheet and your HTV on a leather notebook is complete!
More HTV on Leather Projects
I really love how this HTV on leather notebook turned out. It’s such a fun design. My notebook is a real leather notebook and the GIMME5 HTV worked perfectly on it.
You can use this same process for other leather and faux leather blanks like luggage tags and bookmarks.
The luggage tag I tested is genuine leather and the bookmarks are a faux leather material. I had no problem adding HTV to both of these blanks.
It worked just as well as the leather notebook and I’m really happy with how they turned out. These smaller HTV on leather projects are a great way to use up your HTV scraps.
More Projects with BFlex Gimme 5 HTV
Want to see even more ideas with this HTV sample pack? Click the links below for even more videos!
I hope I’ve answered any questions you have about applying HTV on leather. If you have any additional questions, leave them in the comments and I’ll be happy to answer them for you.