This post and photos may contain Amazon or other affiliate links. If you purchase something through any link, I may receive a small commission at no extra charge to you. Any supplies used may be given to me free of charge, however, all projects and opinions are my own.
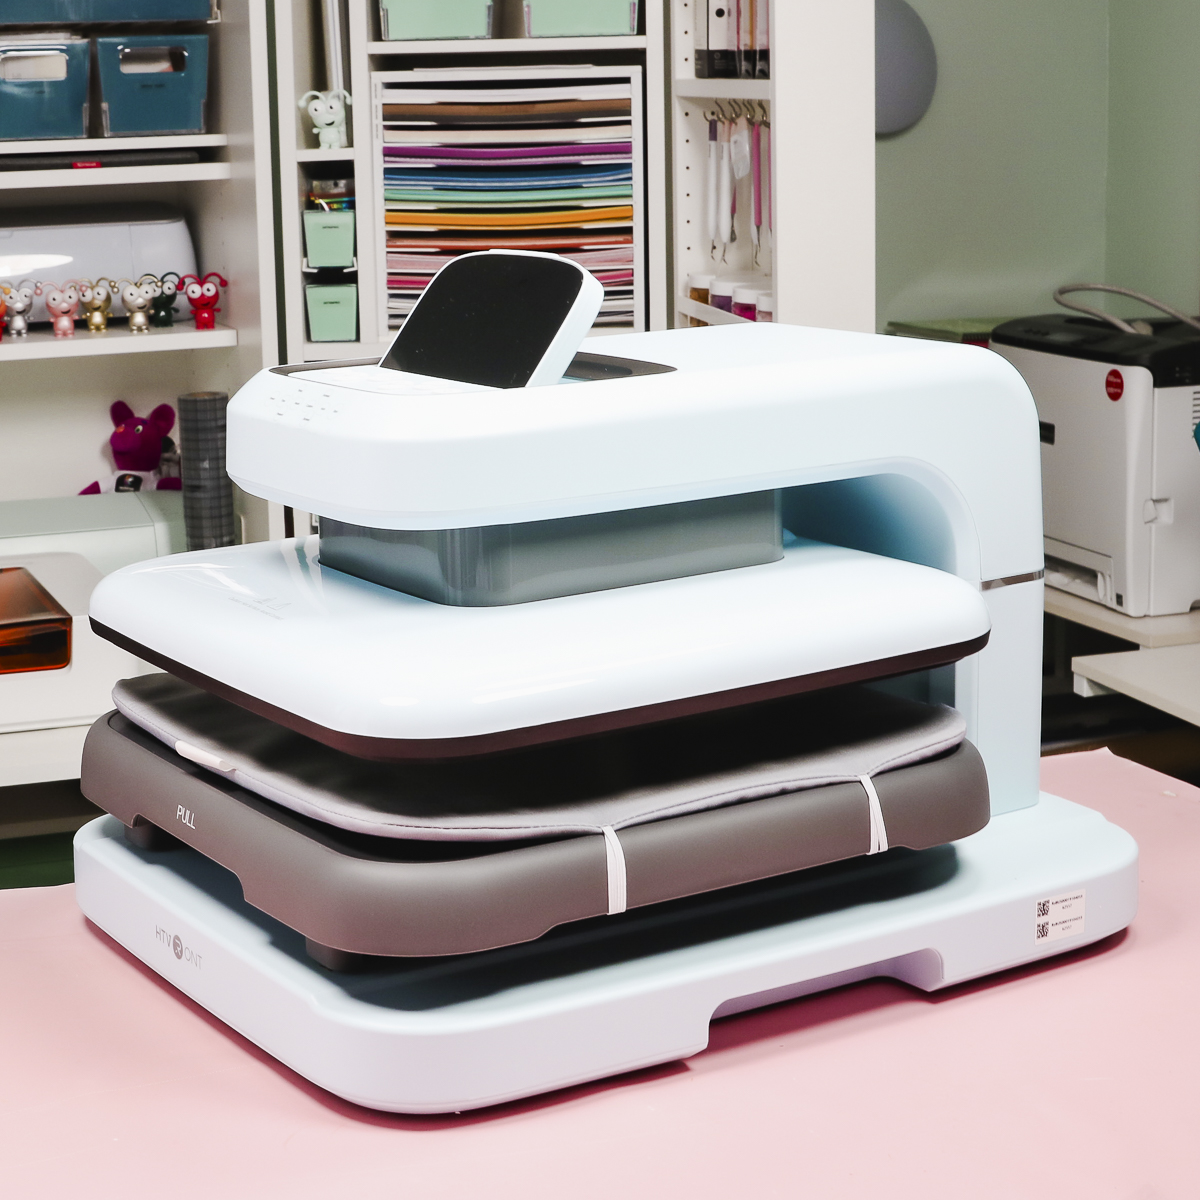
I’m testing the HTVRont Auto Press 2 to see how it does with a few different project types. This is the second version of the HTVRont Auto Press so we’ll make a few projects and compare it to the original Auto Press.
I have a full review of the original HTVRont Auto Press that you may find helpful when making a purchasing decision.
I’m going to make four different project types today. You can watch me make each project and see how this press performs by pressing play on the link below.
Table of Contents
HTVRont Auto Press 2 Heat Press Review
Let’s unbox the press and see what it can do.
HTVRont Auto Heat Press 2 Unboxing
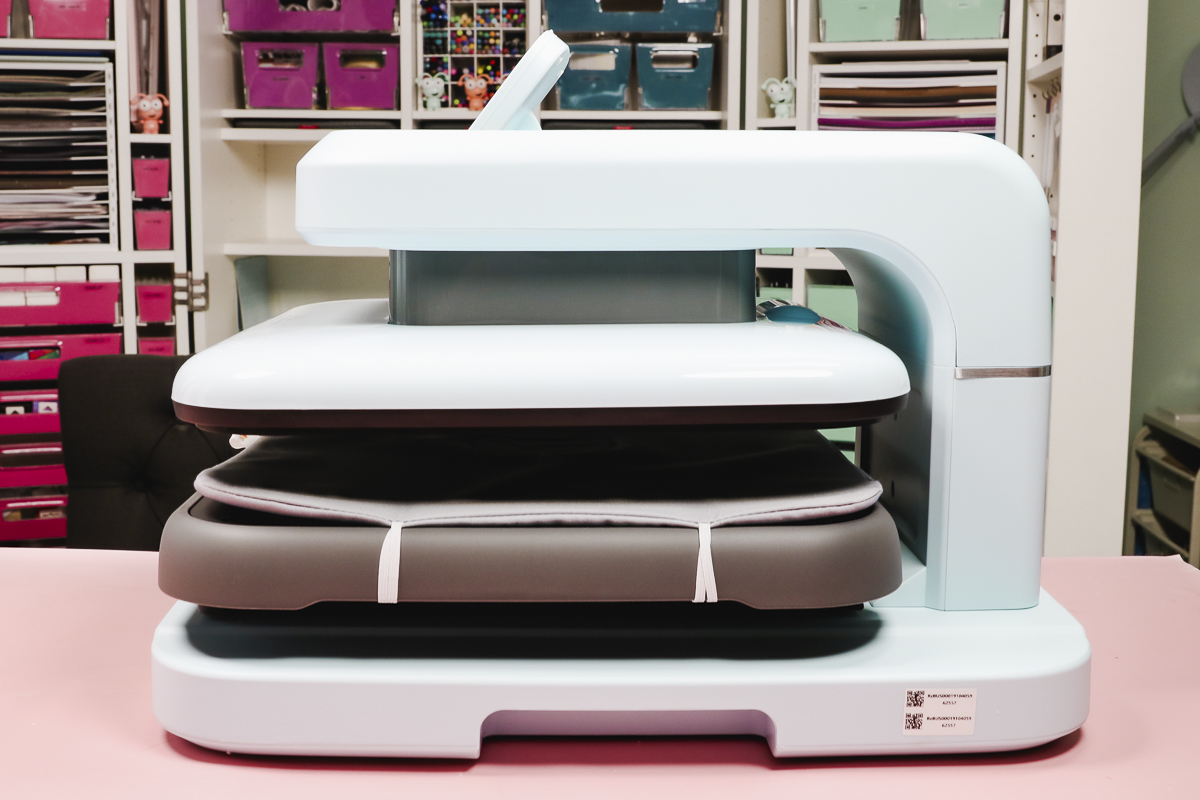
Unboxing the HTVRont Auto Press 2 could not be easier. The machine comes completely assembled all you need to do is remove a little packaging material.
There is a protective film on the display screen that you’ll want to remove as well. The cord is already attached so all you need to do is plug it in to get started.
Along with the heat press, inside the box, you’ll find a Teflon sheet and a user guide.
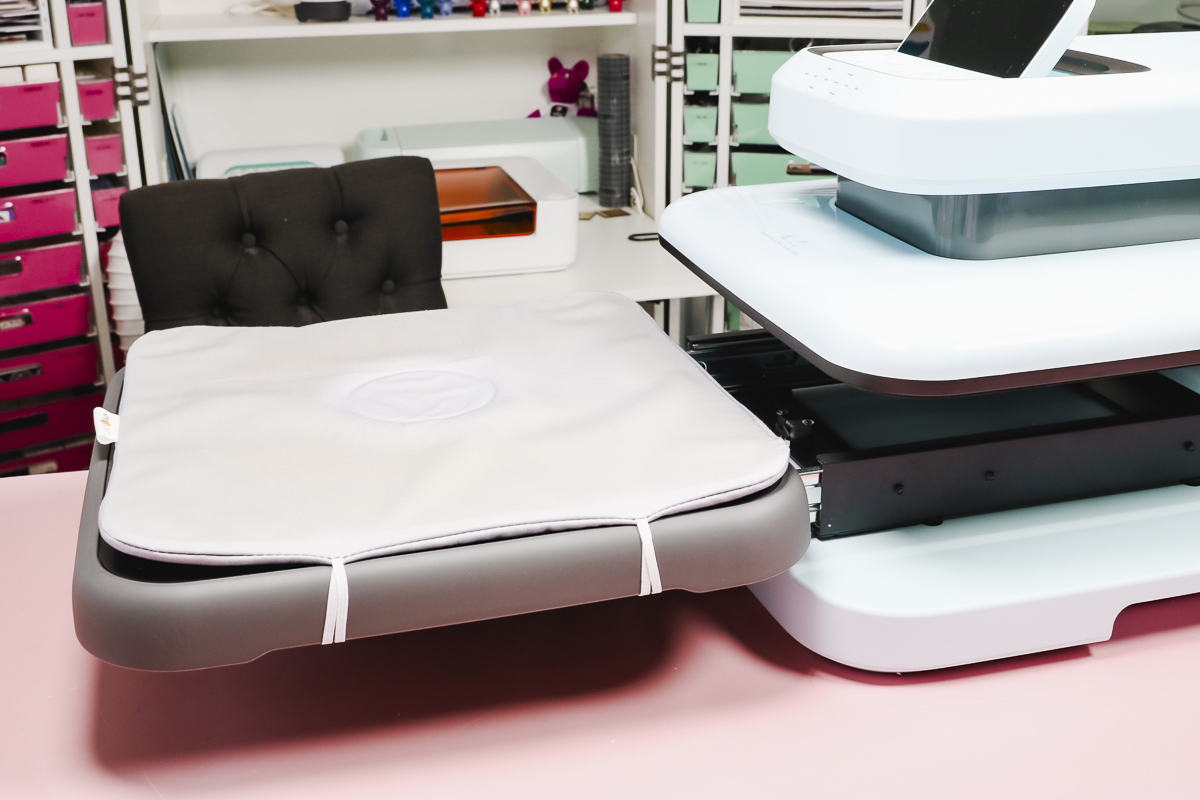
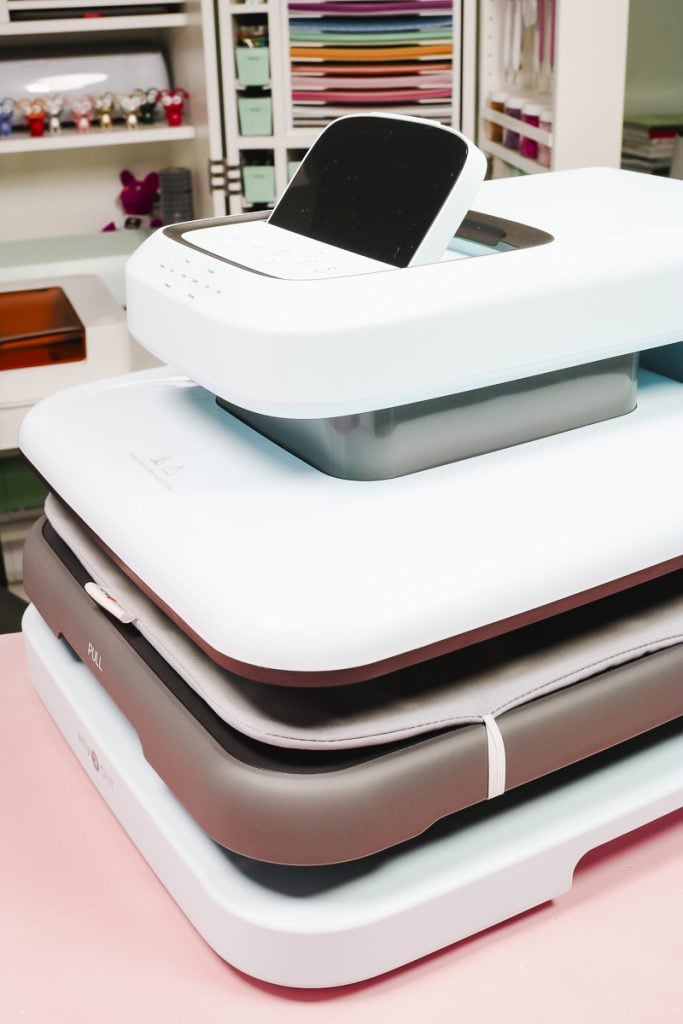
The press does come with a mat, it is on the bottom plate. With the press plugged in the top platen raises up and the drawer pulls out.
There is a heat-resistant mat that comes attached to the drawer with elastic cords on both sides. This mat is fairly firm and you know how much I love a firm heat-resistant mat.
Before you press your first project, check that you have all the packaging material and tape removed.
HTVRont AutoPress 2 Display Screen and Buttons
The screen on the top of the press can be raised by lifting it from the top.
All of the buttons have an image on them but there is a temporary sticker on the front of the press that tells you what each button is.
This is a temporary sticker so you will need to either remember what each image means or write them down because the sticker won’t last forever.
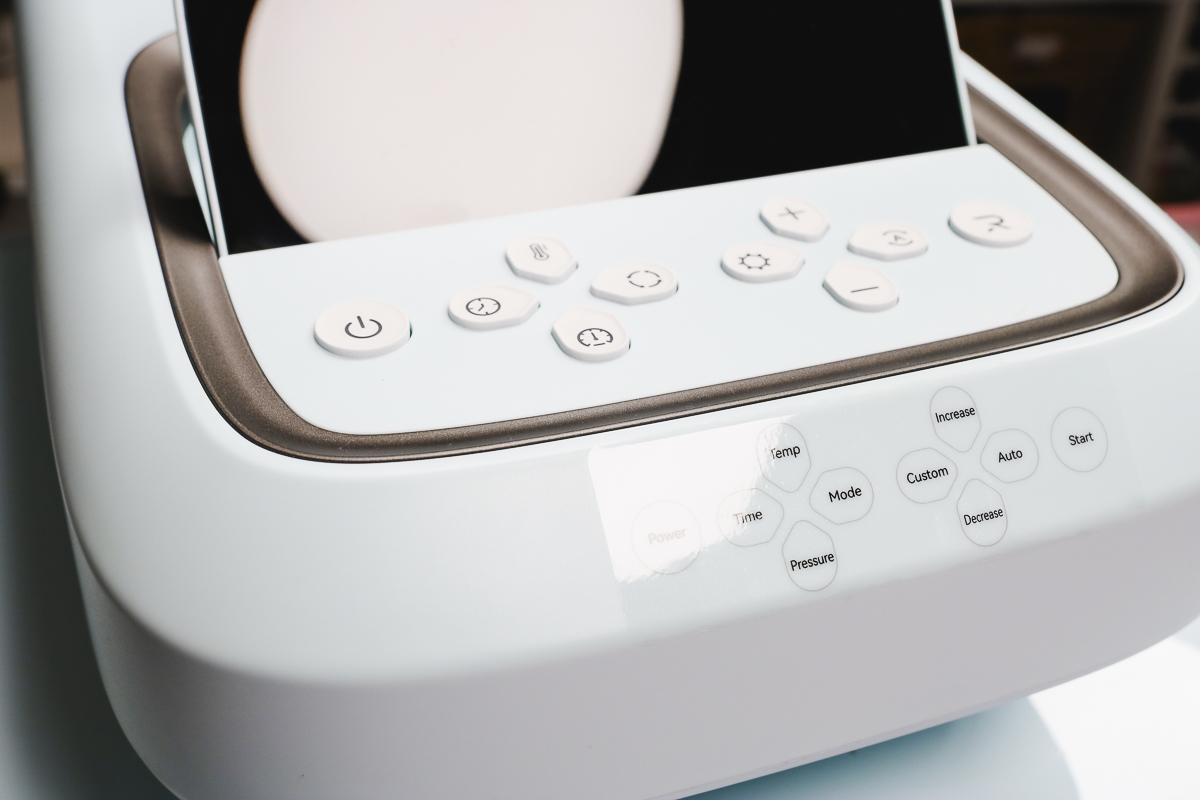
Auto Press 2 Buttons
- Power Button – turns the press on and off.
- Time Button – press and use the + and – buttons to increase or decrease the time.
- Temperature Button – press and use the + and – buttons to increase or decrease temperature.
- Pressure Button – press and adjust pressure with the + and – buttons.
- Mode Button – there are 4 presets that can be adjusted by pressing the Custom button and making adjustments.
- Auto Button – changes the press to Auto mode so it will open and close automatically.
- Start Button – starts and stops the press when Auto mode is turned off.
HTVRont AutoPress Features
Just a few of the features of this press that you may be interested in!
Adjustable Pressure
The HTVRont Auto Press 2 has adjustable pressure. You can adjust the pressure from 50 pounds to 170 pounds. This adjusts in 20 pound increments with the + and – buttons.
50 pounds would be light pressure, 170 pounds would be heavy pressure. I would consider 90ish pounds to be medium pressure and you can adjust the pressure for whatever material you’re using.
Auto Open and Close
The Auto button controls whether or not the press auto starts. In Auto mode and Manual mode, the press will open automatically when the time is up.
When you press the Auto button to turn the auto feature on, the press will start automatically when you close the drawer. It does not change the auto open feature when the timer is up.
Manual Close
The Start button is the HTVRont R. This button starts and stops the press. If you are in Manual mode, you will press the Start button to start the press.
If you need to stop the press for any reason, press the Start button again to stop the press.
How to Make a Sweatshirt with HTVRont Auto Press 2
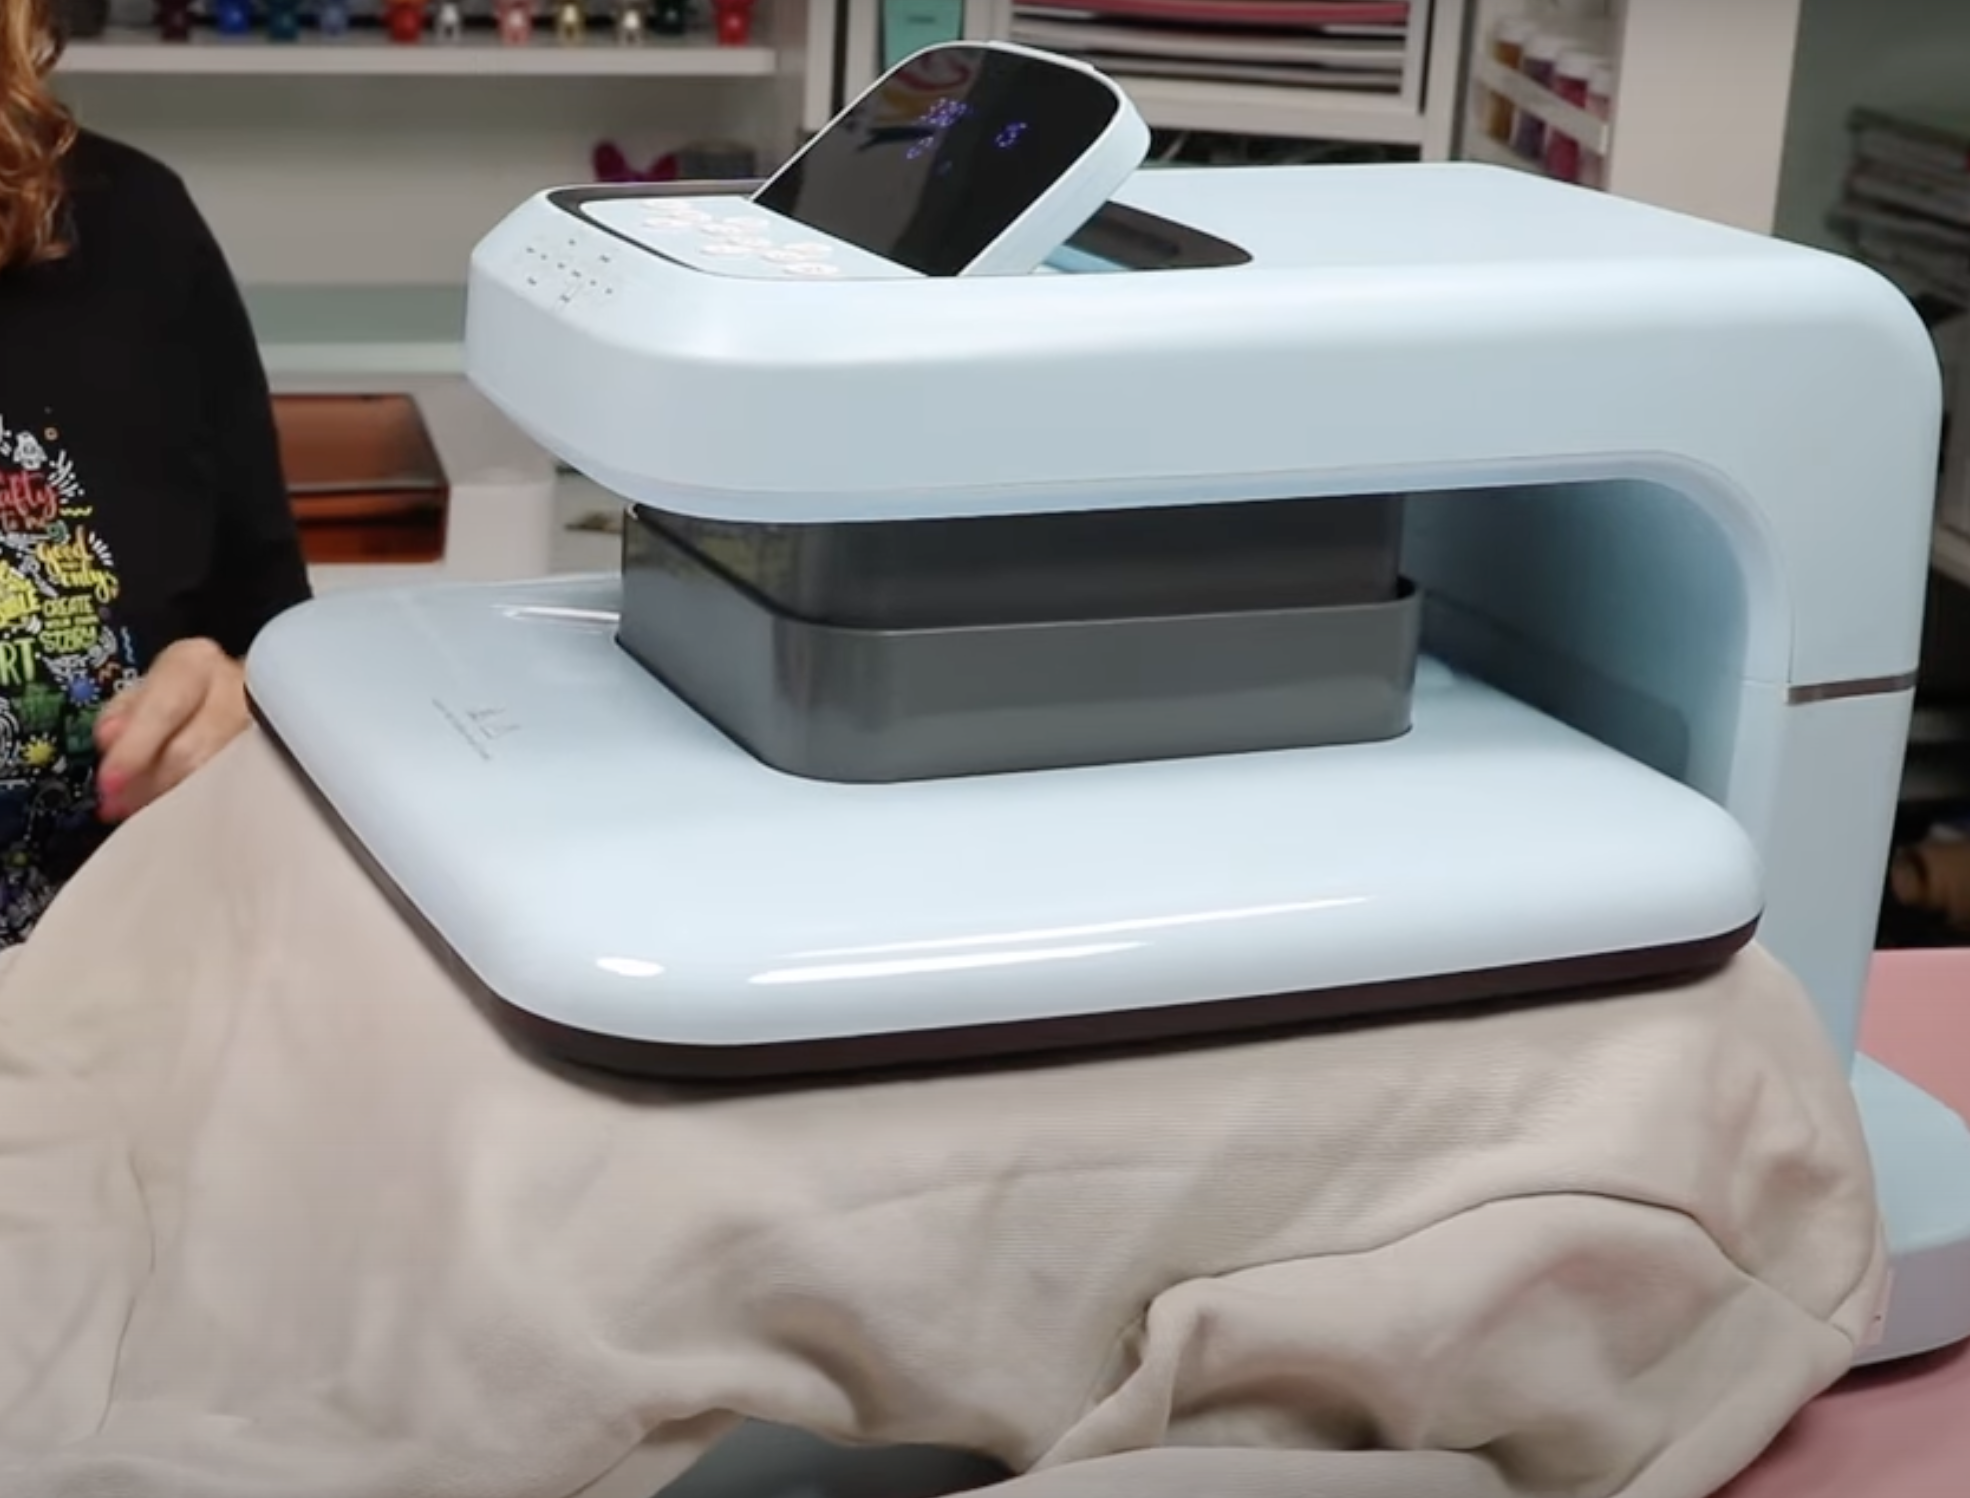
For our first project we’re going to make a layered HTV sweatshirt with puff HTV. I want to use a sweatshirt to show how well the press will do with bulky fabric.
NOTE: I am using a free Santa file for the projects in this post and you can get it here.
Step 1: Preheat Sweatshirt
First we need to preheat the sweatshirt. I have my press set at 320 degrees for 15 seconds. Add the sweatshirt to the drawer and smooth out any wrinkles and preheat for about 10 seconds.
Step 2: Add HTV to the Sweatshirt
This is a layered HTV design. We’ll press the regular HTV first. Ensure the carrier sheet doesn’t overlap any of the pieces and press the first layer.
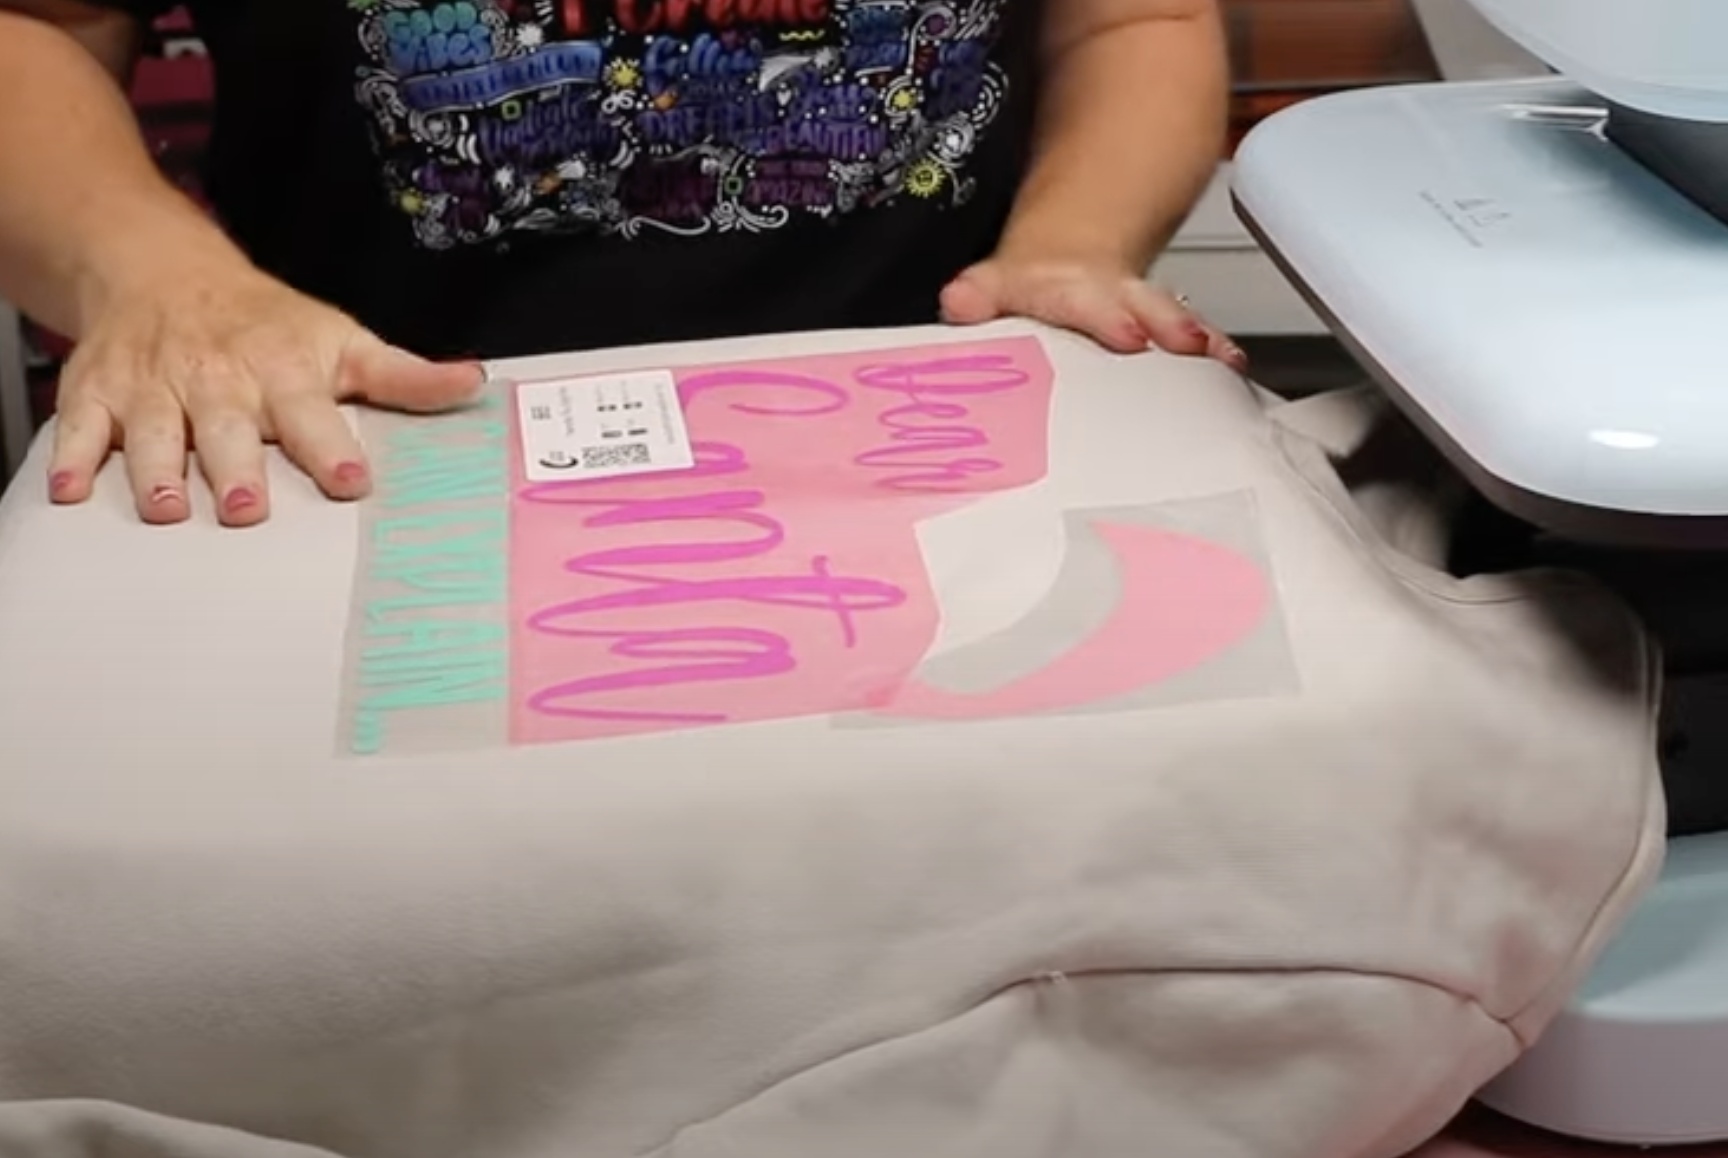
When using multiple colors make sure they all have a similar time and temperature.
I am using the press in Manual mode so I’ll close the drawer and then press the Start button. The timer is set for 15 seconds and it will automatically open when the time is up.
This HTV is a warm material. Do not peel it hot, allow the adhesive to adhere to the fabric for a few seconds and then slowly peel back the carrier sheet.
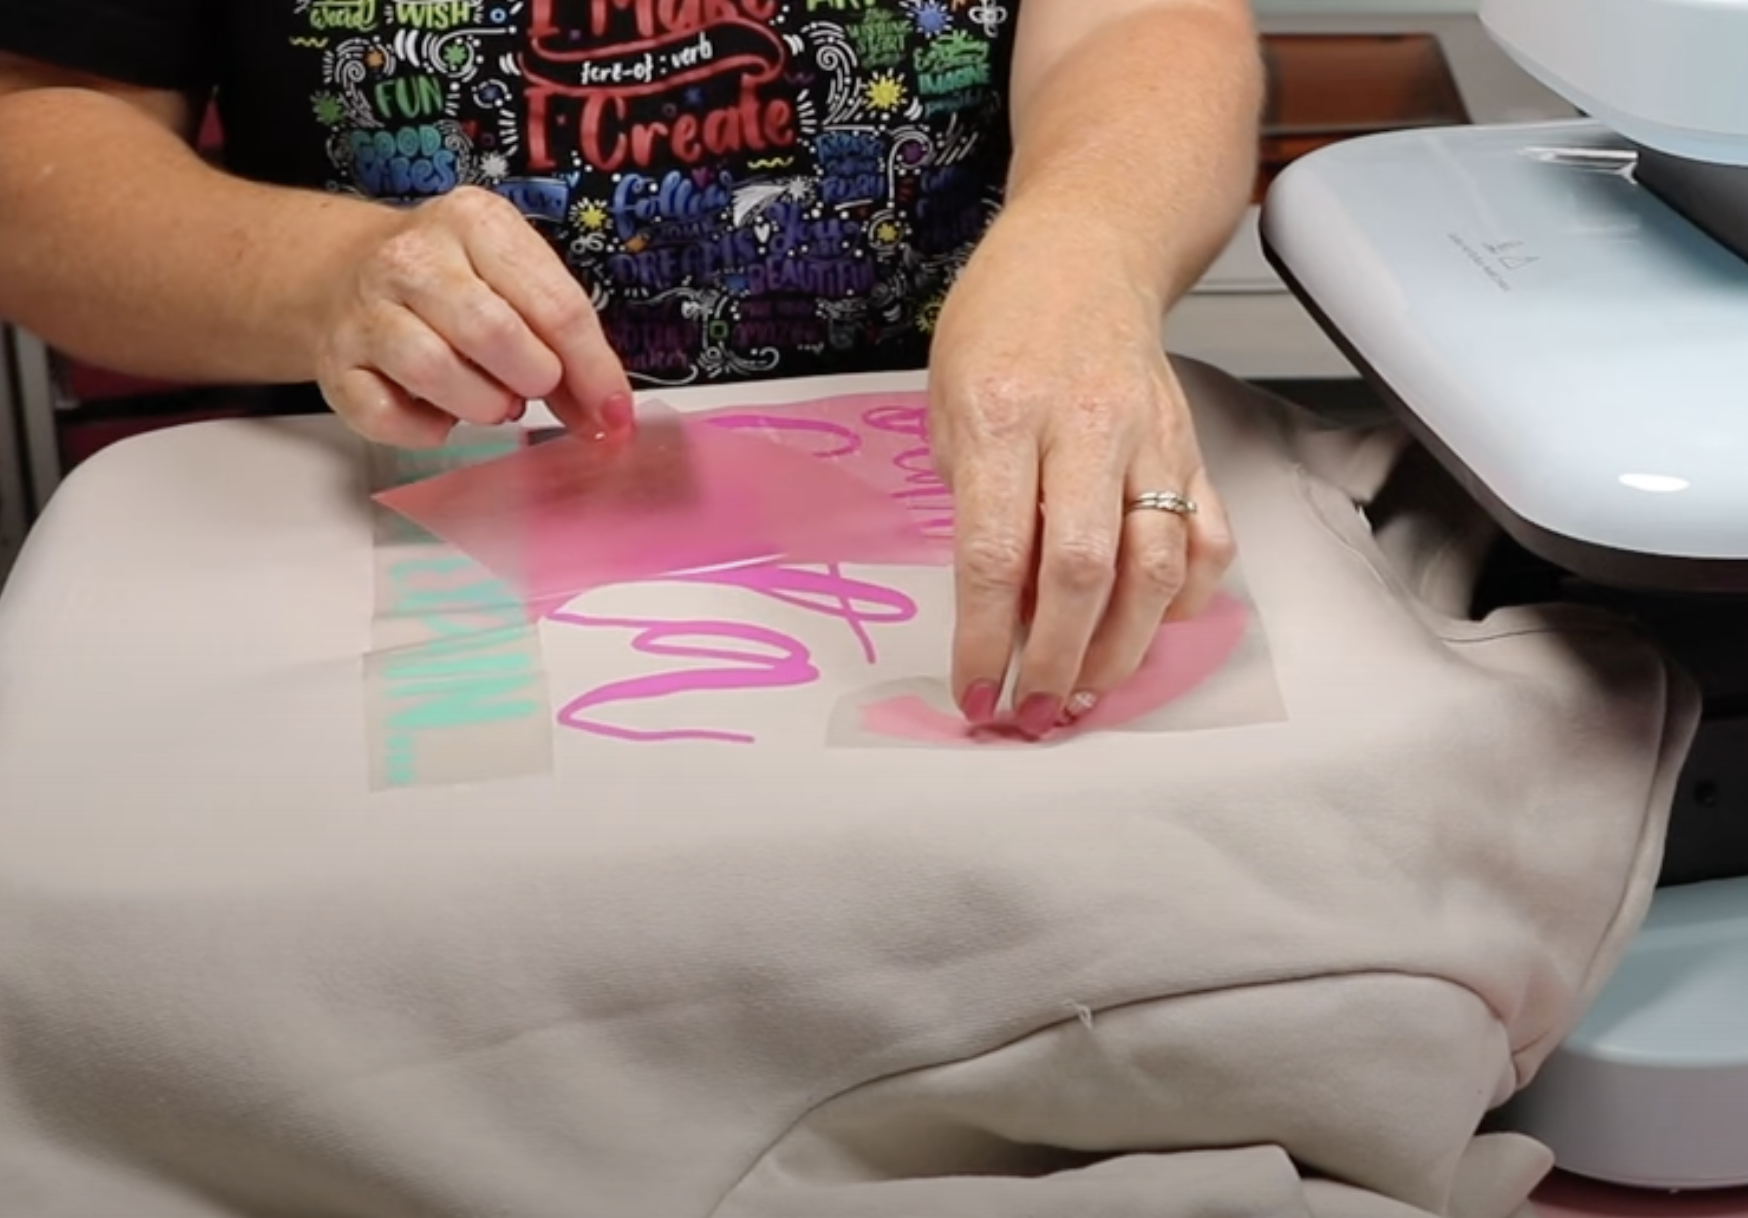
Step 3: Add Puff HTV Layer to the Sweatshirt
Next, we need to change the temperature on the heat press to 305 for 10 seconds. Make sure you check the brand and color of your puff HTV, the settings are different for every puff HTV.
Puff HTV also requires heavy pressure. Adjust the pressure to 170 which is the maximum.
Add the puff HTV layer to the sweatshirt and cover the whole design with the Teflon sheet.
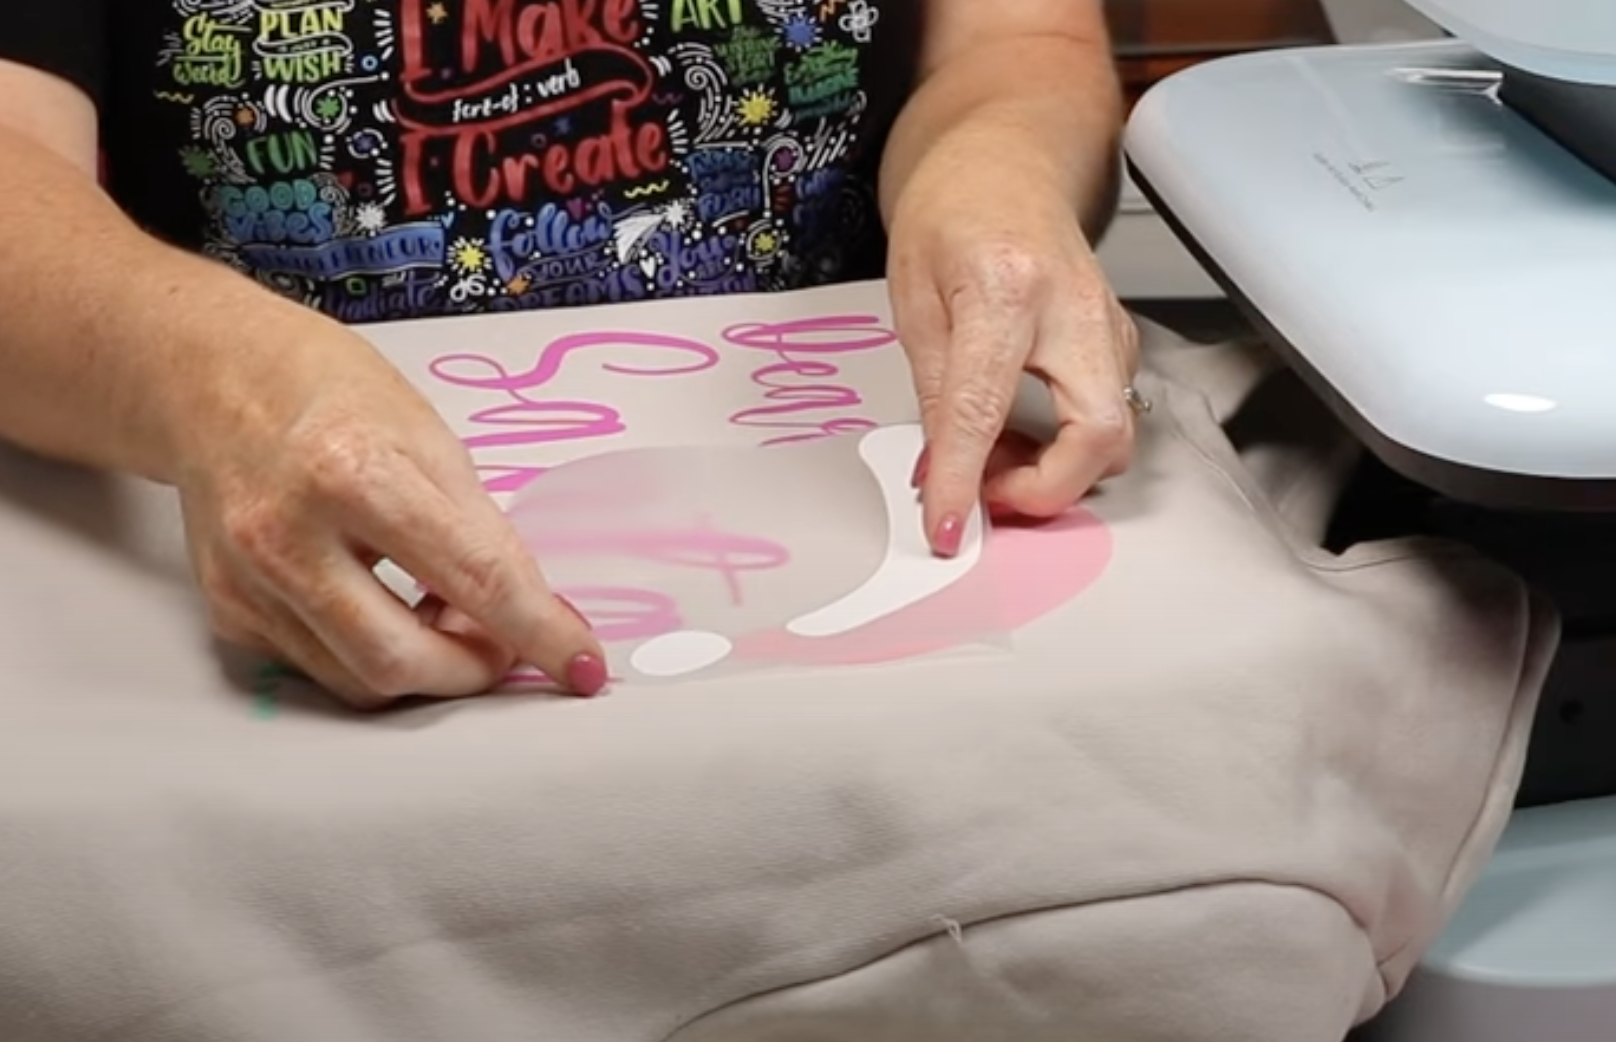
The instructions for this puff HTV are to press for 3 seconds, remove the liner, and then press again for 8 seconds.
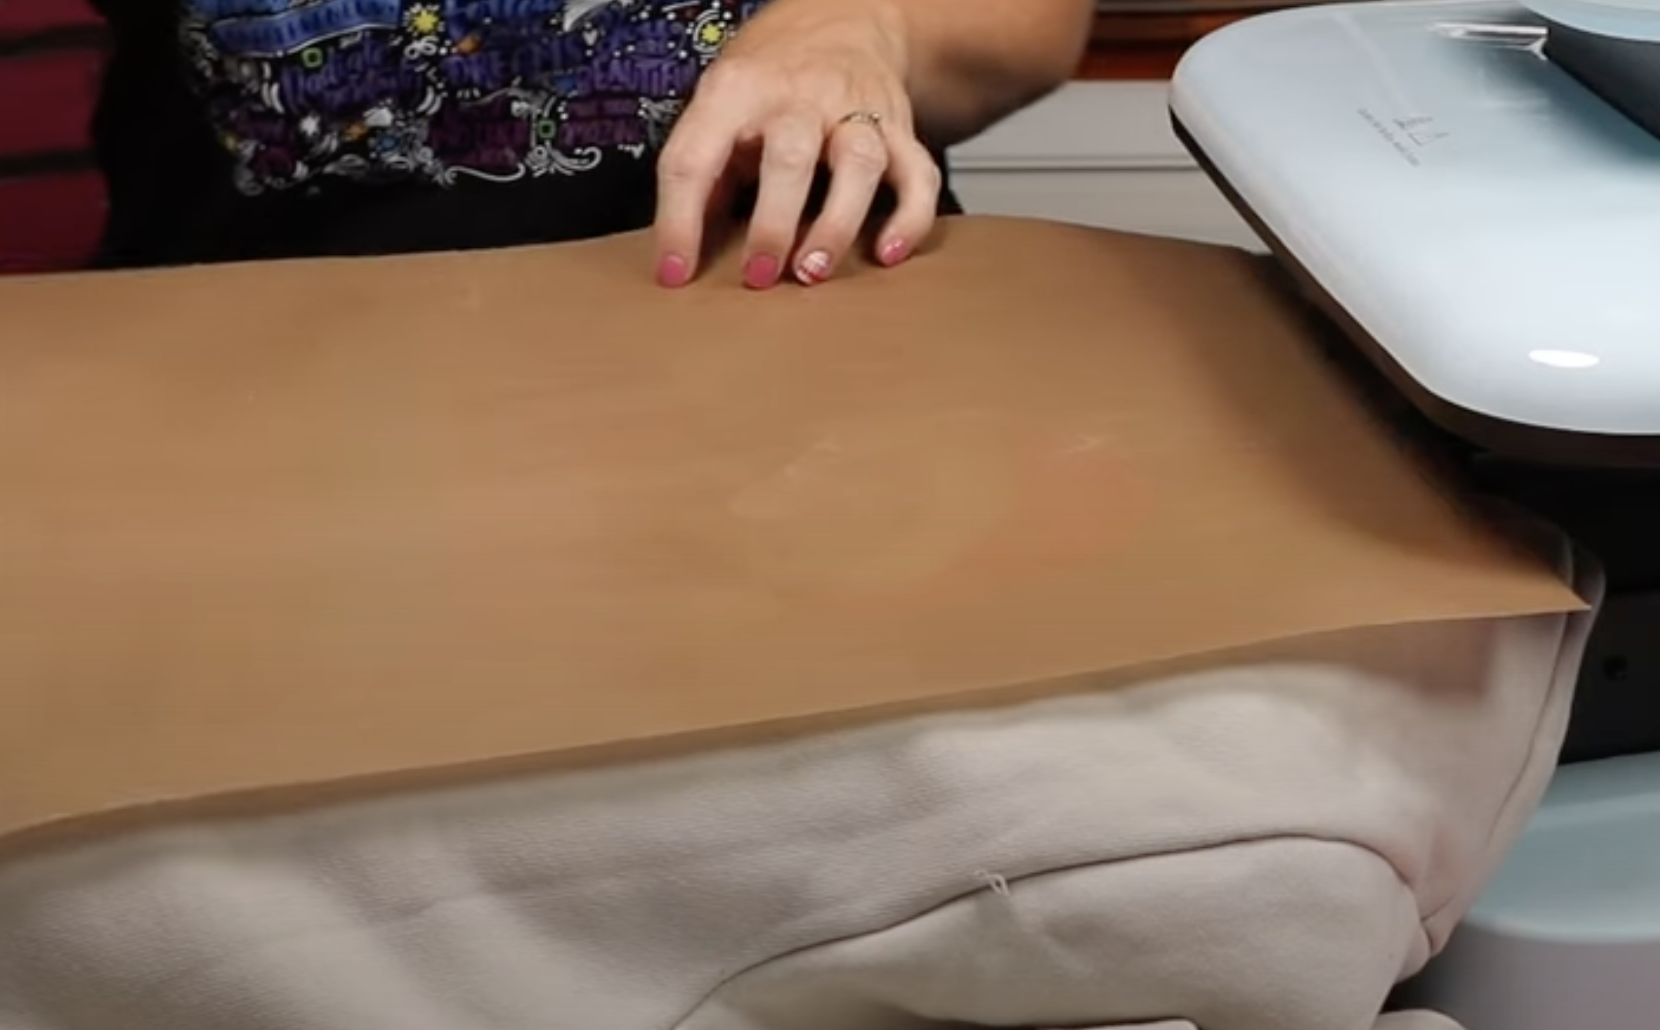
With the press in Manual mode close the press and press Start for 3 seconds. Press the Start button again to stop the press and remove the carrier sheet.
Cover the design with the Teflon sheet again and press for 8 more seconds. When the 8 seconds is up, press the Start button again to open the press and remove the Teflon sheet.
Sweatshirt Results
Puff HTV is a tempermental material. Finished puff HTV should be puffed up and smooth.
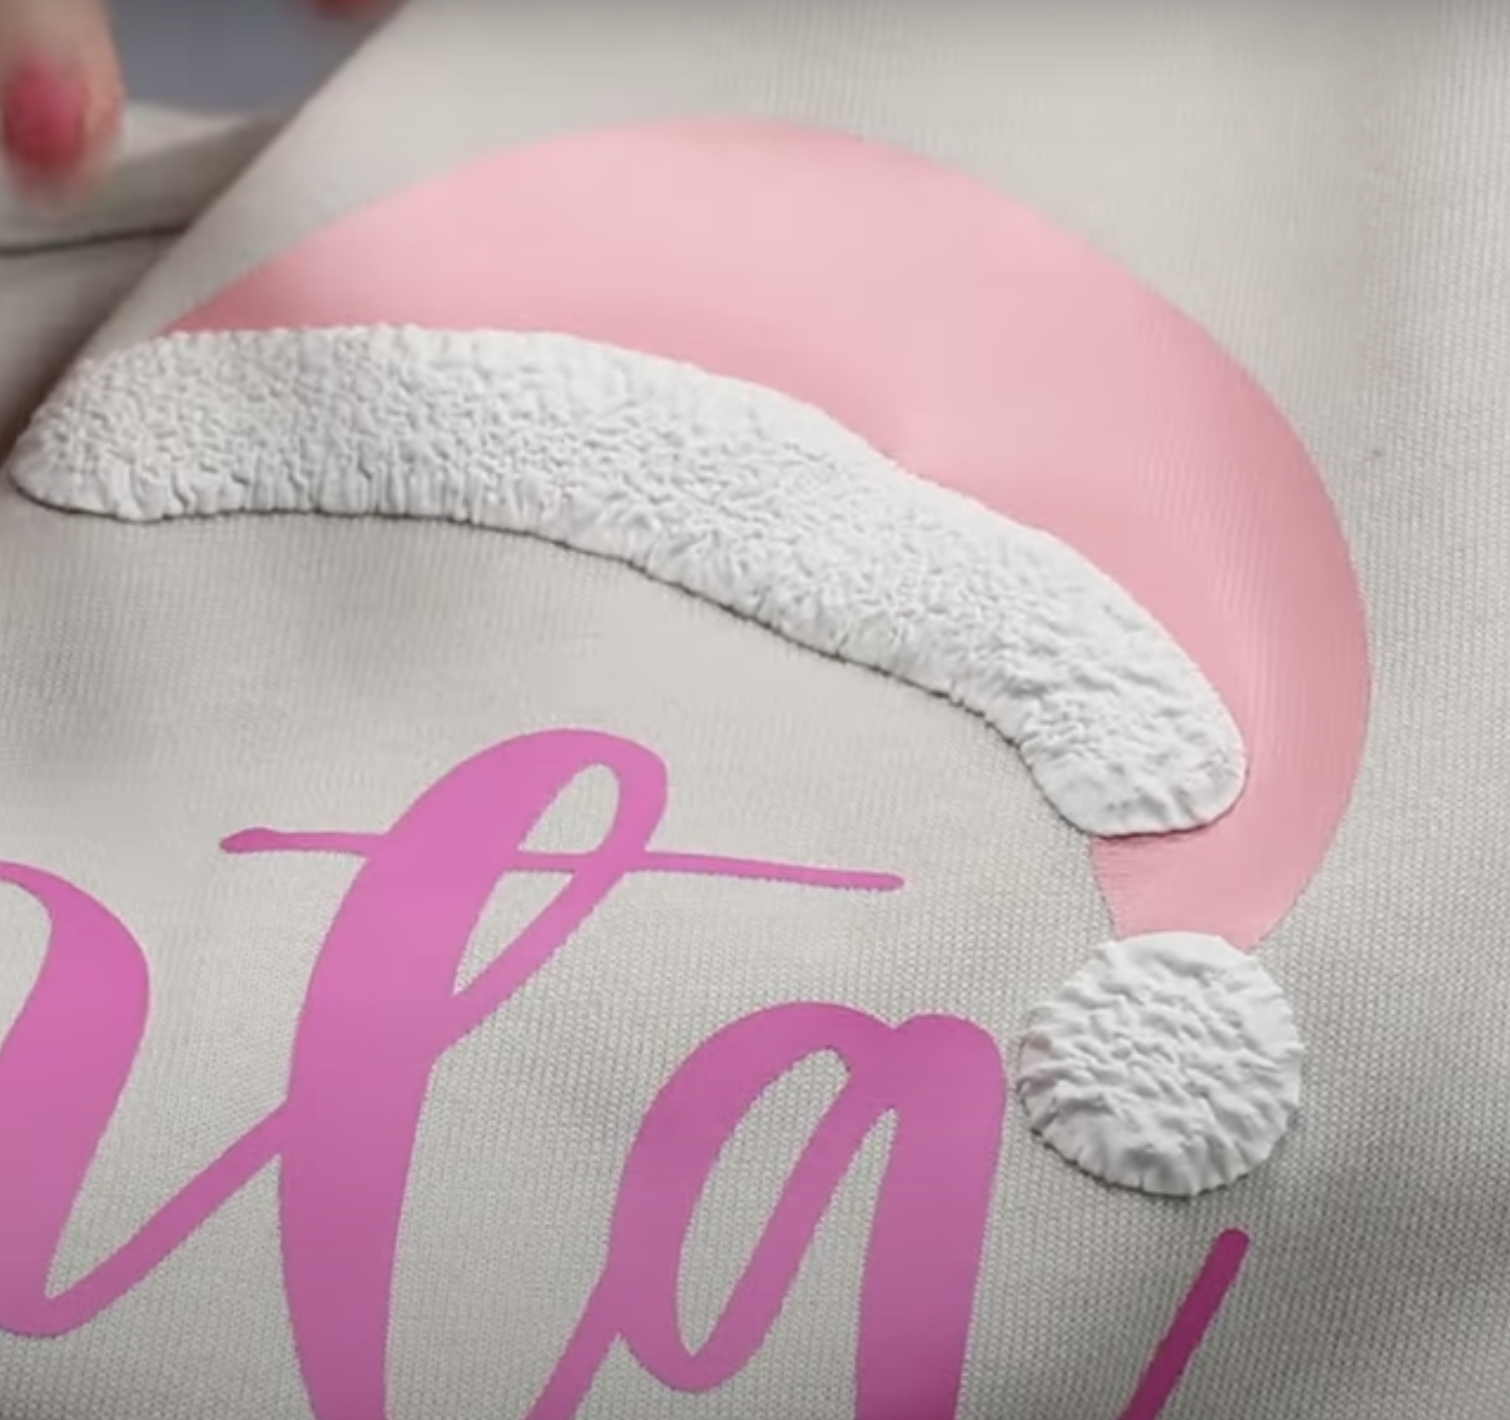
The puff on this project is very wrinkled. Luckily for this design, the wrinkle works out really well. However, that isn’t how Puff HTV is supposed to look.
Even with the highest pressure setting with this press, I couldn’t get a smooth puff finish.

As I said, for my design having a wrinkled puff worked and looked cute. It may not work out for your design so I would try puff on a test material first to see if it works for you.
Sublimation Shirt with HTVRont Auto Press 2
Next, we’re going to make a sublimation shirt to see how the Auto Press 2 does with sublimation.
Step 1: Preheat the Shirt
Set the time to 55 seconds and the temperature to 385 degrees with 70 pounds of pressure.
Preheat the shirt for about 10 seconds to remove any moisture and wrinkles. For sublimation, you need to use a light or white colored shirt with a high polyester count.
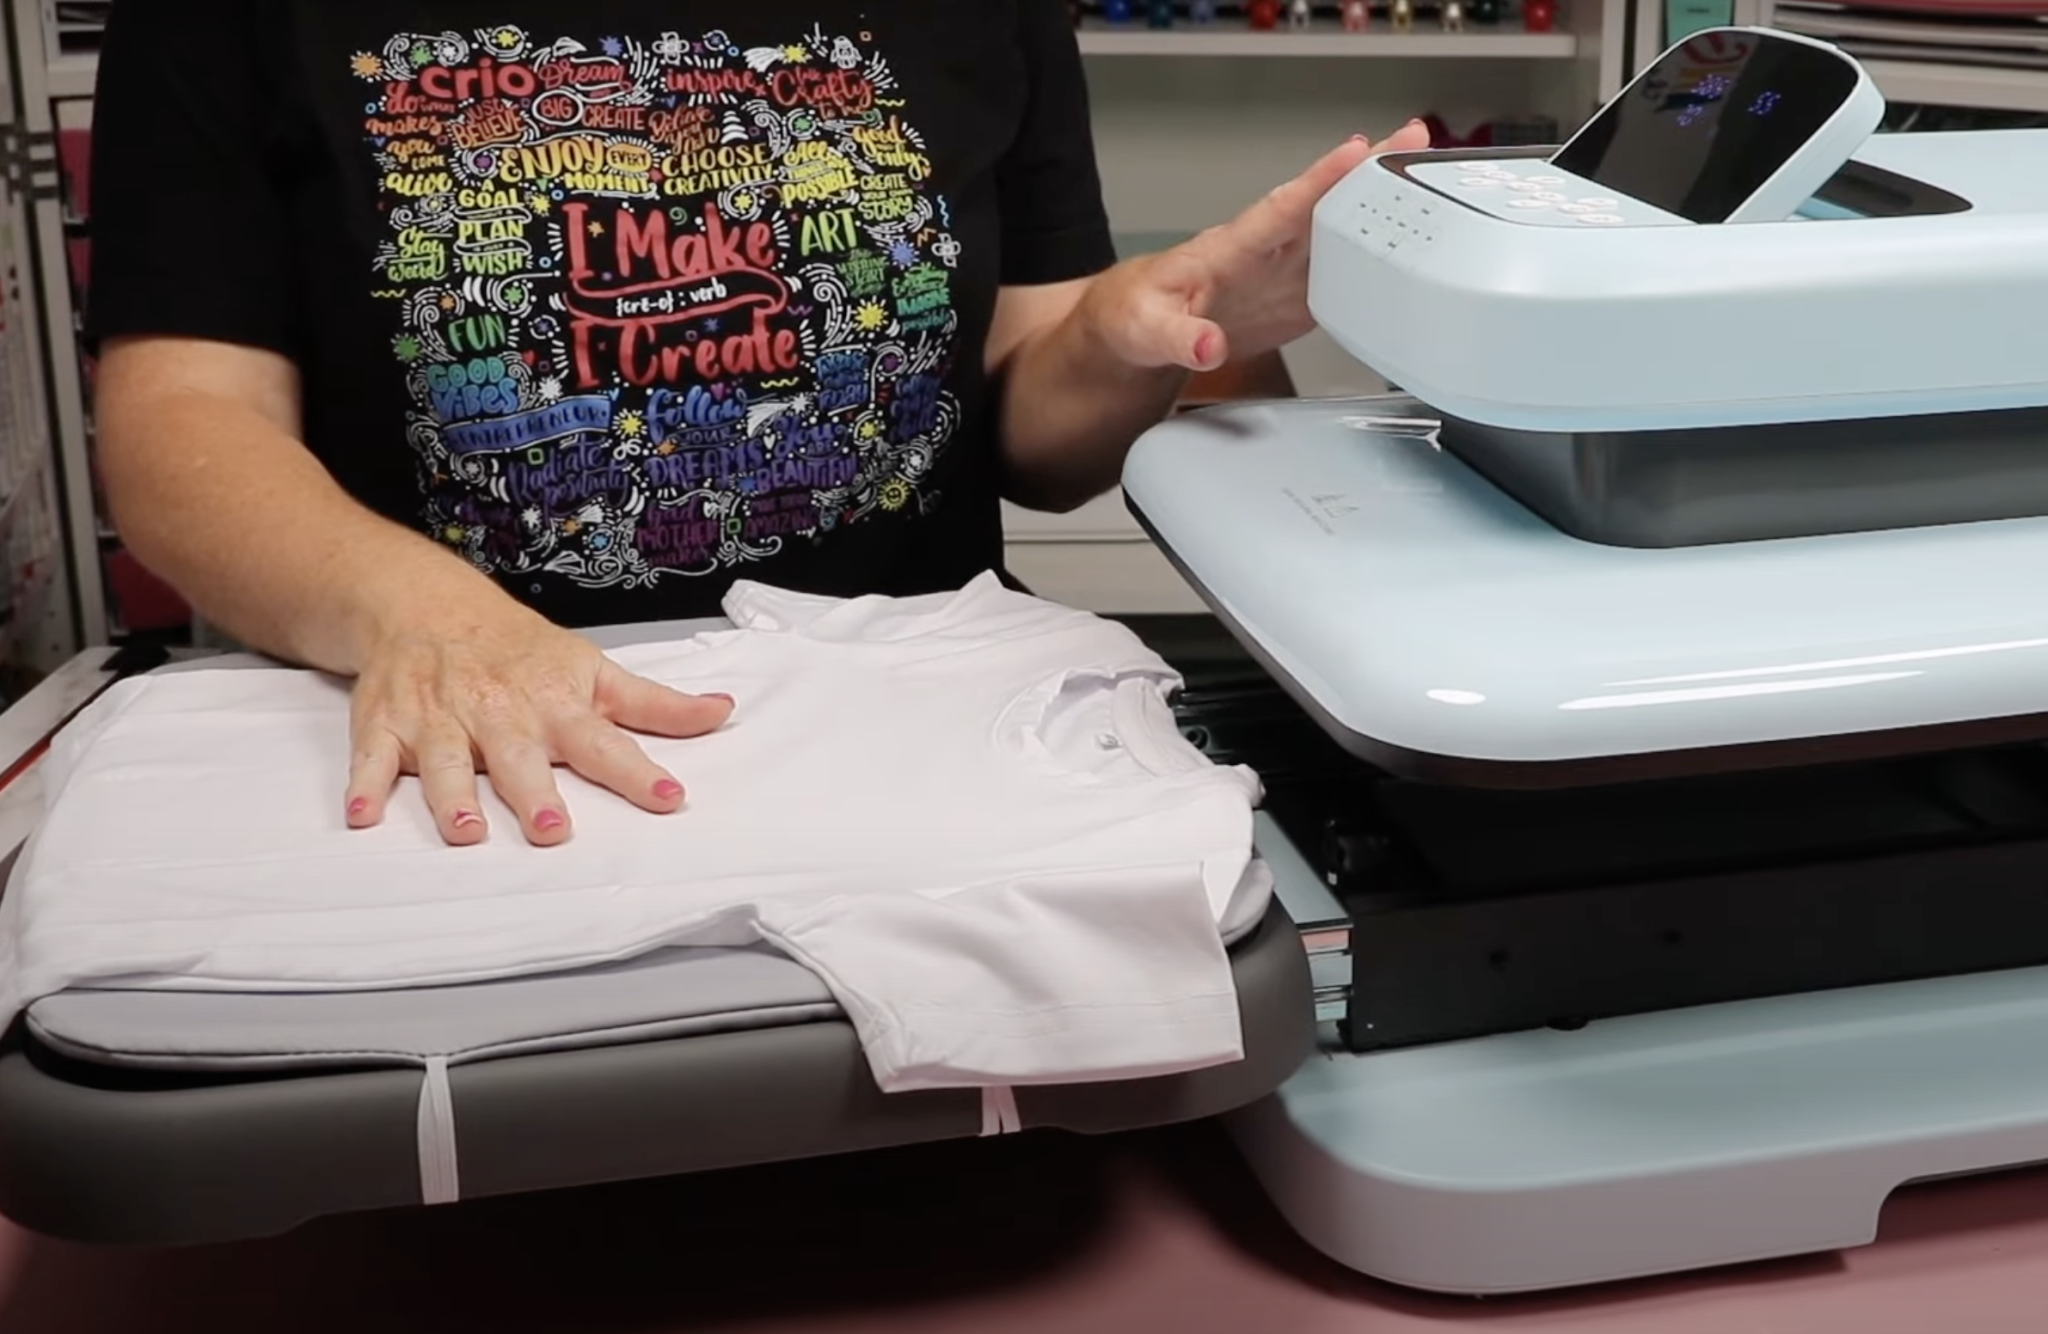
Step 2: Prepare the Shirt
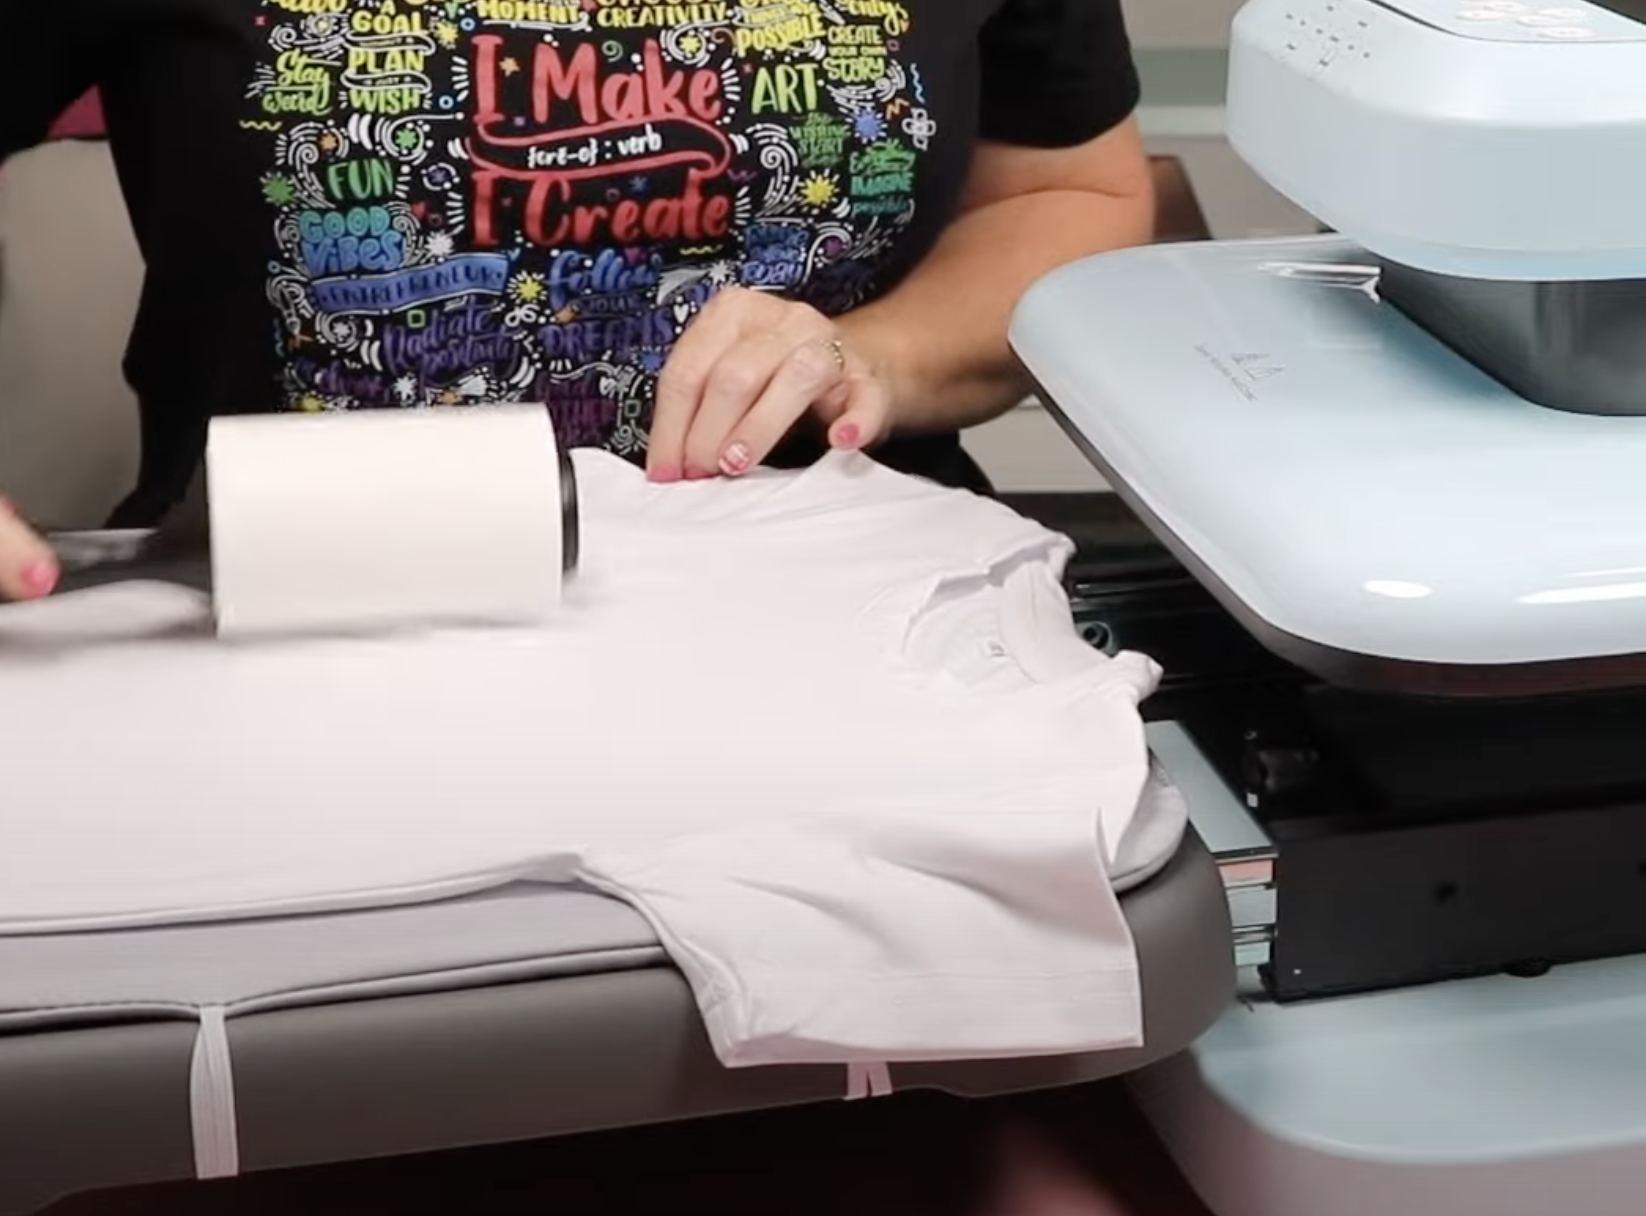
Lint roll the surface to remove any lint, dust, hair, etc.
Add protective paper inside the shirt to protect the back from any sublimation ink bleeding through.
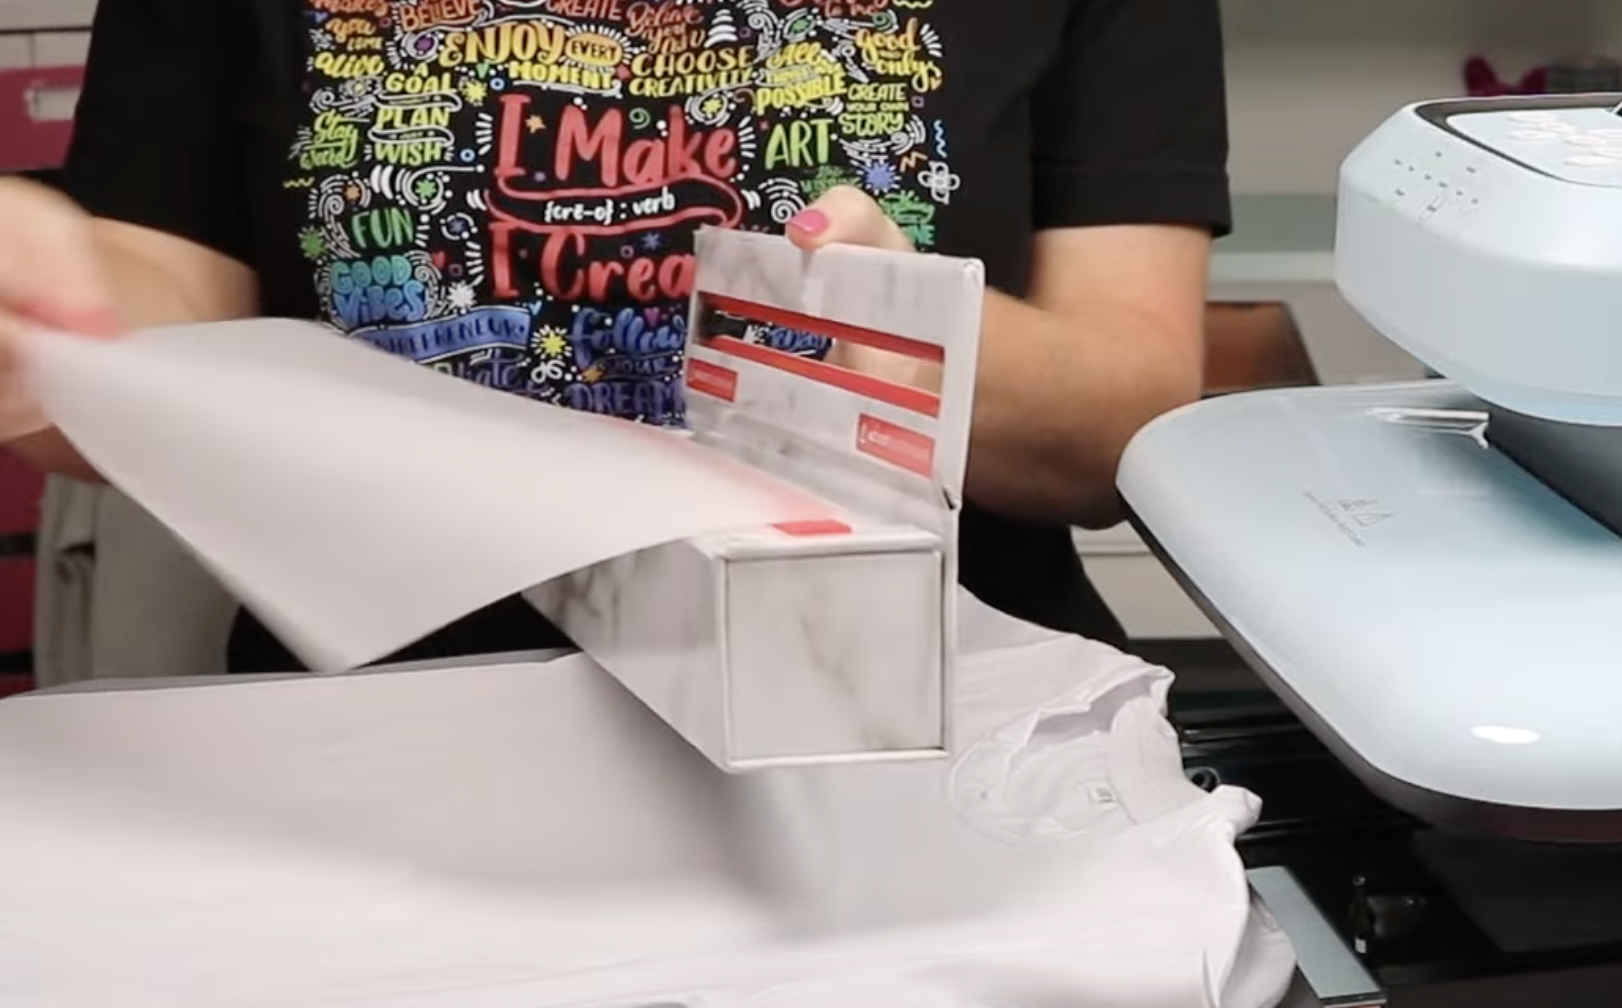
Locate the sublimation print onto the shirt. A sublimation print is sublimation ink printed onto sublimation paper from a sublimation printer.
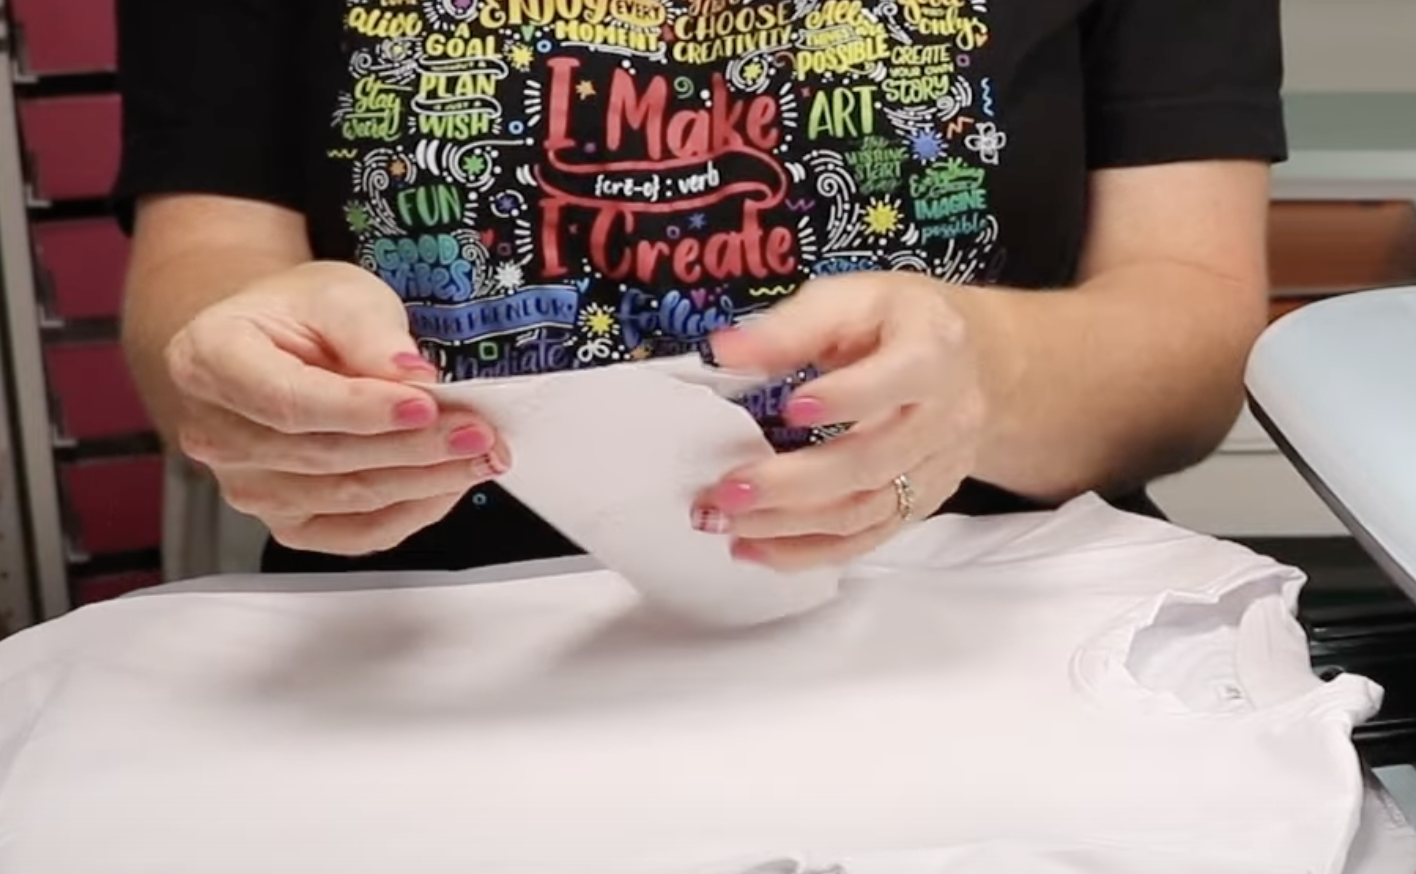
Tear the edges to help prevent pressing marks and tape into place with heat-resistant tape.
Step 3: Press Sublimation Shirt
Cover with protective paper and press for 55 seconds. I have the press set to Auto mode so as soon as I close the drawer the press will automatically start.
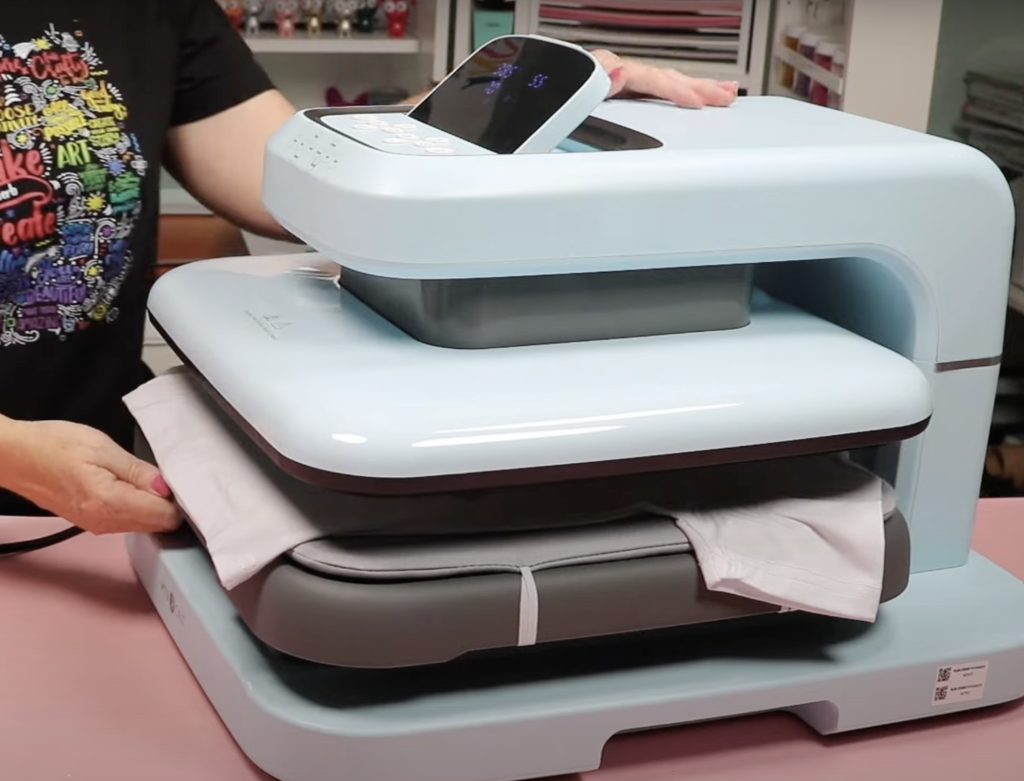
When the time is up, the press will open and then we can peel back the sublimation print.
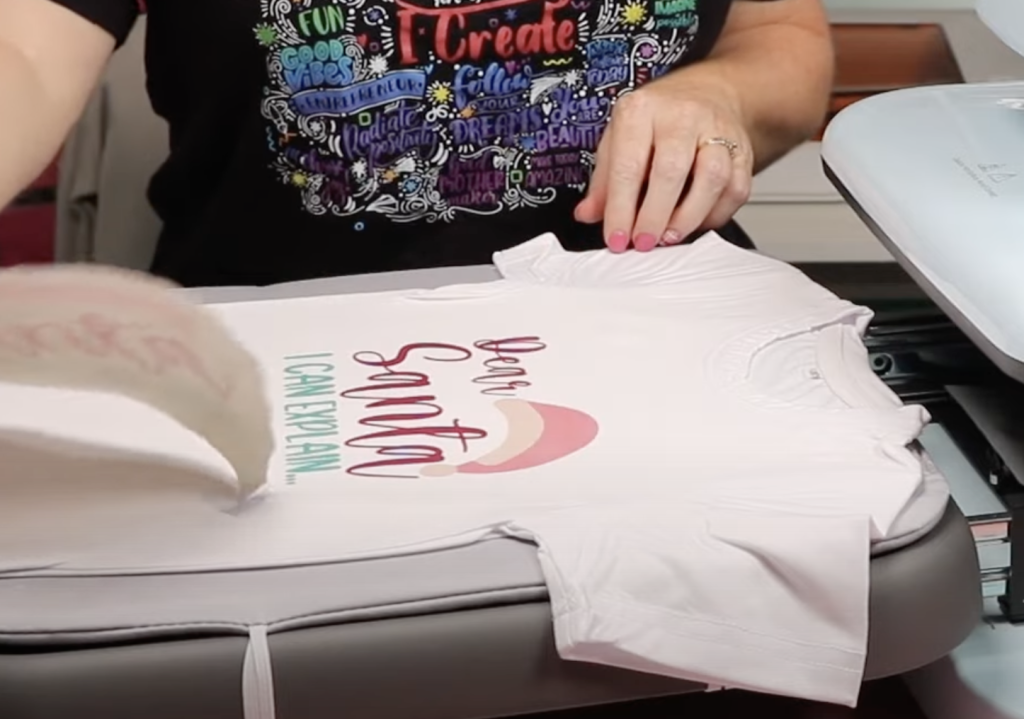
Sometimes the static from the press can cause the protective paper to stick to the heat platen. If that happens, carefully reach around the drawer and remove the protective sheet before sliding the drawer in.
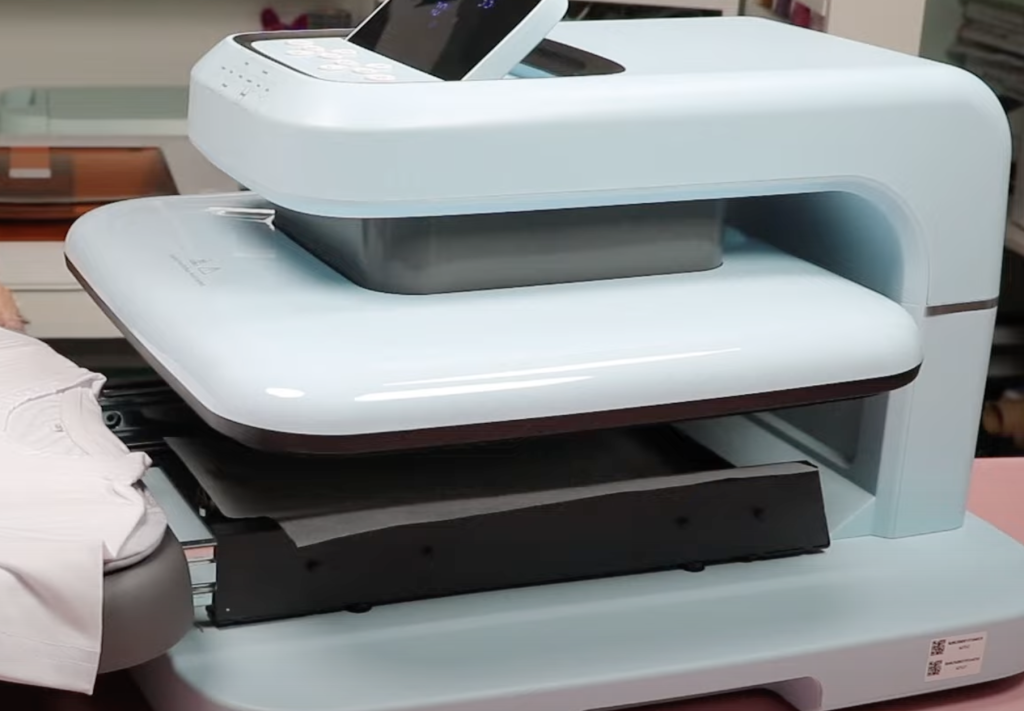
Sublimation Shirt Results
Sublimation works perfectly with the HTVRont Auto Press 2. My shirt turned out perfectly.

Sublimation Ceramic Coaster with HTVRont Auto Press 2
For the next project, I am going to make a ceramic coaster to test a thicker blank that requires a longer press time.
Step 1: Prepare Coaster
The ceramic coaster calls for 6 minutes at 400 degrees with a pressure of 90 pounds.
To adjust the time quickly hold down the + button. That will increase the speed more quickly than pressing it multiple times.
Clean the sublimation coaster with a lint roller and then locate the design on the coaster and secure it in place with heat-resistant tape.
Step 2: Press Coaster
Add protective paper to the top and the bottom, place the whole sublimation sandwich in the middle of the mat, and close the drawer.
With the press in Auto mode, it will start automatically and when it’s done it’ll open automatically.
Use heat-resistant gloves to remove the coaster from the press and peel back the sublimation print to reveal the finished coaster.
Sublimation Coaster Results
Even with the thicker material and longer press time, this coaster turned out perfectly. You can definitely make sublimation coasters with the Auto Press 2.
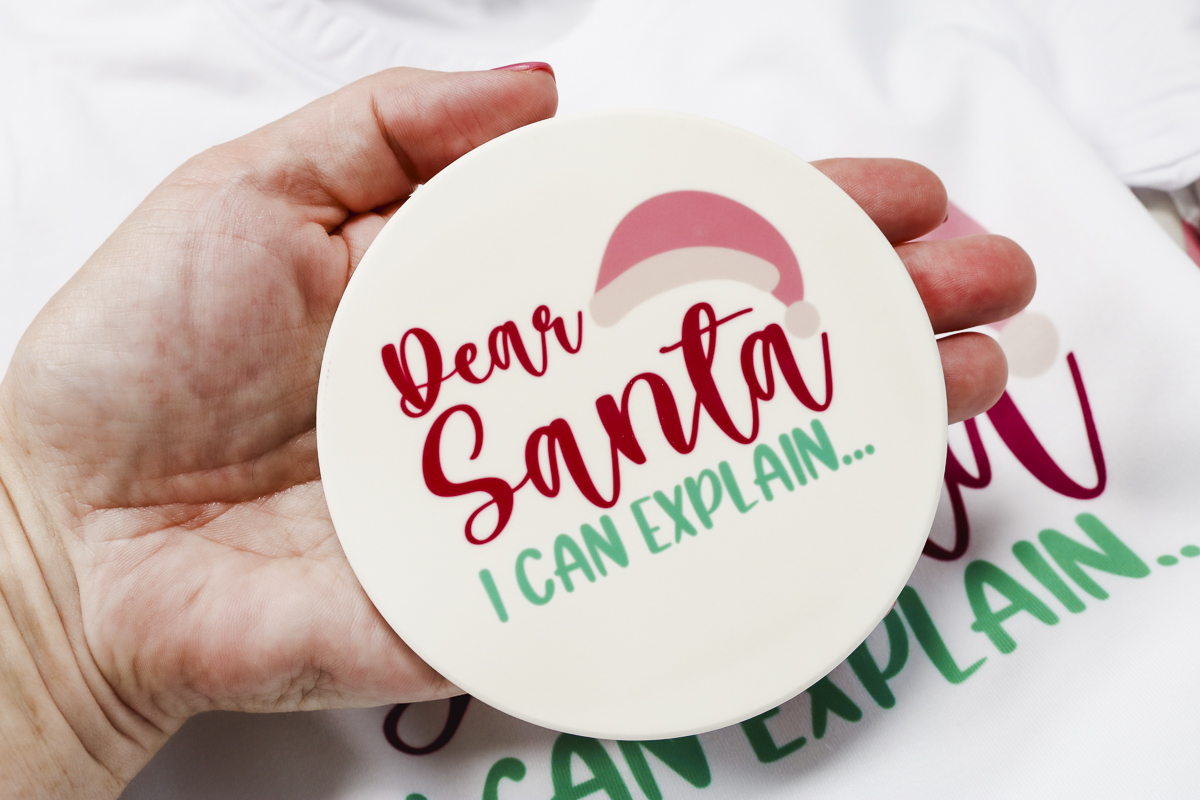
DTF Prints with HTVRont Auto Press 2
The last material we’re going to test today is a DTF print.
Step 1: Prepare and Prepress Blank
I’m setting the press at 325 degrees for 15 seconds and increasing the pressure to the highest pressure setting of 170 pounds.
The press will beep when the temperature is right.
I’m making a small makeup bag with a DTF print. I ordered my DTF print because I do not have a DTF printer.
For zipper pouches, I like to hang the zipper off the edge. I changed the press to Manual mode for this project so I can get everything adjusted before I close it.
Prepress for about 10 seconds and then lint roll and locate the DTF print. Use heat-resistant tape to hold the print in place.
Step 2: Press Blank
Add the zipper pouch back to the HTVRont AutoPress 2 and press for 15 seconds.
While the print is still warm peel back the carrier sheet to reveal the finished DTF bag. You can do a post press with DTF to get the print into the fabric but it isn’t necessary for little bags like this.
DTF Print Results
The Auto Press 2 did great with DTF. The heavy pressure is heavy enough for DTF prints.
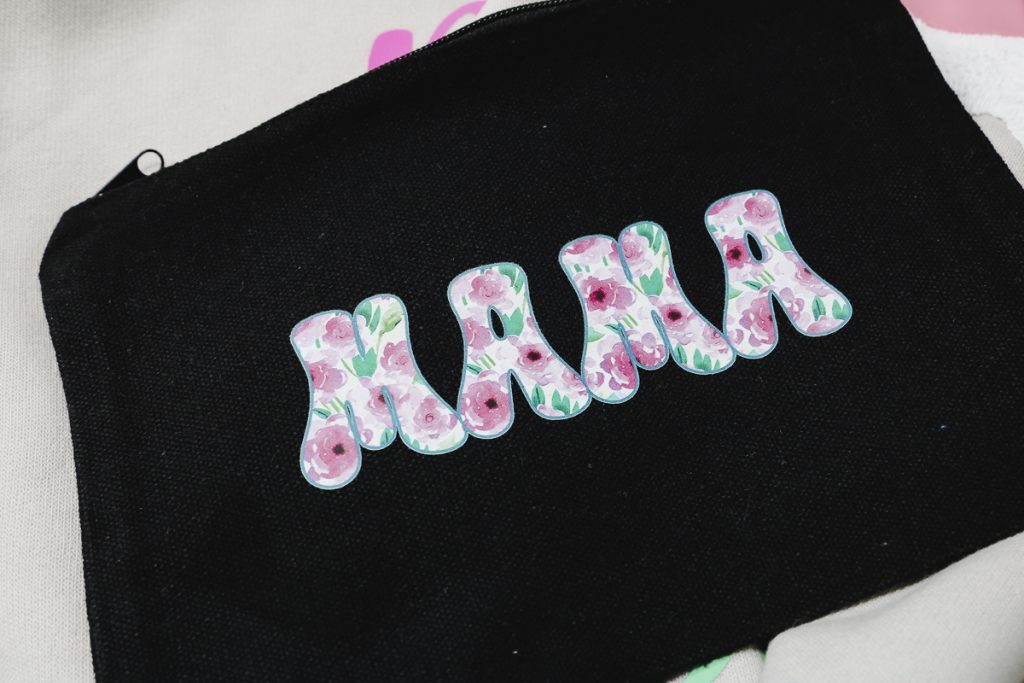
How is the HTVRont Auto Press 2 Different than the Original Auto Press?
Now that we’ve seen the Auto Press 2 on several different projects let’s compare it to the original HTVRont Auto Press.
- I like this one better than the original. The buttons are updated and the screen lifts up making it easier to see from different angles.
- The best thing they changed is the adjustable pressure. The original press only had one pressure and I struggled with that on a lot of projects.
- Along with the adjustable pressure, the opening appears to be a little larger making it work better with bulky items. The opening isn’t huge so you may struggle with very thick projects.
- The drawer pulls out further so your hands aren’t near the heat plate.
- The mat is better and more firm.
- You can remove the mat and use a different one if you want which could give you more pressure.
- The only project I struggled with today was the Puff HTV. That material calls for very heavy pressure so I expect you’d struggle with any puff with the Auto Press 2. You could possibly get Puff to work by adding a board or doing other testing, it did not work with the mat that came with it.
I was not a fan of the original HTVRont Auto Press. It is probably my lowest rated heat press. I like this one a lot more, if you’re looking for an inexpensive press that has an auto open and auto close feature you may want to look at this one.
HTVRont Auto Press 2 Review
I was more impressed with this press than I expected to be. It worked well with both the DTF print and the sublimation projects.
It has enough pressure for heavy pressure materials like DTF and the temperature gets hot enough for sublimation.
I was able to press both a thick coaster and a sweatshirt and it worked perfectly on regular HTV.
It did not work on the puff HTV. Luckily for me, the messed-up puff worked well for my design.
I think this is a very good press and it’s affordable. If you’re looking for something that has auto open, auto close, and adjustable pressure this may be the right machine for you.
Where to Purchase the HTVRont AutoPress 2
Have you decided that this is the right press for you? Click here to shop and purchase this press for yourself! I think you will really like it!
I hope I’ve answered any questions you have about the HTVRont Auto Press 2. If you have any additional questions leave them in the comments and I’ll be happy to answer them for you.

