This post and photos may contain Amazon or other affiliate links. If you purchase something through any link, I may receive a small commission at no extra charge to you. Any supplies used may be given to me free of charge, however, all projects and opinions are my own.
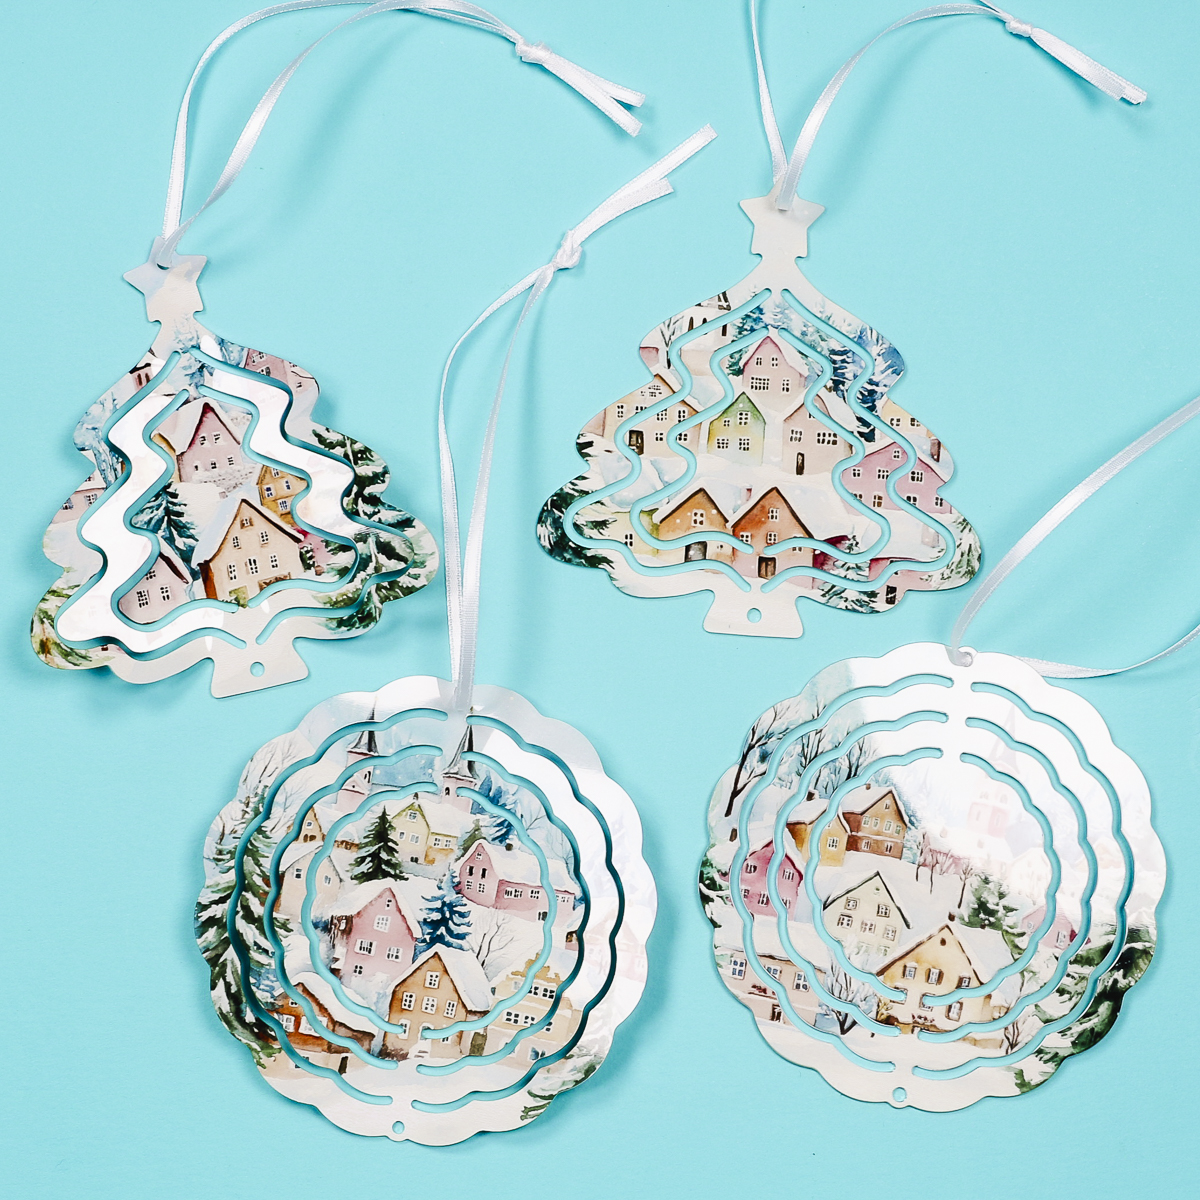
I am so excited to show you how to make these adorable Christmas sublimation wind spinner ornaments. I’m a huge fan of sublimation wind spinners and these small wind spinners make perfect Christmas ornaments.
If you haven’t made a sublimation wind spinner before I have a full tutorial on those that you may find helpful.
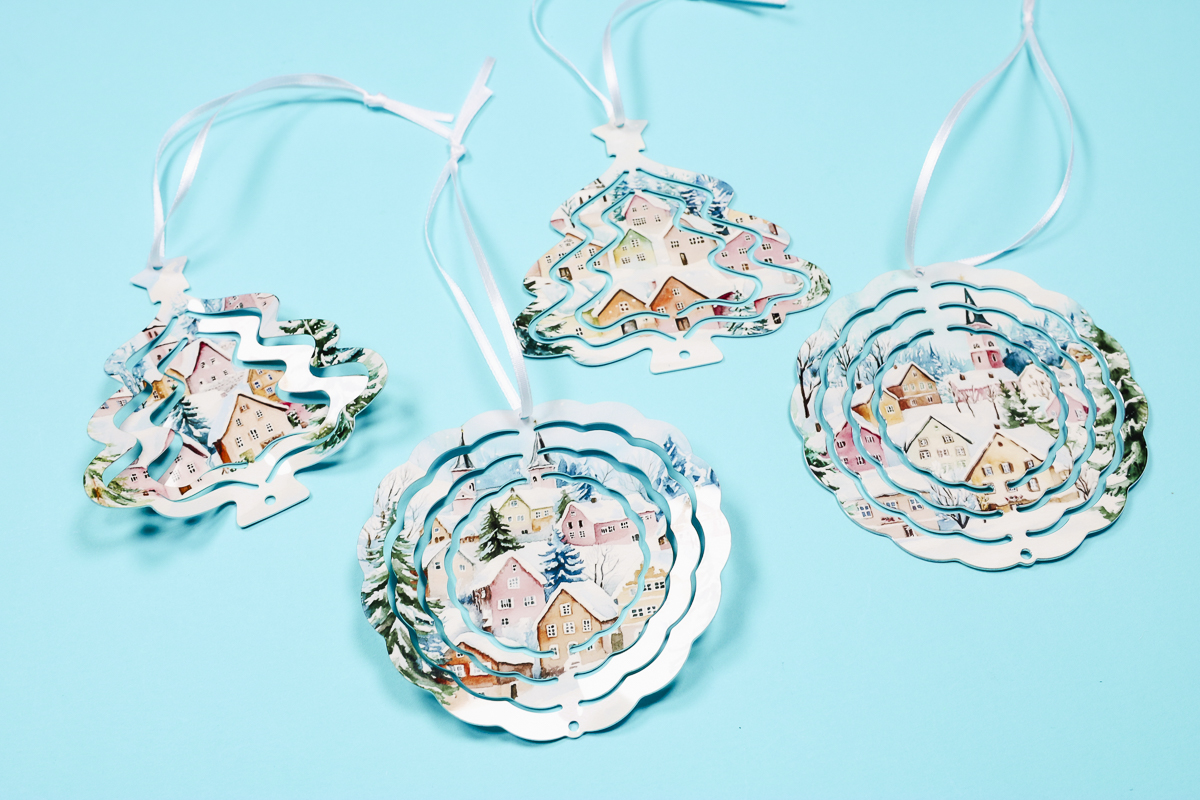
These wind spinners aren’t actually Christmas ornaments. They’re adorable 4″ wind spinners and when I saw them I knew they’d look great on my tree.
You can watch me make these from start to finish by pressing play on the video below.
Table of Contents
How to Make Christmas Sublimation Wind Spinners
If you’ve ever made a sublimation wind spinner, the process is the same for these ornaments.
I am using these Christmas village designs for my ornaments. You can use any design that coordinates with your decor. If you like these designs you can get them for free at the link below.
Supplies Used
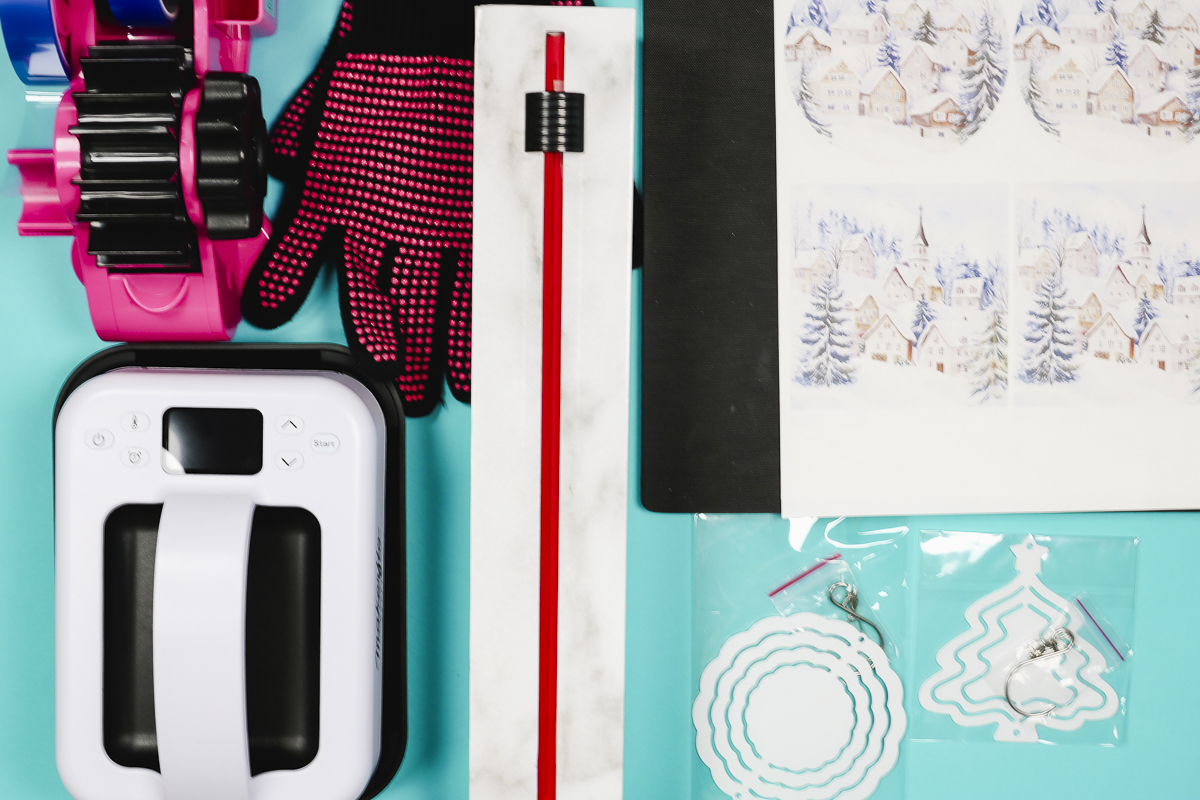
Step 1. Prepare Sublimation Blanks
The first thing we need to do is prepare the sublimation wind spinners. These wind spinners are double sided so we can add sublimation prints to both sides.
With all sublimation blanks check both the front and back sides for any protective coverings. My larger wind spinners had protective plastic on both sides but these smaller ones didn’t.
Please don’t take my word for it, always check every blank. You never know when they will decide to start putting them on.
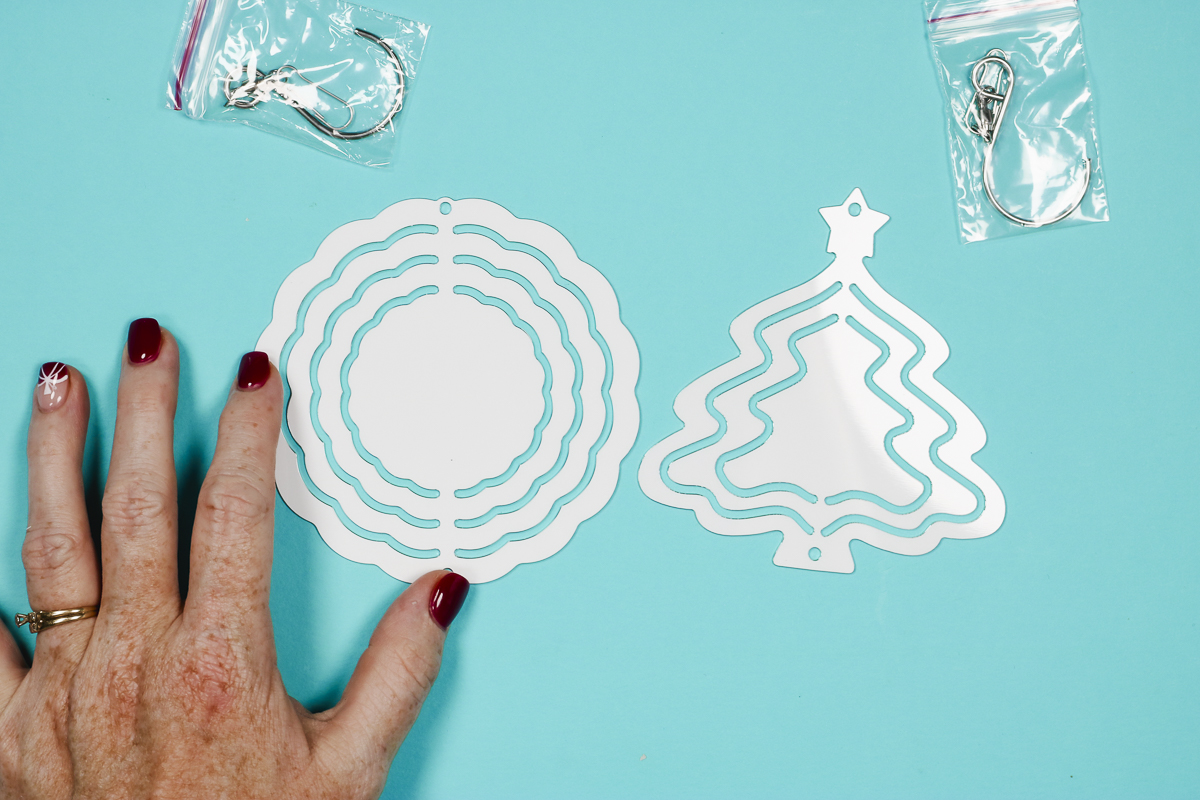
Next, we’re going to measure the blanks. We want to ensure the design is large enough to cover the entire blank.
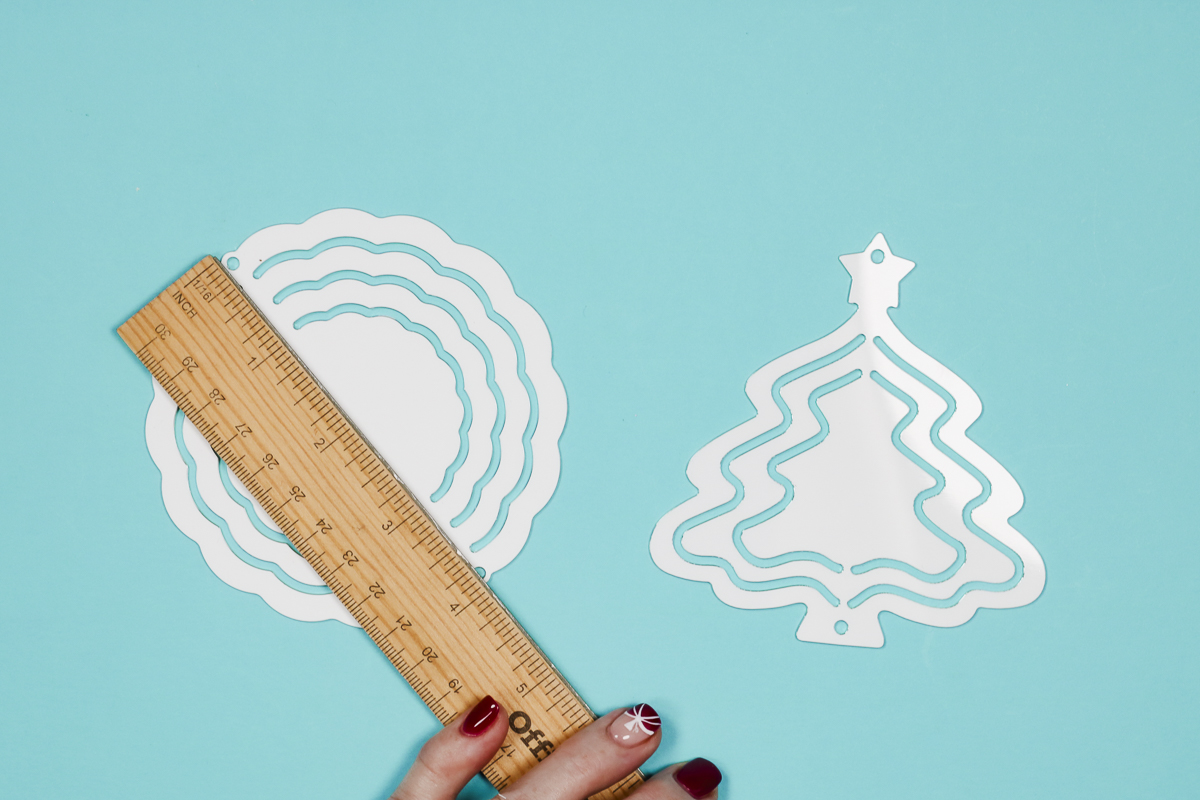
Make sure to document the measurements of both the height and width, especially with odd shapes like the Christmas Tree.
Step 2. Prepare Designs to Fit Sublimation Christmas Wind Spinners
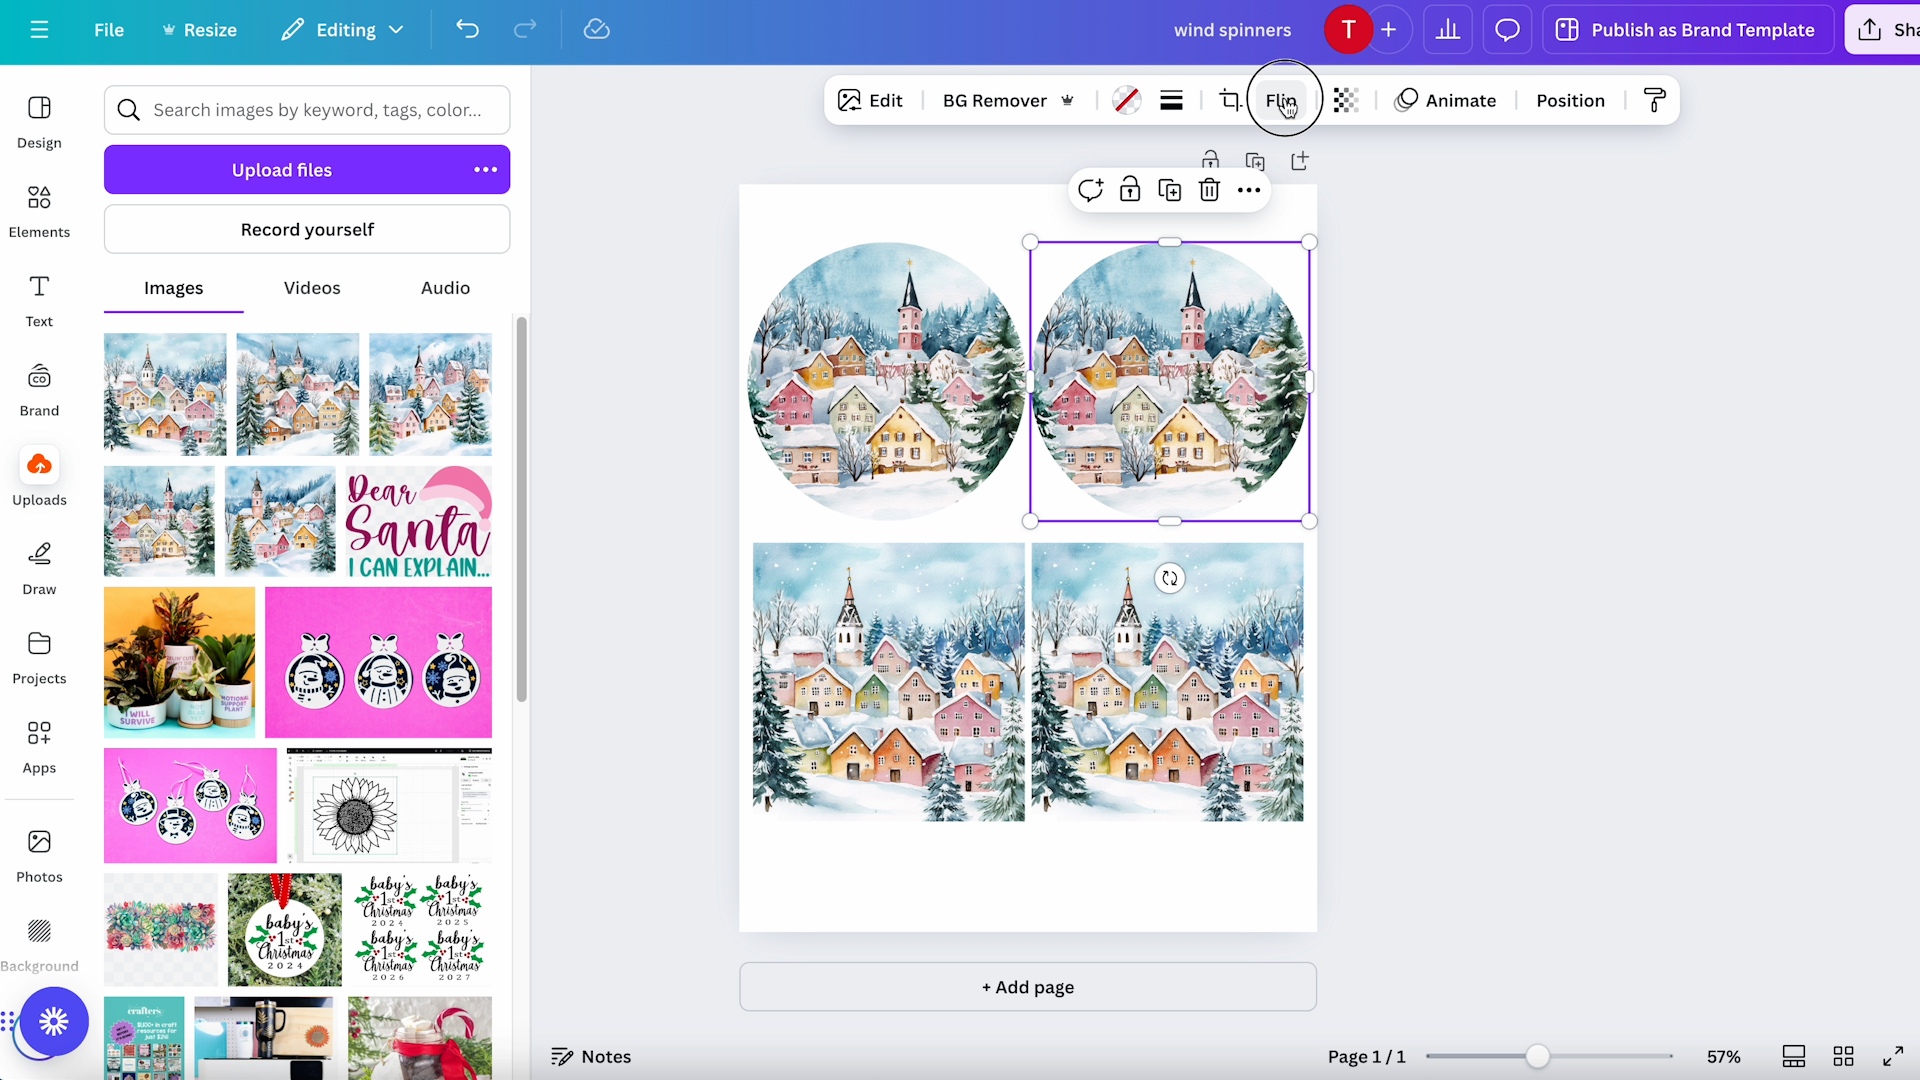
I used Canva to resize the designs. I started with a custom-sized canvas of 8.5 by 11 inches because that is the size of the paper I’ll be printing onto.
Next, I’m going to add the first shape onto the canvas. For the round wind spinner, I’m adding a circle frame, this will allow me to drop the image into the frame and it will shape it into a circle.
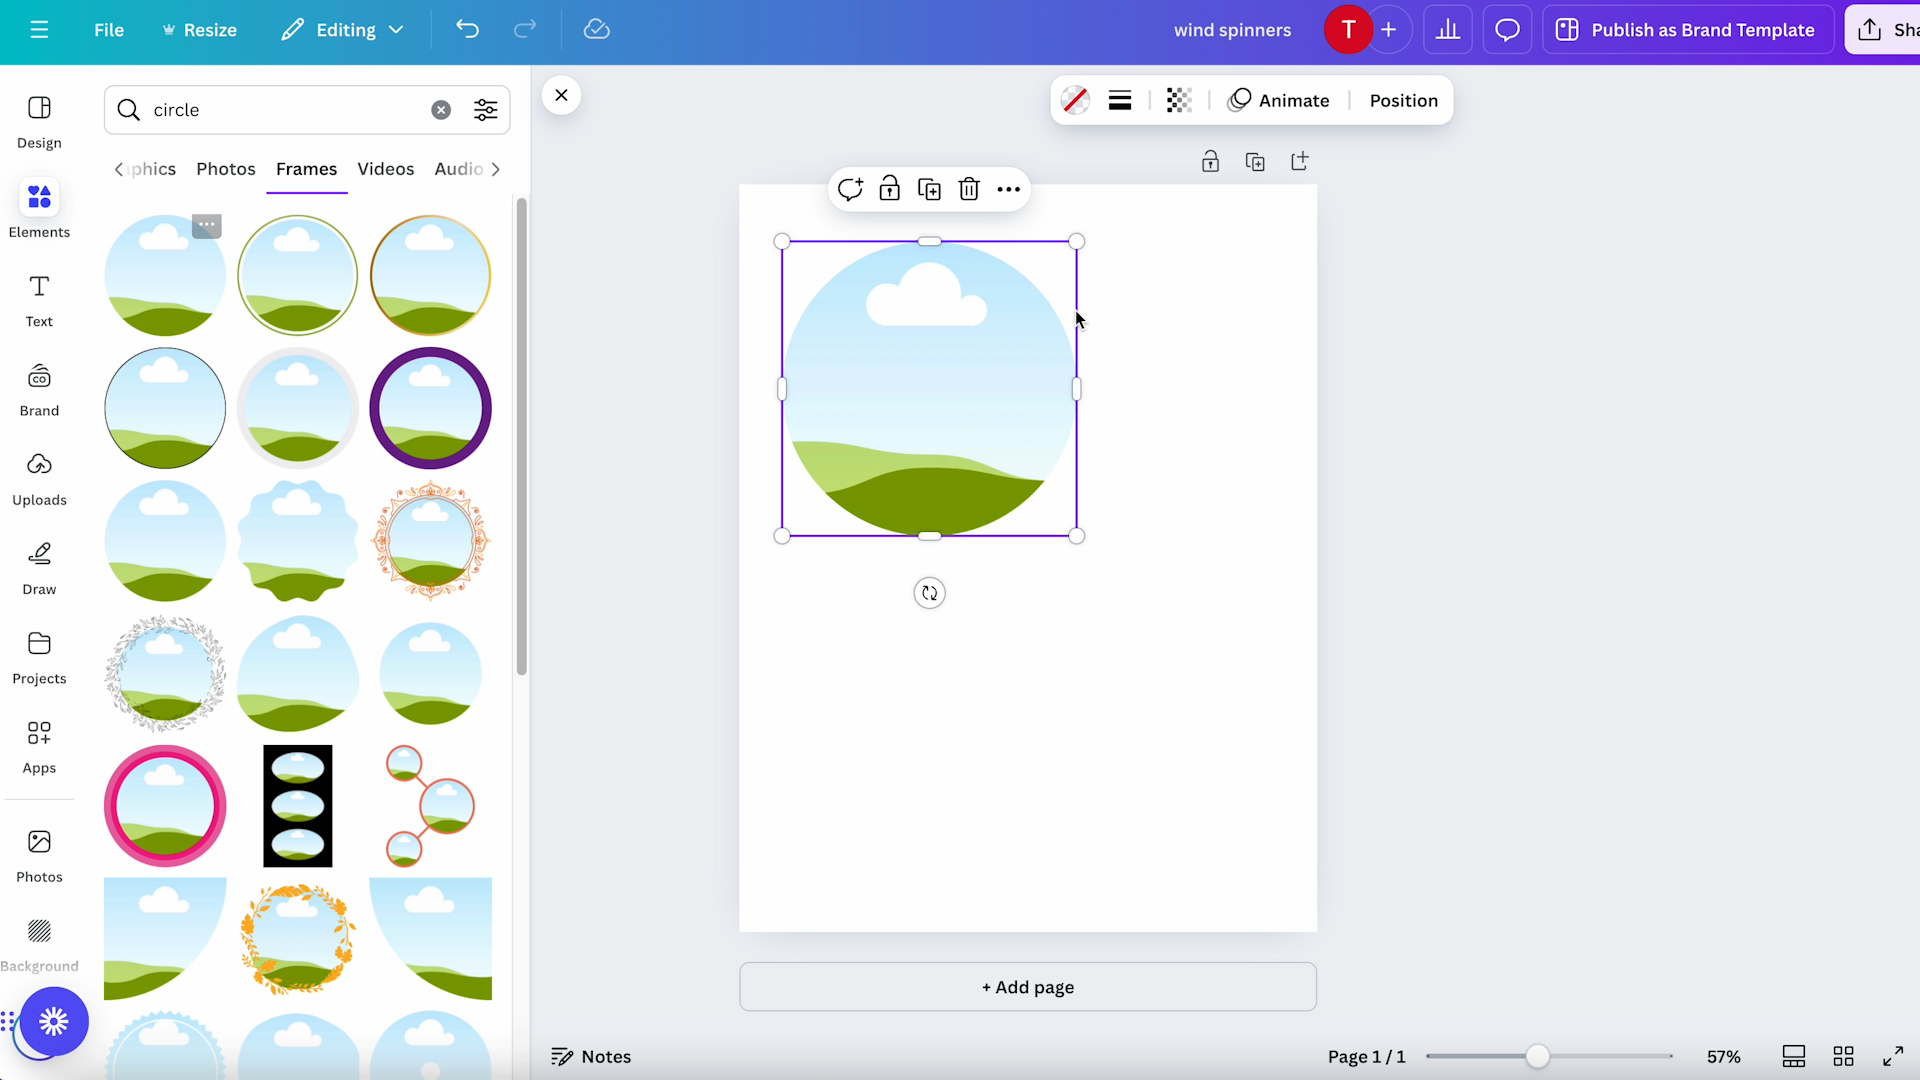
I like to make the designs slightly larger than the wind spinner itself. The round wind spinner is 4 inches across so I resized the frame to 4.1 inches and duplicated it so I could add a design to the front and the back.
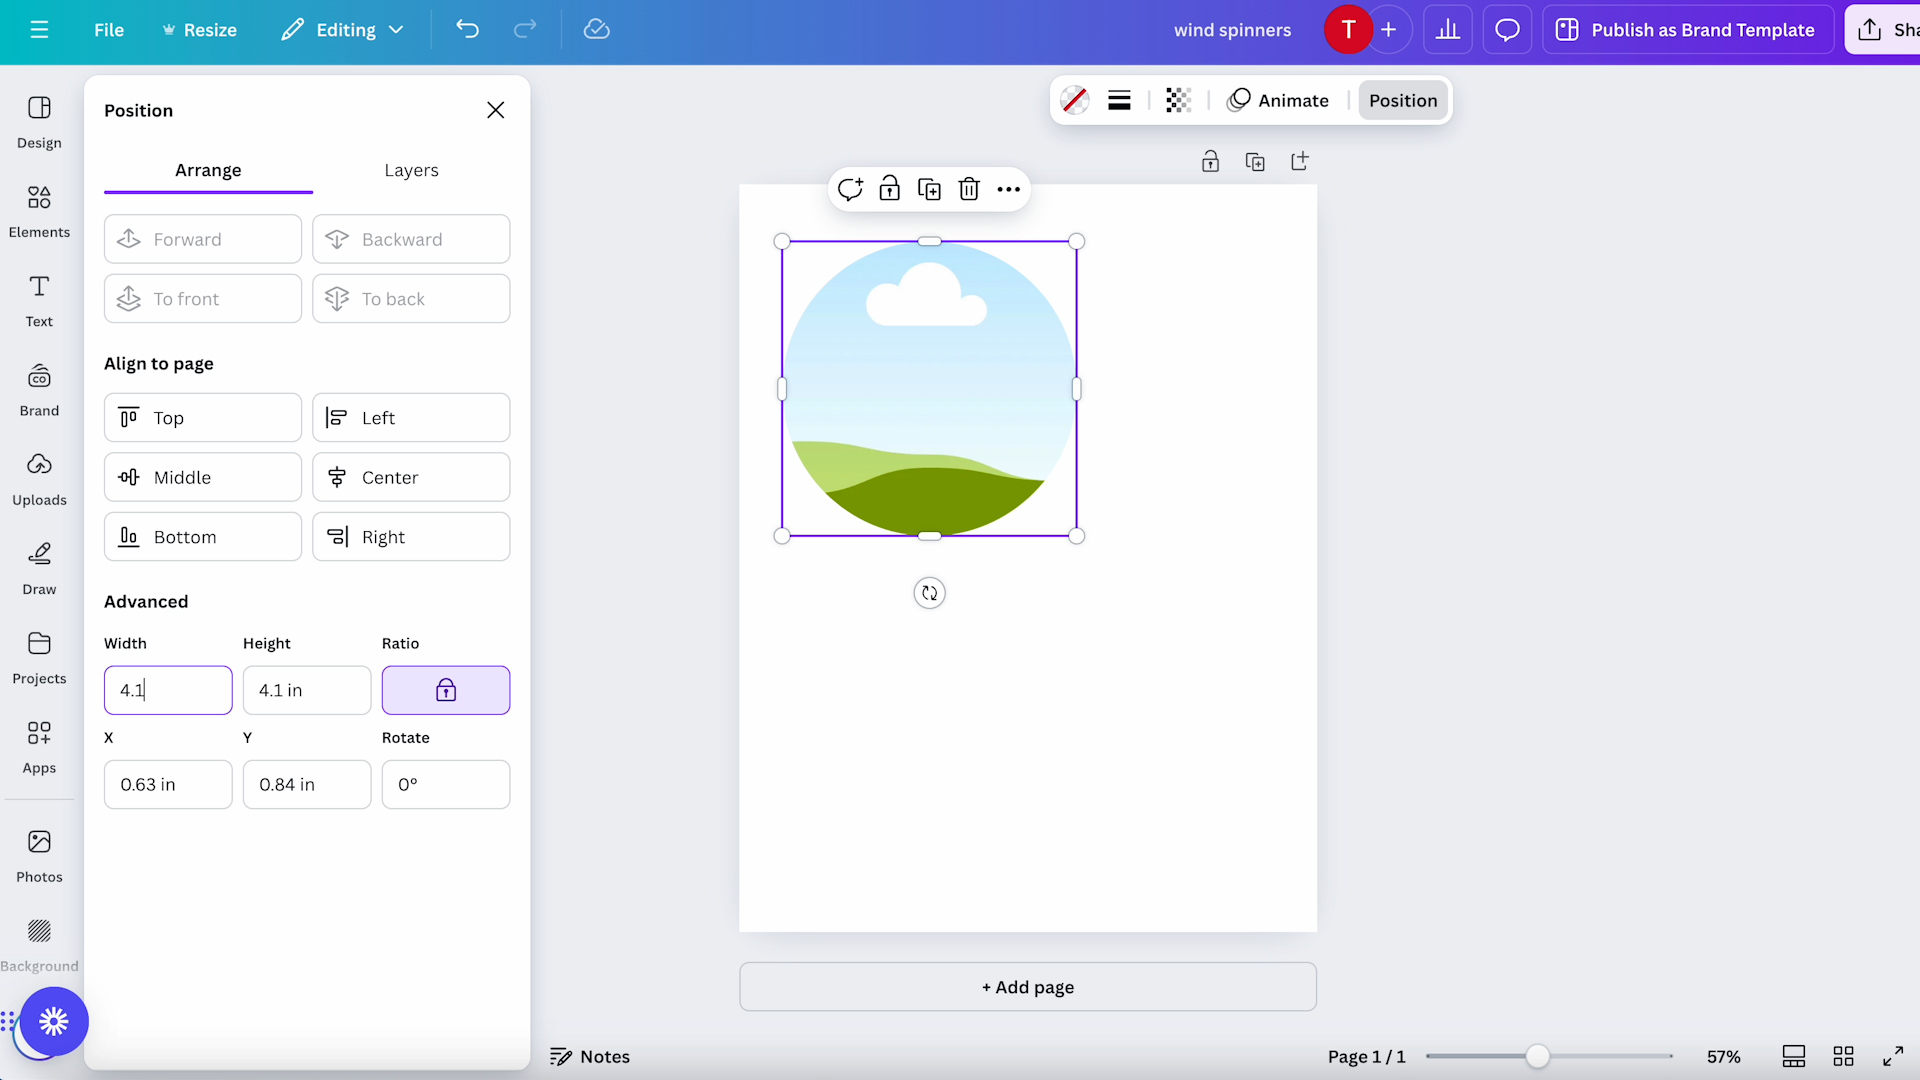
For the Christmas tree, I added a square frame that is slightly larger than the tree ornament. The tree is technically a triangle but I didn’t find a frame that fit it well.
Upload the design into Canva and then drop it into the frame.
I am using the same design on both the front and the back of my wind spinner ornaments. If you want the back to be mirrored flip one design on the canvas. If the design has any text, do not flip the design.
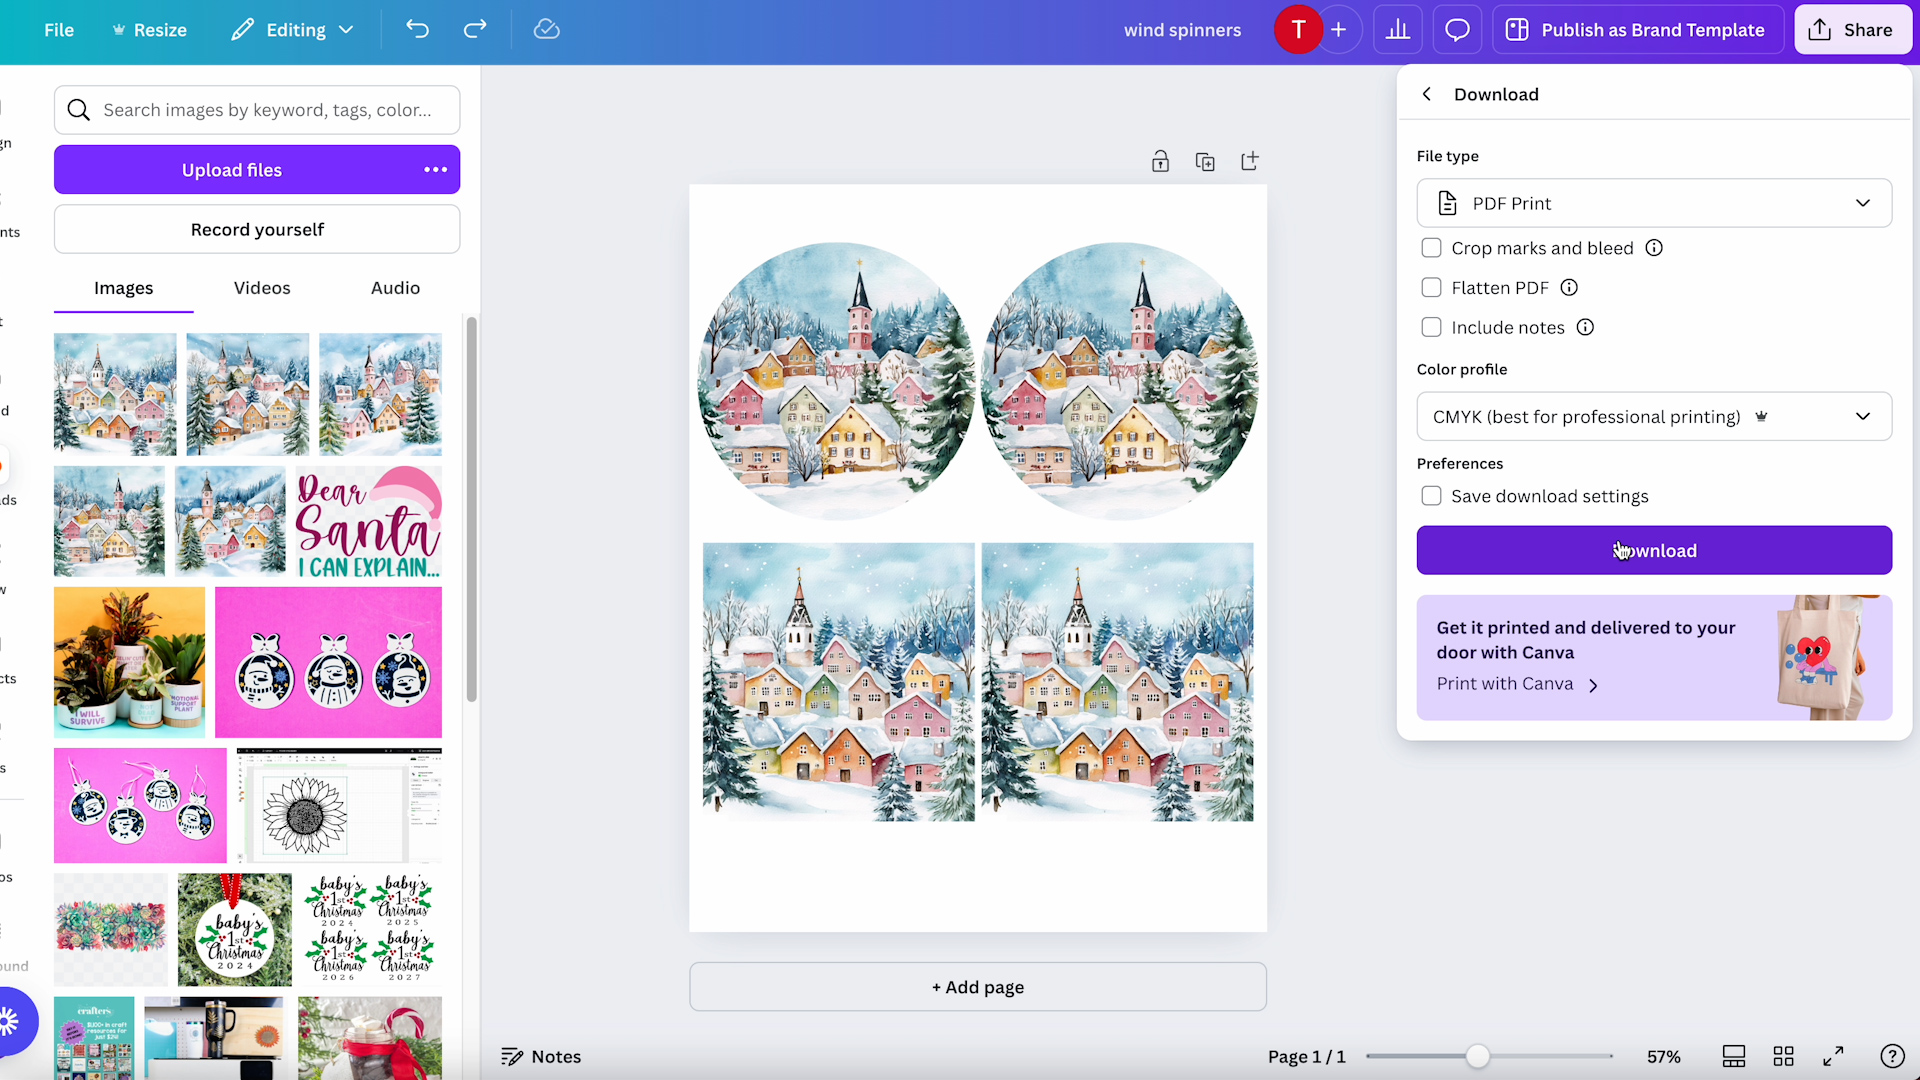
You cannot print directly from Canva. Download the file, I like to use PDF for printing option with CMYK.
A sublimation print is sublimation ink printed on sublimation paper from a sublimation printer.
When printing, make sure to mirror the design so it’s not backward after pressing. These are sublimation prints, if there is any text in your design you need to mirror the design so that when it’s pressed it won’t be backward.
Step 3. Add Sublimation Print to Christmas Ornament Wind Spinners
Before proceeding, double-check that the sublimation print is the right size for the wind spinner blanks.
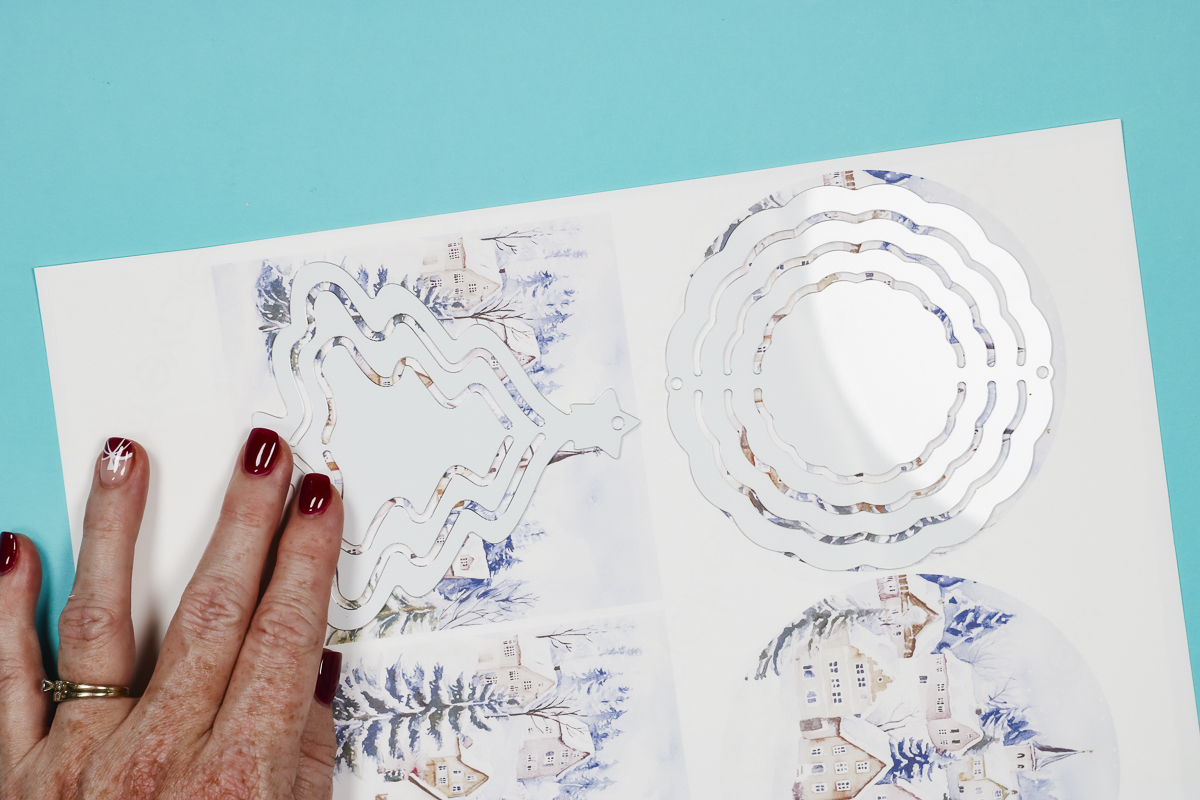
To make locating the blank easie,r I trimmed the paper close to the edge.
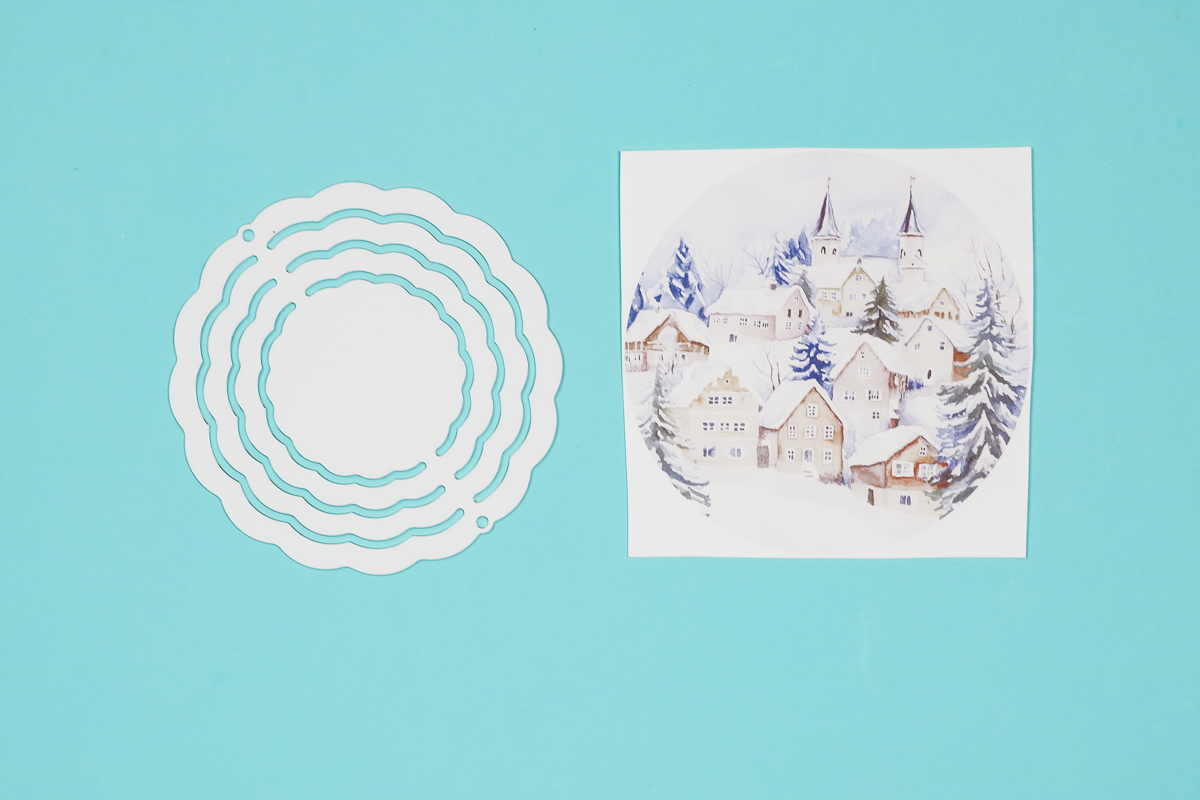
Clean the Christmas sublimation wind spinner ornament to remove any dust or other debris.
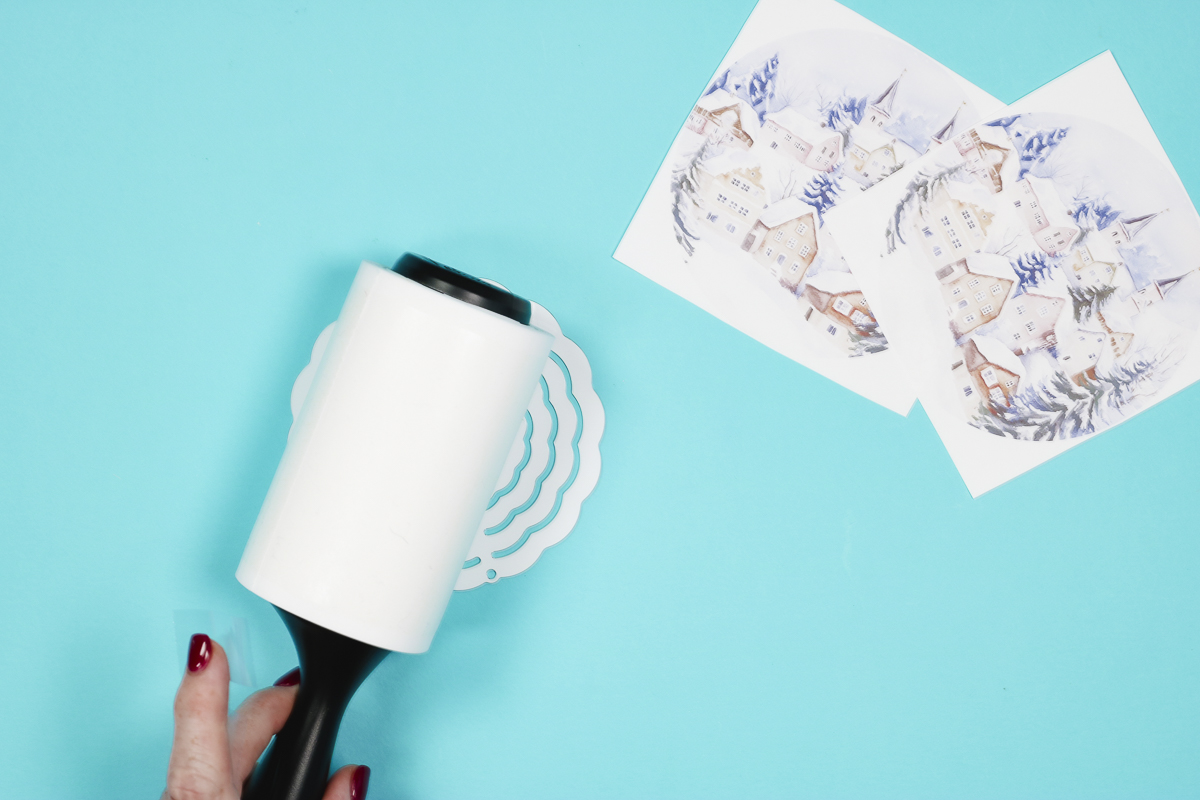
Because I am pressing both sides of the wind spinner I don’t want to tape directly to the wind spinner.
The holes in the wind spinner are the top and the bottom. You’ll hang the ornament from the hole so you will want to locate the design appropriately.
Use heat-resistant tape to secure the print on both the front and the back. You can press each side individually, I find it easier to apply the print to both sides at once.
I trimmed the paper all the way around the design and secured the prints by taping them into place on either side of the ornament.
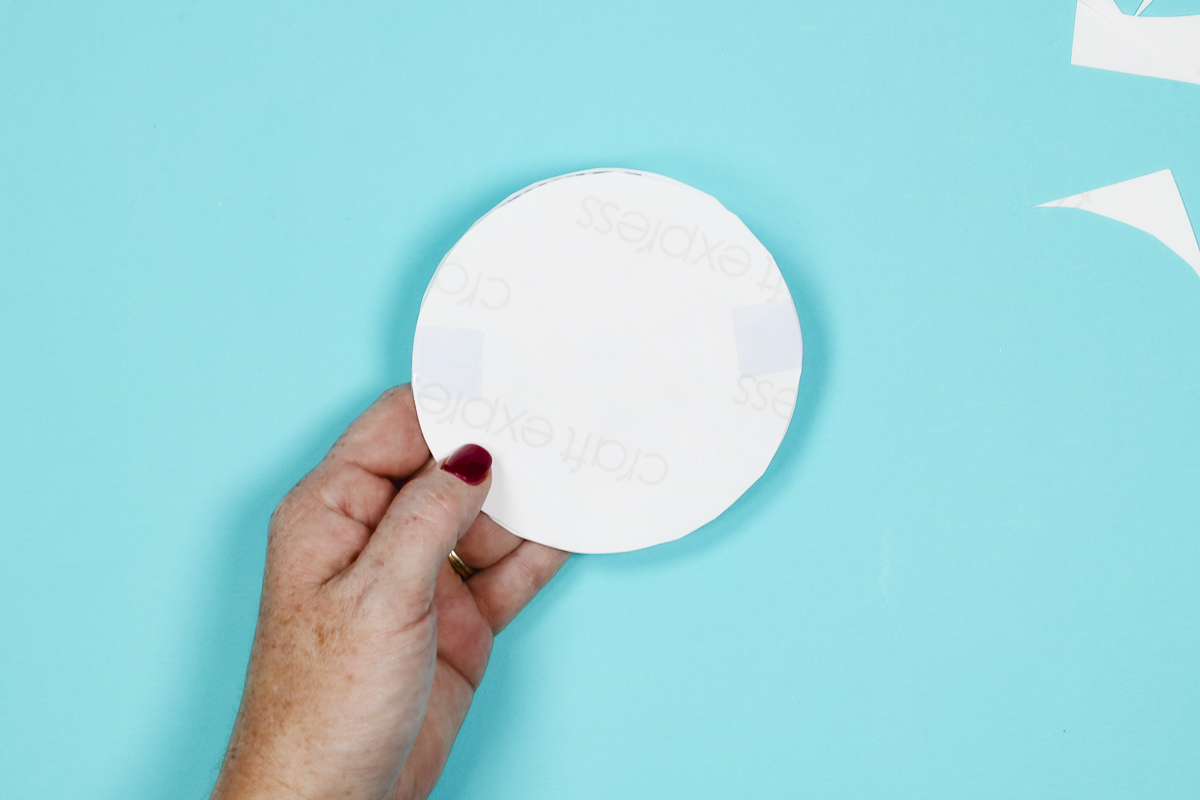
Continue to add tape all the way around sandwiching the wind spinner in the middle.
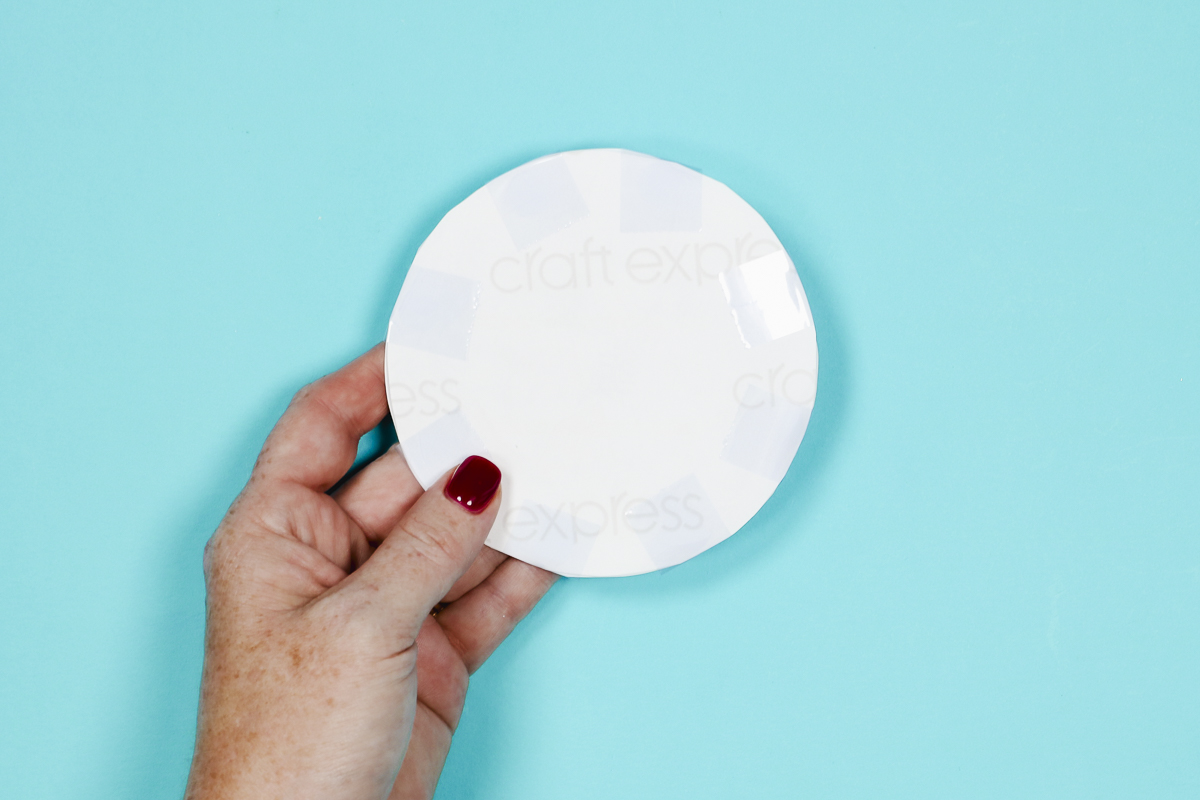
Another option is to trim one print to match the shape of the ornament and tape it to the other untrimmed print.
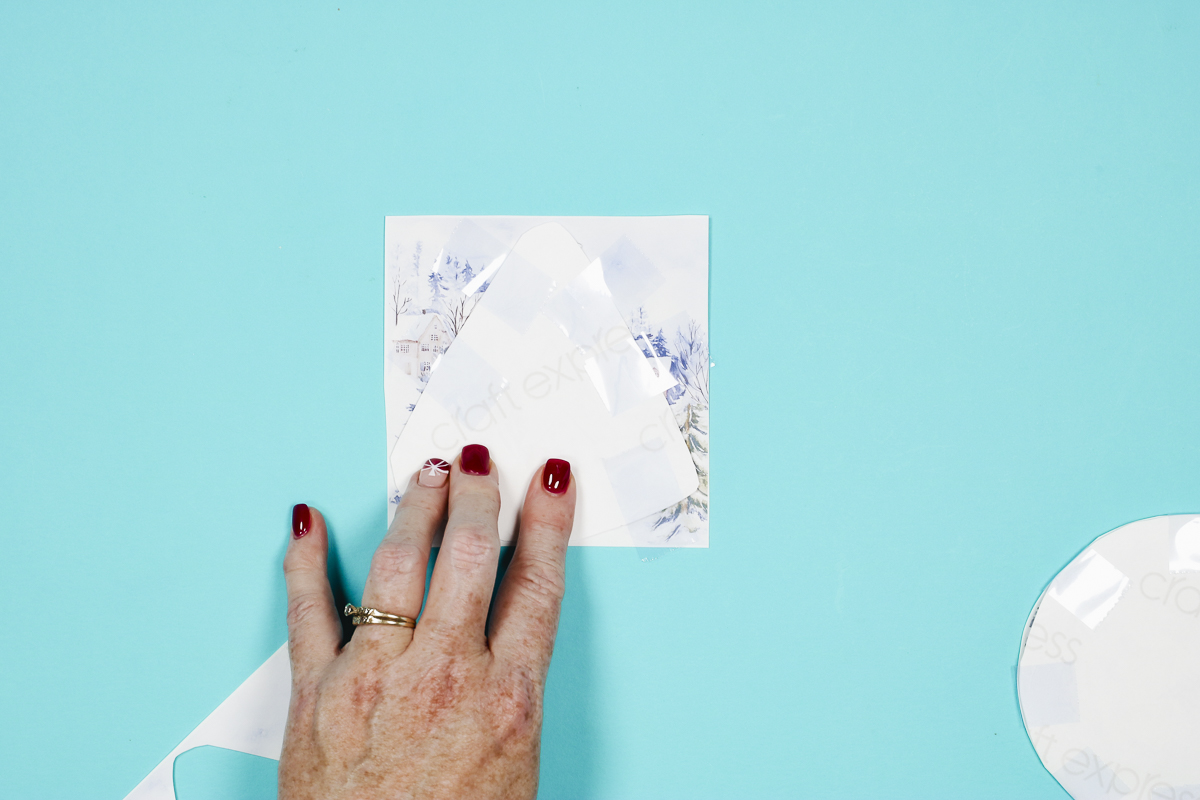
Step 4. Press Sublimation Print Onto Christmas Wind Spinner Ornament
Preheat the heat press to 380 degrees for 60 seconds. Even though I have the sublimation prints taped onto both sides of the ornament I do have to press both sides separately.
I am using my small MakerFlo handheld press and firm heat-resistant mat. Add protective paper to both the top and bottom of the sublimation ornament to protect the mat and the press.
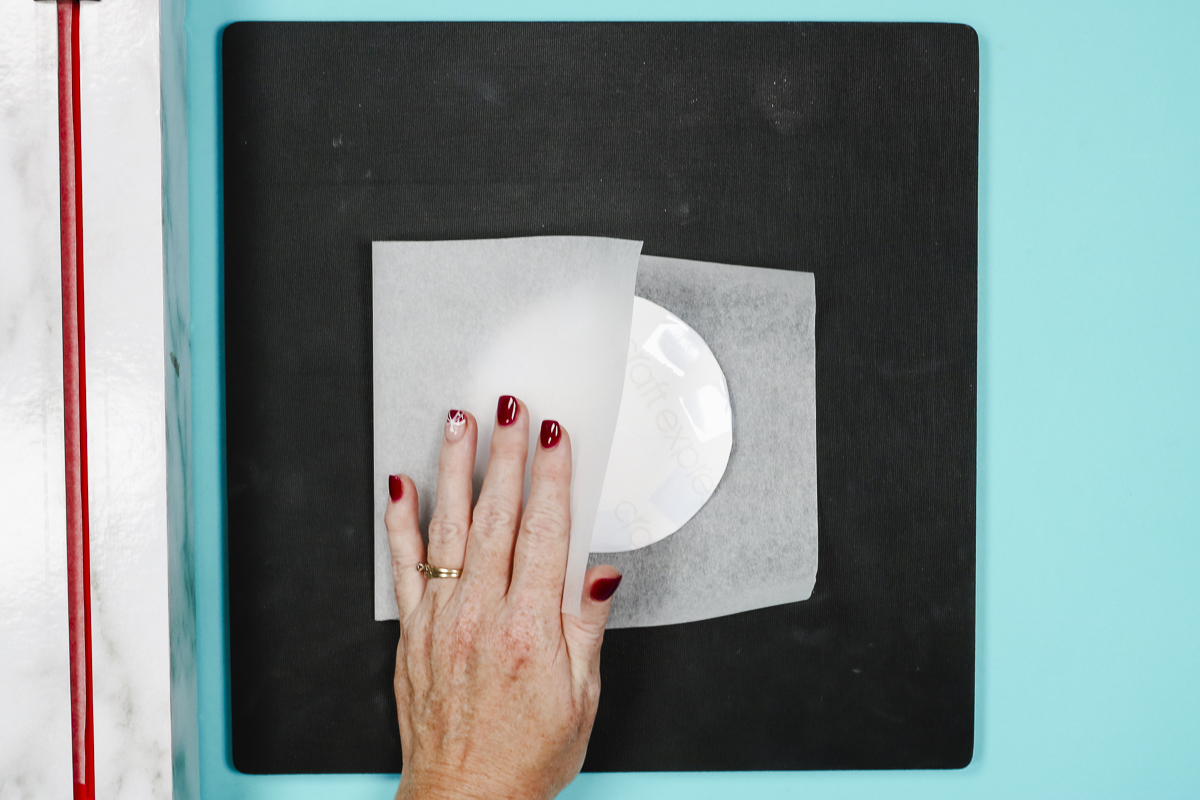
Place the press on top of the ornament and press consistently for the full time.
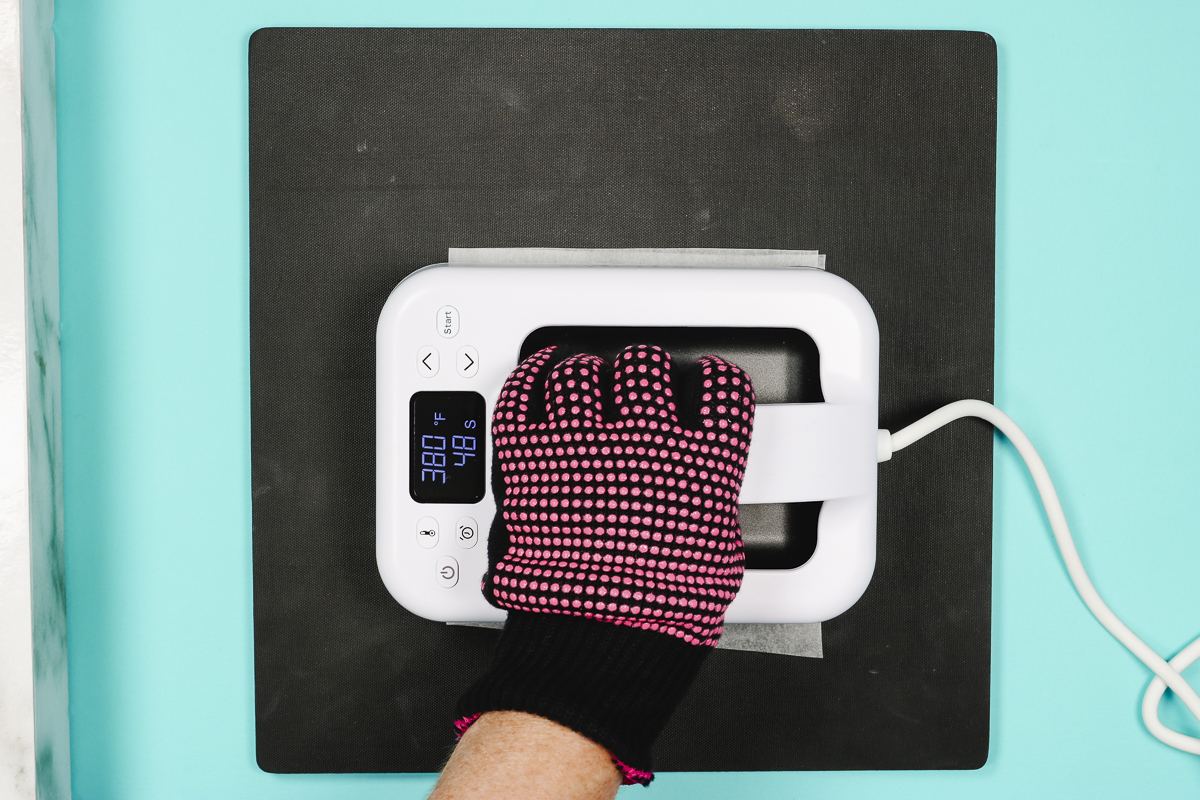
Using heat-resistant gloves, flip the ornament over and press again when the time is up.
With both sides of the Christmas sublimation wind spinner ornament pressed, remove the protective paper, and sublimation prints to reveal the finished ornament.
Step 5. Finish Christmas Sublimation Wind Spinners
These wind spinners come with little hooks that allow them to spin freely. You can use those to hang the ornament on your tree although I don’t think they’ll spin much on the tree.
I decided I liked the look of a ribbon hanger better so I added ribbon to each ornament.
When it comes to hanging the Christmas sublimation wind spinners on your tree, you can choose to leave them flat or bend them a little bit.
A normal wind spinner is bent quite a bit so the wind can catch and spin it. In my experience, you can bend the spinner and then flatten it back out to store it without damaging the ornament.

I love the way these ornaments turned out. They’re really cute and can be customized to match any decor.
Another fun idea would be to add a photo of a special event on one side and the year on the other.
These wind spinners feel small for a garden to me. You can add them to the bottom of a larger wind spinner though because they have holes in both the top and the bottom.
I hope I’ve answered any questions you had about creating Christmas sublimation wind spinners. If you have any additional questions leave them in the comments and I’ll be happy to answer them for you.

