This post and photos may contain Amazon or other affiliate links. If you purchase something through any link, I may receive a small commission at no extra charge to you. Any supplies used may be given to me free of charge, however, all projects and opinions are my own.
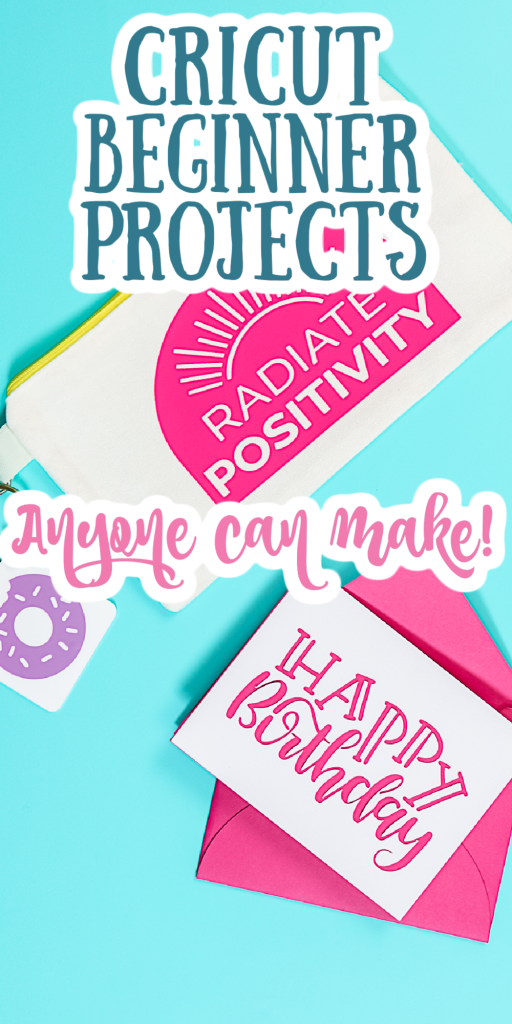
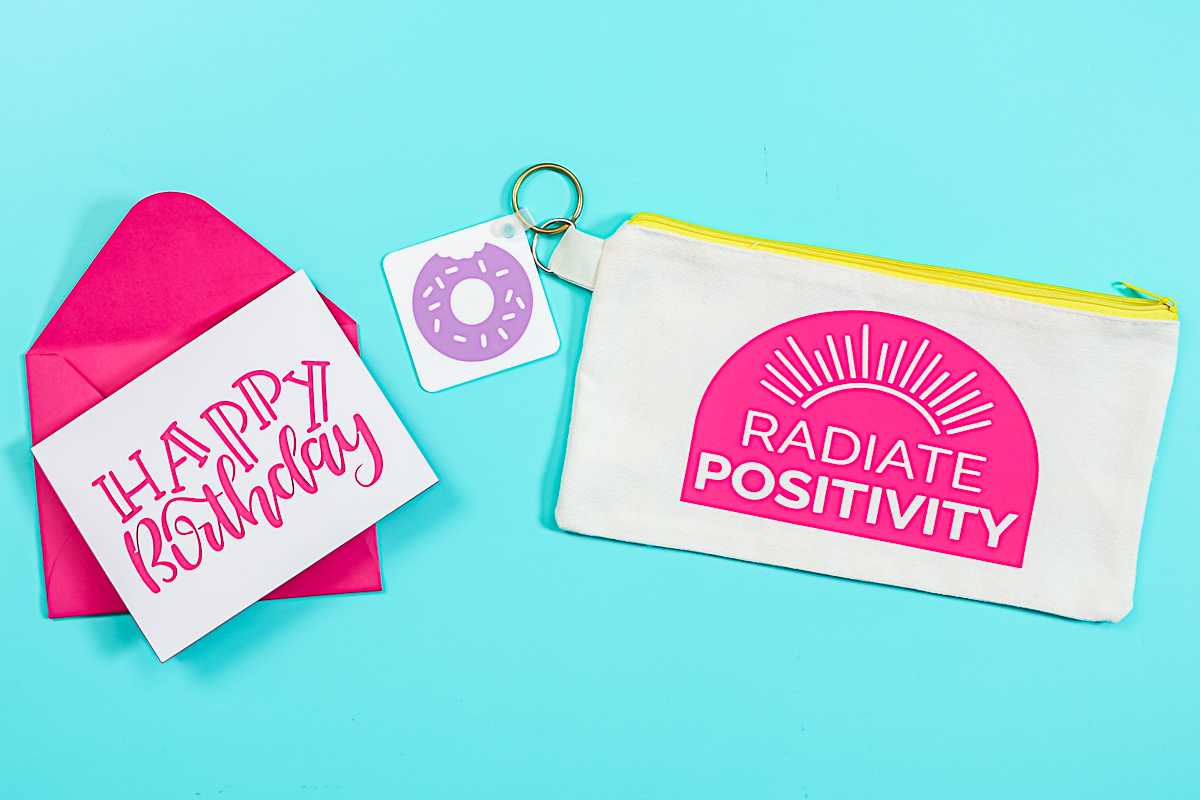
Are you trying to find the perfect Cricut beginner projects to use with your machine? Look no further! I get asked all the time where to start when getting a new Cricut and these projects are a perfect way to do so. I have three for you so you can see how to make a paper, vinyl, and iron-on project in one epic post!
Cricut Beginner Projects
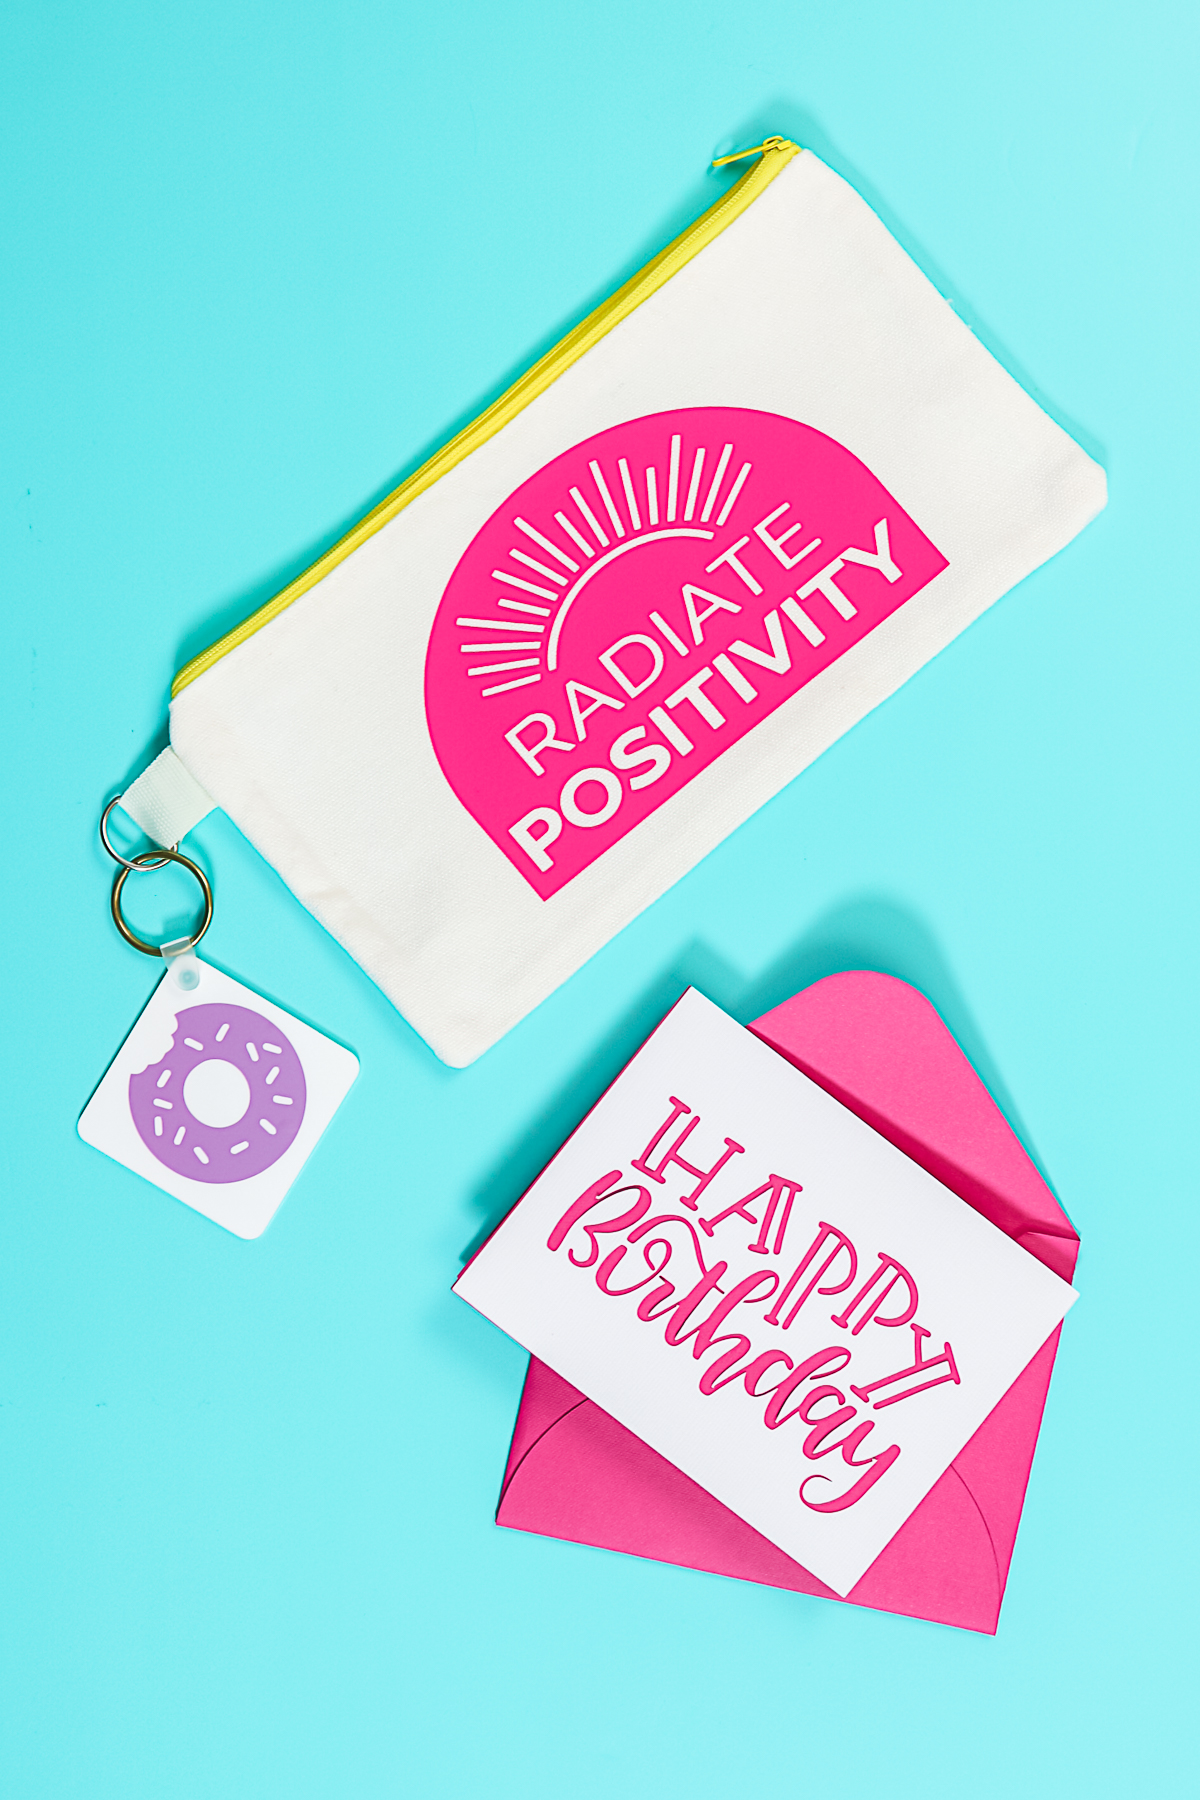
What are we going to make today for Cricut beginner projects? We’re going to start with a simple card. This is a great, simple paper project to get started with when cutting paper with your Cricut. Then, we’re going to move on to vinyl and apply vinyl to a two-sided keychain. After that, we’re going to use iron-on to make a zipper pouch. These same methods can apply to materials for other projects as well. Just click play on the video below to watch!
Can’t watch the video or missed some of the steps? Just follow along below!
Supplies Needed
- Cricut machine (I am using a Maker 3 but any Cricut will work.)
- Card supplies
- Keychain supplies
- Zipper pouch supplies
- Designs can all be found in Cricut Design Space. You can find what I used by heading to my Design Space profile.
Scoring Stylus Versus Wheel for the Cricut Maker
For any projects that have score lines, you will need a tool to add those. For the Cricut Maker, you can use either the scoring stylus or the scoring wheel for your fold lines. If you have the scoring stylus, you will need to click edit tools after picking your material and you choose the stylus then click “apply”. You can see more about the differences between these here.
Beginner Card Project
Let’s start with the card and cutting paper on your Cricut machine. I think paper crafts are perfect for Cricut beginner projects. This is also a great way to get familiar with your machine as this project is easy and inexpensive.
Finding a Card Design
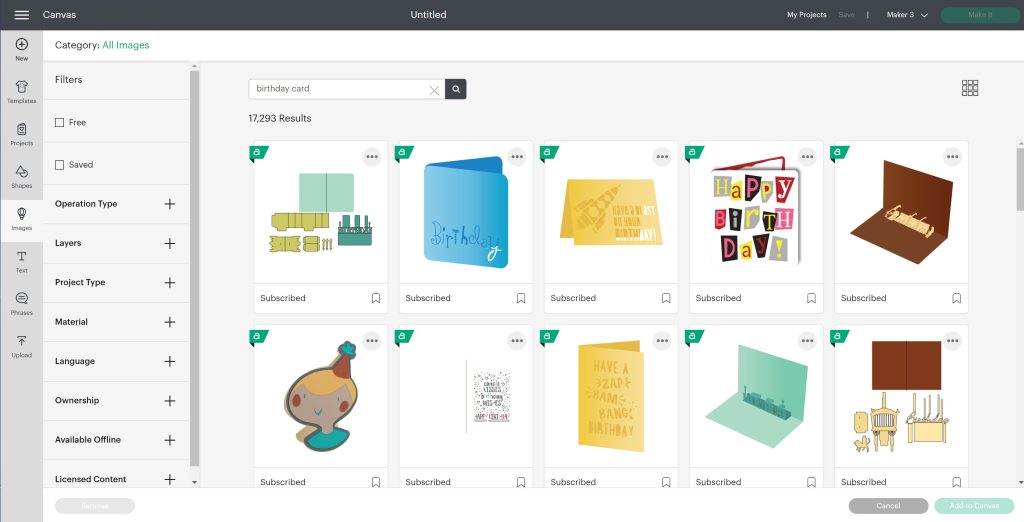
Let’s talk about how to find a design in Cricut Design Space. You can use the images that are in Design Space, especially as you begin and start out. Click “images” then search “birthday card” and then pick the one you like. Click add to canvas to put it into Cricut Design Space. As a beginner, I would recommend a simple card design. One that has one color, maybe two, and not a ton of layering. That way you can get a feel for your machine before you dive into more complicated cards. This card that I picked does have an envelope with it as well.
Choosing Colors in Cricut Design Space
When you pick something like this from Cricut Design Space, it comes in a group. We can see that it says “group” in the layers panel. I want to alter the colors, so I am going to click ungroup. Changing the colors helps to visualize the project and make sure you cut it from the right color.
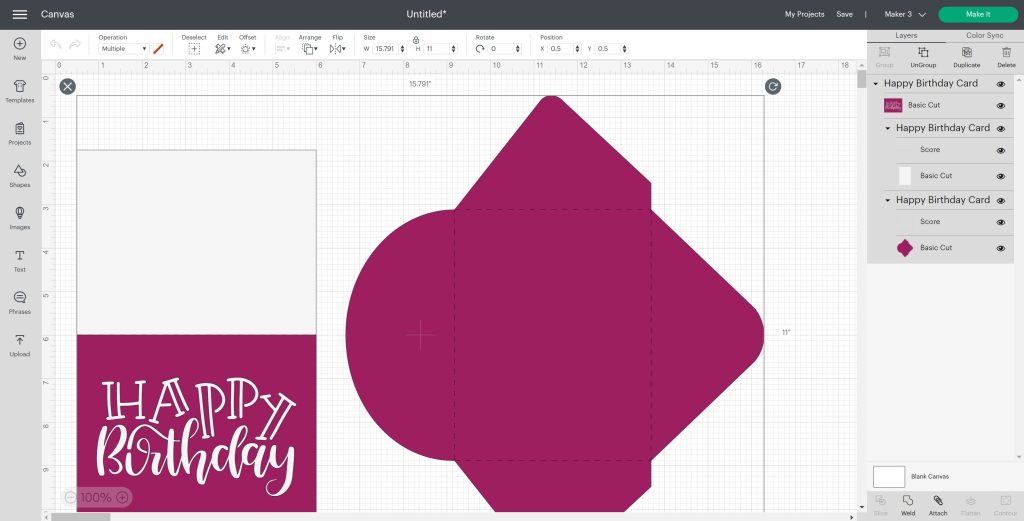
Click the card in the layers panel. You want to pick the card only and not the card with the scoreline. Then pull down the box next to operation and change the color. I want to make this out of a dark pink color, but there’s not really a color that matches. Click the plus beside advanced. Then I can pick a color and move the slider to different shades. Repeat for the other elements.
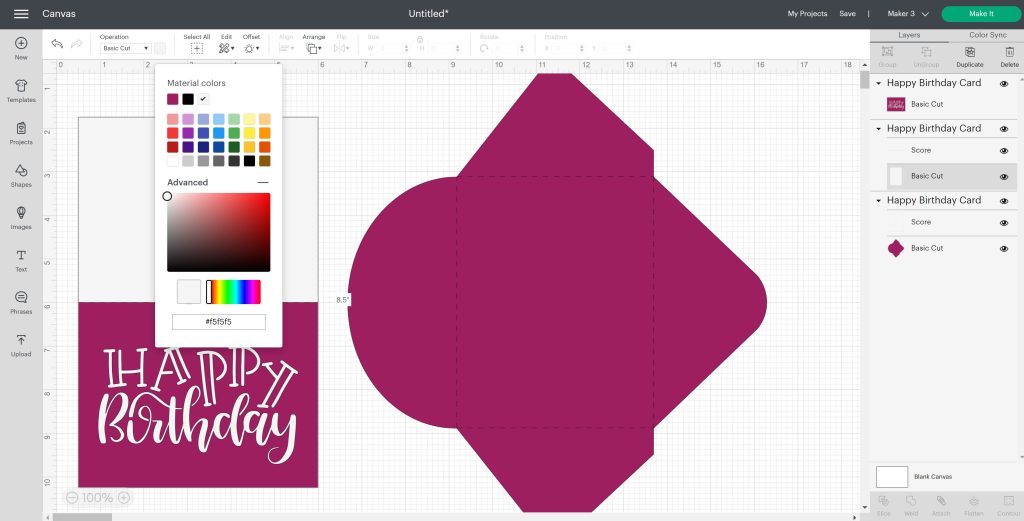
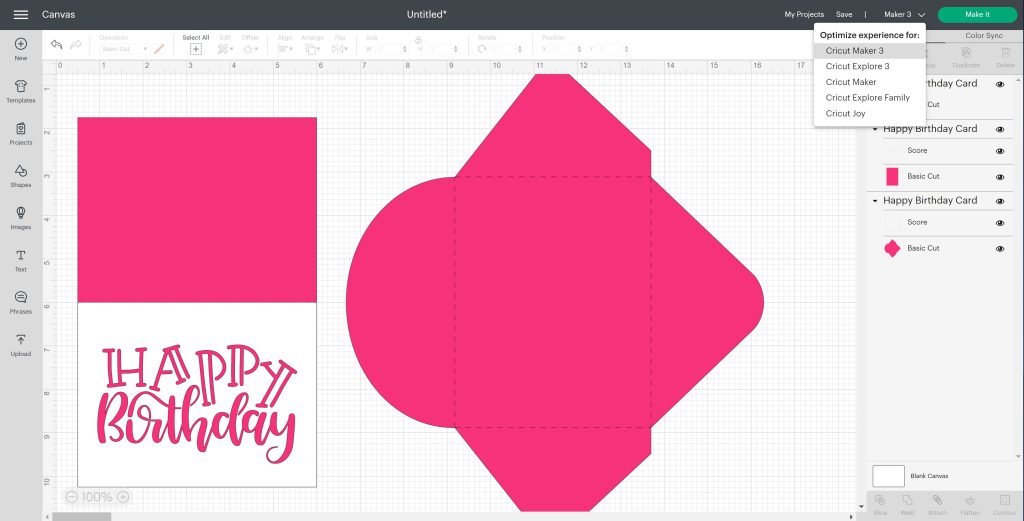
Remember to make elements that you want to cut out of the same paper the exact same color. One more thing you need to make sure of in Cricut Design Space is that the proper machine is picked. You want to pull down the menu in the upper right-hand corner and pick the machine that you’re using. Also, make sure that the scorelines are attached to both the card and the envelope.
Resizing the Card
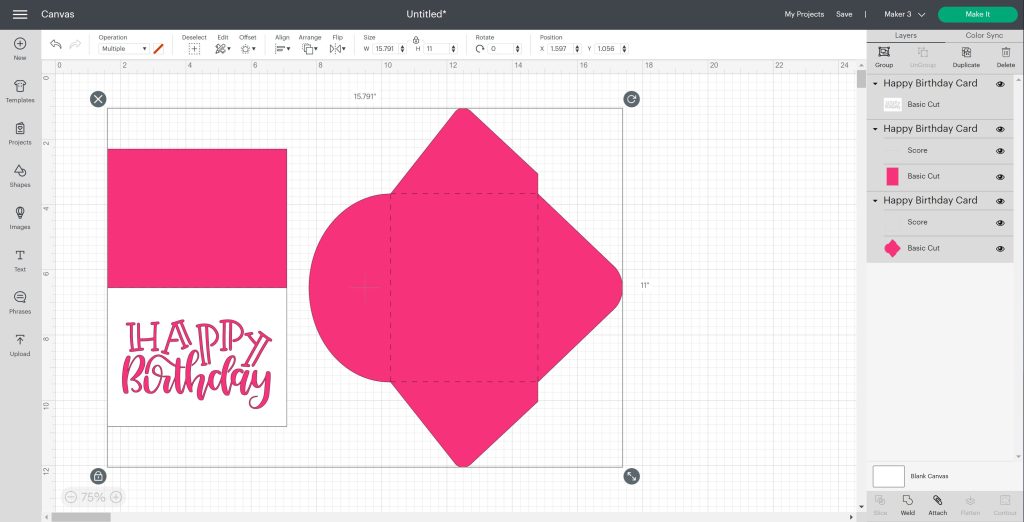
This also came in at a certain size. If I click the card, I can see that it’s 5.5 inches by 8.5 inches. Once that is folded in half, it’ll be about 5.5 inches by 4 ¼ inches. I can take a ruler out and visualize that in my mind, is that the size card I want? If it isn’t and I wanted to resize this, I would need to make sure I picked everything. I would draw a box around all of my elements, pick all of those, make sure they’re all highlighted, and then I could resize one of two ways. I could use the arrow button to resize. Just make sure the dimensions are locked so it’ll change all the elements the same amount and keep the proportions the same. I could also type in a size on the top toolbar if I wanted to just type a particular size that I wanted.
Sending the Design to Your Cricut
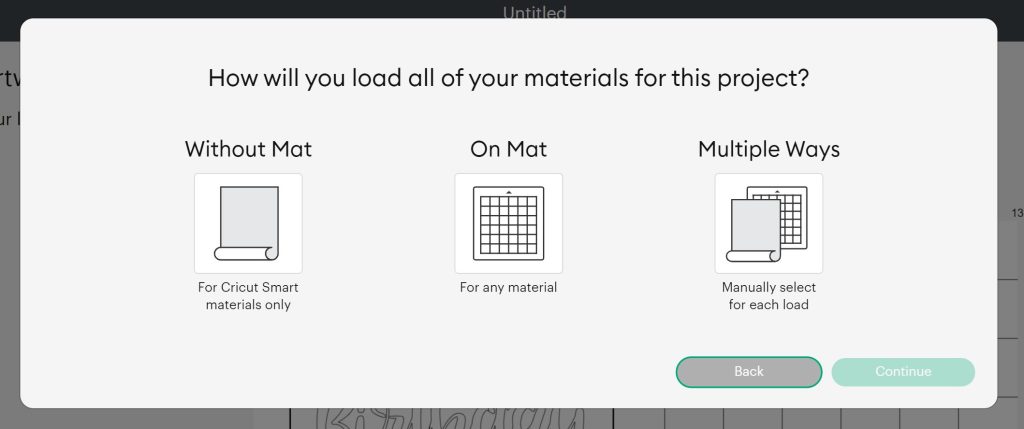
Once everything is the way you want it, click “make it” and start to cut. Design Space will ask you how you will be cutting. I picked “on a mat” in this case.
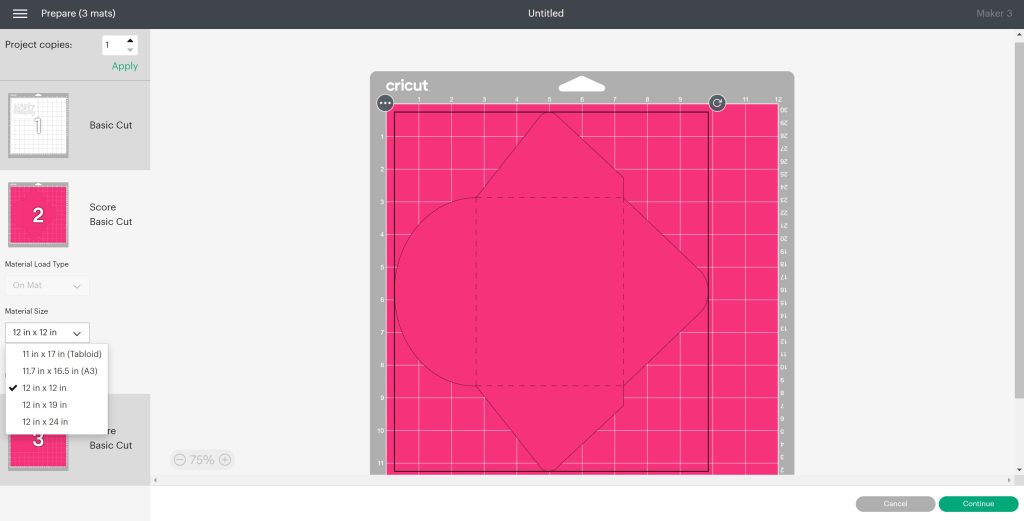
If you had 12 x 24 paper, you could pick 12 x 24. If this cut preview looks okay, click “continue” to cut. NOTE: For paper, you don’t have to mirror your design.
Adding the Paper to the Mat
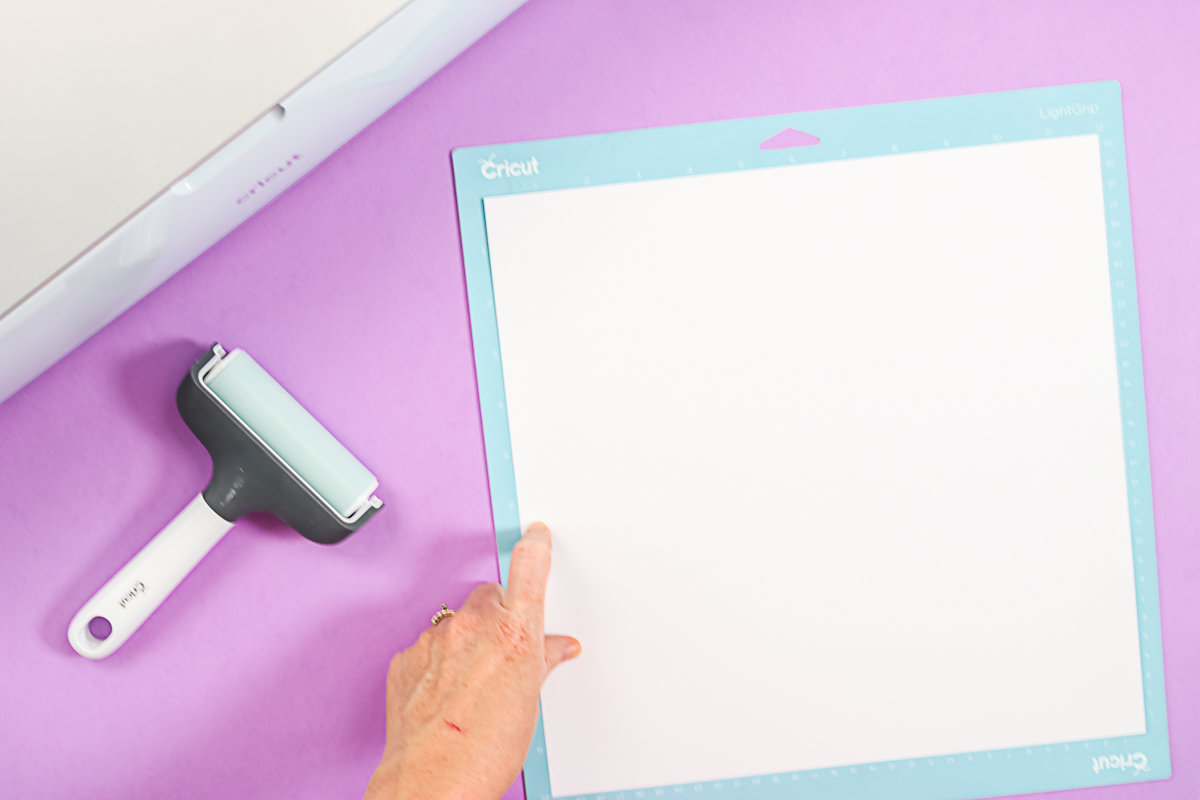
The first thing you’re going to want to do with your mat is to peel back the protective sheet. Save this sheet. You want to store your mats with the sheet attached. This keeps dirt and debris off of your mat and makes them last a little bit longer. We’re going to cut the white paper first. Use the grid lines on the mat to line up your paper. Once it’s lined up, just press it down into that adhesive. Again, once your mat gets older, something like a brayer will help and you just roll it across the paper to press it down even more.
Cutting and Scoring Paper
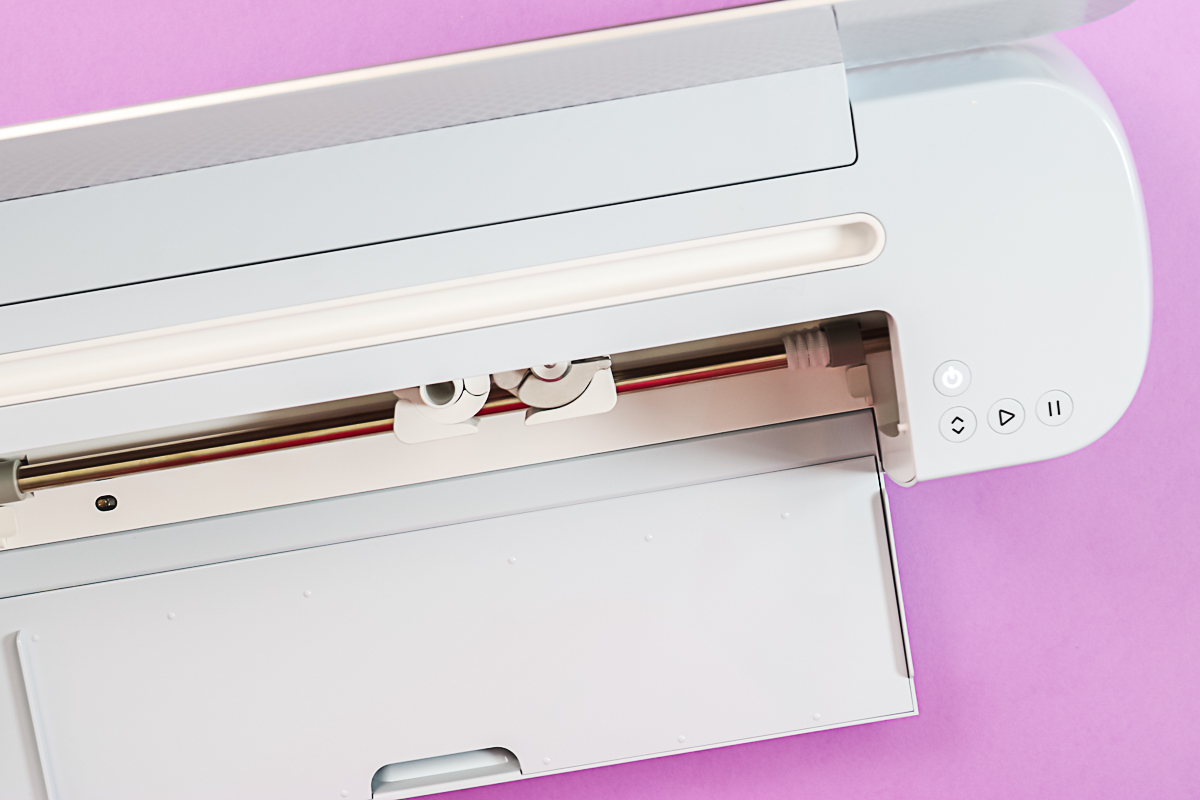
In Design Space, you will want to pick the medium cardstock setting. Any material that you see in the materials list that has a “C” beside it is a Cricut material. Design Space will also tell you what tools you need. See the section above if you are using a Maker and want to use a scoring stylus. At this point, the arrow button should be flashing on your machine. That’s telling you that you’re ready to load your mat. You just take your mat to your machine, make sure it’s under the guides on both sides, press it against the rollers, and hold it up against the rollers while pressing the arrow button at the same time. The mat will load into the machine.
At this point, it’s checking that you have the correct blade installed and that you have enough material. Remember, this called for the fine point blade because we’re just cutting the white card stock, we’re not scoring. I have my fine blade installed into my machine, and now it’s time to cut. Press the go button and the machine will cut the design. When your machine is done cutting, the arrow button will start flashing again and you just press it to unload your mat.
Removing the Paper from the Mat
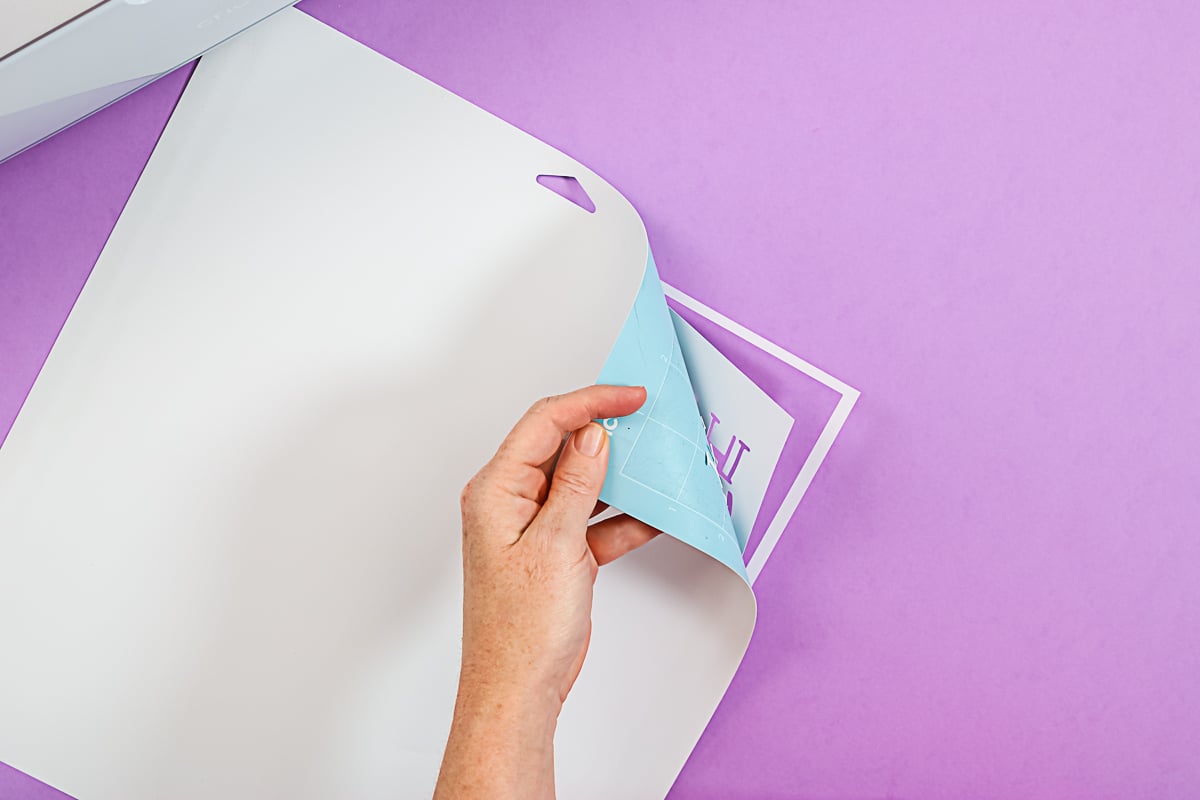
My number one tip for removing paper from a Cricut mat is to do it the opposite of the way you might think. Turn the mat upside down and peel the mat back from your project instead of the other way around. Why do we do this? This is so that the paper does not curl as badly. You just want to keep peeling back until your piece is loose and then you can remove it. This piece was designed to be removed as one piece. I don’t have to worry about things like the centers of letters. If you have a piece where you need the centers, you’ll want to be sure to save them off of your mat.
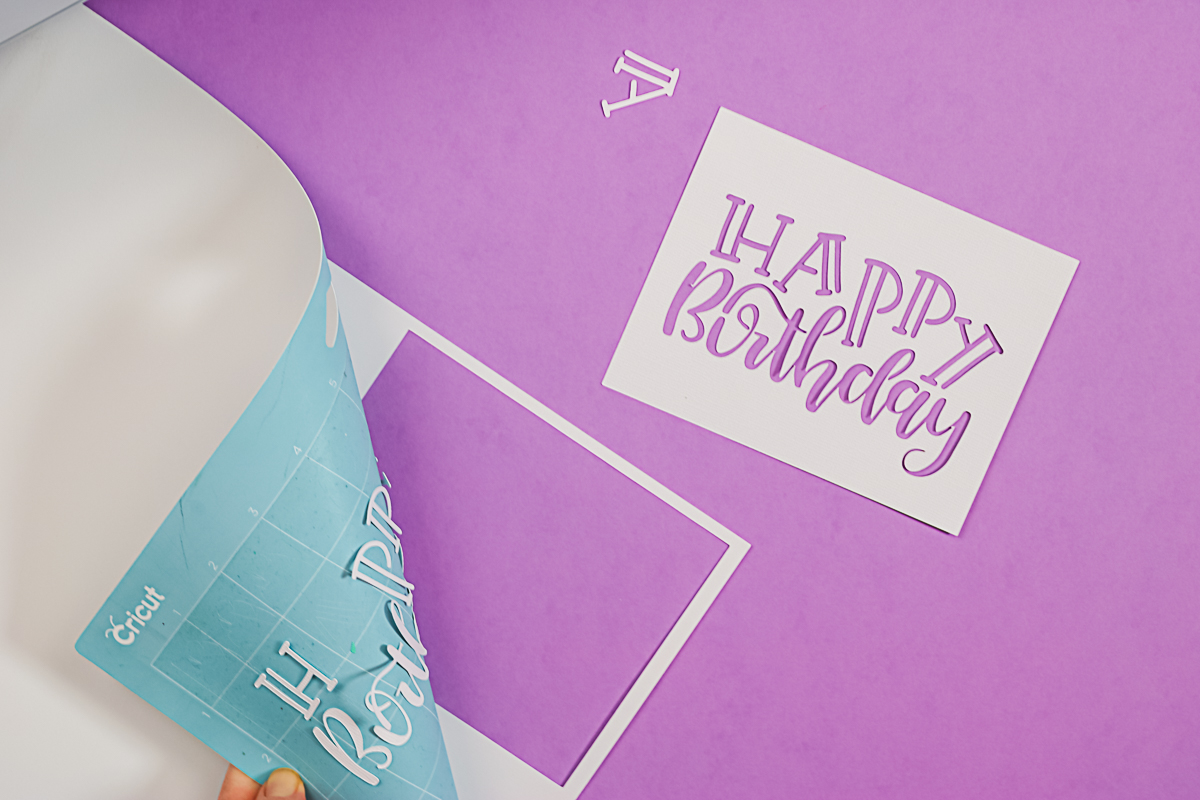
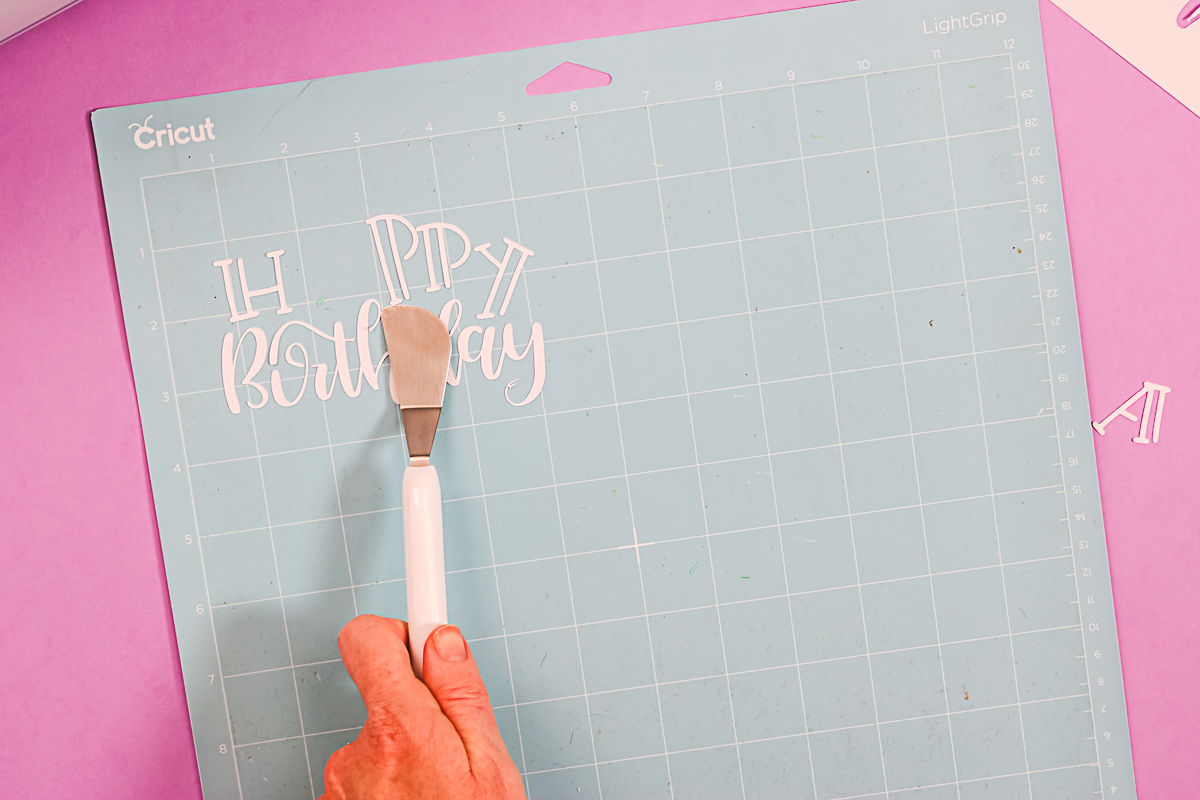
You can use a spatula to remove all of the scraps off the mat.
Cutting the Remaining Pieces
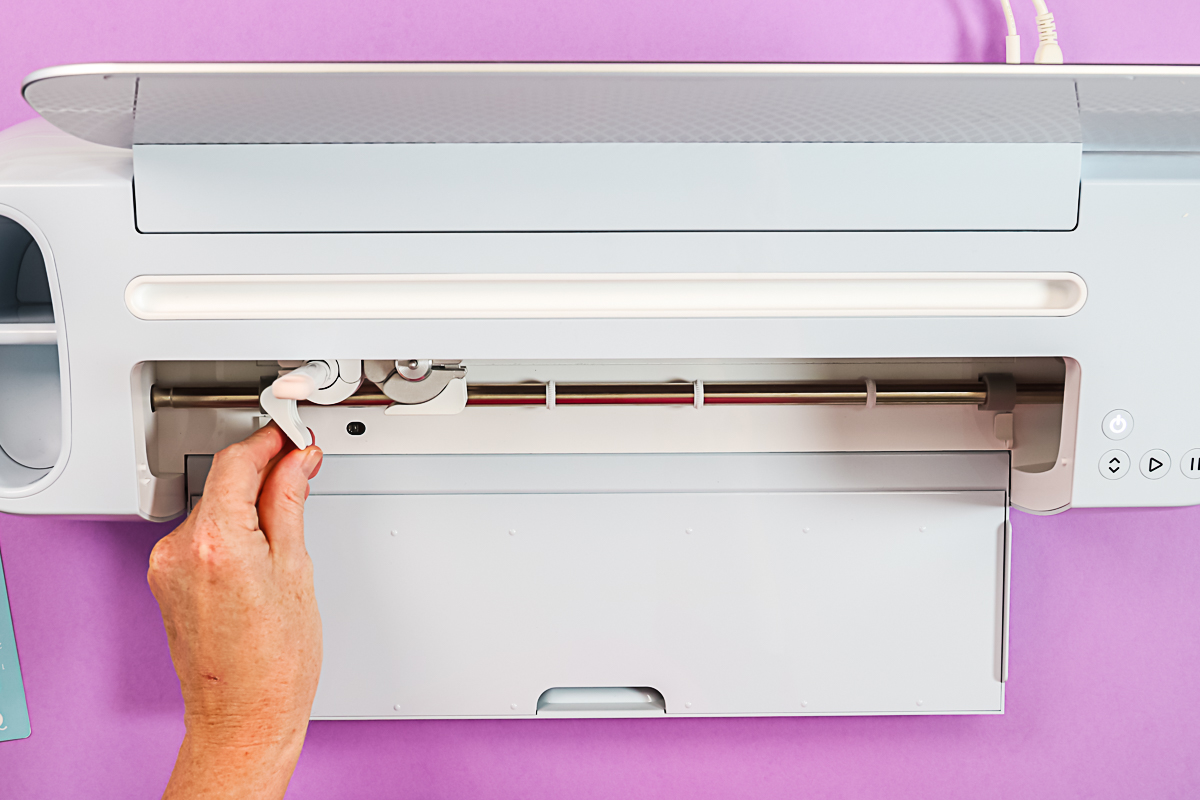
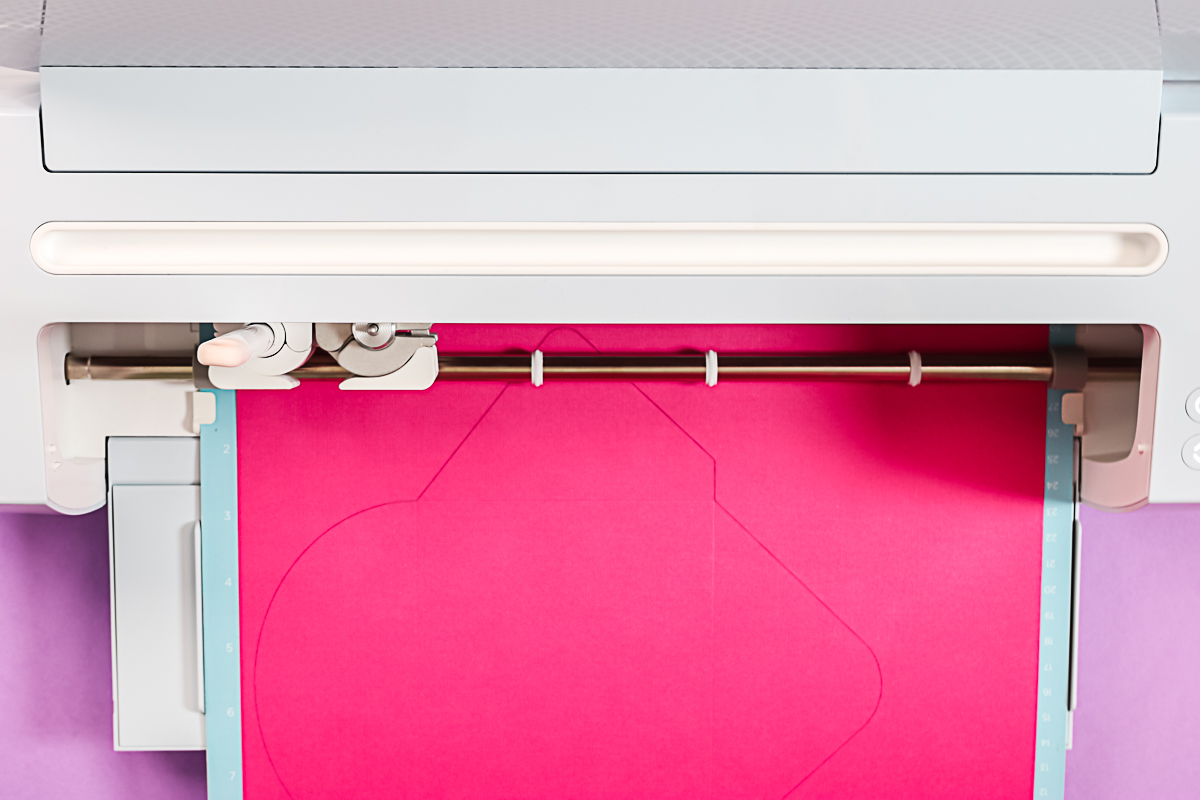
The next piece of the card will need a scoreline. I am using the scoring stylus so I changed the tool in Design Space. Then just open clamp A, make sure the arrow and the word Cricut are facing you, and put the tool into your machine. Press down until it clicks and close the clamp. Now the stylus is ready to use, and we still have our fine point blade in clamp B for the cutting portion. This means that it will score and cut, and all I have to do is press the go button one time. If you’re using a scoring stylus, you’ll put it in clamp B. The machine will stop after scoring and you’ll have to change out the scoring wheel for the fine point blade to get the cut portion of your project.
Add the paper for the card to the mat and load it in the same way as we did for the white paper. Press the go button to cut. The machine will add the scoring lines first, and then it will cut the rest of your project. Once it’s done cutting, remove the mat from the machine and remove the paper from the mat in the same way as I did before.
Assembling a Card
Remember, there’s a score line running down the middle. Our Cricut added the score line, so it’s super easy to find and fold the card exactly in half. I’m going to use dry adhesive. You could use any adhesive that you like.
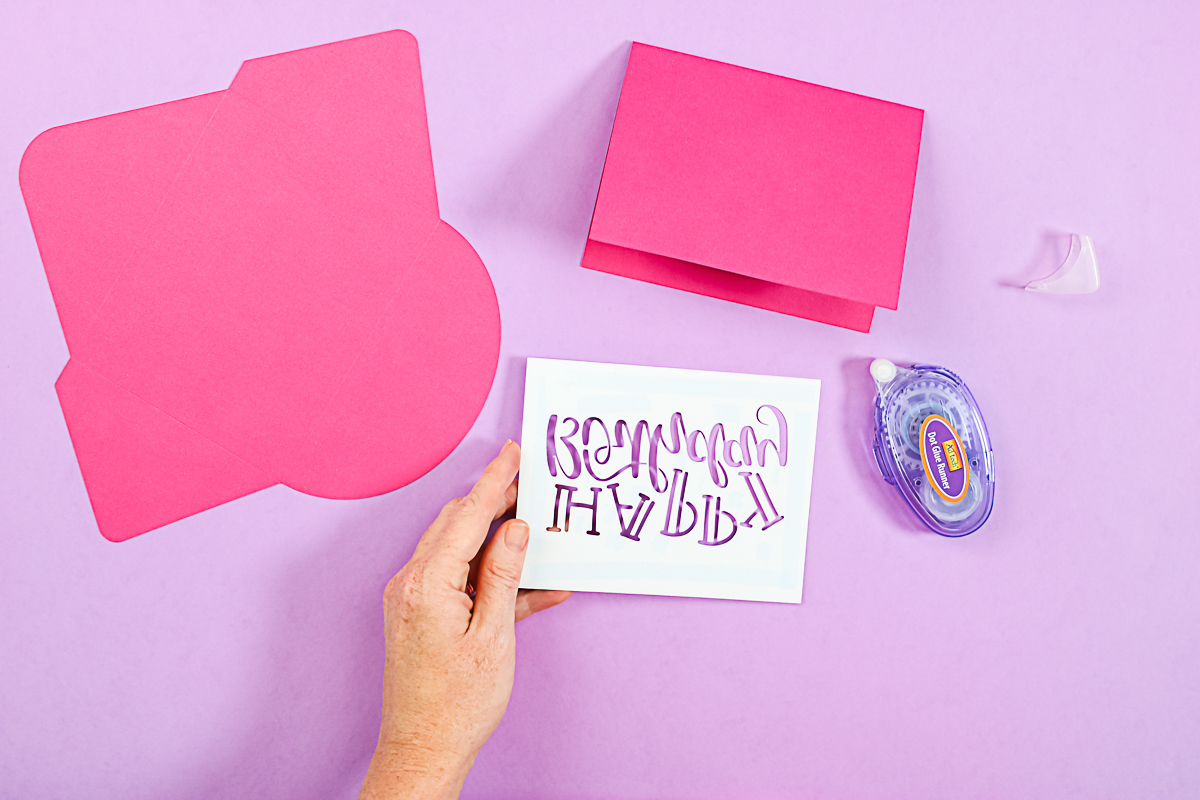
Once you have that adhesive added, just add your paper to the front of your card. This lines up exactly with the card front, and then you just need to press your adhesive into place. The card itself is done. You can write any sentiment you would like on the inside. Remember your Cricut will write with a pen. As you get more advanced, you could add writing to the inside.
Assembling the Envelope
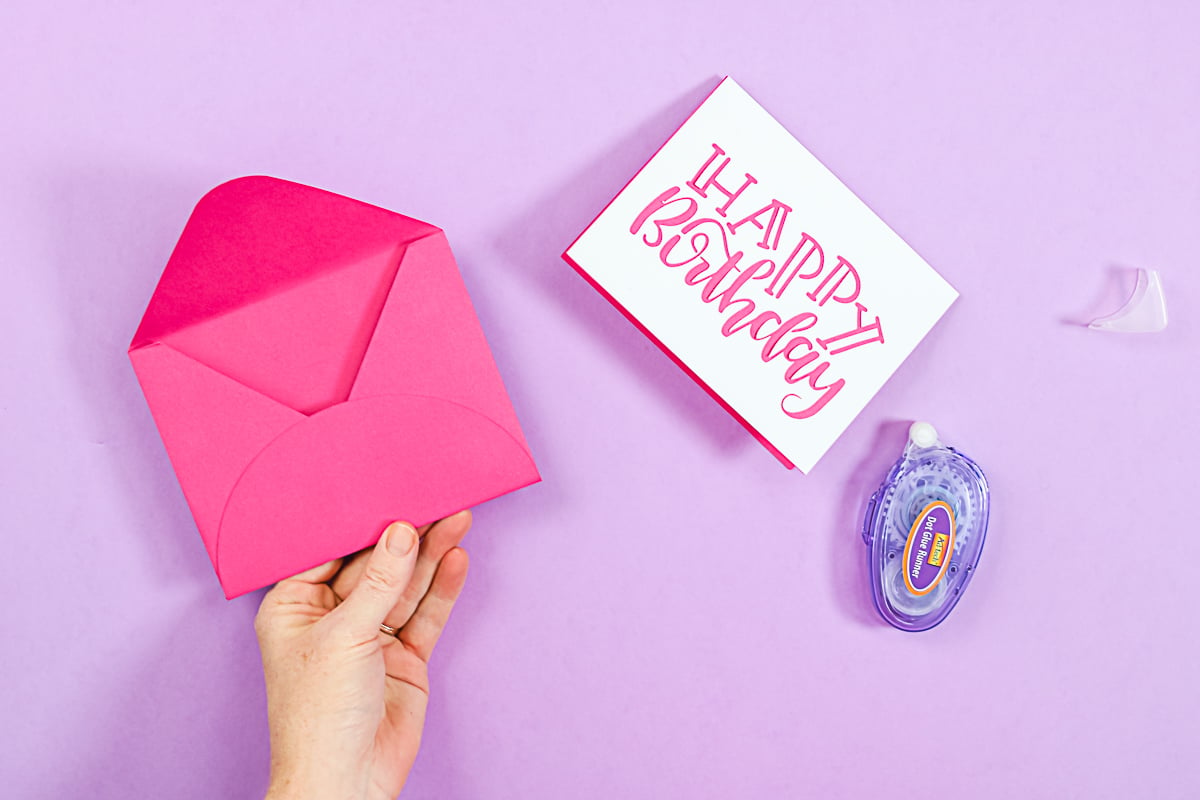
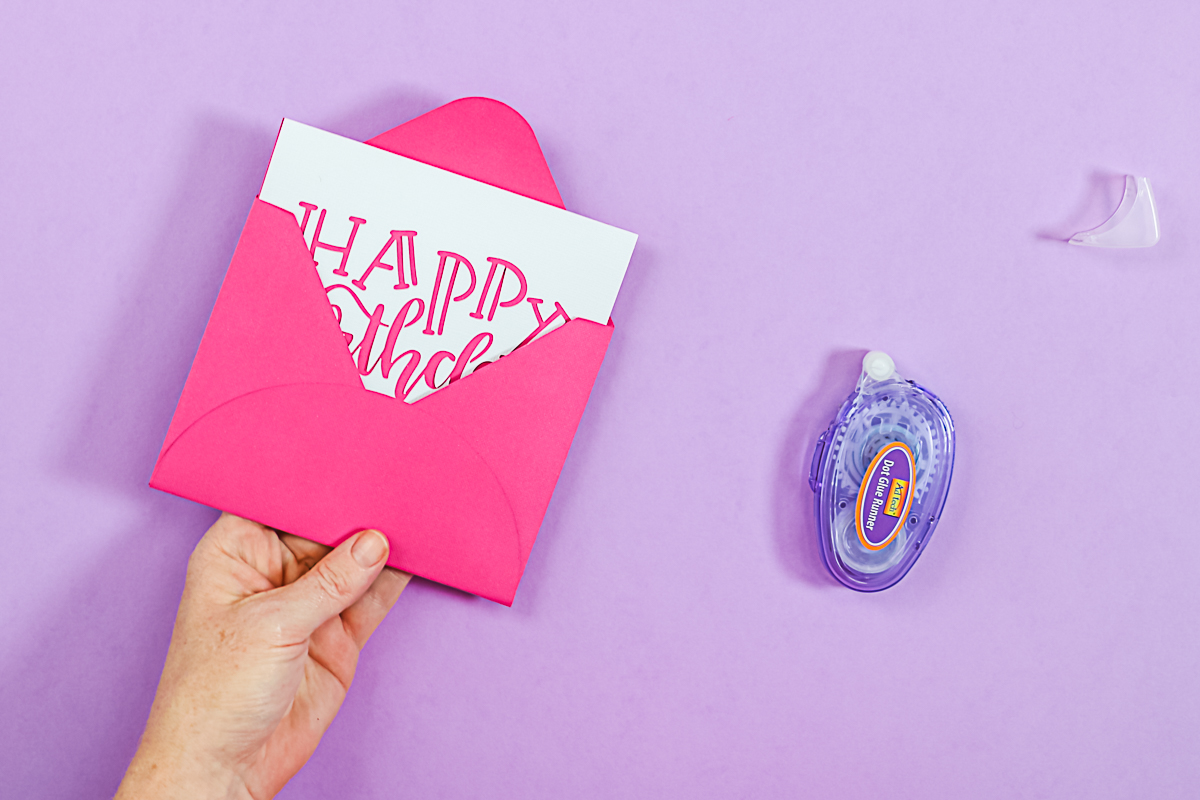
To make the envelope that goes along with it, all you need to do is fold along the score lines. There should be four score lines. To complete my envelope, I like to run adhesive along the two flaps. Then, just press down the bottom flap. Now we have an envelope. We can add in the card that we just made, close the flap, and it’s ready to give. Remember, you can write a name and address on the front of this to mail it off or just who it’s to and who it’s from. Again, once you get more advanced, use your pens and your Cricut machine to do the writing for you. Now you have a cute card for a birthday or make one for another occasion!
Beginner Vinyl Project
Now that you have a card, let’s master using vinyl with your Cricut machine for the next in this series of Cricut beginner projects. This is a common material and adhesive vinyl is great for a wide variety of project.
Donut Image in Design Space
For the adhesive vinyl project, I found some donut designs by searching images. I measured the keychain with a ruler. I think 2 inches around would be optimal to add to this particular blank. Just measure your blank with a ruler and get an idea of what you think would look good. Use the arrow button in Design Space to resize the donut itself. You can also add the exact size in the top toolbar. Make sure the lock button is locked so that the entire thing resizes exactly in proportion. Now it is 2 x 2 inches.
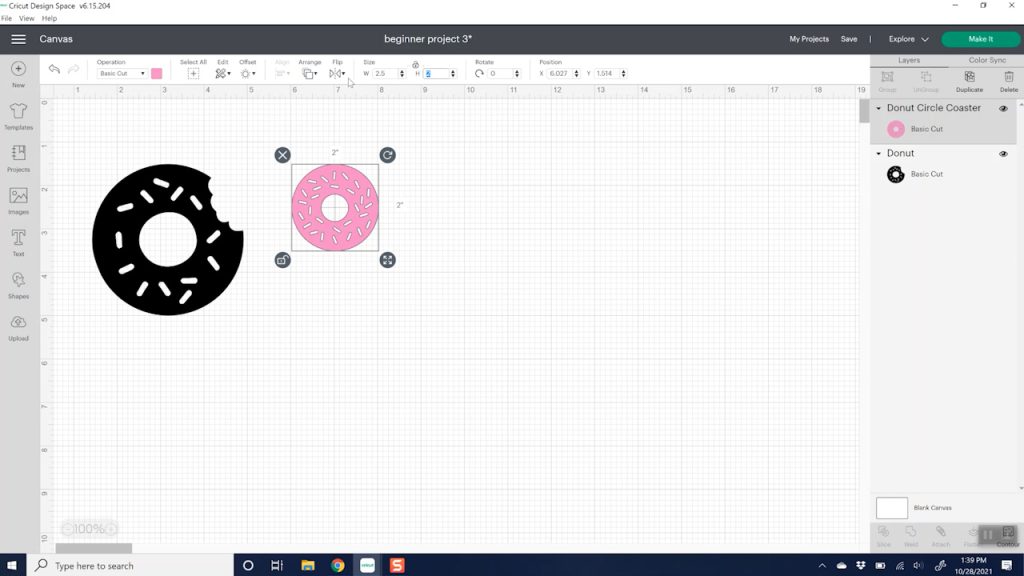
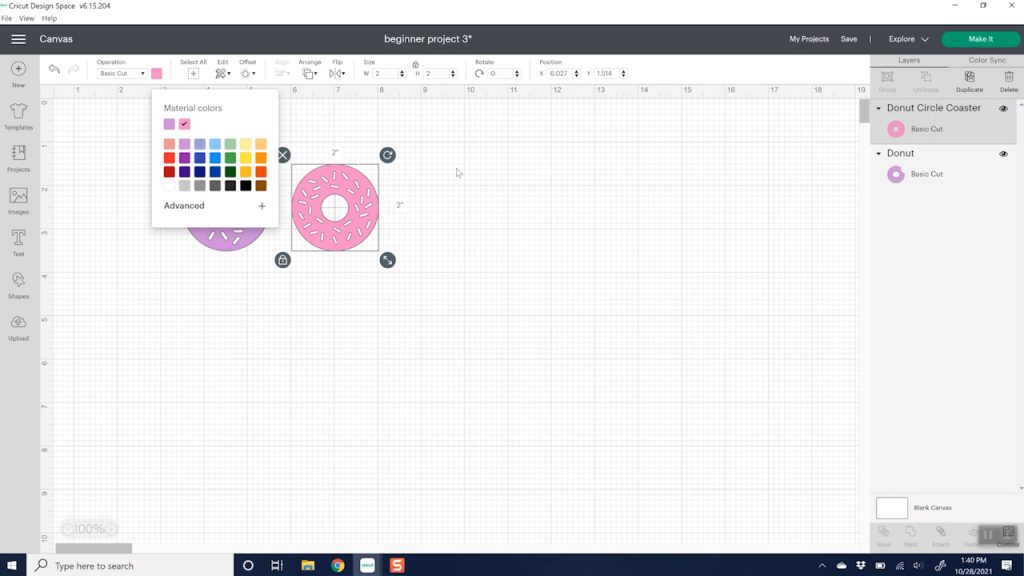
I thought it would be fun to put one donut on one side and another donut on another side. I also thought it would be fun to make these two different colors. One of them I’m going to make purple. I’m going to pick this purple from the color menu. You can change both donuts to whatever color you would like. You do want them to be different colors so when you click “make it” the projects will be on two different mats.
Sending the Cut to your Cricut
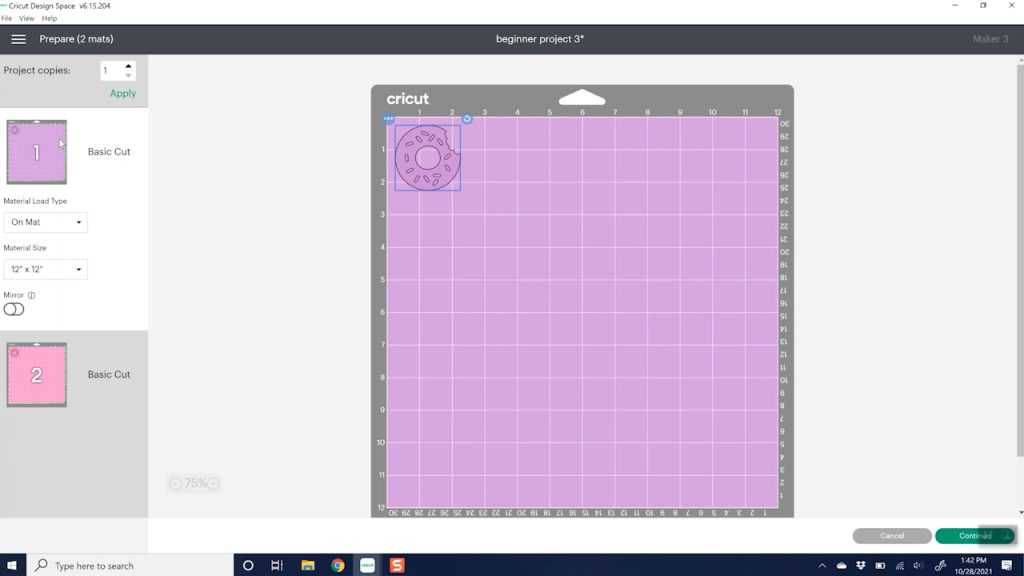
Then click “make it” to cut and I’m going to pick “on the mat” because I’m going to use regular vinyl. The only time you pick “without a mat” is for Cricut smart materials only. I’m not using the smart materials, so I’m going to click “on the mat” and click “done”. Now I see our donuts on two different mats – a pink and a purple. You will note that the mat color on this screen matches whatever color that you picked for your item on the first screen. This helps you keep everything straight, especially if you have several different objects. Click “continue”.
Choosing a Material in Cricut Design Space
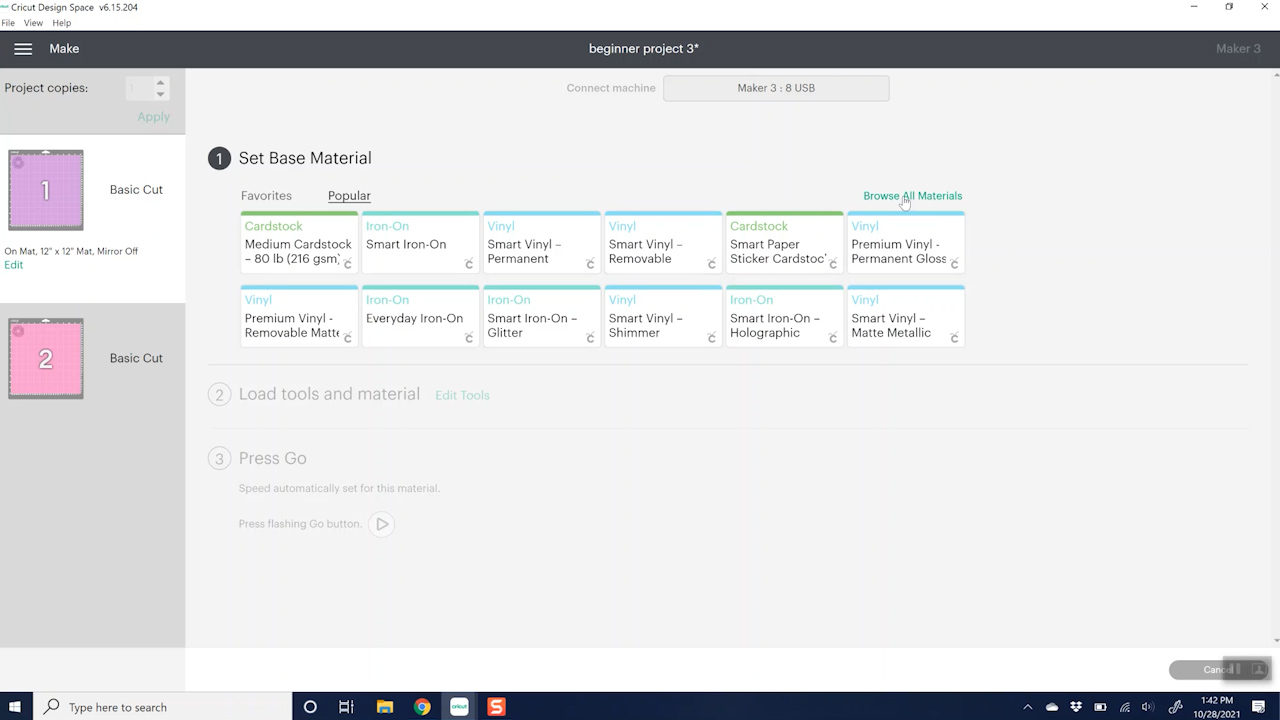
Again, click “browse” on materials to see more. My vinyl is premium vinyl permanent glossy so I’m just going to pick that. They’re both premium vinyl, so I can actually click the “remember material settings” button. Then when I go to my second mat to cut it, it won’t ask me again because these two mats are the exact same material.
Adding Vinyl to the Mat
Add the vinyl to the mat in a similar way as the paper. Remember to remove that protective film from your mat and save it so you can put it back on there after you’re done. Line your vinyl up with the grid and press it down well onto the mat. Again, you can go over it with a brayer if you feel like it’s not down very well.
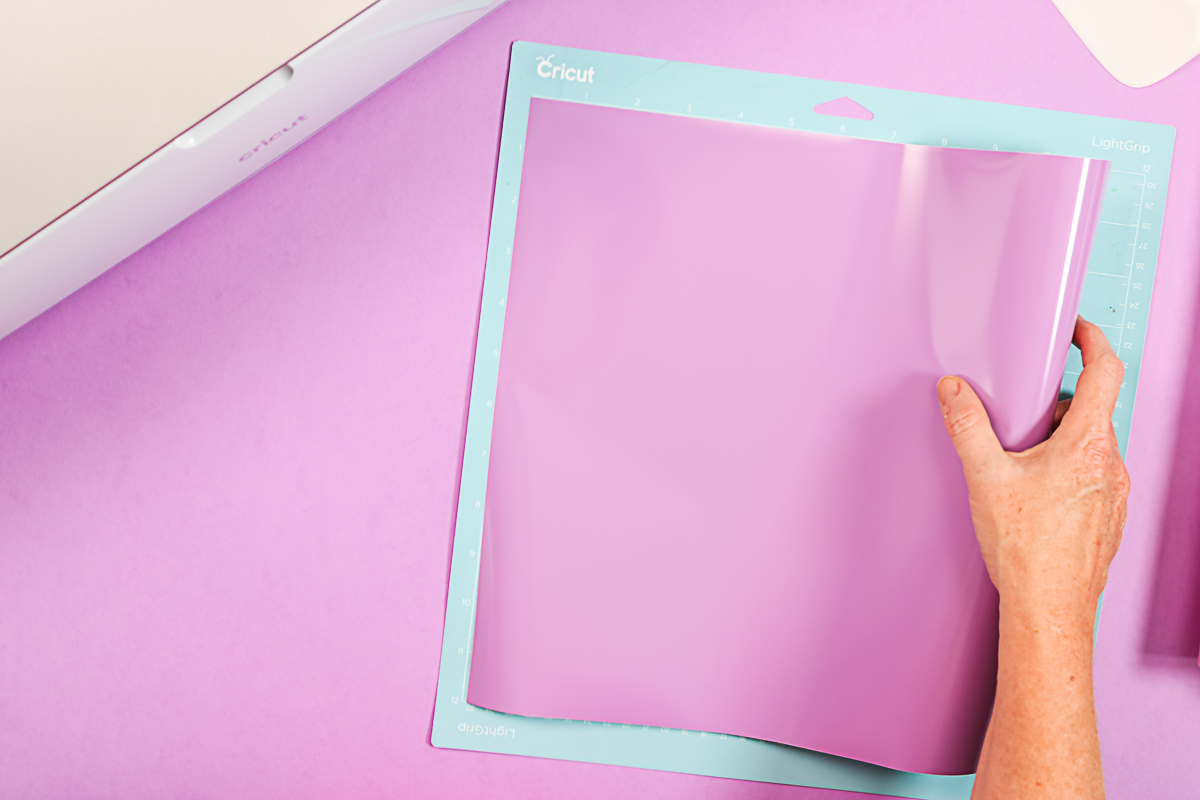
Cutting Adhesive Vinyl with a Cricut
Once your vinyl is on the mat, it’s time to head to the Cricut machine and cut. By now, you should be pretty good at loading your mat. You load the mat in the same way, pressing the arrow button and pushing in. Again, this project uses the fine point blade and it’s loaded into clamp B. Now we can press “go” to start our cut.
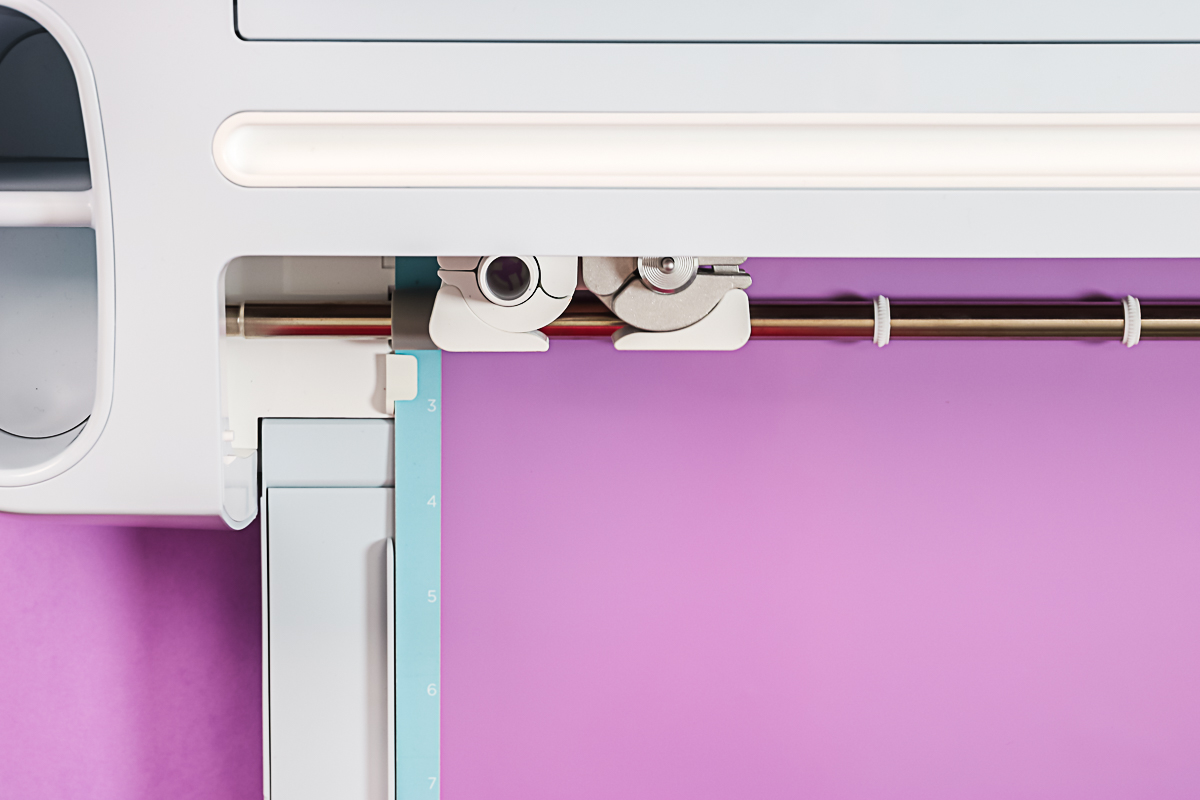
Once your machine is done cutting, press the arrow button to remove the mat from the machine. I’m going to go ahead and cut my pink vinyl in the same way. Then we’ll talk about removing the vinyl from the mat and our next steps to assemble our project.
Removing the Vinyl from the Mat
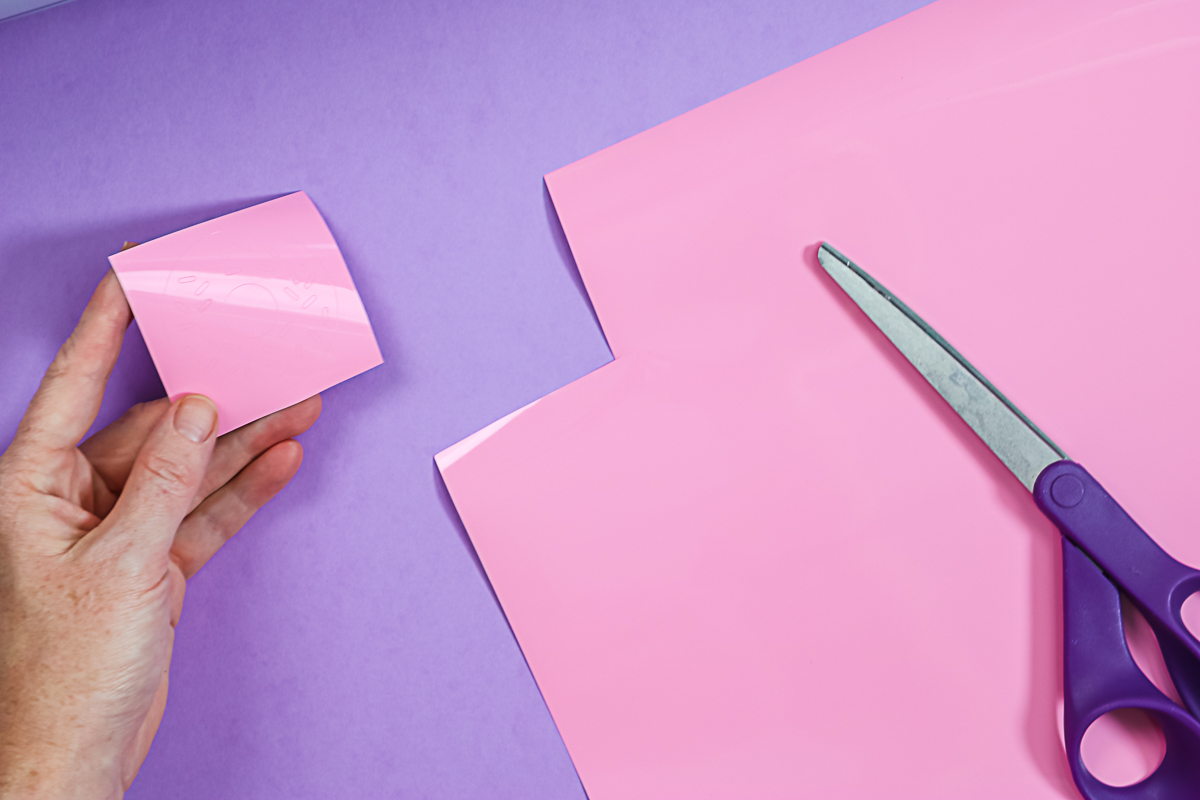
As with the paper, it’s always a good idea to peel the mat back from your material just so your sheet does not curl up. In this case, I put a whole sheet of vinyl on the mat. However, I just cut a small portion in the corner. You can use a pair of scissors to trim away all the excess, and then we’ll save the rest of the sheet for another project.
Weeding Vinyl
In this case, we’re going to weed everything around the outside edge, as well as the center of our donut and every single one of our sprinkles. You can see the cut lines and you just pick up all of those small pieces with your weeding tool. I’m just going to do this for both my pink donut, as well as my purple donut. If you’re new to weeding, just go slow. This is a fairly simple design, perfect for beginners to do weeding for the first time.
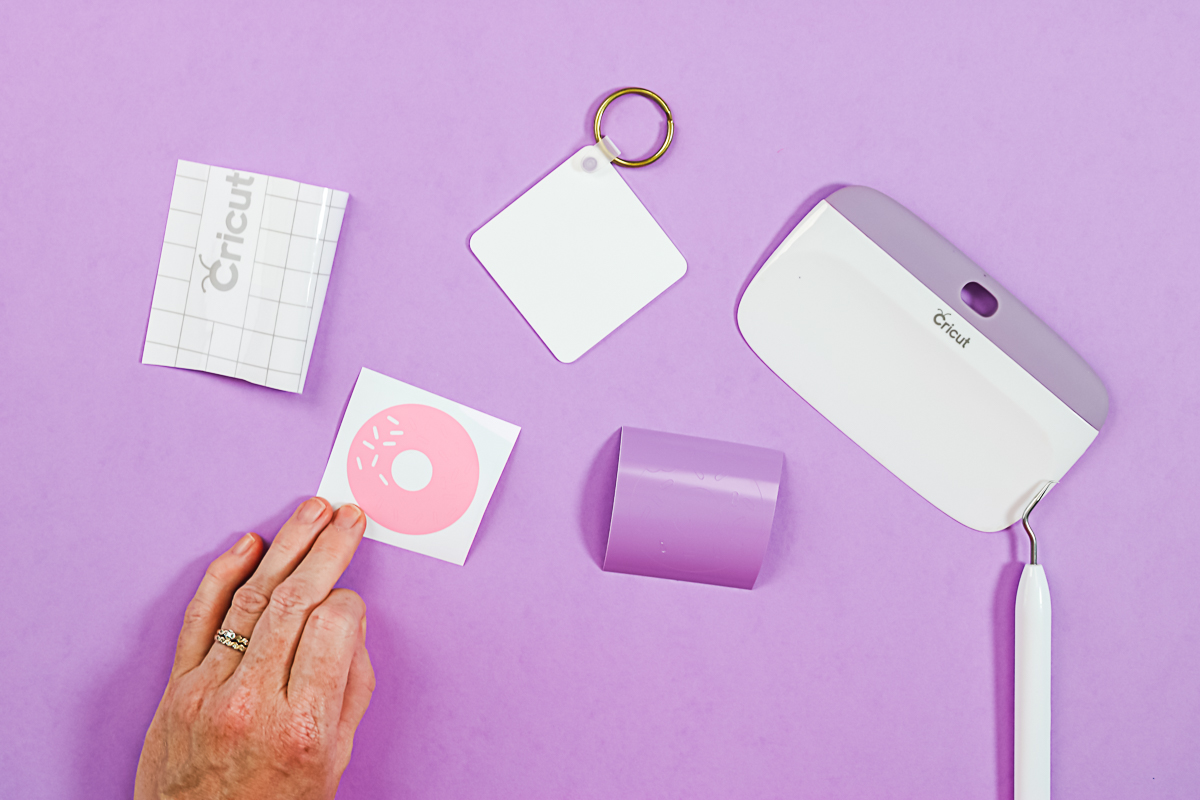
Now that both designs have been completely weeded, a tip to make sure you got all of those little pieces is to hold these up to the light and make sure you don’t see any additional cut lines.
Applying Vinyl
You do want to make sure that your surface is clean. I cleaned this keychain with a little bit of rubbing alcohol and allowed it to dry completely. I went ahead and cleaned the front and the back so that both sides are clean. We can go ahead and add our design. I cut a small piece of transfer tape. Just peel off the backing paper, and then you have a clear piece of transfer tape with grid lines. Stick it to the vinyl. That’s where the scraper comes in. We are going to scrape and burnish the vinyl on the front as well as on the back.
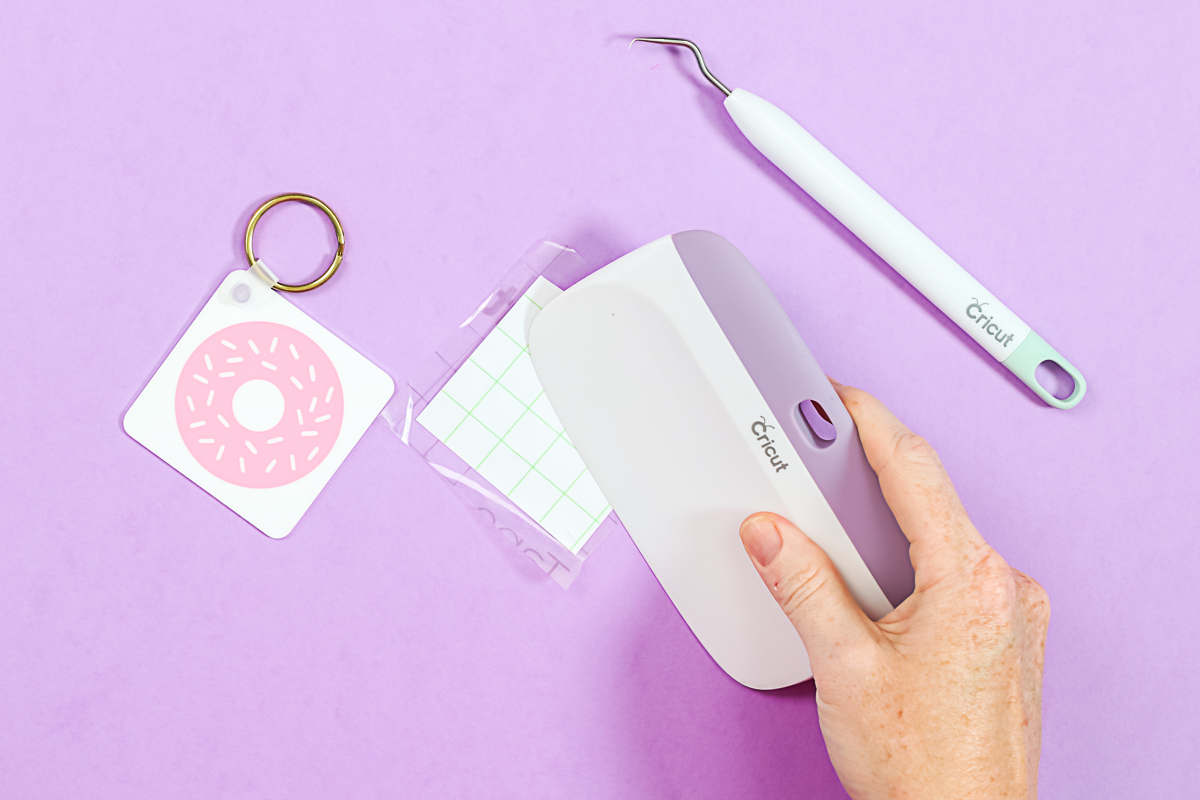
Then you just peel back the backing paper from the vinyl. It is best to go all the way back where it’s back on itself so that it peels away easily. You want to leave your vinyl on the transfer tape. If it’s not peeling easily, just go over and burnish it again with your scraper and try once again. Once the vinyl is completely on the transfer tape, it’s time to apply it to our key chain.
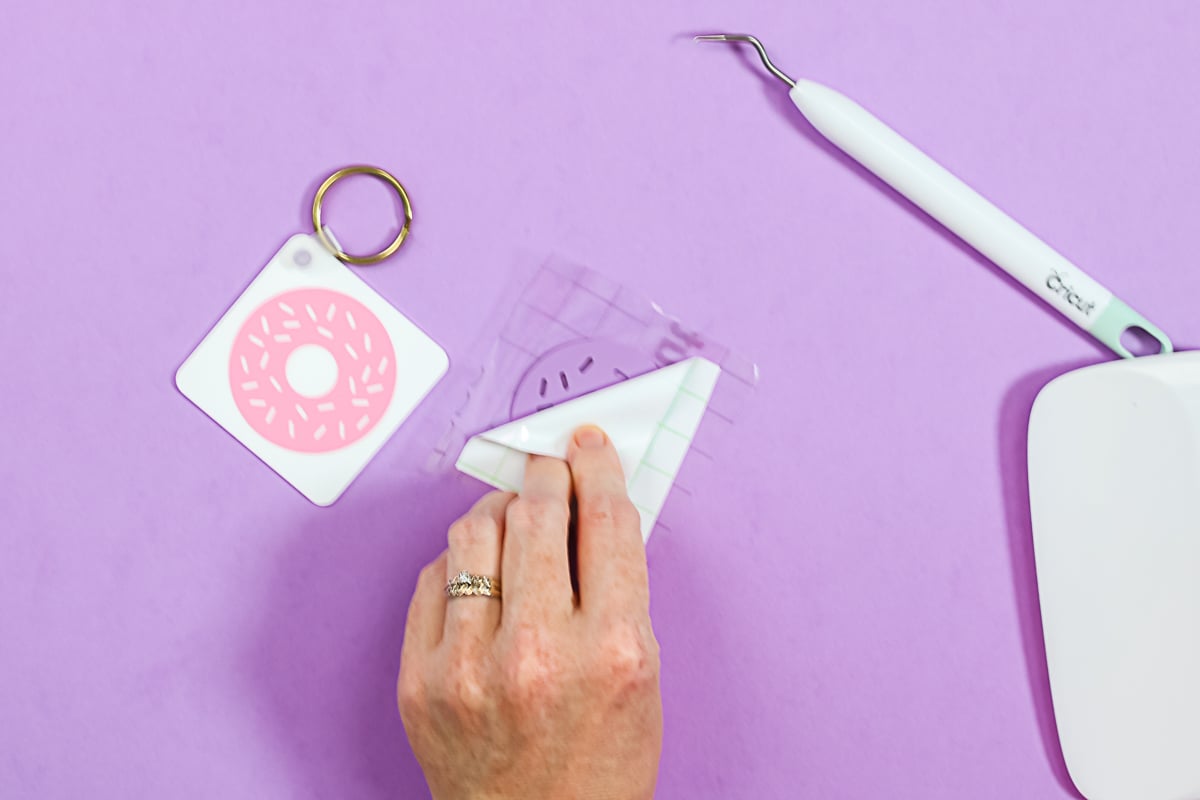
You just want to eyeball it and approximately get it in the center. You can use something like a ruler to get it more exact. Then just apply it down. Burnish this down really well, pushing fairly hard to make sure you get it down and all of the bubbles are out. Once again, peel the transfer tape back. It’s best to go all the way back onto itself when you peel back. Picking straight up usually doesn’t work.
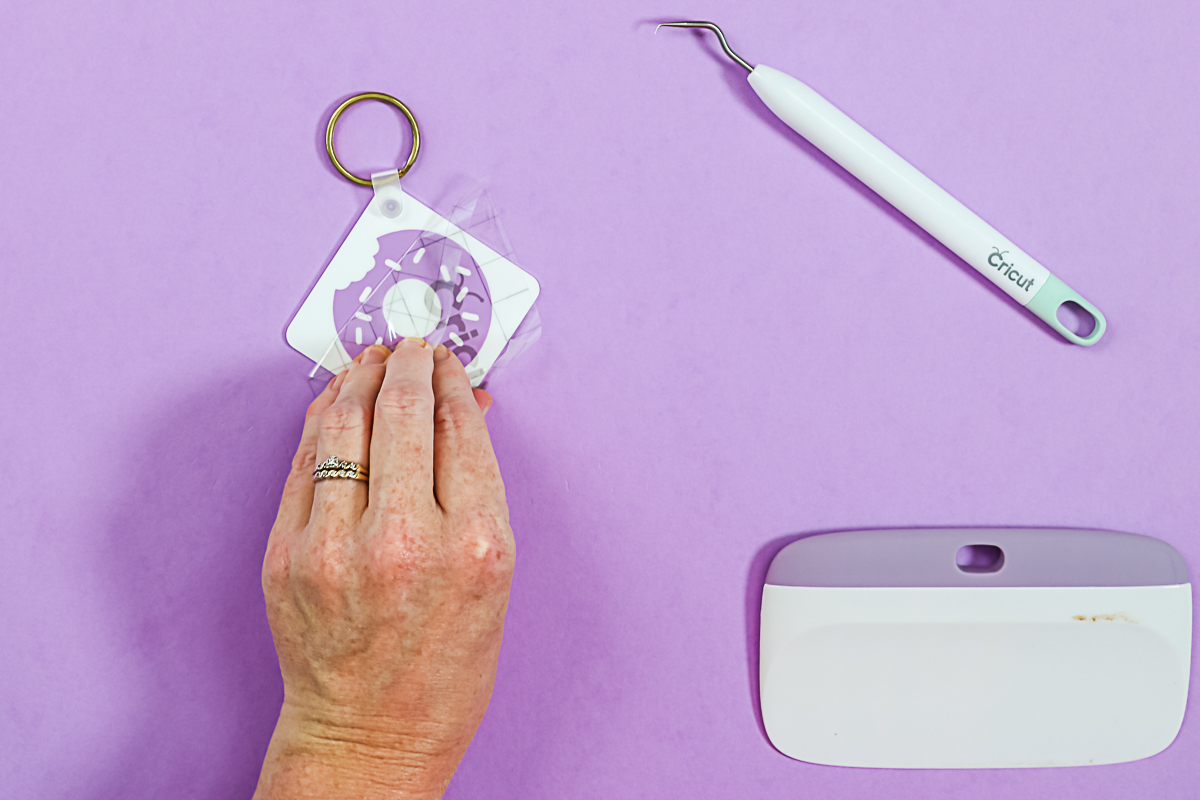
NOTE: Reuse this transfer tape for the other side. There’s no reason to get another piece.
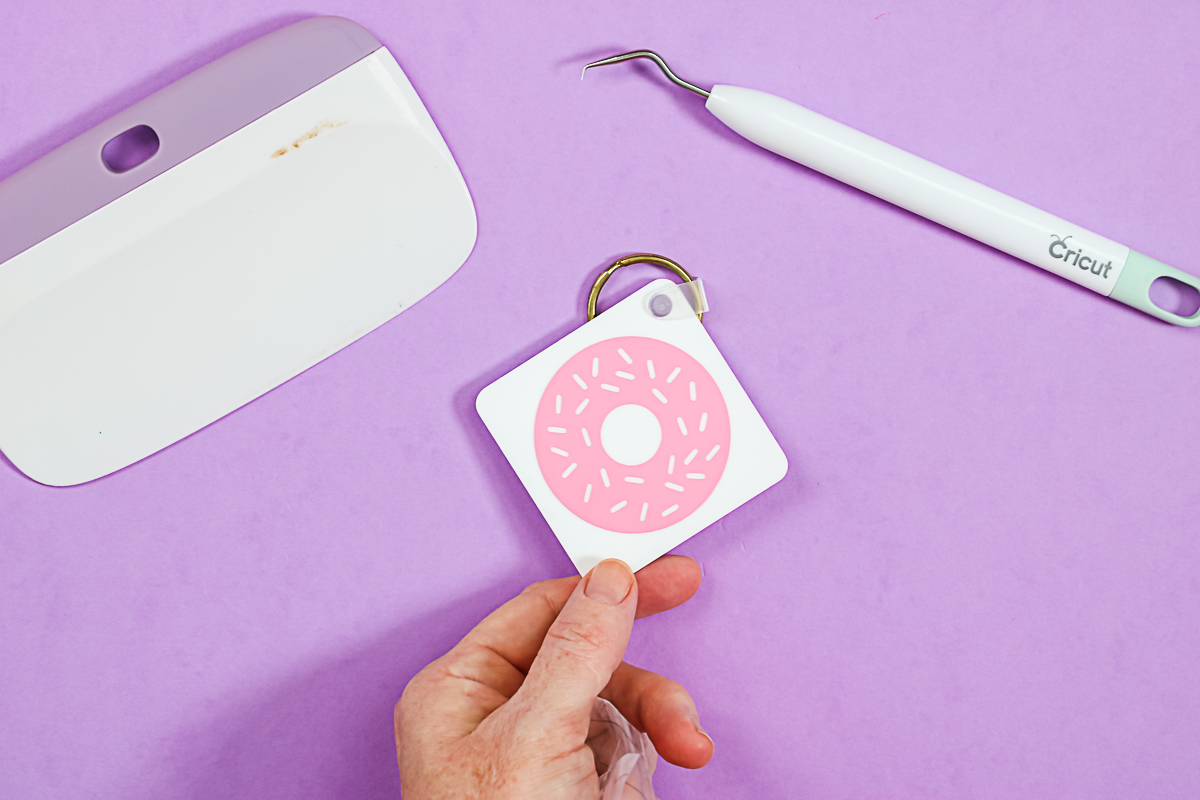
Add the second piece by repeating the entire process on the other side. Now it’s done, and my donut is on my second side. Now you can see that I have a two-sided keychain just that easily. You have a cute keychain to keep for yourself or give as a gift!
Beginner HTV Project
Let’s move on to iron-on or HTV. These are actually two names for the exact same thing. Grab your iron-on supplies to make this cute zipper pouch as our final idea in this series of Cricut beginner projects.
Iron-on Design in Design Space
For this one, I measured my bag and the height is what I’m most worried about. I don’t want it to be any more than 3.75 inches tall. I’m going to go ahead and start resizing this and get to 3.75 inches approximately. Once again, I can type that in the top toolbar to get it exact. I have locked the dimensions so everything stays in proportion. It is 4.86 inches wide.
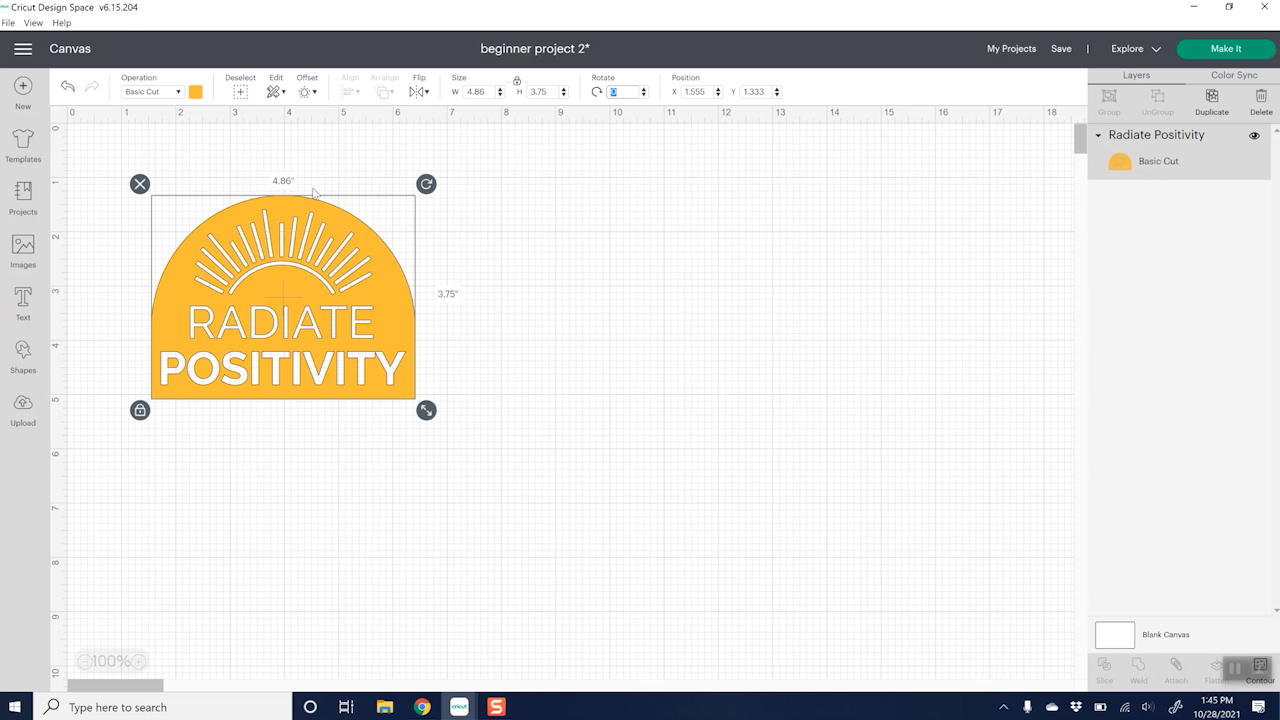
I would go back with my ruler and measure to see if I think the 4.86 inches will look good. I’m not happy with how that will fit. I’m actually going to click the unlock button and squish this up a little bit. I ended up making it 3.75 by 5.797 inches. Now I think that will look better on my zipper pouch.
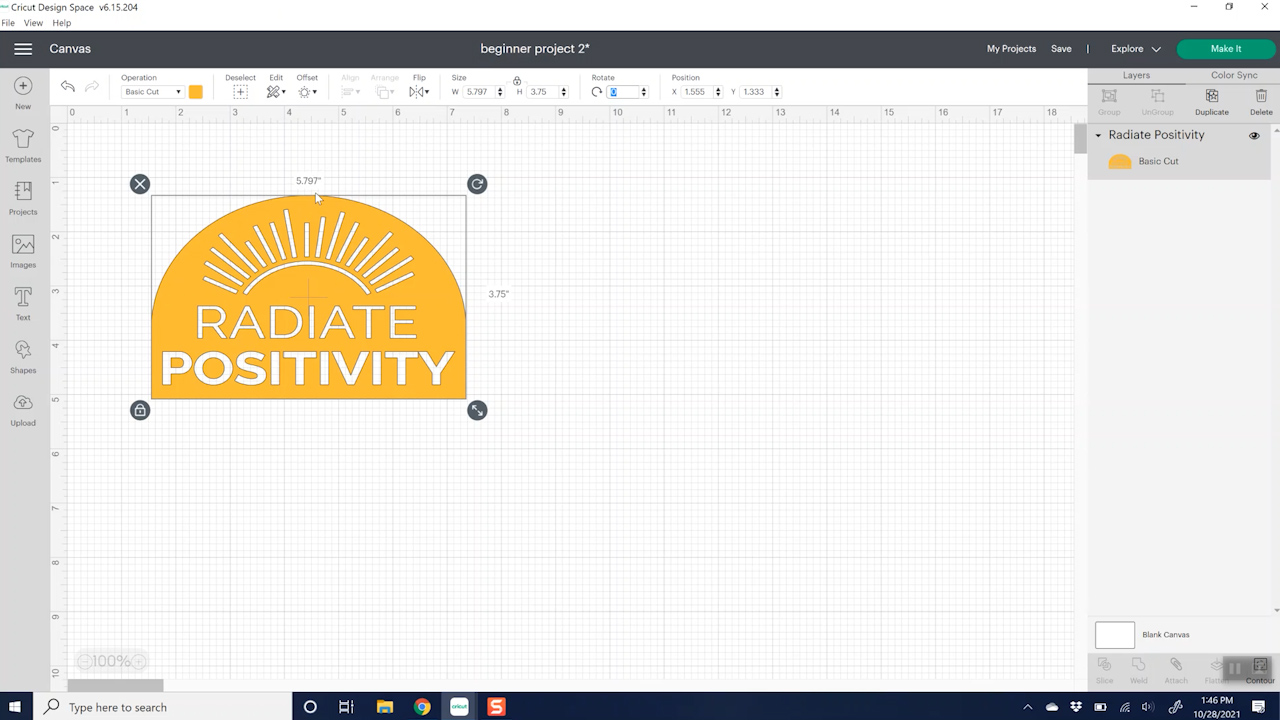
If you want to save this project for later, you always want to drop down and do “save”, and then you can do “save as”. You can name it anything you would like. You can add to a collection if you would like to help sort your projects.
Cutting HTV with a Cricut
Now we are ready to “make it”. Pick on a mat. Iron-on has to be mirrored. You will see why as we make our zipper pouch, but always mirror your iron-on design. When you click “mirror”, you should see the design actually mirror on the mat on your screen. Make sure it looks backward. Then click “continue”.
The number one mistake I see when doing iron-on is not hitting that mirror button.
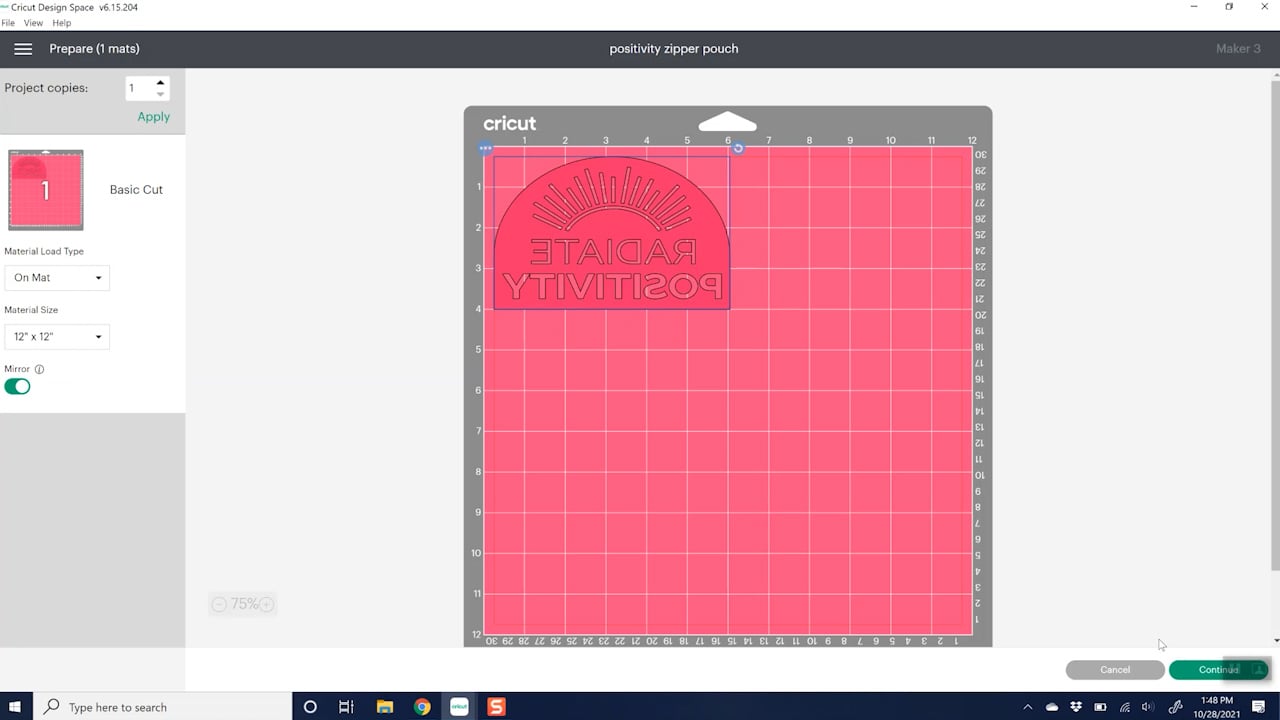
Once it connects to the machine, we have some options for picking a material. I recommend everyday iron-on for the type of HTV I am cutting. You can use some of the other settings if you are cutting glitter iron-on for example. It’s going to call for the fine point blade and no other tools.
How to Put HTV on the Mat and Cutting
Iron-on or HTV looks the same on both sides, except one side is shiny. You want to put that shiny side down onto your mat. This roll of iron-on is a very long roll. I want to waste as little as possible, so I don’t want to cut this off. I’m going to leave the roll hanging off the edge of my mat as I cut. It’ll cut fine and I can salvage the rest of this and roll up all of my excess to use for another project.
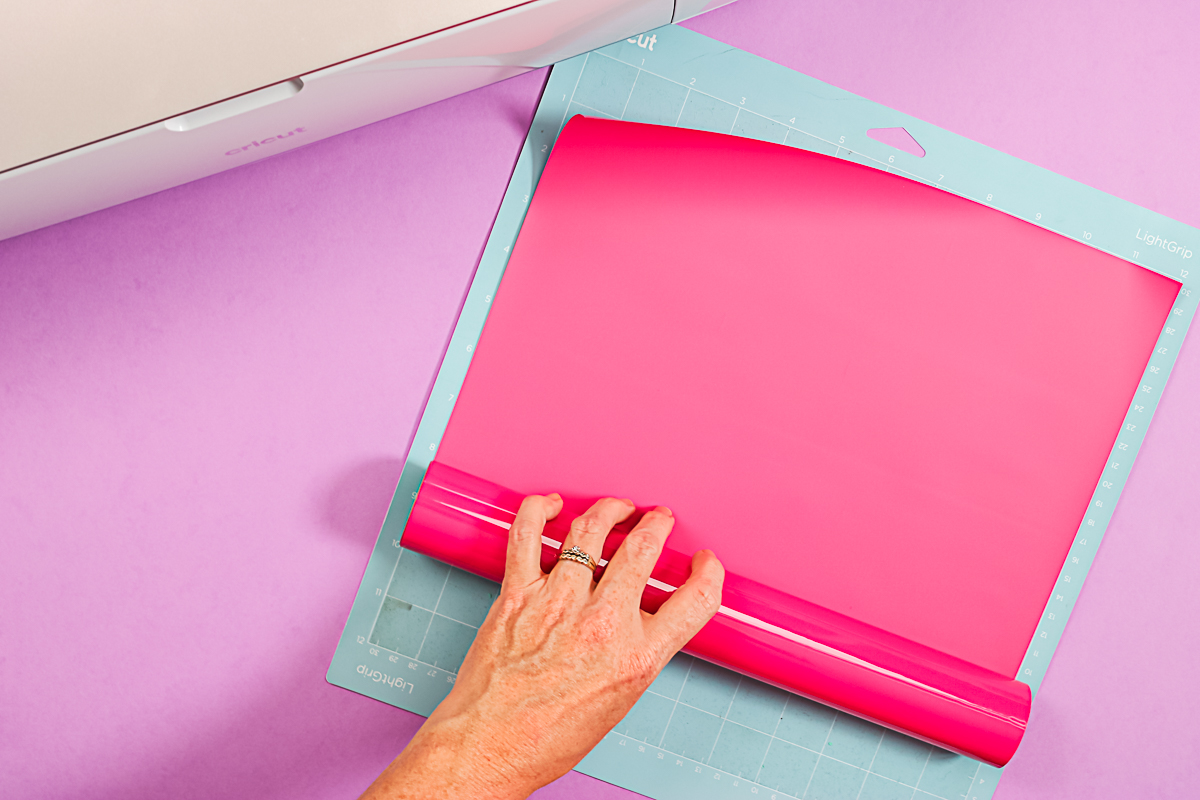
Load the mat in the same manner as before. The fine point blade is installed in clamp B. Press the go button to cut.
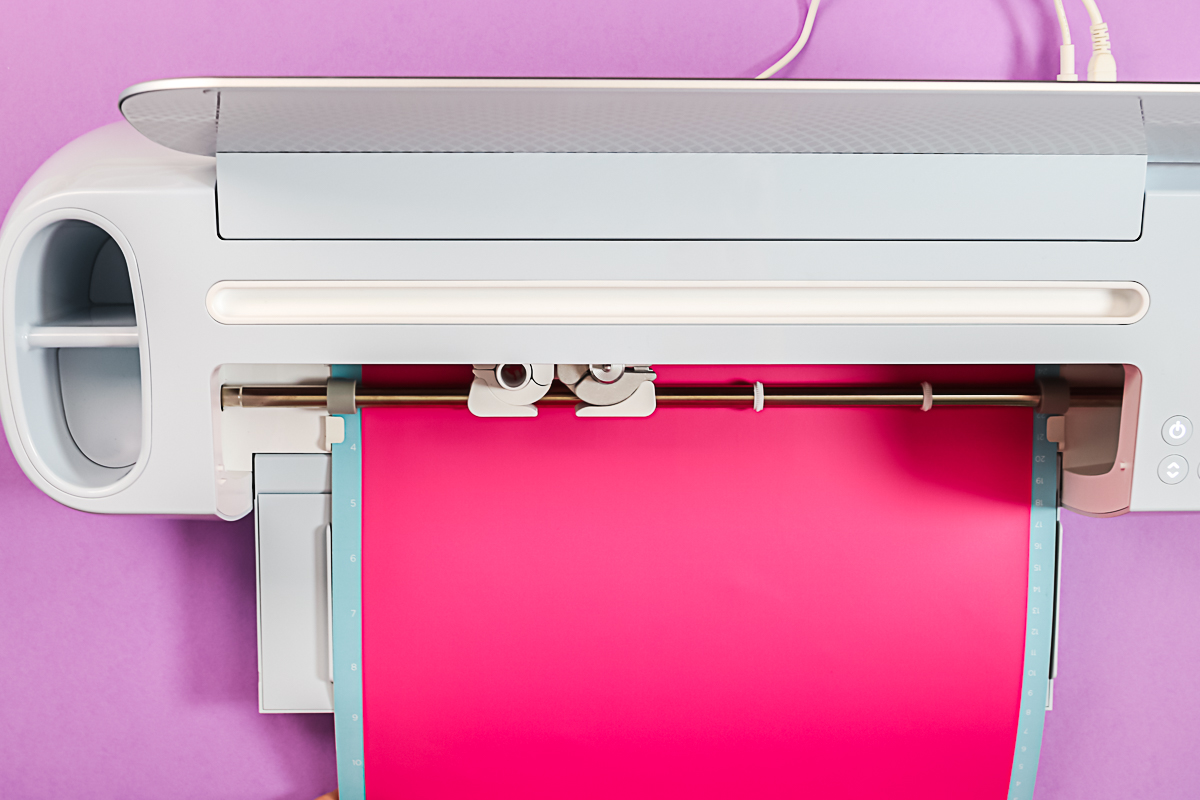
Once the cut is complete, remove the mat from the machine. Cut with scissors around the design to save the rest of the roll.
Weeding and Applying Iron-on
Next, we need to weed our iron-on. I do have my Cricut Easy Press heating up. I always go to the Cricut heat guide and look up the time and the temperature for the materials that I’m using in order to get the correct time and temperature. Weeding iron-on is similar to weeding vinyl. I do have the shiny side down. Start peeing back the excess. The liner on the iron-on is sticky. Use the weeding tool to remove all of the pieces that you do not want to be transferred to my project. In this case, I would leave things like the centers of the letters because of the way my design is.
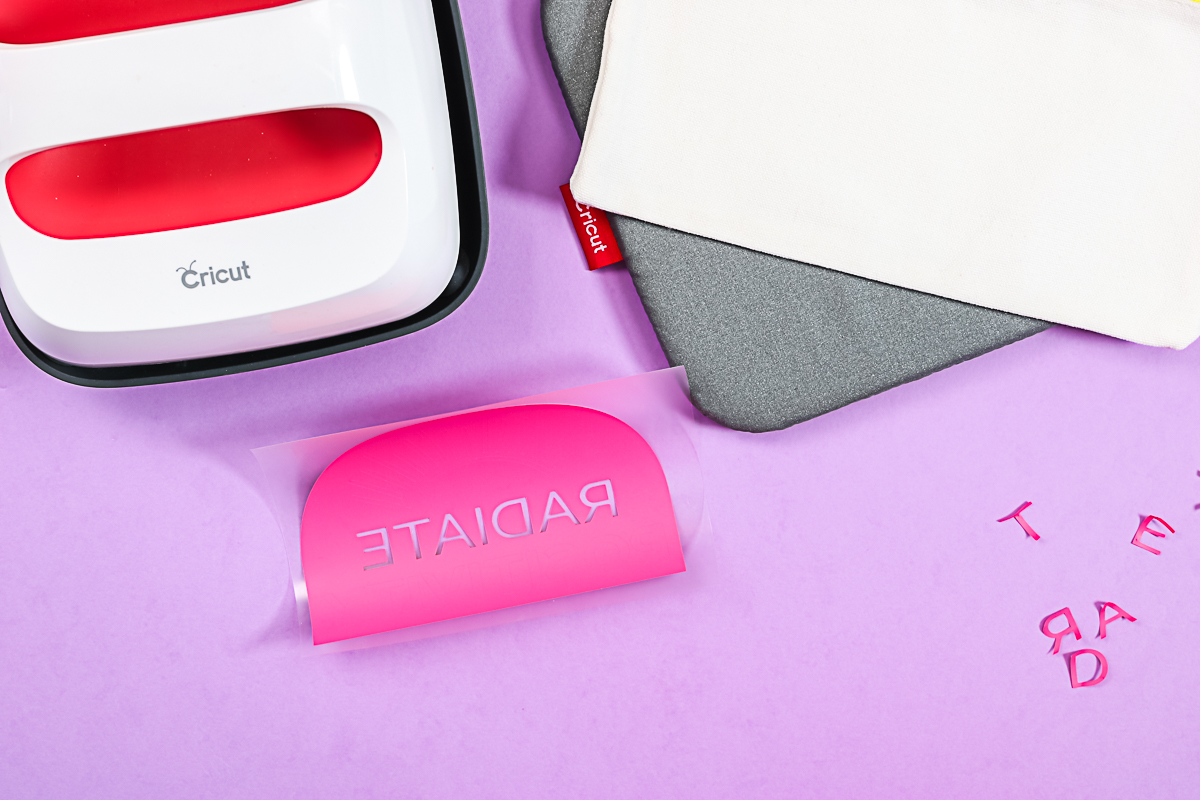
I do recommend for something like this zipper pouch to add your EasyPress mat or a folded-up towel to the inside. It will make your pressing process much, much easier. Use the EasyPress to lightly heat the surface to remove moisture or wrinkles.
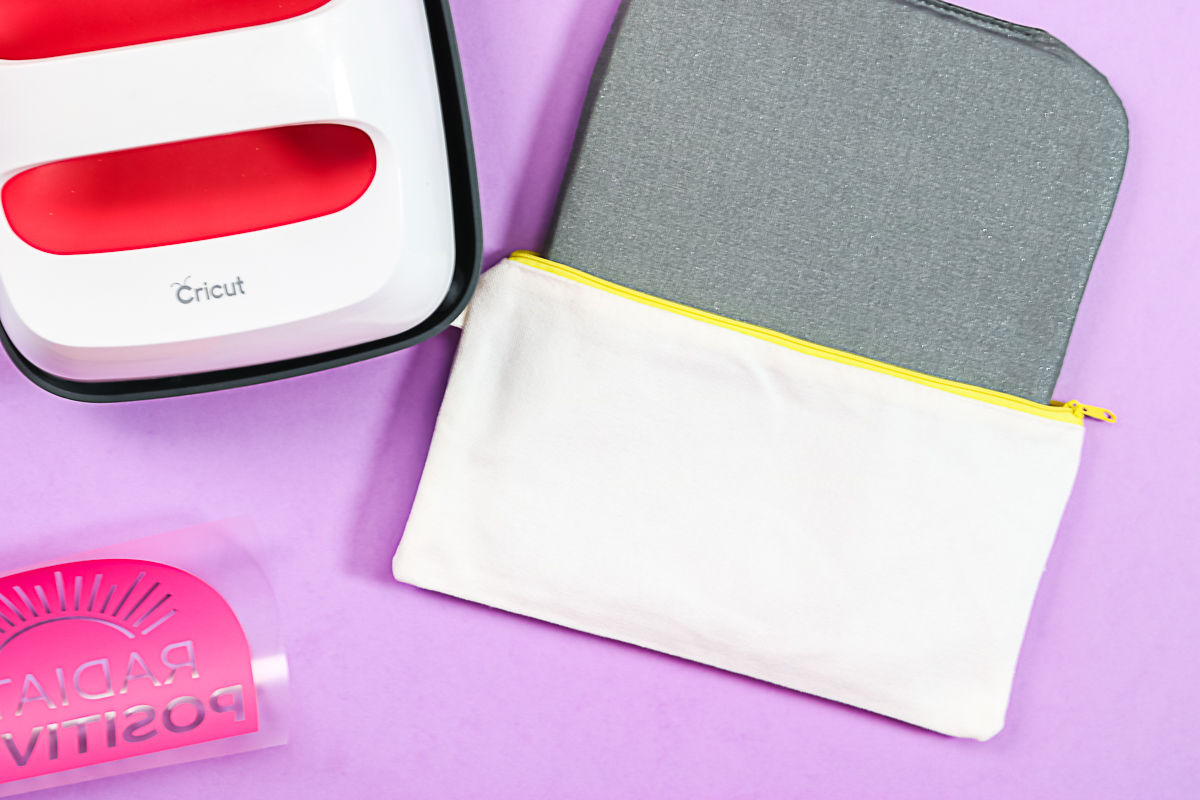
Add the iron-on design that has been weeded with the sticky side down in the correct location on the pouch. If you have words, they should now be turned the correct way. You can definitely use a tape measure here to find the approximate center of your zipper pouch. Then, find the center of your design and line those up. You also want to make sure the design is straight. The liner is slightly sticky for a reason. It will hold it in place.
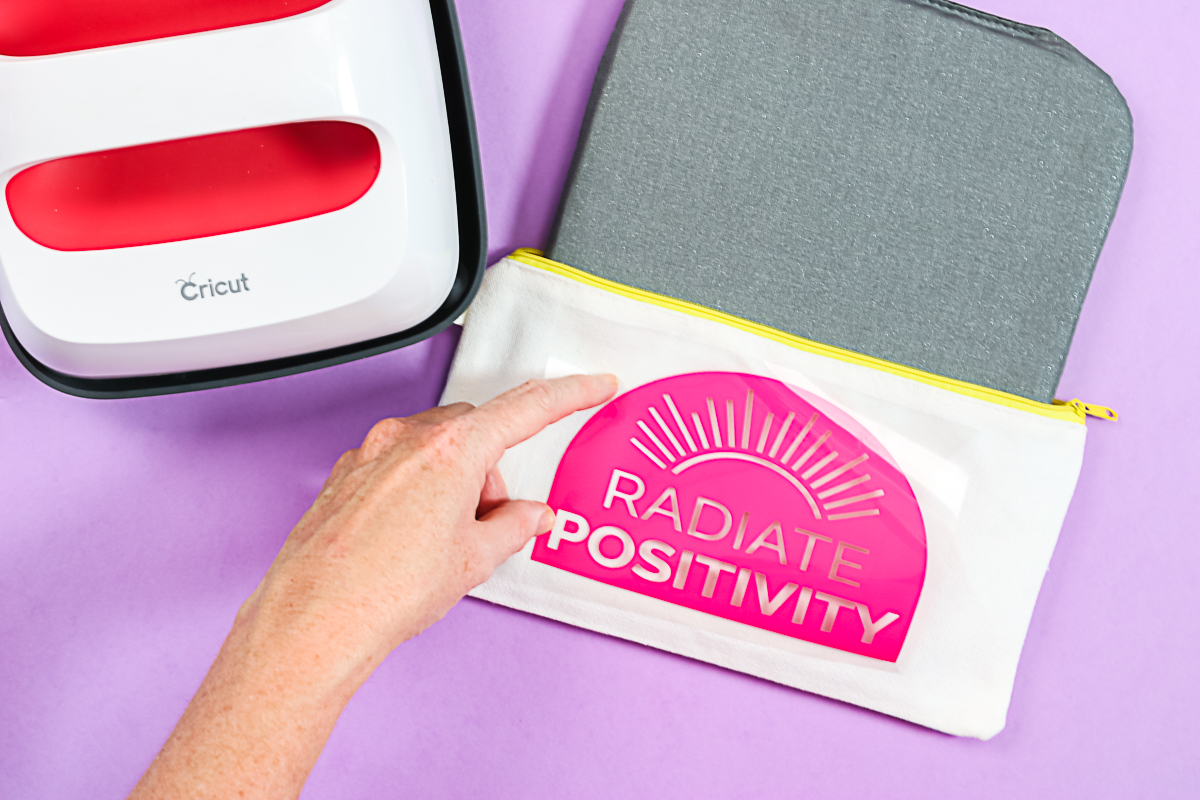
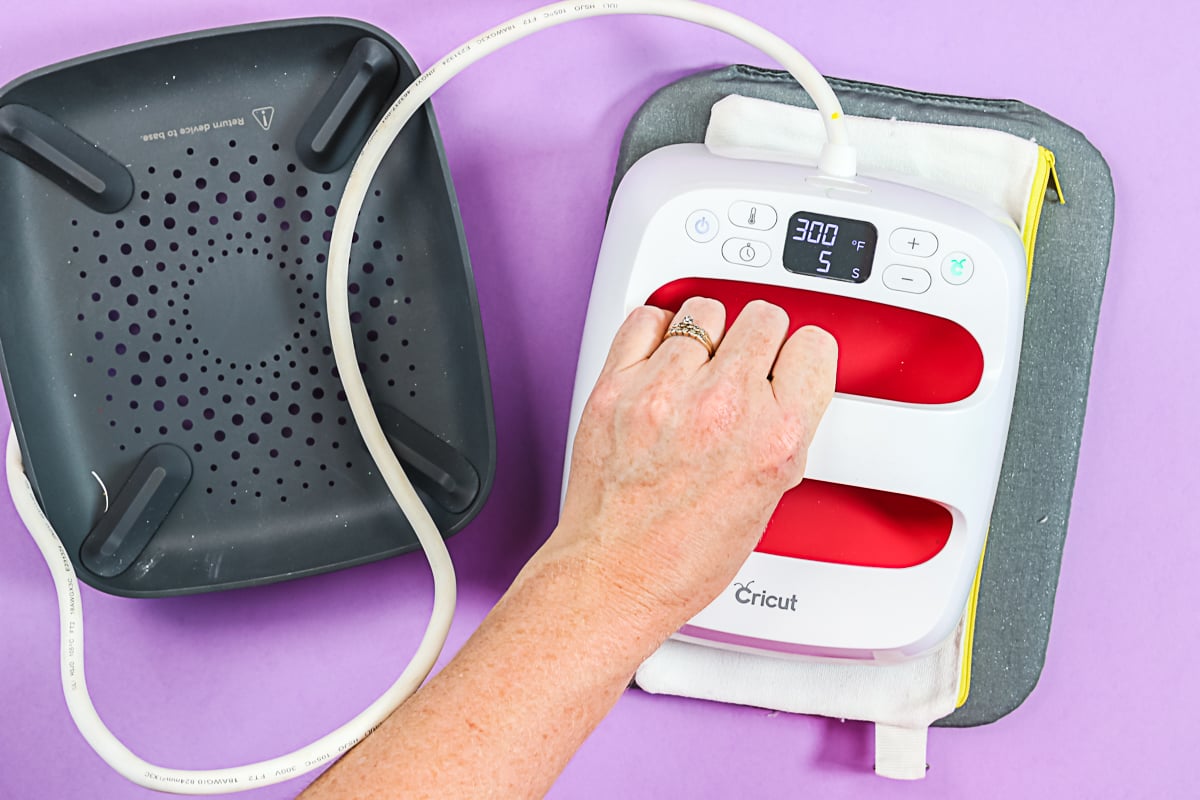
Press the design all at once. Just put the Easy Press down, hit the timer, and press down. If you can’t cover it all at once, you can press it in two pieces. Just be sure to overlap slightly so that you get the entire design.
Removing the Carrier Sheet
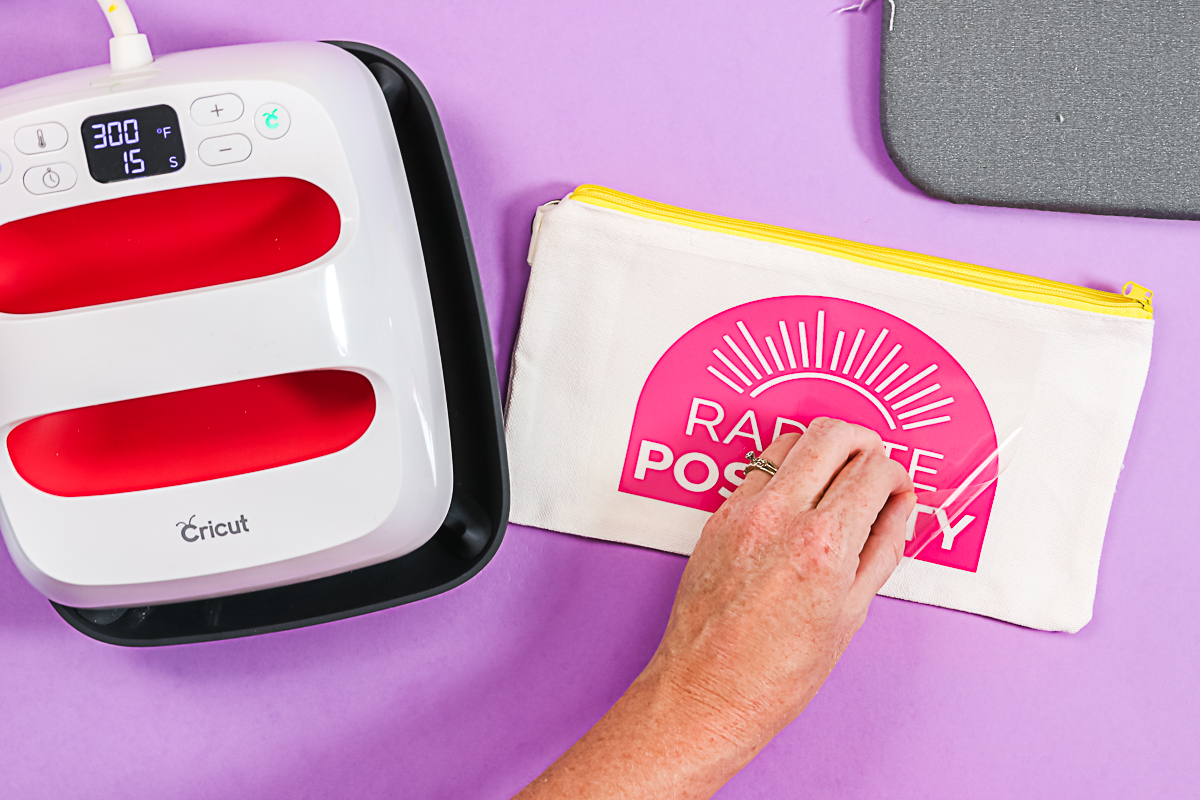
Once the EasyPress beeps, remove it. Now press from the back because that’s what it says to do on the heat guide. You just want to follow whatever instructions are for your brand of HTV. Then let it cool completely. That’s one of the biggest mistakes I see with Cricut iron-on. You need to let it cool completely to the touch before you remove the carrier sheet. One trick is to remove the mat and it’ll cool a little faster. Once your project is cool to the touch, peel back the clear sheet. Make sure that the iron-on is stuck to your project and not on the sheet any longer. If any of it peels up with your sheet, you need to reapply the sheet and press once again for the full time and see if you can get it to stick.
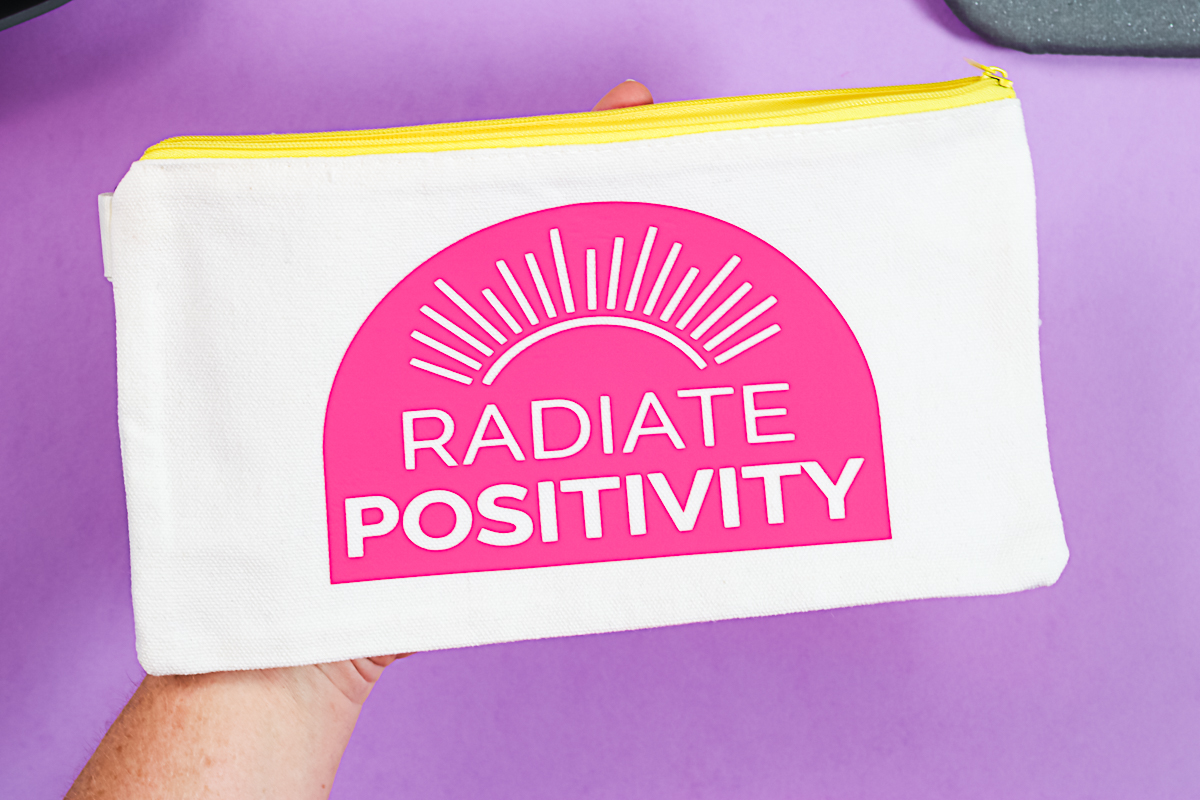
Now my zipper pouch is complete!
More Advice for Cricut Beginners
We’ve made three different Cricut beginner projects, all perfect for beginners. Whether you are struggling with iron-on and application, or wanting to know how to weed vinyl and apply it to the surface, or struggling with the very basics of cutting paper, hopefully, this post helped you and gave you some tips and tricks for doing each of these projects.
Do you need more help? I have even more resources for Cricut beginners. You can join my free Cricut class here or buy my Cricut book here. You are sure to find the answers to your Cricut questions.

