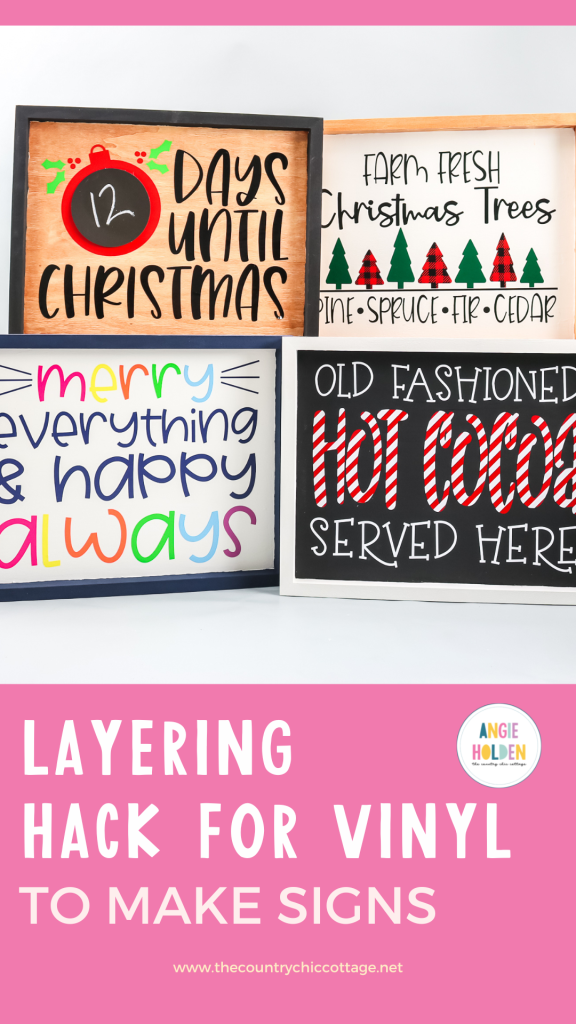
This post and photos may contain Amazon or other affiliate links. If you purchase something through any link, I may receive a small commission at no extra charge to you. Any supplies used may be given to me free of charge, however, all projects and opinions are my own.
If you’re ready to create boutique-looking Cricut signs for your home or to sell you’re going to love today’s post. I’m going to teach you how to use your Cricut machine to layer vinyl with a layering technique you may not have seen before. It makes making Cricut signs with layered vinyl a breeze no matter how many colors you’re using.
If you’ve never used vinyl before learn all about it here.
Creating Cricut Signs with Layered Vinyl for the Holidays
Before we get started I’m also including a free SVG for the old-fashioned hot cocoa sign. You can get that here. The files for the other signs are in a bundle that will be offered after you sign up for a limited-time low price.
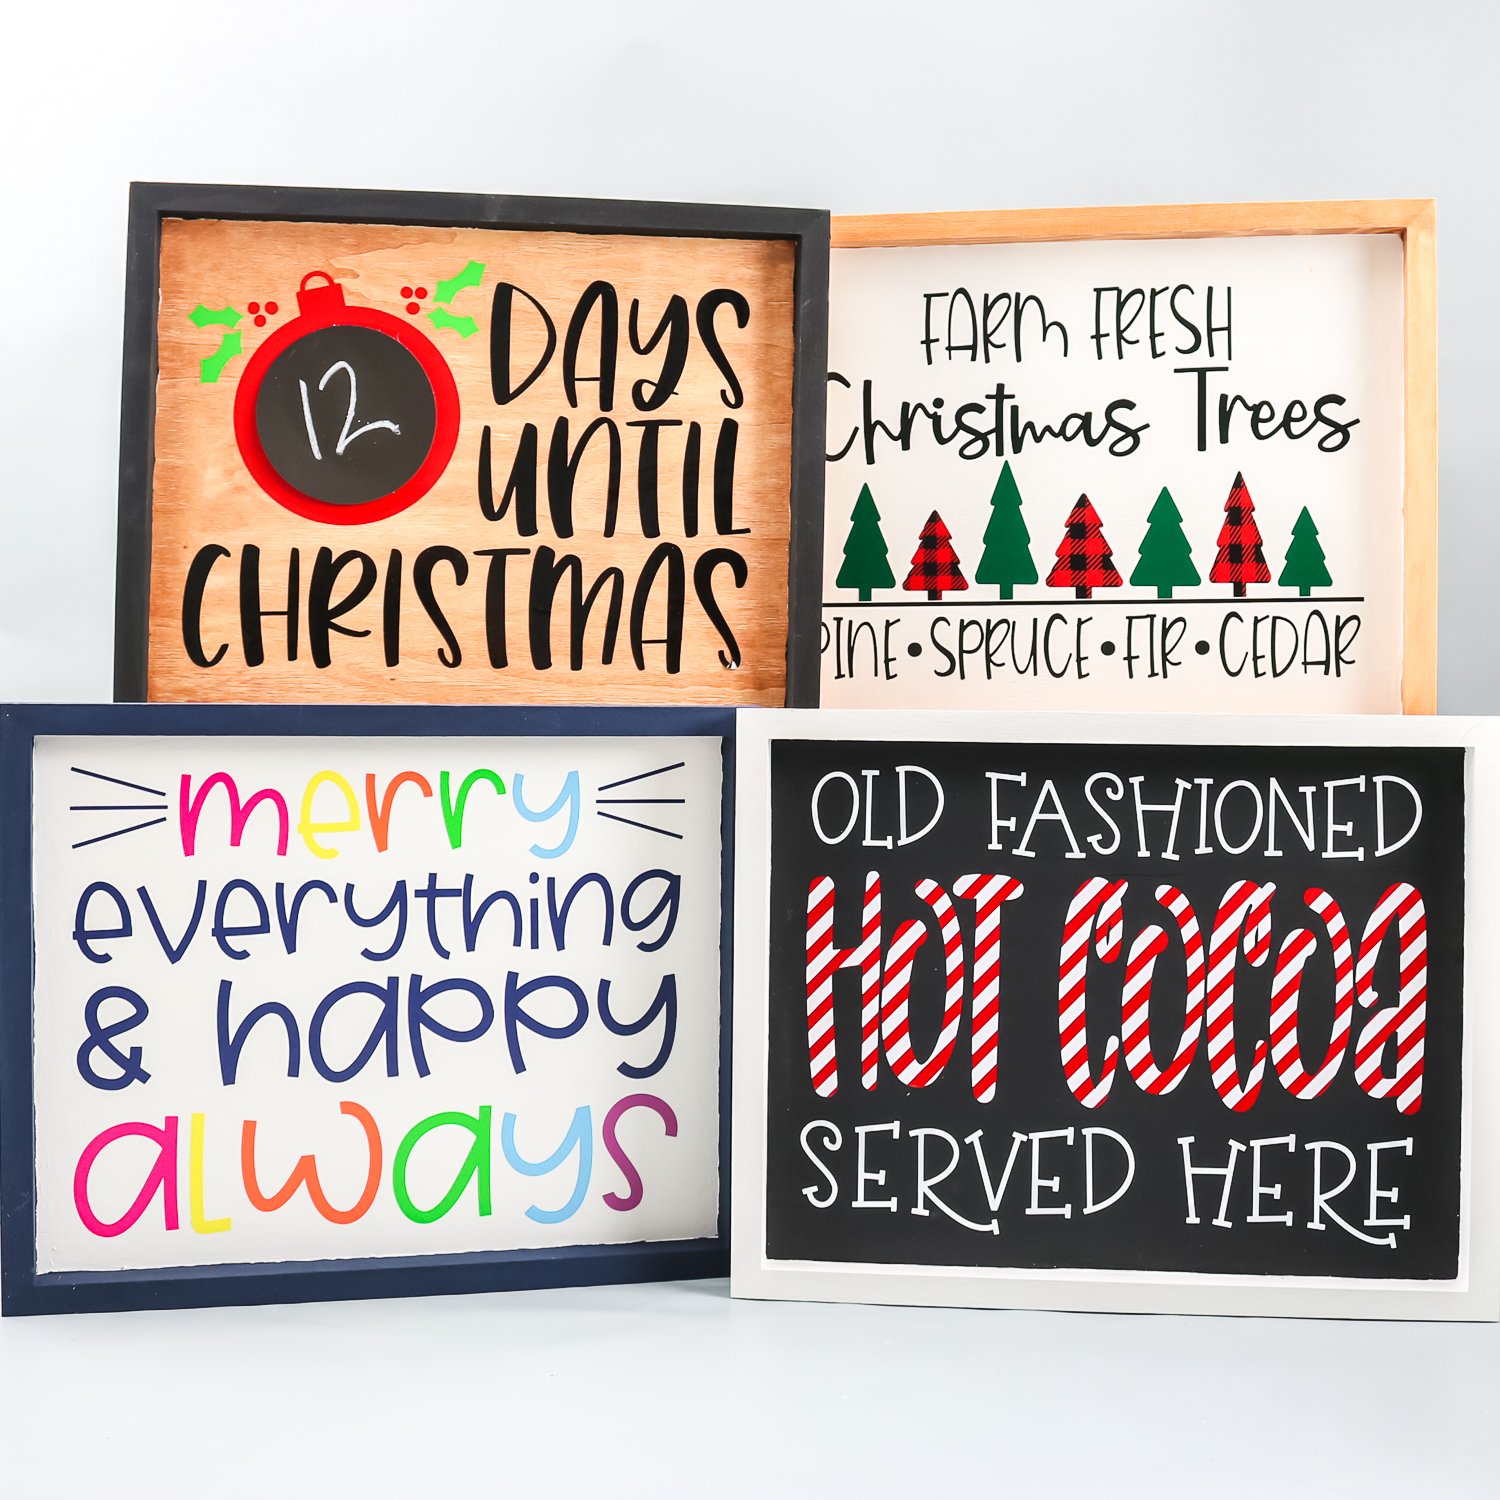
All of these Cricut signs use the same wood base. With a little paint or stain, you can turn this one blank into many different looks. If you’re ready to make layered vinyl signs, you can actually watch me make this sign from start to finish by clicking play on the video below:
Supplies Needed to Create Cricut Signs with Layered Vinyl
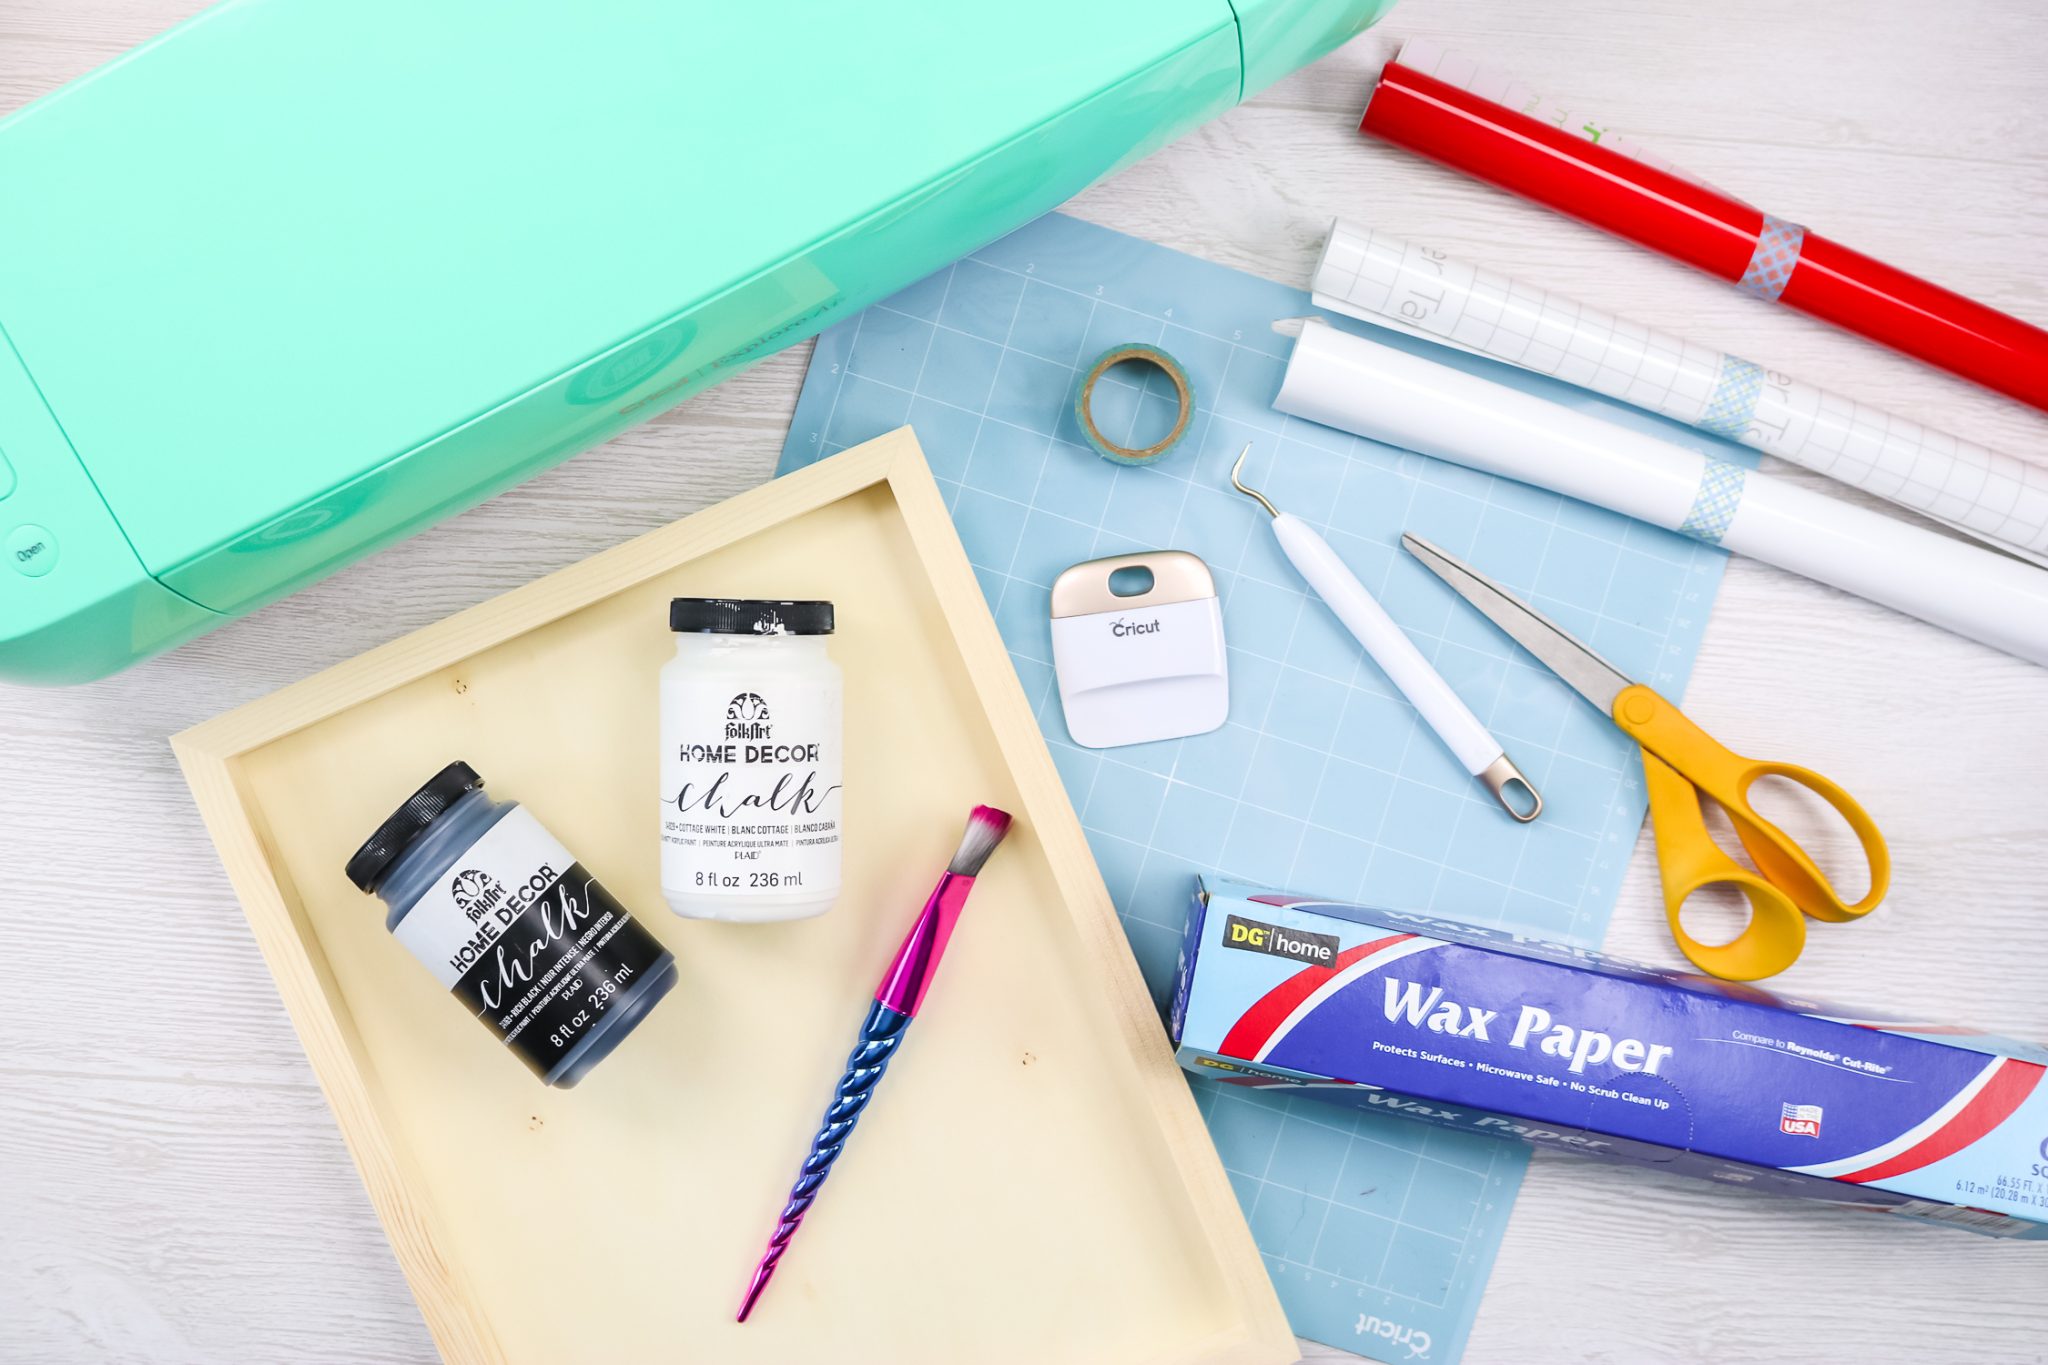
How to Make a Layered Vinyl Holiday Sign
Now that we have all our supplies gathered it’s time to prep our wood sign.
Paint or Stain Wood Sign
You’ll want to paint or stain your wood sign with plenty of time to dry before applying vinyl. I am painting the inside of my sign black. I’m using chalk paint and I recommend painting the inside of the sign first.
Paint the inside and allow it to dry between coats. Depending on the look you want and the paint you are using you may need more than one coat.
When the inside is dry you can paint the frame area. I’m just using a paintbrush, you can tape your edges if needed to help keep the paint where it belongs. I am painting my frame area white to contrast the black inside.
The paint needs to completely dry before applying vinyl. I recommend at least a couple of hours or overnight if possible.
Upload Hot Cocoa SVG
To upload the SVG we’re going to click on upload, upload image, and then browse your computer to find your file.
I recommend uploading an SVG into Cricut Design Space. The image I’m using is free and will download as a zip file. It will include a few different file types but if you’re going to upload into Design Space I recommend the SVG. Get the file here. NOTE: Files for the other signs will be offered as a bundle once you sign up for the free old-fashioned hot cocoa served here file.
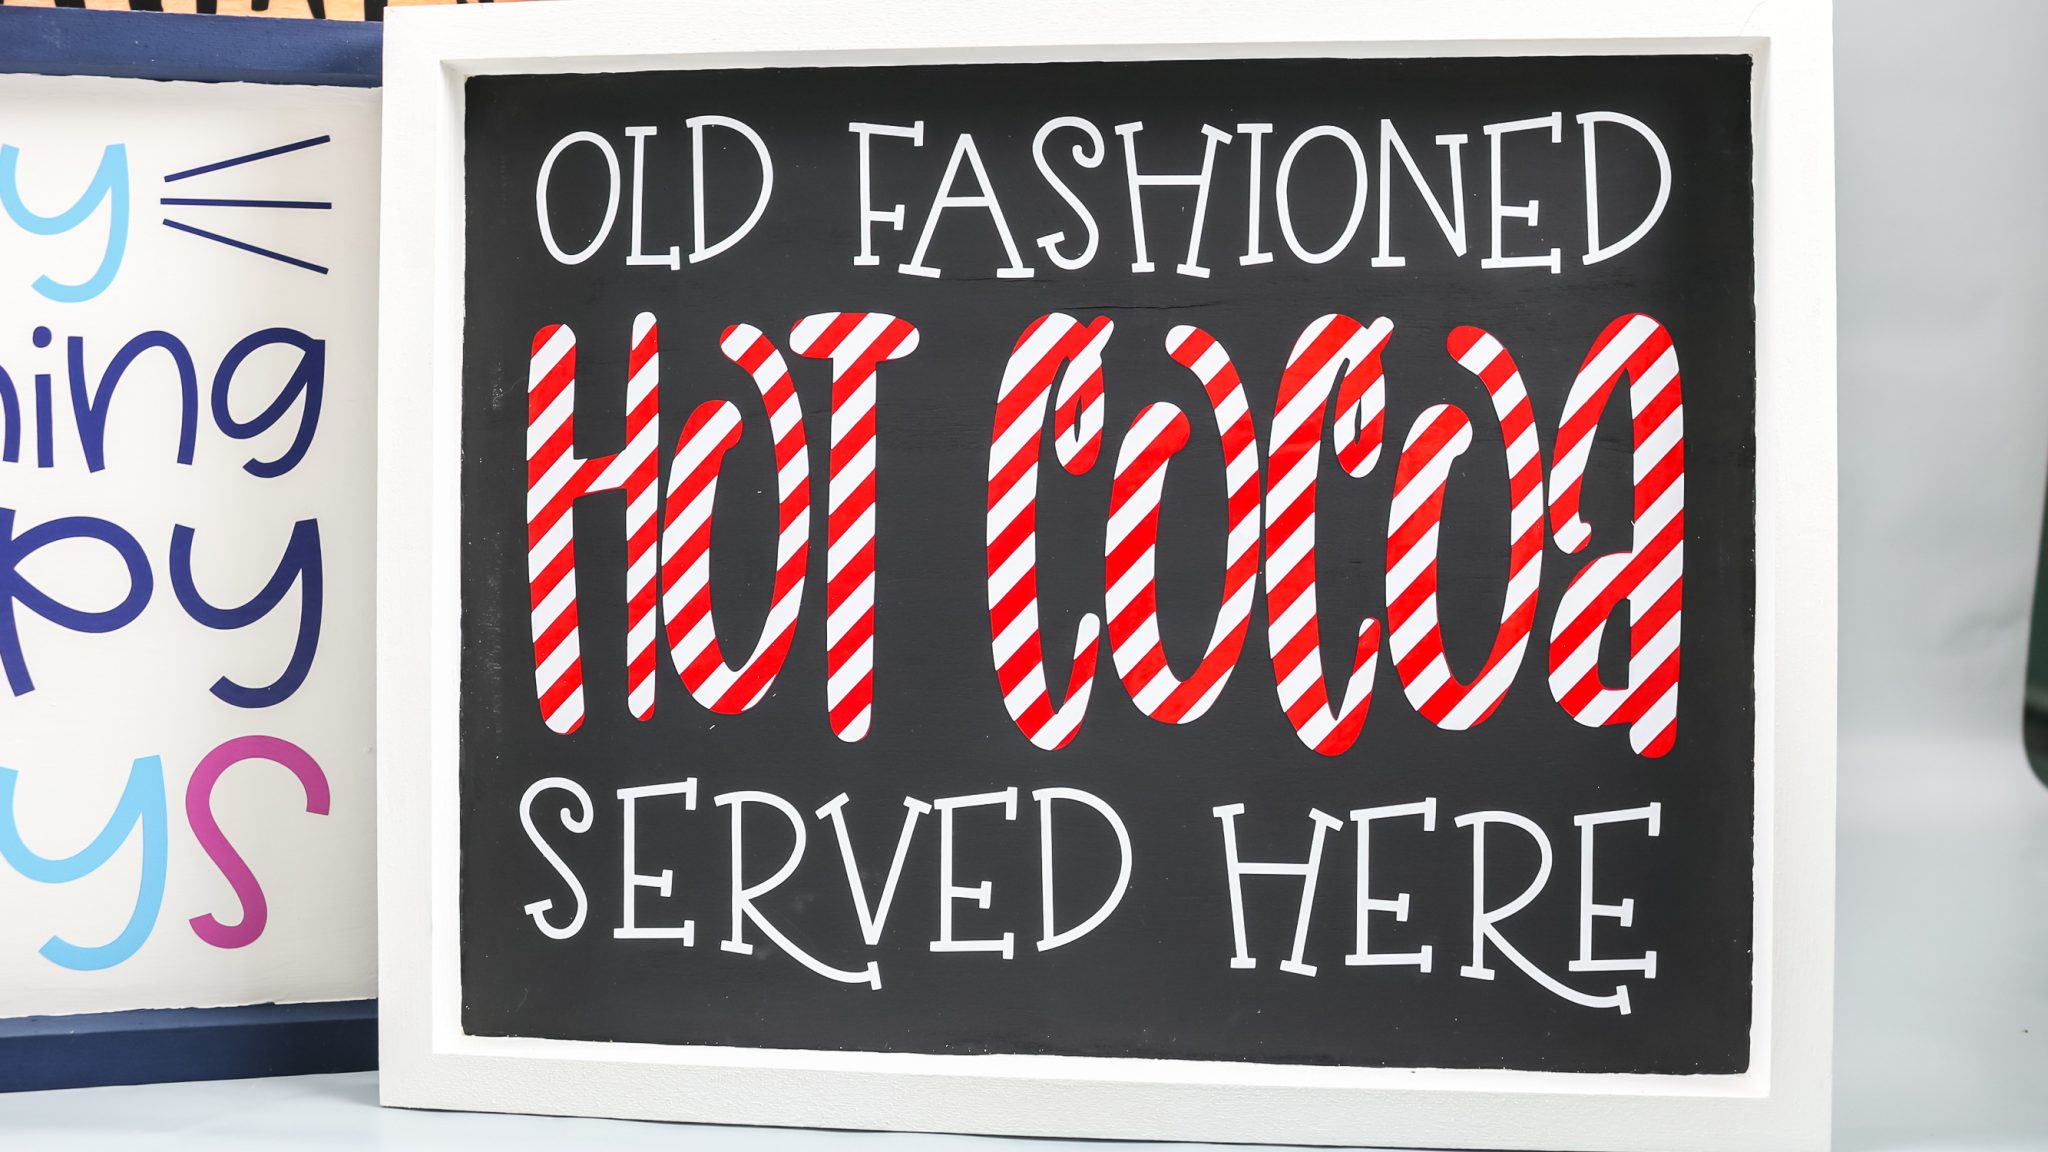
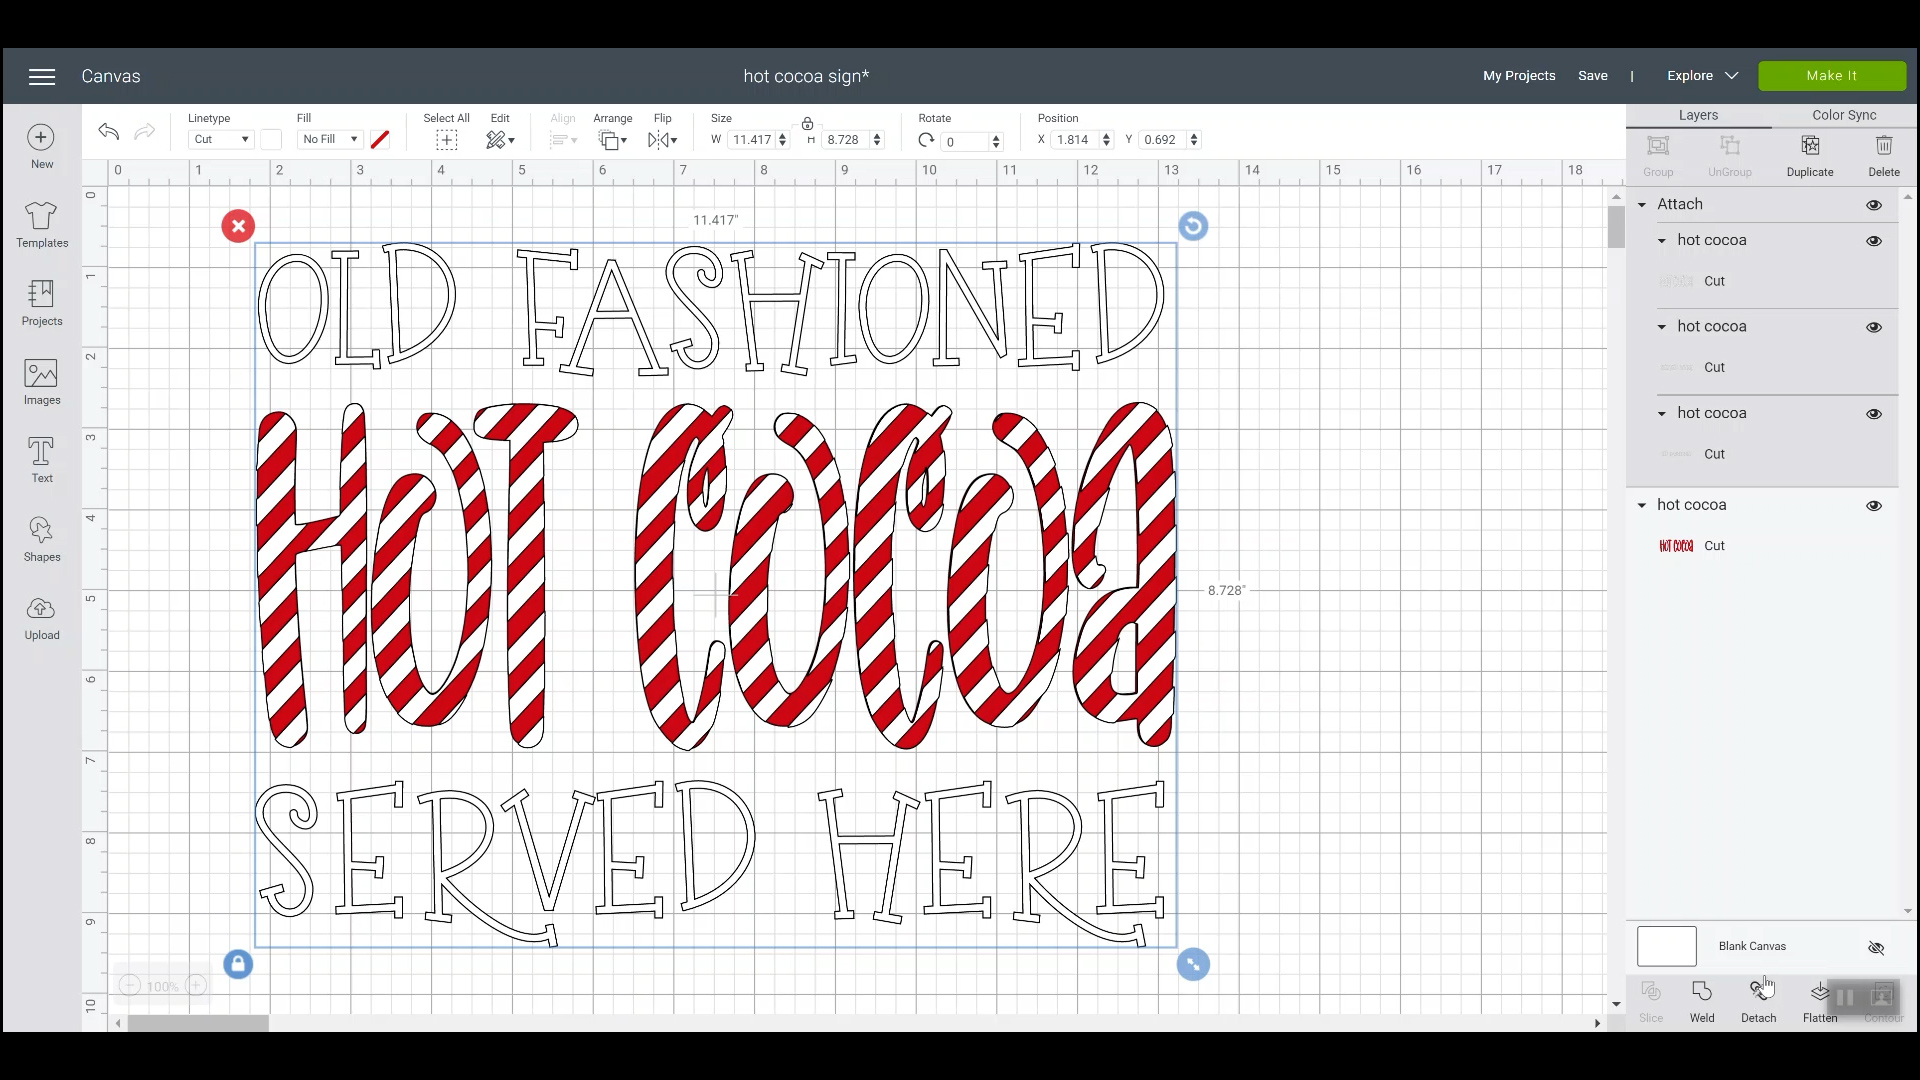
Once your design is uploaded you can resize the image to fit the size of your sign. My SVG uploaded as red and black so I am going to change that to match the vinyl colors I’m using.
To do that I’m going to ungroup the image and then change the black to white. Now to make sure everything cuts the way we have it laid out I am going to click on all the white layers and click “attach”.
How to Cut Vinyl
Next, we’ll click “make it” and you can see our white pieces are all laid out just like we designed them and the red is all one word as well. Click continue and connect to your machine. I am using my Cricut Explore Air 2 for this project but any Cricut machine will cut vinyl. If you are using a Joy, you’ll need to make sure your design is small enough to cut on the machine.
Apply your vinyl to your cutting mat, I am using a blue LightGrip mat. Adhesive vinyl goes on the mat face up and then press it down really well. For the Explore Air 2, you can turn the dial to vinyl. For Maker or Joy machines, you’ll choose your material right in Design Space.
Load your mat into your machine and then press the flashing C to cut out your design. Repeat the same process for each additional color.
How to Weed Adhesive Vinyl
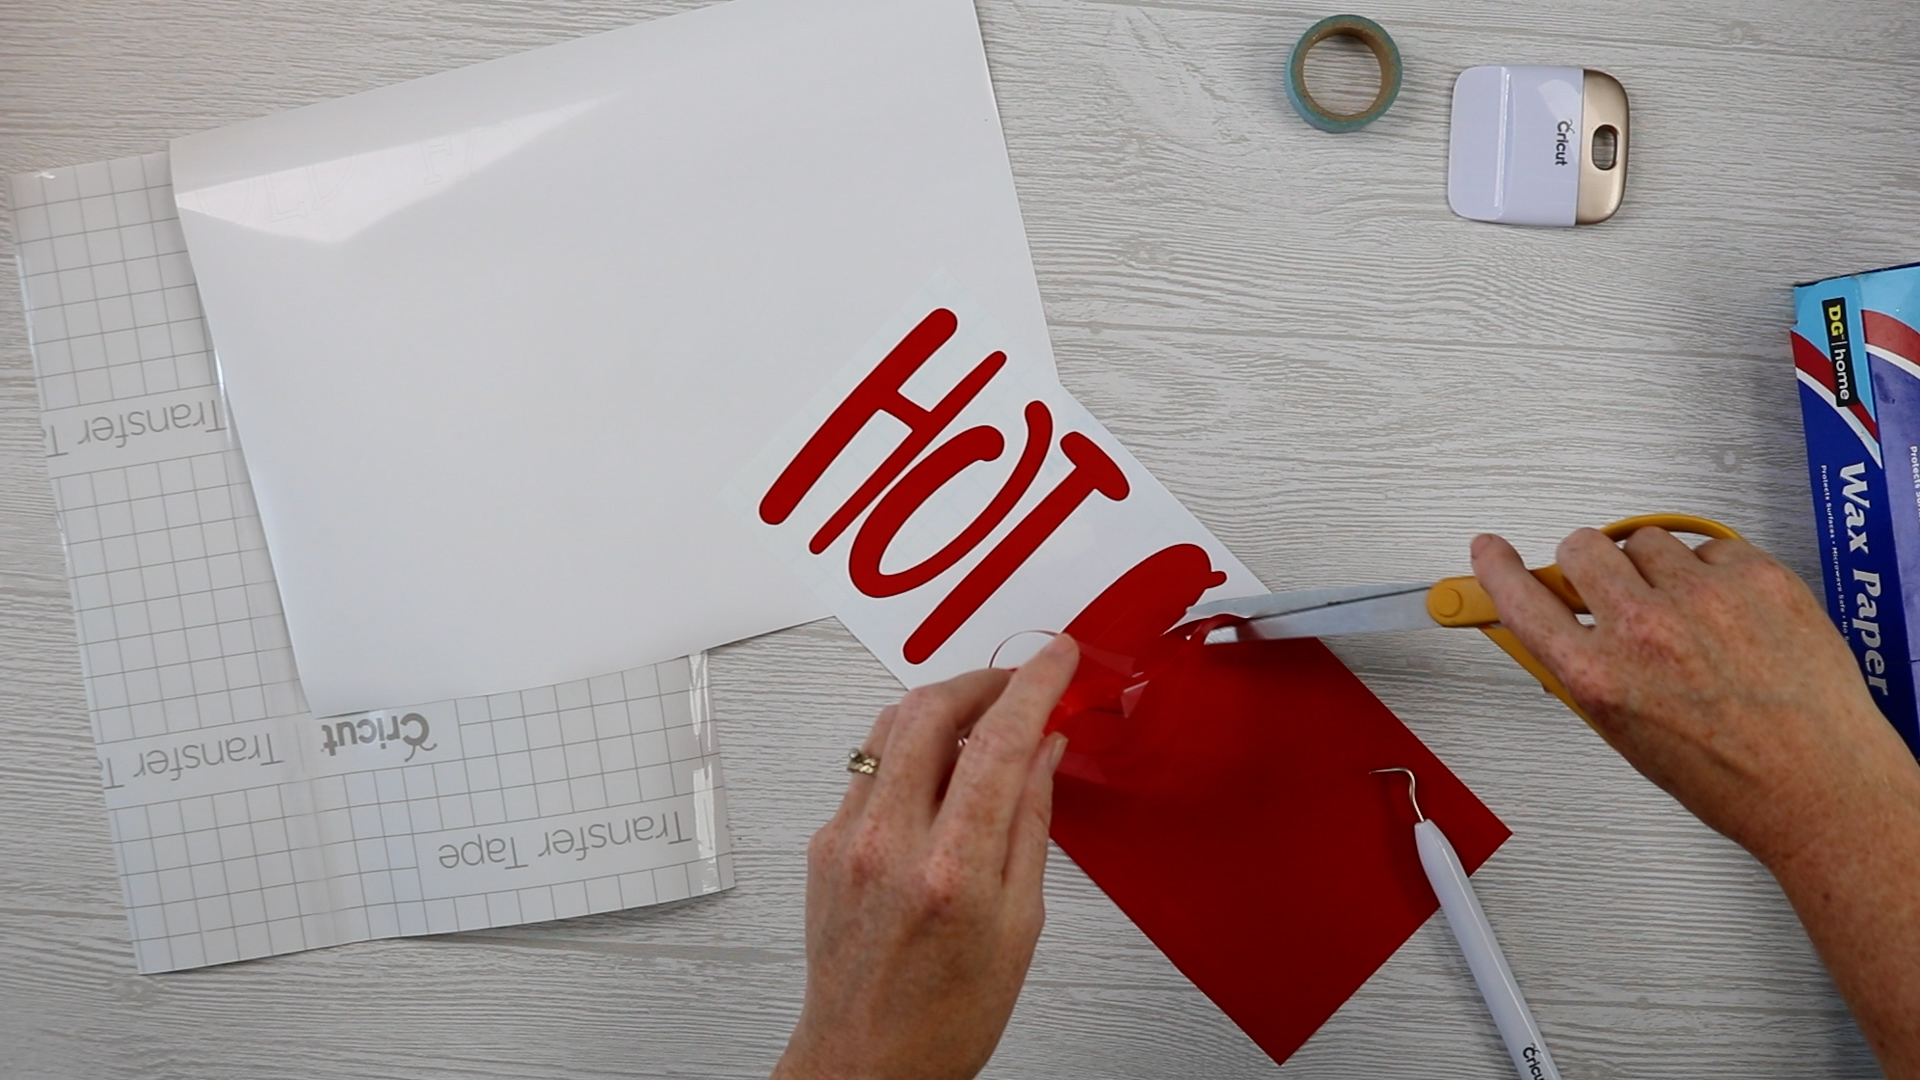
Now that our vinyl is cut it’s time to weed. I trimmed off all the excess from the sheet and I’ll save those scraps to use on another project later. To weed the design, we will take away all the excess from around the design and the insides of any letters. I’m using a Cricut weeding tool to do this.
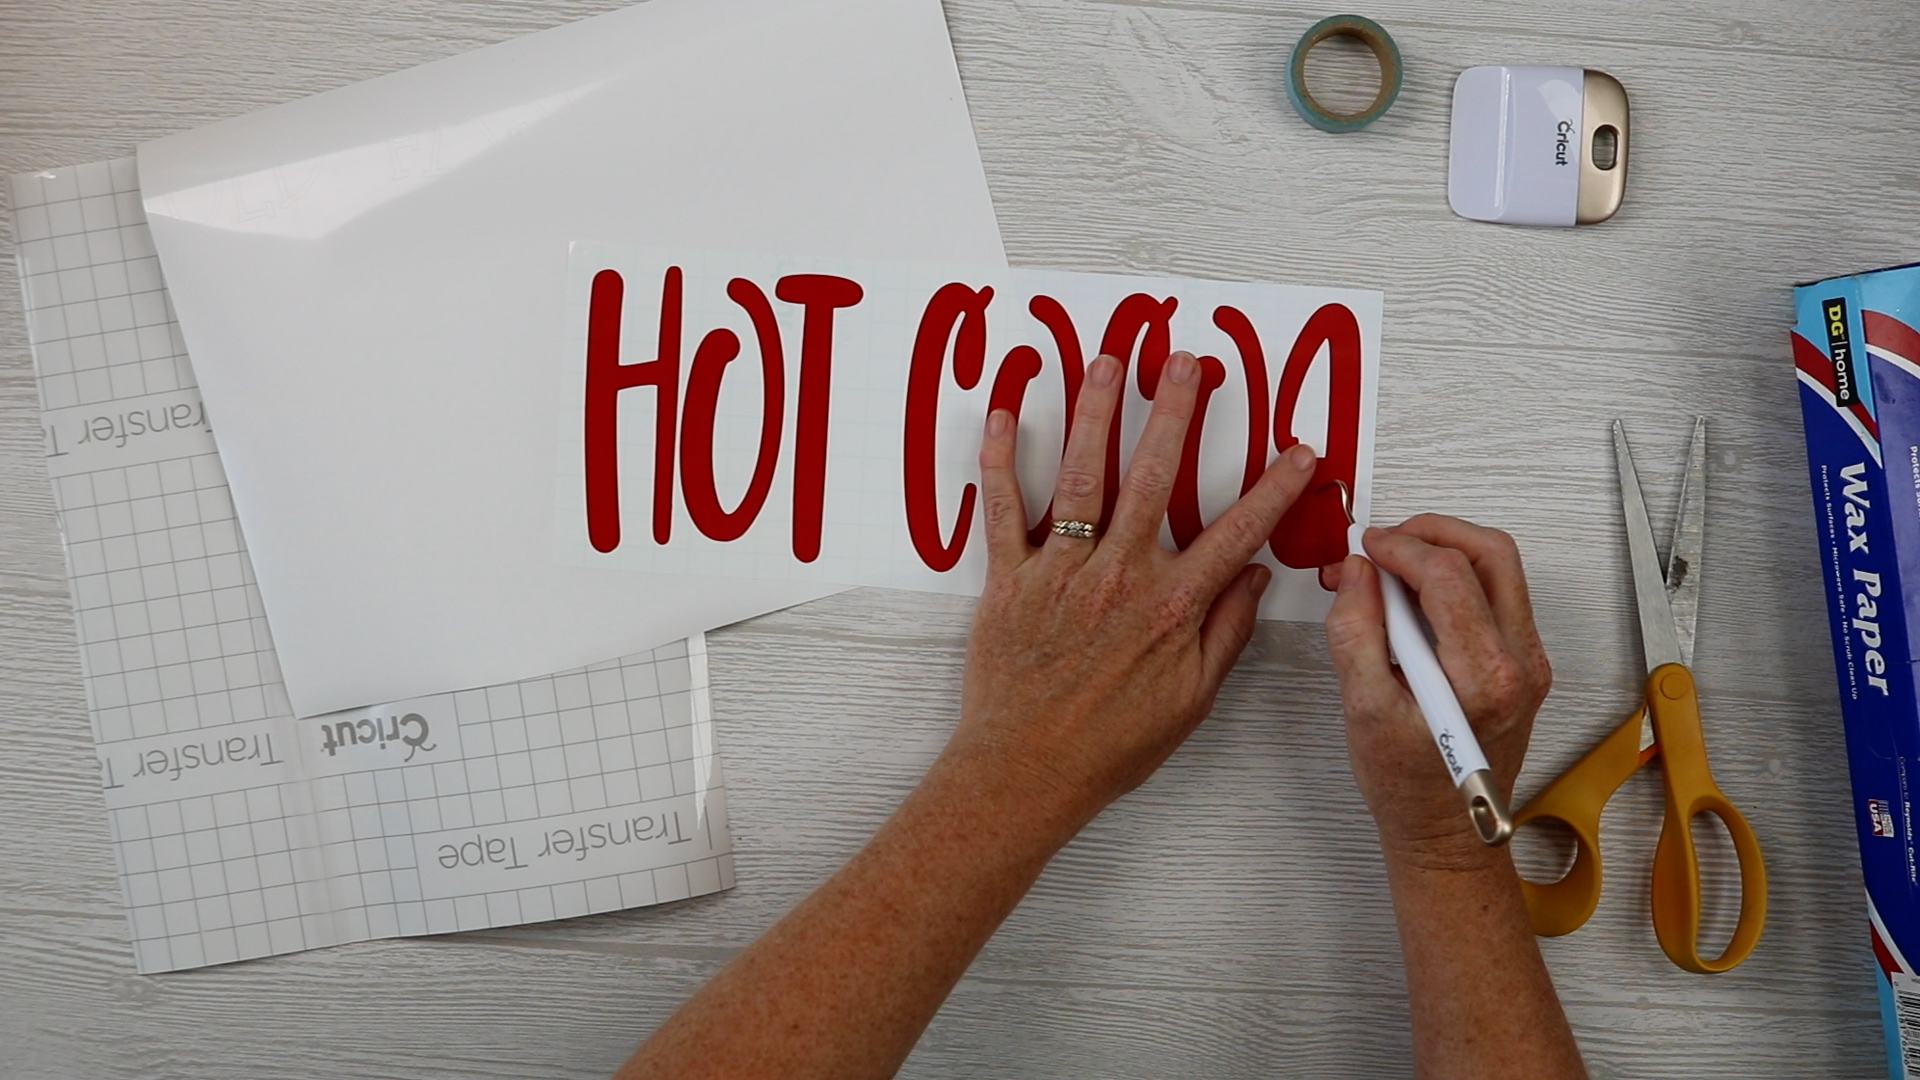
For larger designs, it can be helpful to cut away the excess as you’re weeding so you don’t have to worry about the excess sticking to the parts you want to keep.
How to Apply Transfer Tape to Vinyl
To begin, you need to find the top layer of your design. In my case, that is the white layer. I’m going to place my transfer tape over the entire white piece. I cut my transfer tape to approximately the size of the inside of my sign. Now I can gently lay the transfer tape down on top of the vinyl.
Start at the top and then using a scraper tool smooth the transfer tape over the vinyl. We want to try to have as few bubbles as possible. Once you have the transfer tape in place use your scraper tool to really burnish the transfer tape to the vinyl and then flip it all over and burnish again from the back.
How to Remove Carrier Sheet to Layer Vinyl
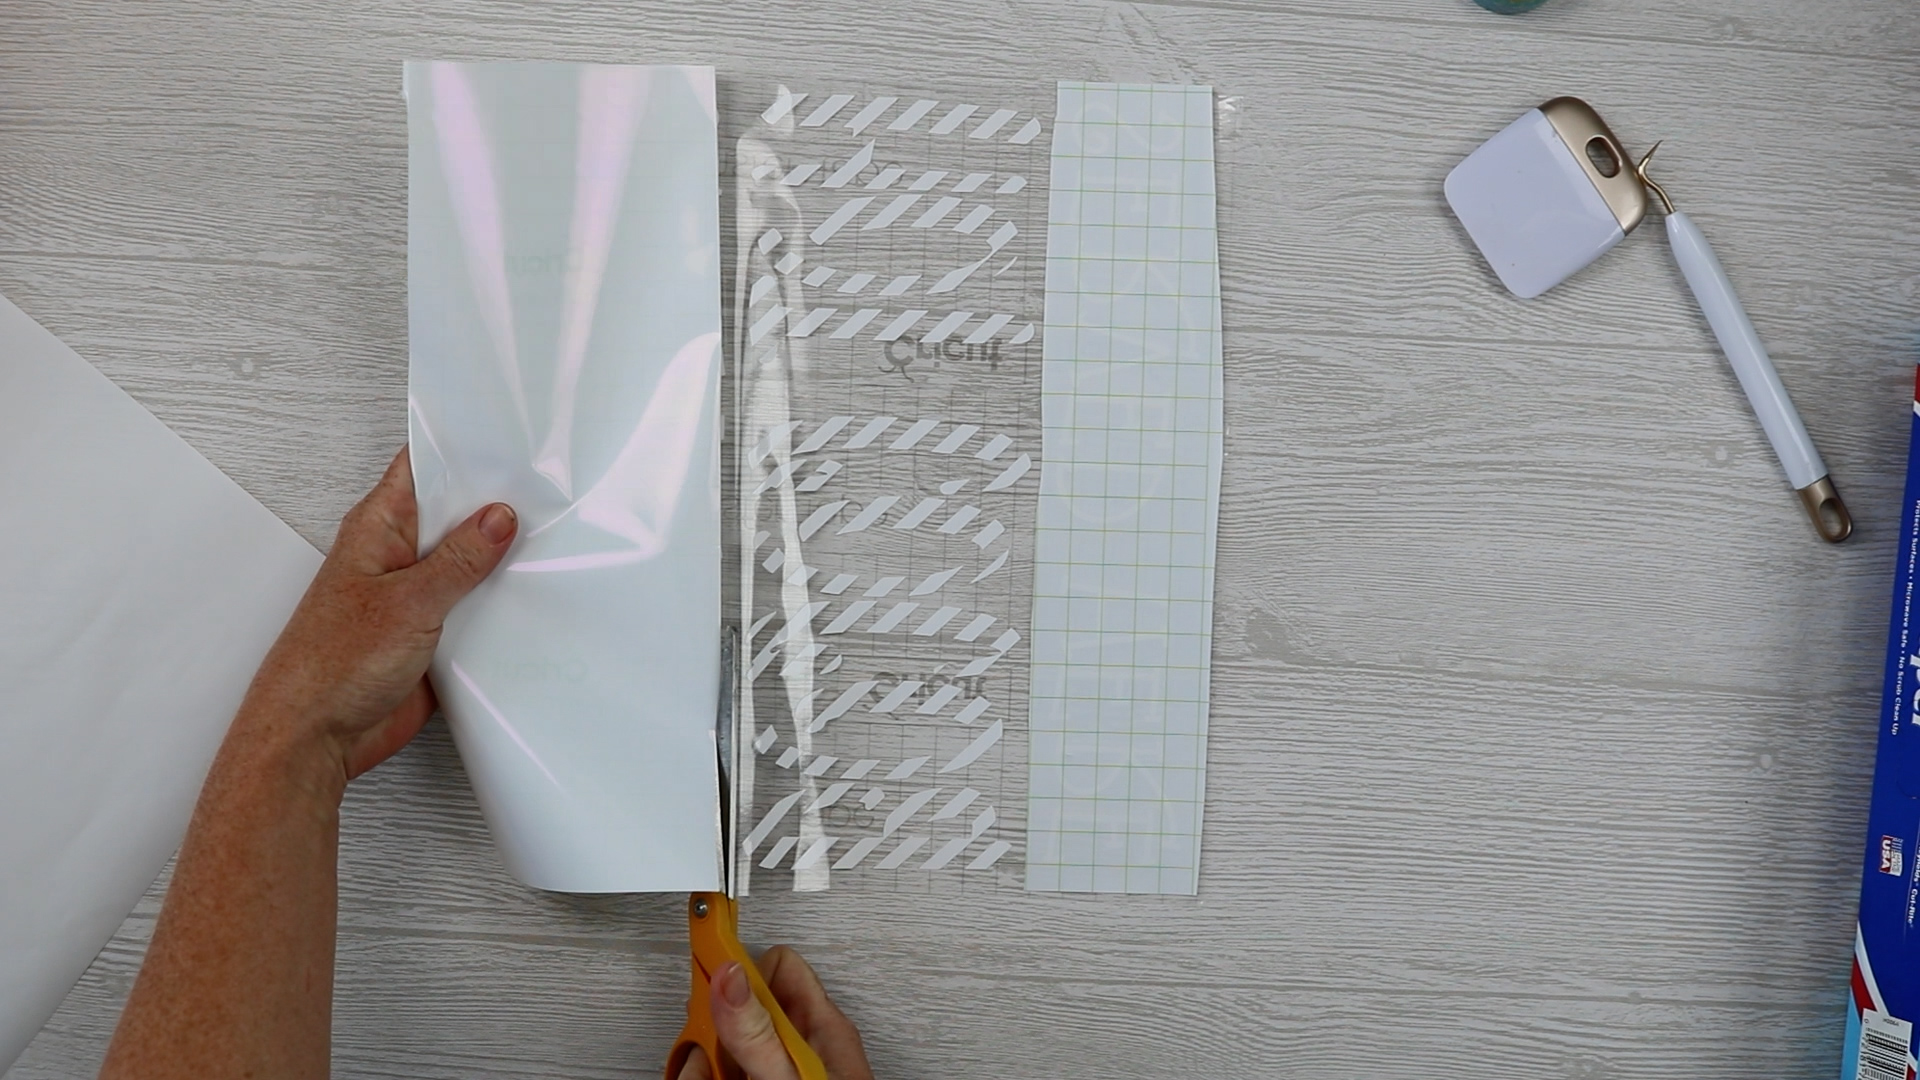
For this project, I only need to layer the middle “Hot Cocoa” portion of the sign. To make this easier, I am going to teach you a little trick. We want to only have the hot cocoa area exposed so we’re going to gently peel back the carrier sheet to expose the area that says “served here” and fold back the carrier sheet to create a crease.
Take your time peeling back the carrier sheet to make sure the vinyl is sticking to the transfer tape. Trim the carrier sheet all the way across keeping about 1/2″ attached and then fold the carrier sheet back down.
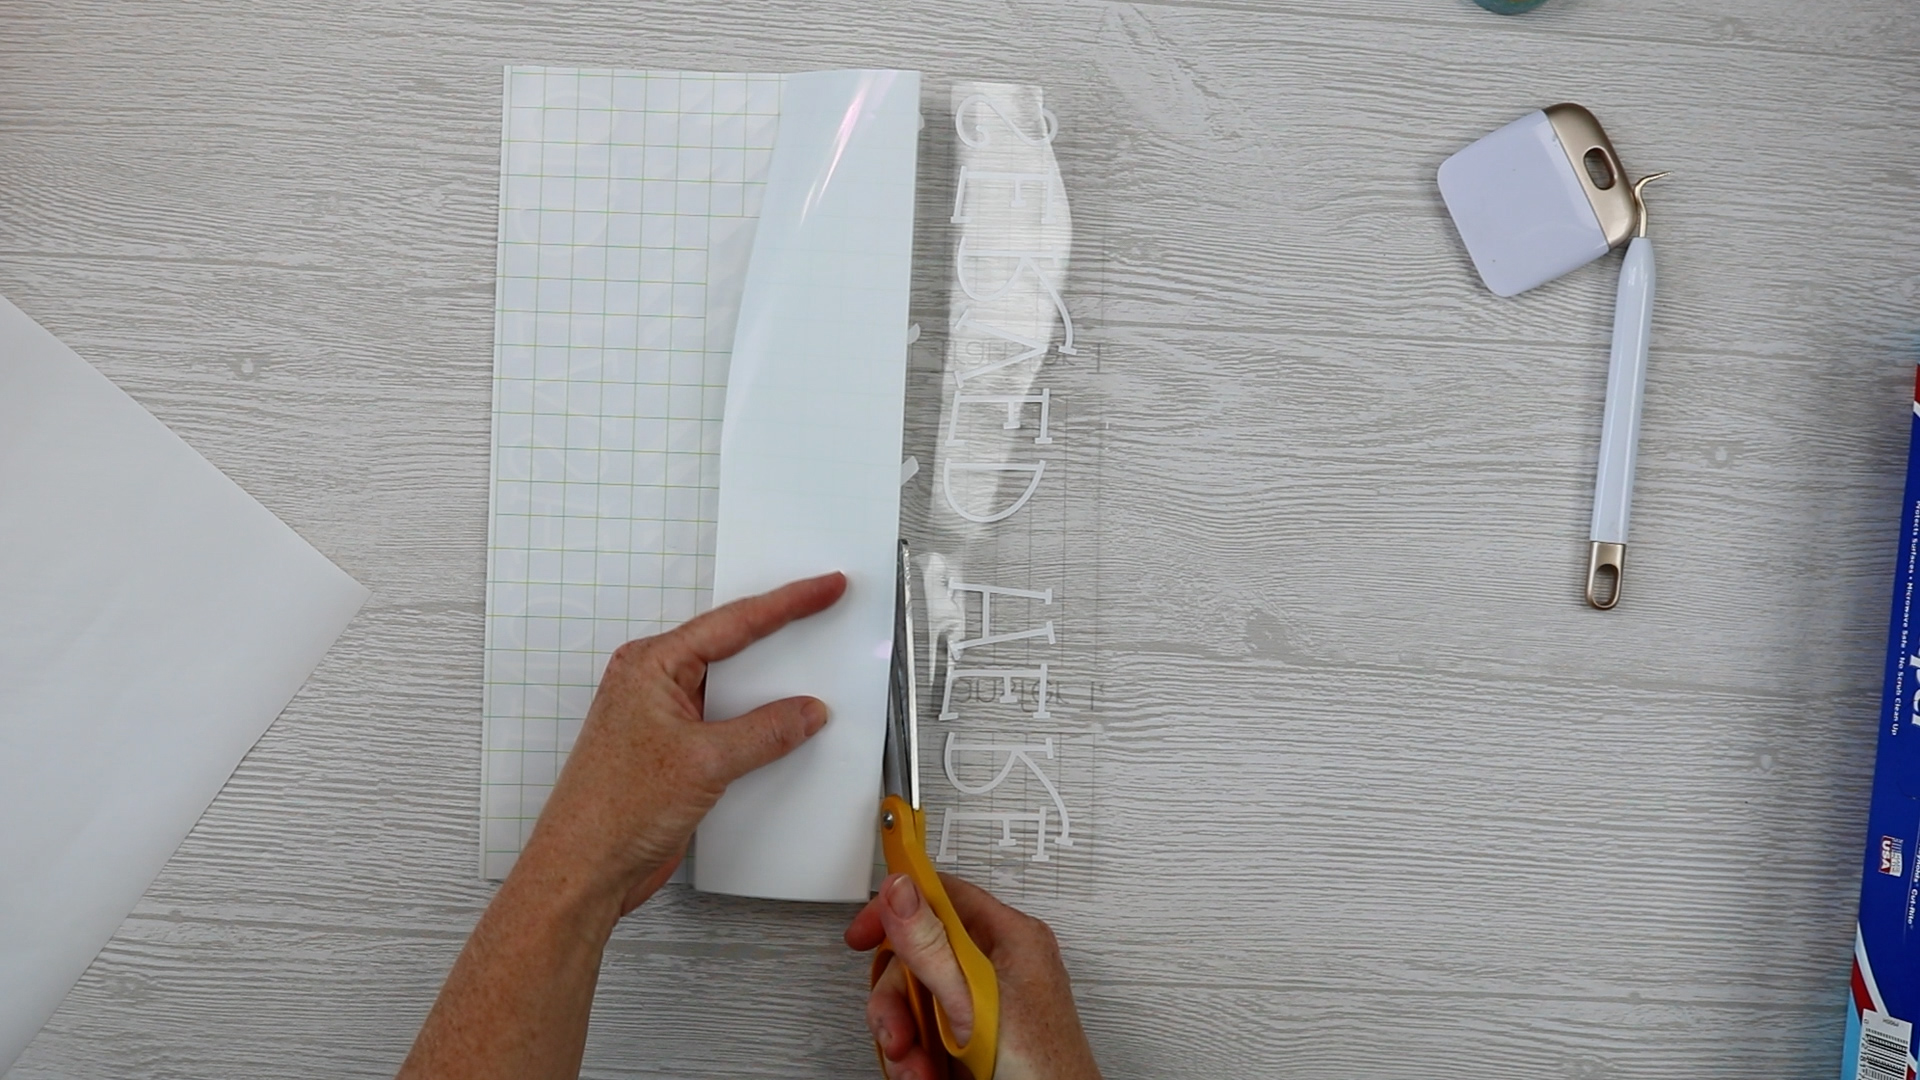
Next, we’ll cut that last little 1/2″ and then repeat the process exposing the area that says Hot Cocoa. This time we can cut all the way across because we’ll be removing the carrier sheet in that area. Now we have the carrier sheet covering the top and bottom of the sign with the hot cocoa area exposed so we’re ready to layer this vinyl on top of the red vinyl.
How to Use Wax Paper to Layer Vinyl
Now for our secret weapon – a piece of waxed paper. I am using regular wax from my kitchen. You can also use parchment paper if you have that instead, either works. You want your wax paper to be larger than your design.
Step 1 –
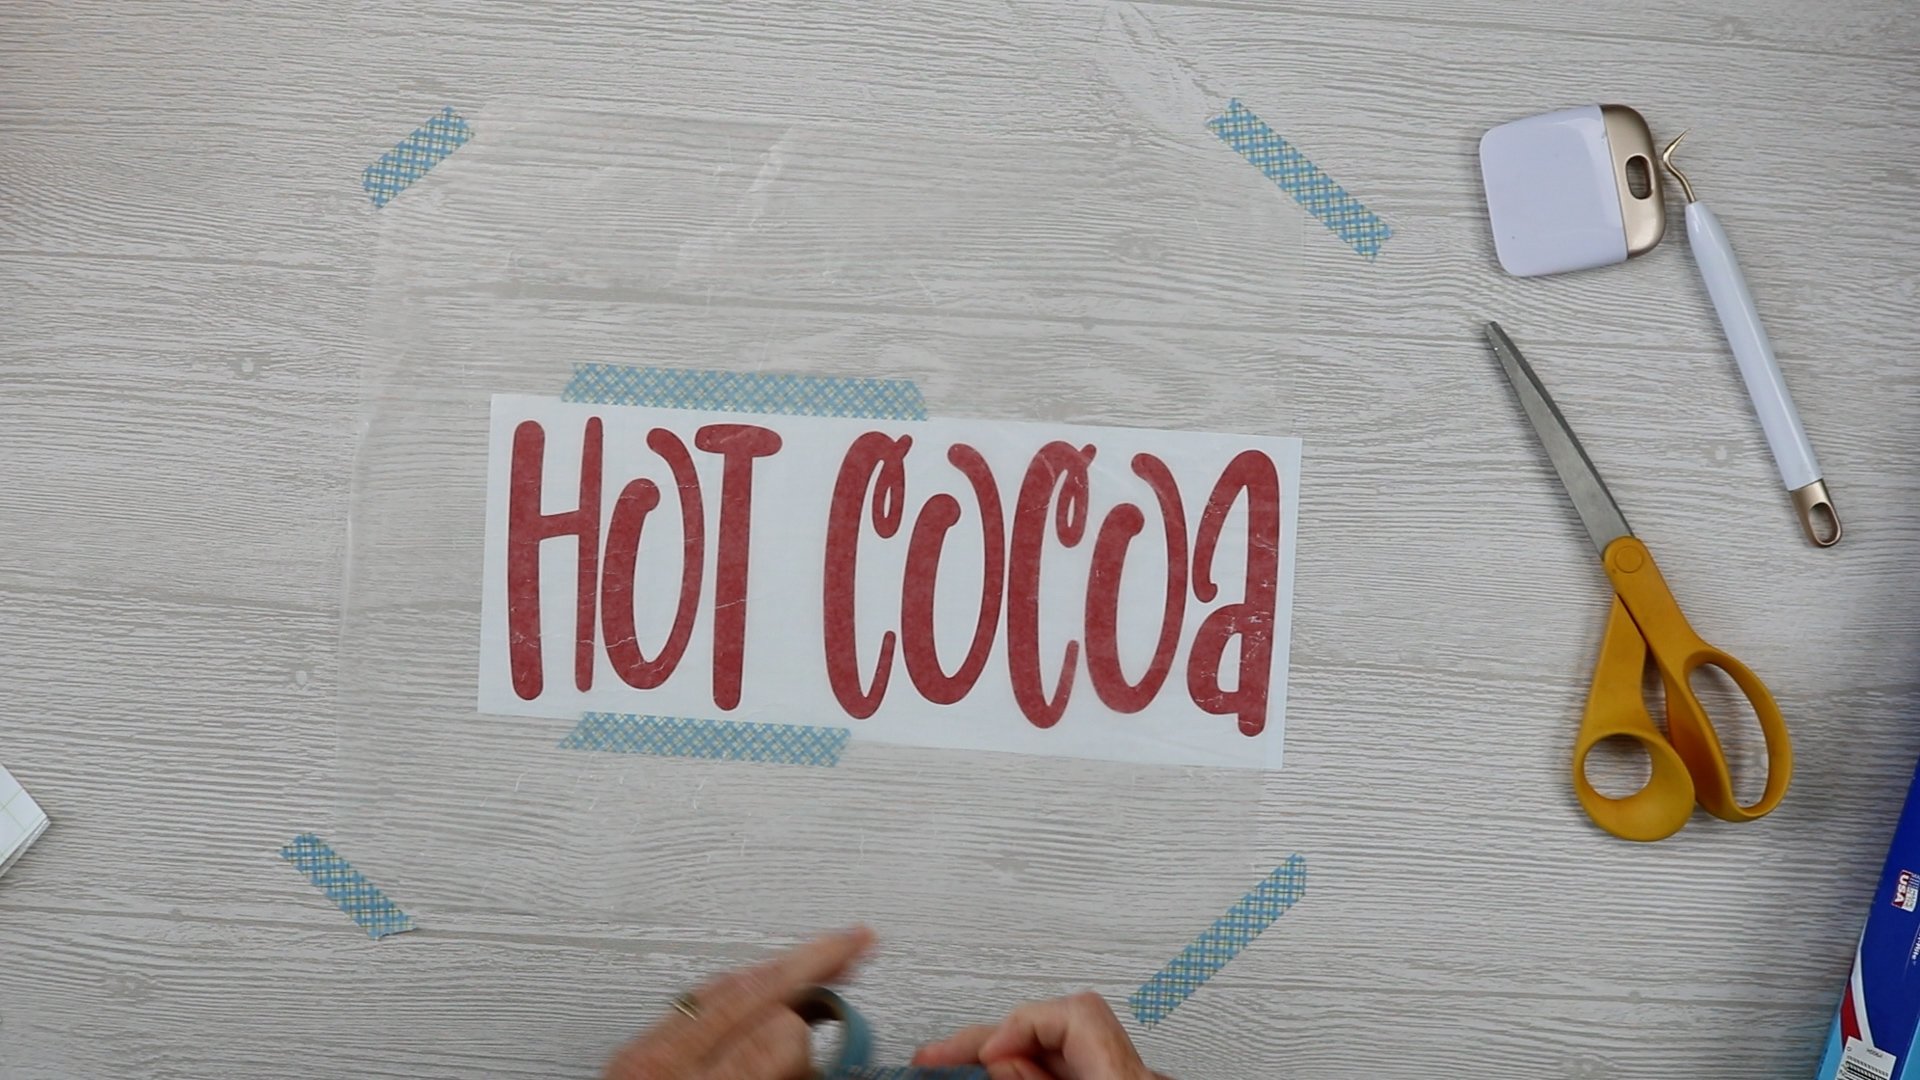
To begin we want to take the bottom layer of our design, in this instance, it is the “hot cocoa” and place it on our work surface. To prevent any sliding I am going to use a little tape to hold it in place. Don’t tape over your vinyl.
Step 2 –
Next, we’re going to take our piece of wax paper and place it down on top of our bottom layer. This step is probably easier to follow in the video but we want the wax paper to cover the entire vinyl design but not one side or the other of the carrier sheet.
I have my wax paper lined up with the edge of the a at the end of the word cocoa. Once the wax paper is lined up, tape it into place in all 4 corners to prevent it from moving.
Step 3 –
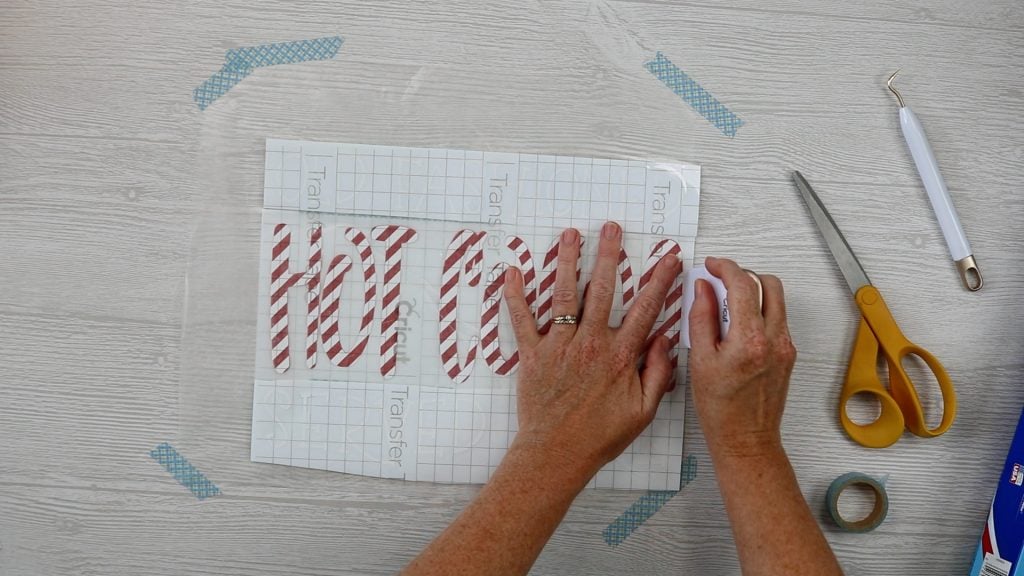
Now we want to take our top layer and line it up over the bottom layer. The beauty of the wax paper is that the vinyl will kind of stick to it, almost like another carrier sheet but if things aren’t lined up correctly we can peel it back easily and try again. It’s not a strong enough stick to pull it off the transfer tape.
This is also why I recommend using clear transfer tape. We want to be able to see the bottom layer so we can get things lined up just right.
Once I have things lined up correctly I am going to use my scraper tool to really press the transfer tape down onto both the table and the edge of my bottom layer. If you’re worried about your top layer moving, you can use a little tape to help hold it into place. We really want things to stay lined up.
Step 4 –
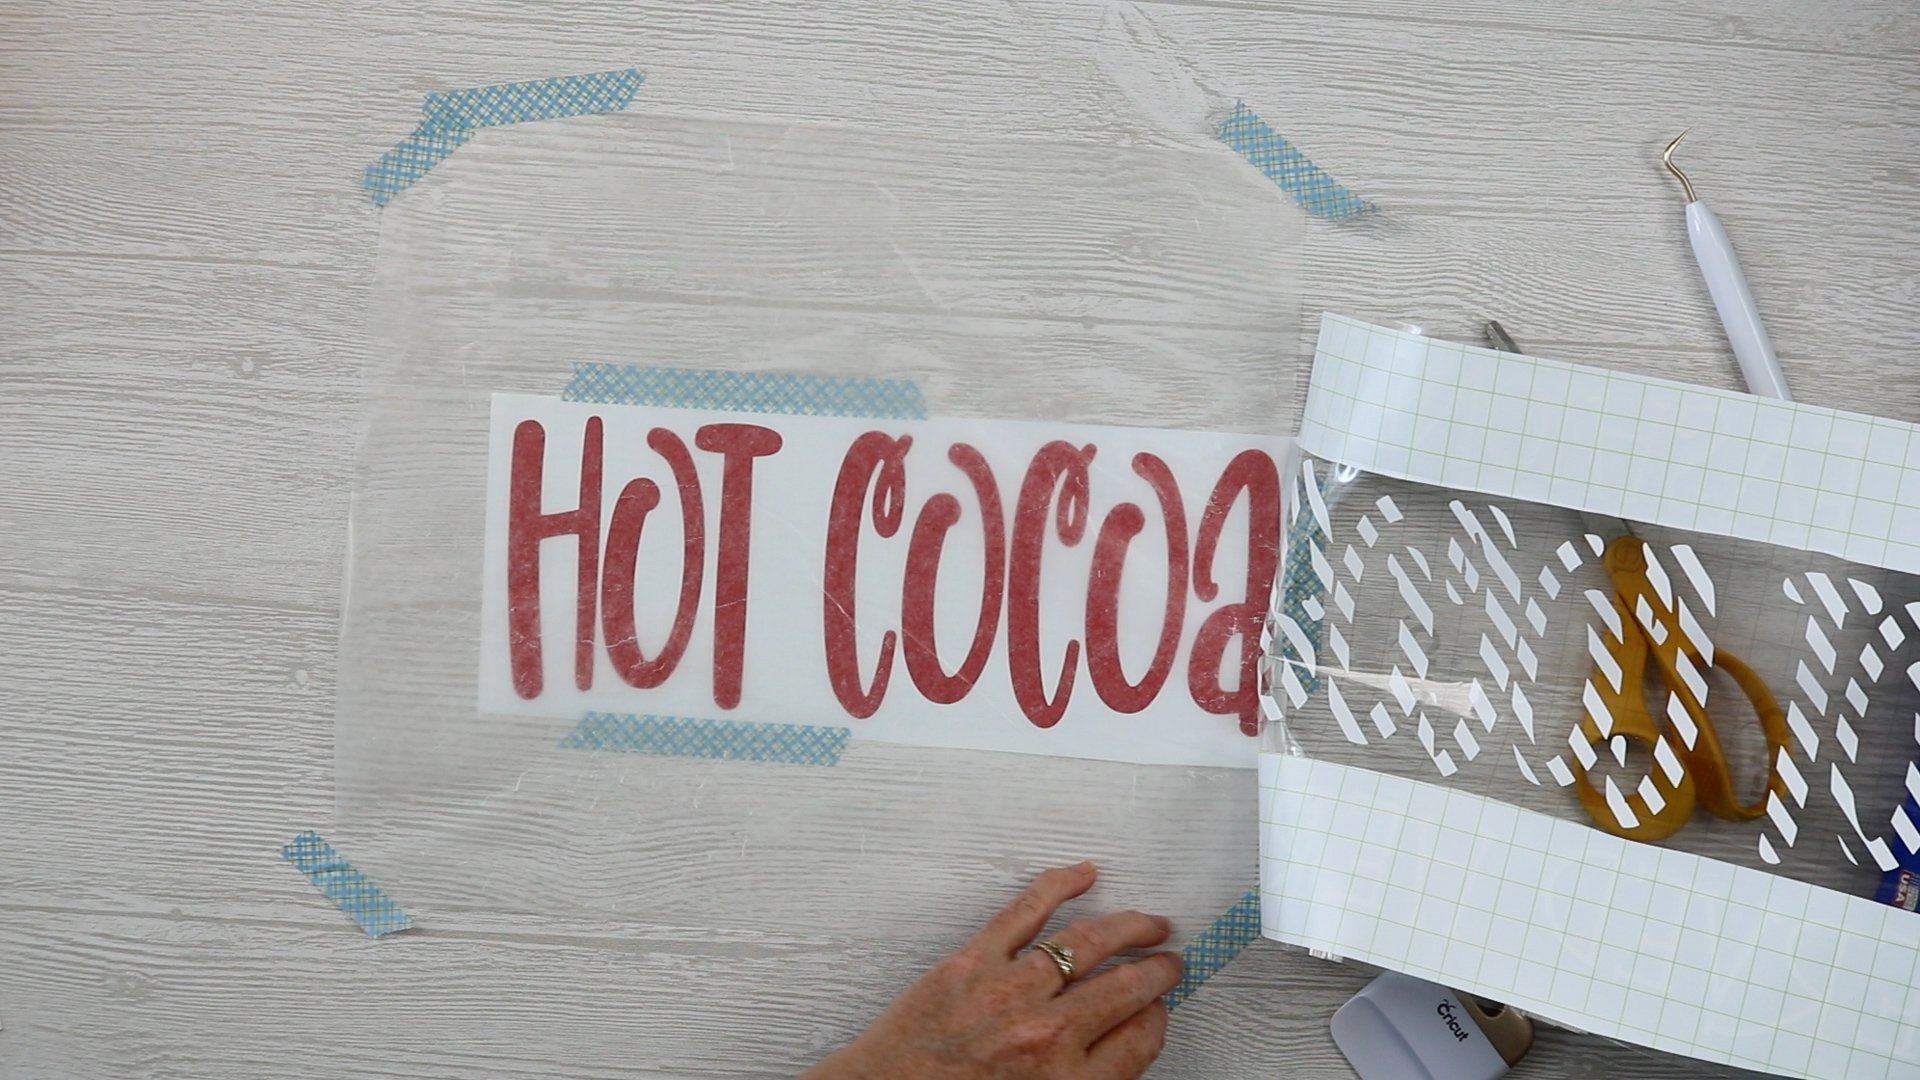
Now that things are lined up exactly how we want them we’re going to peel the vinyl off the wax paper and then slide the wax paper out of the way.
Step 5 –
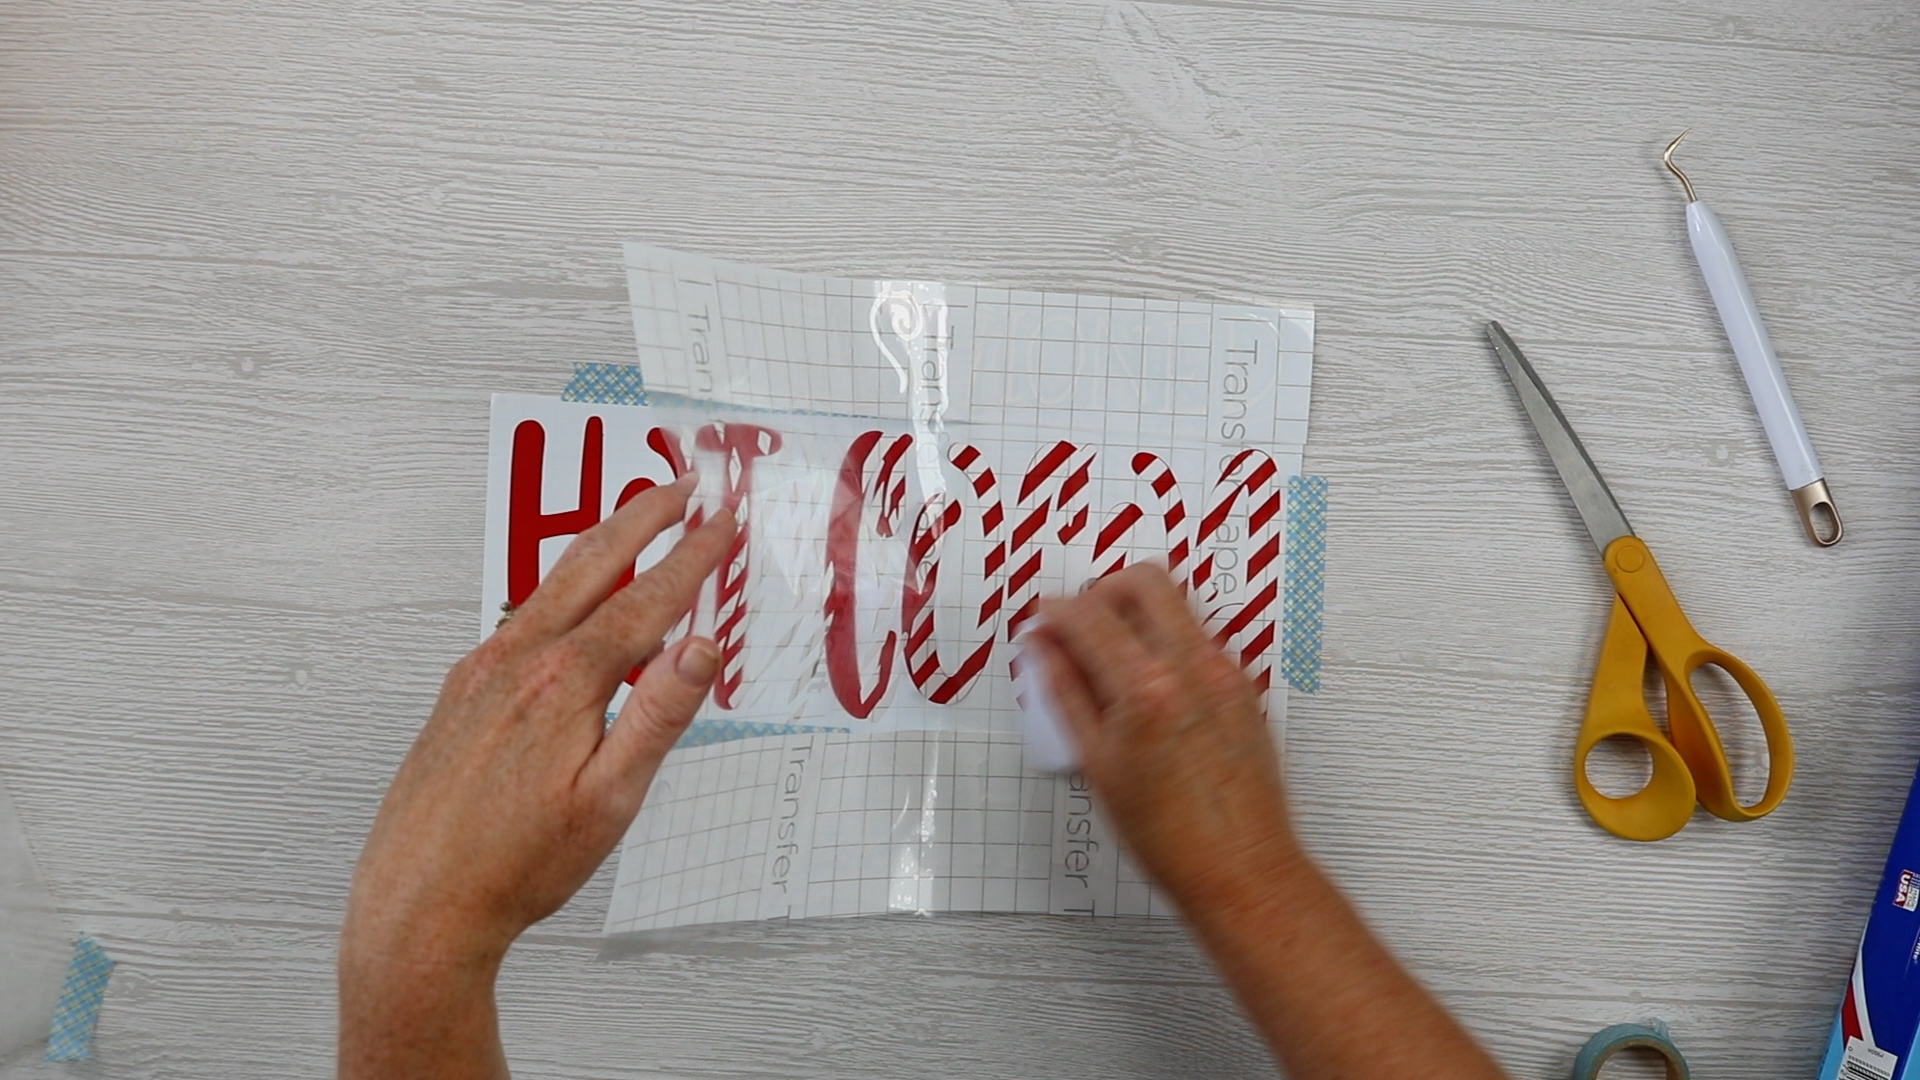
With the wax paper removed, you want to start from the taped end where you have your two layers secured to the table, and slowly lower the top layer down on top of the bottom layer. I like to move slowly from the outer edge in making sure that everything continues to stay lined up as I go.
Step 6 –
Once everything is laid in place use your scraper tool and go over the whole word/image to make sure your top layer is stuck to the bottom layer really well. I like to flip the entire design over and burnish well from the back once I’m done with the front.
How to Apply Layered Vinyl to Create a Finished Sign
Now that we have our two layers of vinyl combined we can remove the carrier sheet and apply our vinyl to our painted sign. Take your time while removing the carrier sheet and make sure that all layers of vinyl are sticking to the transfer tape.
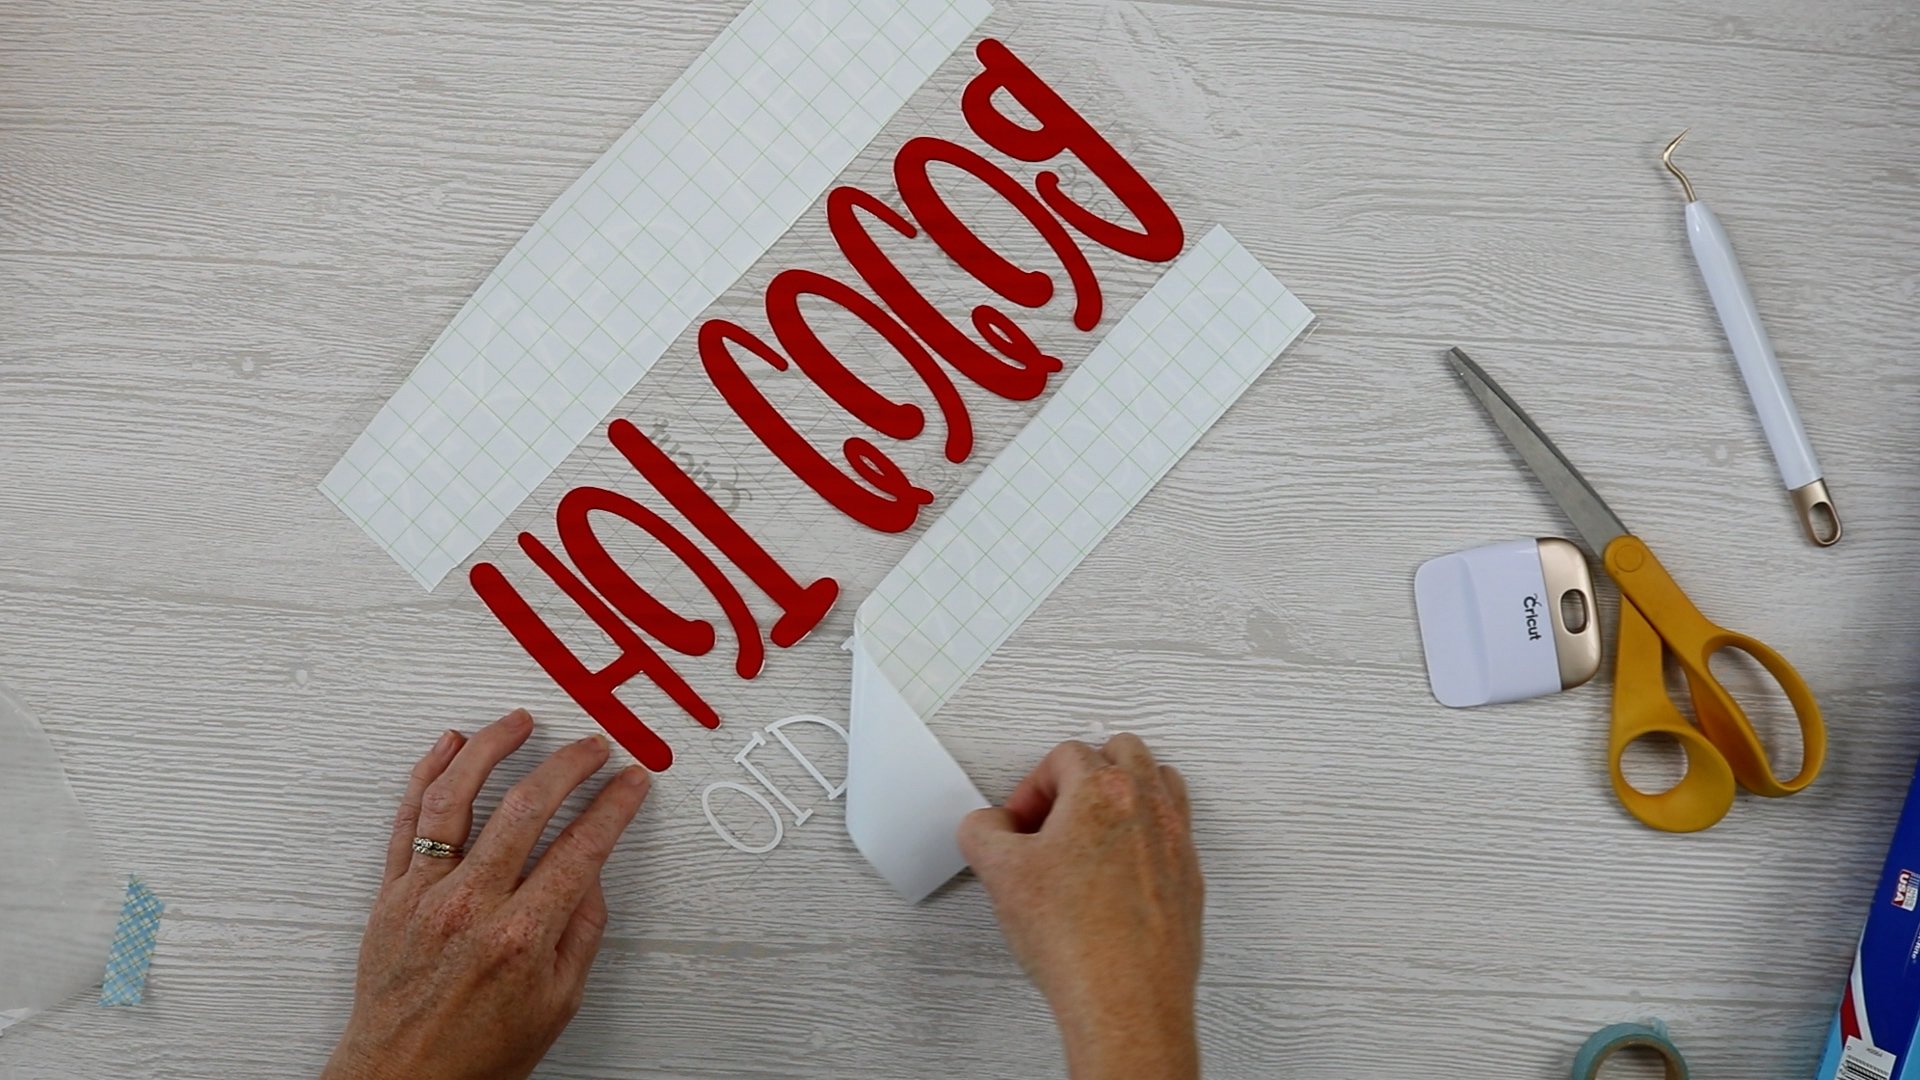
Because I precut my transfer tape so it was about the size of my sign it’s easier for me to place the vinyl inside the framed area of the sign. When it comes to centering your design you can either eyeball it or grab a ruler and measure as you go.
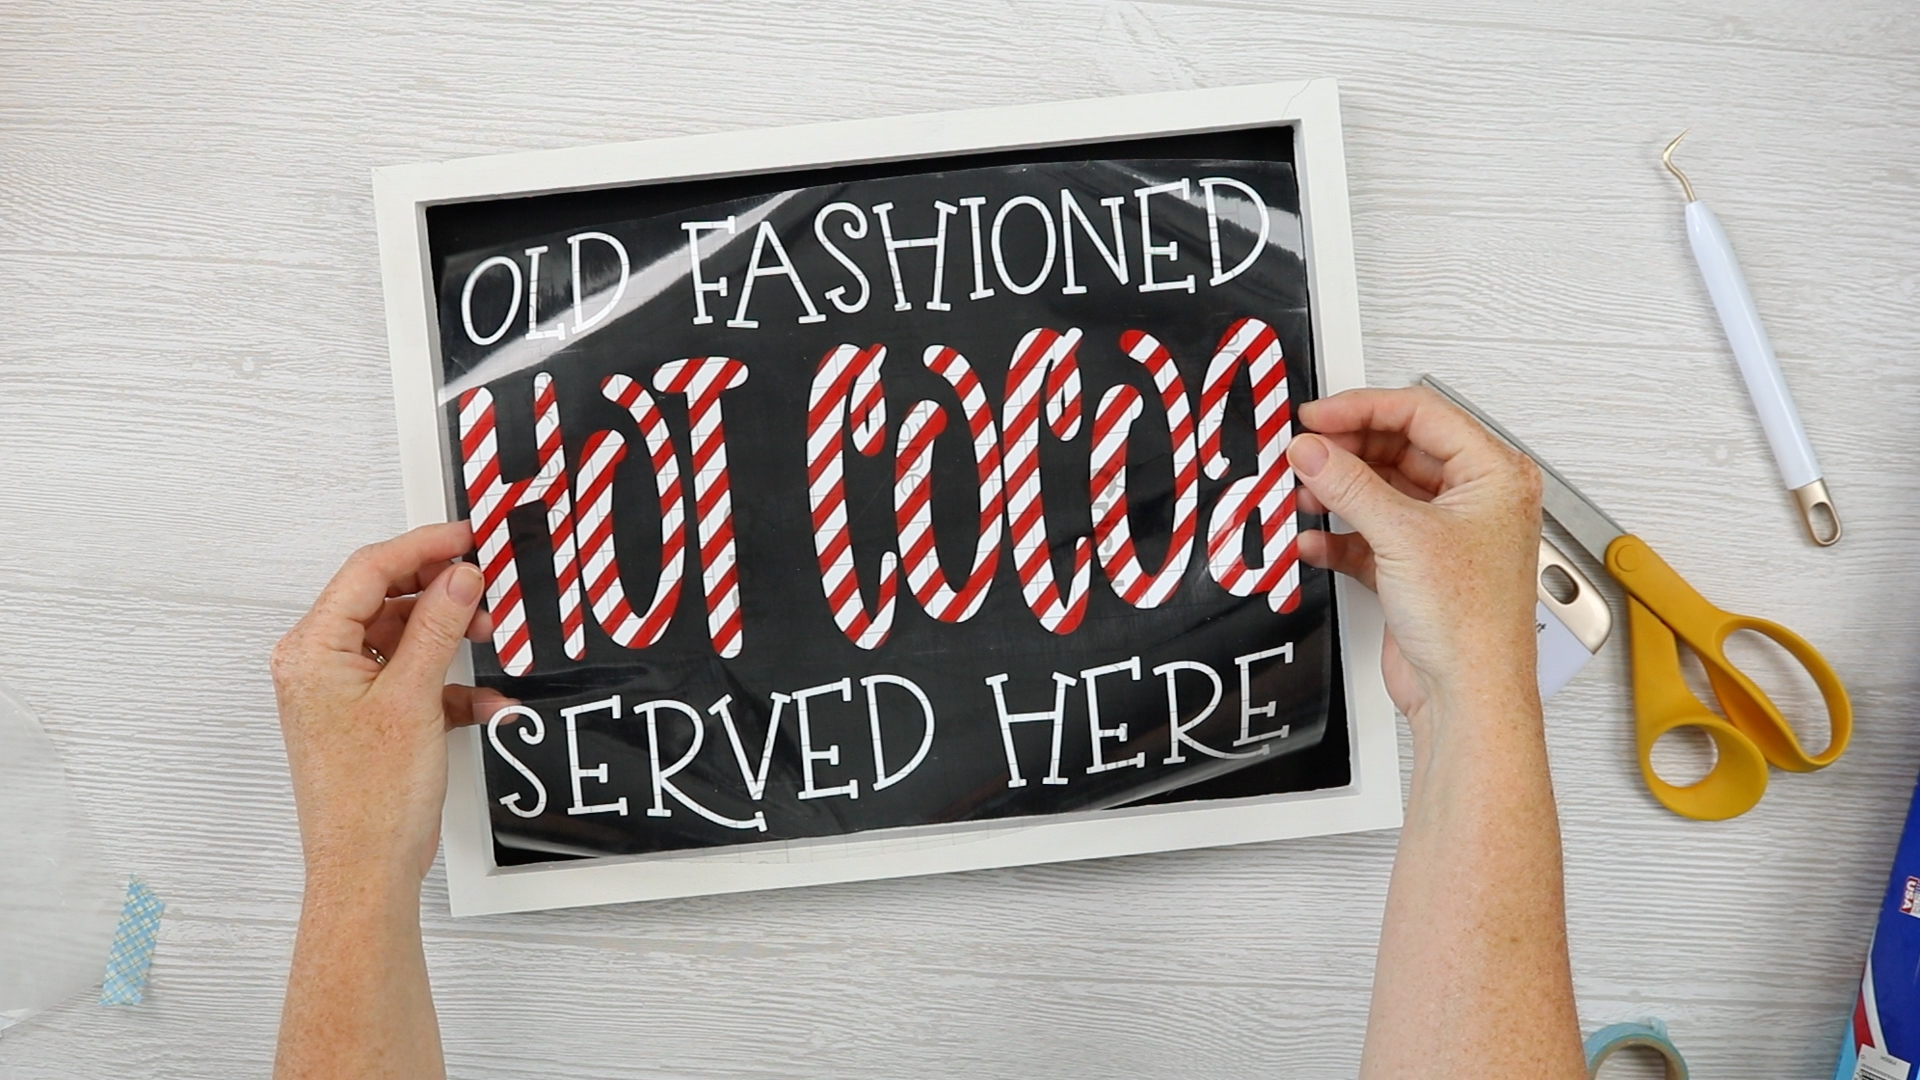
Once you have the design right where you want it you can use your scraper tool to press it down really well. I recommend going over the entire design a few times before removing the transfer tape.
How to Remove Transfer Tape from Layered Vinyl Cricut Signs
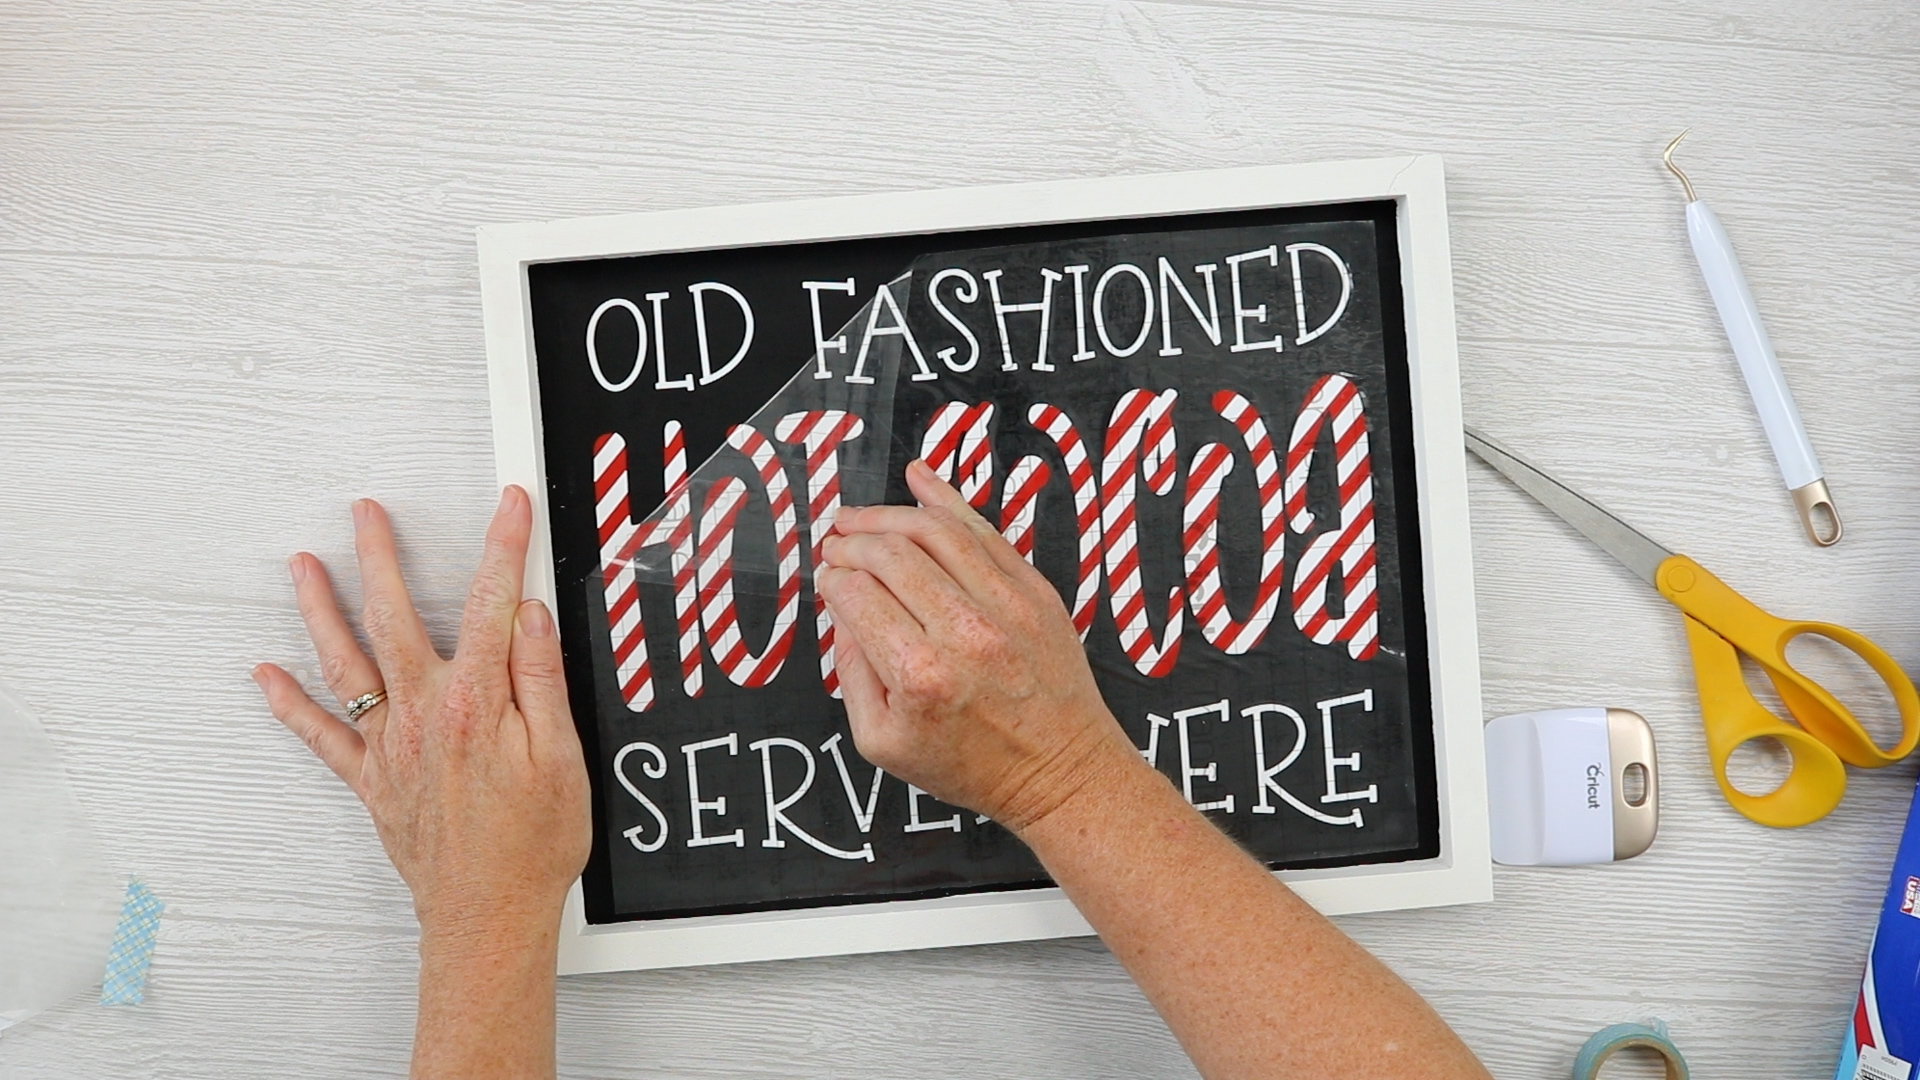
To remove the transfer tape, I really like to start in the upper lefthand corner and peel the transfer tape back at a 45-degree angle. Slowly work your way back and forth across the design making sure your vinyl is sticking to the sign.
If you find your vinyl is not releasing from the transfer tape you can fold it back over the sign and use your scraper tool to burnish it down again until it sticks. When you have all the transfer tape removed you have a finished sign!
More Cricut Signs with Layered Vinyl Designs
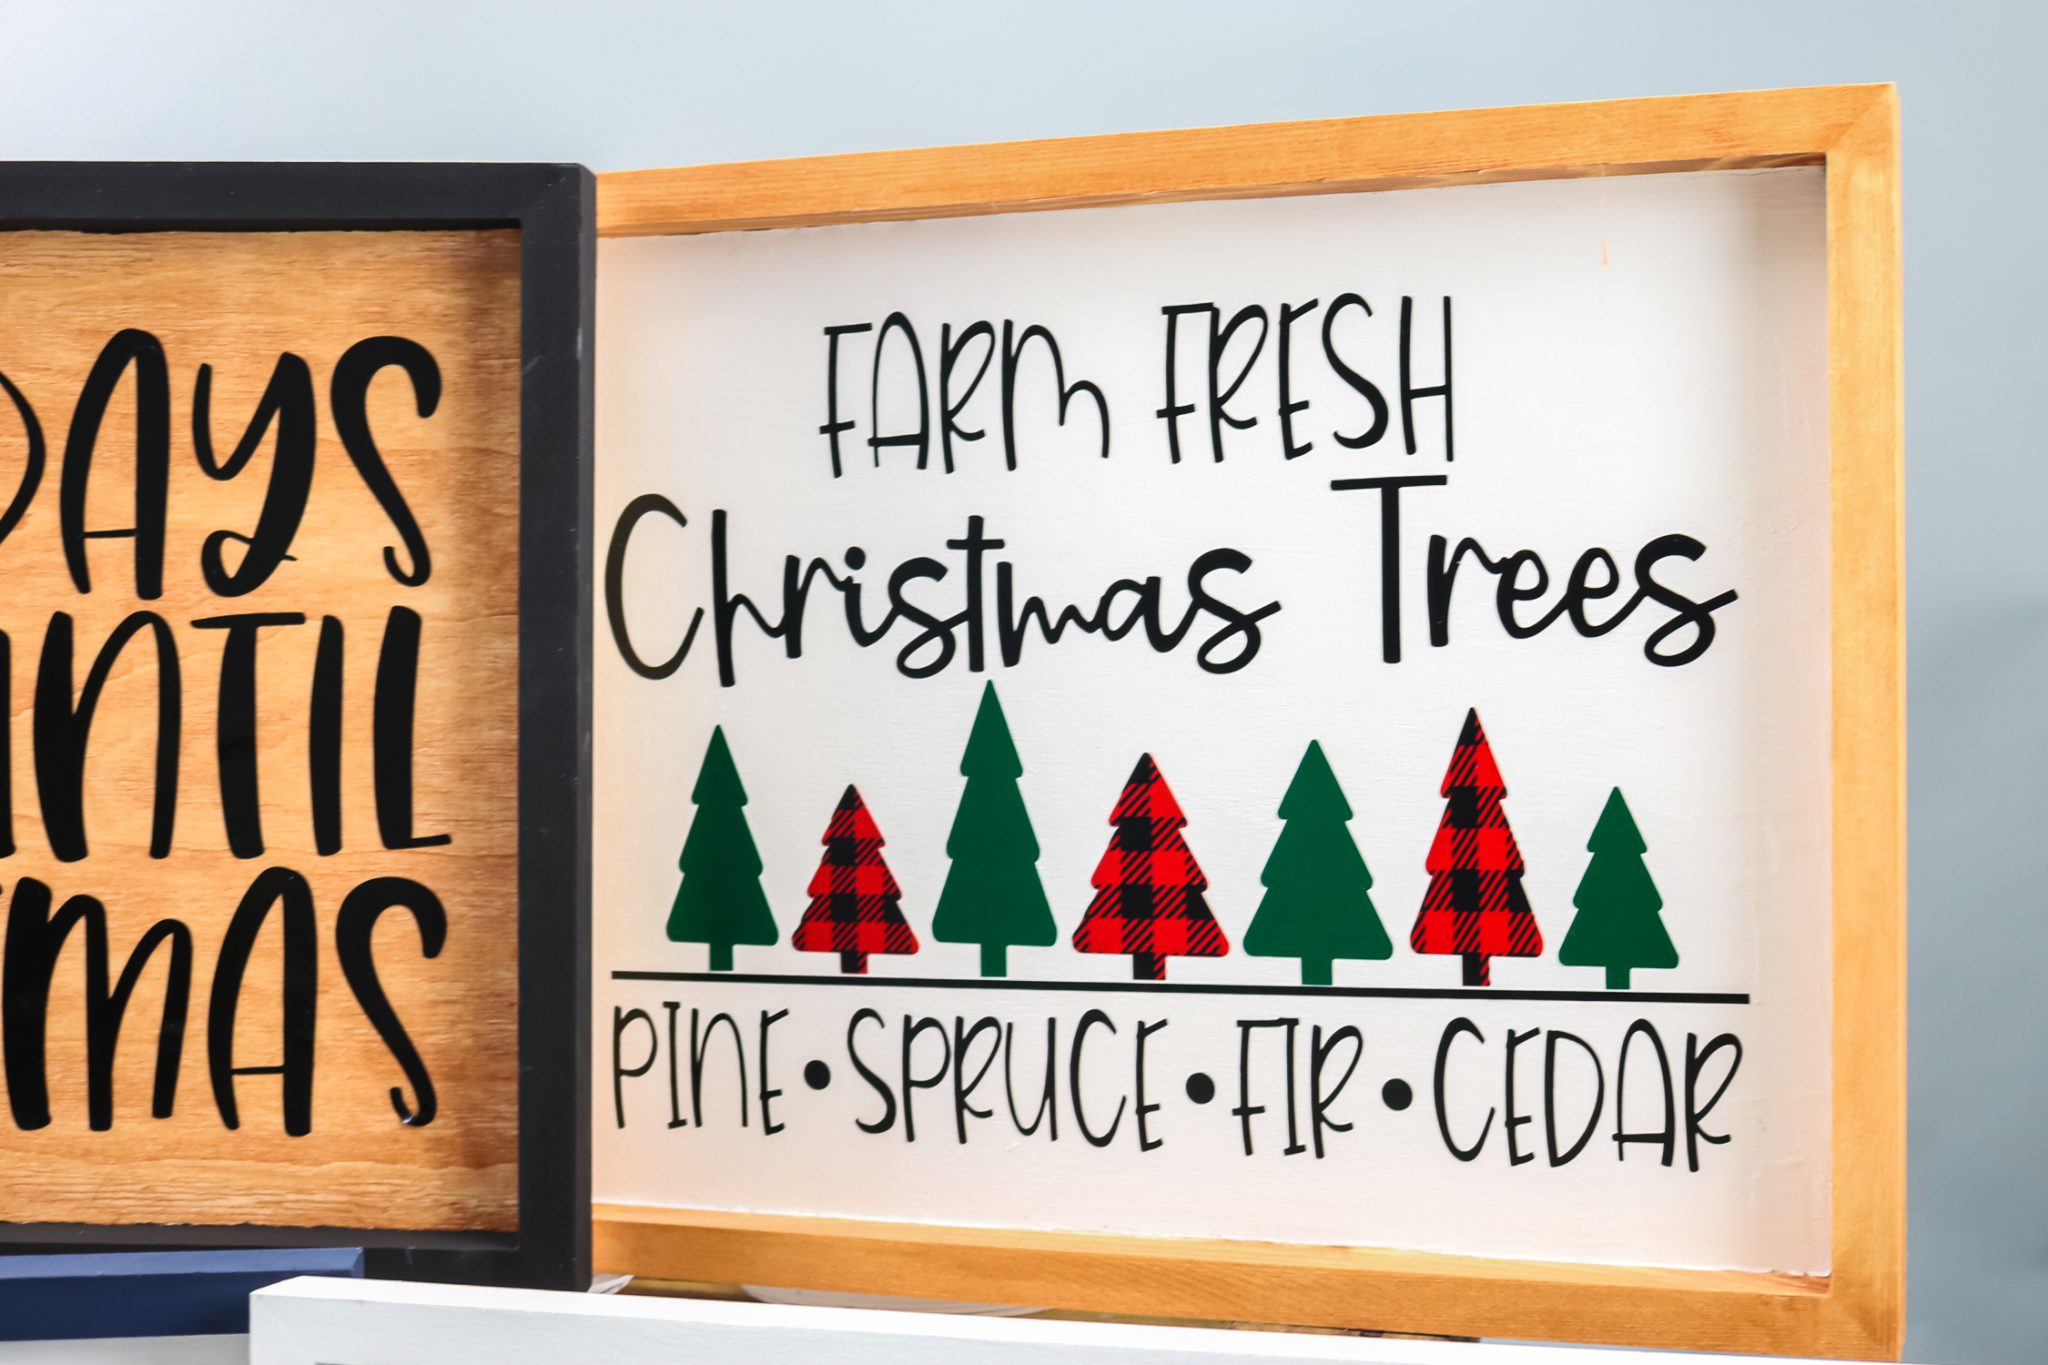
Now that you know how to make your own Cricut signs with layered vinyl you’re going to want to make more. Here are a few other signs I made using the same technique AND the same sign blank.
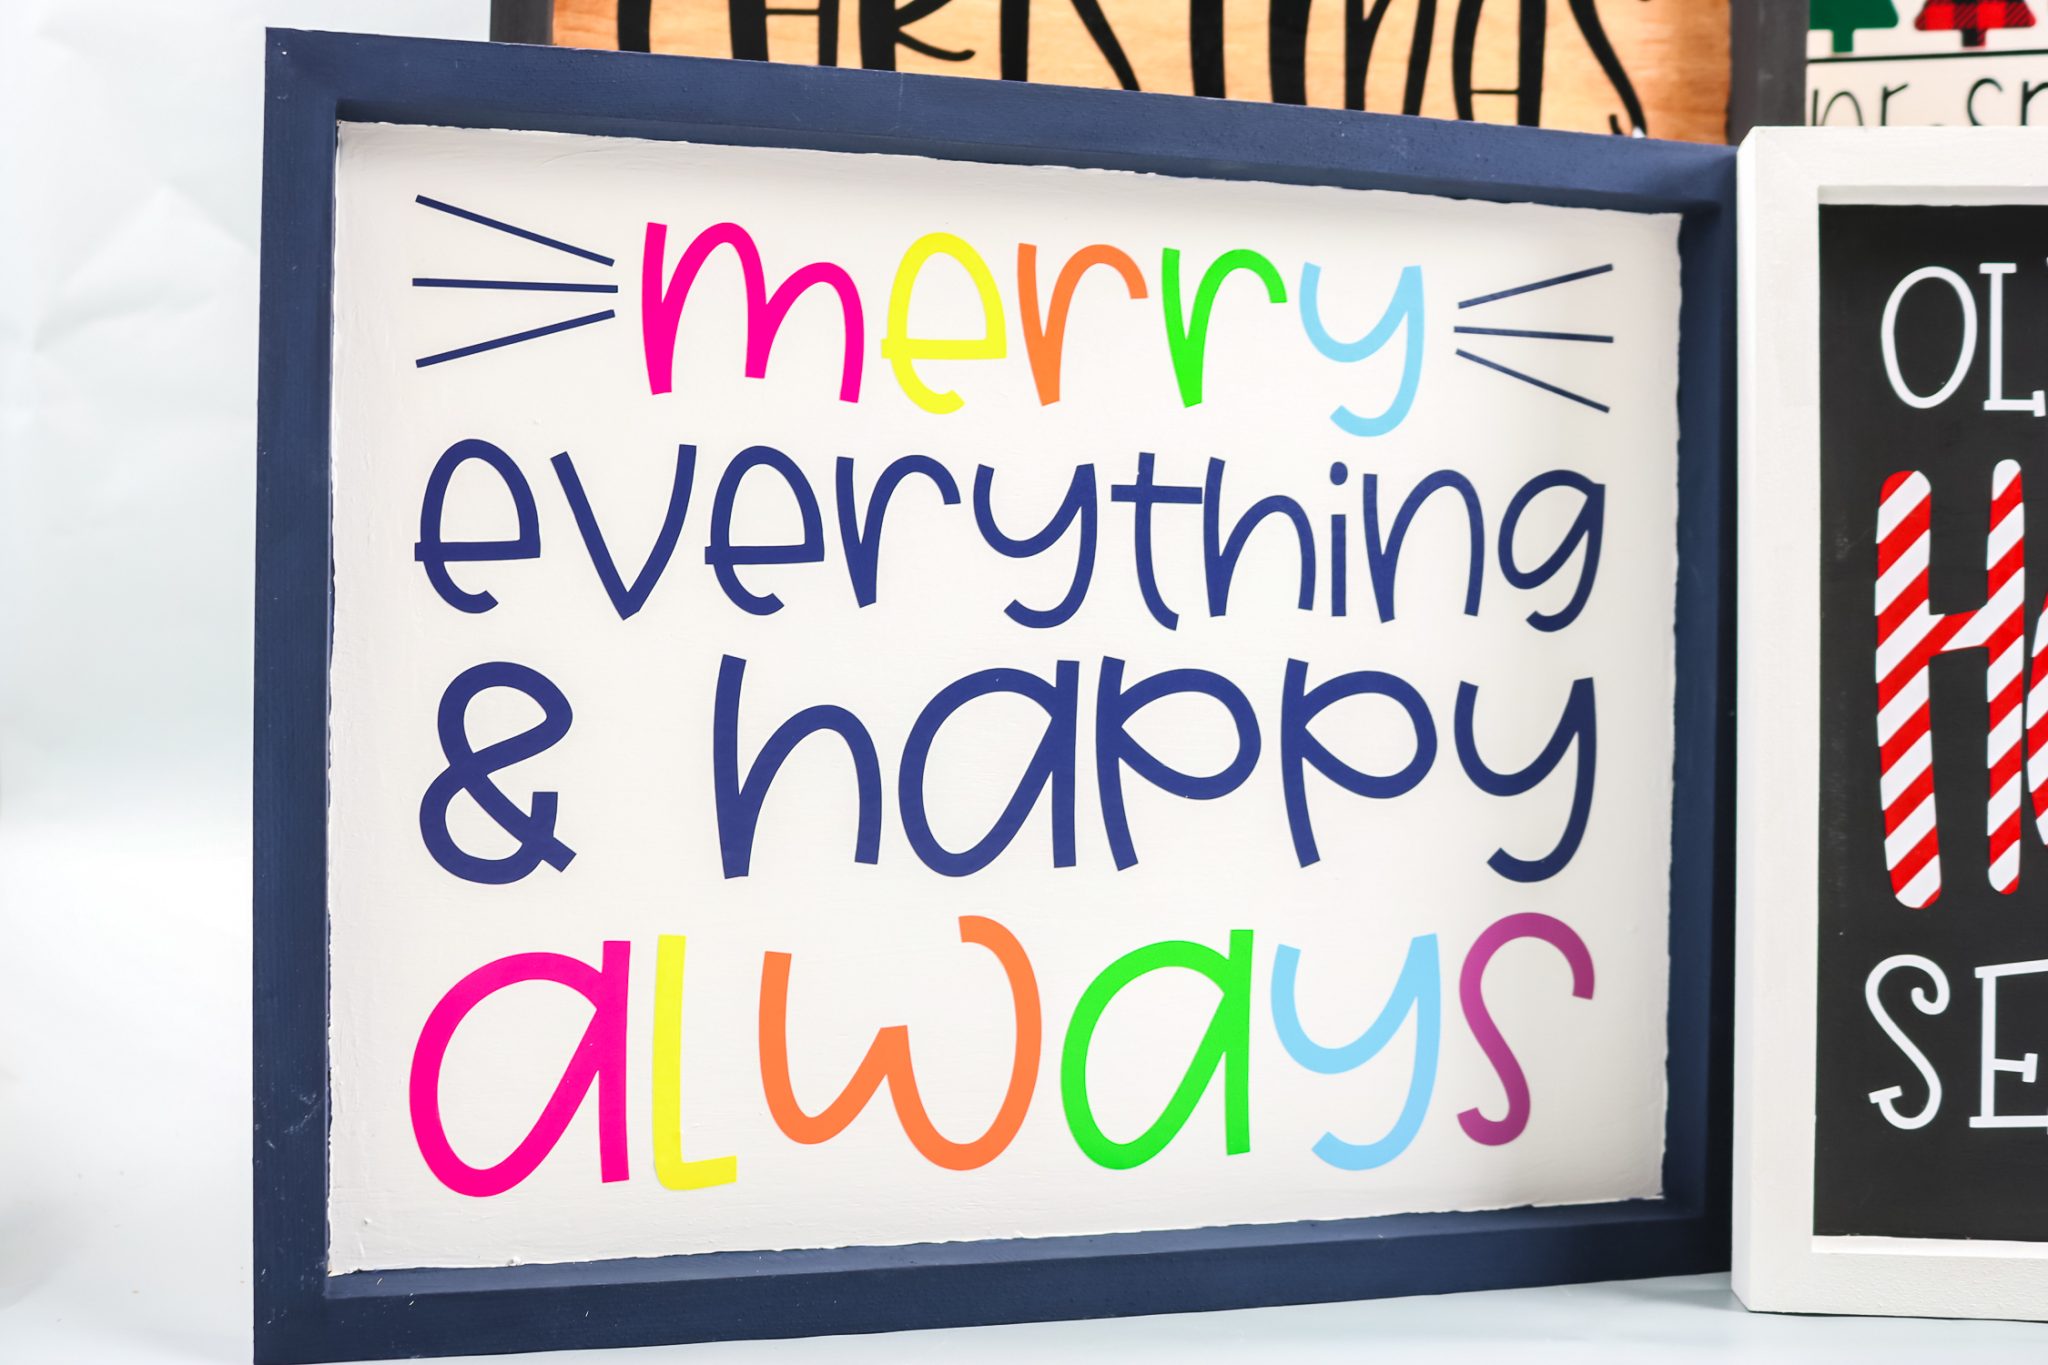
You can find all of these files once you download the free Hot Cocoa SVG. After you enter in your information for the free SVG you’ll receive an offer for the other designs I’m sharing here.
Each of these signs uses the steps I taught you here and they’re so fun to make. I love using multiple colors on these projects. Using wax paper to help line everything up makes layered designs easier than ever. You don’t even have to use different colors for this tip to come in handy.
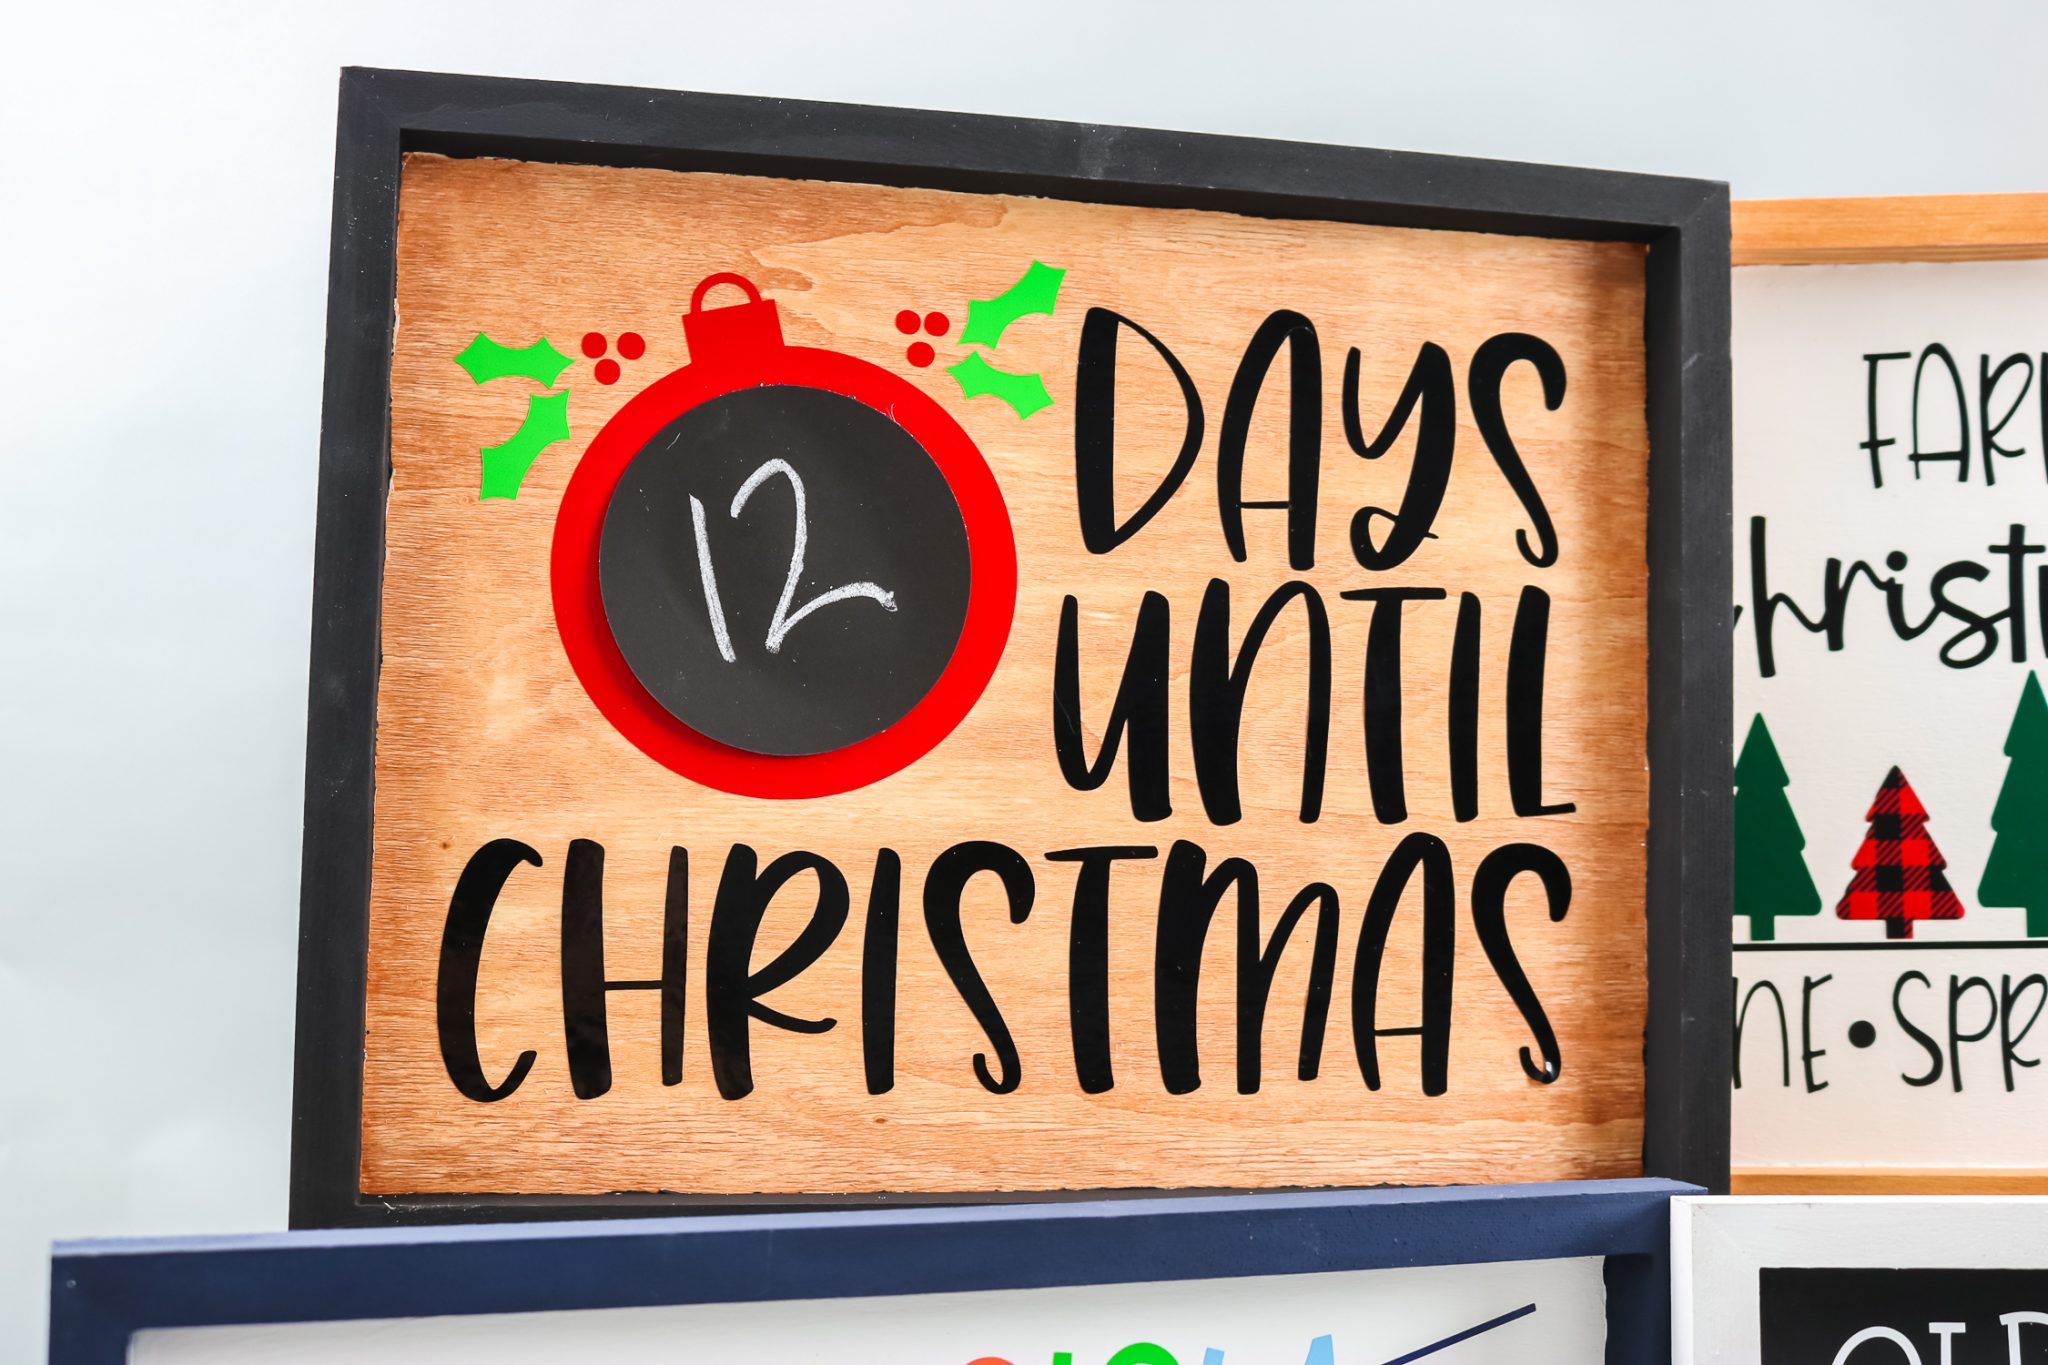
For my “days until Christmas” sign I used a chalkboard vinyl so you can write how many days there are until Christmas and easily erase it and update it day to day. I didn’t want to use chalkboard vinyl for the entire project so I used this same technique to add that layer.
Final Thoughts on Layered Vinyl Cricut Signs
I think you can already tell these are one of my favorite projects I’ve made. I am a huge fan of how versatile the sign is. There aren’t a lot of blanks out there that you can get this many different looks with.
I do want to say if you find yourself running into a situation where your vinyl will just not stick to your painted or stained surface I would guess that they are not dry enough. Especially if you’ve done multiple layers of paint you need to give the surface plenty of time to dry so the vinyl will stick easily.
I also recommend for projects where you’re using both stain and paint that you stain the areas you want stained first and then paint. And always, make sure you’re allowing each surface to dry before moving on to the next step.
These Cricut signs with layered vinyl are so fun to make. I know you’re going to love this project. If you have any questions about any of the steps in this project feel free to leave them in the comments and I’ll get them answered for you!
