This post and photos may contain Amazon or other affiliate links. If you purchase something through any link, I may receive a small commission at no extra charge to you. Any supplies used may be given to me free of charge, however, all projects and opinions are my own.
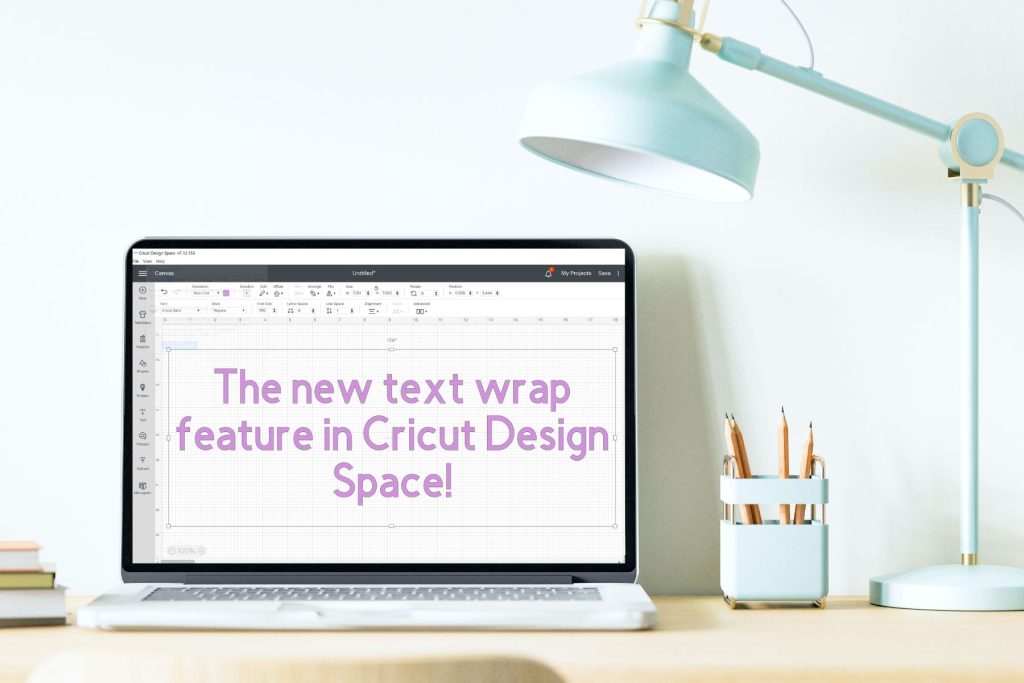
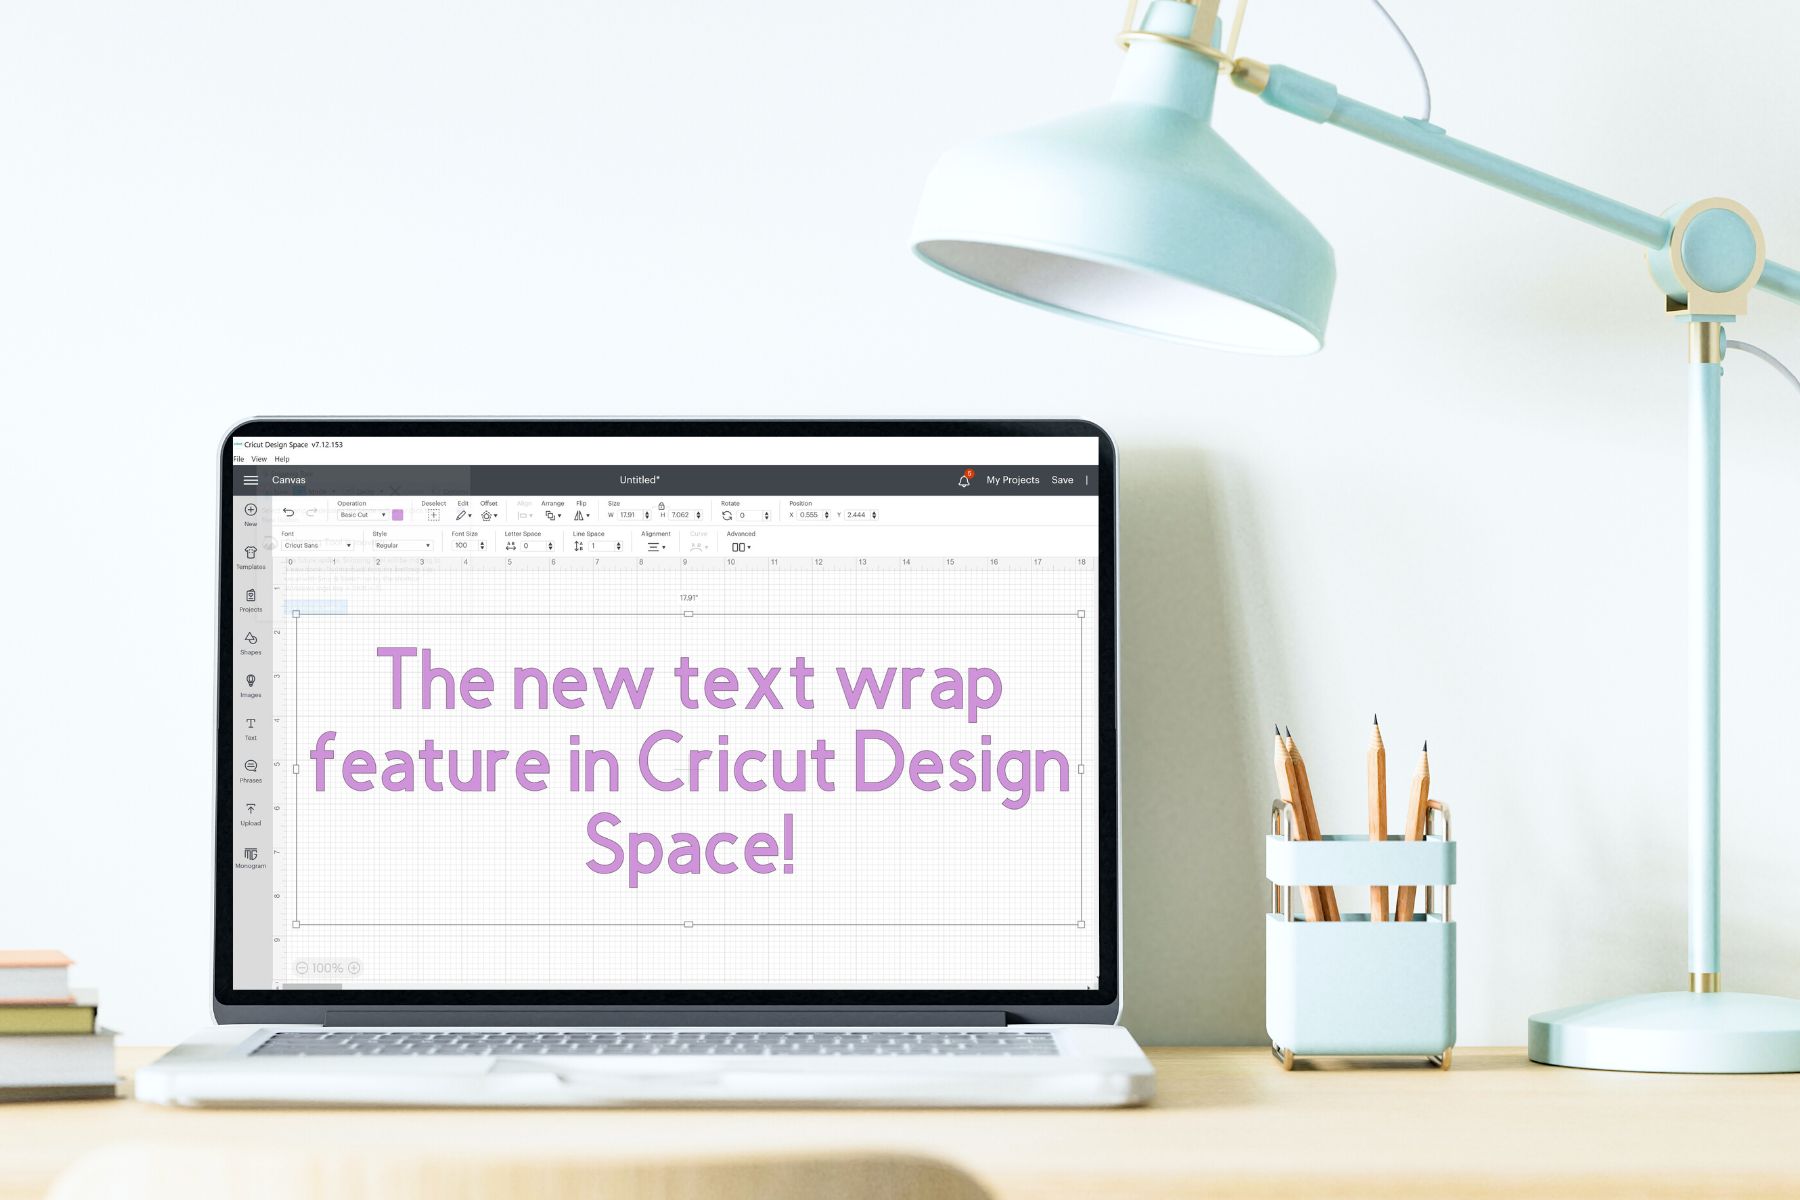
Have you seen the Cricut Text Wrap and other new features in Design Space? Today I’m going to show you these new features and where to find them! Then you can start using these features in your projects!
New to Design Space? Check out my Beginner’s Guide here.
Cricut Text Wrap and Design Space Changes
Text wrap is just one of the new features you may have noticed in Design Space. The handles have been removed from the sides of images, text, etc which may be confusing. I’m going to walk you through all of the changes so you know where everything is.
You can watch me go through Cricut Text Wrap and all of these other new changes. Just click play on the video below:
Cricut Design Space Handles
When you add a shape to the Design Space canvas, you’ll see the shape comes in and it has boxes on the four corners. It used to have four handles on the corners to lock, delete, rotate, and resize the object. That meant you could only resize your object from one corner.
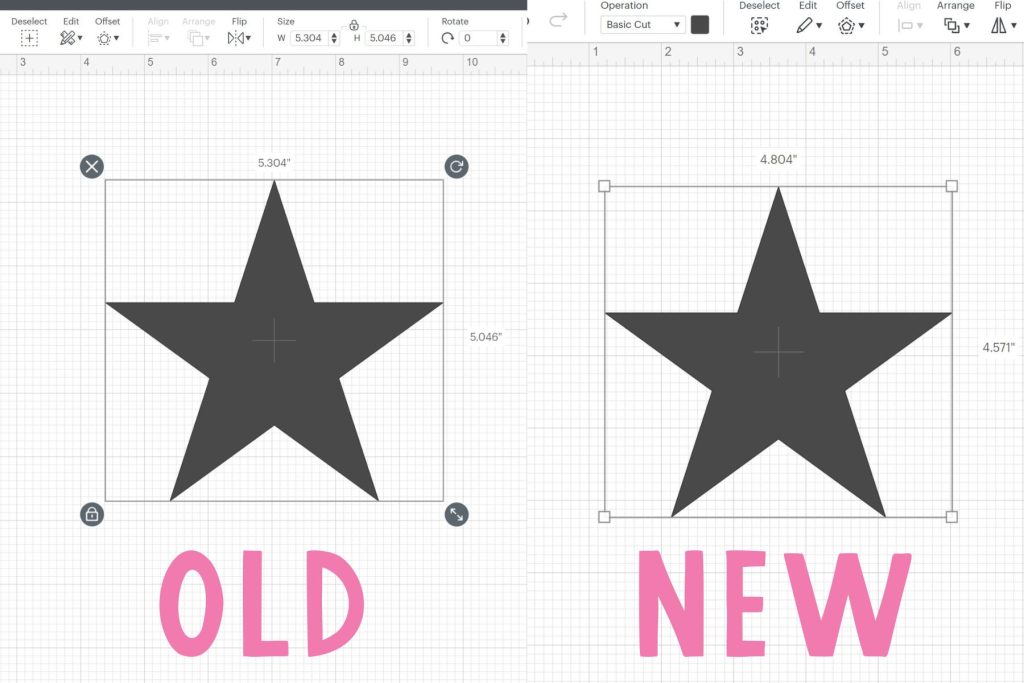
Now let’s take a look at how it changed and how to do each of the functions that the handles used to do.
How to Resize Objects in Design Space
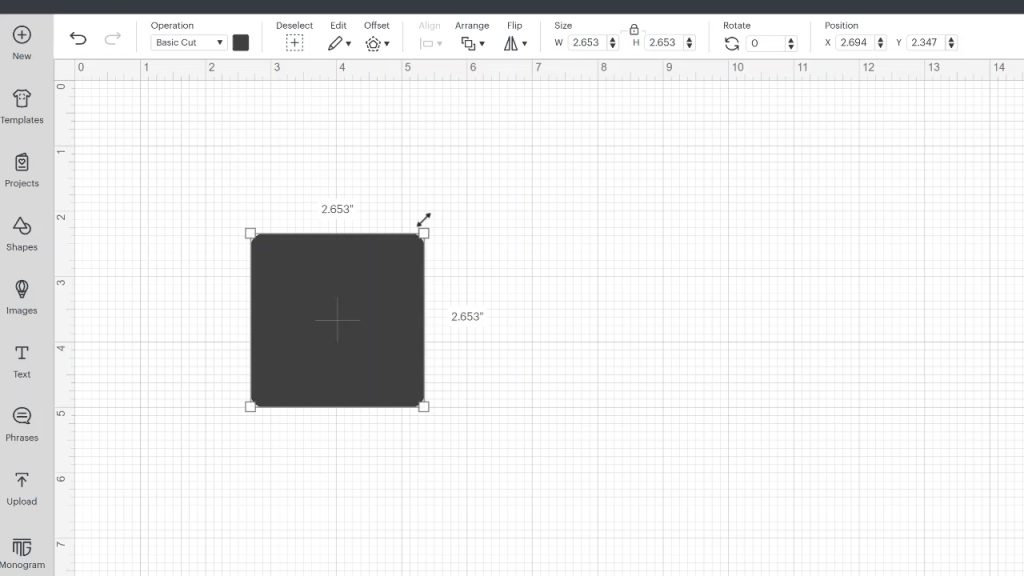
Now when I hover over the corner box my cursor changes to a double arrow. When it’s a double arrow I can click, hold and drag to resize any object. With the changes in Design Space, I can now do this from all four corners as long as my cursor is a double arrow. You can also continue to use the size options in the top toolbar as you could before. If you know the exact size you want your image, you can set those in the top toolbar.
How to Rotate Objects in Design Space
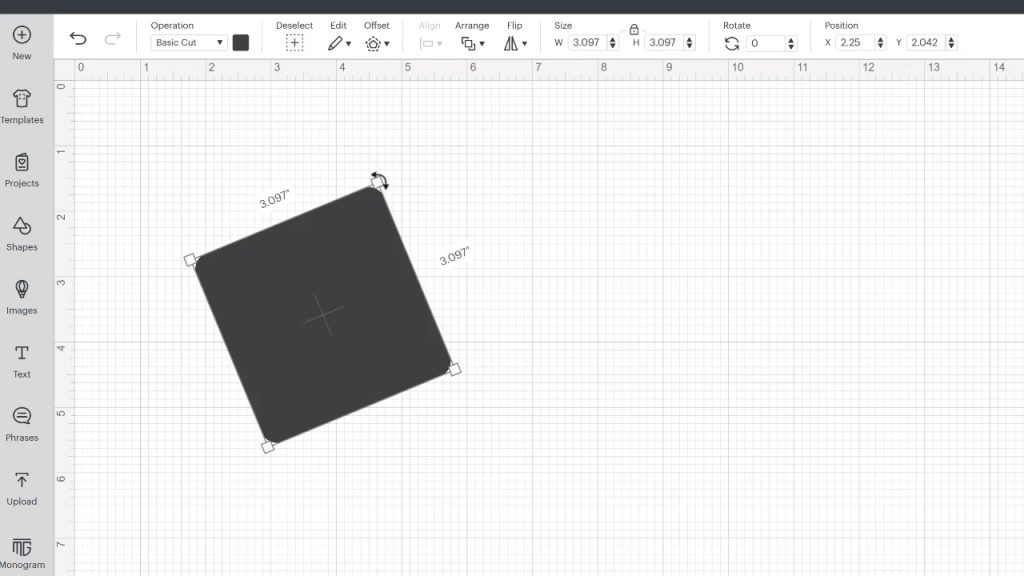
I can also rotate from any corner now. By moving the cursor out from the corner just a little bit, it changes to a curved arrow. Once it changes to a curved arrow. you can click, hold, and then move your mouse to rotate. A trick to rotating in increments is to hold the shift key down while you rotate. This will allow you to get it perfectly straight.
For more keyboard shortcuts like this one, click here!
If you want a specific angle you can go to the top toolbar and type it in in the rotate box. For instance, if I wanted to rotate mine to 70 degrees I can type that into the rotate box in the top toolbar and it will set it to that.
How to Delete Objects in Design Space
Because all the corners allow you to resize and rotate you may have noticed the trash can is gone. To delete, you can click the trash can that is at the top of the Layers panel, right-click and select delete, or you can select the item and click delete on your keyboard.
How to Lock/Unlock Objects in Design Space
The lock handle is also gone from the corners. The lock/unlock button now lives only in the top toolbar in the size section of the toolbar. By default, your object size will be locked. If you want to distort your shape, you need to click the lock in the top toolbar until you see that the lock is unlocked. From there, you can change the sizes directly in the toolbar or you can click and drag the side handles on the shape and change it there.
You can expand or contract in either direction to make the shape that you would like. The same thing that applies to shapes also applies to images. Whether that’s a Cricut Design Space image or an image that you upload, the handles will no longer appear around the outside. The good news is you can still do all the functioning you use to do, you need to do them a different way.
Cricut Text Wrap in Design Space
Now let’s look at how using text has changed in Design Space. To begin, click text in the left toolbar and you can just start typing when the box comes up on your canvas. The same handles that we talked about before apply to text.
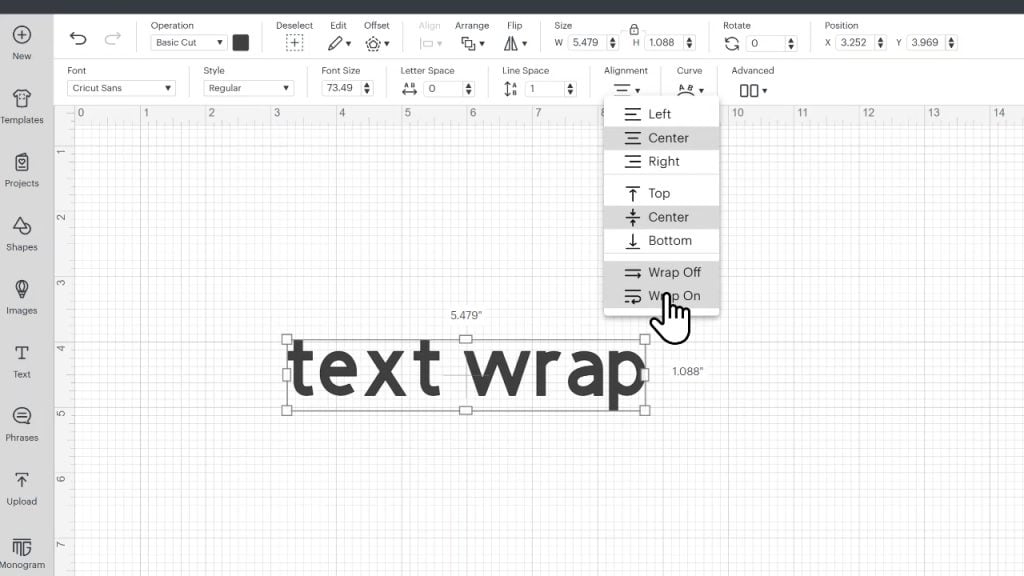
The difference is you have 4 extra handles. Instead of a handle in each corner, you have a handle in each corner and a handle on each side. These extra handles allow you to do text wrapping. If I select the handle on one side and squeeze it in, you will see that the text wraps around.
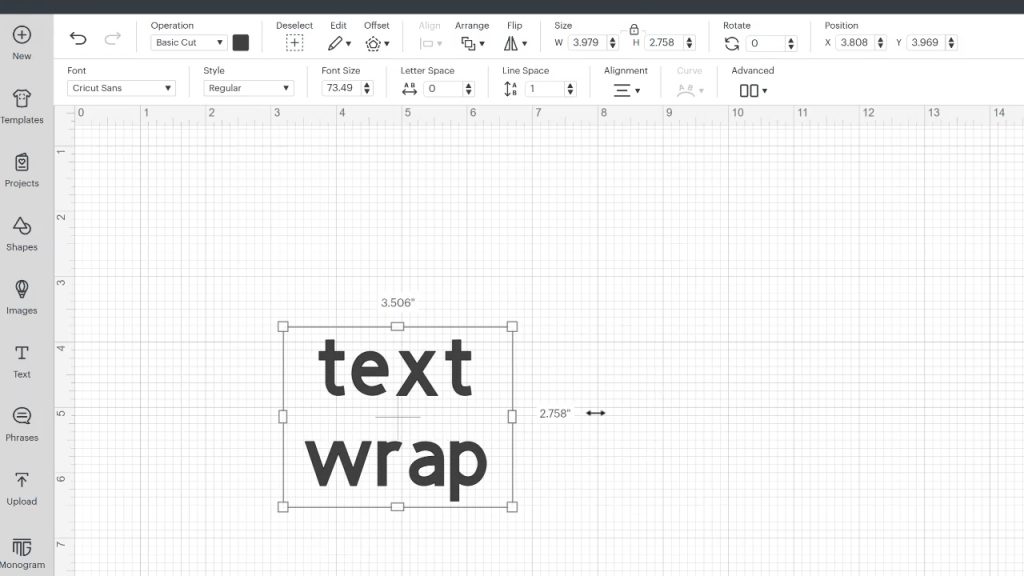
If you don’t want the text to wrap at all, you can click alignment in the top toolbar and turn the wrap off. You can turn wrap on/off at any time in the alignment drop-down menu.
Text Boxes in Design Space
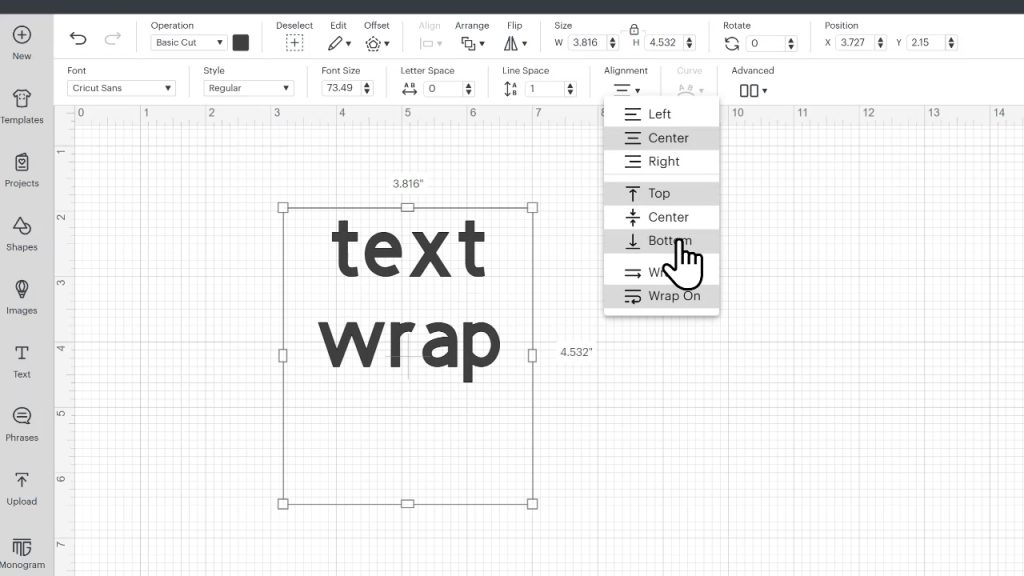
By dragging the side handles, you can now create a text box that is larger than the text itself. This is going to be useful in a lot of your designs because now you can click alignment and you can actually align that text to the top, the bottom, or either side of that text box.
Now when you’re designing and want a little extra space on either side of your text you can use the text box to do that. I think of this as an additional feature in Cricut Design Space that they did not have before.
Has Text Changed in Design Space?
The text box and wrapping are different, but using the text itself hasn’t changed. In the text toolbar at the top of your canvas, you can still select the font you want to use. You can still resize your font by font size rather than dragging the corner of the box. You also still have all the same letter space, line space, and alignment options you had before.
Kerned Font Update
Another feature I just happened to notice is that my script font wasn’t just automatically kerned but it was also automatically welded! On the canvas, they are all individual letters that can be edited. But when I click “Make It” and look on the mat screen they are all welded together to cut as one word.
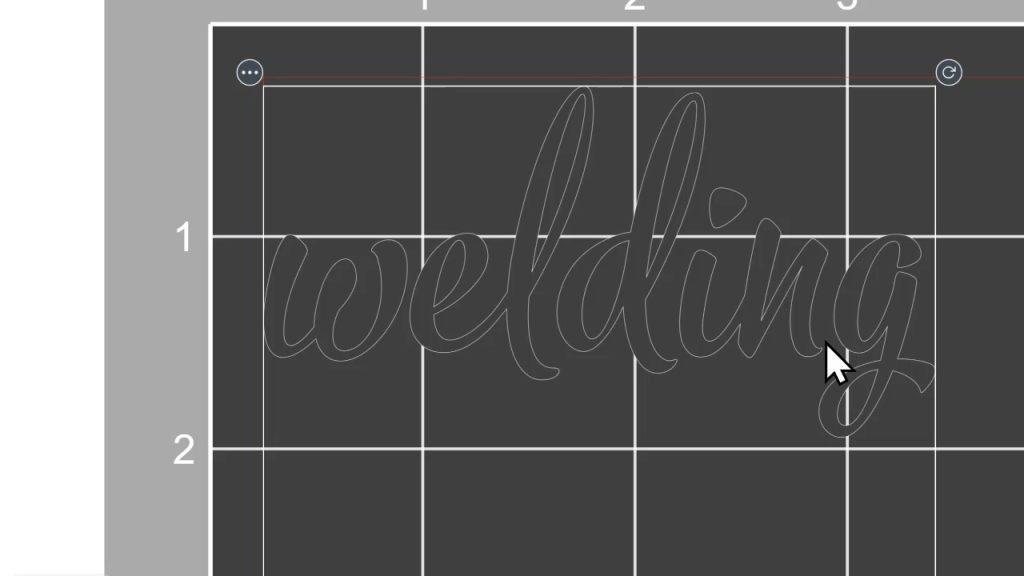
I don’t know if this feature has rolled out to everyone yet so please make sure to triple-check on your mat screen before cutting to make sure they’ll cut as one word, not individual letters. Near the bottom left of your mat screen, you will see that you can zoom in on the mat. I like to zoom in really close to see if there are cut lines between letters or not. I also do not know if this is only Cricut fonts. If you upload a font, I’m not sure if it’ll work so again make sure you check before cutting.
Final Thoughts on Cricut Text Wrap and Other Changes in Design Space
I really like the new changes in Design Space. If you use other editing software, you’ll find that many of these options are second nature to you. I found that everything was easy to figure out as I was trying the new features and they’re all actually really handy.
I hope you found this helpful! If you have any questions about the new features or found another feature I didn’t mention please leave them in the comments and I’ll get them answered for you.
