This post and photos may contain Amazon or other affiliate links. If you purchase something through any link, I may receive a small commission at no extra charge to you. Any supplies used may be given to me free of charge, however, all projects and opinions are my own.
Are you looking to add seasonal decor to windows? Maybe you need a little more privacy? Today I’m going to teach you how to use Cricut Window Cling to add detail to windows in your home.
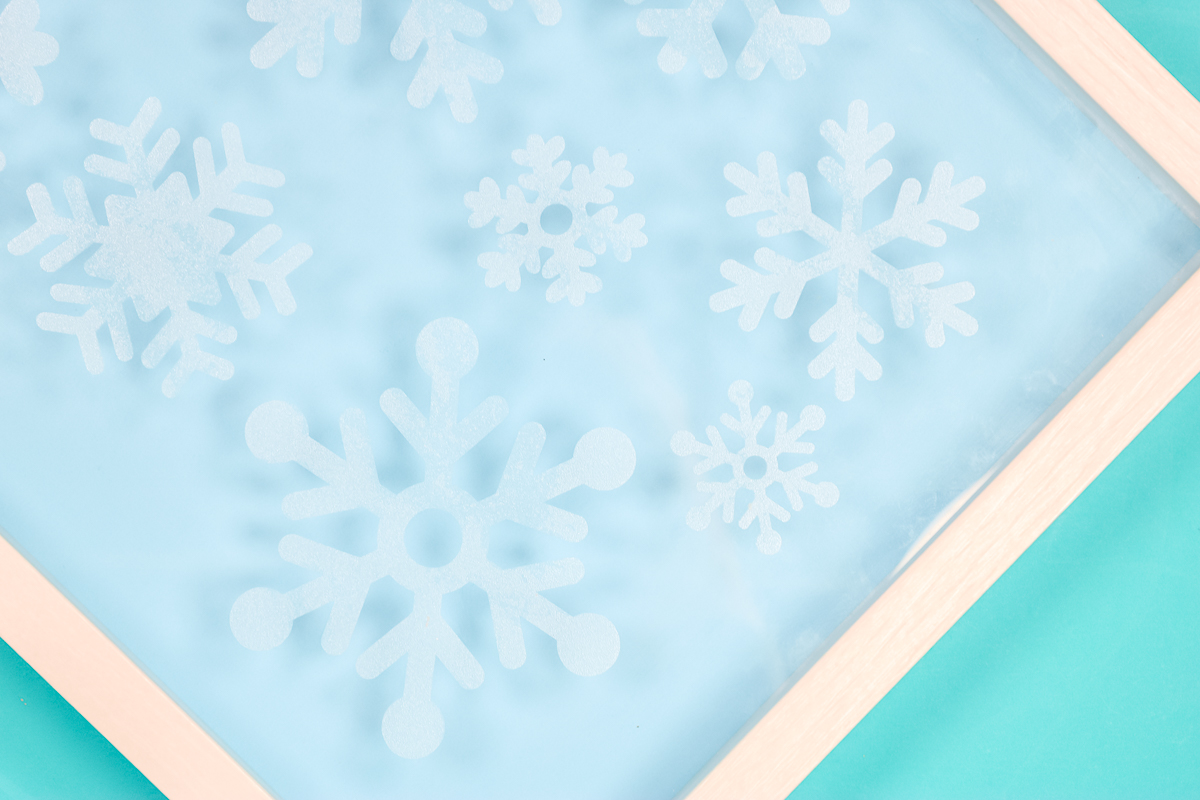
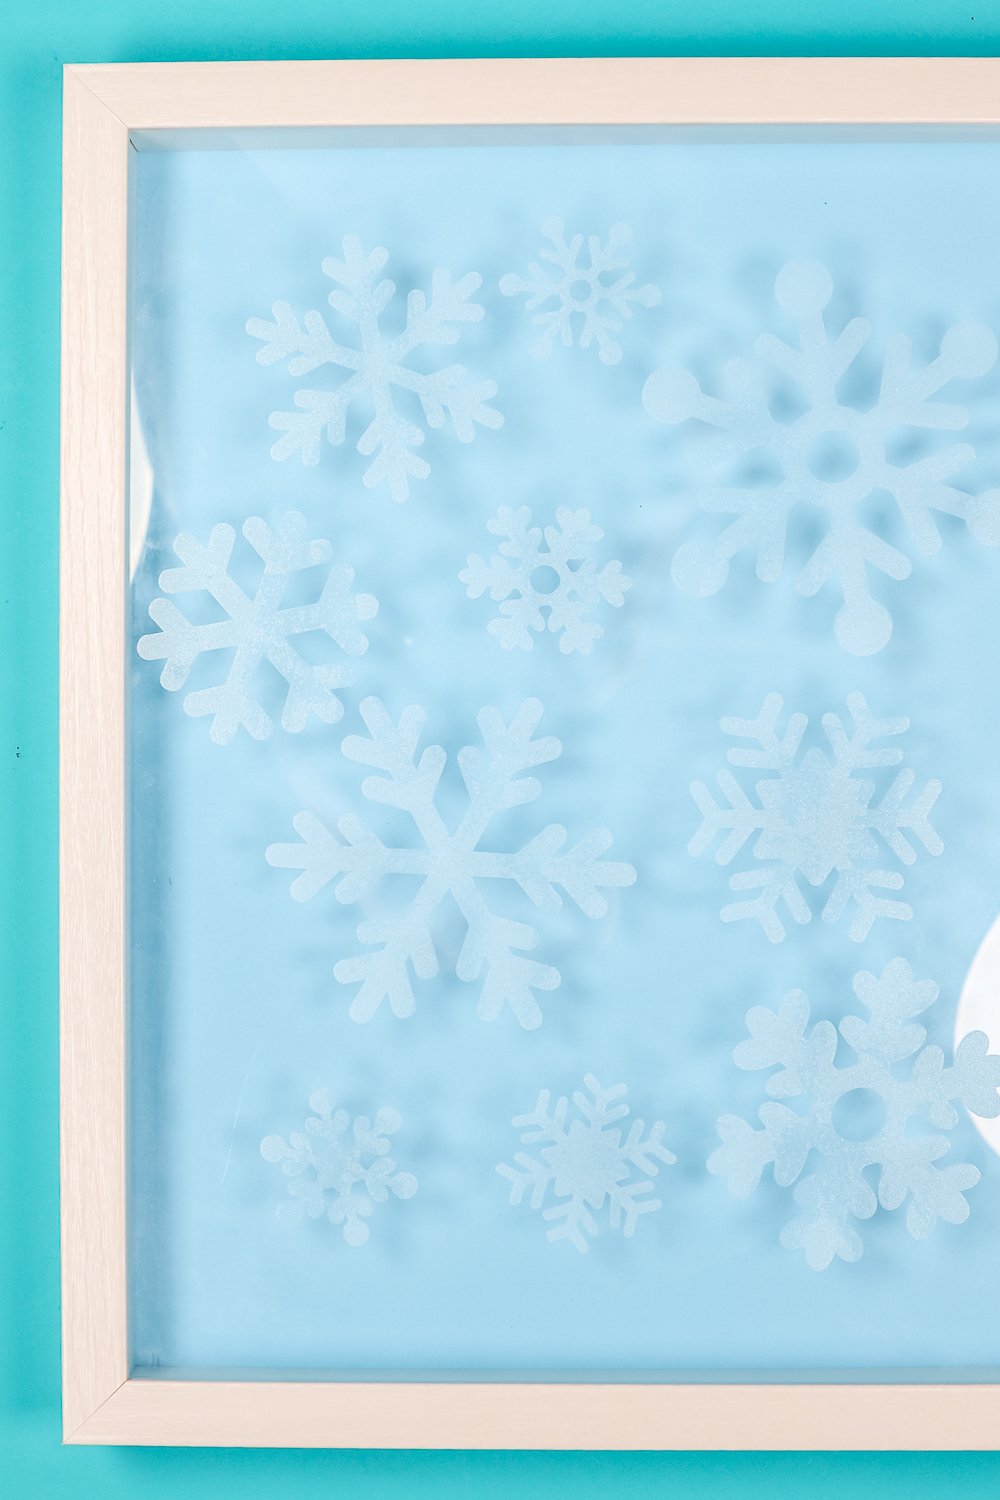
To show you how easy Window Cling is to use, I am going to cut out some snowflakes and add them to glass on a shadow box however you can use this material in a variety of ways!
If you’re new to using a Cricut machine, check out my free One-hour Crash Course to get started.
What is Cricut Window Cling?
Cricut Window Cling is a fun material that is perfect for applying to windows and glass. Window Cling comes in a variety of different colors but also comes in a clear, frosted color.
The clear frosted window cling is my favorite option. It’s great to use as a privacy film in line bathroom windows or maybe front door windows. If you wanted to use it in a color, it’s great for seasonal decor on windows like hearts for Valentine’s Day in red or green shamrocks for St. Patrick’s Day. There are a lot of options.
You can watch me use Cricut Window Cling to create snowflakes and learn about how to use it by pressing play on the video below:
How is Window Cling Different than Vinyl?
Cricut Window Cling is different than vinyl in one major way. Window Cling is not actually an adhesive. Window Cling and Vinyl both have similar backing. However, if you peel back the corner of the vinyl you’ll feel that it is sticky. It has an adhesive back.
If you peel back the corner of the window cling it doesn’t really feel like anything. Mostly it feels just like a flexible plastic. Even though the window cling isn’t adhesive, when you place it on glass it will stick to it.
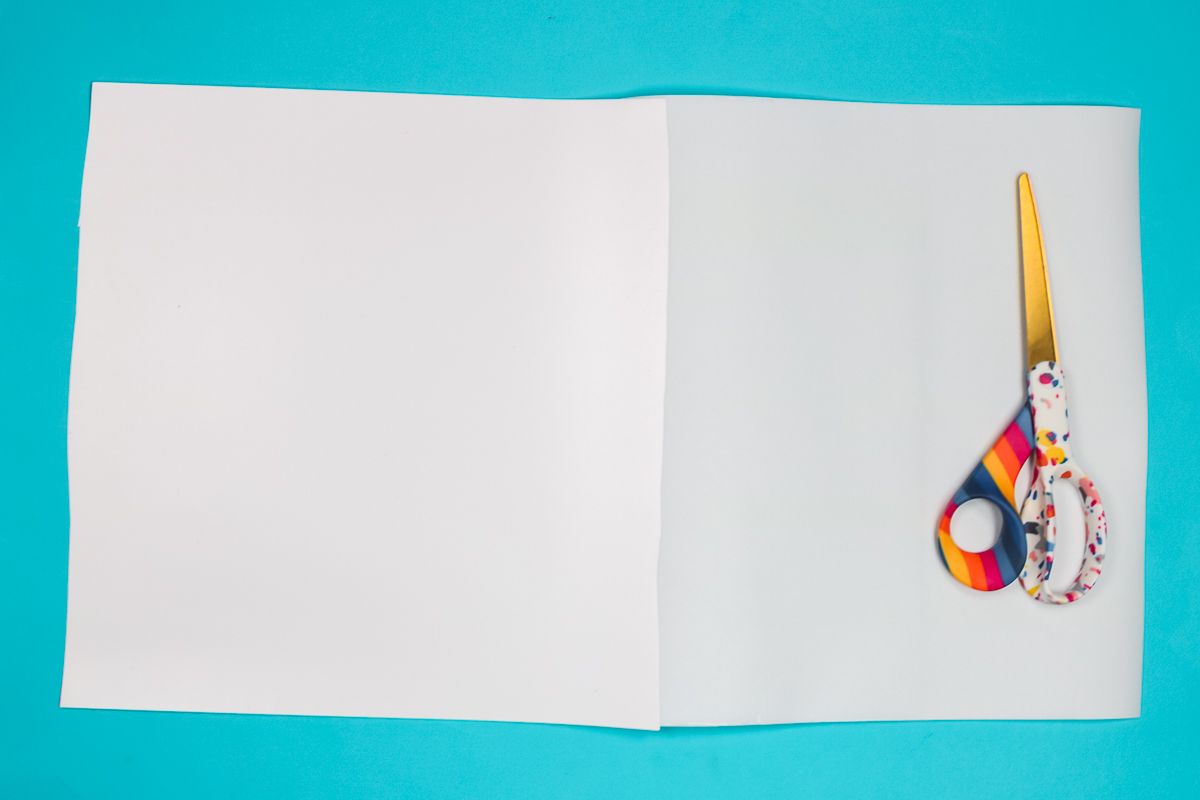
Cricut Window Cling can be applied and removed very easily. You can easily press it down and lift it off the glass over and over until you get it right where you want it. As long as your surface is clean, it should continue to stick each time.
Vinyl, even removable vinyl, will act like a sticker. The more you stick it down and pick it up it will become less sticky.
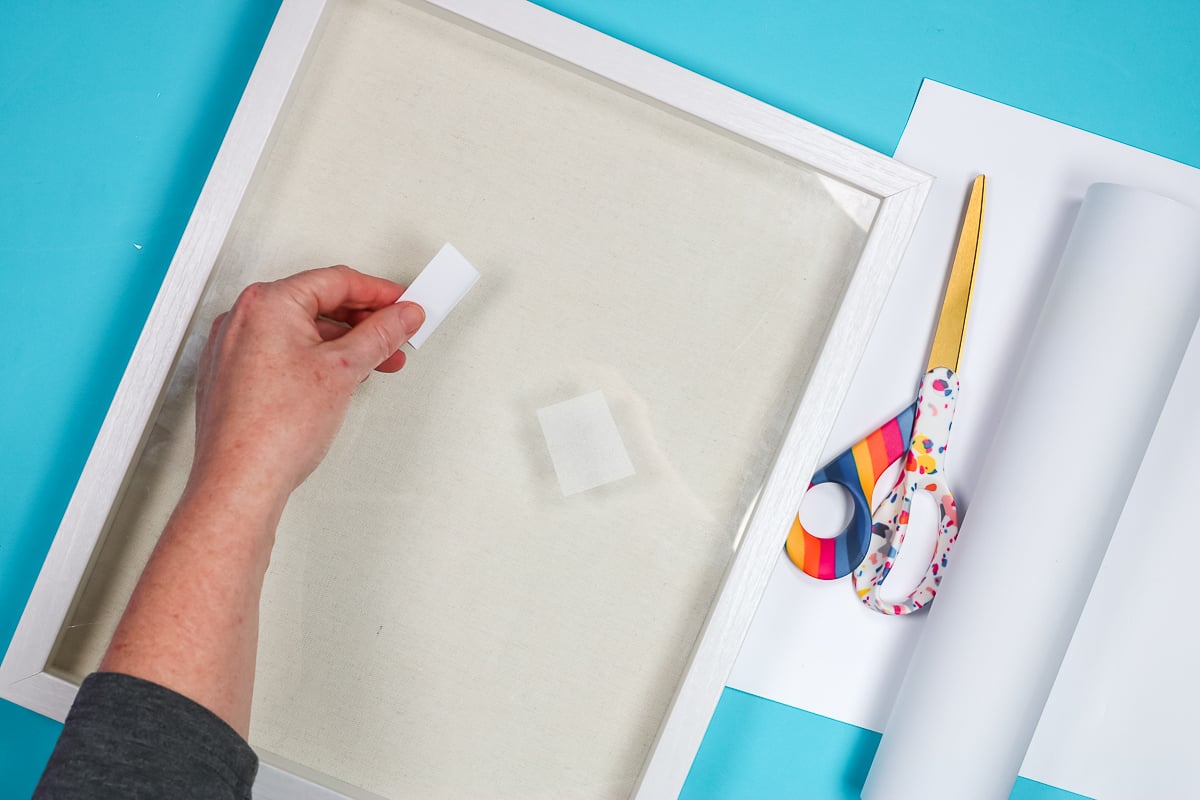
When Would You Use Window Cling?
Window cling is great for window applications that are temporary or ones that you would want to change often. The frosted window cling is especially great for creating privacy. You can cut decals or designs and add them in a pattern or even frost an entire window in window cling.
Cricut Window Cling is also great for decor pieces you may want to use again year after year. You can remove them from the window and stick them on some backing paper and use it again the next year.
How to Use Cricut Window Cling
Window Cling can be cut with any Cricut machine. A fine point blade is used to cut the material which means you can even cut window cling with Cricut Joy.
Supplies Needed
How to Cut Cricut Window Cling
To cut Cricut Window Cling you will first place the material liner side down on a LightGrip mat. I like to go over it with a brayer to make sure it’s stuck down really well.
I am using a Cricut Explore Air 2. Remember you can cut Window Cling with any Cricut machine.
When using an Explore Air 2, turn the dial to custom. You can pick window cling from the Design Space list of materials with other machines. With the Explore dial set to custom, it will bring up that same list of materials.
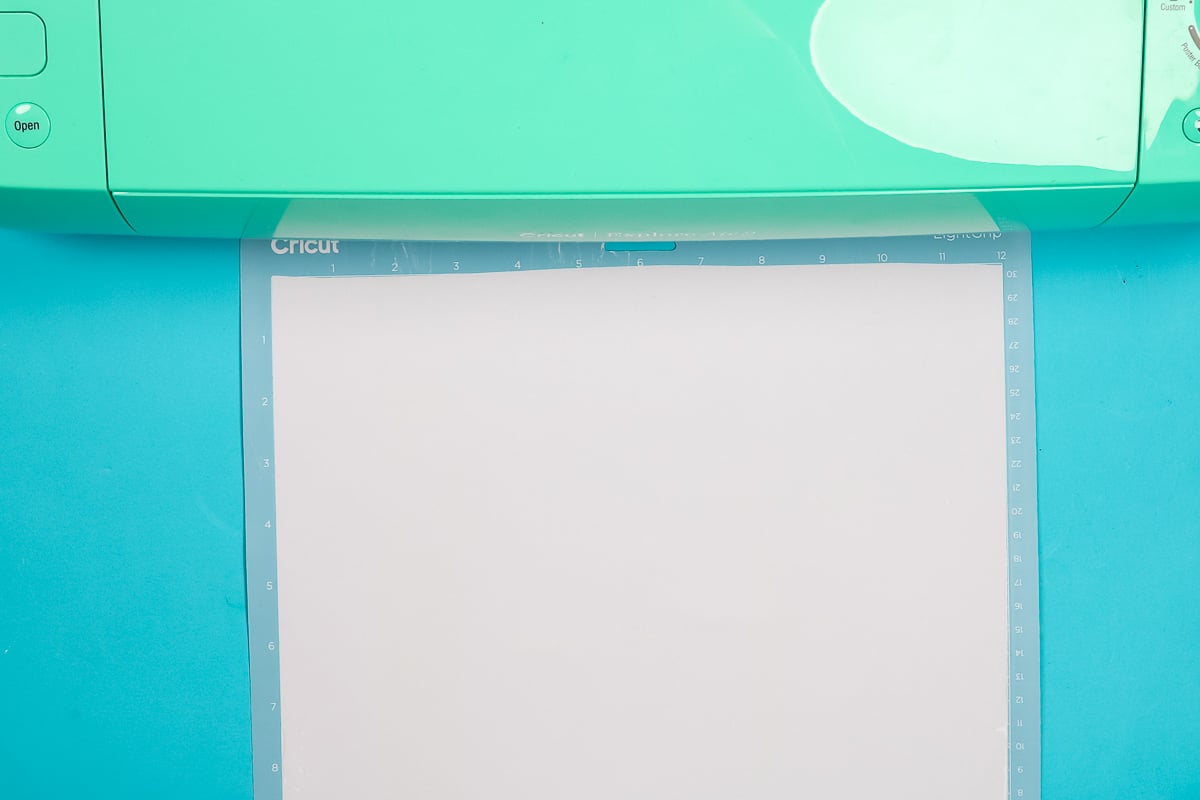
Load the mat and material into the machine and press Go to cut. When the machine is done cutting, unload the mat.
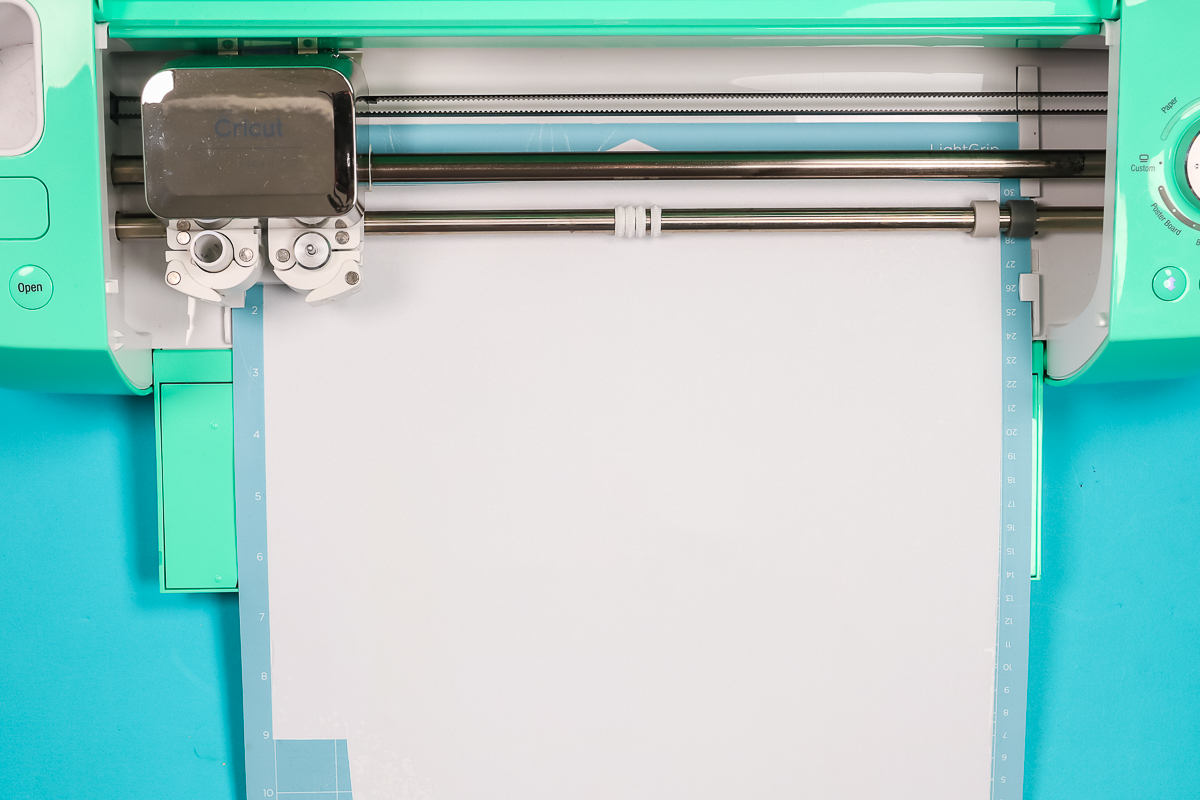
How to Weed Window Cling
Weeding window cling material is just like weeding other vinyl materials. Use a weeding tool to lift at the corner and peel back the excess material. Once the outside excess is removed, you can go back through with the weeding tool and remove any inside cuts.
Another option is to just lift one of the snowflakes up. Because they’re not sticky the inside pieces typically stay right on the backer.
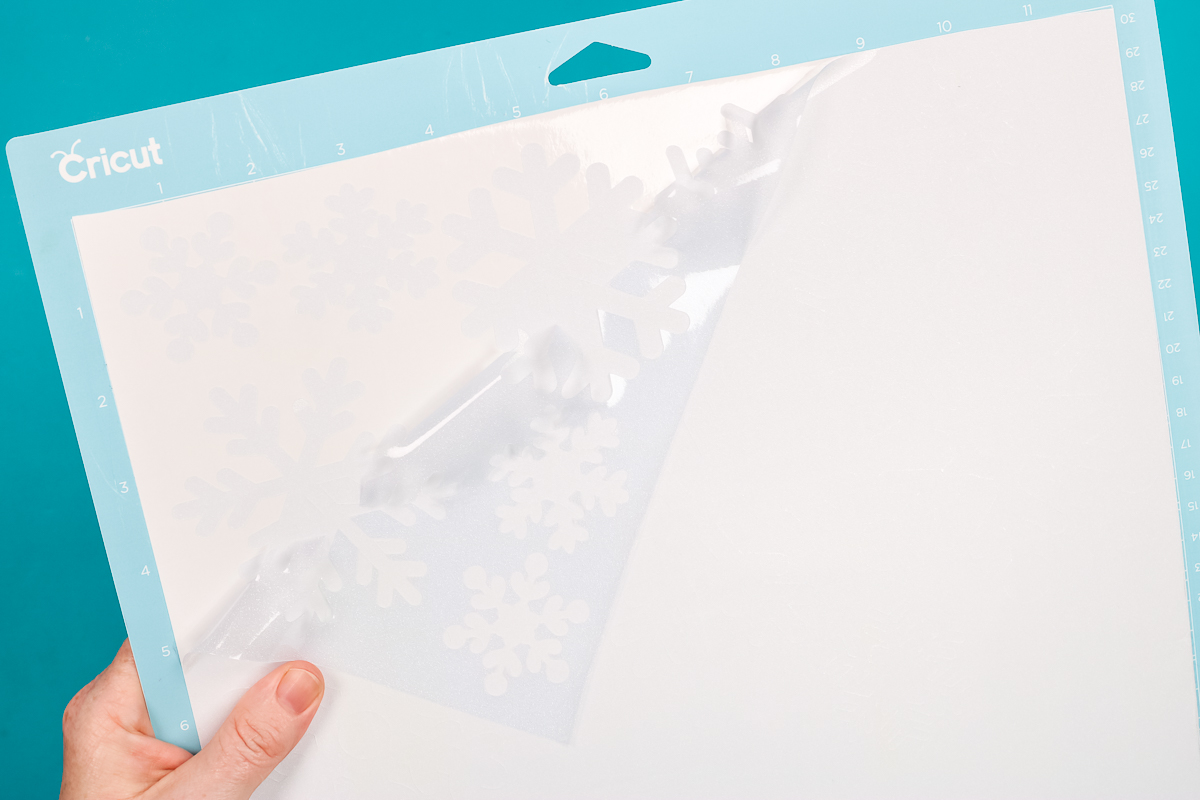
NOTE: If you want to save this backer piece to put the snowflakes back on later, you should go back and remove any window cling left on the backer.
How to Apply Window Cling to Glass
To apply Cricut window cling to glass, first make sure your glass surface is clean and dry. Now you can easily peel the window cling designs off the liner and stick them right onto the glass.
I am sticking them to the glass of this shadow box frame to make it easy for you to see how they look close up with a solid background. You can use a scraper to push out any bubbles and to help them cling to the glass.
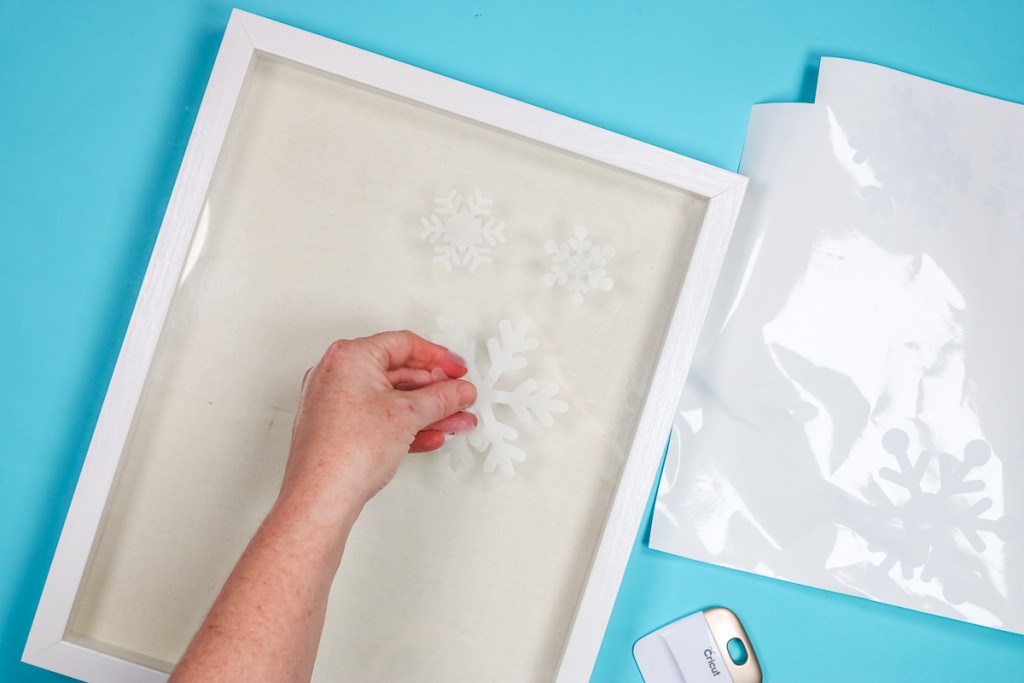
Note – you would not want to use Transfer Tape with Cricut Window Cling material. The window cling won’t release from the Transfer Tape because it doesn’t have an adhesive to stick to the surface.
How to Apply Large Window Cling Designs
If you’re struggling with a lot of bubbles in your design, you can use the wet application method with window cling. I think this is a great option especially if you’re trying to cover an entire window or other larger surfaces.
You can learn all about the wet application method here, it will probably help with larger designs and it’s also a way to decrease the bubbles inside the window cling itself.
Window Cling does have a front and backside. The side against the liner is the side you want to place against the window. If you feel both sides, you’ll notice the bottom side is smooth and the top side is slightly textured. You want to put the smooth side against the window.
Cricut does recommend that you not get too intricate with your designs. I think that the recommendation is to keep transferring simple. As you can see, my snowflake designs are fairly intricate and I had no problems transferring them.
These will peel literally right off of the surface, no problem. Then you can reposition, stick it in another area and just press it down. This is a fun product and perfect for making decorative window clings for the holidays, seasons, or making privacy film on a window.
Final Thoughts on Cricut Window Cling
I really like window cling, it s a fun material that a lot of people don’t really know about. I have used window cling on a variety of surfaces for many years including taking it off the surfaces after an extended period of time on the surface.
If you need to, you can even clean window cling. If your cling gets dirty on the window, take it off and clean it on both sides and then stick it back on the surface.
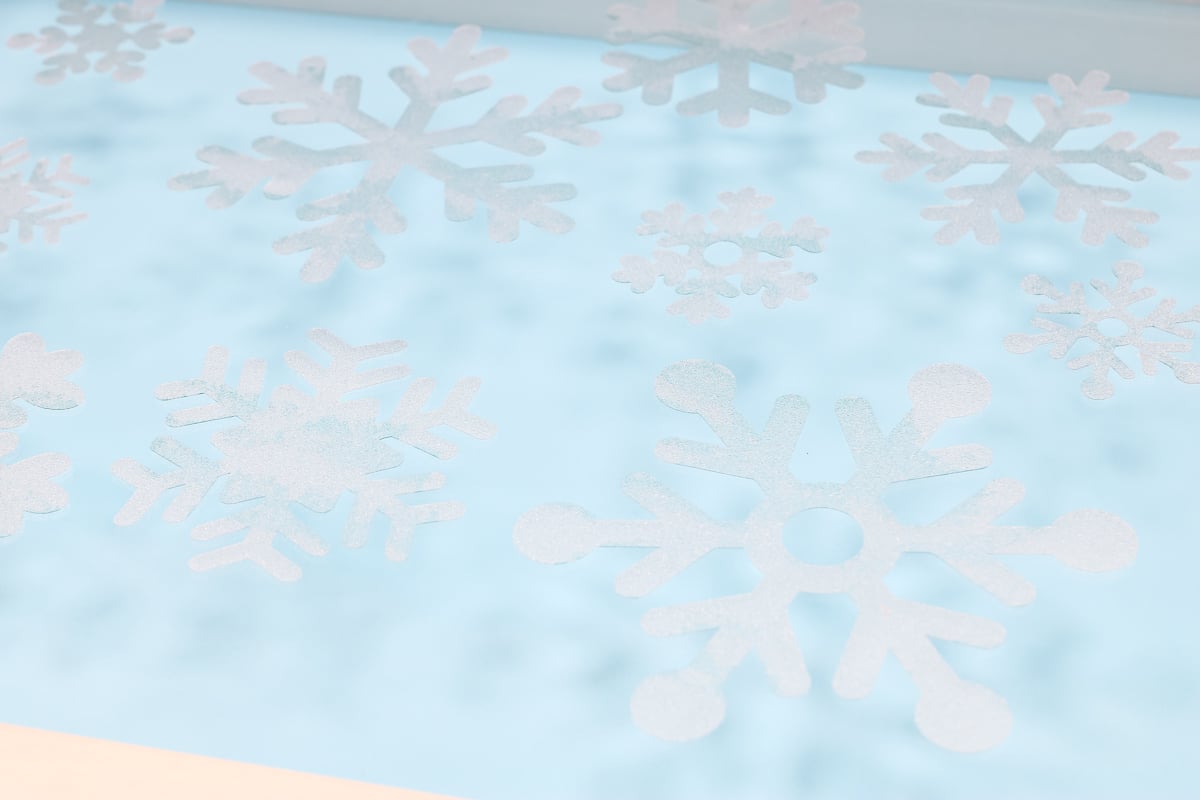
The great thing about window cling is that when you’re done with the design, whether it is a month or a year from now you can peel it off because it’s just clinging to the surface. There is no adhesive at all on the Window Cling.
Window cling is perfect for making decorative window clings for the holidays or seasons. Window cling can be put on glass-like windows or the front of frames/shadow boxes. It could also be placed on mirrors. It could actually be used on any hard surfaces but windows are where I use them.
I would recommend that you not place them where people might be tempted to peel them off. While they don’t fall off they do peel off literally. Keep them away from where small fingers may reach them.
Now you know how to use window cling and have seen how you can use it around your home. I can’t wait to see what you create with it. If you have any questions about using Cricut Window Cling, leave them in the comments below and I’ll answer them for you.

