This post and photos may contain Amazon or other affiliate links. If you purchase something through any link, I may receive a small commission at no extra charge to you. Any supplies used may be given to me free of charge, however, all projects and opinions are my own.
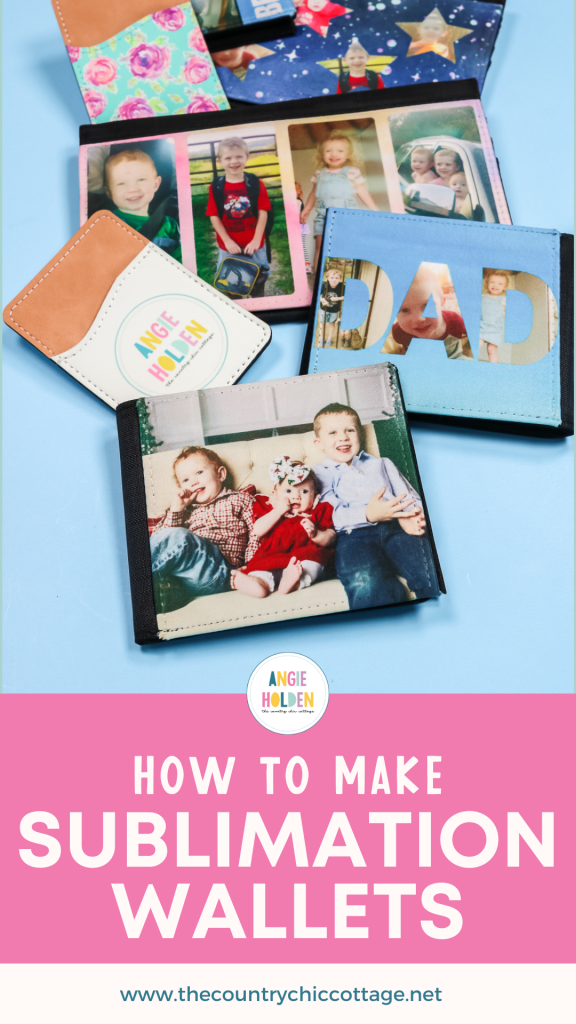
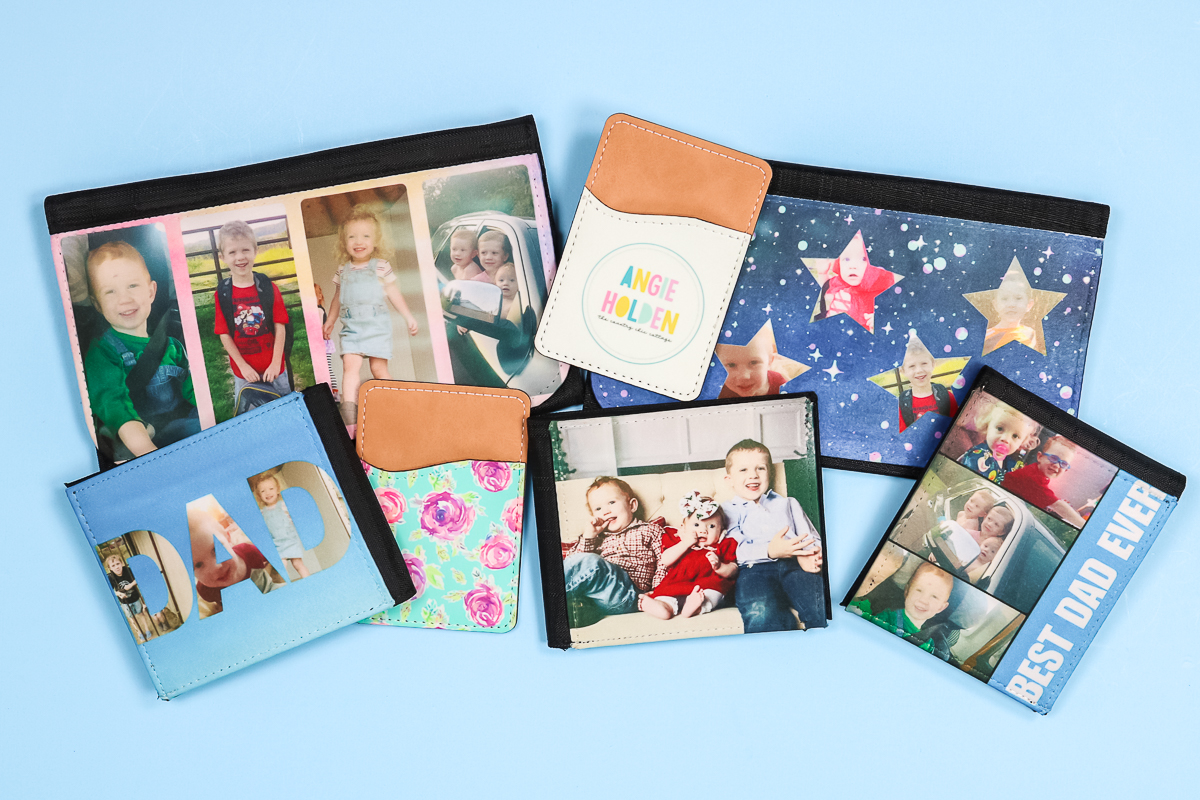
Today we’re going to talk about sublimation on wallets. I actually have three different types of wallets for you and I’m going to show you how to sublimate on each of those. Now you can use the blanks that I’m showing or there are other sublimation wallet blanks on the market and you can try those as well.
This is a great way to customize a wallet for yourself with photos or even to give as a gift. I even have a few Father’s Day gift ideas using sublimation wallets below. Combine this gift with a custom sublimation puzzle for a fun gift that anyone will love!
Sublimation Wallets
You can watch the video below as I sublimate three different wallet types.
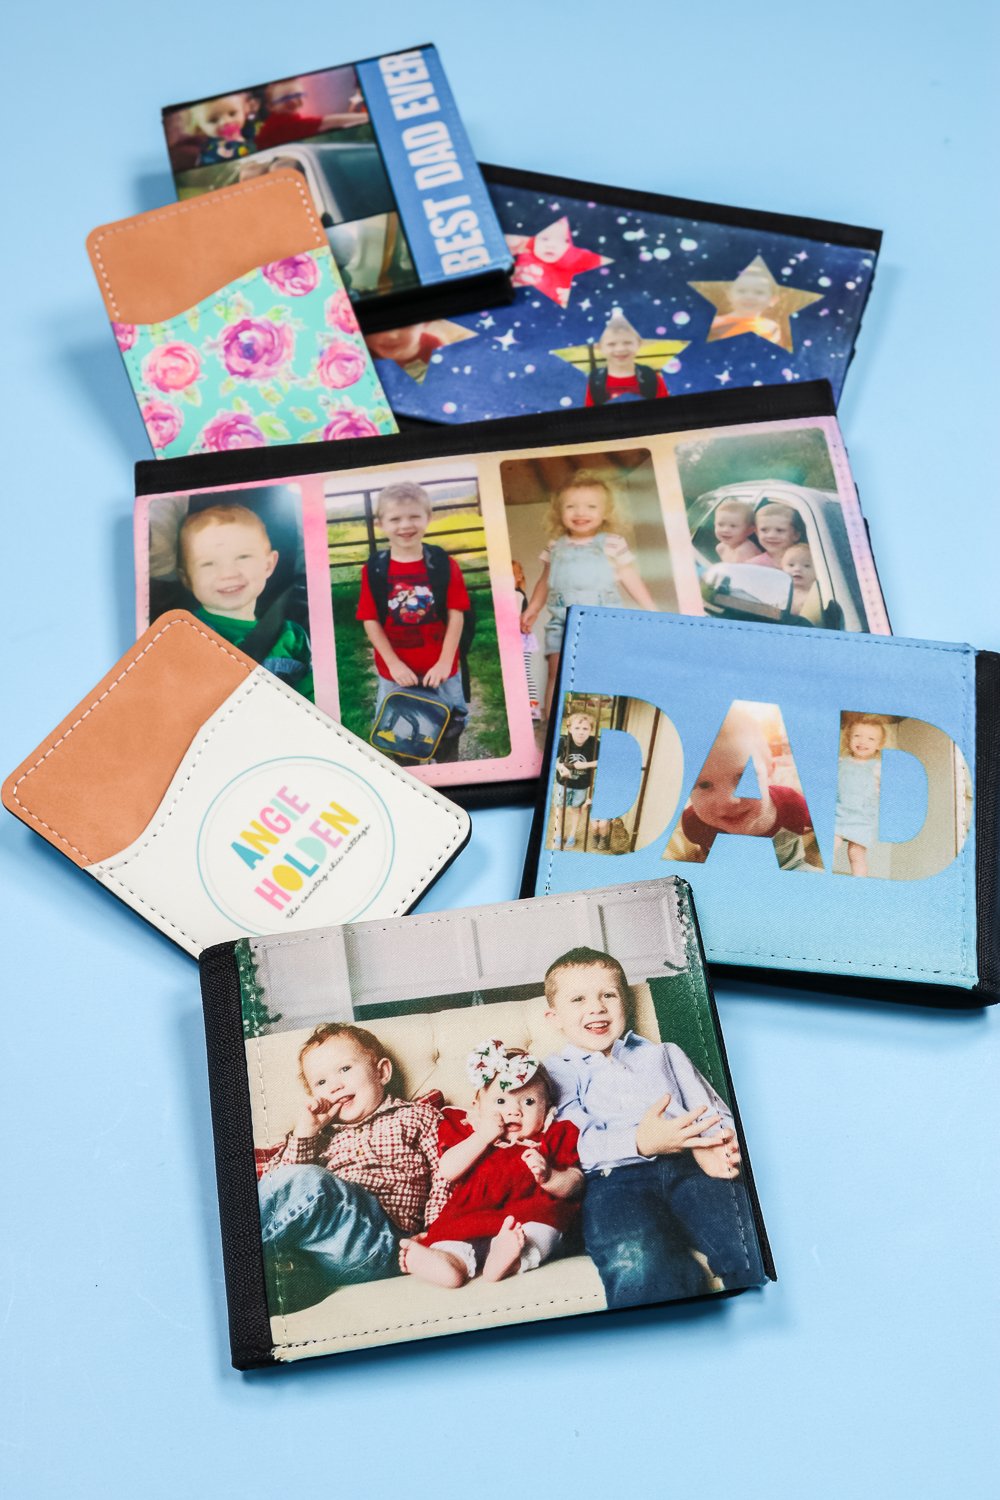
The first is a large wallet that has a flap on the front you can sublimate. It includes a zipper pouch and slots for your credit cards on the inside. Typically this is referred to as a “ladies’ wallet”.
The second is a little bit smaller with a sublimation panel on the front. It folds open and again you have pockets as well as credit card slots. This is typically referred to as a “men’s wallet”.
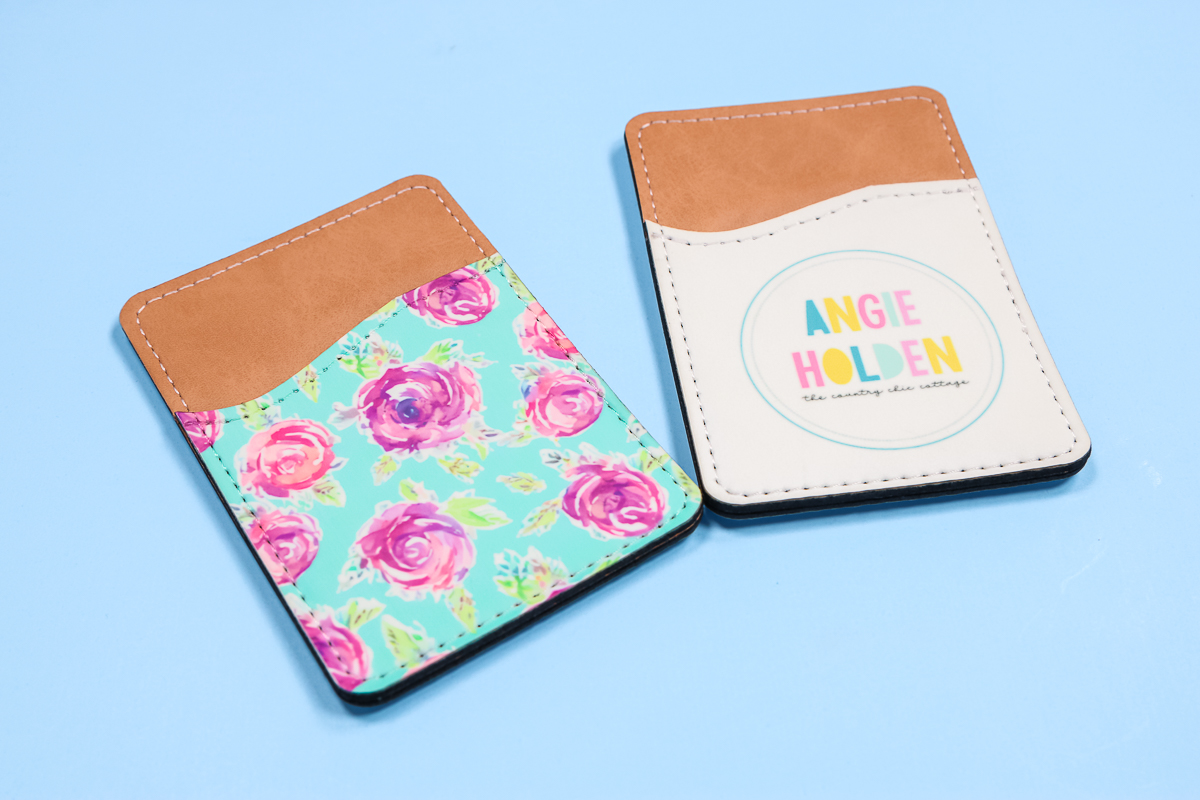
Then the third option is one that you attach to the back of your phone case and then just slide your cards into the little pouch. For this one, you would apply adhesive to the back and attach it to the back of your phone case. It does have an area that you can sublimate on the front.
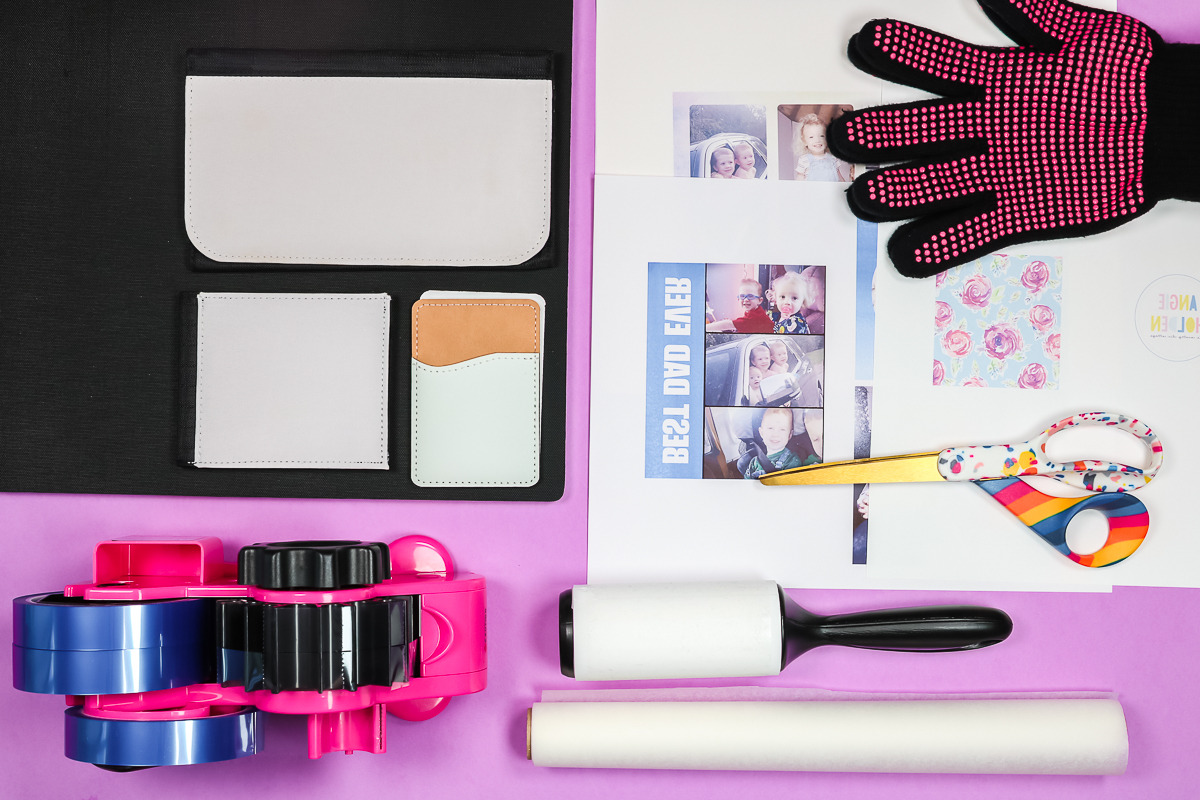
Supplies needed:
Let’s look at the supplies we need to create sublimation wallets today.
Using Canva Templates for Wallet Design
I created templates in Canva that you can use to create your own customized sublimation wallets.
To use my templates, click here to download. Open the link in Canva. You’ll see a pop-up that asks if you want to make a copy of the template to use. Click Use Template and it will make a copy and add it to your Canva account.
If you haven’t already signed into your Canva account, you may be asked to do that at some point.
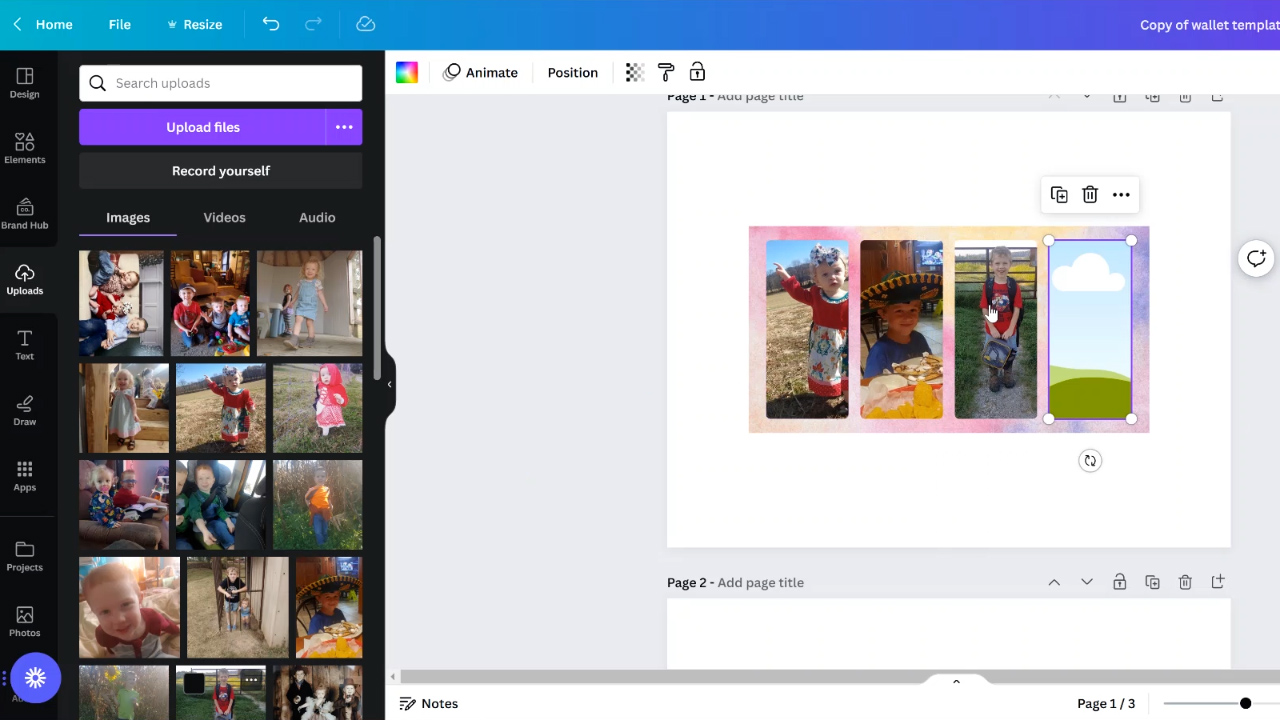
This template includes the different designs I am using today. The first two pages are for the larger wallet to sublimate the front of those. The last page is for the smaller bi-fold wallet.
If you’re new to Canva, when you look at the template you’ll see frames that have a cloud design in them. Those are where you can drag and drop your photos. Click Uploads, choose the image you want to use, and drag it into the frame.
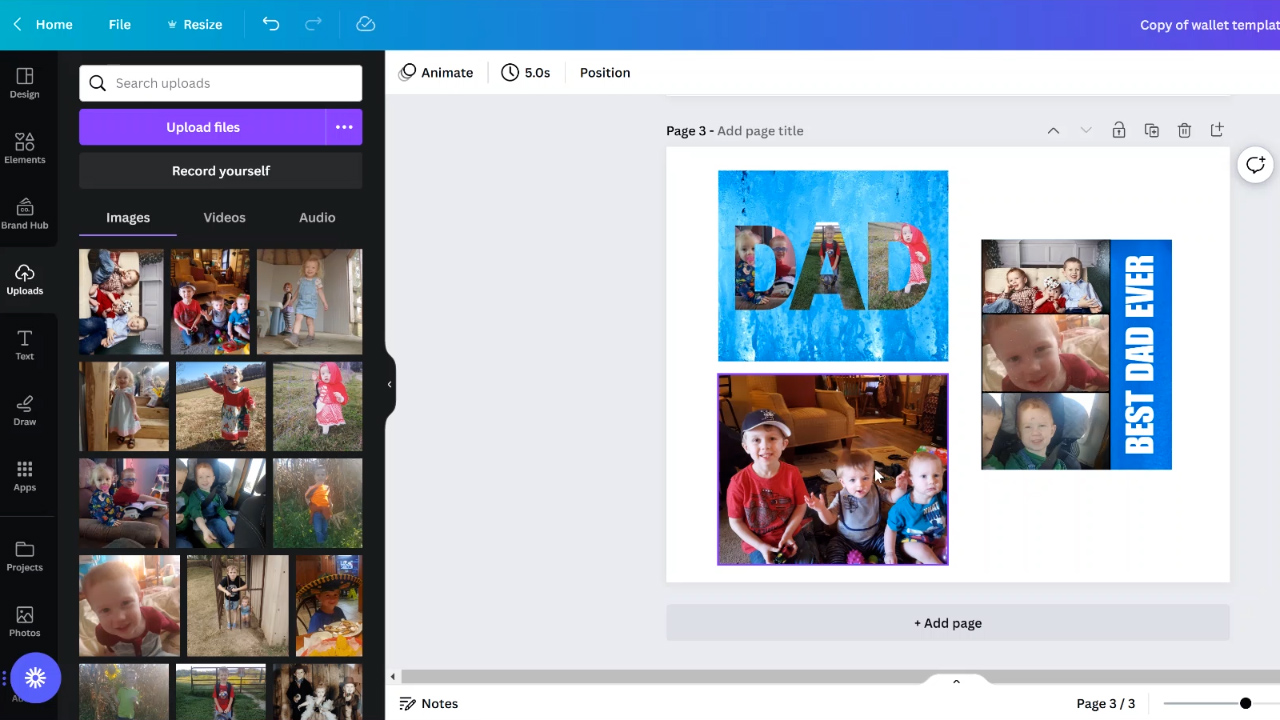
How to Use the DAD Template
The DAD template is a frame so you will not be able to easily edit that frame to create a new word. Because this template isn’t text you can’t simply delete it and type something else. You’ll have to create a new template if you want that look with a different word.
The Best Dad Ever text however can be changed to say whatever you want it to.
The background can also be changed. Just like changing a photo in a frame, you can choose an image, drag and drop it onto the background and it will replace the current background.
If you wanted your entire wallet to be one photo, you could do that by removing any frames that are in the design and dropping a photo into the background.
If you purchased a sublimation wallet that is different than the ones I purchased, you can adjust the size of these templates by clicking the corner and then dragging it to adjust the height and width. I do recommend making sure your size is slightly larger than the blank itself so your entire wallet will be sublimated.
How to Edit Uploaded Images in Canva
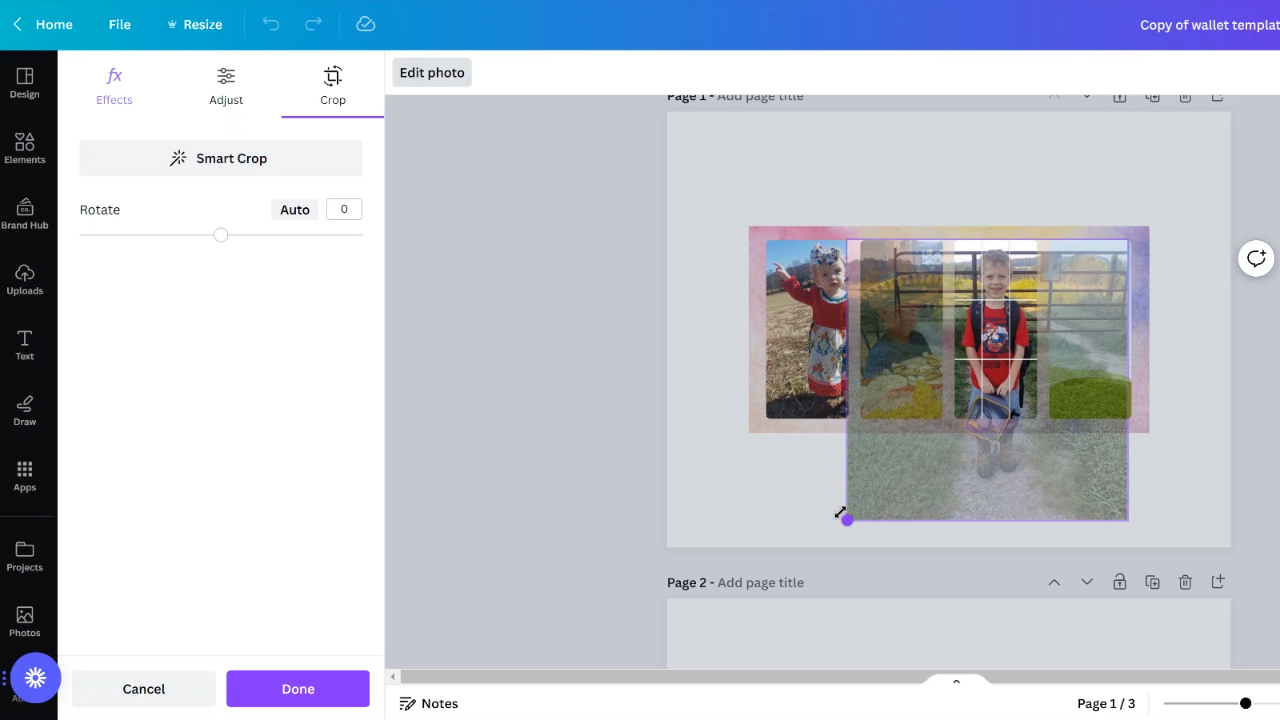
When you drag and drop the photo into the frame, sometimes you will need to adjust the image.
To do this, double-click on the image, and from there you can rotate, resize, and move the image to get the look you want.
You can also edit the image itself. If it’s too bright or too dark, needs more or less contrast, etc. Those things can all be done within Canva. This will allow you to adjust the image so it looks just like you want it to when it’s laid out how you want.
I did create these templates a little larger than the sublimation blank so the whole sublimated area will be covered. Because of this, you will want to make sure that any faces or important portions of your image aren’t near the edges of your photo.
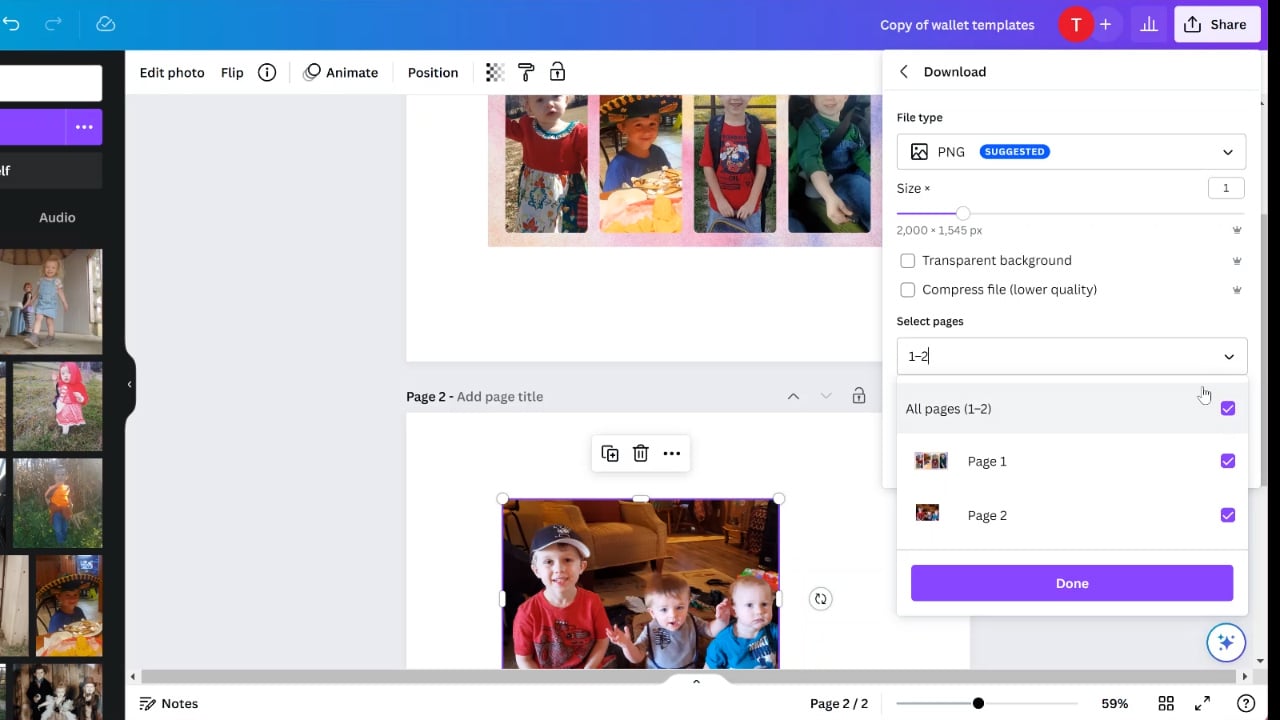
When you’re ready to print, you can choose to print all of the pages or just one.
How to Print from Canva
You cannot actually print from within Canva. You will need to download the image. Click the share button and then click download.
I suggest using a .PNG file type. If you download all of the templates, it will download as a .zip file. You’ll need to extract the templates in order to print them.
With the templates downloaded, you’ll be able to use any program you usually use to print your sublimation prints. Remember, a sublimation print is sublimation ink, printed on sublimation paper, from a sublimation printer.
I am using my Sawgrass printer and Sawgrass Print Manager but you can use what you normally use.
Make sure your program and printer are set up to print at 100% and that your image is mirrored. Since this is a sublimation project you need to mirror your print or it will be backward.
How to Sublimate a Woman’s Wallet
For my first project, I am going to add a sublimation print to the largest wallet. This is typically referred to as a women’s wallet. It has a spot for cash, credit cards, and even a zippered coin pocket.
Before we begin make sure to remove any packaging. To be safe, I would even remove anything that is inside the pockets on the part we won’t be sublimating.
The white portion is the only part that can accept sublimation. We don’t want to melt the portions that aren’t made for sublimation so before pressing make sure you have all those areas outside of the pressing area.
To begin, lint roll the whole sublimation area to remove any dust, hair, or other debris
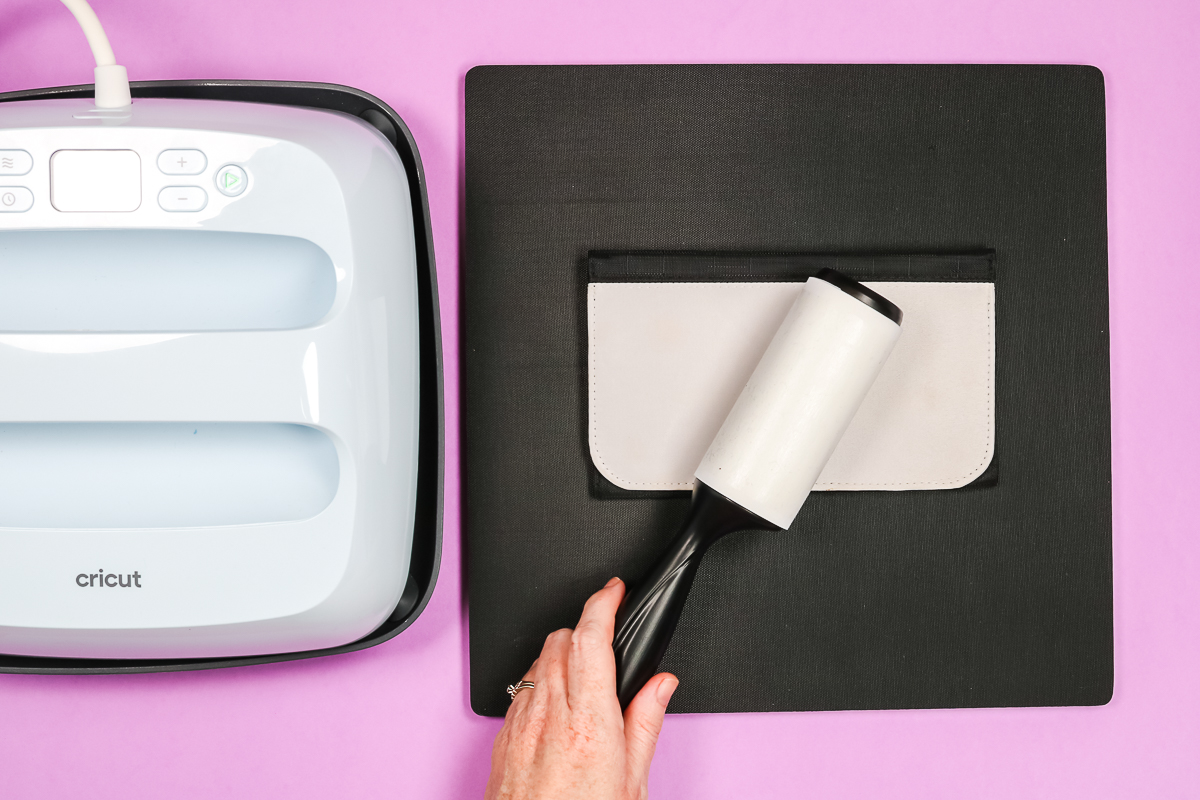
Place a sheet of protective paper under the wallet on top of the heat-resistant mat. I do not recommend using the EasyPress Mat for this project. It has too much give to get a consistent press.
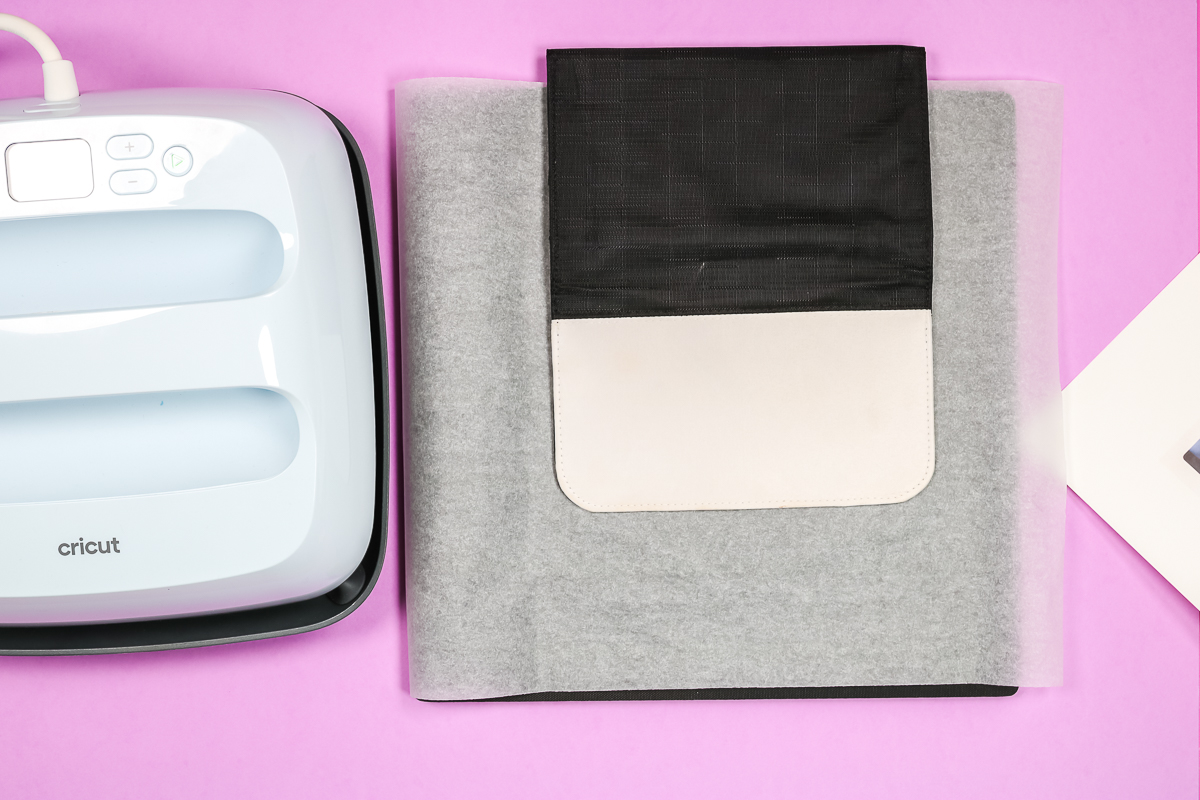
Cover the whole wallet with protective paper, and preheat for 10 seconds.
You will want to make sure you’re only pressing the sublimation area of the wallet. Also, make sure you’re using the heat settings that your sublimation wallet calls for. My wallet has a setting of 400 degrees for 50 seconds. For the pre-heat, press for 10 seconds.
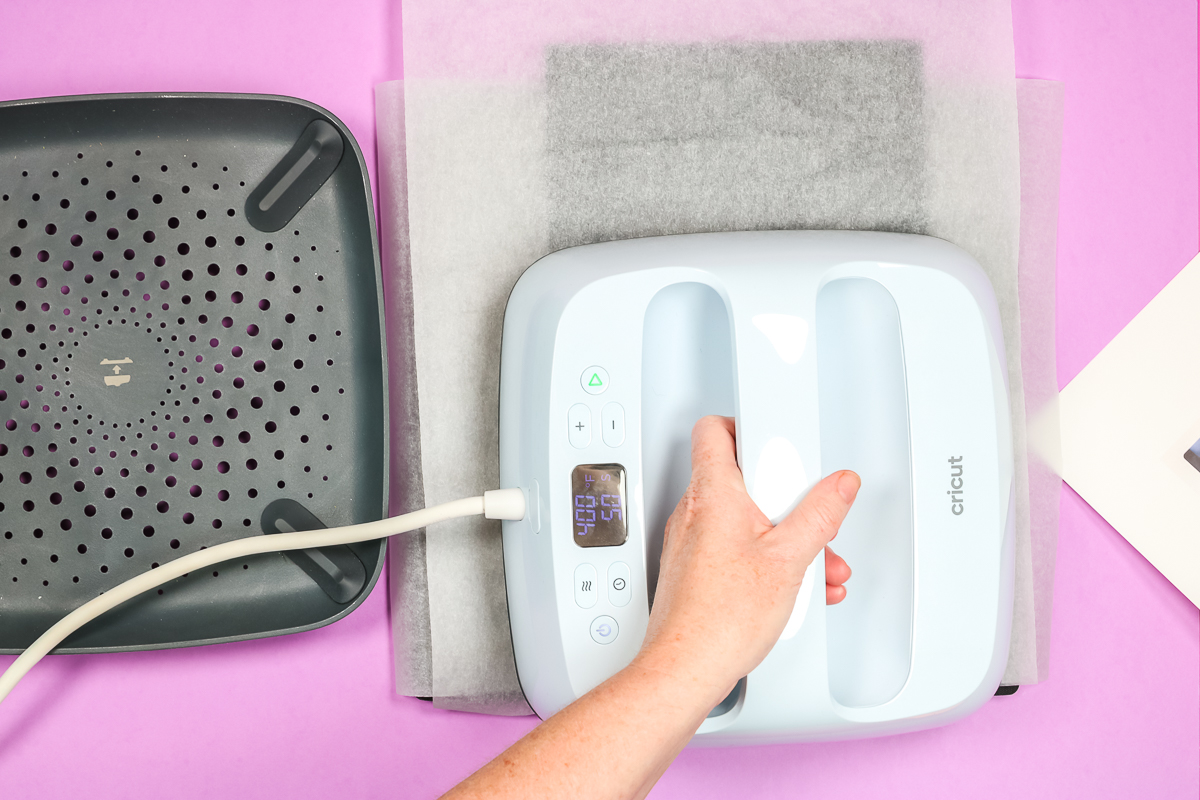
After pre-heating allow the wallet to cool completely before applying your sublimation print. Tape your sublimation print into place using heat-resistant tape and then flip it over so the sublimation print is on top.
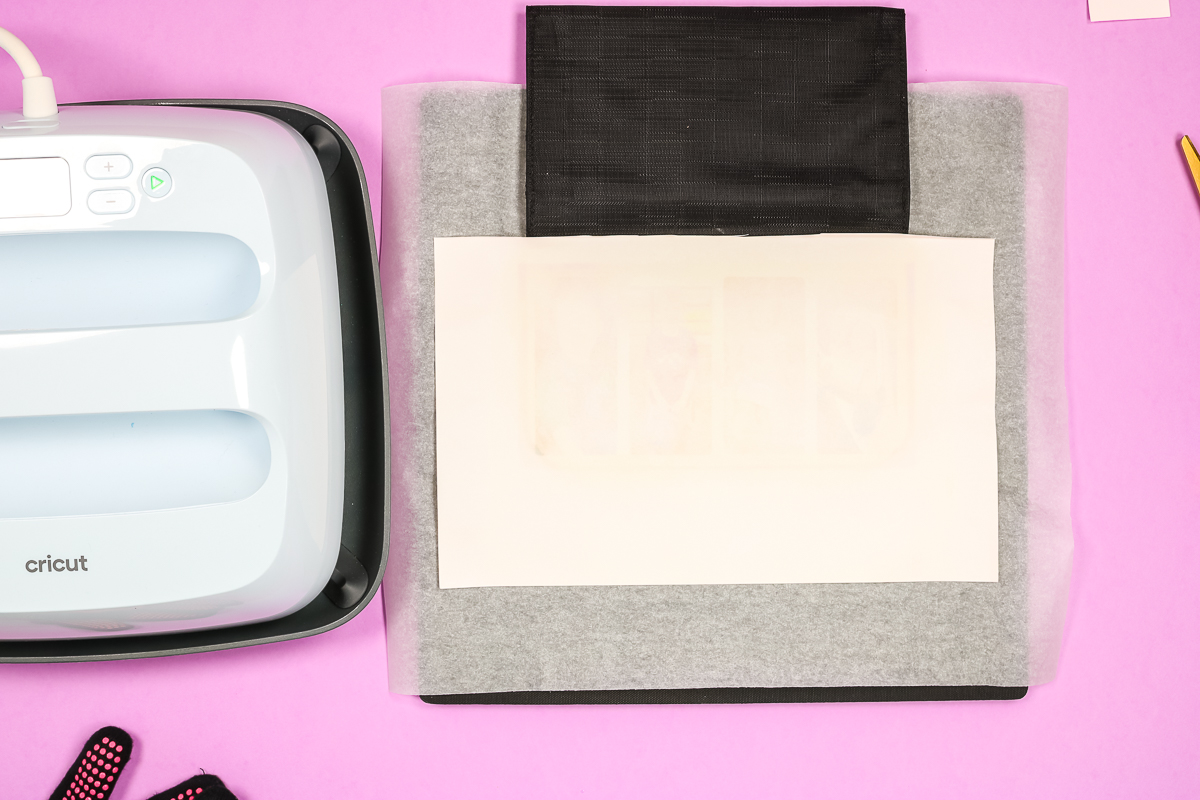
Cover with protective paper and then press for 50 seconds.
Don’t Allow the Heat Source to Melt the Pocket Portion
Make sure your heat source stays on the sublimation portion of the wallet. I like to trim my sublimation print so it fits right where I want to press. This way I can line my heat press up with the sublimation print and keep the heat off the areas that might melt.
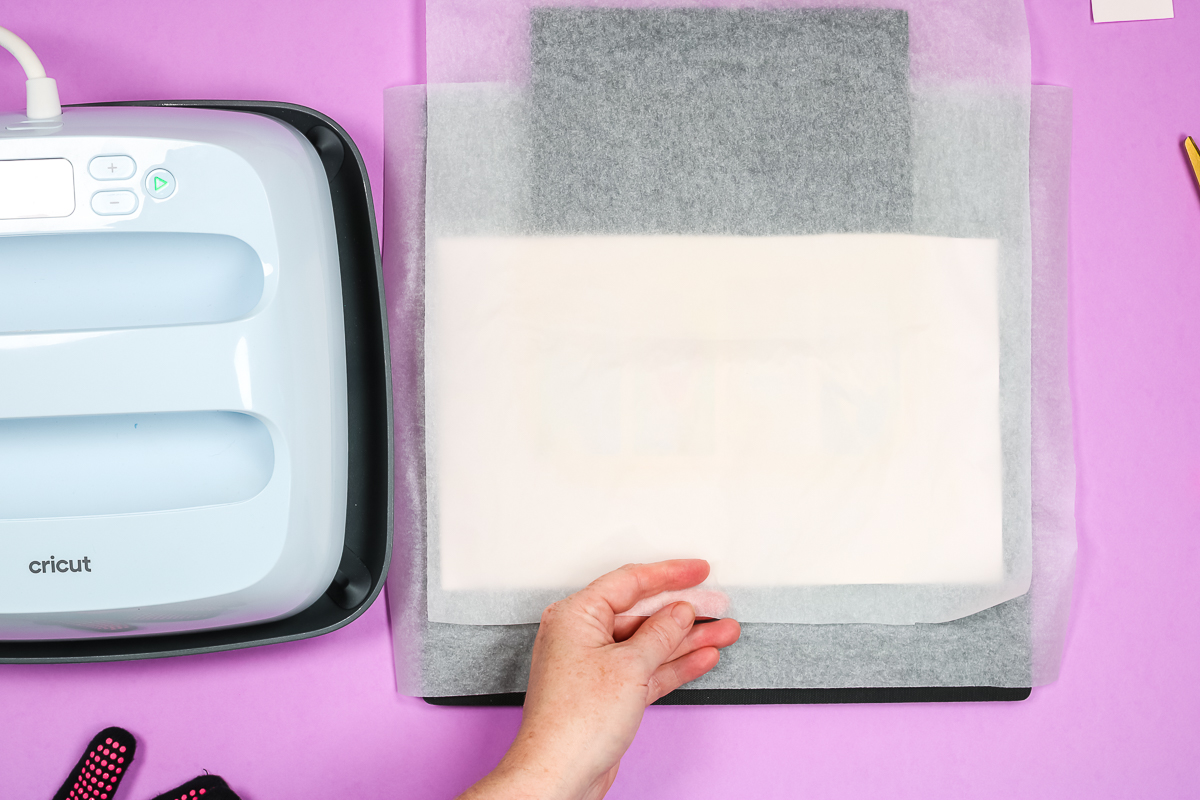
Apply the heat for the recommended time and temperature. I will be pressing for 50 seconds at 400 degrees with light to medium pressure.
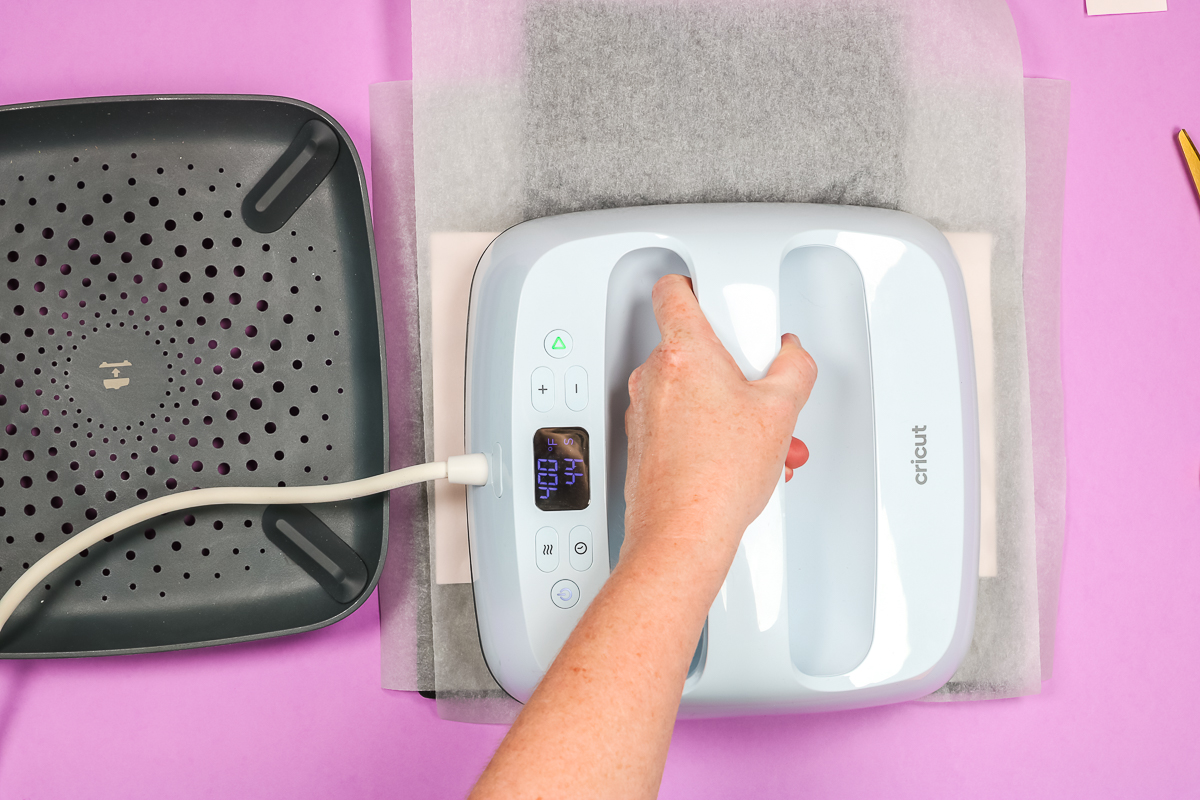
When the time is up, remove the heat and allow the wallet to cool for a few minutes before peeling back the sublimation print. It will still be hot so use heat-resistant gloves to remove everything. The heat tape removed easily and didn’t leave behind any press marks.
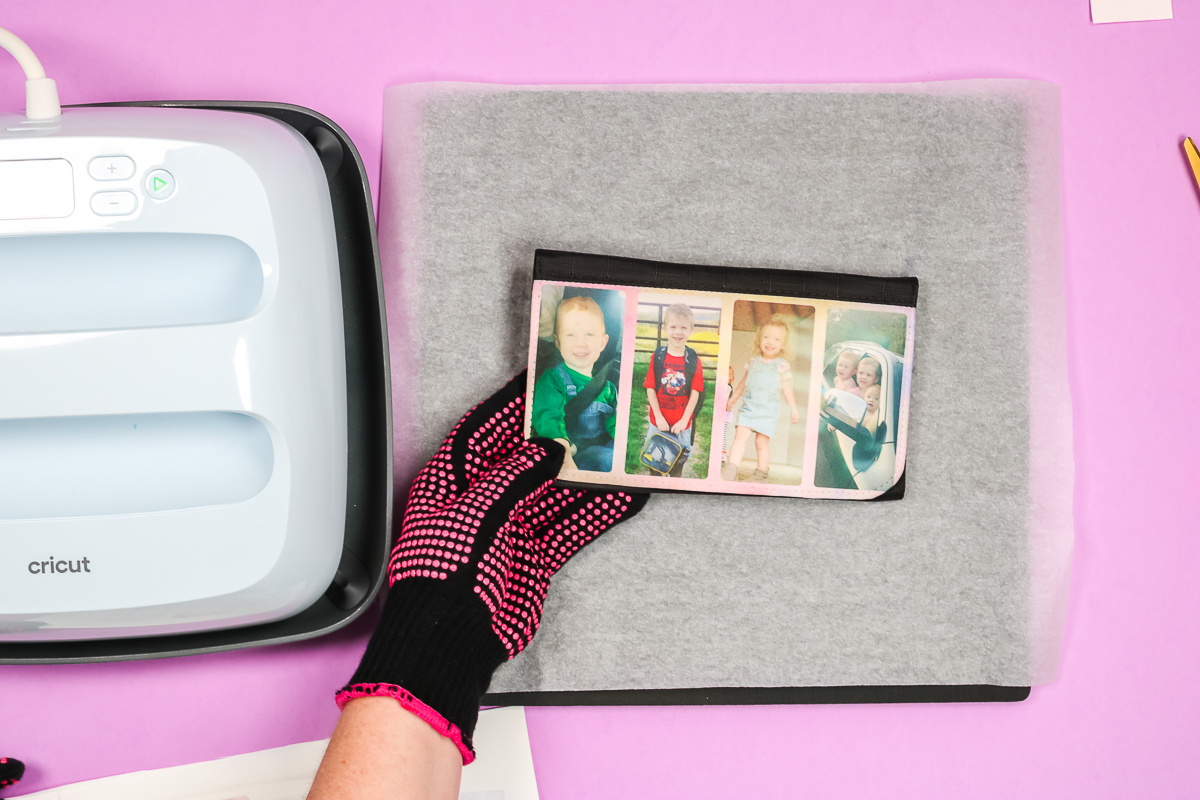
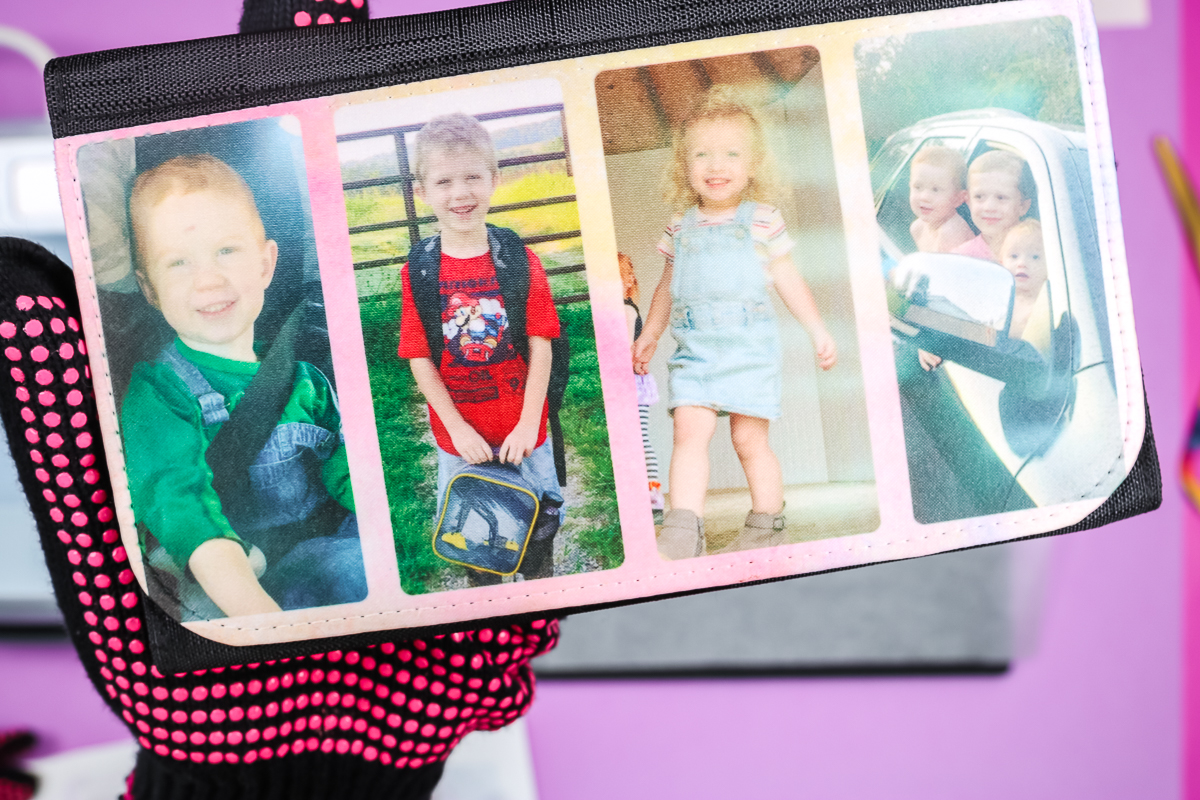
Now we have a customized wallet perfect for gift giving. I really love how this wallet turned out. The photos look great and because we kept the heat only on the sublimation portion it’s fully functioning. All of the pockets still open and nothing is melted.
What Pressure Should I Use on Sublimation Wallets?
These sublimation wallets call for light pressure. After making the star wallet pictured below, I realized the image wasn’t as vibrant as I wanted it to be.
I experimented by making the same wallet again using heavy pressure and I was much happier with how the image turned out.
I used the same time and temperature, I just added more pressure.
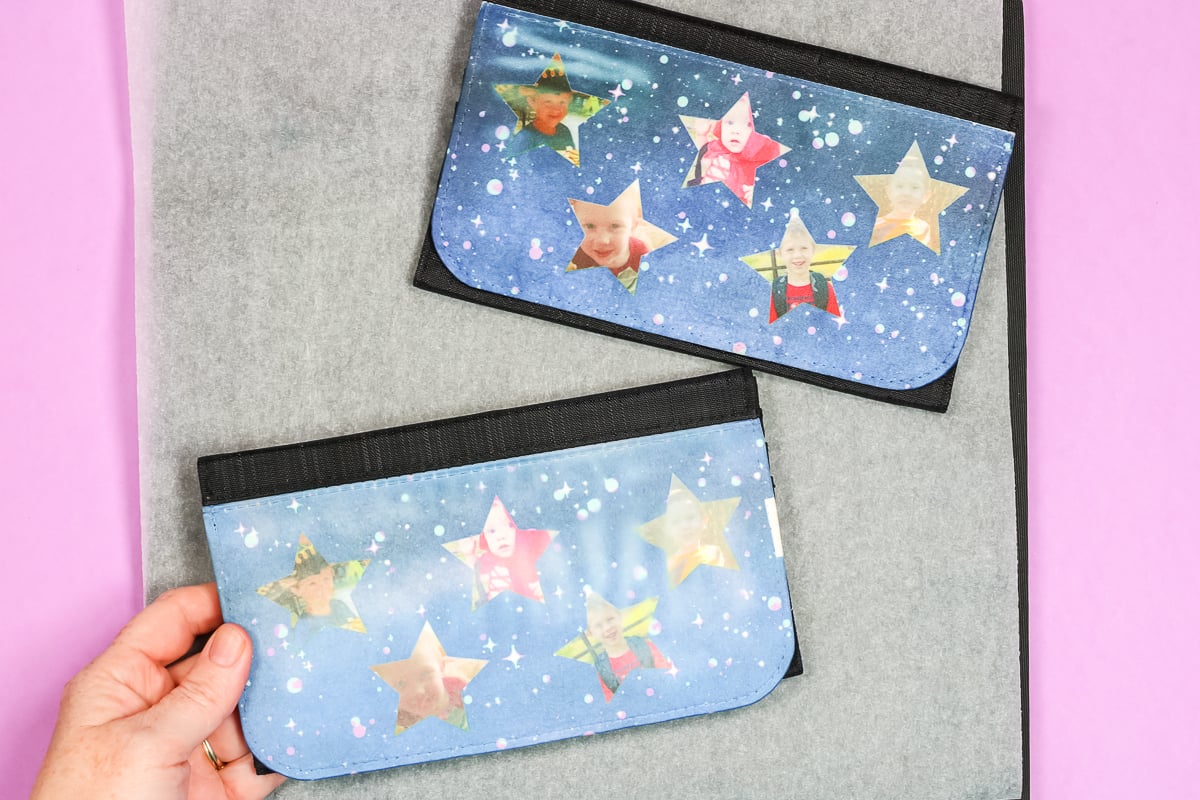
Using an EasyPress meant leaning on it a lot to get heavy pressure that was across the entire surface. You may find it easier to get that heavy pressure using a standard heat press but I was able to do it, no problem, with the EasyPress. Since the press time isn’t too long it’s very doable.
How to Sublimate a Men’s Wallet
Now that we’ve completed our first wallet type let’s move on to the next option. This is a bifold wallet. It opens up and has a pocket to hold cash and other pockets that can hold credit cards.
The process for sublimating this wallet is very similar to the previous wallet. We’ll begin by lint-rolling the sublimation surface to remove any hair, dust, or other debris.
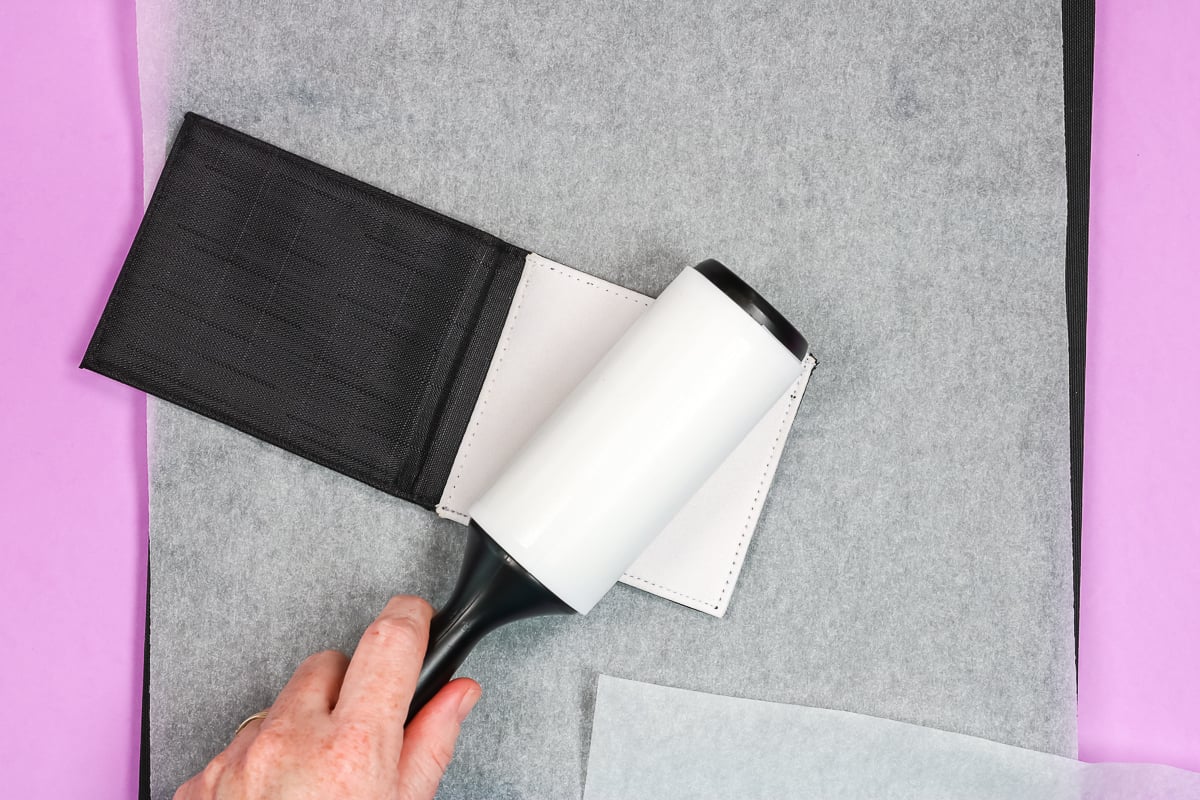
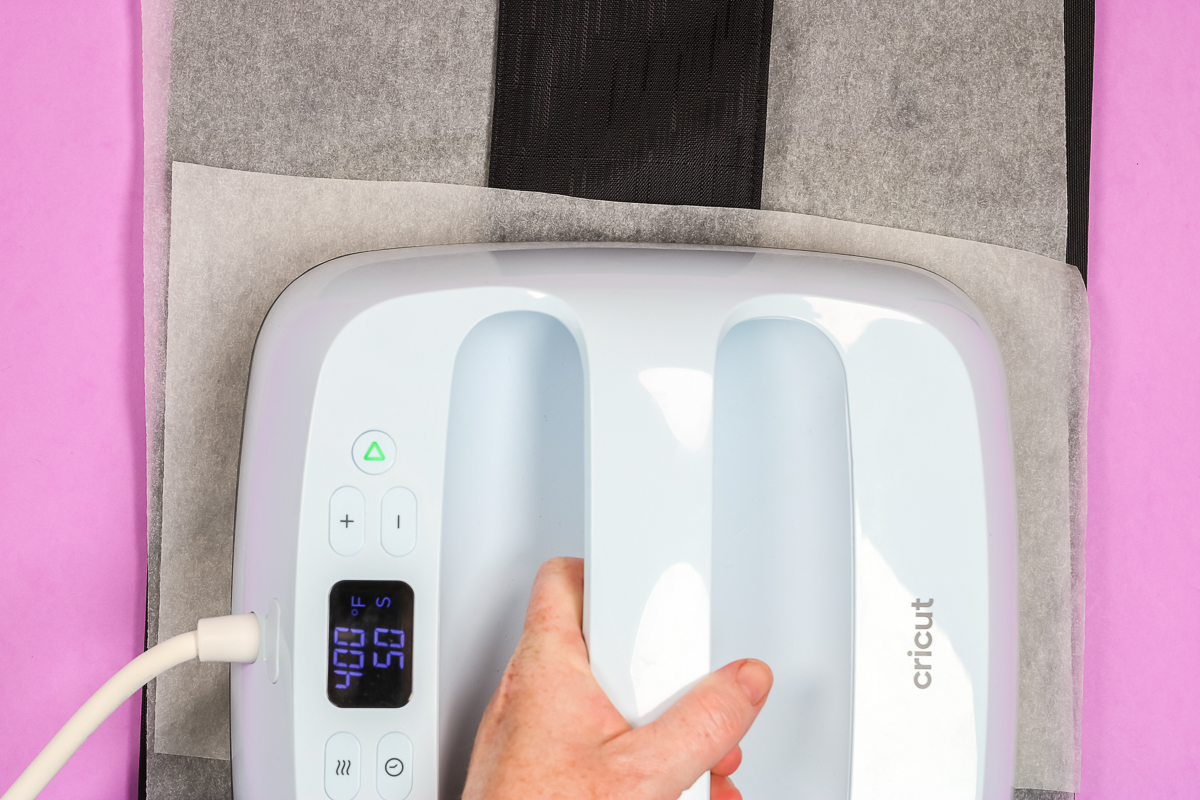
Cover the heat protective mat and the wallet with protective paper and preheat for 10 seconds.
Just like the previous wallet make sure you’re only applying heat to the sublimation area. Heat on the other portions can melt the pockets closed.
Use heat-resistant tape to hold the sublimation print in place.
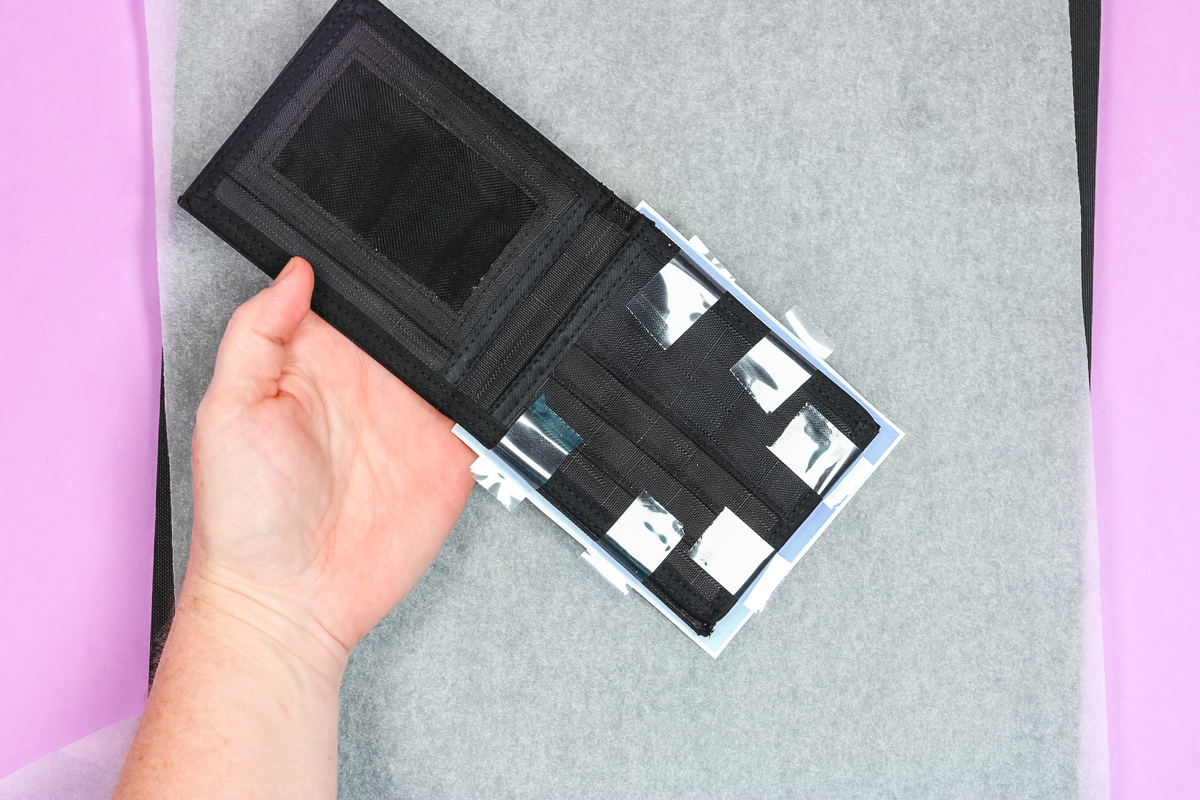
Flip the wallet over so the sublimation print is on top and cover it with protective paper.
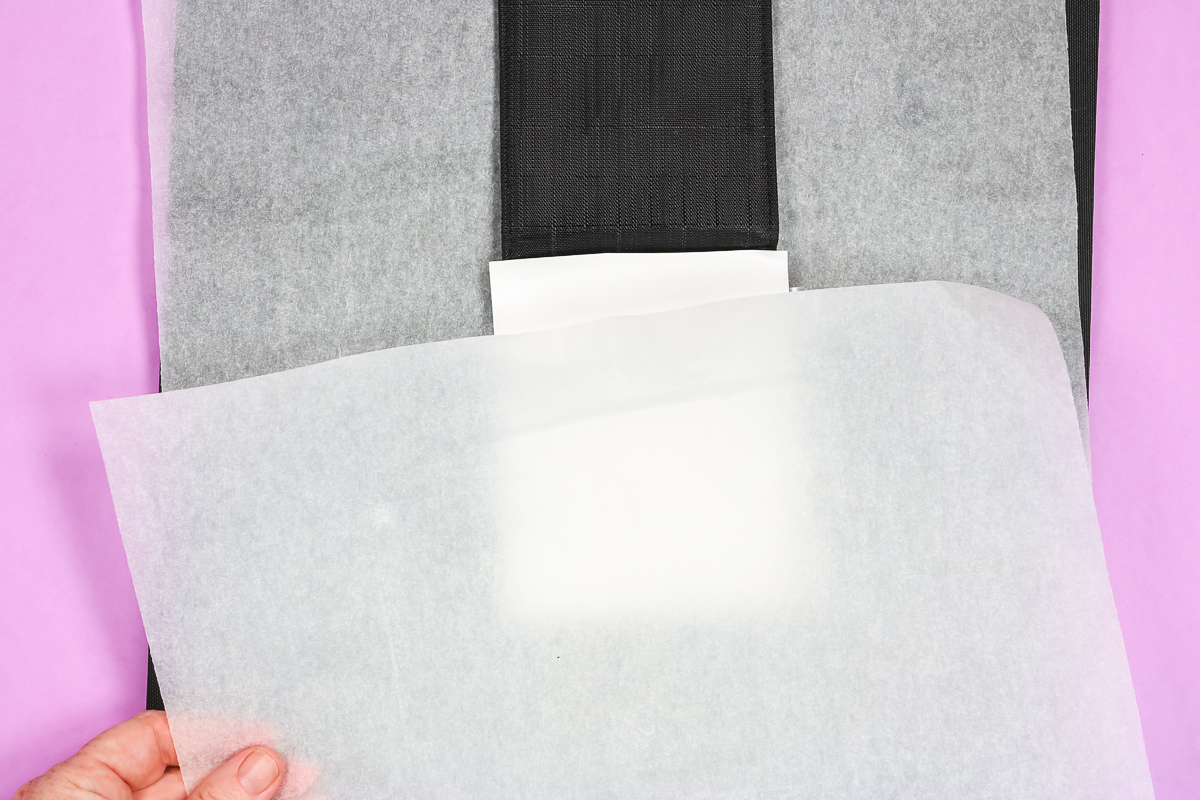
This wallet calls for heavy pressure. It is still 400 degrees for 50 seconds. This wallet having a heavy pressure setting is what gave me the idea to try it on the other wallet.
Press for the full amount of time making sure to keep the heat on the sublimation portion of the wallet.
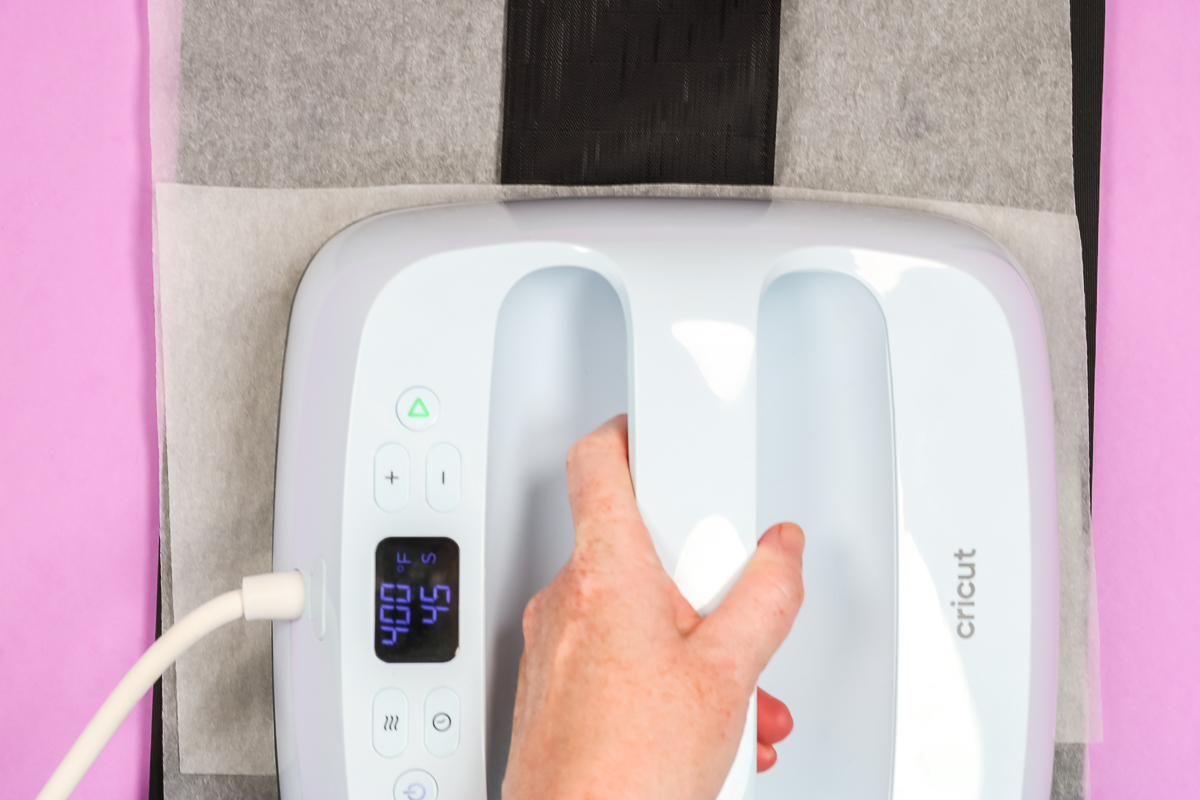
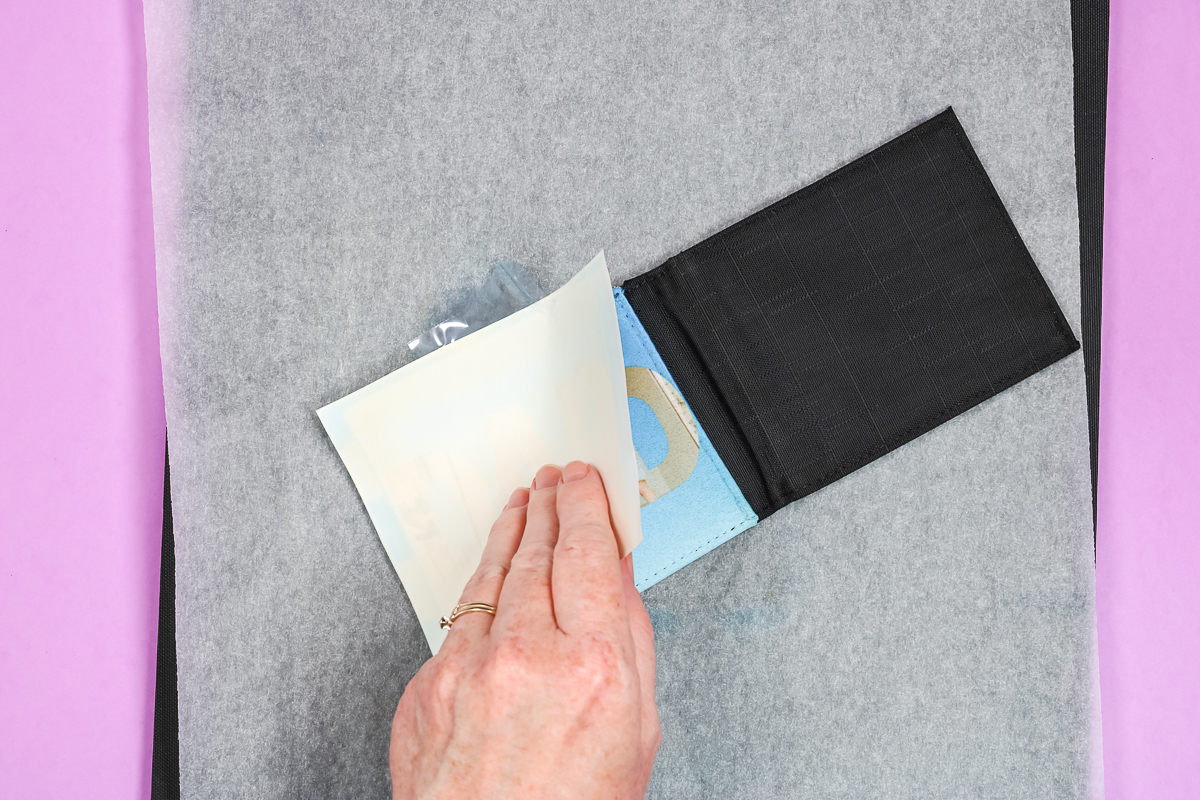
When the time is up, remove the heat source and allow everything to cool for a few minutes. When it’s cool, remove the sublimation print and all of the heat-resistant tape to reveal your finished sublimation wallet.
Make Sure to Orient Your Sublimation Print Correctly
I do want to caution you to pay close attention to the orientation of your wallet.
With the previous wallet, it was easy to tell what side was up. This wallet is a lot easier to get mixed up. I messed up a couple of my blanks which resulted in the design being upside down when the wallet is open.
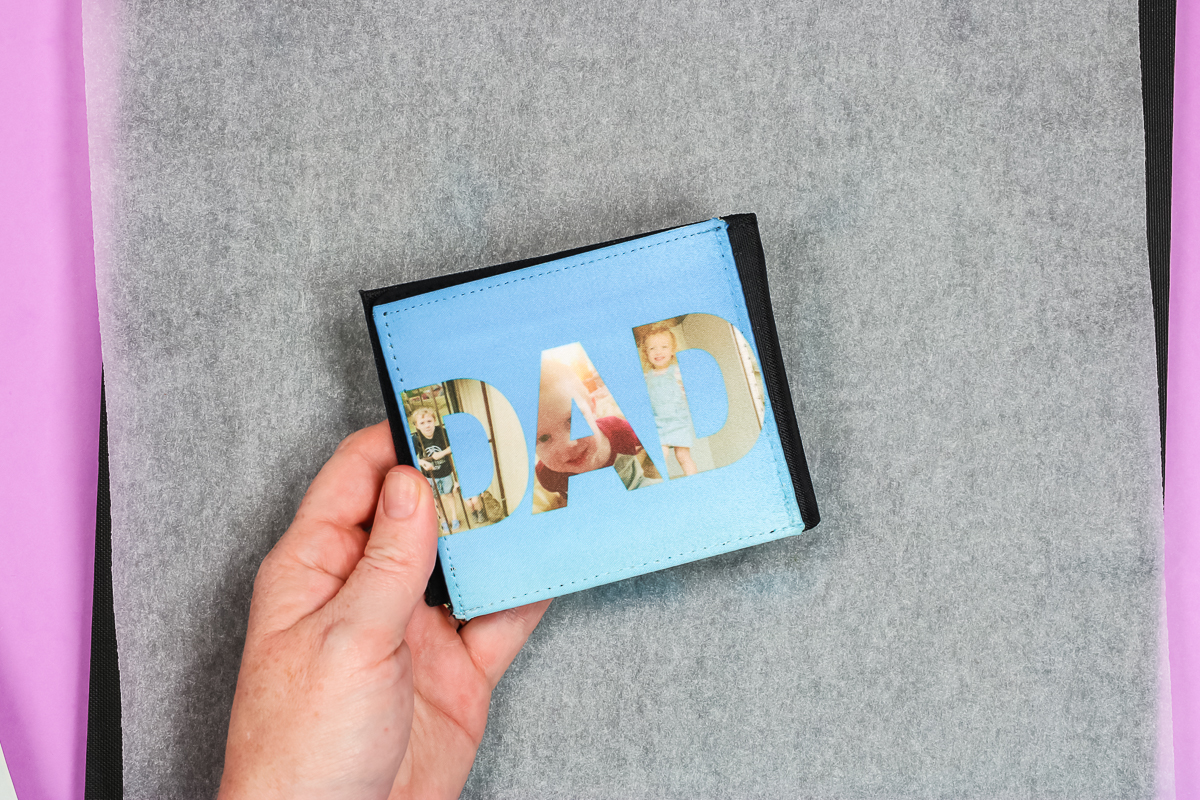
I really love how cute this DAD image is on the wallet. The images inside the letters turned out perfect.
I made a few other options for this bifold wallet to give you some ideas. The Best Dad Ever wallet is a collage if you wanted to add multiple photos to this style of wallet and then there is also an example to show you what it would look like with one single photo added to it.
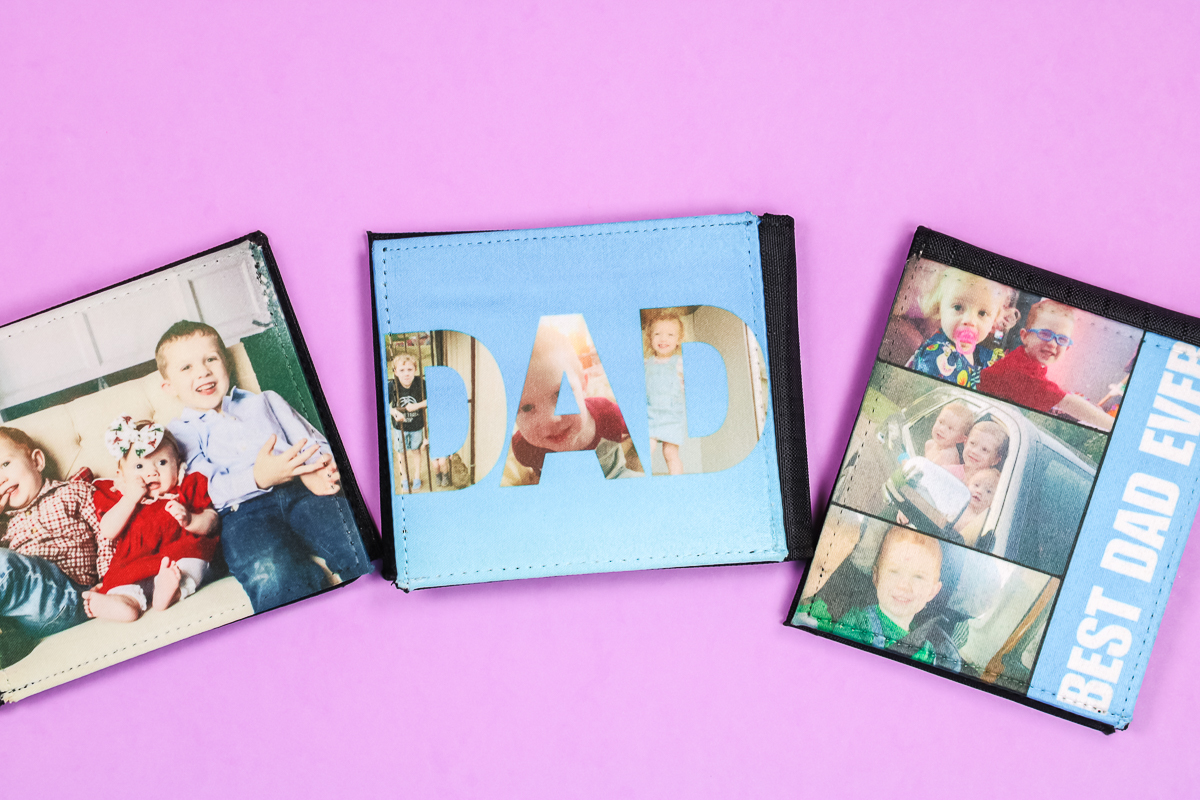
All of these options are great and turned out really well following the time and temperature settings for this blank.
How to Sublimate a Phone Card Holder
For our last sublimation wallet, we’re going to use these blanks that stick to the back of your phone case. These cases come with an adhesive piece that we’ll add after we sublimate onto them.
We’ll begin like we did with the other sublimation wallets, by covering the heat-resistant pad with protective paper. Next, we’ll lint roll the whole surface and preheat the blank to remove any moisture.
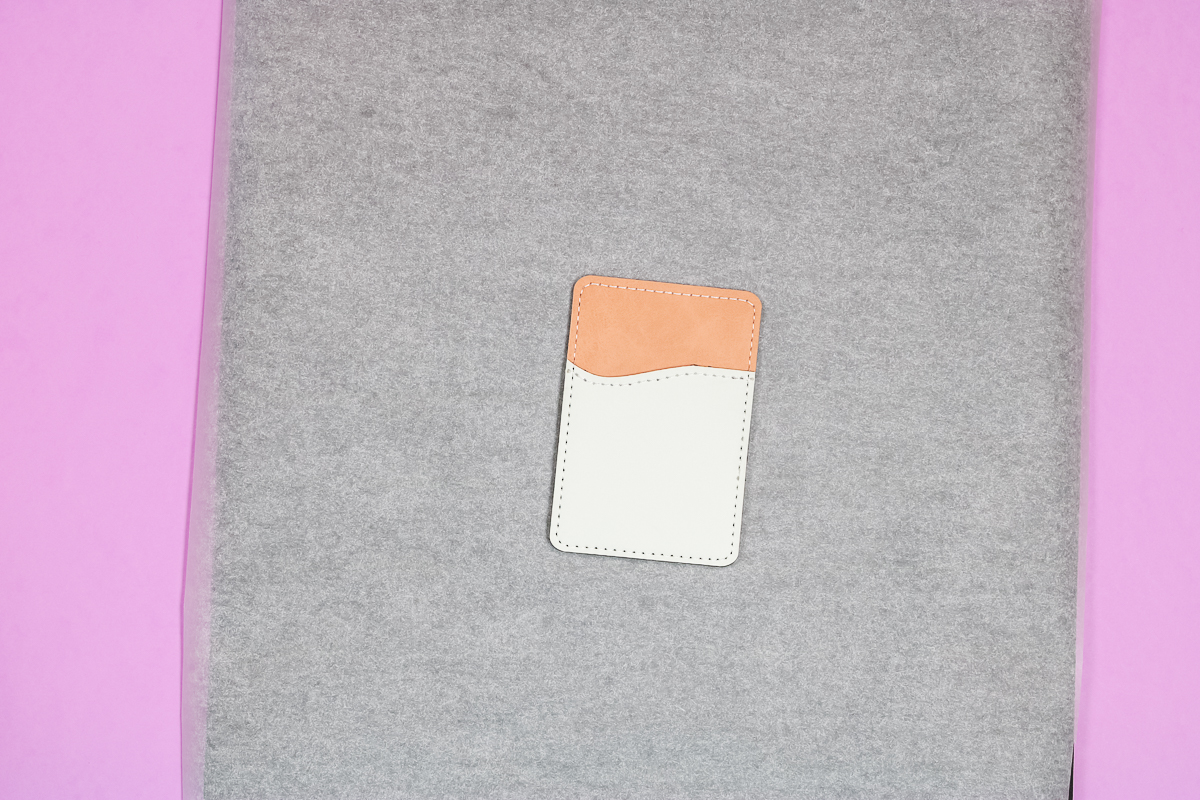
Add your sublimation print. I recommend making your print larger than the wallet itself so you don’t have to tape anything to the front of the phone wallet.
We also want to make sure that we’re not adding any sublimation print to the brown leather-looking portion of the wallet. Sublimation ink will show up on it but it is not a sublimation surface.
How to Add a Logo Design
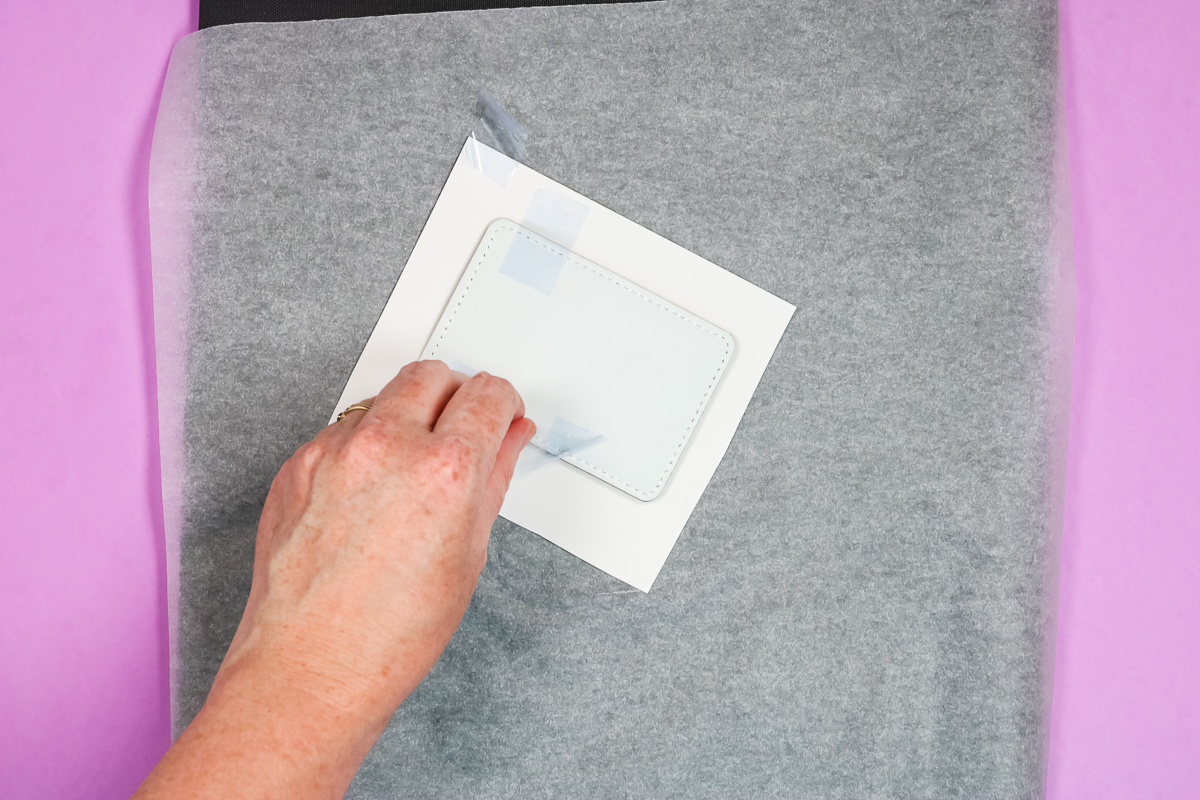
For my first design, I have my logo. I am going to center that image on the white portion of the blank.
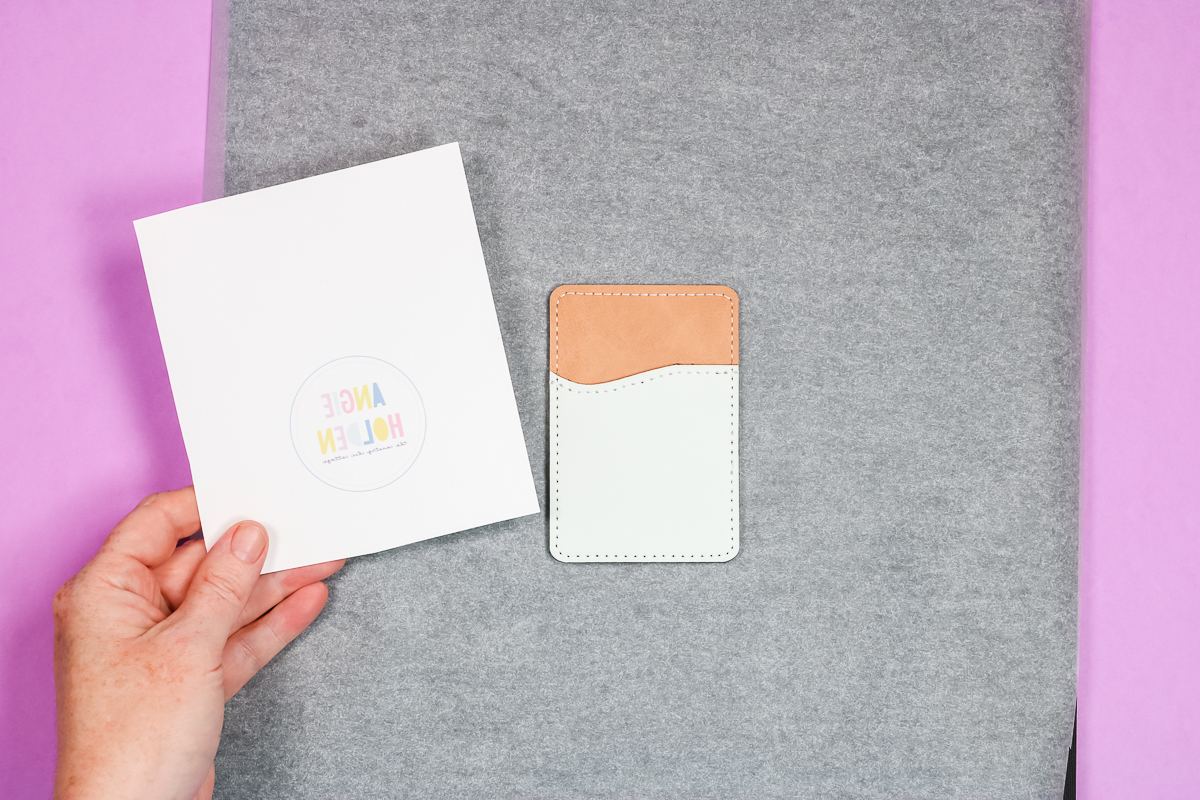
Because the entire back of the wallet will be covered with the adhesive, I can attach the sublimation print with heat-resistant tape to the back of the wallet.
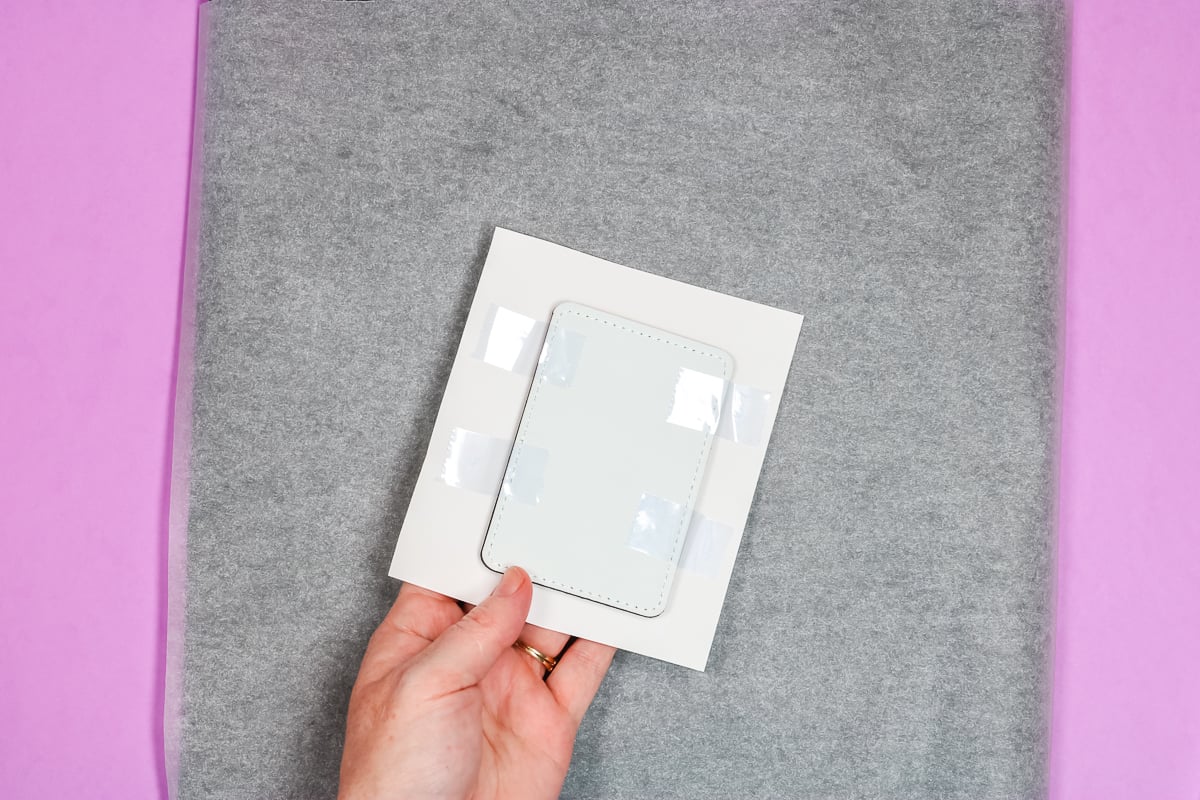
With the sublimation print in place in place, cover the entire surface with protective paper and apply heat.
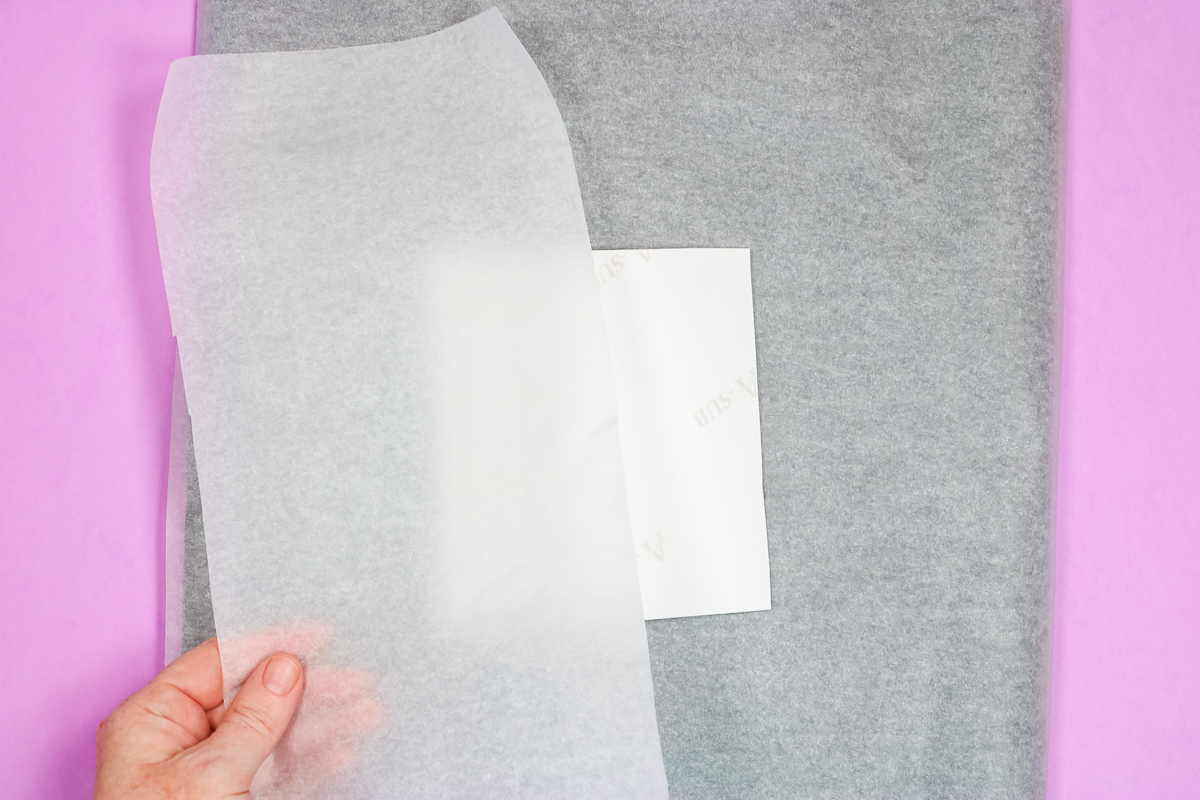
This wallet calls for 370 degrees for 50 seconds with light pressure. When the time is up, lift the heat and allow the wallet to cool.
Remove the heat tape and sublimation print to reveal your finished wallet.
How to Create an All-over Print
To create an all-over print on the wallet, we’ll want to protect the brown portion from sublimation ink.
To do this, cut a piece of protective paper to fit inside the wallet pocket long enough to cover the whole brown area. Then tape it into place. If you notice any of the brown area isn’t covered by the protective paper, add heat tape to cover it. We want to ensure the whole brown area is protected.
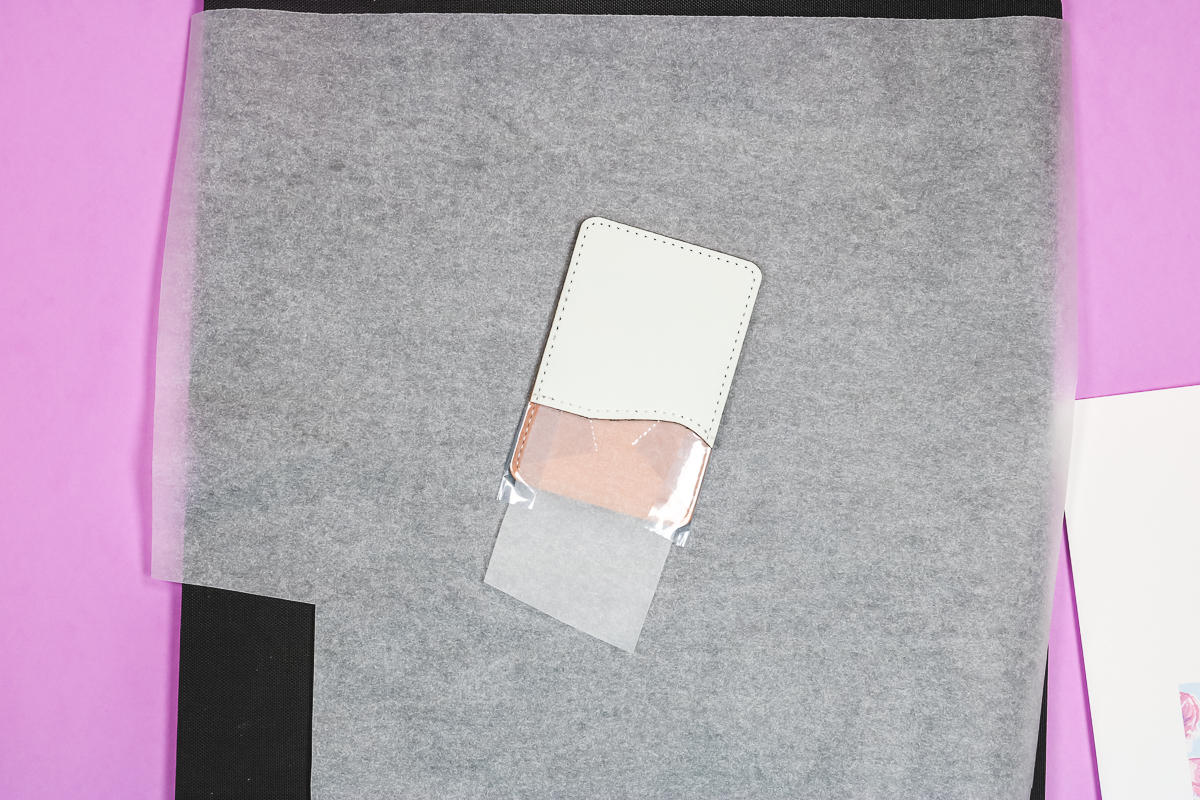
Now you can add your sublimation print and tape it into place using the back of the wallet.
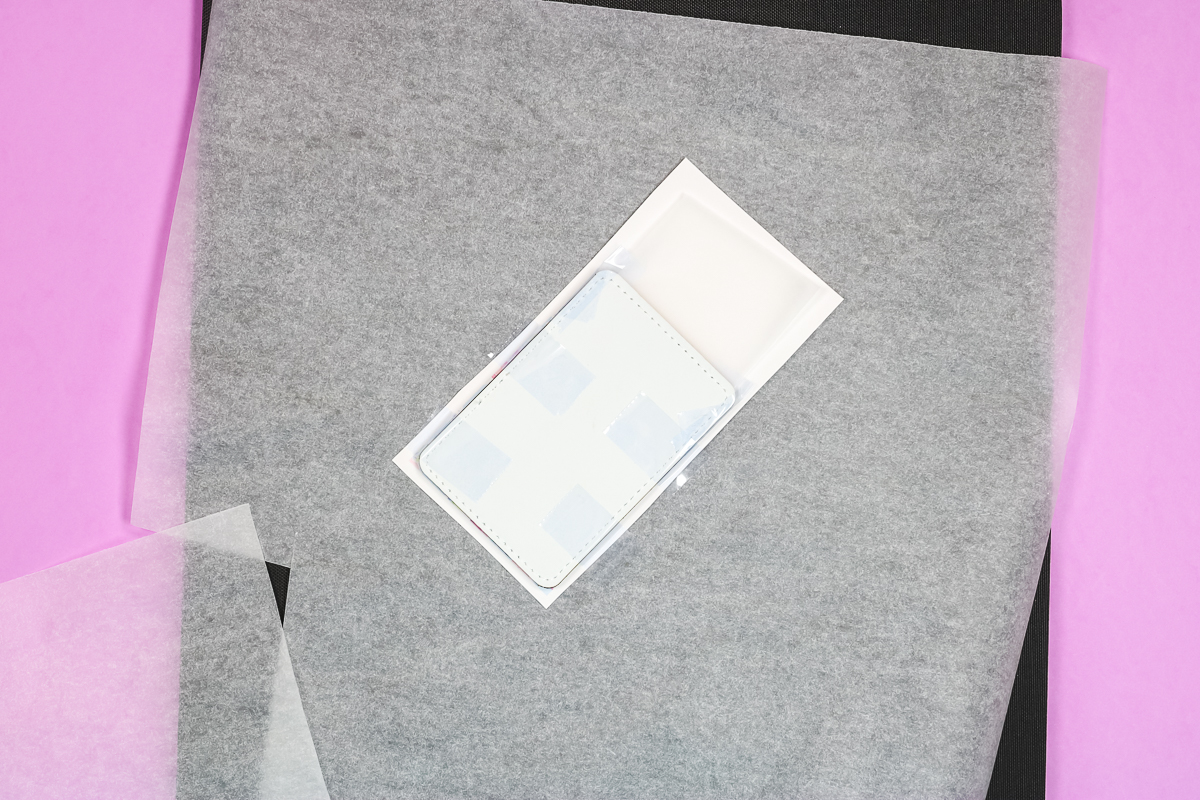
Flip the wallet over so the sublimation print is on top and cover it with protective paper.
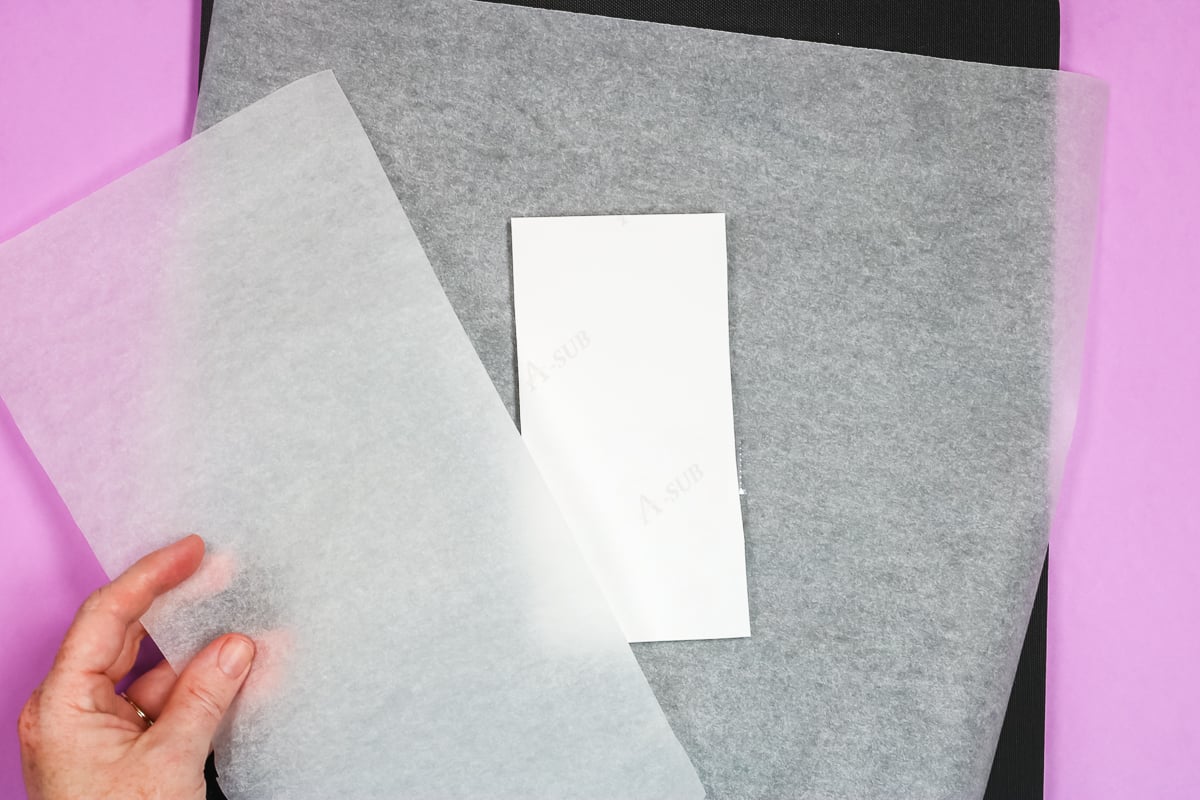
Apply heat for the specified time. When the time is up, remove the heat and allow the sublimation to cool. When it’s cool, remove the sublimation print and the heat tape to reveal your finished wallet.
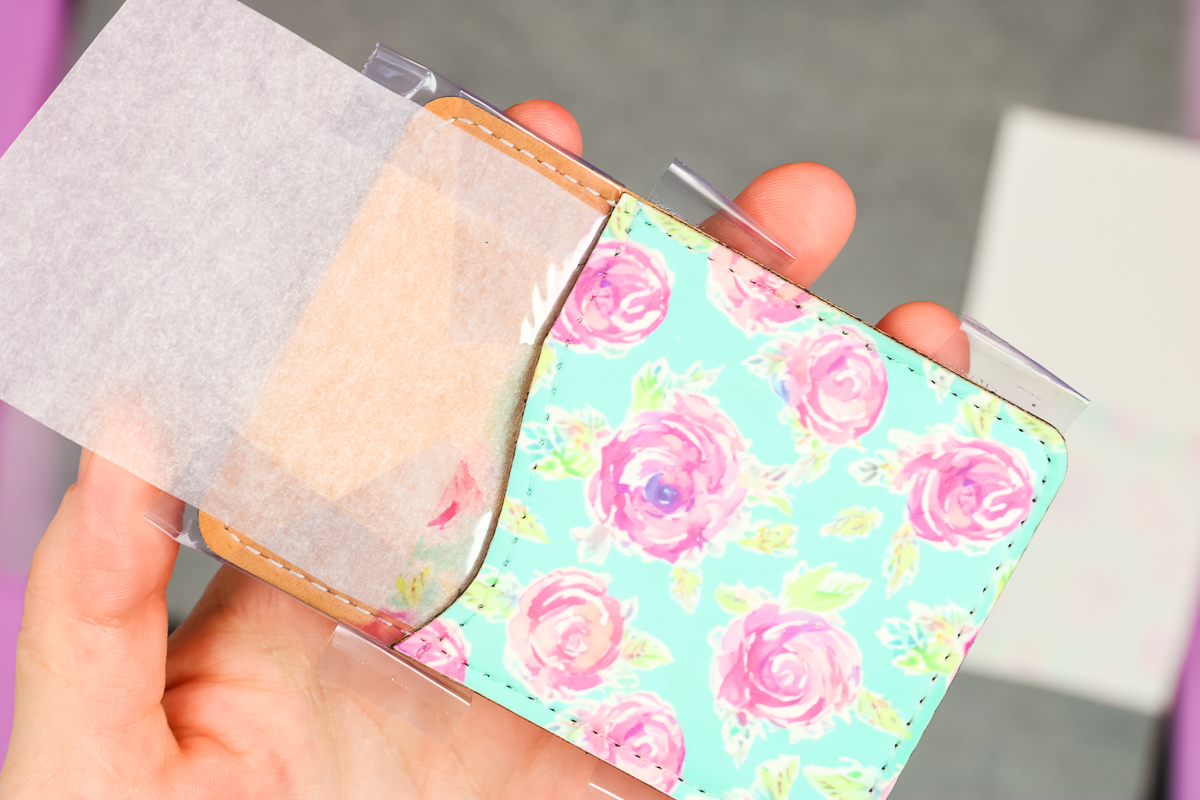
I love how these wallets turned out. You can see in the photo above where the sublimation ink transferred onto the protective paper. If we didn’t have that in place, that ink would have gotten onto the brown portion of the wallet and we don’t want that to happen.
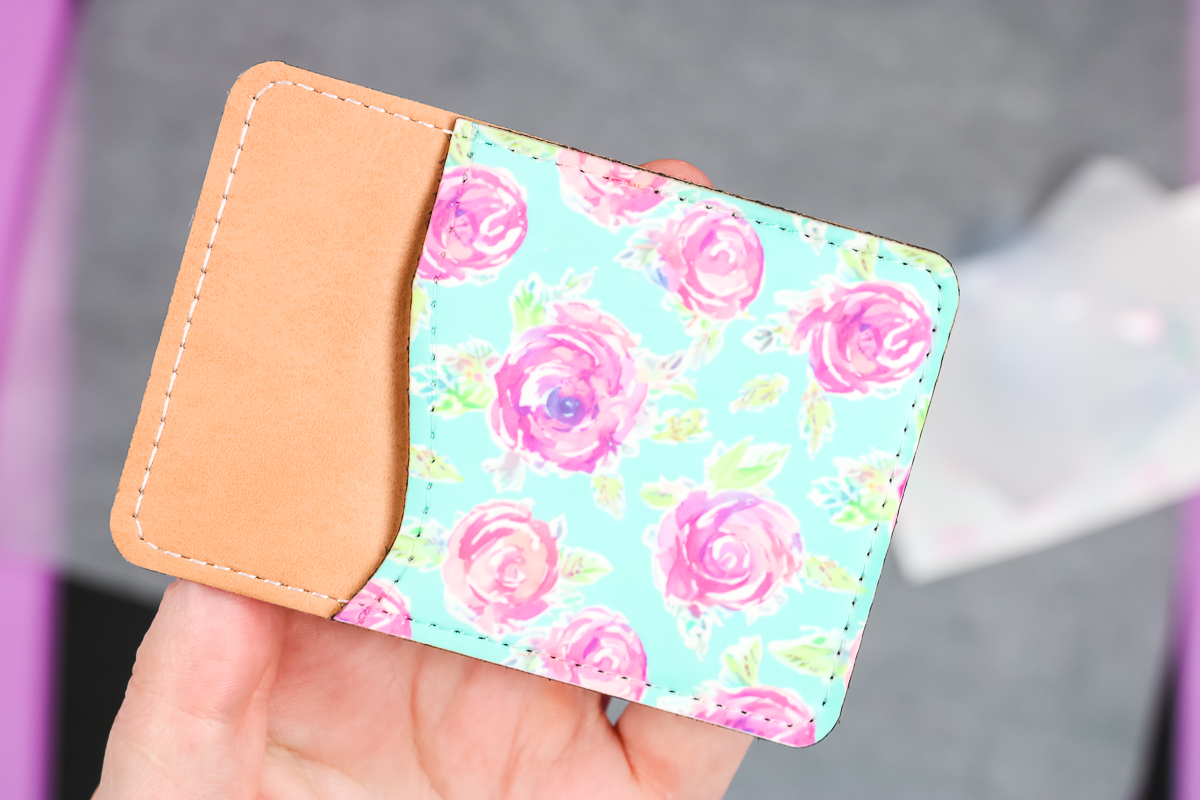
With the protective paper in place, we have a perfectly sublimated wallet with ink only where we wanted it.
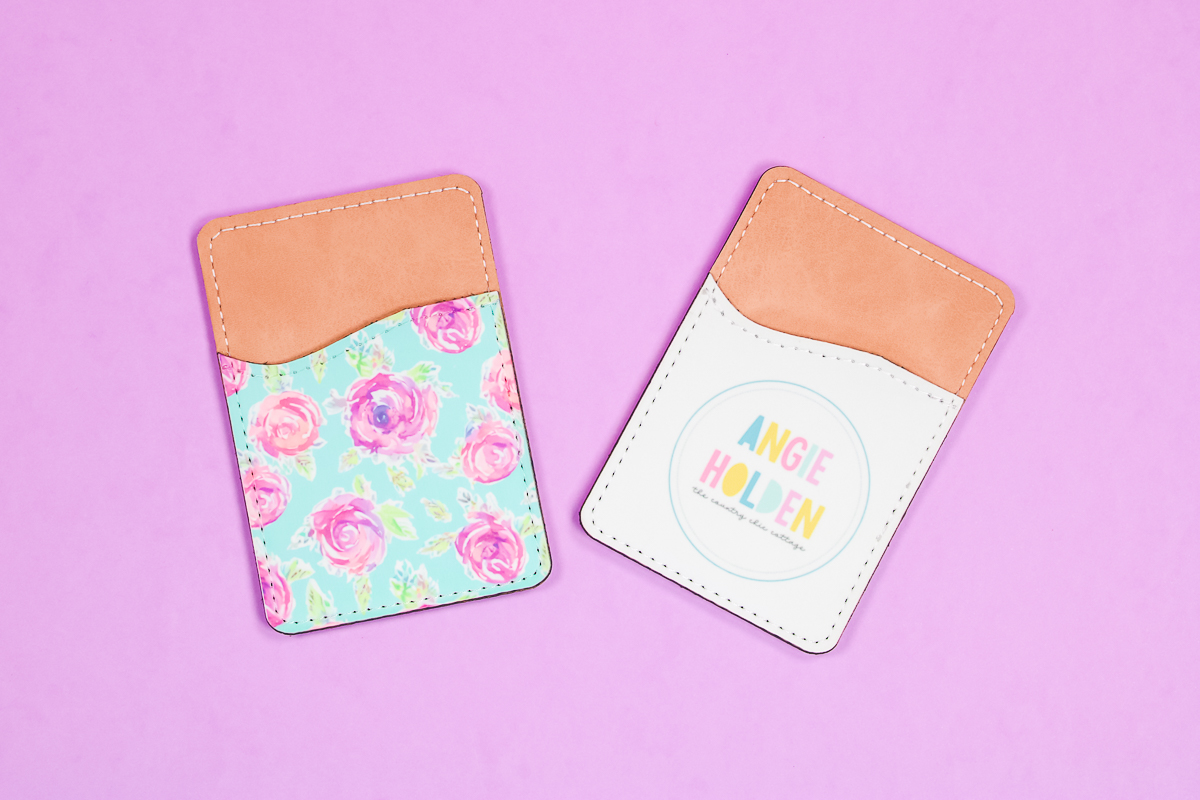
Both of these phone case wallets turned out beautiful. To finish them, we simply need to add the adhesive to the back and then stick it to our phone case.
Final Thoughts on Custom Sublimation Wallets
I am really impressed with how well all three of the sublimation wallets I tested today turned out.
If I had to pick a favorite, I think the phone card holder wallets are my favorite. They have a faux leather feel to them and they sublimate so beautifully.
They’d be perfect for a party favor or as a gift for anyone. I used an all-over print and my logo for these examples but you could also add a photo to these like we did with the other options.
I think all of them are great gift options and they can be customized for anyone. Using Canva, I created a few different Father’s Day options that are really fun but you could easily create custom sublimation wallets for anyone and for any occasion.
I hope I’ve answered any questions you have about creating customized sublimation wallets. If you have any additional questions, leave them in the comments and I’ll be happy to answer them for you.

Want more sublimation craft ideas? Try the links below as well!
Are you ready to make Full Wrap Sublimation Mugs? I’m sharing all my tips for creating a mug with a full wrap including the area under the handle. Keep reading to learn how today!
Sublimation pillow covers make amazing gifts. With this tutorial, you’ll learn how to use polyester pillow covers to create customized home decor in minutes.
