This post and photos may contain Amazon or other affiliate links. If you purchase something through any link, I may receive a small commission at no extra charge to you. Any supplies used may be given to me free of charge, however, all projects and opinions are my own.
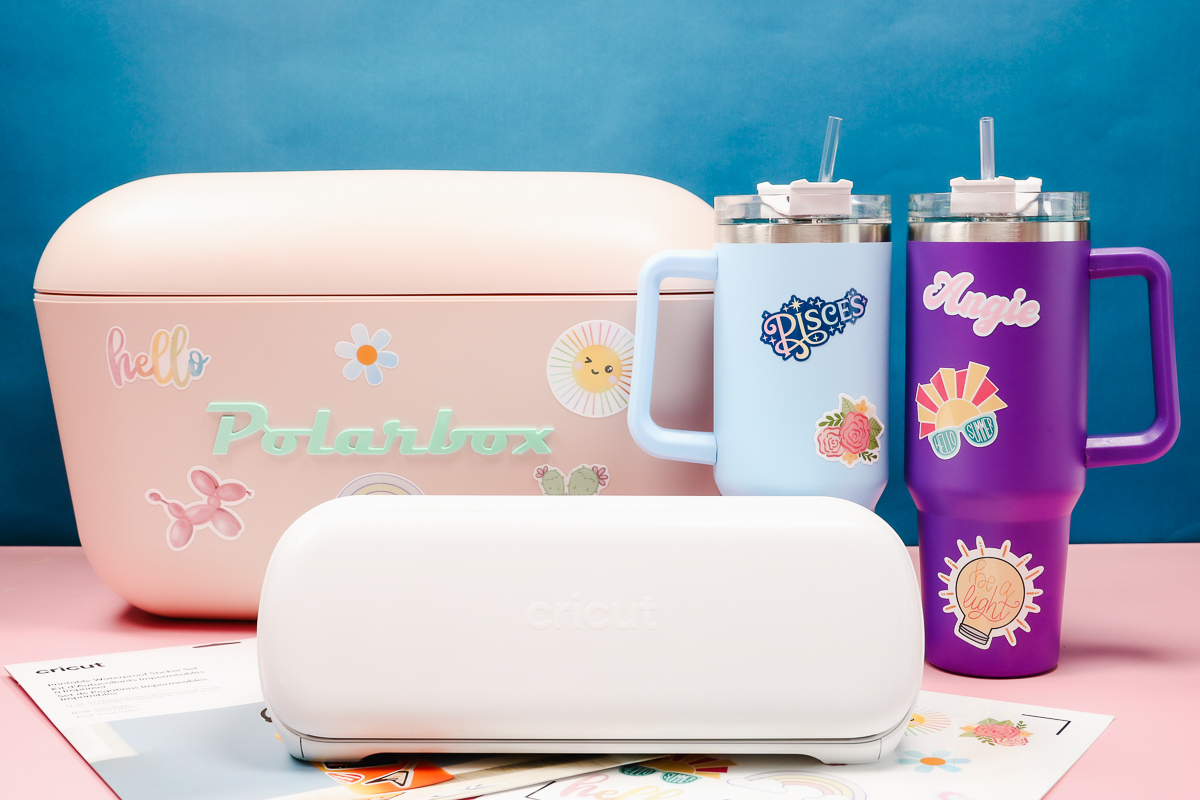
Are you ready to make beautiful waterproof stickers that are perfect for outdoor use? Today I’m going to teach you how to use Cricut’s new Printable Waterproof Sticker Paper set to create waterproof stickers that are perfect for cars, boats, water bottles, and more!
I’m using the Cricut Joy Xtra to create my waterproof stickers today but you can use this sticker set with any Cricut machine that has the ability to Print Then Cut. That means any Cricut machine except the original Cricut Joy.
If you haven’t been properly introduced to Cricut Joy Xtra, I have an in-depth look at the machine and all it can do so go and check that out.
Make Your Own Waterproof and UV Resistant Stickers
You can watch me use my Cricut Joy Xtra to create waterproof stickers with Cricut’s new Printable Waterproof Sticker Set by pressing play on the video below. This sticker set is perfect if you love to create your own stickers and want to add them to water bottles, tumblers, or other places where they may get wet.
I’ve seen a variety of different waterproof or water-resistant sticker paper options but this one by Cricut is actually also UV-resistant! I love this because I’ve had stickers fade over time being outside. Being UV-resistant means they should stay looking like new for a long time even if they’re out in the sun.
I’m going to show you how to use this new material on Cricut Joy Xtra. The process will be the same regardless of what Cricut machine you choose to use. Follow the steps here and you’ll be creating stickers today!
Supplies Used:
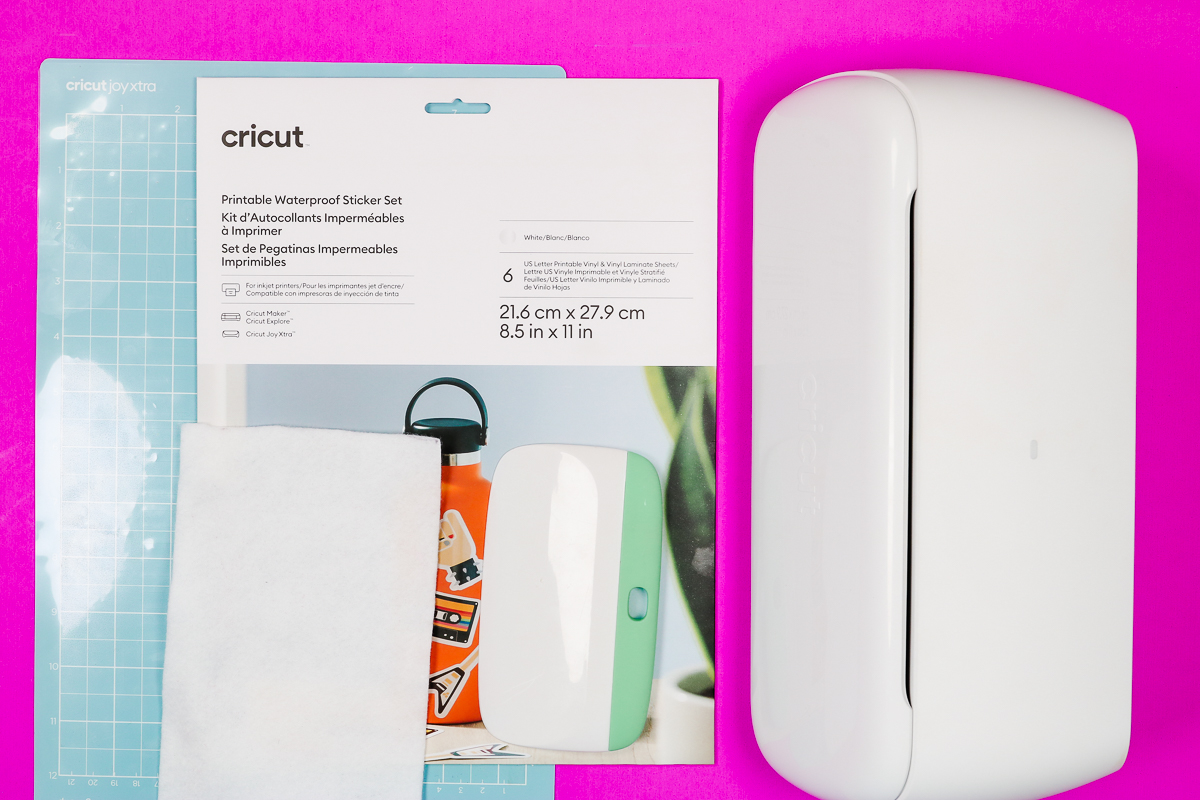
NOTE: The new waterproof sticker set is not a smart material so you need to make sure you have a Cricut Joy Xtra cutting mat to use with it. The mats for Joy Xtra are different than the regular Joy and other Cricut machines. Make sure the packaging says the mat is for the Joy Xtra machine.
What is Inside the Waterproof Sticker Set?
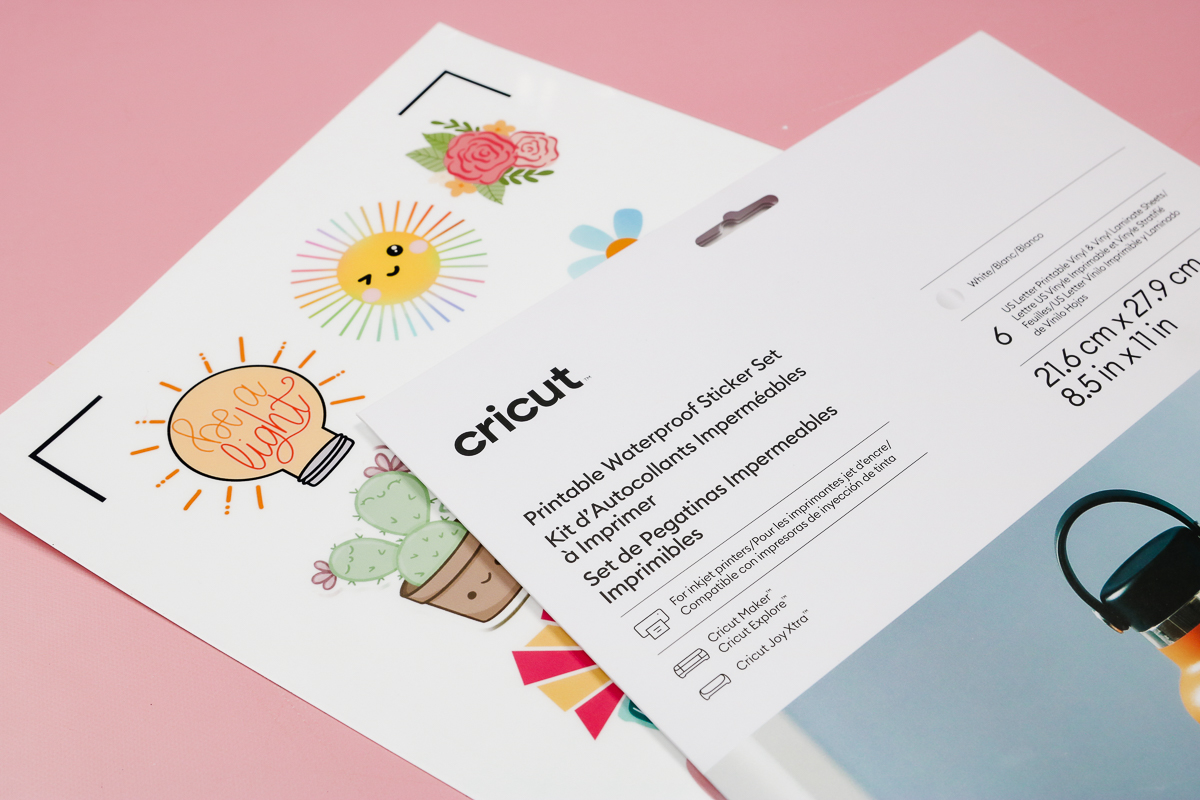
For the stickers I’m making today, I am using the Printable Waterproof Sticker Set in white. It also comes in transparent, white holographic, and transparent holographic. The steps will be the same regardless of what set you’re using.
As I’ve mentioned, this new material is a set. You’ll see when you open the packaging that inside you have both printable vinyl and a laminate.
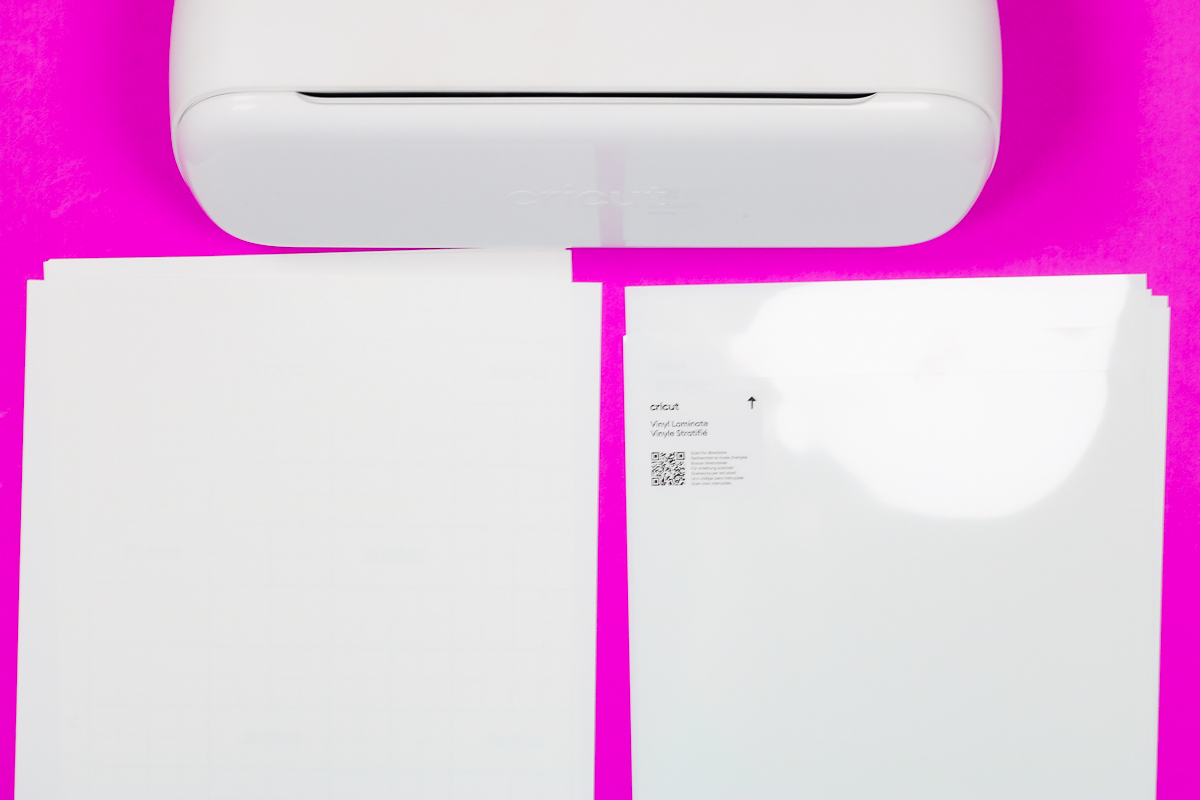
The back of the printable vinyl has a backing paper on it that has a grid, like other Cricut vinyl materials.
The laminate sheet has a sticker right on it that says Vinyl Laminate. With both materials being labeled, it should be easy to keep them straight.
How to Make Outdoor Stickers
The first step to making stickers with the Printable Waterproof Sticker Set is to set up the images you want in Design Space.
NOTE: I am using designs in Design Space for this tutorial but you can use your own designs as well. You can see more about uploading sticker designs here.
Create Sticker Designs in Design Space
There are a couple different ways you can create stickers in Design Space. The first would be to go to Images and then search for anything.
To find something that is sure to work as a sticker, click on Operation Type and then click Print Then Cut.
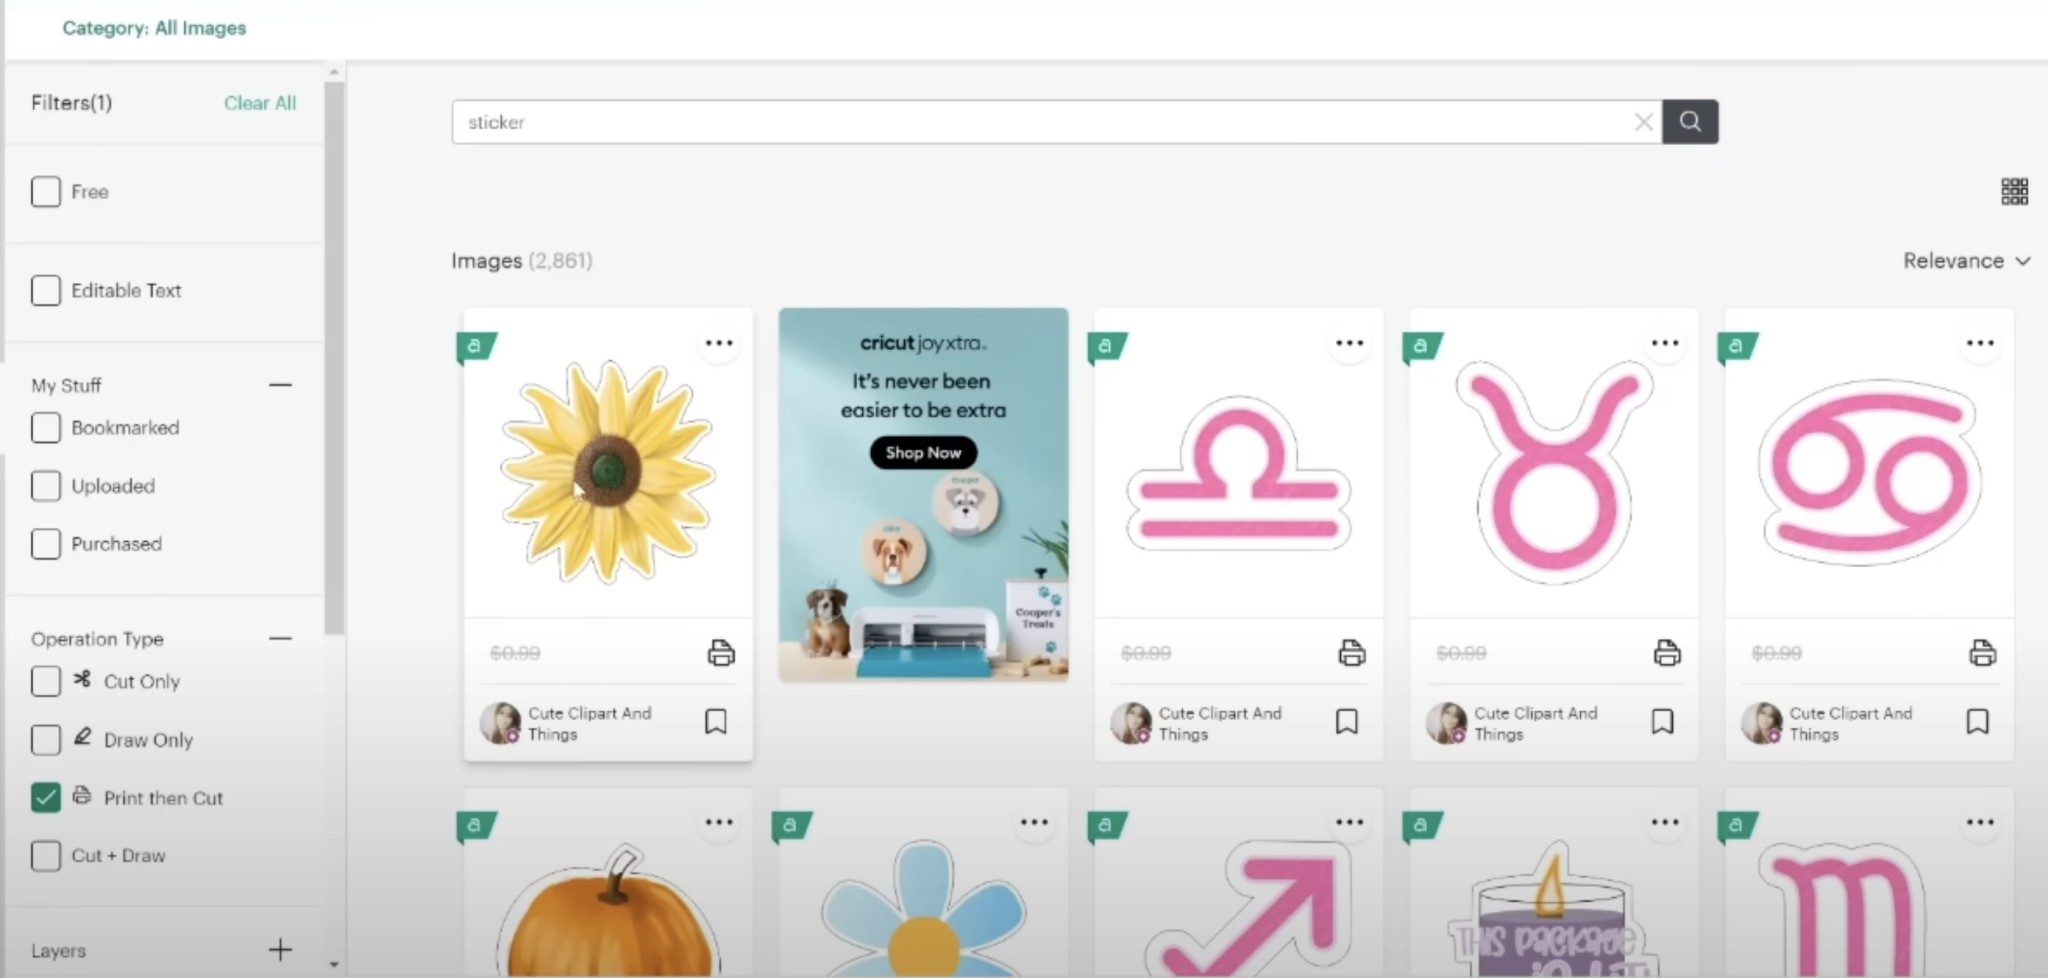
When you see an image with a black outline around it, that means it’s already set up with an offset and ready to be used as a sticker.
When you find an image you like, click Add to Canvas and from there you can resize it to whatever size you want to print it.
Pro Tip – If you find an image you like, click on the designer name. Often you can find other designs that either match the one you already found or may just be others you like by that same designer.
Turn a Cut Design Into a Sticker
Now, if you have a design you really like that is a cut file you can still use that as a sticker. Let’s look at how we turn a cut file into a printable sticker file.
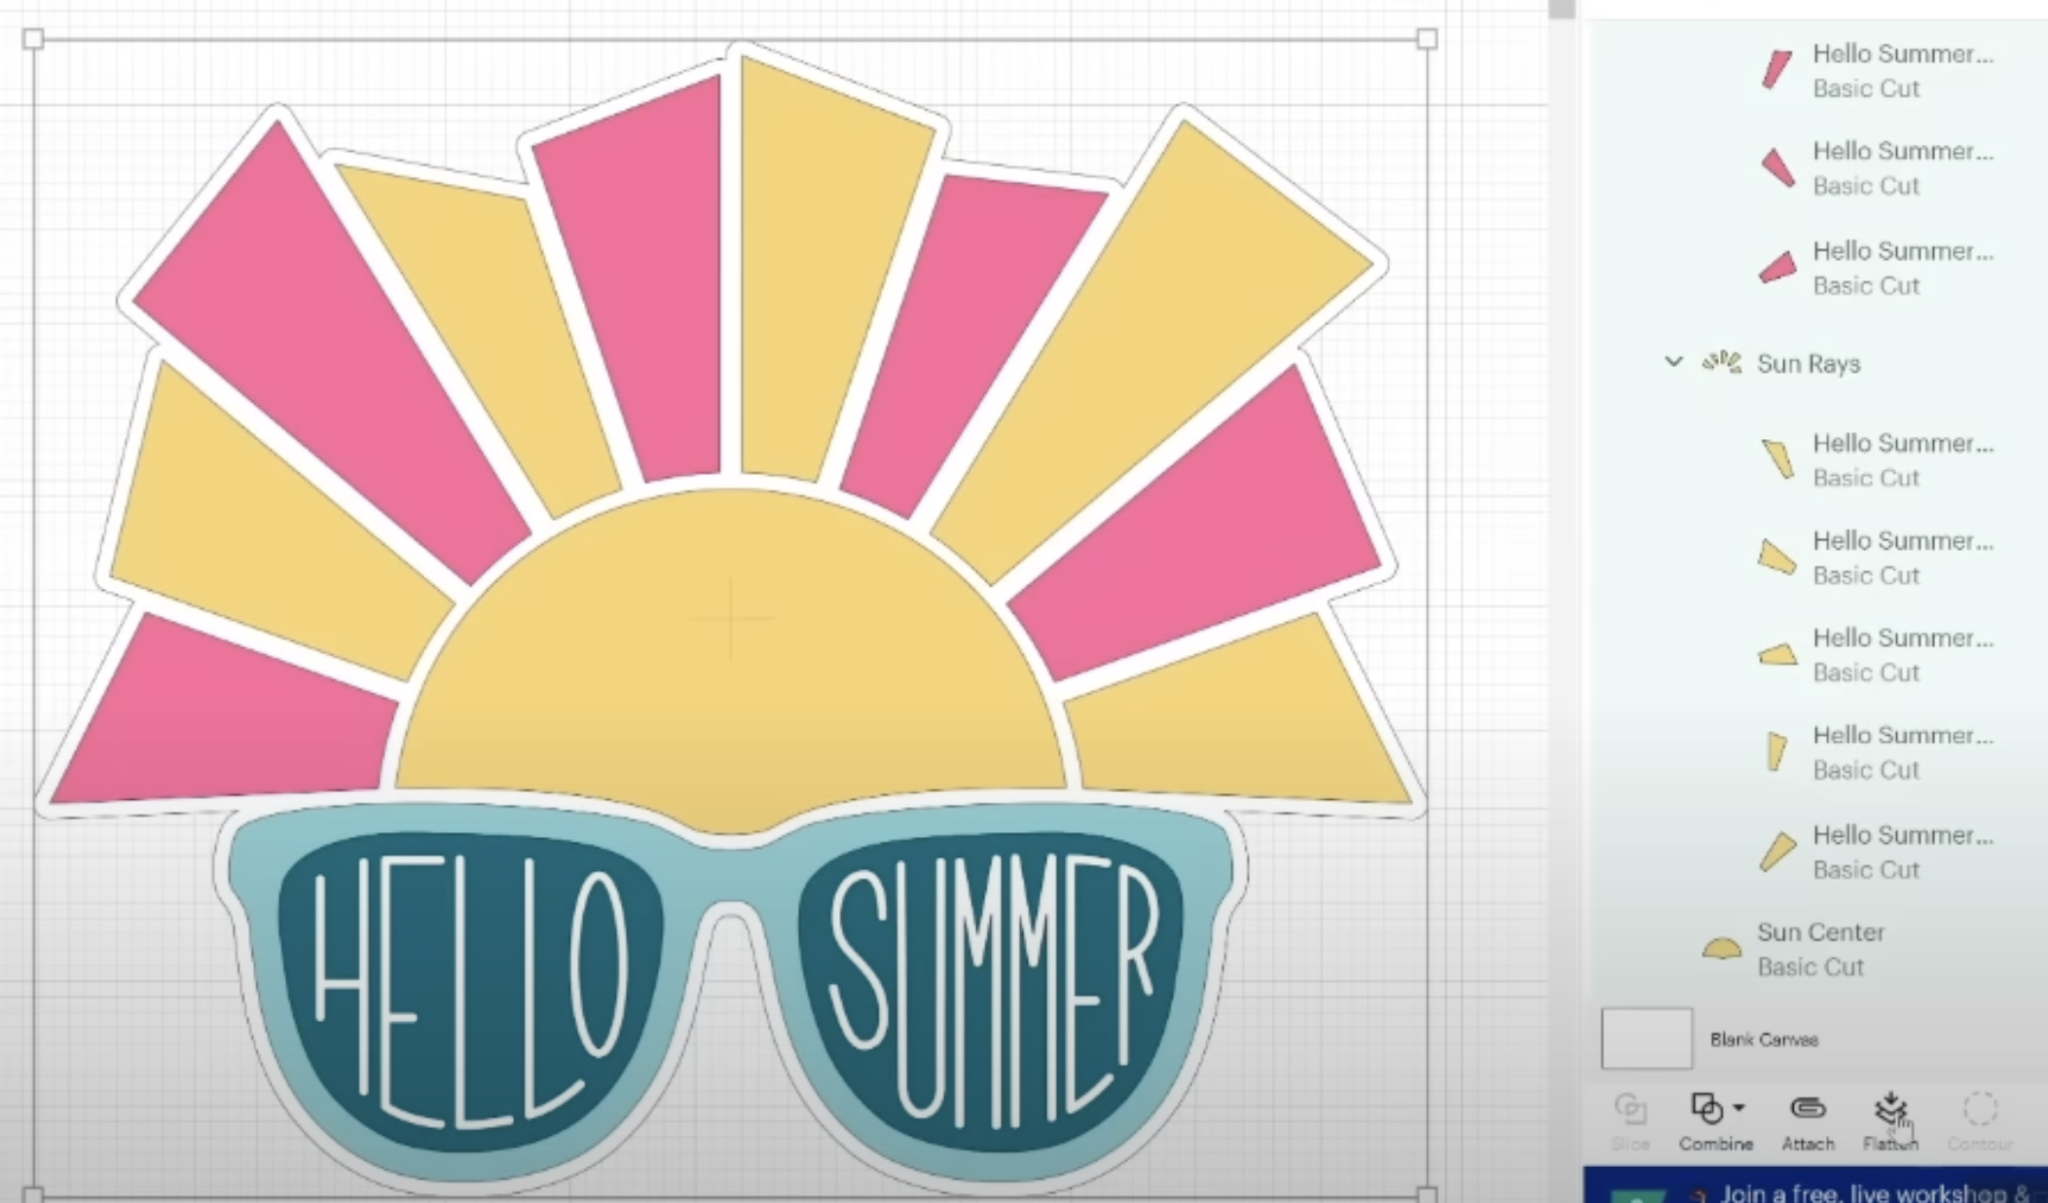
Once you find the design you like, click it and then click Add to Canvas. The great thing about using a cut file to create a sticker is that you can change the colors of different elements to really make it look exactly how you want.
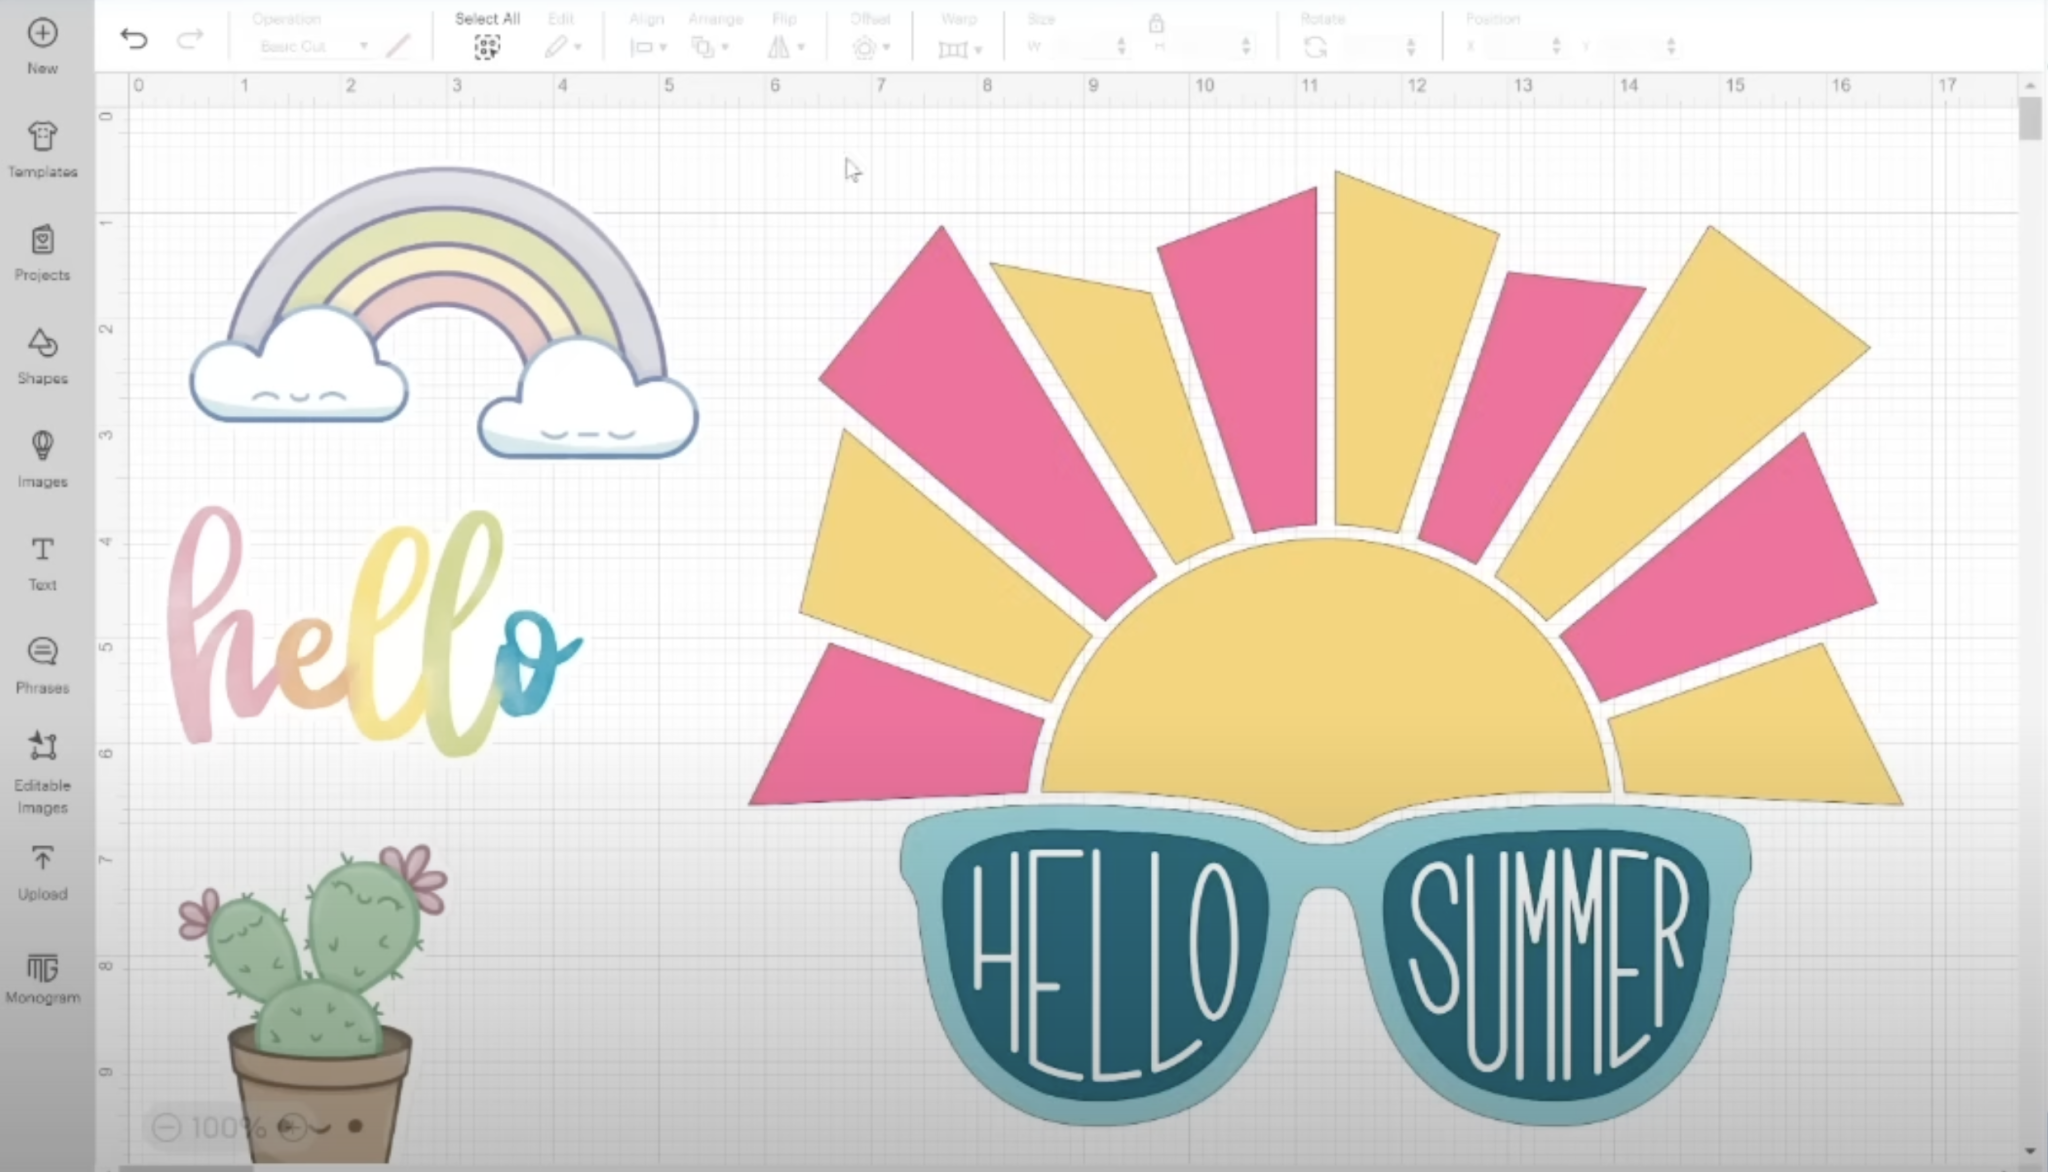
Once you have all of the colors the way you want them you’ll want to add an offset.
For stickers I like to add an offset at 0.125. Click apply and then you can change the offset color. For my example I am changing it to white.
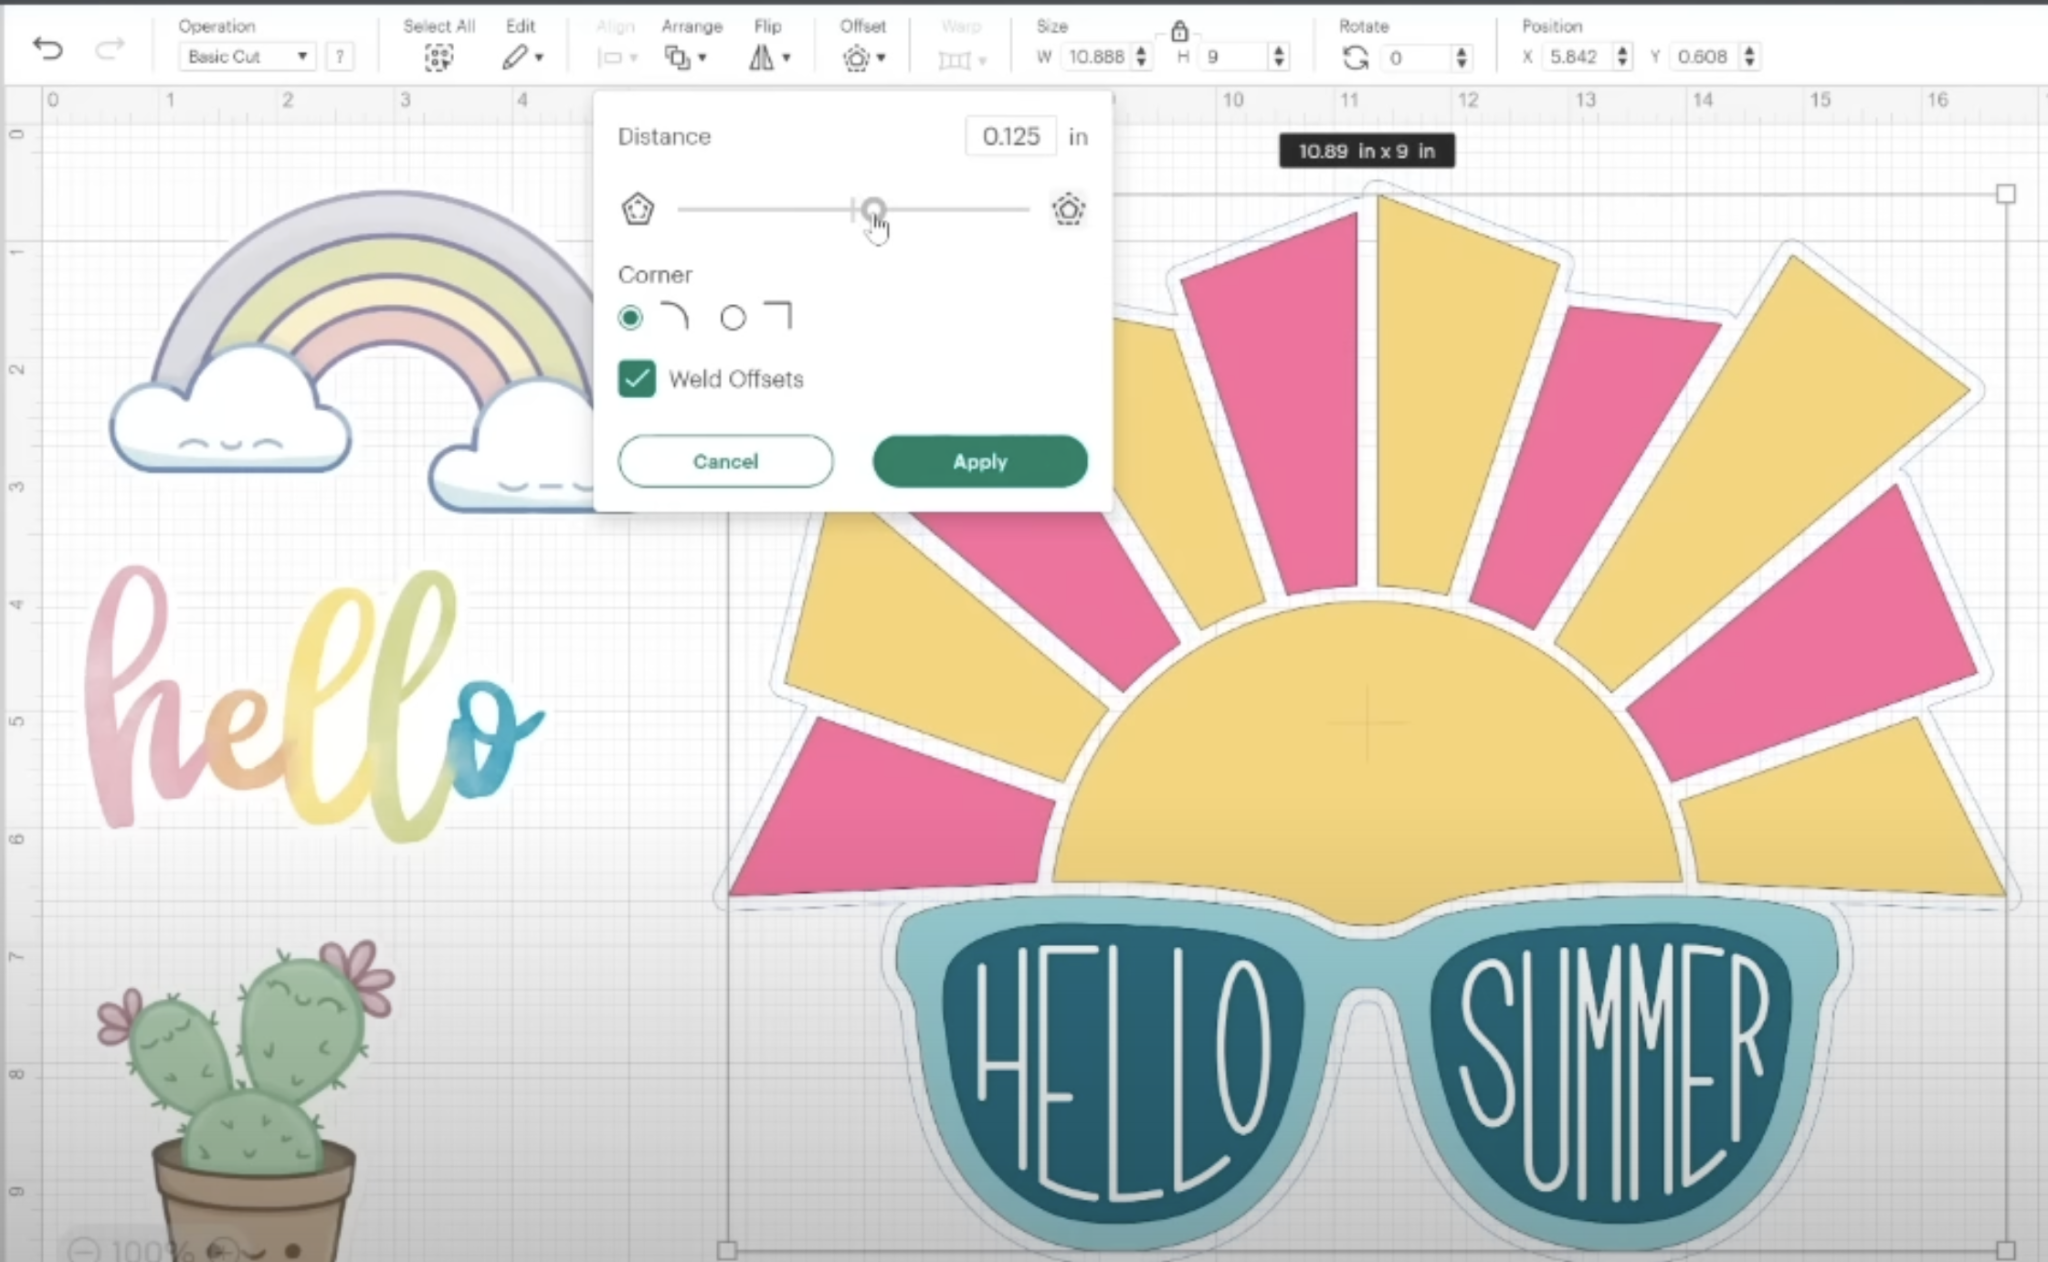
You will want to check the offset and make sure there are no internal cuts. If there are, you can use the contour feature to remove all of them. To finalize the sticker design, pick all of the layers of your design and select Flatten.
The process for creating a sticker out of text is the same. You’ll follow the same steps. Type out your text, add an offset, select both layers and then flatten just like we did with the image before.
How to Add an Offset Using a Shape
If you’re using an image that is already a shape like a circle, you can easily create an offset without using the offset tool.
To do this you’ll want to add a shape, in this example I’m adding a circle, to the canvas and then make it slightly larger than the design itself.
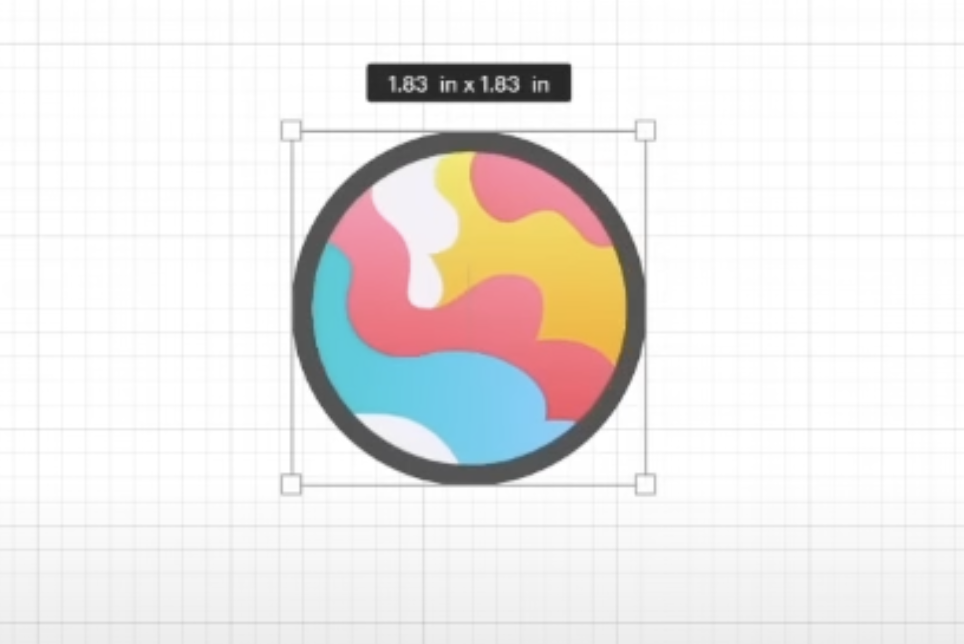
I still like the 0.125 offset size so I would make the circle 0.125″ larger than the sticker and then select both layers and click Flatten.
How to Print on Waterproof Sticker Paper from Design Space
Just like any other Print Then Cut project to print on waterproof sticker paper from Design Space you need to have a printer. No Cricut machine has the ability to print.
Once you have all the stickers you want to print set up how you want them and on your Design Space canvas, click Make It. Then you’ll see them laid out on a sheet of paper.
If Design Space separates them onto 2 pages, you can try adjusting them on that screen and often times you can fit more onto one page.
To move an image from one mat to another, click the image and then click the three dots in the corner. Click Move Object and then move it to the other page.
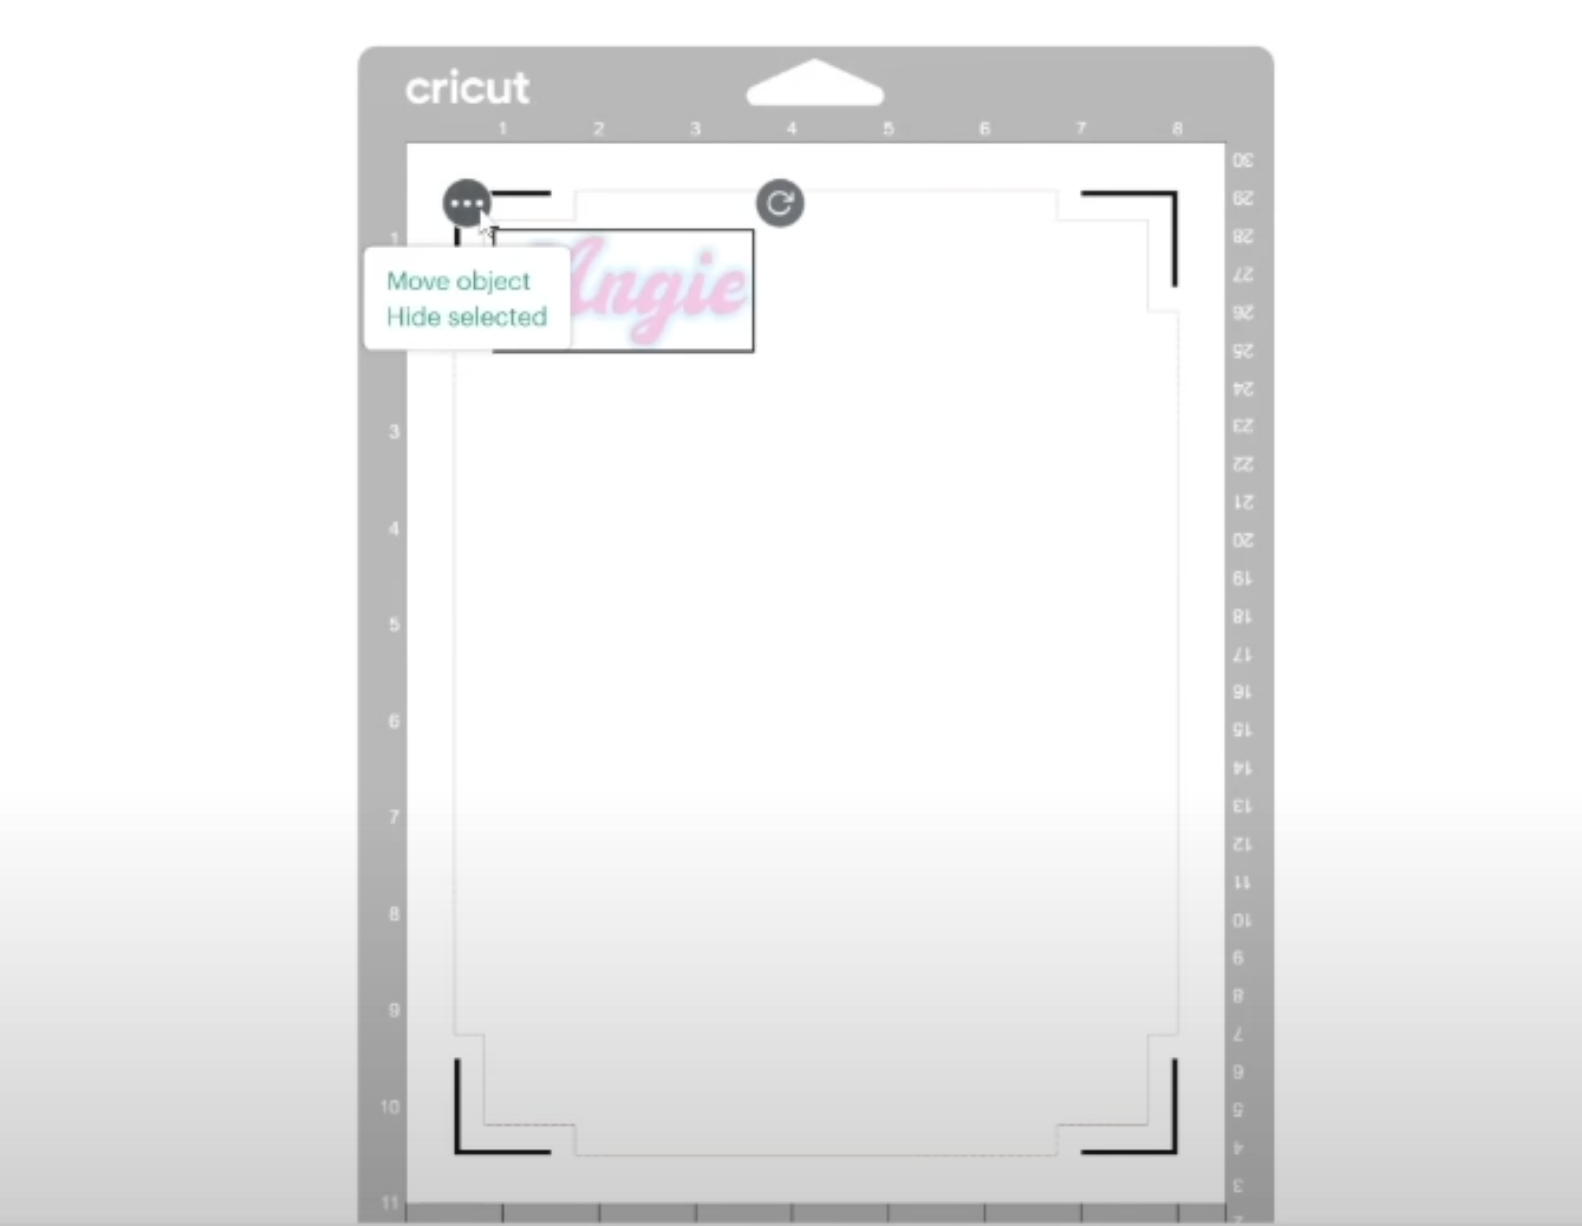
Often times you can fit more items on one page by rotating the designs and moving them a little closer together.
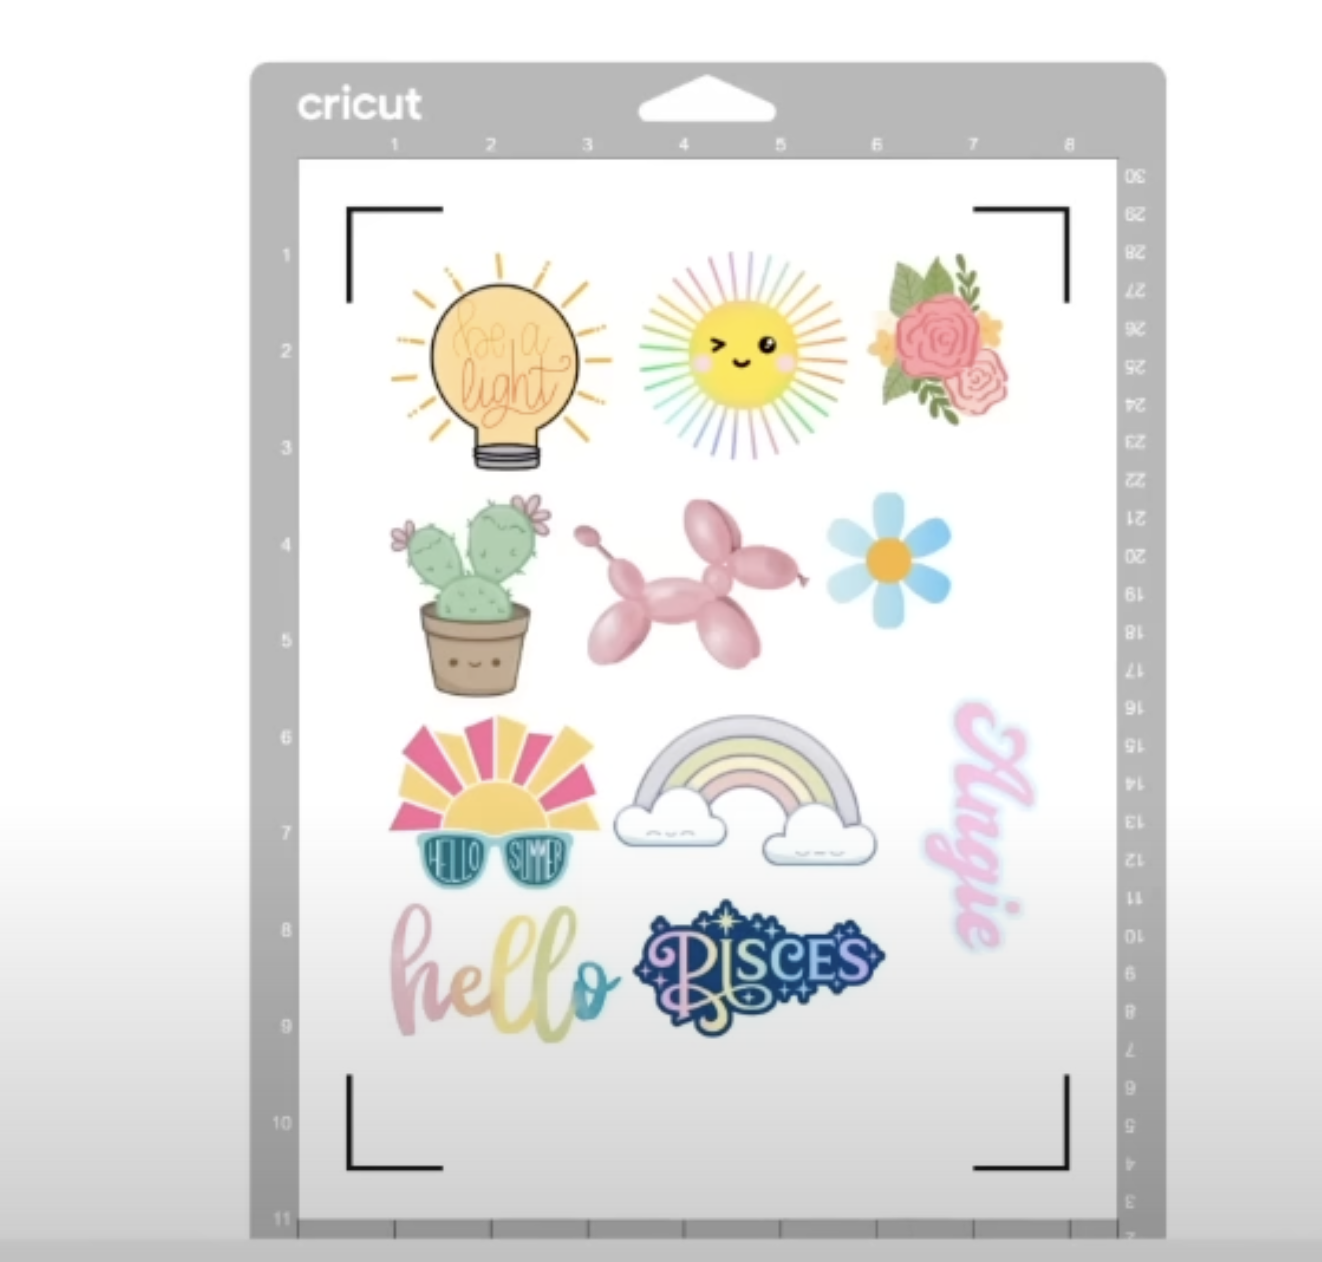
With everything set up how you want it click Continue.
Send Your Design to the Printer
Now we’re going to click Send to Printer and then select the printer you’re printing to. Generally for stickers, I like to click Add Bleed. This is especially important if one of your designs has an offset that is a color or if you haven’t added an offset.
If all of your designs have a white offset, the bleed won’t really matter at all.
I always select Use System Dialogue so I can adjust my printer settings as needed. Click Print, click the printer you want to use again and then select Preferences.
From here, the screens you see will depend on the printer you’re using. You should be able to find all of these options.
Make sure you’re printing in portrait orientation. Next, you want to find where you can adjust your media type. I am choosing a photo paper media type and next I want to adjust my print quality.
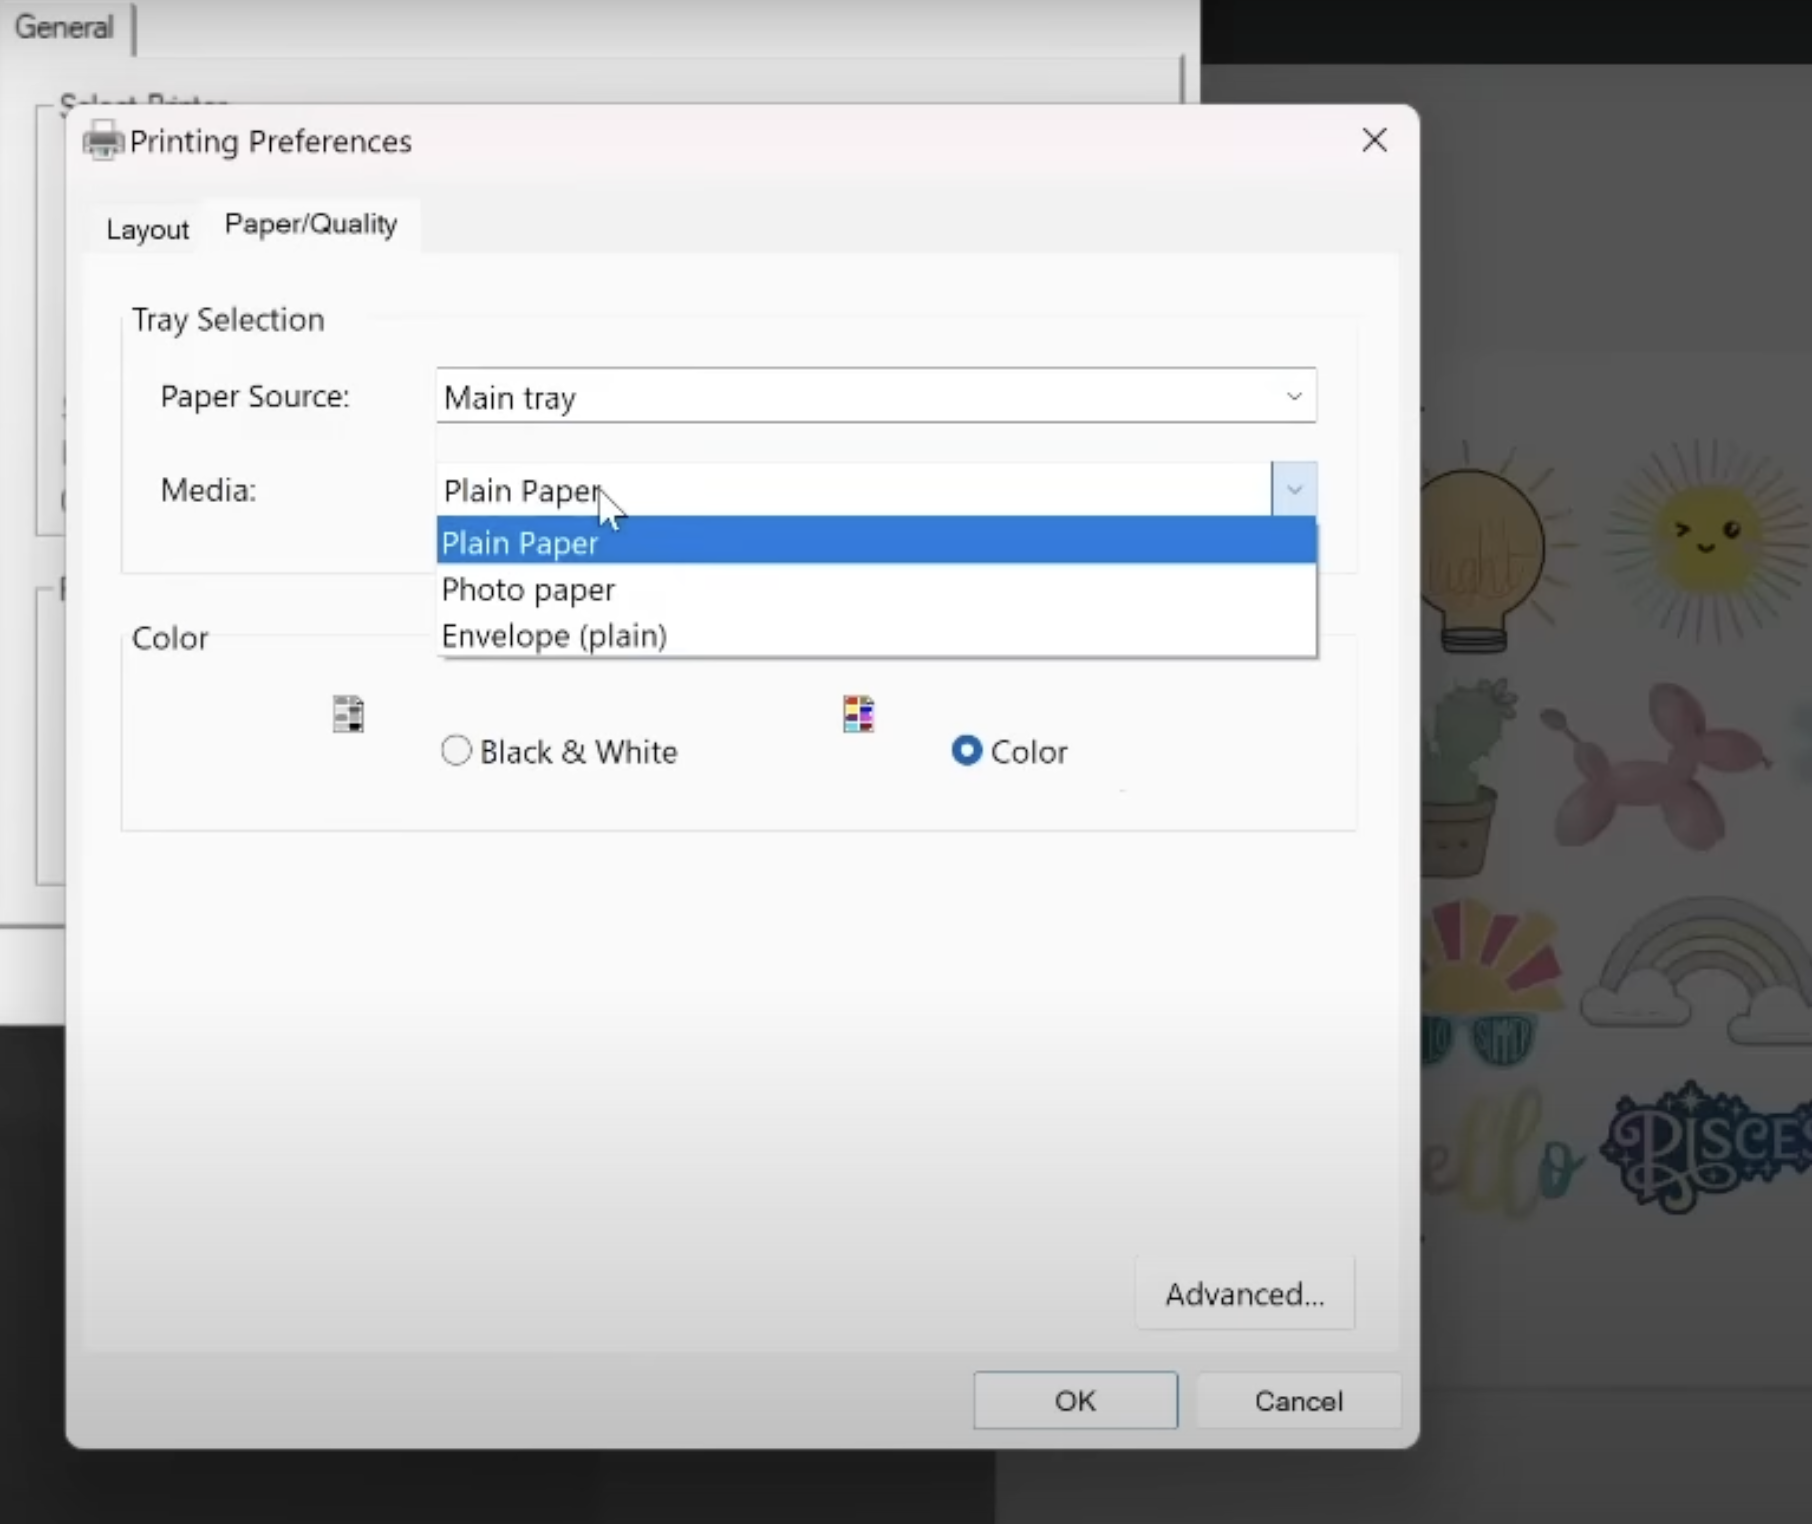
NOTE: I am choosing photo paper but you may find that a matte paper setting works better. You may even have luck with a plain paper setting.
For beautiful finished stickers, you don’t want to skimp on the print quality. You’ll want to choose high quality, best quality, or whatever is the best option your printer has.
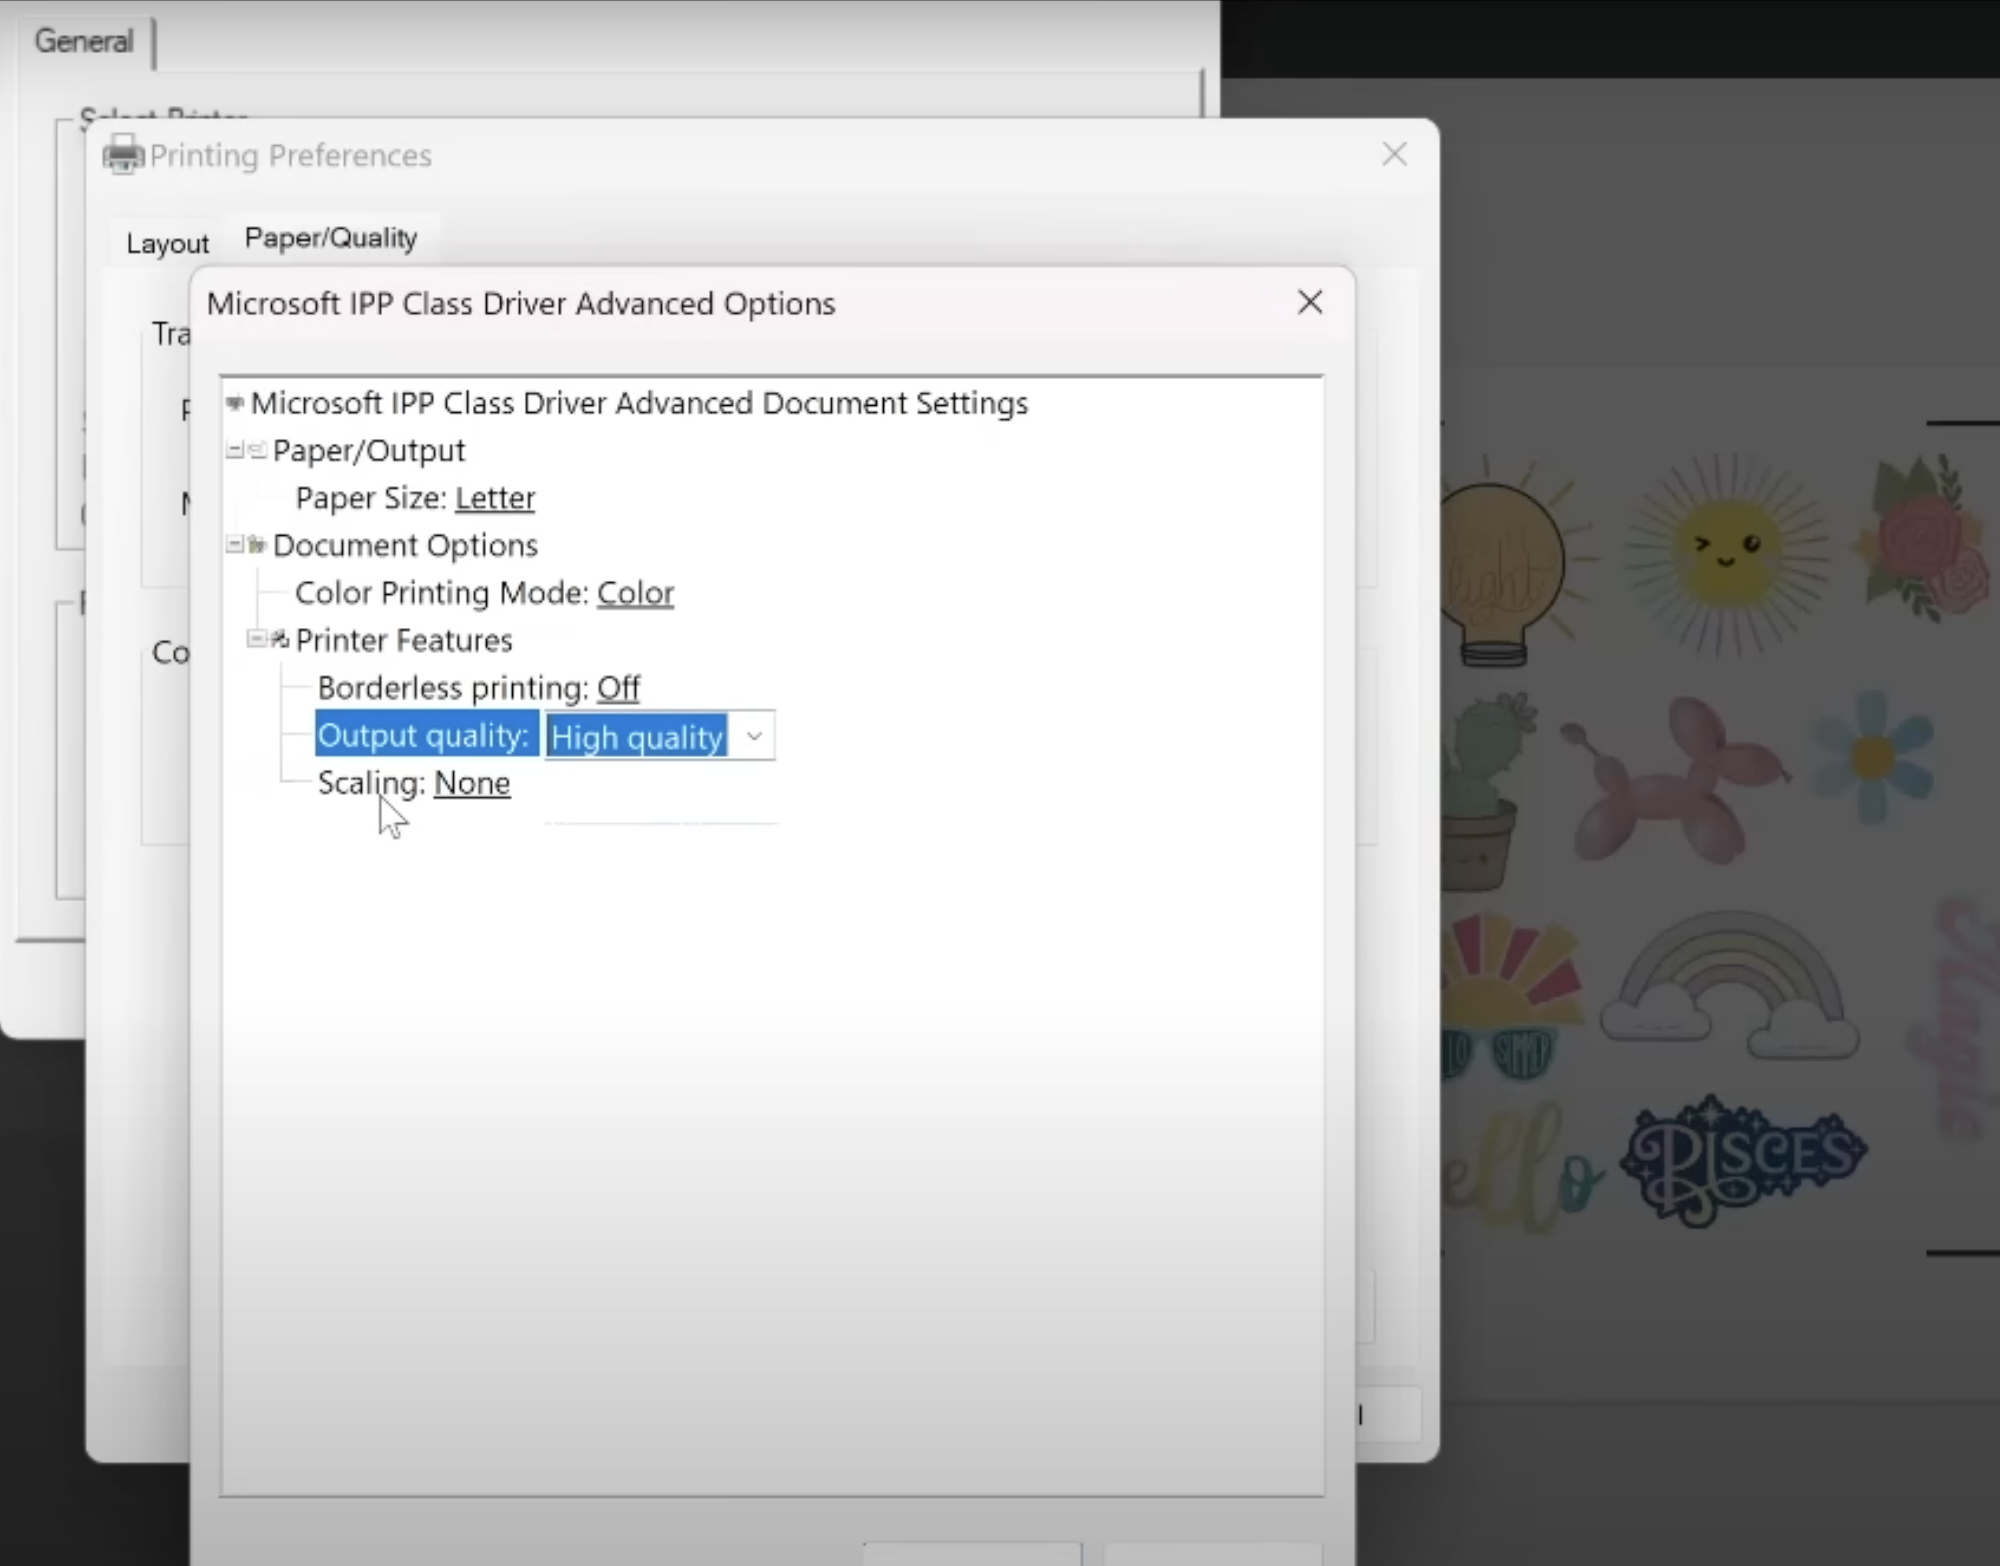
Make sure you have your scaling set to none so the printed size is what Design Space is going to recognize. Next, click OK and Print. Be sure to put the sticker paper in the printer so that it prints on the white side and not the side with the gridlines.
How to Add the Waterproof Vinyl Laminate
Now that we have the sticker sheet printed, it’s time to add the vinyl laminate that comes with the set. I found it really helpful put the sticker sheet on the adhesive cutting mat to hold the sheet in place while applying the laminate.
IMPORTANT: Make sure you put the print on the mat in the same orientation as shown in Design Space.
How to Keep Laminate Straight While Applying
On the backing paper of the laminate there is a sticker that says Vinyl Laminate and has an arrow that points to a slit in the backer. Start at the slit and gently remove the top portion of the backing paper.
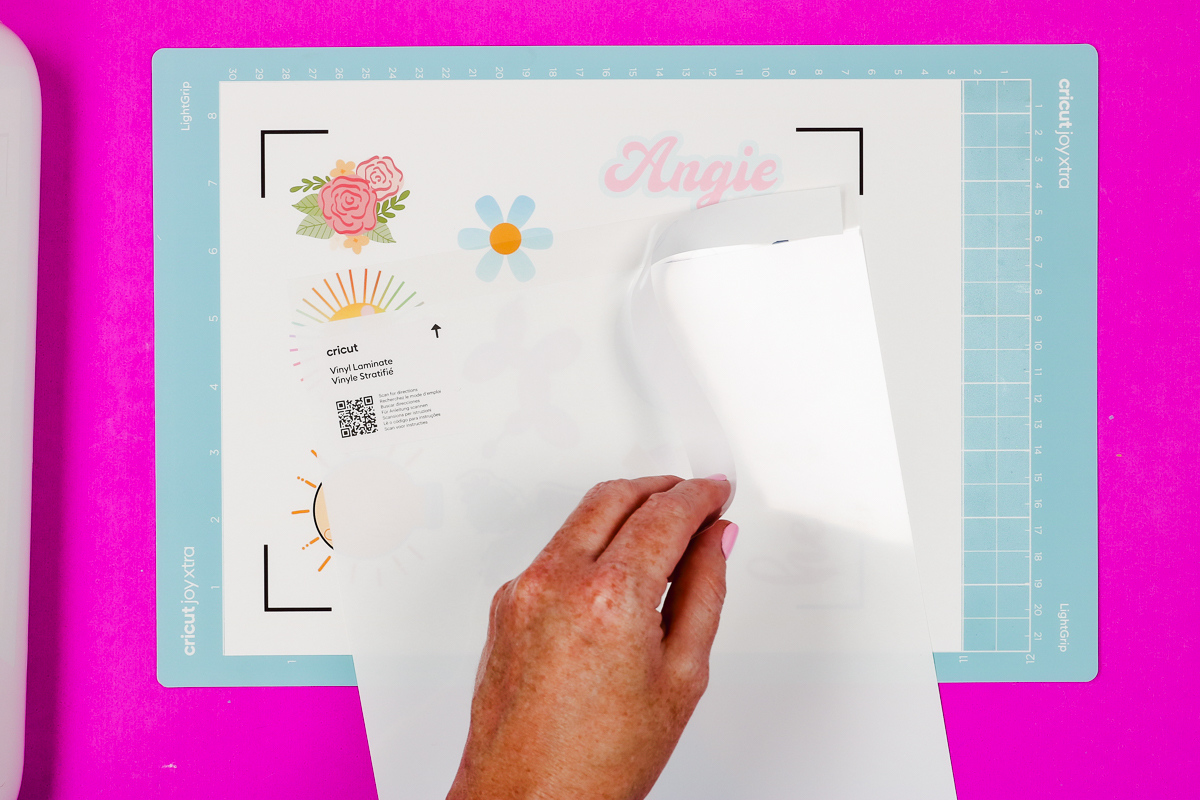
With this top portion removed we only have to worry about that much of the adhesive while we’re lining it up with the vinyl.
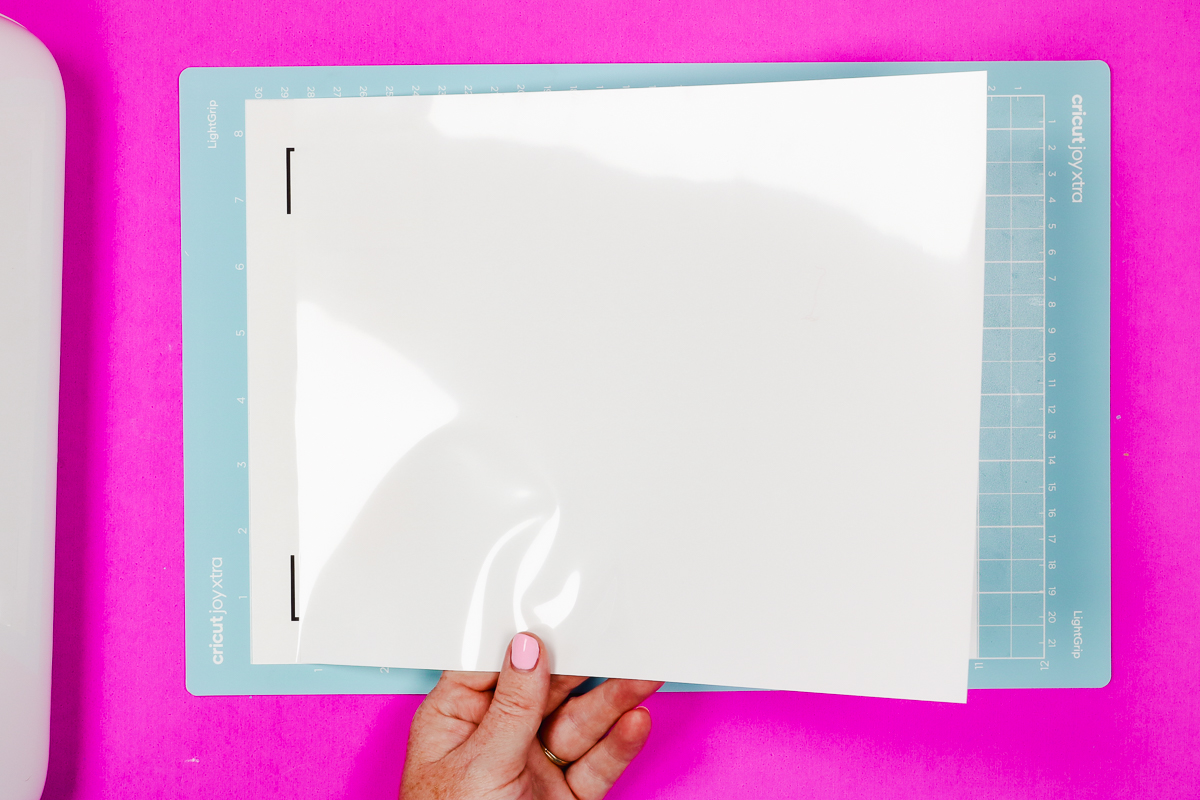
Make sure you get it as straight as possible and press it down.
Bonus Tip – to prevent any scratches in the vinyl laminate wrap your scraper tool in felt long enough to cover the whole surface.
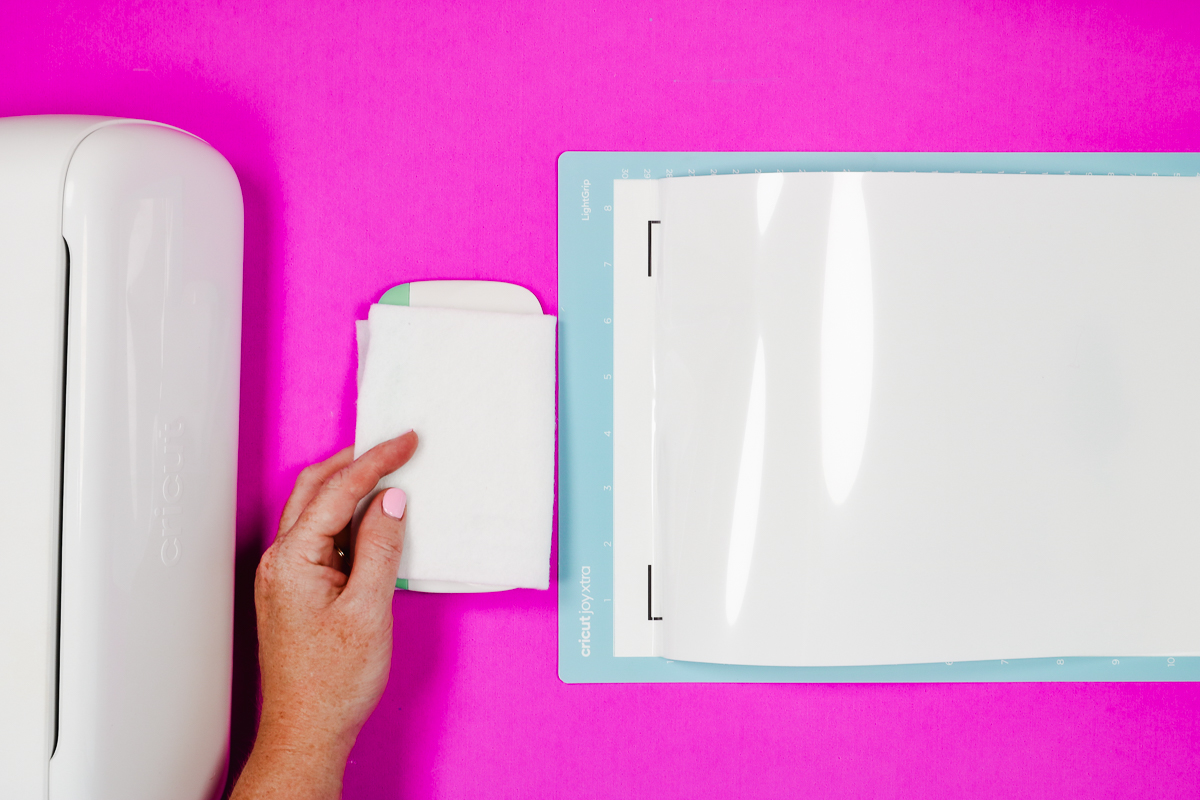
With the scraper wrapped in felt, smooth the laminate over the sticker paper with the scraper while peeling back the backing paper.
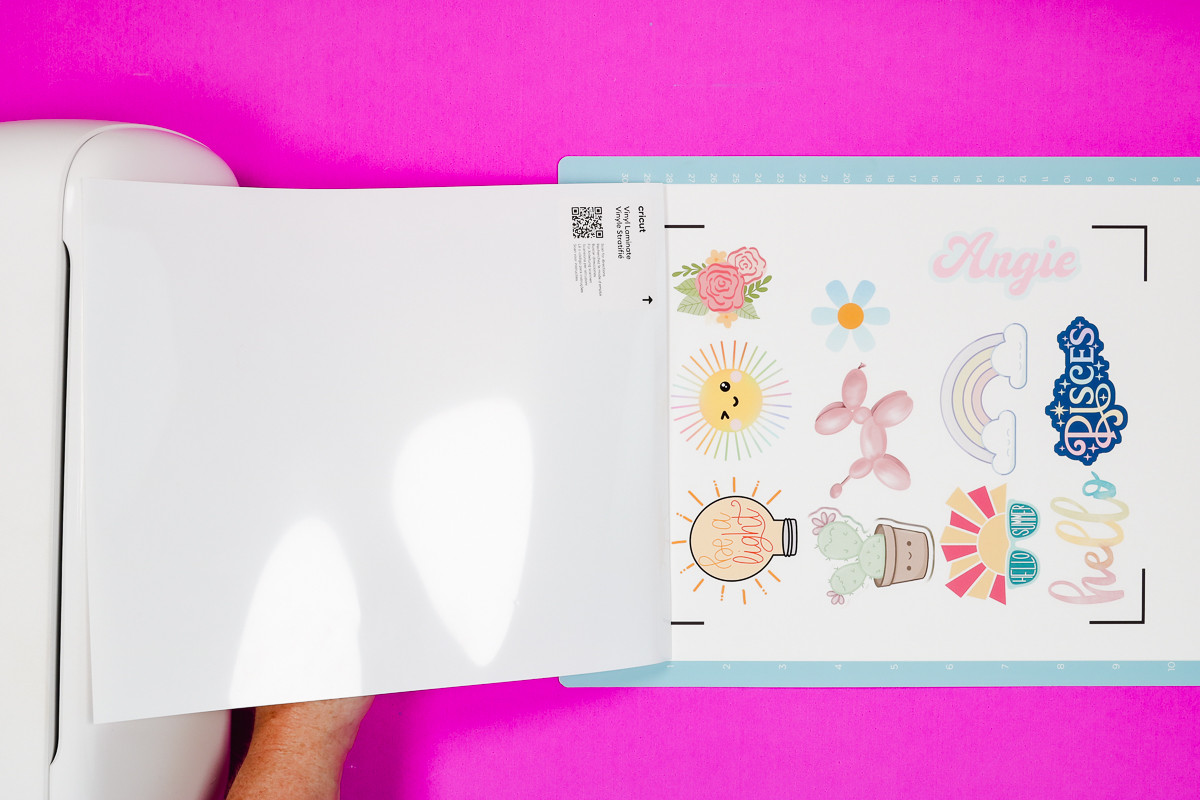
Make sure you’re going all the way from left to right with your scraper tool while moving down the sheet to ensure it’s stuck down without any bubbles or creases.
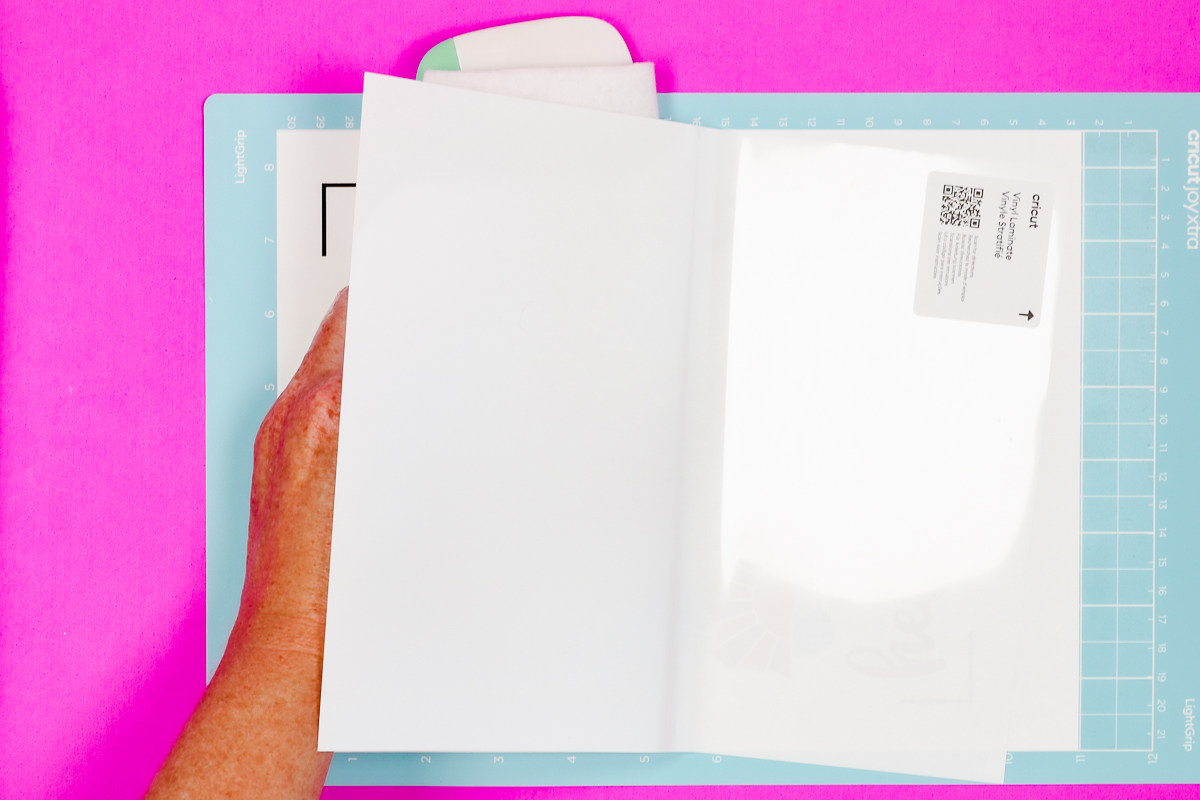
Once the carrier sheet is removed use the scraper and burnish it down really well. The felt really helps make sure you don’t get any scratches in the laminate.
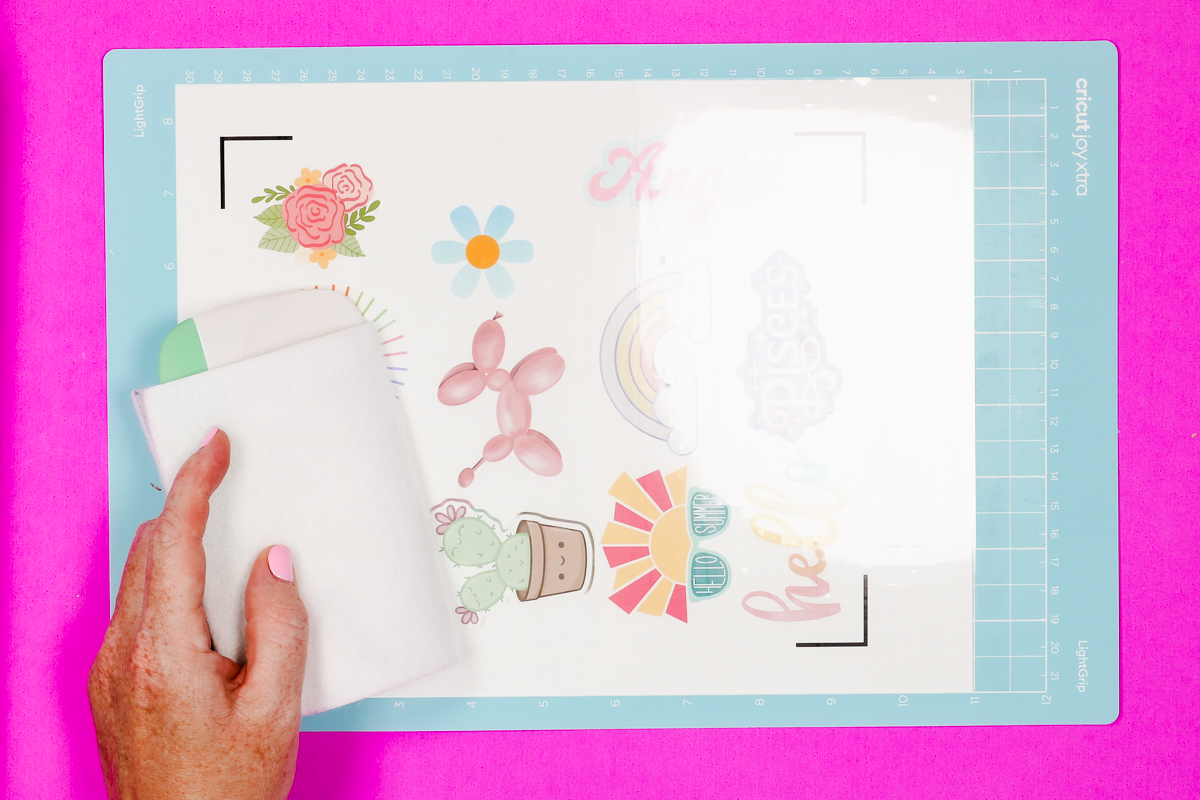
Calibrate Your Machine for Print Then Cut
It’s important to make sure you calibrate your machine for Print Then Cut. If you’re using a new blade in your machine or you’ve recently had a firmware update, I would run a calibration. If you’ve moved your machine or haven’t used it for a while, you should run a calibration.
Any time you’re having trouble with the location of the cuts on a Print Then Cut project, you should run a calibration.
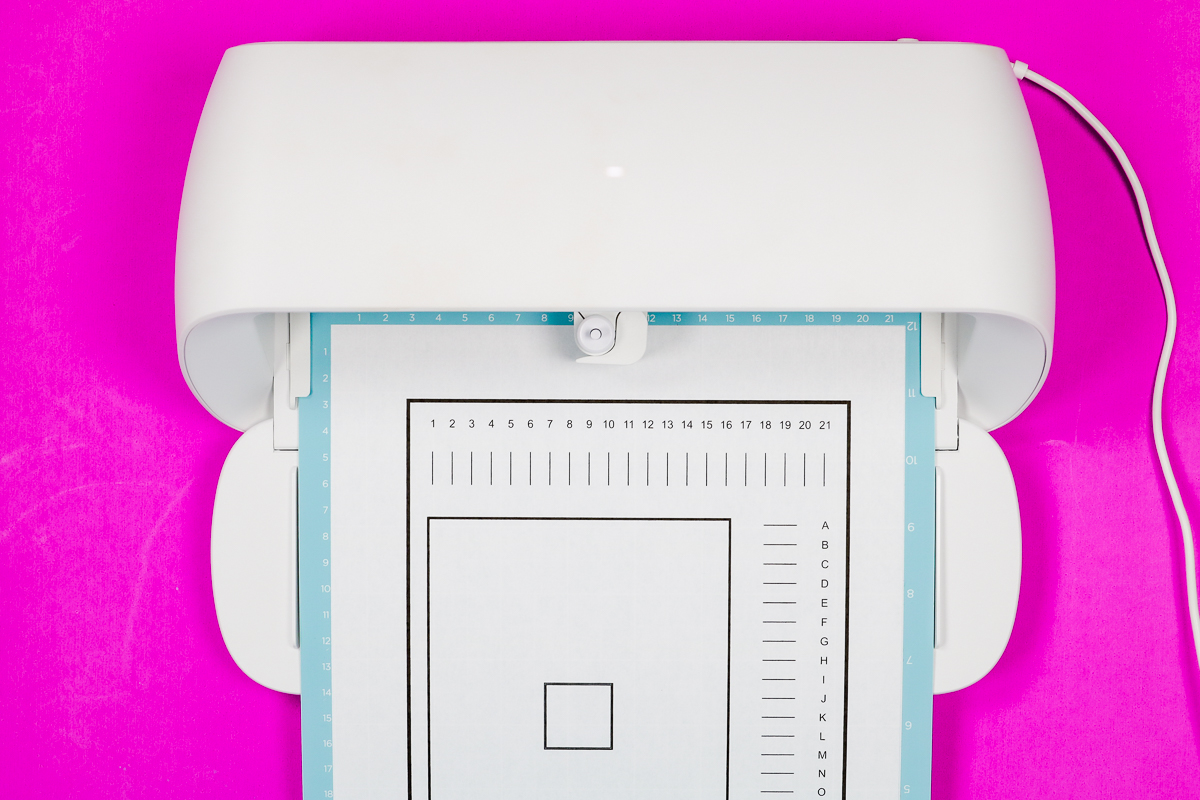
Cut Out Waterproof Sticker Paper with Your Cricut Machine
In Design Space, select the material you’re using. I choose the Printable Waterproof Sticker Set White setting because that’s what I’m using here. The Cricut Joy Xtra has sensors in it so as soon as you load the mat it will automatically pull it in.
There are no buttons on the Joy Xtra machine itself so you’ll press all the buttons in Design Space.
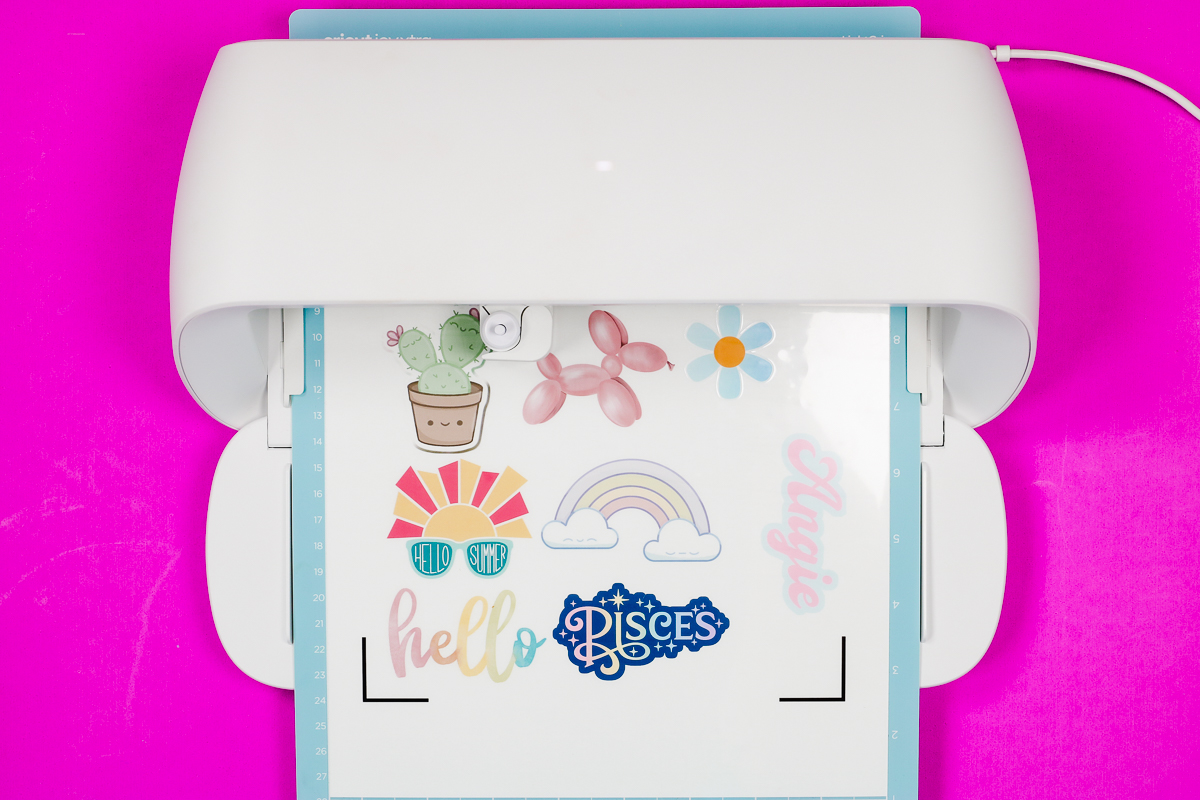
With any machine, first it will scan for the registration boxes in each of the corners. Once the machine reads the marks it will begin to cut. When it’s finished Unload the mat and let’s look at the cuts.
Close Up of Cuts on Waterproof Sticker Paper
The cuts all look really great from my machine with these settings. I wanted a kiss cut. This means the vinyl laminate and sticker paper are cut through but it doesn’t cut through the backer.
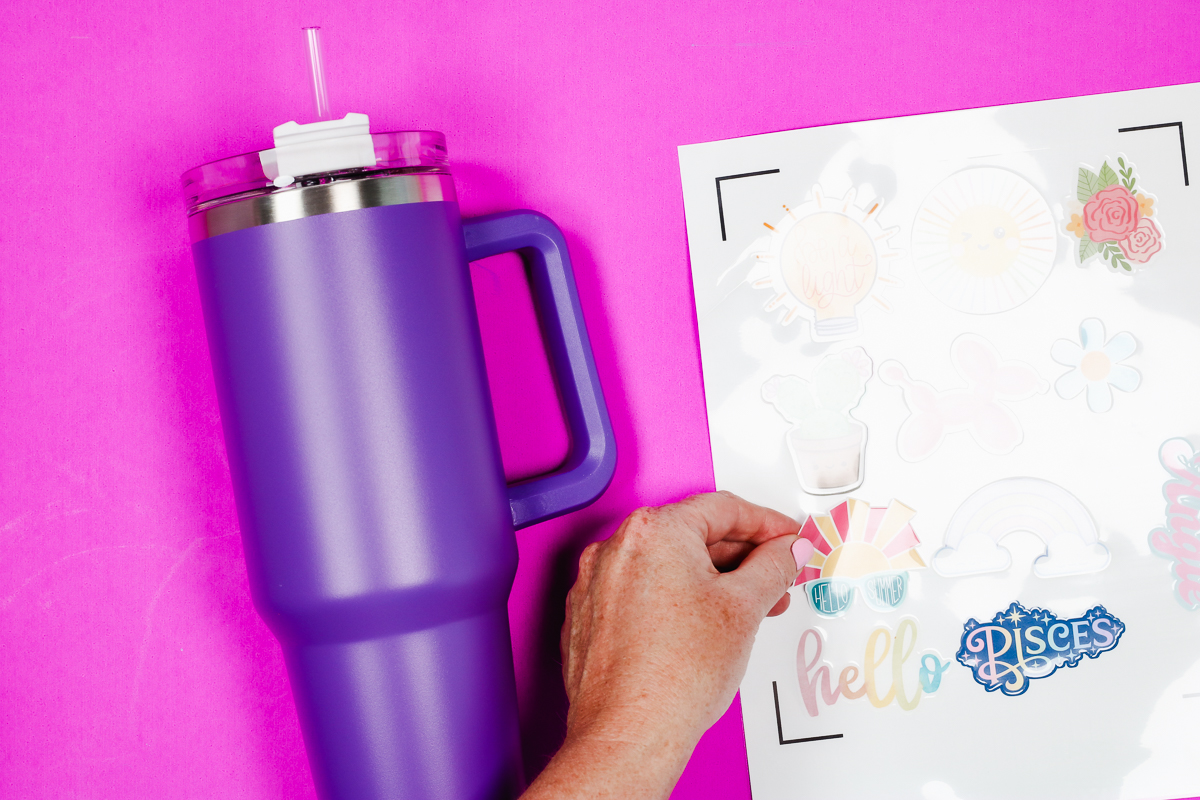
If you want to cut all the way through the backer, you’ll need to either run a second cut without unloading the mat or change your cut setting. You can try something like the Light Cardstock setting. Something that will cut all the way through each layer.
Make sure you do a test cut whenever you’re using a new material to ensure you’re getting a clean cut and not wasting material.
Where Can You Use Waterproof Sticker Paper?
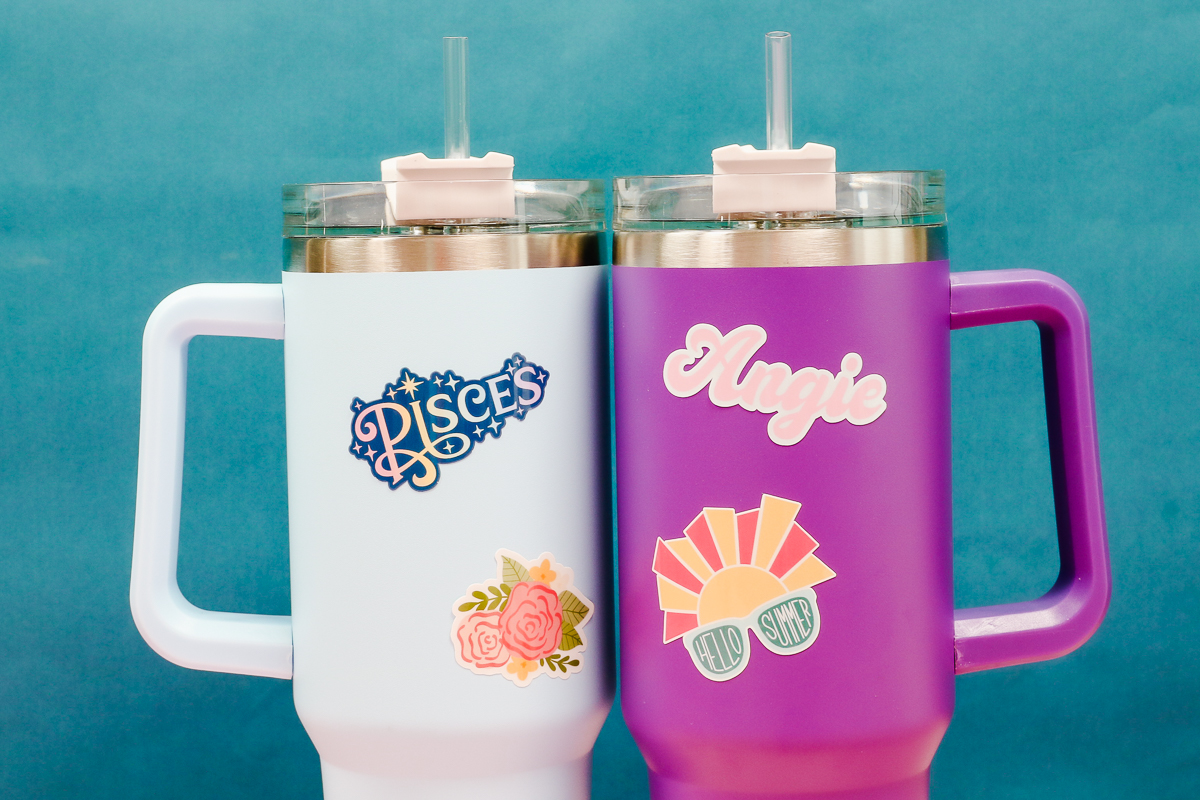
I love how these stickers turned out. The offset outline looks really good on each of the stickers.
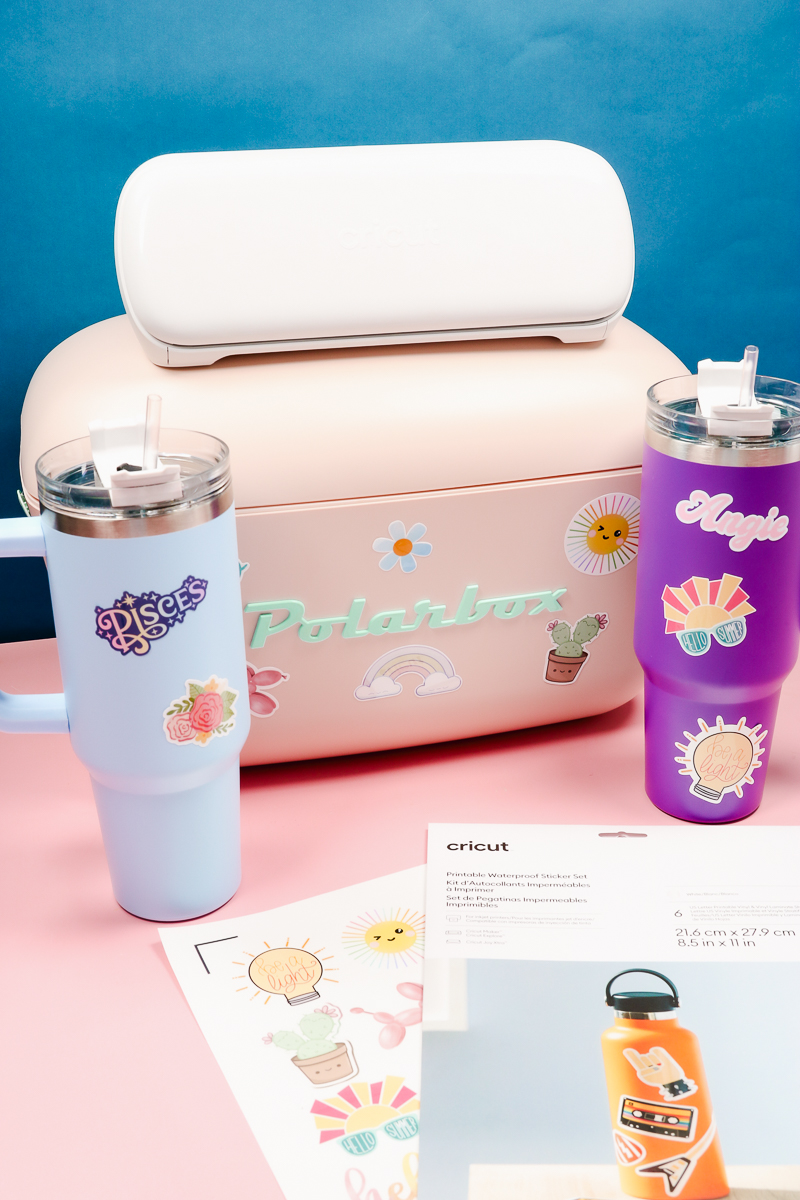
These stickers are perfect for for anywhere that you may need your sticker to be waterproof. Things like tumblers, boats, cars, even coolers are perfect locations for this waterproof sticker paper.
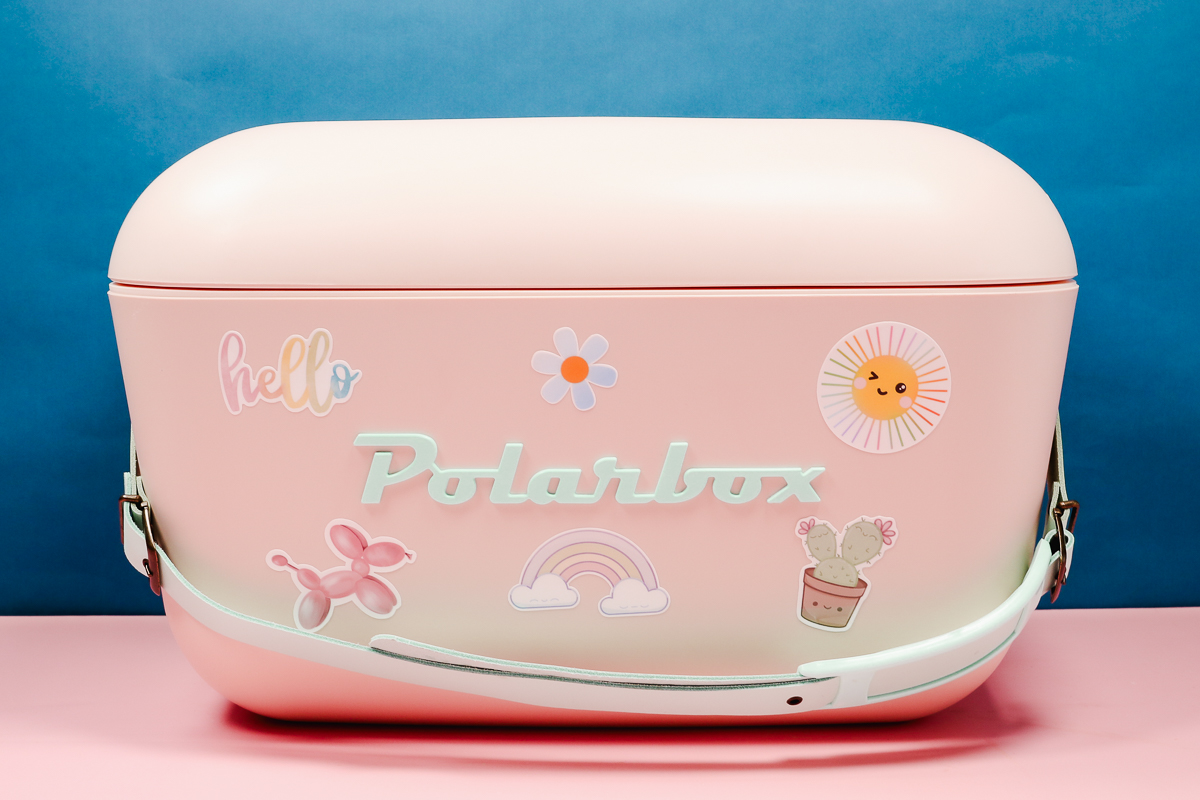
Make sure your surface is clean before applying the sticker. I like to use a lint roller or a lint free cloth with rubbing alcohol to make sure the area is clean.
Final Thoughts on Cricut Waterproof Sticker Paper Set
I am really impressed with this new Cricut Waterproof Sticker Paper Set. It’s easy to use and the results look so professional.
Because this waterproof sticker paper is also UV resistant it will hold up to not only water but also sunlight. You can use these for bumper stickers or even to add a little something to your mailbox. Your colors will stay bright even after months out in the sun.
I always use waterproof stickers on my tumblers and I am a big fan of the ones with a laminate over the top because they don’t scratch easily.
If you’re looking for a way to make stickers that you can use outside and that can hold up to water, this new waterproof sticker set by Cricut is definitely something you should try.
I hope I’ve answered any questions you have about waterproof sticker paper. If you have any other questions, leave them in the comments and I’ll be happy to answer them for you.

