This post and photos may contain Amazon or other affiliate links. If you purchase something through any link, I may receive a small commission at no extra charge to you. Any supplies used may be given to me free of charge, however, all projects and opinions are my own.
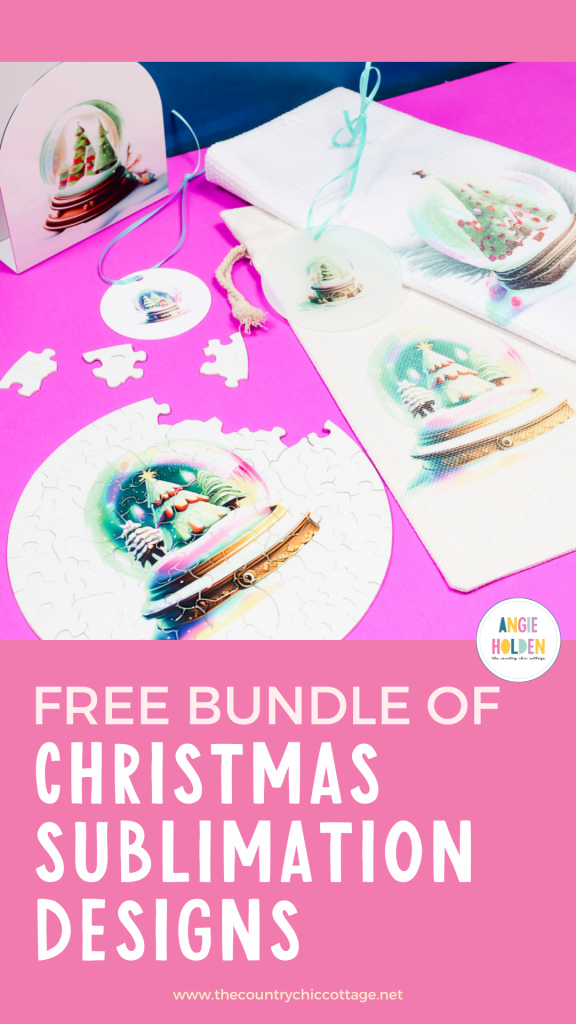
I am so excited to teach you how to use Christmas sublimation designs to create a variety of different sublimation projects that are perfect for gift-giving or your own home. Along with showing you how to make all of these projects, I am also sharing the sublimation designs for free. So don’t miss those below!
If you’re new to sublimation, my Beginner’s Guide is a great resource for getting started.
Christmas Sublimation Design Projects
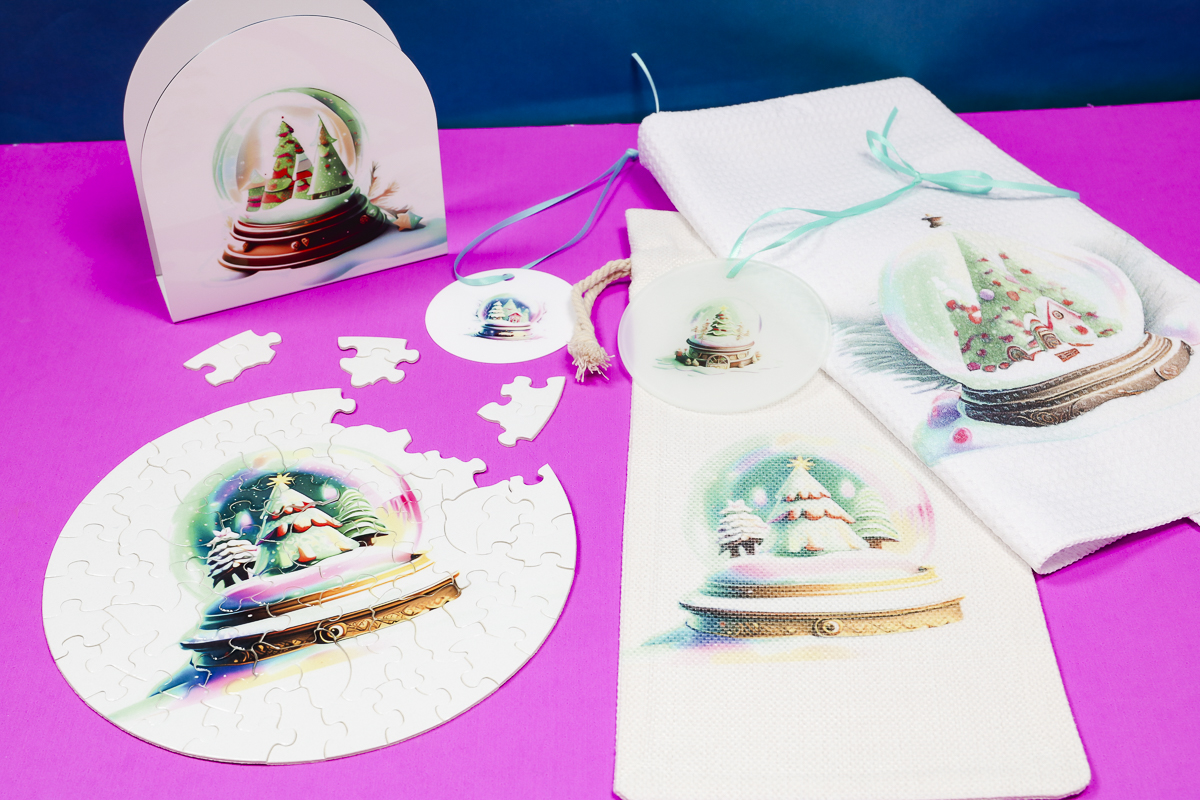
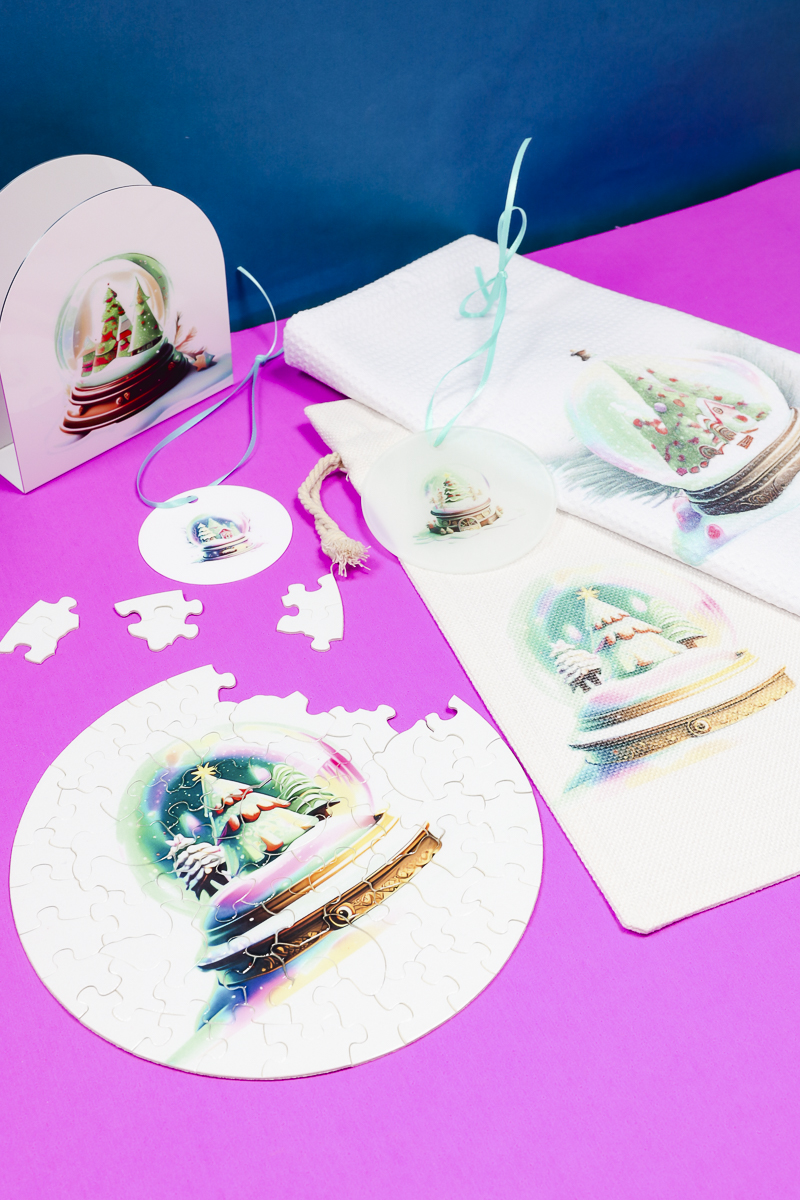
There are many different ways to use these Christmas sublimation designs. I’ll teach you how to make a sublimation puzzle, ornaments, a wine bag, a hand towel, and a napkin holder.
These are just the tip of the iceberg of projects that can be made using these sublimation designs. You can watch me make all of these projects by pressing play on the video below.
Supplies Used
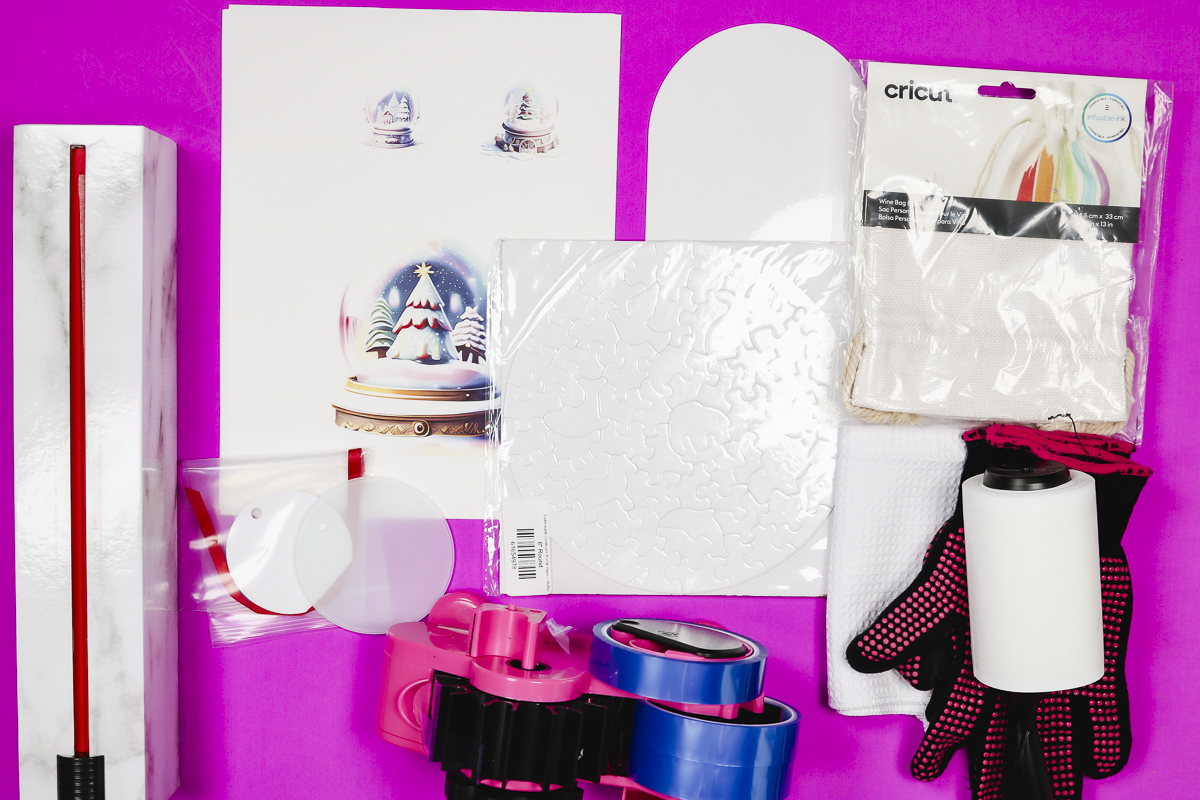
Let’s take a look at the supplies and designs used for making these projects.
Designs Used:
Along with these free snowglobe sublimation designs, I am also including a set of eight holiday designs that you can use for your sublimation projects as well.
I didn’t want to stop there. Along with my free Christmas sublimation designs my friend Cori George from Hey Let’s Make Stuff has a collection of free sublimation designs for you too.
Blanks Used:
Other Supplies:
How to Make Sublimation Projects with Christmas Designs
Now that you have your supplies, it is time to make your projects with these free Christmas sublimation designs.
How to Prepare Blanks for Sublimation
Each of these blanks will be prepared in a similar way. The process is similar for blanks that are solid and blanks that are fabric.
Clean the Blank
The first thing we need to do is clean the blank. I like to use a lint roller to remove all dust, hair, and other debris.
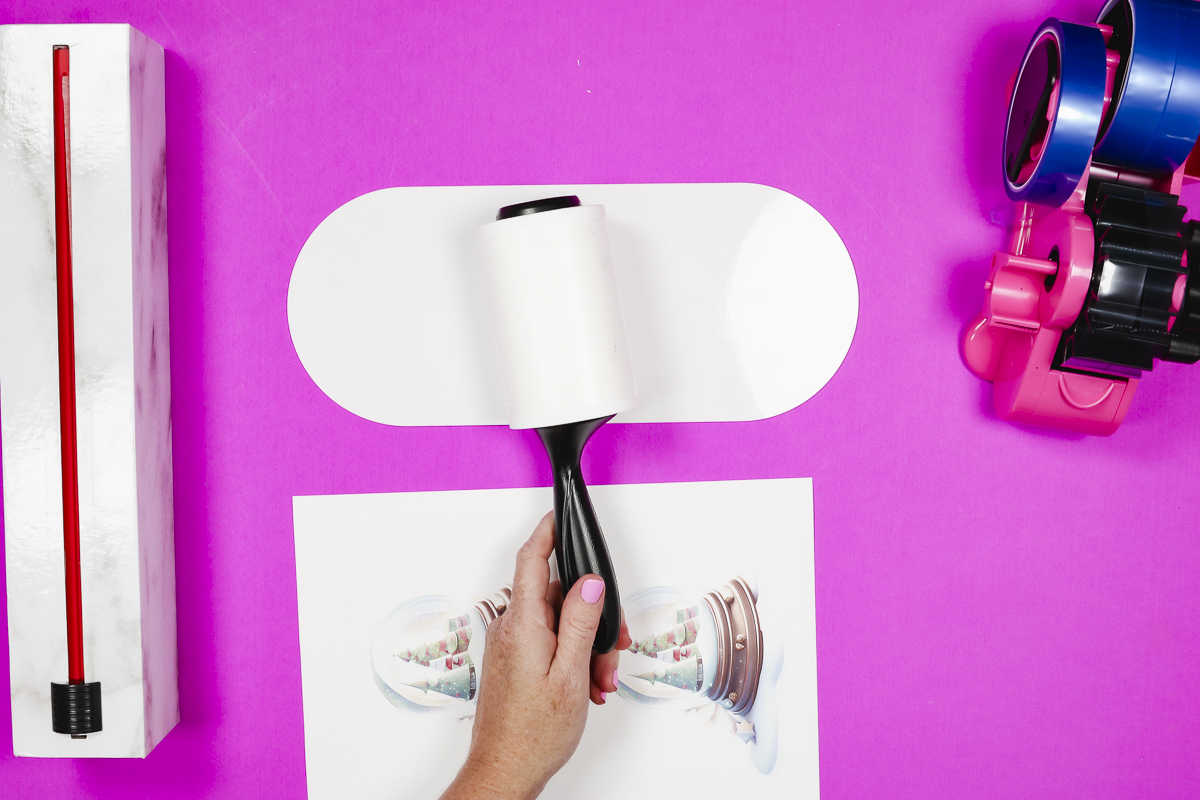
If your solid blank has anything on it that needs more than a lint roller, use a lint-free cloth and rubbing alcohol to clean it. If you use rubbing alcohol, make sure it’s completely dry before adding any sublimation print.
Preheat Your Blank
For some blanks, like fabric and chipboard, you’ll want to preheat your blank.
The goal of preheating is to remove all moisture from the blank. Watch the press for steam. Chipboard especially tends to have a lot of moisture. If there is still steam coming from blank, pre-press it again.
I like to preheat blanks for 10-20 seconds or more if needed at the same temperature I will use for pressing.
Print Sublimation Designs
A sublimation print is sublimation ink printed onto sublimation paper from a sublimation printer. Make sure your design is sized appropriately for the blank you’re using before printing.
You cannot use a regular home printer with regular ink. You need a special printer, ink, and paper for sublimation projects.
Locate Christmas Sublimation Designs onto Sublimation Blanks
Next, we’re going to locate our designs on our sublimation blanks. Use heat-resistant tape and tape the print into place. How the design is placed will depend on the design itself and the blank you’re using.
Heat Press Sublimation Designs
For all sublimation projects, I use protective paper on both the top and the bottom of the sublimation of the project to protect my heat press itself. I don’t want to risk sublimation ink getting onto my heat press as that can ruin future projects and the heat press itself.
Then you will press by following the temperature and time requirements for the blank that you’re using. Let’s look at each of the different projects I’m making today.
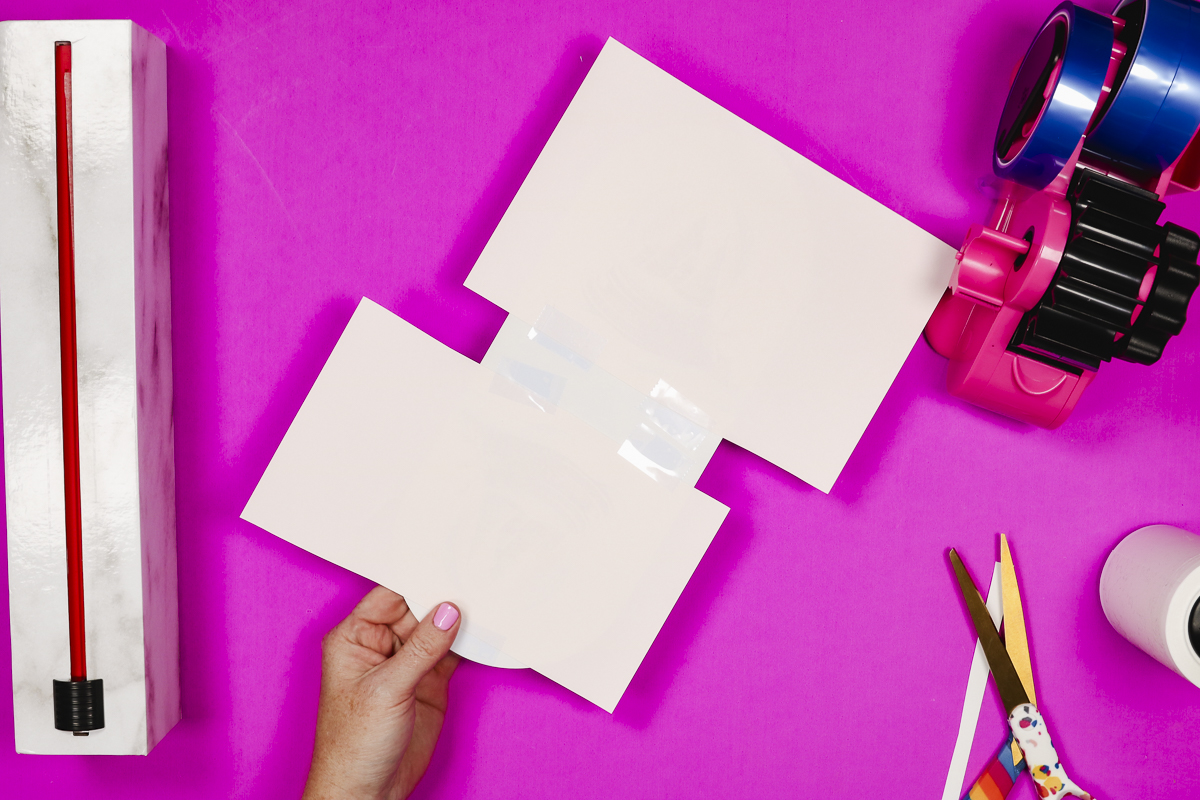
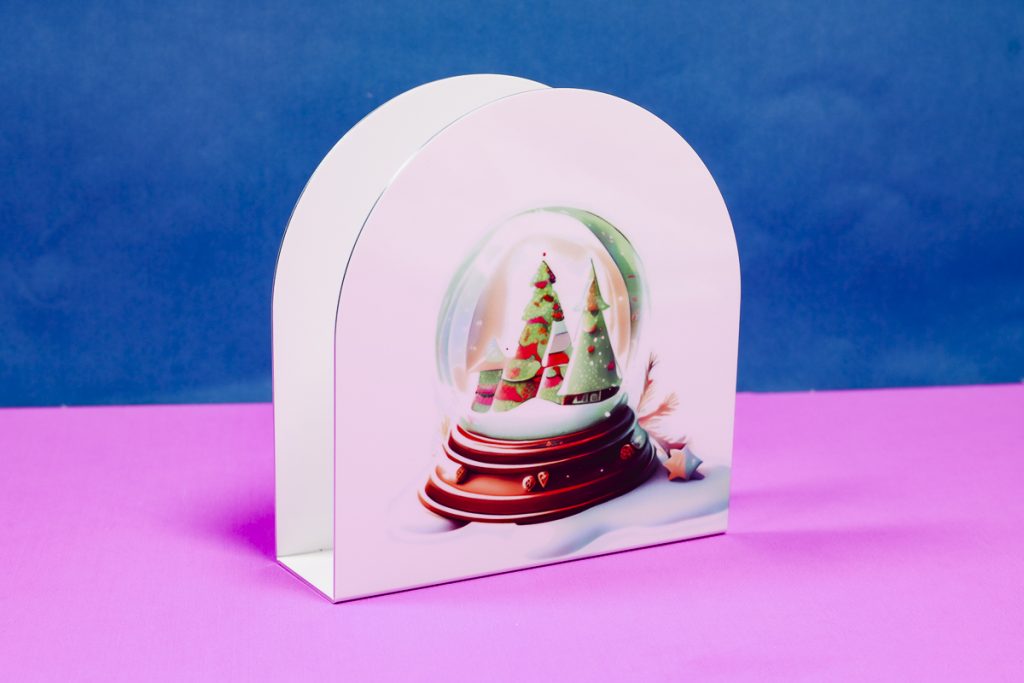
Napkin Holder
First up we have a sublimation napkin holder. This sublimation napkin holder has both a front and a back side. The napkin holder is flat for pressing and will be bent into place afterward.
You want to sublimate the front of this blank. The back is where you can see the lines for bending. Add your print to the other side.
I added snowglobe prints to both sides of the napkin holder. I wanted both snowglobes centered on the blank and pressed both of them at the same time.
My blank called for a temperature of 385 degrees for 120 seconds and a Nomex Pad. It says to use a Nomex pad underneath the blank. Heat it before adding the sublimation blank and then heat the blank.
I like my Nomex pad in the Autopress for a lot of my sublimation blanks so I left it in place for most of these projects.
Press for the full-time with protective paper both above and below the project and then remove the sublimation prints. When your napkin holder has cooled, bend it into shape and you have a finished project with a beautiful snowglobe design on it.
Sublimation Wine Bag
The sublimation wine bag I have calls for 385 degrees and 60 seconds.
Locate the design where you want it. Place protective paper inside the bag to prevent the sublimation ink from bleeding through to the back of the fabric.

For fabric projects, I like to rip around the edges of the print to minimize press marks. The Christmas sublimation design transferred perfectly and I love how it turned out.
Waffle Weave Sublimation Kitchen Towel
The sublimation kitchen towel I’m using has a temperature setting of 380 degrees for 60 seconds. I ripped the edges of my print and located it where I wanted it and taped it into place.

I really love how this snow globe transferred. The design is perfect and I really like how these blanks sublimate.
Sublimation Puzzle with Christmas Design
I think these sublimation puzzles would make a great gift idea or even a stocking stuffer. They turned out perfectly.
I taped the design into place on the back of the puzzle because I was having a hard time getting it to hold still while pressing.
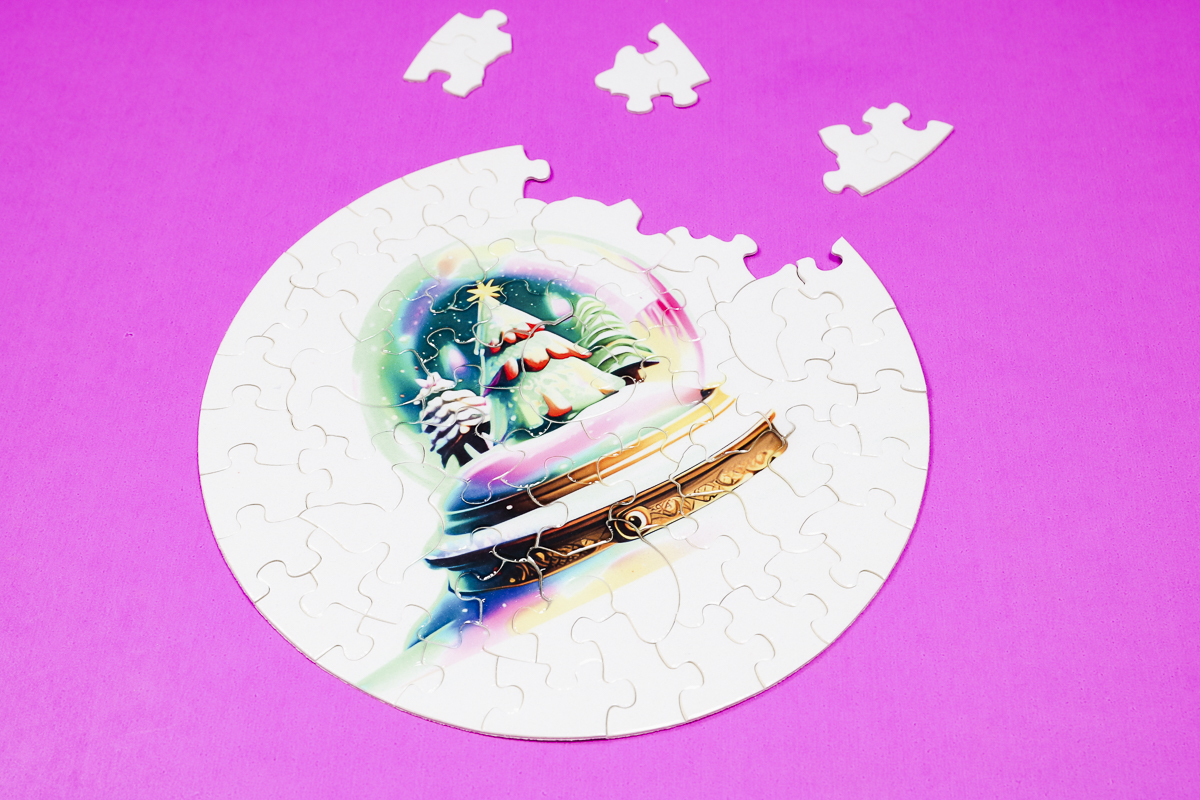
The pressing temperature is 400 degrees for 60 seconds. When I removed the tape the puzzle did come apart a little bit but it went back together with no problem.
I pressed the puzzle with the cardboard backing in place. After it’s pressed you can discard the cardboard.
Sublimation Christmas Ornaments
Next up are the sublimation Christmas ornaments.
On the left is the metal ornament. With this ornament, you’ll locate the design on the front like other sublimation blanks.
On the right is the glass sublimation blank. On this one, you place the sublimation blank on the back and you will not mirror your image.
With these designs, mirroring doesn’t really matter but if your design has any letters or numbers it will matter, so make sure you’re printing them correctly.
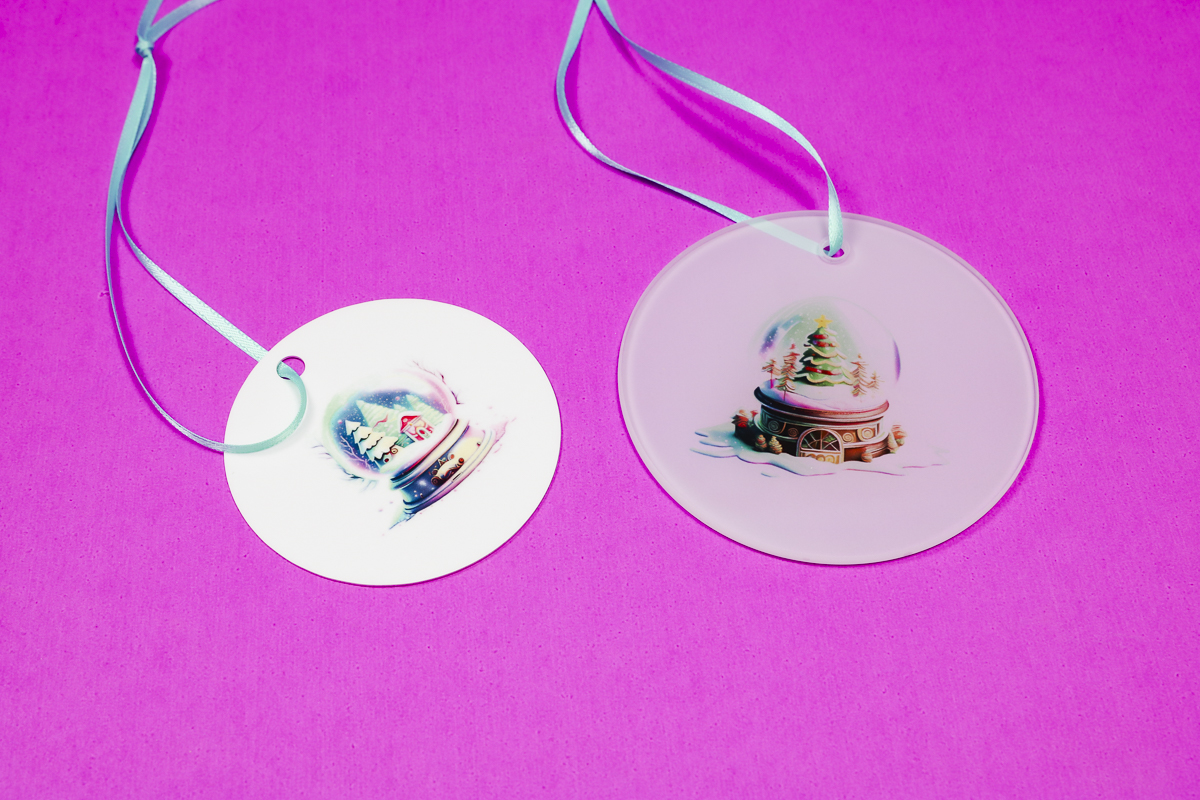
To finish the ornaments, add ribbon for hanging and they’re ready for your tree or for gifting.
The time and temperature for the glass ornament is 90 seconds at 400 degrees. For the metal ornament, it is 60 seconds at 350 degrees.
Final Thoughts on Christmas Sublimation Designs
Now we have a collection of really cute sublimation projects perfect for holiday decor, to give as gifts, or even to use as a gift bag.
I love these snow globe designs. They are beautiful and add a subtle holiday touch that I love.
If you’re looking for more Christmas sublimation designs, click the links in the supply list above for my full collection and Cori’s fun Christmas collection.
If you have any questions about how the projects were made, feel free to leave them in the comments and I’ll be happy to answer them for you.