This post and photos may contain Amazon or other affiliate links. If you purchase something through any link, I may receive a small commission at no extra charge to you. Any supplies used may be given to me free of charge, however, all projects and opinions are my own.
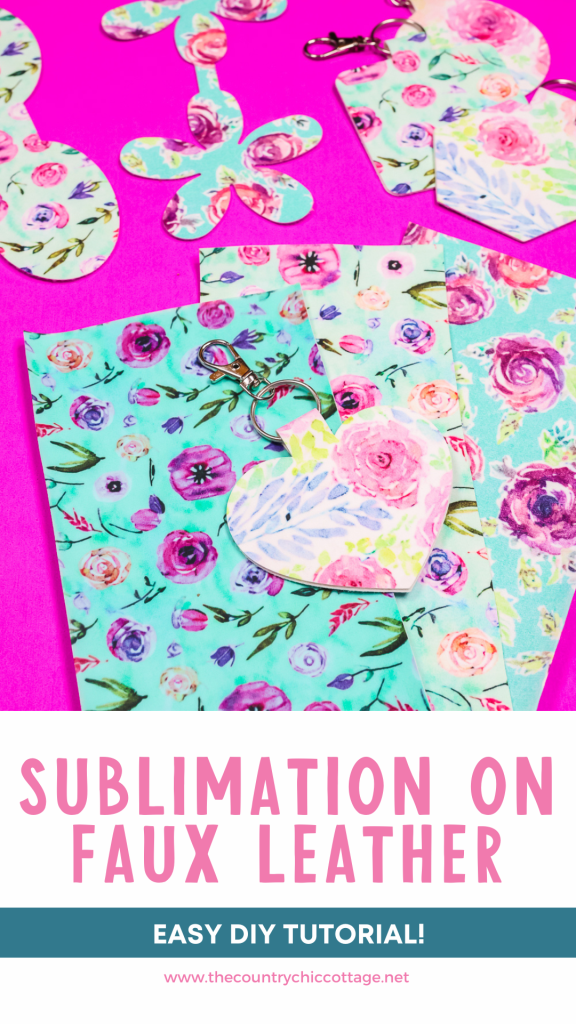
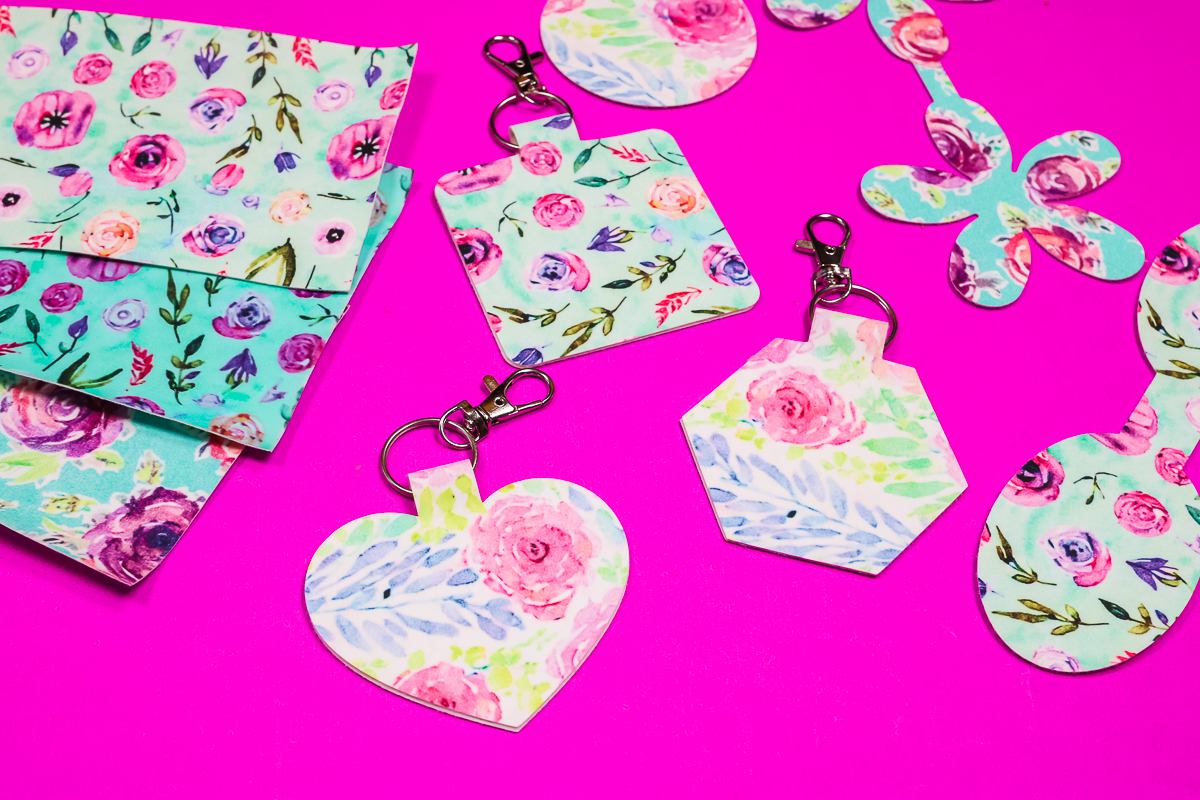
I love finding new ways to use sublimation! Today I’m going to show you how to apply sublimation on faux leather sheets.
This project combines two of my favorite things – using my Cricut machine and sublimation. You’re going to love using this process to create key fobs, bookmarks, and more. This post will teach you how to make key fobs and you can use this same process to create other crafts like bookmarks, hair bows, leather cuffs, and more.
If you’ve never used faux leather before, I have a post that includes tips on cutting faux leather that will help get you started.
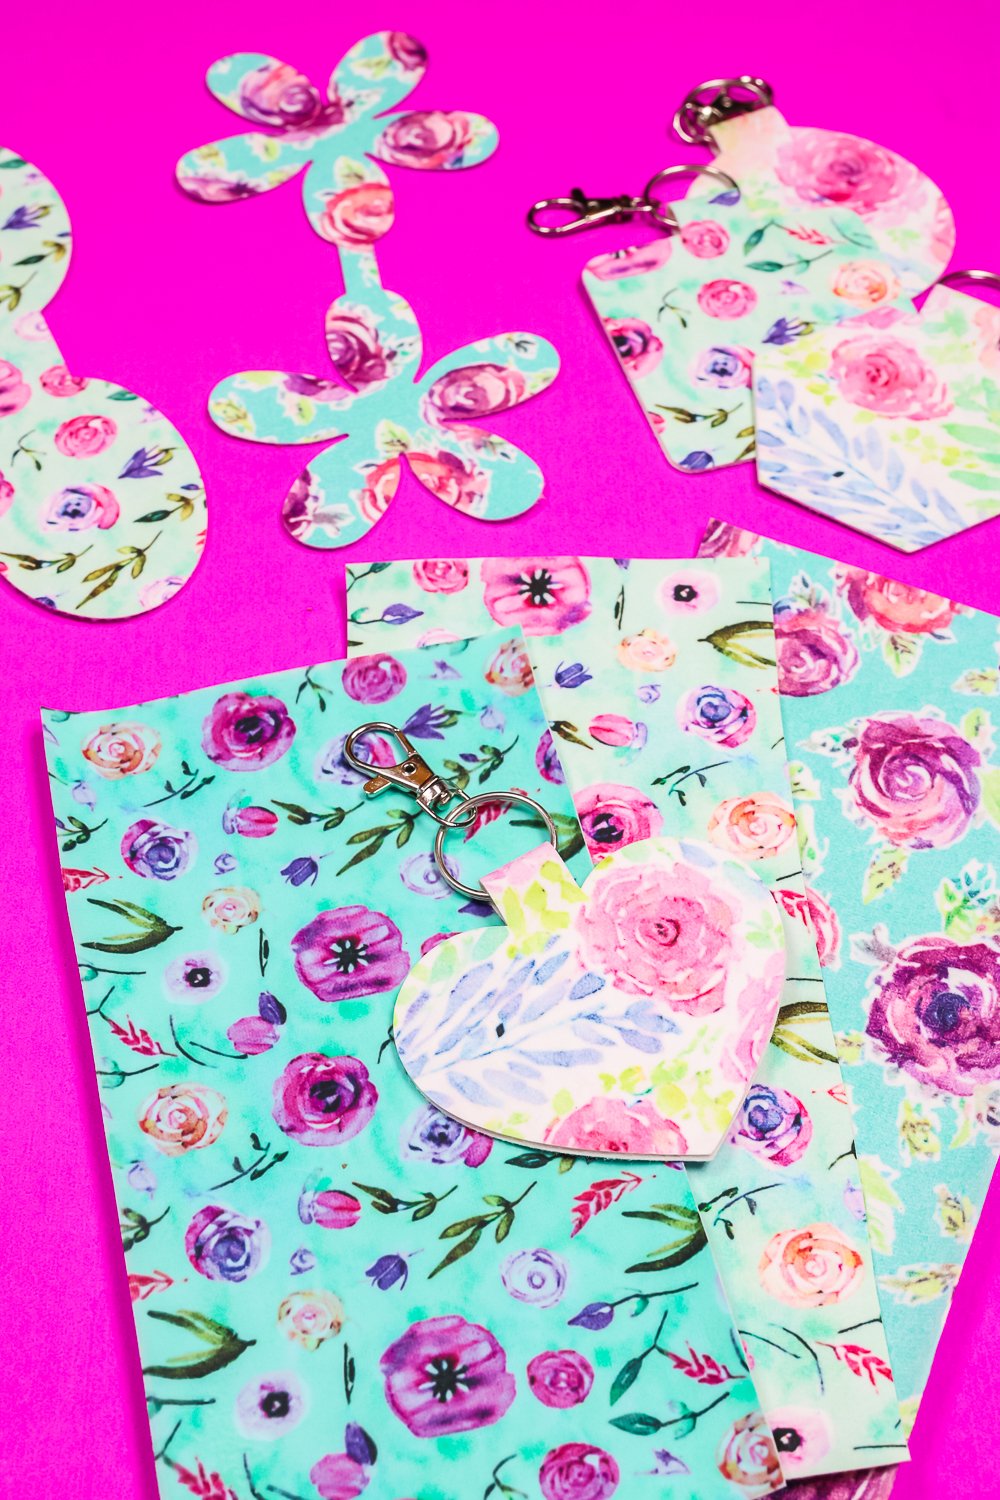
I will mostly use white faux leather sheets for this tutorial. I will also show you how sublimation looks on faux leather which is a color.
You can watch me add sublimation to faux leather and learn my tips for successfully making key fobs by clicking play on the video below.
How to Apply Sublimation to Faux Leather!
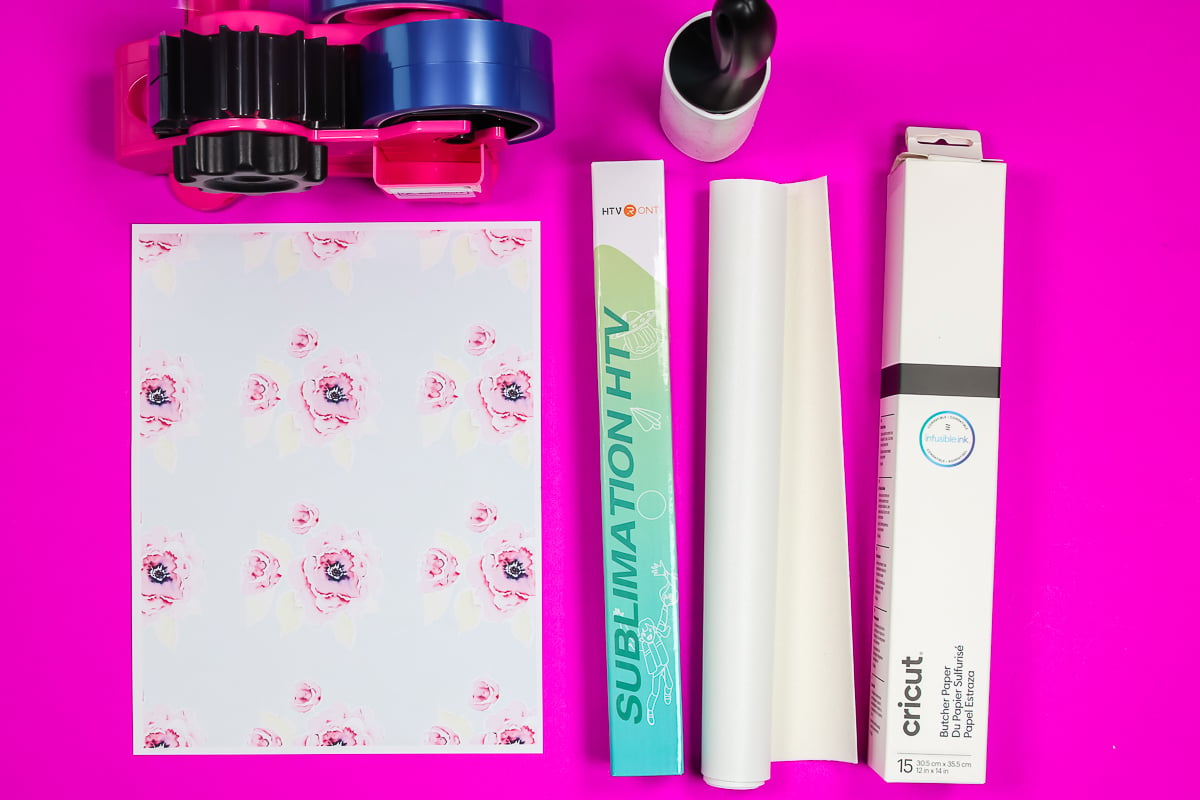
Adding faux leather to sublimation is a slightly different process than regular sublimation. To create these sublimation faux leather projects, you will need a sublimation print.
A sublimation print is sublimation ink printed on sublimation paper from a sublimation printer. You will also need a sublimation HTV.
Faux leather isn’t a polyester material, which means the sublimation ink will not bond to it permanently. A sublimation HTV will allow you to get the sublimation look on non-polyester fabric!
Supplies Used to Create Faux Leather Sublimation Key Fobs
NOTE: If you use an EasyPress, you’re going to need to press down really, really hard the whole time. I think the Autopress would work but I haven’t tried it yet. If you use an EasyPress, I can’t guarantee the results. Be sure to test first. I recommend using a heat press that allows you to set the pressure to heavy pressure.
How to Make Faux Leather Key Fobs with Sublimation
To make faux leather key fobs with sublimation, we need to begin by adding sublimation to the faux leather. Since my sublimation print is printed on an 8.5″ x 11″ paper I am using that as my size guide for my sublimation HTV and and faux leather.
Both the faux leather and sublimation HTV I have are 12″ wide. I cut them both down to 8.5″ so their final size is 8.5″ x 12″. I used a paper trimmer to help me have a nice straight edge.
If you don’t have a paper trimmer that’s okay. You can totally use scissors. If you’re using scissors, I would recommend cutting them just a little larger than 8.5″ to make sure you get that full length.
How to Apply Sublimation HTV to Faux Leather
On the faux leather, there is a smooth, leather-like side and then a side that is kind of like a felt. Do not try to sublimate on the felt side. Always put HTV or sublimation on the smooth side of the faux leather.
Apply Heat to Faux Leather and Sublimation HTV
Preheat your heat press to 400 degrees and then add your butcher paper.
To prep the faux leather, I am going to add it to the butcher paper and then close my heat press slightly to kind of preheat the faux leather. This will remove any moisture that may be in the faux leather. I did not close the heat press all the way, just hovered it over the faux leather for 10-15 seconds.
Next, we want to lint roll the whole area. Because the sublimation HTV is clear any hair, lint, or dust will show through on the final project.
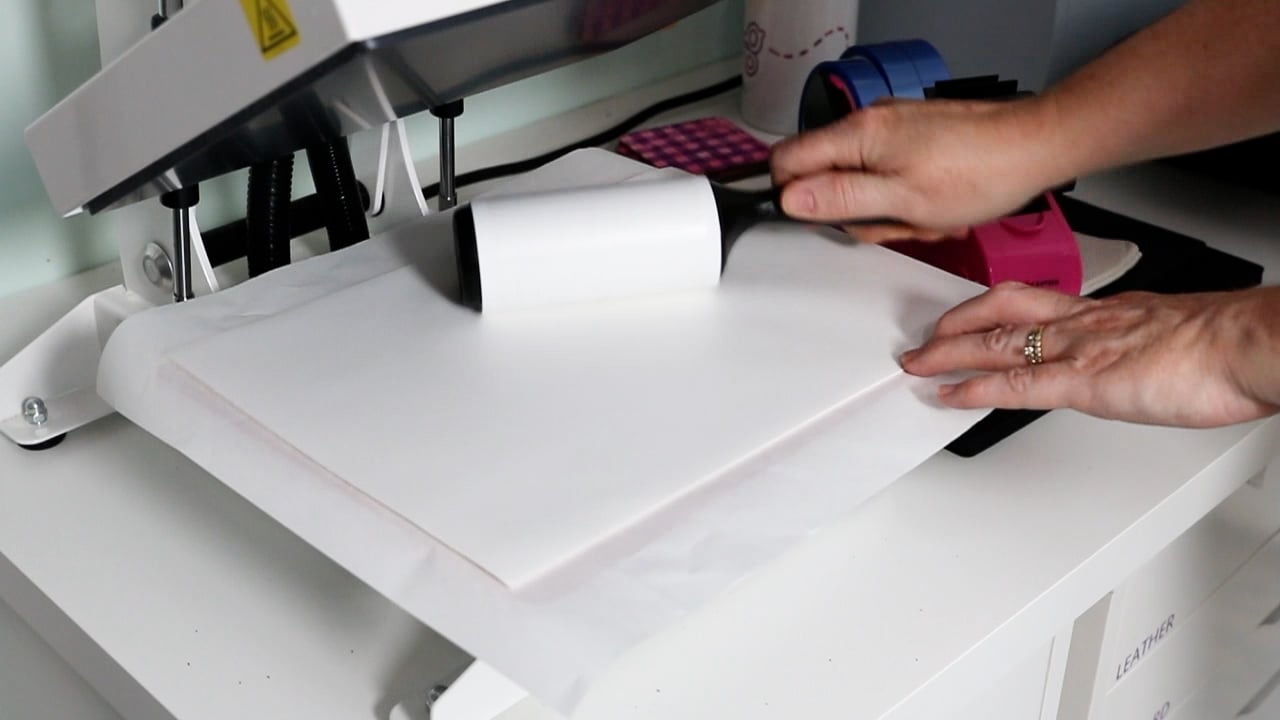
Add the HTV shiny side up on the faux leather and then hold it in place with heat tape. Line the HTV up on top of the faux leather as best as you can. We do have the butcher paper below the faux leather so if it’s off a little bit you’ll be okay.
I found that this HTV did curl up a little bit so using heat tape to hold it in place worked perfectly.
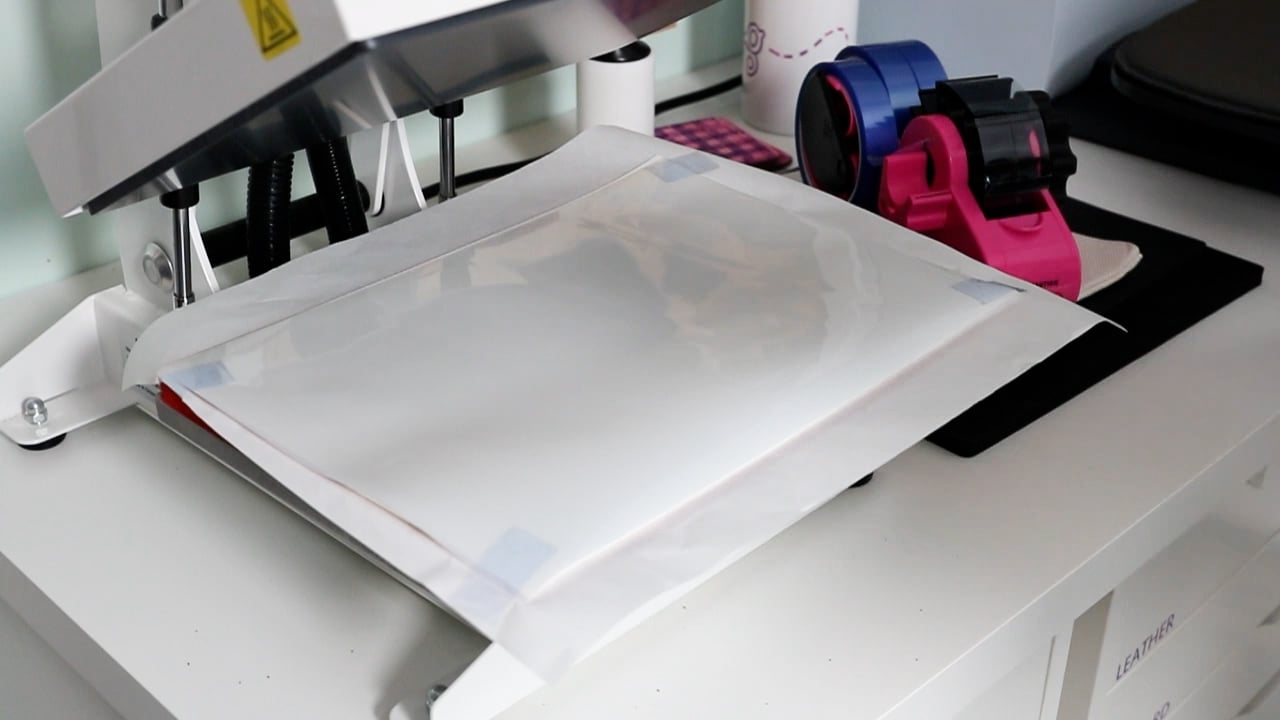
Add another piece of butcher paper over the top and close the heat press. Press at 400 degrees for 15 seconds with heavy pressure. When the 15 seconds is up, open the heat press and remove the top piece of butcher paper.
This does need to cool completely before you peel back the top carrier sheet. When it’s cool, peel back the carrier sheet and you now have clear sublimation HTV on top of your faux leather.
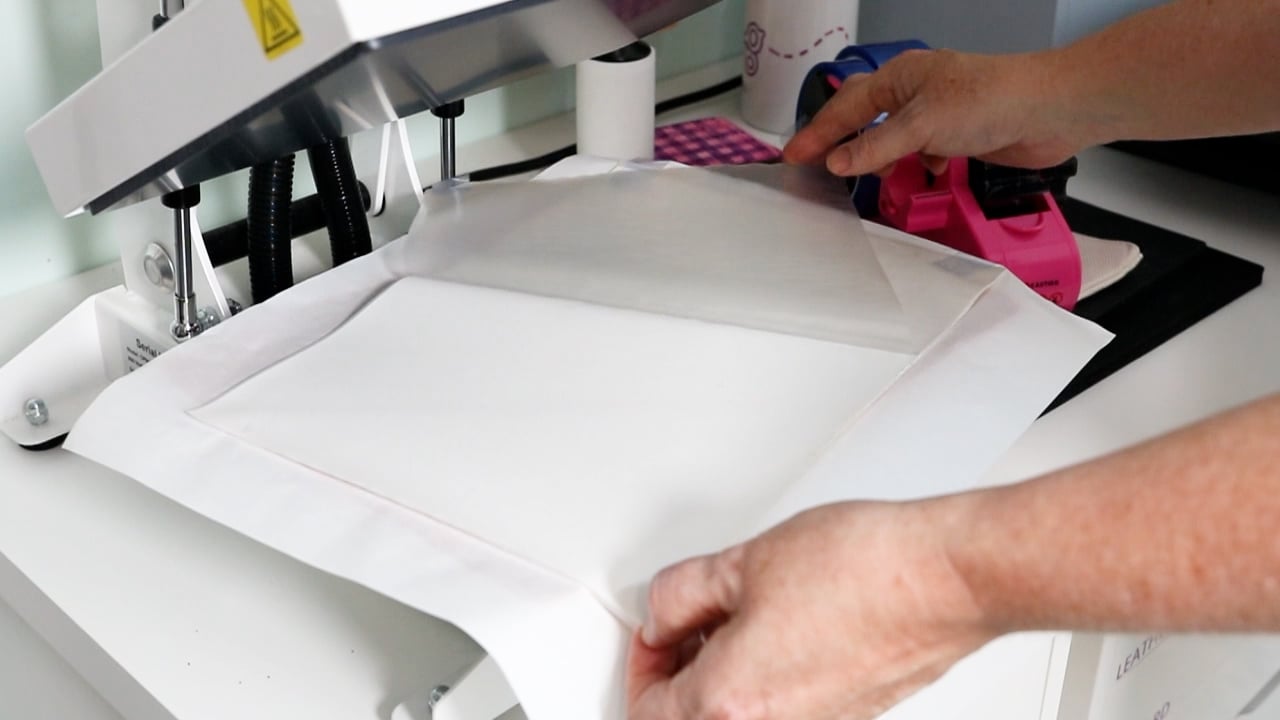
How to Apply Sublimation to Sublimation HTV on Faux Leather
Now that we have our sublimation HTV added to our faux leather, the sublimation process is similar to a regular sublimation project.
Add the sublimation print ink side down on top of the sublimation HTV and tape it into place. You can reuse the butcher paper and heat tape that you used before.
You want to make sure you have everything added to the press in the proper layer. Butcher paper on the bottom, then the faux leather with the sublimation HTV on top. Sublimation print ink side down with butcher paper back on top.
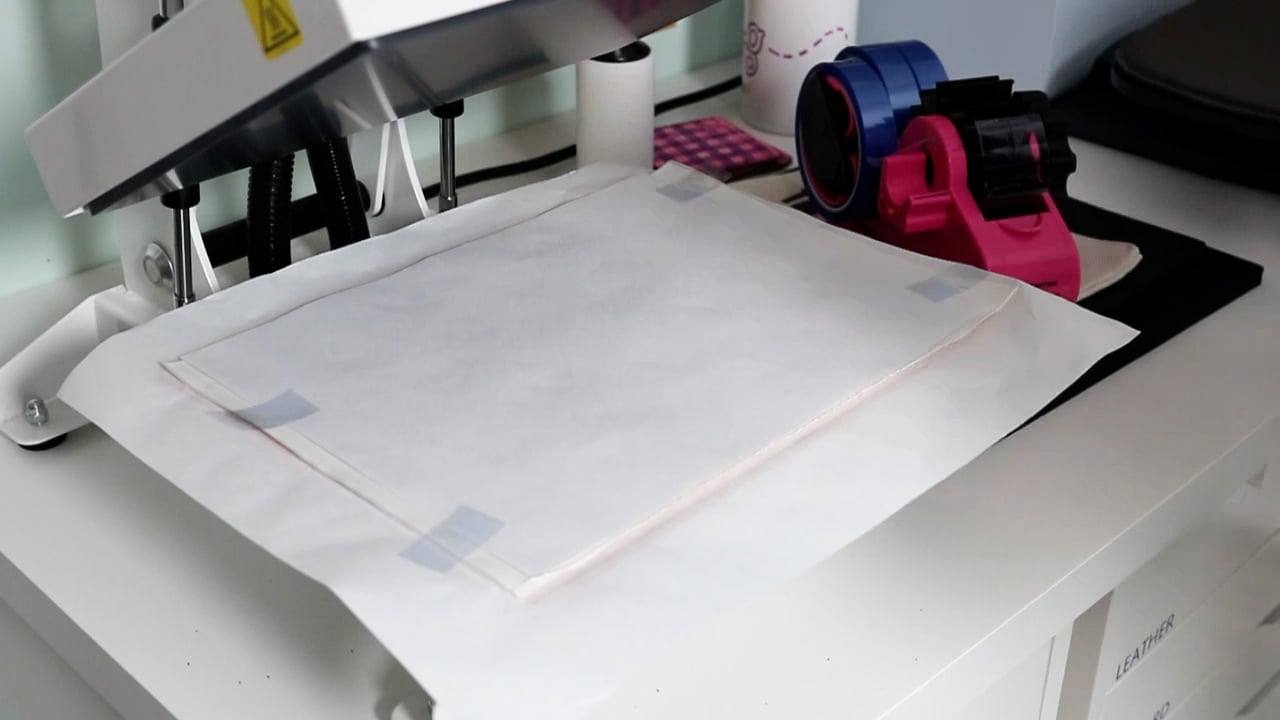
Close the heat press and this time we’re going to press at 400 degrees for 55 seconds with heavy pressure. Once the time is up, open the heat press. With this project, you can actually peel the sublimation print back when it’s warm.
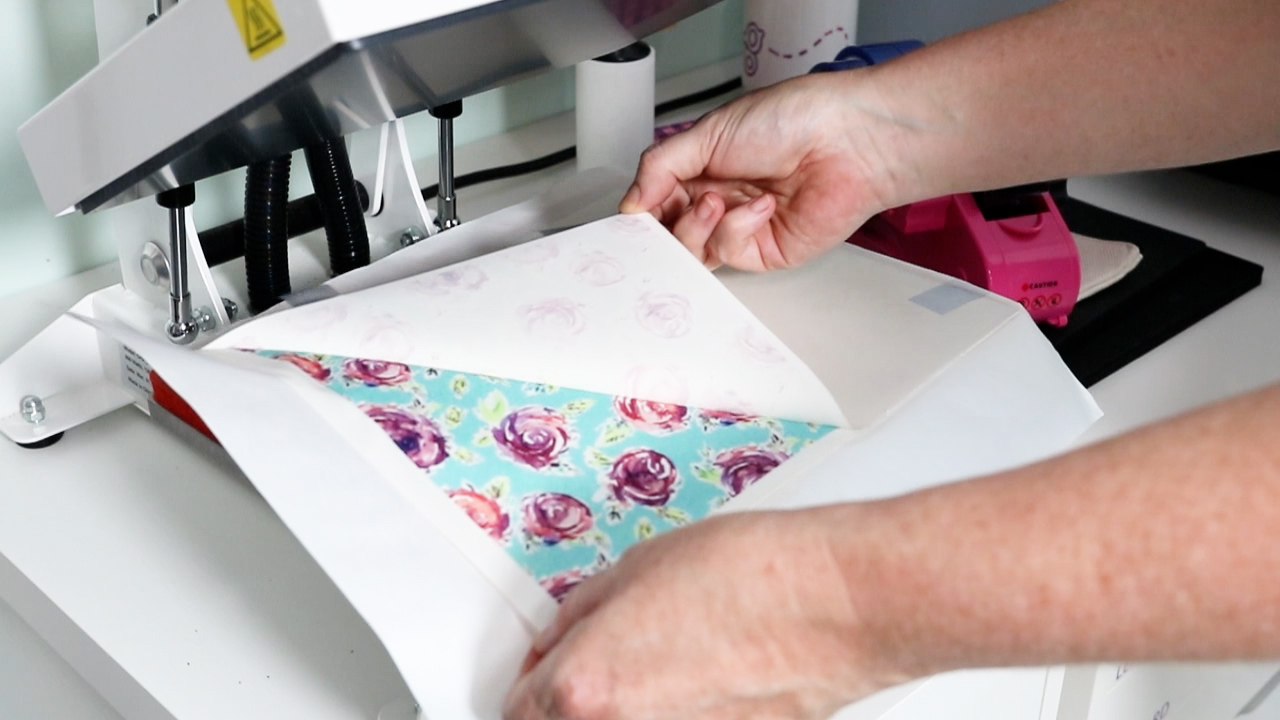
If it’s too hot for you to touch you can use heat-resistant gloves or let it cool until you can remove it with your fingers. Peel back the sublimation print to reveal your beautifully sublimated faux leather.
What to Watch For When Applying Heat to Faux Leather
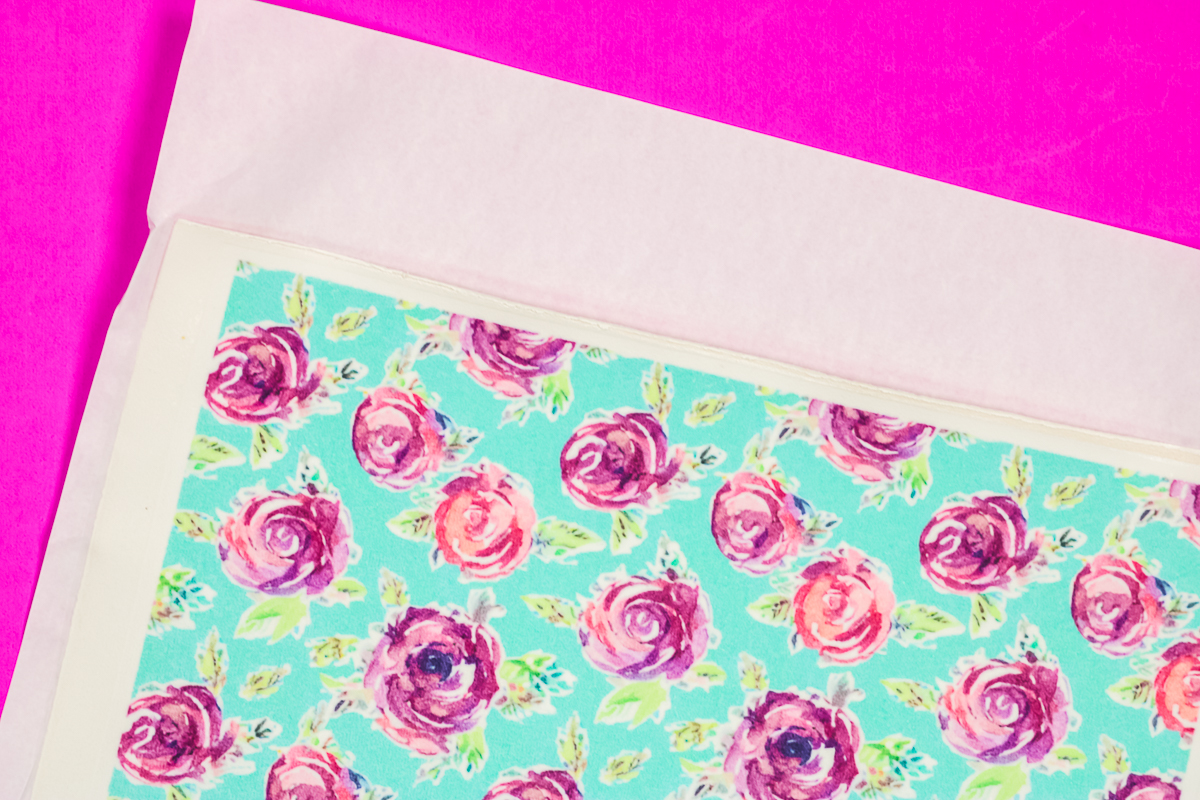
Note – If you have any of the faux leather that is not covered by the HTV, you may notice that the material melts. This is why we make sure to have butcher paper under and on top of the faux leather when pressing – to protect our heat press from any melting materials.
If your HTV hangs over the faux leather at all it may stick to the butcher paper. My HTV did stick to the paper. I left it in place until after I had sublimated. To remove the butcher paper from the faux leather, I just ripped it. I don’t need it anymore so ripping it doesn’t matter.
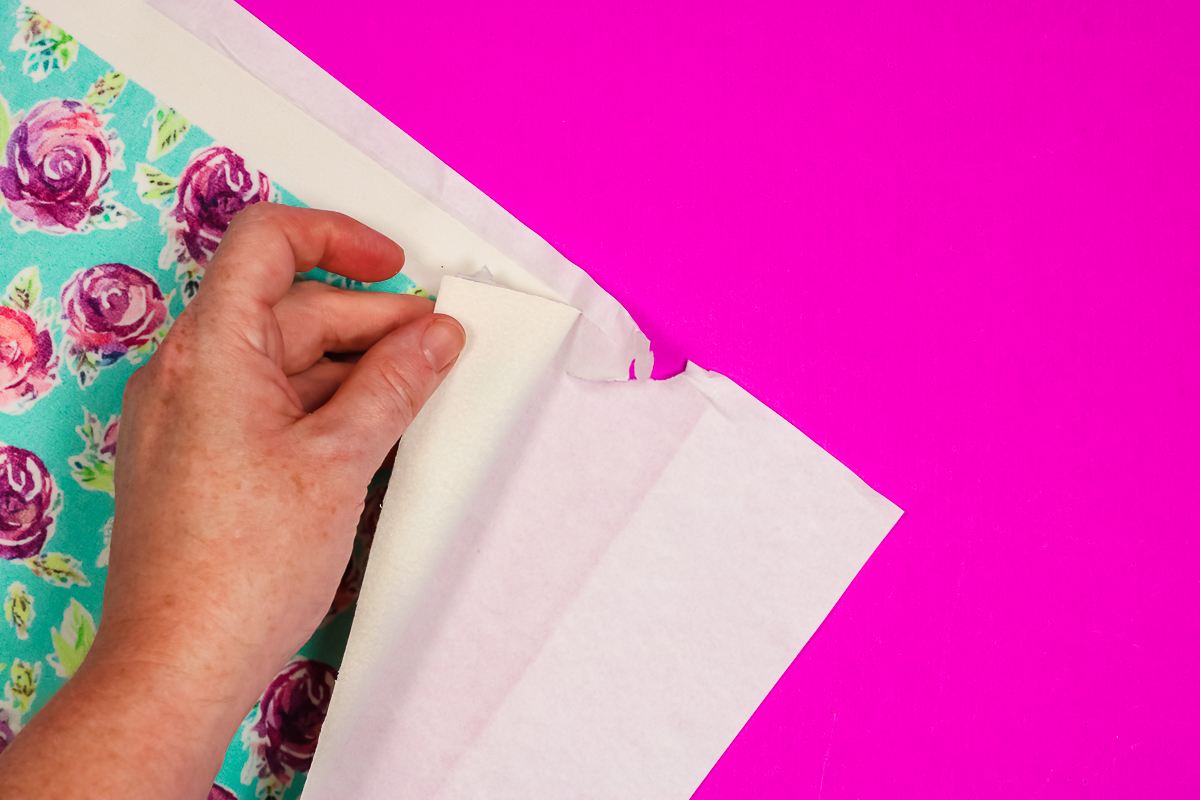
My sublimation print was slightly smaller than the faux leather so I trimmed off all the areas that aren’t sublimated to give myself a sublimated piece of faux leather that is ready to be turned into a key fob.
How to Cut Sublimation Faux Leather on a Cricut
Now we’re ready to cut out our key fob shapes. I am using the shapes that I shared for free here. You can use this same process to create other sublimation on faux leather projects.
Apply Material to the Cutting Mat
I am using a StrongGrip mat and my Cricut machine to cut out the shapes. Apply the faux leather design side down on the mat.
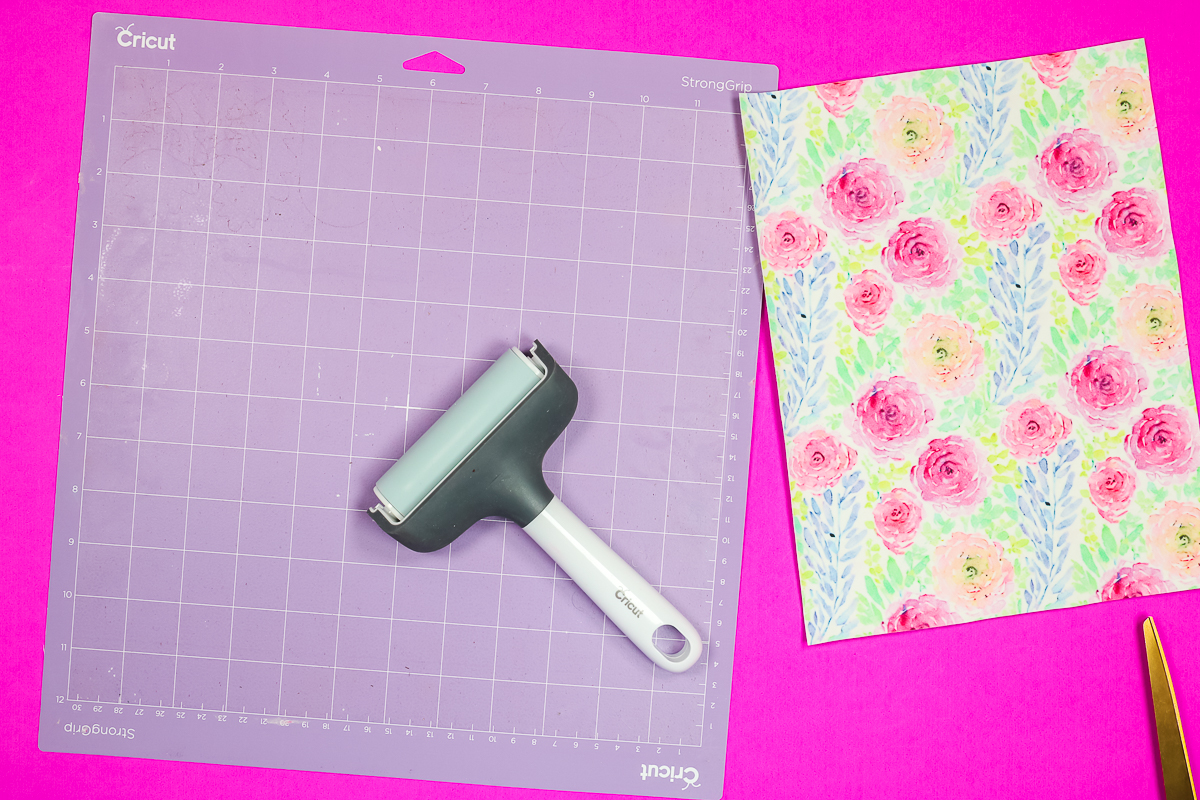
Putting your material face down on the mat means you don’t have to move the star wheels on your machine. If for some reason you want the material to be design side up, make sure you move those star wheels all the way to the side and trim your material so they don’t run over it.
If the star wheels roll over the front of the faux leather, you will see those marks in your material and they are unlikely to come out.
I recommend using a brayer to make sure the material is stuck down on the mat really well.
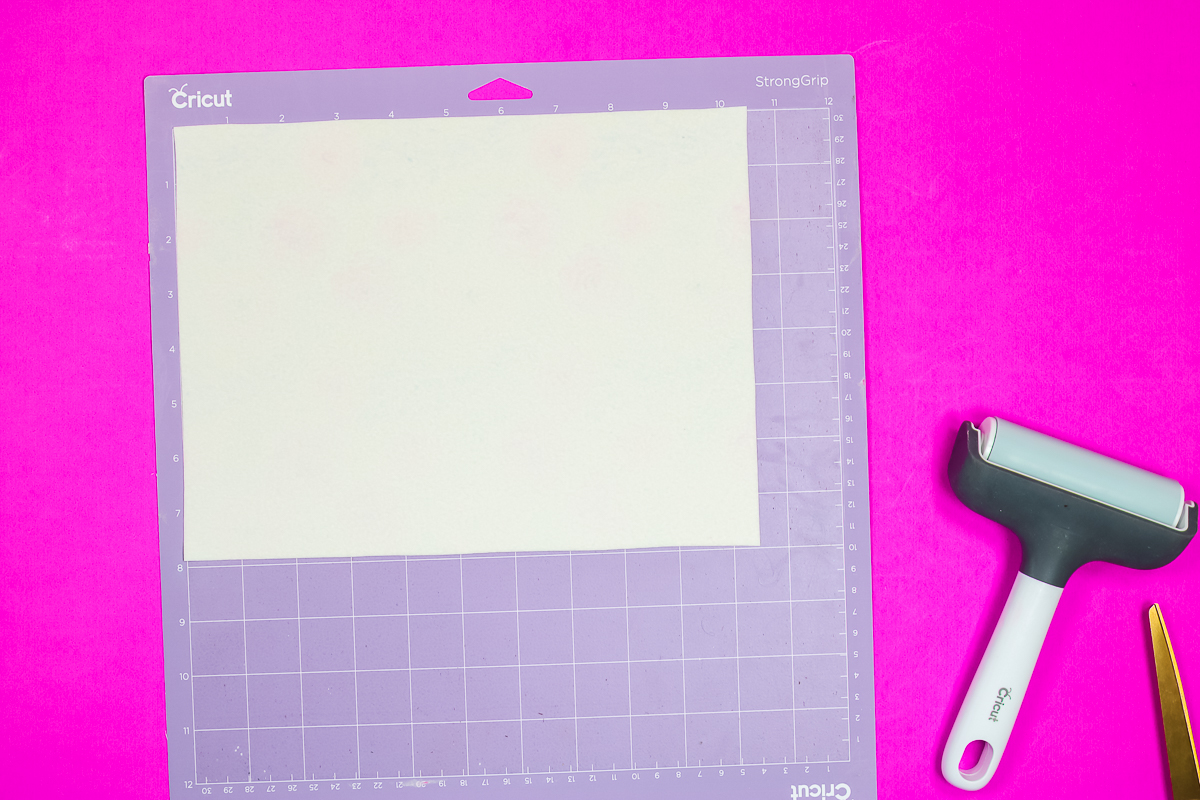
Cut Out Project Design
With the material on the mat, we’re ready to cut out our design. This material can be cut on any Cricut machine. Because it uses the fine point blade we can even make these with the Cricut Joy.
I am using the faux leather setting in Design Space. If you’re using an Explore machine with a dial, you will need to turn the dial over to Custom to be able to choose that setting.
Load the mat into the machine and then press the Go button to cut.
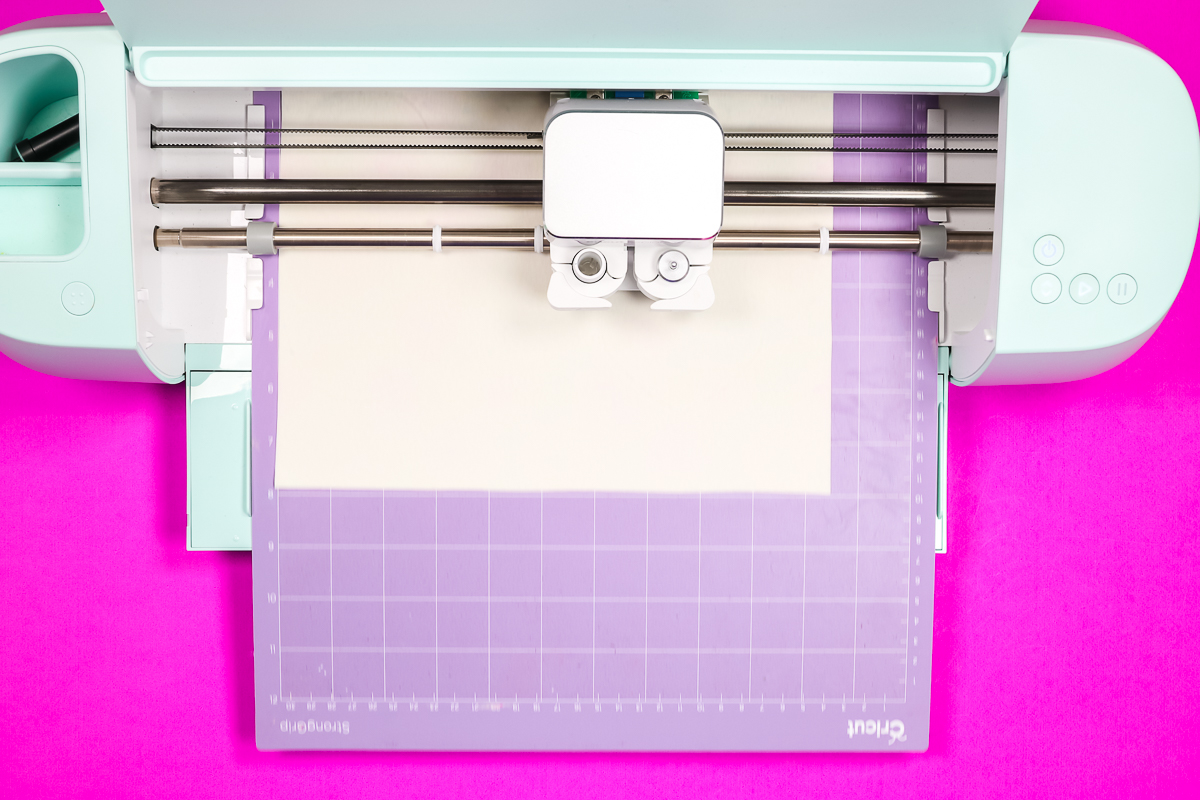
Because we added the sublimation HTV layer to our faux leather it is slightly thicker than it was before. To ensure I get a clean cut, I like to check my cut before unloading the mat.
To do this, I simply lift the corner of the material without unloading the mat first. By lifting the corner I’m able to check that the design is cut all the way through. If it is not, without unloading the mat press the Go button again and it will do another pass. Before unloading the mat, I would recommend checking it again to make sure it’s cut all the way through.
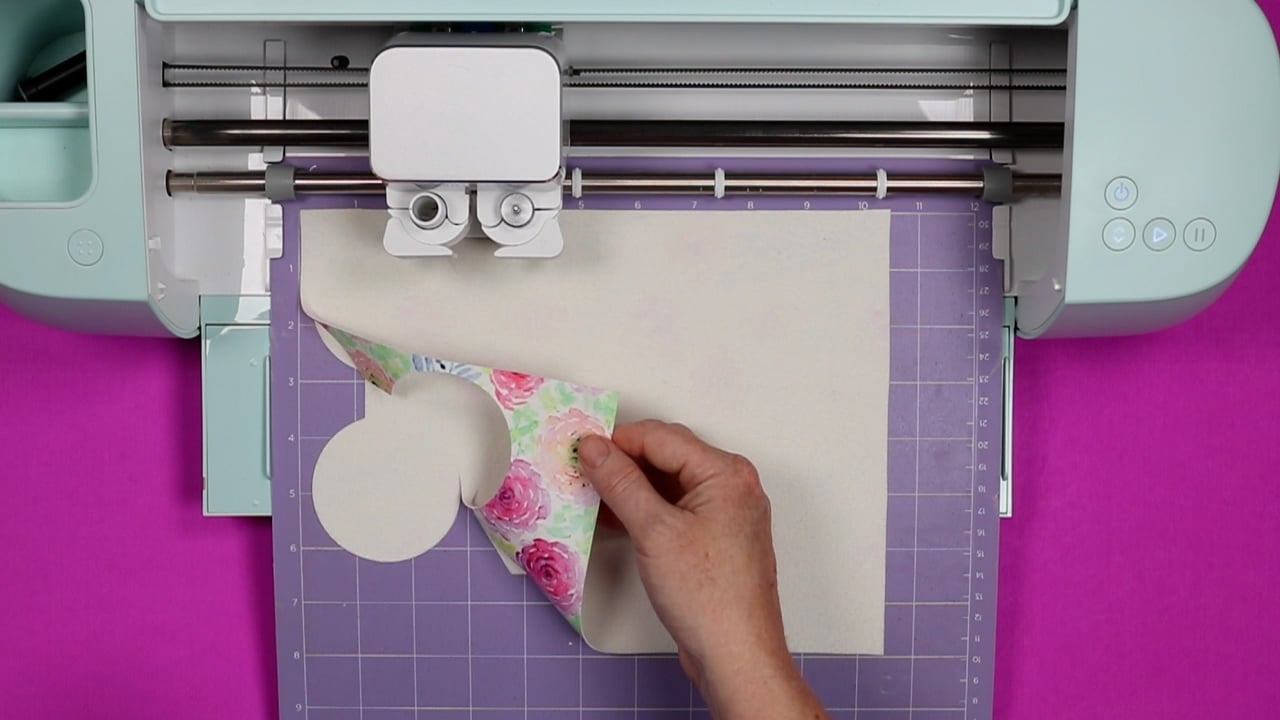
Mine did cut all the way through cleanly the first time so I unloaded my mat and now you can see my cute key fob designs.
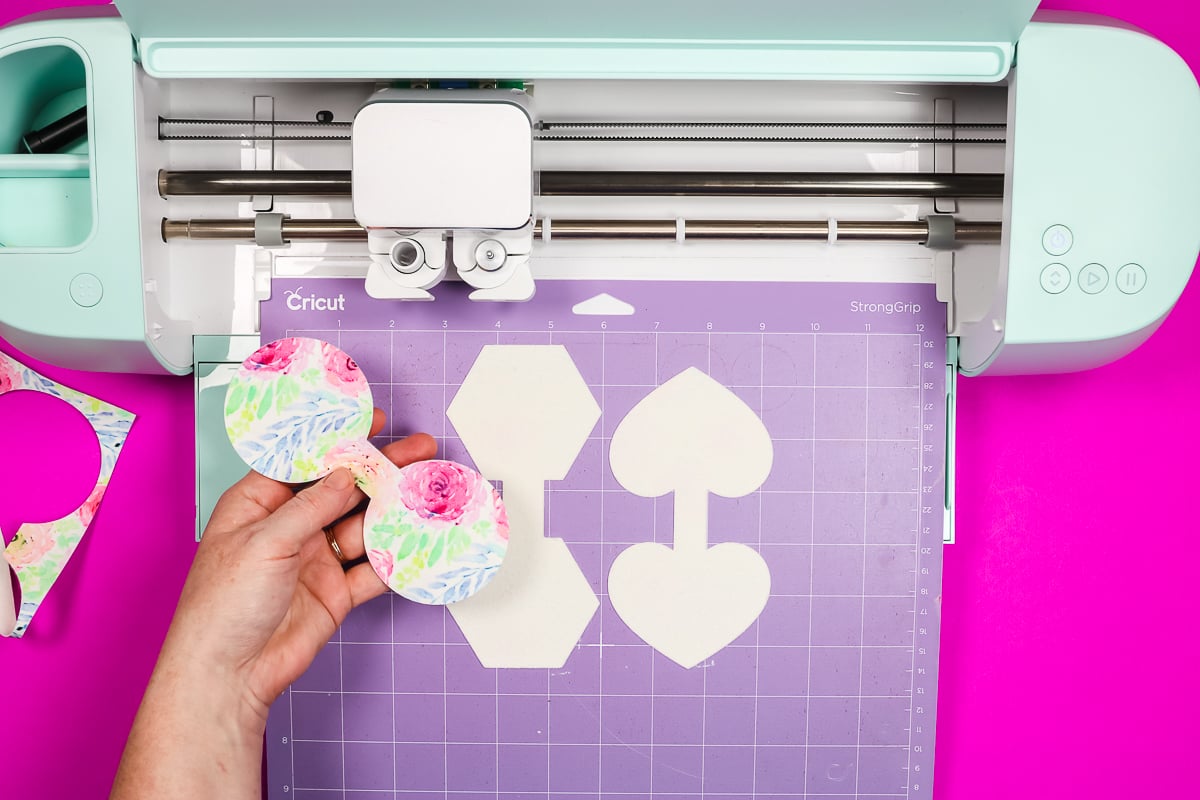
How to Assemble Faux Leather Key Fobs
To turn our beautiful sublimation faux leather material into key fobs, we are going to need a few more supplies. You’ll need a key ring of some sort and then a fast-drying glue.
You want a glue that says it can be used with fabric and you’ll want something fast drying because you will need to add some weight to the two pieces to get them to stick together without curling.
Lay your sublimation faux leather out flat with the felt side facing up. Apply the glue generously on one side of the shape.
I found that faux leather really absorbed the glue so you’ll need a thick bead all the way around the edges and the more in the middle. Do not apply adhesive to the tab between the two pieces, this is where the keyring will be and we want it to have room to move.
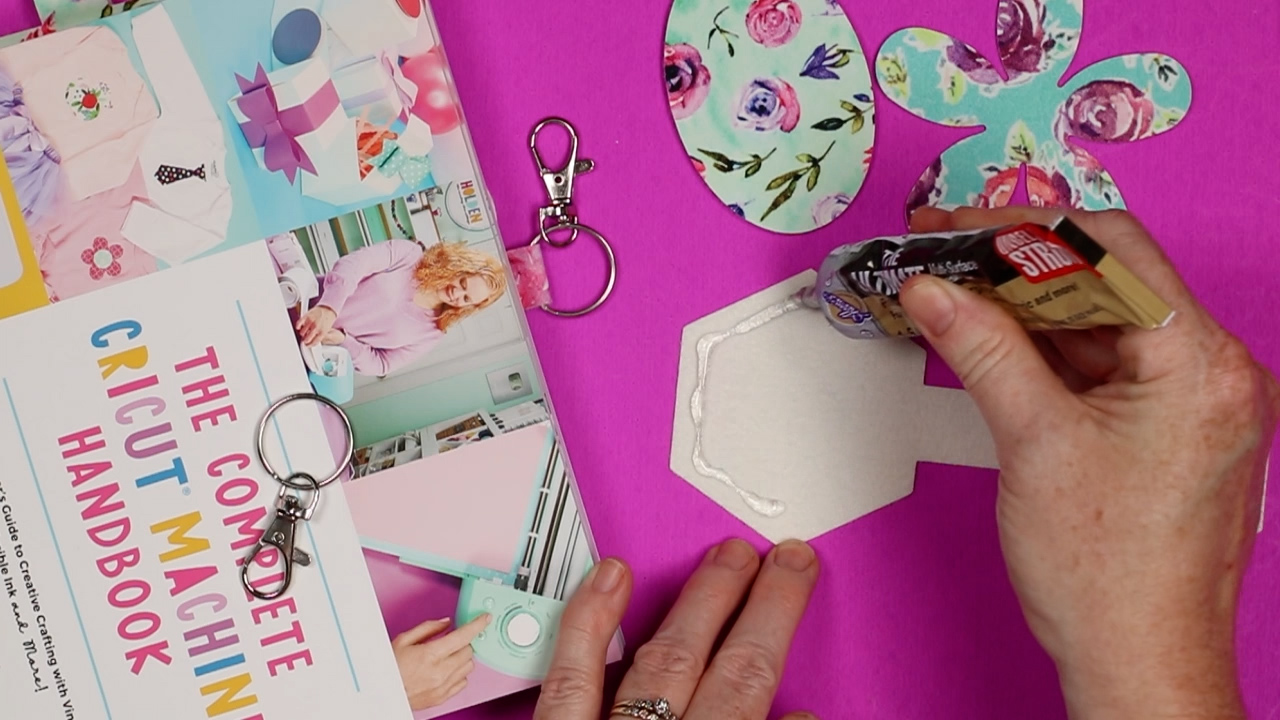
Take the side that doesn’t have adhesive and roll it so it will fit through the key ring. I found this was easy to do with all the different shapes and sizes of the design. The faux leather is very flexible.
Arrange the key ring so it is in the middle of the center rectangle area and then arrange the two sides together. The two pieces are exactly the same shape and size so they should line up perfectly.
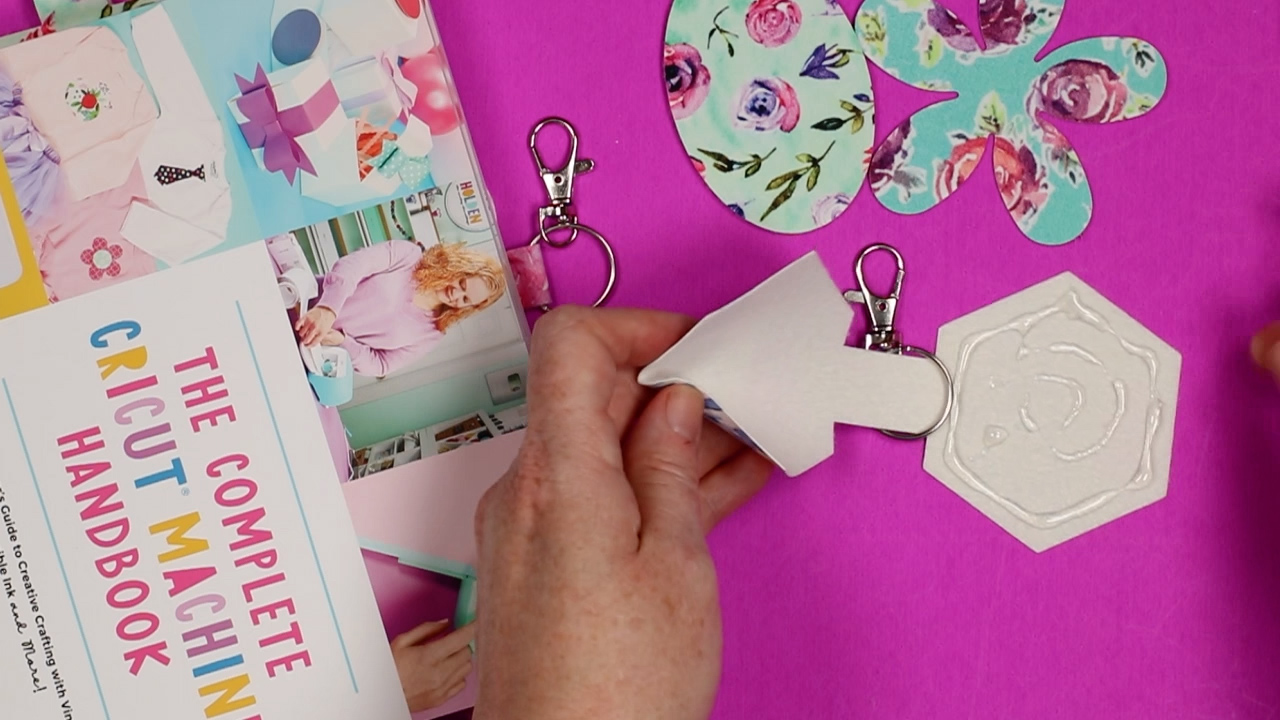
Press them together really well and then go around the edges and wipe away any adhesive that has squeezed out the sides. I did not have a lot of glue come out, the faux leather really absorbs it.
Allow the Key Fobs to Dry
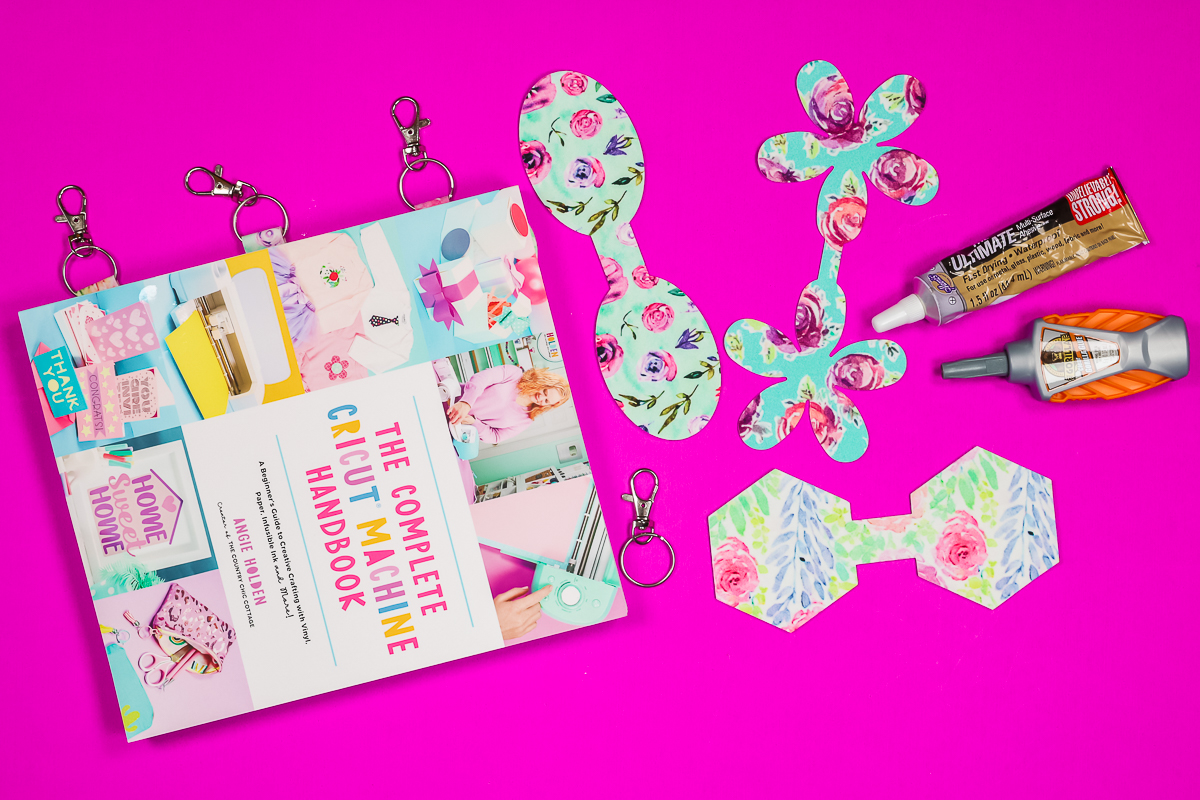
When you have all the edges cleaned up place the faux leather under something heavy until the glue dries. I am placing a few books on top of mine. You can see more about my Cricut book here!
Once the glue is completely dry, you have a completed faux leather with sublimation key fob!
Frequently Asked Questions
I’ve seen a lot of questions about adding sublimation to faux leather. I’m going to answer some of the most common below.
What can I make with sublimation on faux leather material?
After trying this project out, I am confident you could make anything with sublimation faux leather that you’d make with regular faux leather.
Imagine things like earrings, leather cuffs, hair bows, wallets, and notebooks, really the possibilities are endless. Think of projects you’ve already made with faux leather and then try them with sublimated faux leather.
Do I have to use white faux leather for sublimation?
No, you don’t. I really like to use white because it will show your sublimation design in the most true colors.
I did add one of the designs to a couple of different colors of faux leather to give you an idea of what it looks like.
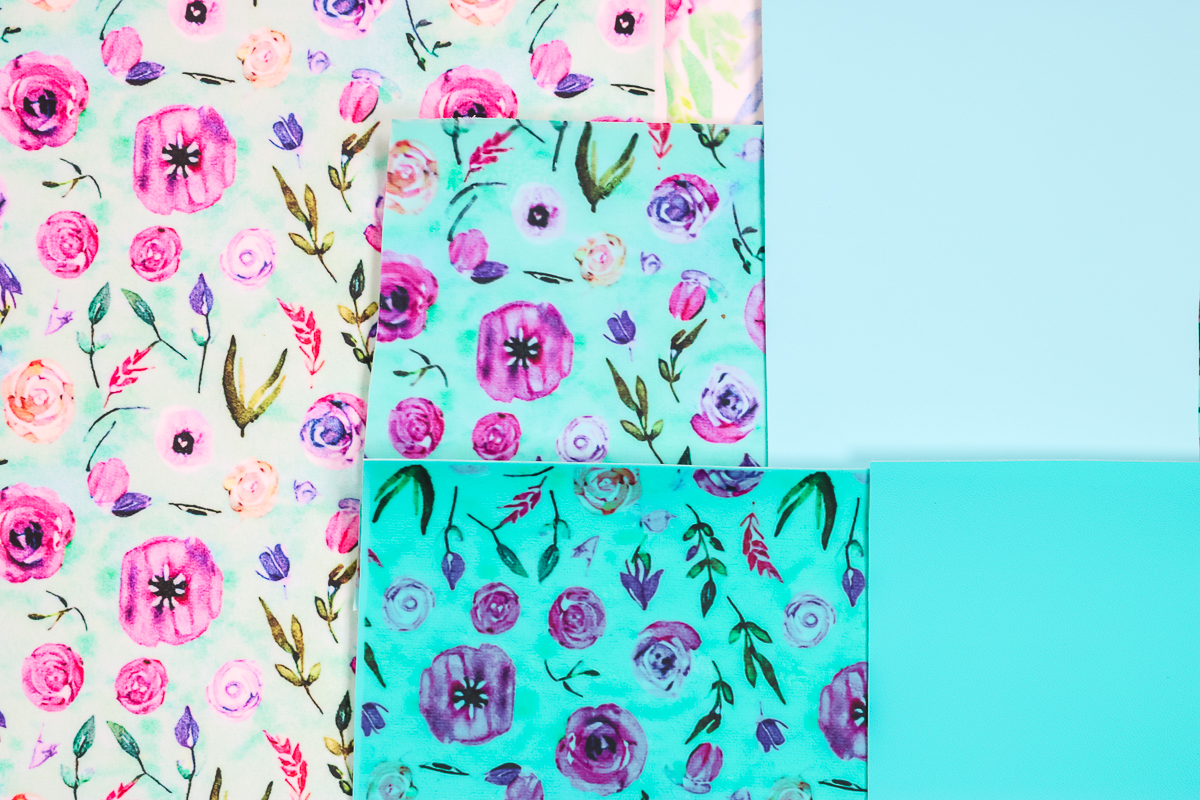
Because sublimation ink is translucent the color of the faux leather will alter the color of your design. The same print was put on all three pieces of faux leather above and you can see how it looks different on each color.
Whether you choose to use faux leather that has color will depend on if you like that look or not. For some designs, it will add to the look, and for others, it may detract from the design.
Does faux leather become stiff after you add sublimation?
I have to say this faux leather is even smoother after you sublimate it. I’ve been really impressed that it didn’t become stiff at all.
You can still bend it and roll it. It’s very flexible and still feels like faux leather. I had no problem rolling the key fob to fit it through the key chain.
Where can I get the sublimation design and key fob cut files?
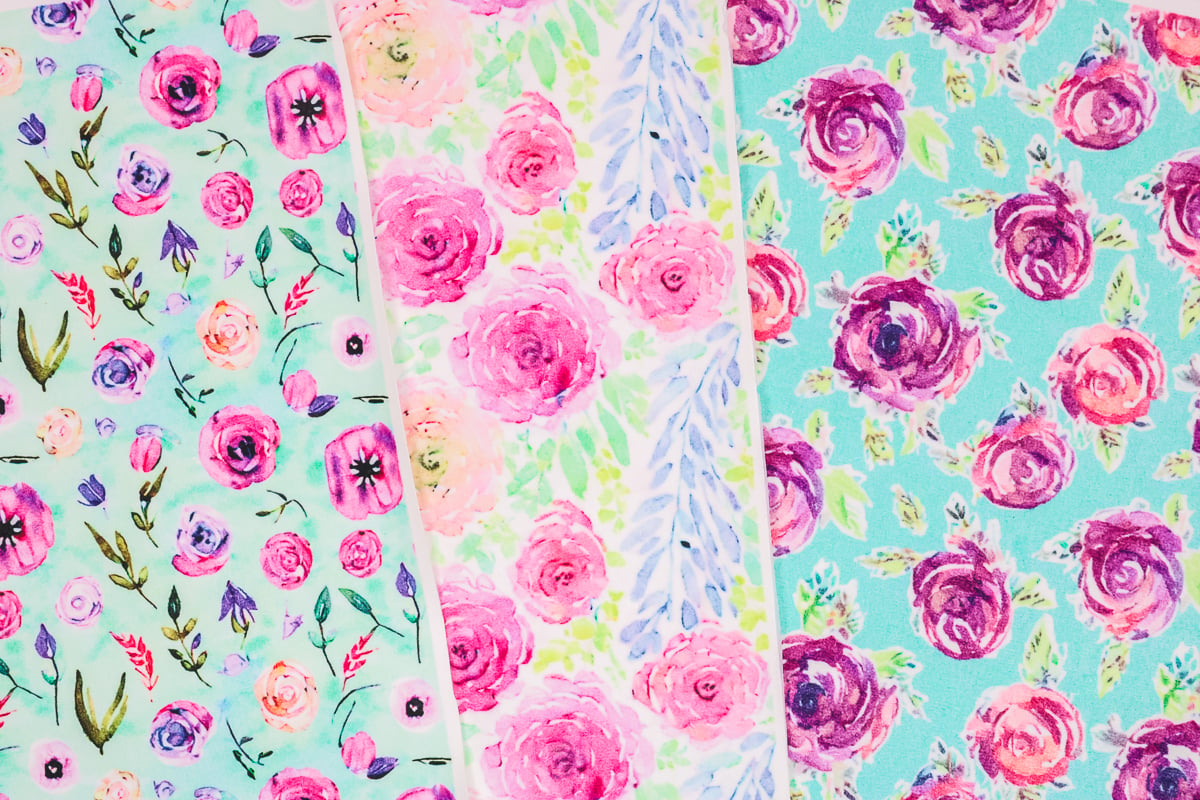
I have both the sublimation designs and the key fob cut files available for free for you. You will get all three sublimation designs and the six different key chain designs. Get the free floral patterns here and the free key fob shapes here.
With all six key chain designs and three sublimation designs, you have a lot of options with just these files.
I hope you enjoyed learning about sublimation on faux leather. I can’t wait to see what you make with this tutorial. If you have any questions, please leave them in the comments below and I’ll be happy to answer them for you.

More Sublimation Craft Ideas


Are you looking for the perfect sublimation gift? Today I’m going to teach you how to make customized sublimation wind spinners that would make the most perfect gift and yard decor.

Sublimation pillow covers make amazing gifts. With this tutorial, you’ll learn how to use polyester pillow covers to create customized home decor in minutes.
Want to print the instructions for sublimation faux leather? Use the card below!

Instructions
How to Make Faux Leather Key Fobs with Sublimation
-
Since my sublimation print is printed on an 8.5″ x 11″ paper I am using that as my size guide for my sublimation HTV and and faux leather.
-
Both the faux leather and sublimation HTV I have are 12″ wide. I cut them both down to 8.5″ so their final size is 8.5″ x 12″. I used a paper trimmer to help me have a nice straight edge.
How to Apply Sublimation HTV to Faux Leather
-
On the faux leather, there is a smooth, leather-like side and then a side that is kind of like a felt. Do not try to sublimate on the felt side. Always put HTV or sublimation on the smooth side of the faux leather.
Apply Heat to Faux Leather and Sublimation HTV
-
Preheat your heat press to 400 degrees and then add your butcher paper.
-
To prep the faux leather I am going to add it to the butcher paper and then close my heat press slightly to kind of preheat the faux leather. This will remove any moisture that may be in the faux leather. I did not close the heat press all the way, just hovered it over the faux leather for 10-15 seconds.
-
Next, we want to lint roll the whole area. Because the sublimation HTV is clear any hair, lint, or dust will show through on the final project.
-
Add the HTV shiny side up on the faux leather and then hold it in place with heat tape. You do want to line the HTV up on top of the faux leather as best as you can. We do have the butcher paper below the faux leather so if it’s off a little bit you’ll be okay.
-
I found that this HTV did curl up a little bit so using heat tape to hold it in place worked perfectly.
-
Add another piece of butcher paper over the top and close the heat press. Press at 400 degress for 15 seconds with heavy pressure.
-
When the 15 seconds is up, open the heat press and remove the top piece of butcher paper.
-
This does need to cool completely before you peel back the top carrier sheet. When it’s cool, peel back the carrier sheet and you now have clear sublimation HTV on top of your faux leather.
How to Apply Sublimation to Sublimation HTV on Faux Leather
-
Add the sublimation print ink side down on top of the sublimation HTV and tape it into place. You can reuse the butcher paper and heat tape that you used before.
-
You want to make sure you have everything added to the press in the proper layer. Butcher paper on the bottom, then the faux leather with the sublimation HTV on top. Sublimation print ink side down with butcher paper back on top.
-
Close the heat press and this time we’re going to press at 400 degrees for 55 seconds with heavy pressure.
-
Once the time is up, open the heat press. With this project, you can actually peel the sublimation print back when it’s warm.
-
Peel back the sublimation print to reveal your beautifully sublimated faux leather.
