
This post and photos may contain Amazon or other affiliate links. If you purchase something through any link, I may receive a small commission at no extra charge to you. Any supplies used may be given to me free of charge, however, all projects and opinions are my own.
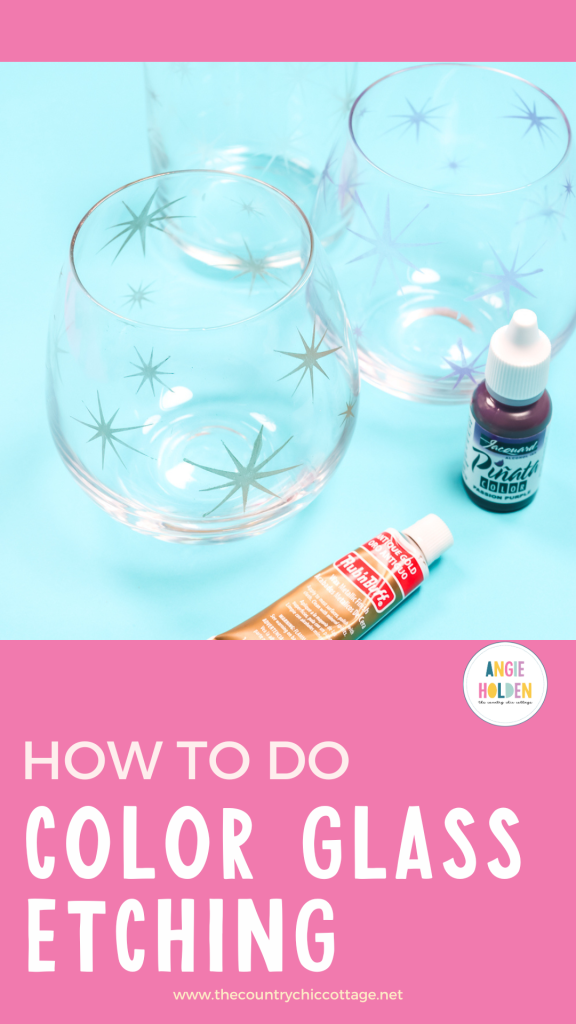
Have you ever used your Cricut to create stencils for etching glass? Today I’m going to teach you how to color glass etching. Using a variety of different products we’re going to test which method works best for coloring etched glass. You’re going to love learning how to create your own colored etched glass projects.
If you’ve never etched glass before, I’m here to help. My Glass Etching with a Cricut tutorial is the perfect place to start.
Need to add color to metal engraving? Try this post instead!
Can You Add Color to Etched Glass?
Ever since I first taught you how to use your Cricut machine to create stencils so you could etch monograms and other designs into glass, you’ve been asking me if you can add color to the etching.
The good news is, yes you can! There are a few different options we’ll test today including how well the color adheres to the etching and how long it lasts.
You can watch me walk you through each different product I’m trying today. Press play on the video below to see how each product worked.
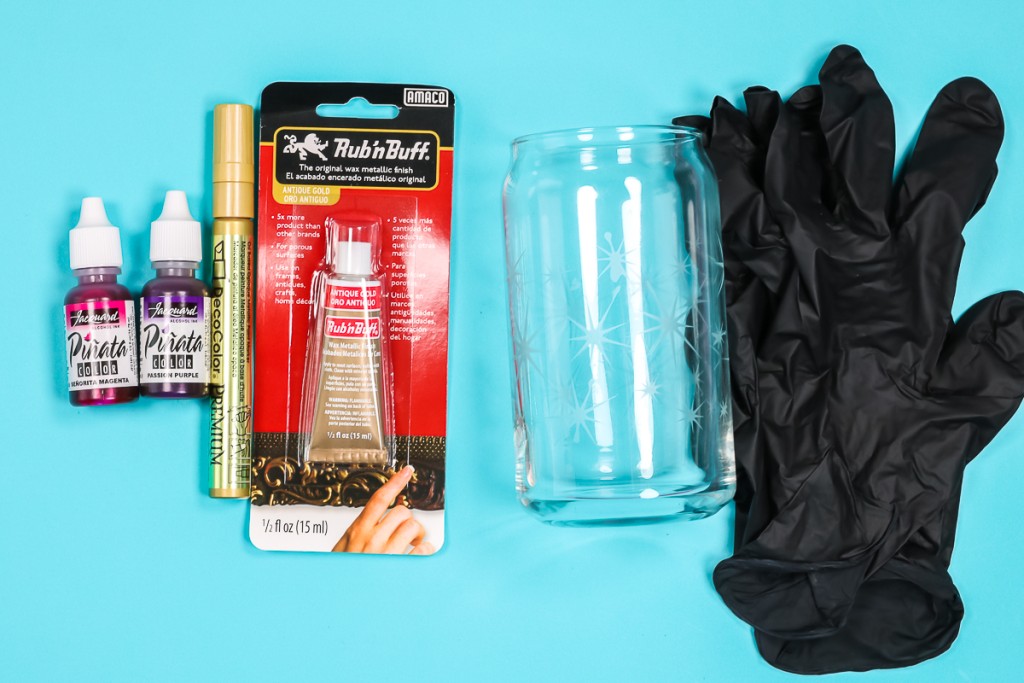
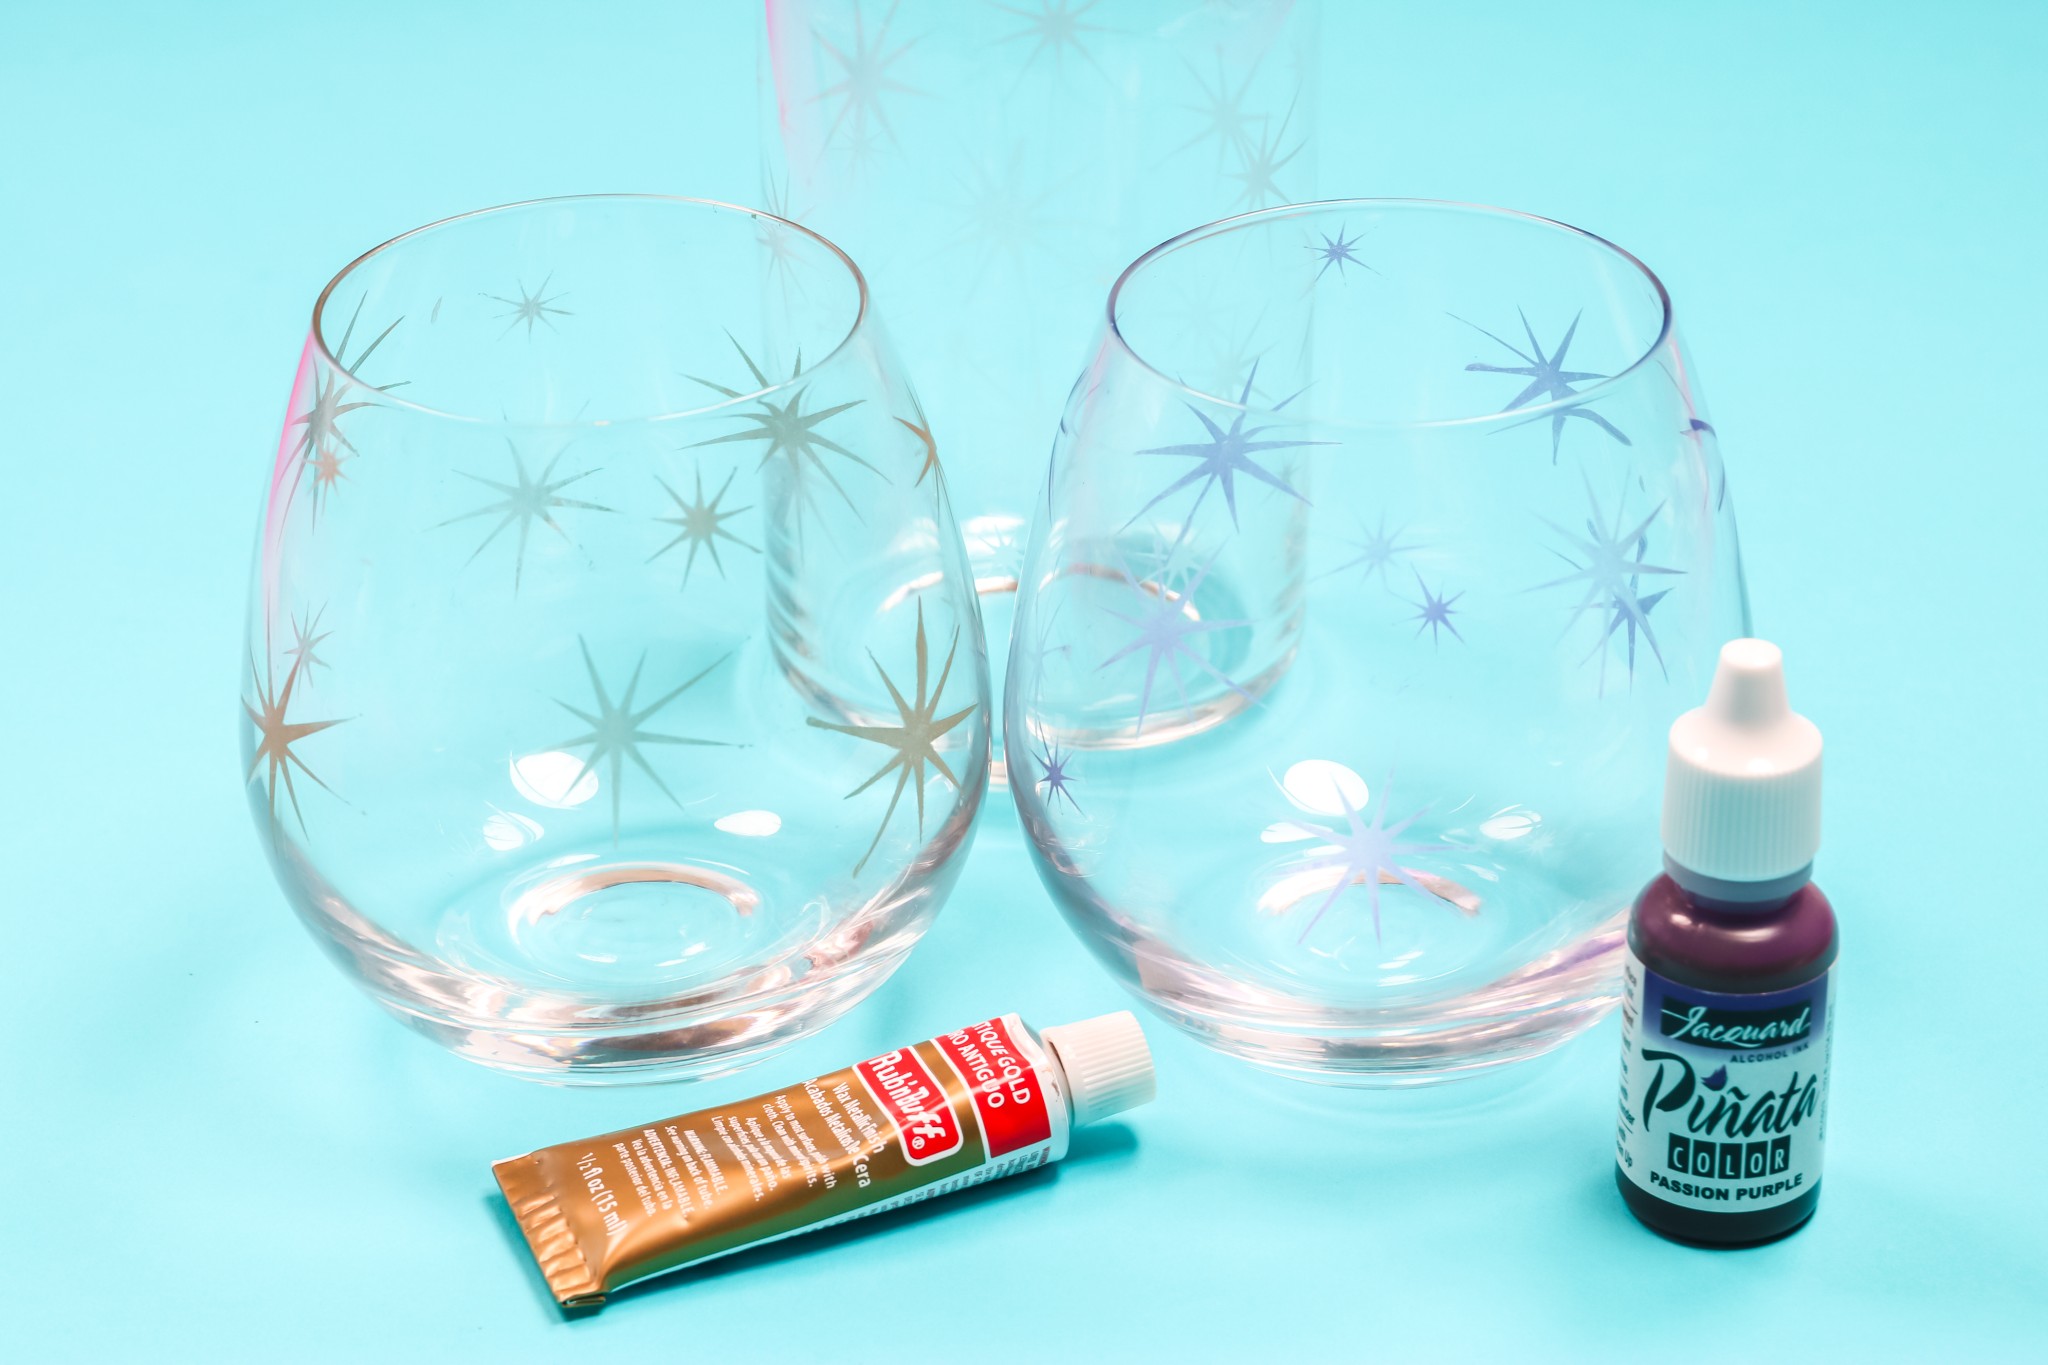
Supplies Needed
Food Safety
It’s important to note that none of these options are food safe. This means they should not come in contact with food, even after the color is added.
If you’re using this process on drinkware, make sure it’s on the outside of the glass and below where your mouth would hit.
If you’re using it on a glass plate, I would use it on the back of the plate. This way you could see it through the plate but it wouldn’t come in contact with your food. If you use it on the front of the plate, the plate should only be used for decorative purposes.
I have not found a method that is food safe that allowed me to add color to the etching.
How to Create a Stencil for Color Glass Etching
I am using my Cricut machine to cut out my designs. You could create simple designs without a cutting machine but I love the ease of using my Cricut.
I am cutting out little star-like designs to etch onto my glass. You can use any adhesive vinyl for this process. This is actually a great time to use some vinyl scraps.
I’ve tried stencil vinyl, permanent vinyl, and even removable vinyl, and each of them worked well. You do need to make sure you press the vinyl down really well onto the glass surface.
After you cut out your design, use your weeding tool to remove the design itself. Normally we weed out everything we don’t want. For a stencil, keep the outside and remove the part we want to be designed on the glass.
If you haven’t created your own stencil with a Cricut machine, this post has all my best tips and tricks.
Safety Concerns
I do recommend wearing gloves while working with glass etching and through the whole process. If you watch the video you’ll notice that I didn’t put the gloves back on when I used the alcohol inks, I should have.
Another thing to note is that alcohol inks do have alcohol in them and it evaporates very rapidly. Because we don’t want to be breathing in those fumes, I recommend wearing a respirator any time you’re working with alcohol inks, especially if you’re working with them a lot.
How to Apply Rub ‘n Buff to Etched Glass
I’m not going to walk through the whole glass etching process today. If you need more information on how to do that, my full glass etching tutorial video is a great place to start.
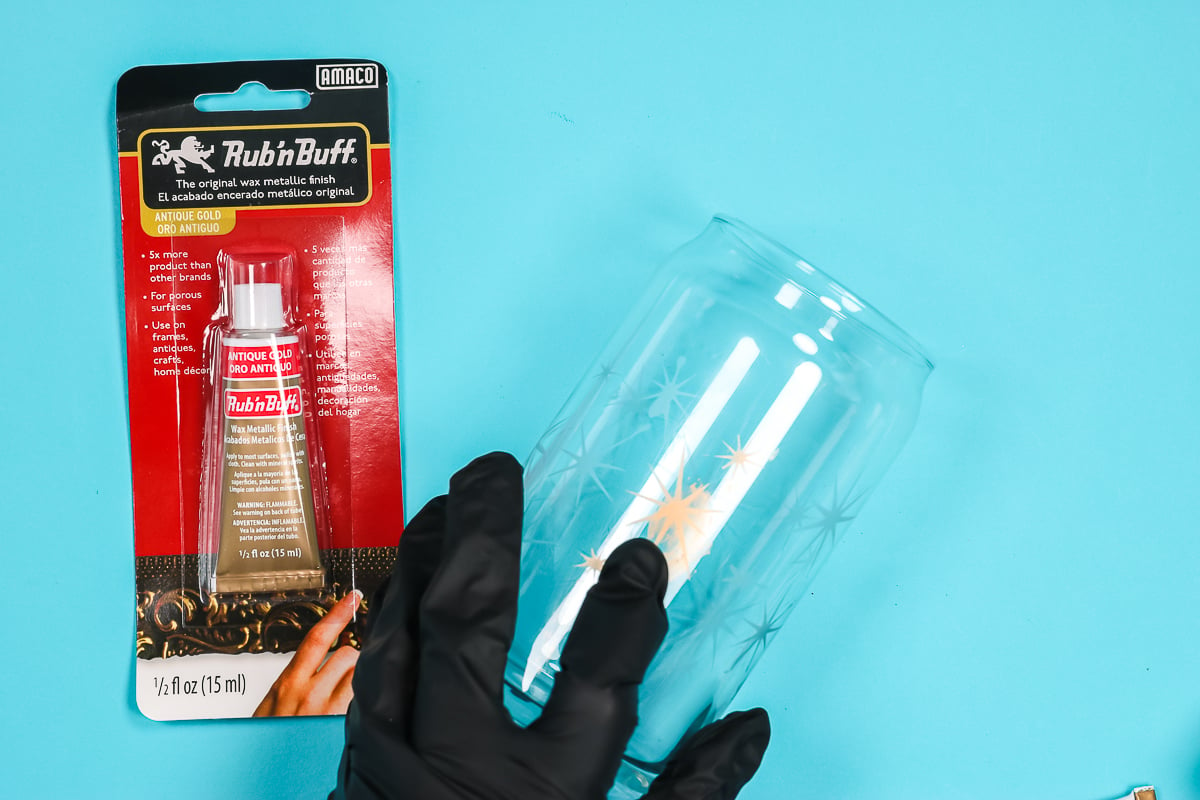
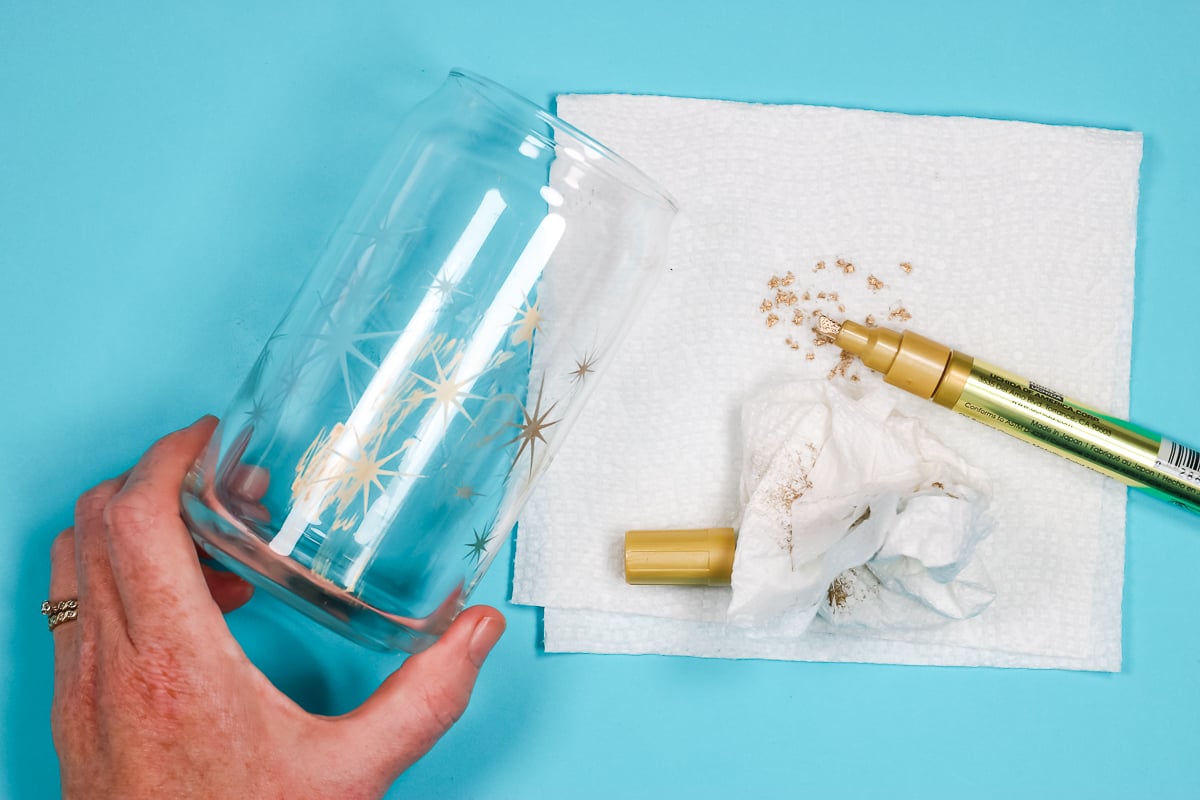
The first product I will test today is Rub ‘n Buff. I am using the antique gold color.
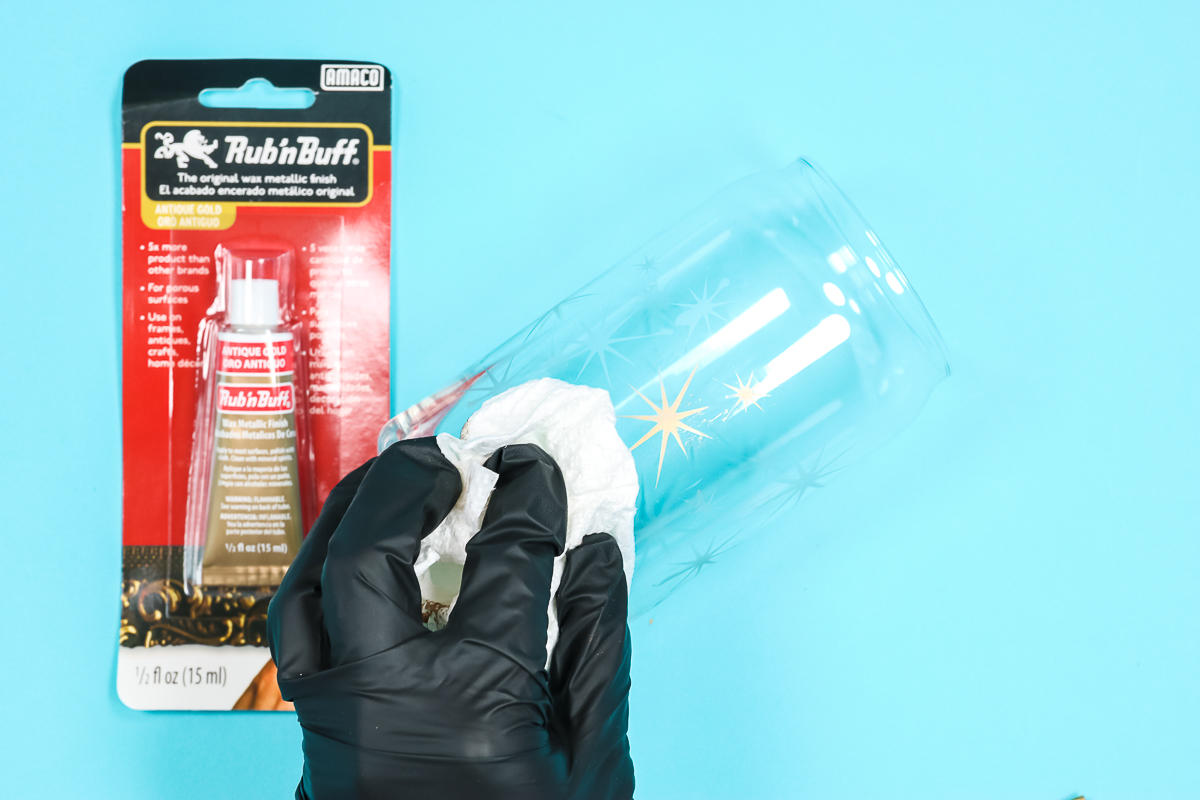
Applying Rub ‘n Buff is pretty easy. Using a gloved finger rub the product onto the etched area and then use a paper towel to wipe away any excess.
I rubbed the gold into the etched area really well. I found that I could wipe over the whole area afterward and the Rub ‘n Buff came off the smooth glass but stayed on the etched area.
Rub ‘n Buff was really easy to use and I like how it makes the etched glass really pop. If you’re looking for a way to do color glass etching, this is a really good option.
You should note that the Rub ‘n Buff comes in a variety of metallic colors. You may not be able to find a lot of different colors with this product.
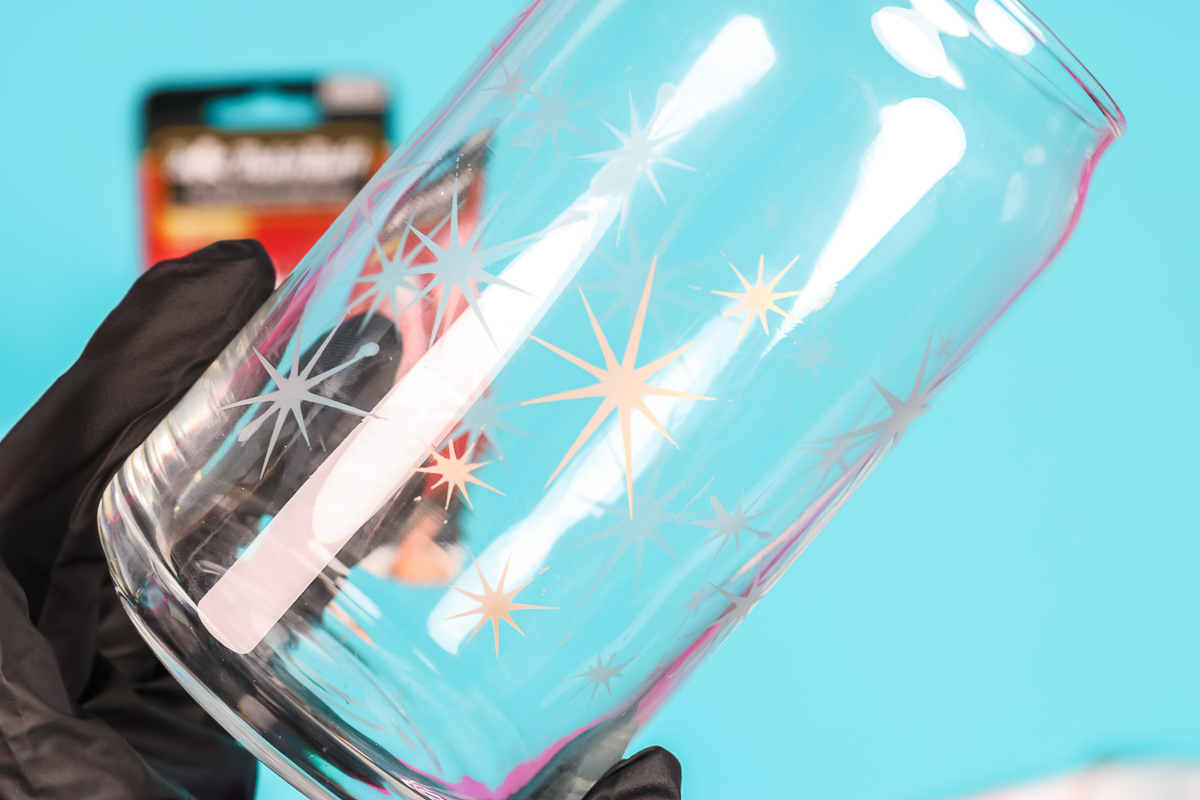
In this photo, you can really see how the gold Rub ‘n Buff glass etching pops vs the regular glass etching.
How to Apply Oil-based Paint Pen to Etched Glass
To begin, I want to say I am not recommending this product for this project.
To get a paint pen flowing I dab the pen onto a paper towel and make sure the paint is coming out.
Then I used the paint pen to just paint over the etched glass areas. I pressed down pretty hard hoping to get paint down into the etching.
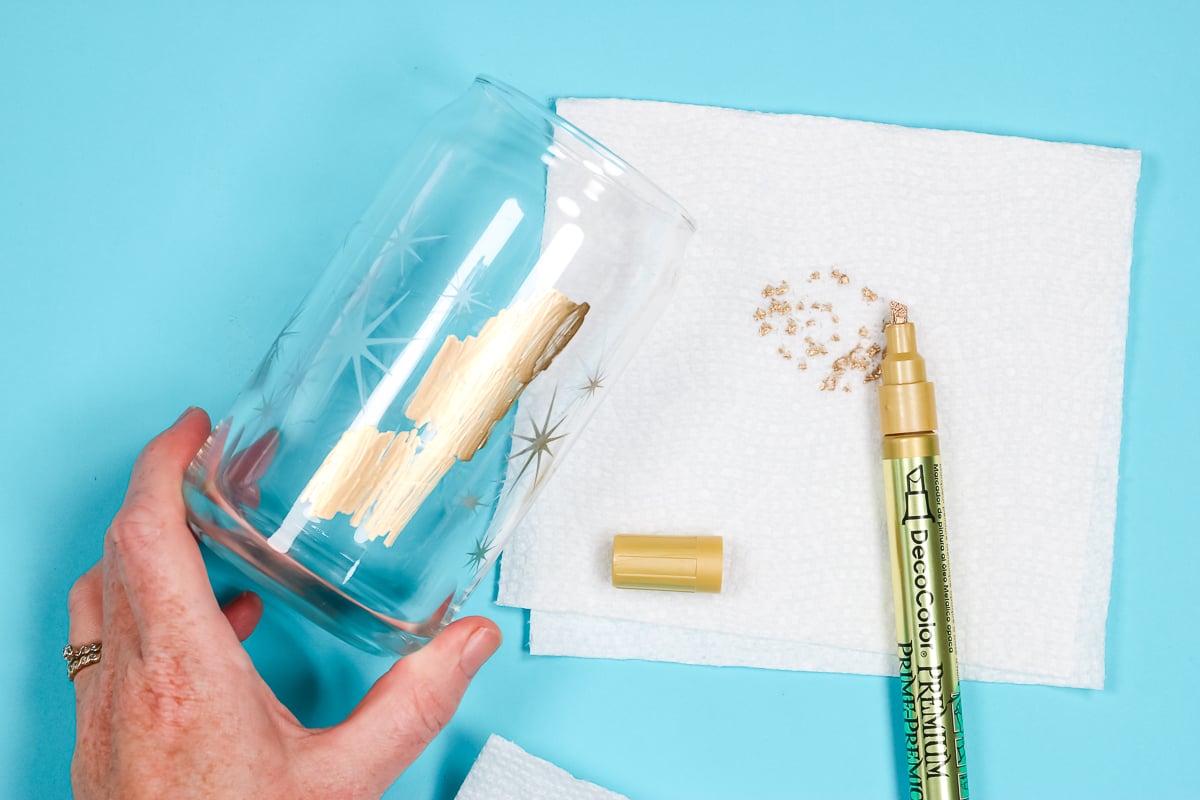
Here is where I ran into problems using the oil-based paint pen. If I tried to wipe off the excess paint before the paint dried, it would wipe off the etched areas too.
If I waited for it to dry and cure a little more, it wouldn’t wipe off the areas that weren’t etched. When that happened, I had to wet my paper towel to wipe off the excess and then the wet paper towel would take the paint off the etched area as well.
I did have the same problem happen with the Rub ‘n Buff if I used a wet paper towel over the etched area. In that case, some of it would come off but with the paint pen, it was just wiping off.
After experimenting more with the oil-based paint pen, I continued to not have success getting it to stick onto the etched areas so I do not recommend it for color glass etching at all.
How to Apply Alcohol Ink to Etched Glass
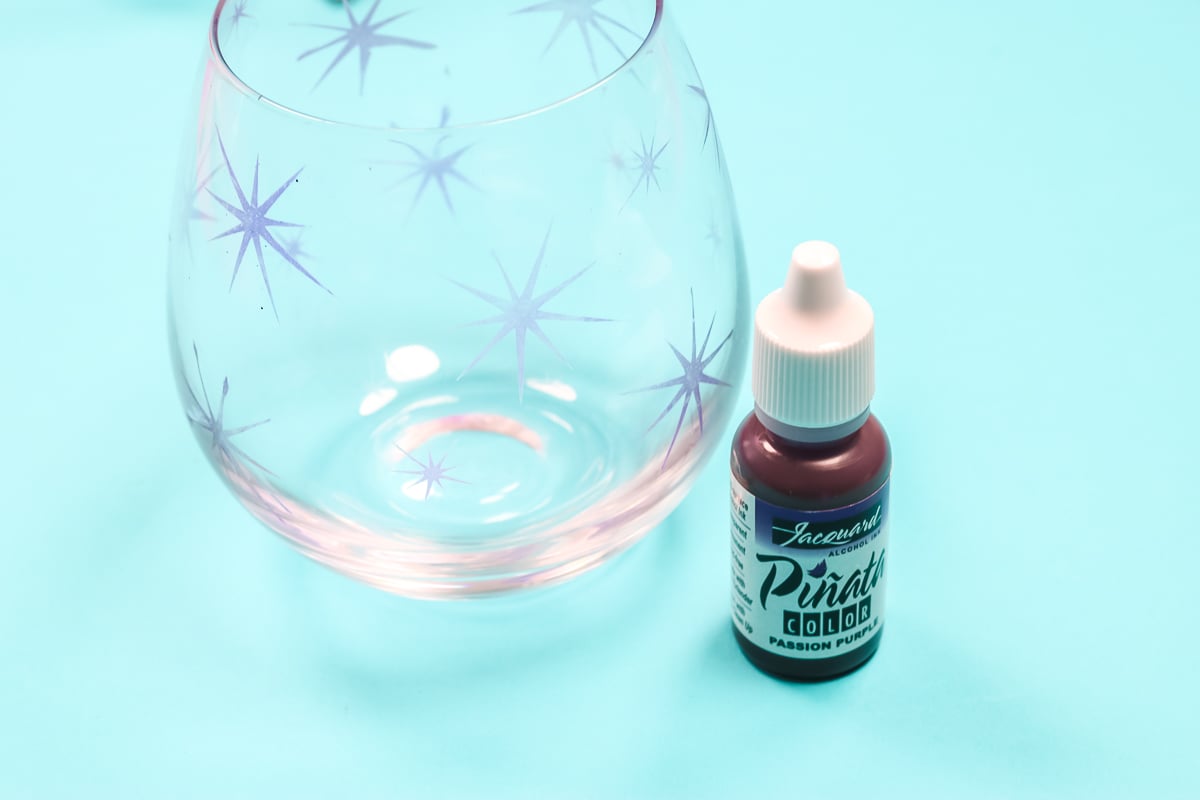
The last product I am going to try for color glass etching is alcohol ink. I love that you can get this in a lot of different colors so if you’re wanting something that isn’t a metallic look this may be right for you.
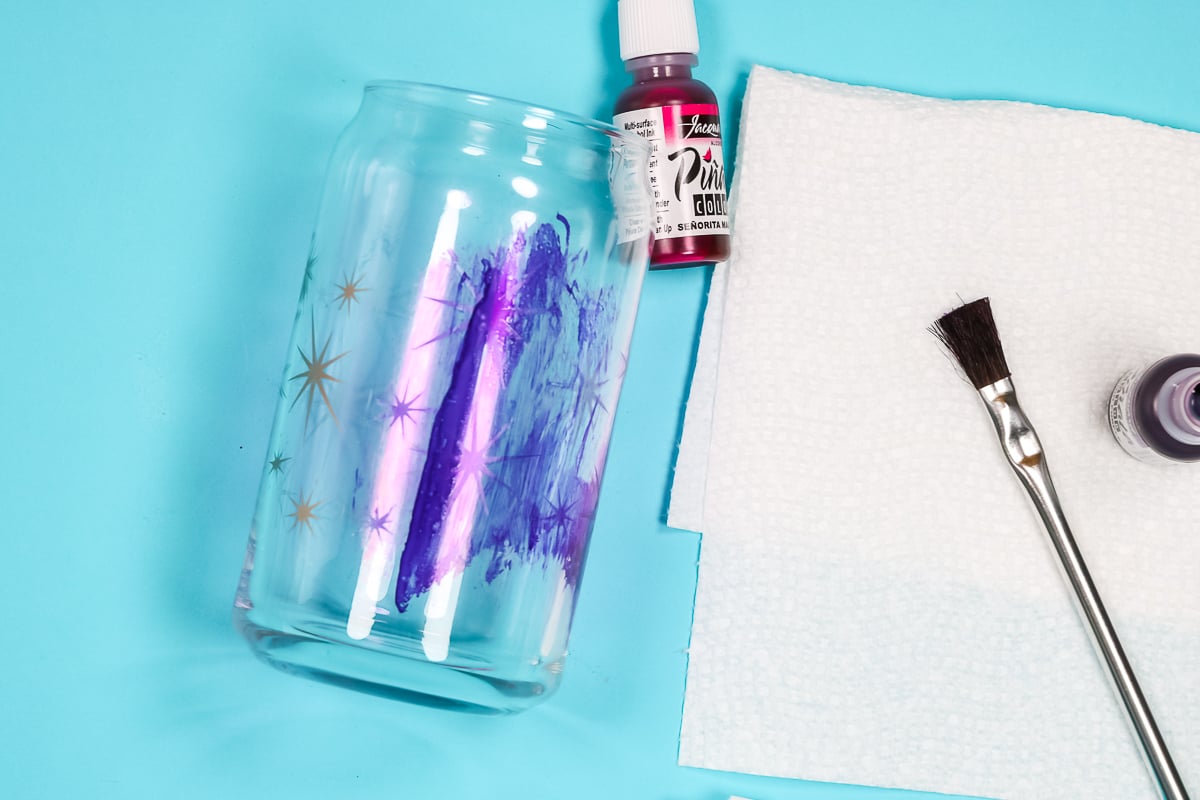
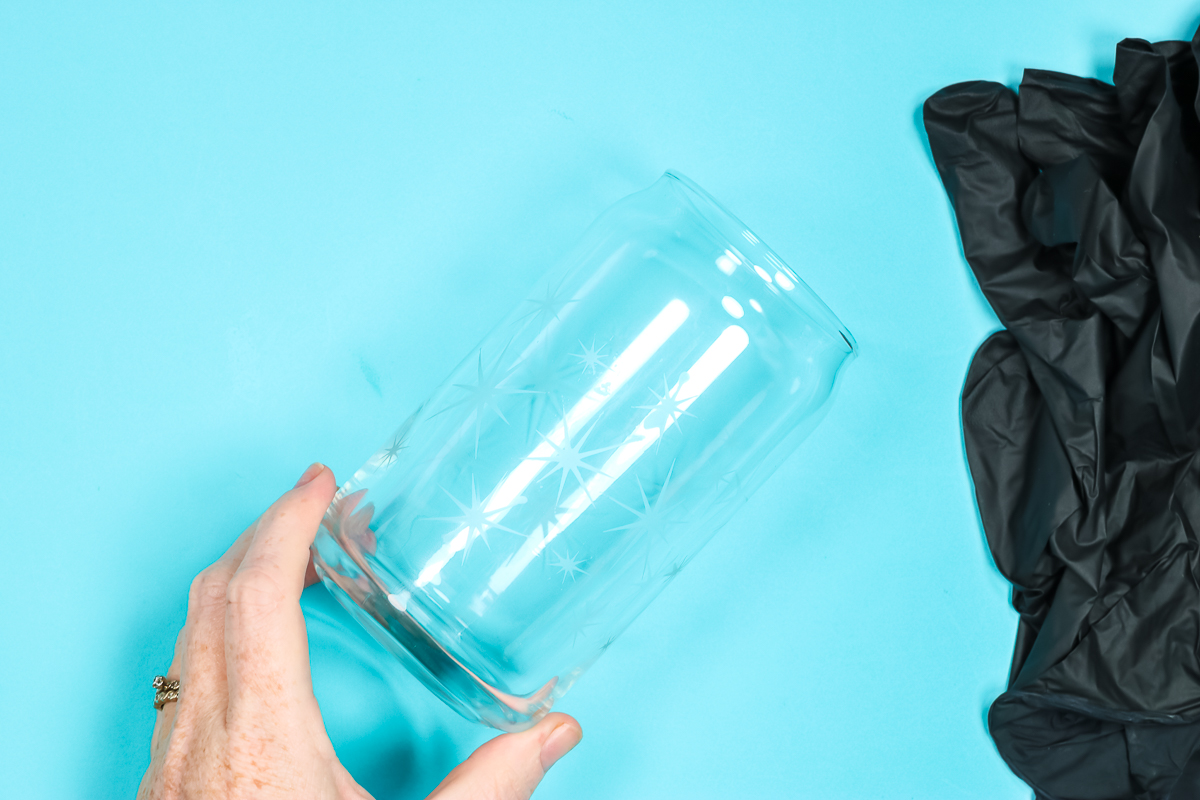
To test out using alcohol ink for color glass etching, I am first testing the product on the same glass can I tested the Rub ‘n Buff and the Oil-based paint pen.
This is definitely a more liquid material. I just allowed the ink to drip onto the etched area and then used a disposable paint brush to get it into the etched areas.
This product dries very quickly so you’ll need to move fast and in small areas to get it everywhere you want it.
Because it dries so quickly, wiping off the excess with a dry paper towel didn’t really work for me. I am happy to report though that using a wet paper towel worked well to remove the excess ink and it did not remove it from the etched areas.
Depending on how dark you want your color glass etching you could do this process more than once with both the Rub ‘n Buff and the alcohol ink.
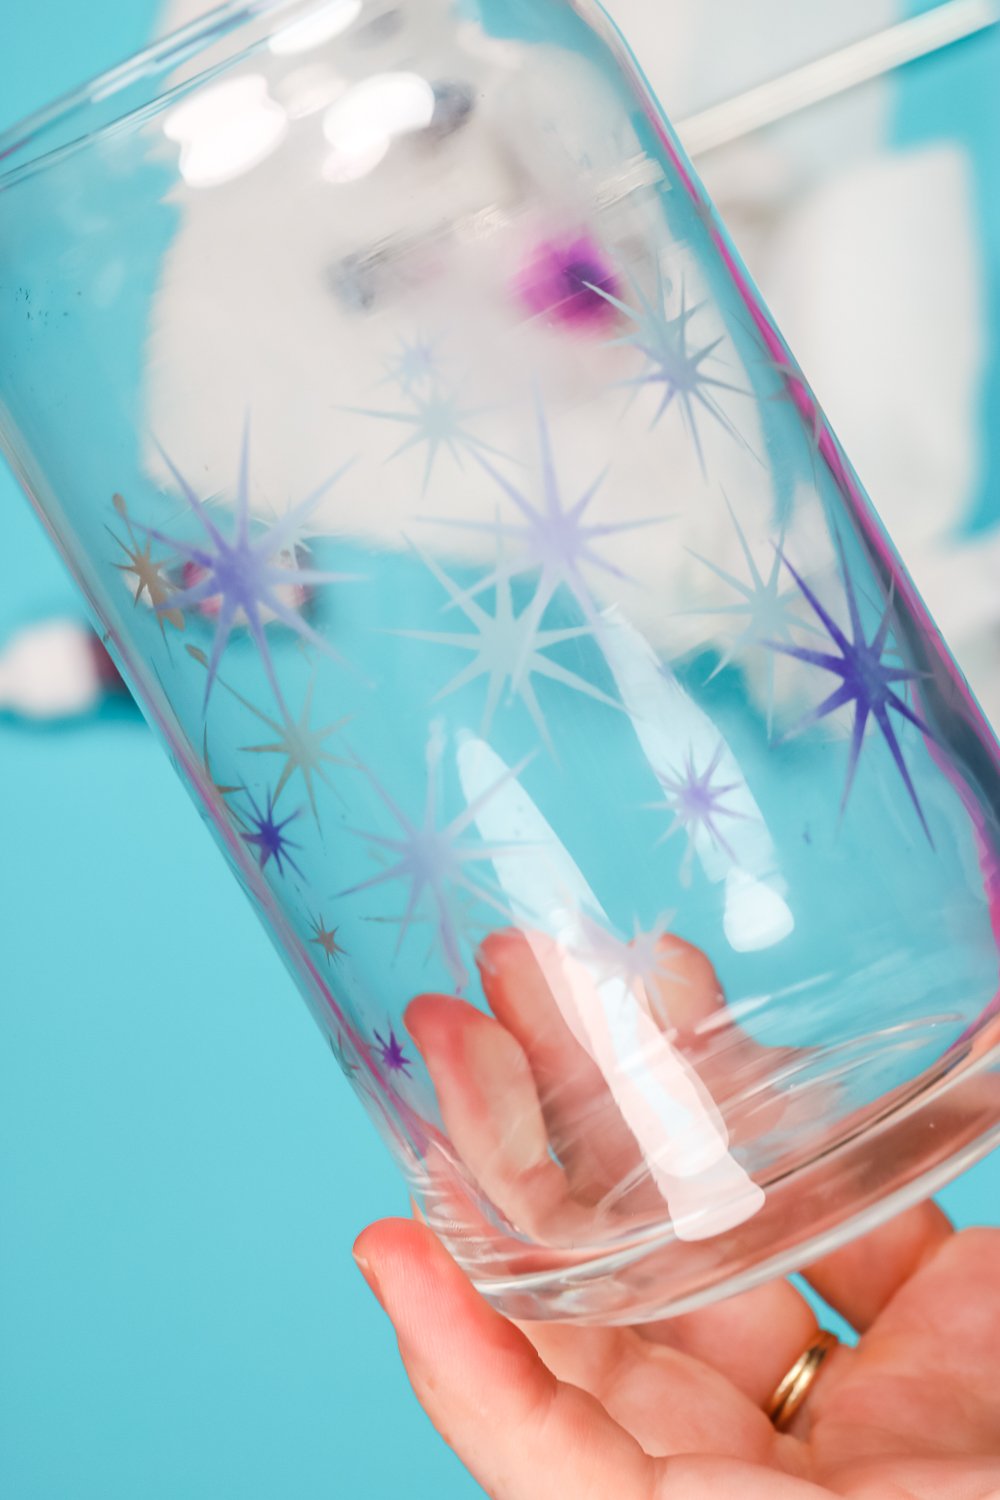
In the photo above, you can see both the Rub ‘n Buff etched stars and the alcohol ink etched stars. This is after just one coat of purple alcohol ink. I really like how these are working.
Comparing Rub ‘n Buff and Alcohol Ink Projects
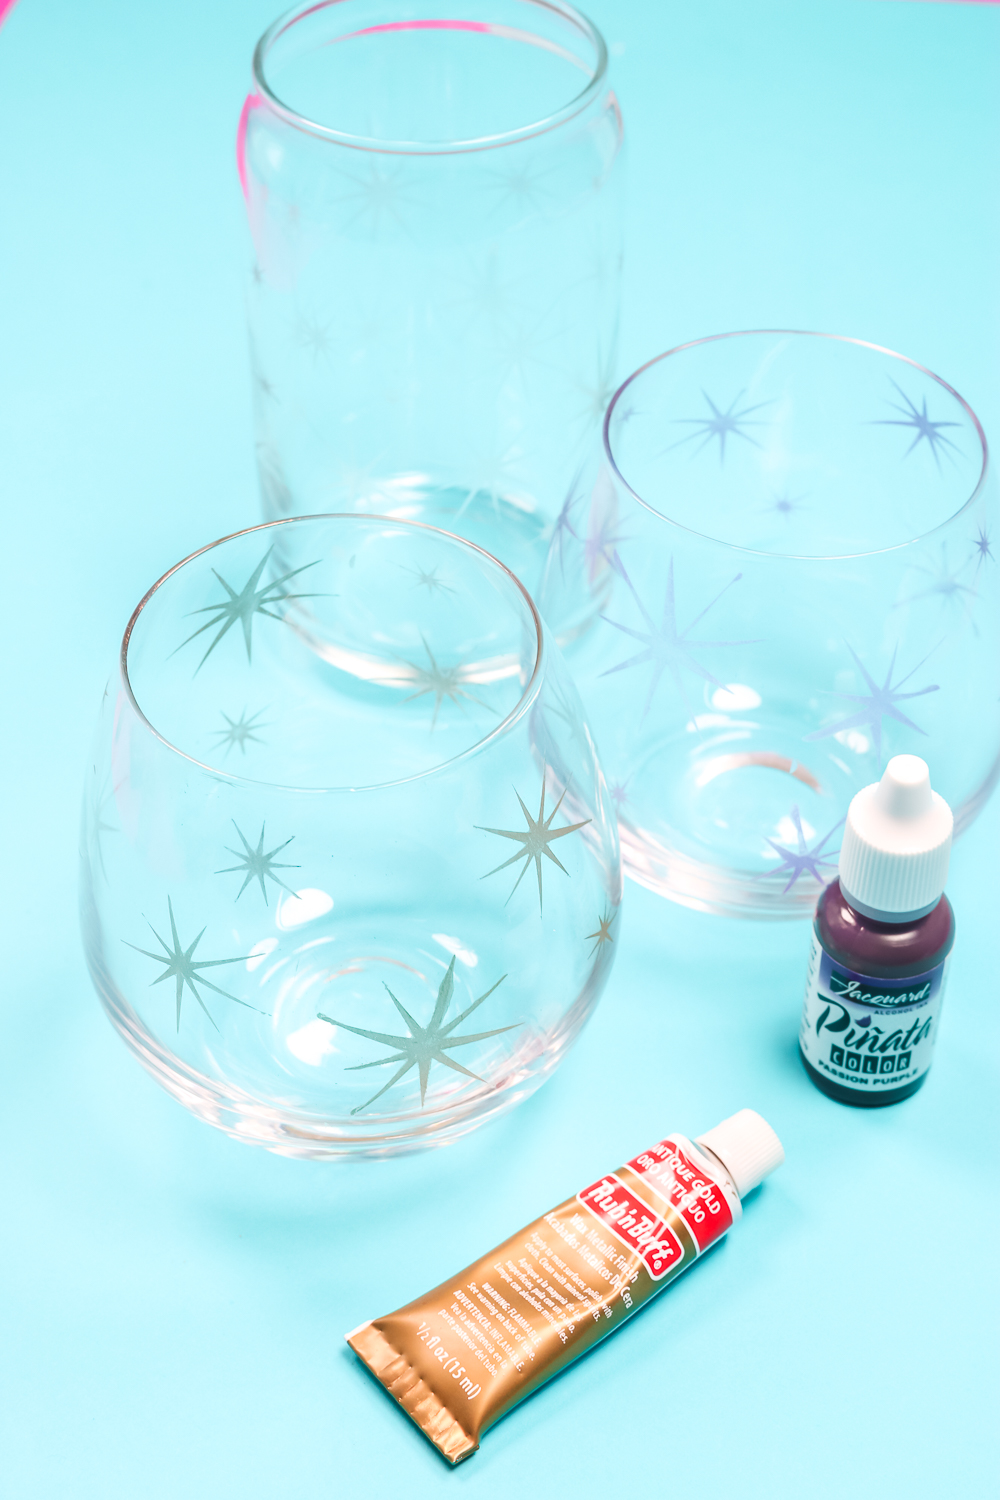
In the end, the Rub ‘n Buff and Alcohol Ink were the only two options that I had success with. I used each product to create a wine glass to show you how they look side by side.
The wine glasses had the star glass etching already done and then I applied the different color glass etching products using the processes I shared above.
Remember, these products are not food safe so designs should not be near the rim of the wine glass. These are just examples and not something we’ll use as drinkware.
On the left, you’ll see the Rub ‘n Buff version. The gold really makes the etching pop out and I love it.
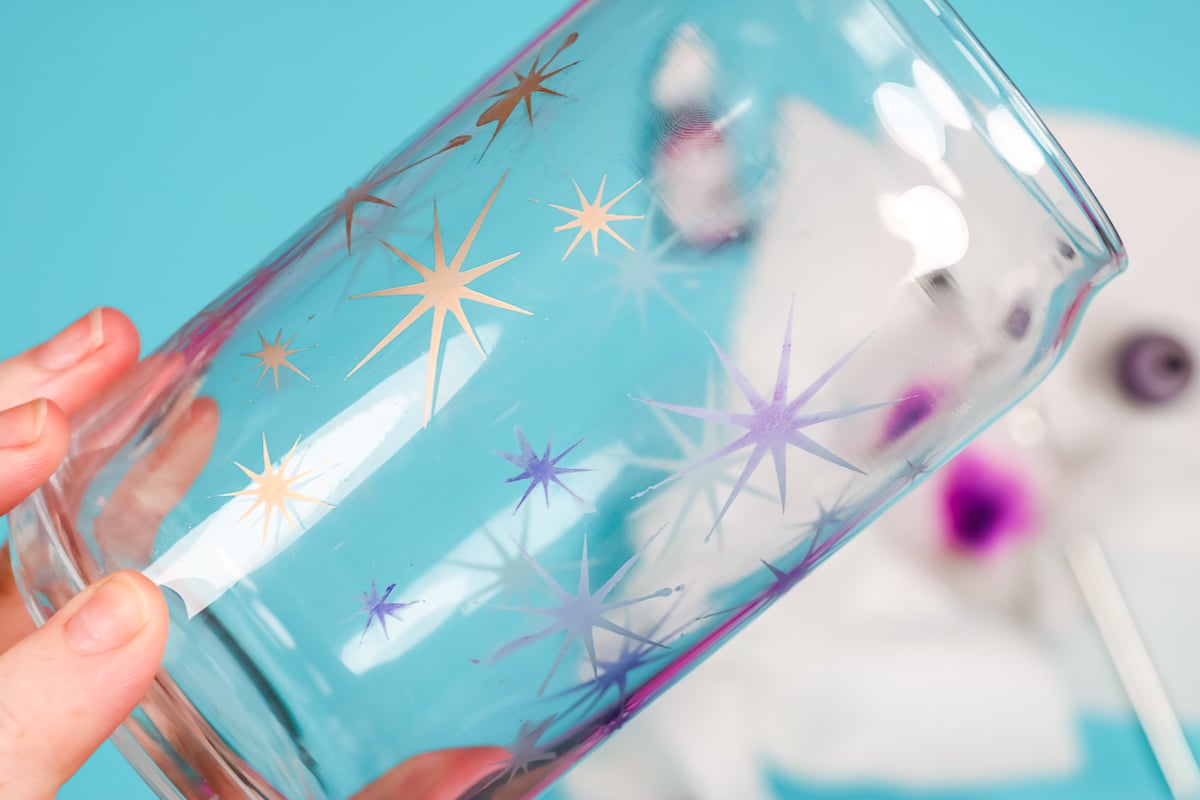
On the right, we have the alcohol ink version. This is just one coat of alcohol ink. You can see that it has added color to the etched stars which makes them pop off the glass more than regular etched glass does.
Even with the color glass etching, the stars are semi-transparent. You can still see through them. In the back, you can see the regular etched glass stars. Without color added, you get a whiteish look to your design when you etch glass.
For glass etching, it really comes down to the look you are going for. You may have a project where the regular etched glass is exactly what works best or you may have a design where adding color will help it pop.
How to Clean Color Glass Etched Products
If you’re using these products on a project that will need to be washed, like these wine glasses, I highly recommend hand washing only.
I would not put these products in the dishwasher. I would also recommend gently cleaning them. Do not scrub aggressively over the colored area or it may come off.
I would also not use anything that has alcohol in it as that may remove the color from the etching.
If you are making these projects to sell or to give as gifts, I would make sure to include a care tag. This will help prevent the recipient from putting it in the dishwasher and losing all the color from their etching.
Which method is best?
Now that I’ve had the opportunity to test these different color glass etching options, I can recommend both the Rub ‘n Buff and the Alcohol Inks. I do not recommend the oil-based paint pen at all. I had no success with that product and I think you’d just end up frustrated.
If you have a different type of paint pen that you have had success with, I would love to hear about it.
I would recommend testing out the products as I did. It was nice having a single glass etched can that I was able to try each of the different options on before applying them to a whole blank.
I also recommend, after applying the color, allowing it to sit on the etched glass and then trying to clean it off. See if it removes from the smooth glass and sticks to the etched glass.
Does it wipe off with water? Will the color stay when being washed? These are all questions you’ll want answers to before making a lot of products with this method.
Don’t forget that these products are not food safe and you’ll want to make sure to have gloves and a respirator on hand to keep yourself safe when using them.
Color glass etching was a lot of fun for me. I really enjoyed trying different ways to add color to etched glass. I think this gives us a lot of new options for creating etched glass projects.
If you have any questions about color glass etching, leave them in the comments and I’ll get those answered for you!