This post and photos may contain Amazon or other affiliate links. If you purchase something through any link, I may receive a small commission at no extra charge to you. Any supplies used may be given to me free of charge, however, all projects and opinions are my own.
If you’re wanting to know the best way to cut cork with a Cricut machine, this post is for you! I’m going to show you how to cut different cork materials using both the Maker and Explore machines Plus, I’ll help you determine which process is best for the project you’re making.
If you’re still trying to decide which Cricut machine is best for you, I have a whole post dedicated to comparing the different Cricut machines to help you out.
Cut Cork on a Cricut Machine
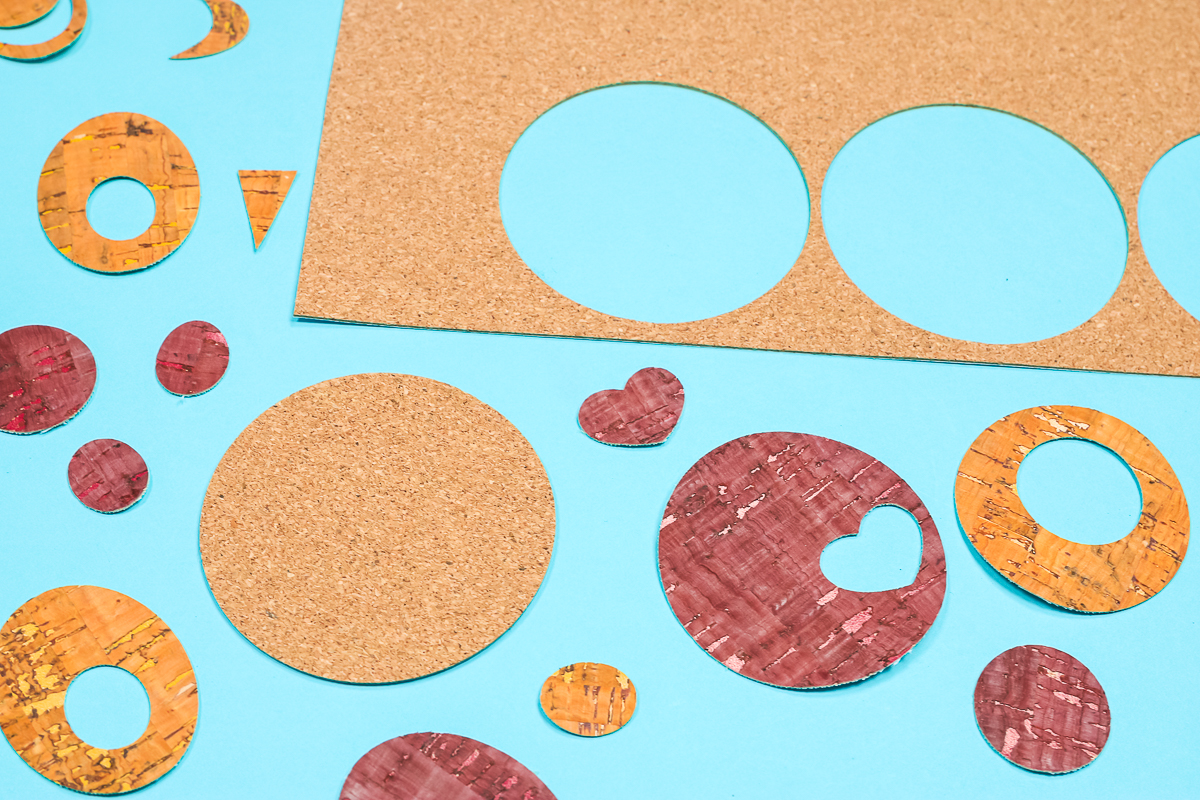
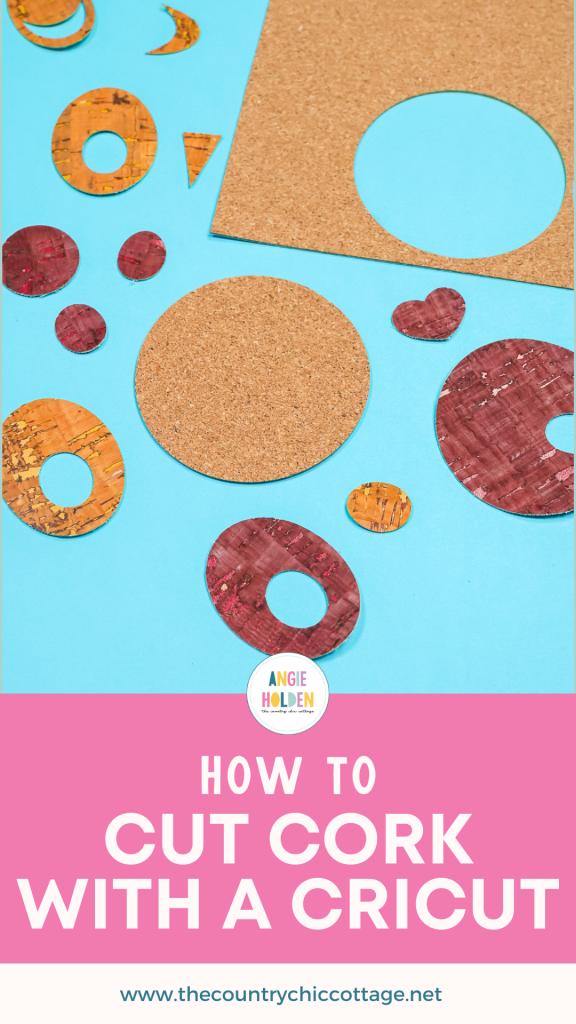
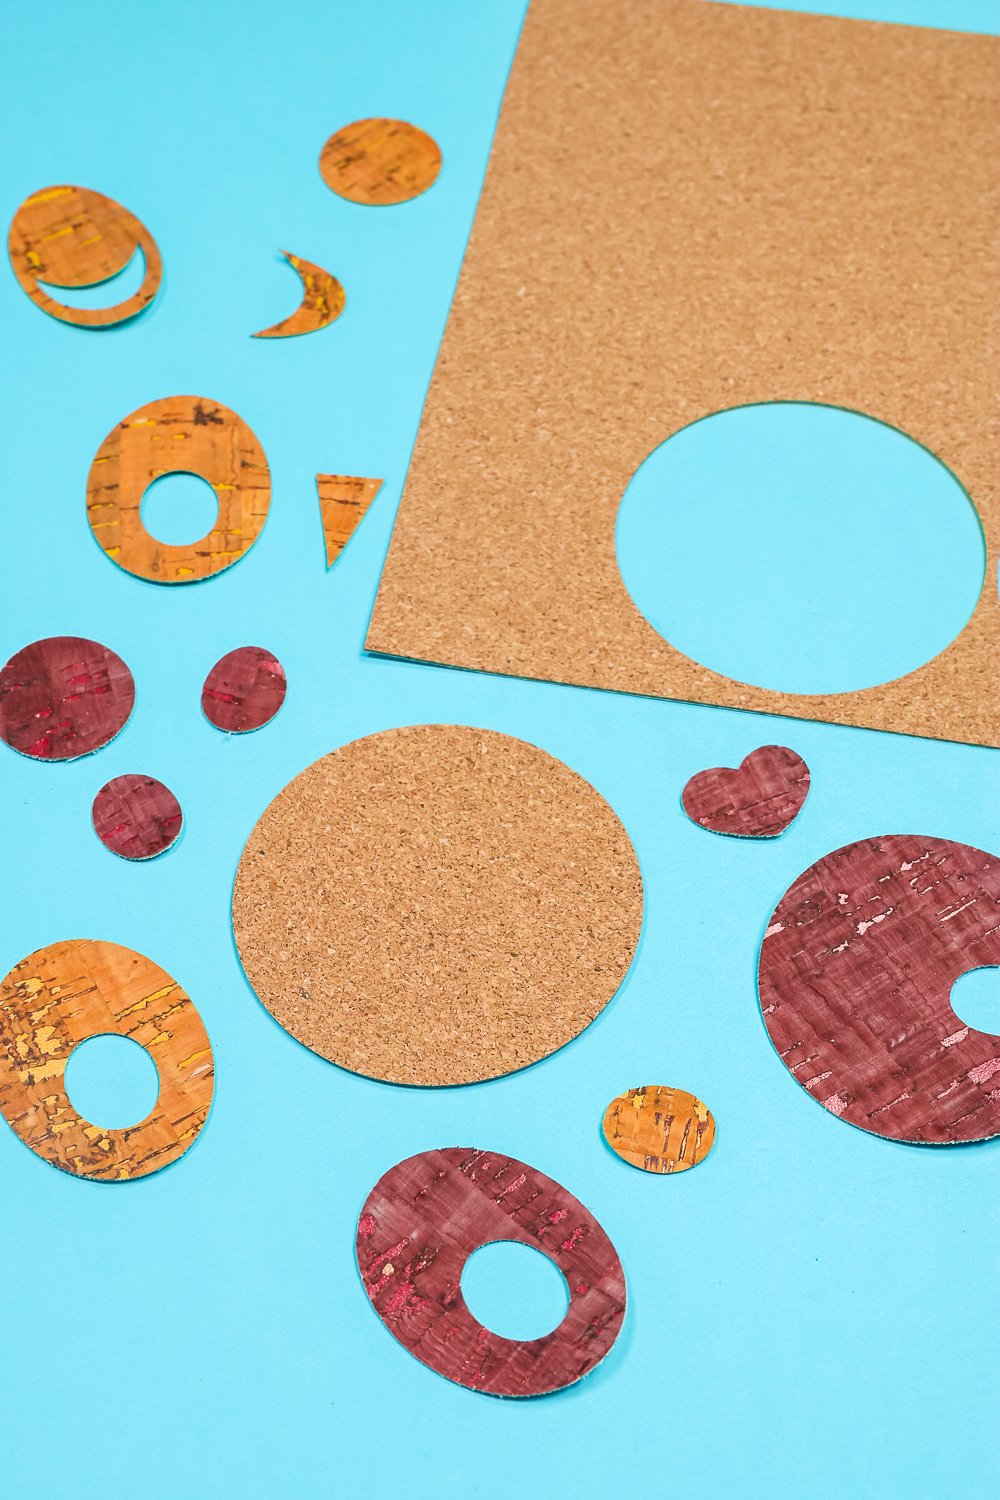
Today I’m going to show you how to cut adhesive-backed cork sheets and cork faux leather sheets. These are great materials for backing coasters, creating earrings, etc.
I’ve tested different cut settings and different blades to find out which ones work best for the different materials. You can actually watch me test these different materials and what settings worked best by pressing play on the video below.
Supplies Used:
How to Cut Adhesive Backed Cork with a Cricut Machine
The first material we’re going to cut today is an adhesive-backed cork sheet. This is like regular cork, and it’s great for adding to the back of coasters and other projects.
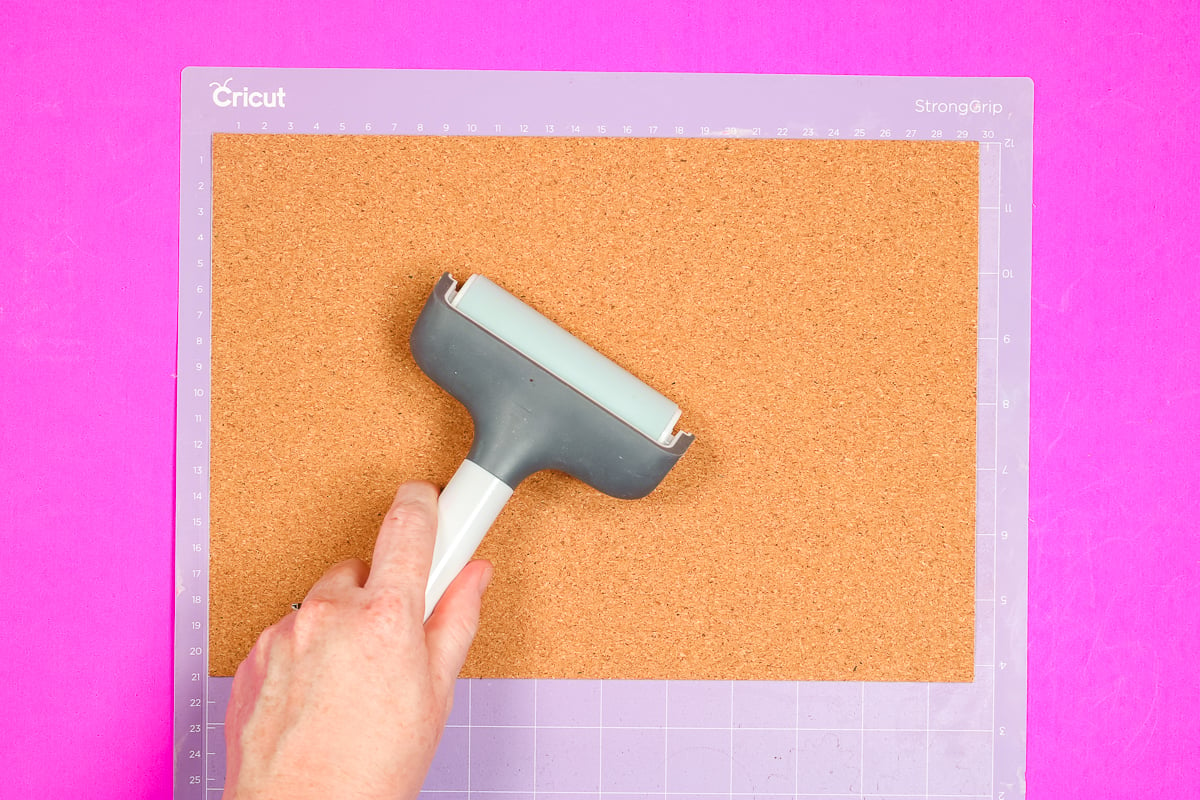
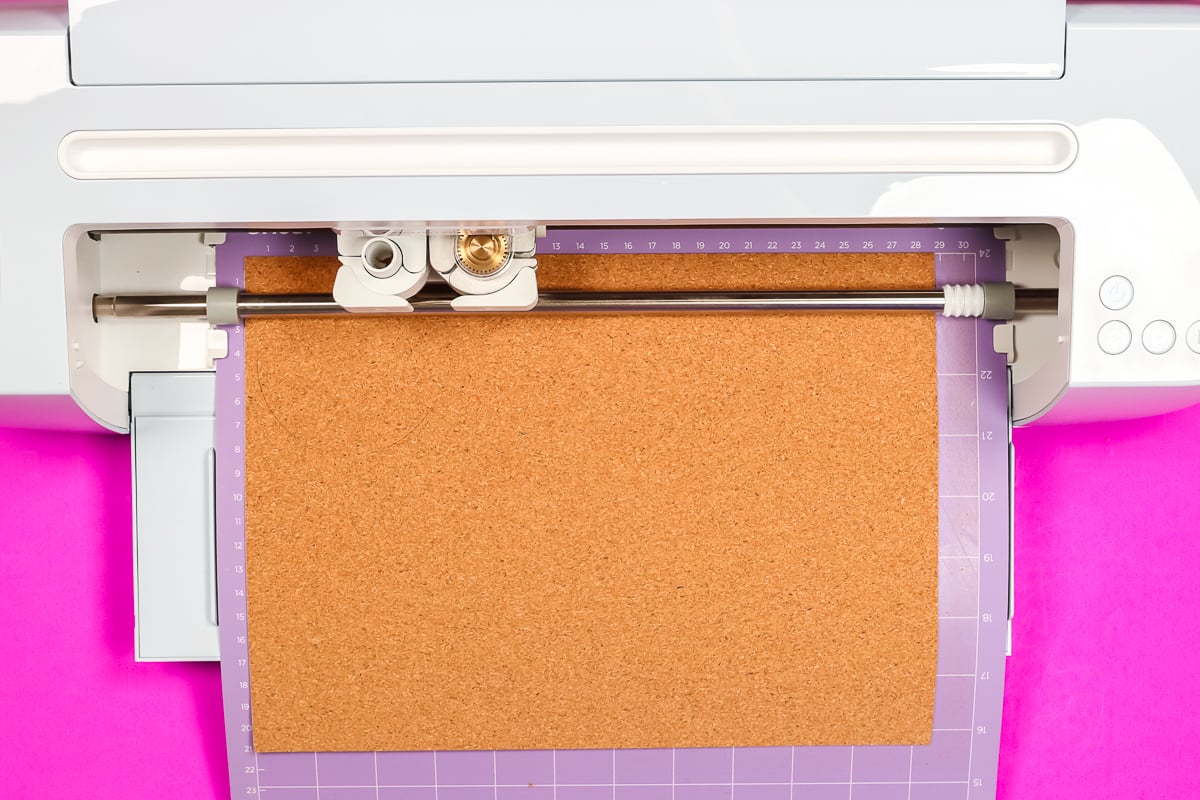
You will need to make sure that whatever cork you’re using is thin enough to fit under the roll bar of your Cricut machine. I found that for this material I needed a very sticky mat. I’m using a StrongGrip mat to make sure my material doesn’t move.
A brayer works well to apply the cork to a StrongGrip mat. Make sure it’s stuck down really well. Then, move the star wheels all the way to the right side. Trim the cork so the star wheels don’t roll over it.
Cutting Cork with a Cricut Explore Machine
To cut cork with a Cricut Explore machine, you’ll use the fine point blade. There is no cork setting in Cricut Design Space. My cork sheet is fairly thin so I am using the Heavy Cardstock setting in Design Space.
If your cork is thicker, you may need to use a different setting and the deep point blade.
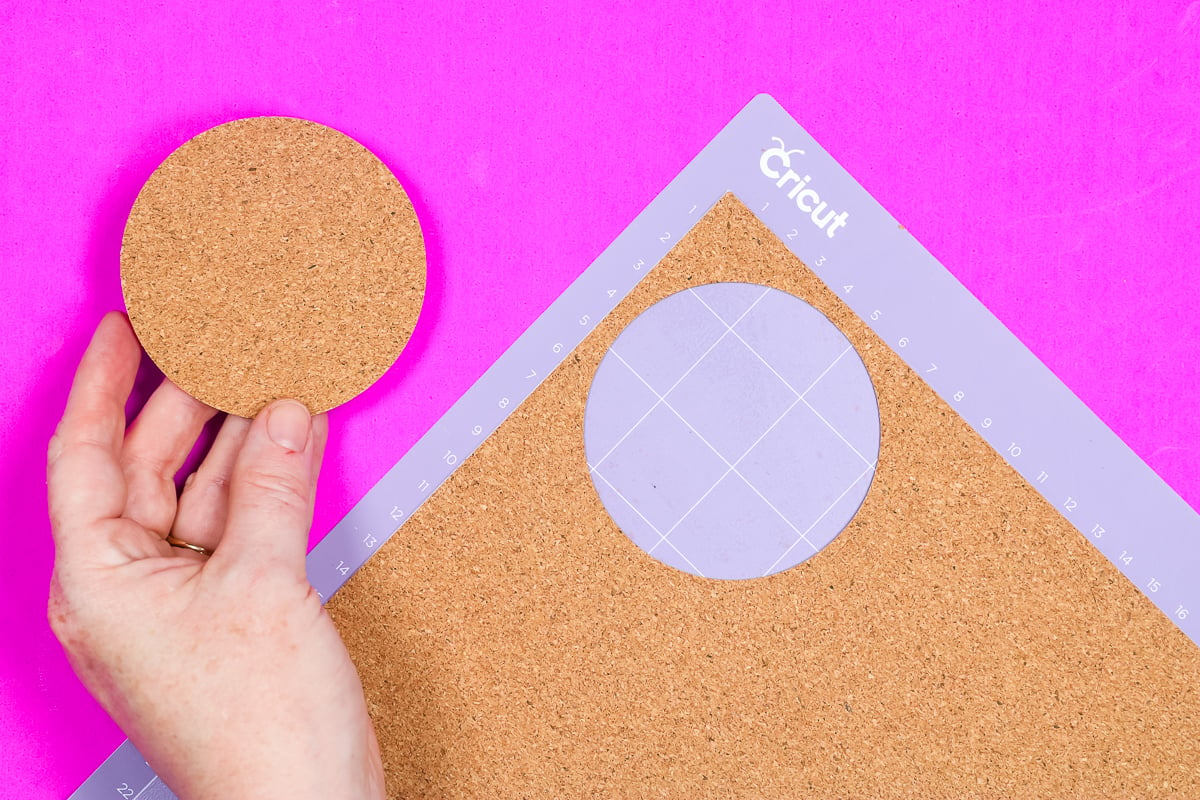
I am cutting circles you could add to the back of coasters to test this material. Load the mat into the machine and then press go to cut.
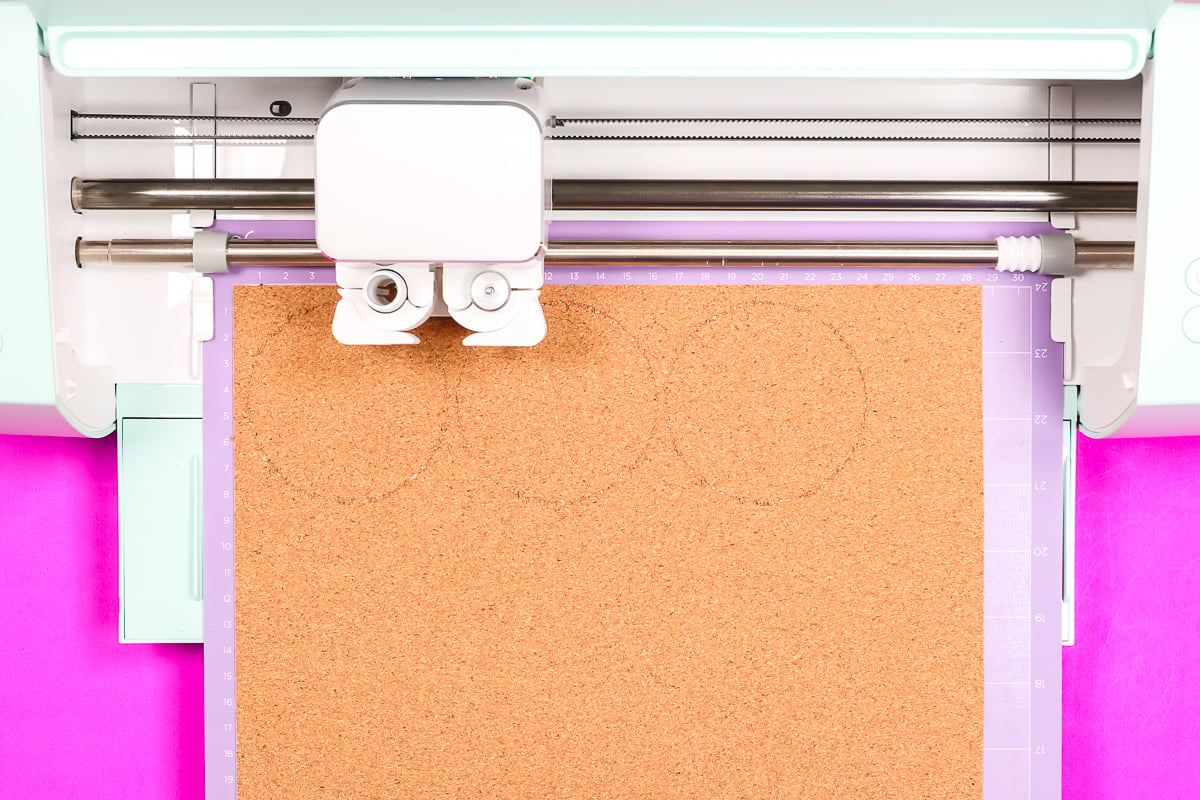
Because you may need to experiment with the cut setting, when it’s finished do not unload the mat. Lift the material to ensure it is cut all the way through. If it hasn’t, you can press Go again and it will do another pass.
Mine did cut through the first time on the heavy cardstock setting so I removed the mat from the machine. As you can see, this setting cut all the way through the cork and the adhesive sheet which is what I wanted.
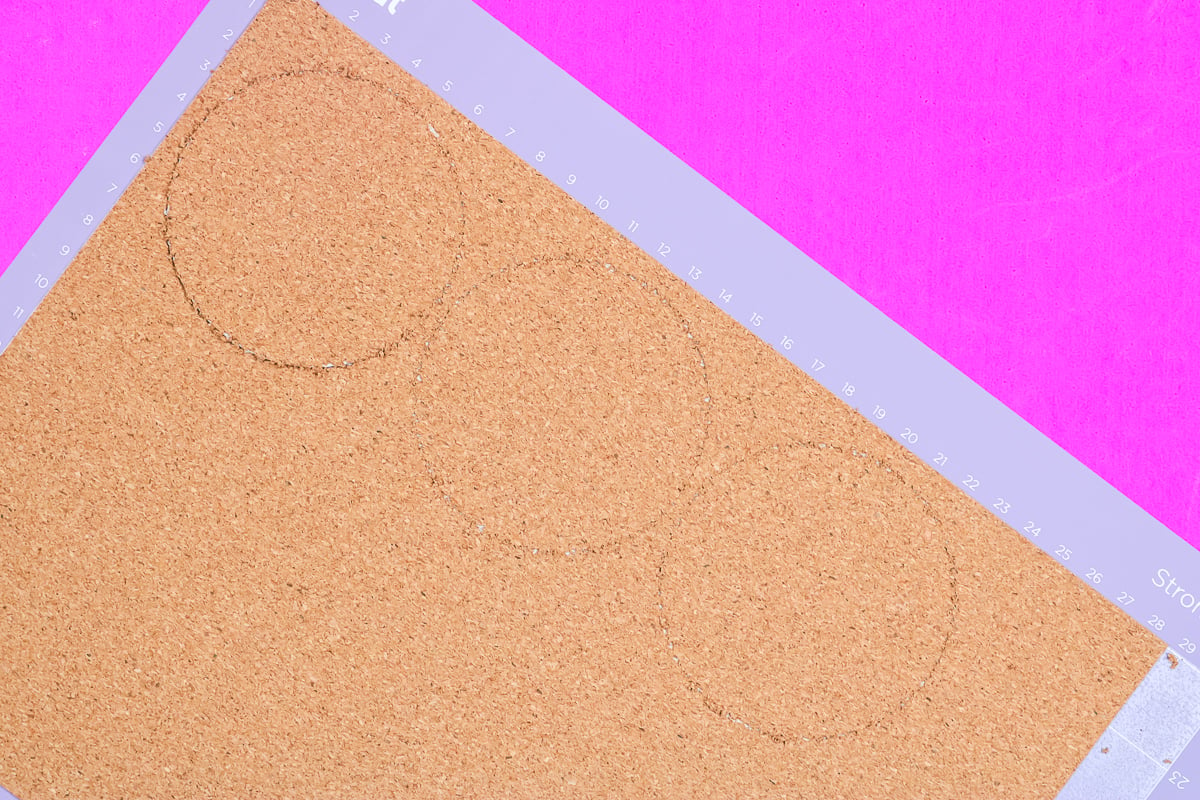
With the fine point blade in the Explore machine, it is a pretty rough cut. The fine point blade drags through the material and this causes the cork to kind of crumble. It made a mess on the mat and also the edges aren’t very smooth.
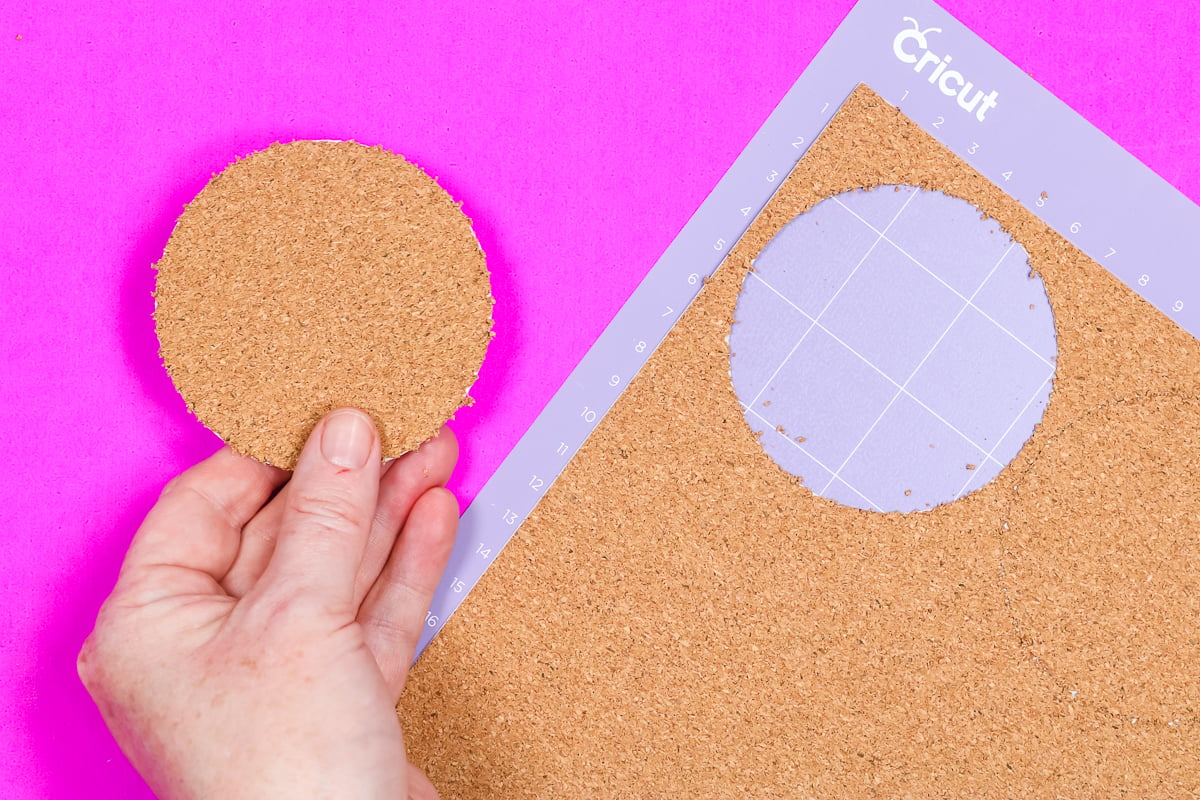
I did find that rubbing my finger along the edge of the circle did clean it up a bit. Definitely enough that it is usable for something like adding to the bottom of a coaster. I do not think this would be a good material for detailed cuts.
Note – if you do cut the cork with the Fine Point blade, I do recommend making sure you clean around your machine really well. I found that there were little pieces of cork stuck to the blade and also under the carriage and you don’t want that to mess up future projects.
How to Cut Cork with a Cricut Maker Machine
Now we’re going to cut that same cork sheet using the Maker machine and the Rotary Blade.
Again, there is no cork setting in Design Space. To use the Rotary Blade, I am using the Denim Fabric setting. This is a heavier fabric and will ensure the machine calls for the Rotary Blade.
Load your material to the StrongGrip mat the same way and again make sure your star wheels are all the way over to the side.
Press Go and allow the machine to cut. When the cut is complete, do not unload the mat. Always check to make sure the material is cut all the way through. The Denim Fabric setting worked great for my cork sheets so I only had to cut them once.
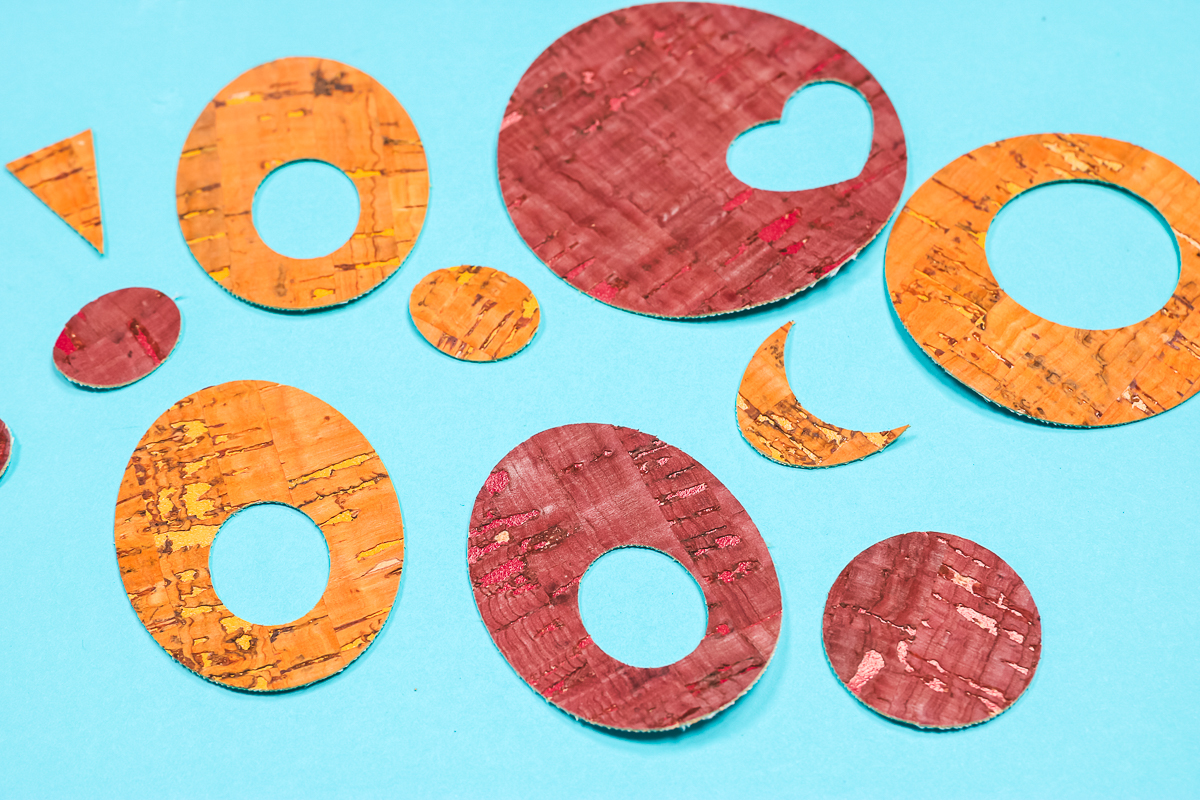
The Rotary Blade cut the cork sheet beautifully. Look at how clean the edges are. Because the Rotary Blade rolls over the cork material instead of dragging through it you don’t get the crumbling edges like you do with the fine point blade.
You can also see in the photo below just how much better the Rotary Blade cut this cork material.
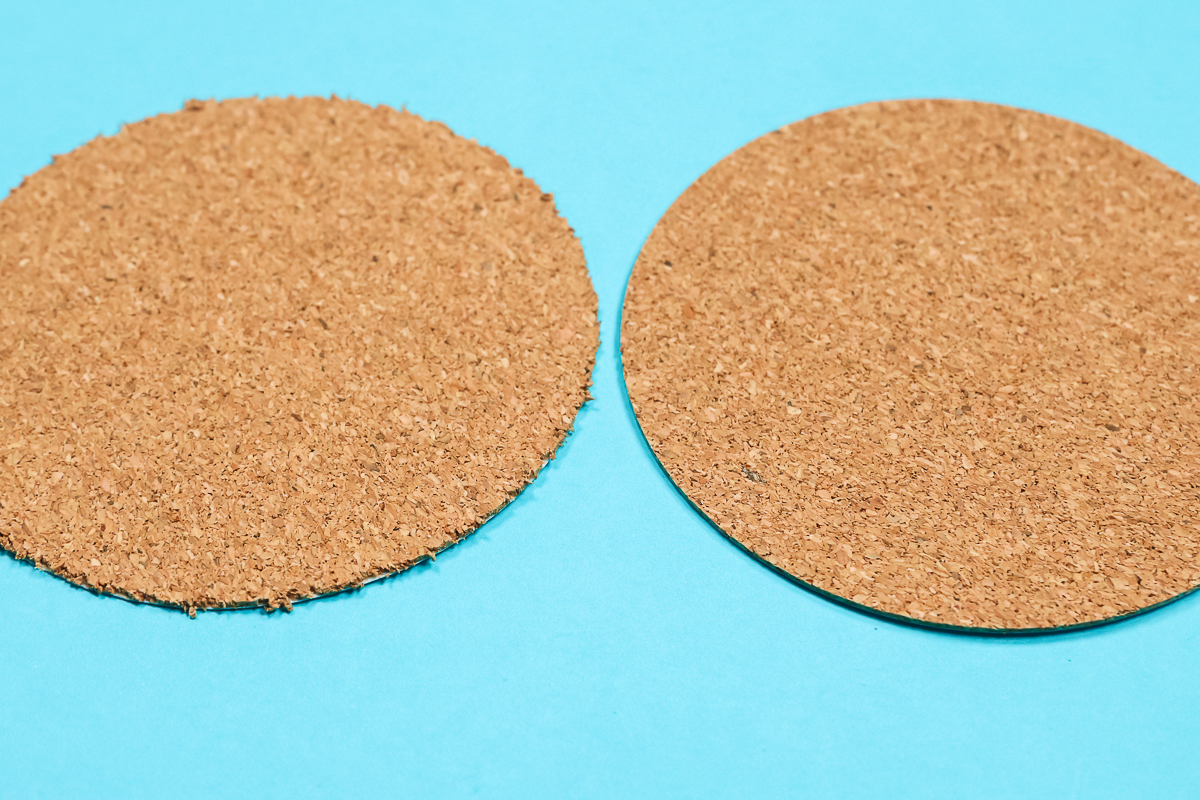
My recommendation, if you’re cutting cork like this, would be to use the Cricut Maker and the Rotary Blade. The difference is significant.
How to Cut Cork Faux Leather with a Cricut Machine
The next material we’re going to test is Cork Faux Leather. I believe this is the type of material people are looking for when they want to make cork-looking earrings.
This material cuts with the Fine Point blade in either the Maker or Explore machines. Add the material to a StrongGrip mat cork side down and then use a brayer to make sure it’s stuck down to the mat really well.
Load the mat into the machine and press Go.
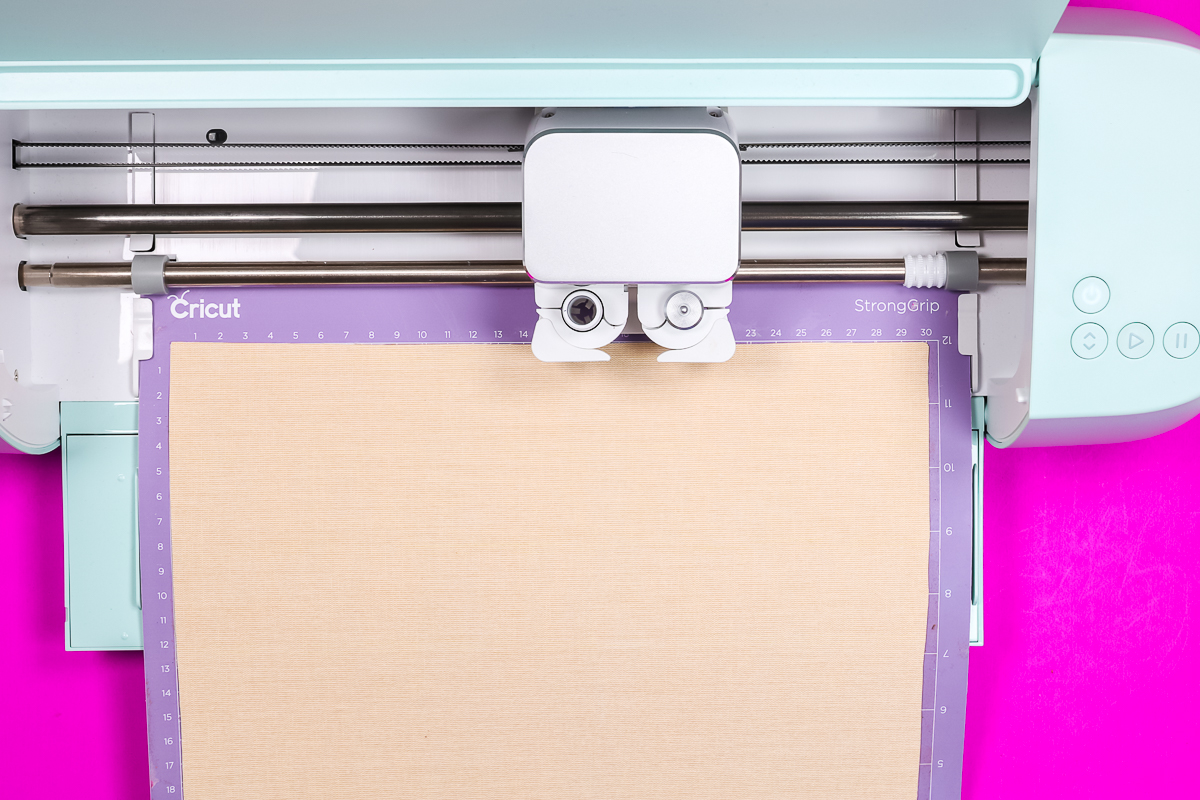
I am using the Faux Leather setting in both the Maker and Explore machines to cut this material.
Now, just like with the cork cuts above, don’t unload the mat when it’s done. First, check the cut setting to make sure it cuts through cleanly. The Faux Leather setting cut perfectly on both the Maker and Explore machines.
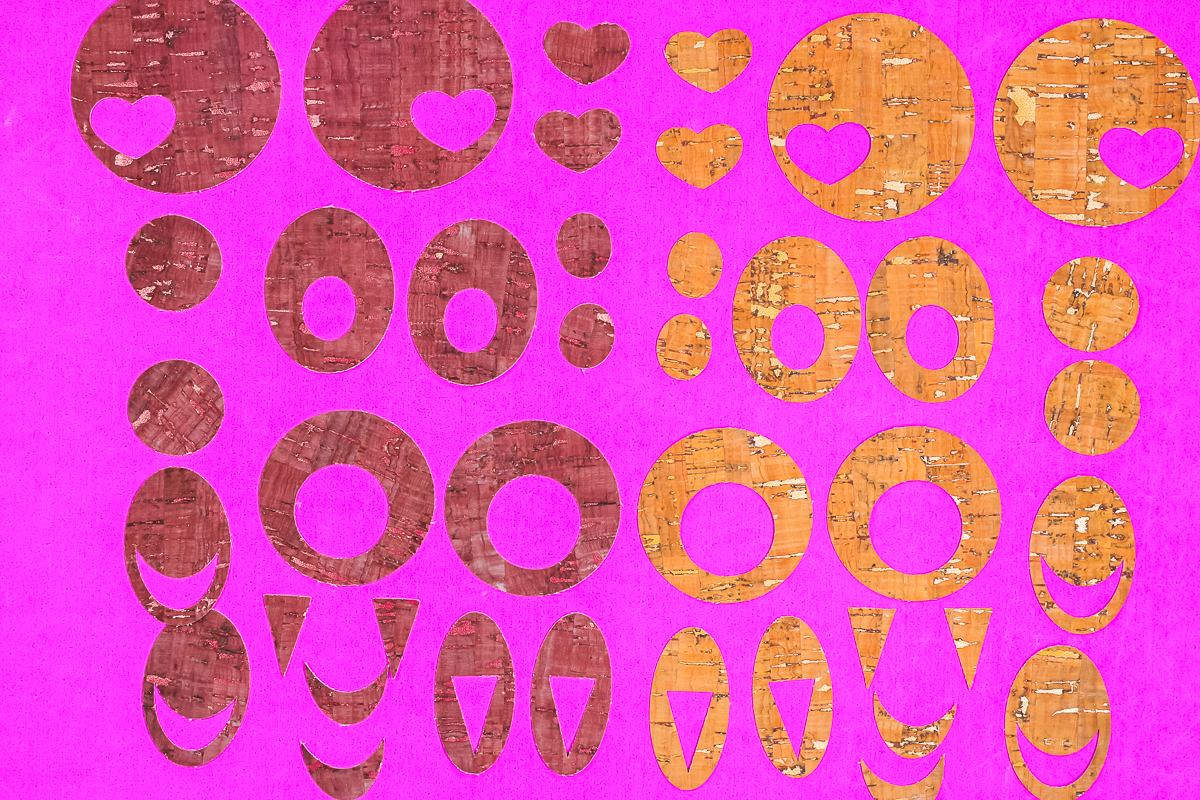
All of these are earring pieces that you can use to create different earring combinations. I have created these earrings before, you can see how to assemble them in my video about making earrings with your Cricut.
How to Protect Your Cricut Mat
I used a brand-new StrongGrip mat to cut these materials. As you can see in the photo below, the material really did a number on my mat.
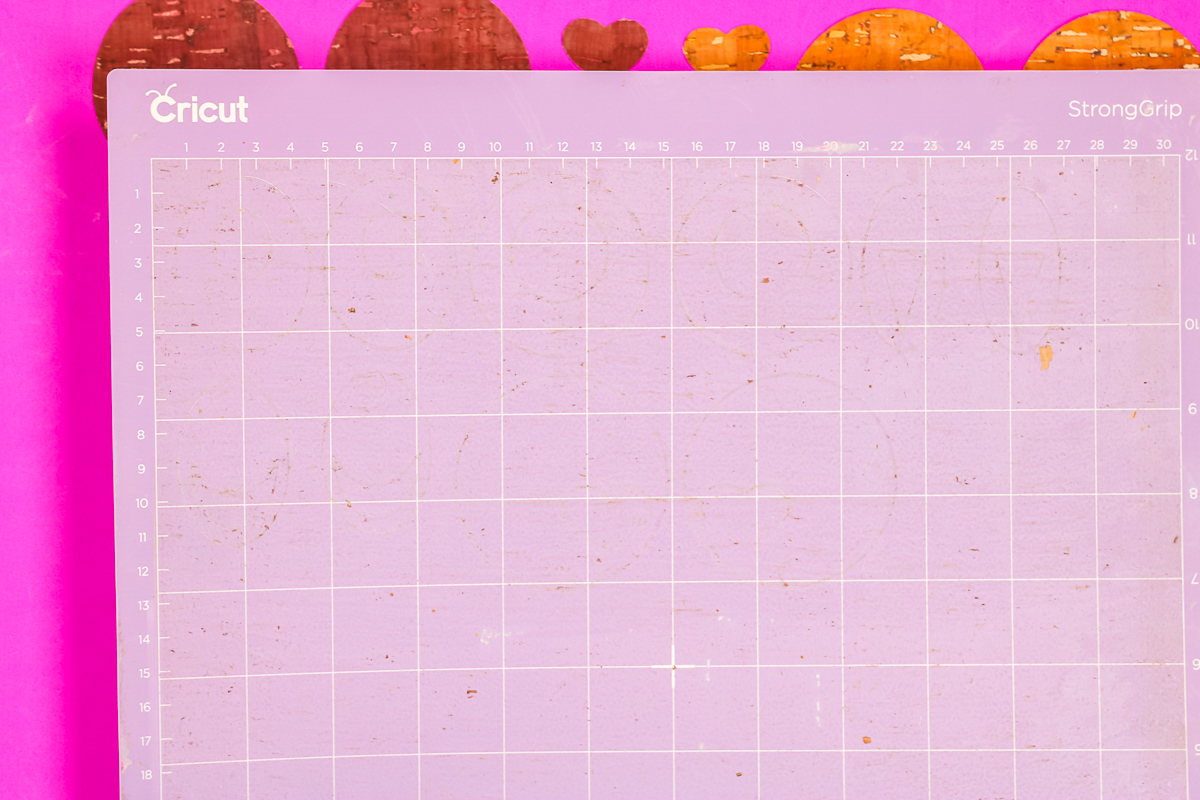
To protect your mat, you can add some StrongGrip Transfer Tape to the mat, sticky side up, and then stick the cork faux leather to that. It would help keep your mat clean for future use.
See this and more Cricut hacks in my post here!
Final Thoughts on Cutting Cork with a Cricut Machine
I am really happy with the way my Cricut machines cut these different cork materials. I do recommend using the Maker machine and the Rotary Blade with the adhesive-backed cork for really clean cuts and less mess.
You can cut that cork material with the Fine Point Blade since it does cut all the way through, but the edges are rough. I wouldn’t recommend using the Fine Point Blade for anything intricate.
Both machines cut the Cork Faux Leather with the Fine Point blade perfectly. I’m really happy with how they cut the material. The Faux Leather setting worked perfectly so I would definitely start there if you’re trying to decide which cut setting will work for your material.
I hope this has answered any questions you have about cutting cork with a Cricut machine. If you have any additional questions, feel free to leave them in the comments below and I’ll answer them for you.