This post and photos may contain Amazon or other affiliate links. If you purchase something through any link, I may receive a small commission at no extra charge to you. Any supplies used may be given to me free of charge, however, all projects and opinions are my own.
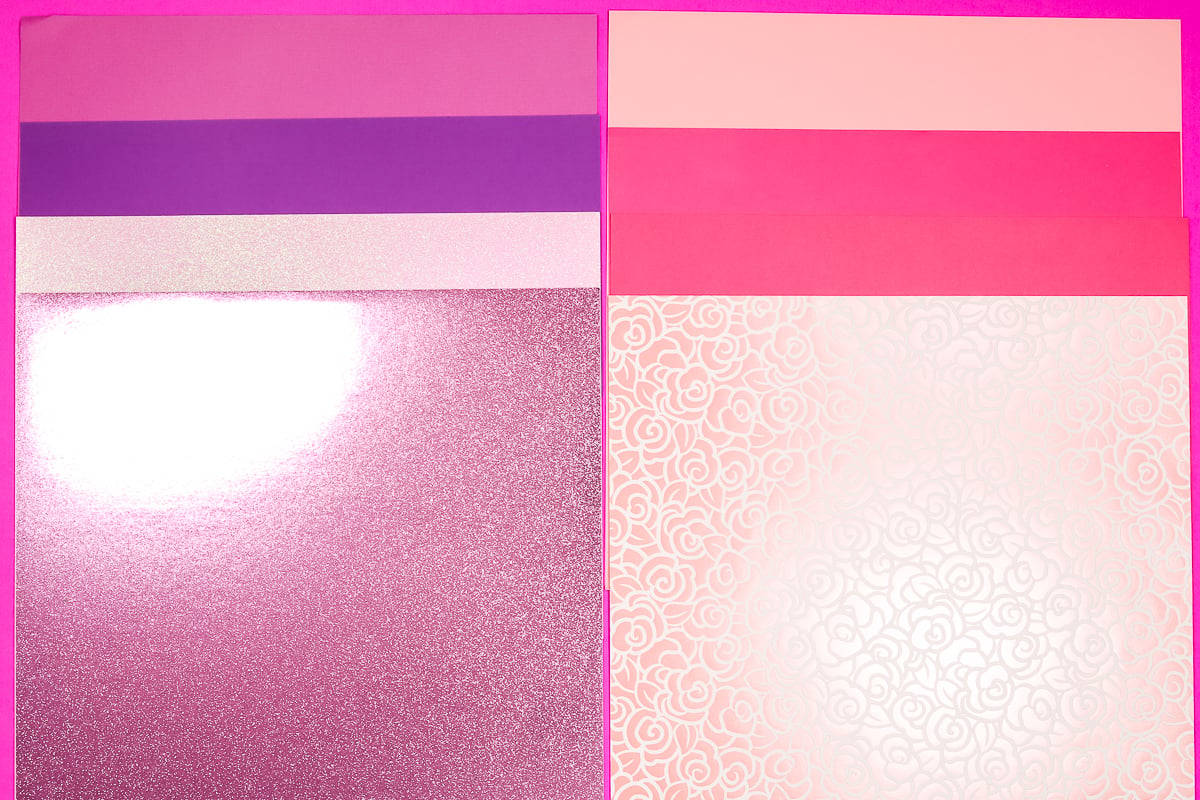
Have you ever struggled cutting cardstock with your Cricut machine? Today we’re going to talk about how to get intricate cuts on cardstock using a Cricut machine. This tutorial will teach you how to get clean cuts with different cardstock materials. I will test white-core cardstock, lightweight cardstock, medium cardstock, glitter cardstock, and even foil cardstock.
If you’re new to Cricut, check out my Cricut Crash Course for my best beginner tips and tricks.
Intricate Cuts on Cardstock with Cricut
While I’m going to show you how to get the best intricate cuts these tips are for any type of cut on any type of cardstock. You can watch me go through all of these different materials by pressing play on the video below.
Supplies Used
NOTE: There are many different types and brands of cardstock available. I can’t go through every different option out there but I am trying to test a wide variety to show you how these tips work for other materials.
What Cricut Machines Can Cut Cardstock?
The great thing about cutting cardstock with your Cricut machine is that you can use whatever Cricut machine you own. All of the cardstock options I’m using today can be cut using the Fine Point Blade that comes with every Cricut machine.
How to Cut Cardstock with a Cricut
There are a few things you can do before you even add cardstock to your Cricut mat to help get the best cuts possible.
Clean the Blade
One thing that can keep you from getting clean cuts is a dull or dirty blade. If your blade is dull, it needs to be replaced. There is no way to sharpen a Cricut blade, but sometimes the blade isn’t dull, it’s dirty.
To clean a Cricut blade, ball up tinfoil and poke the blade into the ball repeatedly. Push the plunger about halfway down and the blade should stay in the housing during the process.
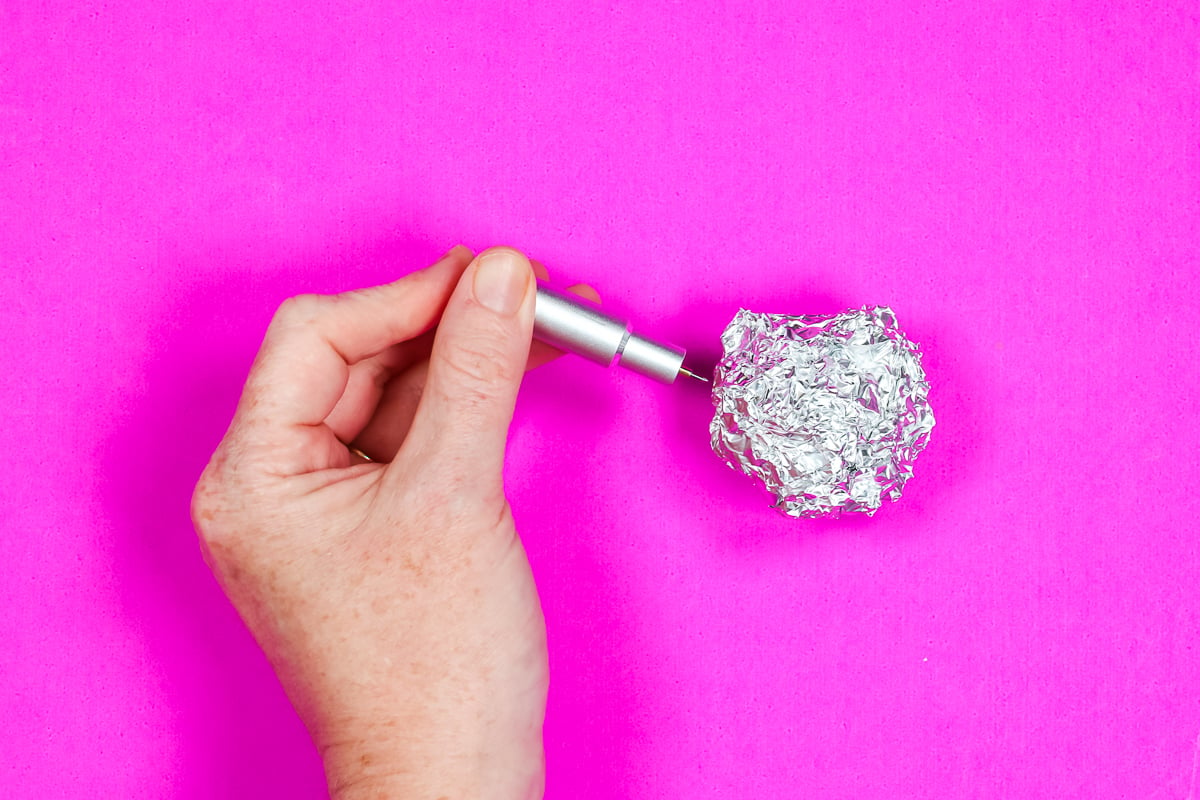
This process will remove any debris, including adhesive, stuck on the blade. If you do this and continue to get rough cuts, your blade may need to be replaced.
Use a New Mat
If your blade is clean or new and your cuts are not clean, it may be your mat. A mat that is dirty, no longer sticky, or has deep cuts can definitely impact the type of cuts you get.
It’s important, especially when it comes to intricate cuts on cardstock, that you have a clean mat. You can clean your mat to remove any dust, hair, dirt, or anything else.
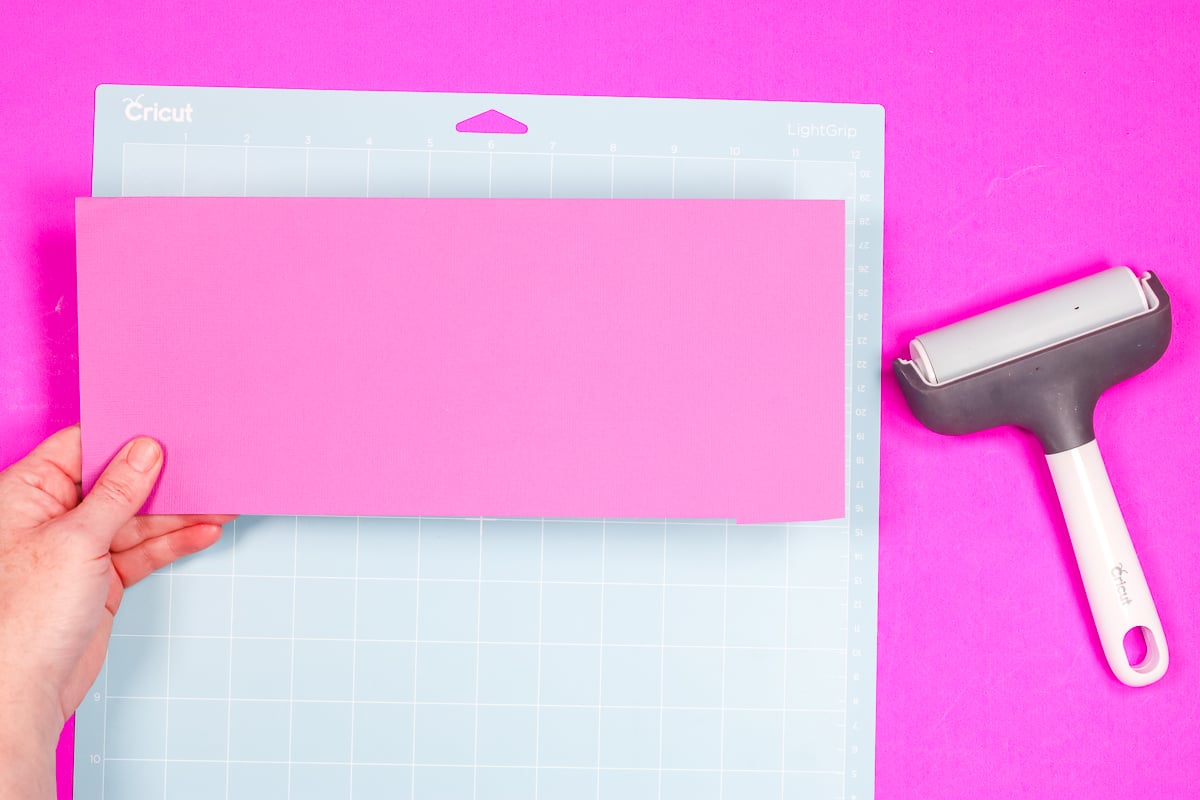
When cutting cardstock I use a LightGrip mat. Even if your mat is clean, if it is old and has lost its stick that can result in the paper tearing instead of cutting.
If the mat has been used and has deep cuts in it, the blade can get caught on it and tear through the cardstock. For intricate cuts on cardstock, a mat that is in good condition is a must.
Make Sure Cardstock is Stuck Down Well
The next step is to make sure your cardstock material is stuck down on the mat really well. If your cardstock lifts during the cut process, it will likely tear and your cuts will not be clean.
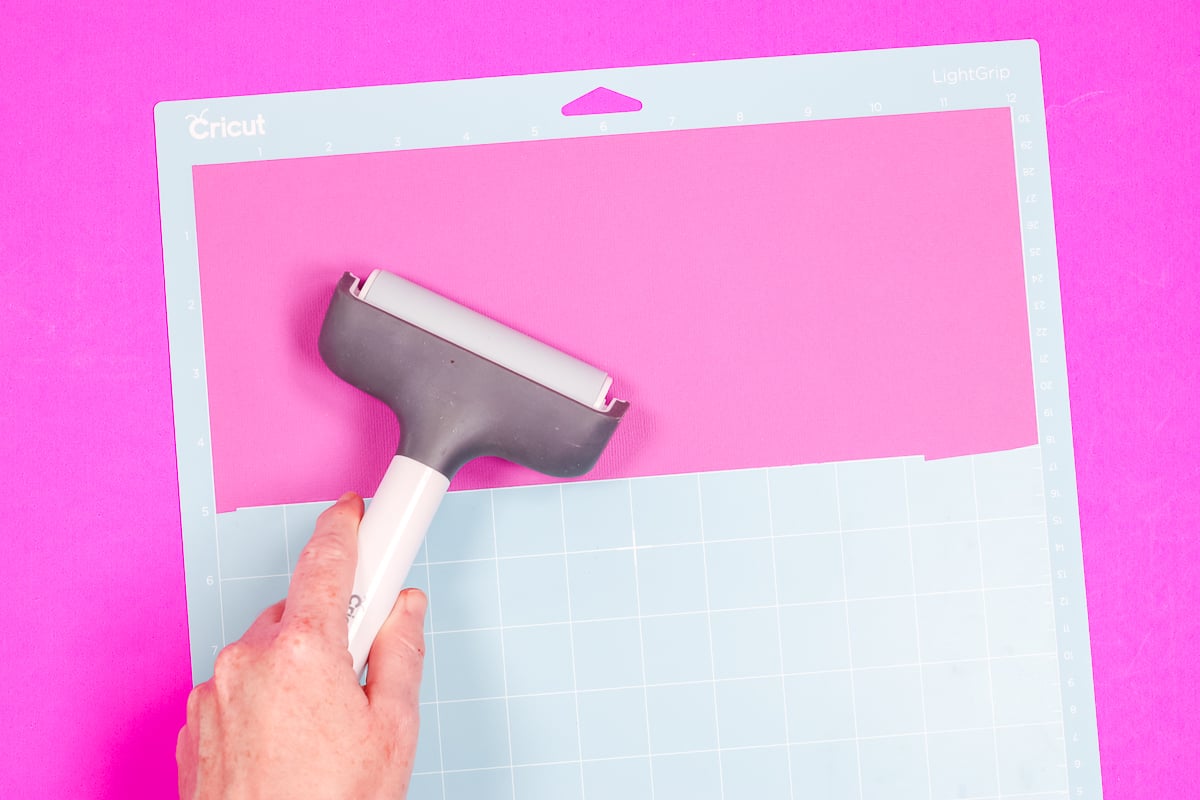
I recommend using a brayer to go over your material to ensure it’s stuck down across the entire surface.
Choose an Image
Now we need to choose an image to cut. I am using this intricate butterfly SVG for all of my cuts today.
The details of your design will dictate the size you should cut it out. If your design has a lot of small details, trying to cut it small may not work regardless of the material you’re using and how clean your blade and mat are.
If you need to cut the design small, it may be helpful to use the Contour tool and remove some of those smaller details.
Remember, some images will not work for intricate cuts no matter what material you use. The quality of your SVG can also impact the cuts so make sure you’re using a high-quality SVG.
What Material Works Best for Intricate Cuts on Cardstock?
The cardstock you choose can have an impact on the type of cuts you get. There are some brands that are of lower quality and won’t hold up to intricate cuts.
Check Cut Settings
If you’re cutting a material you’ve never used before, make sure you do a test cut before you begin.
Cricut has a lot of different paper settings in Design Space. Each of those settings has a default, less, and more pressure option. This means you’re going to need to do a little testing when using a new material.
I like to begin by choosing the material that most closely matches the material I’m using.
Testing Medium Cardstock
The first material I am testing is medium cardstock. For the first pass, I am choosing the medium cardstock setting and keeping the pressure at default. Load the mat into your Cricut machine and allow it to cut.
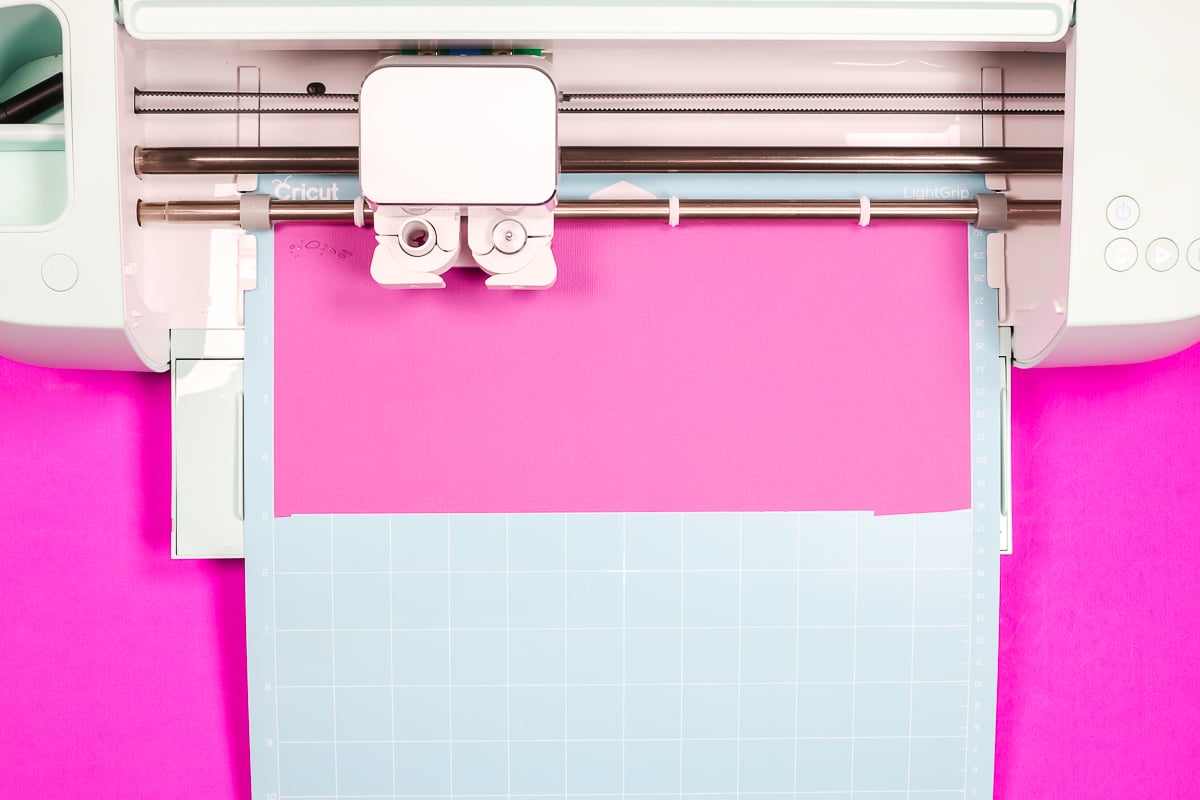
If you’re unsure the setting is right, check the cut without unloading the mat. I like to use a weeding tool to make sure the design is cut through.
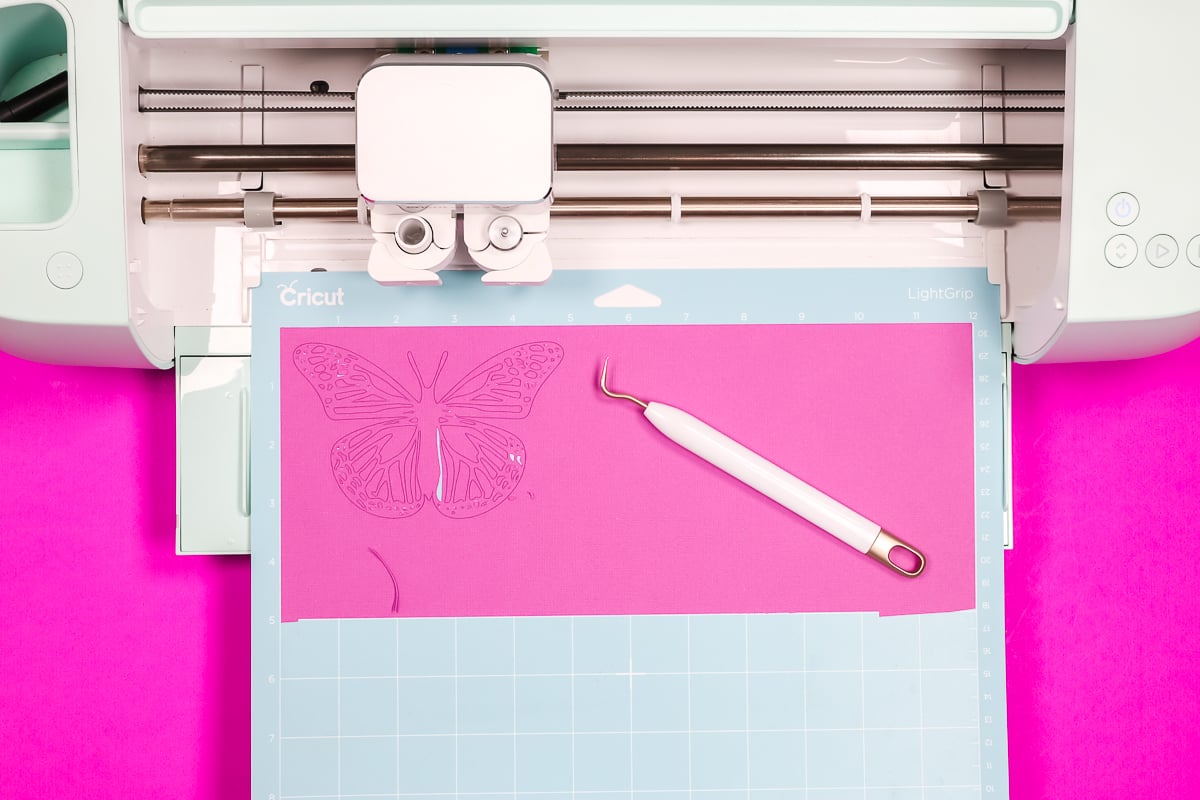
Here you can see that the piece was removed easily so I unloaded the mat. Cutting intricate cuts is just the beginning. Because these cuts can be thin, removing the material from the mat can result in tears if you’re not careful.
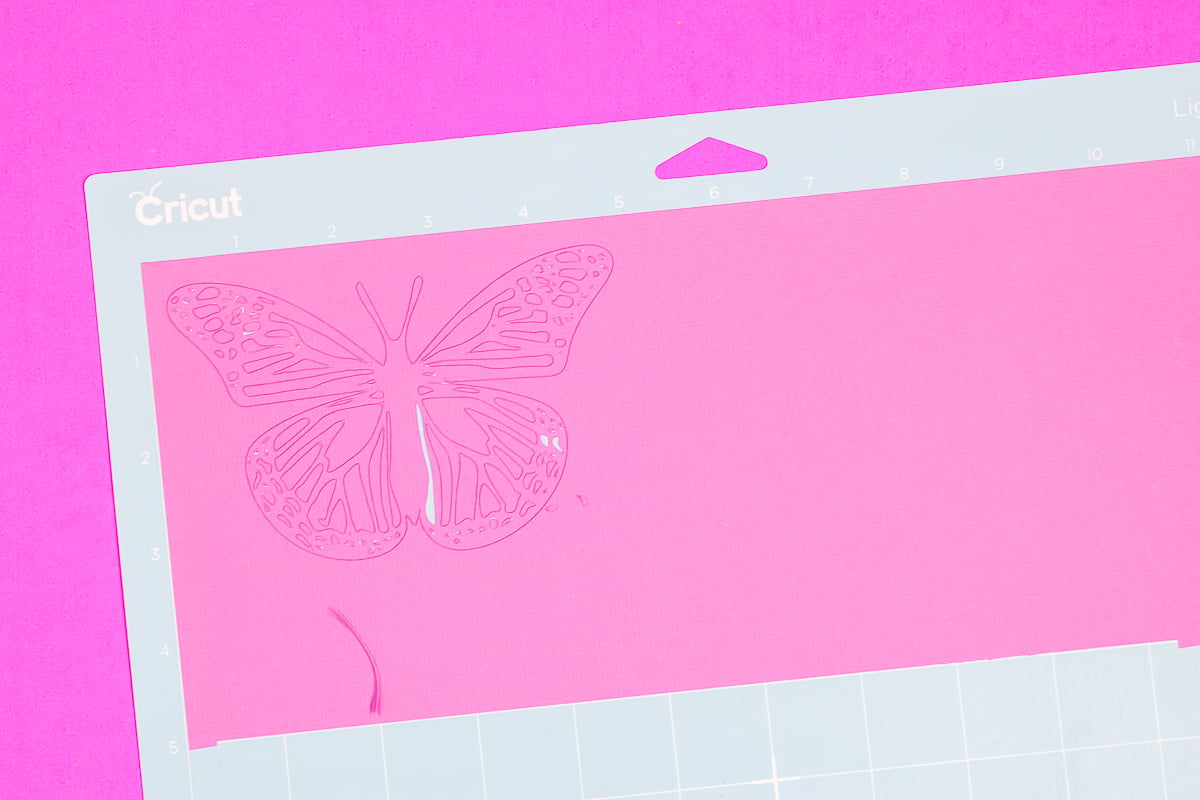
My tip is to flip the mat over and slowly roll the mat away from the material. If you have any pieces that aren’t releasing easily, use your spatula tool to lift them up.
Sometimes, even with clean cuts small pieces of material get stuck inside the cut. I like to use a weeding tool to push those pieces out.
I’m really happy with how this setting worked on this material, let’s see how it works on other materials.

Lightweight Cardstock
Next, I’m testing a thinner cardstock. For this test, I didn’t change any settings. I am using the medium cardstock setting with the pressure set to default. I’m still using a clean blade and a new mat.
Right away the cardstock was tearing. When it finished, there were tears in each different section of the butterfly.
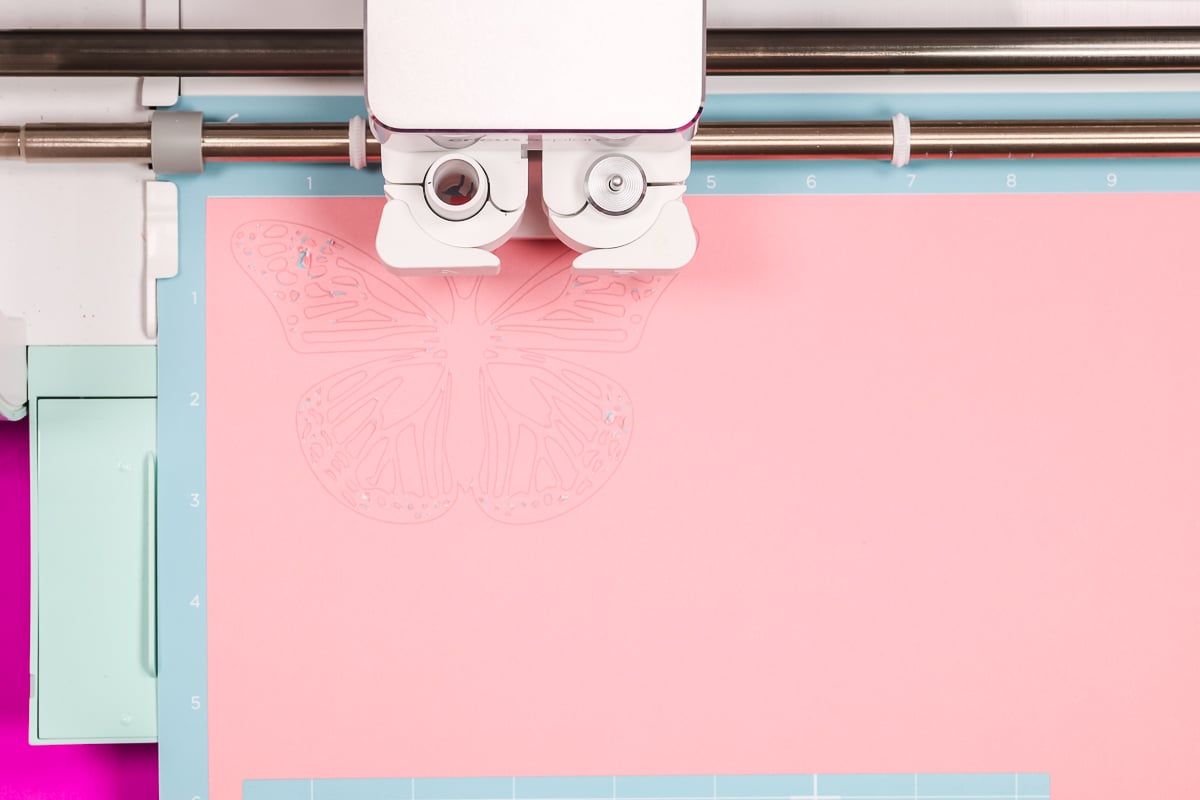
Cardstock for Intricate Cuts Setting
Next, I’m using the same material and the Cardstock for Intricate Cuts setting. You can find this setting in the materials list.
If you’re using an Air 2, you’ll need to turn the dial to Custom and then the whole material list will show up in Design Space.
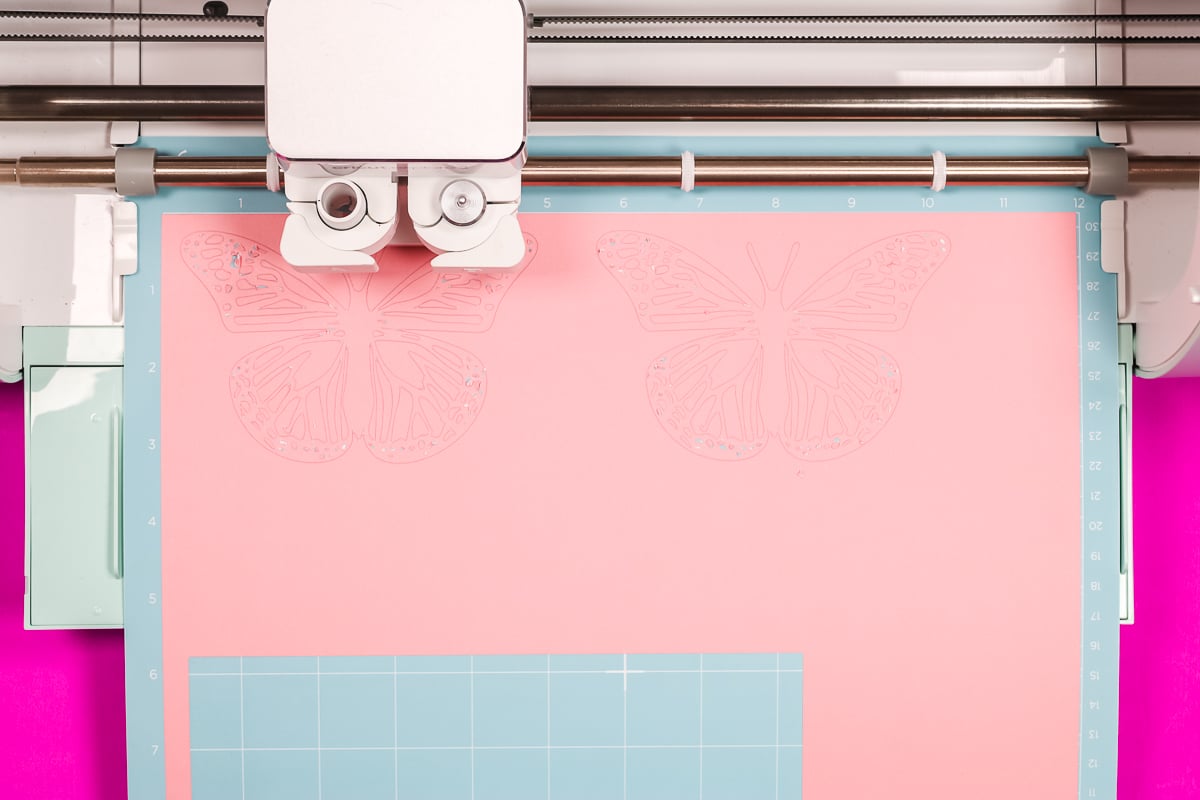
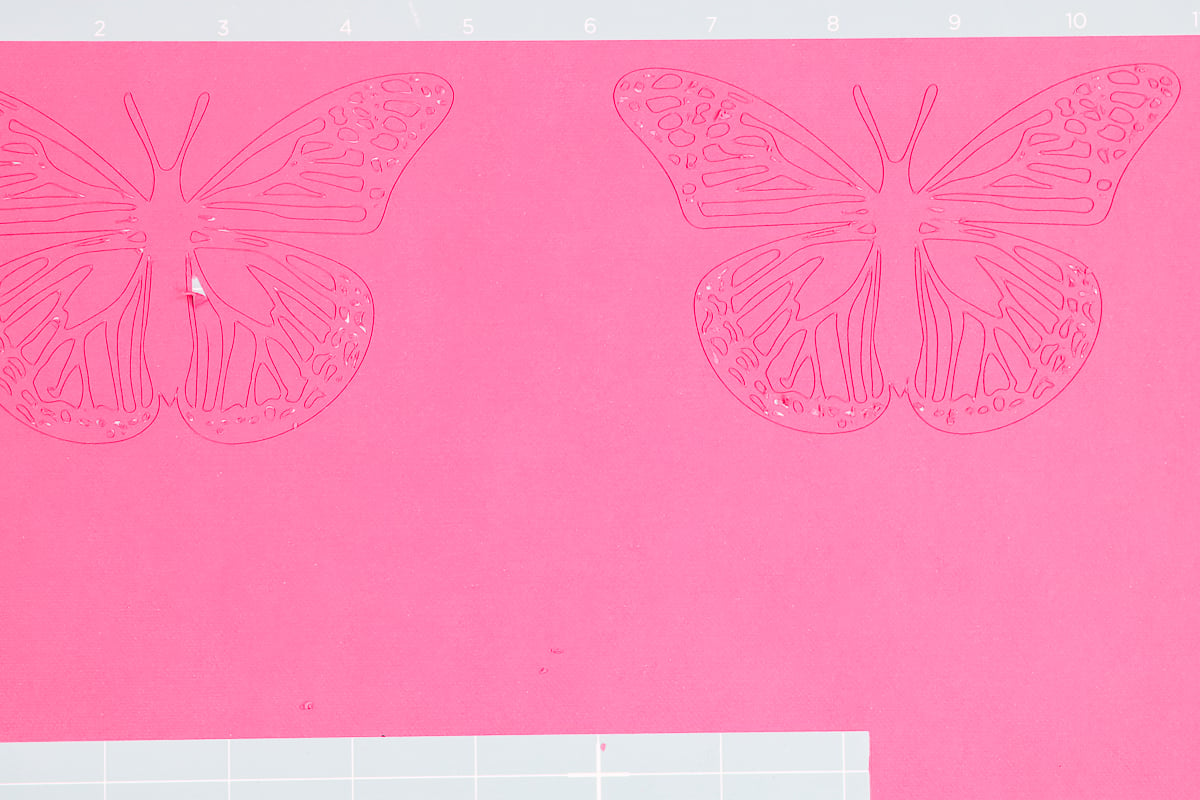
Here you can see those cuts side by side. On the mat, you can see that the intricate cut setting butterfly looks a lot better than the medium cardstock setting.
White-core Cardstock
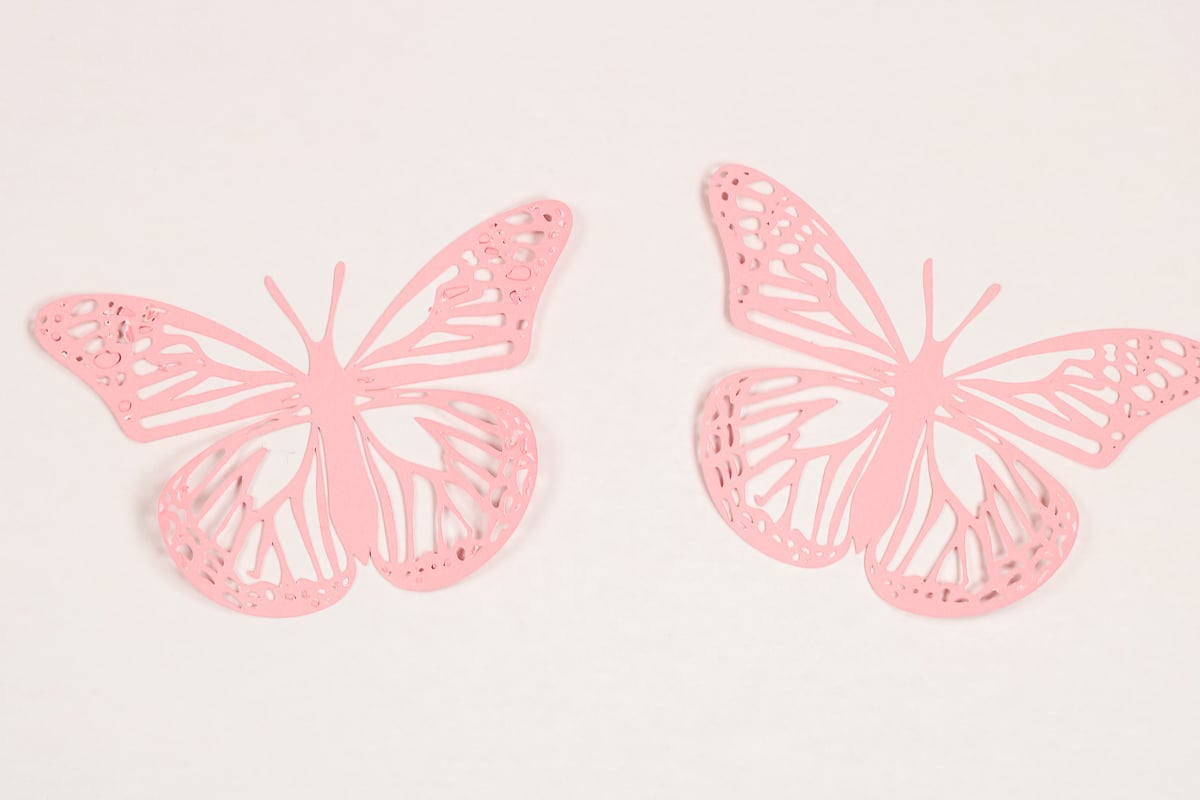
This light pink paper is a thin, white-core cardstock. Typically, white-core cardstock is an indicator that it is a lower-quality cardstock.
You can check to see if the paper is white-core by looking at the edge of the paper. You can see the white line down the middle of the paper. If you know you’ll be using the cardstock for intricate cuts, I would steer clear of white-core cardstock.
Thin Cardstock
While I would recommend steering clear of white-core cardstock, even if you’re not using white-core you will still need to do a test cut on new materials.
The material below is a thinner solid-core cardstock and you can see, the butterfly on the left has some tears. That butterfly was cut using the Medium Cardstock setting. The butterfly on the right was cut with the Cardstock for Intricate Cuts setting. That butterfly looks really good.
Close Up of Finished Intricate Butterflies
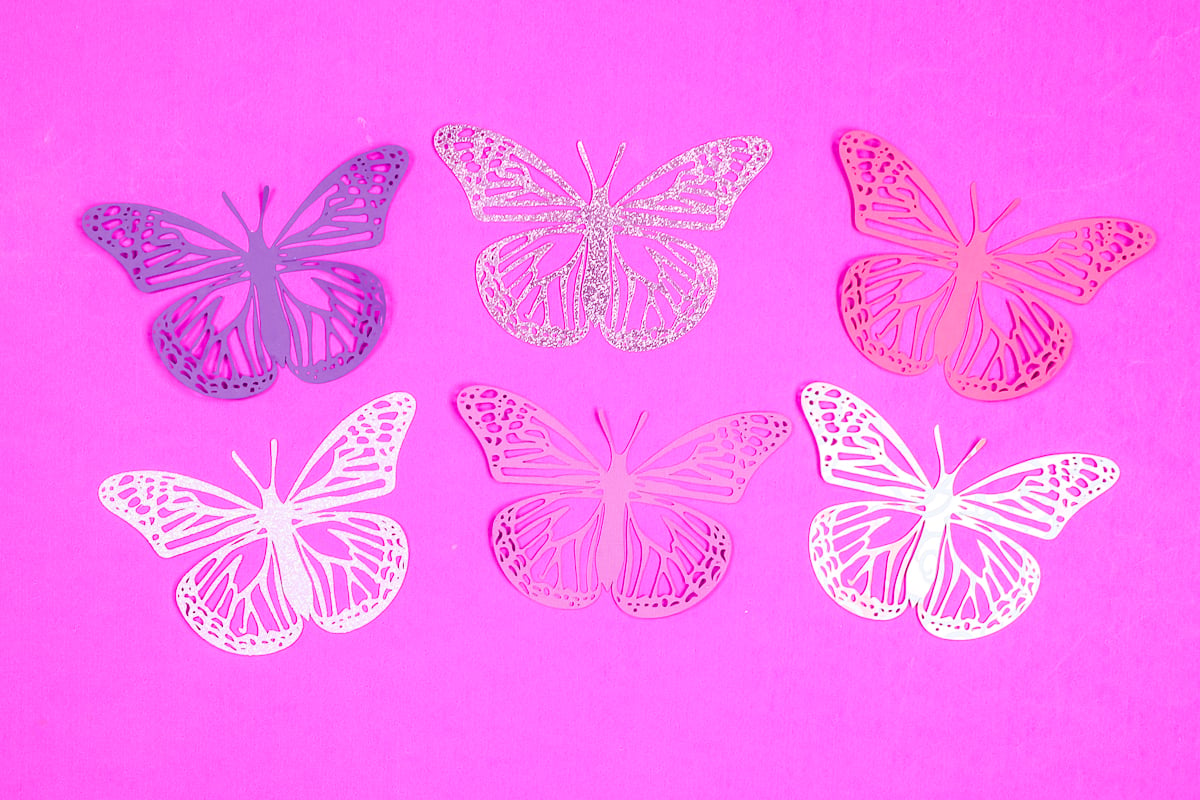
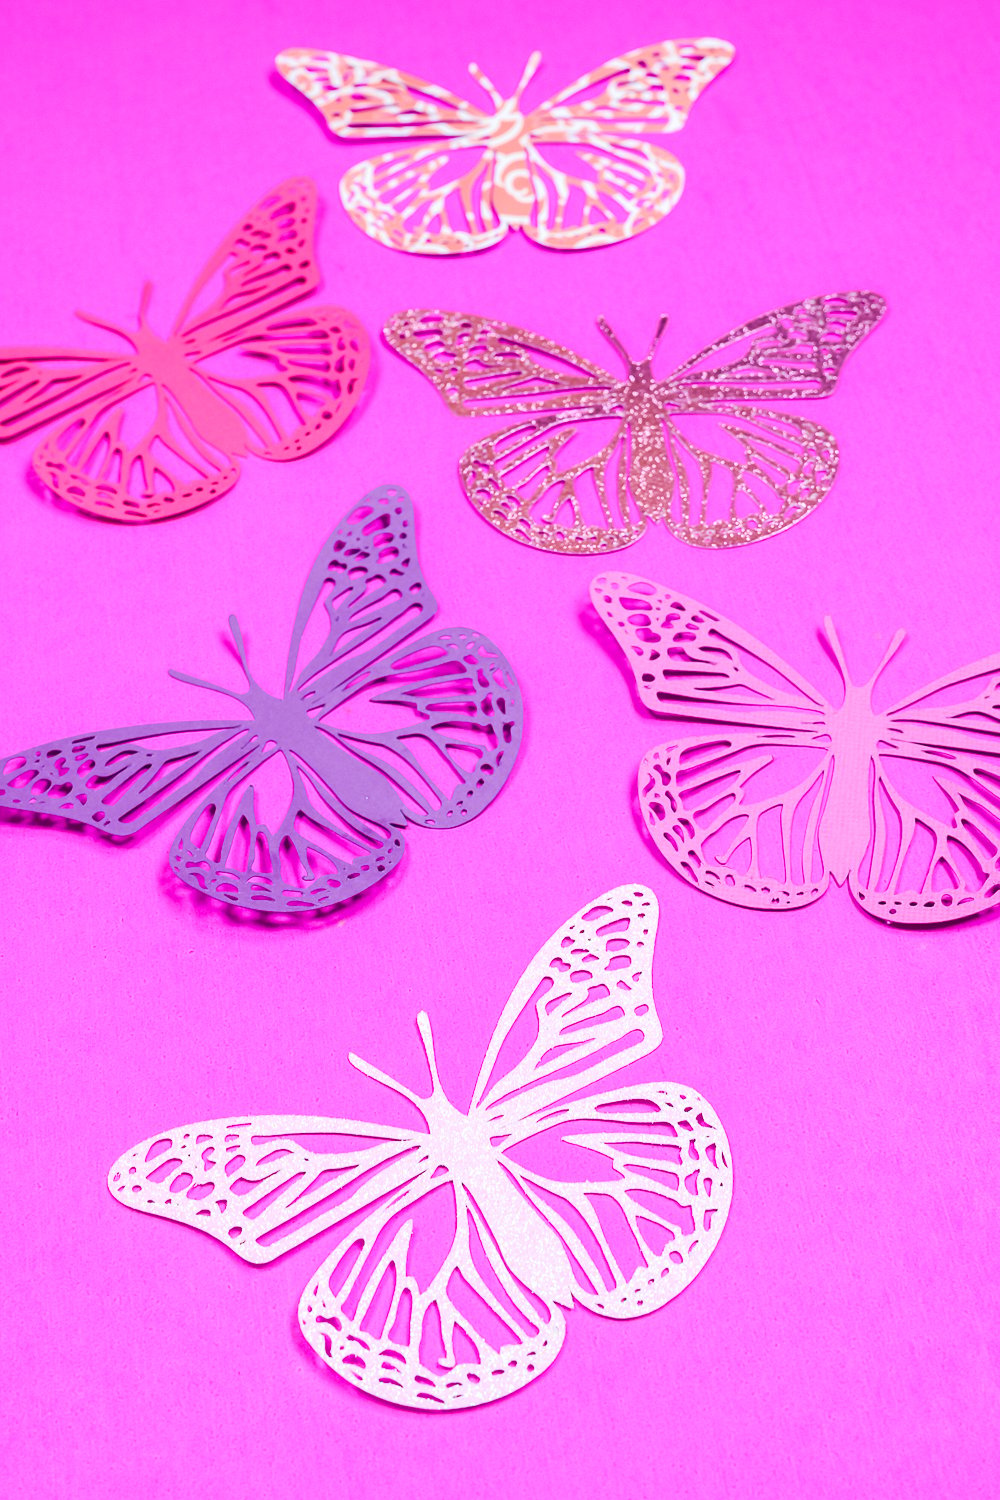
Let’s look at the different butterflies I was able to cut out of cardstock successfully. All of the butterflies on the left were cut on the Medium Cardstock setting. I would also consider each material medium cardstock.
The materials on the right are specialty cardstock materials. We have deluxe foil paper, shimmer paper, and glitter paper. Each of these also cut really well using the setting for that material.
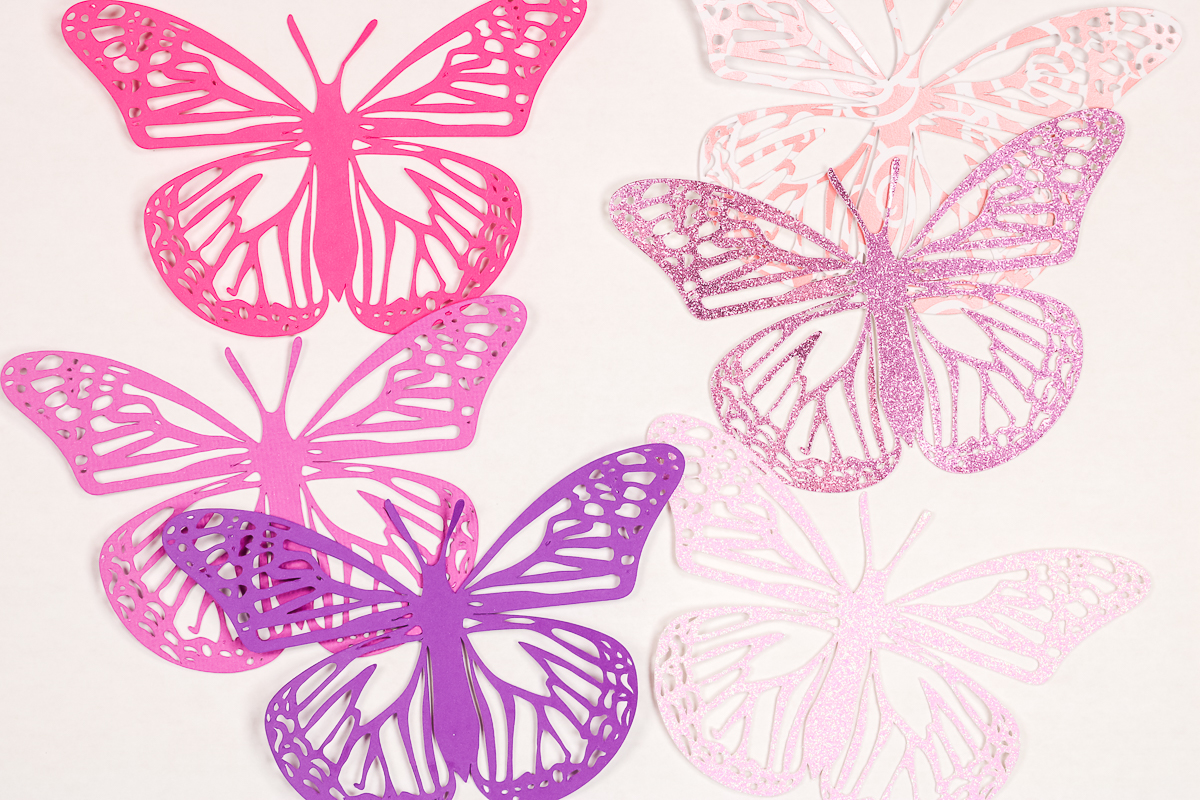
If I had to pick a favorite material for this butterfly, it would probably have to be glitter cardstock. It’s definitely a personal preference for this particular design. It cut really well and it looks really pretty.
Final Thoughts on How to Cut Cardstock with Intricate Cuts
When it comes to cutting any type of cardstock, these tips should help you get the cleanest cuts possible. I always recommend starting with the setting for your particular material and doing a test cut if you’re using something new.
If you go through all of the tips I’ve shared today and still can’t get a clean cut, it may be the paper you’re using or your SVG. I have trouble with construction paper and low-quality cardstock. I also struggle when I’m using an SVG that doesn’t have clean lines.
To get the best cardstock cuts possible, especially intricate cuts I recommend high-quality cardstock, a clean mat, a clean blade, making sure the material is down on the mat well, and the right setting for your material.
I hope I’ve answered your questions about intricate cuts on cardstock. If you have any additional questions, leave them in the comments and I’ll answer those for you.

