This post and photos may contain Amazon or other affiliate links. If you purchase something through any link, I may receive a small commission at no extra charge to you. Any supplies used may be given to me free of charge, however, all projects and opinions are my own.
Today I’m going to teach you how to engrave with Glowforge Aura! We’re going to engrave three different surfaces with the Glowforge and I’m going to share all my tips and tricks for getting the best results.
If you’re new to Glowforge Aura, make sure you check out my full review and my tutorial on how to upload and trace your own images.
How to Engrave with Glowforge Aura
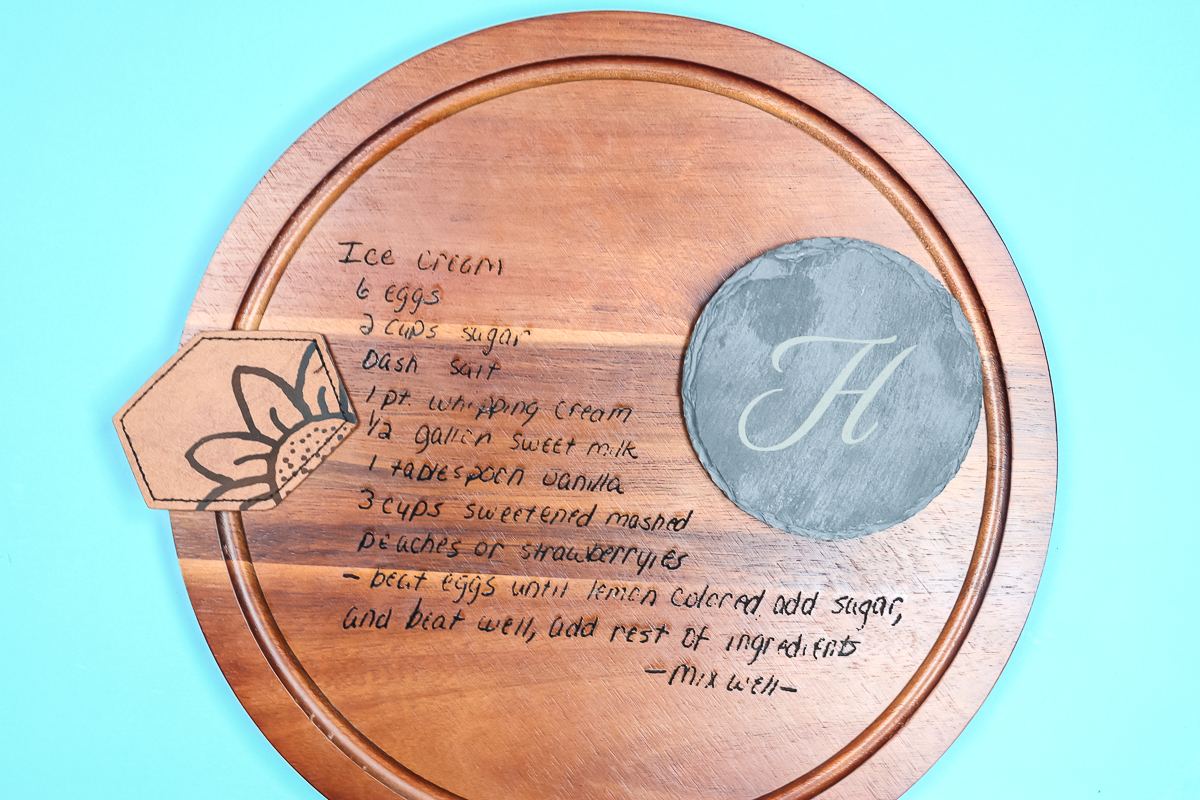
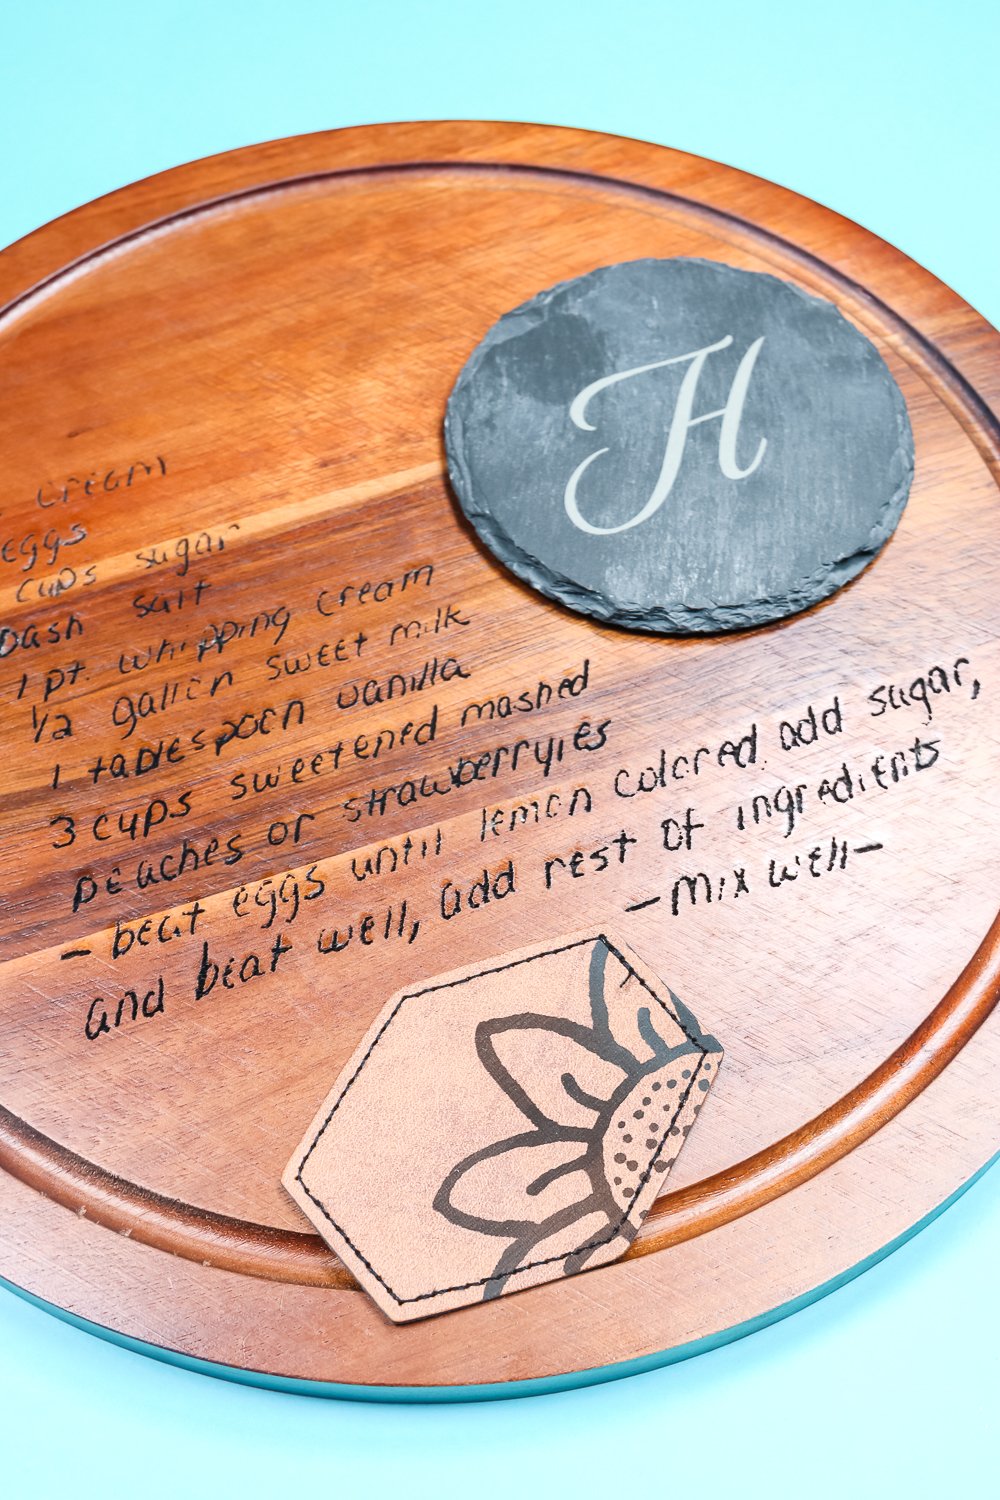
I’m going to teach you how to engrave a leather patch, a round wooden board, and a slate coaster. Each of these blanks is different as are the designs we’re going to use. I’m even going to trace with the Aura using a handwritten recipe and a drawn sunflower design.
I’m also going to show you how to use text in the Glowforge program to add a monogram to the coaster. You can watch me walk you through the whole process for each of these projects by pressing play on the video below.
Supplies Used:
Get Your Glowforge Aura at
You will also need this website for designing/printing on Glowforge Aura.
Blanks Used:
Engraving Different Blanks with Glowforge Aura
Let’s look at how to engrave each of these different blanks. The process is slightly different for each of the projects that we are going to complete.
How to Engrave Leather Patches
For this project, I’m using a leather patch and an image that I drew on a piece of regular copy paper. The Glowforge Aura will actually scan the image I drew on paper and transfer it onto the leather.
You’ll begin by opening up app.glowforge.com and clicking New Project and then on Trace a Design.
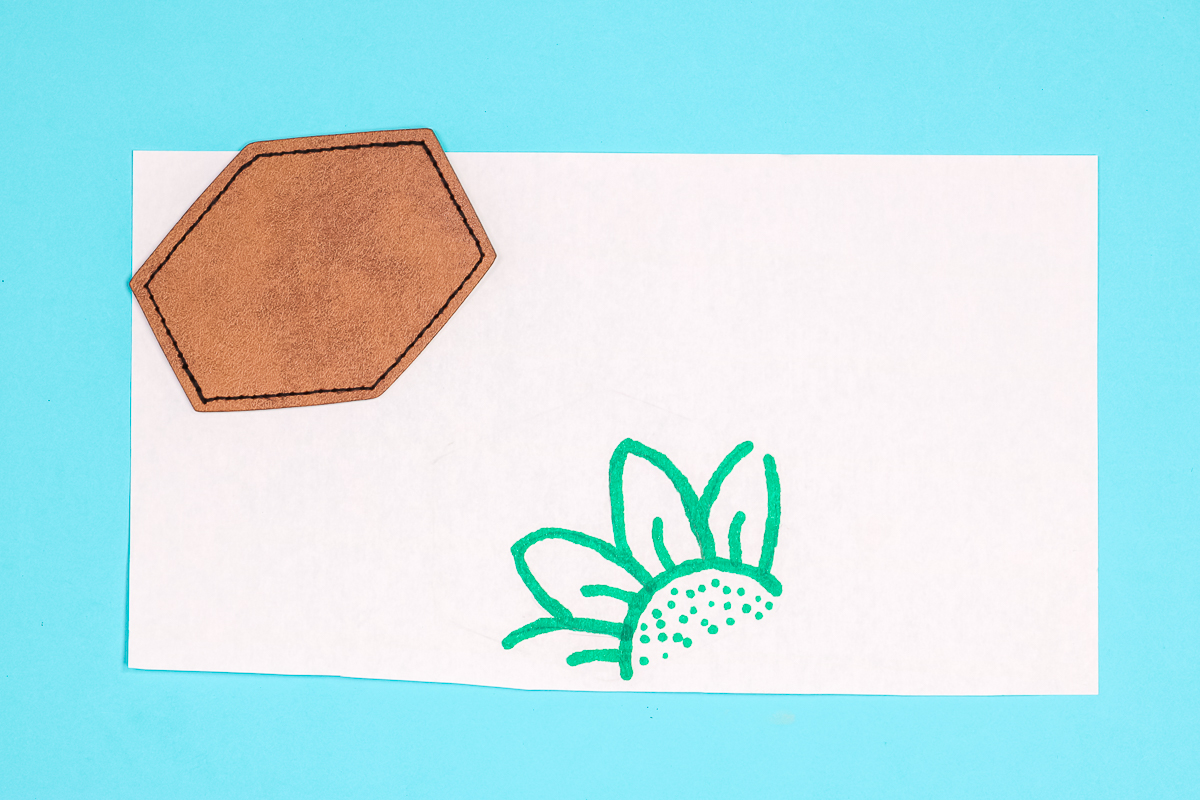
This will bring up the inside of your Glowforge Aura on your computer screen. Place the paper with your design inside the machine and the software will scan the piece of paper.
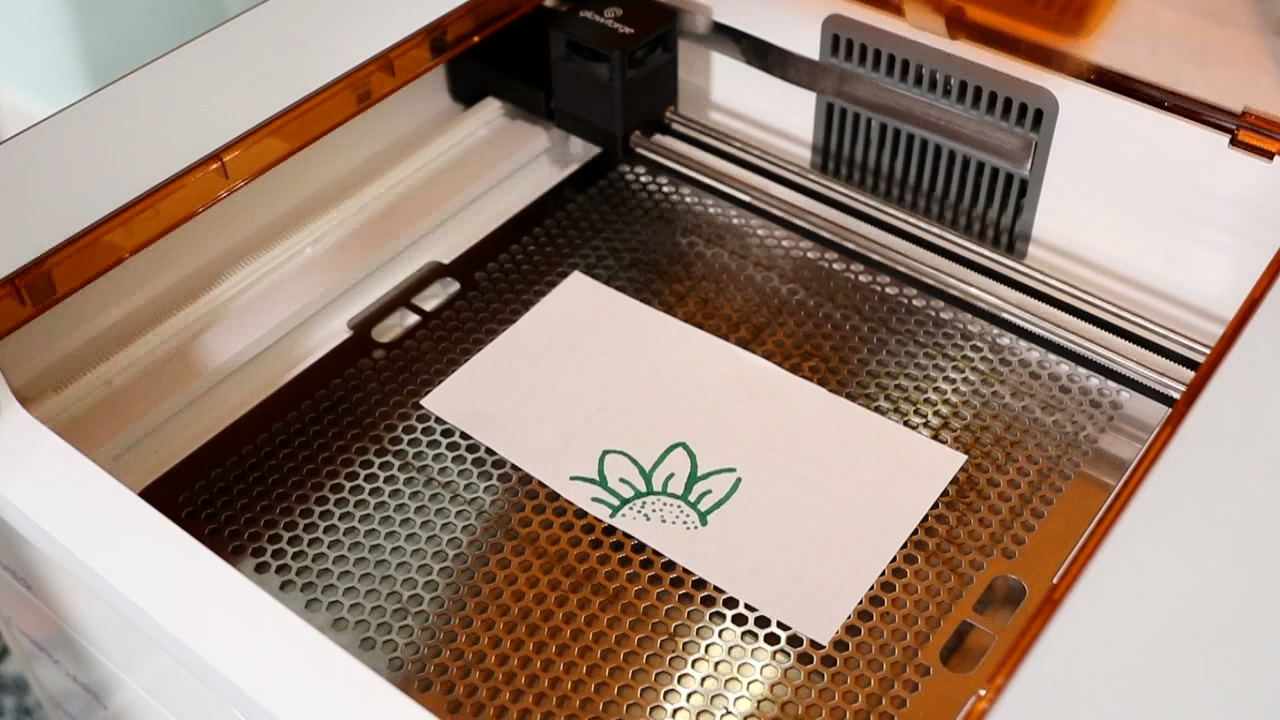
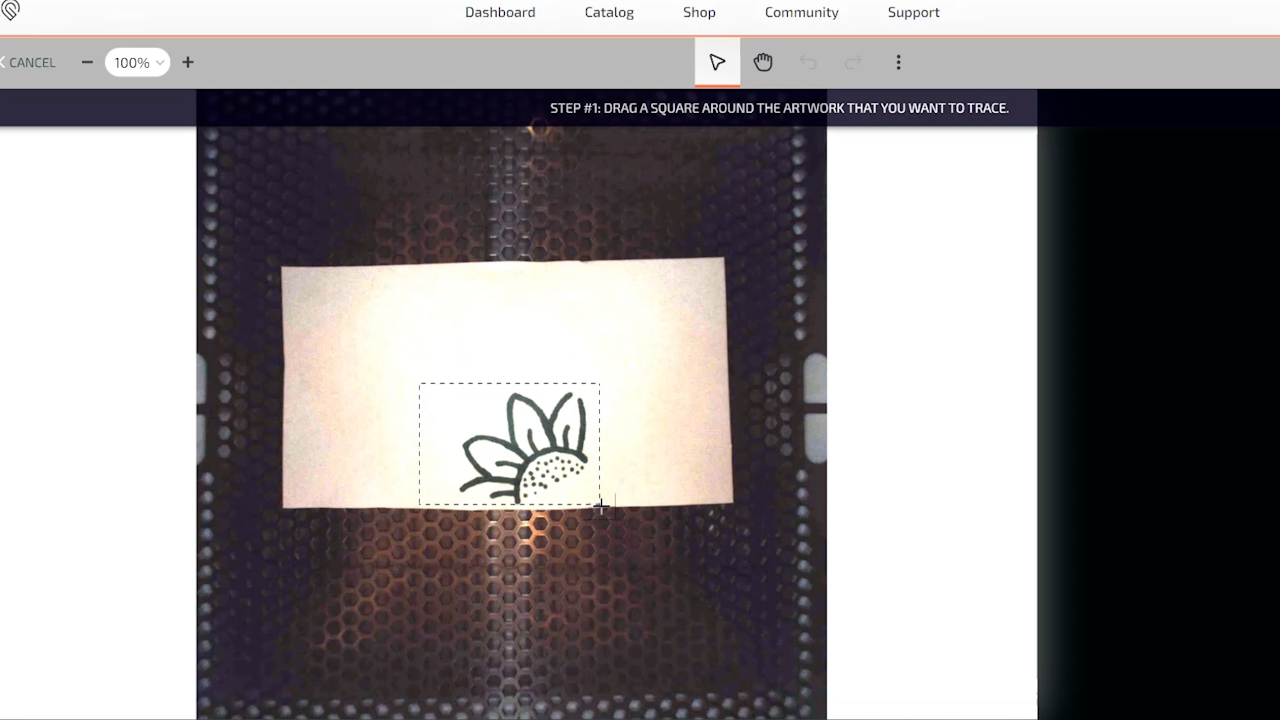
It will show paper on the screen and then you can adjust where the machine scans so it scans only around the area where the drawing is. This way you don’t have to worry about the rest of the page.
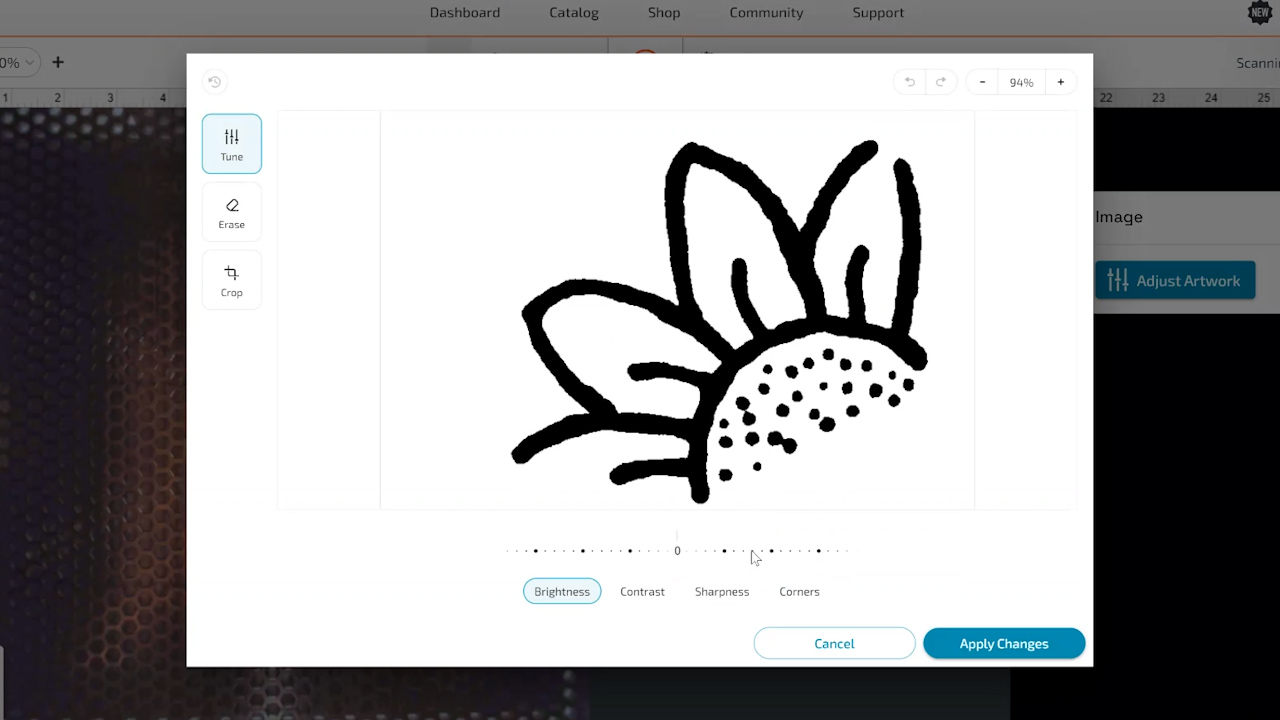
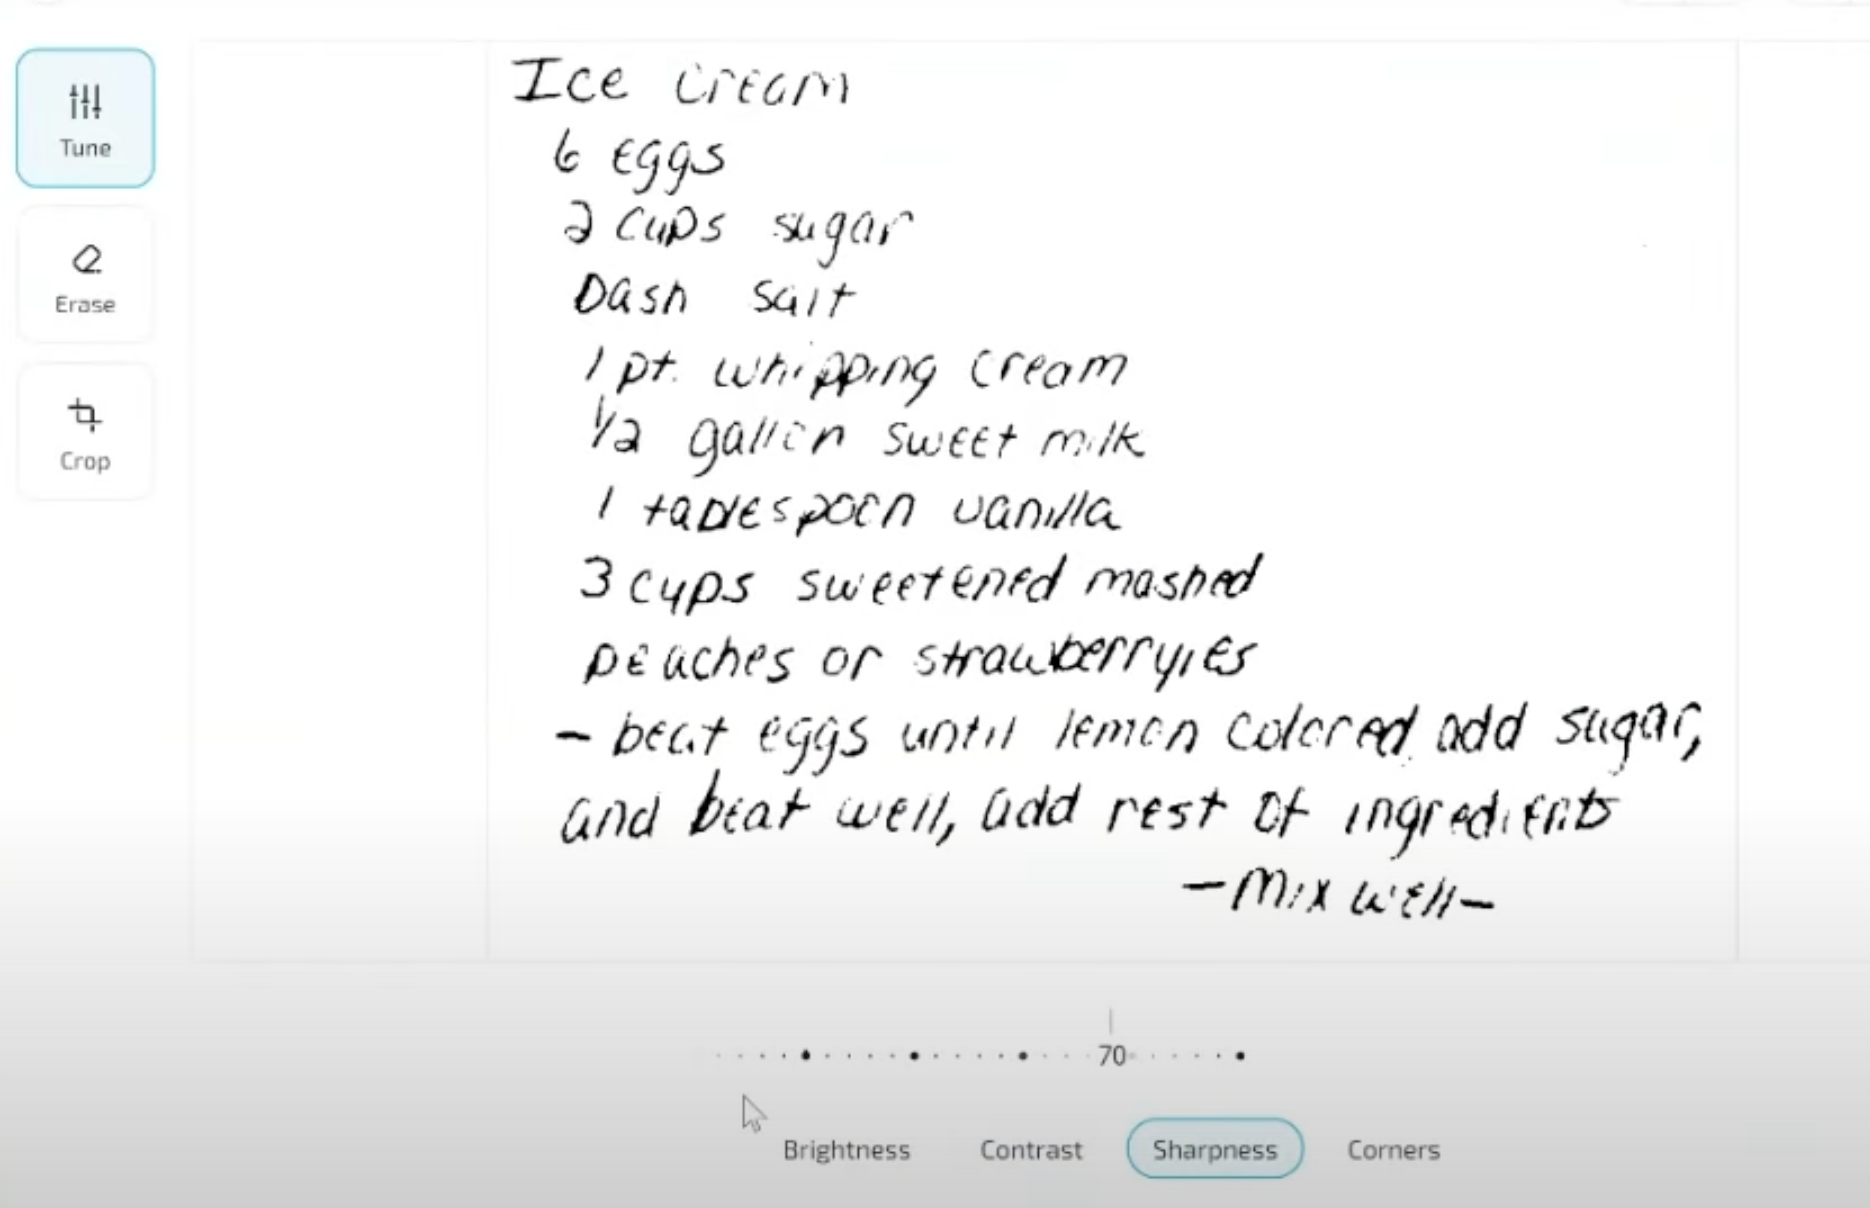
Once the design is scanned, you can zoom in and adjust the brightness, contrast, sharpness, etc. See more about uploading and tracing deisgns here.
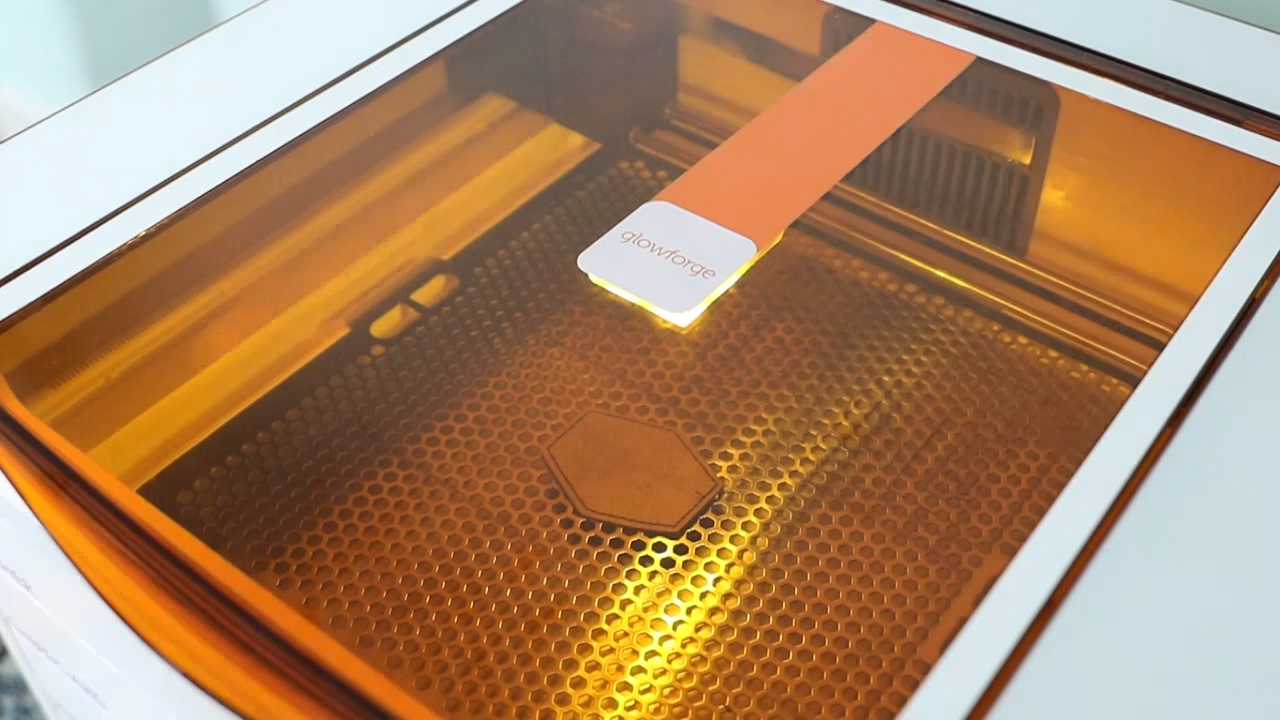
You can then remove the paper and add the leather blank into the machine.
How to Size and Located the Engraving Design in Glowforge Aura
Once the blank is inside the machine you can then move the design and resize it to exactly the right size for the blank you’re using. You also have the ability to rotate the design if needed. You really can adjust it so it fits the blank exactly how you want.
I found the location and size features of the Glowforge Aura to be very accurate. It was engraved exactly where I located it.
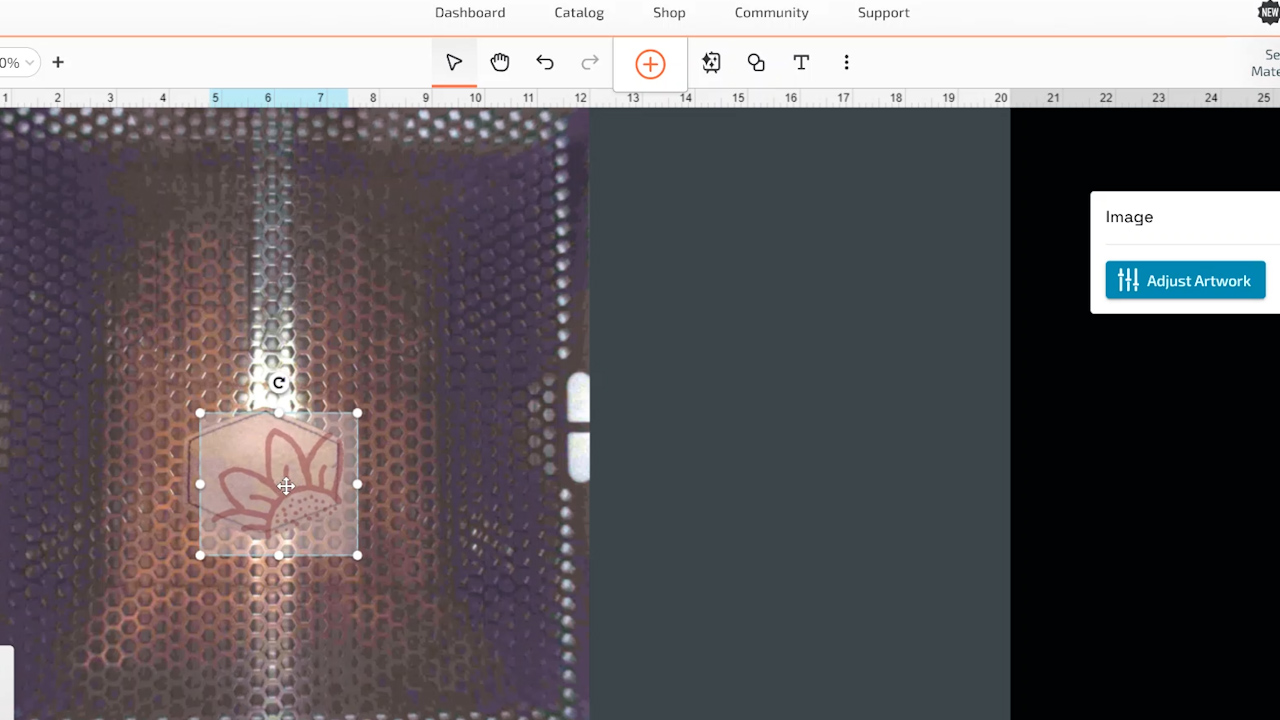
There is a grate in the Glowforge Aura that you can leave in or remove depending on the thickness of your blank. Because this blank is very thin I am leaving the grate in place.
How to Create a Custom Setting
Now, this particular blank is not a proof grade material so I am going to choose Custom Setting. To find settings that might work with your material, you can look in the Glowforge forums for something that is recommended.
I was actually able to find a Facebook group that had someone who had engraved on these patches before so I had a good idea of the settings to use.
Click Custom Setting and then set the material settings. In the photo below, you can see the settings I used.
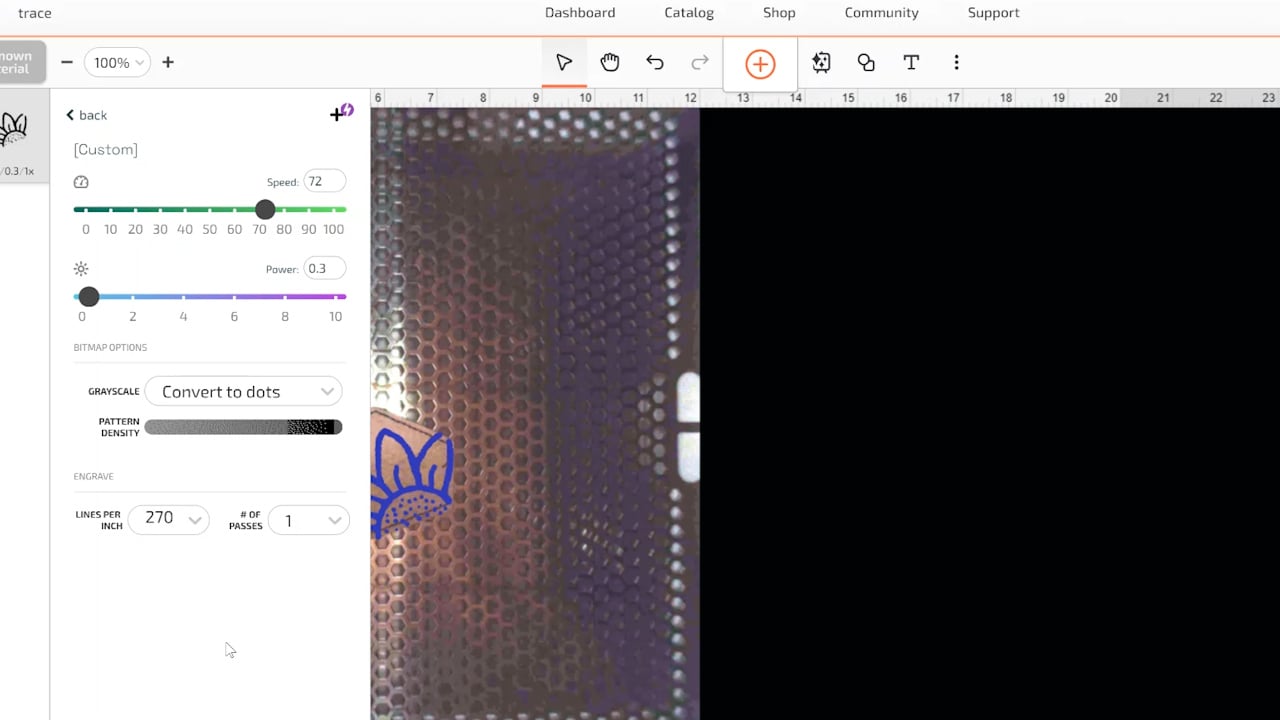
You will want to save this setting. I like to give it a name that allows me to make adjustments as needed and keep the different settings straight. I named this one Leather Patch 1. This way, if I need to make adjustments, I could name it Leather Patch 2 and know which one worked best.
Save the settings and then ensure you have Engrave selected – not cut or score.
Choose the Material Thickness to Engrave
Next, it will ask you to Find Your Material or click Use Uncertified Material. I am using an uncertified material so I selected that option and then it will ask you to enter the material thickness. You can look at the listing for your blank, measure the blank, or do as I did and estimate the thickness.
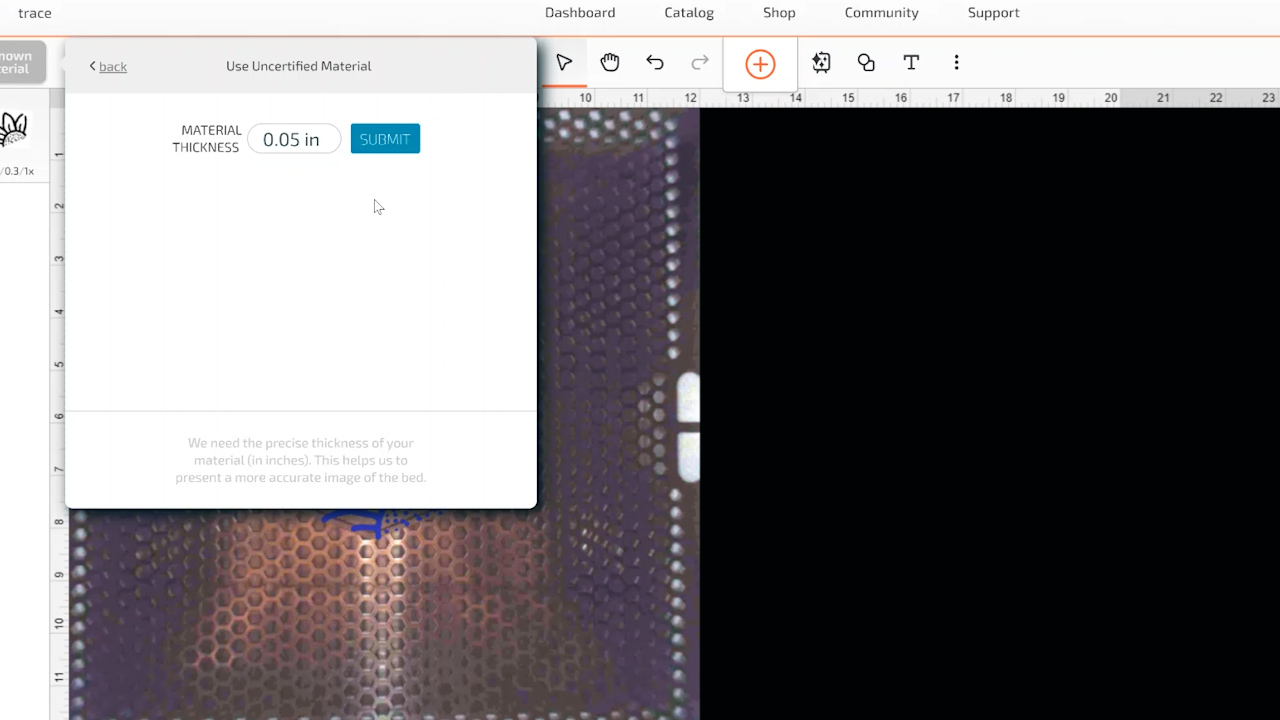
When you have all of that information entered into the Glowforge program you’re ready to print the design and send it to the Glowforge machine itself.
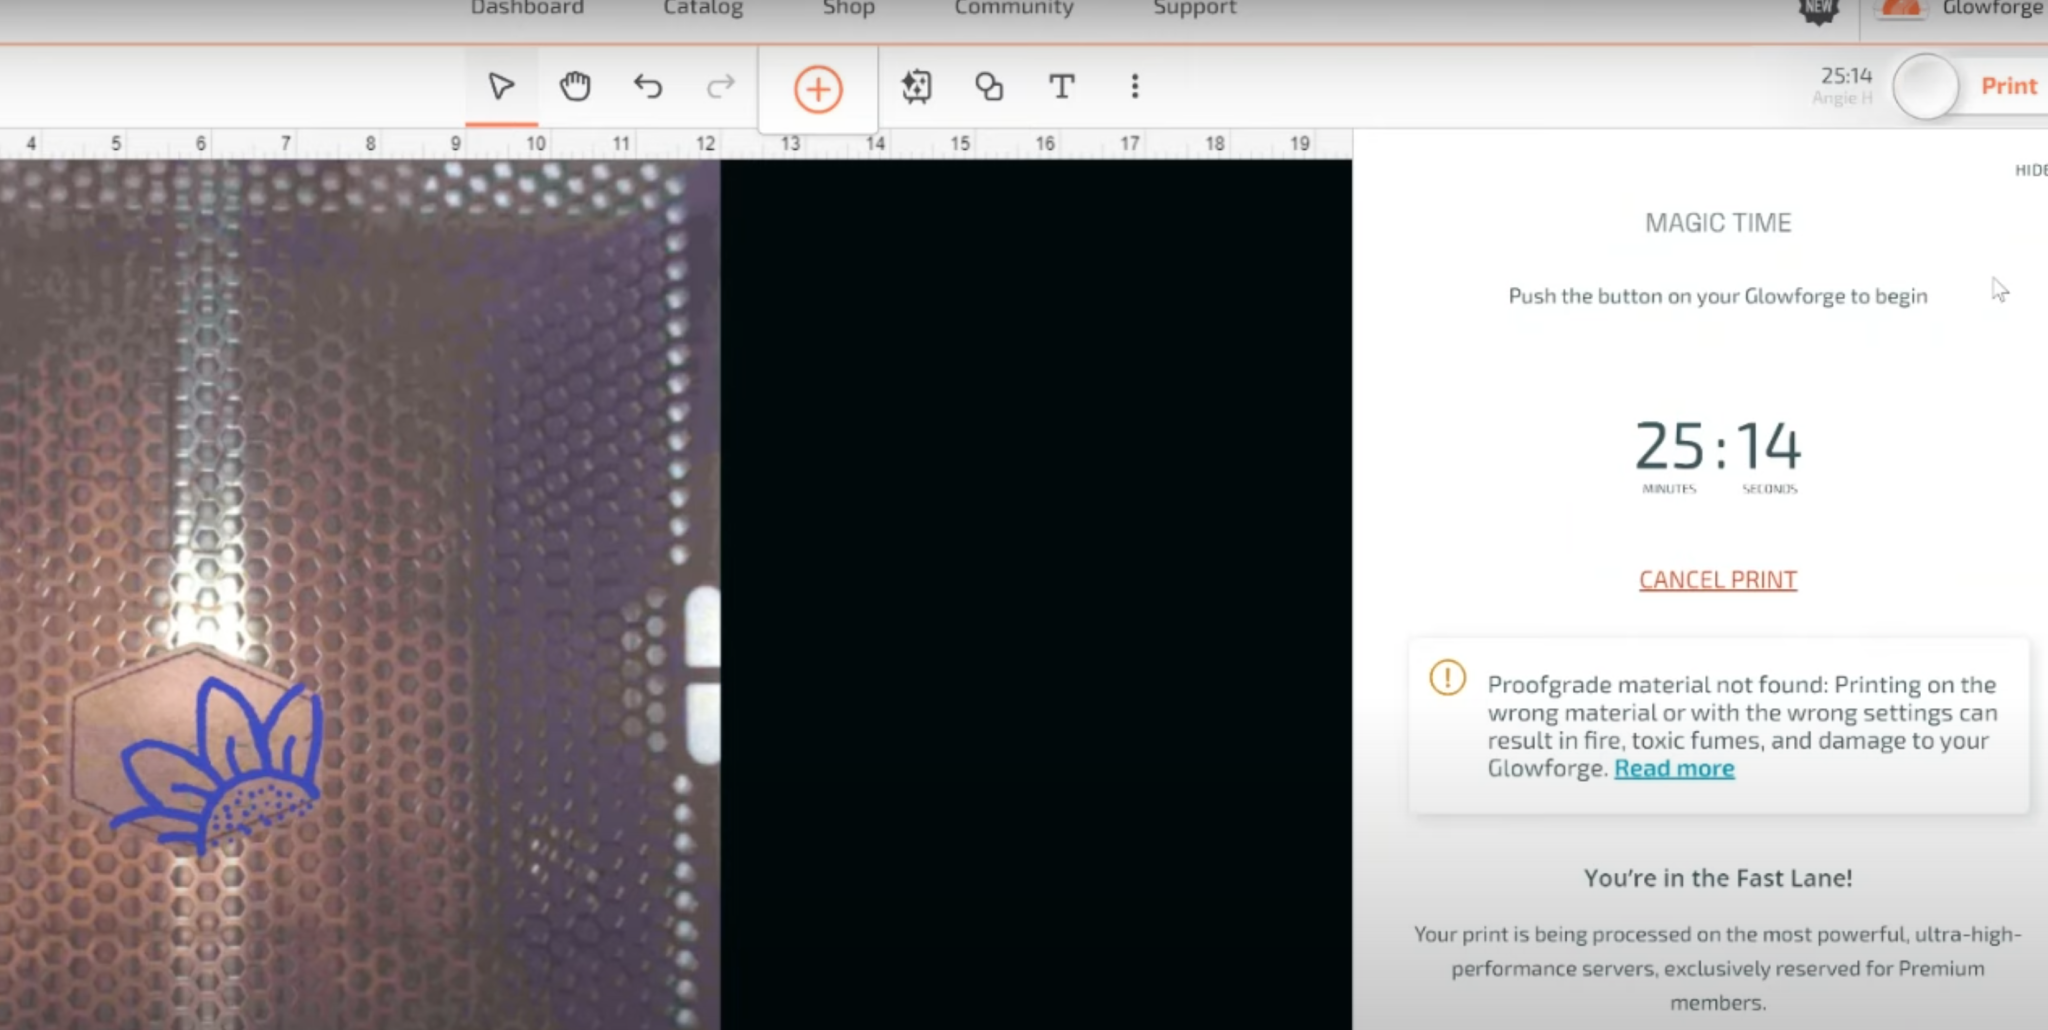
You can see here it says this will take about 25 minutes for the design to be engraved. You do need to press the button on your Glowforge for the engraving to begin.
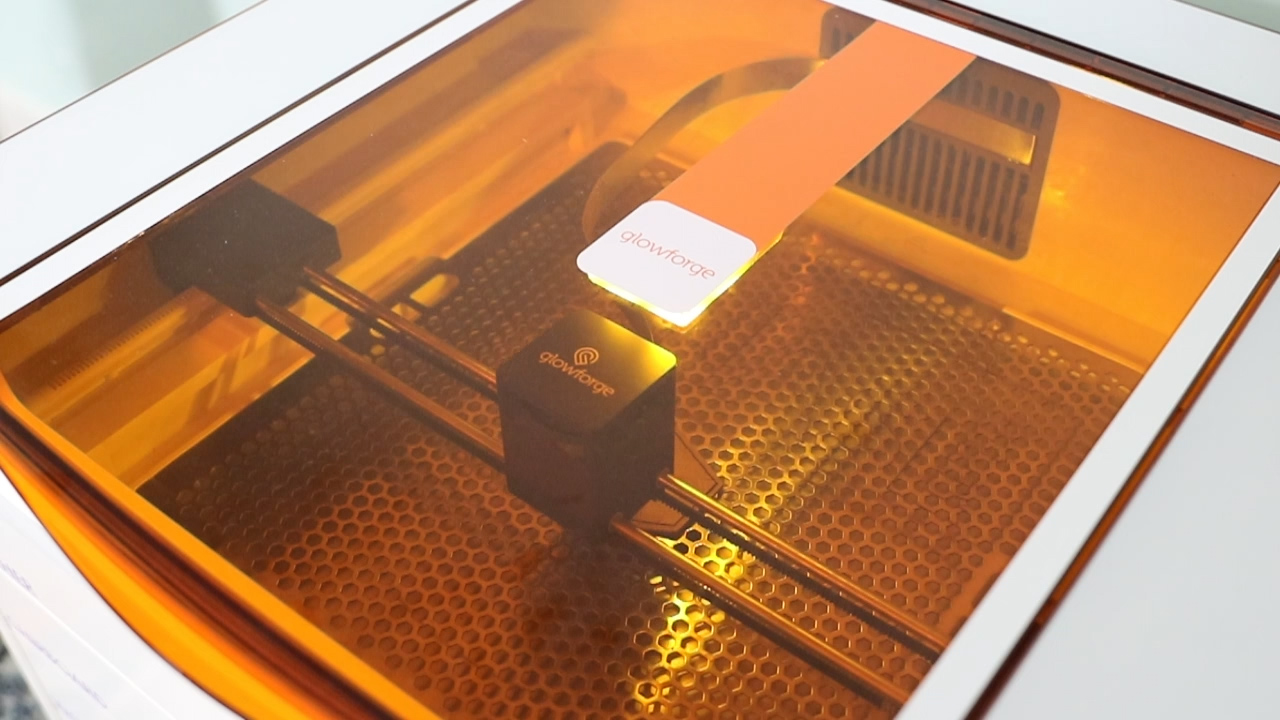
When it’s done, you want to make sure it says Complete on the screen before opening the top. Then remove your completed patch from the machine.
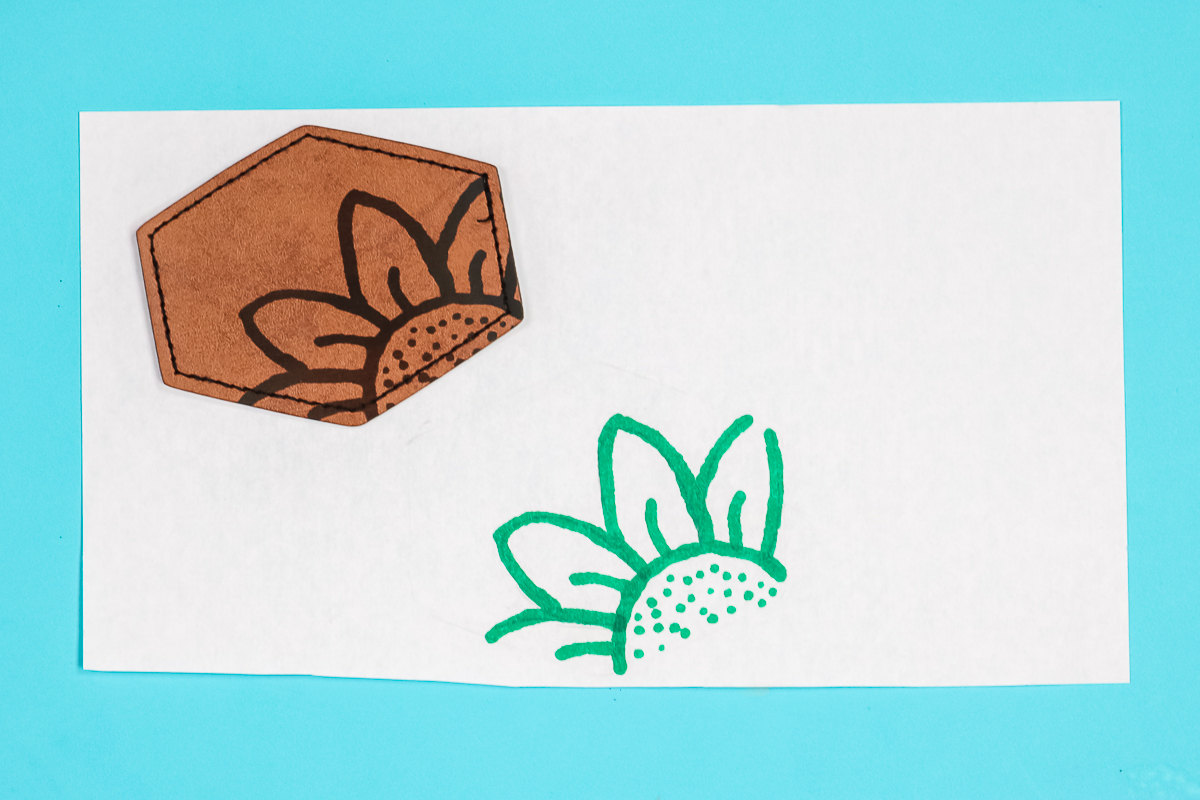
I’m really impressed with how well the leather is engraved using the settings I selected. The location is perfect, exactly where I placed it and the whole thing is just gorgeous.
How to Add a Handwritten Recipe to a Wood Cutting Board
Don’t have a Glowforge? You can put a recipe on a cutting board with vinyl using a Cricut machine with this tutorial!
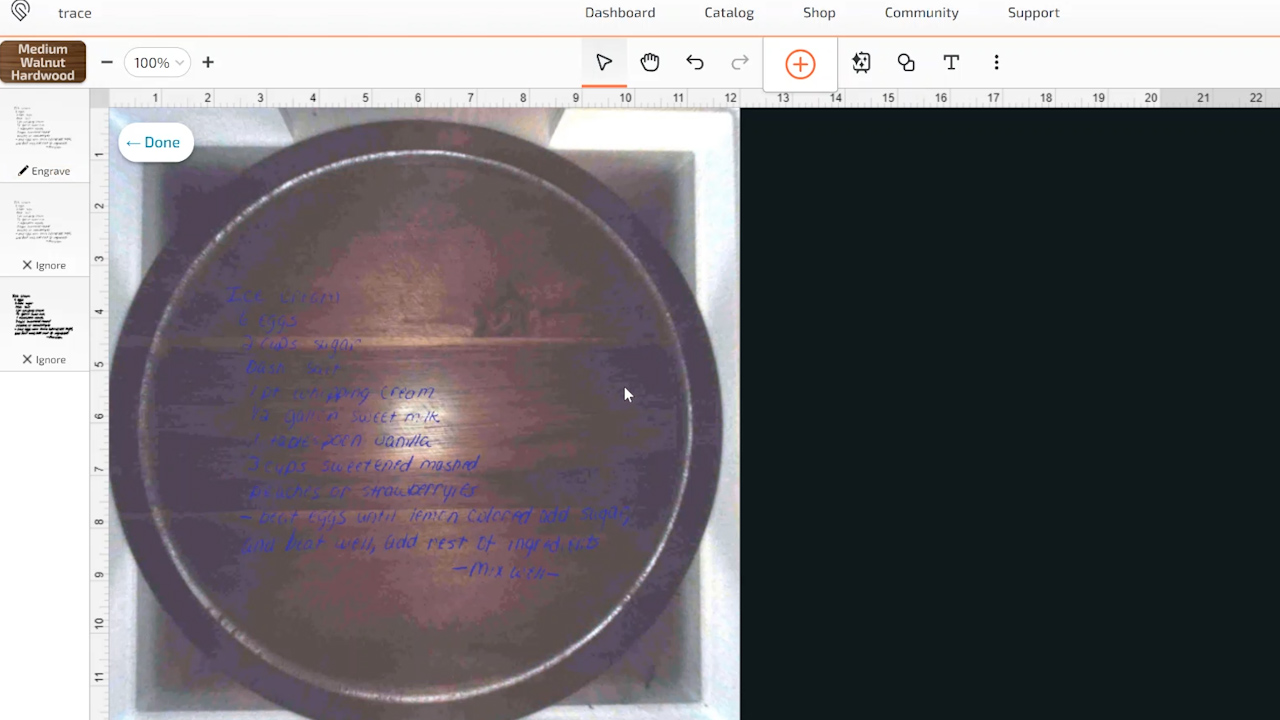
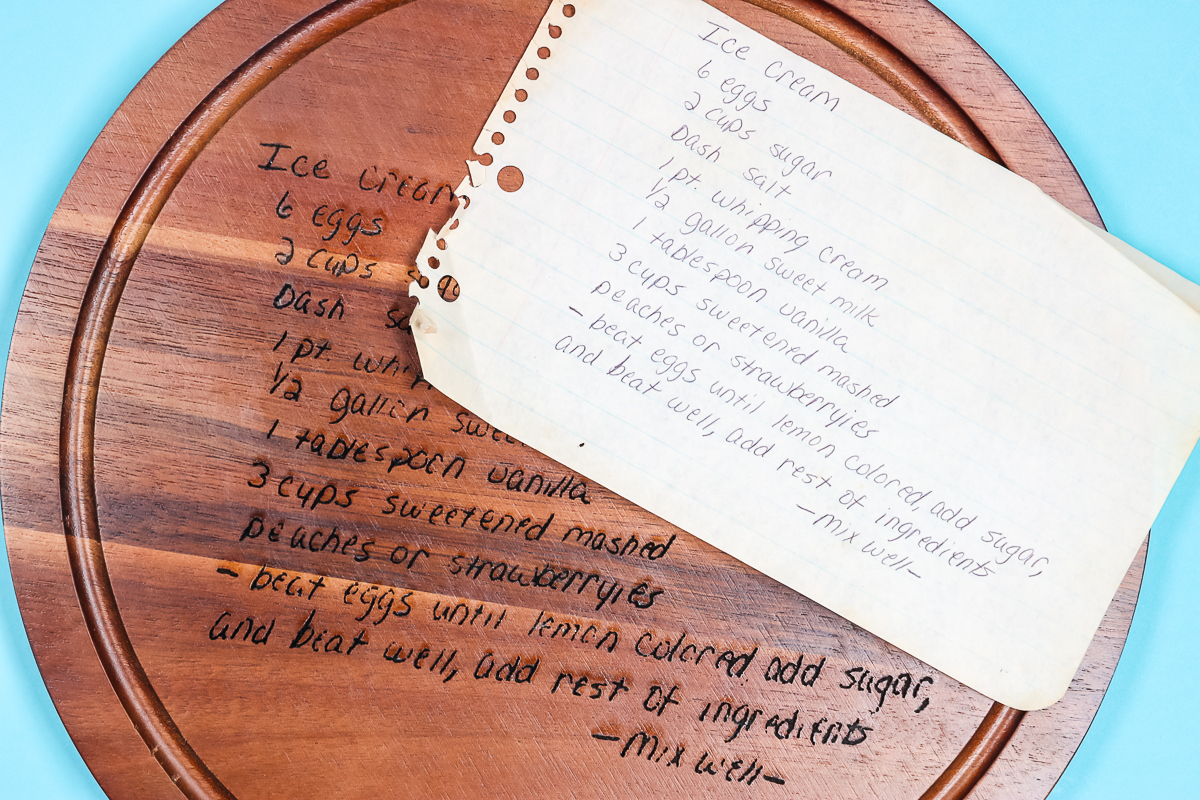
To begin, we will scan our design like we did before. With something like a handwritten recipe, you may need to make some adjustments to get the design just right.
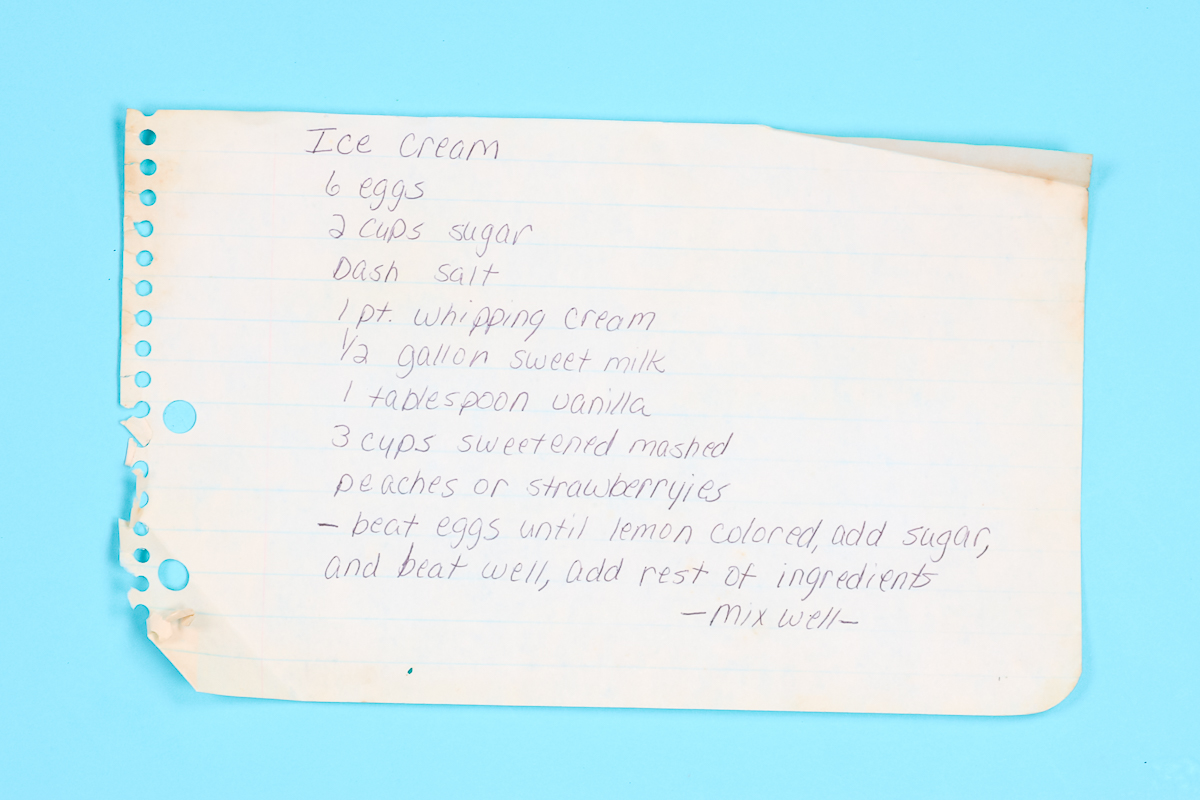
Sometimes moving the item you’re scanning around inside the Glowforge can help get a better scan. In this case, the light seemed to be hitting my paper so moving it helped me get a cleaner scan.
I recommend taking your time to get the cleanest image possible. Clean up any floating marks because those will be engraved if they’re left on the scan.
Add Cutting Board to Glowforge Aura
Because this cutting board is so thick, we need to remove the grate inside the machine. The blank you use needs to fit within the machine and you want to make sure it is laying flat. I like to keep the maximum at about 12″ x 12″.
You also need to make sure that the maximum thickness of your blank is no more than 3/4″. You don’t want the head to hit any of the material.
Now that I have my blank located inside the machine it’s time to locate the recipe exactly where I want it. Again you can resize and move around the design so it’s exactly where you want it on the blank.
Choose the Correct Material Setting for Your Blank
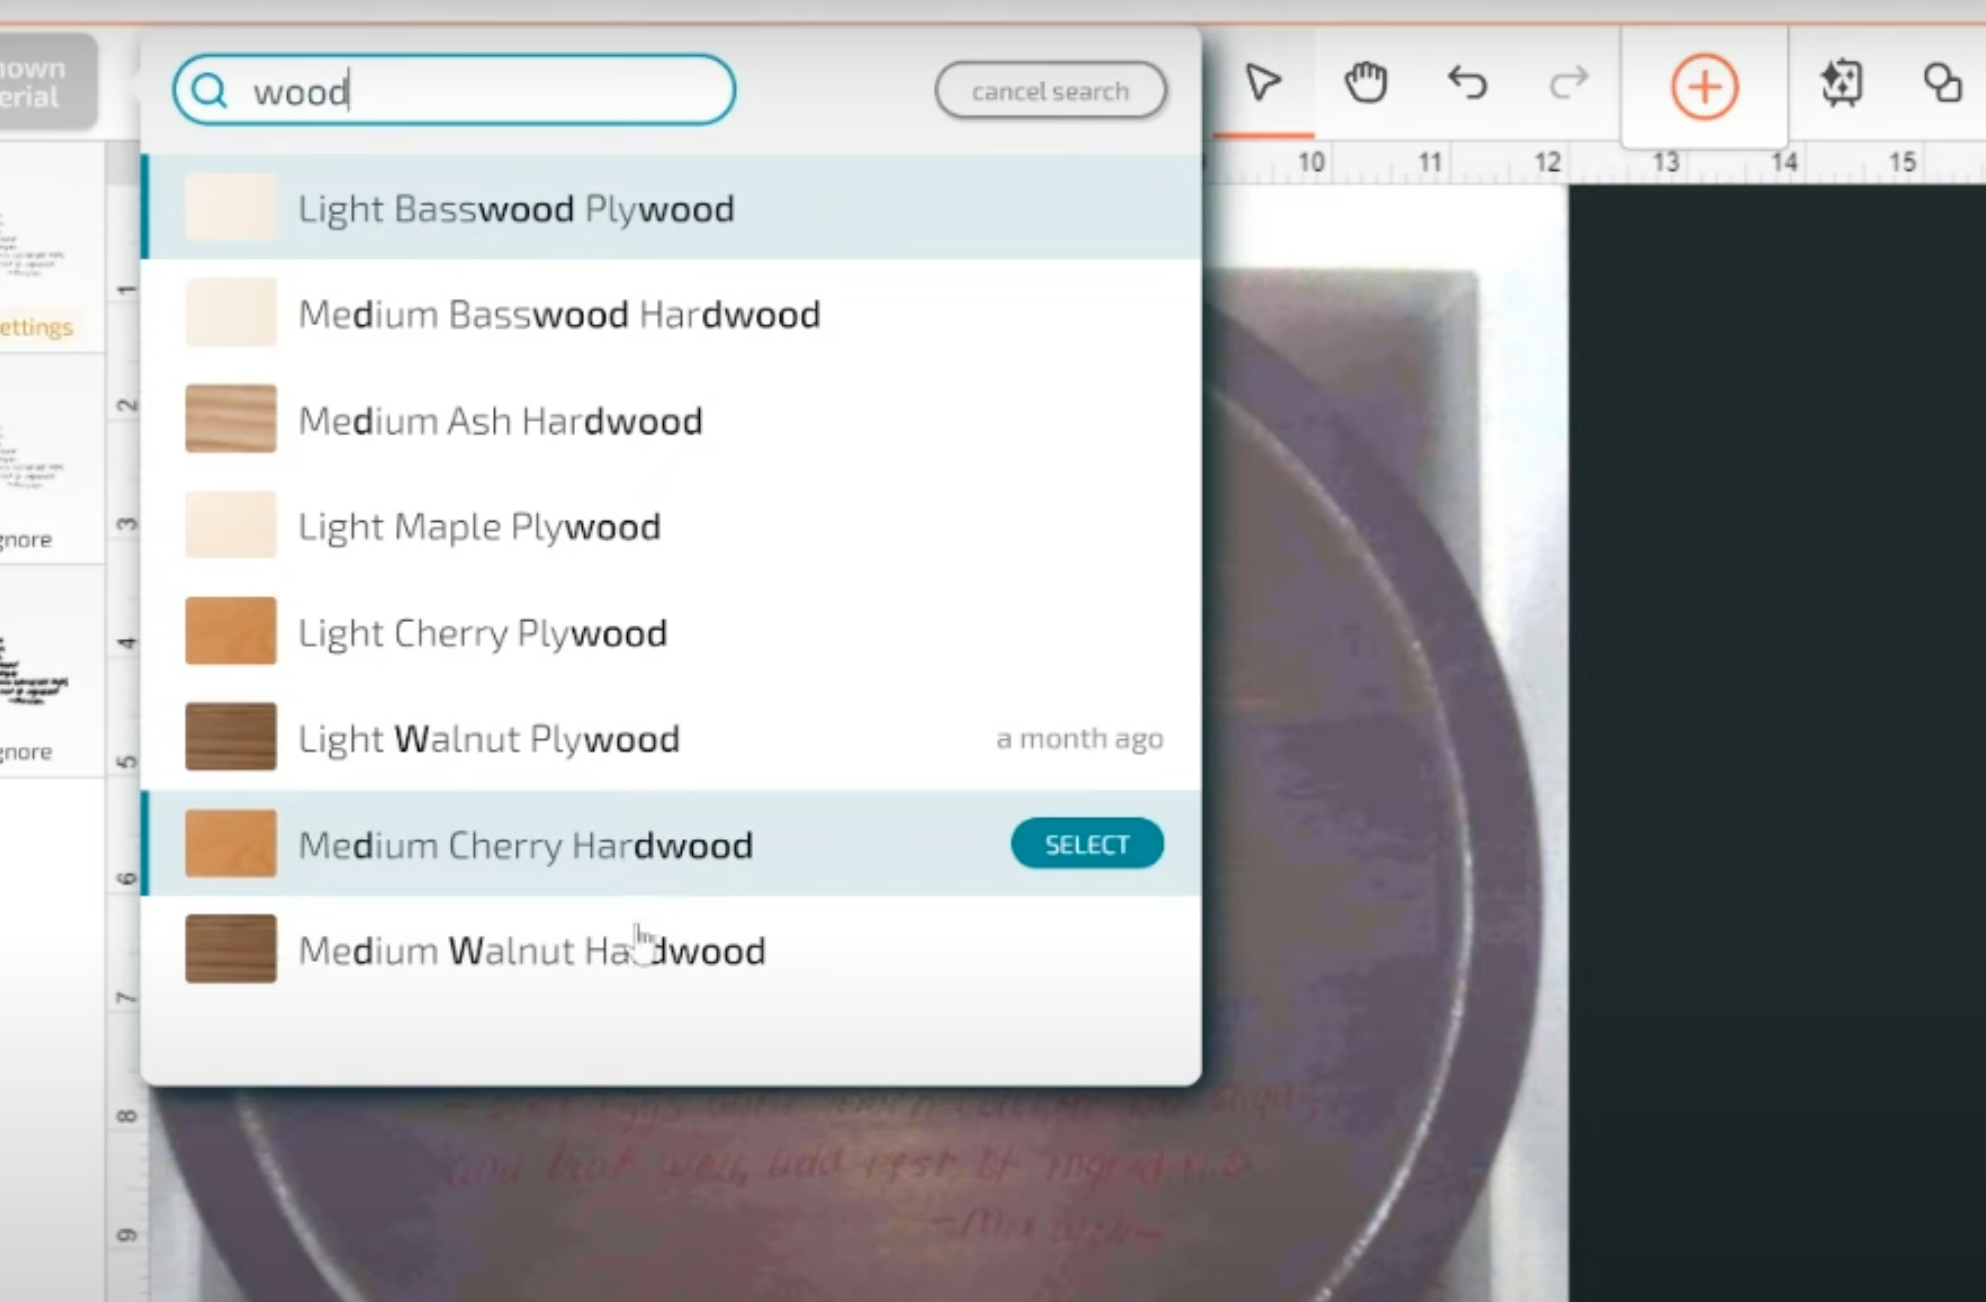
I selected the Medium Walnut Hardwood setting for this blank. This setting worked even though technically the cutting board is not a proofgrade material. After selecting the material ensure you’re on Bitmat Draft Engrave under Glowforge not under the custom setting.
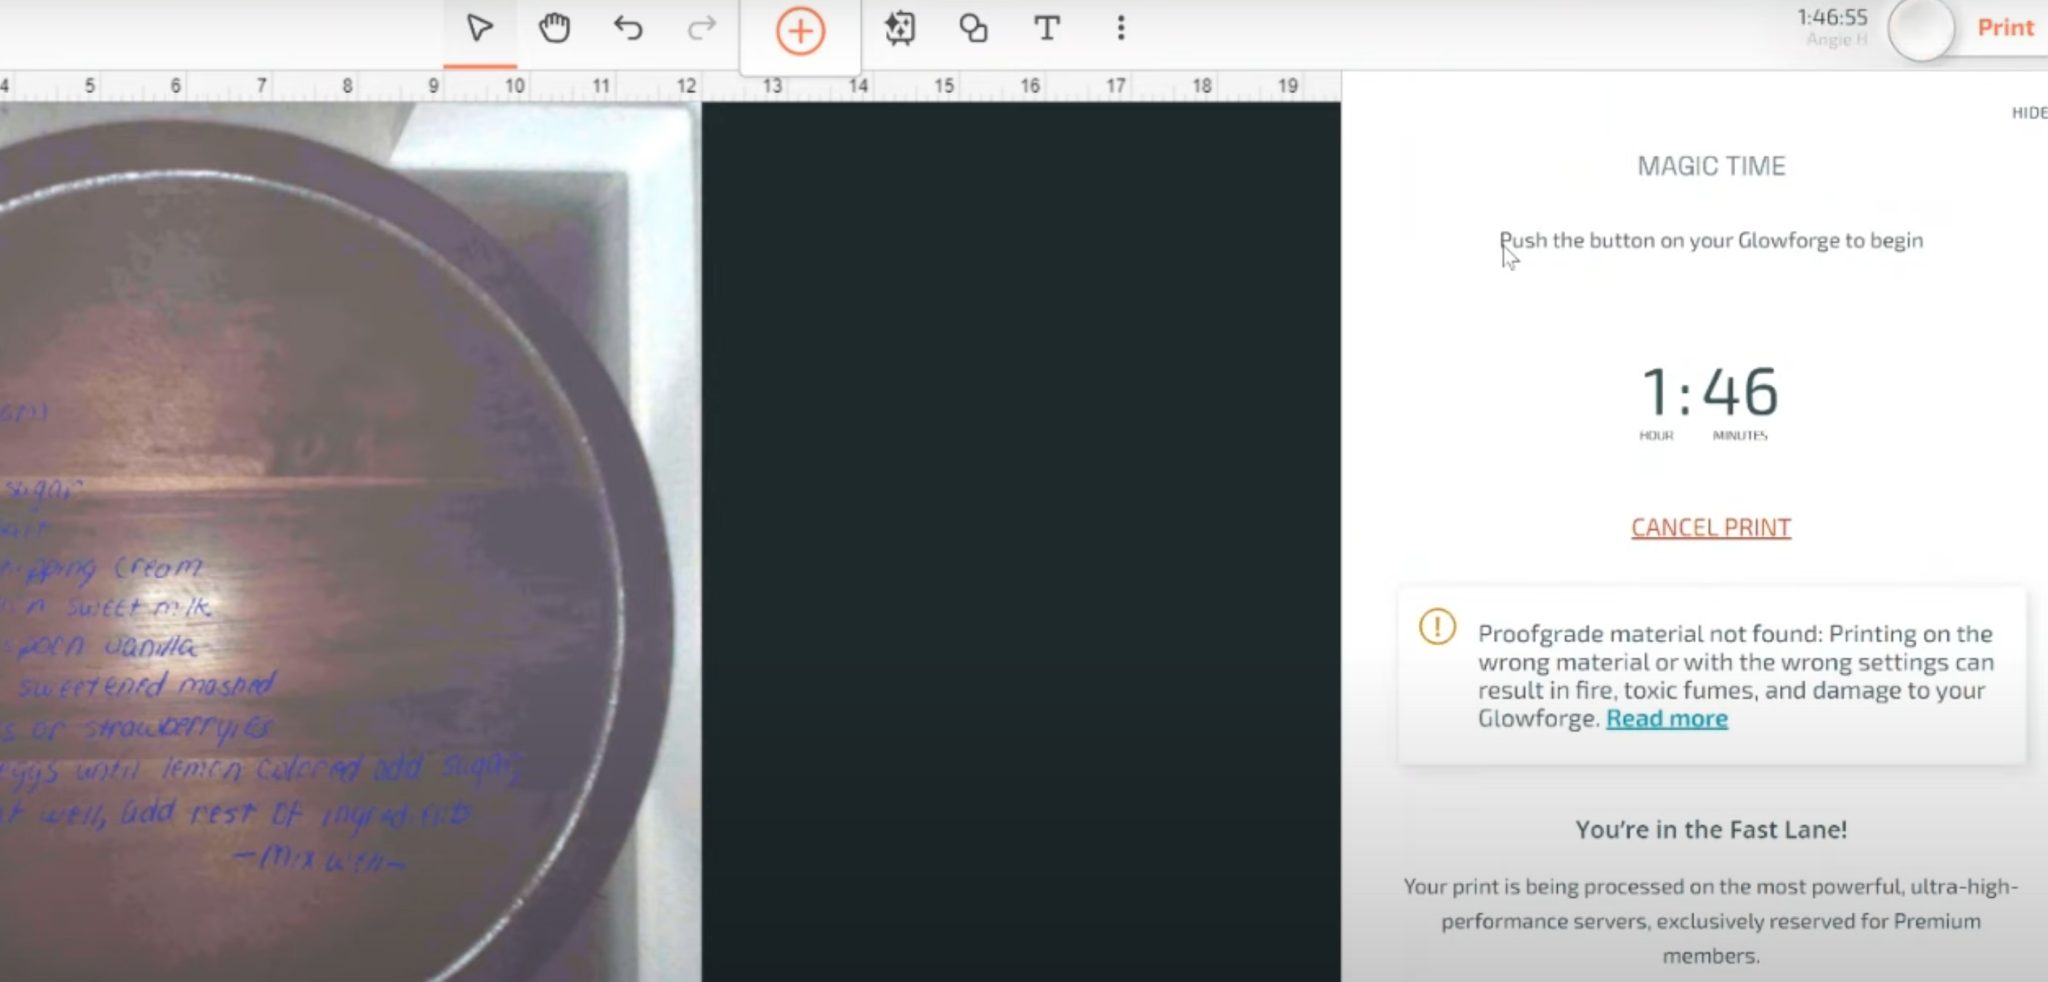
Once I have all that selected, it’s ready to print. You can see that this one took quite a while to engrave. Between the intricate design, the hardness of the wood, and the size it took an hour and forty-six minutes to engrave.
The Glowforge Aura does take time to do these engravings but I think the results are totally worth it.
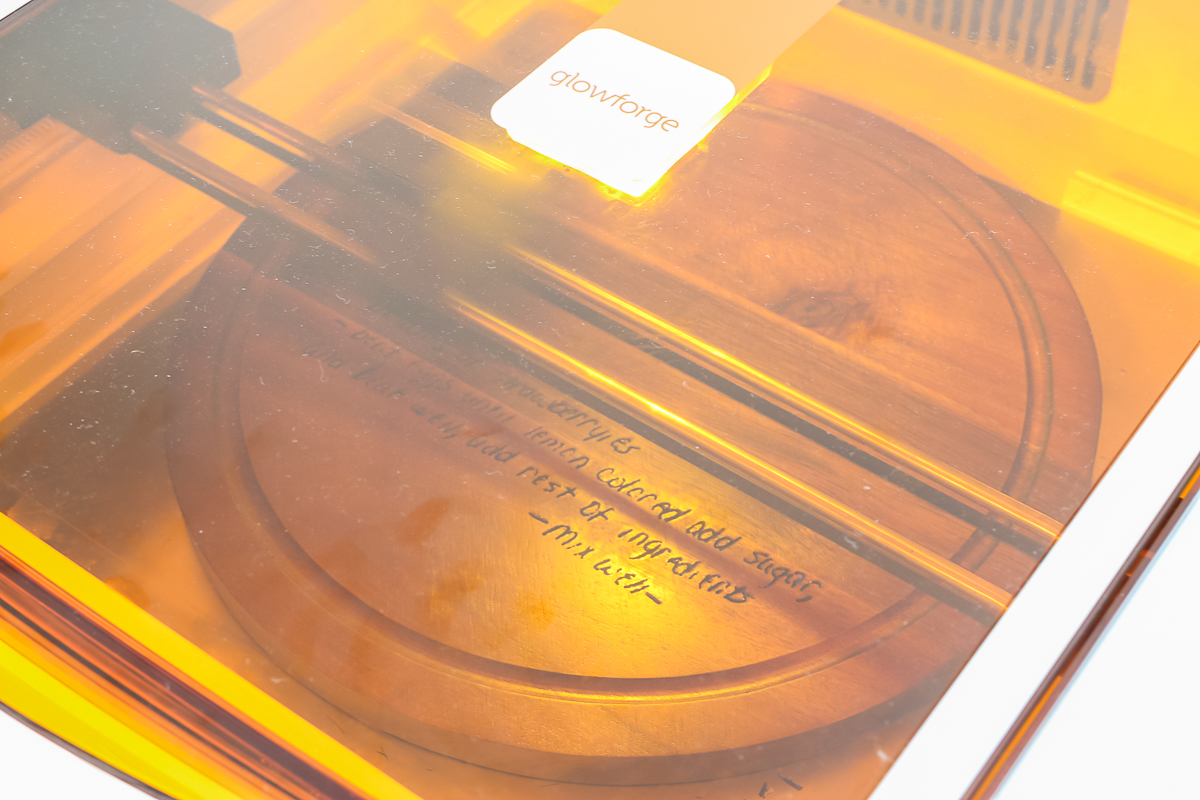
Once the print is done, open the Glowforge and remove the cutting board. This is now done and ready to go.
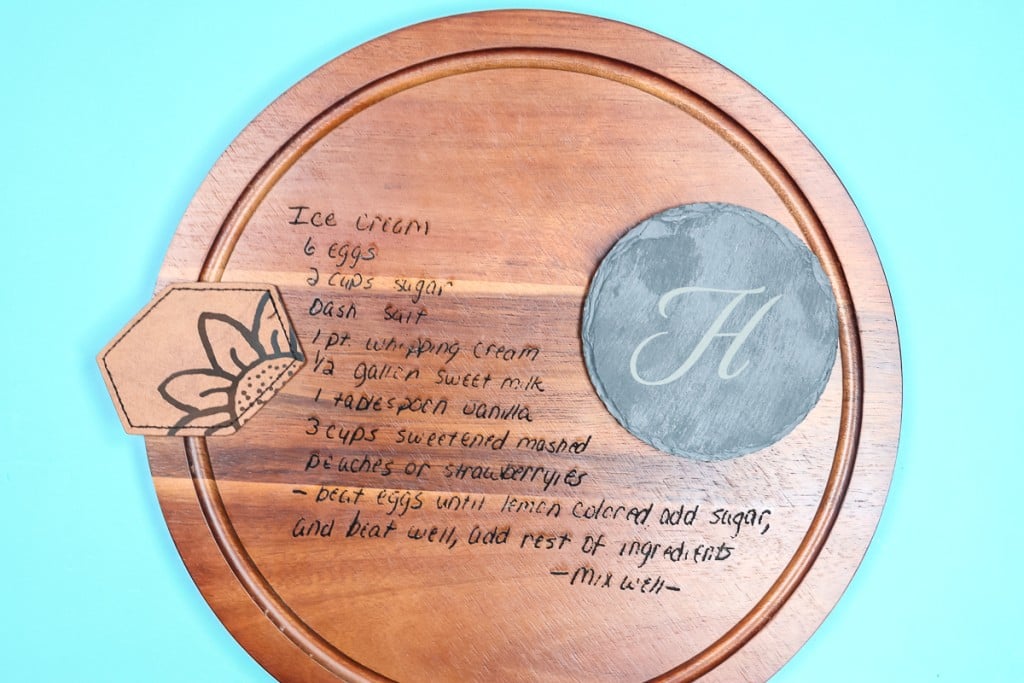
This cutting board turned out so good. I love that the handwriting is totally legible and looks as though the person wrote right on the board itself.
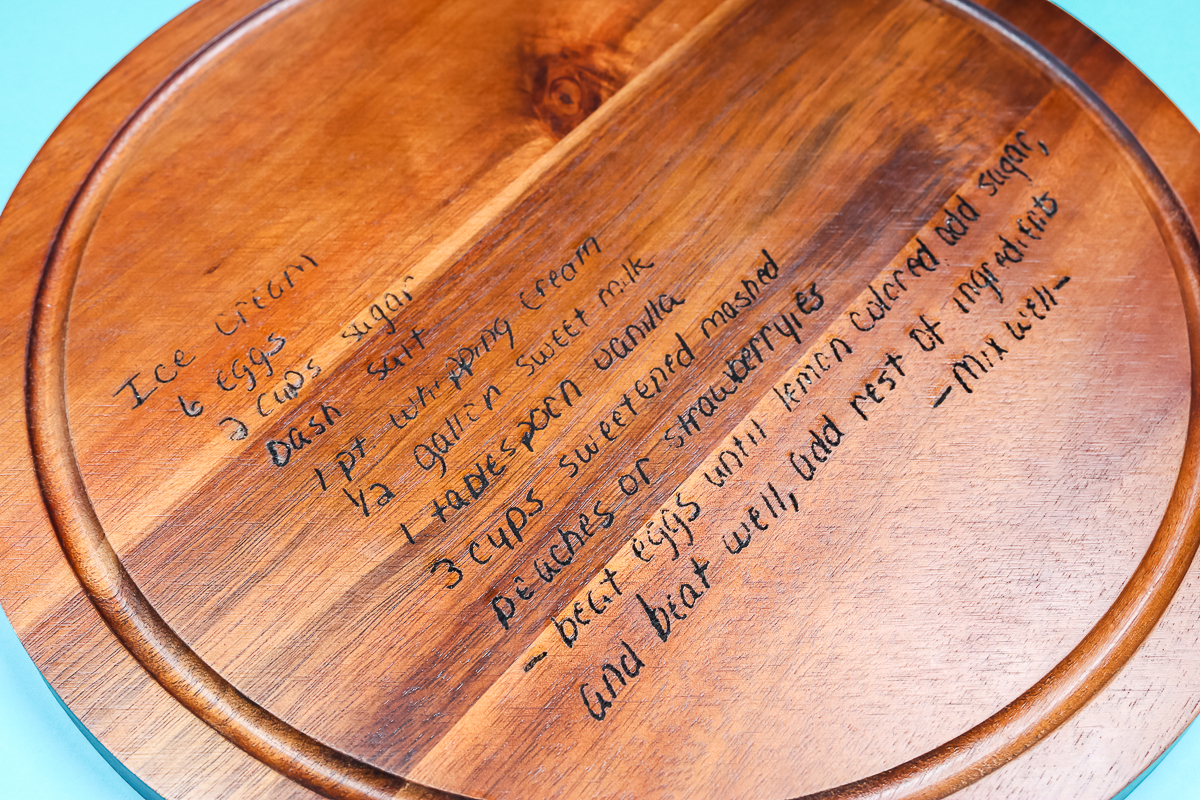
This makes an amazing keepsake and of course the perfect gift. I can just imagine the smiles and maybe tears when someone opens up such a special personalized gift.
How to Engrave a Slate Coaster with Glowforge Aura
I have also etched slate using etching cream and a Cricut machine. You can see that tutorial here!
When you add anything to the Glowforge Aura, it’s really important to know the total thickness of your blank. I recommend measuring the blank and not just going off the listing measurements. This is important because sometimes the listed measurements don’t include things like the feet.
Knowing the total measurement will help ensure that you’re not using a blank that is thicker than the maximum 3/4″ allowed.
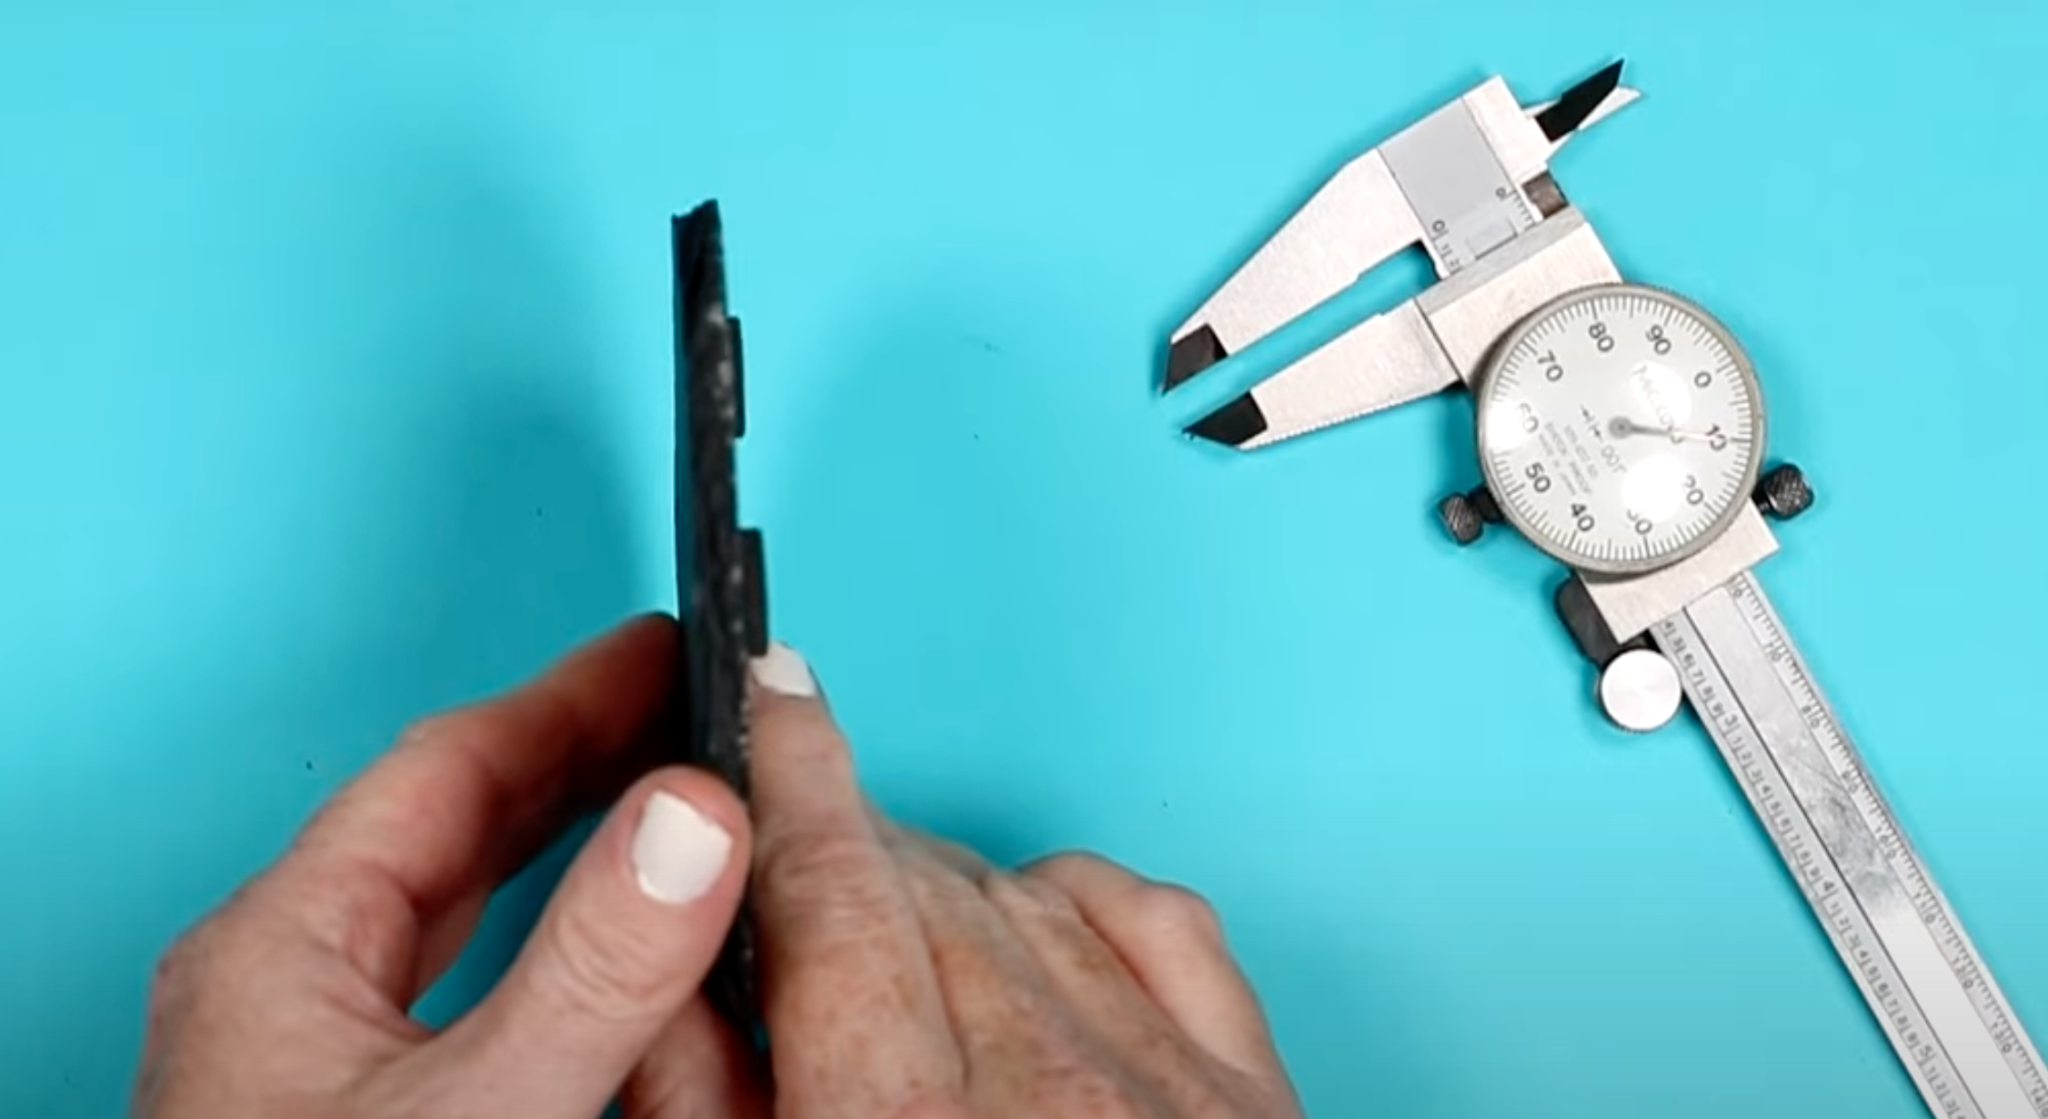
To make measuring materials easier I recommend something like this manual caliper. This tool is easy to use. You simply open it up and then grip the widest part of the blank to get the total thickness.
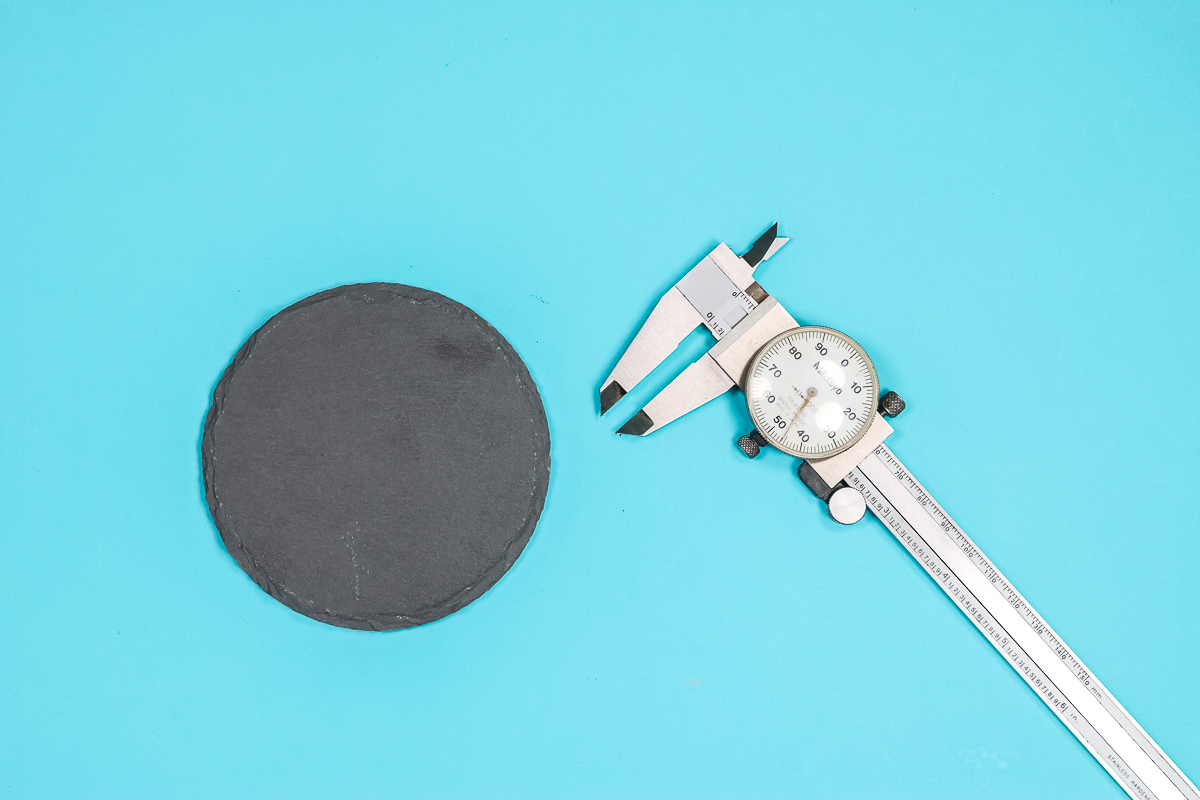
They do make digital versions of this tool if you have a hard time reading the measurements on the manual version.
For this coaster, I thought it would be great to do a simple monogram. Within the Glowforge program, I selected Text and then typed in the H. Next, I chose the font I wanted to use and then sized it to fit my blank.
How to Focus the Laser in Glowforge Aura
This coaster is slightly thicker than the 1/4″ maximum that can be added to the grate. Due to this, I need to remove the grate then raise it up so that the Glowforge can read it.
I removed the grate from the machine and then added a couple of pieces of proof-grade material to raise it up to the right height. It should be no more than 1/4 inch higher than the grate height. (NOTE: I did turn this proofgrade material upside down so the machine would not see the code.)
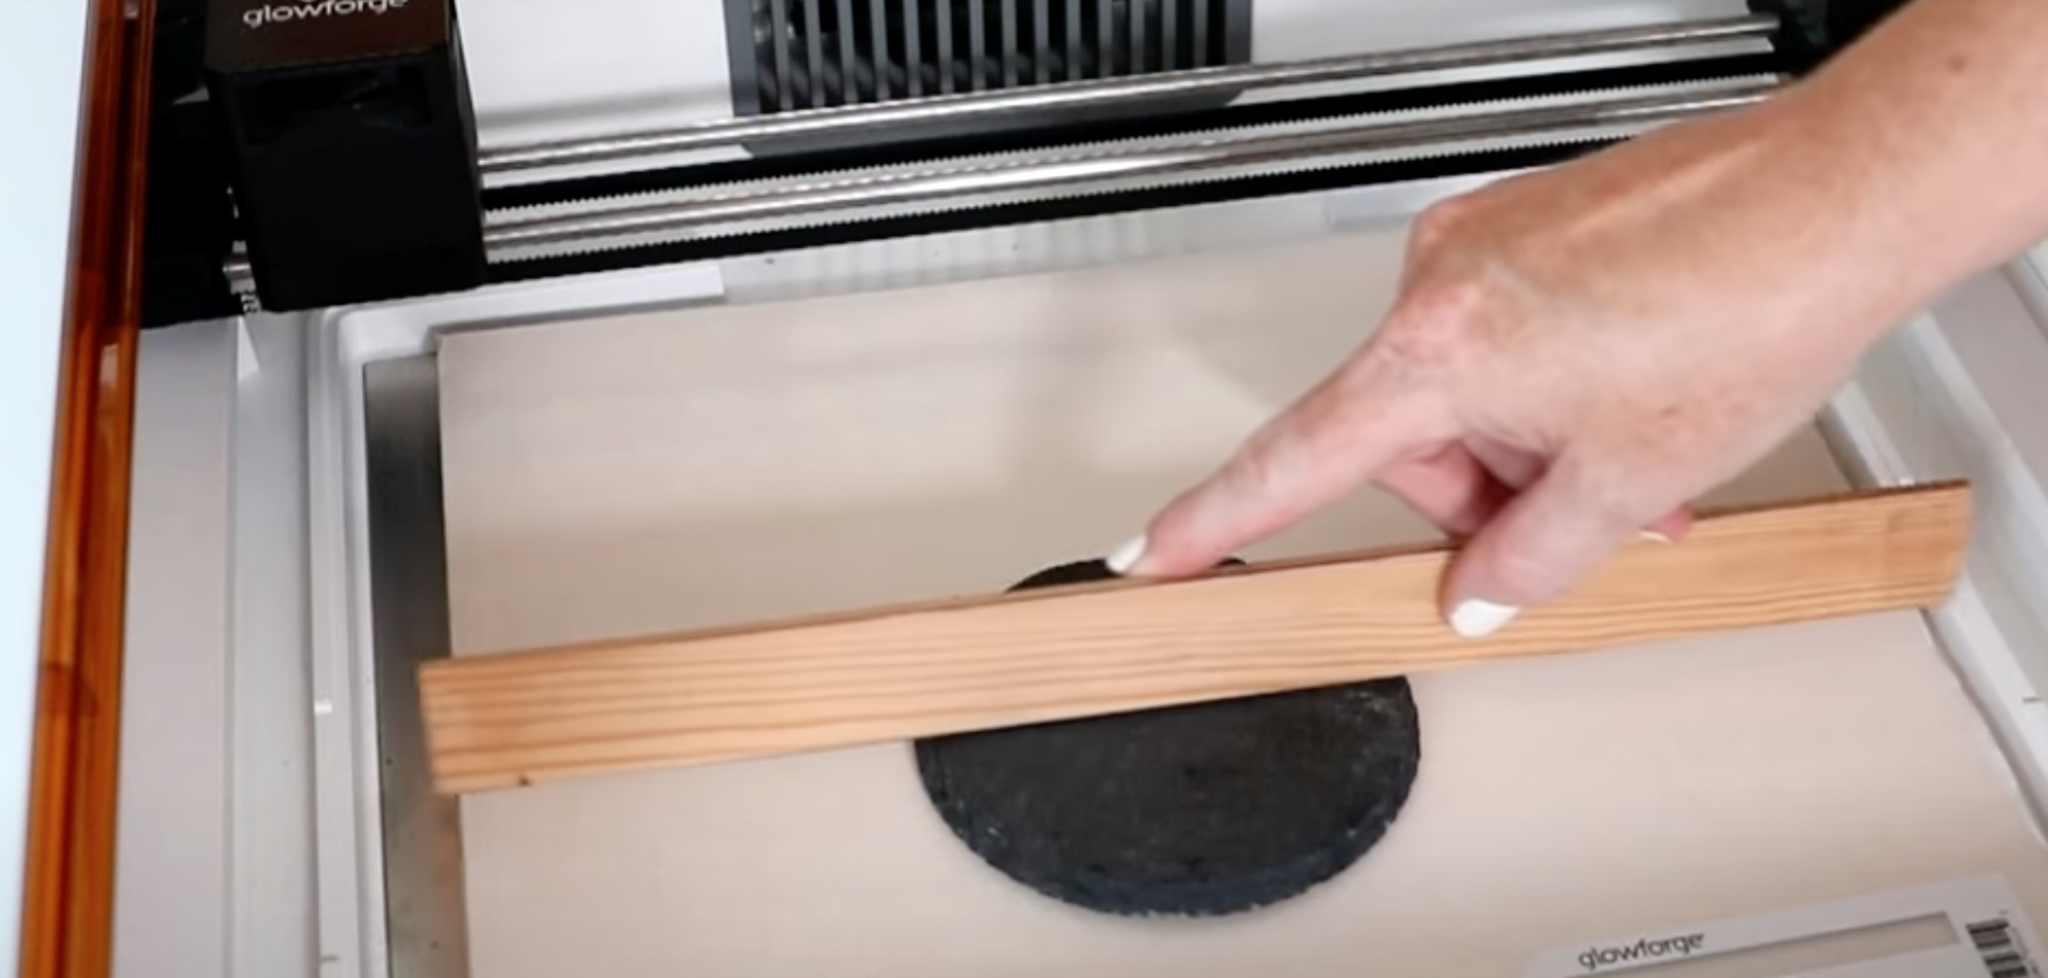
Making these adjustments allows the Glowforge Aura laser to focus on the slate coaster. You can use a ruler to lay across the upper lip inside of the machine to ensure the item is not to high.
Now when I close my machine, the Glowforge Aura will be able to see the slate coaster since it is in the correct height range.
Engrave a Monogram on Slate Coasters
Now that we have the machine set up to read the coasters we can work on locating the design. The process is just like it was with the other materials. We can move and resize the design so it’s exactly where we want it on the coaster.
Create a Custom Setting for Slate
For this material, I’m going to need a custom setting. Again I visited a Glowforge Forum and found settings that I thought would work with my blank.
These are the settings I used for these coasters. Give it a name like we did the leather patch in case these settings don’t work so we can adjust them.
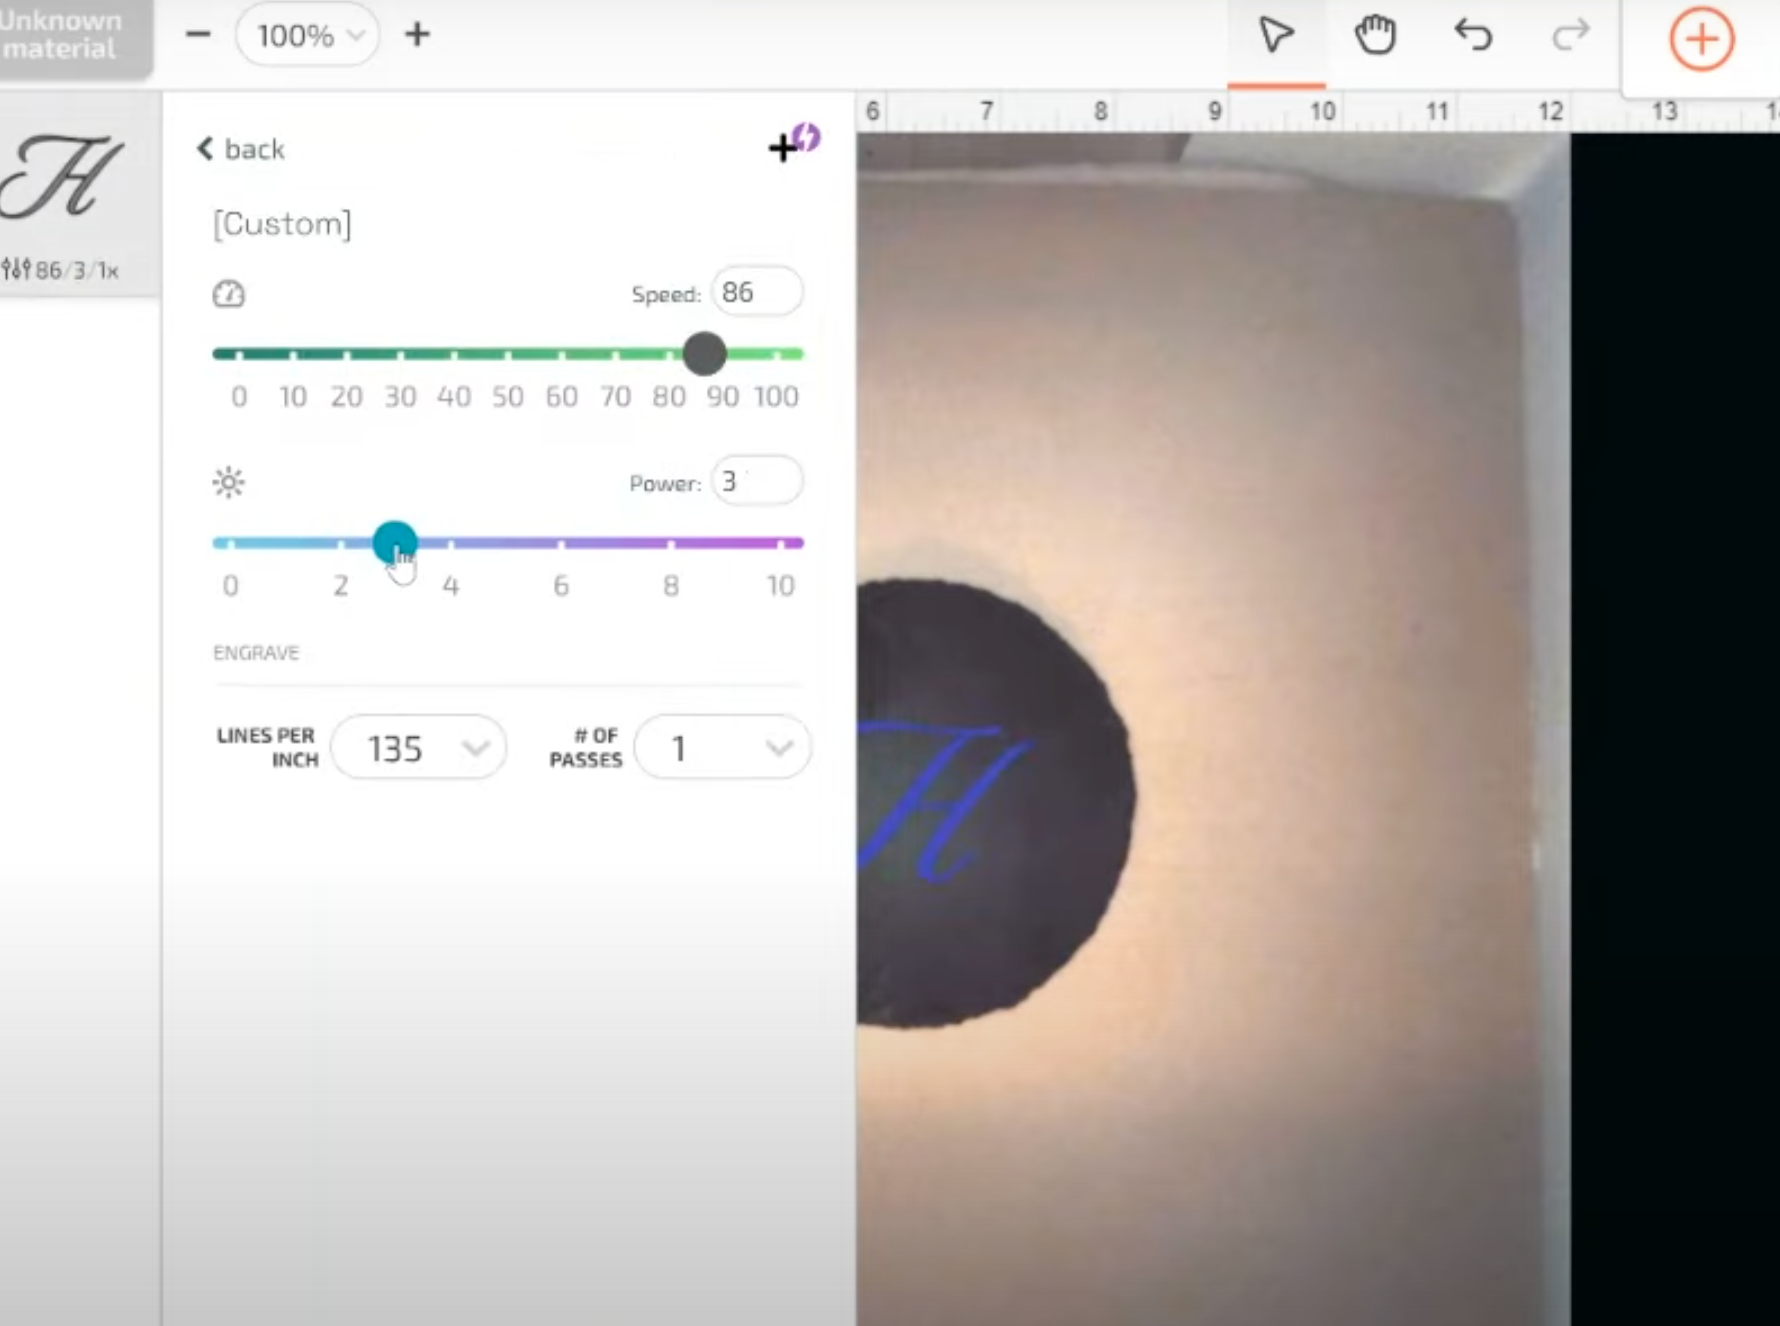
These settings did work great so I recommend testing these if you’re engraving on slate coasters with your Glowforge Aura.
Make sure you’ve selected Engrave, not score or cut. I’m going to choose Custom Setting and then select the material I named Slate Coaster 1.
Choose Material and then select Use Uncertified Material. For material thickness, I put in 1/4 inch as now the coaster only sticks up about 1/4 inch from where the grate would be located. Now we’re ready to print. This one wasn’t terrible, it took about twelve minutes to engrave on the coaster.
How Does Glowforge Aura Engrave Slate Coasters?
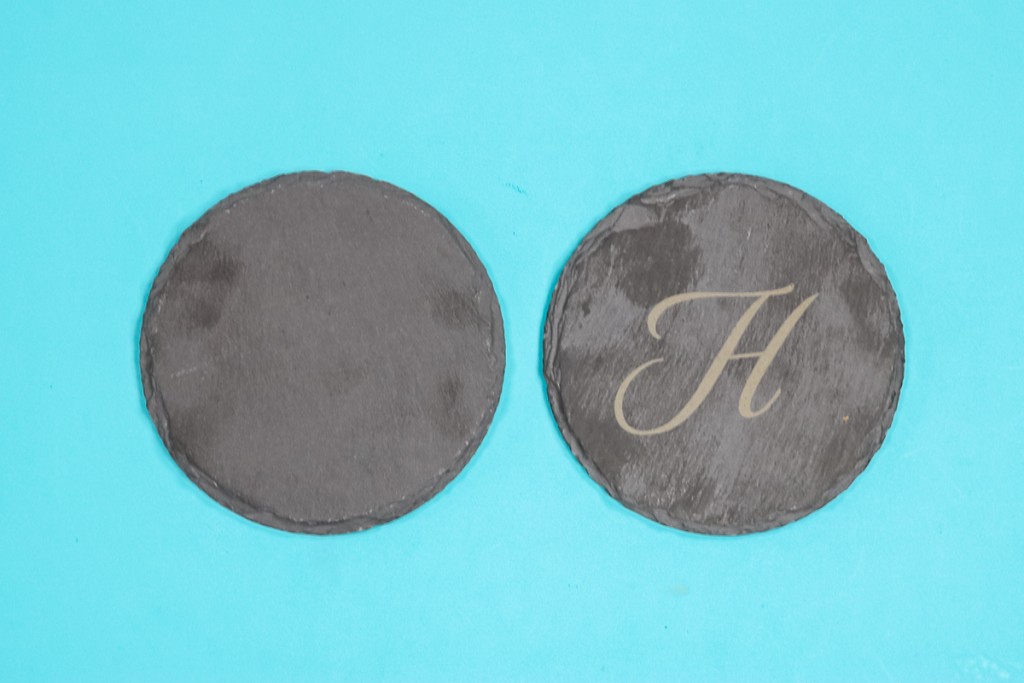
These slate coasters turned out really great. With the slate, the Glowforge Aura is actually discoloring the surface of the slate. You can’t feel it but it’s 100% permanent and looks amazing.
Engraving Aluminum Tags with Glowforge Aura
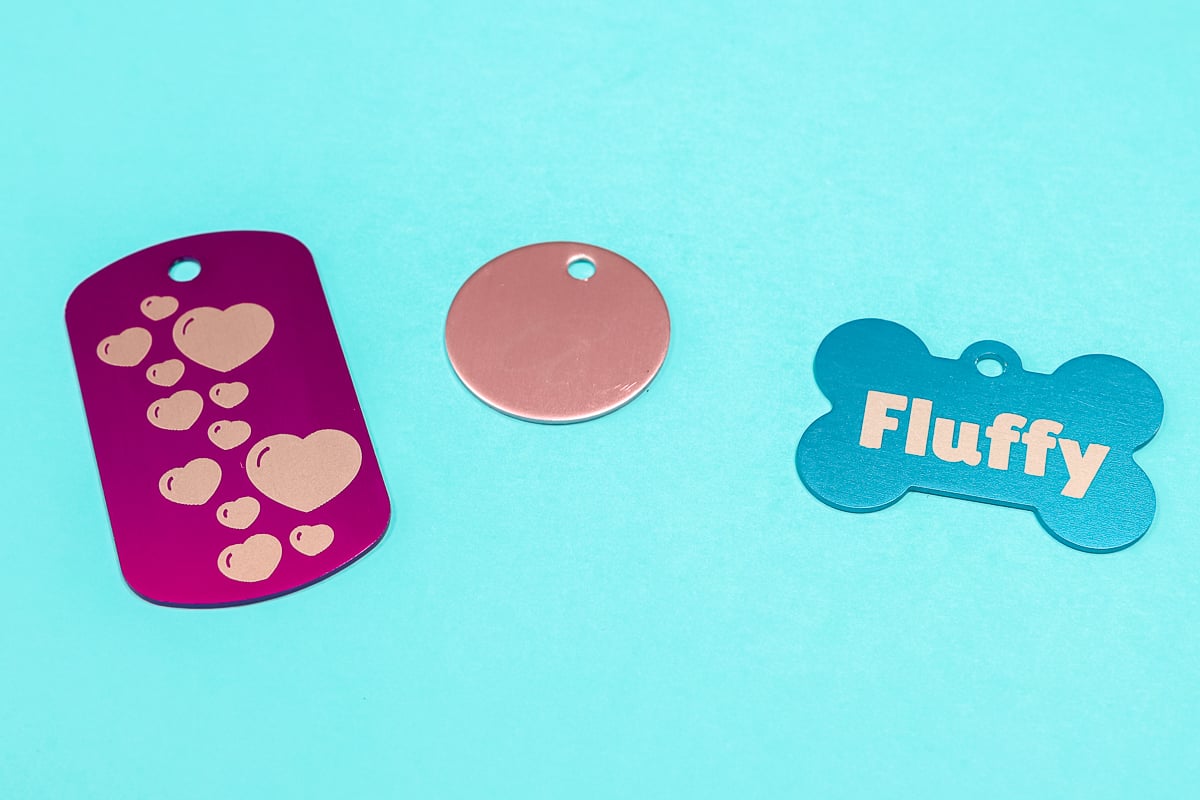
For this project, I tested engraving on coated aluminum dog tags. With these blanks, the Aura is taking off that coating.
This definitely worked best on blanks that had a darker coating so there was more contrast between the coating color and the aluminum. You want to make sure you choose laser-ready aluminum tags with a coating on them.
How to Find Blanks to Use with Glowforge Aura
To find blanks you can use with Glowforge Aura you need to make sure of a couple of things.
- The material needs to be no more than 3/4″ in total thickness.
- You need the material to be laser-ready or a natural material like the slate coasters I used today.
- The material needs to be flat, that is critical. This machine will NOT engrave things like tumblers that are round.
- If the material is more than 1/4″ thick, you need to make sure it is no more than 12 x 12 inches in size.
Following all the material recommendations and settings will help protect your laser head, you don’t want anything hitting that during the engraving process.
Final Thoughts on Engraving with Glowforge Aura
With each of these different blanks, I was really impressed with how well the Glowforge Aura did. The location was perfect and the scanning in of images and even the recipe did an amazing job.
I’m especially impressed with how awesome the handwriting on the cutting board looks. I cannot wait to use this technique for personalized Christmas gifts.
Cons of Engraving with Glowforge Aura
There are a couple of things you need to know before you begin.
- Finding the settings for materials that are not in the Glowforge program can be tricky. You may have some trial and error while dialing in your settings. When possible I recommend using settings you may find in blog posts like this and Glowforge forums as starting points.
- These blanks can be expensive so trial and error can get pricy as well.
- It’s really important that you stay by your Glowforge Aura machine the entire time it’s engraving. Some of these projects take a long time to engrave. Make sure you have the time to stay by it the entire time before you begin.
I hope I’ve answered any questions you have about engraving with Glowforge Aura. If you have any additional questions, leave them in the comments below and I’ll be happy to answer those for you.
