This post and photos may contain Amazon or other affiliate links. If you purchase something through any link, I may receive a small commission at no extra charge to you. Any supplies used may be given to me free of charge, however, all projects and opinions are my own.
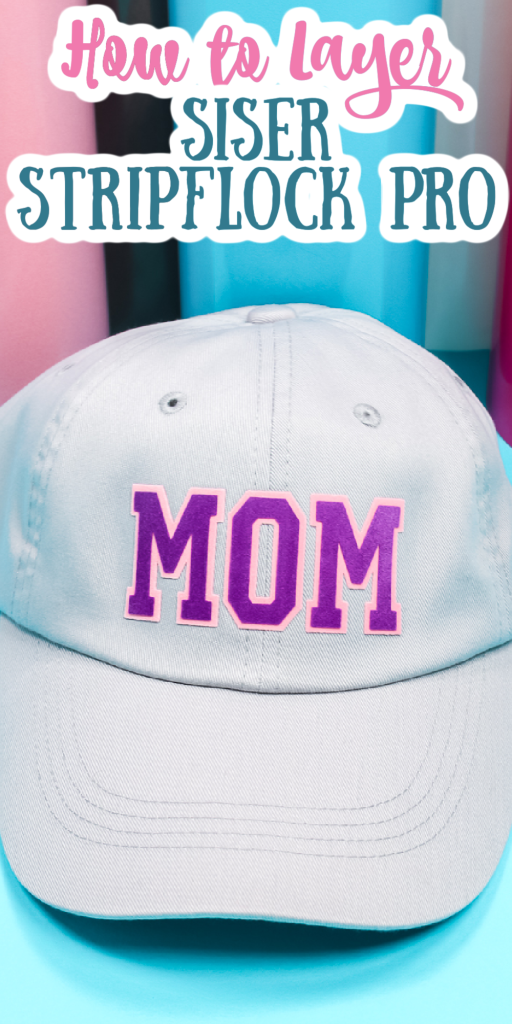
Did you know that you can layer Siser StripFLock Pro HTV? In fact, it is the only flocked HTV on the market that you can layer on top of itself. Why is that important? Are you loving the varsity letter trend that is everywhere right now? Today I’m going to teach you all about Siser StripFlock Pro HTV and how you can use it to create your own varsity letters! You are going to love this layered flocked HTV project idea!
Are you new to HTV? Learn all about HTV here.

What is Flocked HTV?
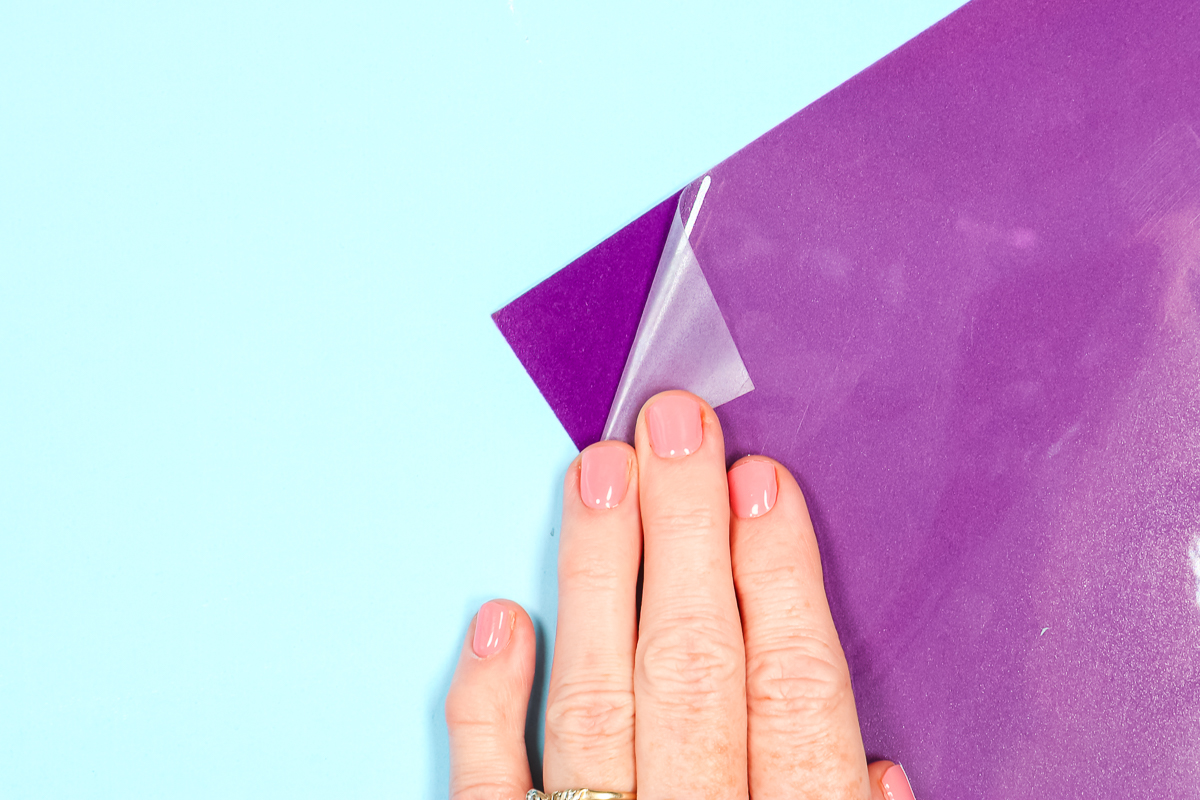
I’ve used Flocked HTV to make projects before. It has kind of a fuzzy texture, it almost feels like felt on the surface. Because of the texture of the surface regular flocked HTV is a top layer-only product. That’s why I was so excited to learn about Siser StripFlock Pro HTV and the fact that you can layer it.
How is Siser StripFlock Pro Different?
Siser StripFlock Pro is the only flock HTV on the market that I know of that you can layer on top of itself. This means you can create those fun varsity letters at home! If you want to create your own sayings or need specific colored letters, Siser StripFlock Pro might be your answer! Keep reading to see how to use it!
How to Use Siser StripFlock Pro HTV
When I first learned of Siser StripFlock Pro I knew I wanted to make varsity letters with it. It comes in so many colors, you’re sure to find what you need. You can watch me test out StripFlock Pro and create this fun hat in the video below!
Supplies Needed:

How to Make Varsity Letters in Cricut Design Space
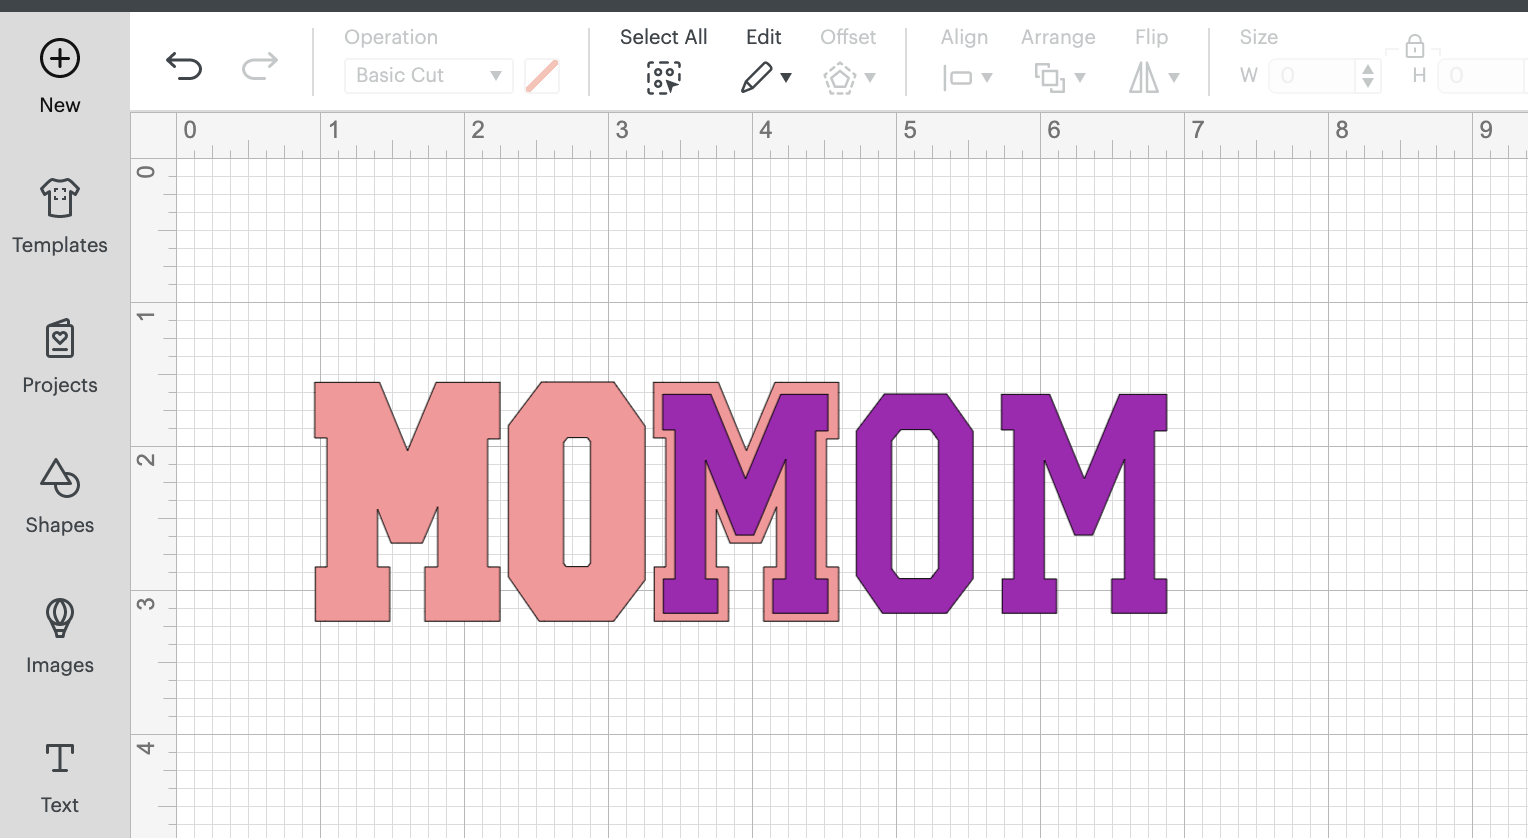
The first thing I’m going to do in Design Space is open a blank canvas and select text on the left-hand side. I am choosing to use the Varsity Letter font which is a Cricut Access font. You can use any font you like the look of.
I typed out MOM and have the style set to bold. I’ve found having the font style set to bold helps it look a little bigger and I just personally like it better.
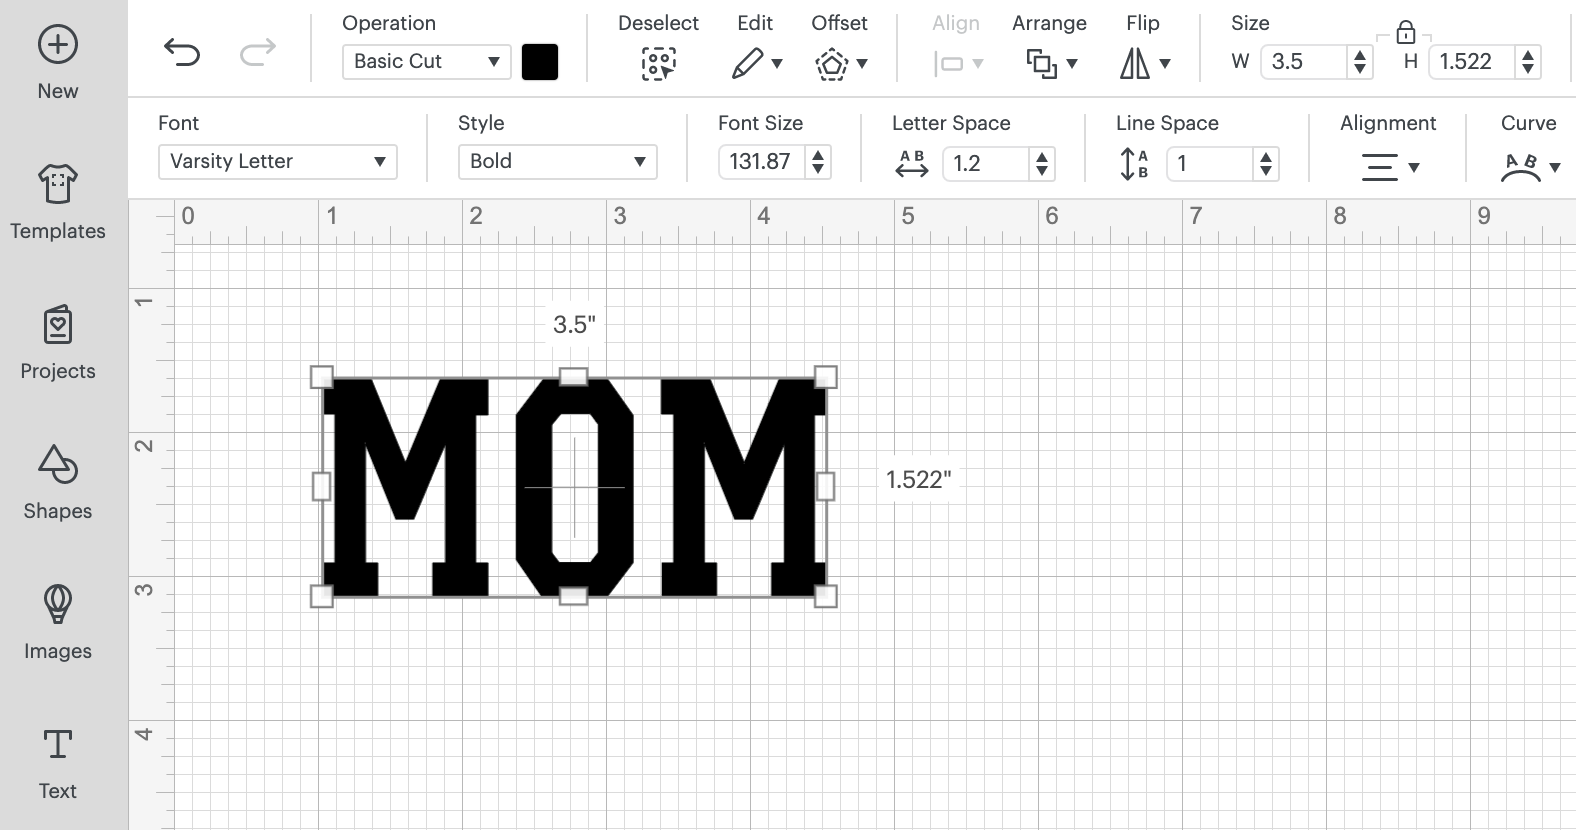
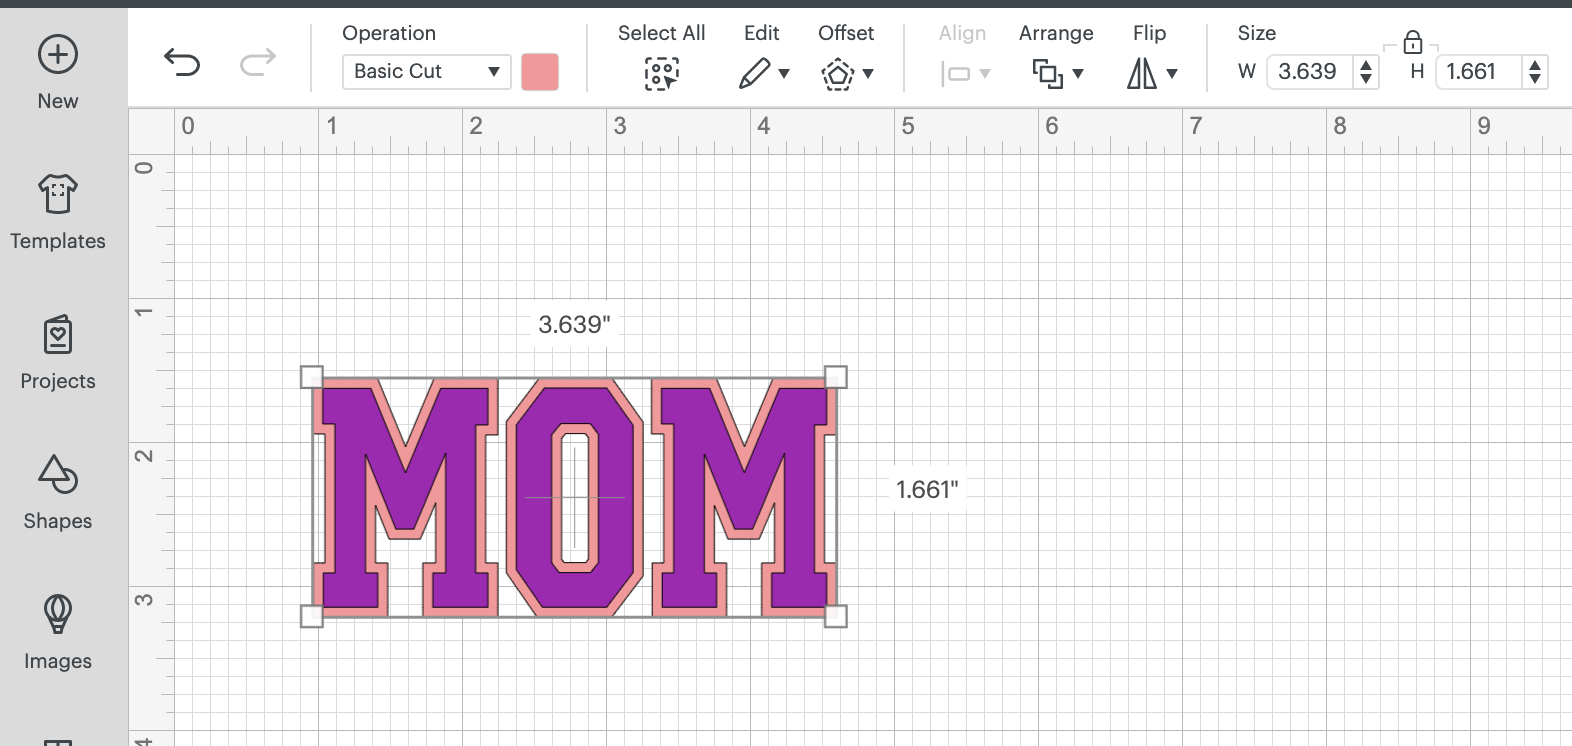
To fit on my hat, I resized my image to about 3.5″ and added an offset. To get the look I wanted I made sure my offset was set to square and sized it at 0.07.
How to Size Offset Layers
I like this offset look, the cutouts around the M and the cutout inside the O look really good. I like a thinner look around my offset but you can use the slider to see what it looks like at different thicknesses.
The most important thing for creating these varsity letters is to make sure the offset for the different letters doesn’t touch. The varsity letter look is different individual layered letters, not individual letters with a joined background.
You can see if I move the top layer off to the side I have two full words. With StripFlock Pro, I can layer these right on top of each other, no need to slice and layer.
How to Cut Siser StripFlock Pro HTV
You’ll use StripFlock Pro just like other HTV materials. You’ll place the material carrier sheet (shiny side) down on the mat and mirror your image in Design Space.
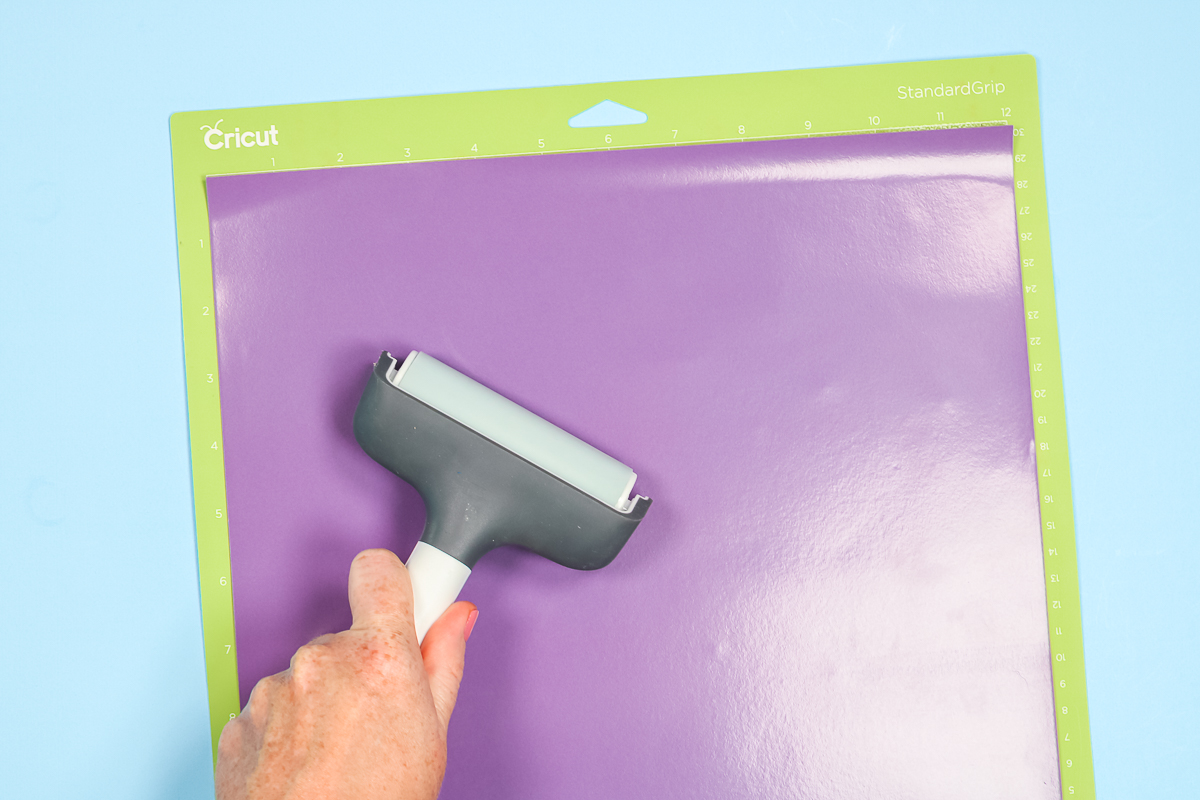
This material is thicker than regular HTV and likes to curl back up a little. I like to use the green StandardGrip cutting mat and a brayer to make sure the StripFlock Pro HTV is stuck down to the mat really well.
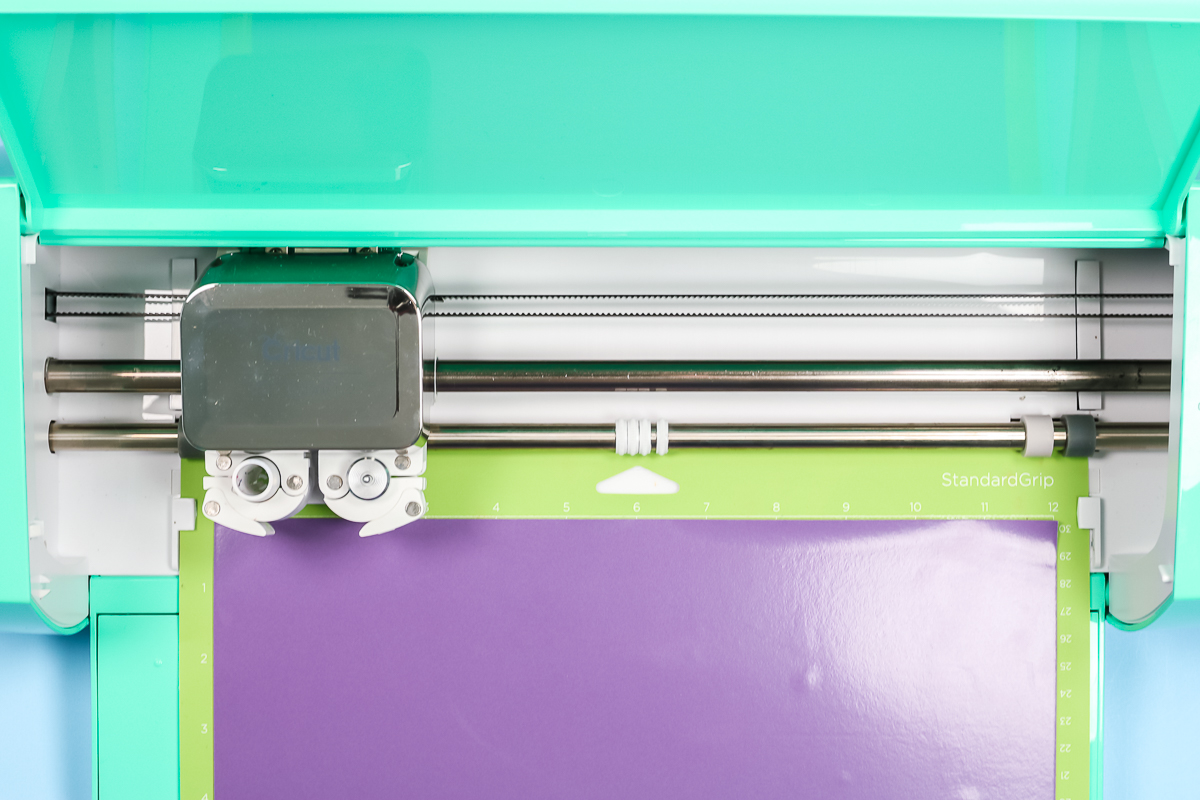
Because you cut StripFlock Pro with a fine point blade you can use any Cricut machine to cut this material. I am using my Cricut Explore.
Before loading your mat into the machine make sure you mirror each mat and select your material. After doing a test cut, I found with my machine the Glitter Iron-on setting worked great for this material. Select the right material and click Make It. Load your mat and press go.
Weeding StripFlock Pro
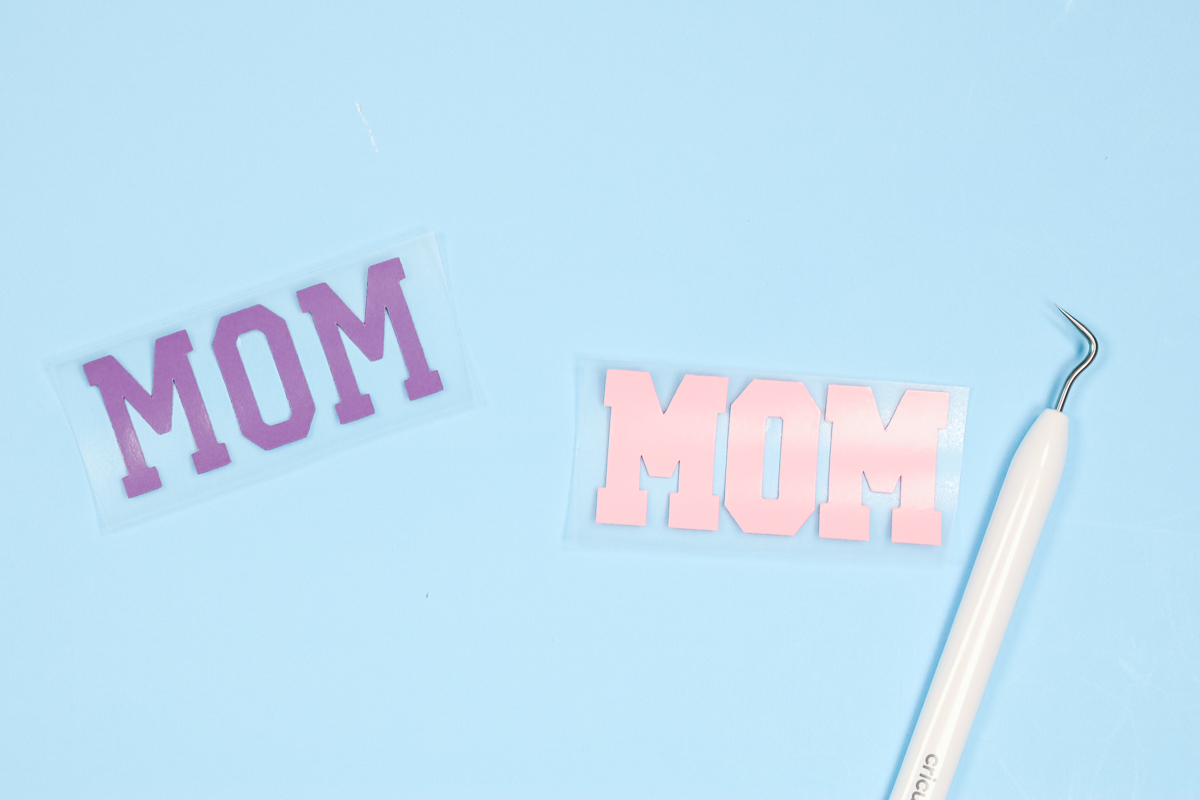
Once your design is finished cutting unload the mat and trim around your image. You’ll weed Siser StripFlock Pro with a weeding tool just like you weed other HTV materials. It weeds really easily which is nice.
How to Layer Siser StripFlock Pro
I’m using my Cricut HatPress to apply the StripFlock to my hat. The settings for StripFlock Pro are 311 degrees for 10 to 15 seconds. With the Cricut Heat App, I can set the time and temperature exactly right. I set my timer for 10 seconds, that way if it doesn’t seem to adhere I can press it for a little longer.
Add the hat to the hat form that comes with the Cricut Hat Press. Keep it nice and smooth across the front and preheat the material to remove any moisture.
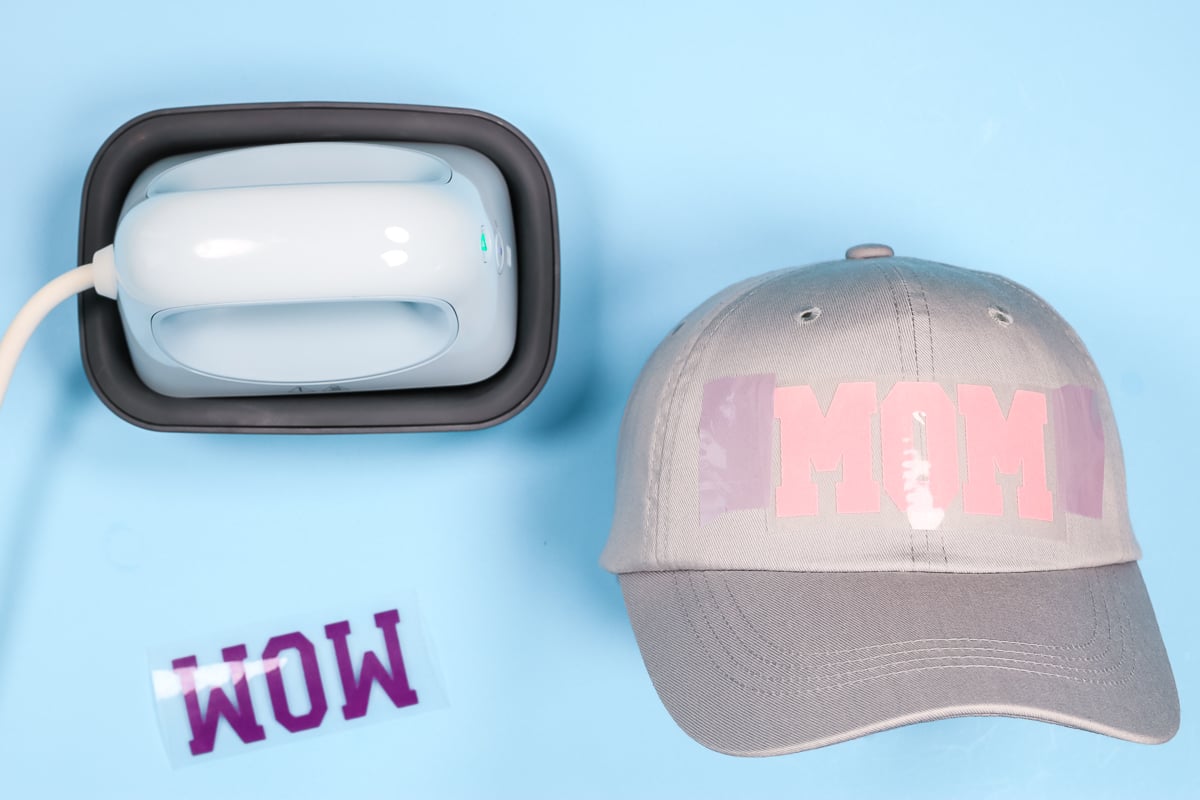
You may find that the carrier sheet sticks to your hat well enough or you might need some heat tape. I used a couple of pieces of heat tape, which holds it down better than just the carrier sheet.
Add the Hat Press and press go. I’m going to press down for a full 10 seconds. When it beeps, remove the press. It’s a warm peel so you can slowly peel off the carrier sheet after just a few seconds.
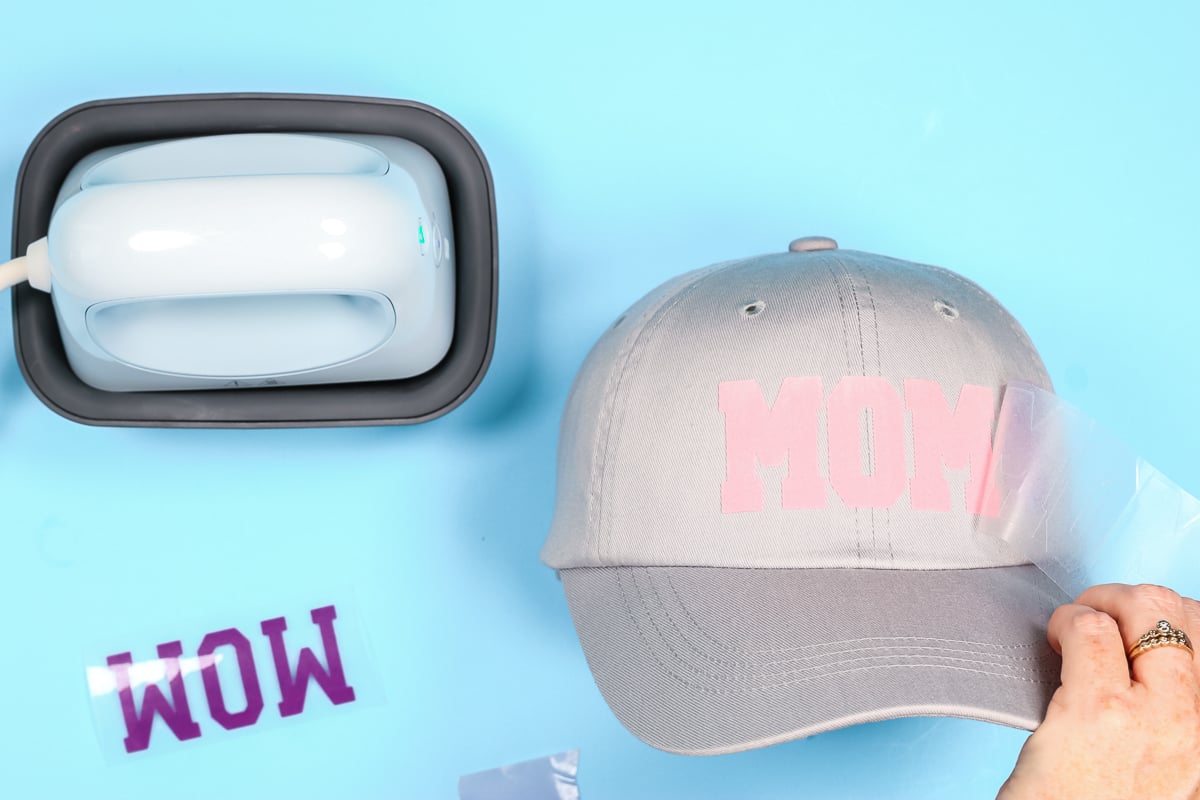
Remember, this is the first layer. If it has a little lifting on the edges that is okay, we’re going to press it another time. At 10 seconds, mine looked really good for a first layer, it lifted a little at the corners and that was all.
Adding the Second Layer
Now that we have the first layer pressed down, we can add the next layer. Remember, layering only works with StripFlock Pro, don’t try this with other flocked HTV.
When layering any HTV make sure that you have your whole first layer protected from the heat source. You can use a Teflon sheet or the carrier sheet from the first layer if the carrier sheet from the second layer isn’t big enough, just make sure you’re not adding direct heat to the HTV.
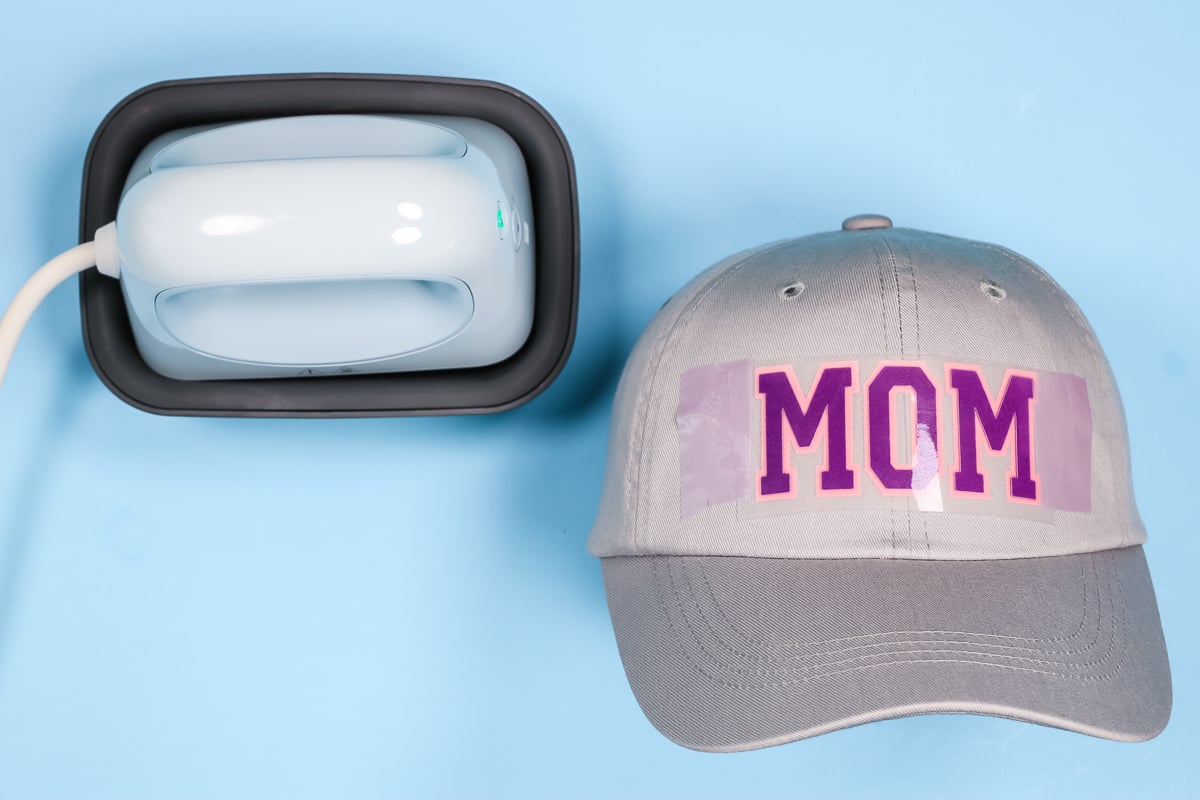
I was able to reuse the same two pieces of heat tape to hold the carrier sheet down. For the second layer of my varsity letters, I am going to press for the full 15 seconds. I am pressing with medium pressure for the full time.

This time both layers should be stuck down completely when you try to lift off the carrier sheet. I looked at both edges to make sure things were stuck down, it looks really good so I can slowly peel back the carrier sheet. It looks really good and now my varsity letter hat is complete!
Final Thoughts on Siser StripFlock Pro
Here’s a close-up of the Siser StripFlock Pro varsity letters on the hat. I love that I can create varsity letters that say anything I want with this method. I could even create a three-layer varsity letter if I wanted. Being able to layer StripFlock Pro makes all the difference with these letters.

This process isn’t just for hats, you could use it on anything – shirts, bags, etc. You don’t even have to use StripFlock Pro to make varsity letters. You can use it for anything you’d like to add some texture to. According to the website, StripFlock Pro can be used on cotton, cotton-poly blends, etc. I think you could use it on most fabrics to create any project you have in mind.
I hope I answered any questions you had about how to layer Siser StripFlock Pro. It’s a fun new material that I really think you’ll love. If you have any questions, leave them in the comments and I’m happy to answer them for you. Have a wonderful day and happy crafting.

