This post and photos may contain Amazon or other affiliate links. If you purchase something through any link, I may receive a small commission at no extra charge to you. Any supplies used may be given to me free of charge, however, all projects and opinions are my own.
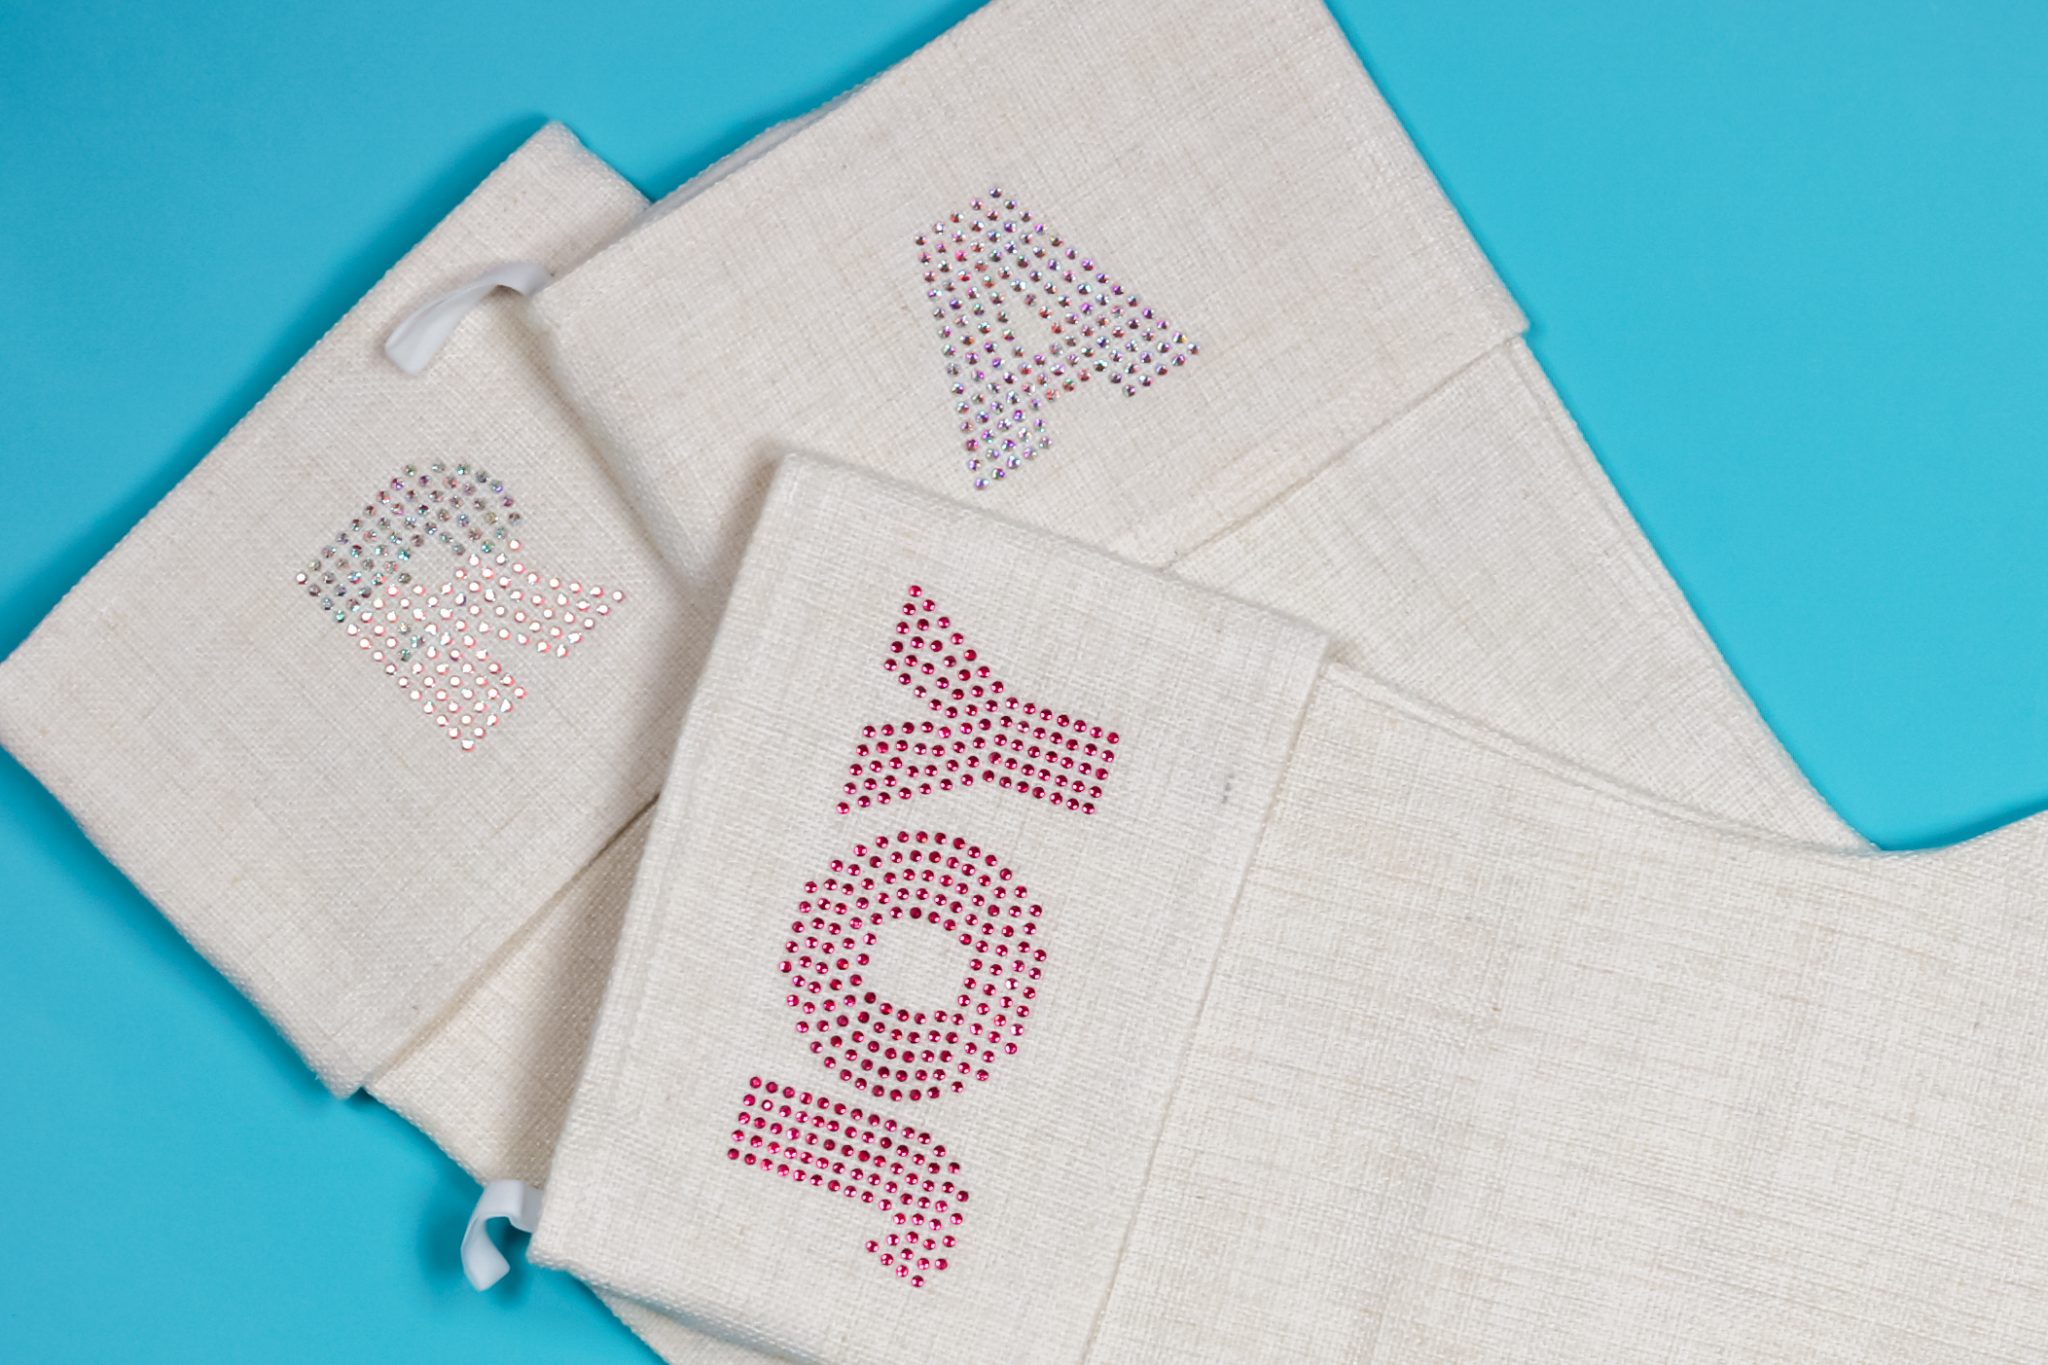
Did you know you can make a rhinestone template on a Cricut machine? If you want to add a little bling to your crafts this is a fun way to do that. I am sharing the process of making simple rhinestone projects below and you can use the same methods for clothing and so much more! Once you get experienced, you can even try more complicated designs!
If you don’t have a Cricut machine or are new to the Cricut world, check out my beginner’s guide here to learn why you should add one to your craft room.
NOTE: If you’re looking for more advanced projects like multiple colors I recommend The Baby’s Booty videos. She’s a rhinestone expert and can help you with projects more complicated than the one I’m going to show you today.
Cricut Rhinestone Templates
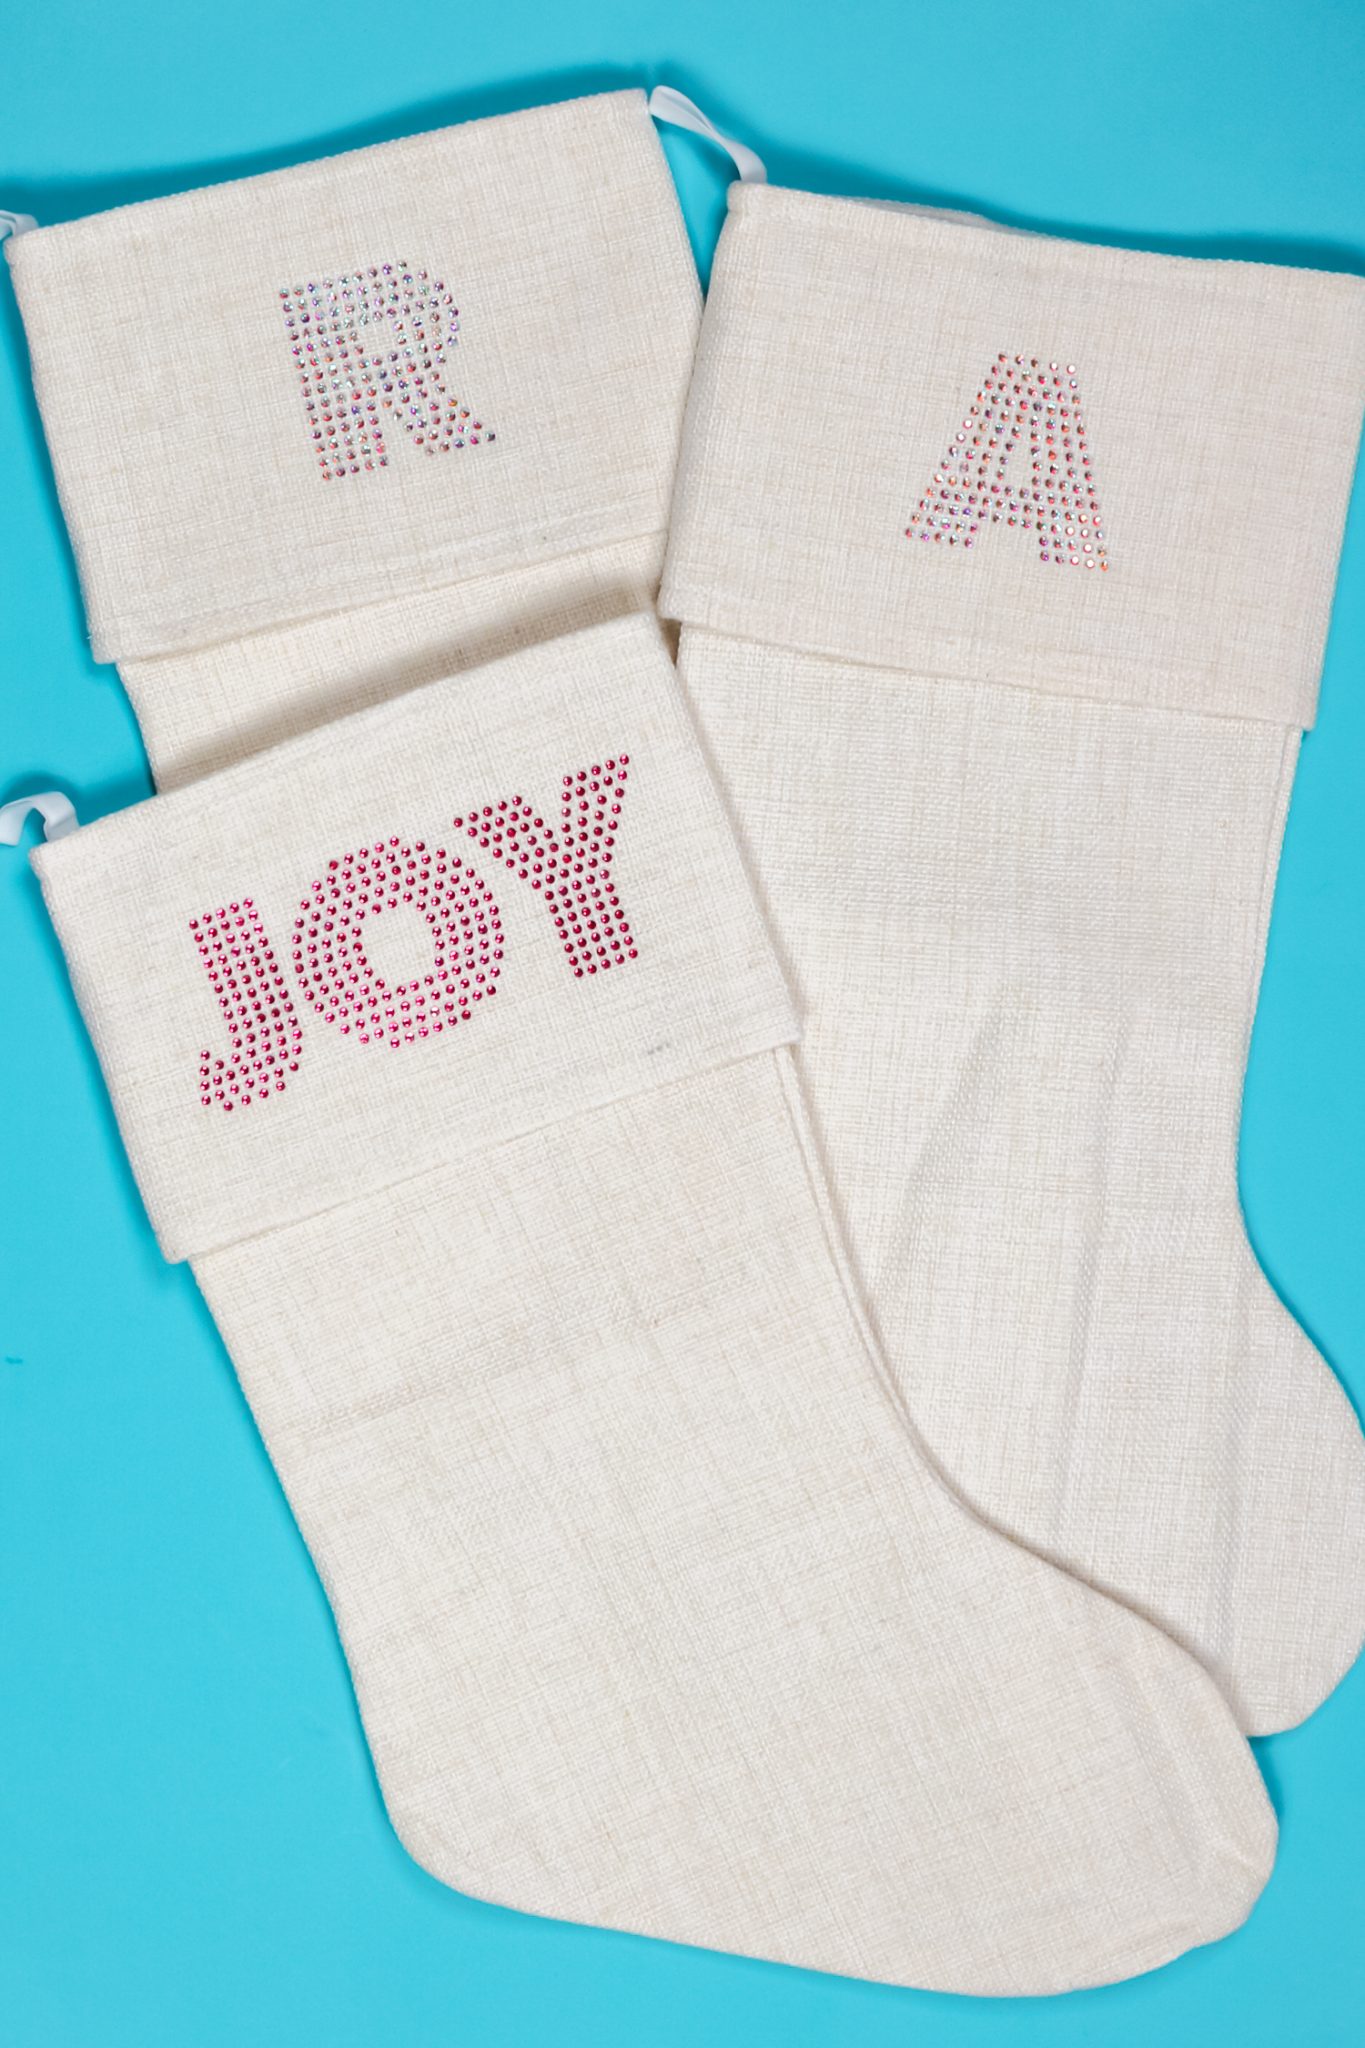
I’m going to teach you how to make a simple rhinestone template on a Cricut machine right in Design Space. This project is a single-color design and is very simple. It is a great place to get started with making rhinestone crafts.
If you want that rhinestone look but don’t want to buy all the supplies or do all the work, I’ll also show you how to order custom rhinestone designs from Heat Transfer Warehouse. If you don’t see yourself doing a lot of rhinestone projects this may be the best method for you!
You can actually watch me make a rhinestone template on a Cricut machine by clicking play on the video below:
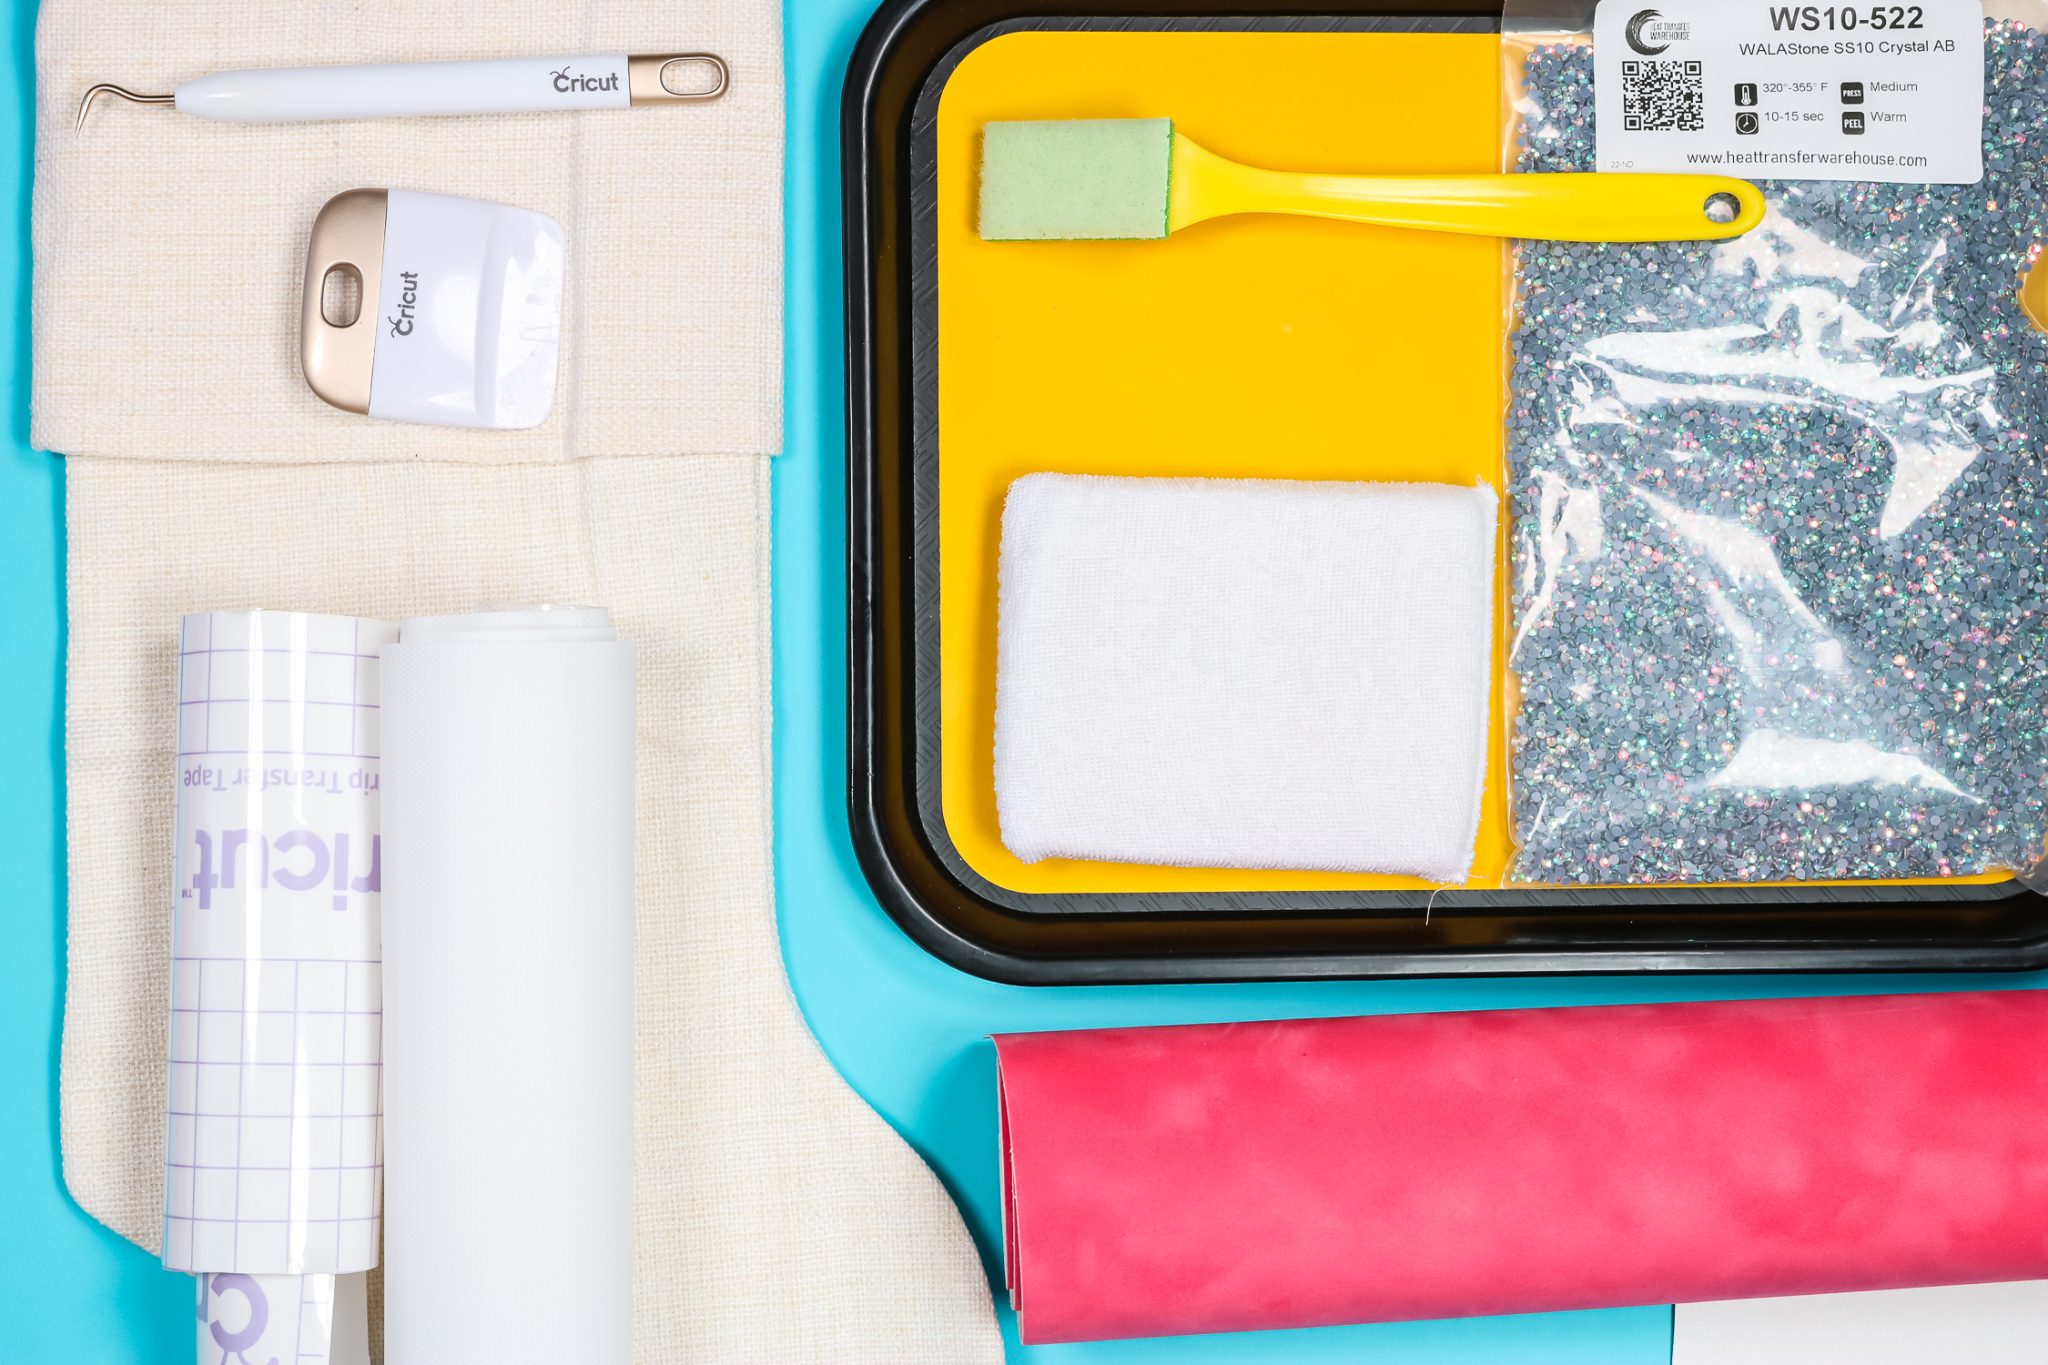
Supplies Needed for Rhinestone Projects
How to Create Rhinestone Designs
There are a few different ways to create your own rhinestone templates on a Cricut machine. To begin, you’ll need some type of design. Let’s look at where you can find those.
Where Do I Find Rhinestone Designs
You can find rhinestone designs in a variety of places. For example, in Creative Fabrica I searched rhinestones and a ton of designs came up. You can find designs on other sites as well.
When you find designs online, you need to look for a few things. You need to see if it tells you what size stone to use and what size the image should be when it’s imported into Design Space. A file that gives you both of those things is a good file to use.
If you are wanting to create your own monograms, names, words, or anything with letters, you want to look for a rhinestone font. By heading over to Font Bundles and searching rhinestone, you’ll find a ton of different font options. The fonts have little circles that are cut out and you place your stones into those circles. You can see how to use any font with your Cricut here.
Using Design Space to Create Rhinestone Designs
To begin, we’ll add a word to our canvas and then choose the rhinestone font we have downloaded. Once you have word or letter, we need to make sure the holes are the right size. The stones need to fit in the holes. I have this little guide that works pretty well for sizing.
- SS6 rhinestones – 0.099 inch hole size
- SS10 rhinestones – 0.127 inch hole size
- SS16 rhinestones – 0.173 inch hole size
- SS20 rhinestones – 0.204 inch hole size
You may find for your stones that a little larger or a little smaller works.
Resize your font until the circle size in Design Space matches the hole size needed for your stones. To check the hole size I like to add a circle to my canvas and make it the right size. In this case, it needs to be 0.127″. Resize the font so the holes are the same size as the sample circle. You may need to zoom in to get them lined up. I like to make the circle a different color so I can see if the circle fits correctly into the hole of the letter.
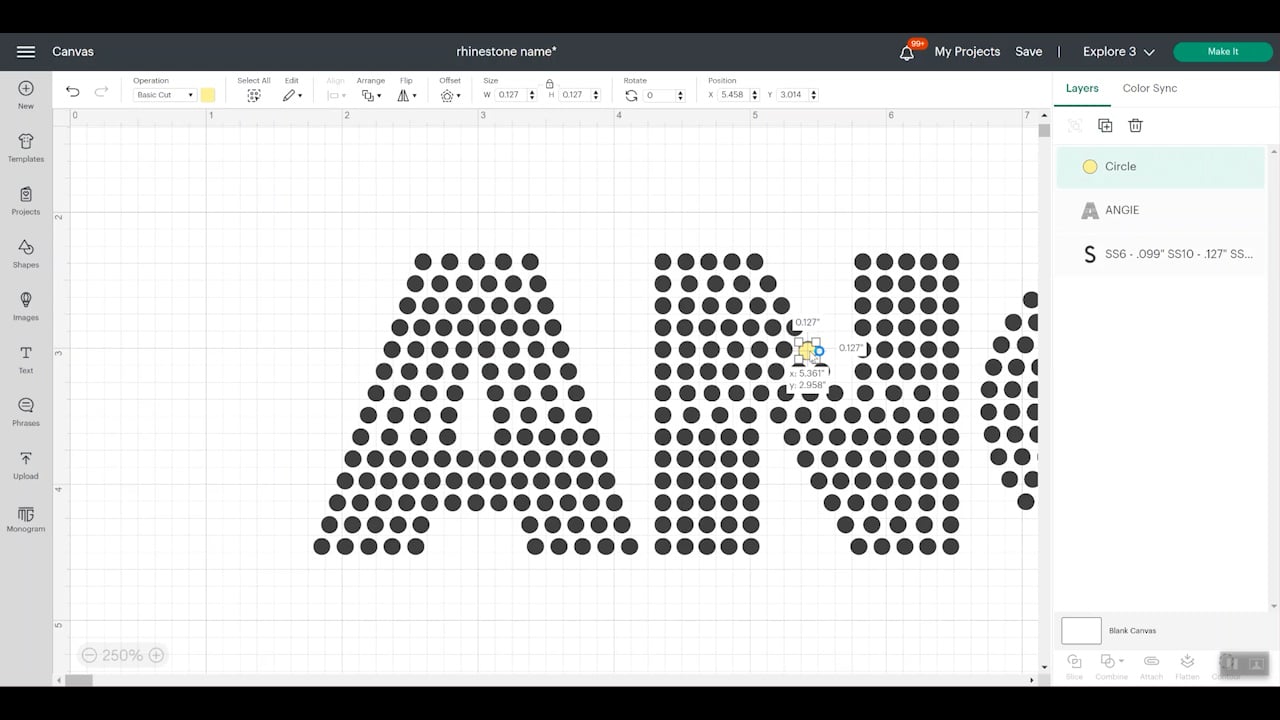
Once you think you have the size right, you can really check it by making a copy of the word and the circle and then placing the circle on top of one of the holes, selecting both layers, and then slicing to see if the hole is the same size as the circle.
After slicing, you can check the size of the circle. If it’s the right size (mine needs to be 0.127) you’re good to go. If it’s not you’ll need to continue resizing and checking until the hole sizes are correct.
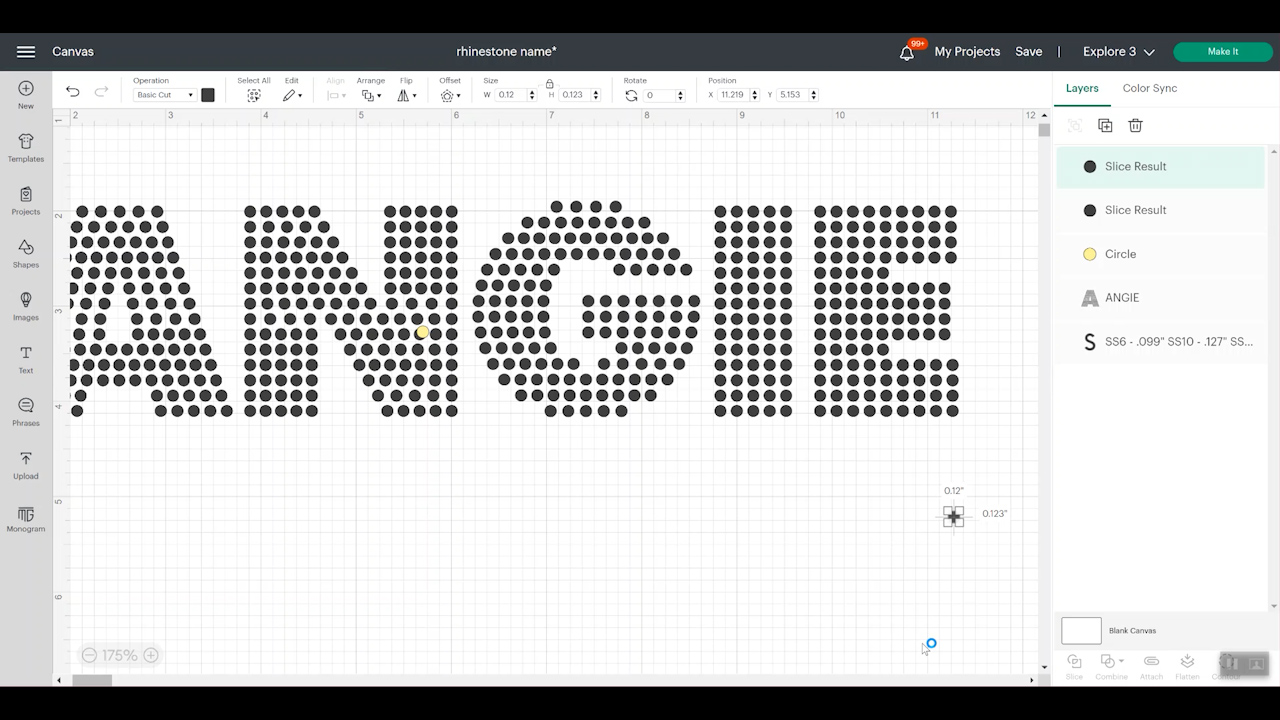
Creating Rhinestone Initials in Design Space
Once the hole size is correct, you can select your entire design to make sure it will fit on your blank. When the hole size is correct, you can no longer resize your design without changing the size of your rhinestone. For this example, I am only adding an initial to each stocking as a full name will not fit with this rhinestone font.
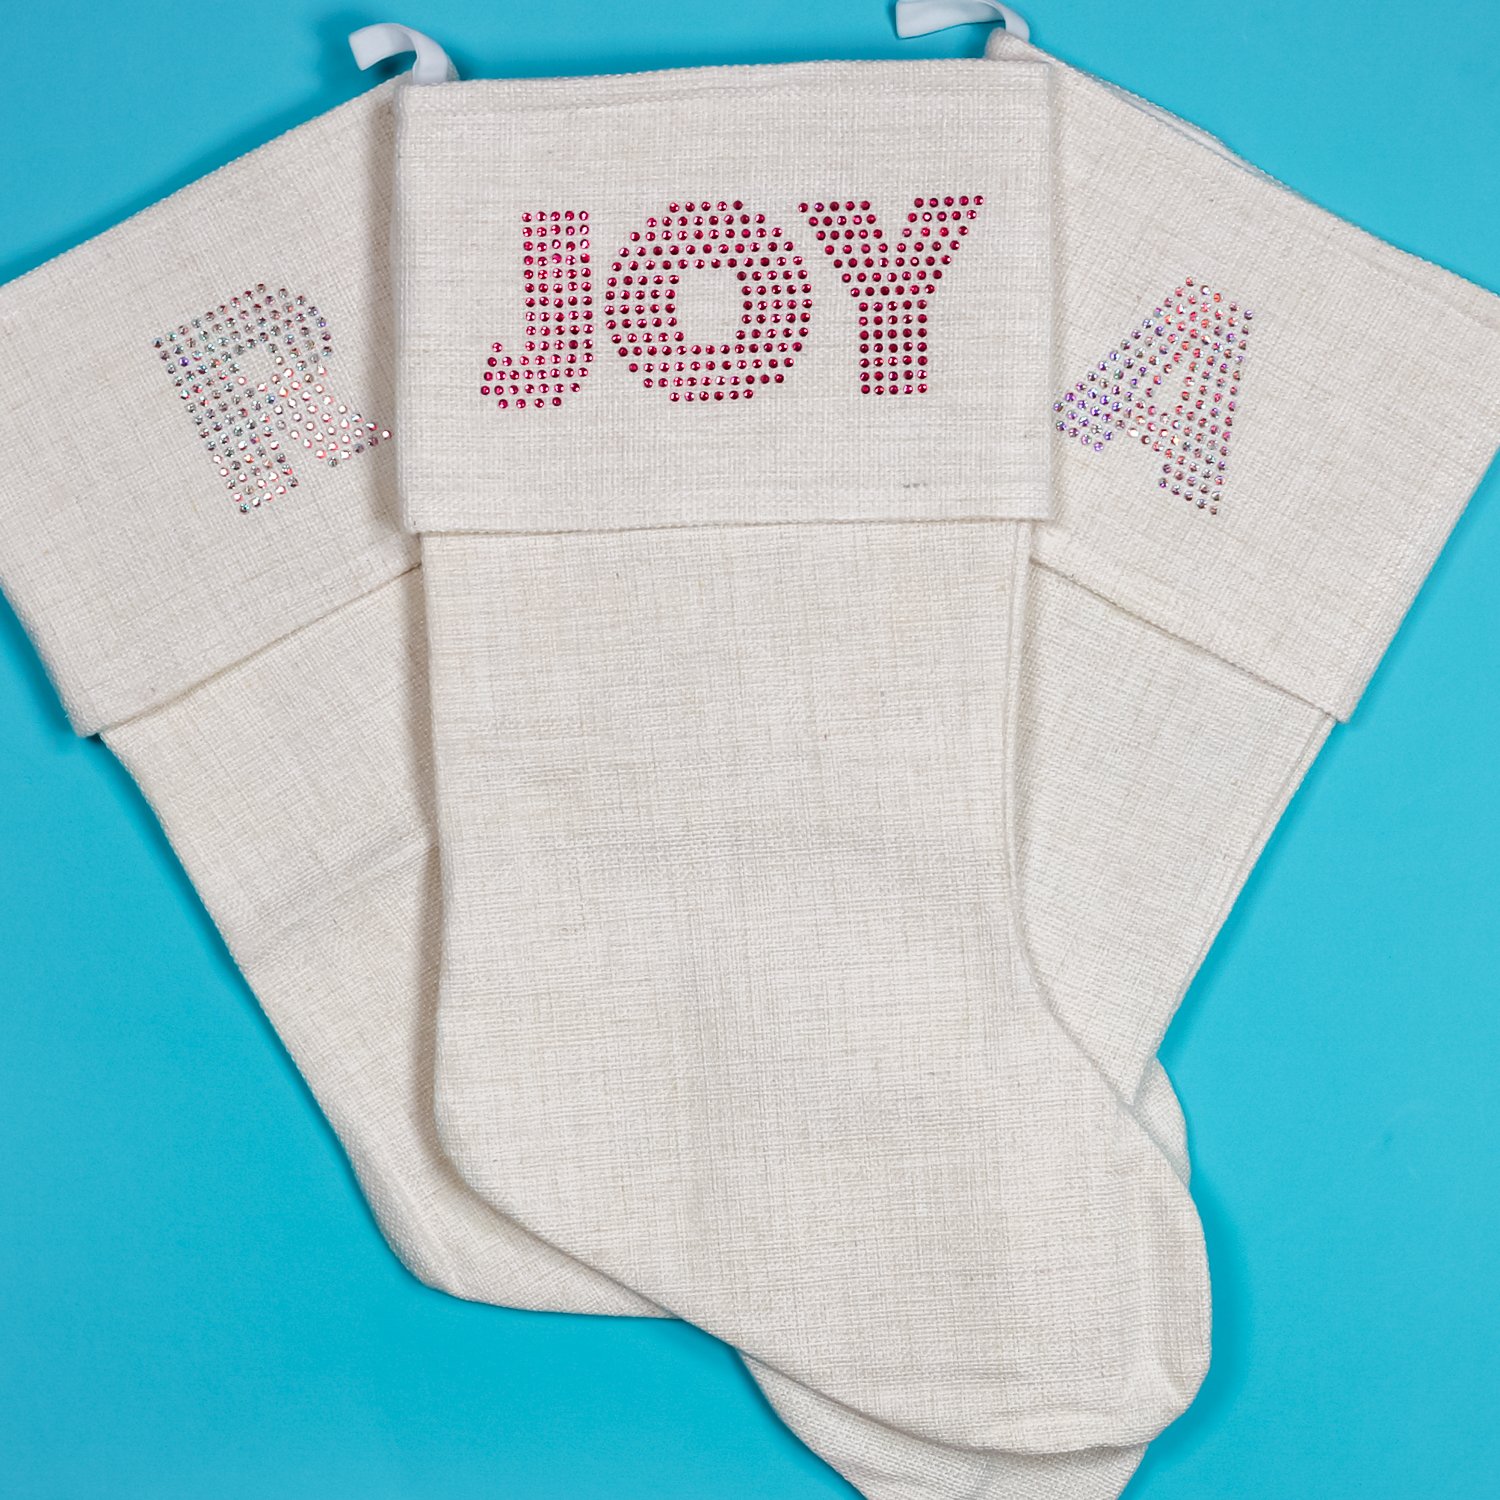
I want to create initials for each of my stockings. Once I have the first letter size correctly, I can then copy and paste it as many times as I need and change the letter and my hole size should stay the right size for each letter. Click make it and then proceed to the mat screen in Design Space.
Cutting Rhinestone Template Material on a Cricut
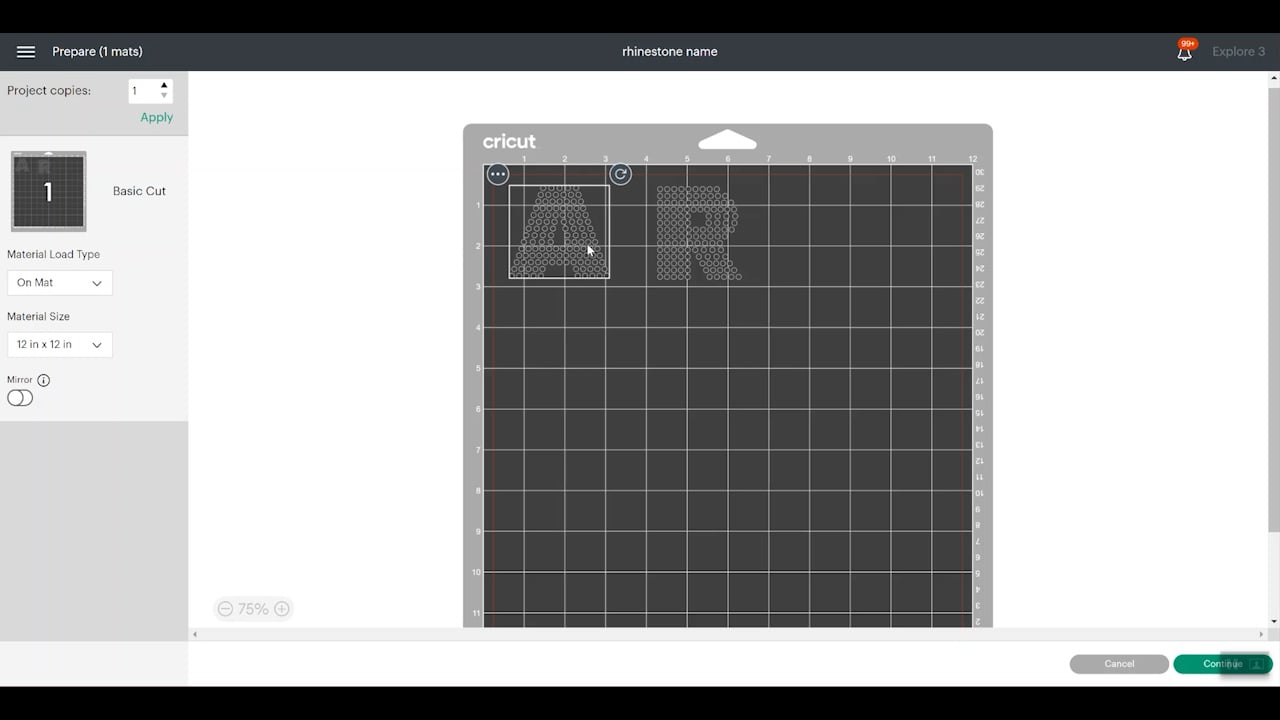
For this material, we do need to cut on a mat. Here on the mat screen, you can see that everything is laid out nicely. I like to have extra room around my designs when I’m working with rhinestones so I am going to click on each letter and move it on the mat a little bit so I have more room between each letter.
I have found that this material cuts well on a LightGrip mat. You want the flocked side up and the liner side down on the mat. Use a brayer to press the material onto the mat really well.
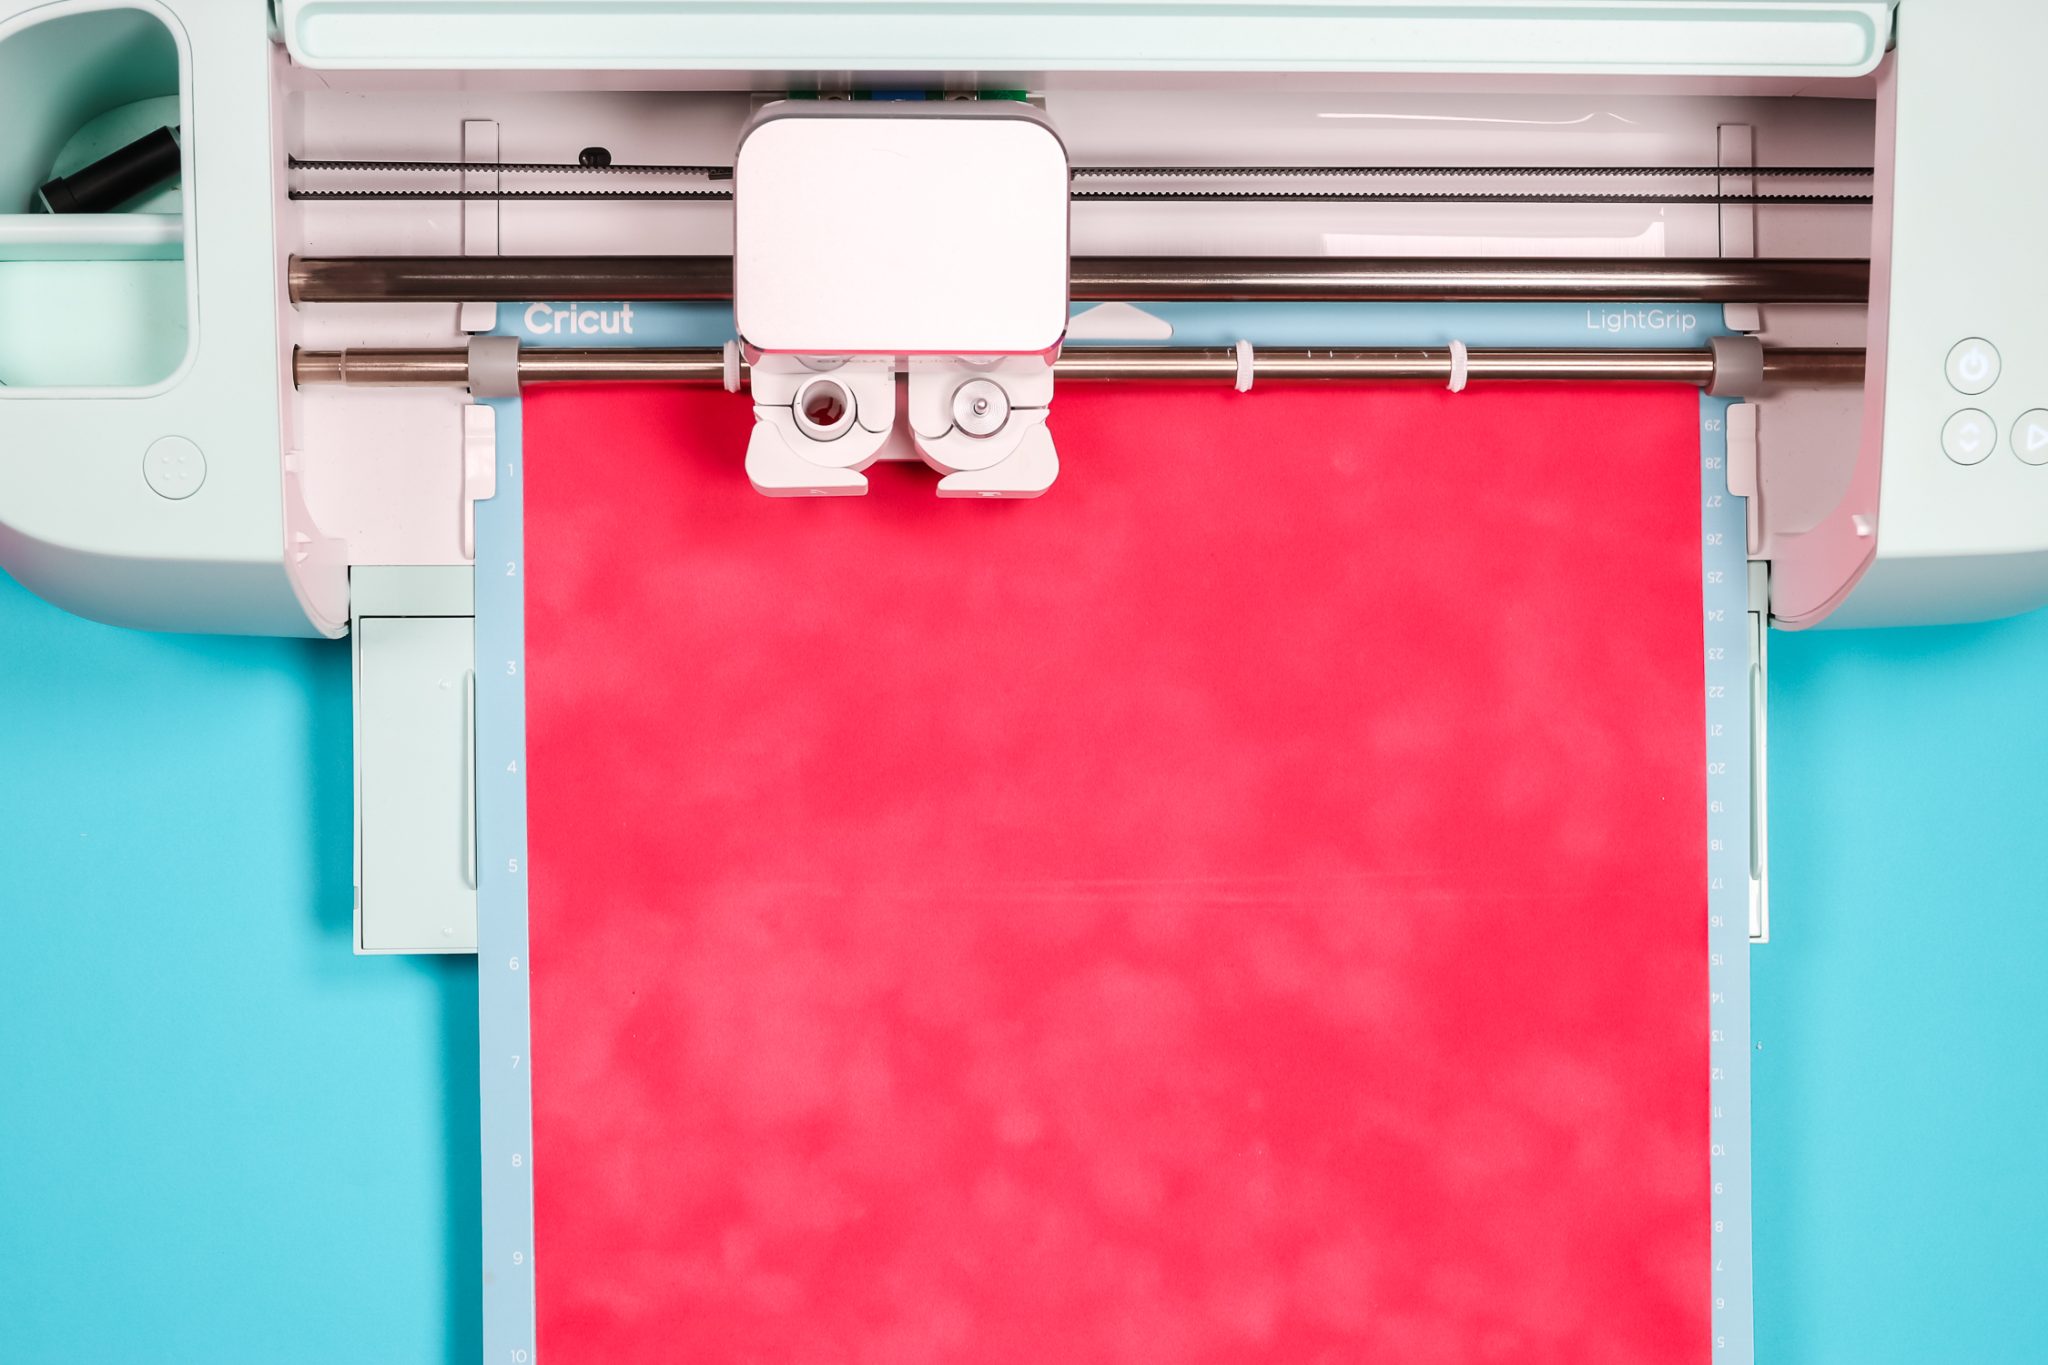
I do recommend testing this material with a rhinestone design. I had no success using the glitter HTV setting. With one pass, it didn’t cut all the way through and the same happened with two passes. I also tried using a bonded felt setting and it cut all the way through the material and the backing leaving a mess on the mat.
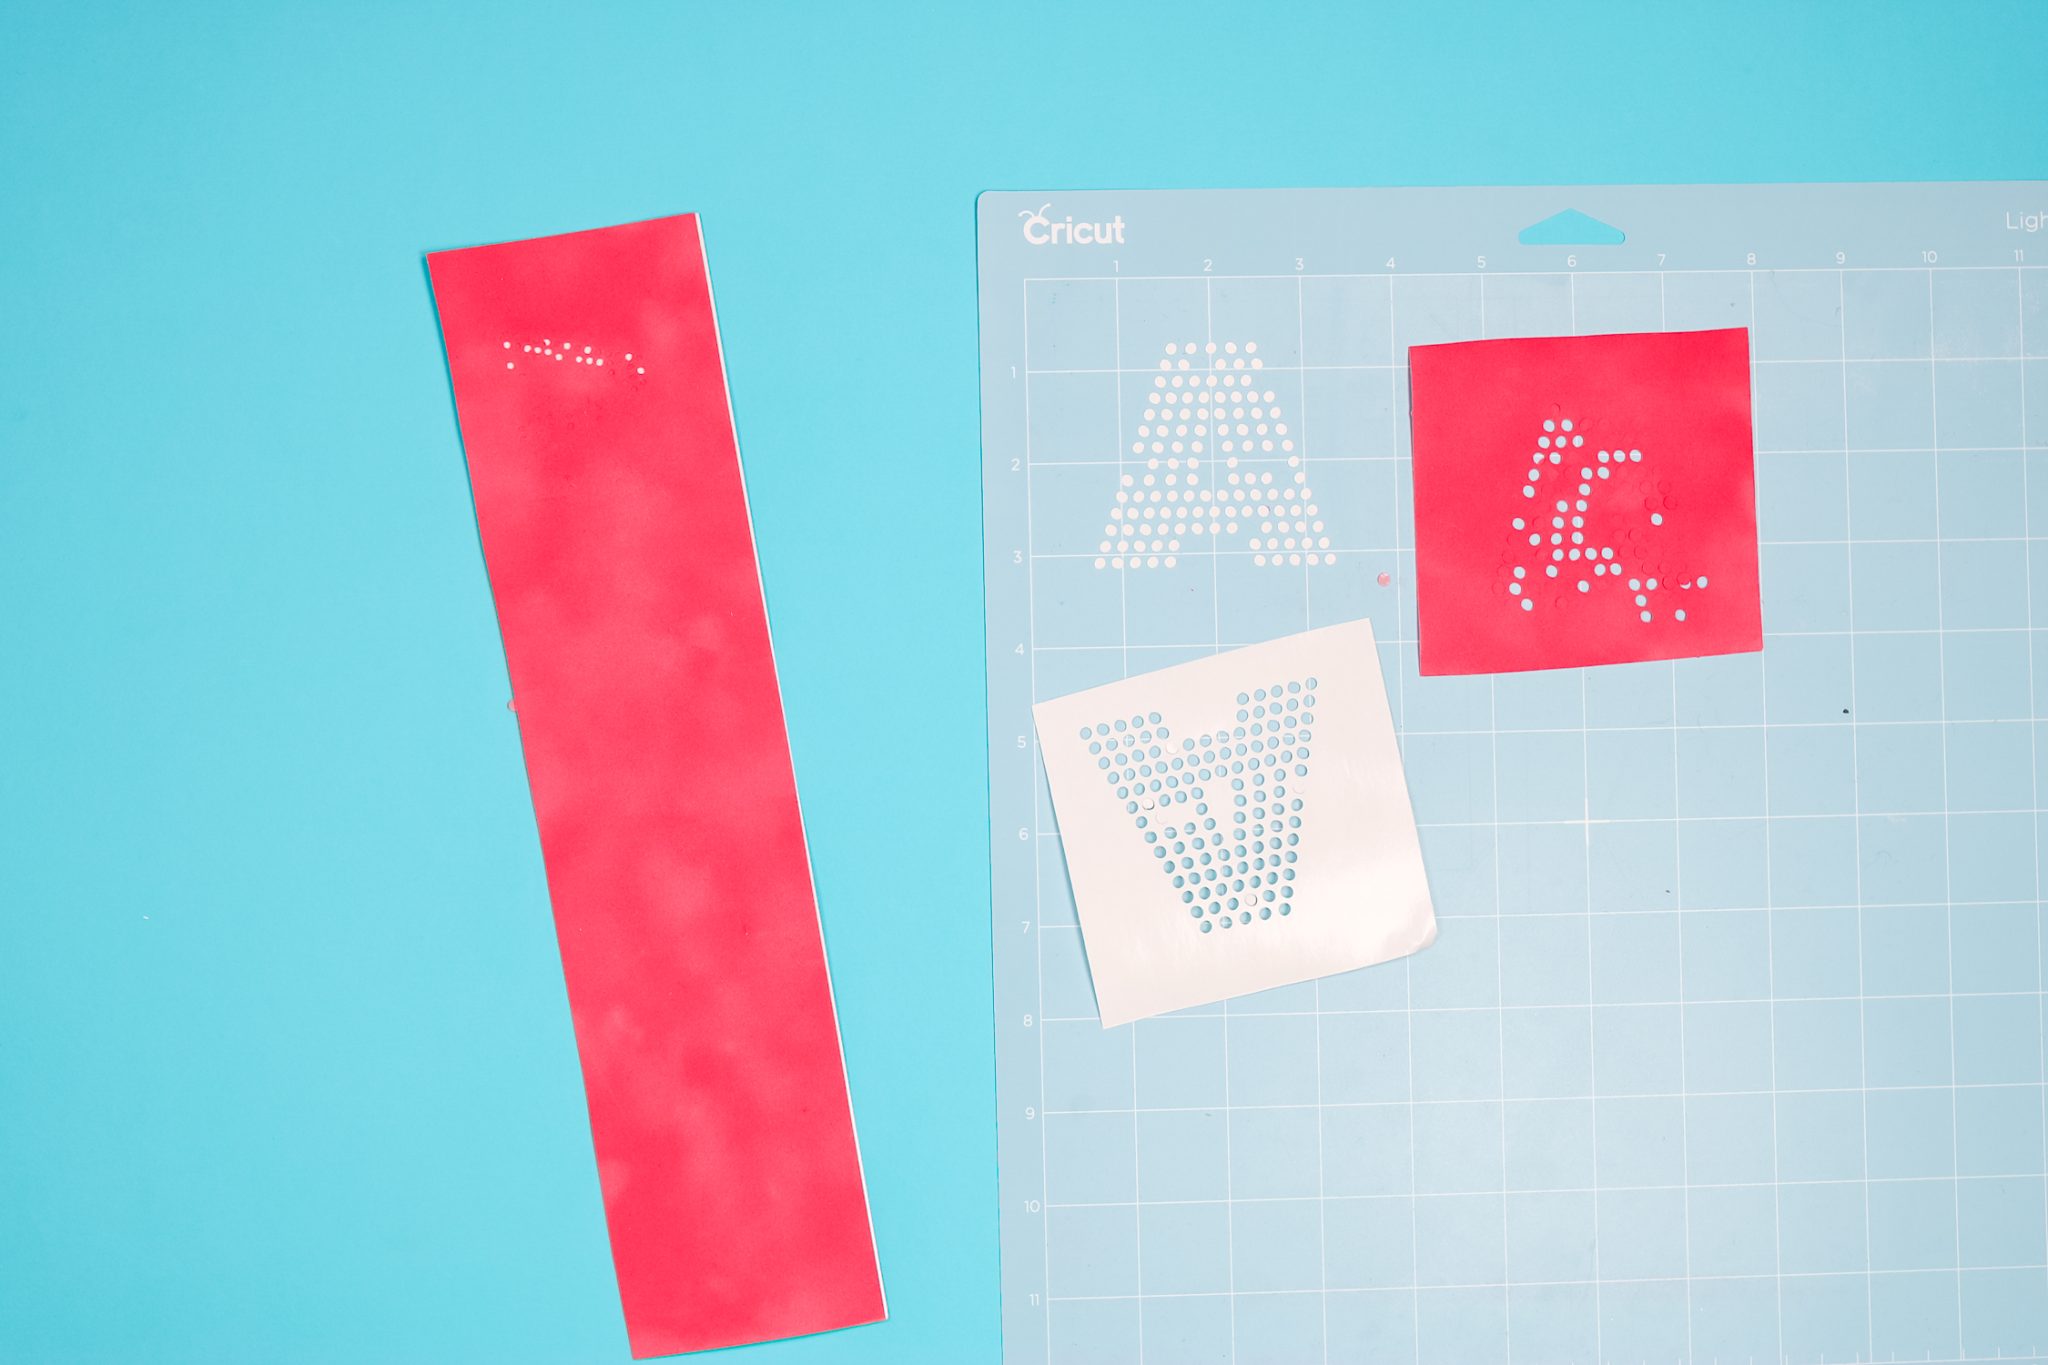
I did have success using the flocked paper setting with less pressure. It barely cut into the backing and I can move it off the mat which makes this setting great for me.
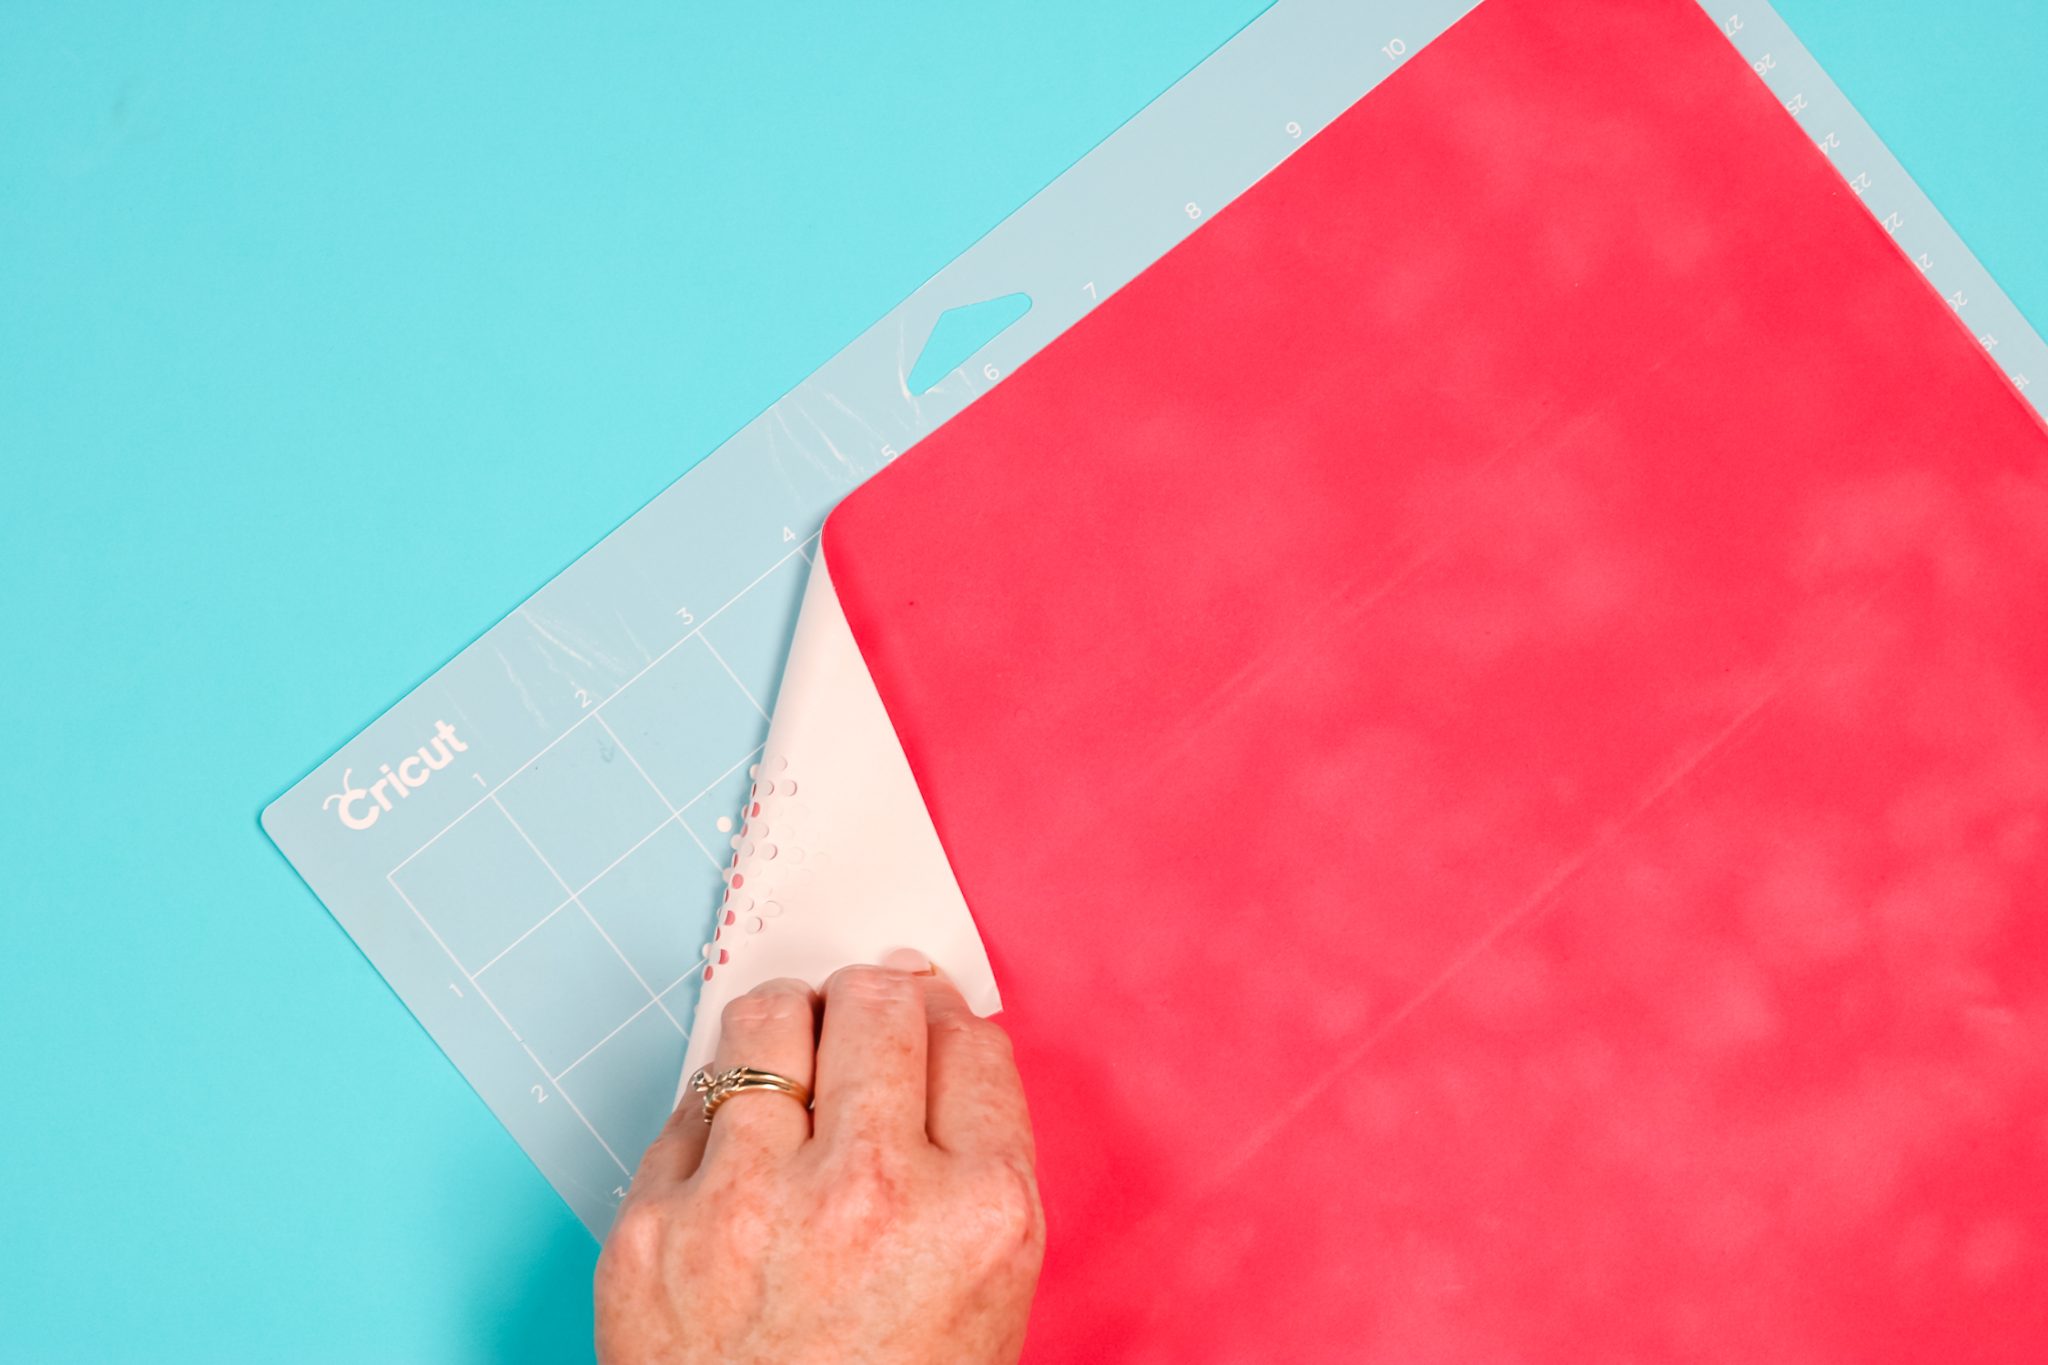
Removing Holes from Rhinestone Template
To make the actual rhinestone template, we need to remove all those little circles that are cut from the design. You can use tweezers or a weeding tool to remove every circle but I have a hack you can try too.
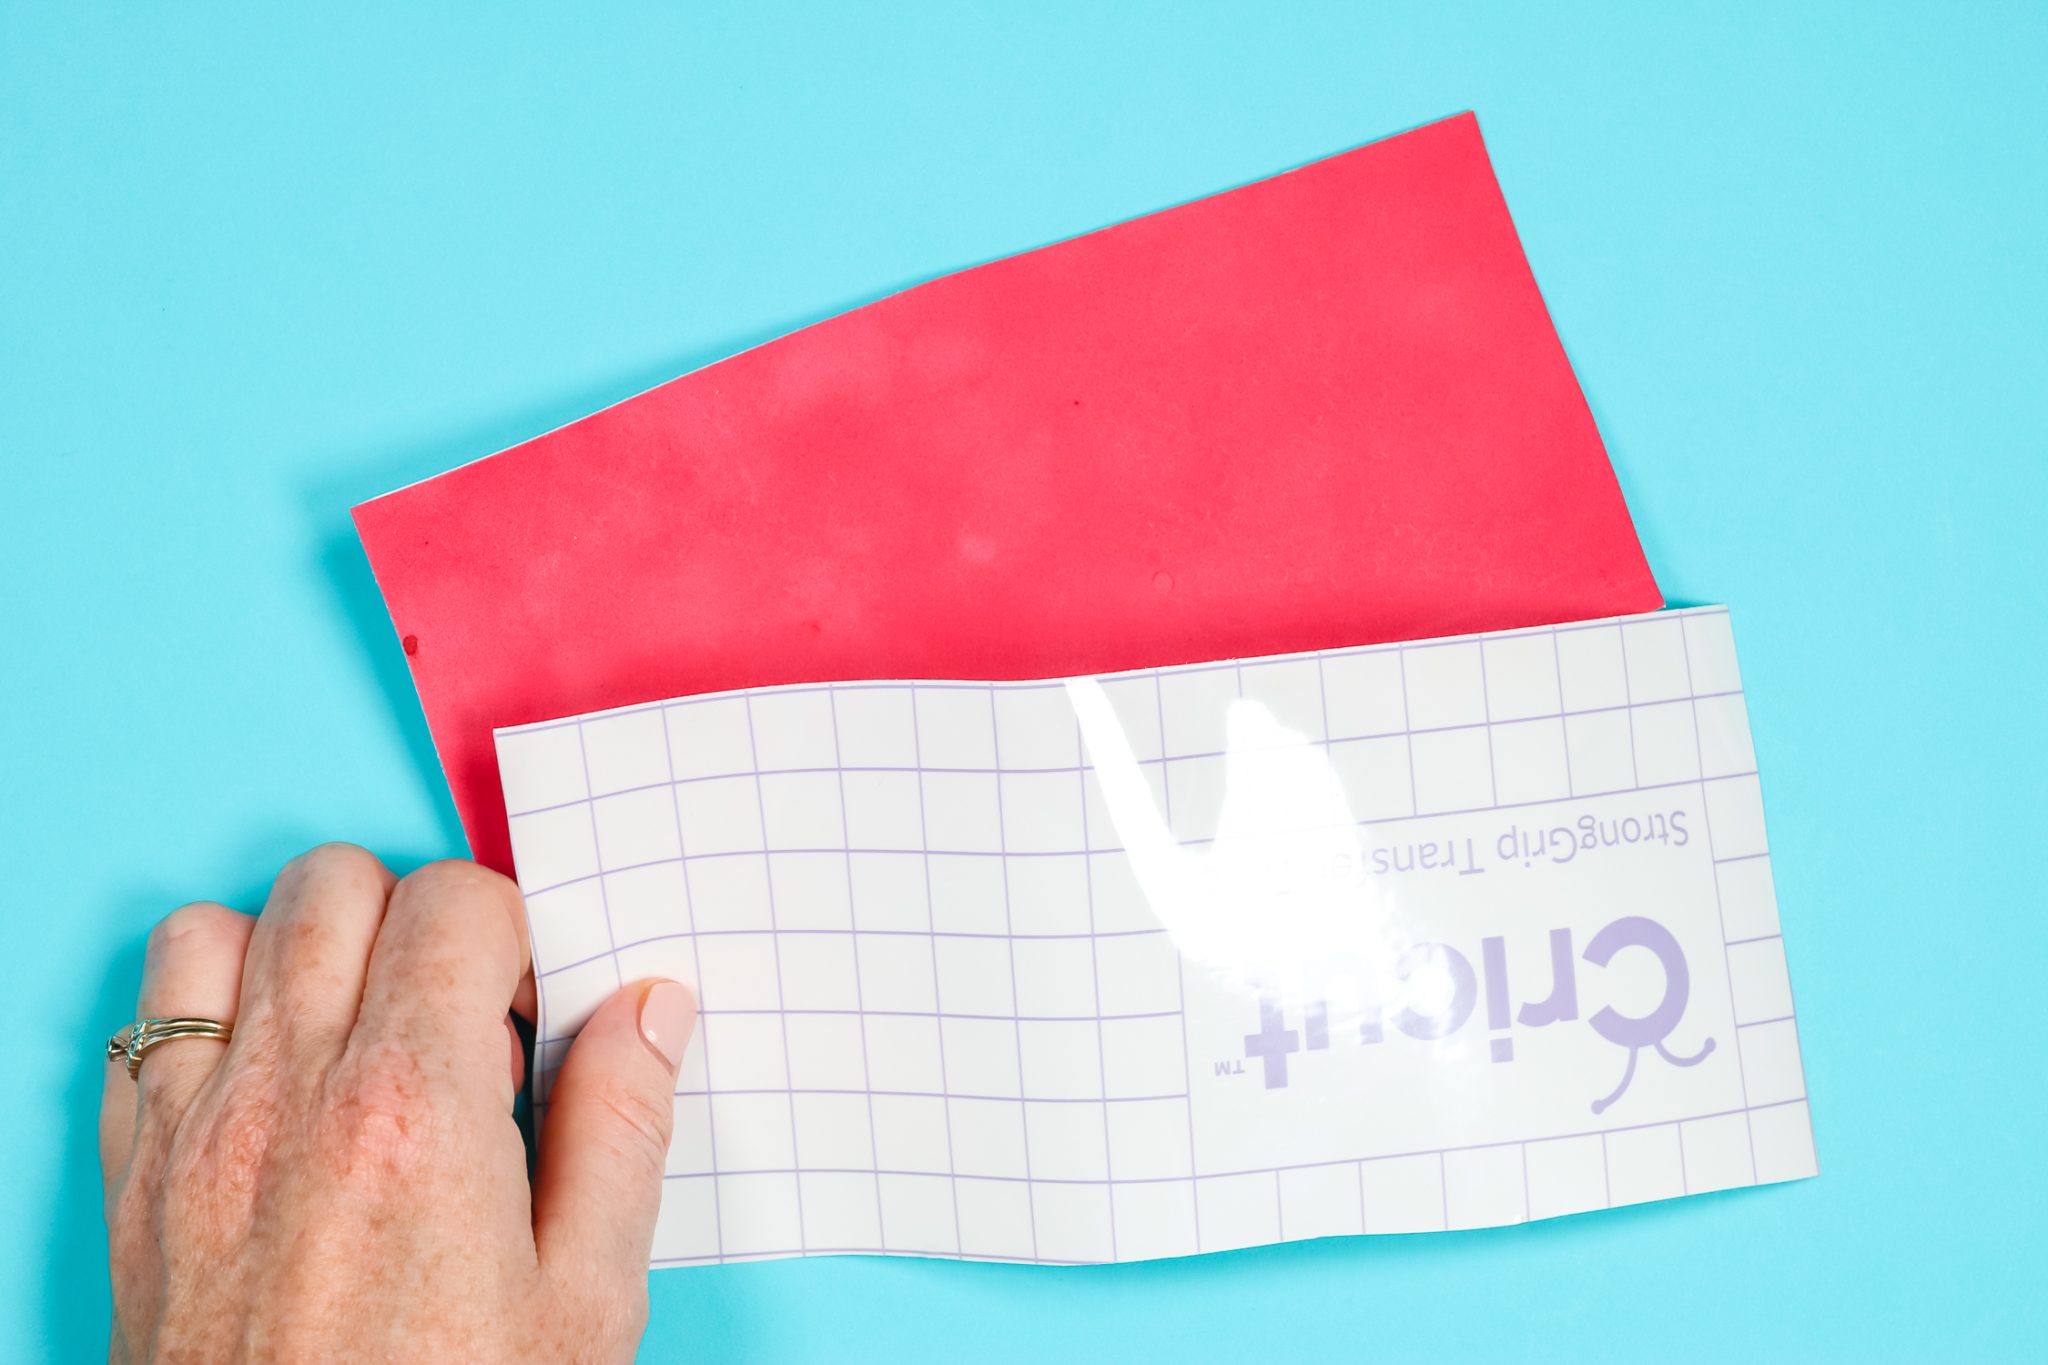
Place a piece of StrongGrip Transfer Tape on top of the flocked material and burnish it down really well and as you peel it back you’ll see that a lot of the little circles come up with the transfer tape.
With this hack, I only had to remove about 10 circles from my design with a weeding tool instead of all of them. This was a definite time saver and helped contain the mess too.
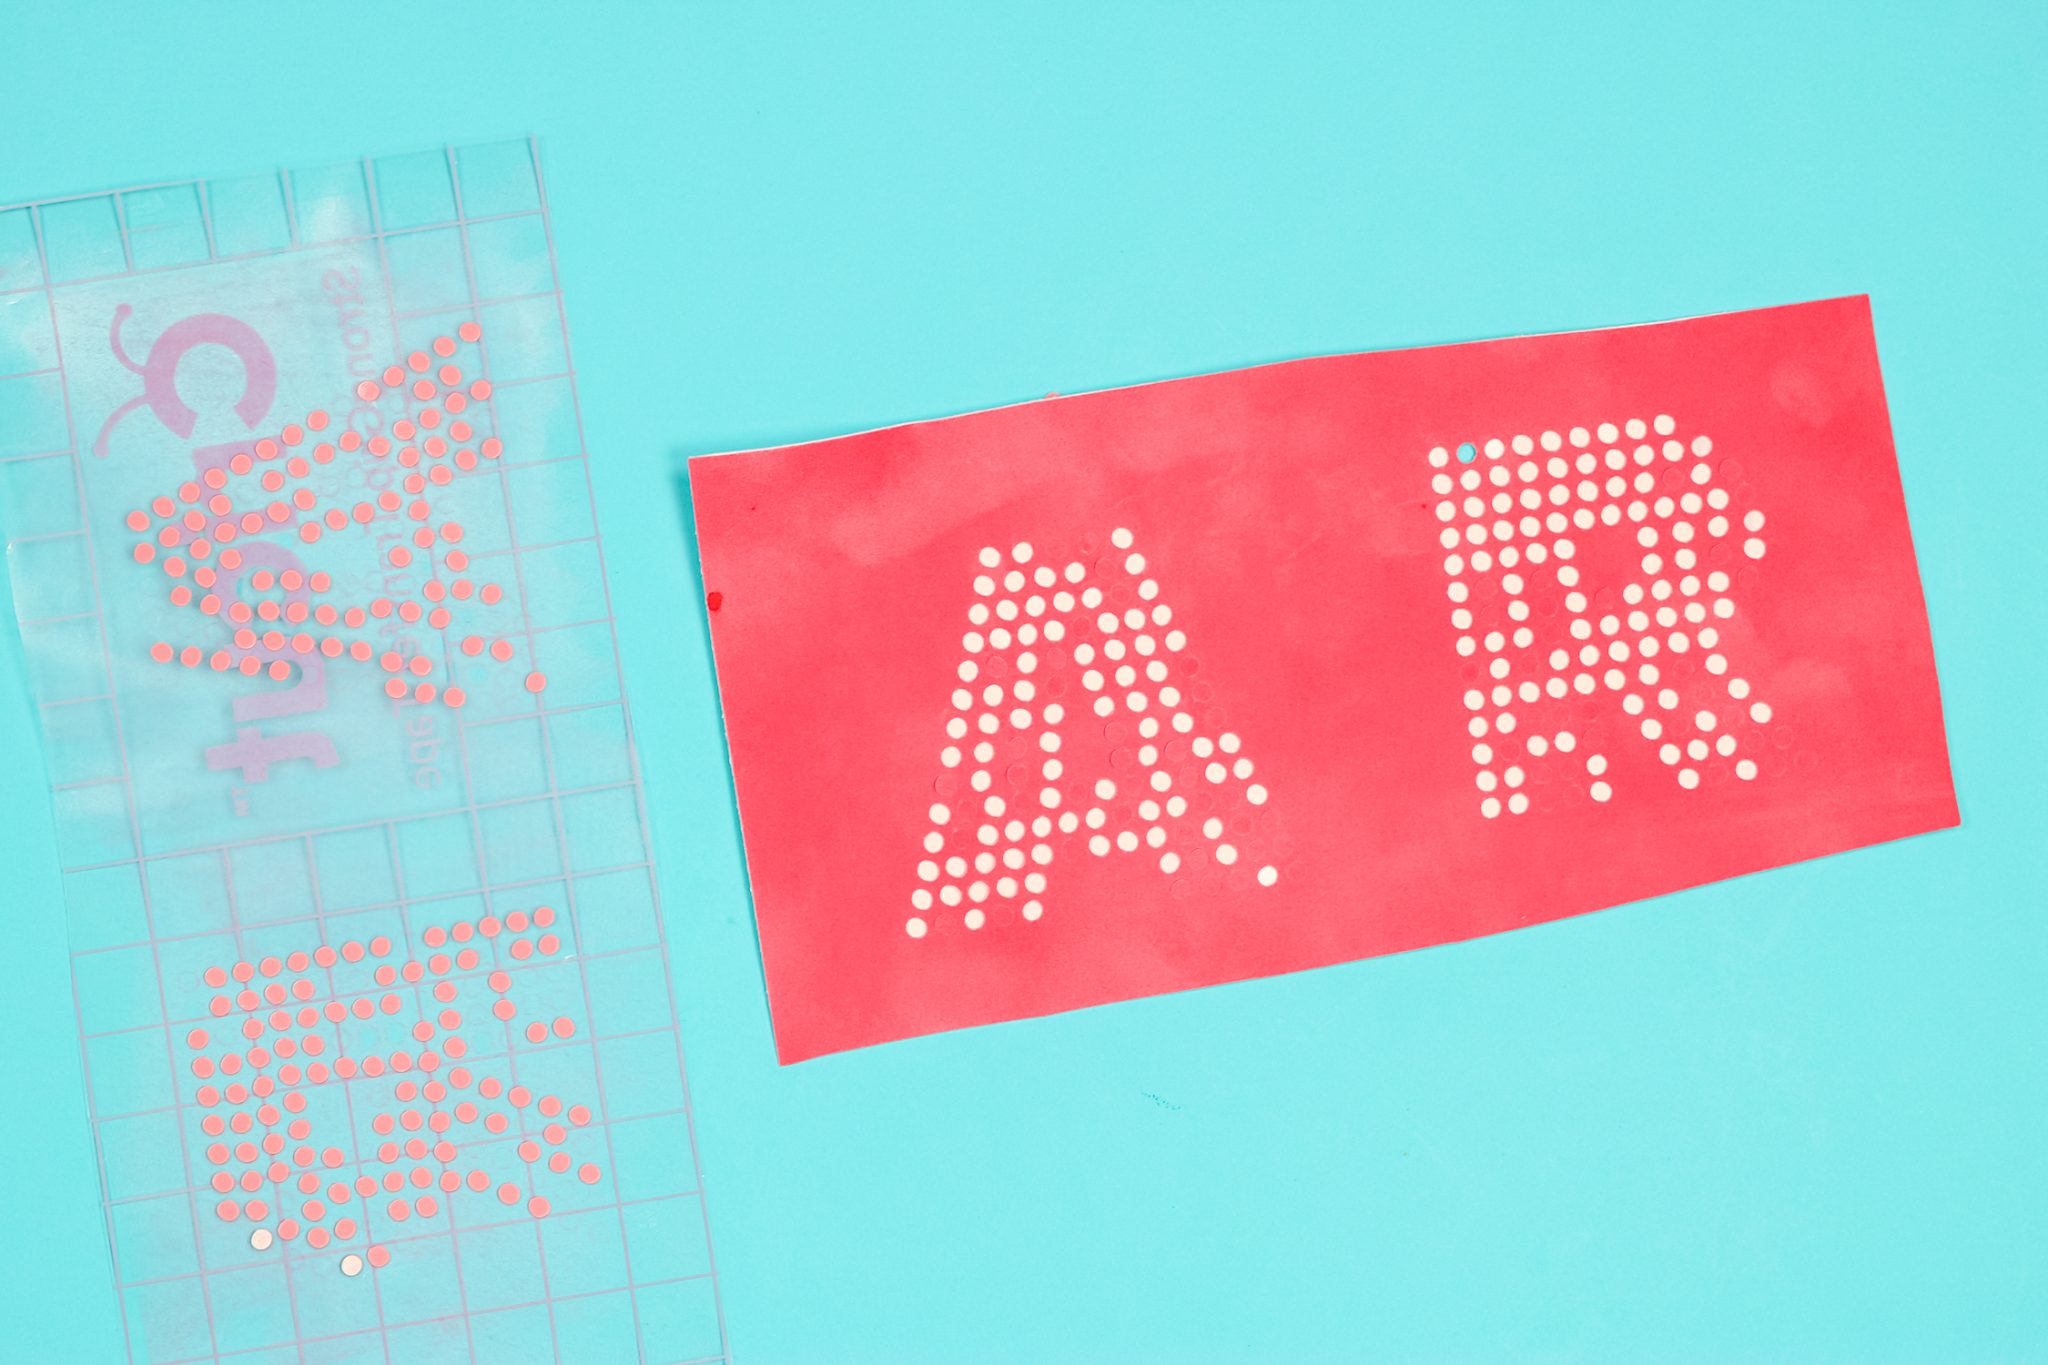
Adding Rhinestones to the Rhinestone Template
Once all the circles are weeded out of the flocked material we can start adding the rhinestones.
To add the rhinestones to the template we need to do the following:
- Remove the backer from the flocked material.
- Stick the template to the felt on the mat in the tray.
- Press the template down well.
- Dump the rhinestones into the tray.
- Brush the rhinestones onto the design.
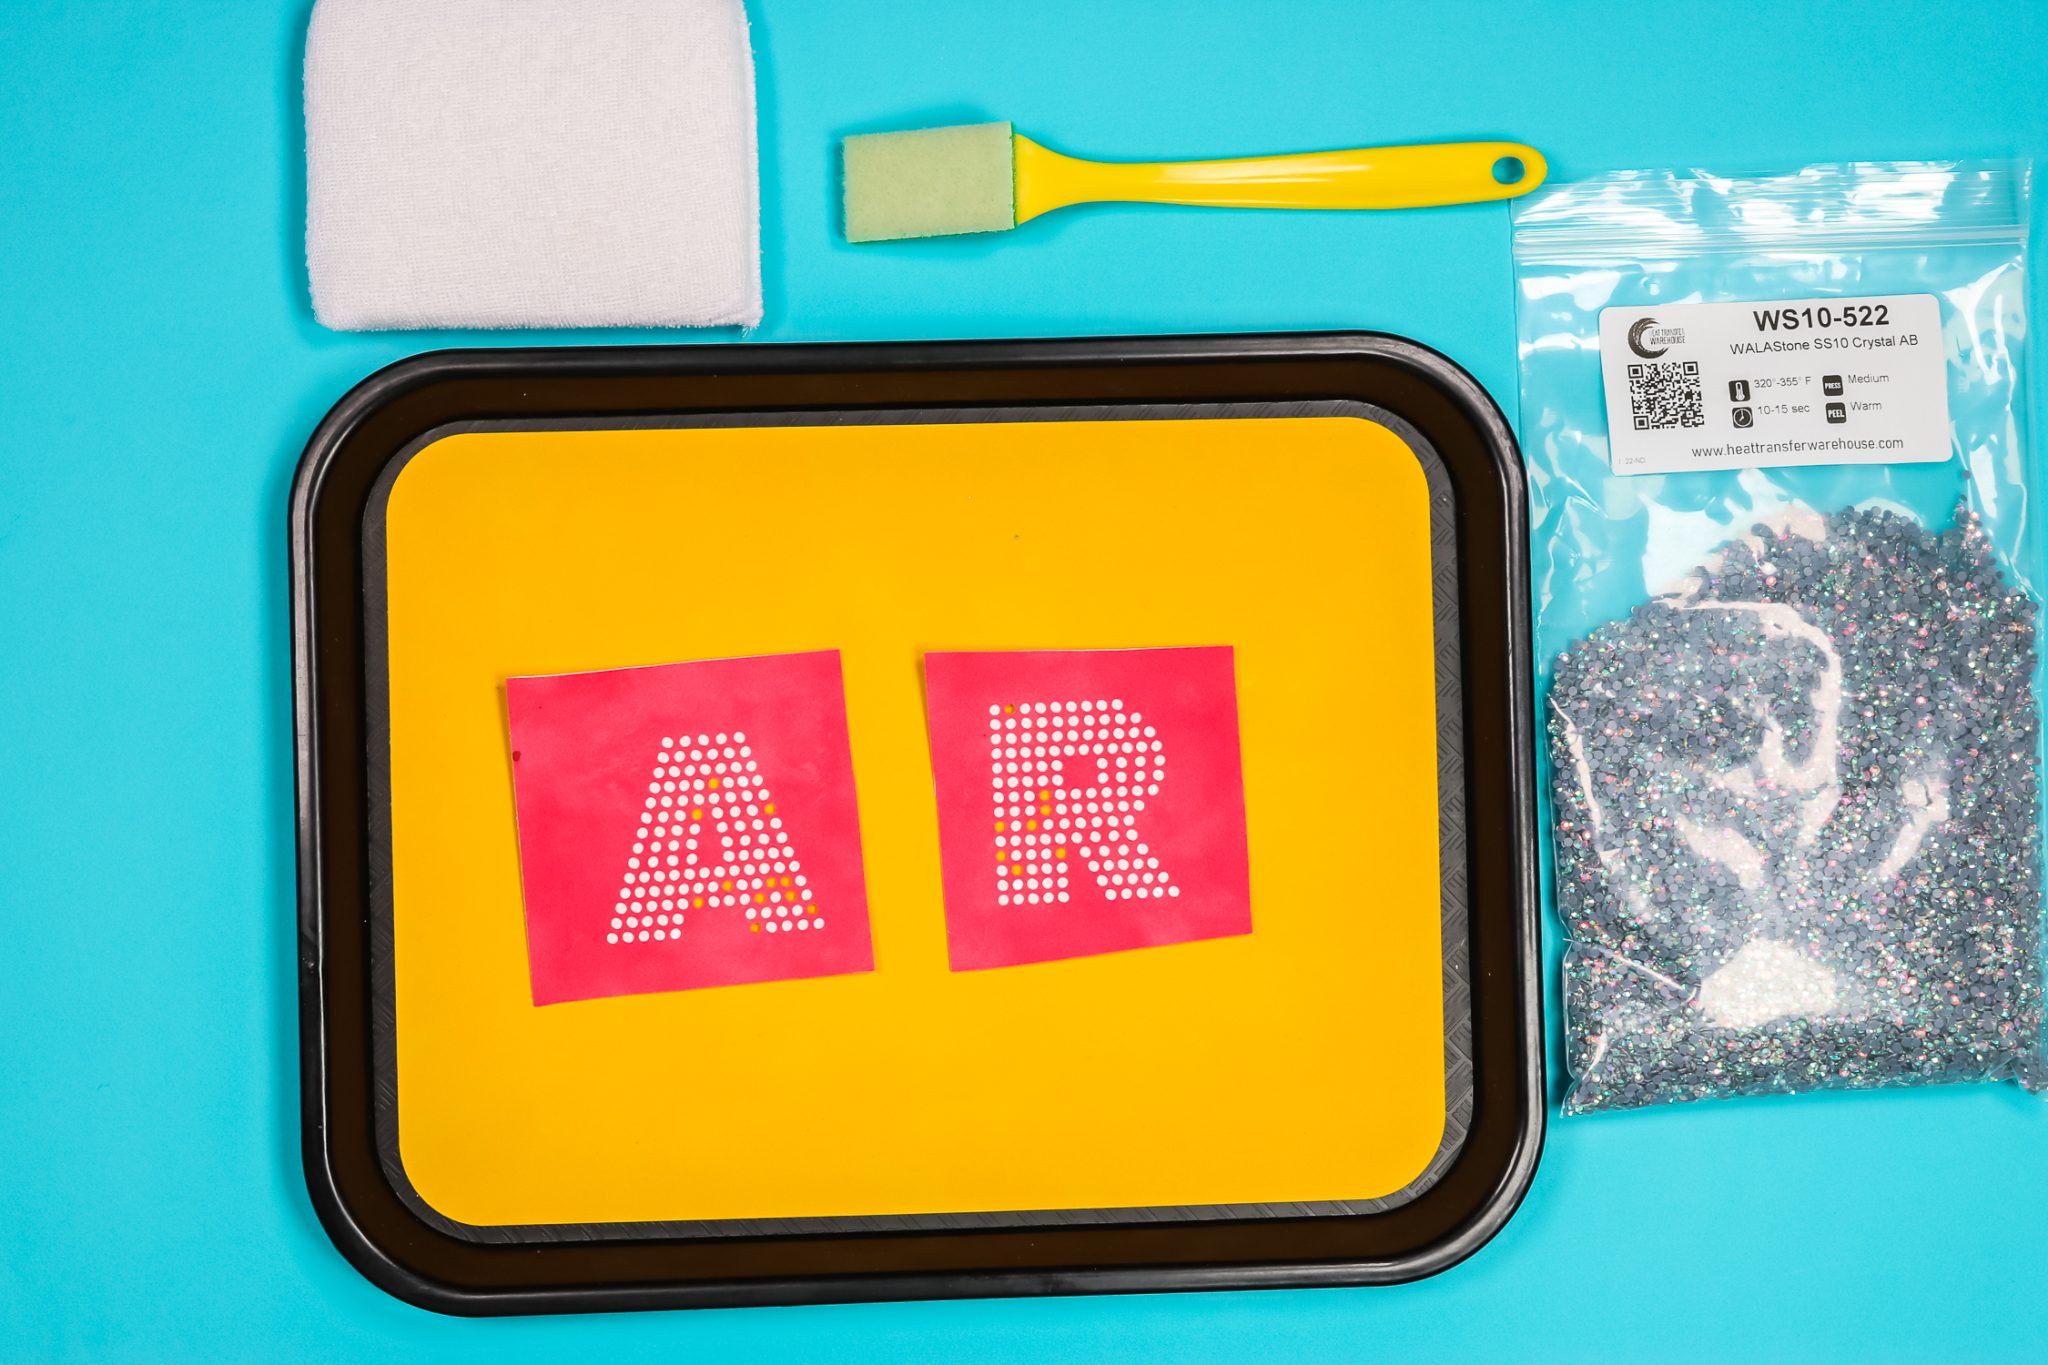
All the supplies I listed above are specifically for working with rhinestones. They are special tools made with a special material that helps you have successful projects more easily. As long as your hole sizes are right, as you brush the rhinestones over the design they should land into place right side up.
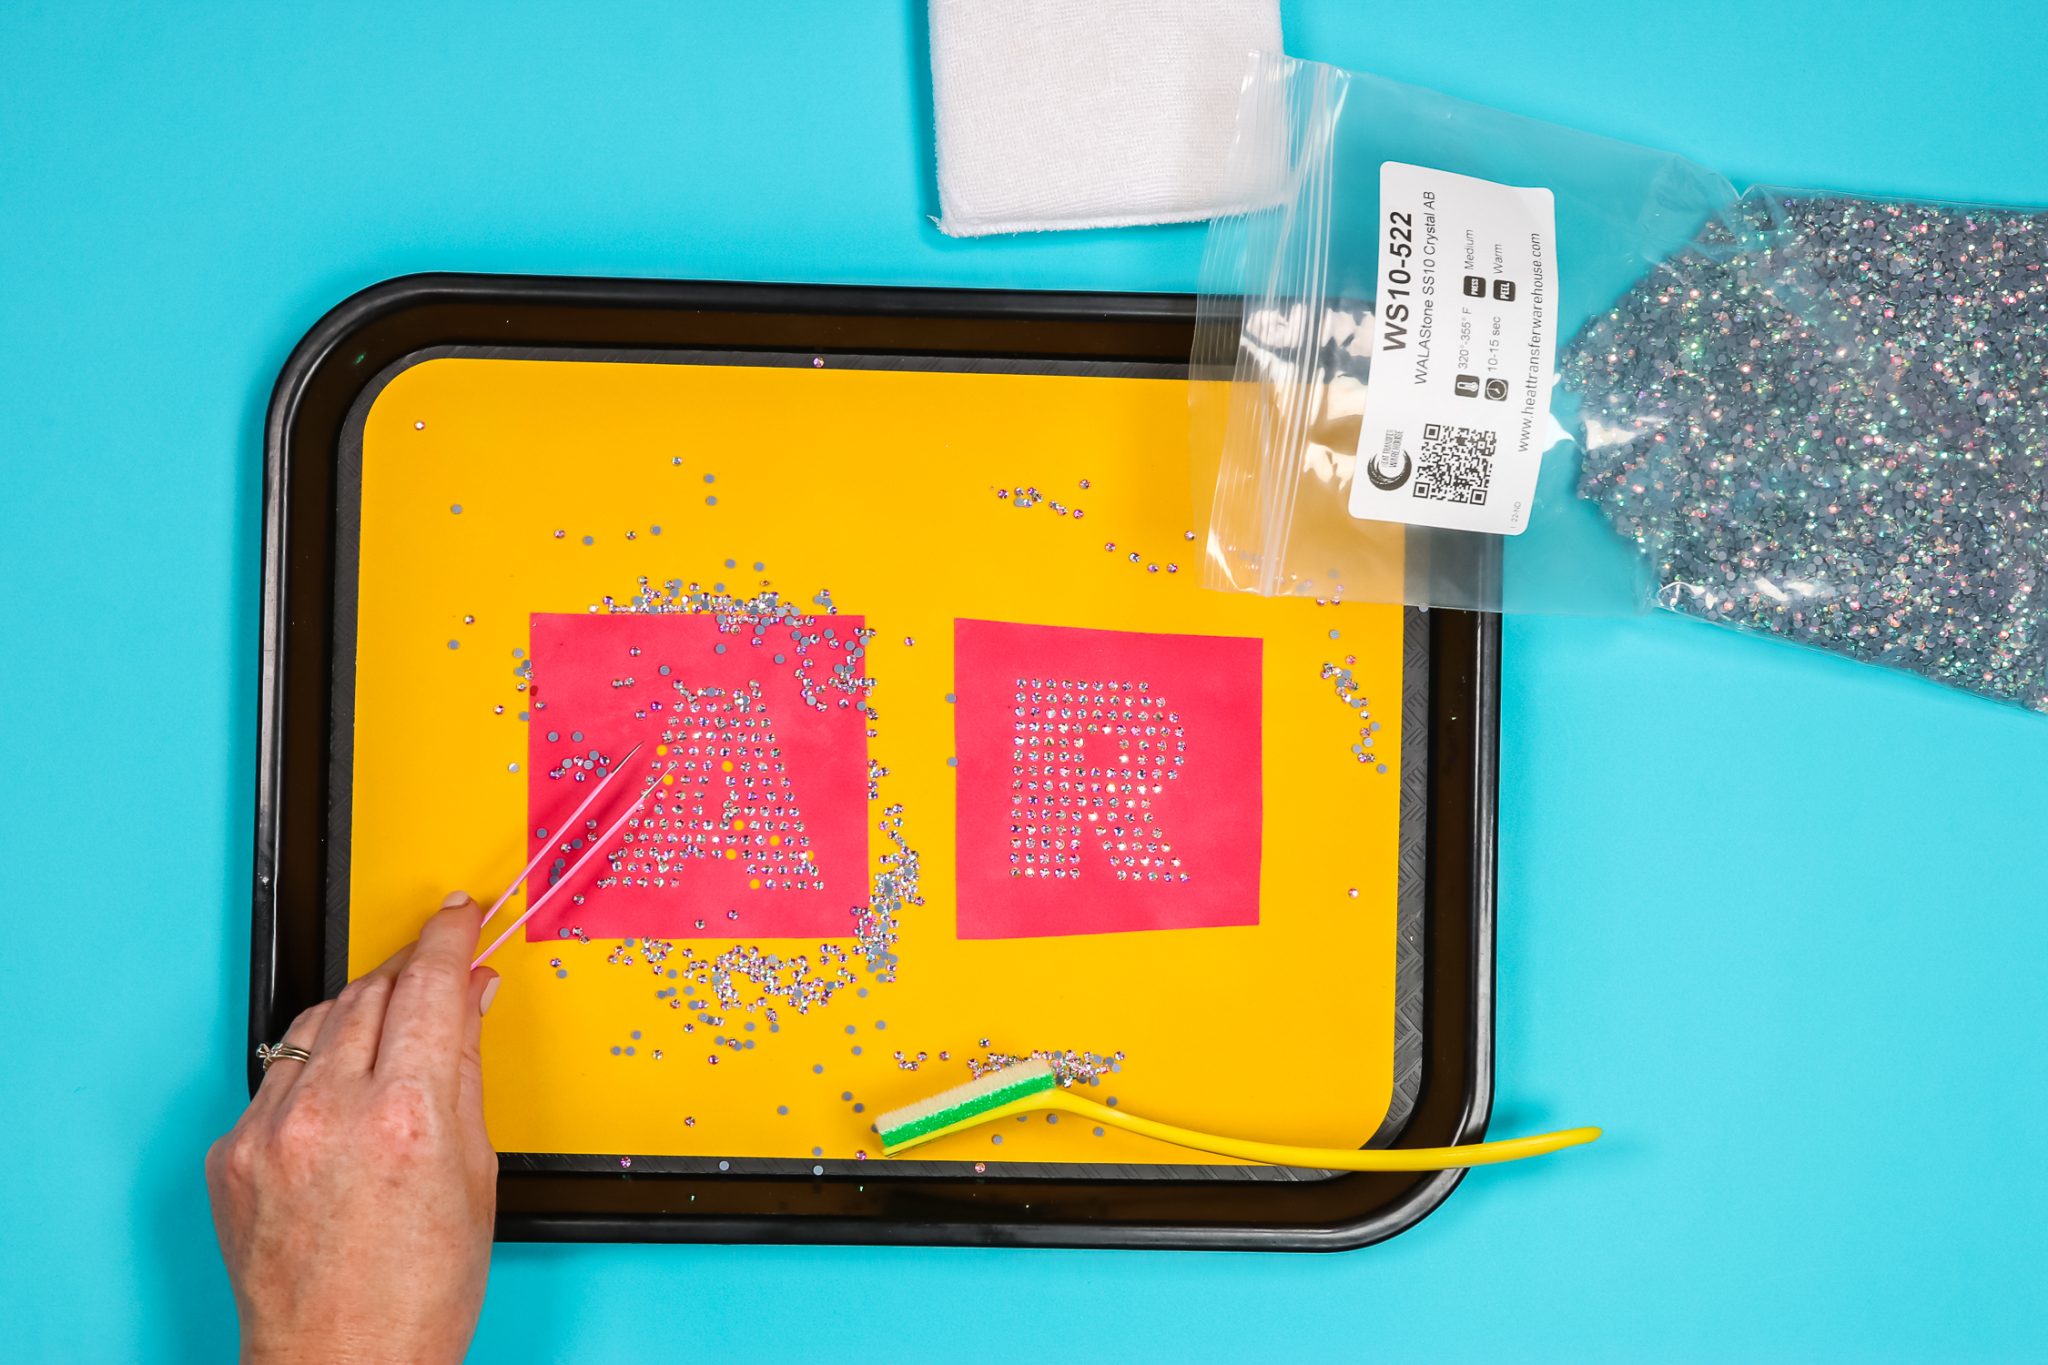
Keep brushing the rhinestones over the design until all the holes are filled. You may need to manually place some rhinestones and you may need to flip some rhinestones over in the holes but with the right tools, these should be few. If you have excess stones on your tray, you can just brush them over to the side and add them back to your package for use later.
Transferring the Rhinestone Design
Now that all the holes are filled with rhinestones, we’ll use a piece of heat transfer mask and place it over the design. Please note that this is different then transfer tape that you use for adhesive vinyl. This must be able to withstand the heat we are going to apply!
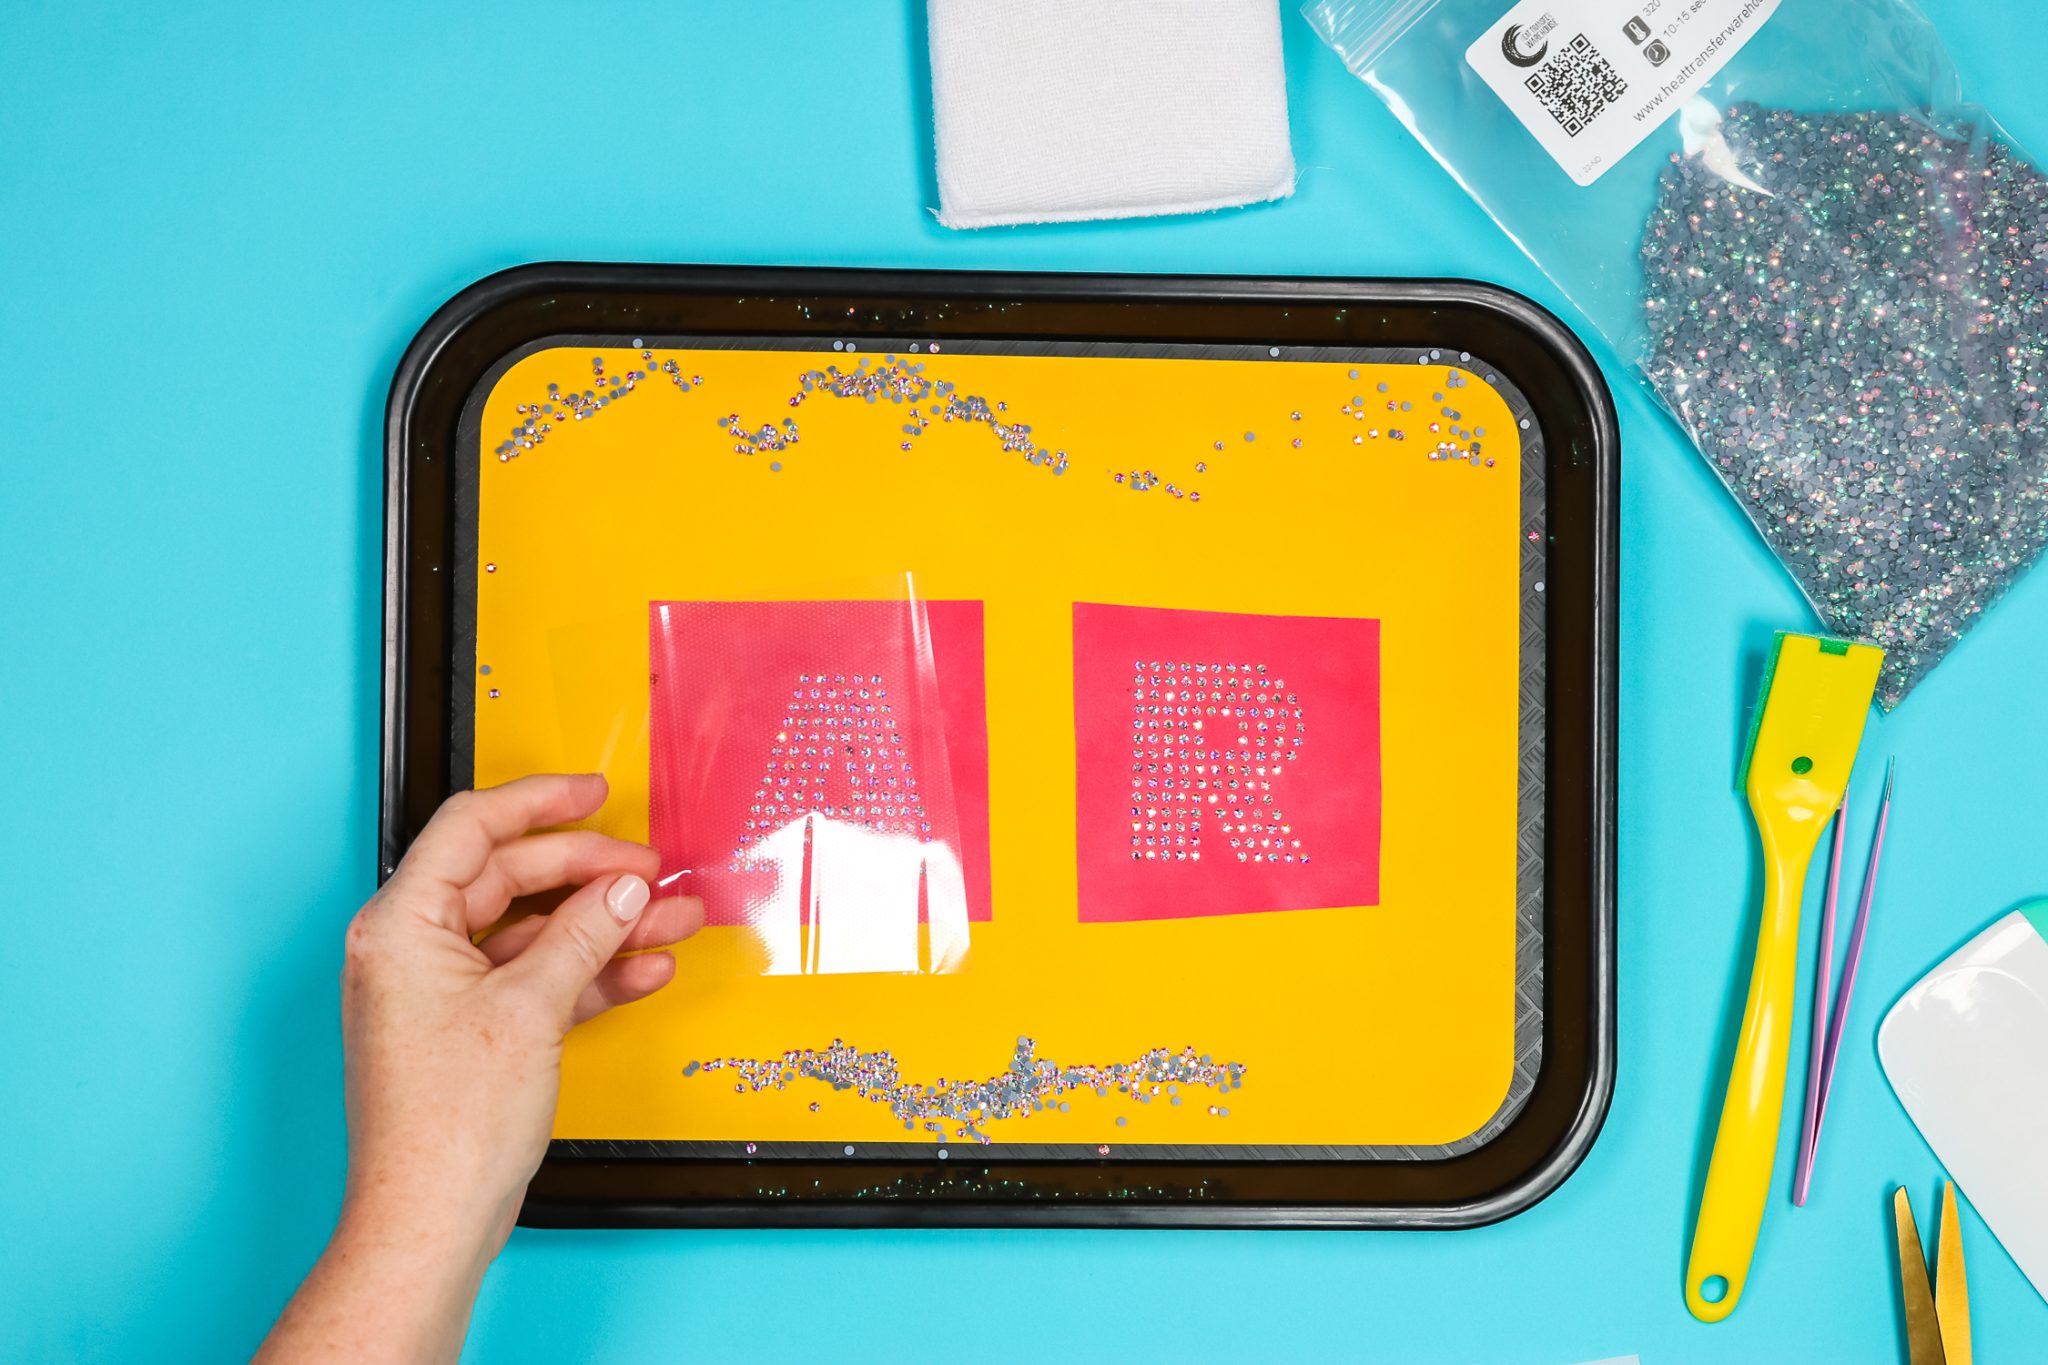
Use a scraper tool and lightly go over the mask and the stones. You want to make sure you’re going over every stone so they stick to the mask. Slowly peel back the mask making sure the stones stay stuck to it. If they don’t, just press it down again until they’re all stuck to the heat mask.
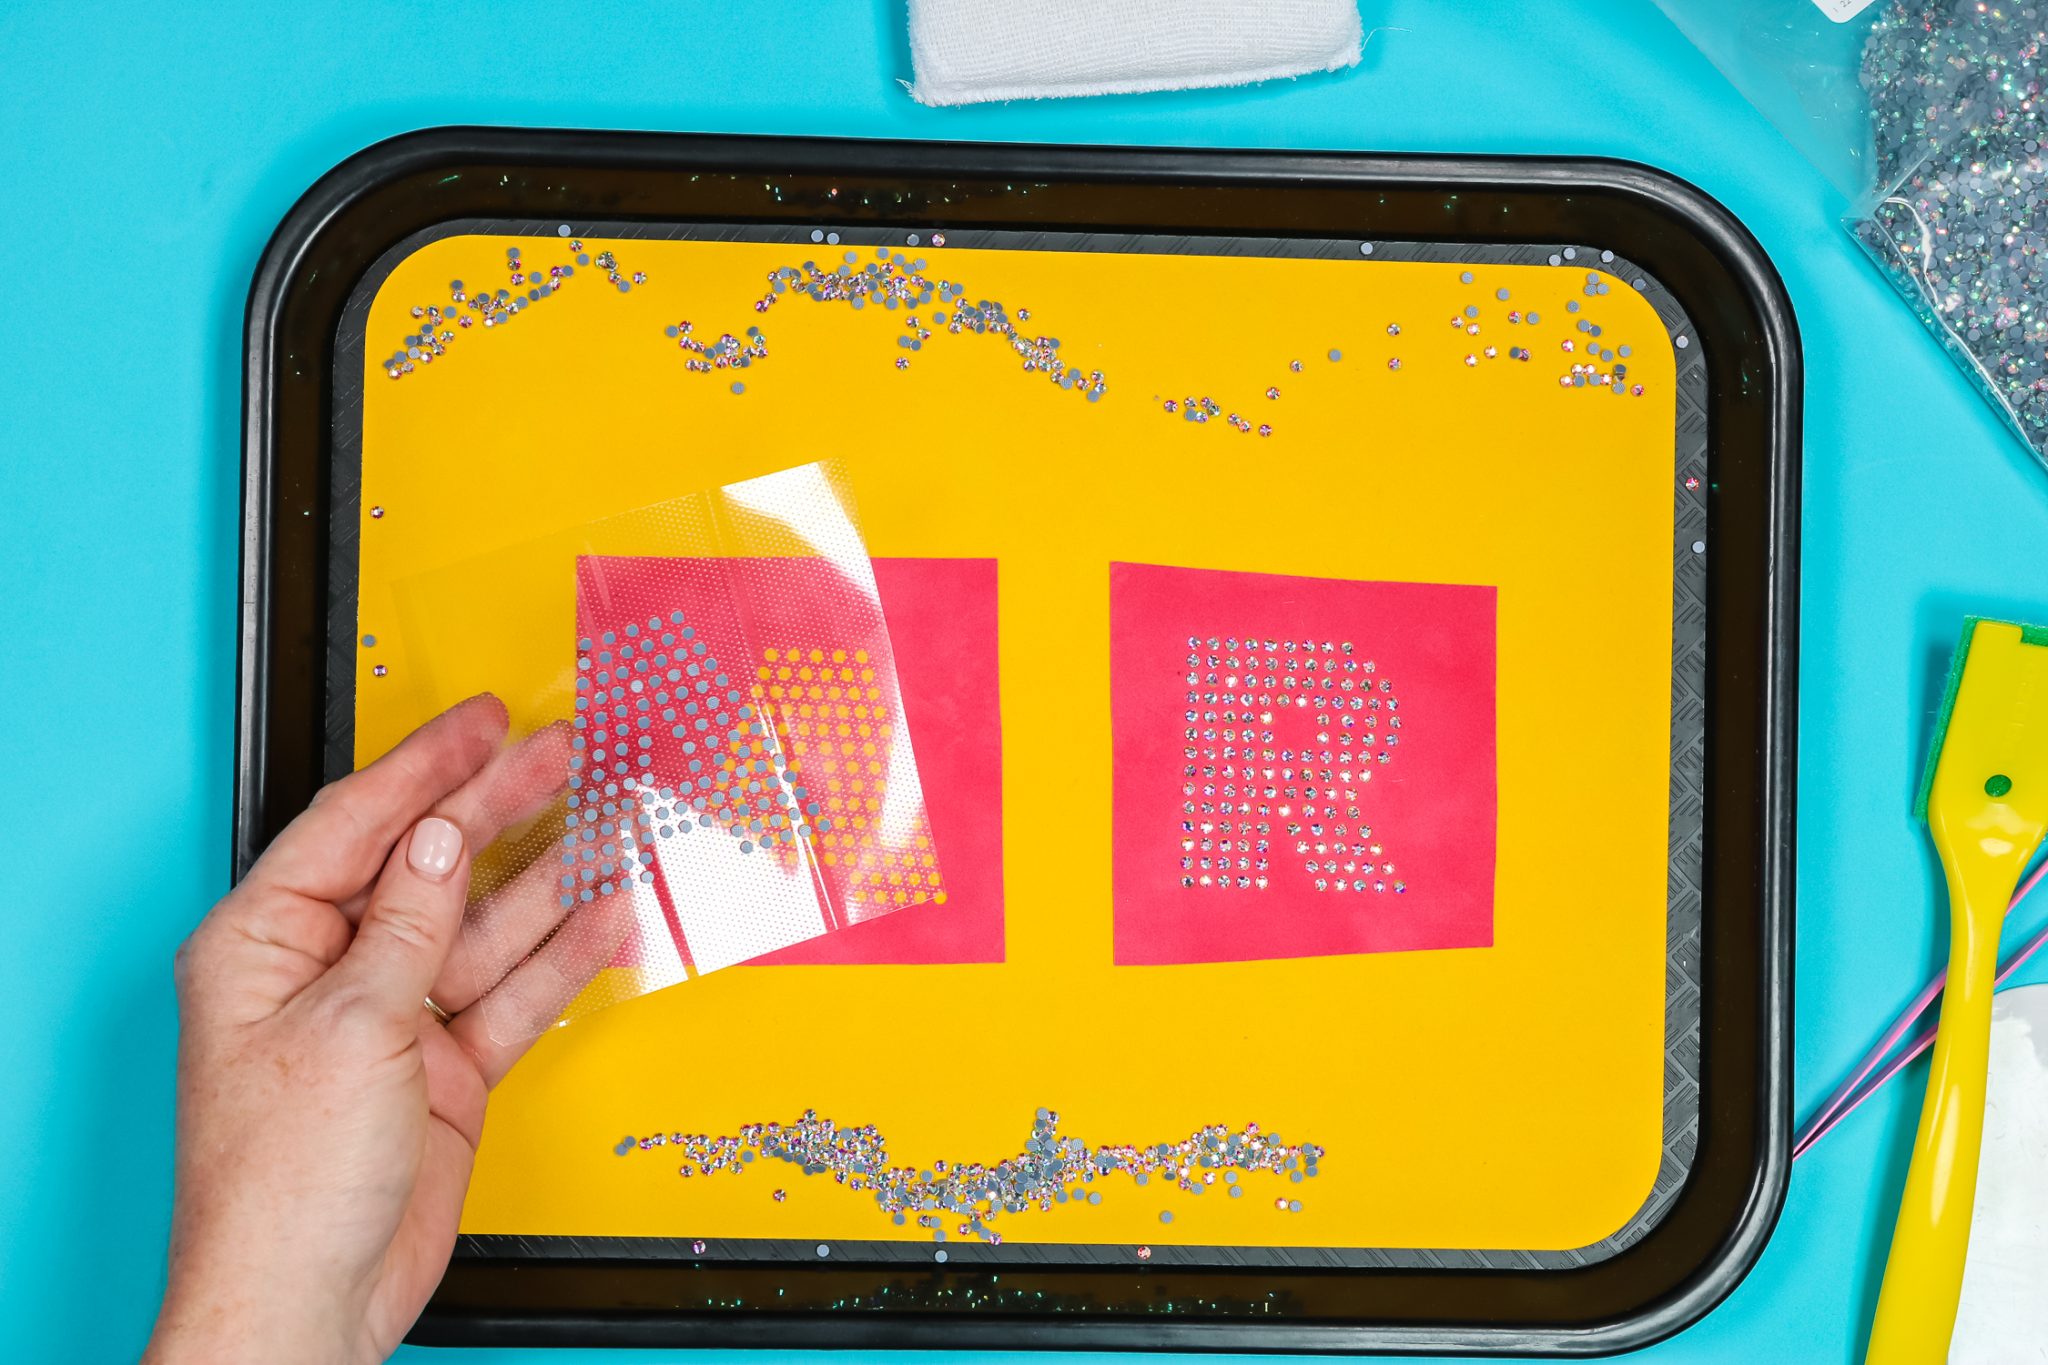
Applying Rhinestone Designs to Fabric
To apply my rhinestone designs to my stocking, I am using my Cricut EasyPress. You can also use a heat press if that is what you have. The press settings are 355 degrees for 15 seconds, medium pressure, and peel warm. They recommend applying these rhinestones to 100% polyester, cotton, or any poly-cotton blend.
Prepress to remove any moisture and to remove wrinkles and then locate your design onto the surface.
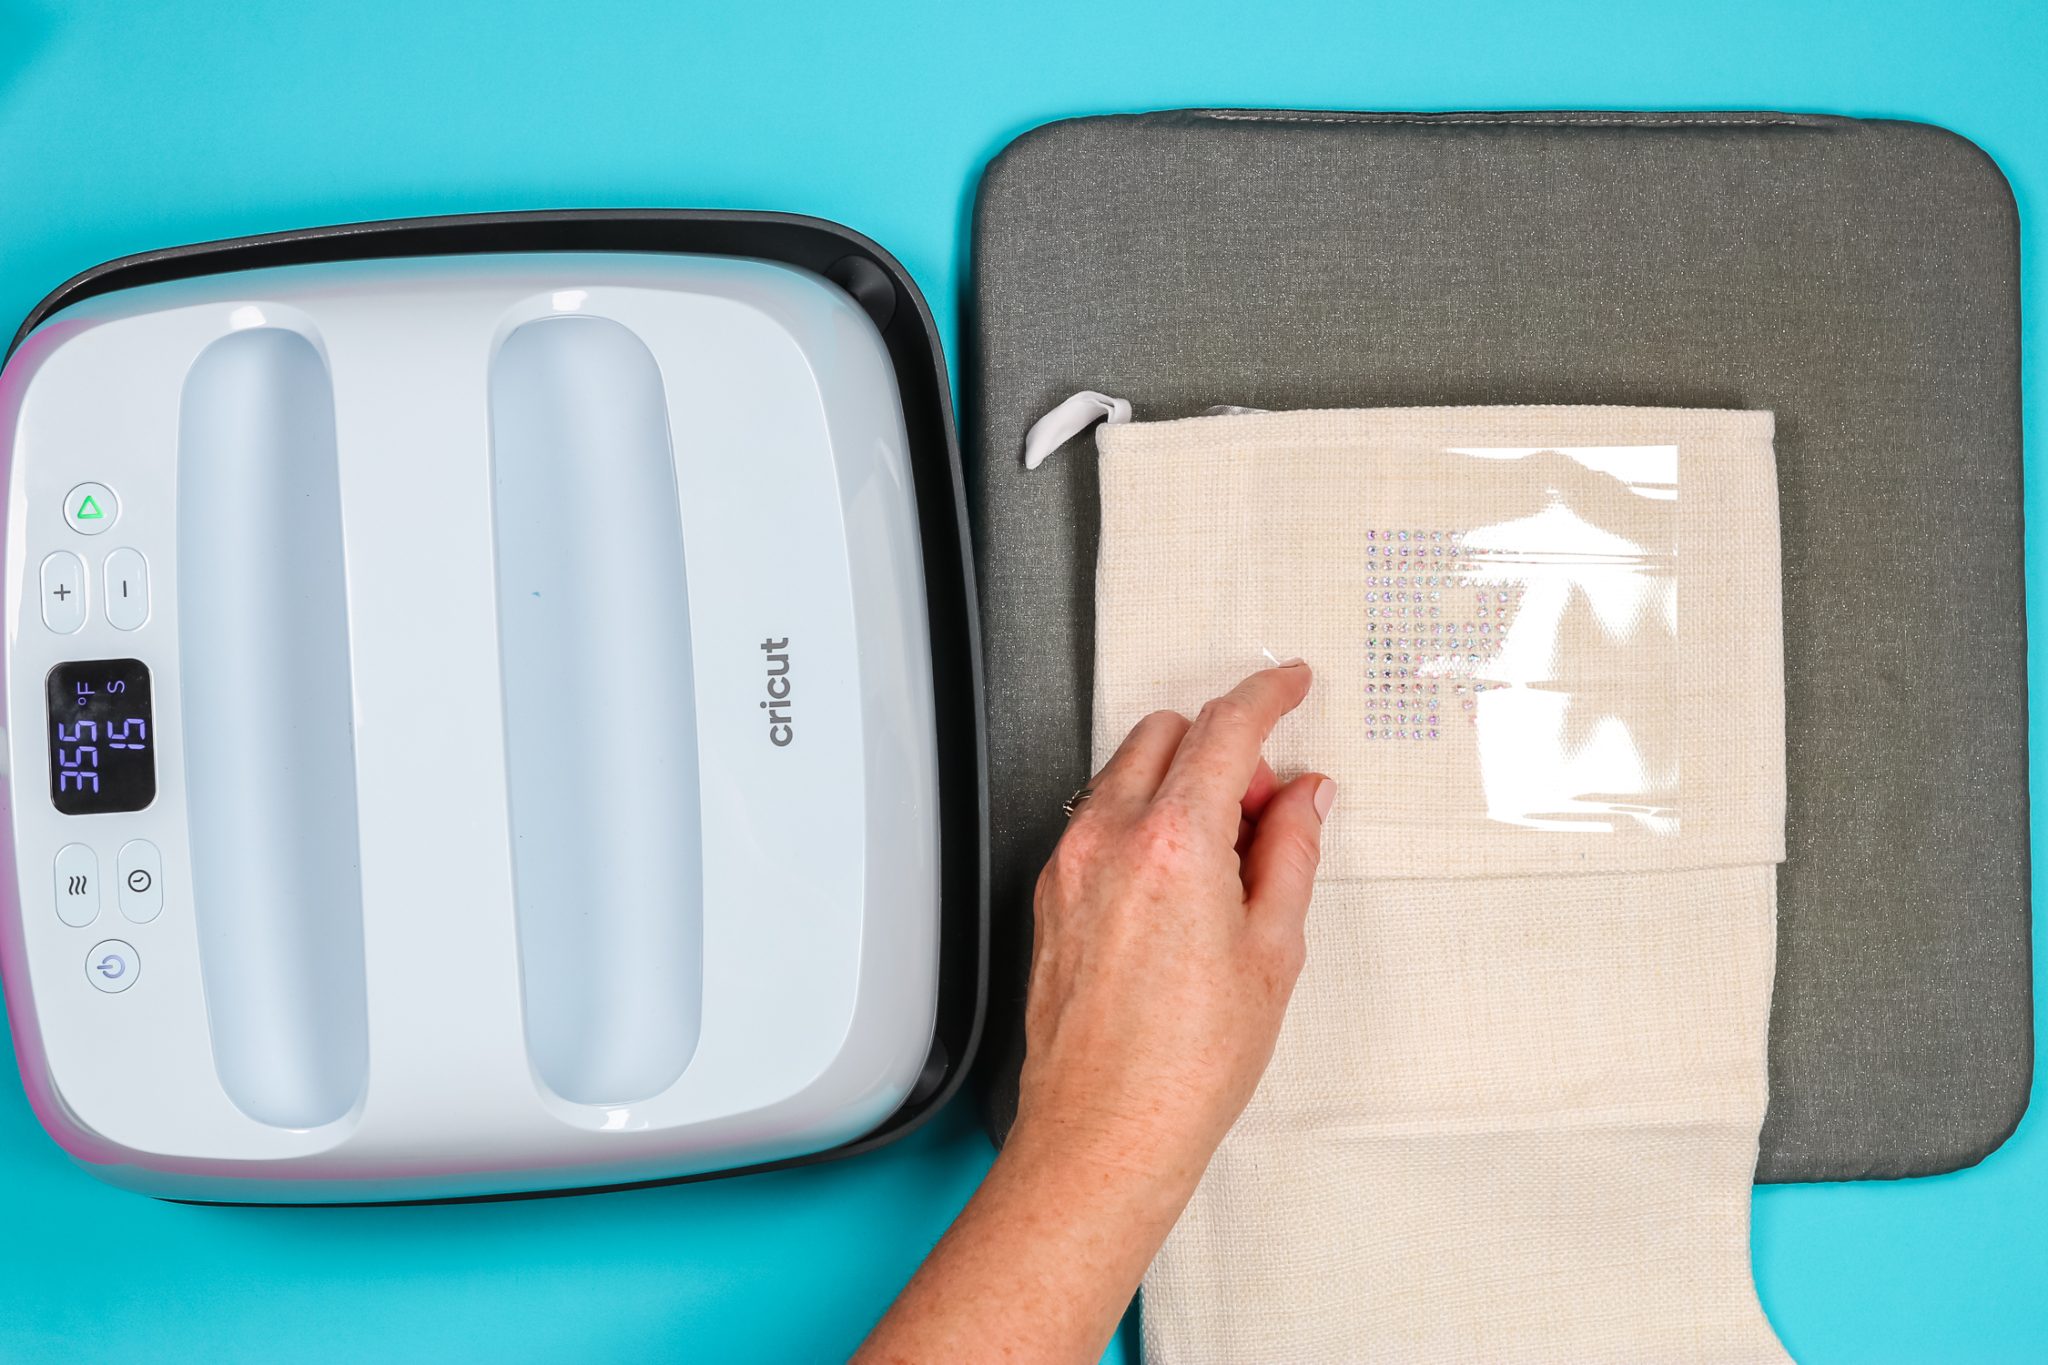
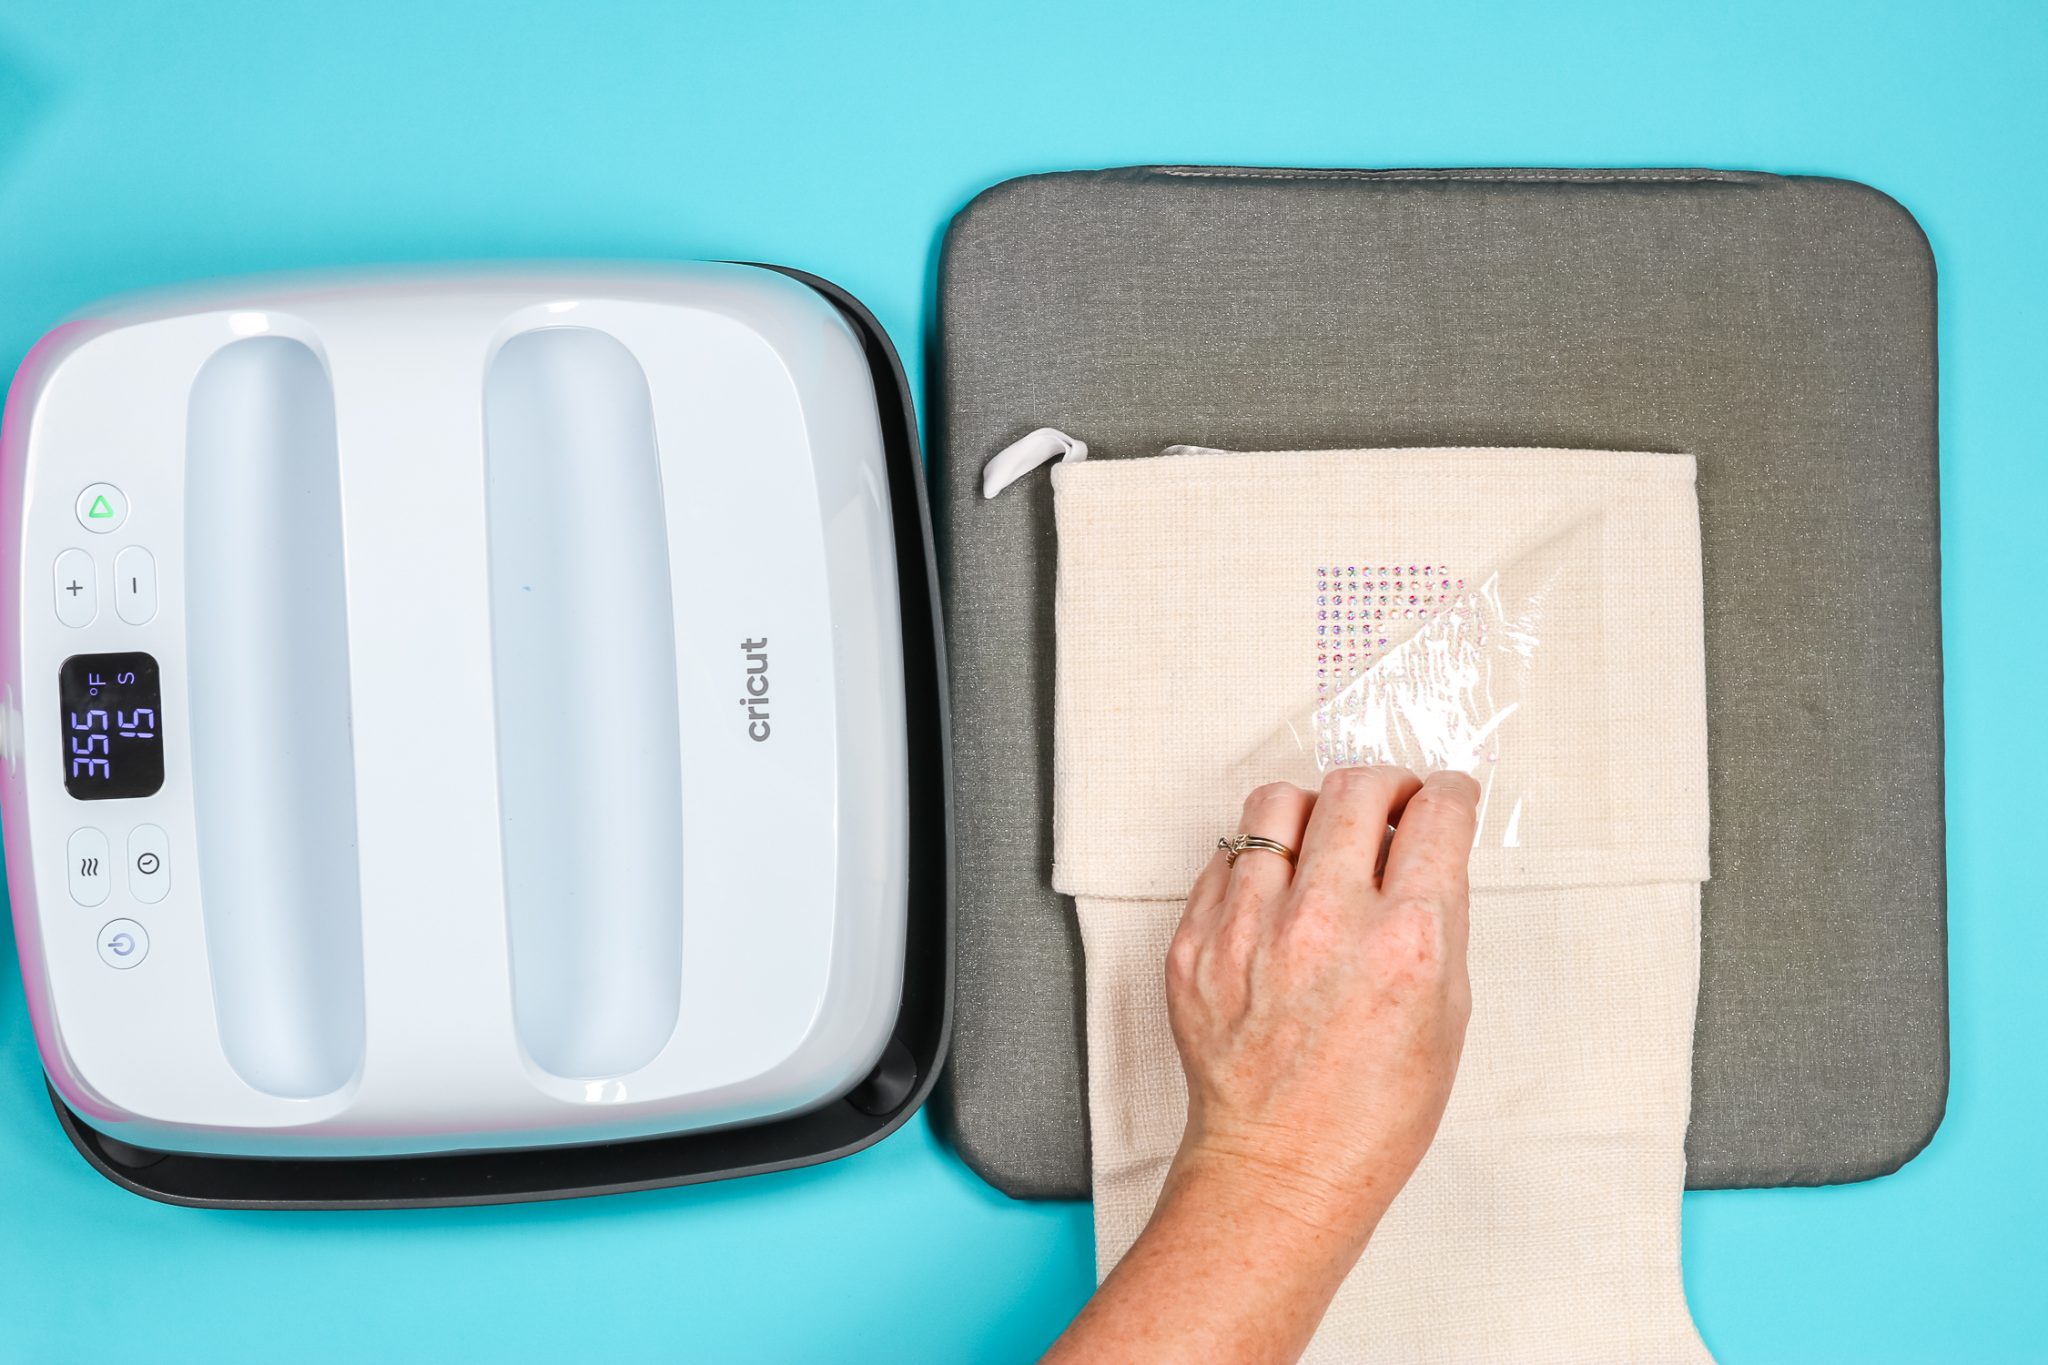
The back of the rhinestones has a heat-activated adhesive similar to HTV. The heat mask is sticky so it will hold everything in place while you press. Apply the heat for 15 seconds with medium pressure and then peel back the transfer while it’s still warm. If you find that you have rhinestones that didn’t stick, you can press again.
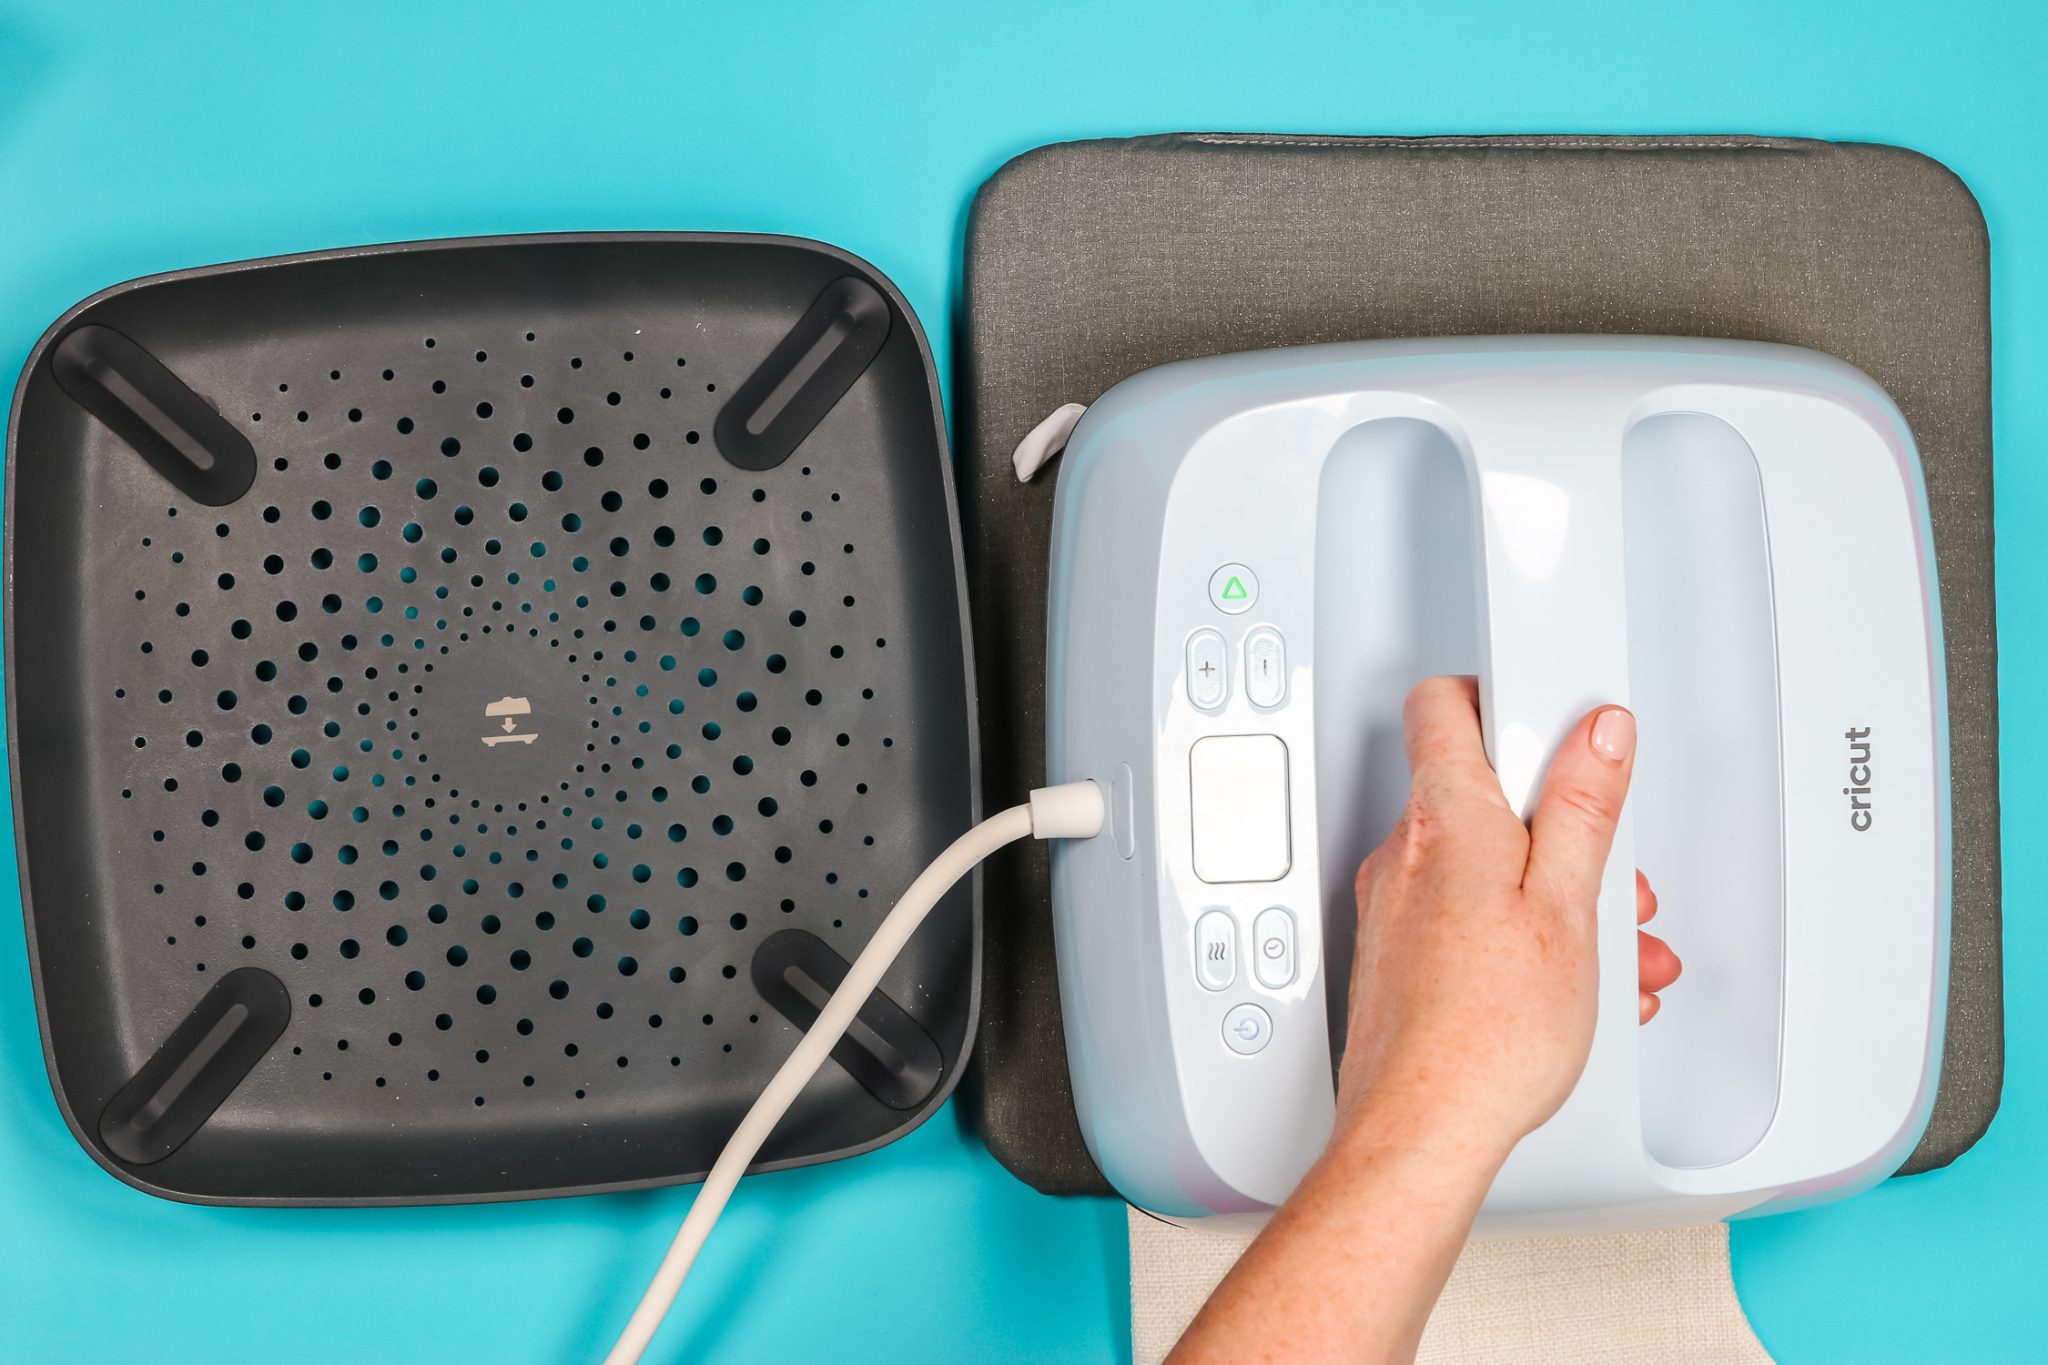
I had a wrinkle in my stocking and the rhinestones didn’t stick in that area. To fix that problem, I added a pressing pillow to the inside of my stocking and pressed it again. With the pressing pillow, I applied pressure until the pillow was about half flat and pressed again. This time everything stuck beautifully and I now have an adorable Christmas stocking.
How to Wash Rhinestone Crafts
If you’re adding rhinestones to something like a bag or shirt that will need to be washed, you’ll want to wash it inside out with warm water and either air dry or dry it on low. Too much heat could cause the rhinestones to fall off.
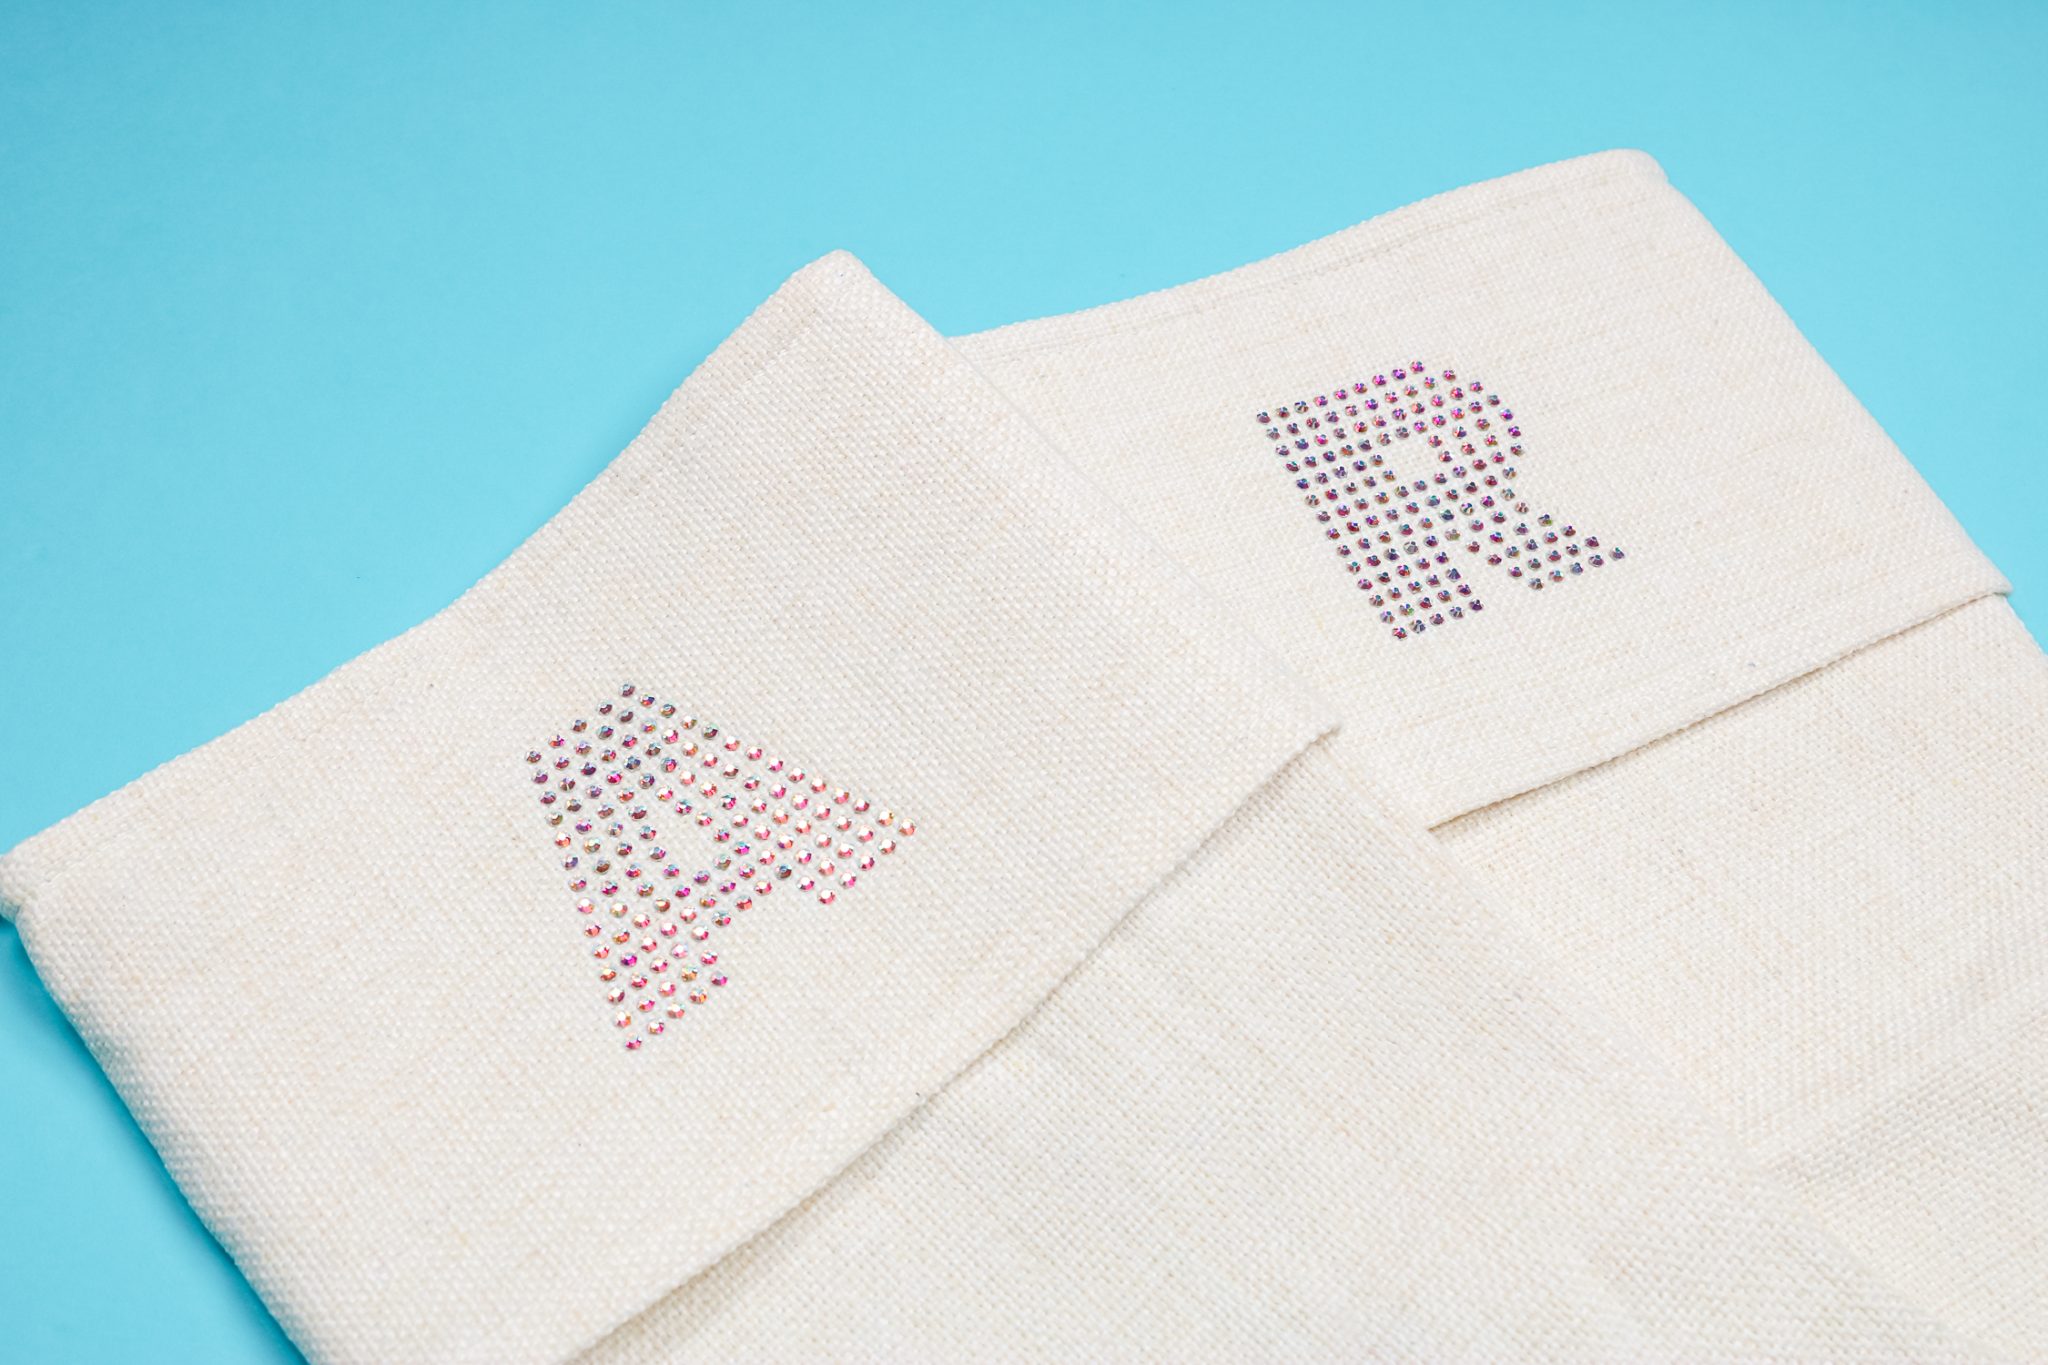
Now we have a completed Rhinestone Design that we created using our Cricut machine. If you’ve made it this far and have decided you don’t really want to make your own rhinestone design, you can actually order a custom design from Heat Transfer Warehouse.
How to Order a Custom Rhinestone Designs
To order a custom design instead of making your own, head to the Heat Transfer Warehouse site and the ordering instructions are right there. You can order a custom design and they have instructions for uploading your design. They will send you back a proof so you can approve it before anything is ordered.
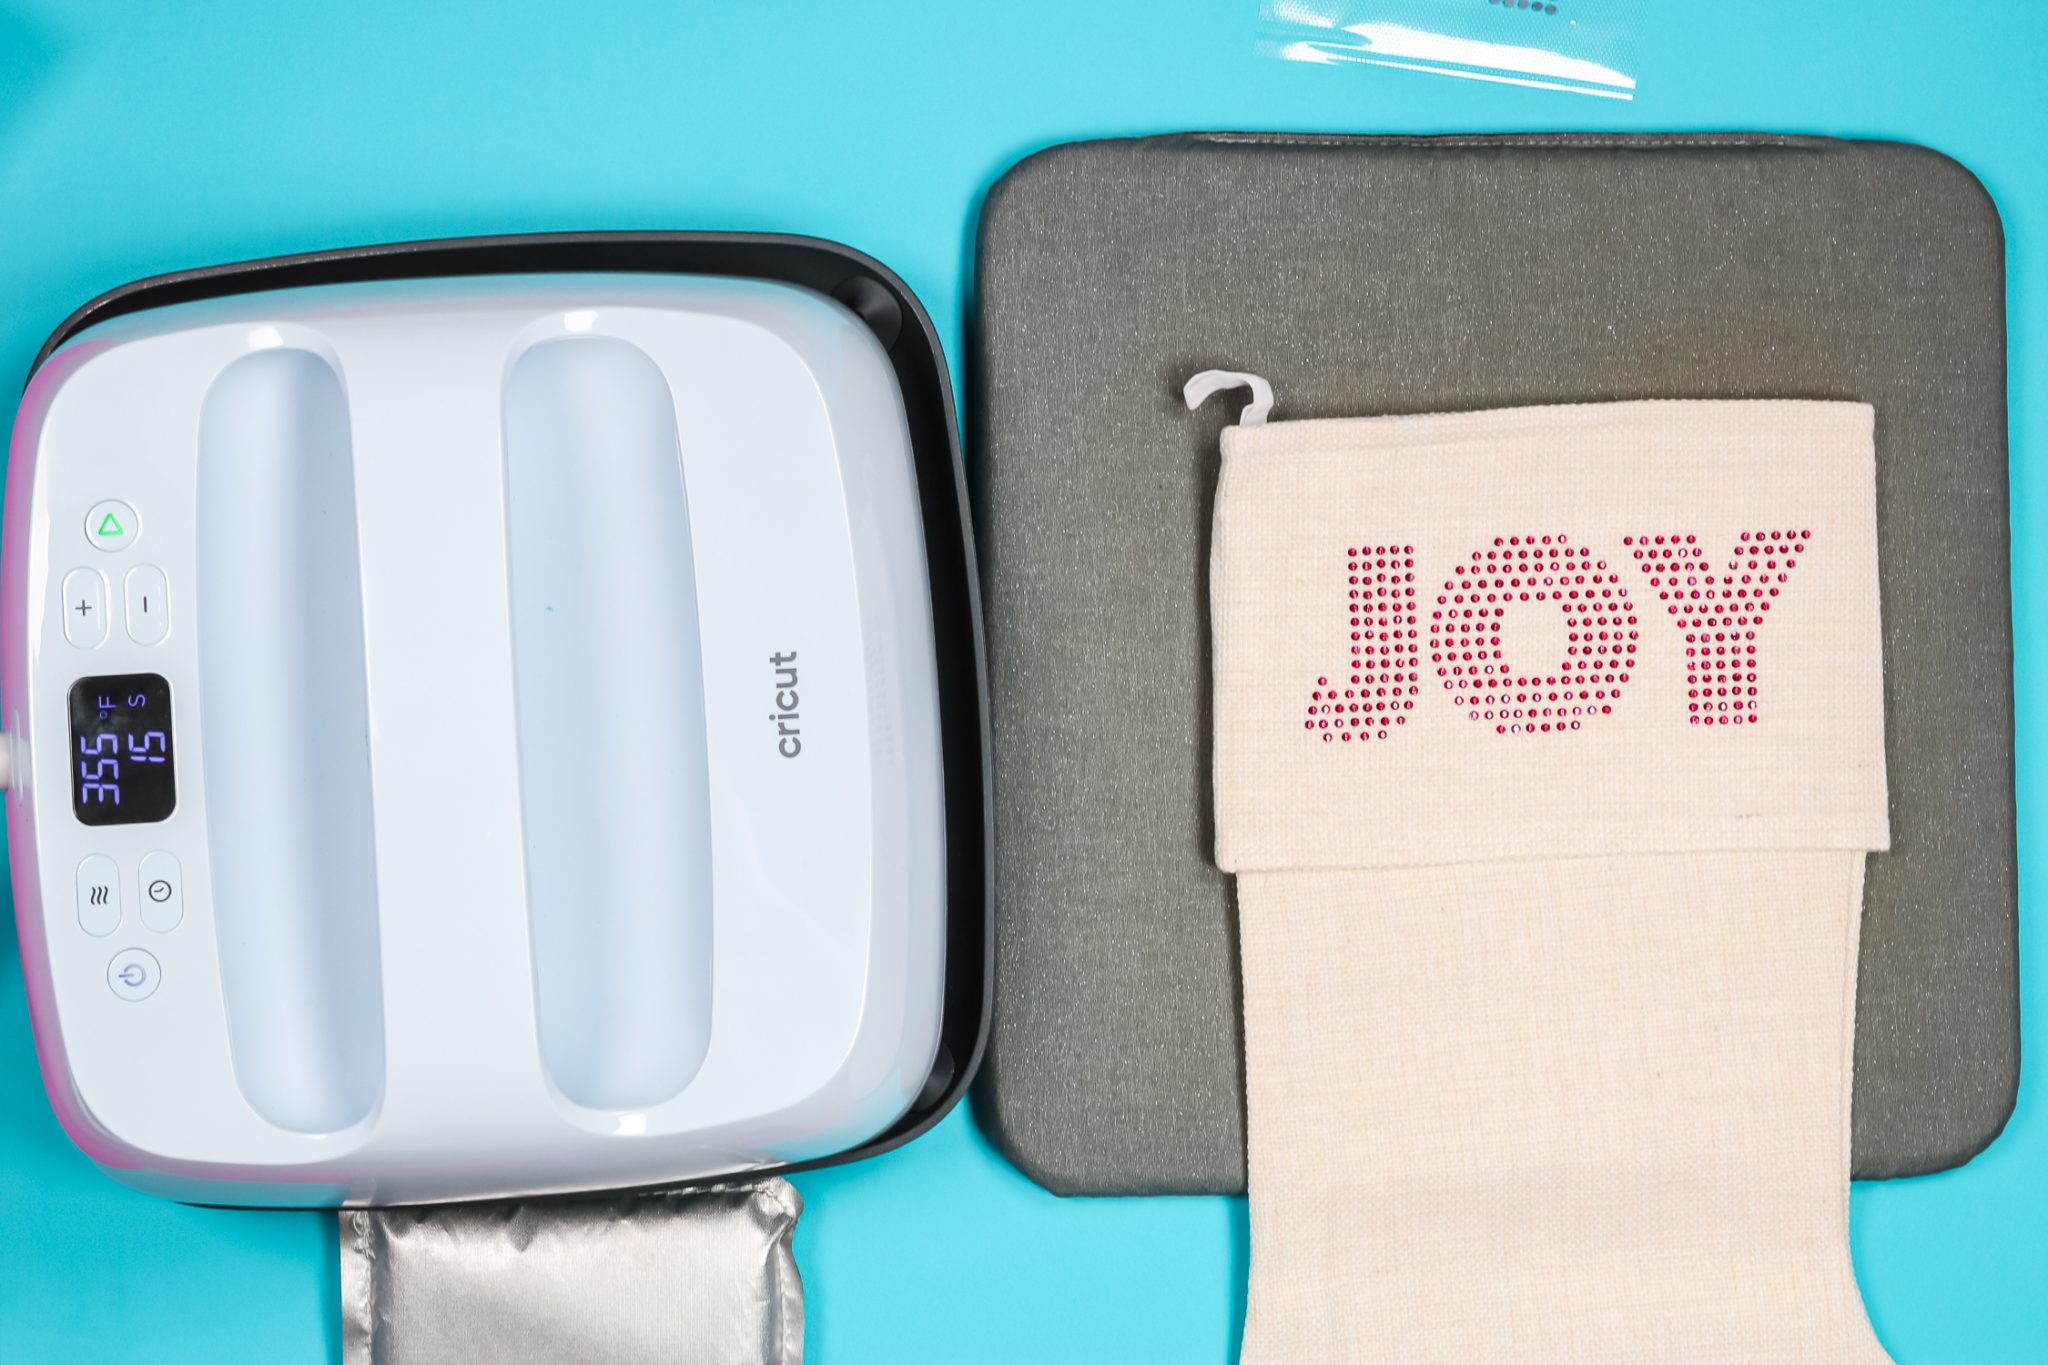
There is a setup fee and a minimum purchase requirement with custom designs so be aware of that when you’re planning your projects. My custom design came really quickly and looks just like the design I made except the backing is on the heat transfer mask so I need to remove that before pressing. The process is the same for applying the rhinestones whether you order your designs or make them yourself.
Final Thoughts on Making a Rhinestone Template on a Cricut Machine
Whether you’re making Christmas stockings, shirts, hats, or anything else you want to make, you now know how to use heat-transfer rhinestones with your Cricut machine. We’ve talked about using rhinestone fonts and already made rhinestone design files. If you want to get more advanced and create your own rhinestone templates with a file that wasn’t set up that way, head over to The Baby’s Booty YouTube channel. She’s great and she can help you with those more advanced techniques.
If you have any questions about creating rhinestone templates with a Cricut machine leave them in the comments and I’m happy to help you out.

