This post and photos may contain Amazon or other affiliate links. If you purchase something through any link, I may receive a small commission at no extra charge to you. Any supplies used may be given to me free of charge, however, all projects and opinions are my own.
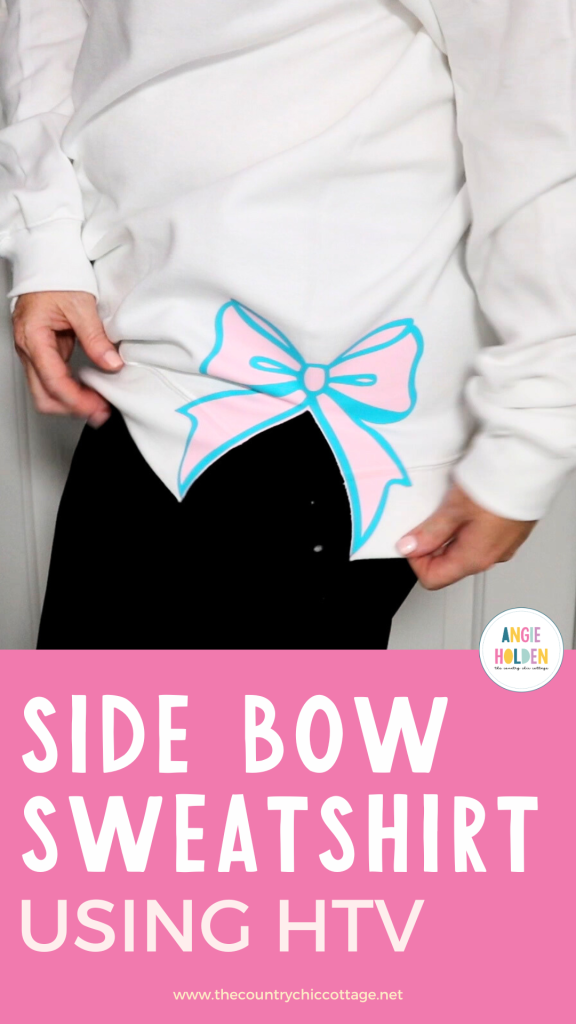
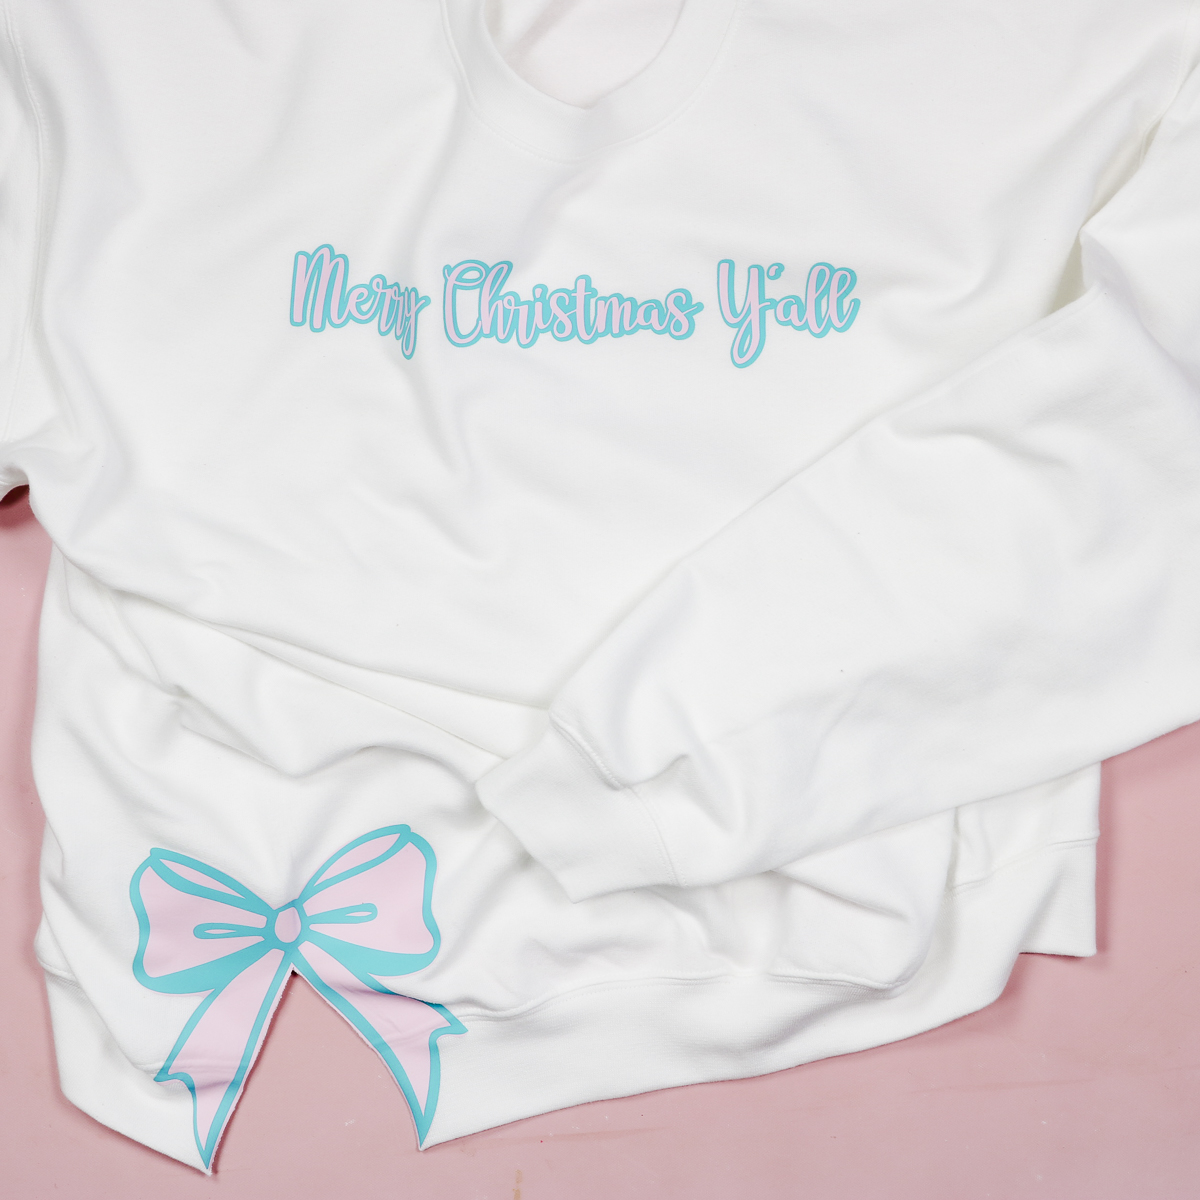
Let’s make a Christmas sweatshirt with an HTV side bow. I’ve seen this type of project done with an embroidered side bow and thought they were so cute.
I don’t have an embroidery machine so I knew I wanted to try it with HTV. Learn more about my favorite types of HTV to get started.
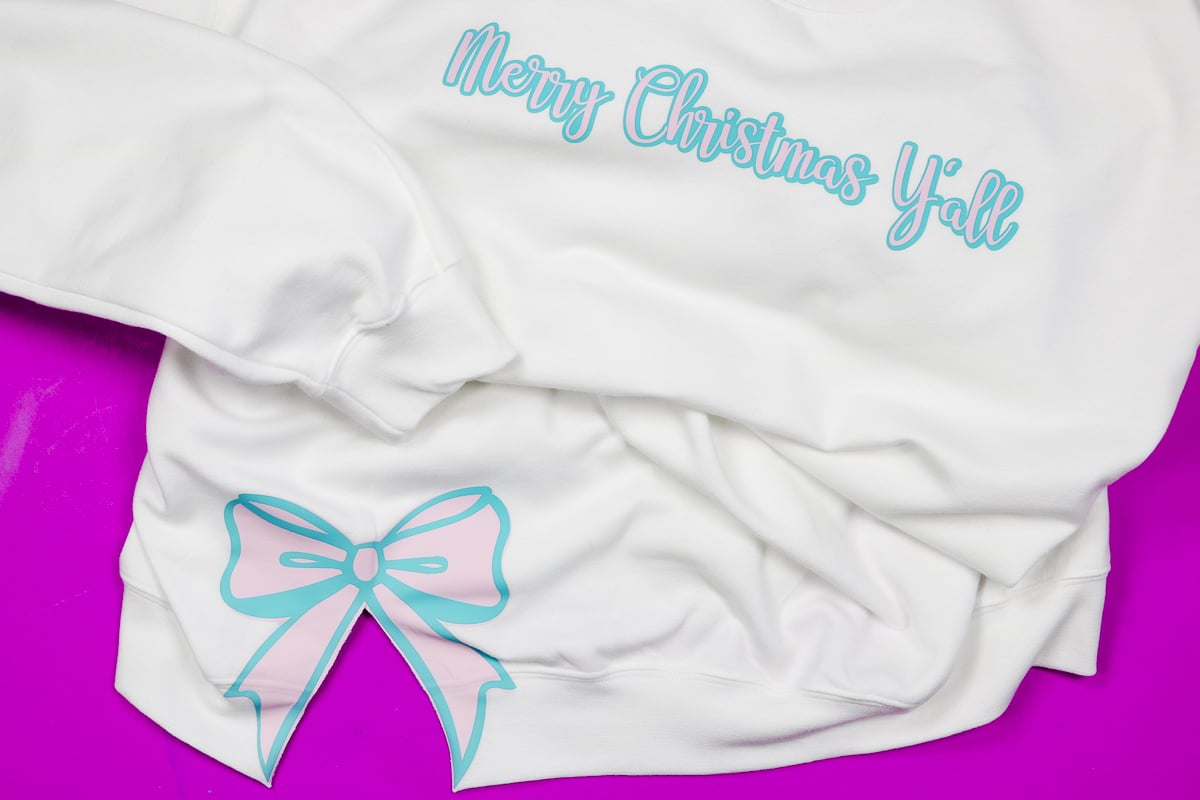
I’m making my side bow sweatshirt for Christmas but you can use this idea for any season or every day. I think it would be especially adorable for Valentine’s Day.
You can watch me make this sweatshirt from start to finish by pressing play on the video below.
Table of Contents
Make a Side Bow Sweatshirt with HTV
You can easily change the color scheme to match your design but I am using a pink and aqua for mine.
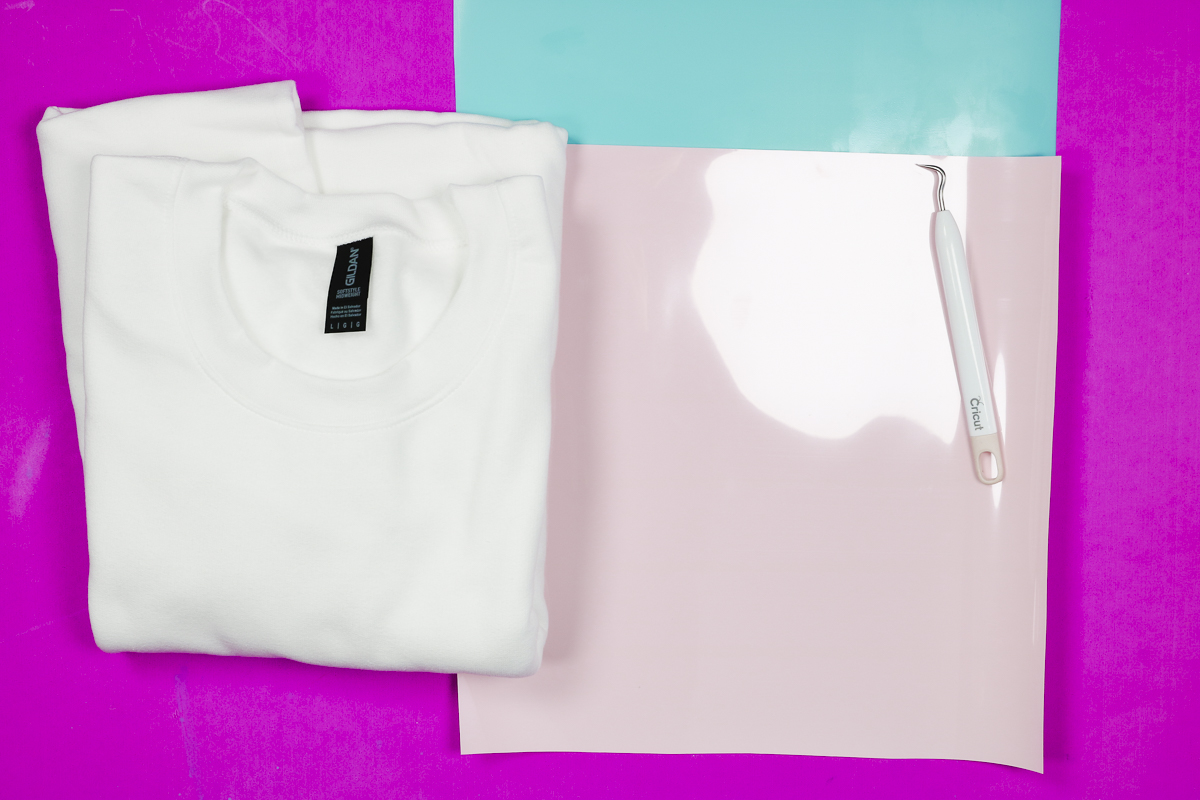
Supplies Used
Step 1. Upload Design into Design Space
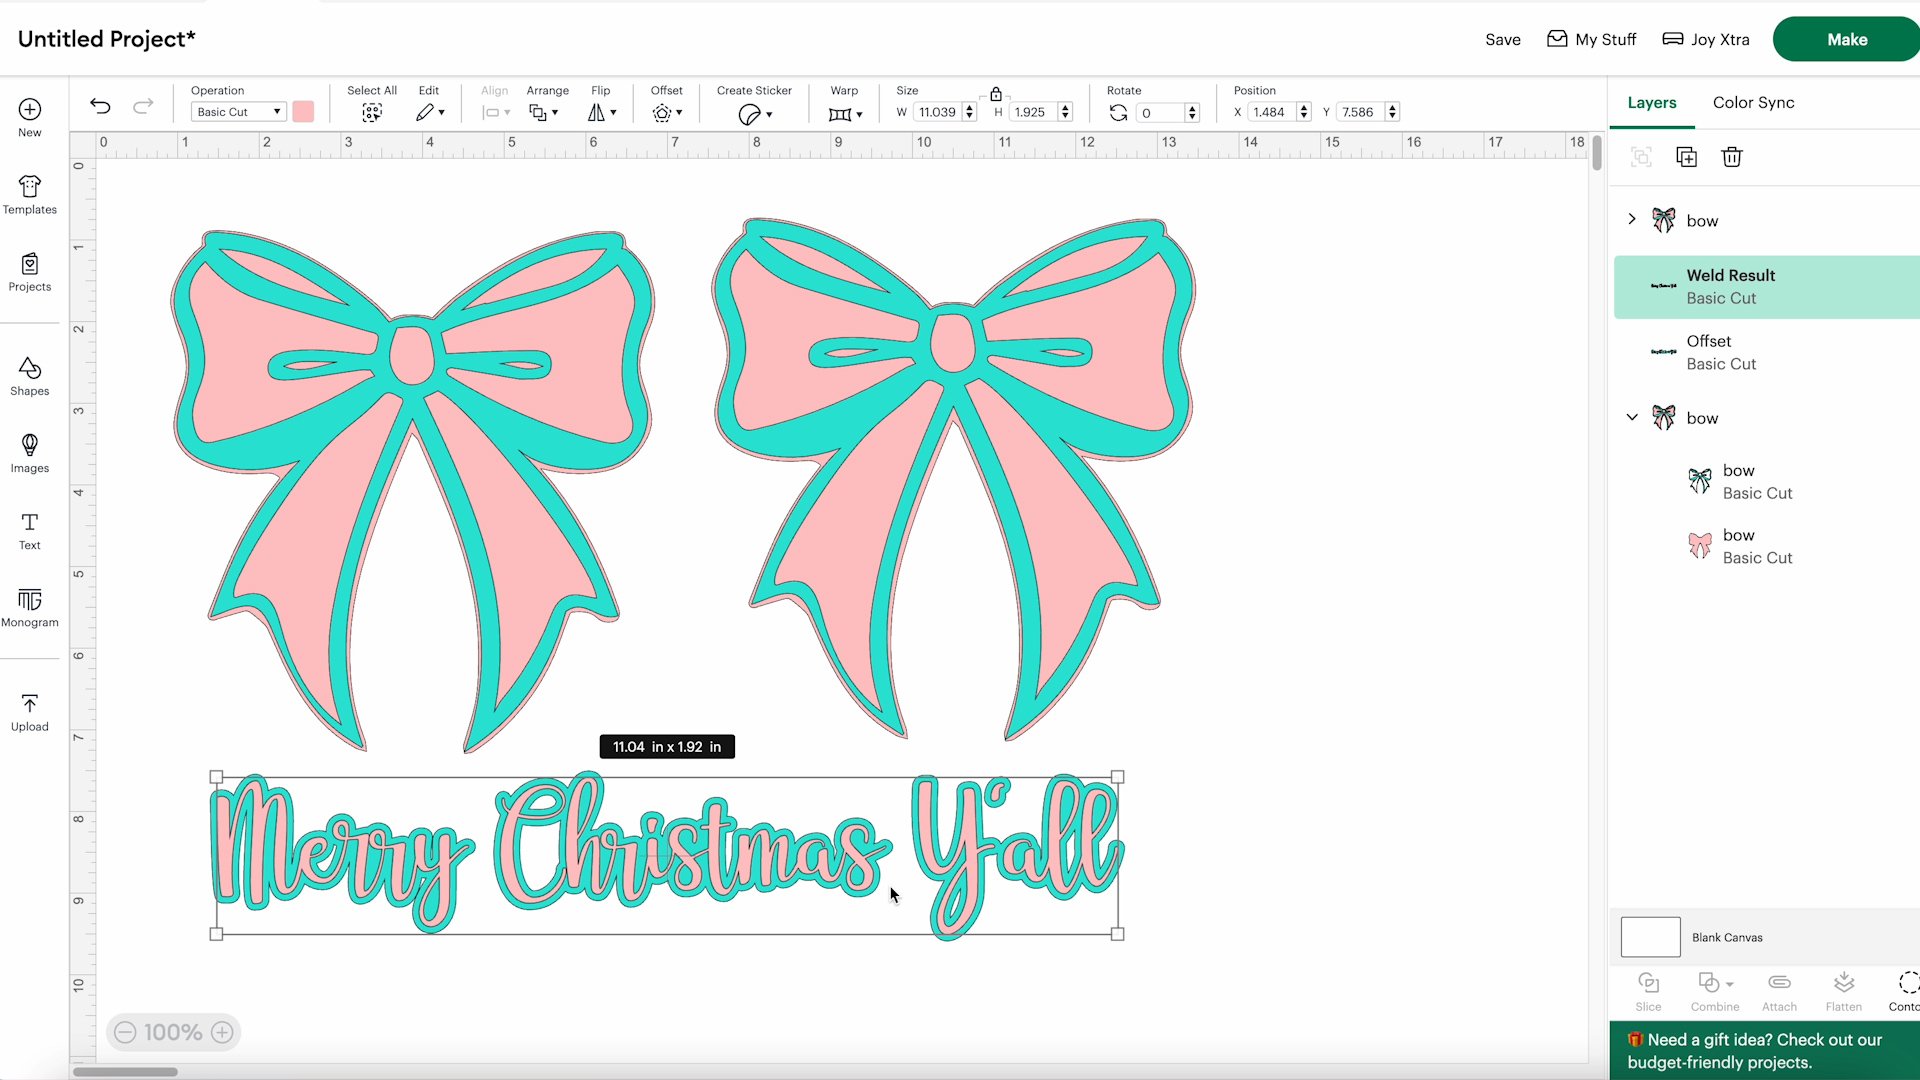
Download the bow design from the link above and upload it into Design Space. Measure where you want the bow and resize the design. My bow is 6″ from top to bottom.
I want a bow on both sides of my sweatshirt so I duplicated the image after I had it sized correctly.
The design on the front of the shirt can be anything you want. I am adding a text that says Merry Christmas Y’all. I used the font Annie Leu and adjusted all the colors to match closely with the HTV I’m using. When you have it the right size click Combine and Weld.
I want the front design to coordinate with the bow so I am adding a .08 offset around the text. This allows me to adjust the colors so they coordinate with the side bows.
Step 2. Cut Out HTV
I am using an Explore 3 today. You can use any Cricut machine to make this project.
Click Make and select On a Mat. Confirm and look at each mat. Design Space arranged my design and it separated the design onto multiple mats. I was able to rearrange things so each color cut on a single 12 by 12 sheet of HTV.
Click the design and select Move Object to move designs from one mat to another.
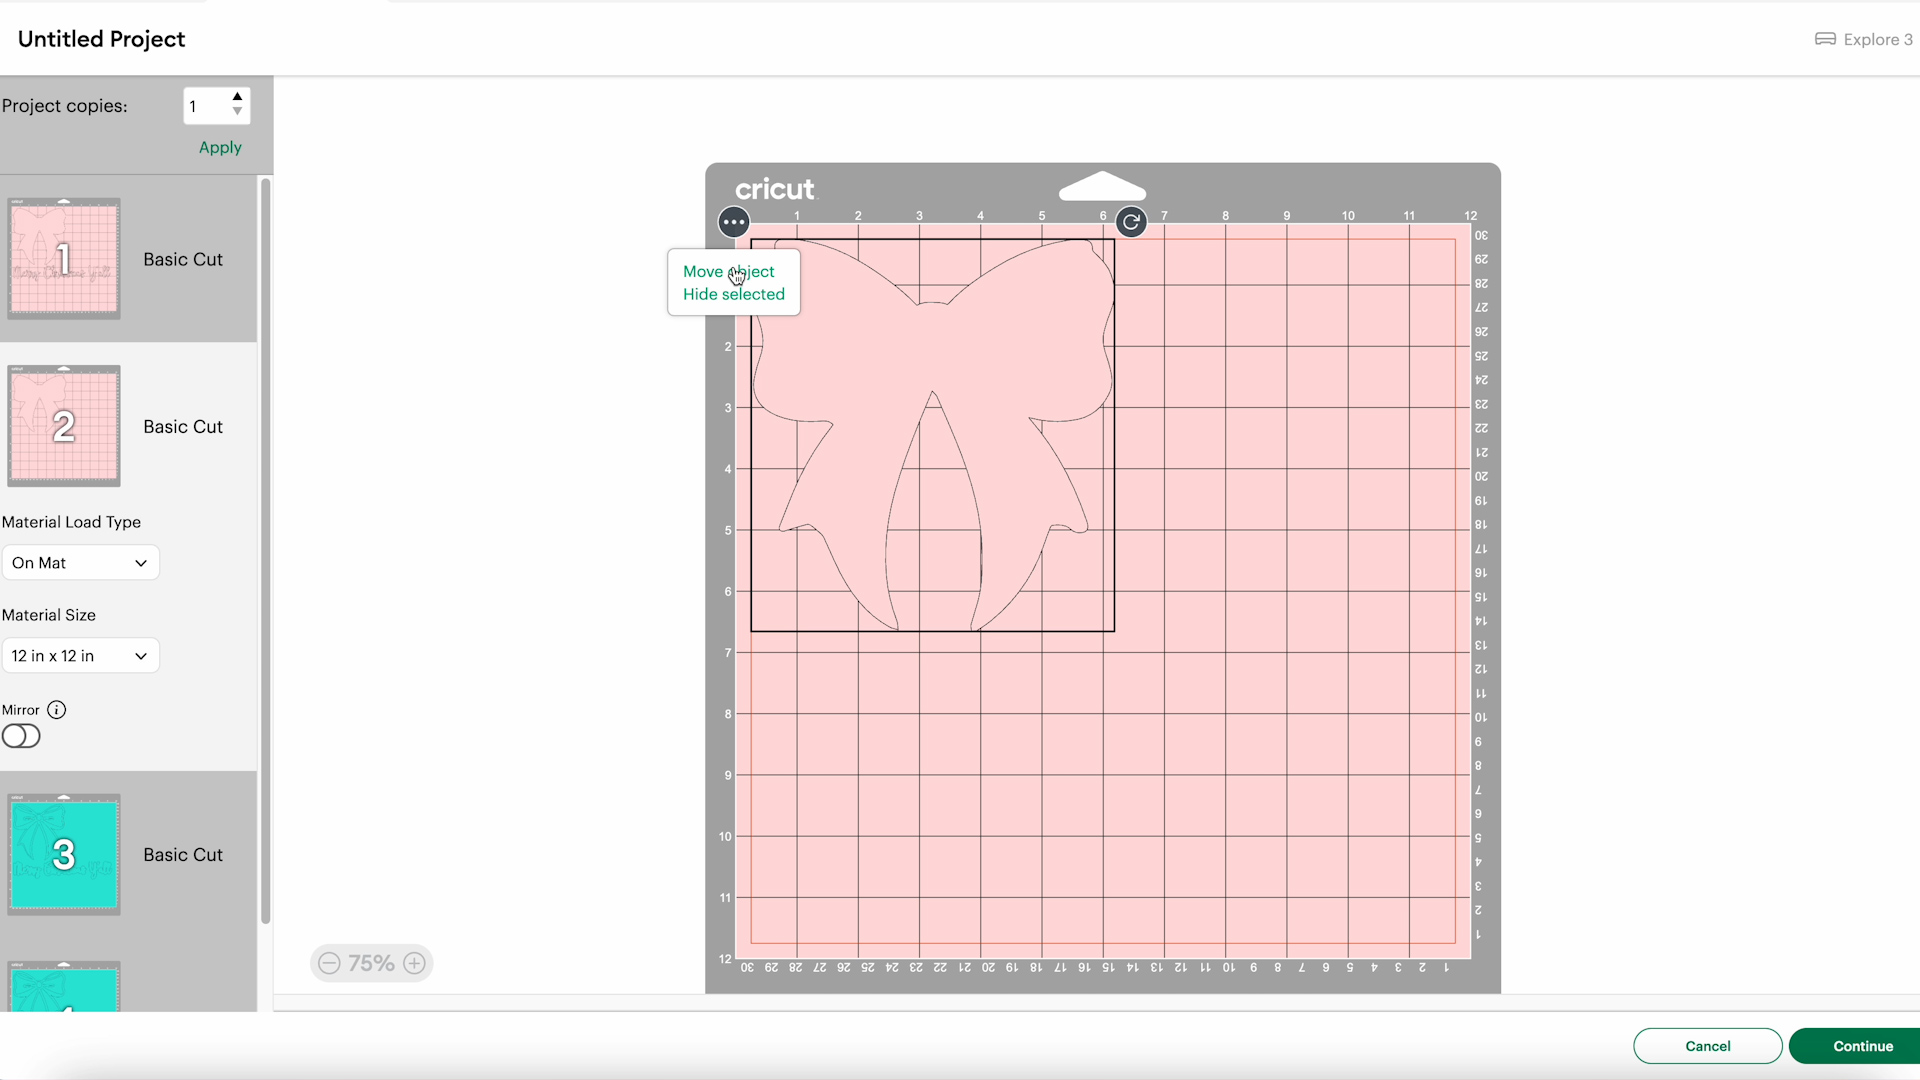
Mirror each mat and then select the machine you’re using and choose the material. I am using B-Flex Gimme5 HTV and the Everyday Iron-on setting works well with my machine.
With this material, we’ll place it shiny side down on the mat and I like to use a brayer to make sure it’s stuck down really well.
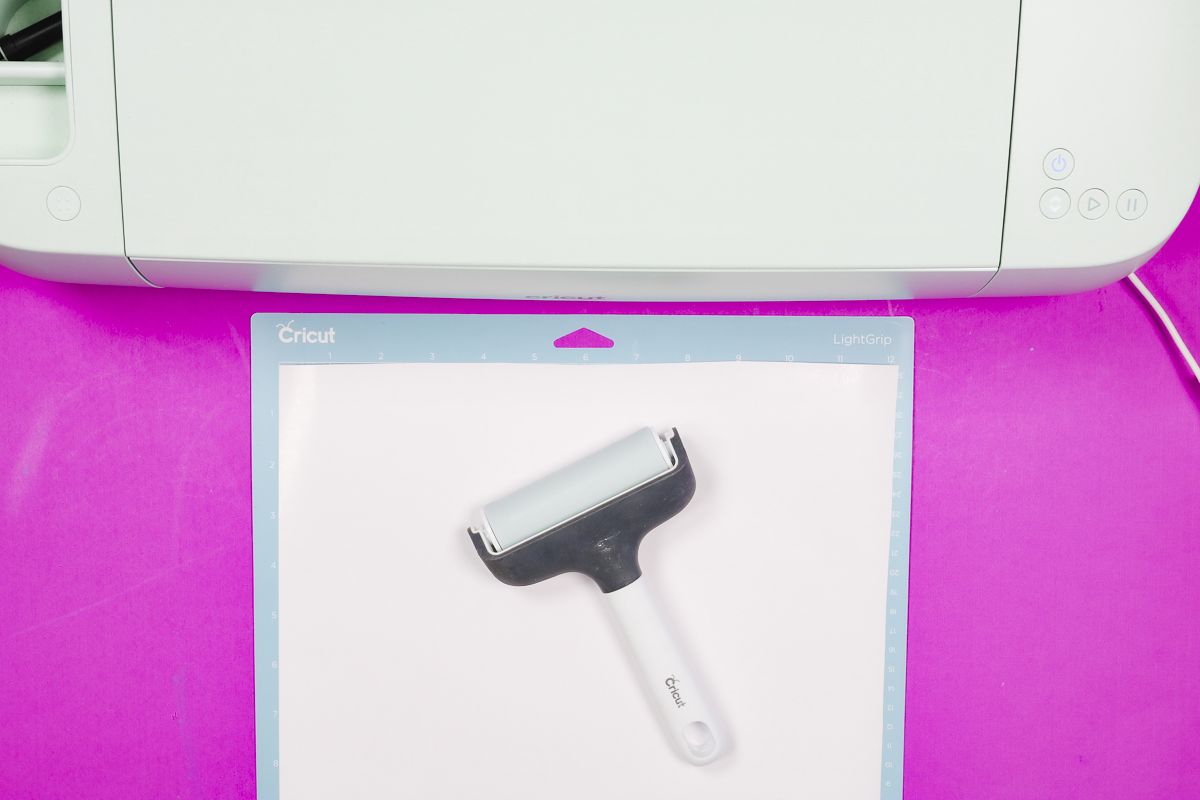
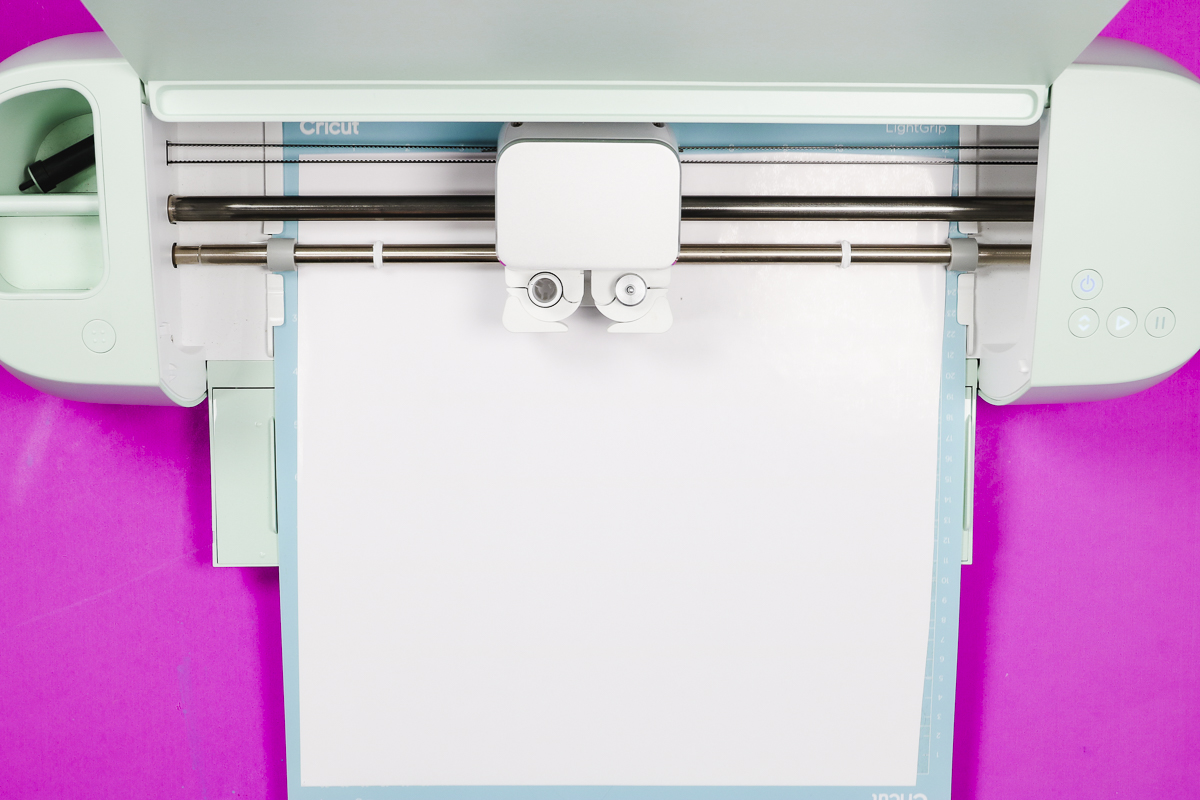
Load the mat into the machine and click Go. Repeat the process for each mat and we’re ready to weed.
Step 3. Weed HTV
When the Cricut is done cutting, use a weeding tool to weed out all the excess. Remove the outside and any interior pieces including the insides of letters and bow pieces.
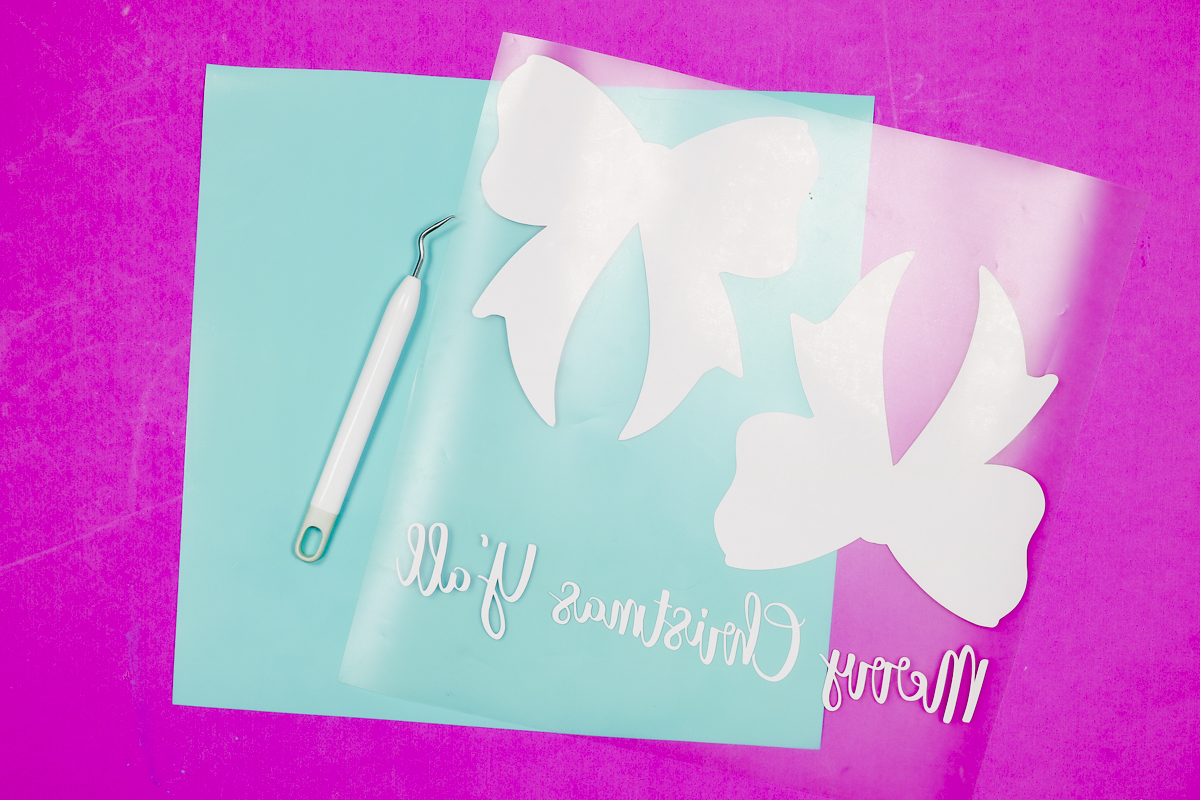
You may find it helpful to keep the image pulled up on your computer so you don’t unintentionally weed something you’re not supposed to.
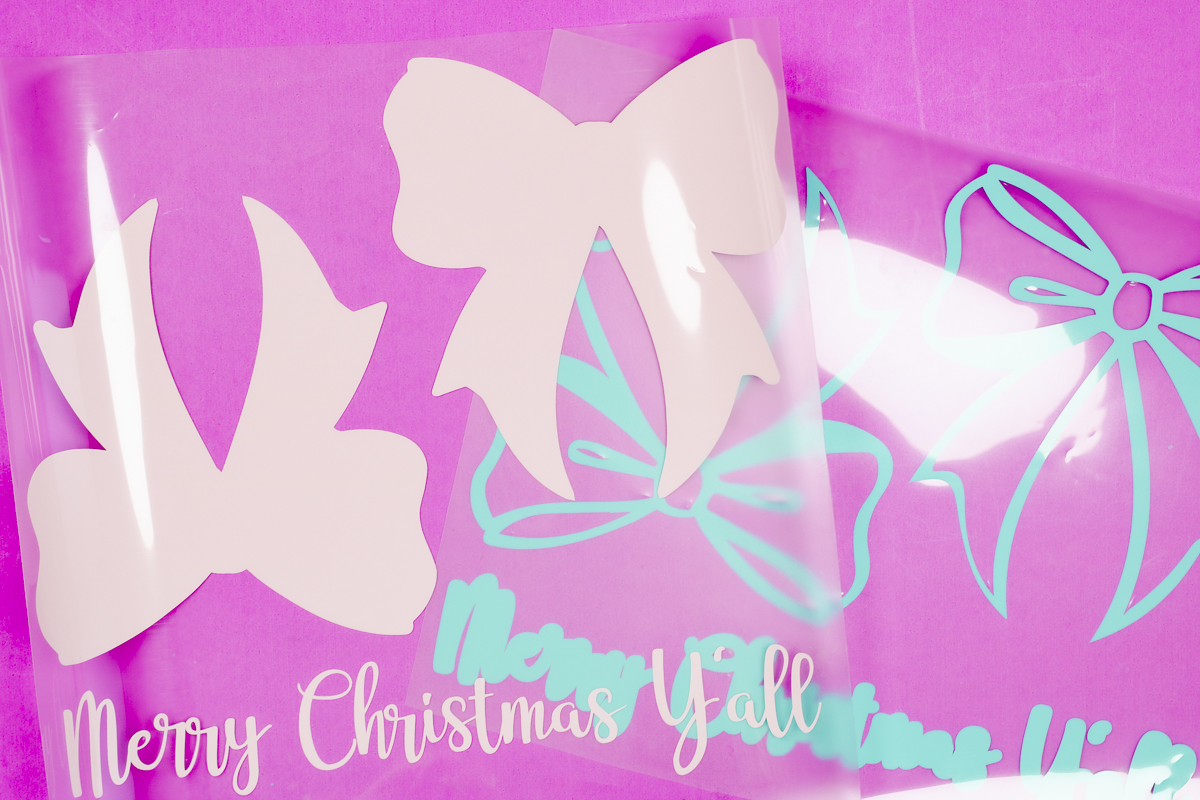
Now that I have everything weeded I’m ready to add it to my sweatshirt.
I do need to cut these apart so they can be added to the correct part of the sweatshirt.
Step 4. Press Side Bow HTV onto the Sweatshirt
My sweatshirt came folded and it has seams down each side. If your sweatshirt has a side seam you can line the HTV up with that seam if it doesn’t use your heat press to create one.
My sweatshirt has some wrinkles so I am preheating it to remove wrinkles and moisture. This is a good time to adjust the pressure on your press.
To press the side bows, thread the sweatshirt onto the press and I’m using the side seam of the sweatshirt to line up the bow.
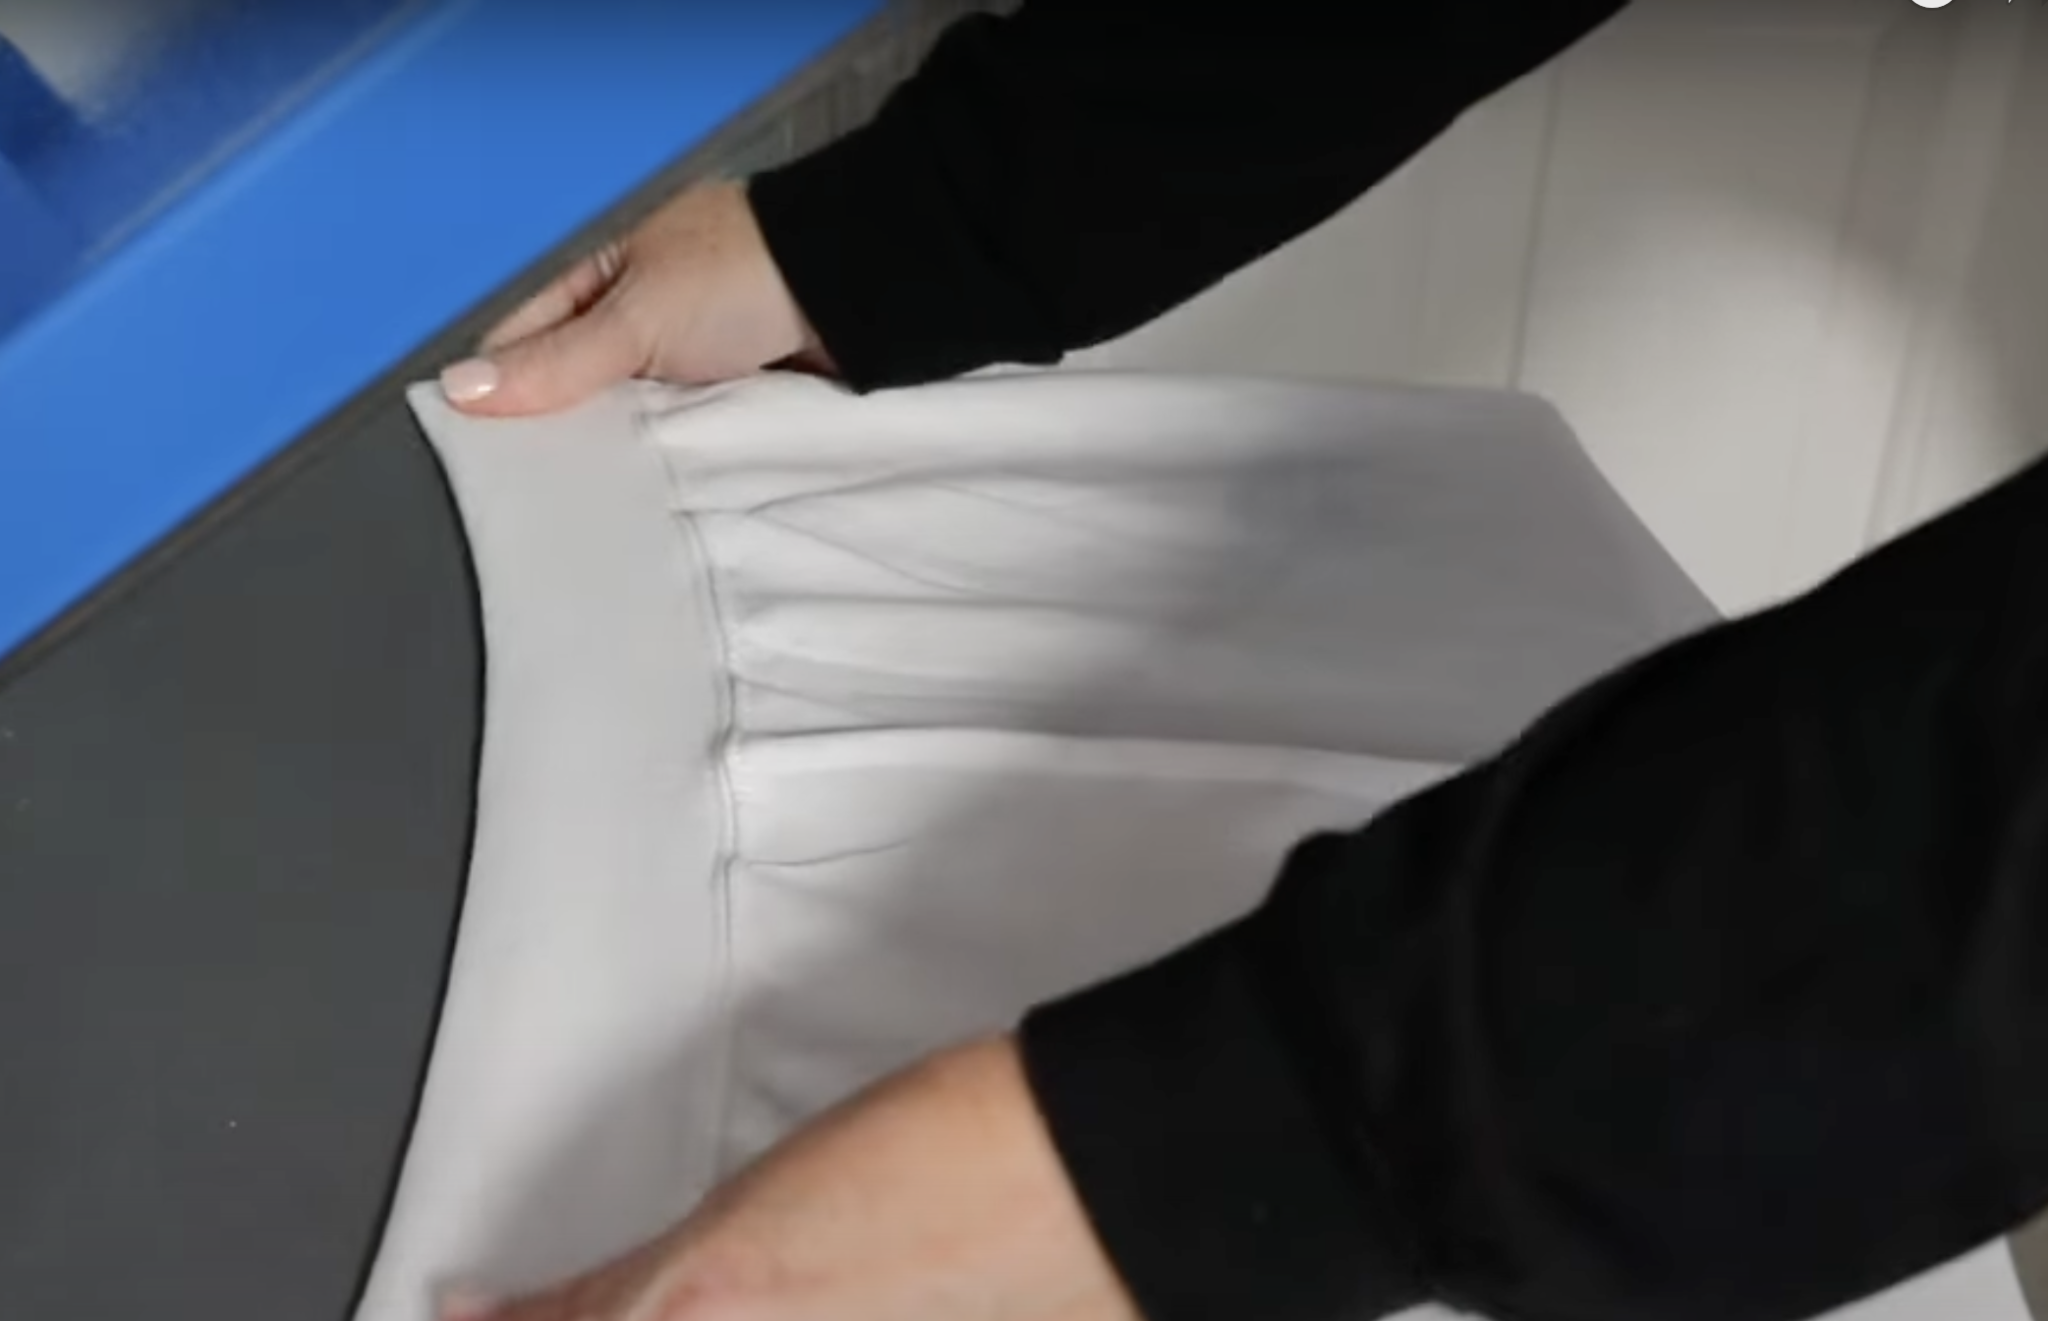
The first layer of my bow is pink. To locate it correctly, center the bow on the seam and make sure the ends line up with the bottom of the sweatshirt.
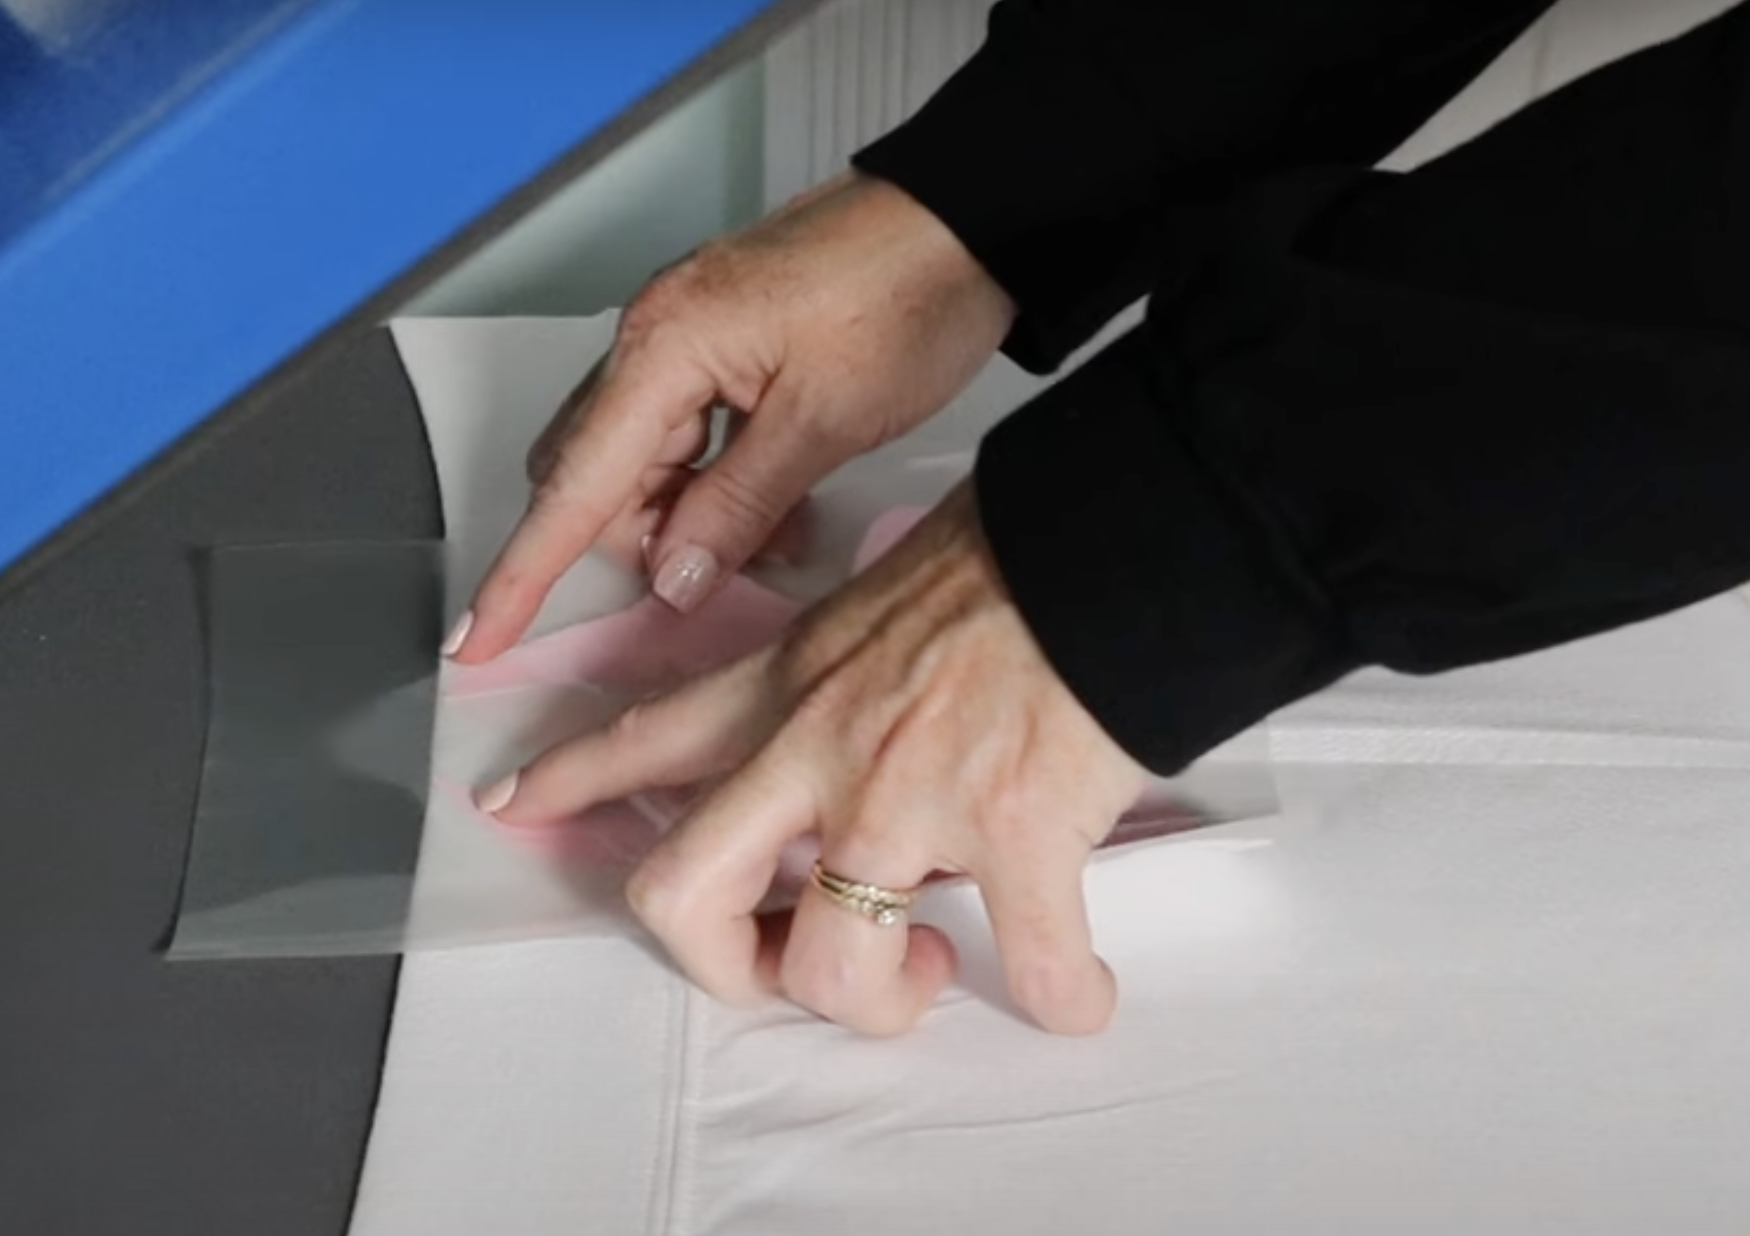
With the bow located, it’s time to press. This HTV has a temperature of 285 degrees and a pressing time of four seconds. It’s very quick.
When the time is up, open the press and allow it to cool for just a few seconds, and then remove the carrier sheet.
Next, we need to locate the top layer and press again with a little more pressure for just four seconds.
Note – if the carrier sheet does not cover any of your HTV make sure you cover it with a Teflon sheet or other protective paper.
Allow to cool for a couple of seconds and you can peel back the carrier sheet and make sure everything is stuck down really well.
Pay close attention to the area where the band attaches to the sweatshirt. If it needs to be pressed again, cover the design and press.
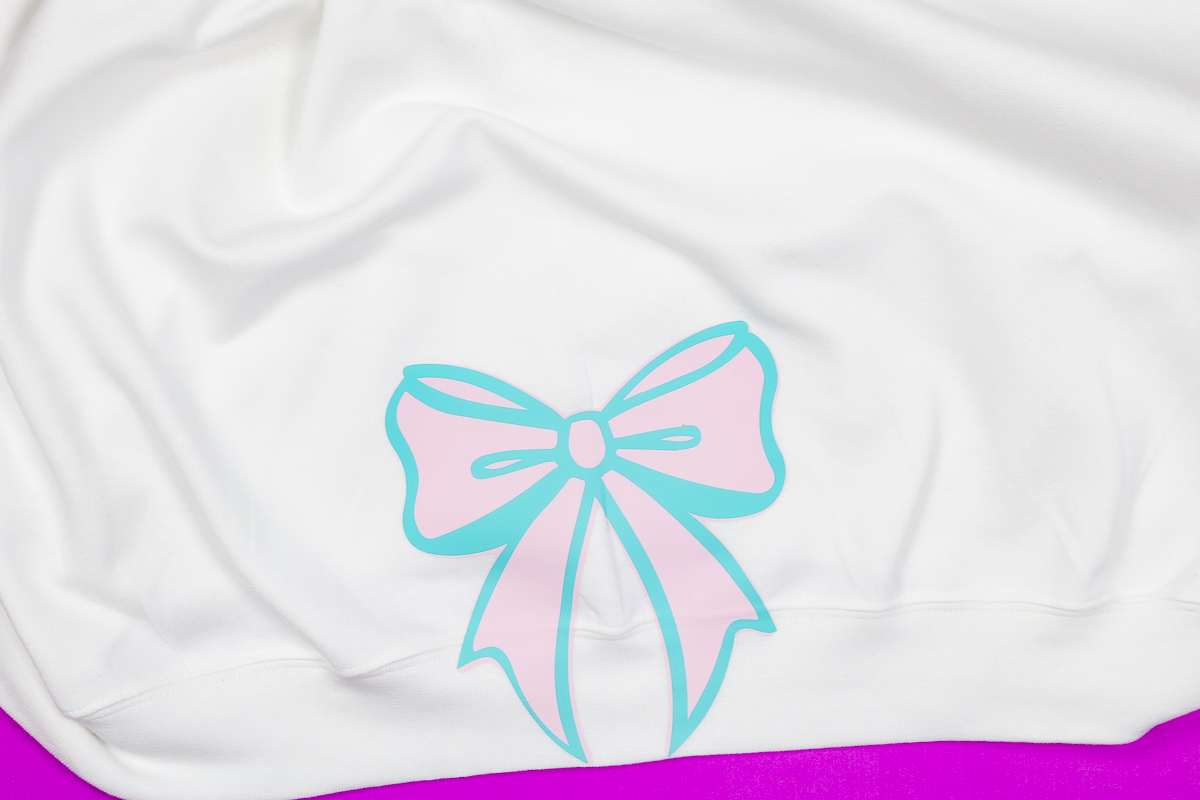
Repeat the process on the other side. When the other side is complete we can move onto the front of the shirt.
Step 5. Press the Front of the Sweatshirt
Pressing the front of the sweatshirt is the same process as the sides. Preheat the sweatshirt and locate the design.
Press for four seconds. Allow to cool for a few seconds and remove the carrier sheet.
Locate the second layer making sure the carrier sheet covers the first layer.
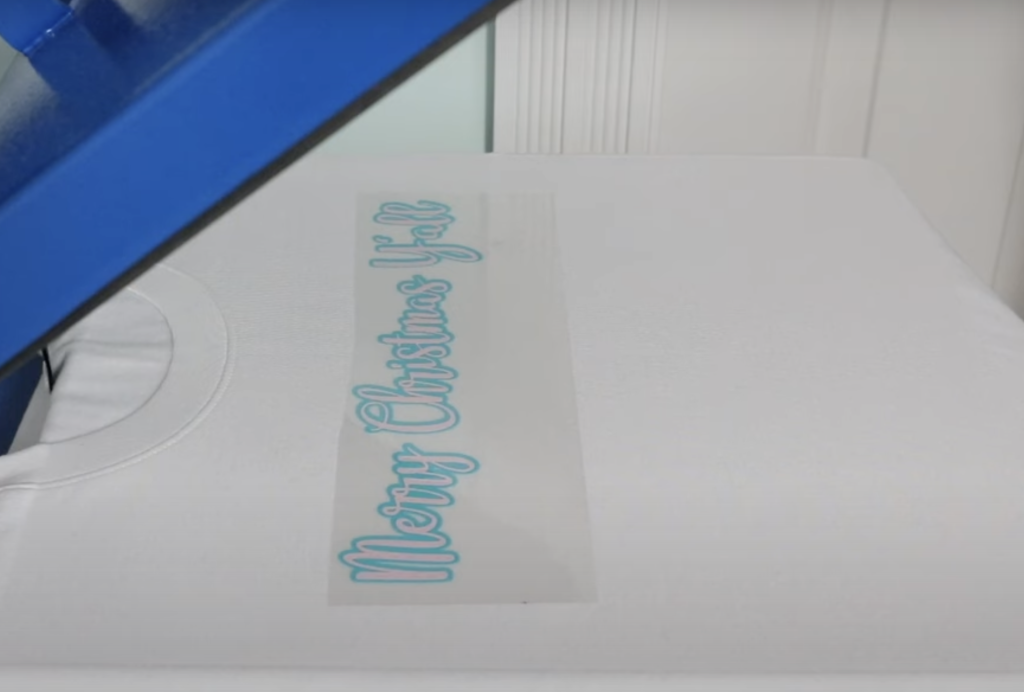
Press for four seconds, allow to cool for a few seconds, and remove the carrier sheet.
Now that the HTV is applied we can finish the side bows.
Step 5. Finish Side Bow Design
The fun part about this sweatshirt is how the bow finishes the side. To achieve this look we want to cut the fabric between the tails of the bow.
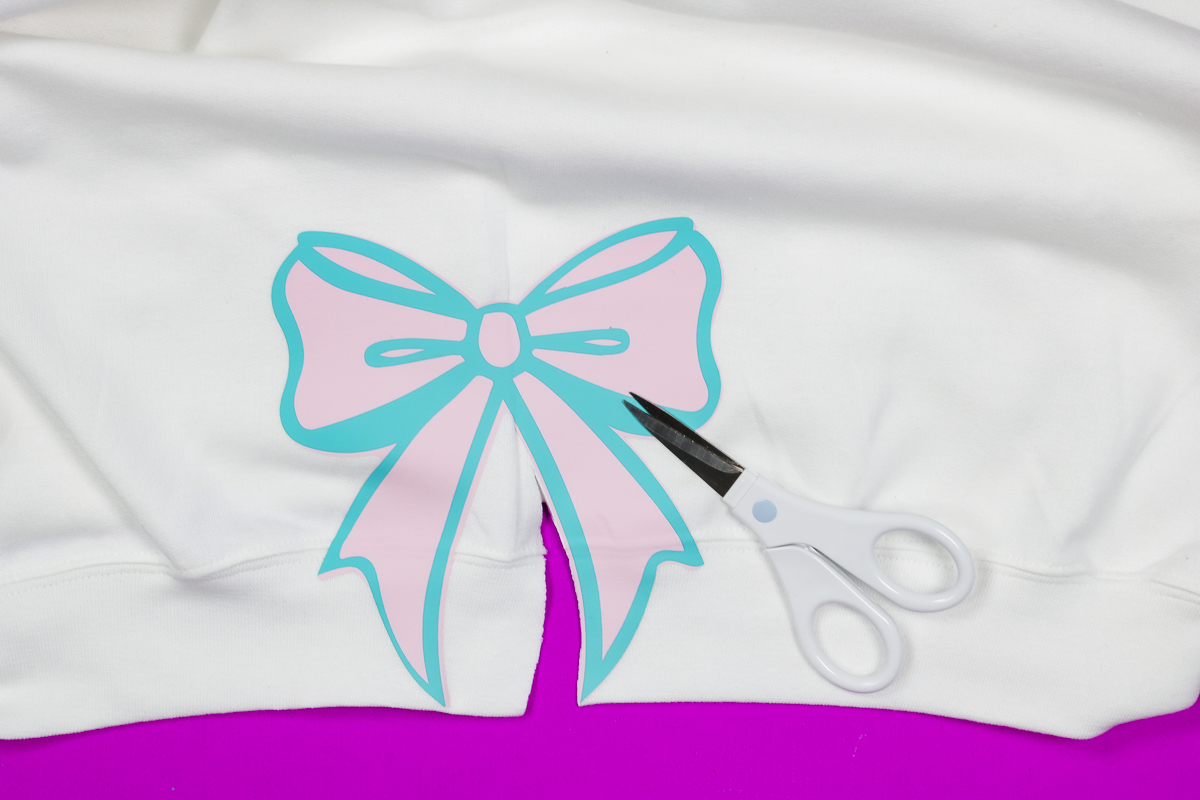
I’ve found using a small pair of sharp scissors makes this process easier. Cut as close as you can get to the HTV, take your time so you don’t cut the HTV. You want the bow to be the edge of the fabric.
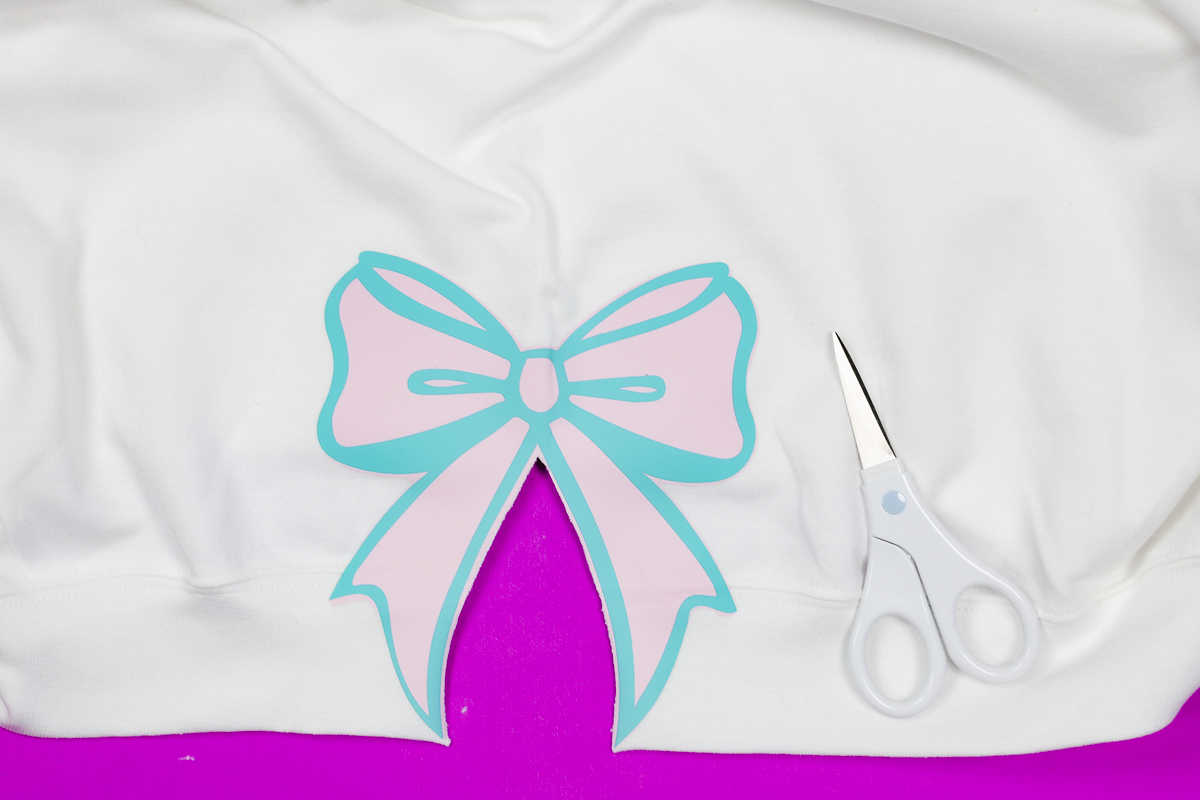
The great thing about cutting sweatshirt material is that it doesn’t fray. I have cut sweatshirts and sweatpants before and haven’t had any issues with it so I’m leaving my edge raw.
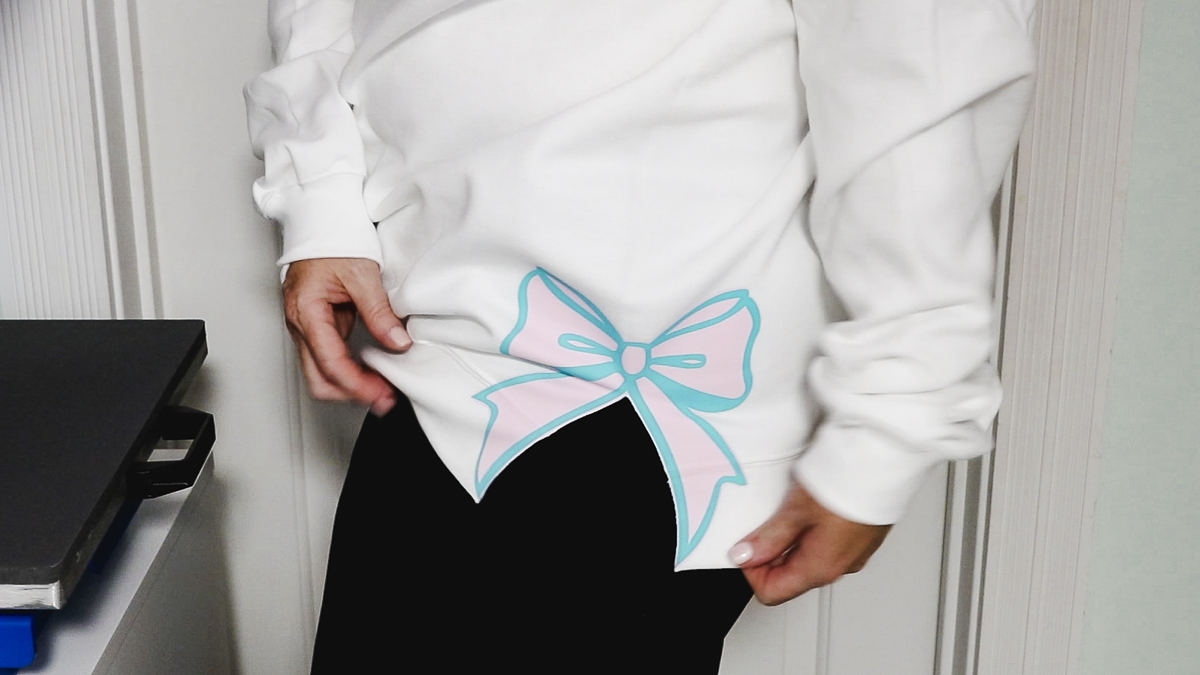
If you don’t like that look, you can stitch right along the edge. If you’re using a different type of fabric and you’re worried about fraying, you can use something like Fray Check and run that right along the edge.
Should You Make a Side Bow Sweatshirt?
I love how this sweatshirt turned out. I love the side bow look and after seeing the embroidered options I knew I needed to try it.
HTV works perfectly if you are like me and don’t have an embroidery machine and want to make a project like this.
Don’t forget you can change the colors up to match whatever design you’re using or season you’re making a shirt for.
I hope I’ve answered any questions you have about making a side bow sweatshirt with HTV. If you have any additional questions, leave them in the comments and I’ll be happy to answer them for you.
