This post and photos may contain Amazon or other affiliate links. If you purchase something through any link, I may receive a small commission at no extra charge to you. Any supplies used may be given to me free of charge, however, all projects and opinions are my own.
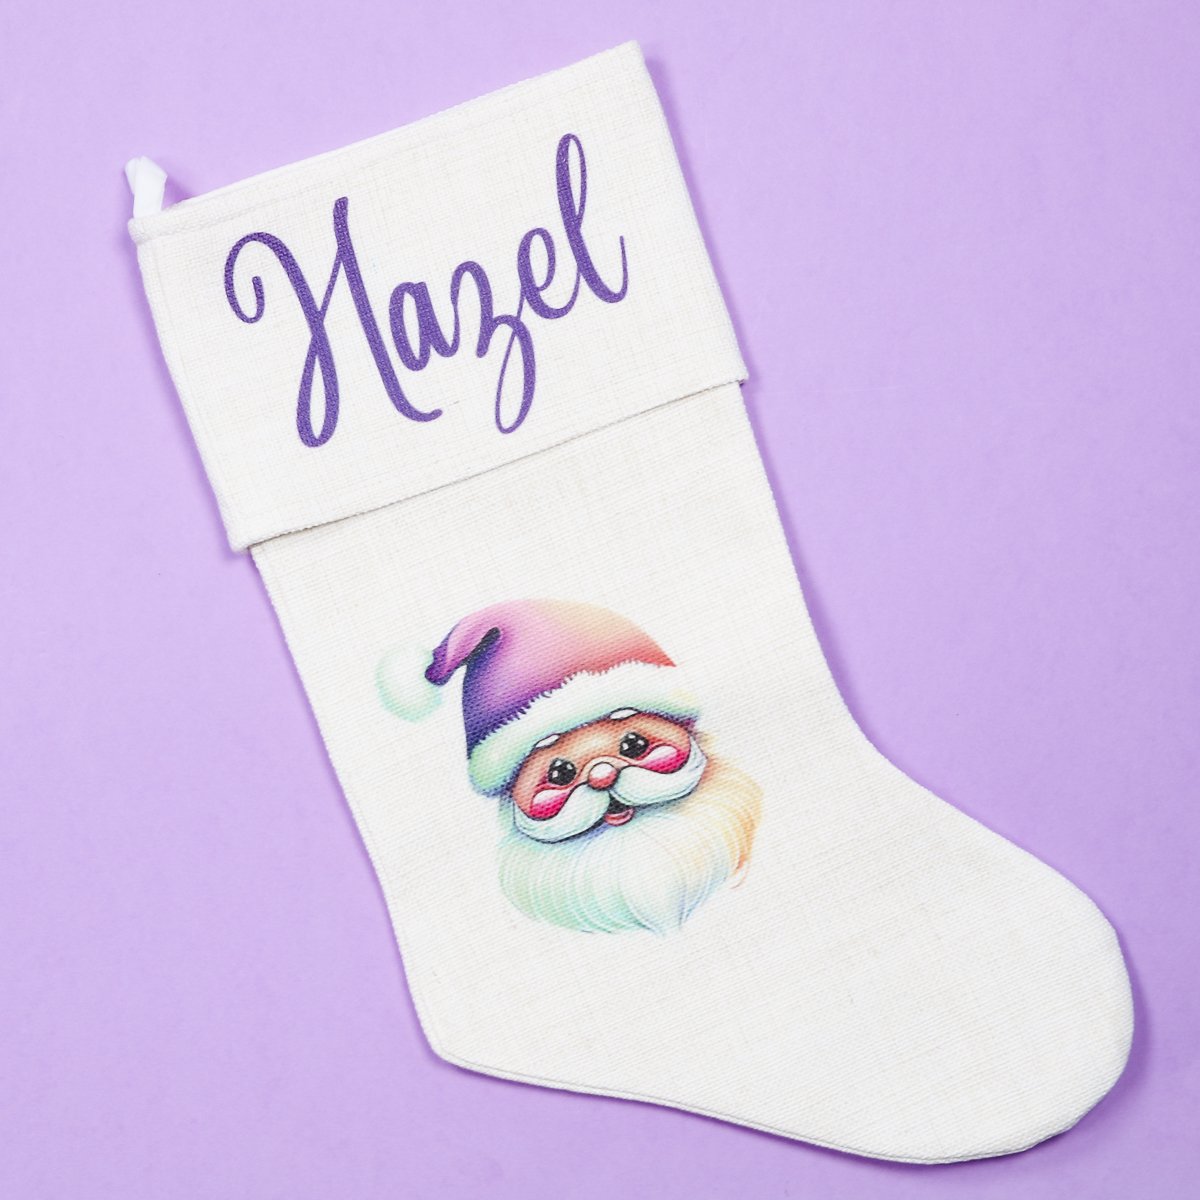
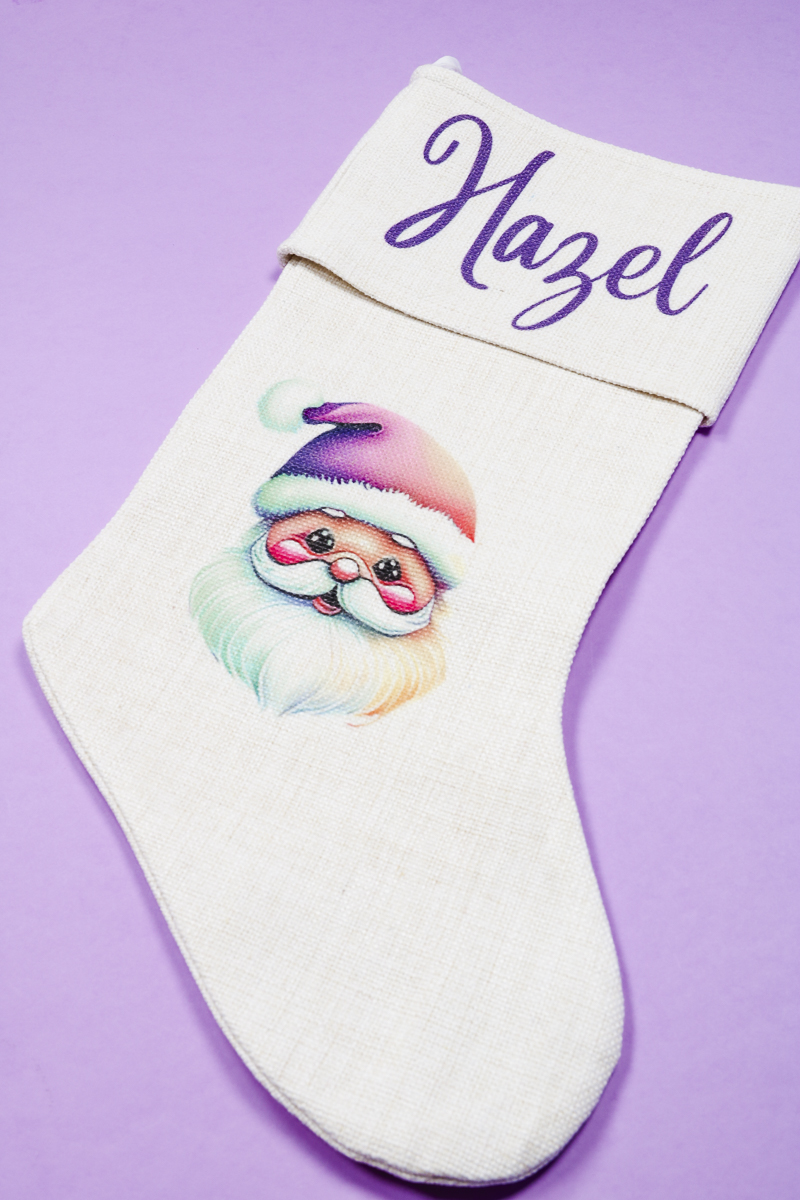
Today I am excited to teach you how to make sublimation Christmas stockings that you can easily customize for every family member. I found a new stocking sublimation blank that I think you’re going to love. It’s nice quality and perfect for customization.
If you’re ready to make a variety of sublimation gifts, make sure you read my Sublimation Blanks guide to learn what works and what doesn’t.
How to Make Sublimation Christmas Stockings
Today I’m using my free sublimation bundle to create my stockings. You can get the bundle here. You can make your sublimation Christmas stockings using any image you want. If you like these, they’re free along with my snowglobe collection.
This project is fairly easy but I do have some tips and tricks that will help ensure you get a beautiful finished product. You can watch me make these stockings from start to finish by pressing play on the video below.
Supplies Used
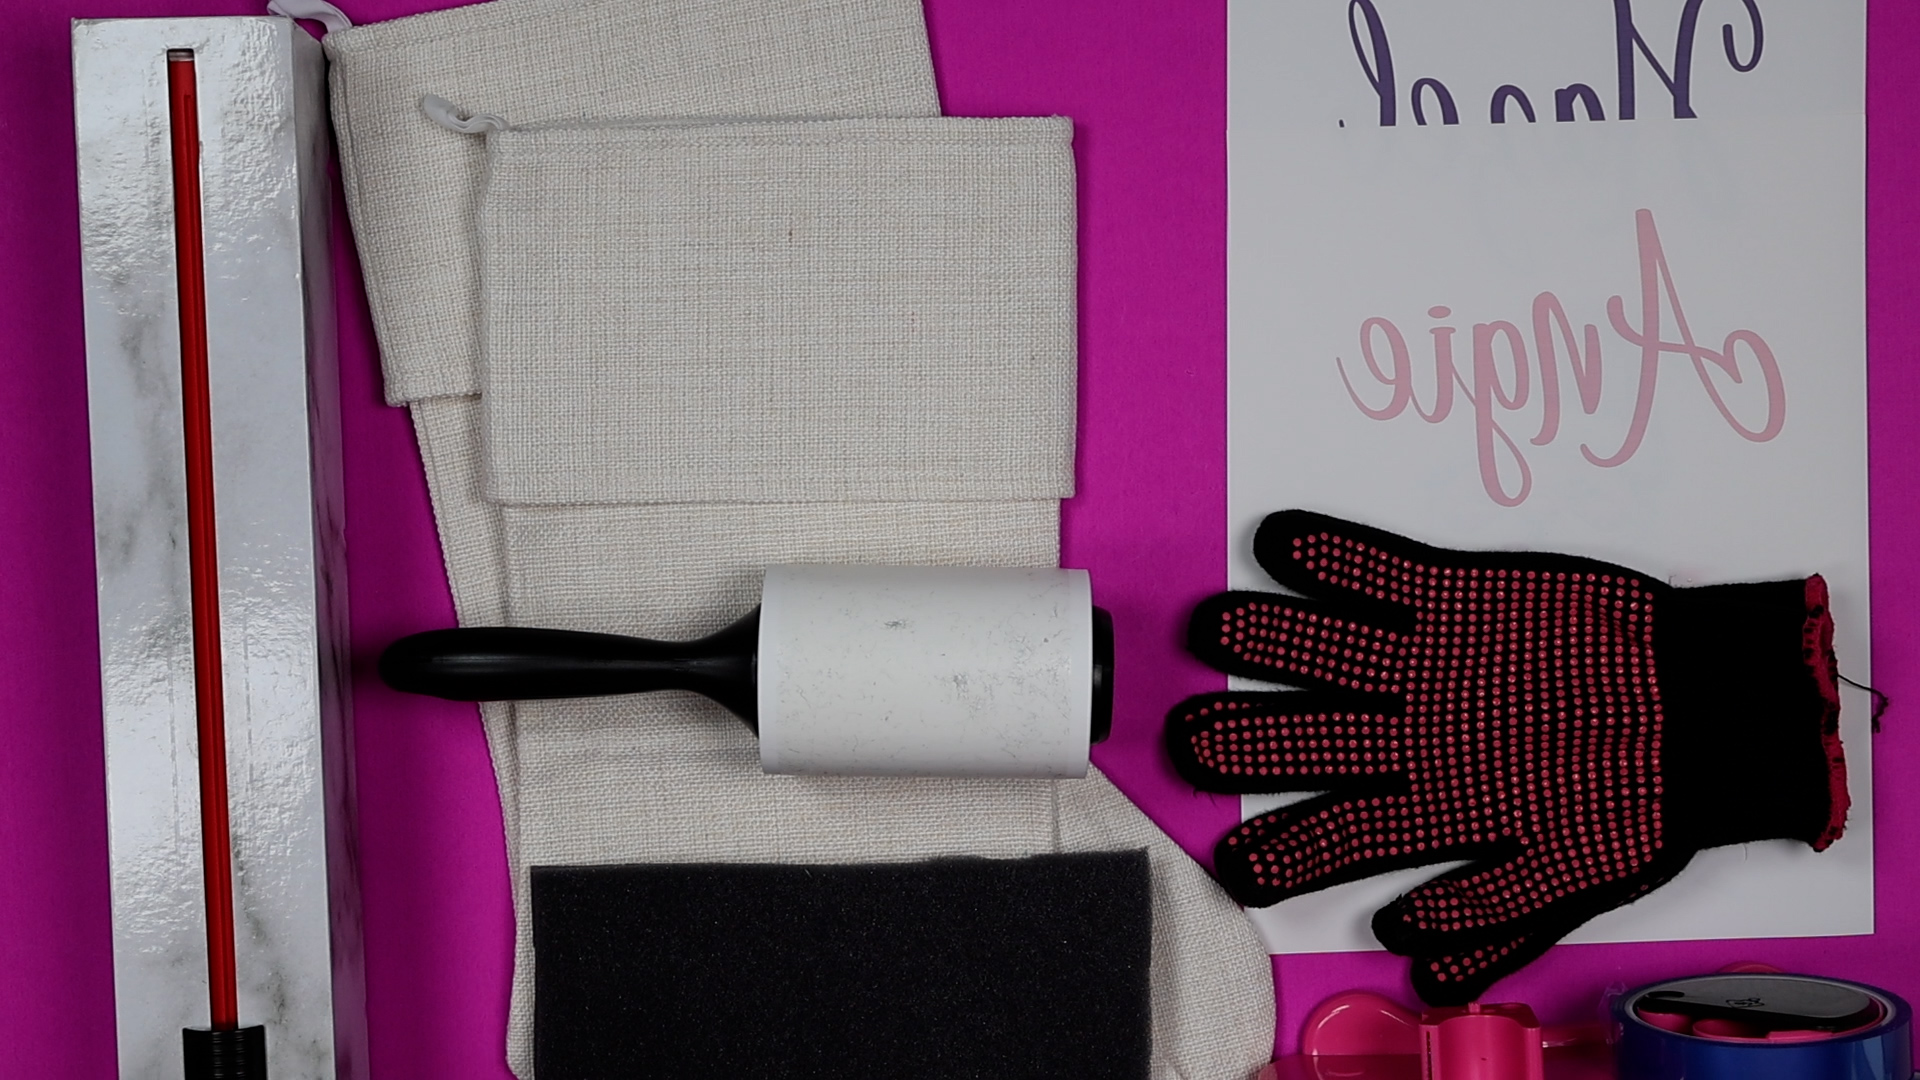
Sublimation Christmas Stocking Blank
I love this sublimation blank. It has a luxurious feeling and doesn’t feel like polyester even though it is. I do want to note that the listing says these are white and the listing photos look white but they are definitely more of a creamy off-white color.
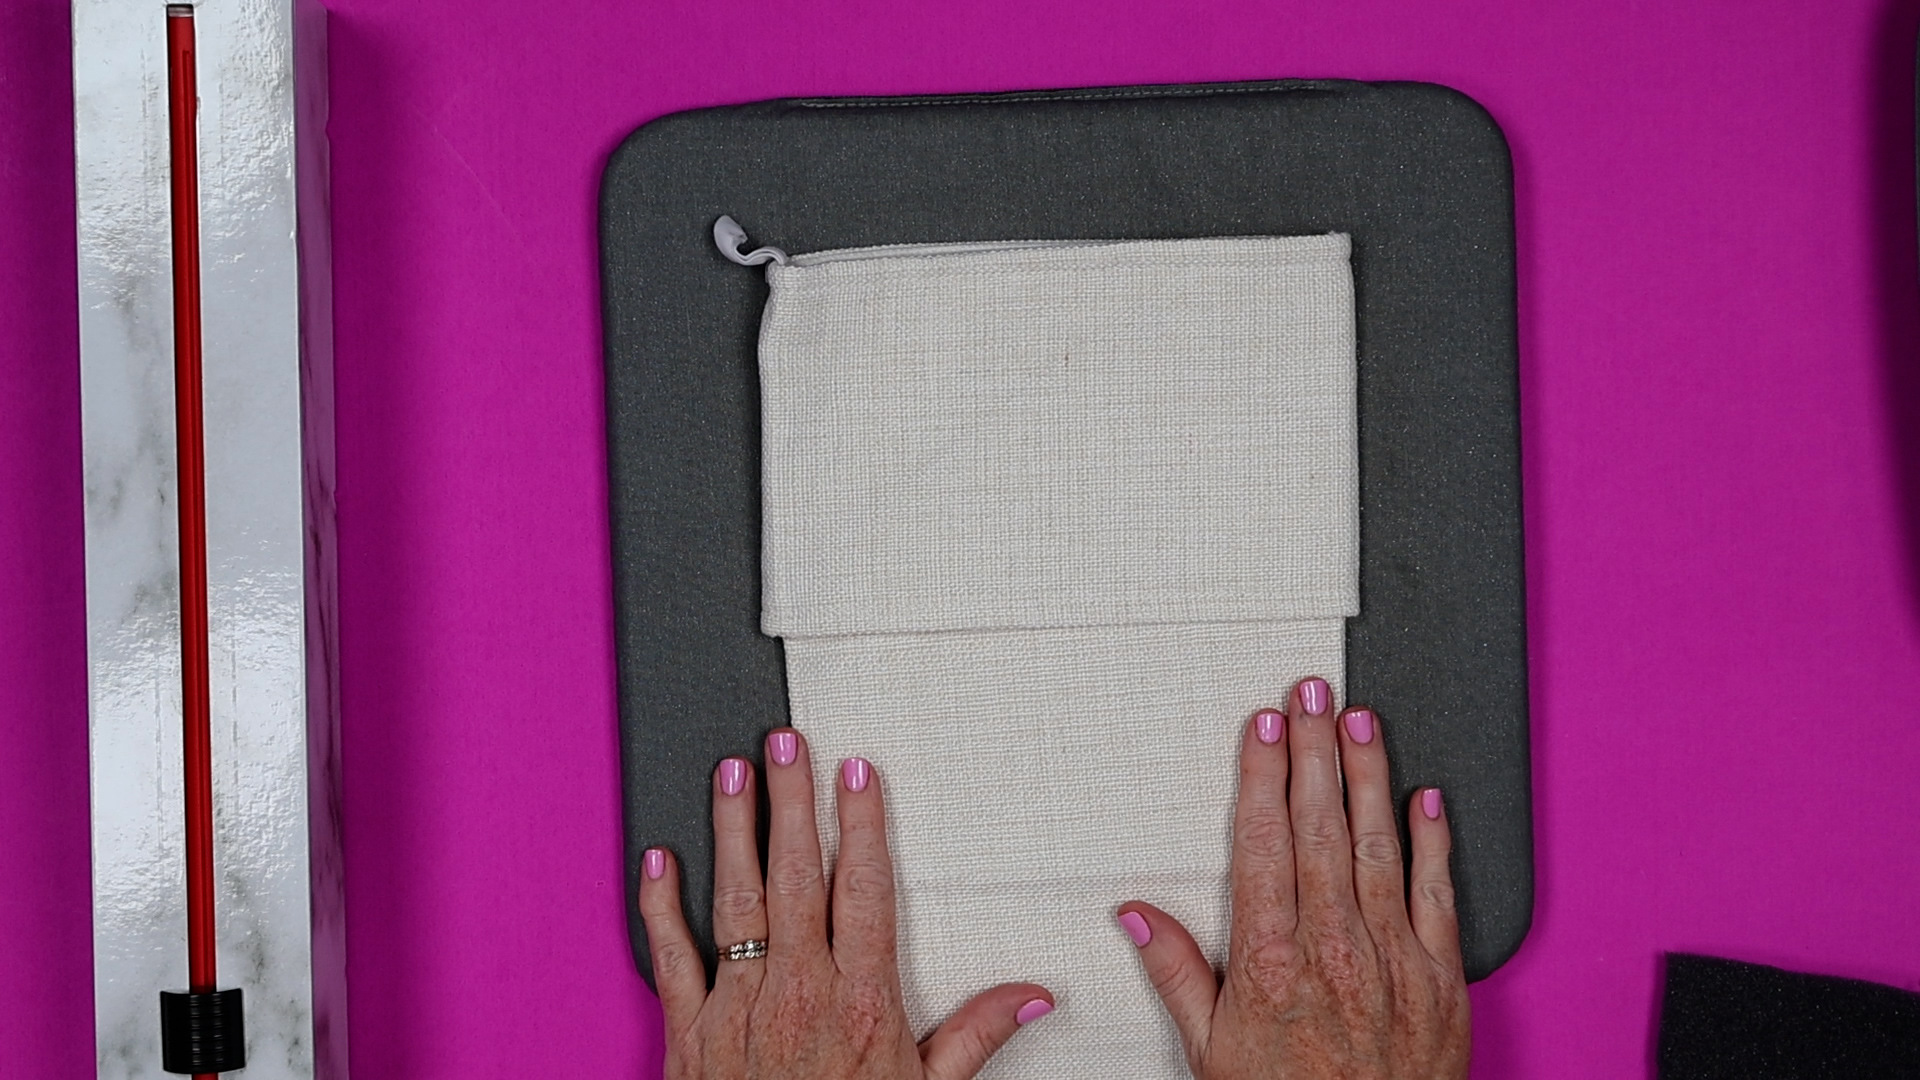
There were no instructions for time and temperature that I could find. They also didn’t have any kind of template for the stocking itself. If you’re looking for something that has a template or a specific time and temperature, you may want to look at a different blank option.
I had great success with this specific blank without having to do a lot of testing.
How to Use Canva to Create Sublimation Designs
Today I am using Canva to create my designs. To begin, open up Canva and then choose a custom size and set it to match your sublimation paper size. In my case, I set it to 8.5″ x 11″.
Next, upload the design you want to use. I uploaded different images from my set and chose which one I wanted to add to the stocking.
With the design selected it’s time to add the name. To add a name, insert a text box and type in the name you’re using. Then you can scroll through the different font options and choose one that you like.
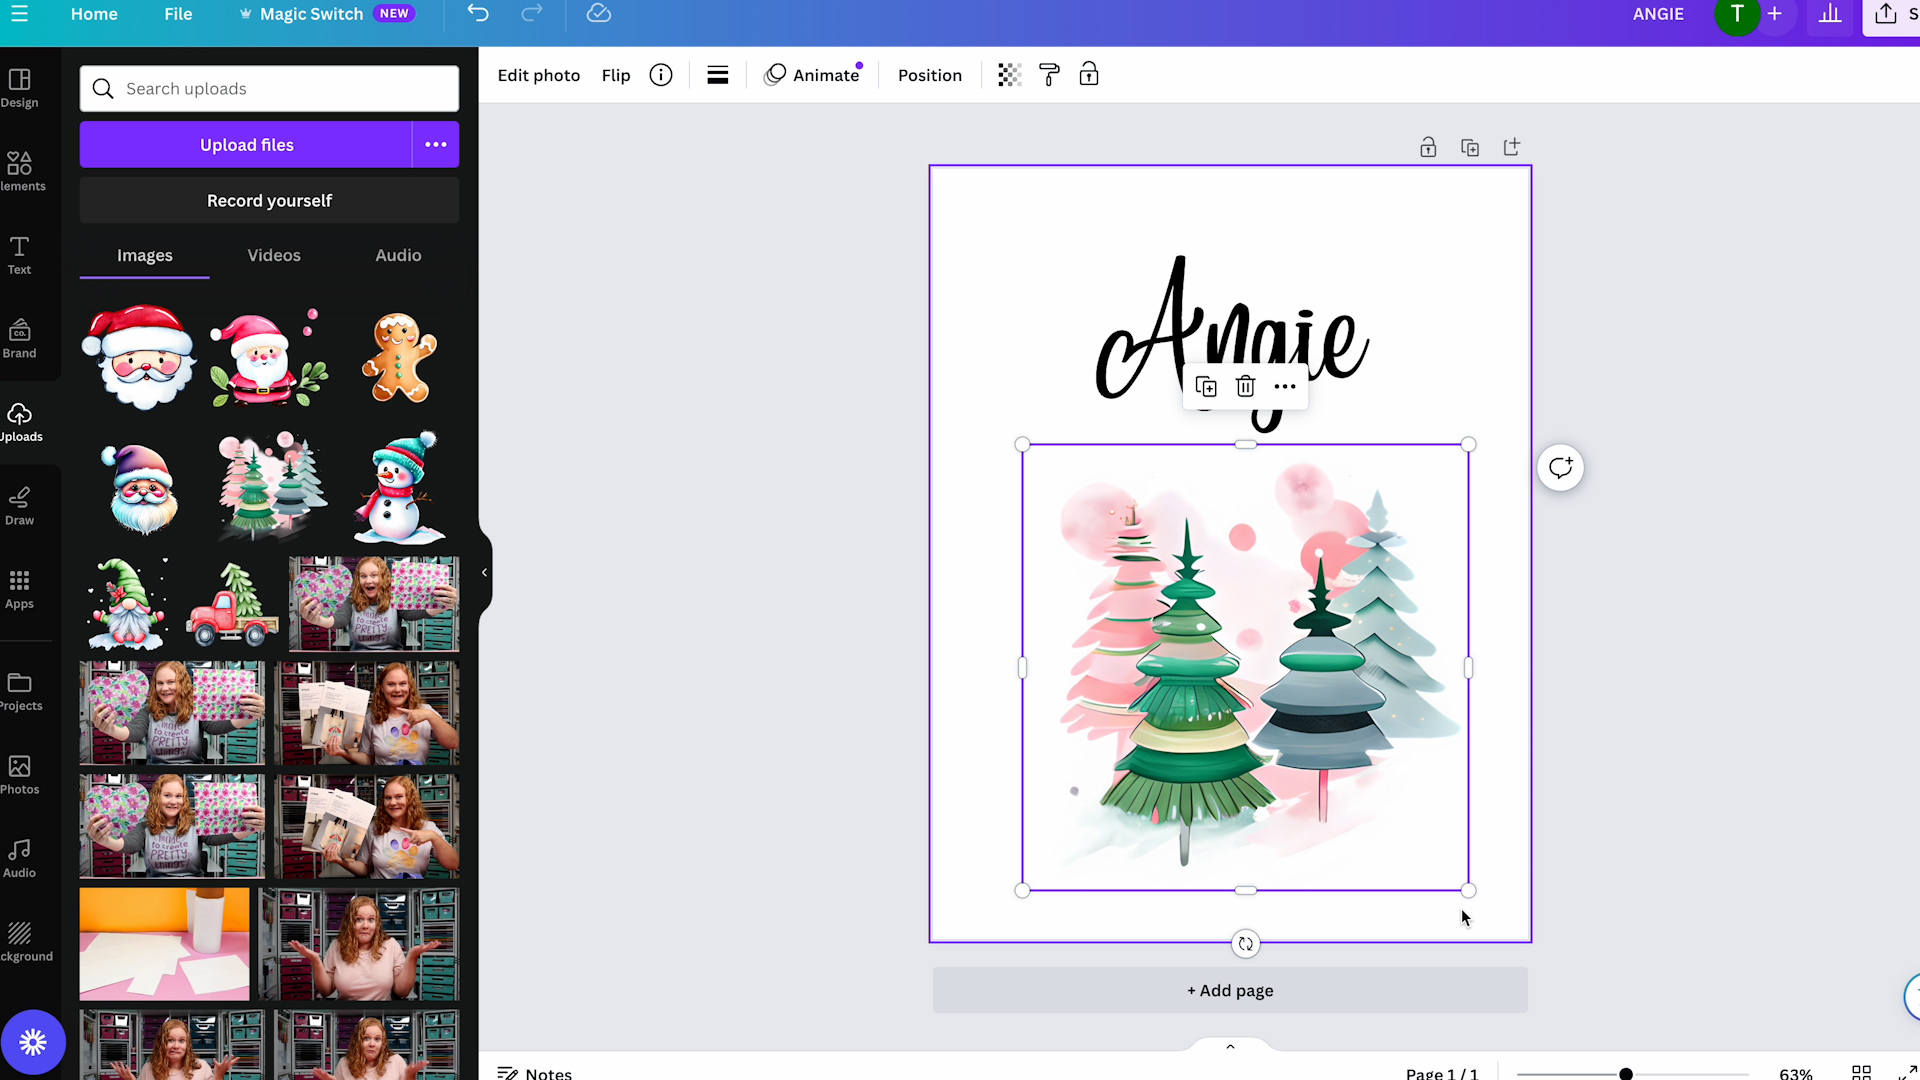
Size Designs to Fit Sublimation Stocking
The size of your design and name will be determined by a couple of different things.
First, you need to know the size of your stocking. You’ll want to make sure the design fits inside those measurements. The size of font you’re able to use will be dictated by the length of the name and if you have letters with tails.
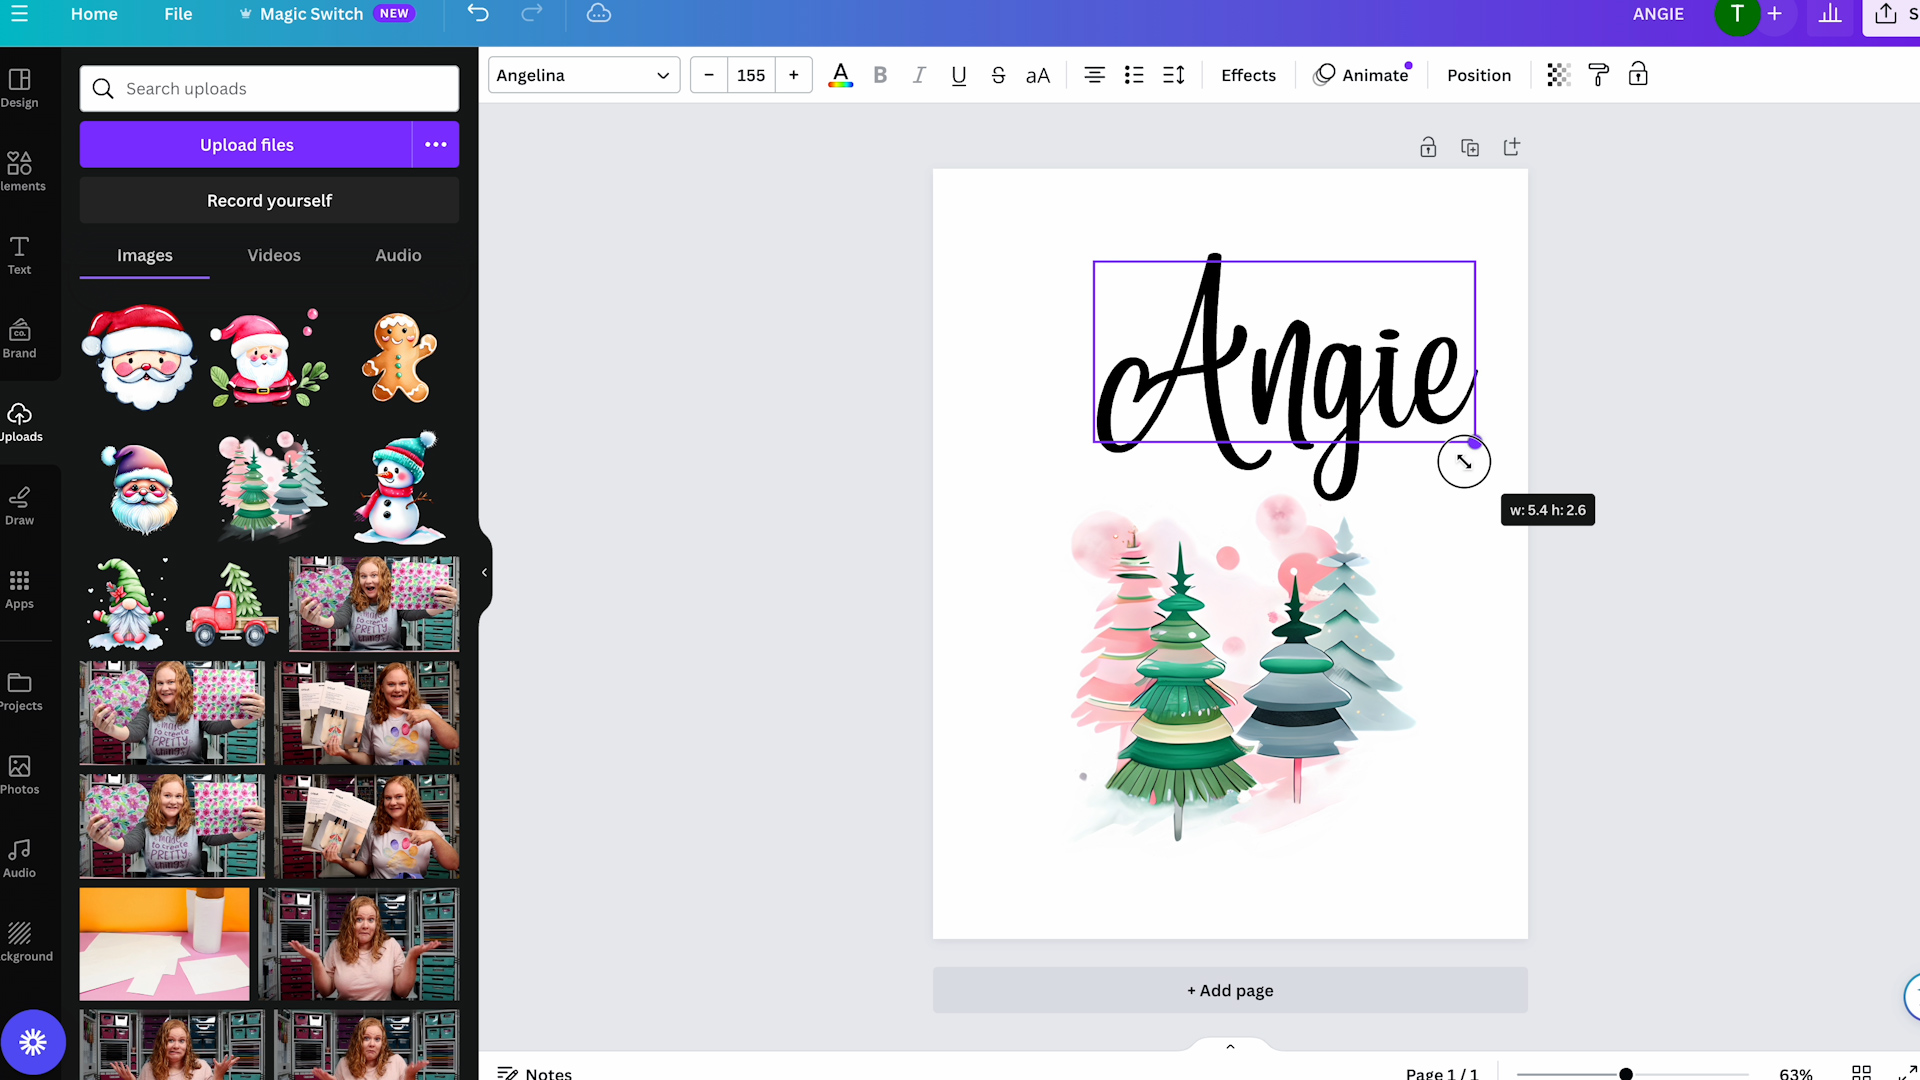
Once you have both the design and name sized correctly you’re ready to print. My design and name fit on one page, if your name is longer, you may need to print each part on its own page.
If you want the text to match the design choose a color from the image itself. To pick a color from the image, select the eyedropper and hover over different portions until you get the color you like.
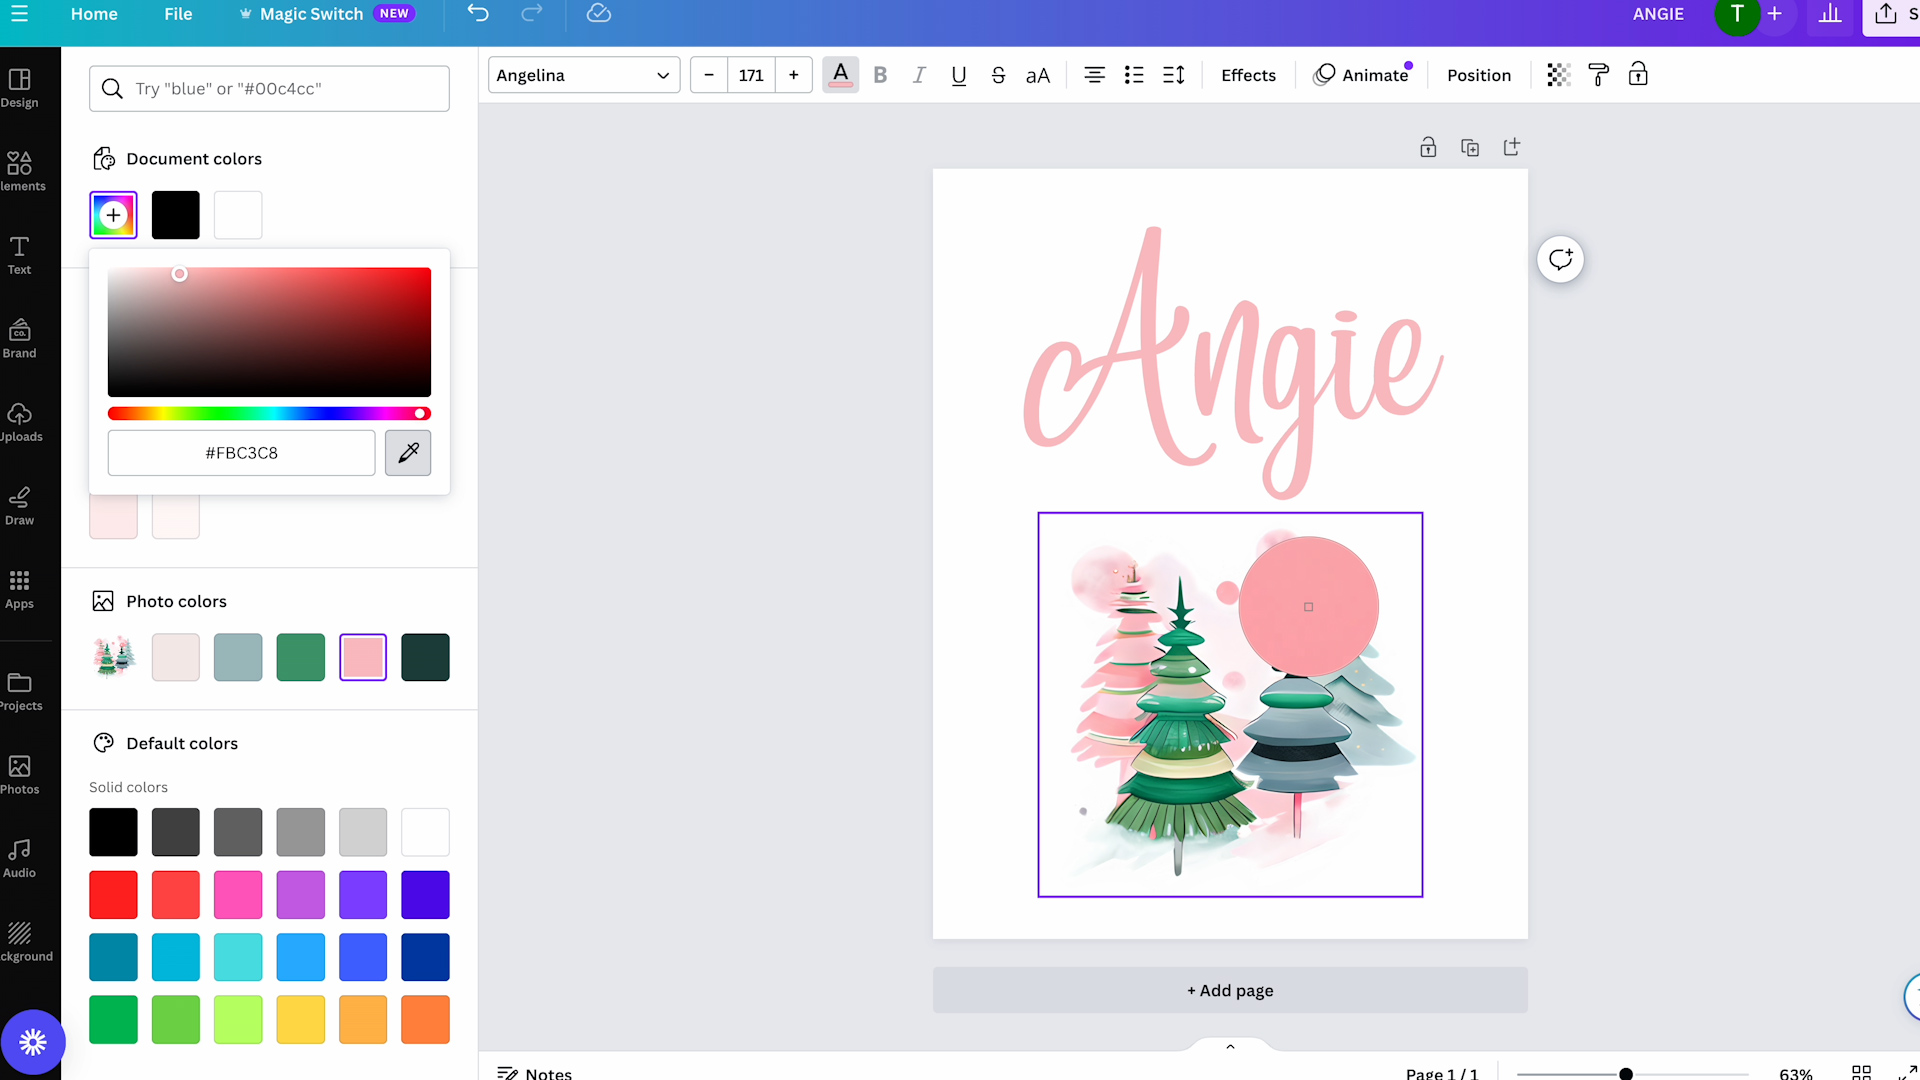
Download Design from Canva to Print
You can’t print directly from Canva. You will need to download the design and then use the program of your choice to print to your sublimation printer. Use the same settings that you always use for your sublimation printer.
Remember, a sublimation print is sublimation ink printed onto sublimation paper from a sublimation printer.
Prepare Christmas Stockings for Sublimation
Preheat the press you’re using. I am using an EasyPress and the time and temp for this blank is 55 seconds at 385 degrees.
You do want to preheat the fabric before adding your sublimation print. Preheating removes any wrinkles that may impact your finished design. It also removes moisture that can really affect sublimation prints.
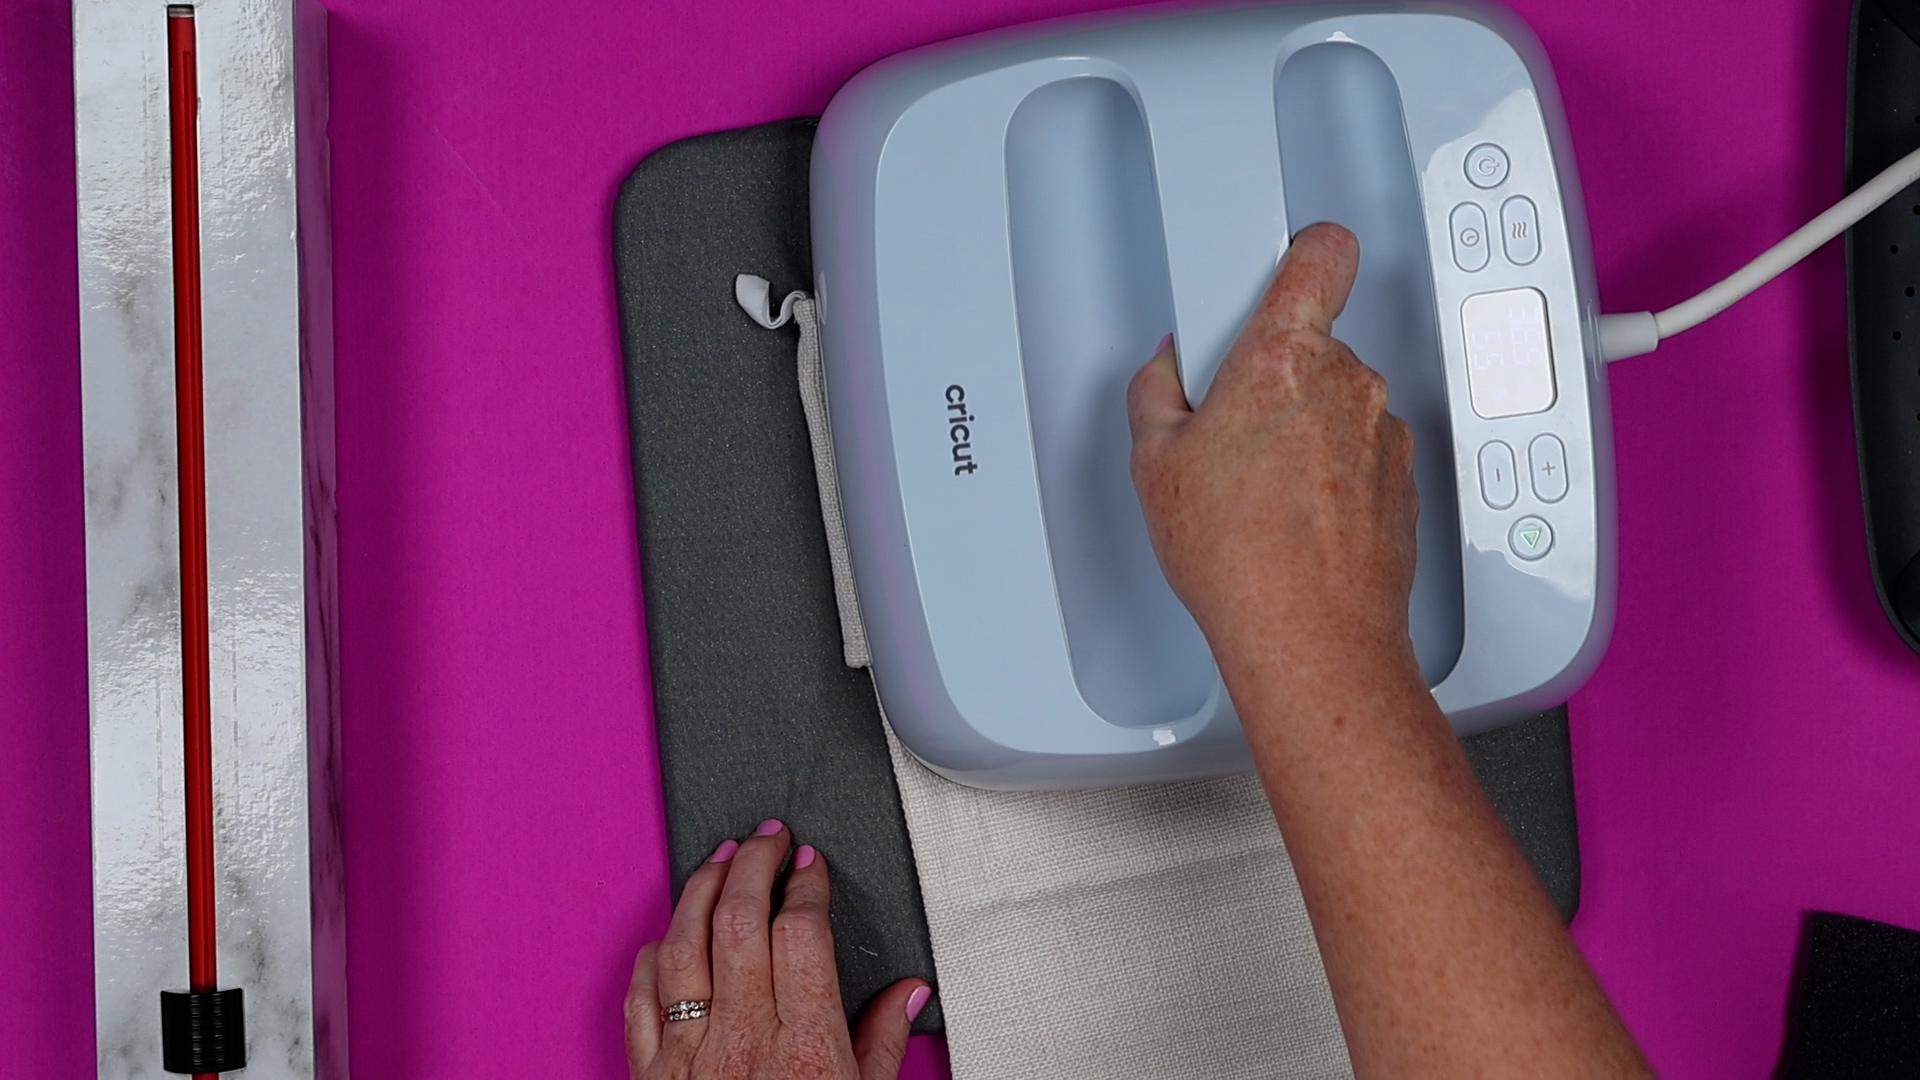
Because these stockings have a lot of seams and folds I am adding a pressing pillow to the inside of the stocking.
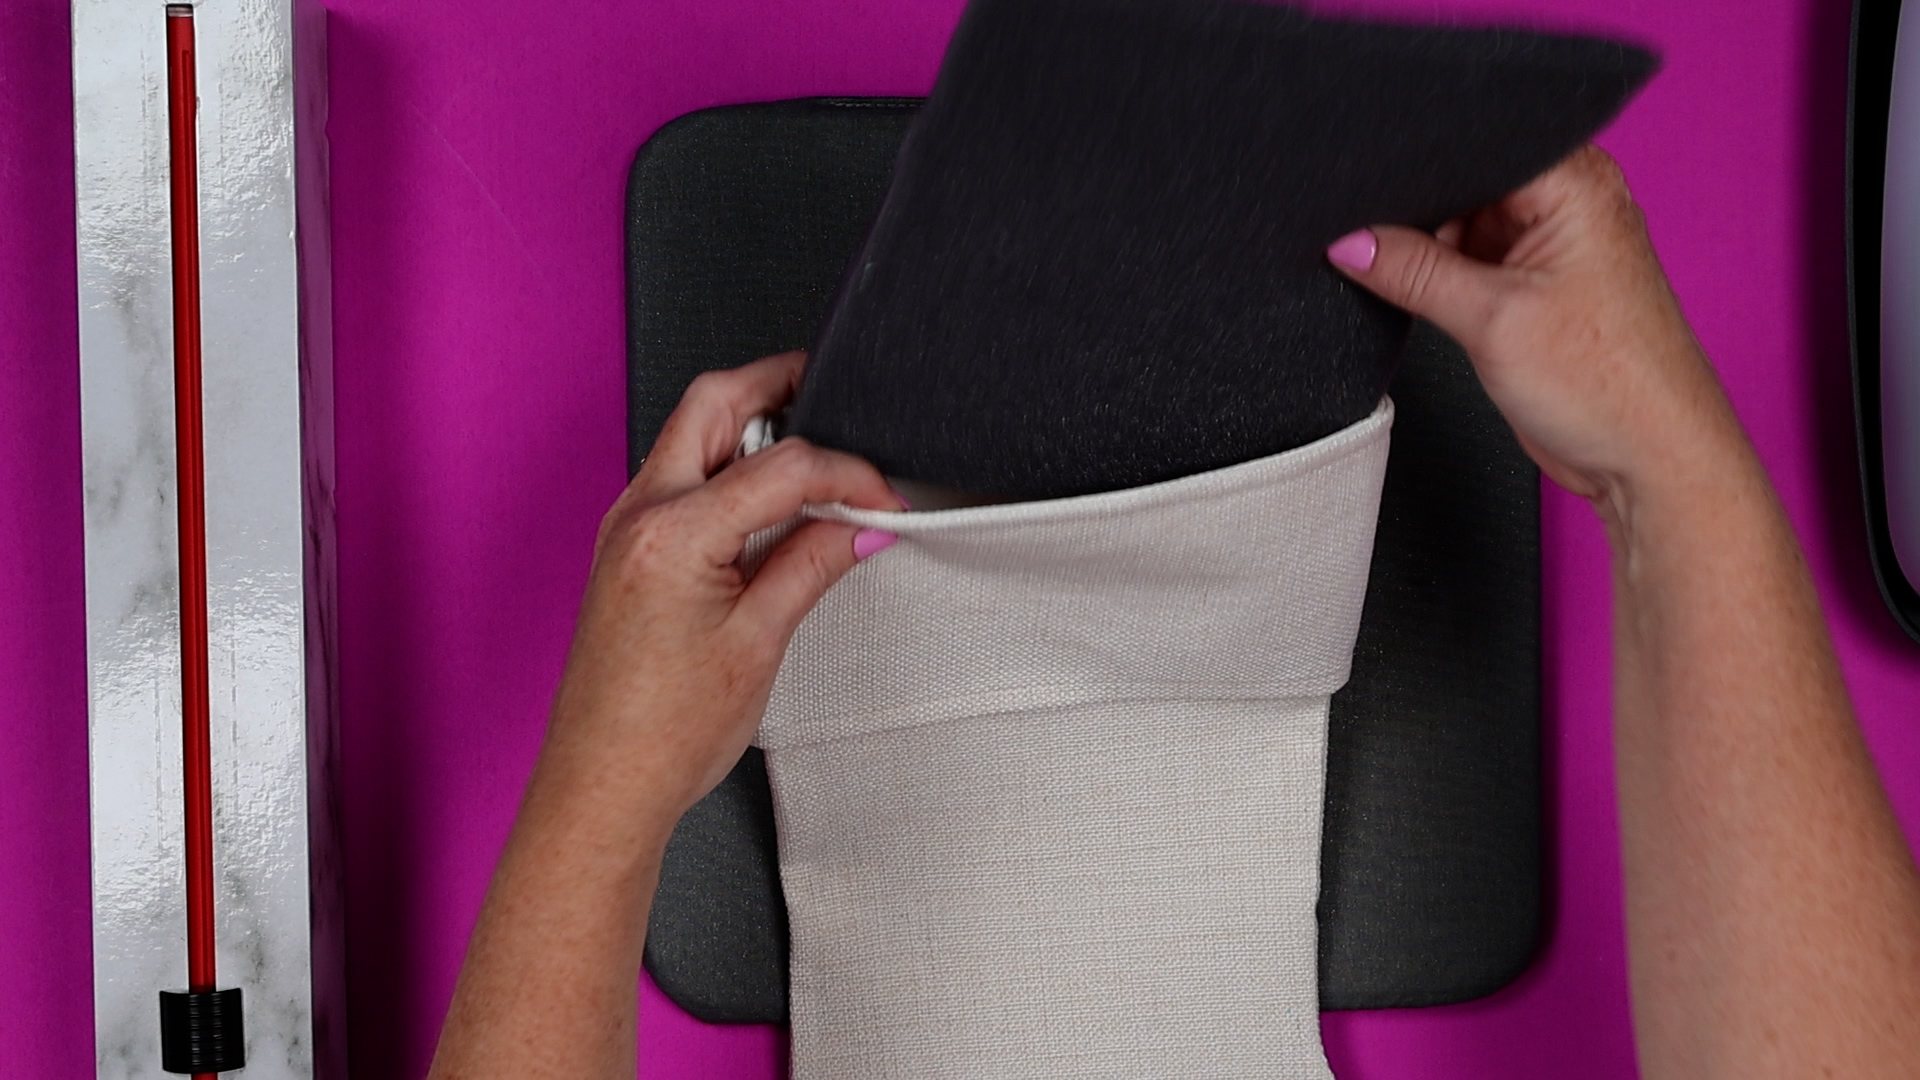
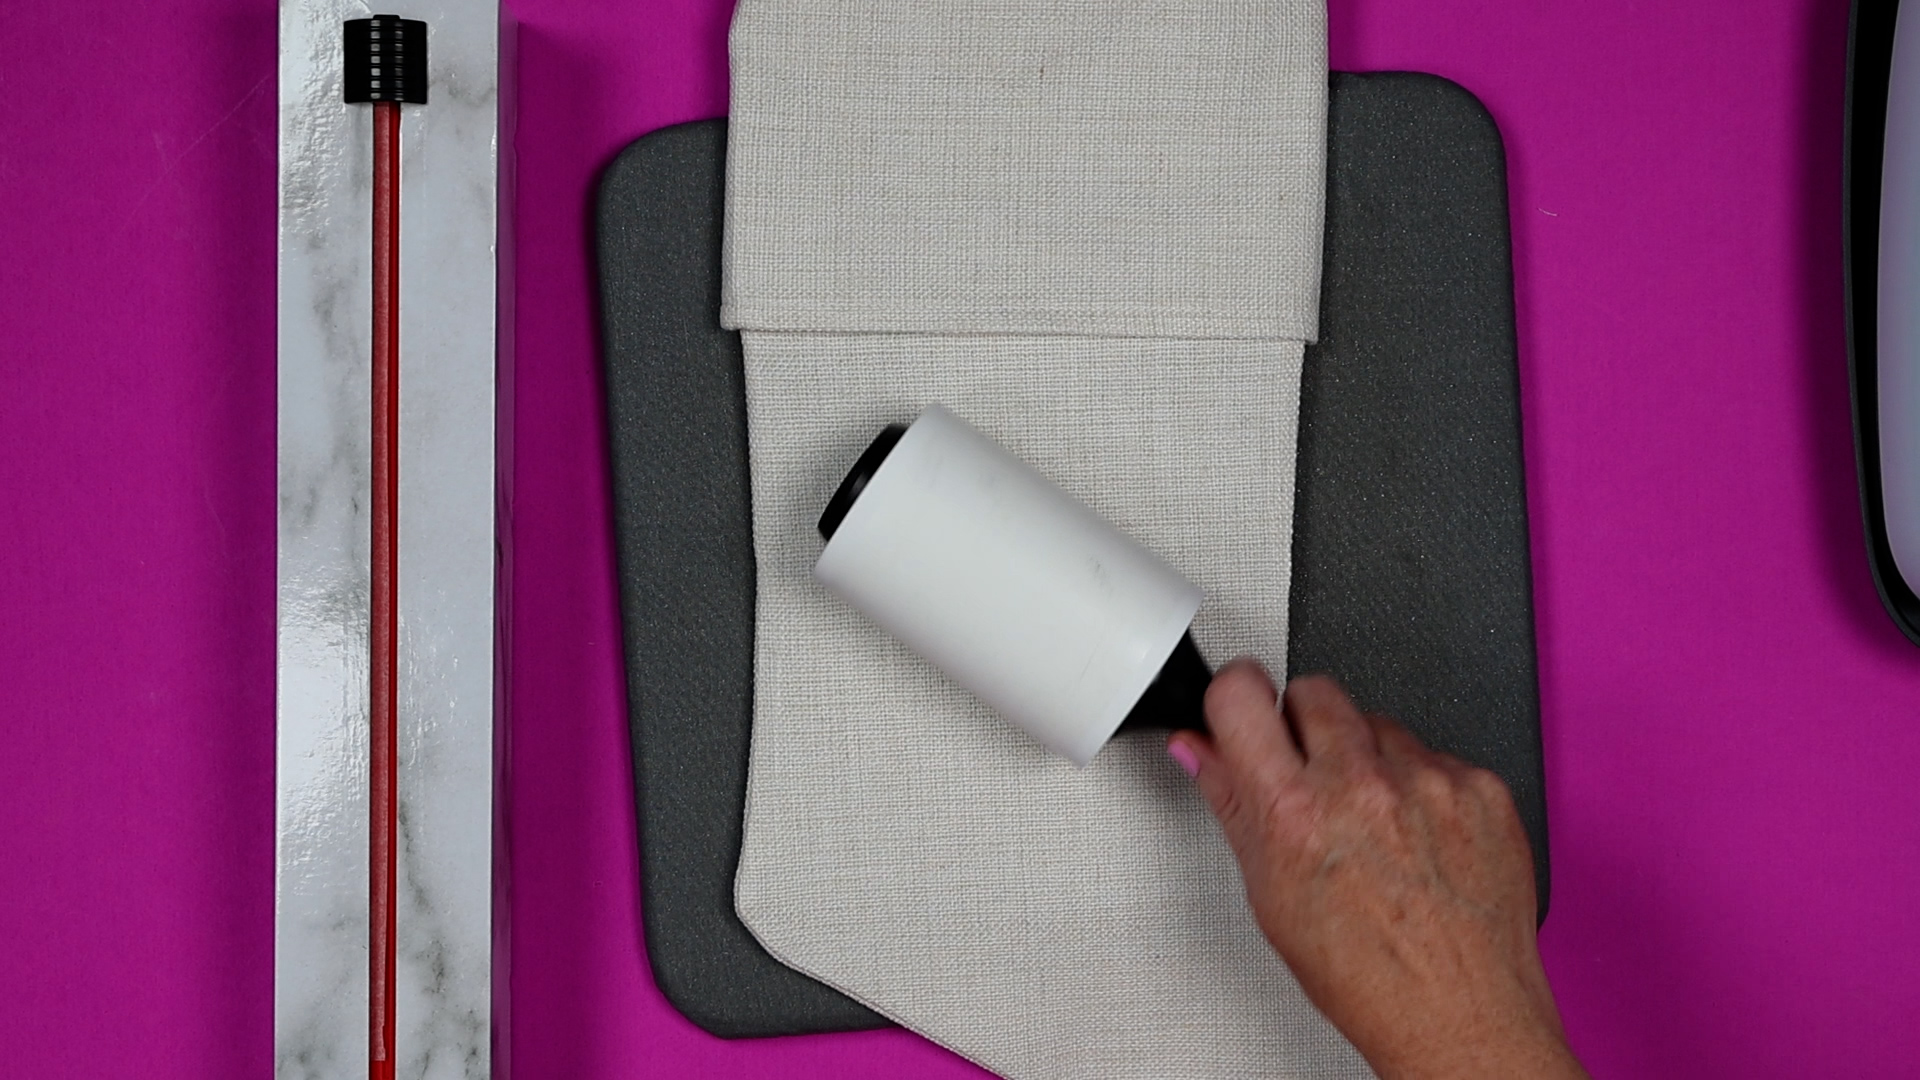
Adding the pressing pillow to the inside of the stocking lifts the area we’re sublimating above the seams. After pre-heating, lint roll the surface really well.
Prepare Sublimation Print for Pressing
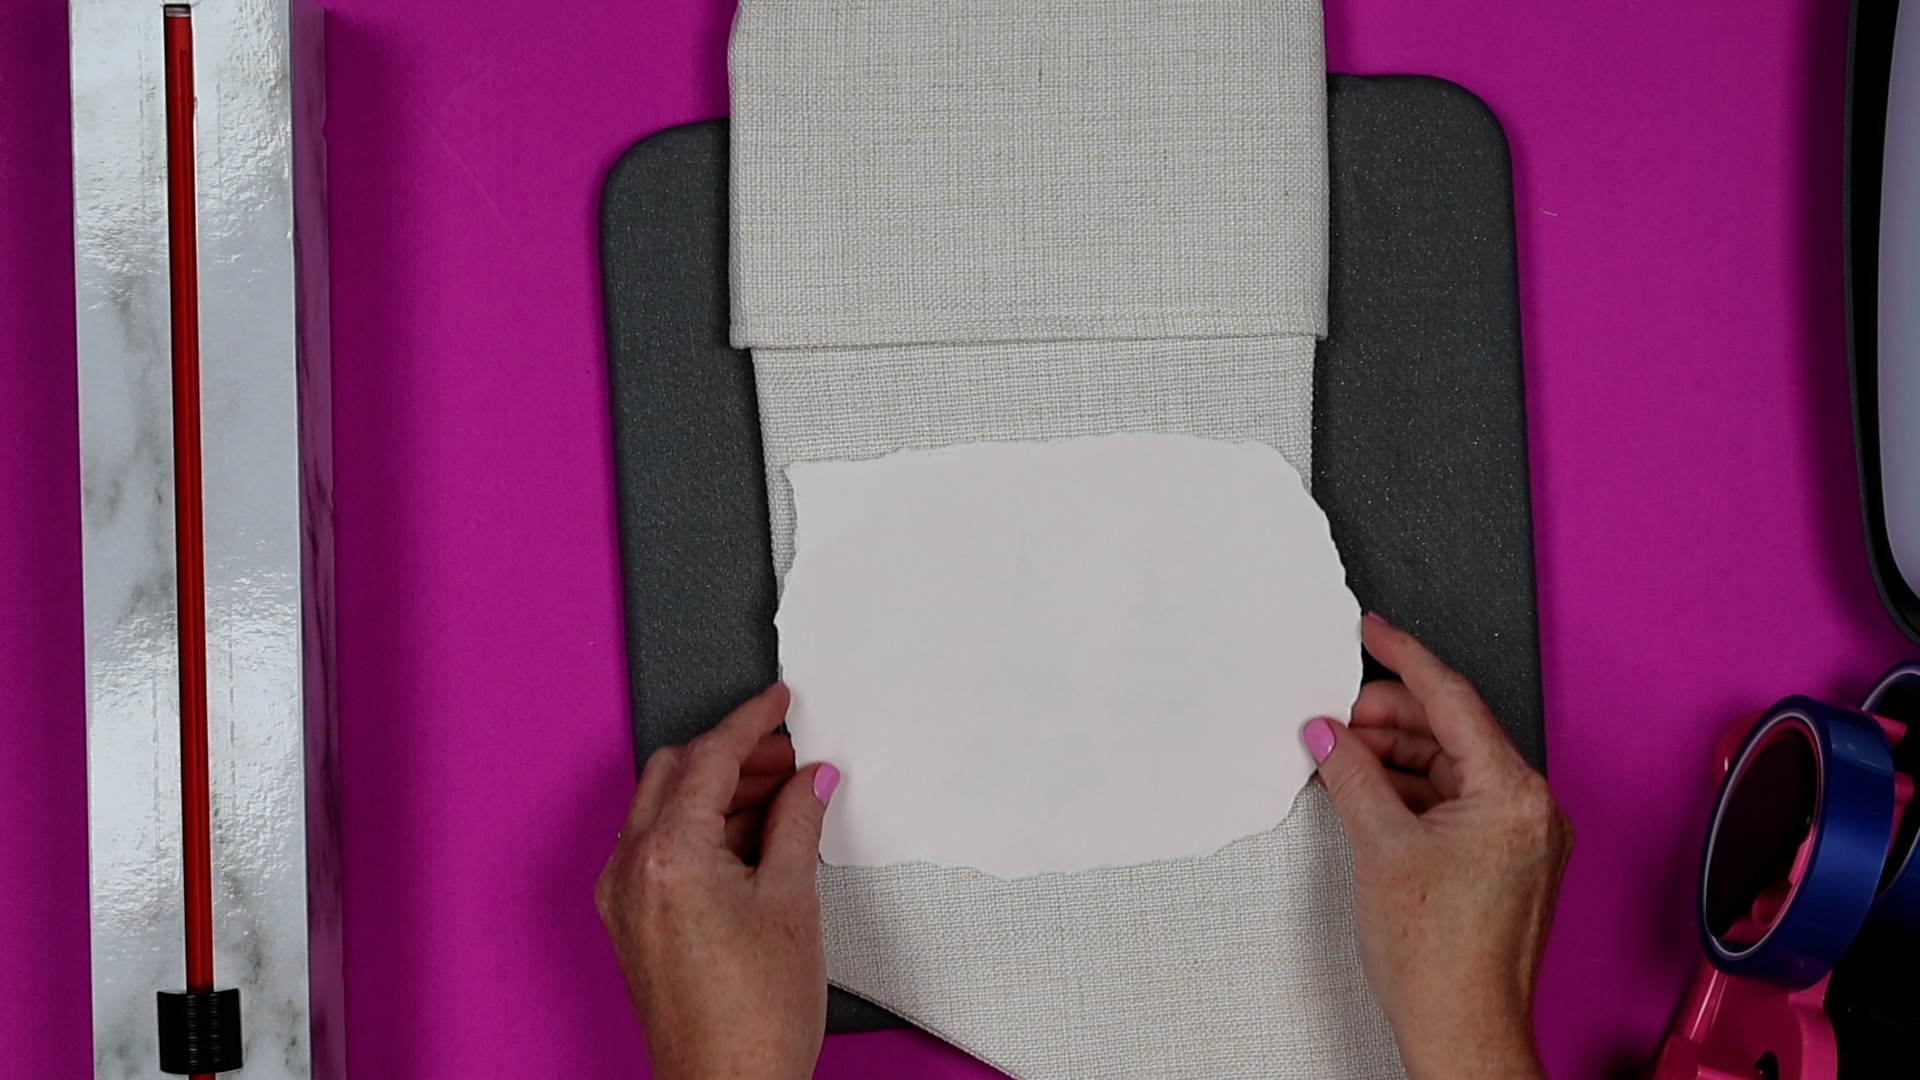
While allowing the stocking to cool, let’s prepare our sublimation print. I like to tear the edges of sublimation prints to help reduce any press lines.
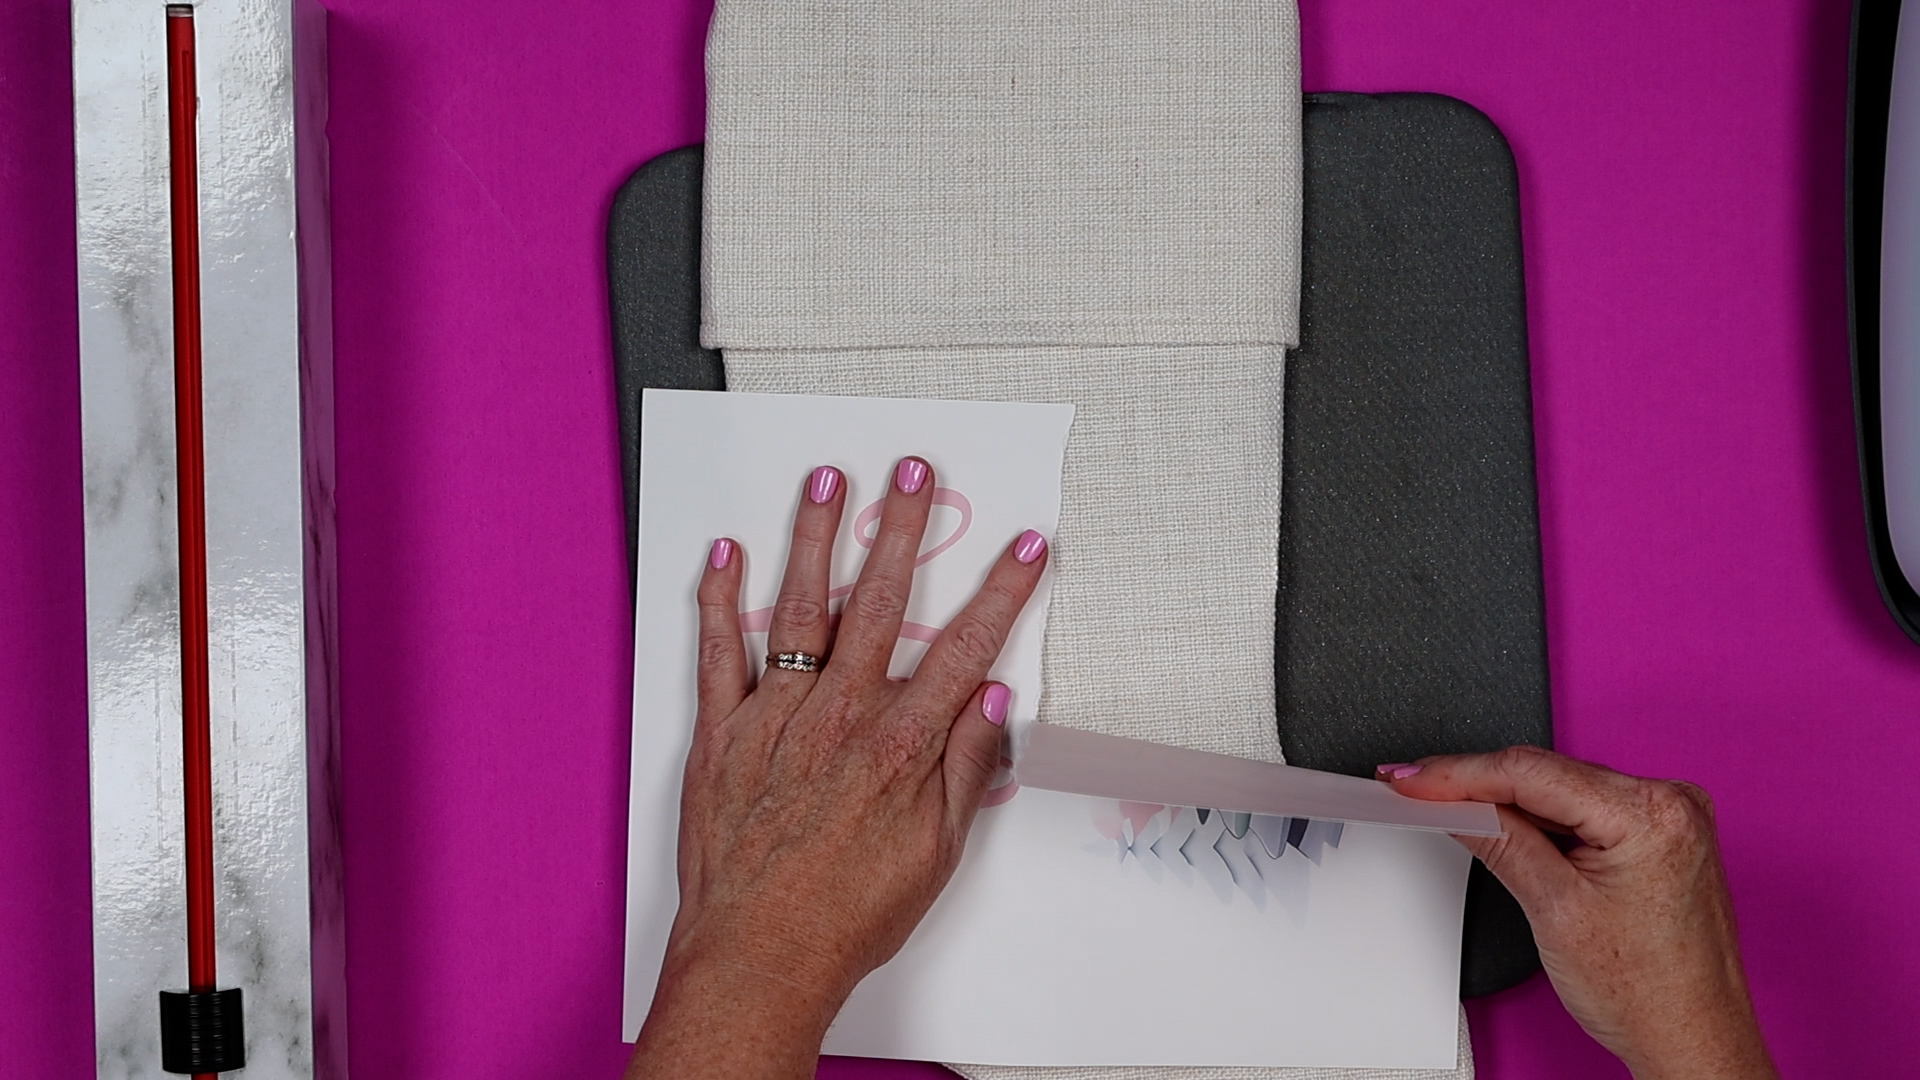
This canvas type of material doesn’t tend to get press lines very badly but ripping the sublimation print is a good idea.
Locate the design where you want it on the stocking and use heat-resistant tape to hold it into place.
Add protective paper to the top to protect your heat source.
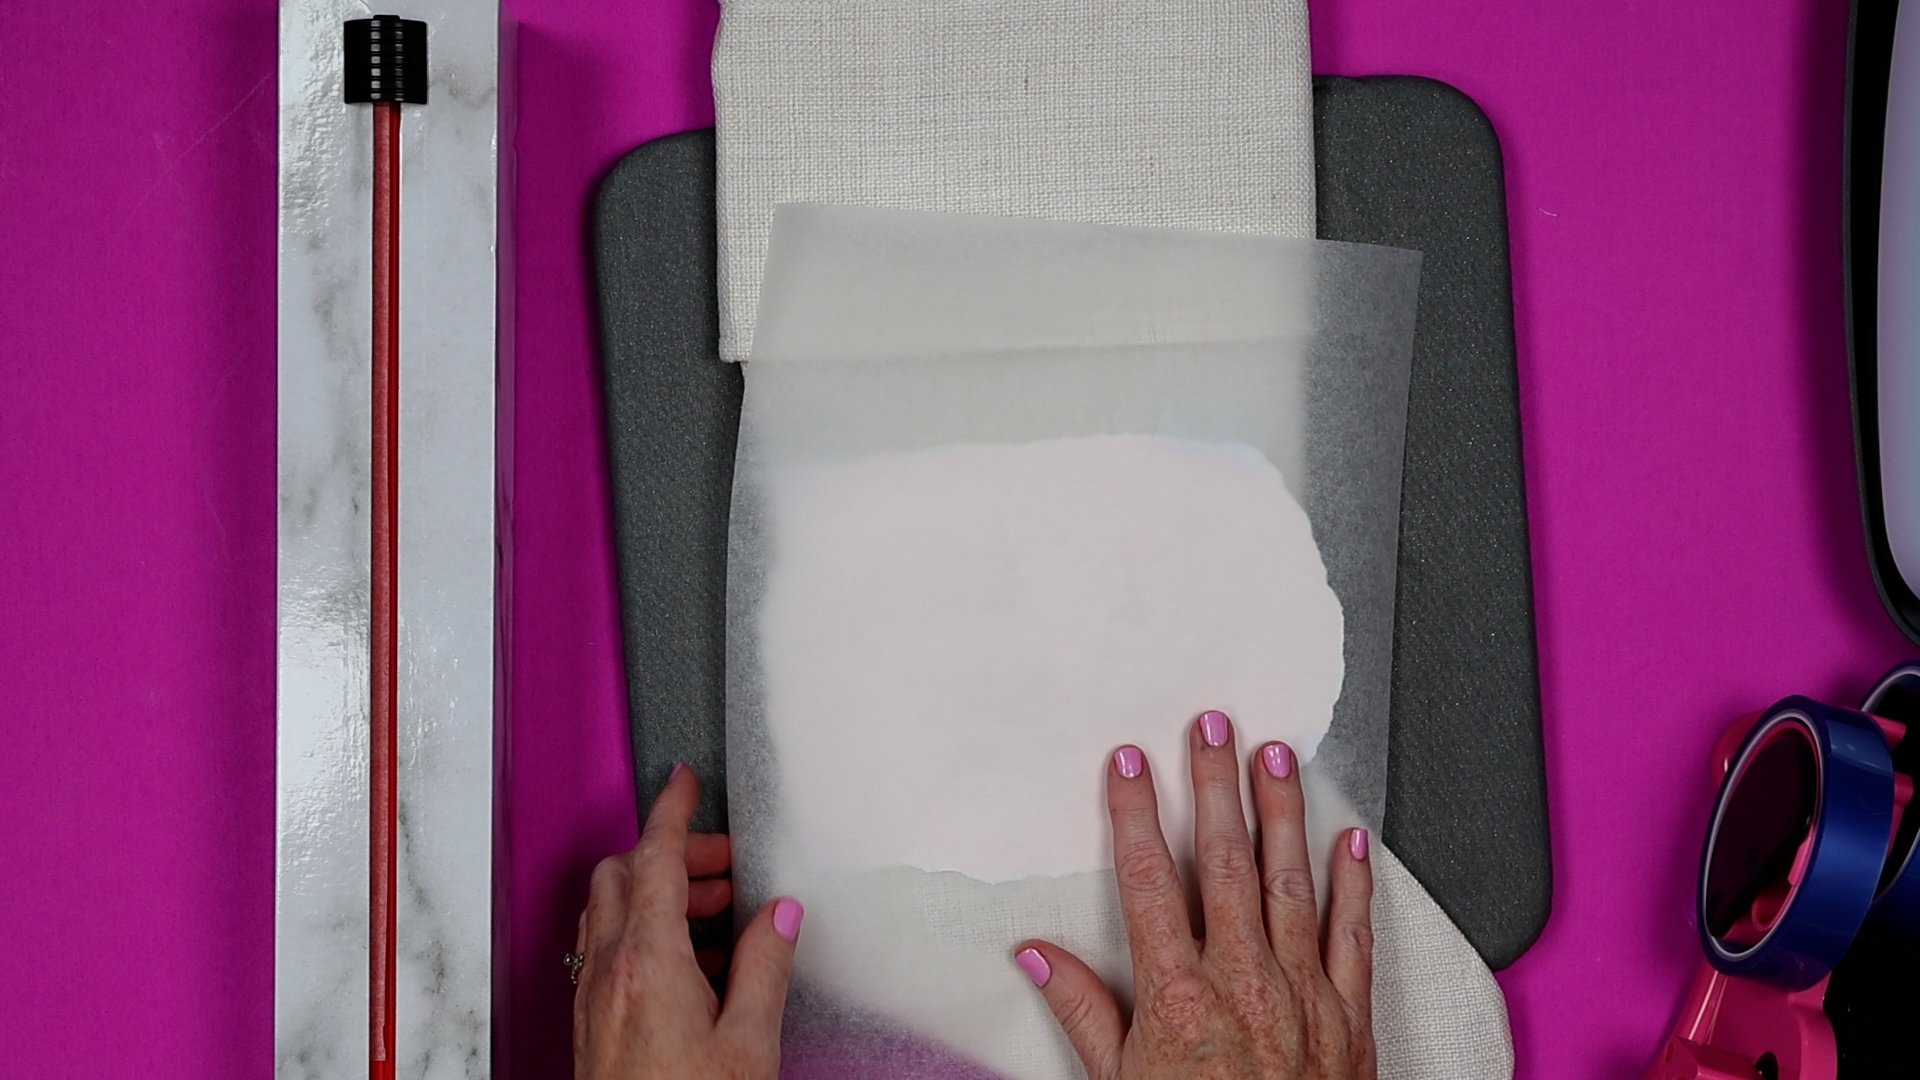
Note – my stocking is double-layered so I don’t feel like the sublimation will go through both layers. If you’re worried about that, you can add protective paper on top of the pressing pillow inside the stocking.
Apply Heat to Sublimation Christmas Stocking
Now we’re going to press the design for 55 seconds at 385 degrees. Apply medium pressure for the whole time and lift it straight up. Lift the paper and remove the sublimation print to reveal the gorgeous design.
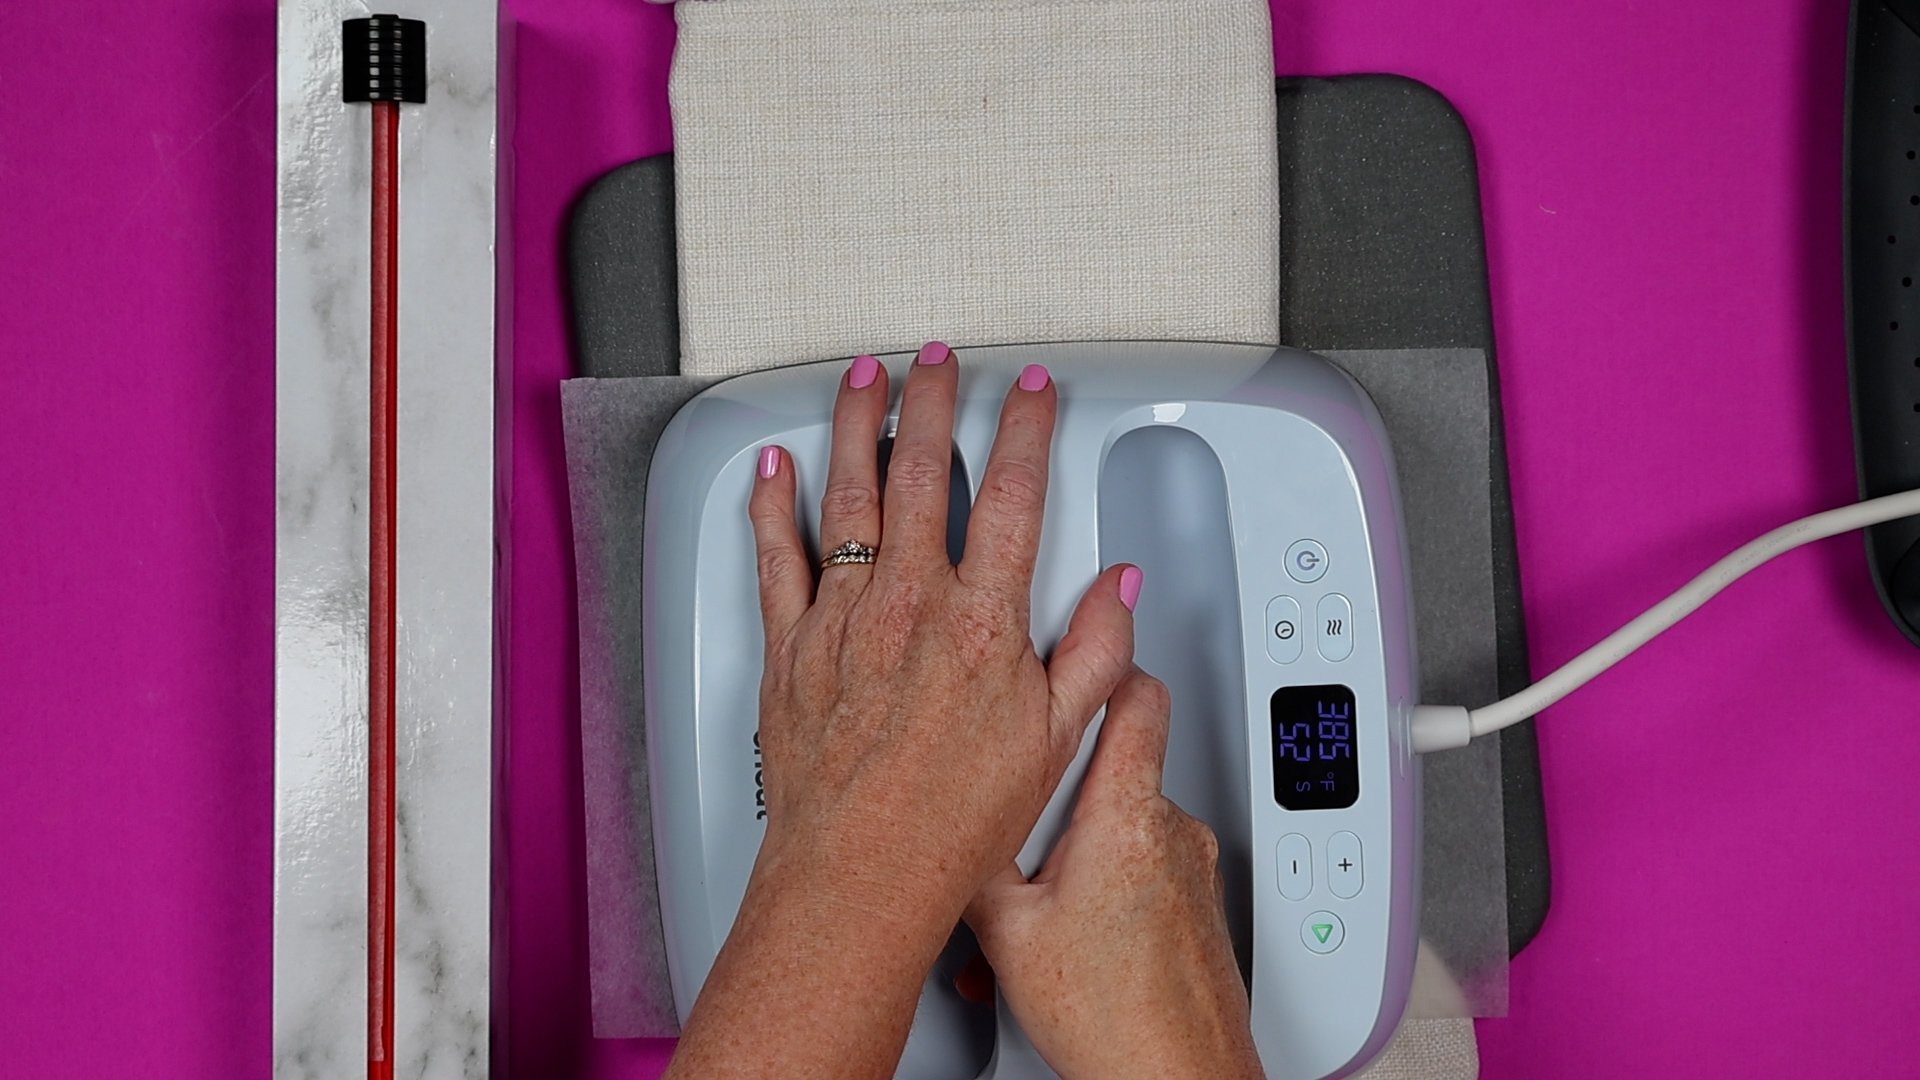
Repeat the same process for the other part of the stocking making sure to move the pressing pillow.
Make sure you don’t put the press on top of the portion you have already sublimated.
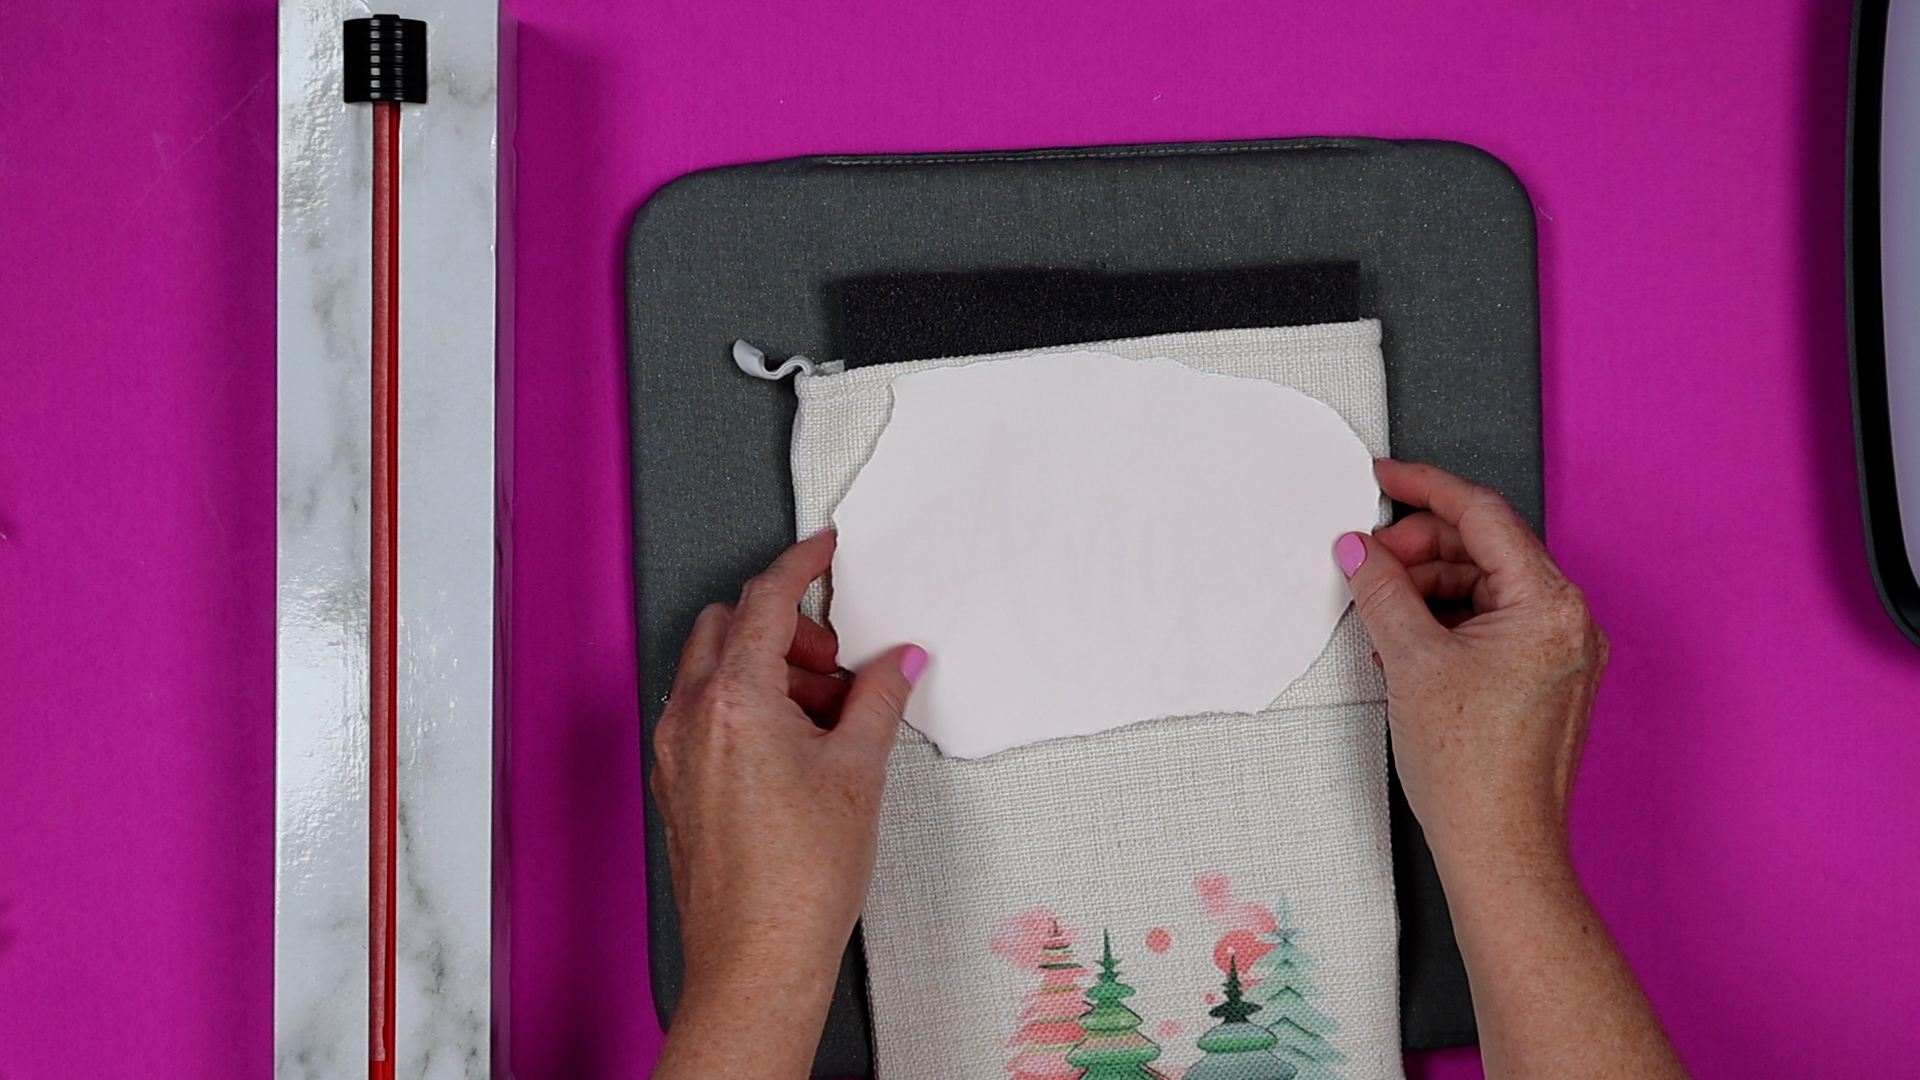
Now you’re done and you can remove the pressing pillow and your stocking is complete.
Final Thoughts on Sublimation Christmas Stockings
I created two stockings and I love the way they both turned out. You can get both of these images in my free Christmas designs bundle above.
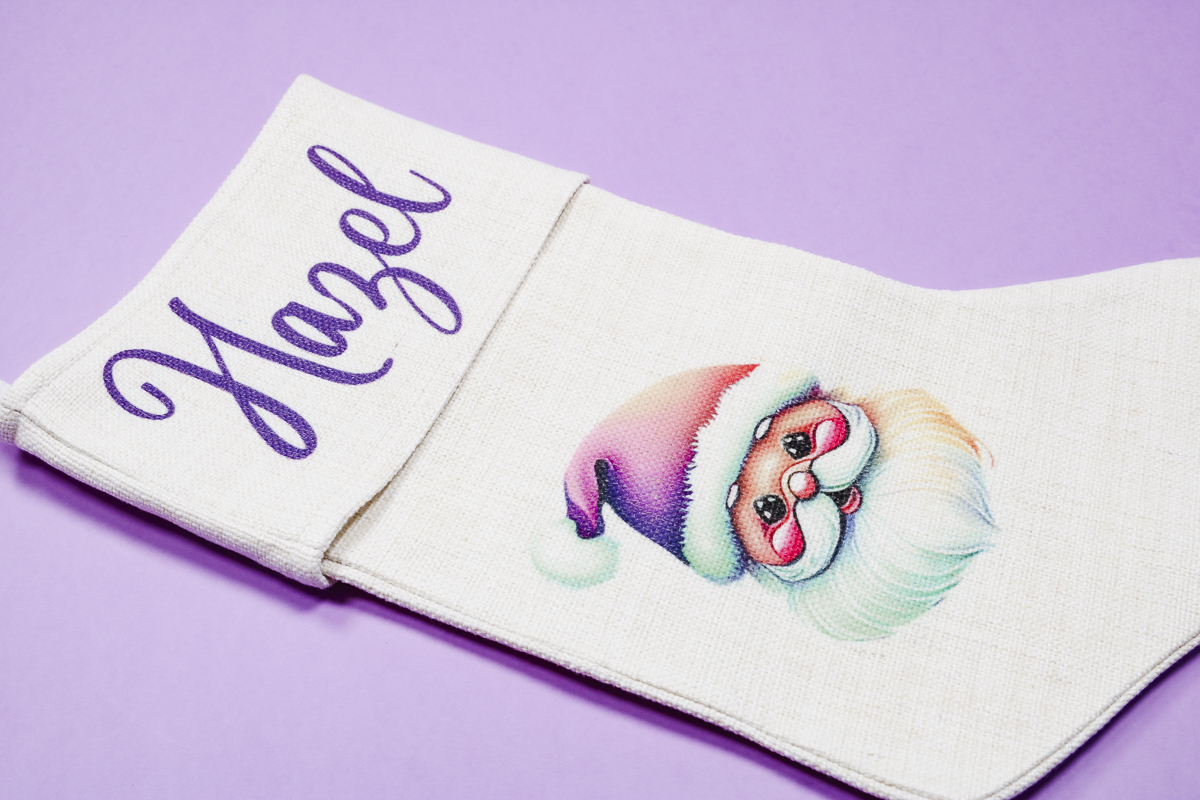
I was really impressed with the quality of these stockings. If you’re looking for sublimation Christmas stockings that feel great and sublimate beautifully, these are a great option.
If you choose a different sublimation blank, make sure you check the time and temperature recommended. Some polyesters can burn if they’re thin.
I hope I’ve answered any questions you have about sublimation Christmas stockings. If you have any additional questions, leave them in the comments below and I’ll be happy to answer them for you.

