This post and photos may contain Amazon or other affiliate links. If you purchase something through any link, I may receive a small commission at no extra charge to you. Any supplies used may be given to me free of charge, however, all projects and opinions are my own.
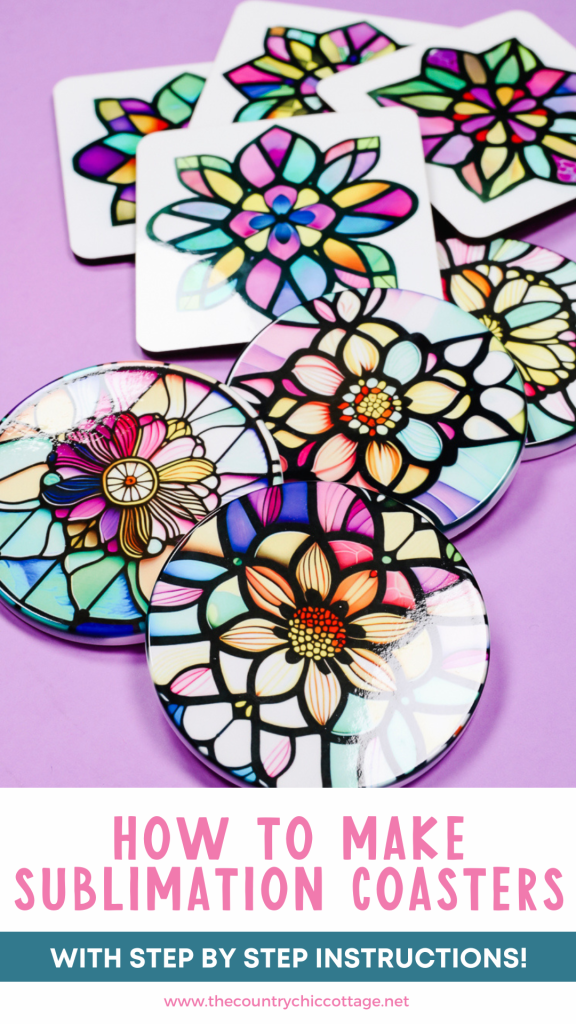
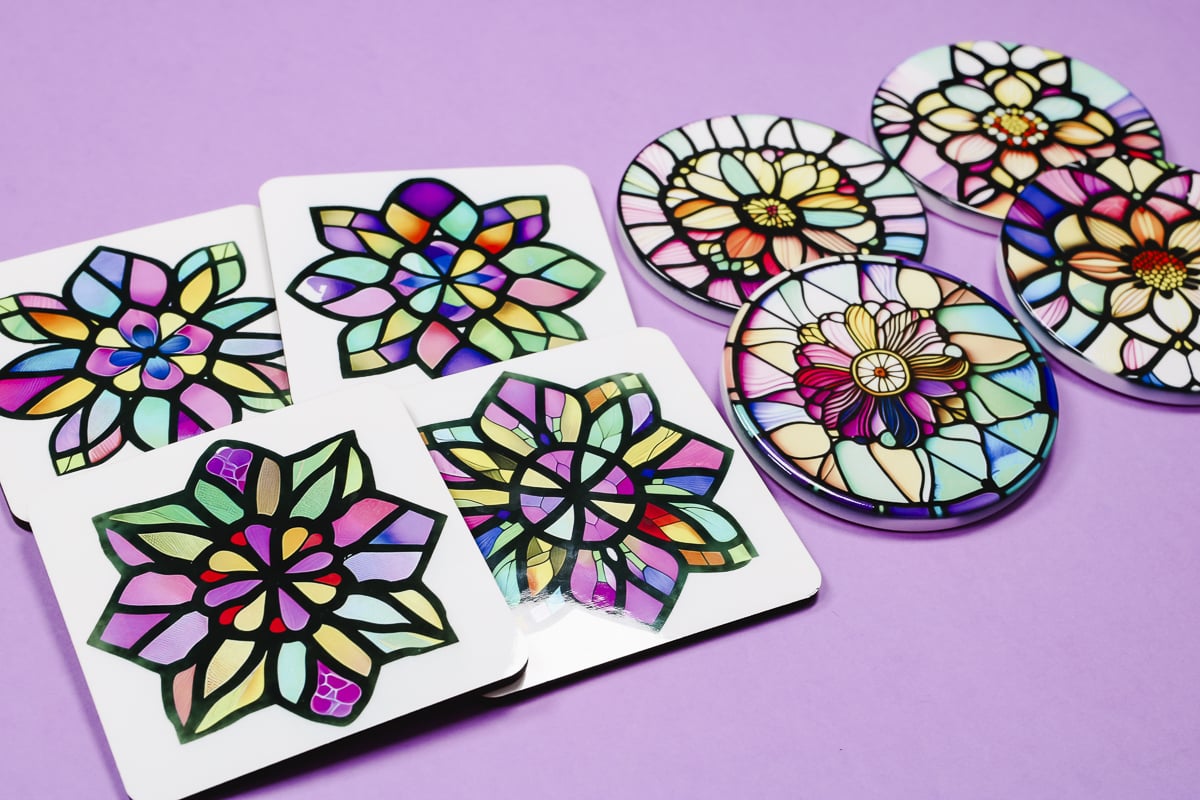
Are you ready to learn how to make sublimation coasters the right way? Today I’m going to show you how to make round ceramic Cricut coasters and square hardboard coasters with beautiful stained glass designs.
Trying to decide which sublimation printer is right for you? My sublimation printer comparison post will answer the questions you have about different printers.
You can watch me make these coasters from start to finish by pressing play on the video below.
How to Make Stained Glass Sublimation Coasters
I’m using stained glass sublimation designs for my coasters and you can get the free files in the supplies list below. This process will work for with any sublimation design, including photos!
Supplies Used:
Step 1: Print Sublimation Print
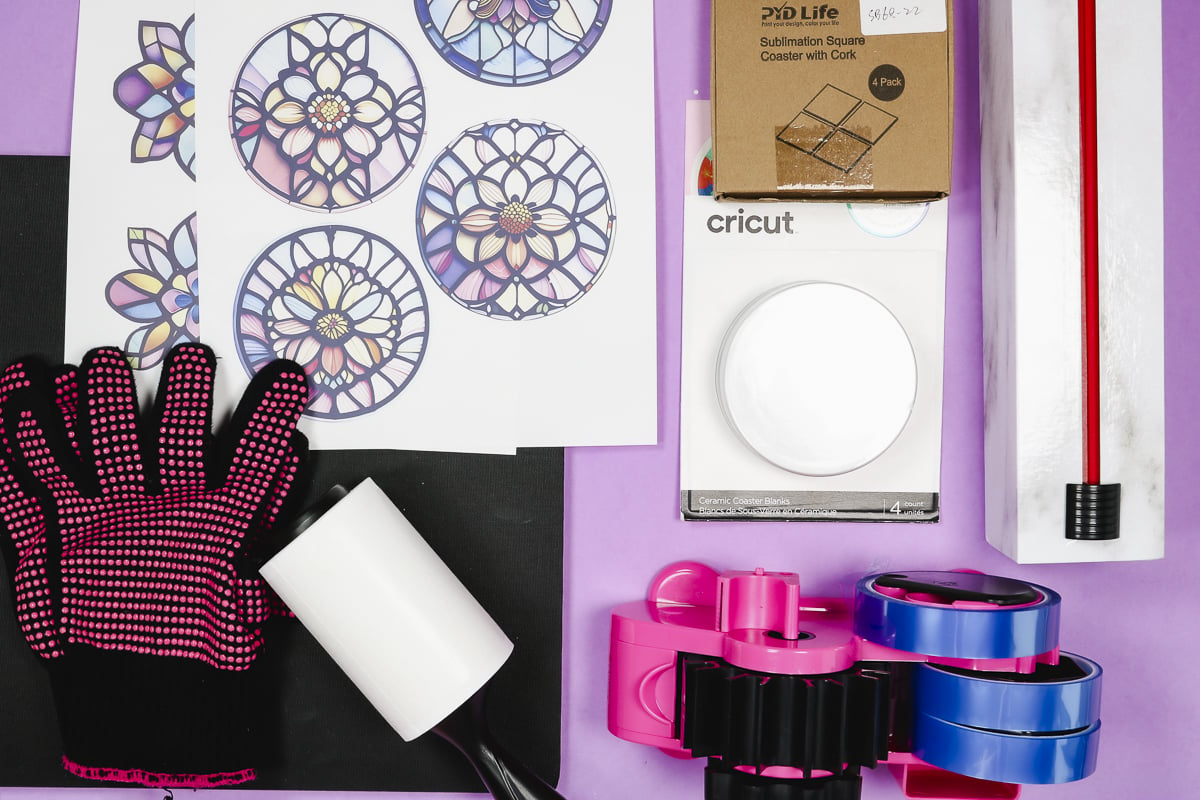
The first thing we need to do is print off our designs. A sublimation print is sublimation ink printed onto sublimation paper from a sublimation printer.
The free downloads here are sized for 3.5-inch round coasters or 3.75-inch square coasters. If you’re using the same blanks I am, you don’t need to resize the image at all. You can open the PDF and print it full size.
I am using Sawgrass PrintMate. Open the program, find the design on your computer, and open it.
Click preset and choose the Ceramic Coaster for the round coaster and choose Hardboard for the square hardboard coaster. Ensure all the settings are correct and set up the design to print. I also like to click Color Management and then click Vibrant. With those settings selected, click Print.
I centered the designs on the page so I have more of a white area around the coasters. Doing this does not resize the design.
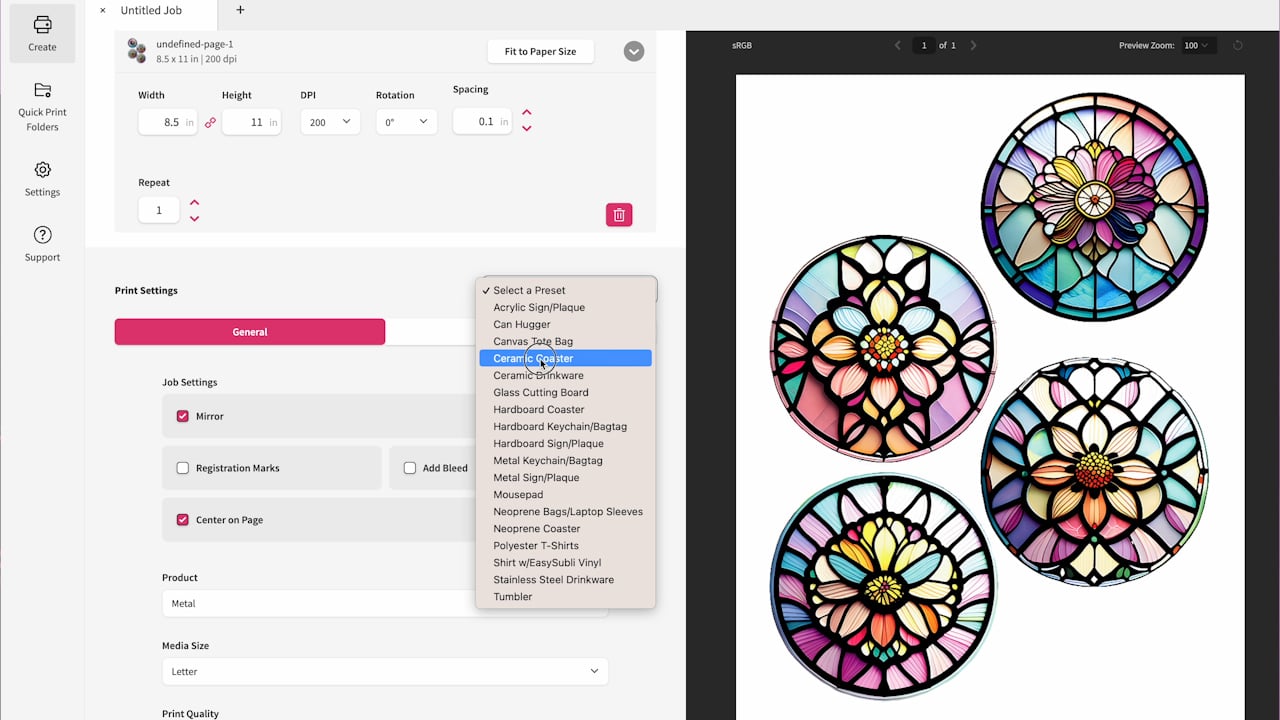
If you have a different type of printer, the printing process will be similar. Open the file and print at 100% or Actual Size.
Step 2: Prepare Sublimation Coasters for Pressing
The first thing we need to do is open the packaging and check for a protective film. Always check both sides of the sublimation blanks for protective film and remove it.
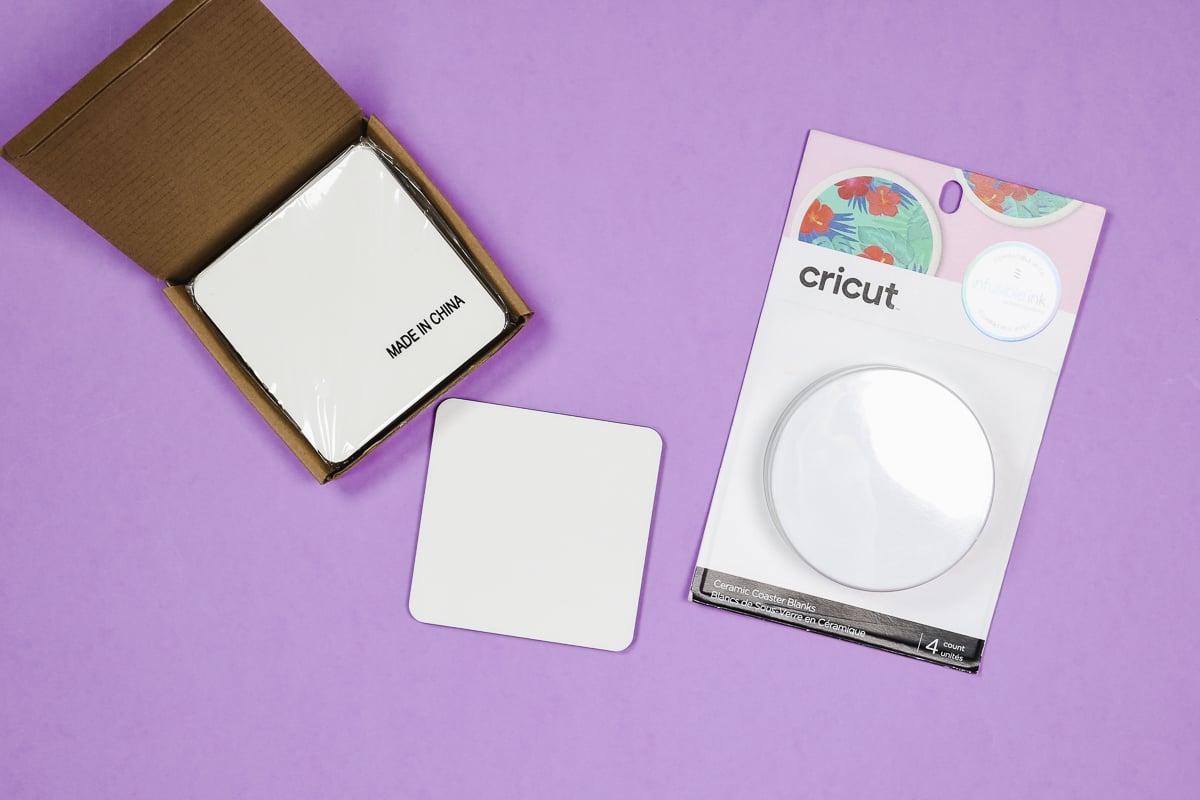
I am using my AutoPress for these coasters. I like to take out the mat that comes with the AutoPress and use a firmer heat-resistant mat. If you don’t have an AutoPress, this heat-resistant mat works great with the EasyPress as well.
A lot of coasters don’t need to be preheated but I recommend always preheating hardboard blanks. Hardboard tends to hold a lot of moisture that can cause issues in your finished product.
I preheat for the same amount of time and the same temperature that the blank recommends for pressing. It’s important to remove any moisture in your blank.
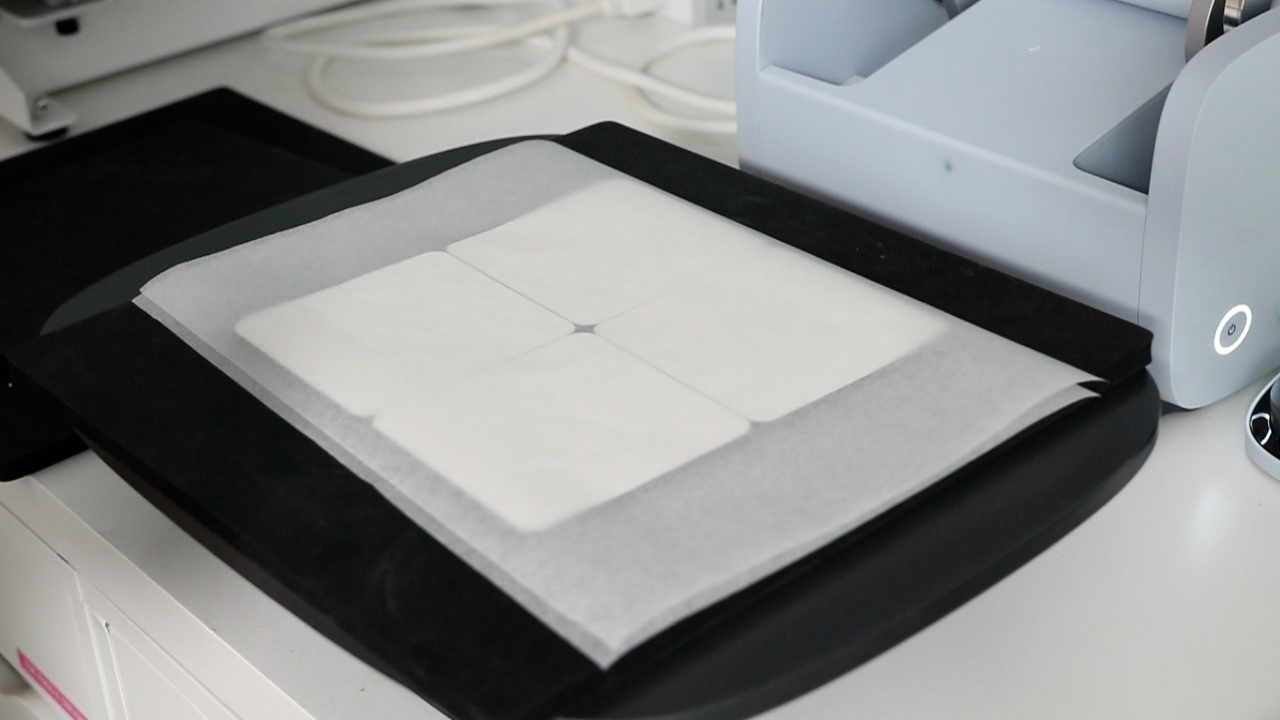
These blanks will get very hot during the preheat process. Use your heat-resistant gloves to move them onto a heat-resistant mat and allow them to cool completely before applying the sublimation print.
Step 3: Apply Sublimation Print to Sublimation Coaster
When the coaster has cooled, clean the blank really well. I like to use a lint roller, you can also use a lint-free cloth with rubbing alcohol. With the coasters clean it’s time to apply the coaster to the print.
Add Round Ceramic Coaster to Sublimation Print
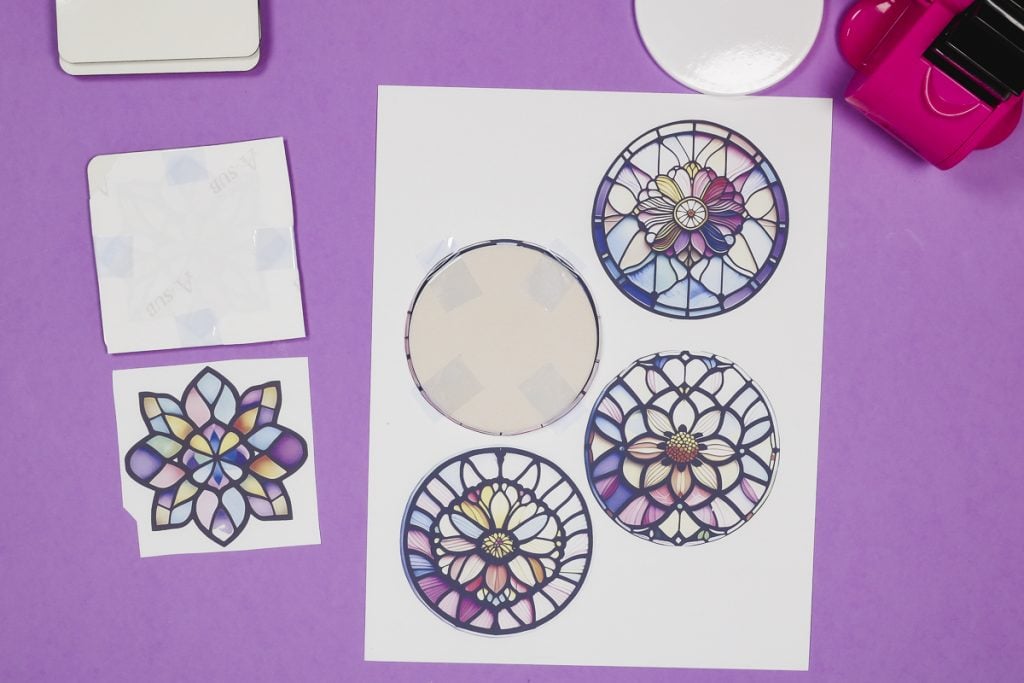
For the round coasters, I have the stained glass design slightly larger than the coaster itself.
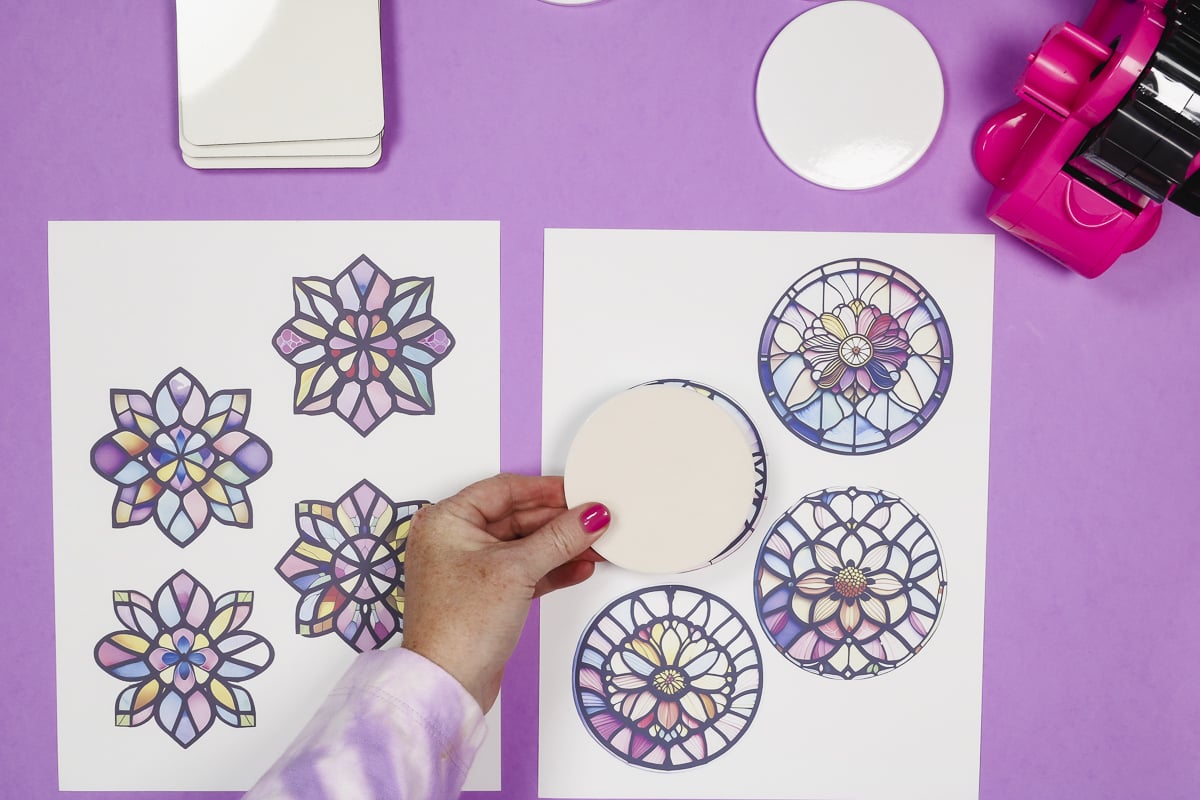
Locate the coaster, sublimation side down, on top of the sublimation design. To get it centered correctly, locate the coaster so there is the same amount of print showing all the way around.
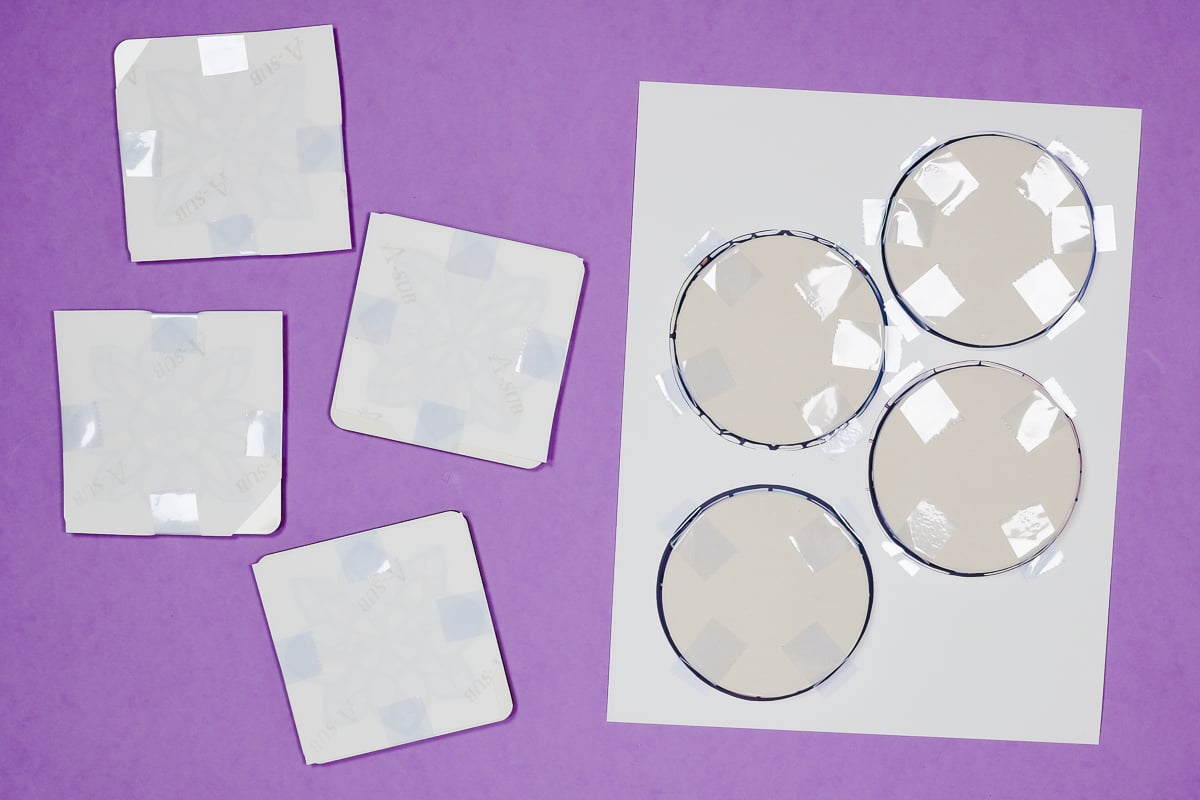
Use heat-resistant tape to secure the coaster in place. I like to place the tape on the back of the coaster and then push it down onto the paper. Repeat the process for all additional coasters.
Add Square Hardboard Coaster to Sublimation Print
For the square coasters, I used a pair of scissors to cut out the individual designs. Since you can’t really see the design through the sublimation paper and I want to make sure it’s centered on the blank I used a hack.
To locate it correctly, I chose 4 points on the design and trimmed the sublimation print at those 4 points so they are all the same distance from the edge of the paper. While this is approximate, it will help us locate it well.
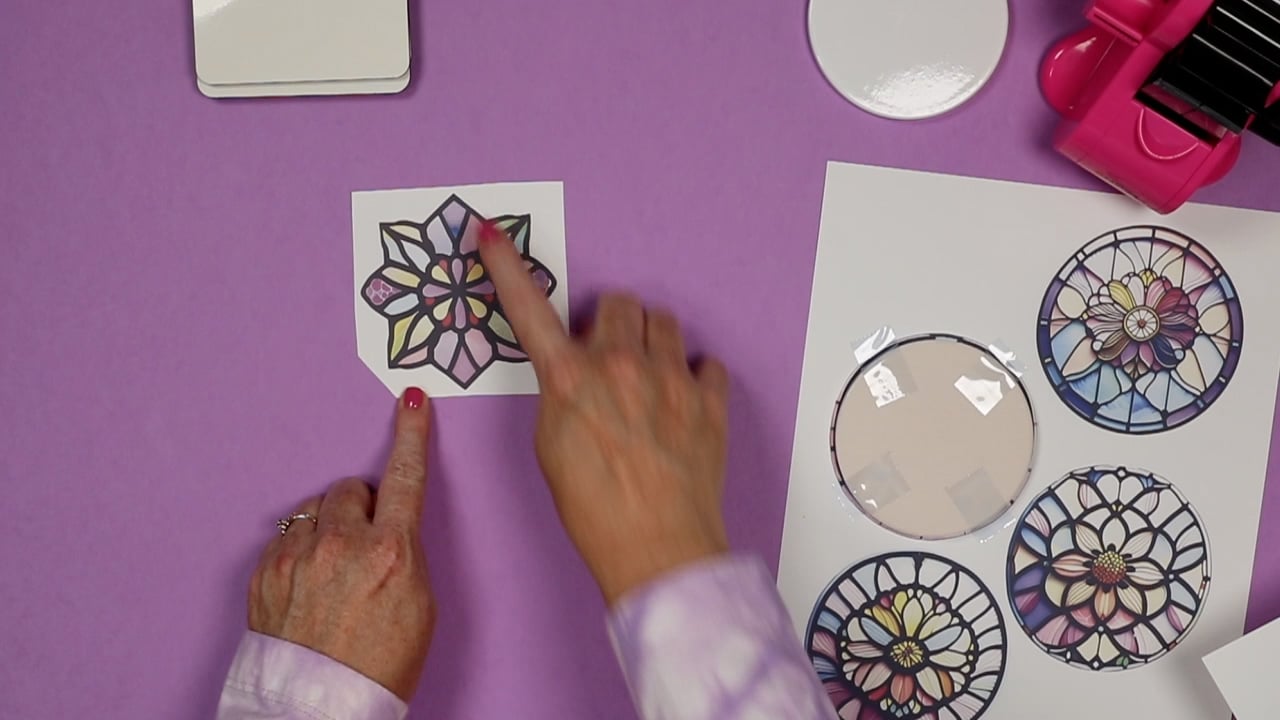
I’m going to locate this sublimation print using those 4 points to line it up and tape it into place. I placed the tape on the sublimation print and wrapped it around the edge onto the back of the coaster.
Step 4: Press Sublimation Coasters
With the sublimation print applied to the coaster, it’s time to press them.
Some coasters, like the Cricut ceramic coaster, say to sublimate them upside down. Personally, I haven’t had good results pressing them with the sublimation print down so I always press them sublimation print up, closest to the heat platen.
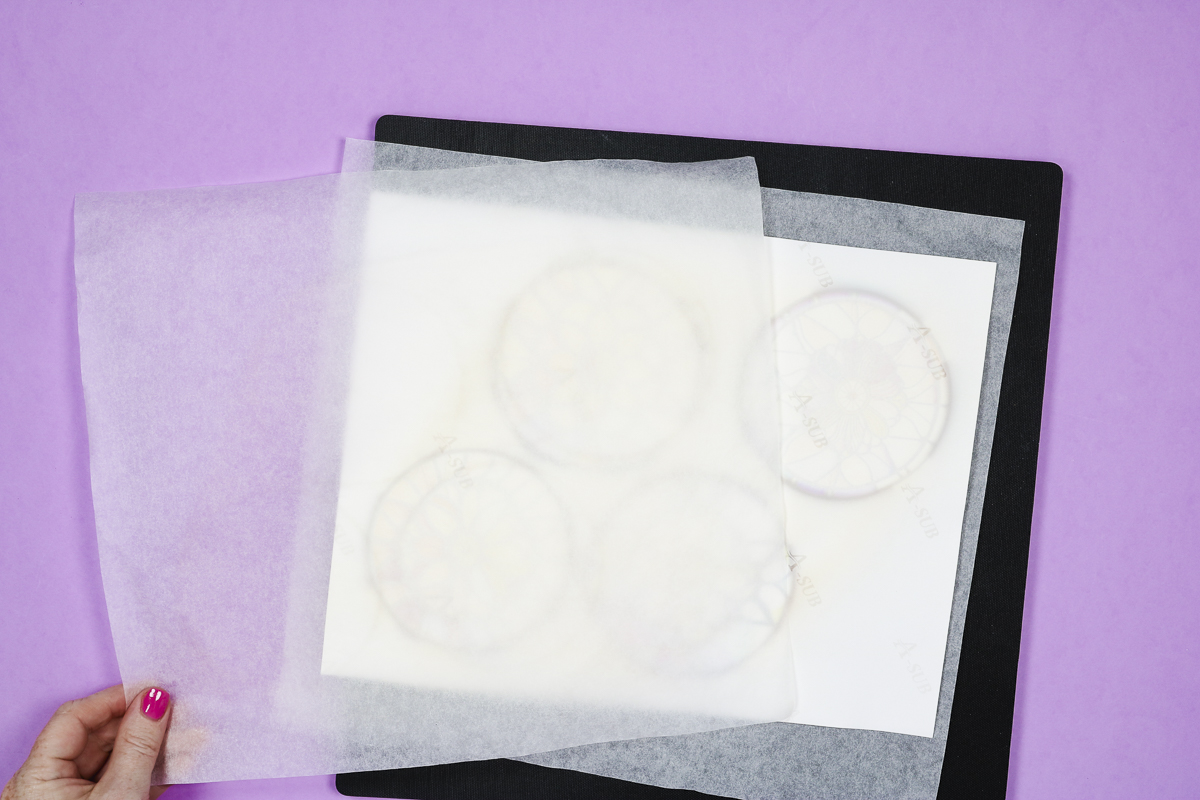
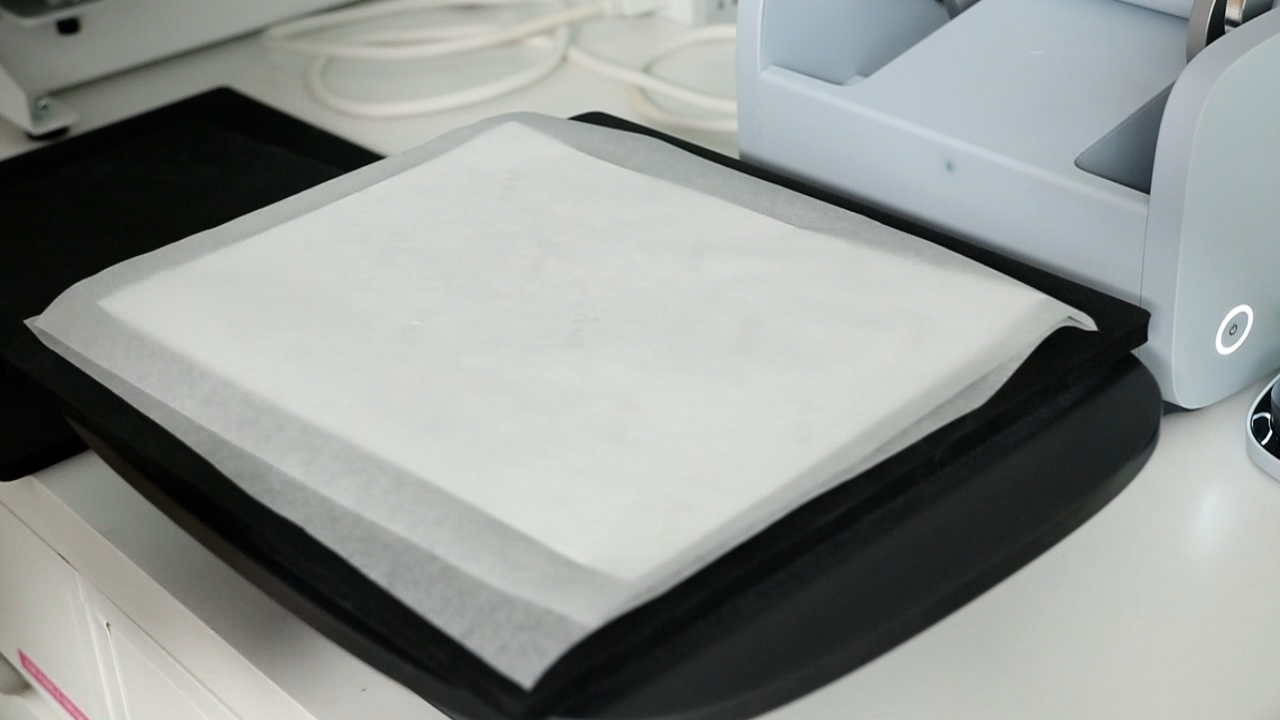
Add a sheet of protective paper below the blank and another one on top to protect your heat press from any ink blowout.
You need to check the time and temperature for any blank you use. Make sure you follow the recommendations from the manufacturer or in the listing to get the best results.
The hardboard coasters call for a pressing temperature of 356 degrees for 150 seconds. For the Cricut coasters, the temperature is 400 degrees for 200 seconds. I am sublimating all the round coasters at once and all the hardboard coasters at another time.
Be sure to preheat your heat press for best results!
Remember, I’m using the firmer heat-resistant mat inside the Autopress. You’ll want to place everything into the press as a sandwich. Heat-resistant mat, protective paper, sublimation coaster with sublimation print on top, and finish with protective paper.
Press for the full-time and temperature and repeat for each different type of coaster.
Step 5: Finish Sublimation Coasters
When the coasters are done, they will be very hot. Make sure to use heat-resistant gloves to remove the coasters and place them on a heat-resistant mat.
Because they are so hot, you may want to allow the coasters to cool down before removing the sublimation print.
I recommend checking the print carefully before pulling off the entire print. If this is the first time you’re testing the coaster, peel back one edge of the print carefully to check the print. If it hasn’t transferred, you can lay it back in place and press it again.
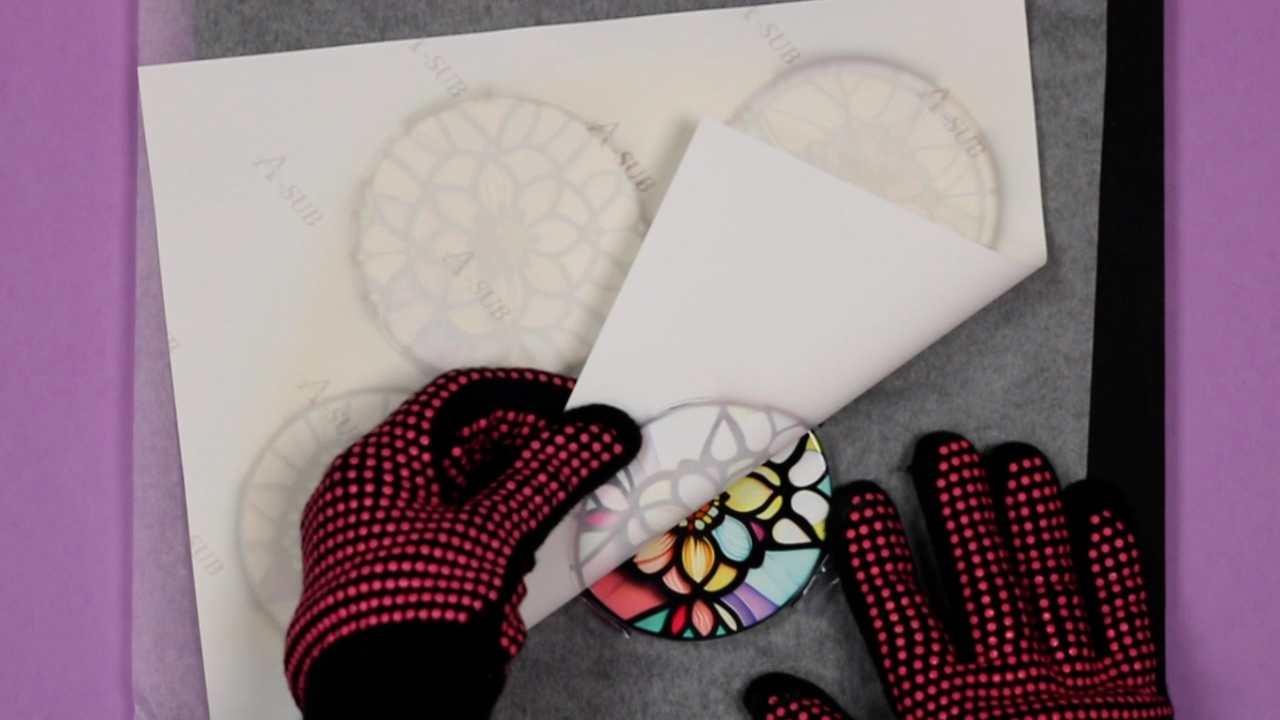
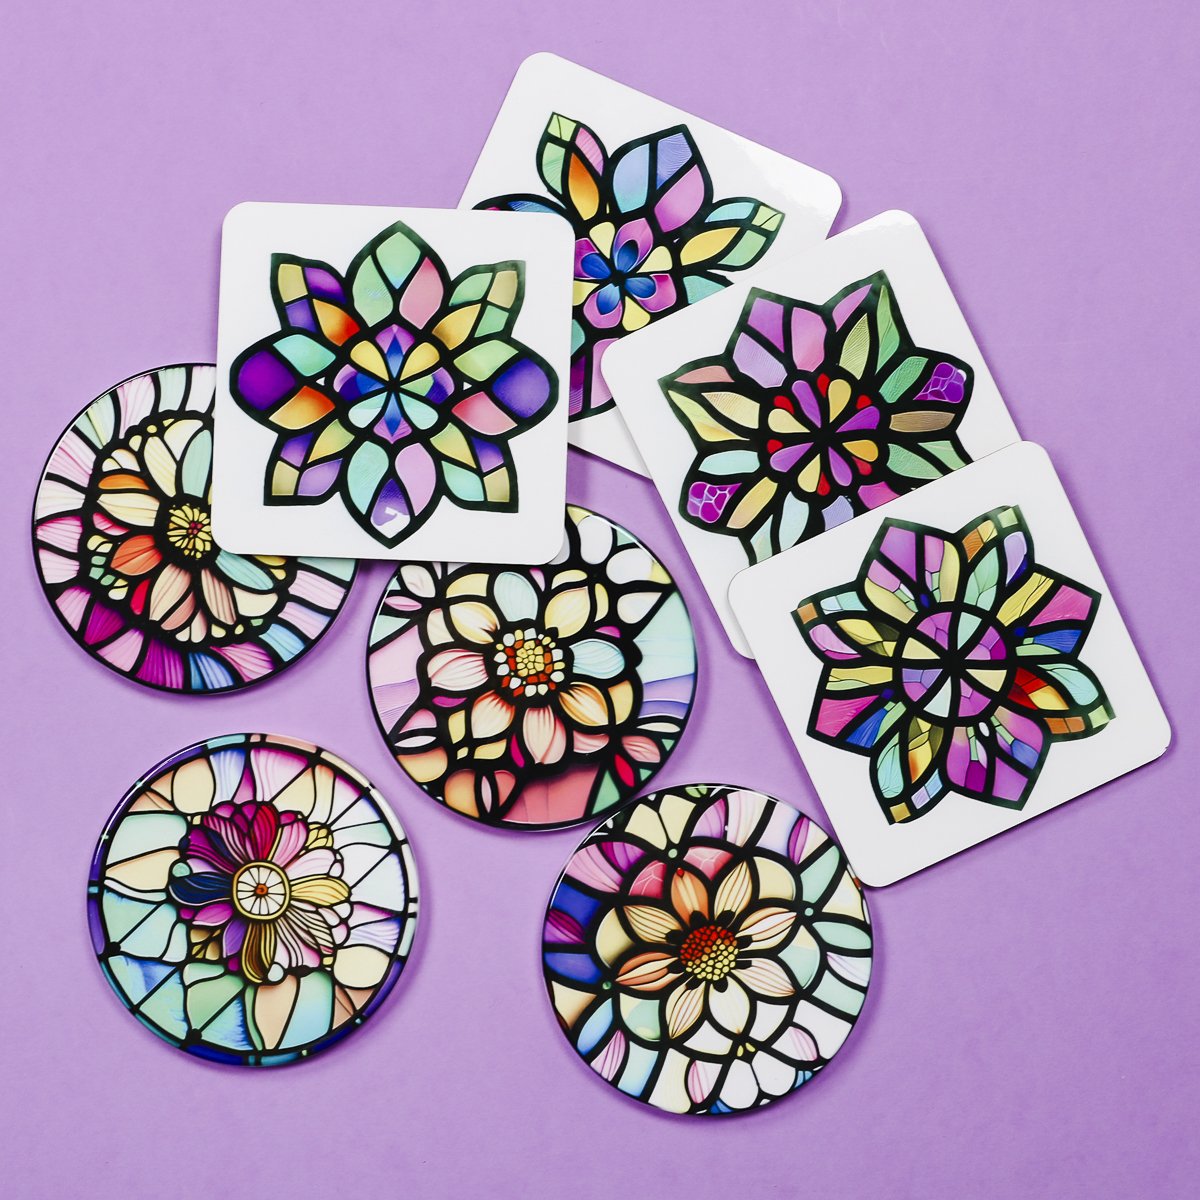
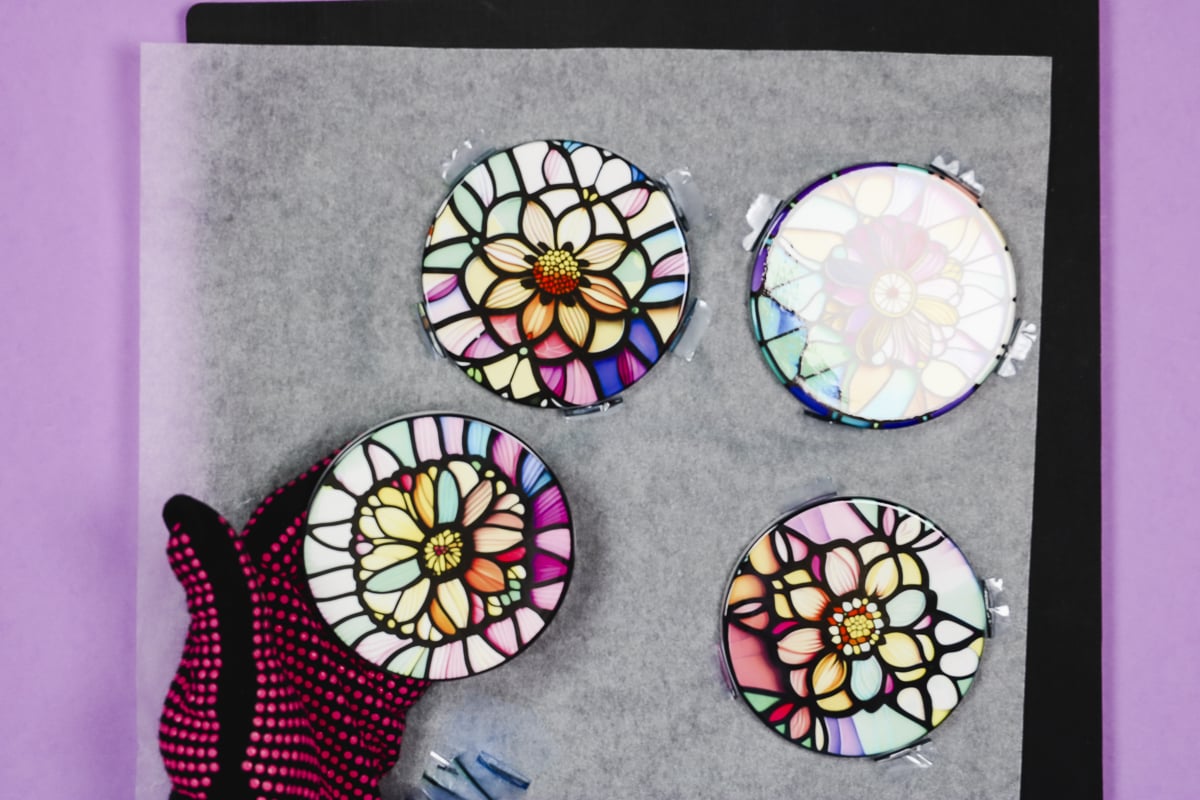
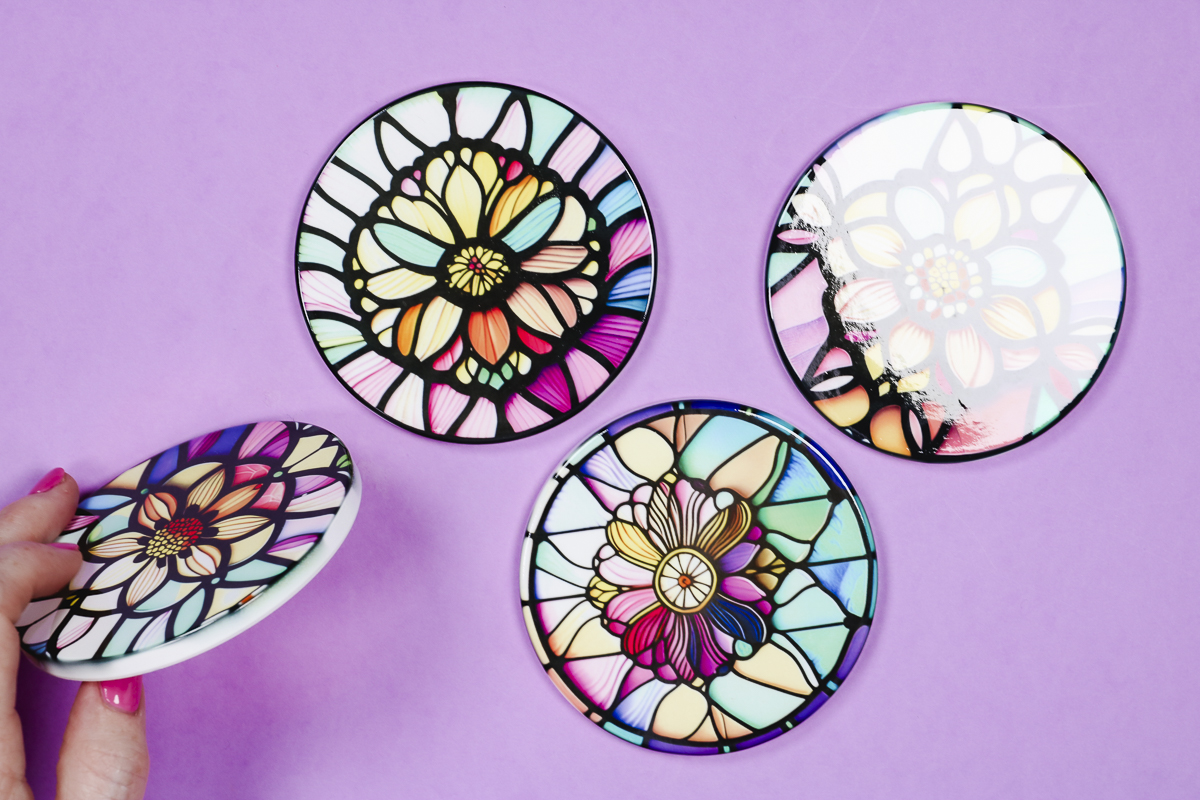
When they’re finished, remove the protective paper and peel off the sublimation print. As you can see, these all turned out beautifully. I really love how the stained glass pops off both the square and circle coasters.
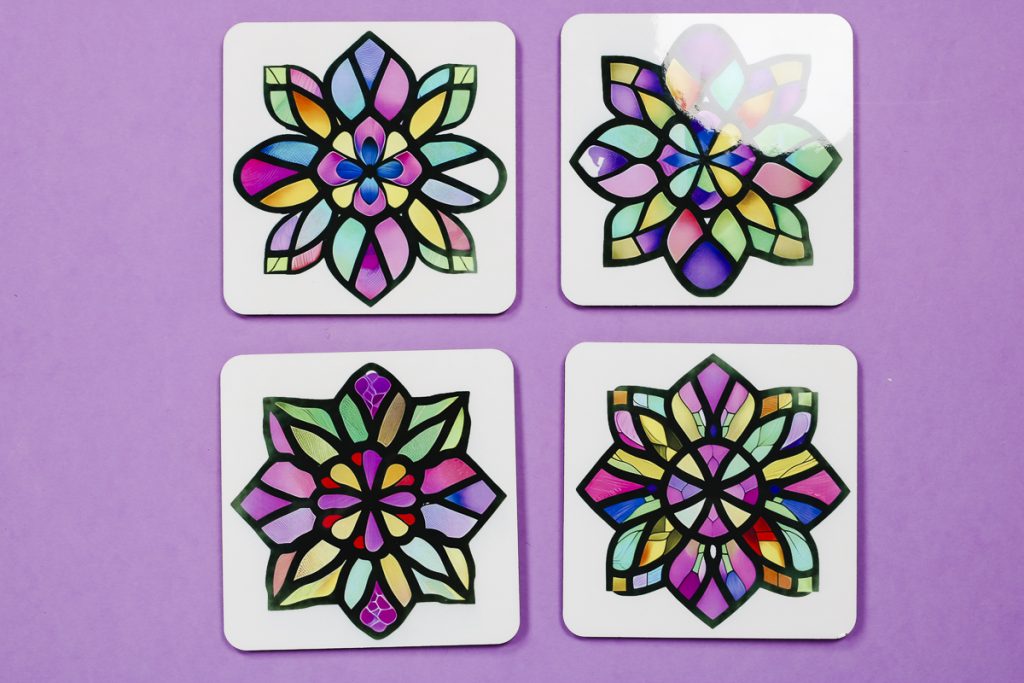
I’m impressed with how well the square sublimation coasters turned out. As you can see, the images transferred beautifully and by using the 4 points to trim the sublimation print they’re all located perfectly on the blank.
You could definitely use this same design on the circle coasters if you wanted to.
FAQ for Adding Sublimation to Custom Coasters
Here are the answer to some common questions I often get about this process.
Why do my coasters have ghosting or white areas?
Don’t forget, especially with the hardboard coasters, it’s important to pre-press for a long time to remove any moisture. Moisture is the most common thing to cause white areas or blotchiness of your final coaster.
How to avoid sublimation ink on the sides of the ceramic coasters?
I do want to note that on the round Cricut coasters the sides of the coaster are sublimatable. This means you can get a transfer from the ink onto the sides.
I did have some transfer in the areas where the heat-resistant tape wasn’t. This doesn’t bother me. If you want to prevent having any transfer to the sides you can use DyeTrans Pro Spray so none of the print folds over the edge.
Another way to prevent transfer is to add a strip of heat-resistant tape all the way around the edge, which will stop the ink from getting to the coaster.
Do you have to add any sealer?
No! Your sublimation coasters are complete once you have completed the sublimation process. No sealer is needed as the design is permanent after pressing.
Can I use these for hot drinks?
Yes! The sublimation ink is activated at VERY high temperatures. The temperature of your coffee mug is not going to be enough to transfer the ink or make the ink fade.
What if heat-resistant tape coesn’t stick?
I have found that with some sublimation coasters, the tape doesn’t like to stick to the back. I don’t know why that happens but it can.
If you have that happen, you can use DyeTrans Pro Spray or another sublimation adhesive spray. Spray it onto the sublimation print and it will make it slightly tacky. You can then stick the print right to your coaster.
Type of Sublimation Coasters
I’m using these two types of sublimation coasters today. I don’t want you to think these are the only sublimation options out there.
You can find hardboard coasters that are round and you can also find round coasters that aren’t shiny like the Cricut version. Sandstone coasters are more absorbent and you can find those for sublimation as well.
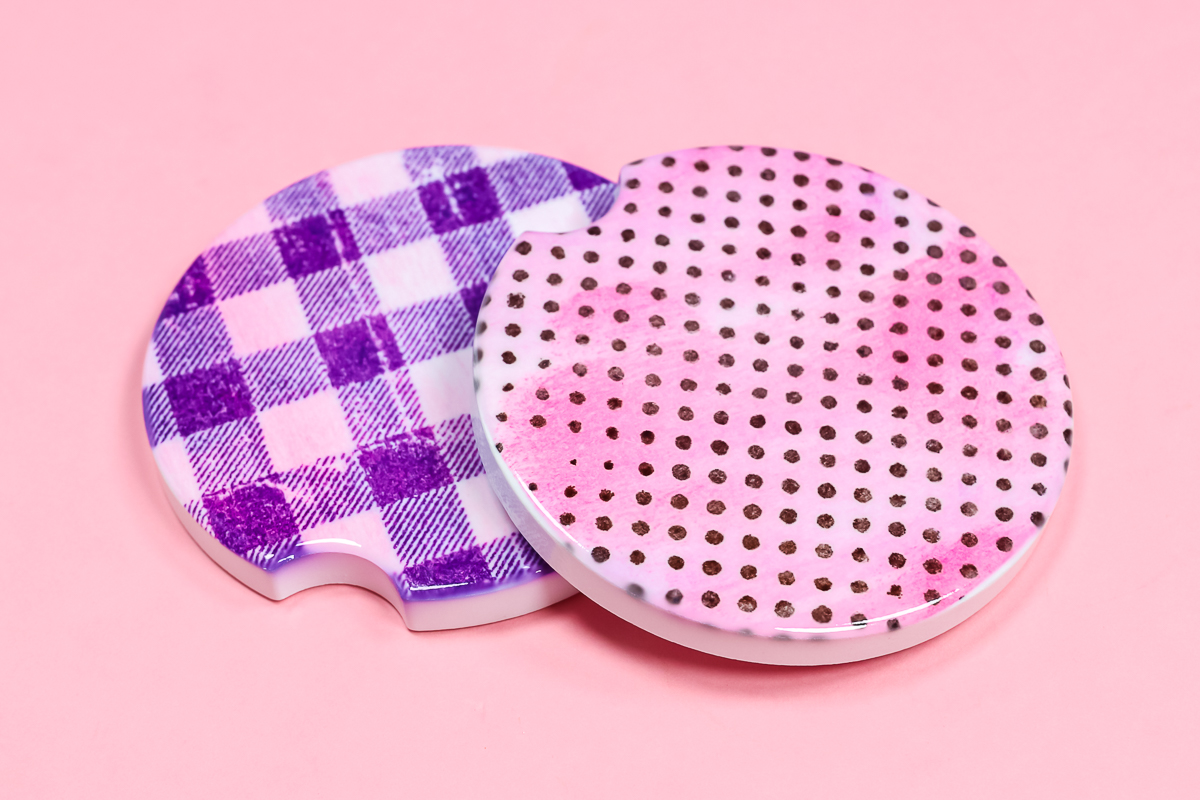
These coasters are regular-sized that you’d use for glasses in your home. You can also find smaller versions that can be used as coasters in your car cup holders.
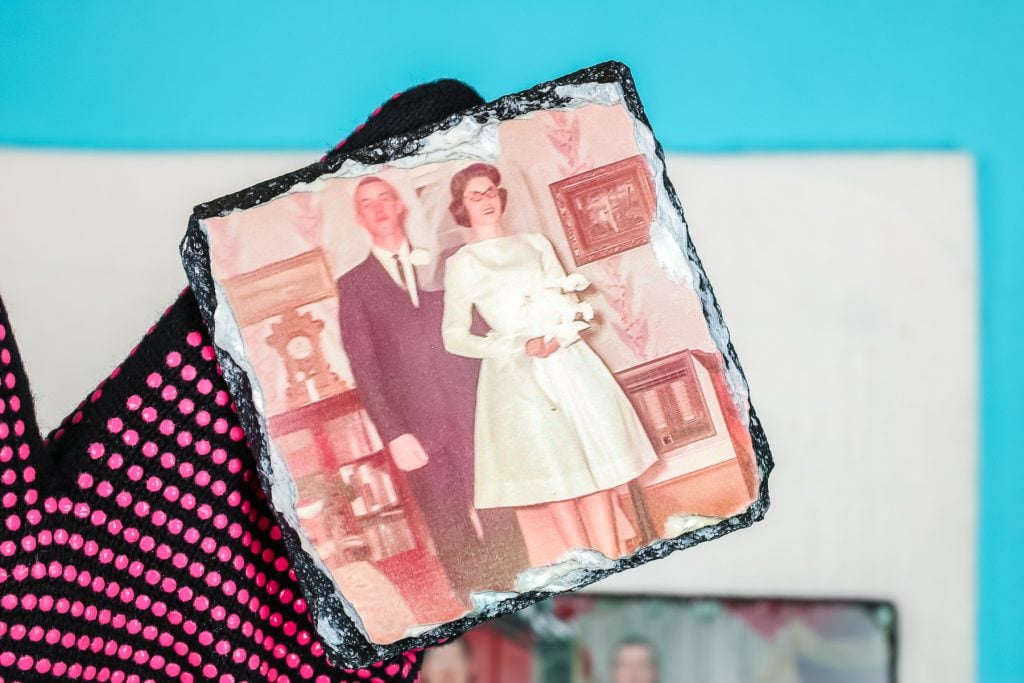
You can even find slate coasters that have a sublimation coating on them. I think it’s possible to find a sublimation coaster in just about any material you can think of.
How to Find Coasters for Sublimation
When you’re looking for sublimation coasters, make sure they specify they’re for sublimation. Some of my favorite sources are Heat Transfer Warehouse, Condi, and known brands on Amazon such as PYD Life. Craft Express is another source I’ve found recently that has some great sublimation blanks.
Coasters make perfect gifts for family and friends and are fun to customize for different seasons.
I hope I’ve answered any questions you have about making sublimation coasters. If you have any additional questions, feel free to leave them in the comments below and I’ll be happy to answer them for you.

