This post and photos may contain Amazon or other affiliate links. If you purchase something through any link, I may receive a small commission at no extra charge to you. Any supplies used may be given to me free of charge, however, all projects and opinions are my own.

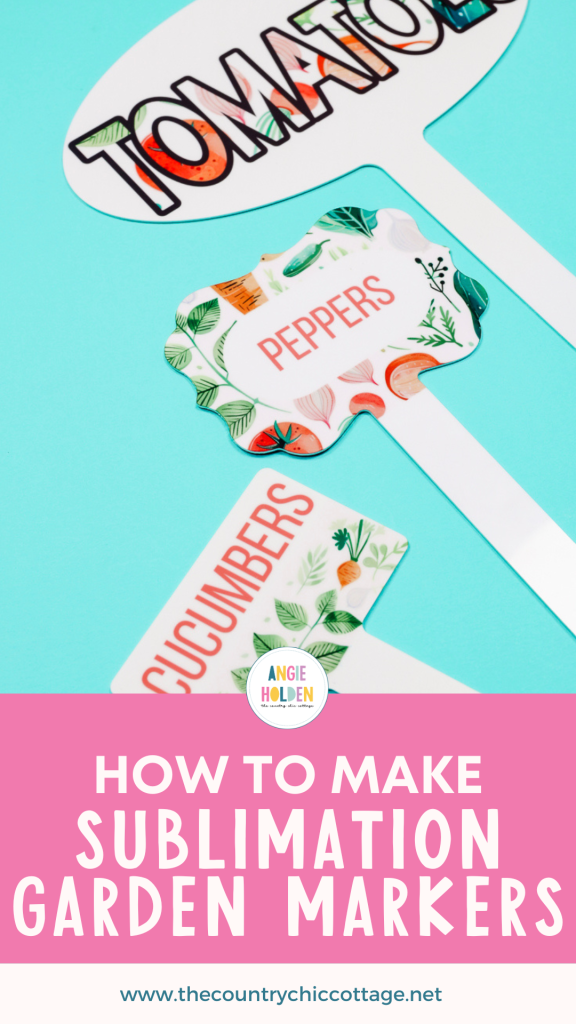
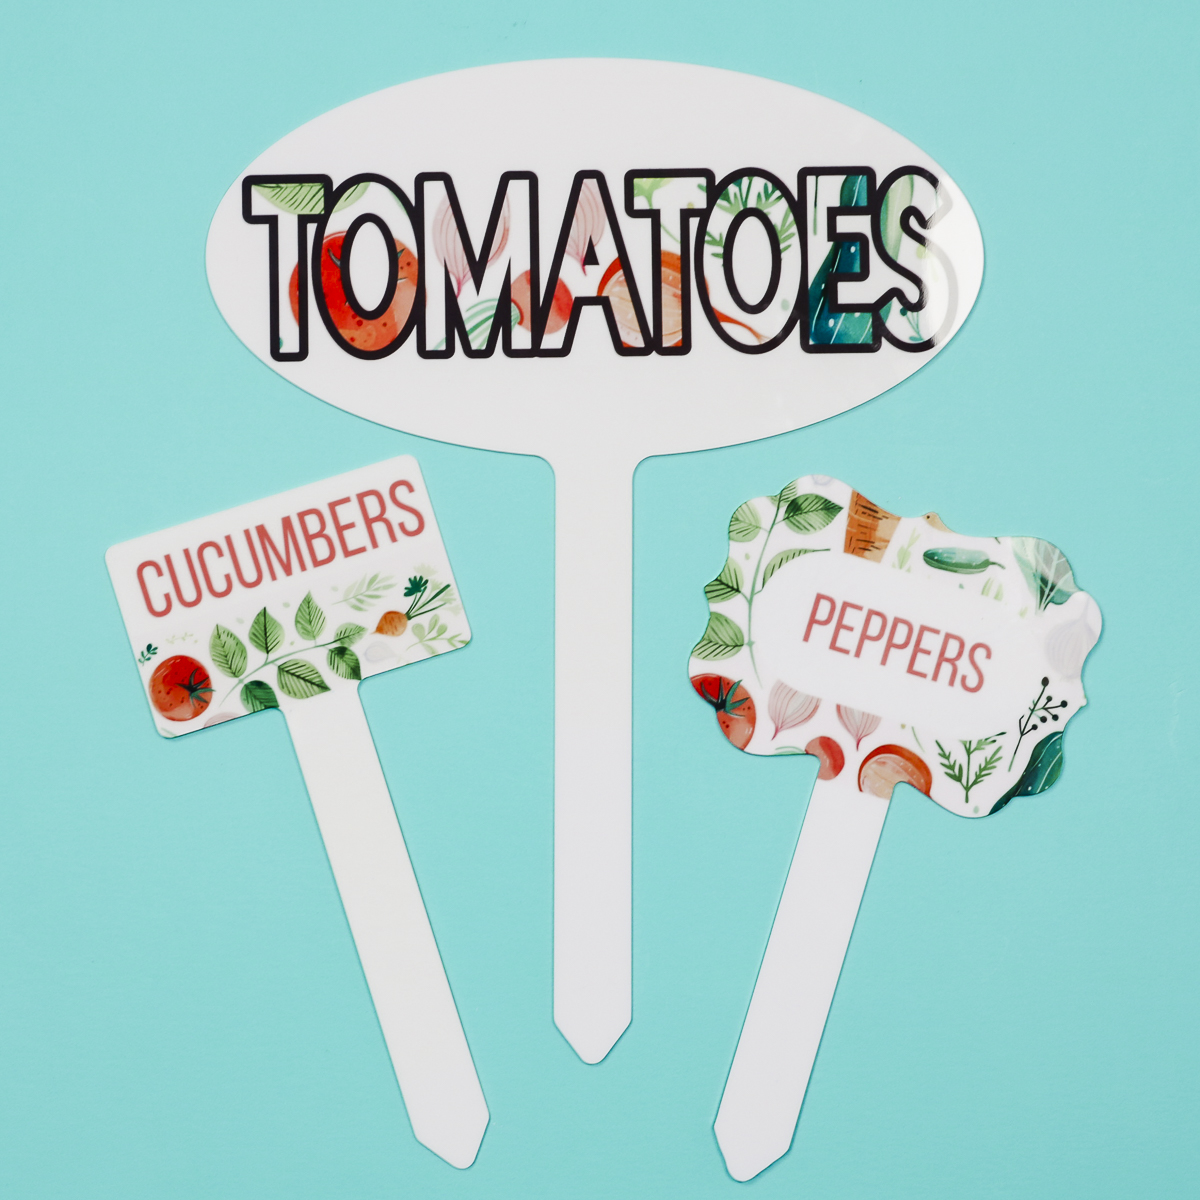
I am so excited about today’s project! I am going to show you how to make sublimation garden markers in three different shapes and sizes. These sublimation garden markers are perfect for labeling planters or full garden rows. You’re going to love how easy they are to make and especially how easy they are to read!
If you’re trying to decide which sublimation printer is best for your craft room, check out my sublimation printer comparison post for help!
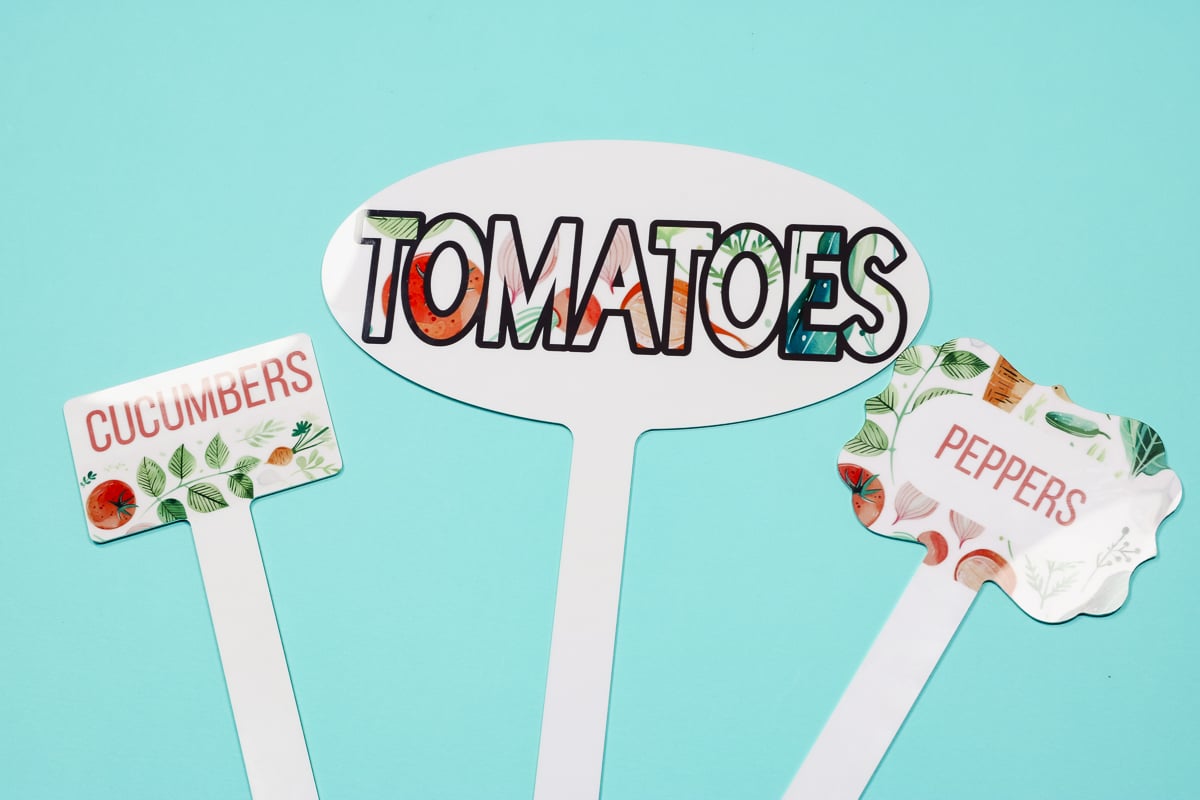
I’m going to show you how I created each of the different designs and size them to fit your sublimation blank no matter what size or shape it is.
You can watch me make all three of these sublimation garden markers by pressing play on the video below.
Table of Contents
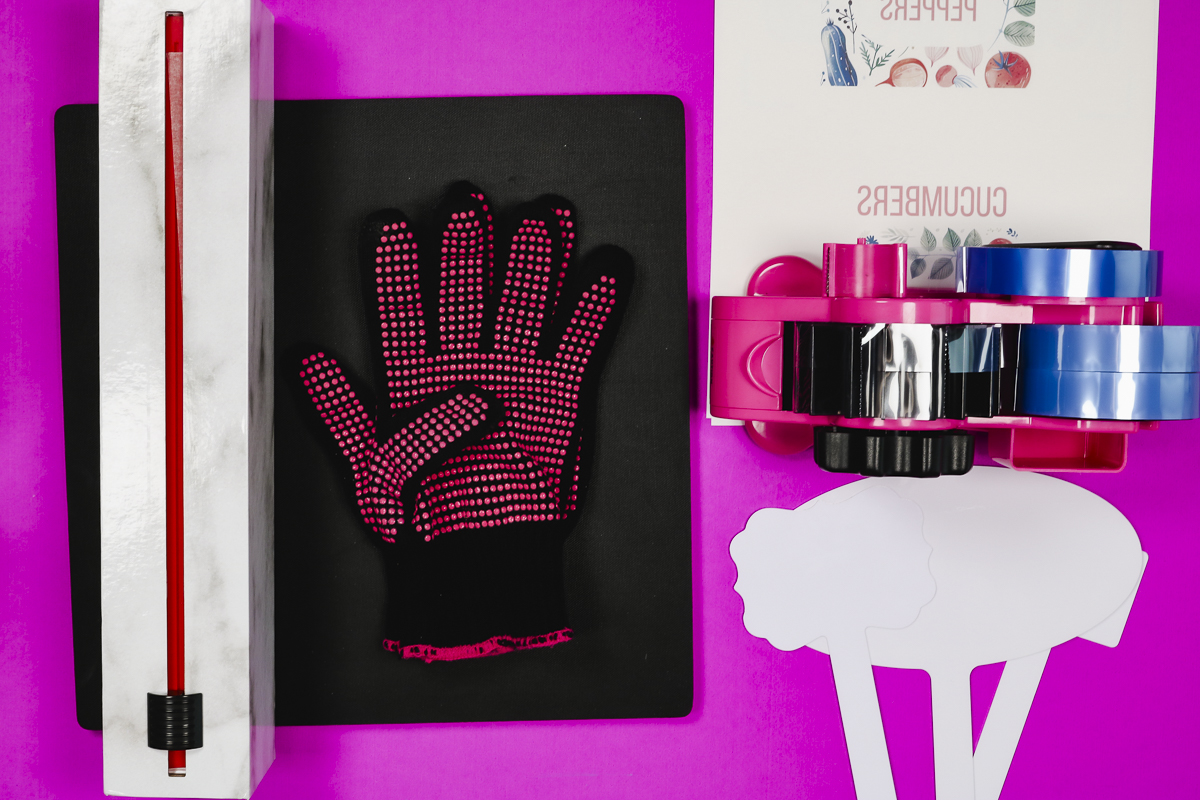
Supplies Used
How to Design Sublimation Garden Markers
I really can’t get enough of these garden markers. From the fun designs to the durability of the markers they look better than a lot of options on the market. Let’s take a look at a few ways to make the designs.
How to Create Sublimation Garden Marker Designs in Canva
For the first two sublimation garden markers, I’m going to create the sublimation prints in Canva. You can use the free version of Canva to create these garden marker designs.
Step 1: Create Canvas in Canva
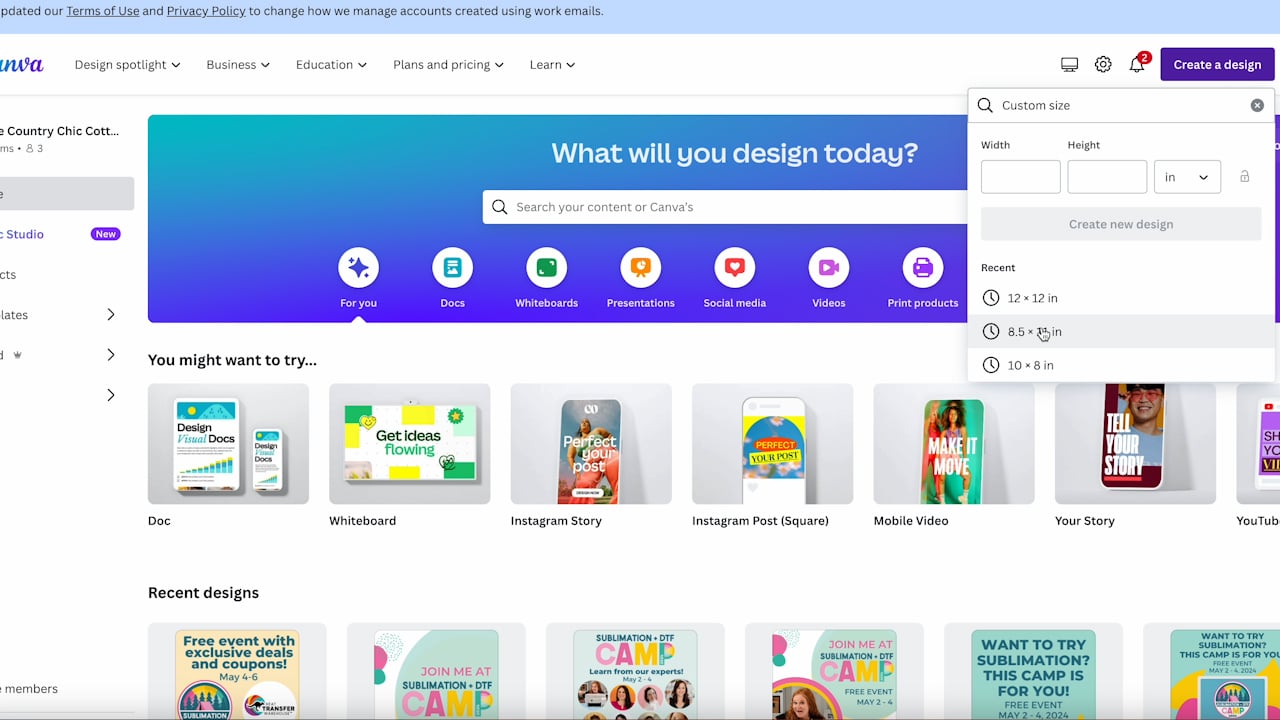
Open Canva and then click Create a Design. I like to choose Custom Size and I make my canvas size match the size of my sublimation paper. My paper is 8.5″ by 11″ so I’m going to make sure my canvas is that same size.
Step 2: Upload Design
Upload the design. Click on Uploads and then Upload File. Find the design file on your computer and click that design to upload it.
Step 3: Measure Sublimation Blank
You do need to know what size your sublimation garden marker is so you can create a design that will fit on your blank. Measure both the width and height of any of the blanks that you’re using.
Step 4: Create Shape in Canva
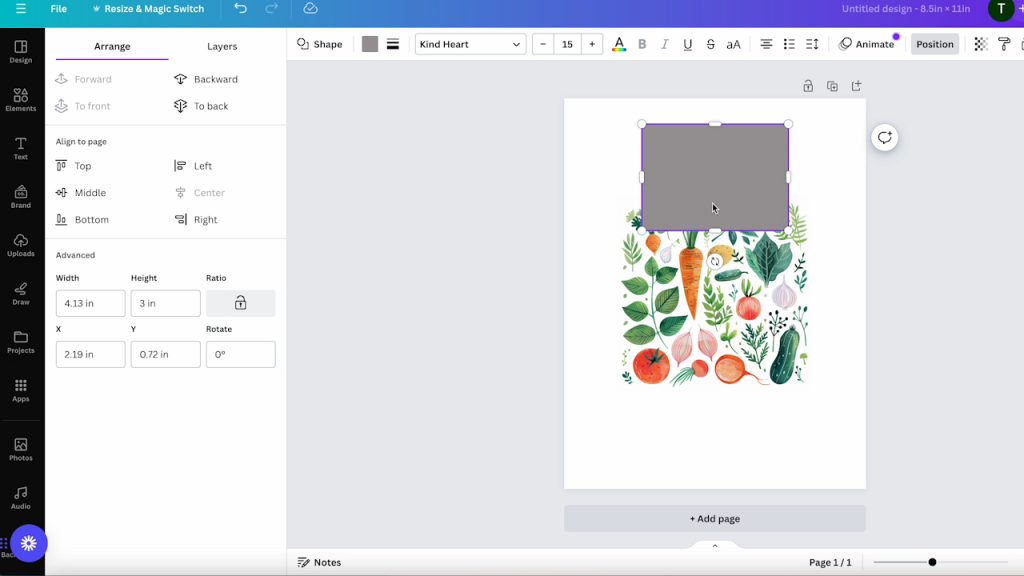
For my first sublimation garden marker, I am going to add a square shape to my canvas and make it slightly larger than my garden marker.
Click Position and you’ll see Advanced. In that area, you can unlock the shape and enter the exact size you need. For my garden marker, I am entering 4.124″ by 3″.
Step 5: Resize Design to Fit
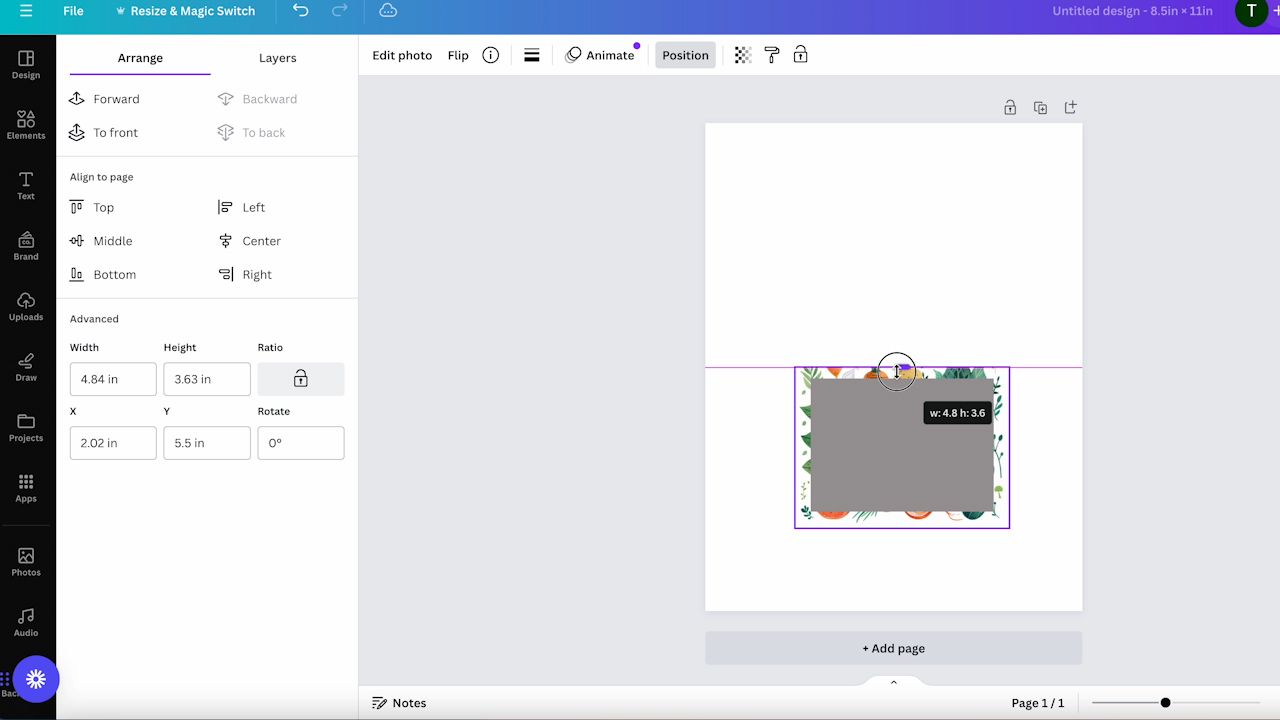
Now I can drag the uploaded vegetable design onto the canvas and choose which part of the design I want on my garden marker. Once I have the area I want to use I can click on the rectangles on the sides and drag them to crop the design to match the template.
Step 6: Add Shape for Text on Sublimation Garden Marker
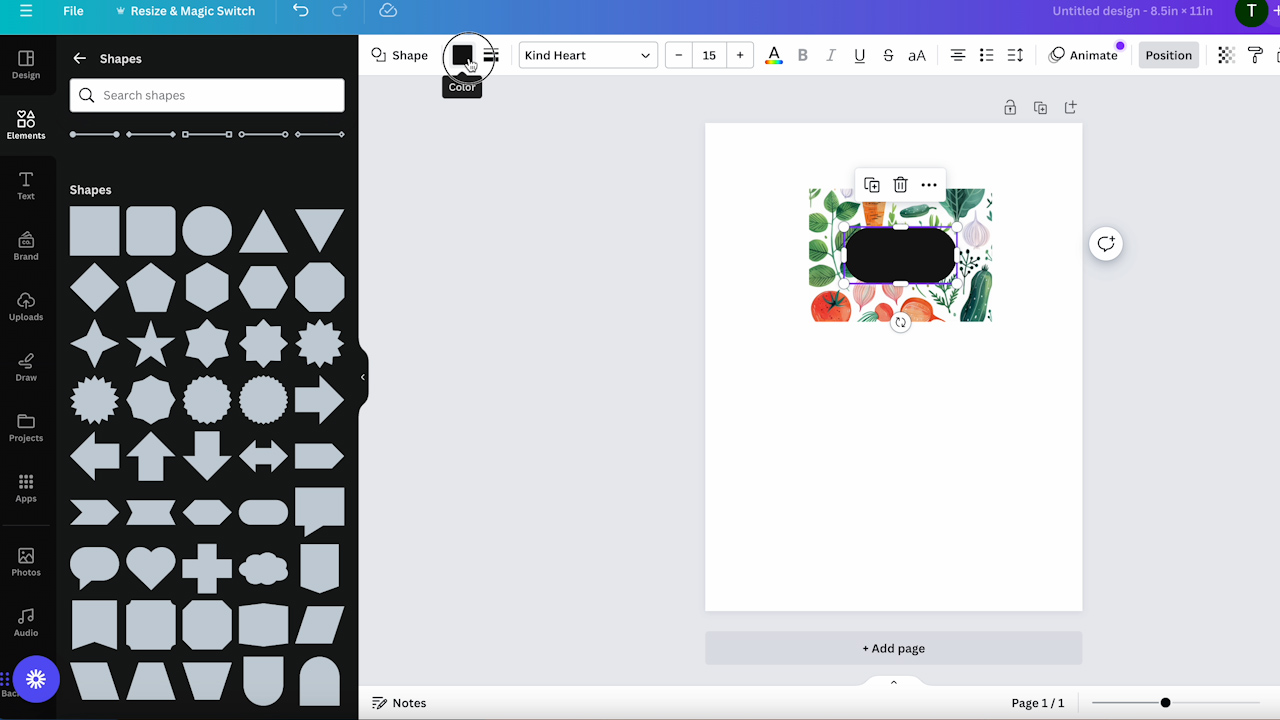
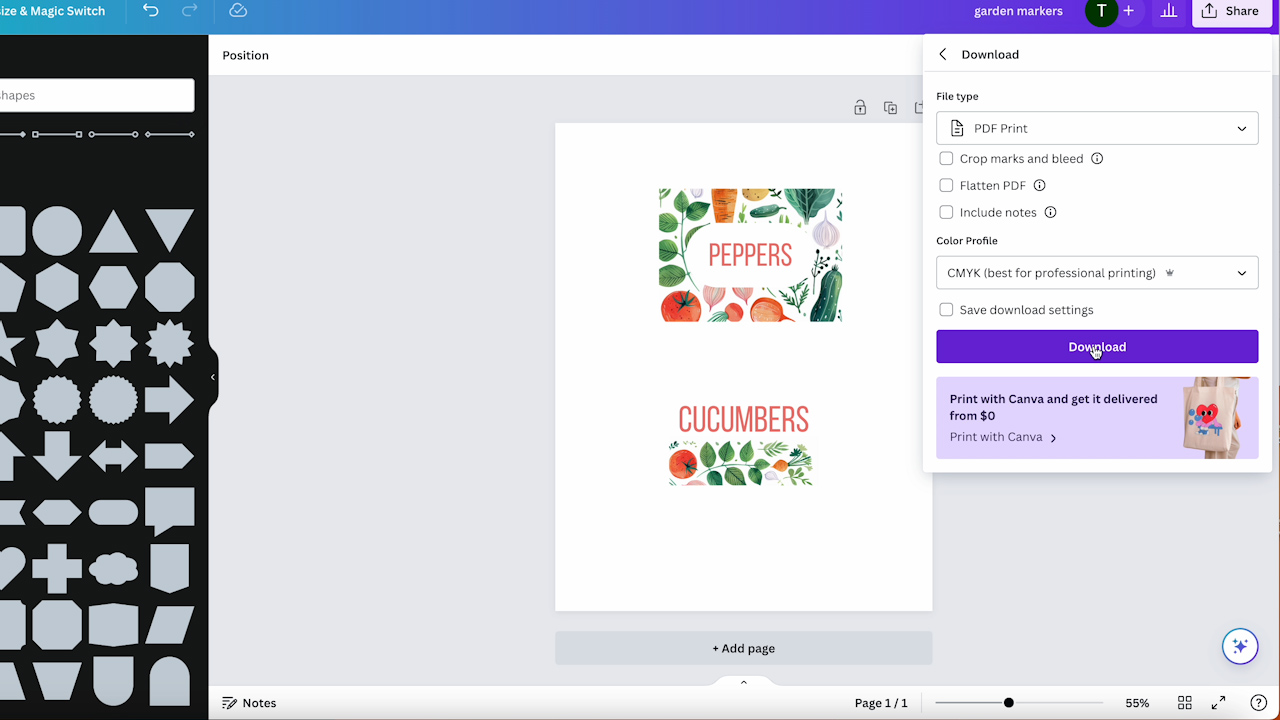
The text would be difficult to see with this all-over vegetable design so I am going to add an oblong oval, change the color to white, and resize it to fit within the vegetable design.
Step 7: Add Text to Sublimation Garden Marker Design
The next step is easy to customize however you want. Pick a font that you like, if you have a free Canva account you’ll have fewer options but there are some there to choose between.
Find the one that you like and then type in the word, I am using this one for Peppers. You can then change the color of the text.
I like to match my colors to coordinate with the print. To change the color click on the + button and then use the eyedropper to select whichever color you want to match.
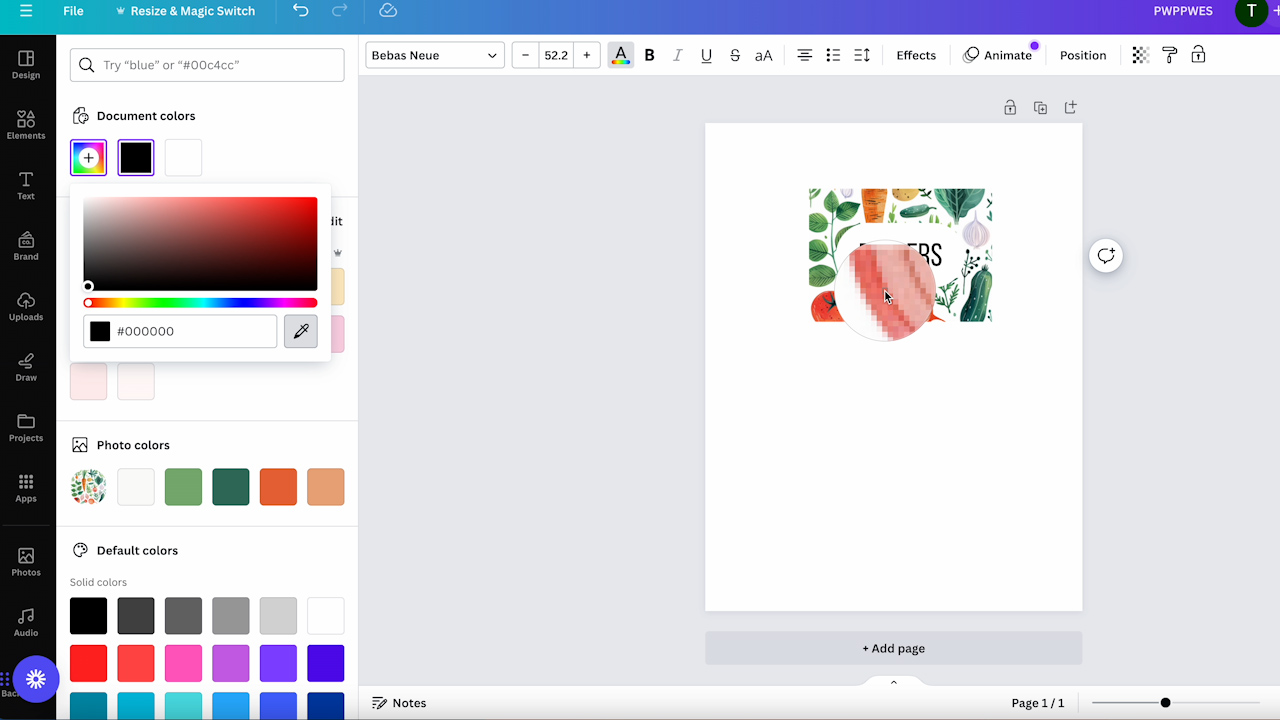
When everything is complete, delete the template.
Alternative Garden Marker Design in Canva
The process for the second garden marker is similar to the first. This time I am going to use just part of the vegetable design. I want that portion to be on the bottom of my garden marker.
Step 1: Add Shape for Template
To do this, I’m going to once again add a shape that is just slightly larger than my sublimation blank.
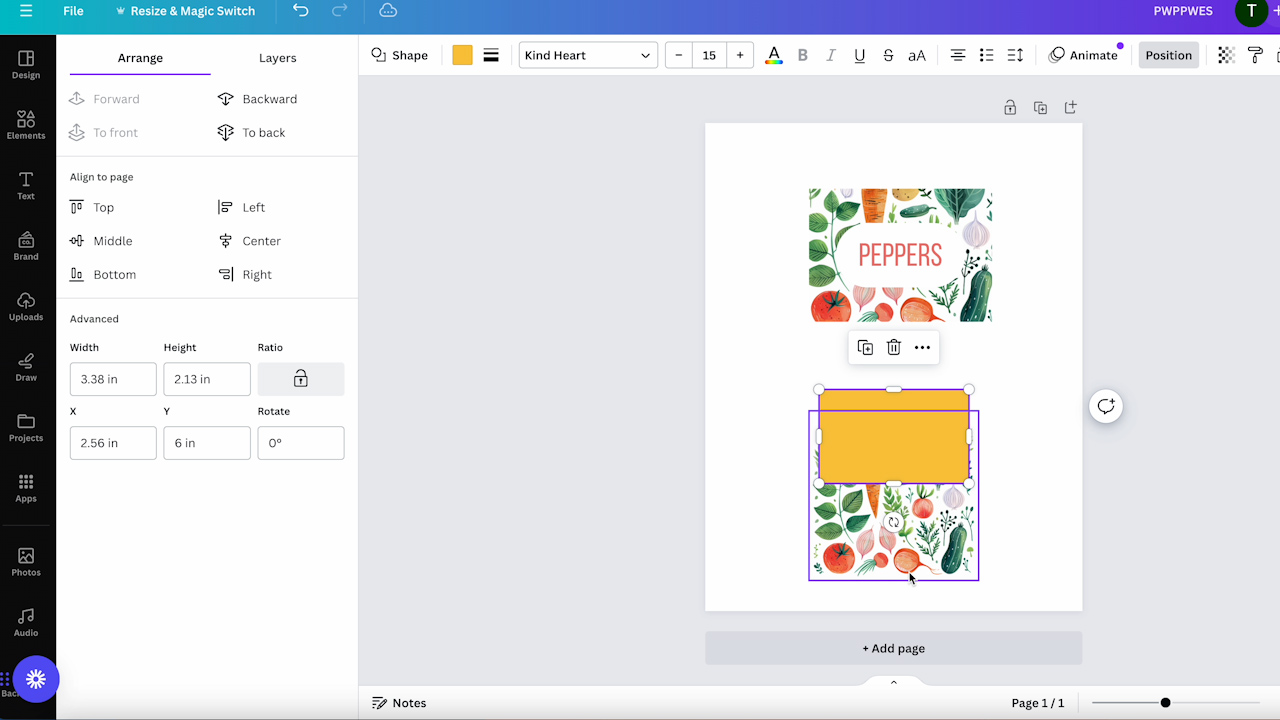
Step 2: Find a Portion of the Design
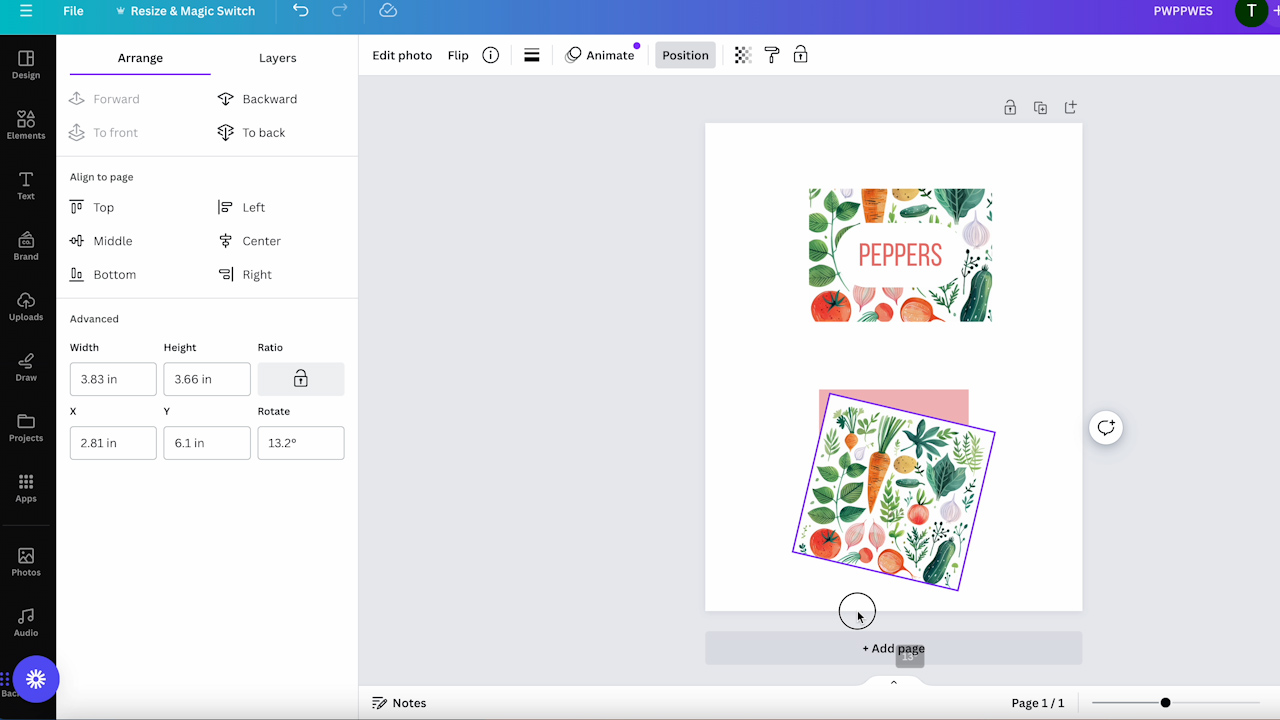
This time I’m going to move the vegetable design onto the shape and choose which portion I want to have on the garden marker.
You can rotate and resize the design like we did before and fit it to the template.
Step 3: Add Text
For this design, I am adding the word cucumber and I want it to fit right on top of the vegetable design. I sized it to fit within the template.
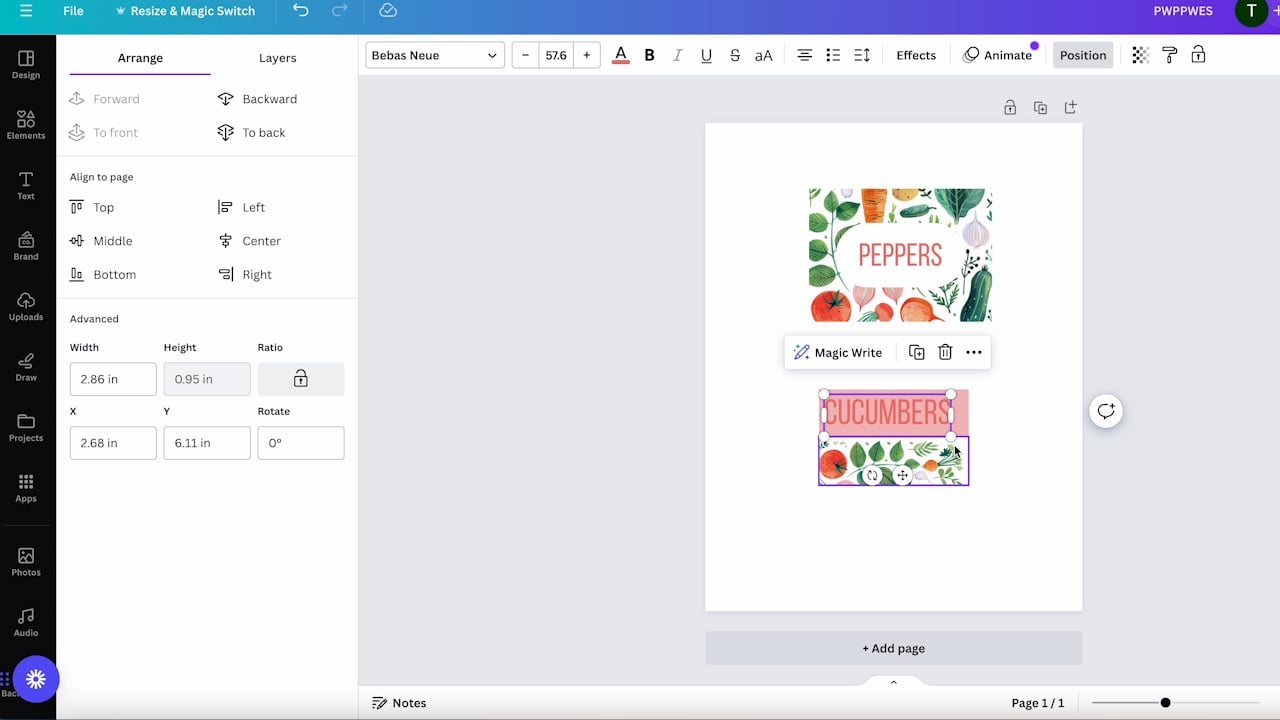
The template is no longer needed so I deleted that layer off and we are ready to print!
Print Sublimation Garden Marker Designs from Canva
You cannot print directly from Canva. So you will click Share and then Download and choose how you want to download your design. For the Brother sublimation printer, I like to download it as a PDF print.
Save the design to your computer and then you can open it and print it however you would normally print sublimation prints.
How to Use Cricut Design Space to Create Sublimation Garden Markers
For another version of these garden markers, let’s use Cricut Design Space to make a design.
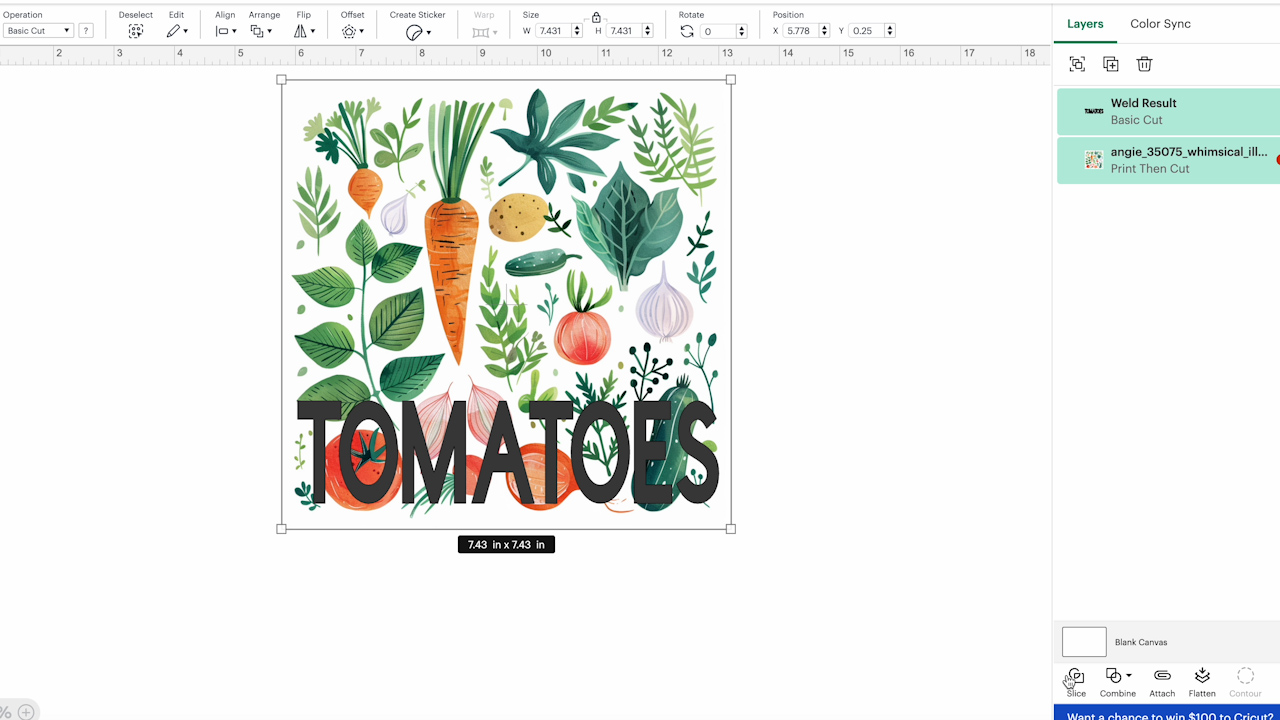
Step 1: Upload Vegetable Design
Open Design Space and upload that same vegetable design. The background is white in this design so I am not worried about removing the background but you can if you want to.
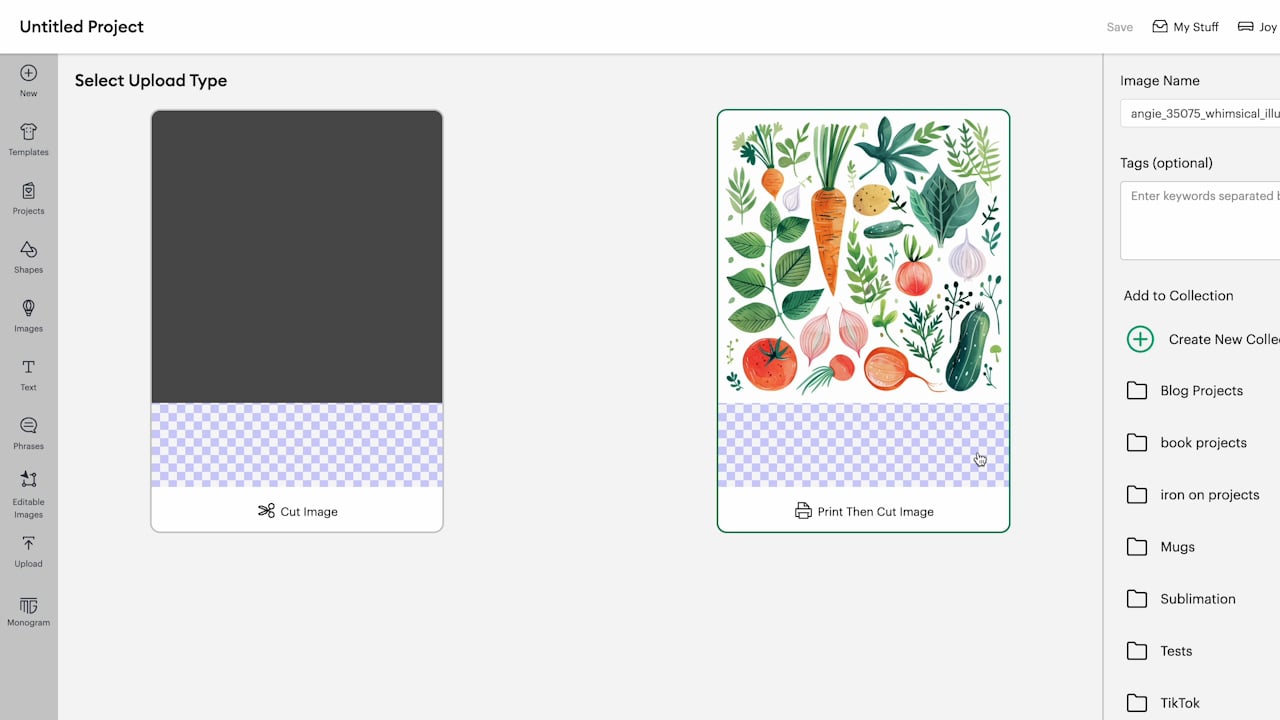
Click Apply and Continue and upload as a Print Then Cut Image and click Upload. Then add it to your canvas.
Step 2: Add Text
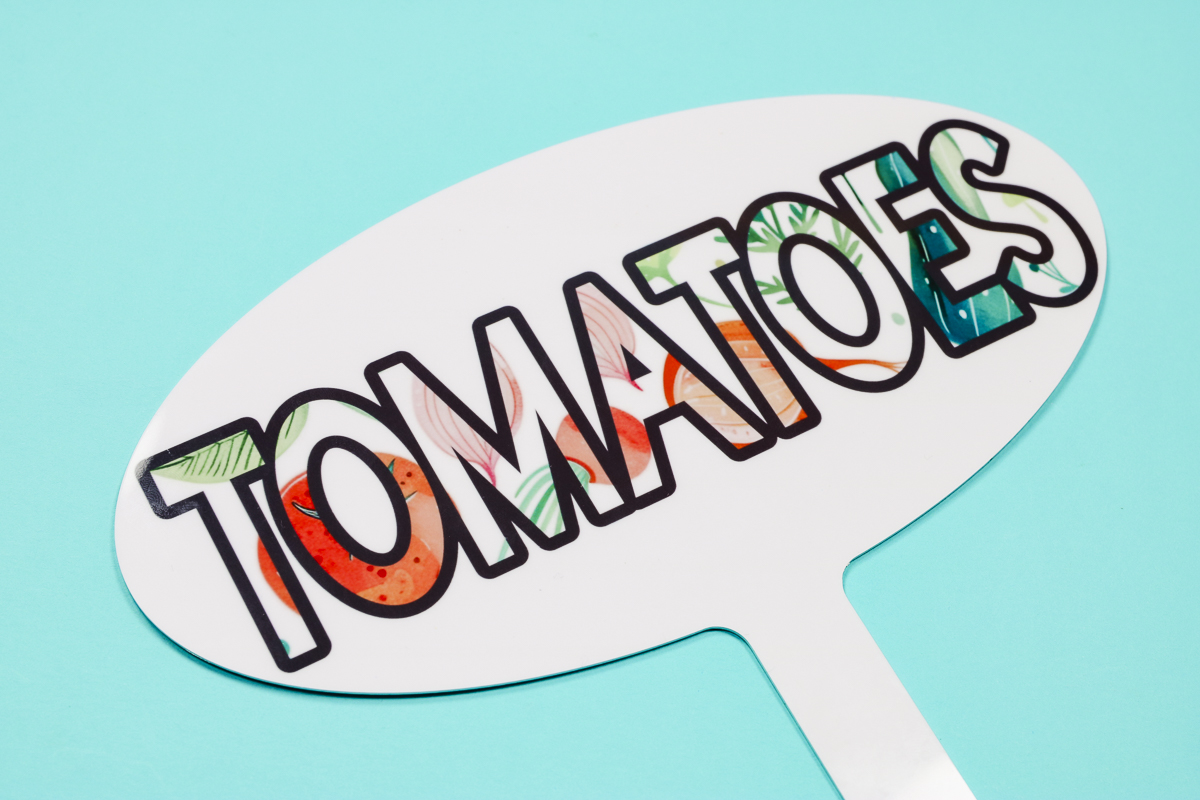
I am going to choose a font and type the word Tomato. The font I am using is Cricut Sans and made it bold.
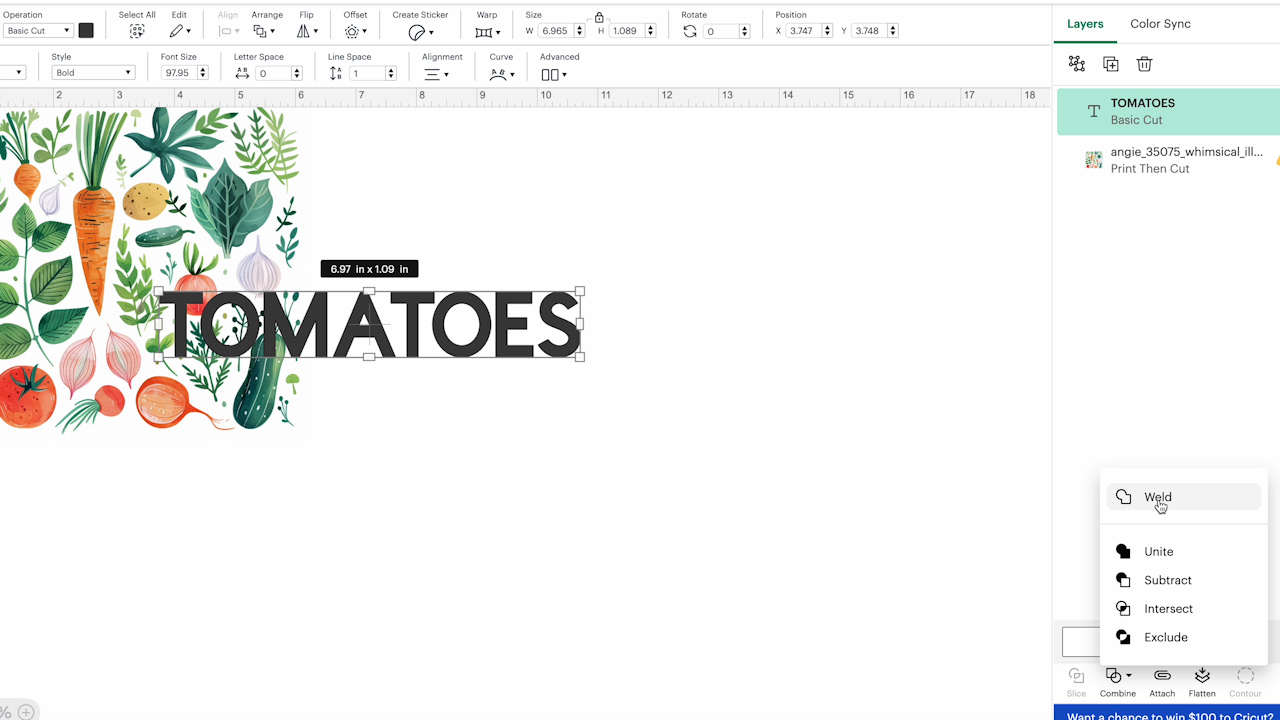
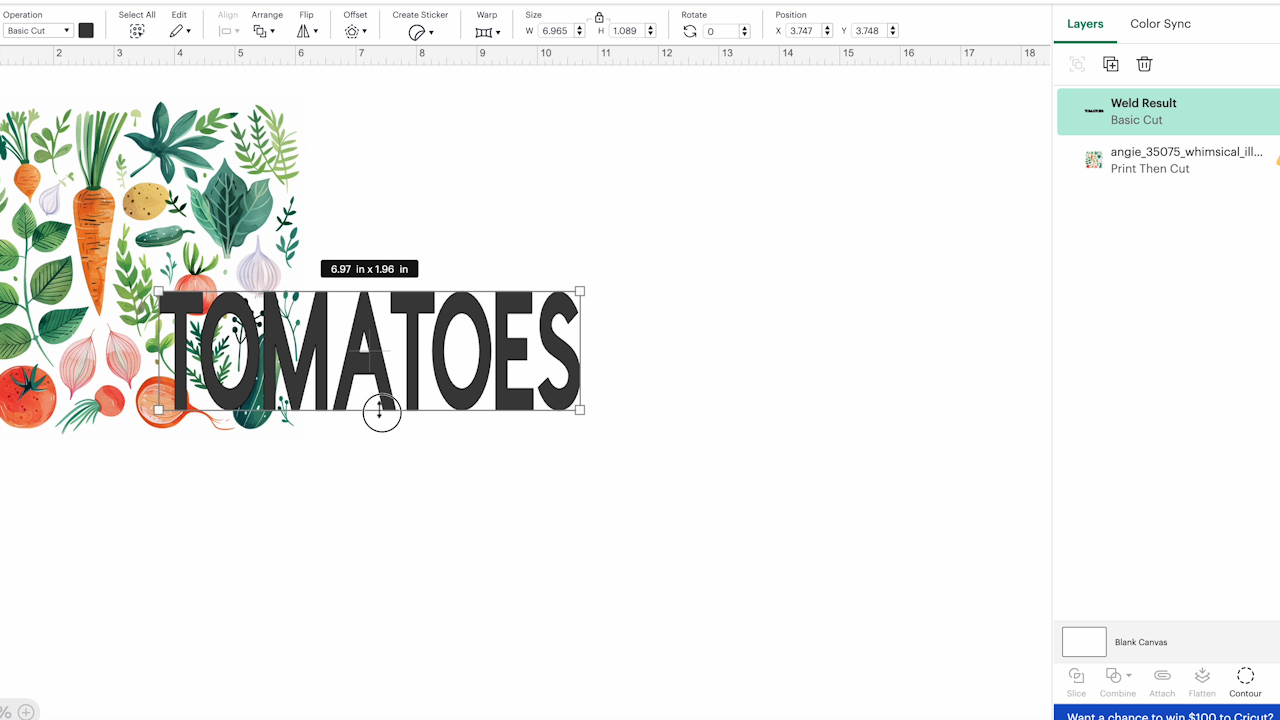
Resize the text to fit the sublimation garden marker. If you cannot resize the text without it separating into multiple lines, you can click Combine and Weld and that will turn your text into an image. This will allow you to resize it keeping it all in one line.
After this, I was able to pull down on my text and stretch it a bit so I could get more of my vegetable pattern in my final design.
Step 3: Use the Slice Tool to Create Text with a Patterned Background
I want the word Tomato to actually be spelled out with the vegetable print. To do this, move the text layer over the top of the vegetable design and locate it. Filling in as much of the text with vegetables vs. white space.
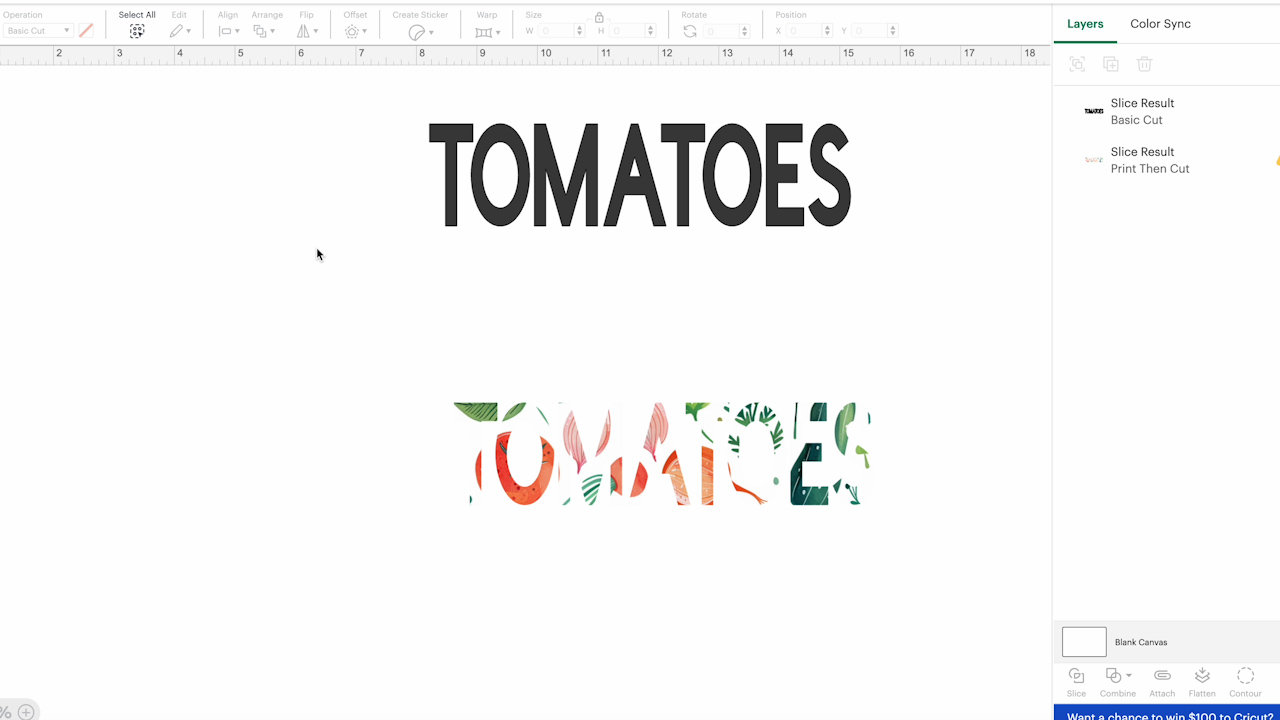
With the text located correctly select both layers and click on the Slice tool.
Remove the layer that has all the excess vegetable print. You only need the layers shown below.
Step 4: Use the Offset Tool to Create a Text Offset
Next, I am going to select the remaining two layers and click Align, and Center.
I want to create an offset of the solid text layer. Click that layer and then click the offset tool in the toolbar. You can choose whatever offset size you would like, I am doing an offset of 0.1.
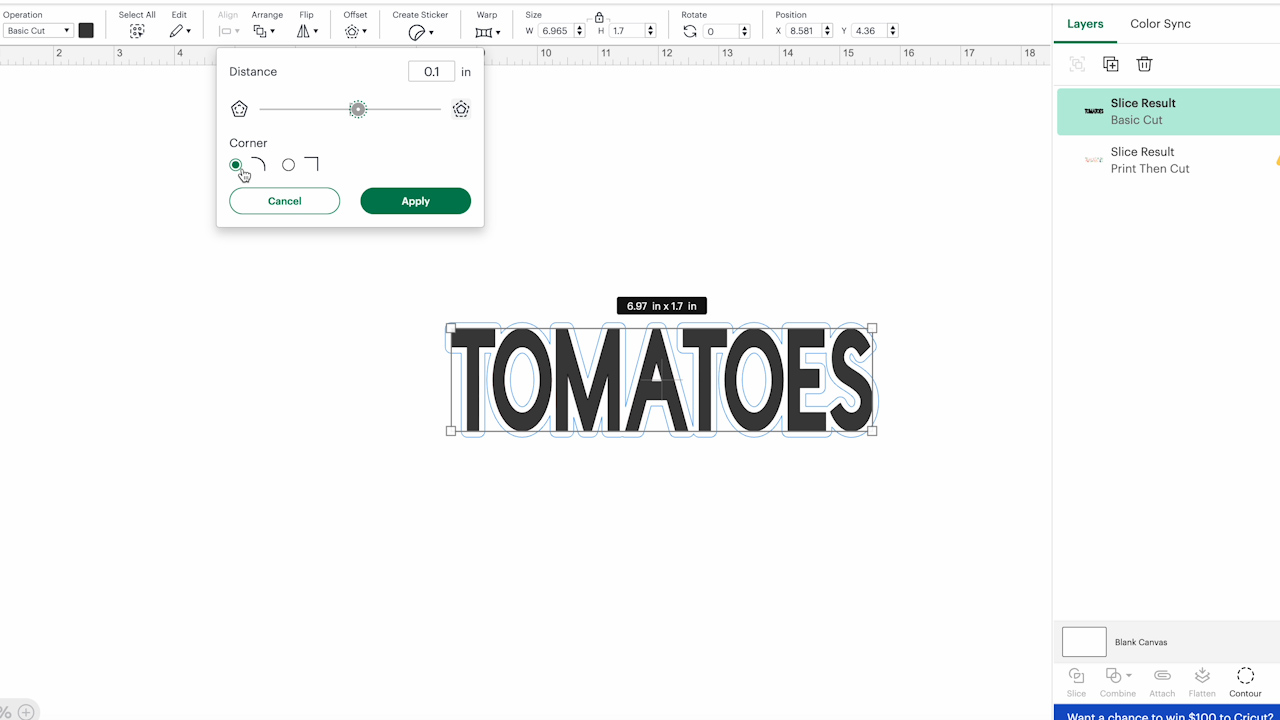
I like the rounded corners and then click Apply. With the offset layer complete we can delete off the text layer that was a result of the slice.
This will leave us with the offset layer and the vegetable text design. You can change the offset to any color you would like, I am using a dark grey color.
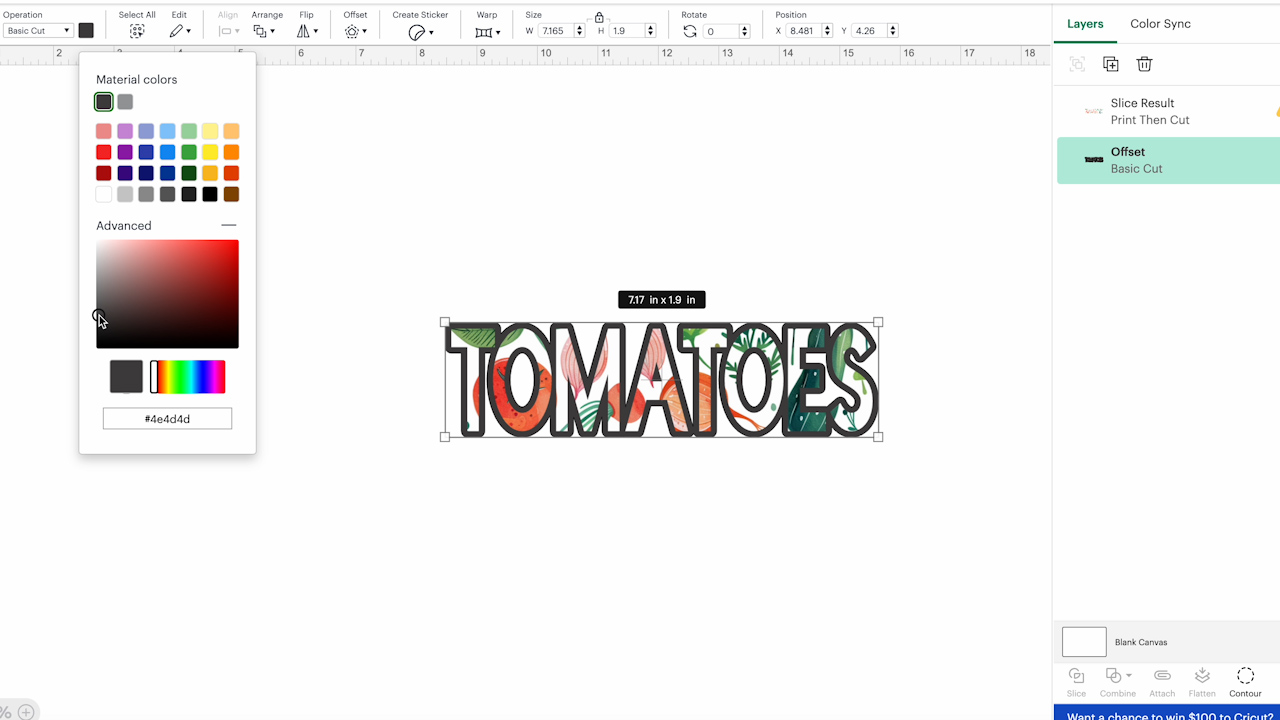
Step 5: Print Design from Cricut Design Space
Once again I am going to select both layers and click Align and Center. Next, click Flatten and now we have a design that we can print.
To print the design from Design Space, click Make and from here you can see what the printed page will look like.
Because Design Space is set up to allow you to print a design and then cut it out using the Cricut machine it has registration marks. You cannot get rid of them.
Click Continue and send the design to your sublimation printer. For this project, I am going to turn off Bleed and click Use System Dialogue.
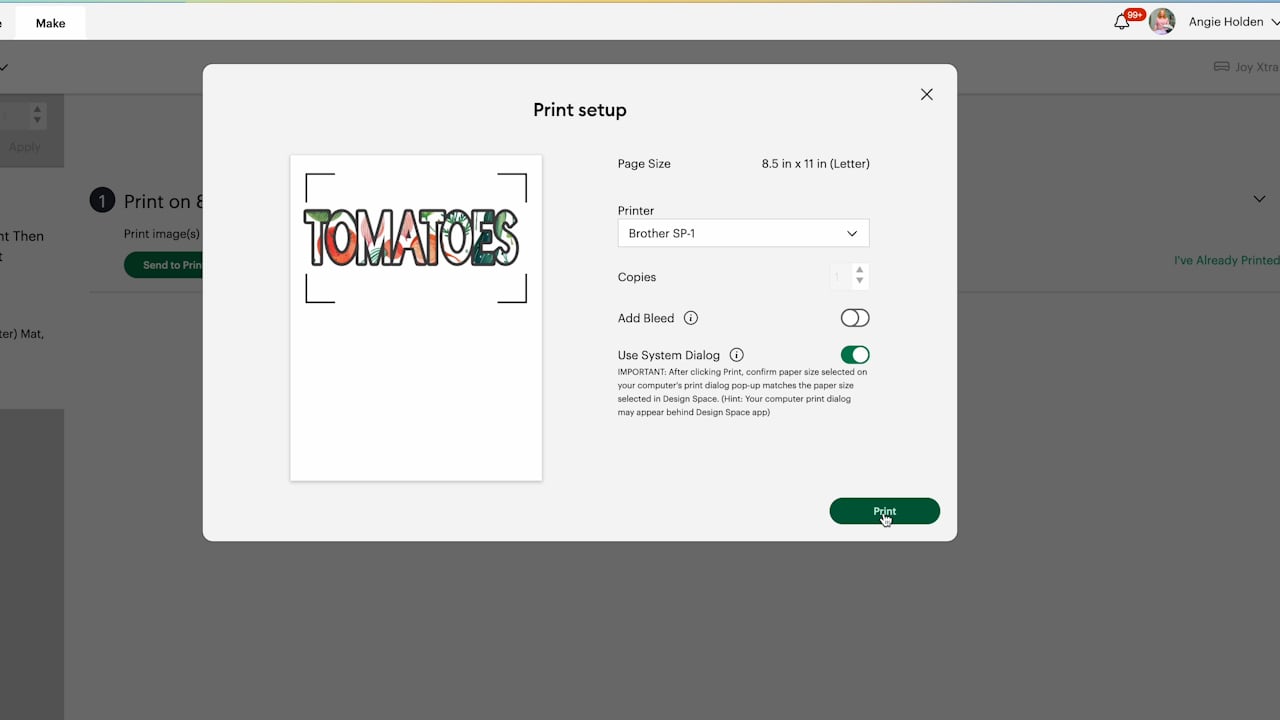
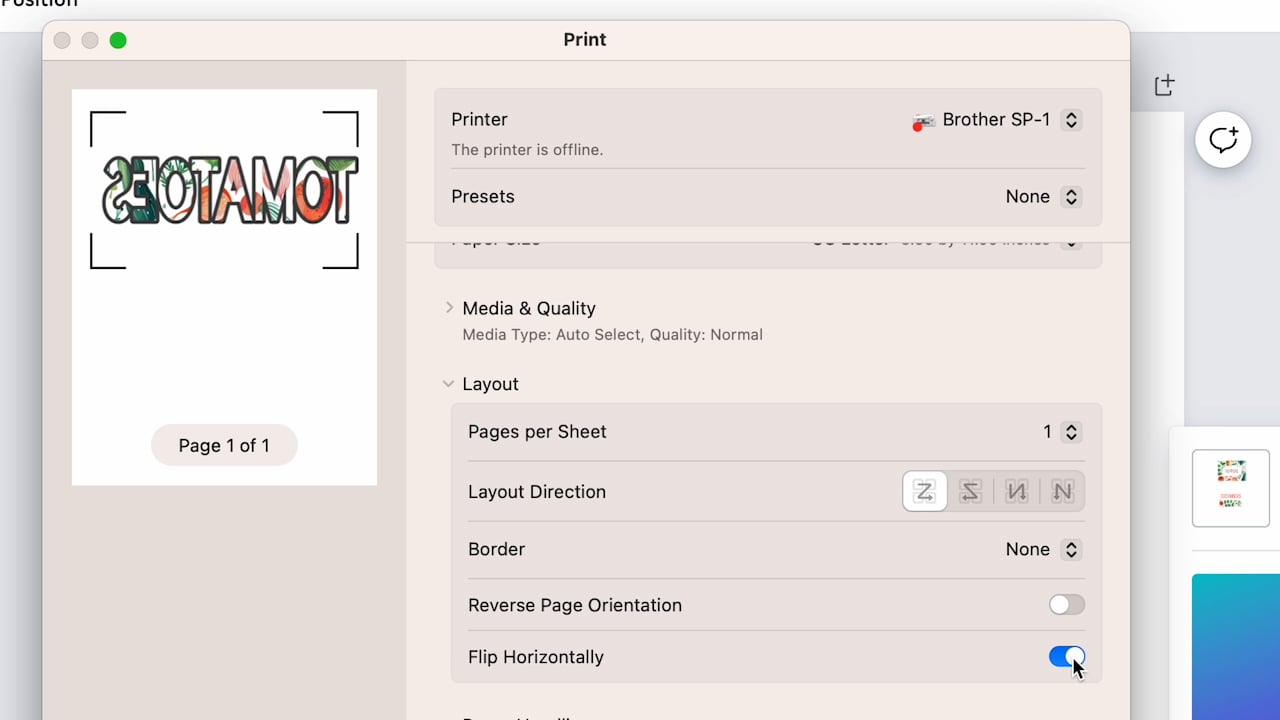
Click Print and I am going to flip the design horizontally in the printer option and send it to print.
How to Make Sublimation Garden Markers
With our designs printed, we’re ready to make our garden markers.
Remember that you need to print with sublimation ink on sublimation paper using a sublimation printer. And the markers you use need to say they are for sublimation.
Step 1: Prepare Sublimation Garden Marker Blanks
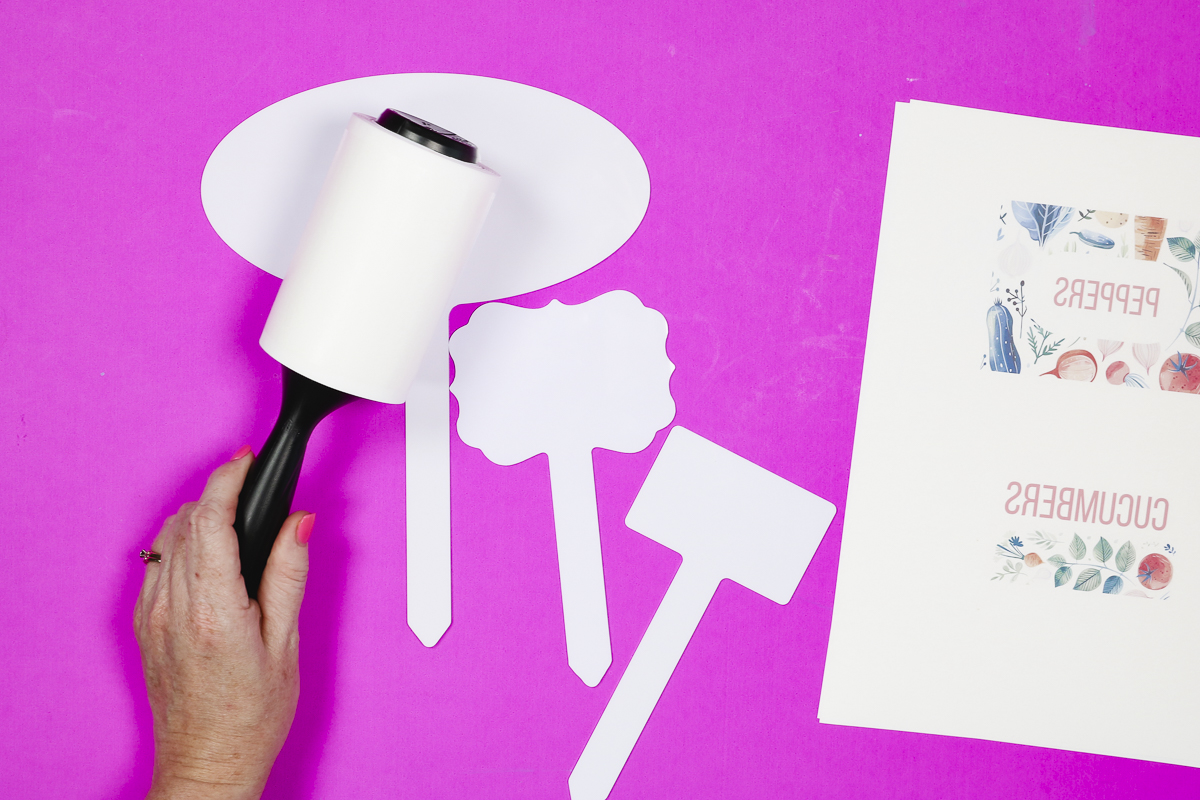
The first thing we need to do is clean the garden markers. I am using a lint roller to make sure there is nothing on the blank. You can also use a lint-free cloth and rubbing alcohol, just make sure the blank is completely dry before proceeding.
NOTE: Ensure that there is no protective film covering whatever garden marker you decide to use.
Step 2: Add Sublimation Print to Garden Marker Blank
I found it easier to get the design located correctly when I trimmed the print close to the size of the design.
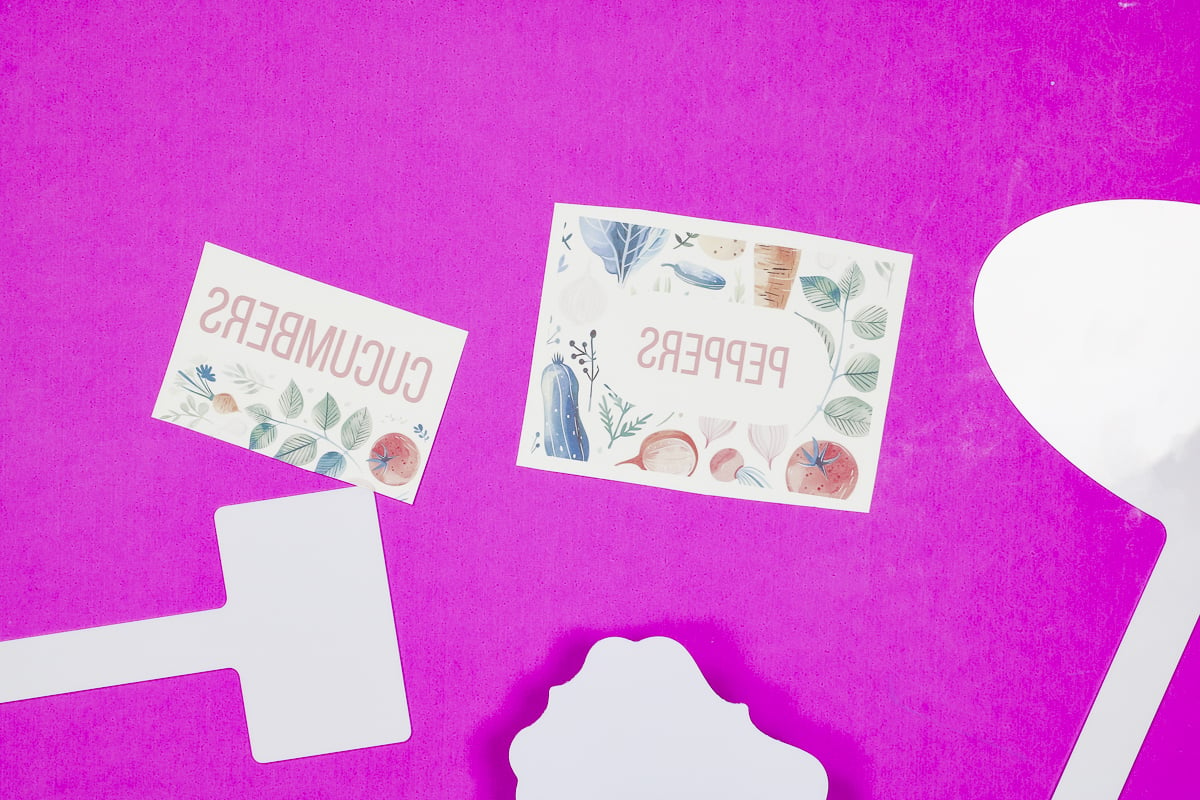
You can lay the sublimation blank on the sublimation print. Make sure the blank is sublimation side down.
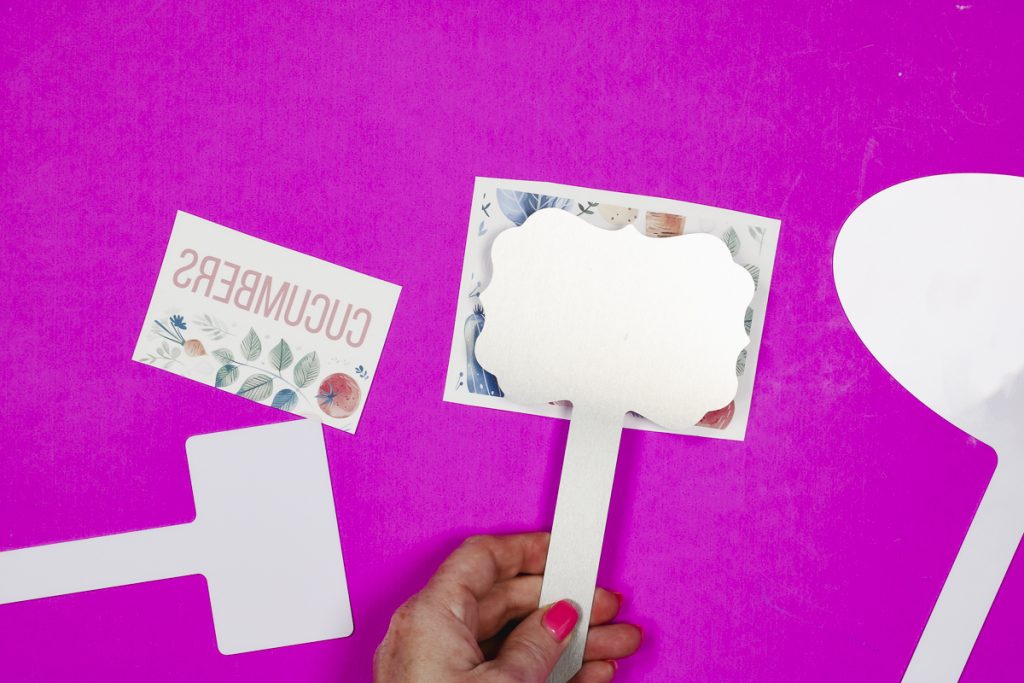
Another option is to turn the sublimation garden marker sublimation side up and then locate the design on the garden marker.
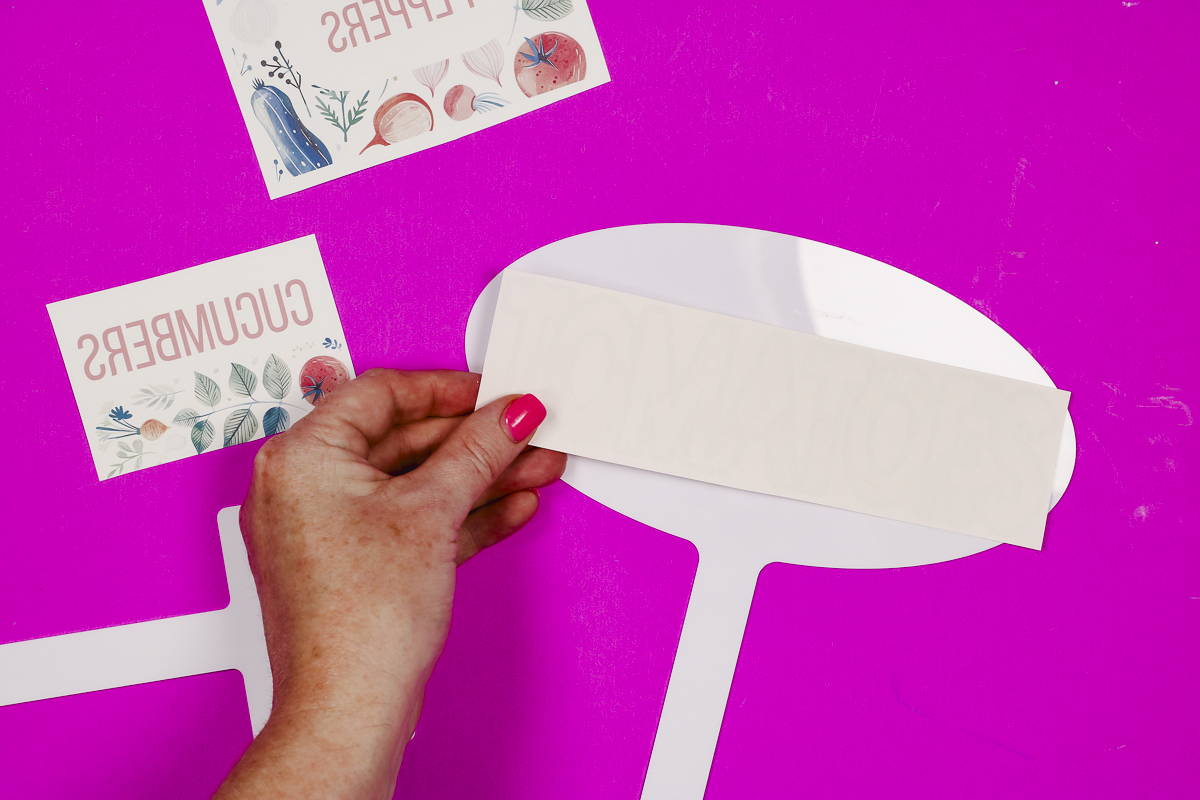
Whichever option is best may depend on your design type or the sublimation blank.
Use heat-resistant tape to hold the print in place and you’re ready to proceed.
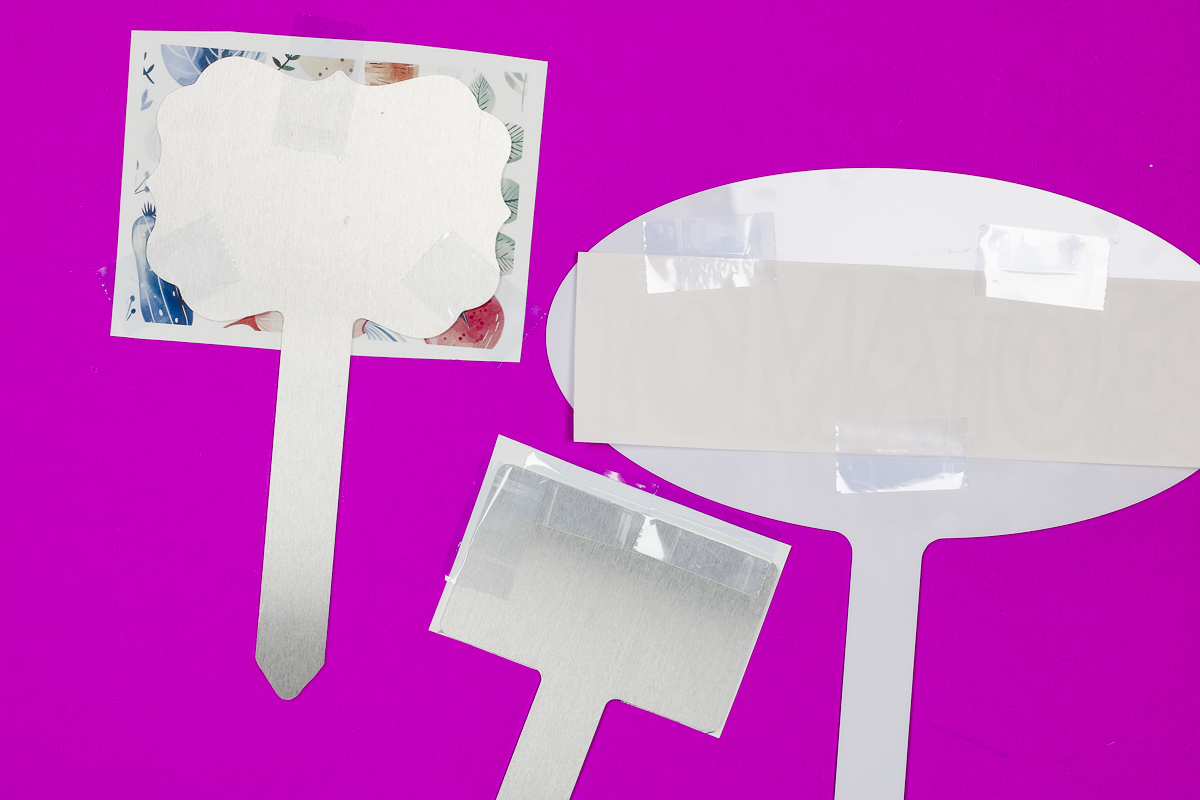
Step 3: Add Protective Paper to Sublimation Blank
You will need to add protective paper to both the top and the bottom of the sublimation blank.
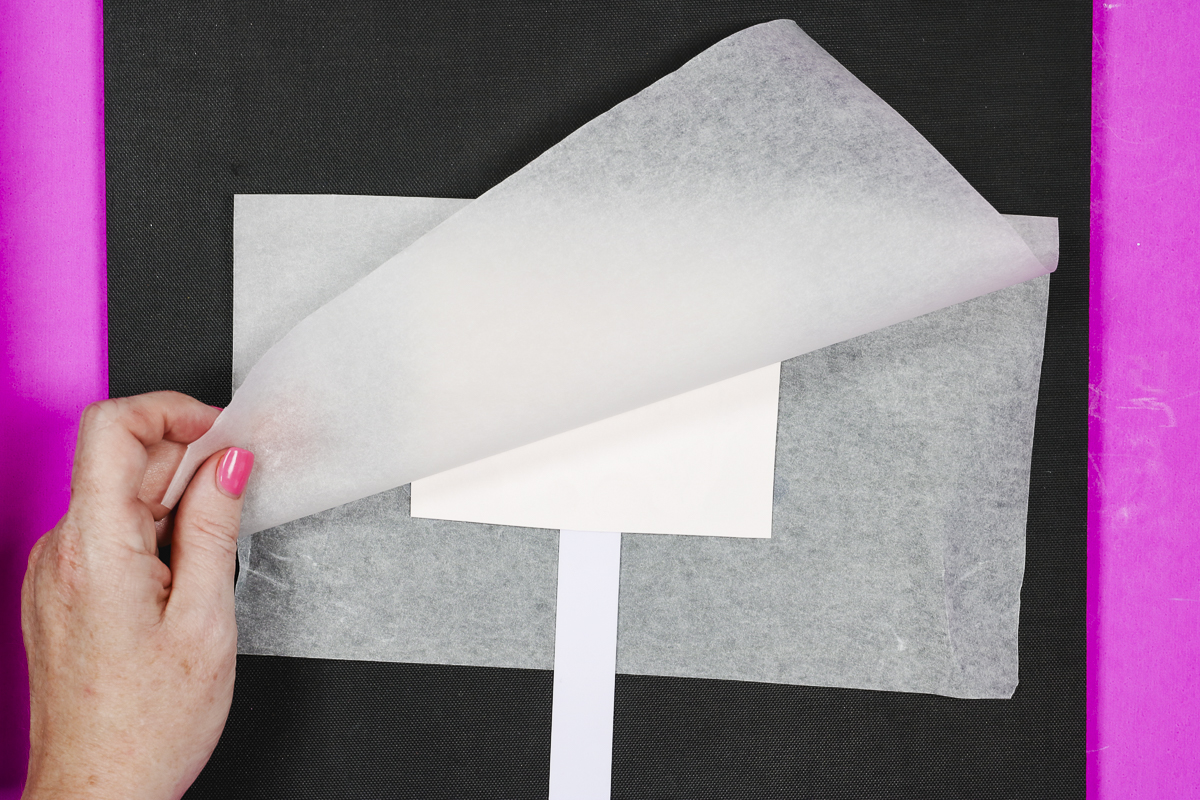
You can use uncoated butcher paper or sublimation protective paper. Do not skip this step. The protective paper keeps sublimation ink from getting on your heat-resistant mat and your heat source.
Step 4: Press Garden Markers
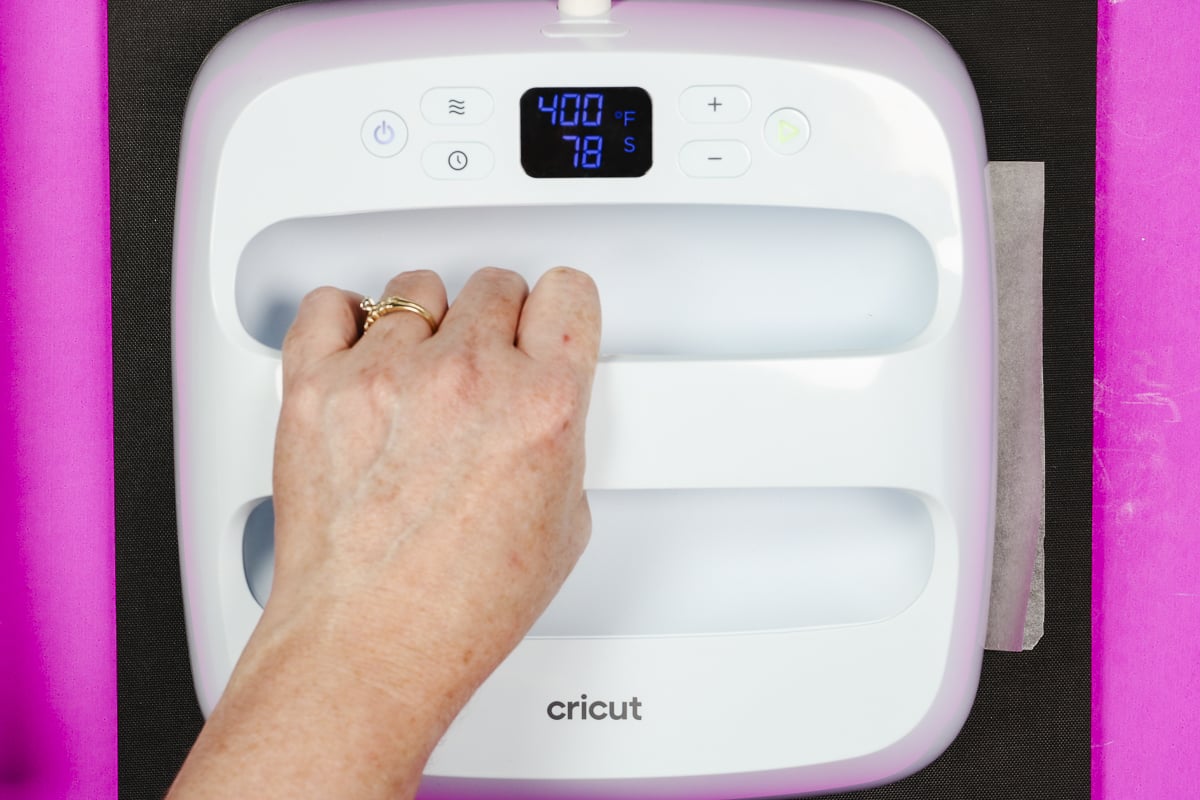
I am using my EasyPress to make these sublimation garden markers. I recommend using a firm heat-resistant mat like this one from Artisprix.
Place the sublimation garden marker print side up so that the press will be closest to the sublimation print.
Press for 90 seconds at 400 degrees with medium pressure. Be sure to check where you purchase your sublimation blanks for a recommended time and temperature!
Step 5: Remove Sublimation Print
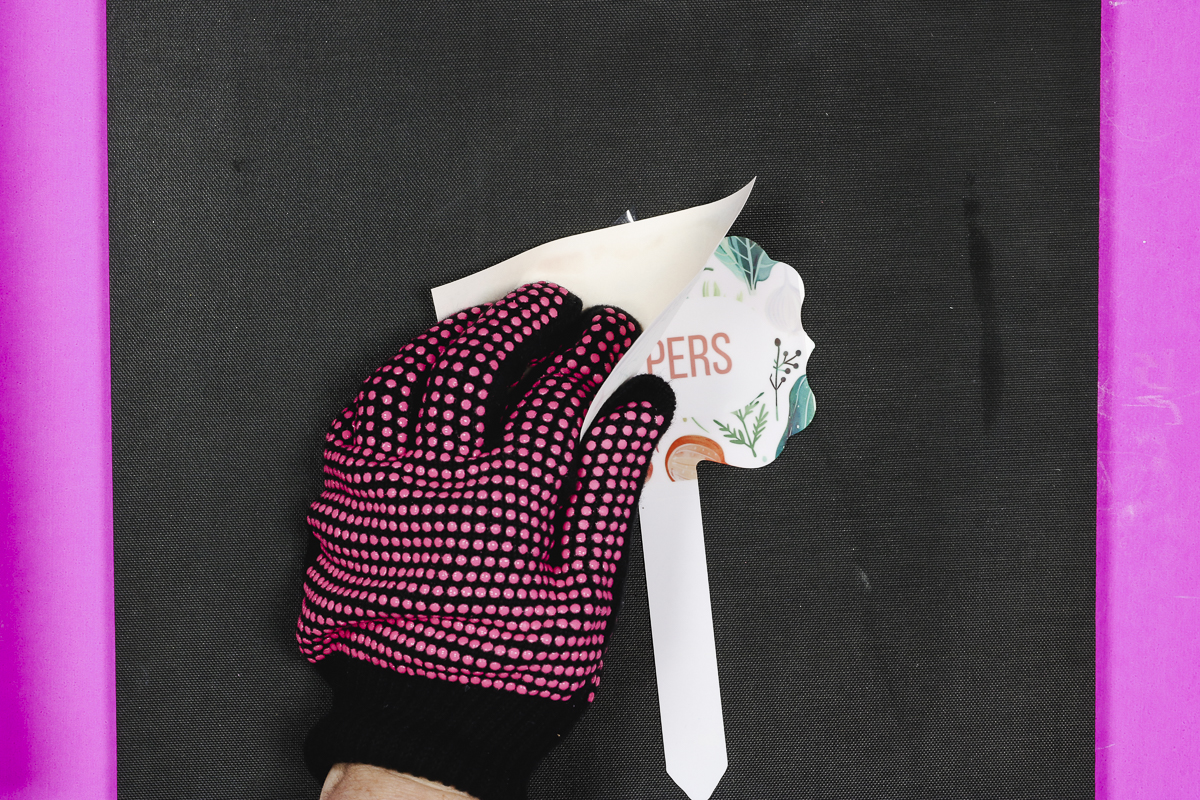
When the time is up, lift the EasyPress straight up off the sublimation garden marker.
The sublimation garden marker will be very hot because it is metal. Use heat-resistant gloves to remove the protective paper and lift the off the sublimation print. Repeat the process for each additional sublimation garden marker.
Step 6: Add UV Protective Spray if Needed
Depending on where you are placing your sublimation garden markers, you may want to add a UV protective spray to keep it from fading in the sunlight.
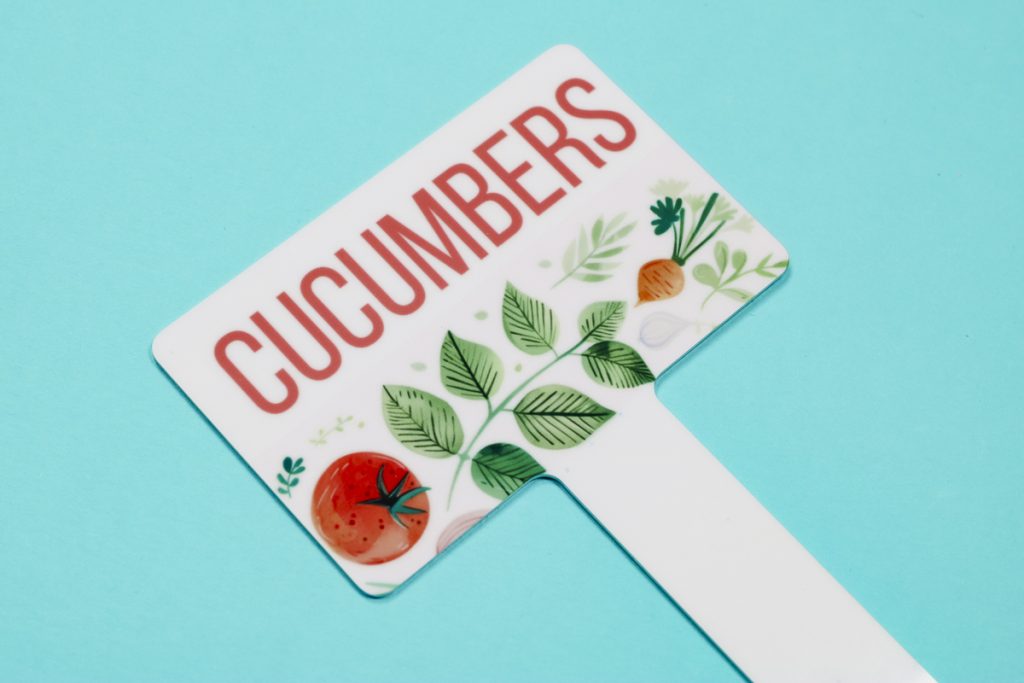
Sublimation can fade in direct sunlight. If your blank is already UV resistant you may not need to add anything additional.
A regular sublimation blank is more likely to fade if you plan to have it in direct sunlight.
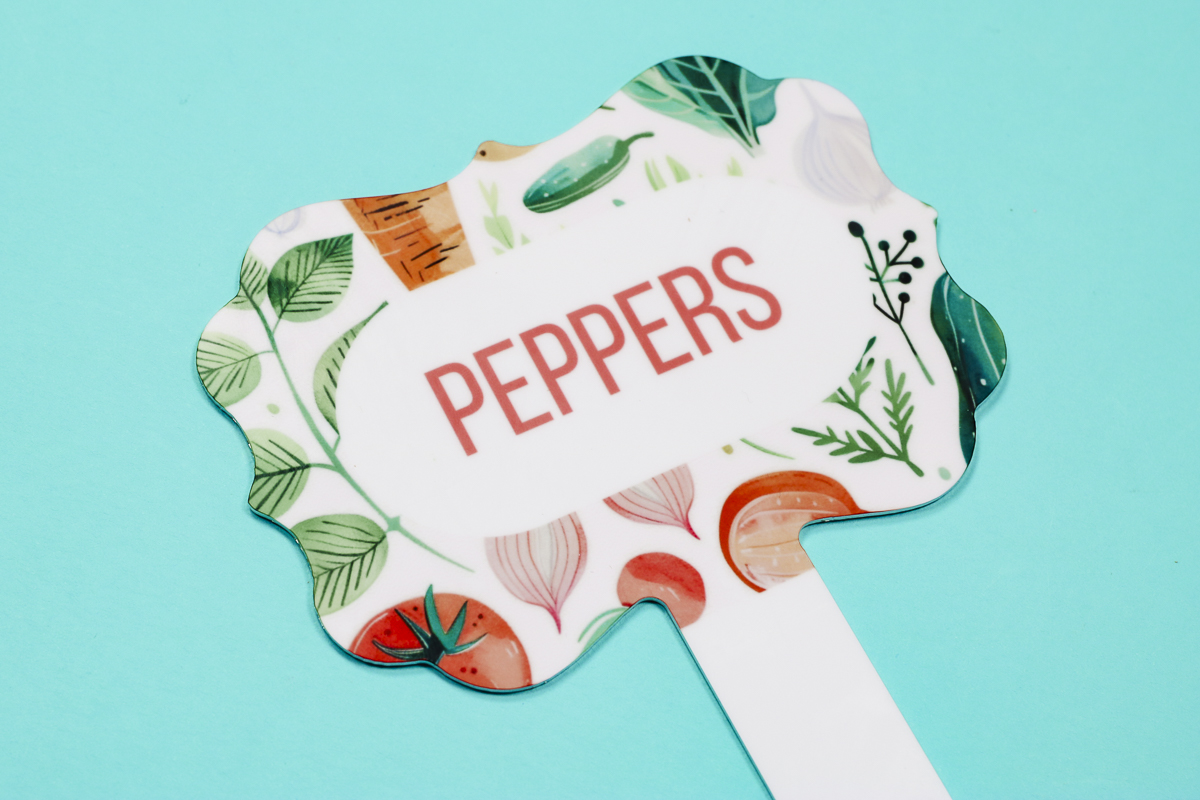
Once you have the sublimation print added to the garden marker, it is finished and ready to go. You can add the UV protectant but that isn’t a necessary step.
I love how these turned out. There are a lot of different options as far as shapes and sizes go for sublimation garden markers. You can see that even though these are all different shapes and sizes because I used the same design on each of the garden markers they all coordinate and look great together.
If you have any questions about making sublimation garden markers, feel free to leave them in the comments and I’ll be happy to answer them for you.
