This post and photos may contain Amazon or other affiliate links. If you purchase something through any link, I may receive a small commission at no extra charge to you. Any supplies used may be given to me free of charge, however, all projects and opinions are my own.
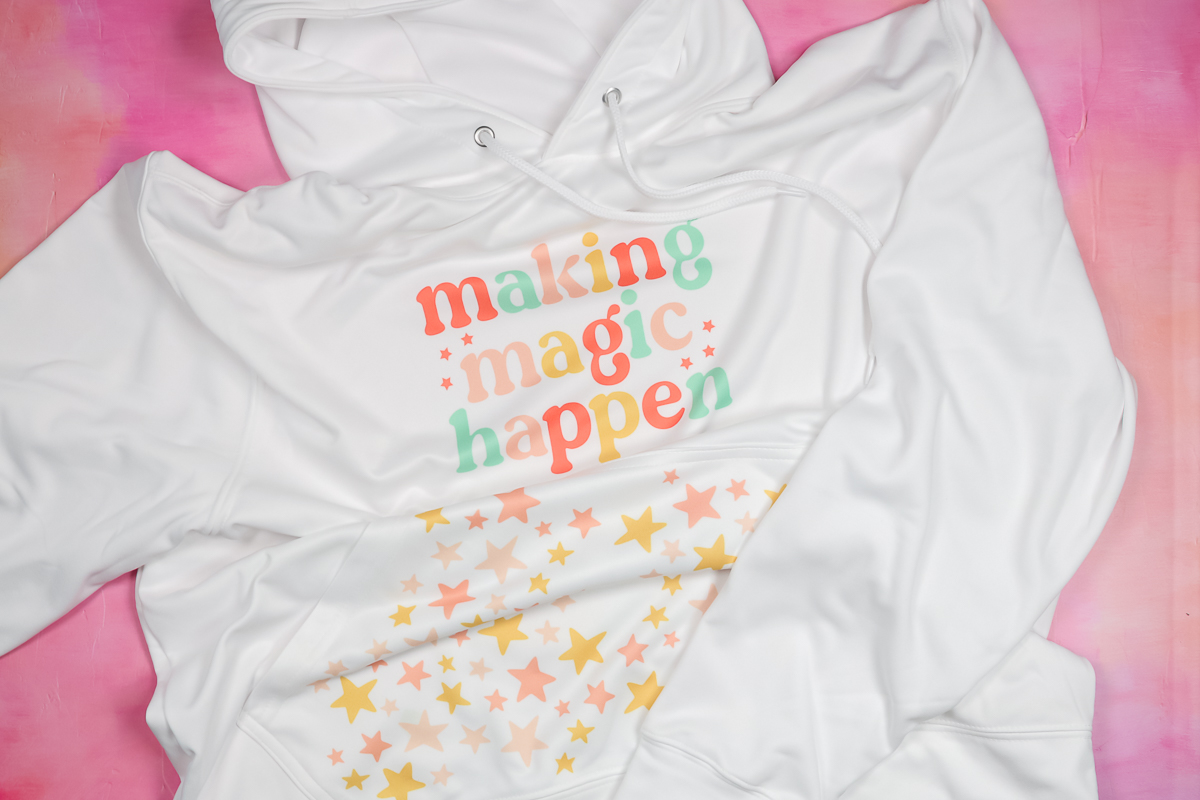
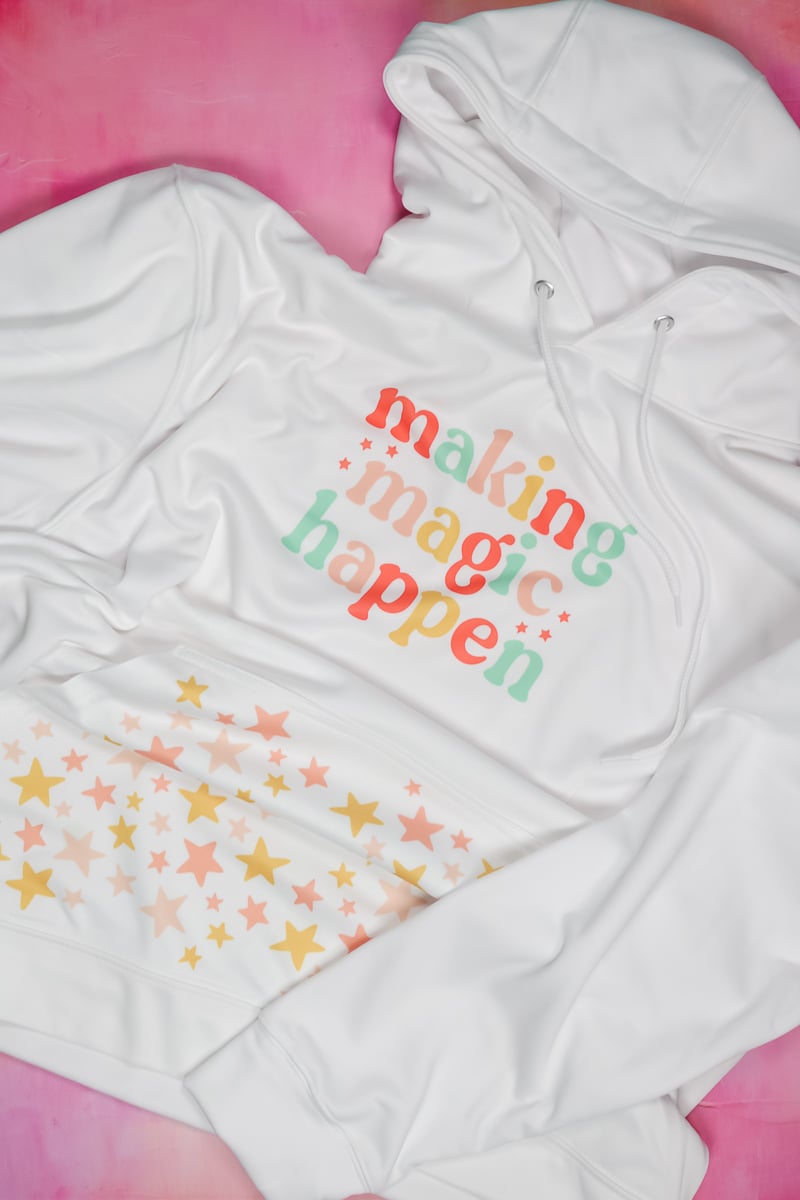
Have you ever personalized a hoodie? Today we’re going to make sublimation hoodies that are perfect for fall. We’re going to add a design to the front and to the pocket! If you love your sublimation printer, this is one project that you will want to add to your “must-make” list.
Need more information about sublimation? Check out my Beginner’s Guide here.
How to Make Sublimation Hoodies
To make sublimation hoodies, you’re going to need a hoodie with a high polyester count in a light color. My hoodie is a sublimation hoodie from Amazon but you can use any hoodie that is a light color and has a high polyester count. I recommend at least 65% polyester.
You’ll also need a sublimation print. This is an image printed with sublimation ink, onto sublimation paper, from a sublimation printer. When customizing hoodies, I really like adding images to the front pocket along with the chest. I think it really adds something extra to the hoodie.
You can watch me make this sublimation hoodie from start to finish, just click play on the video below:
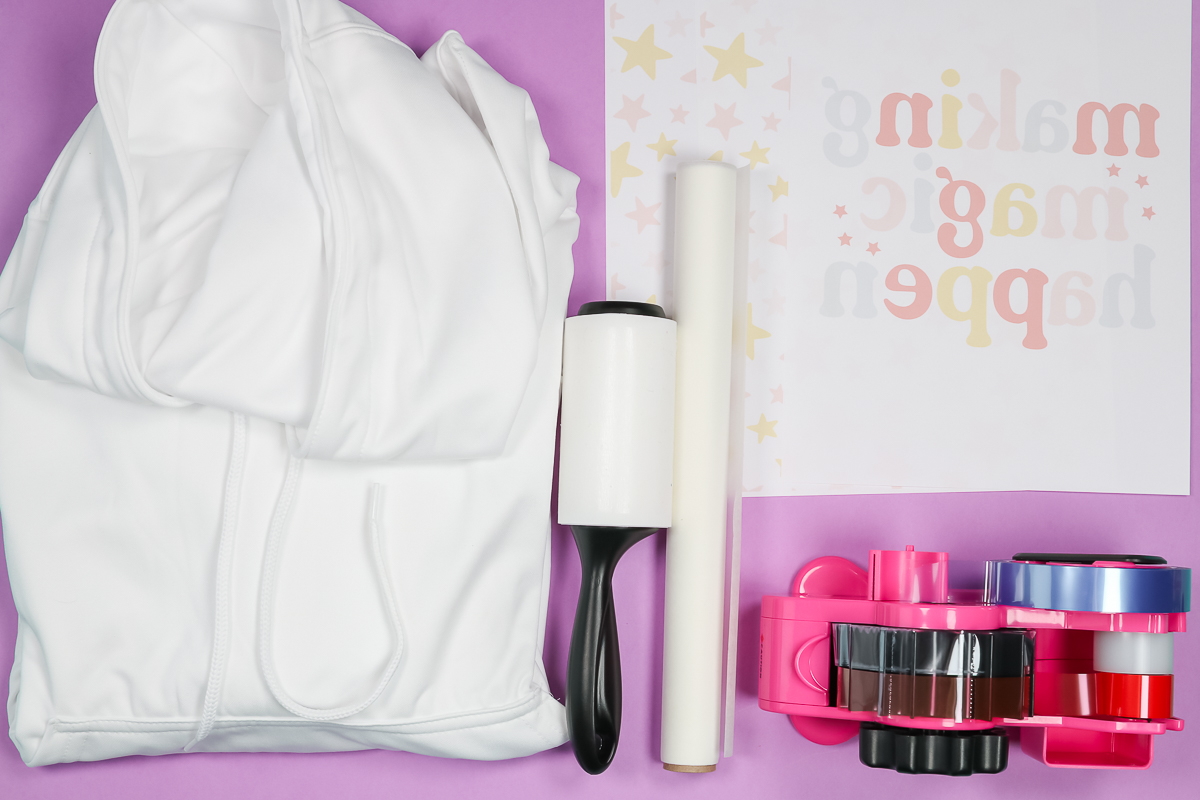
Supplies Needed:
Blanks used:
Designs used:
Adding Sublimation Designs to Sublimation Hoodies
To make my hoodie, I am going to use three different sublimation prints. The first print is just a regular sublimation print for the chest area. Because the size I wanted fits on one sheet of paper I am able to do that area in just one press.
For the pocket, I am using a coordinating print that I’ve printed out twice because the pocket of the hoodie is too big for one print to cover the whole thing.
How to Join Multiple Sublimation Prints
As you may have noticed, the background of my printed pieces is white. I’m not really great at joining sublimation prints when the background is a color. When I’m combining pieces, I choose to stick with a white background for now. I think this is a great way to get started with piecing together sublimation prints.
For my pocket design, I want the whole pocket covered and I want all my stars to be whole, not cut off on the edges. To do this, I’m trimming my print so all the stars are full and will fit within the seams of my hoodie pocket. I did this on all four sides of my print.
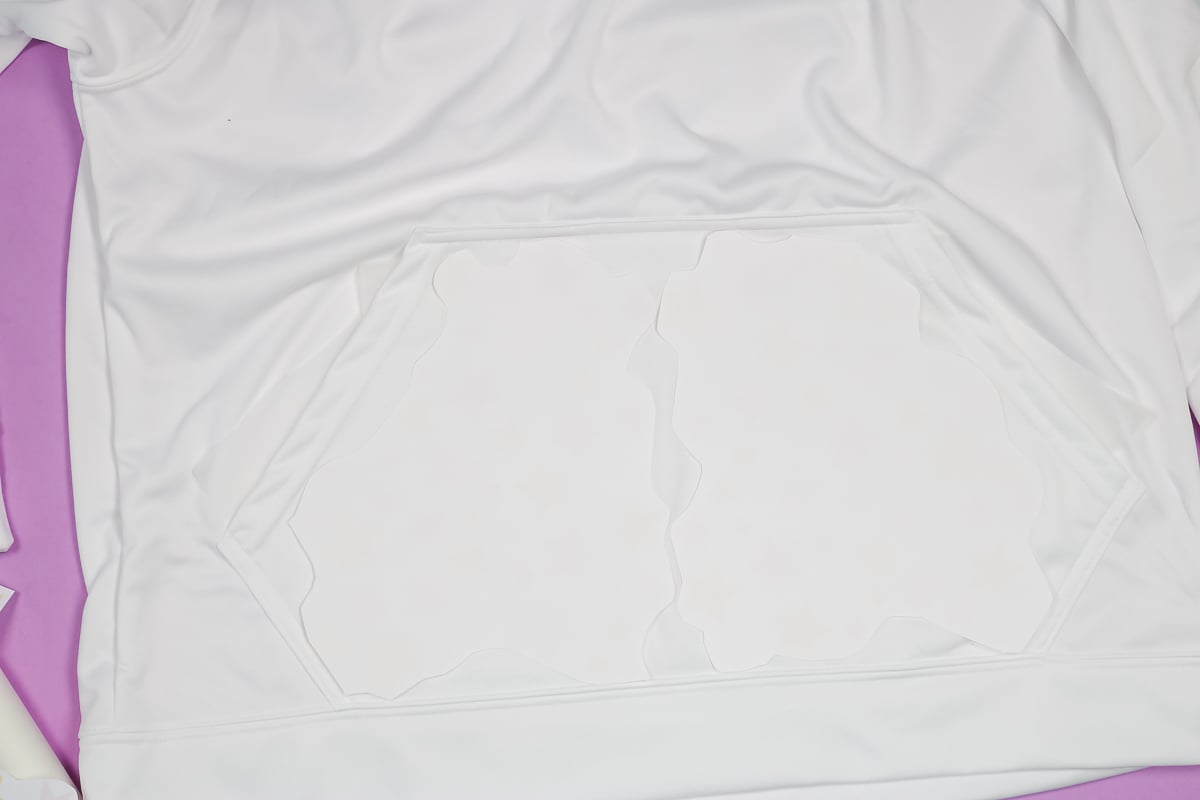
I’m combining two 8.5″x 11″ prints to cover my pocket. To make sure your prints will fit within the seams of the hoodie pocket, there are a couple of options. Lay the print on top of the pocket and you can see or feel the seams of the pocket. You can use your scissors to cut a little slit on the print and use that as a guide to trim around your print. You can also just bend the print back along the seams and then follow that bend to cut away the excess.
Whichever way you decide to trim your print, just make sure your whole image fits inside the seams of your pocket. The way I’m laying out my prints I will likely have some area in the middle that is left white. For my hoodie, I am happy with that finished look. If you don’t want white spots, you can cut out extra stars and tape those to the middle blank areas.
Pressing Sublimation Prints to Hoodie
To add the sublimation prints to my sublimation hoodie, I am using my Cricut AutoPress. The AutoPress is the largest heat source I have.
Start by adding protective paper inside the pocket of the hoodie so that the sublimation ink doesn’t bleed through the pocket. You’ll also need a piece of protective paper inside the shirt when we press the chest area.
Preheat the whole pocket and the chest area where the sublimation prints will go at 385 degrees for about 10 seconds. For my sublimation hoodie pocket, I cannot press the whole image at once so I will press the images one at a time.
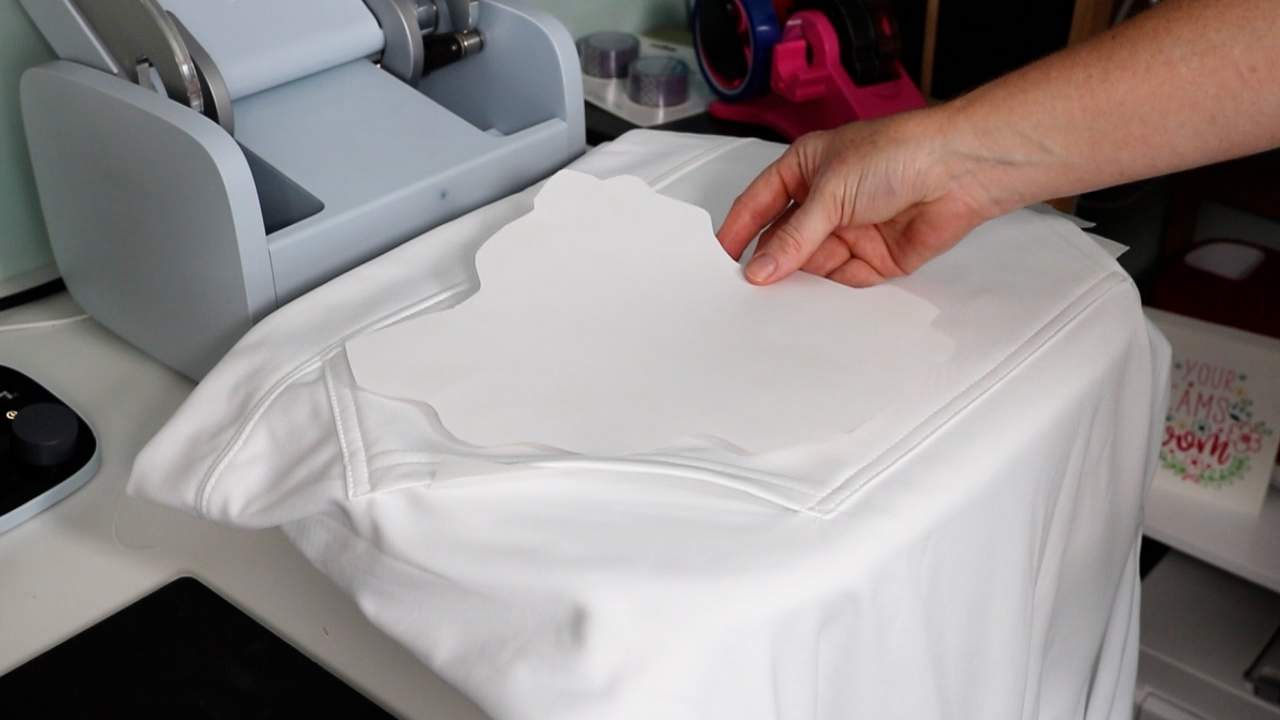
After preheating, lint roll the entire area really well, and then add your sublimation prints. Use heat tape to hold the print in place. I like to tape only on the seams if I can. This means even if the tape leaves marks it will only be on the seam and won’t be as noticeable.
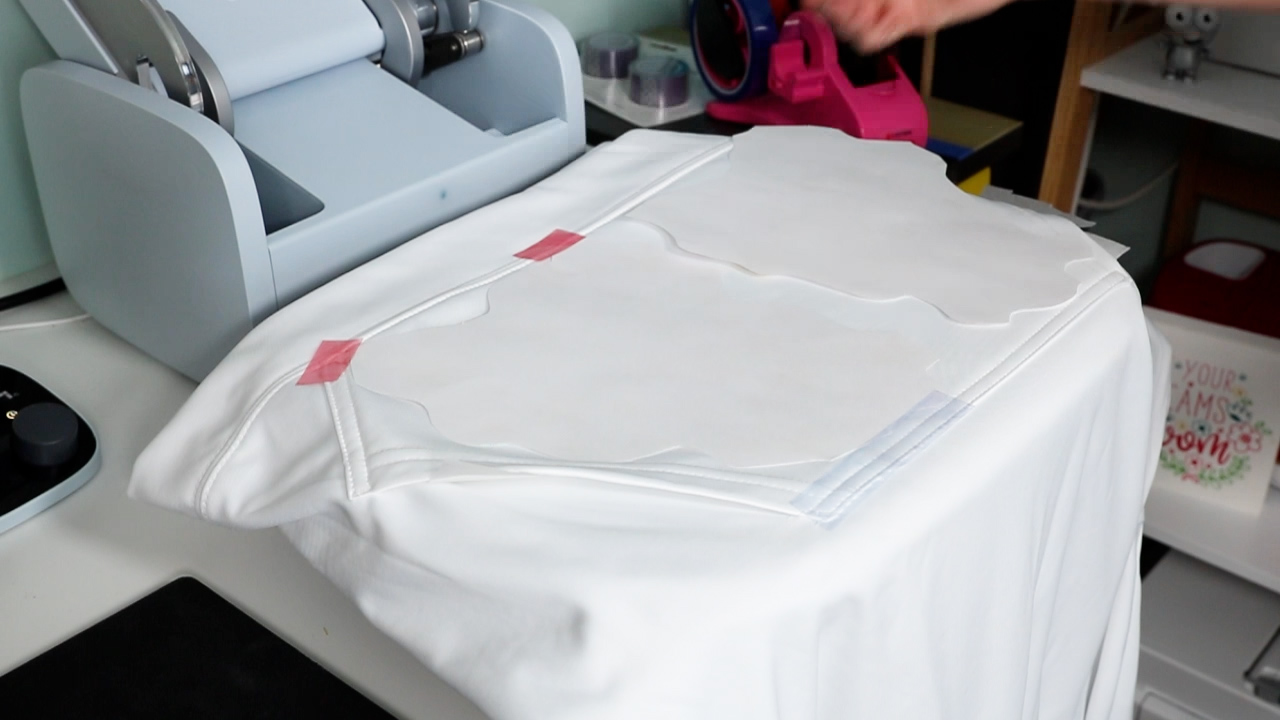
Once everything is taped into place, add protective paper and close the AutoPress. Press at 385 degrees for 55 seconds. For the pocket portion of the sweatshirt, I like to put the hoodie into the AutoPress upside down so the majority of the bulk of the hoodie is hanging out the front.
Once the first 55-second press is done, carefully move the pocket over and press the second press. After the second press is complete remove the protective paper and the sublimation prints.
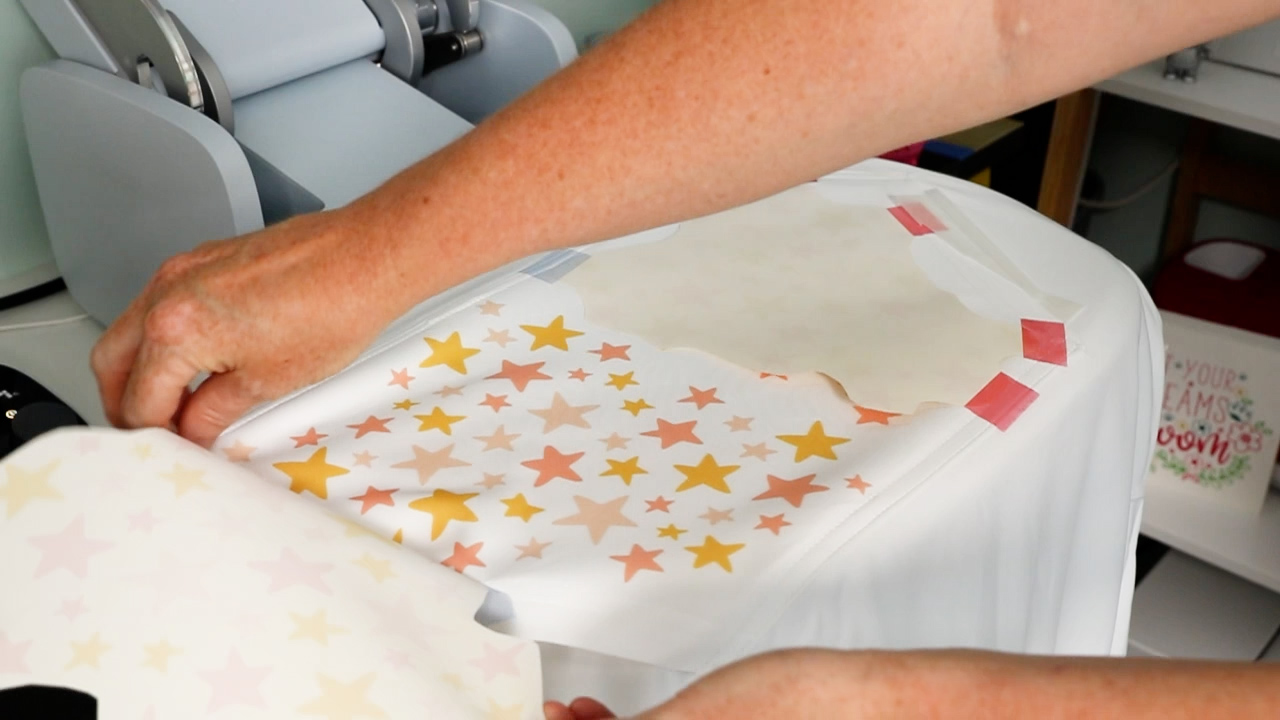
Adding Sublimation Print to Chest of Sublimation Hoodies
To press the design to the chest portion of my sublimation hoodie, I am going to flip the hoodie around and move the hood down inside the AutoPress. I don’t want those seams or the metal pieces of the hood inside the heat press.
Follow the same steps, prepress, lint roll, and add sublimation print to the hoodie. To help minimize any press marks, I am going to add some foam inside the hoodie. I placed the foam inside the hoodie and then added a piece of protective paper on top of the foam to protect it from any ink transfer.
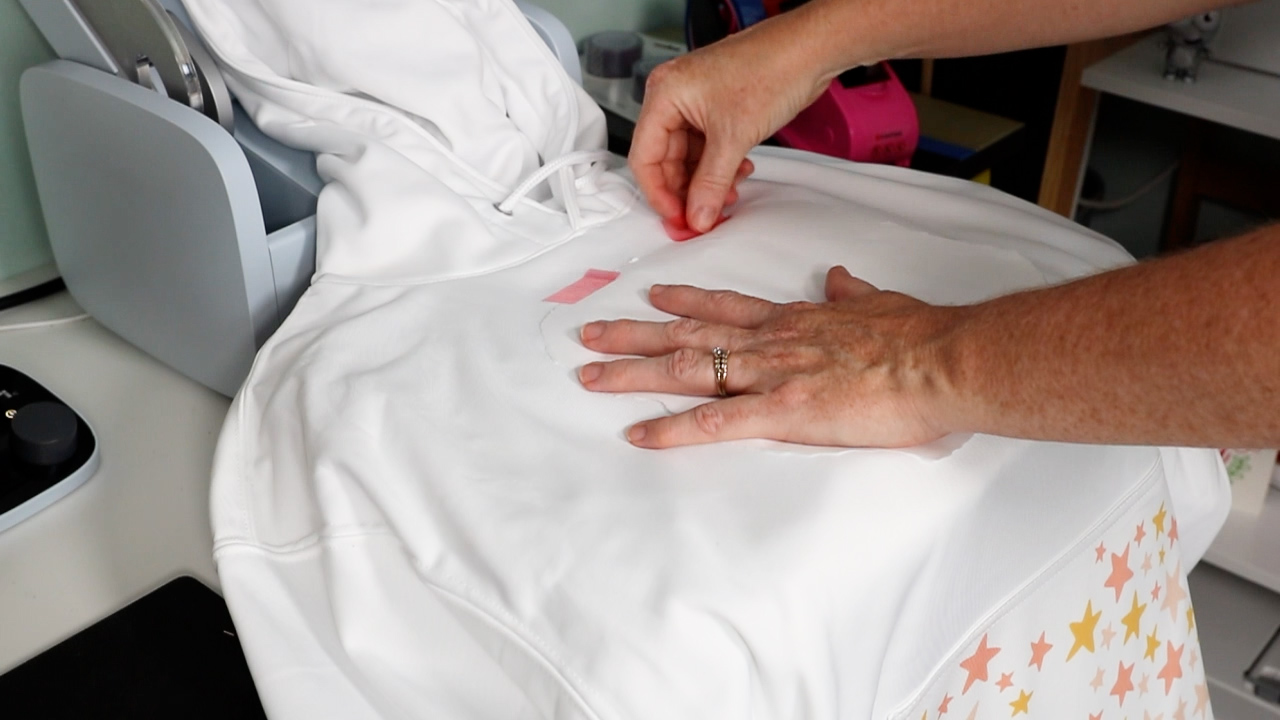
I like to fold my sublimation print in half to get an approximate center line that I can line up with the center of the hoodie. Line it up where I want it placed making sure it’s straight and that the foam is under the print all the way around.
Place protective paper over the whole image and press the hoodie for 55 seconds at 385 degrees. When the AutoPress pops up, I can remove the protective paper as well as the sublimation print and my sublimation hoodie is complete.
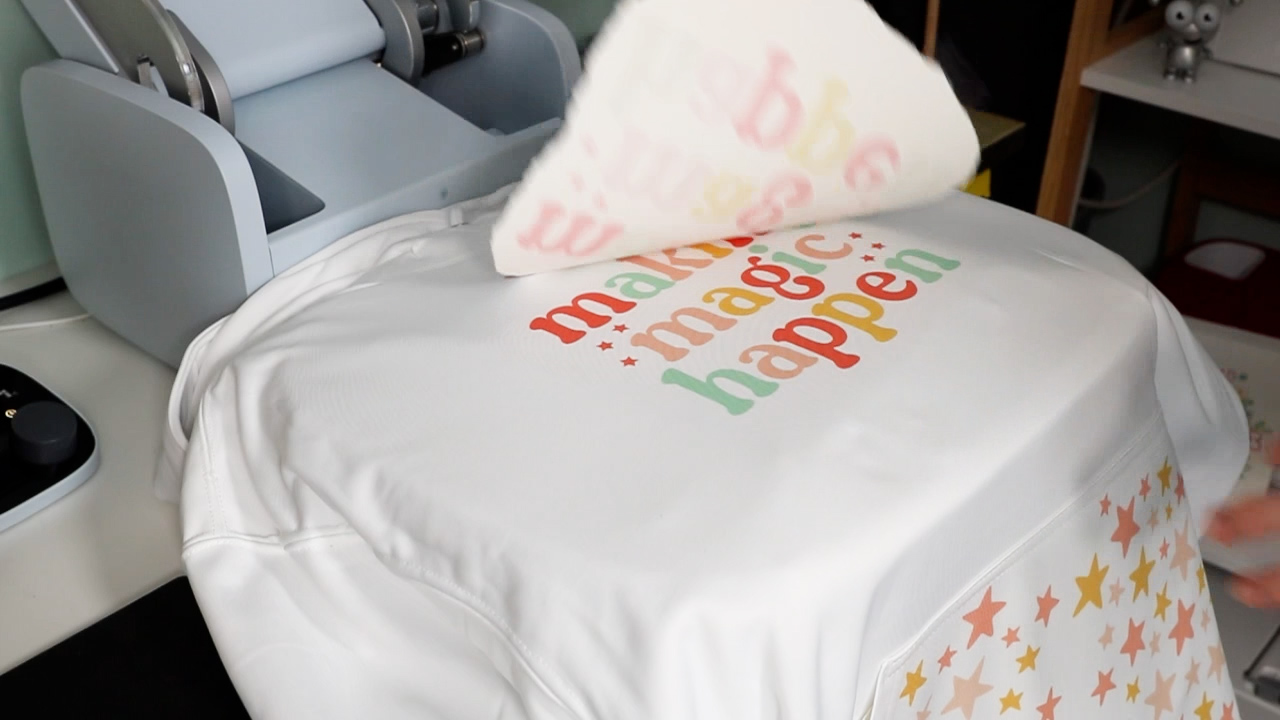
How to Remove Press Marks
Now that my sublimation hoodie is complete, I can remove it from the AutoPress and check for any press marks. Press marks can show up where the sublimation print sits or the edges of the press itself.
To remove the press marks, I like to heat my EasyPress Mini all the way up to the third setting and run it lightly over all the press marks. As long as you don’t hold the press in one spot for too long, you won’t reactivate the sublimation.
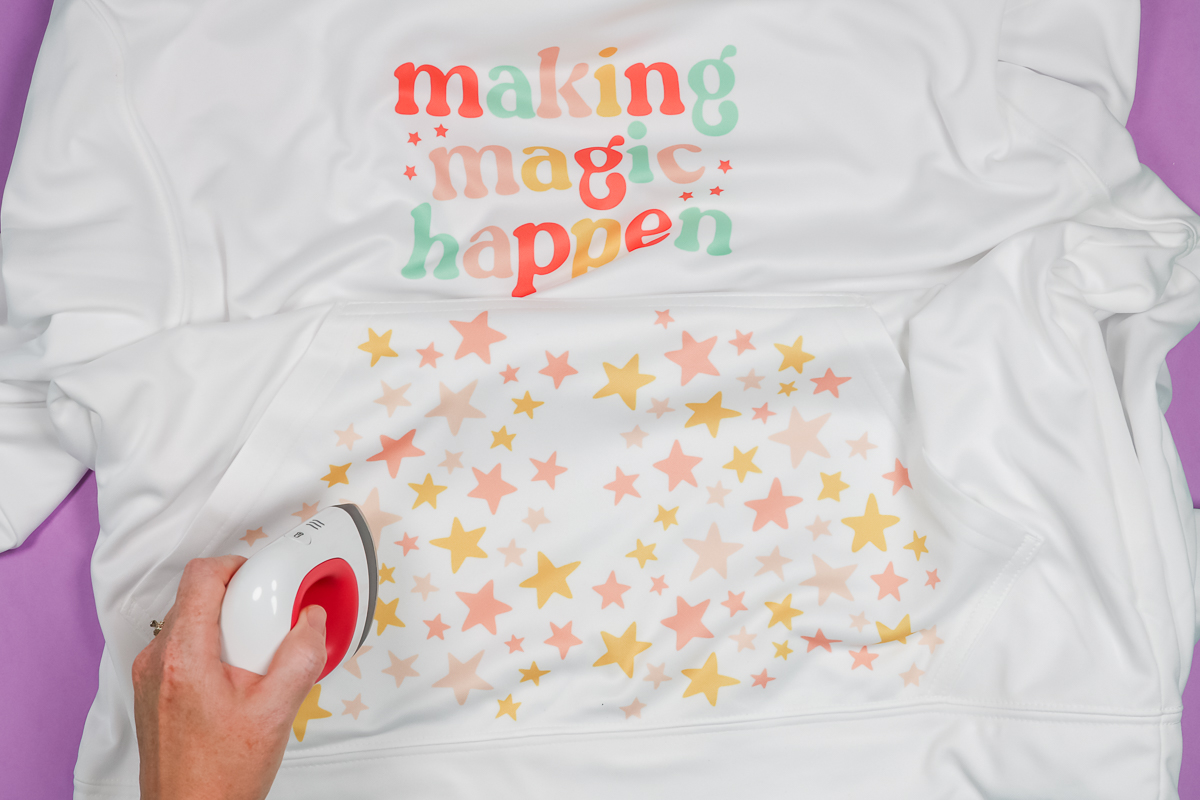
Go around the whole shirt and knock out all those press marks. I like to take the time to look at the shirt from different angles to see if there are any press marks and press them all out. This is one way to remove press marks and worked really well on this polyester hoodie. Sublimation paper itself can leave quite a few press marks. It can also depend on your hoodie so just take the time to check.
Final Thoughts on Sublimation Hoodies
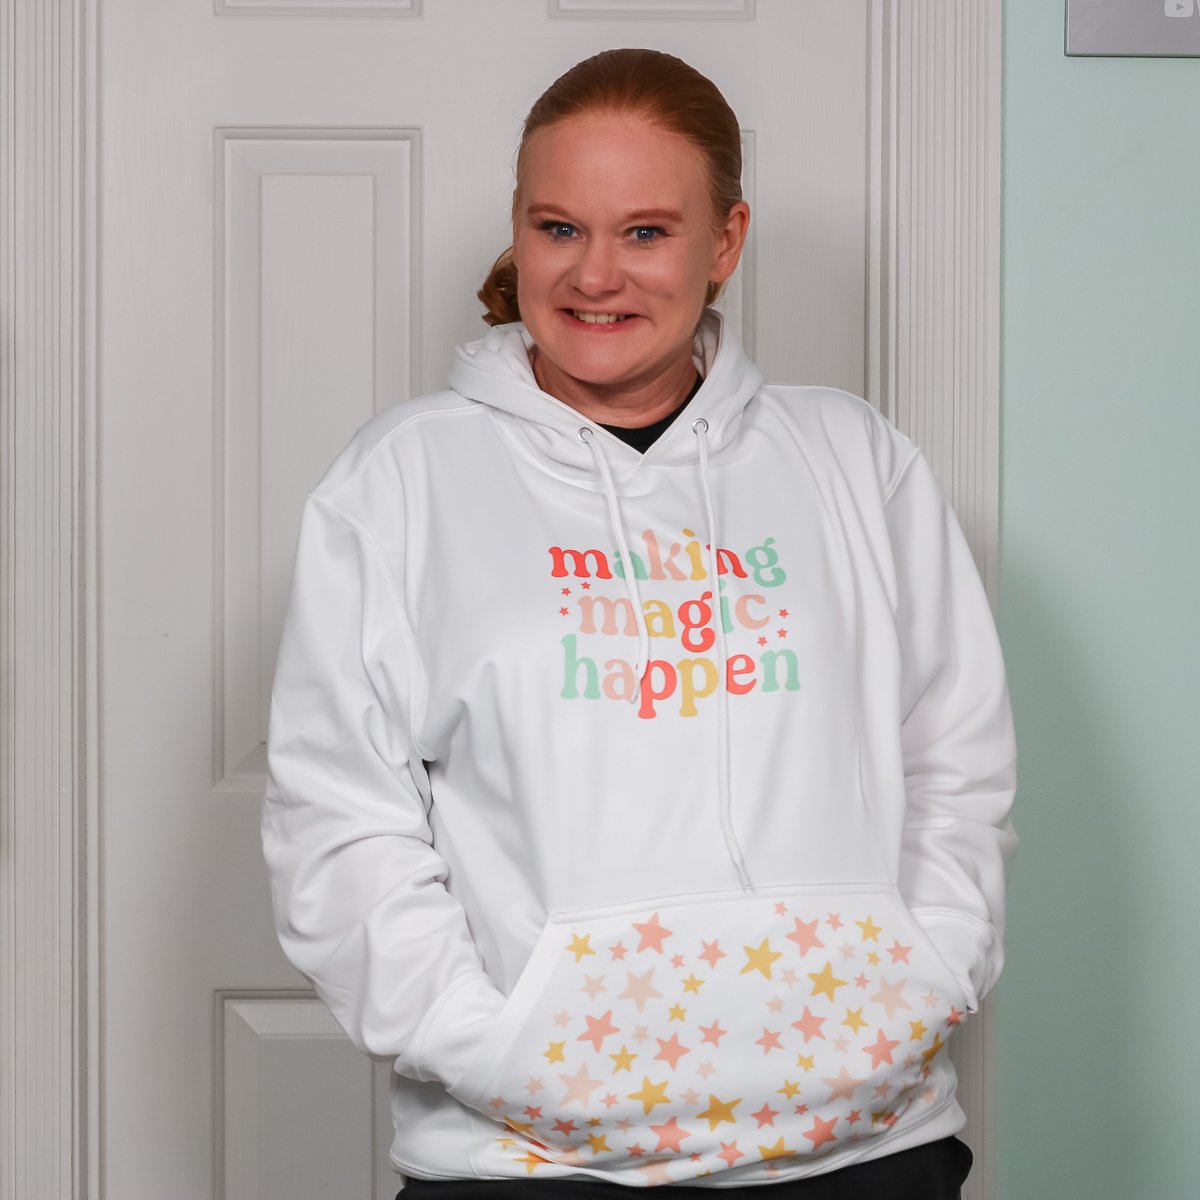
I am thrilled with the way my sublimation hoodie turned out. I love the pocket with the stars on it. You can see the white spaces in the middle that I mentioned above. I think that is the only thing I might change with how it turned out. To make your own sublimation hoodie, you want an image for the chest and a coordinating print for the pocket.
Are you ready to make all the sublimation hoodies for fall? Even if you don’t have a press as large as the AutoPress, you can still make sublimation hoodies. I was able to press the pocket in two presses without any problem. I think you could press the pocket area even 3 times if you needed to to get the print all the way across the hoodie pocket.
Don’t be afraid of this project even if you don’t have a large heat press. Make sure you overlap and press the entire area evenly if you need to press more than once.
I can’t wait to see your sublimation hoodies! You’re going to love being able to customize your own hoodies with any designs you want. If you have any questions leave them in the comments and I’ll answer them for you. Have a great day and happy crafting!

