This post and photos may contain Amazon or other affiliate links. If you purchase something through any link, I may receive a small commission at no extra charge to you. Any supplies used may be given to me free of charge, however, all projects and opinions are my own.
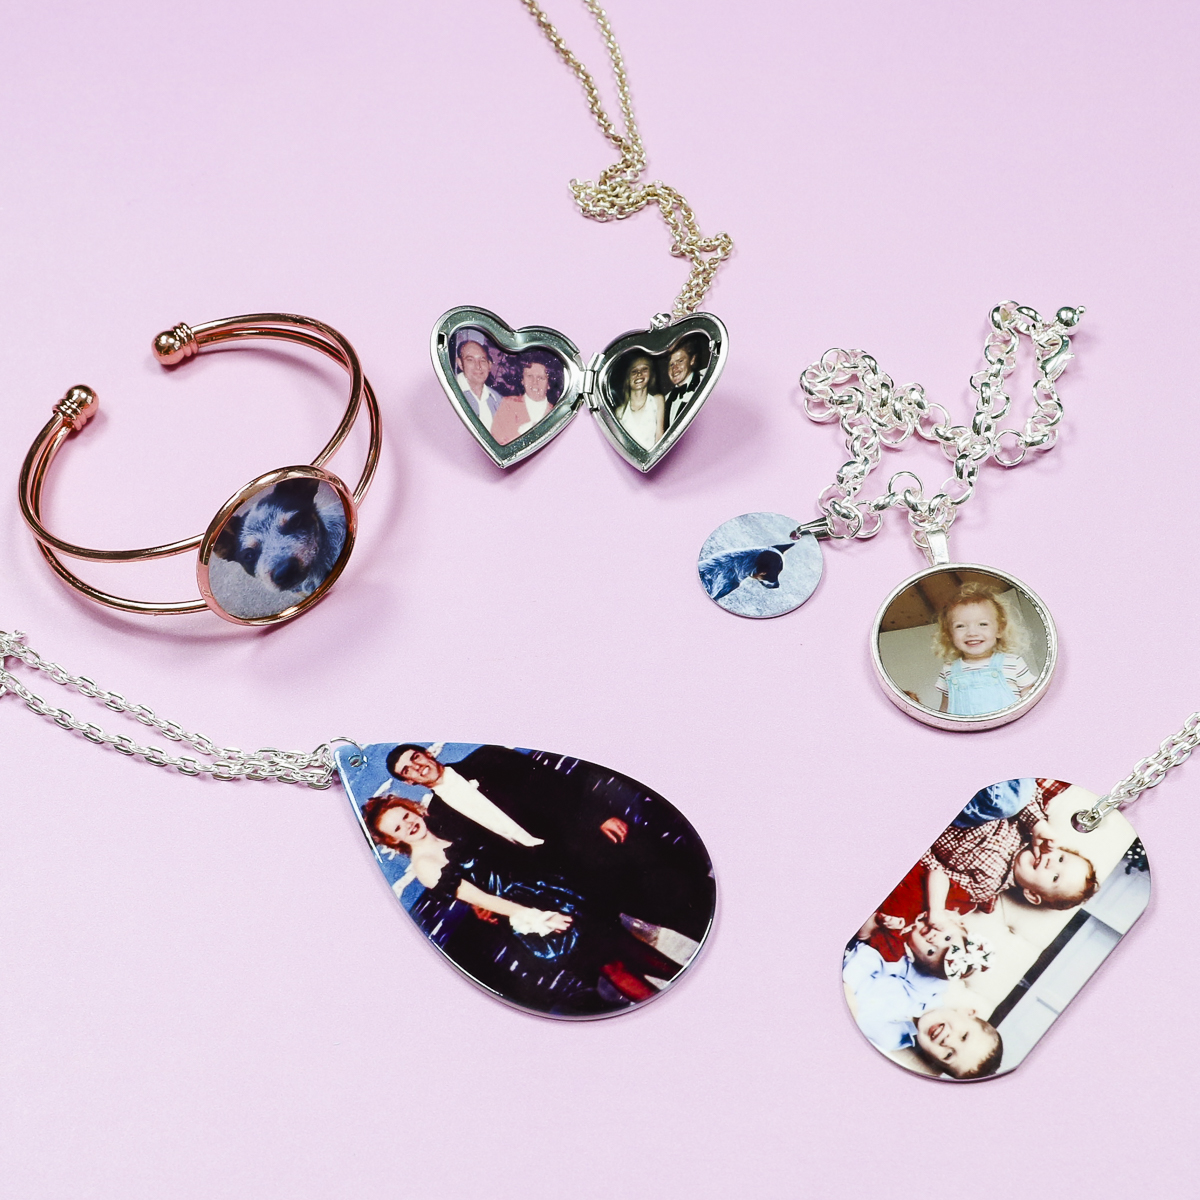
Let’s make sublimation jewelry with photos. I am including instructions for how to make a charm bracelet, locket, cuff bracelet, and a couple of necklace options.
I’ve already shown you how to make sublimation earrings so I won’t go into earrings today. If you’re looking for more information on making sublimation earrings, I can help with that too.
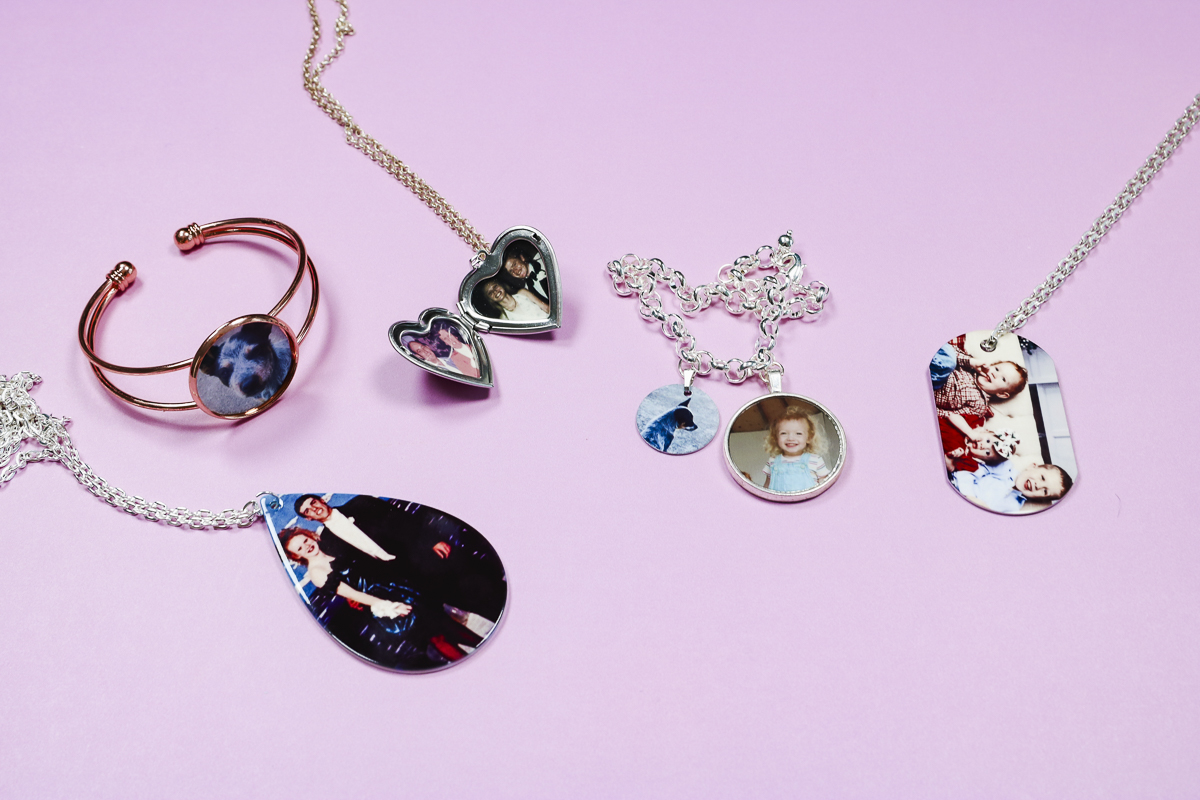
Sublimation jewelry with photos is perfect for personalized gifts. You can watch me make each of these different sublimation jewelry pieces by pressing play on the video below.
Table of Contents
How to Make Sublimation Jewelry with Photos
Making sublimation jewelry is easy and can make some amazing handmade gifts!
Supplies:
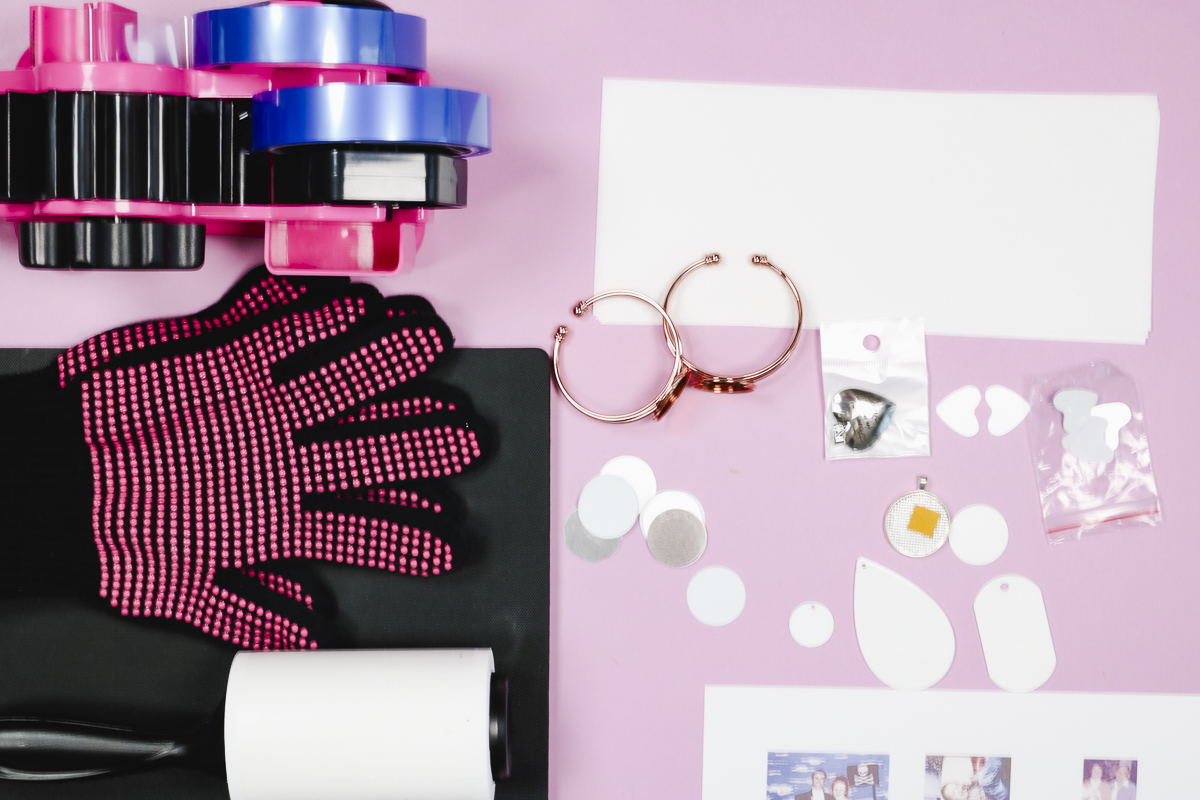
Step 1. Print Sublimation Photos
Before we print our photos, we need to measure each of the blanks. Depending on the shape of the blank you may need more than one measurement.
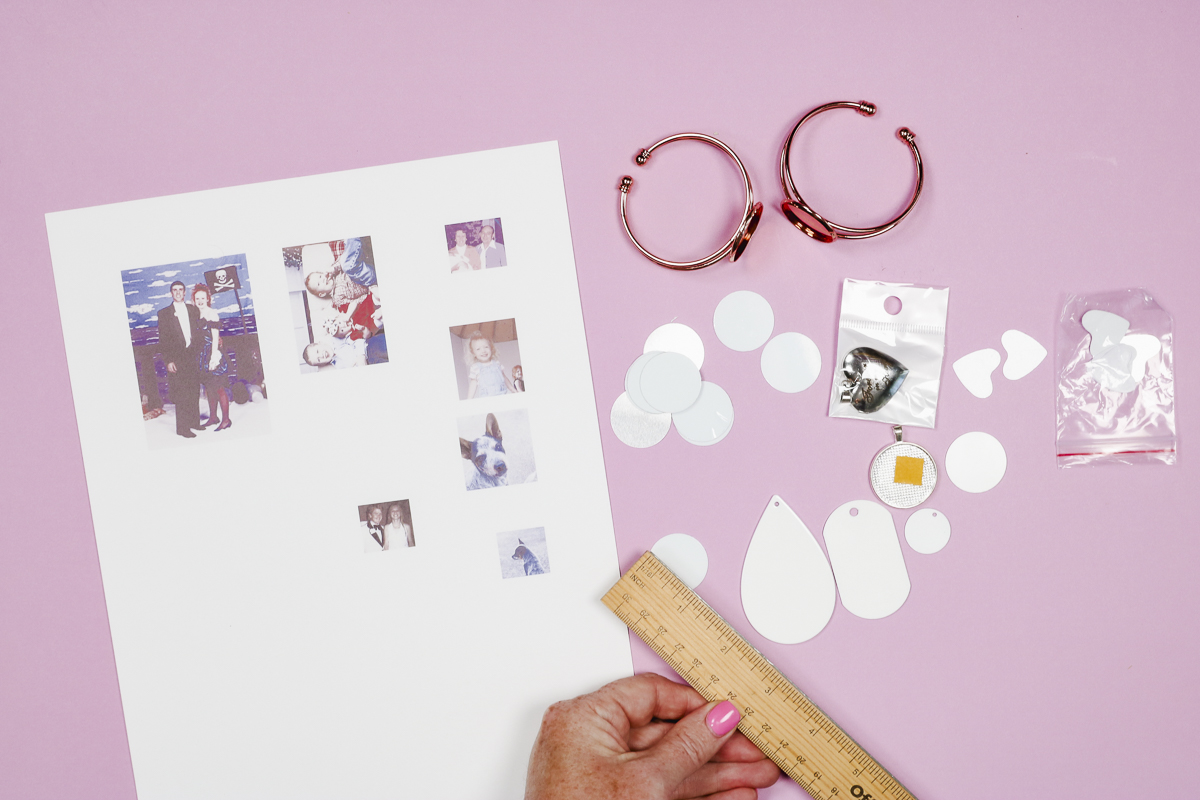
I am using Canva to resize my designs.
Open Canva and create a canvas that is the size of your paper. I am using paper that is 8.5 x 11 inches so that is the size of my canvas in Canva.
Upload each of the photos you want to print and then add them to the canvas.
Within Canva, you can crop and resize the photos to match the measurement of your blank. Click Position in the top toolbar and from there you can enter a specific size.
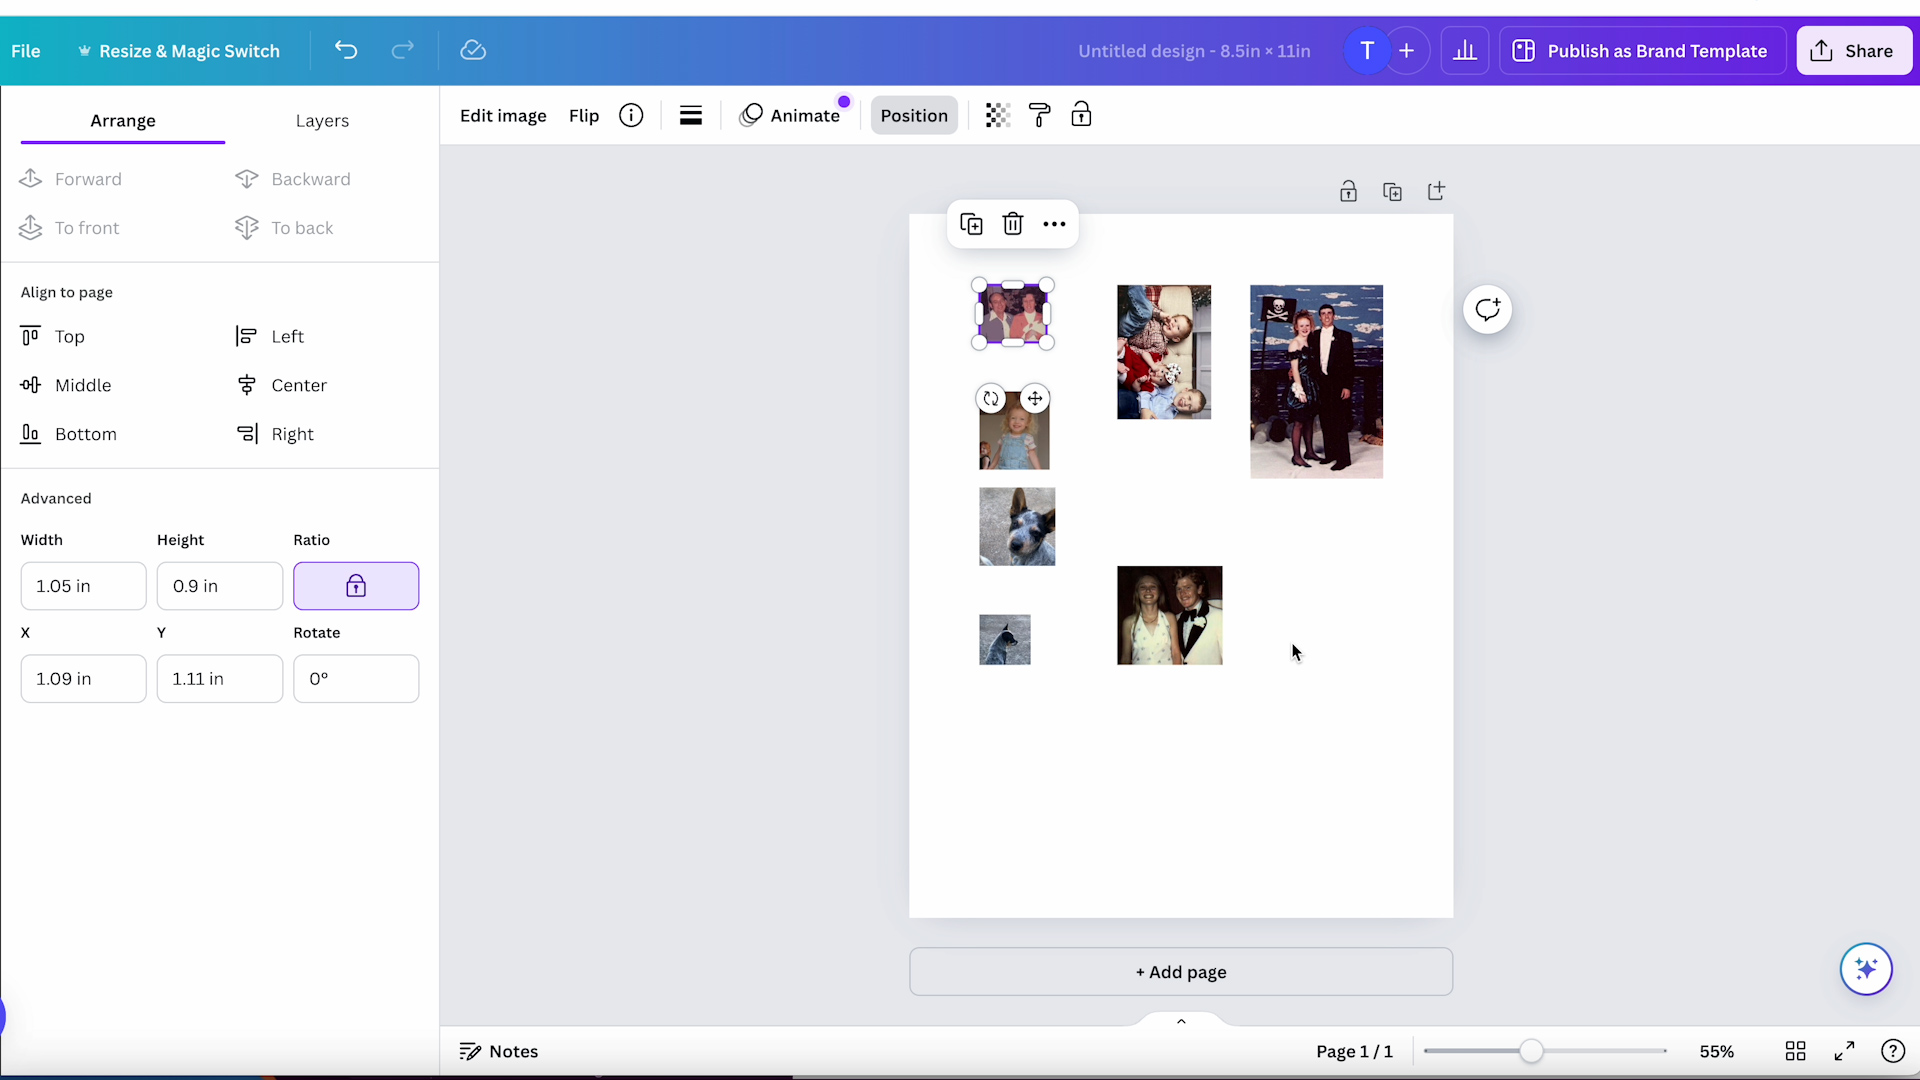
Keep the proportions locked so the image doesn’t distort. Repeat this process for each photo and then you can download the file for printing.
You cannot print directly from Canva. Download the file, I like to download it as a PDF for print.
Open the file on your computer and send it to your sublimation printer. Make sure to mirror the design and print as you would any other sublimation print.
The print needs to be sublimation ink printed onto sublimation paper from a sublimation printer.
Step 2. Prepare the Blanks
Next, we need to prepare the sublimation blanks. Make sure there is no protective coating on the blank, check both the front and the back of each one.
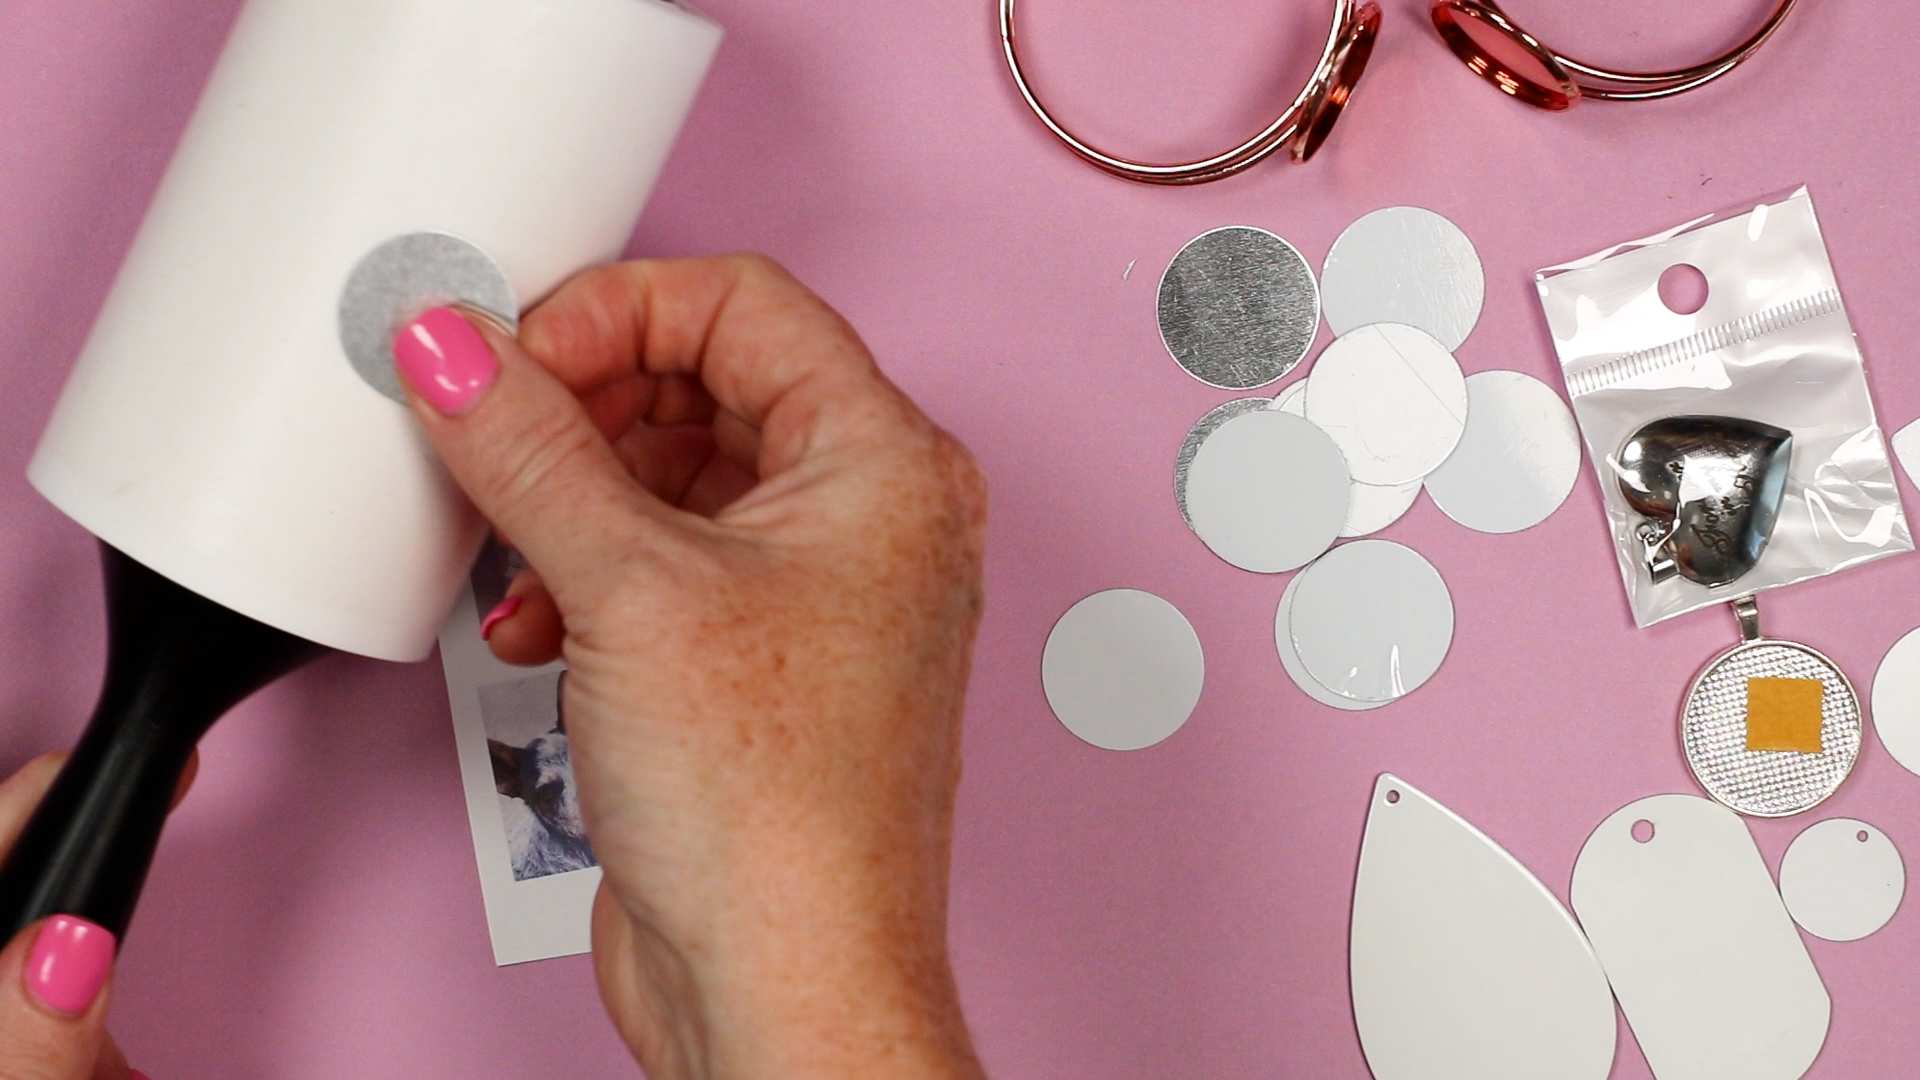
When the coating is removed clean the blank. These are small so I am sticking them to the lint roller to make sure any hair or dust is removed.
Step 3. Add Sublimation Print to Sublimation Blank
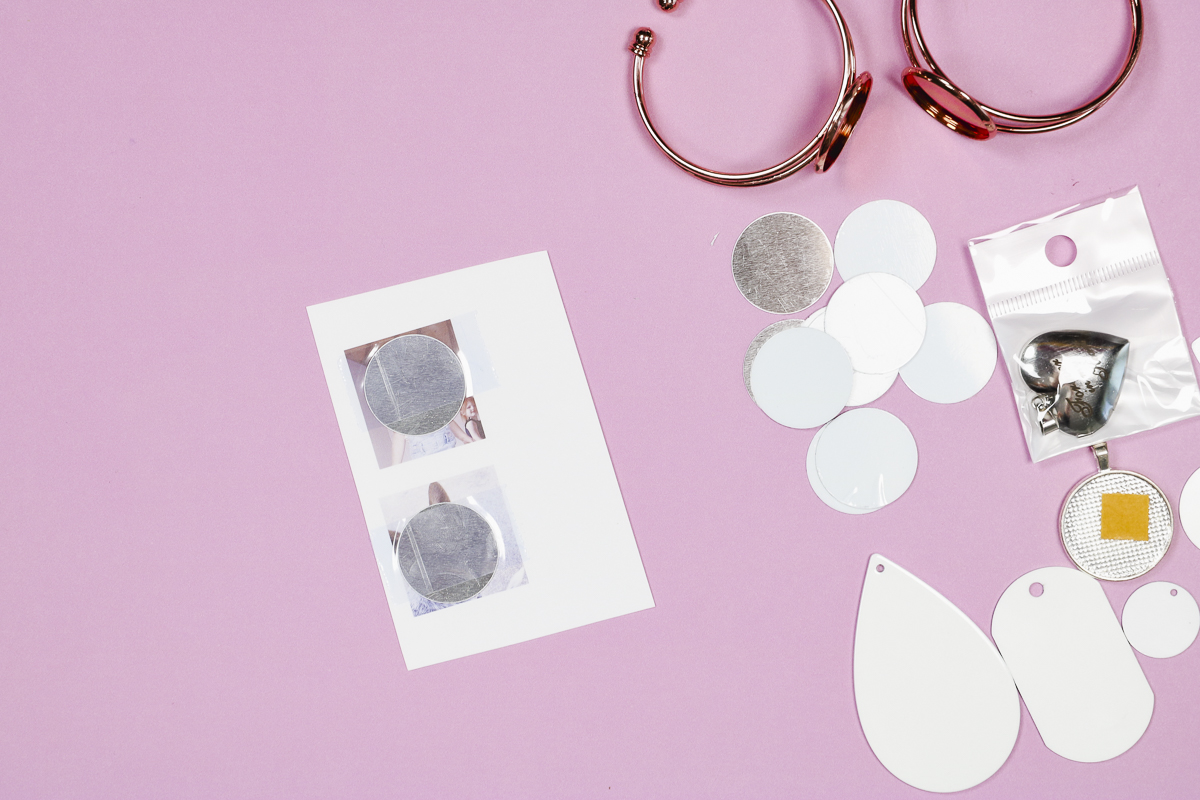
Once the blanks are prepared, use heat-resistant tape to locate the blank onto the print.
Make sure the blank is sublimation side down. Repeat the process for each photo.
Step 4. Press Photos onto Sublimation Jewelry Blanks
These blanks are all different thicknesses. I recommend pressing them one at a time, or one type at a time to make sure you get consistent pressure.
Place a piece of protective paper on the heat-resistant mat, I like to use a firm mat for these blanks.
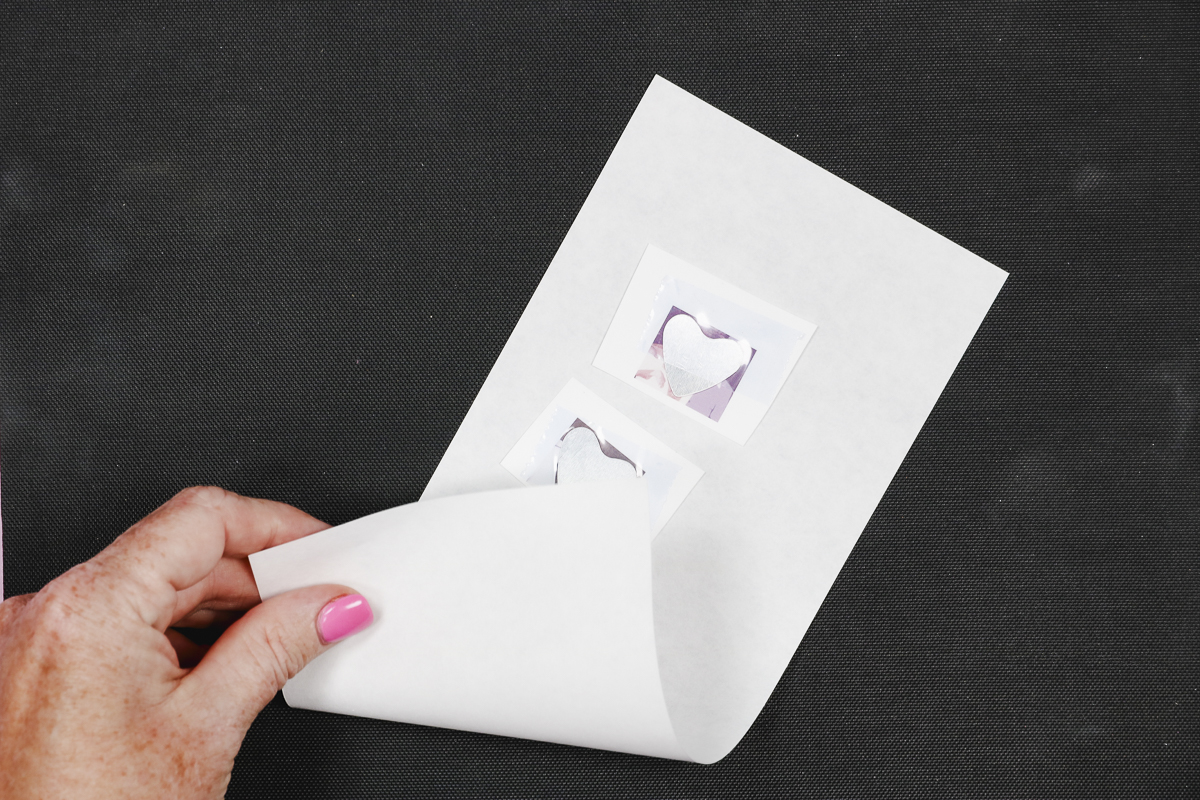
Place the sublimation blank, print side up on the mat, and place another piece of protective paper on top.
I am using my EasyPress Mini for these blanks. For sublimation, the Mini needs to be heated up to the highest setting.
There is no timer on the EasyPress Mini so I am using my phone as a timer and have that set for approximately 60 seconds. Follow the pressing recommendations for your blank.
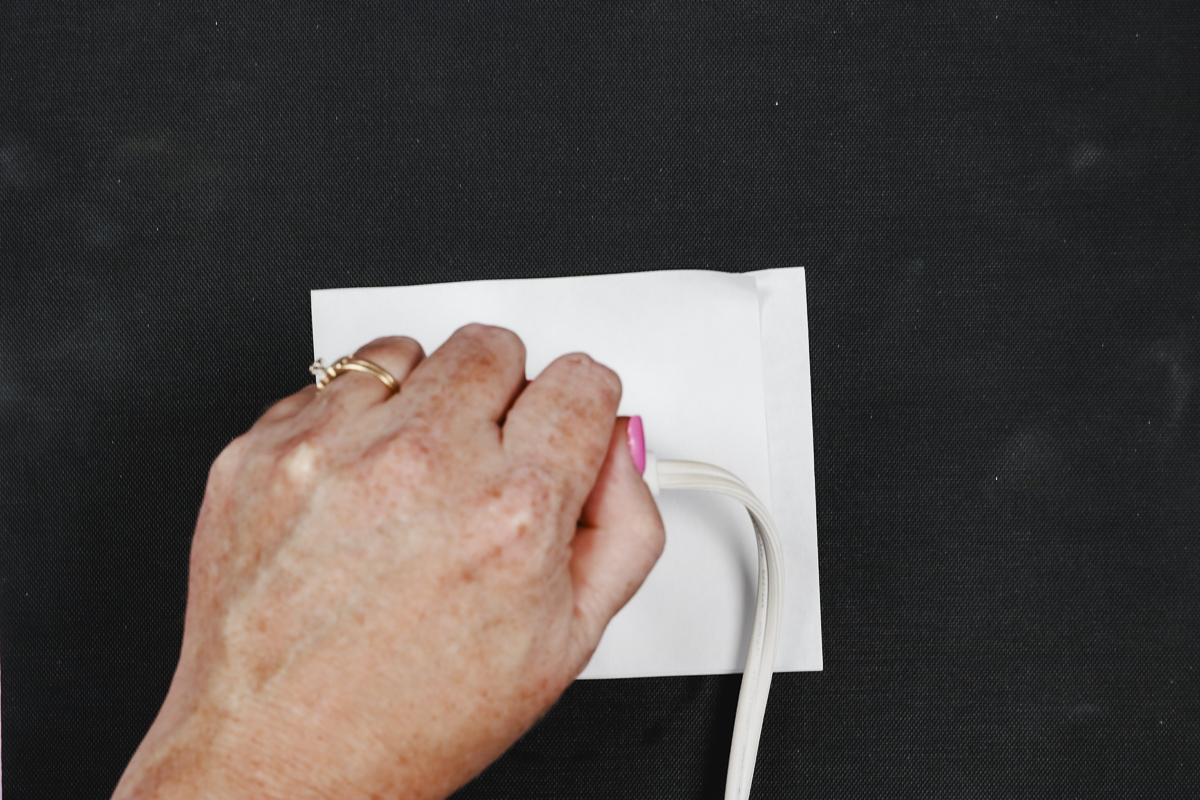
When the time is up, peel back the print to check how well it is sublimated. Because the blanks are metal they will be very hot.
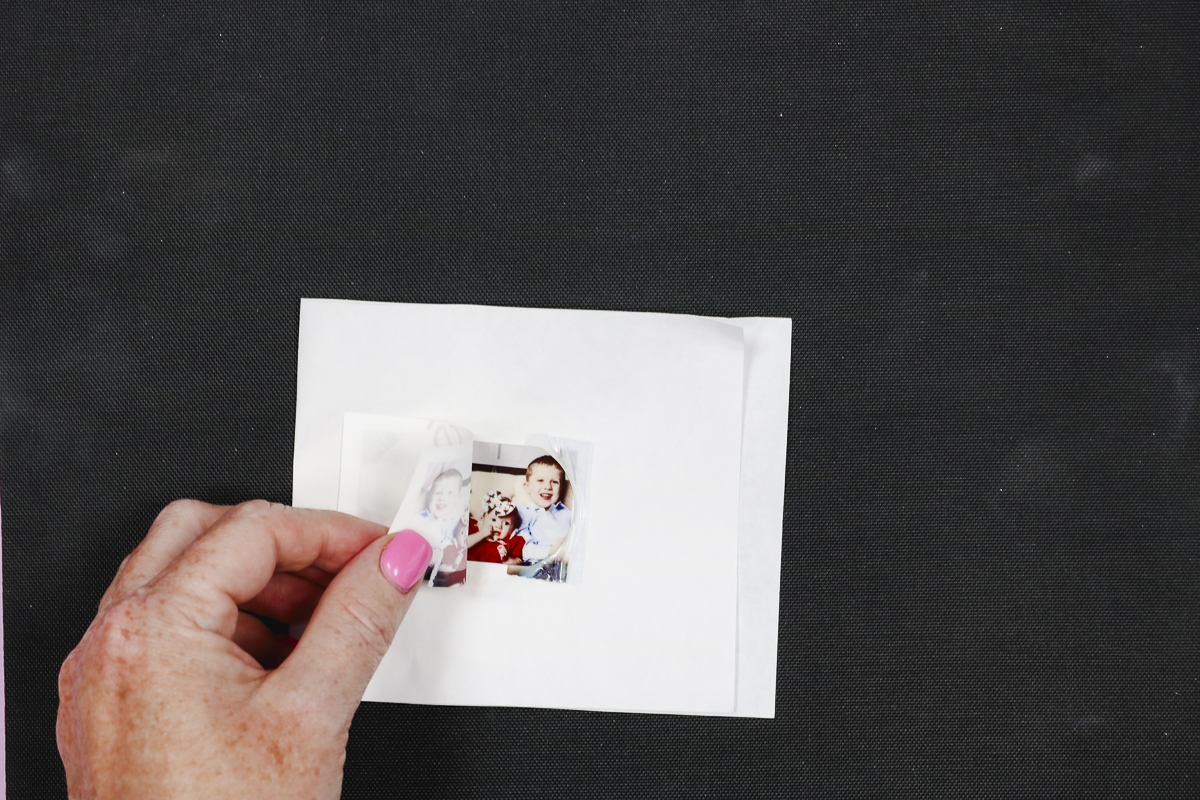
My photo sublimated great on this blank. Repeat the pressing process for each sublimation jewelry blank.
Step 5. Assemble Sublimation Photos onto Jewelry Blanks
Now, let’s look at how to assemble each of these photo sublimation jewelry blanks.
Sublimation Photo Necklaces
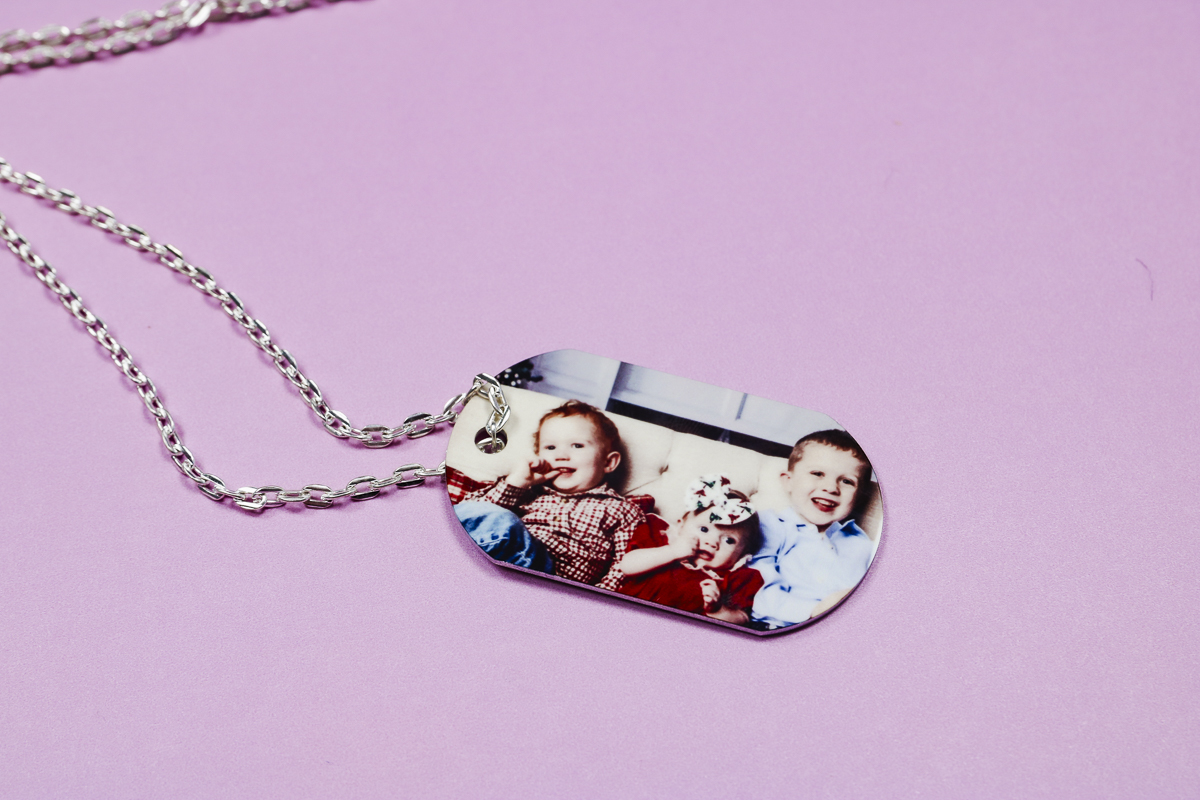
For the Dog Tag sublimation necklace, all I had to do was run the chain through the ring and it was complete.
For the Heart Locket, we’ll take the sublimated pieces and add them to the locket. The adhesive pieces are sized perfectly for the locket. Remove the carrier sheet and stick the adhesive to the locket.
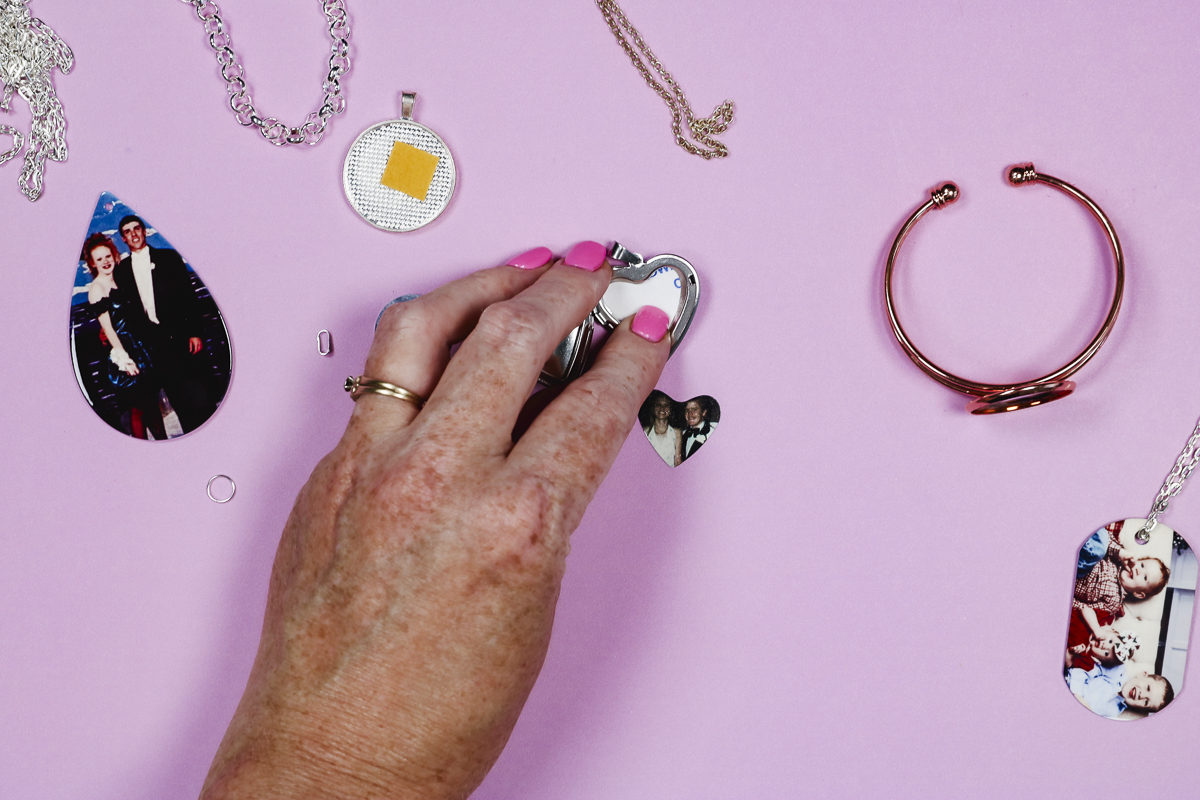
Peel off the top carrier sheet to expose the adhesive.
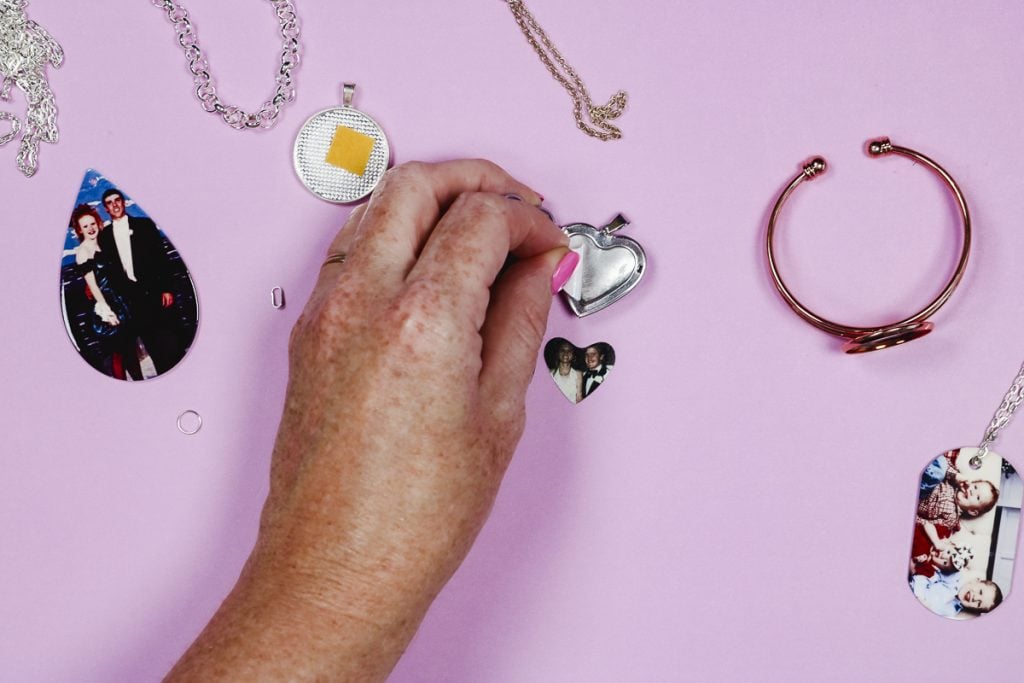
Add the sublimation heart to the adhesive and press down so it’s stuck well.
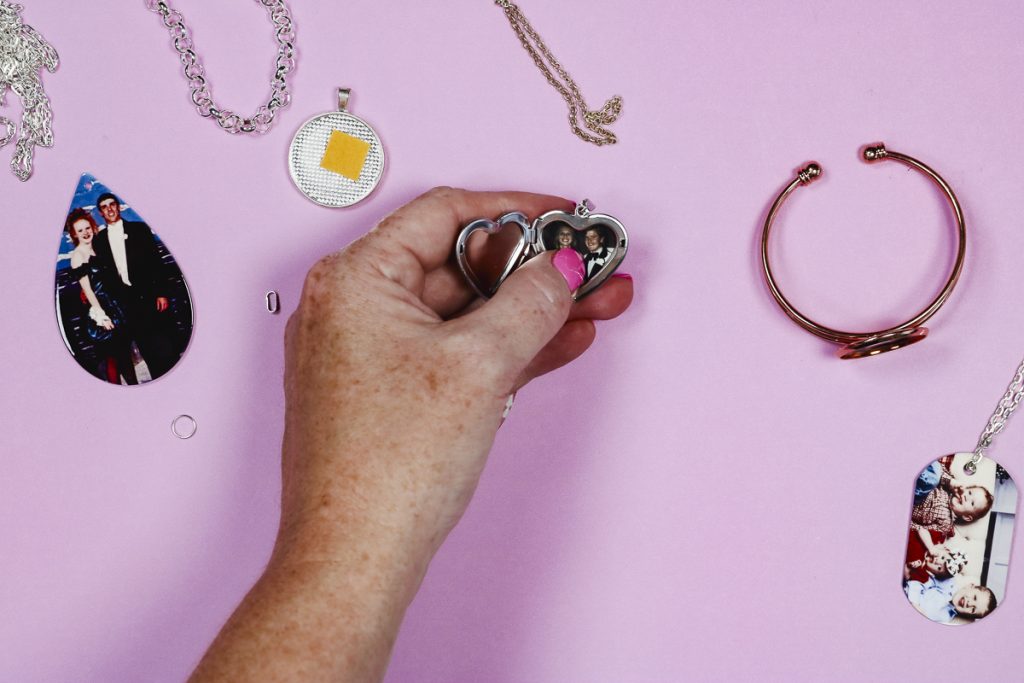
Repeat the process for the other side of the locket.
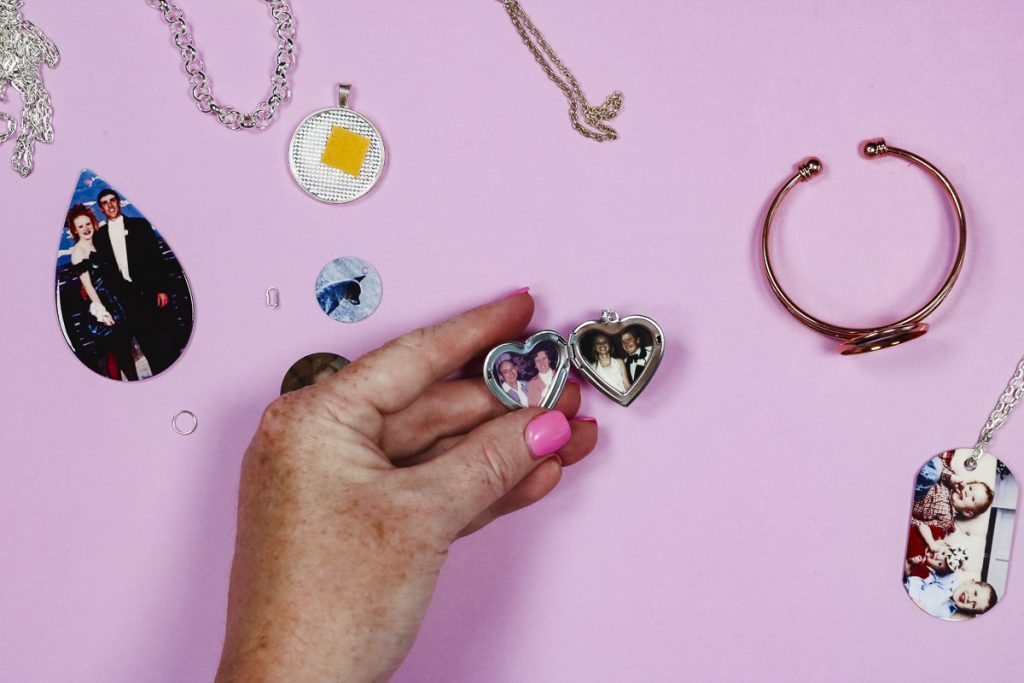
With the photos in the locket, all that’s left to do is add the chain and this necklace is complete.
The last necklace I made is this teardrop sublimation blank. Add a jump ring to the teardrop blank and then string the chain through it.
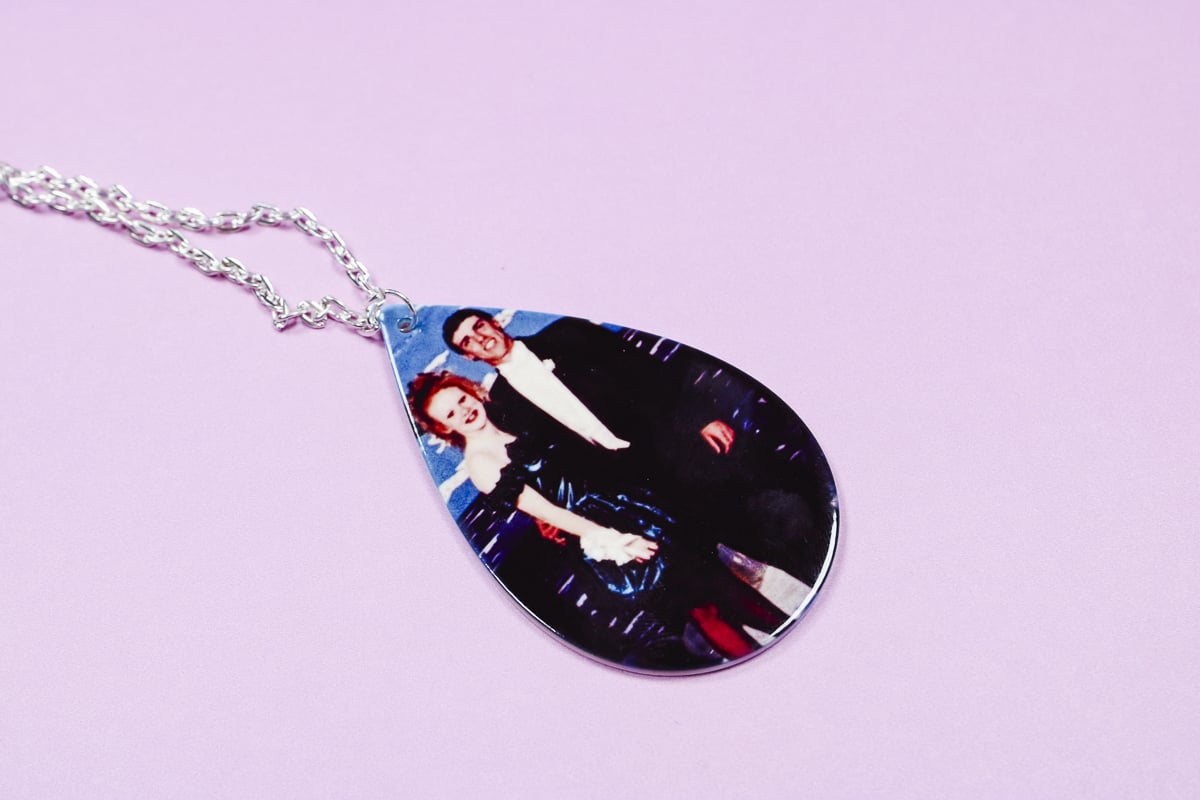
Photo Sublimation Bracelets
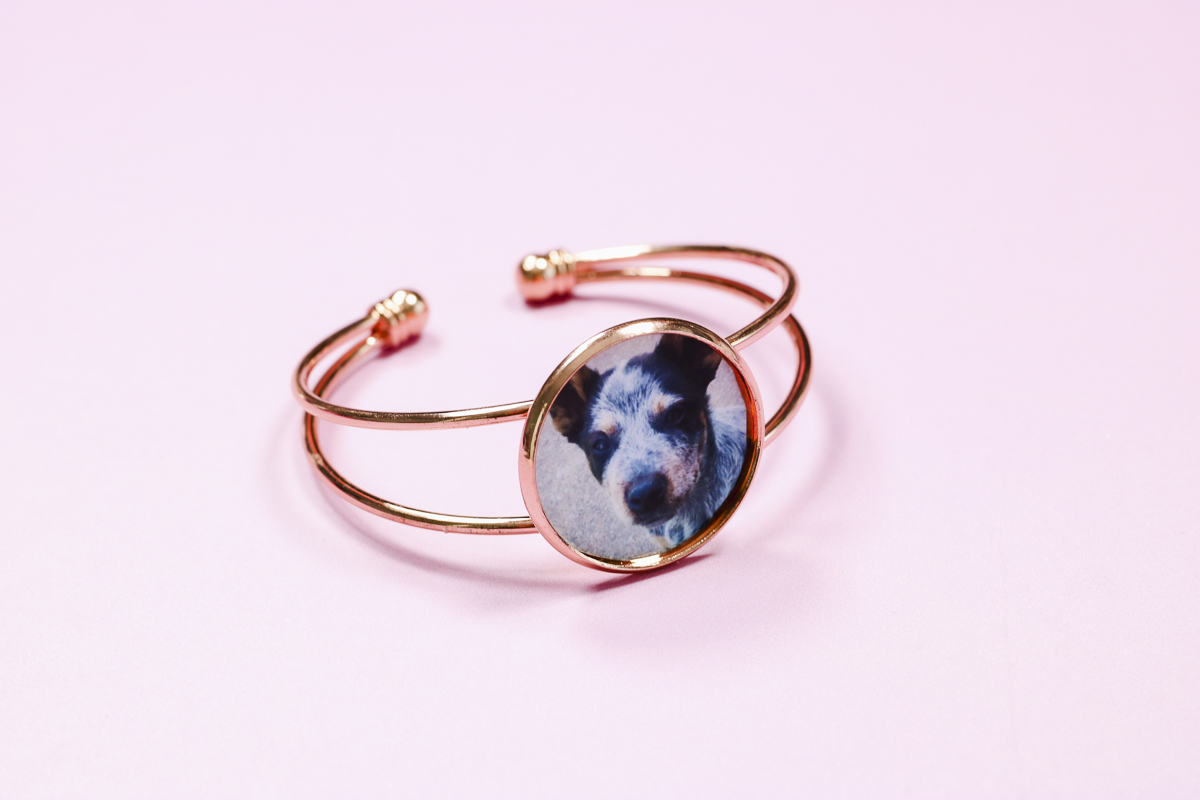
For this cuff bracelet, the disk comes separately. My disks were a little large so I used metal shears to trim them to fit inside the bracelet.
To secure the photo to the bracelet, remove the protective film from the adhesive disk and press it into the bracelet.
The adhesive disk is double sided so remove the film from the other side and locate the sublimation photo on top of it. Press it down so it’s stuck well and you’re done.
For sublimation jewelry blanks like this, you can put a finish over it. I would do a test first to make sure that it doesn’t react with the coating on the blank.
You do not need to add anything to the top, the sublimation is permanent as it is.
Sublimation Charms
The other disk blanks I have can be added to a necklace or a charm bracelet.
I added these two disks to a charm bracelet using jump rings. The larger charm is like the locket and cuff bracelet. The sublimation photo is added to the disk with adhesive.
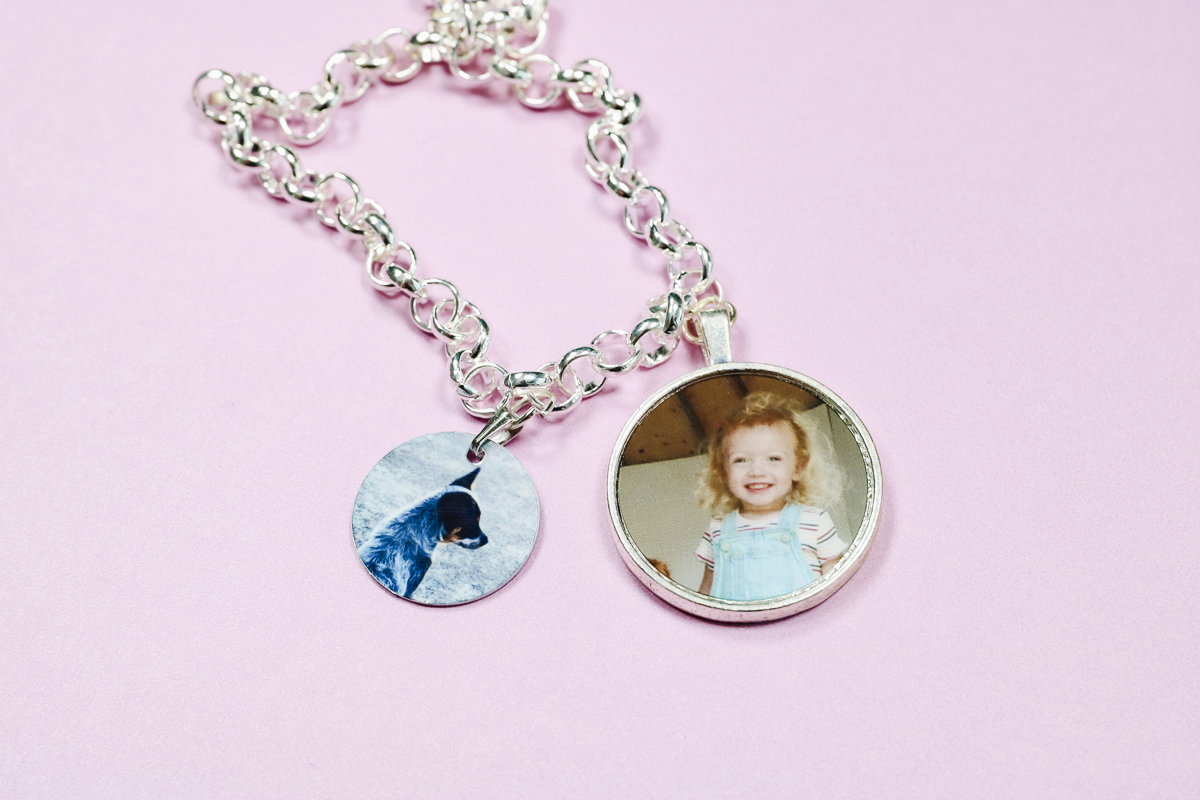
The smaller disk already has a hole in it so the only requirement is adding the jump ring.
To add a jump ring to the disks use needle nose pliers to separate the ring, add the chain, and then close it up again.
I love how all of these sublimation jewelry with photo projects turned out. The sublimation transferred beautifully to all the blanks and the projects are easy to assemble.
Each of these would make amazing gifts and can be personalized for all the people on your list.
I hope I’ve answered any questions you have. If you have any additional questions, leave them in the comments and I’ll be happy to answer them for you.

