This post and photos may contain Amazon or other affiliate links. If you purchase something through any link, I may receive a small commission at no extra charge to you. Any supplies used may be given to me free of charge, however, all projects and opinions are my own.
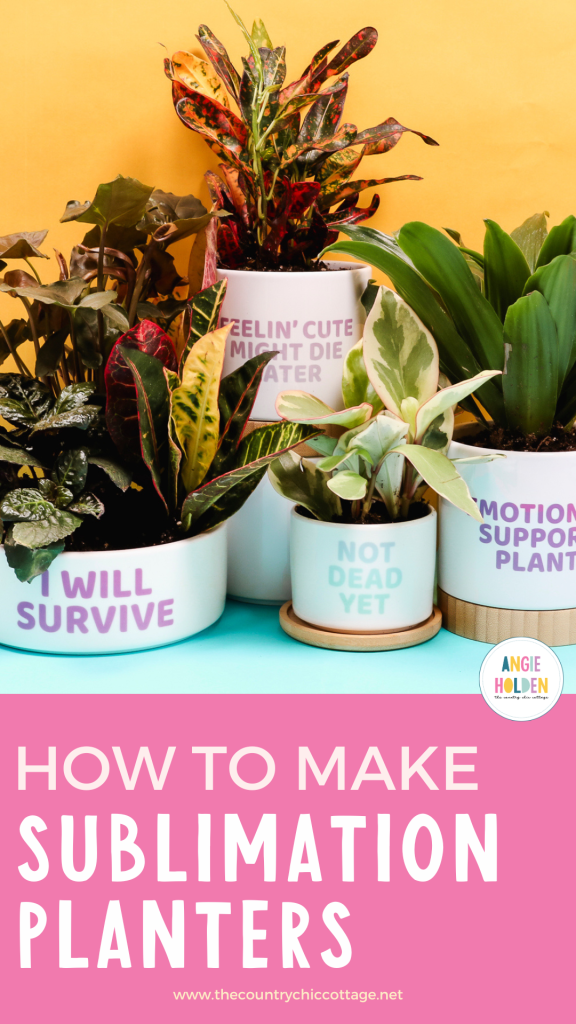
I’m excited to show you how to create sublimation planters. Whether you’re a seasoned crafter or just starting out, creating your own sublimation planters can add a personal touch to your home decor while giving your plants a stylish new home.
I’m going to show you three different types of sublimation planters, their pros and cons, and the step-by-step process to make your own.
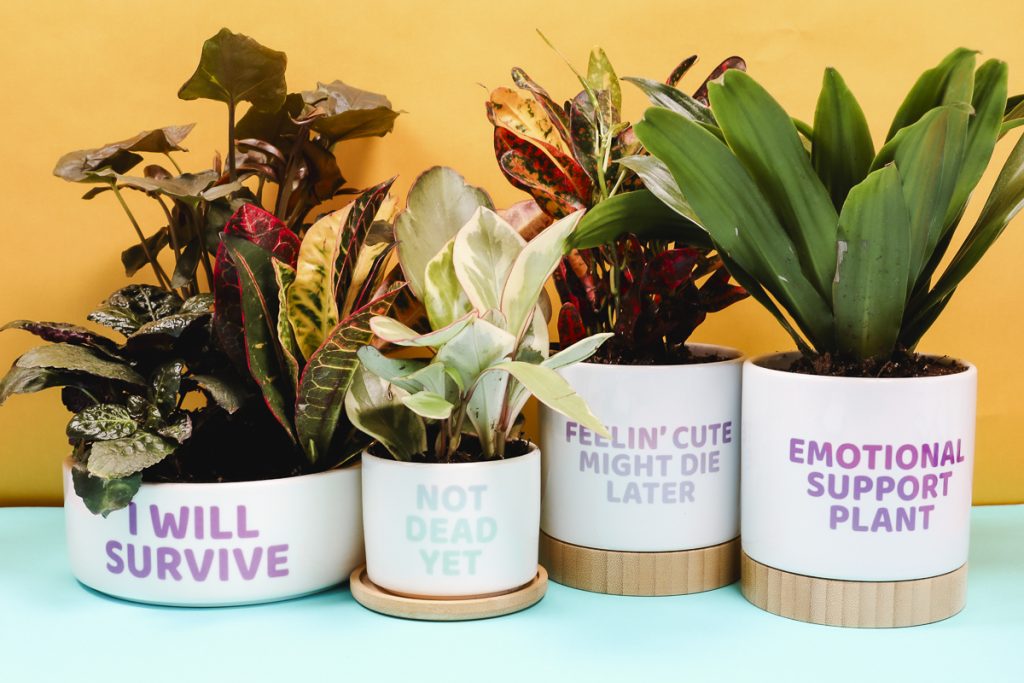
Table of Contents
What Are Sublimation Planters?
Sublimation planters are decorative containers that allow you to customize your plants’ homes using sublimation printing.
This technique transfers vibrant designs onto coated surfaces, resulting in durable and stunning images that won’t fade or peel over time. It’s a fun way to infuse personality into your gardening space, whether it’s indoors or outdoors.
You can watch me make these planters by pressing play on the video below.
Types of Sublimation Planters
Not just any planter will work for sublimation. You need to make sure you have a sublimation blank. You’ll want a planter that is white or very light in color and has a sublimation coating on it.
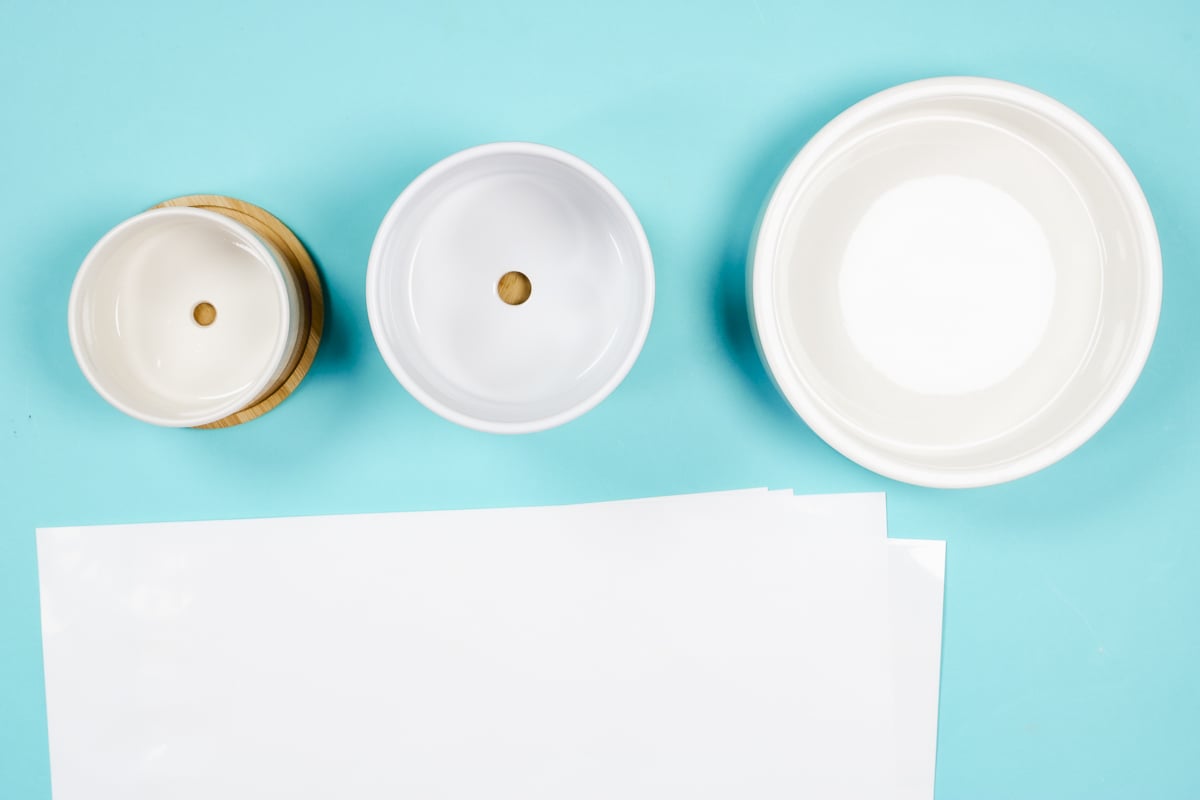
- Small Planter from Amazon
- Features: This planter comes with a drainage hole and includes a bamboo tray to catch excess water.
- Pros: Affordable and compact, perfect for small plants.
- Cons: The planter’s off-white color can be less visually appealing, and the drainage tray is larger than the pot, which I don’t love.
- Larger Planter from JPPlus
- Features: This option also has a drainage hole and a matching bamboo tray.
- Pros: A more visually cohesive design with a bright white finish that sublimates beautifully.
- Cons: Slightly higher price point but worth it for the quality.
- Ceramic Bowl (Dog Bowl) from JPPlus
- Features: Technically a bowl, but can function as a planter with the addition of drainage materials like rocks.
- Pros: Versatile and stylish, with a great sublimation result.
- Cons: No drainage hole, which may require more careful watering.
How to Make Sublimation Planters
Now that you know what type of planters you will need, let’s use sublimation to customize them!
Supplies Used
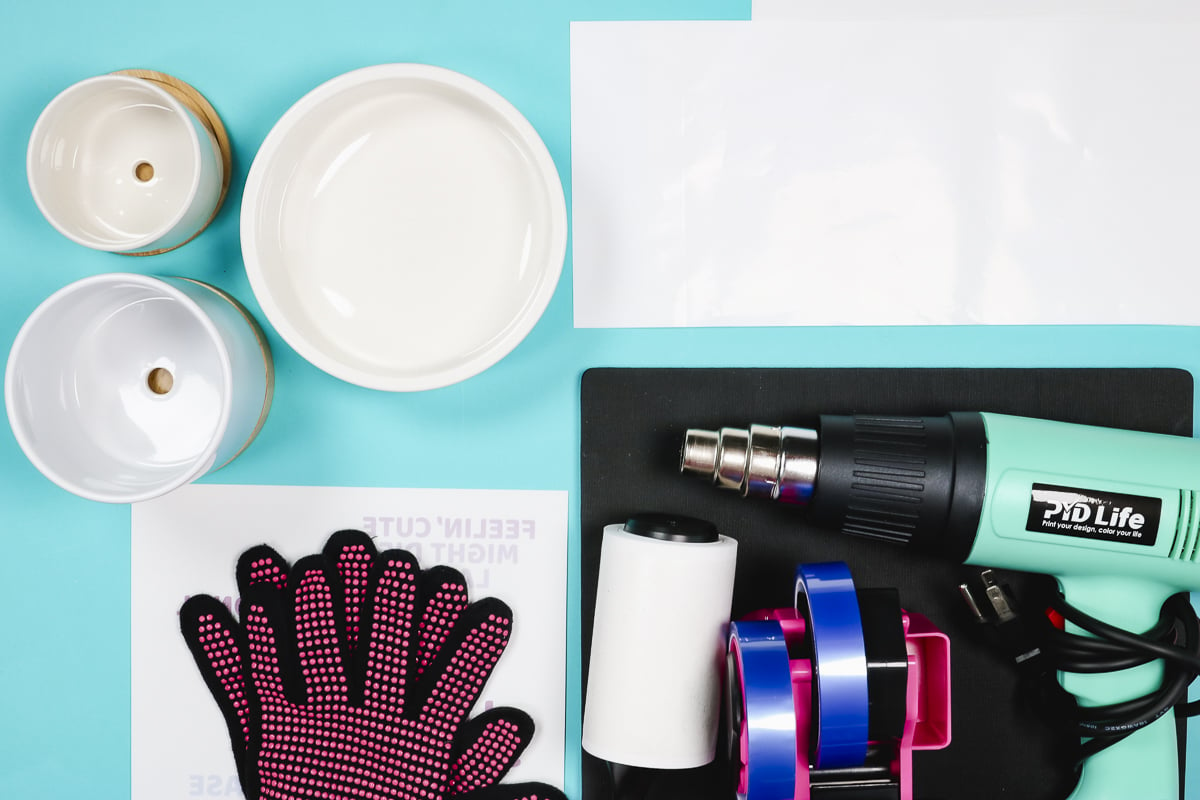
Step 1: Print Your Design
First, print the designs. You will need to print sublimation ink onto sublimation paper from a sublimation printer. Resize the designs to fit your blank. Don’t forget to mirror your design.
You can see more about using sublimation software here if you are struggling with this step.
Step 2: Prep the Blanks
Next, we need to prep the blanks. I am using a lint roller to remove any dust and debris on the planters.
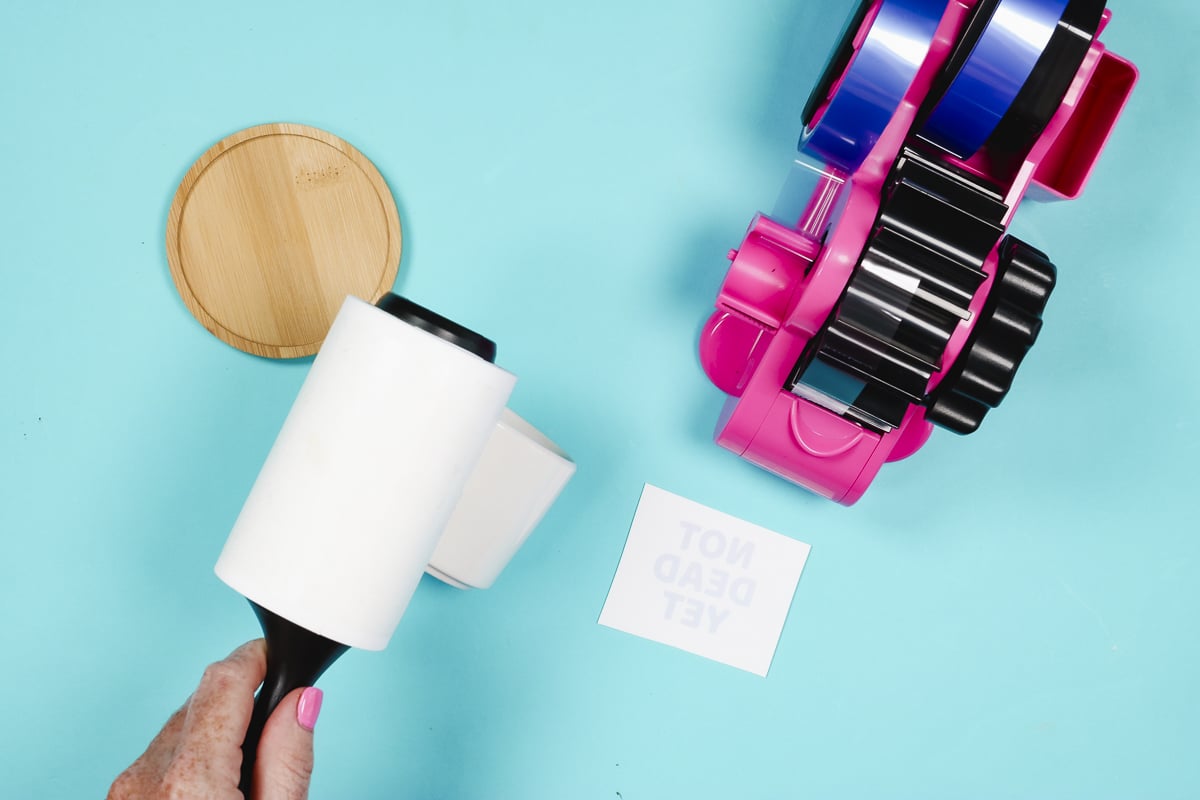
Locate the designs onto the blanks. Use heat-resistant tape to hold the design in place.
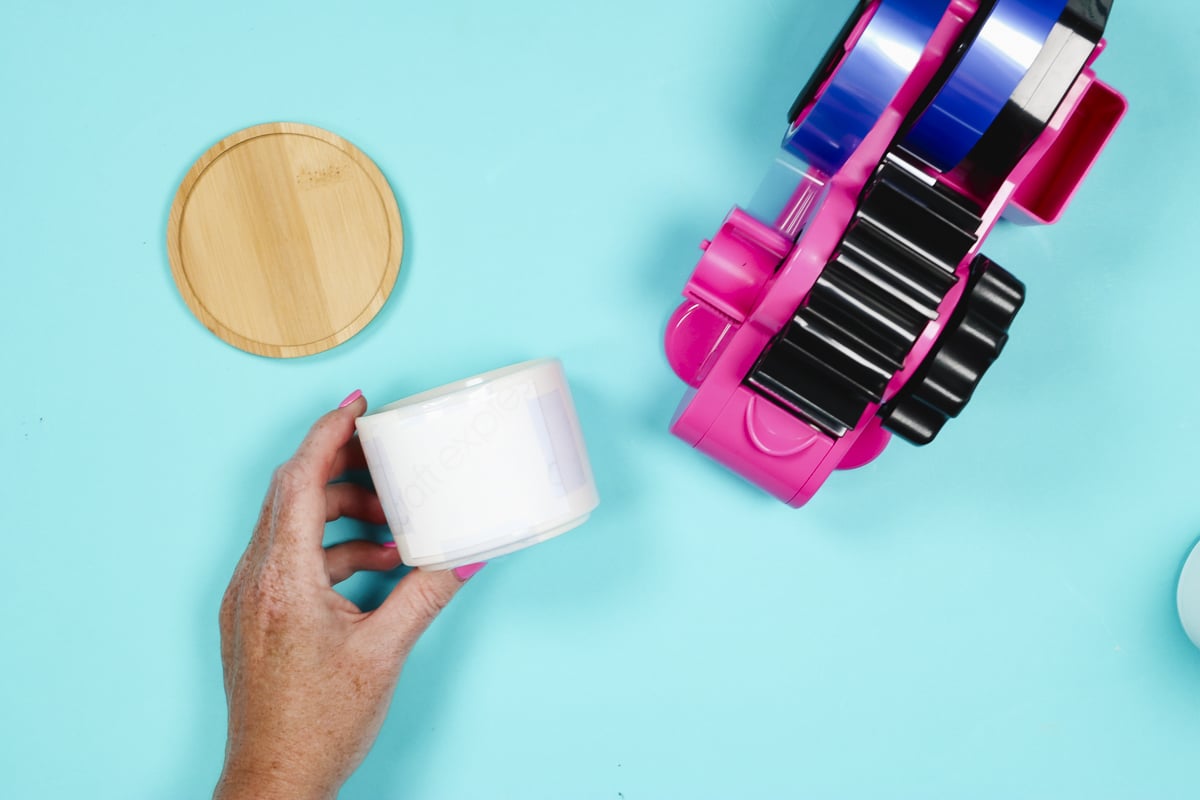
Step 3: Add Shrink Wrap to Planter Blank
With the design in place, wrap the planter in shrink wrap and pull it snug. I like to pull it tight on one side and start by heating that side first.
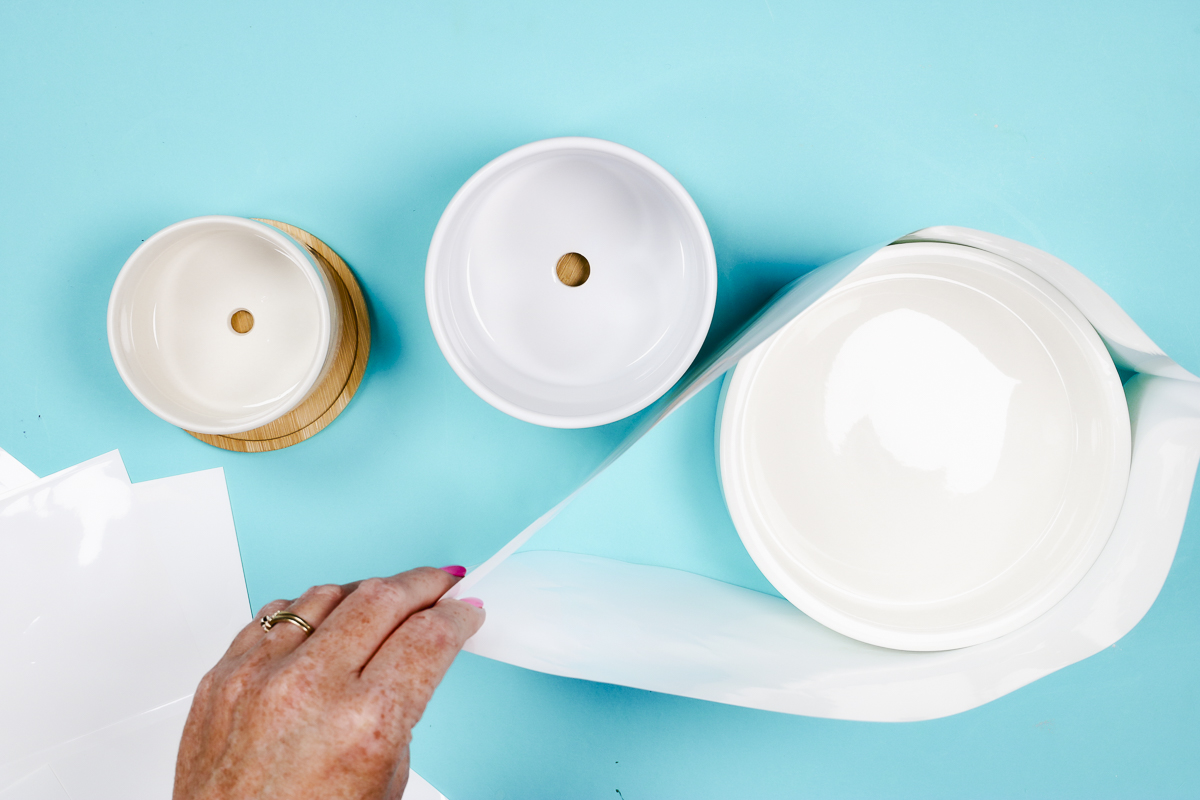
For smaller blanks, you may need to trim the shrink wrap. This shrink wrap is for a tumbler which is a lot taller than the planter. To make it fit better I am going to trim this shrink wrap in half. Save the other half for a future project.
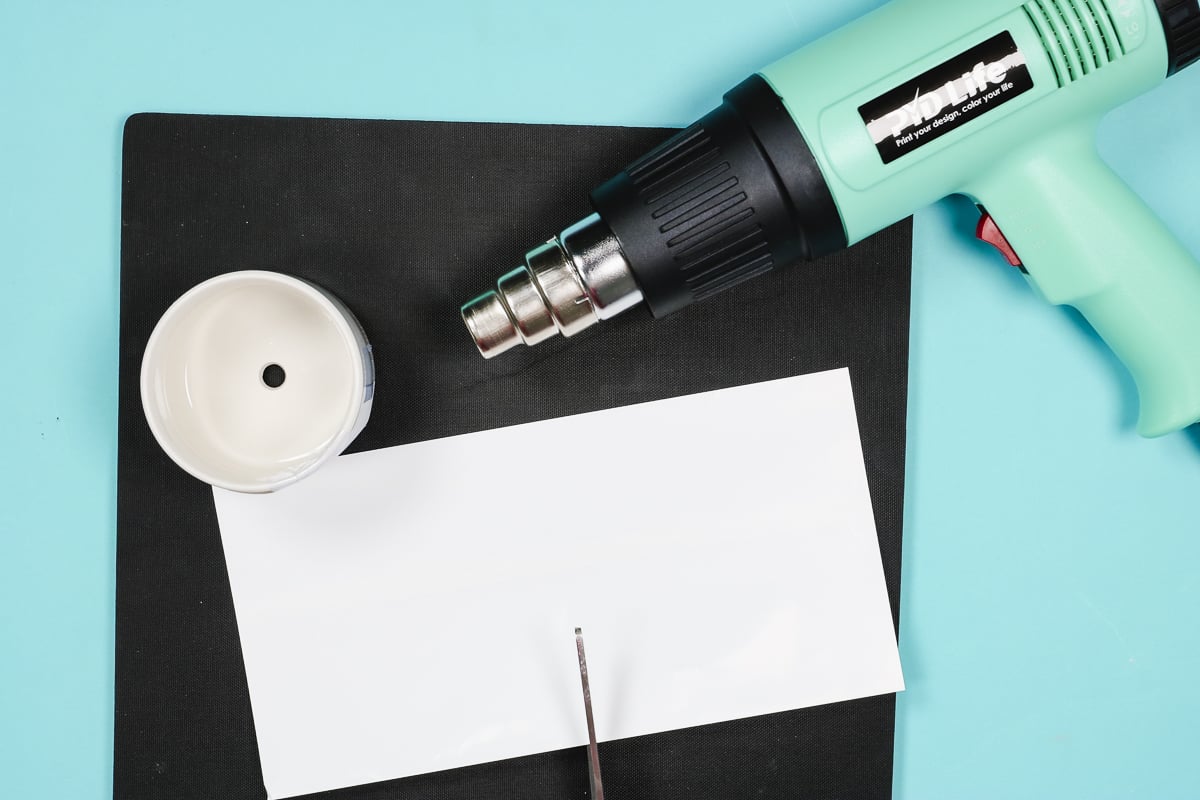
Use the heat gun to pre-shrink the wrap around the blank. Make sure you don’t hold the gun in one place too long because you can burn a hole through the shrink wrap.
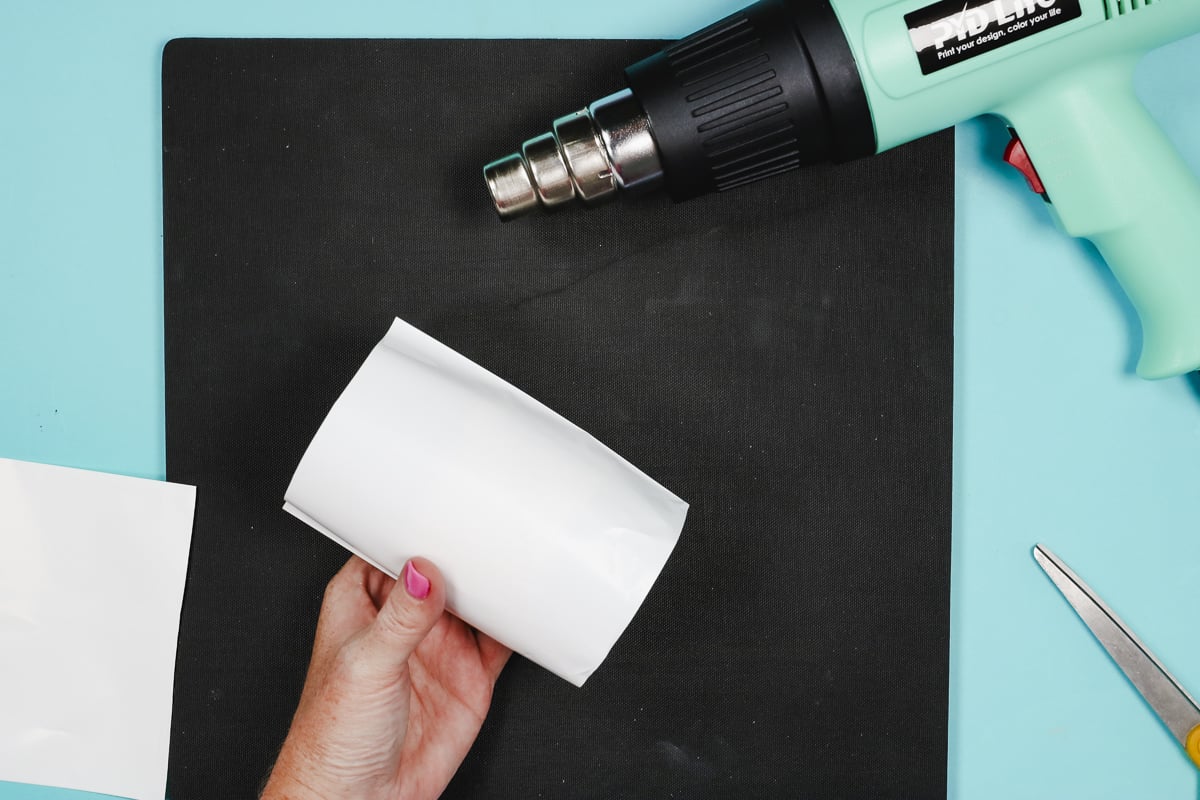
Step 4: Sublimate in an Oven
Set the time and preheat your sublimation oven to the specifications your blank calls for. It may be different for the different blanks.
When the oven is preheated, place the wrapped planter inside and heat for the specified time. I am heating all of the planters at the same time at 390 degrees for 15 minutes.
Step 5: Finish Planter
When the time is up, remove the planter using heat-resistant gloves, and place it on a heat-resistant mat.
Shrink wrap becomes harder to remove as it cools. While everything is still hot, using heat-resistant gloves peel off the shrink wrap.
Pressing all the planters at once did mean that some of the planters in shrink wrap did start to cool which made them more difficult to peel. You may want to only heat one or two at a time to keep them from cooling too much.
Allow the planter to cool for a couple of minutes, remove the sublimation print, and you’re done. Just add dirt and your plant to complete.
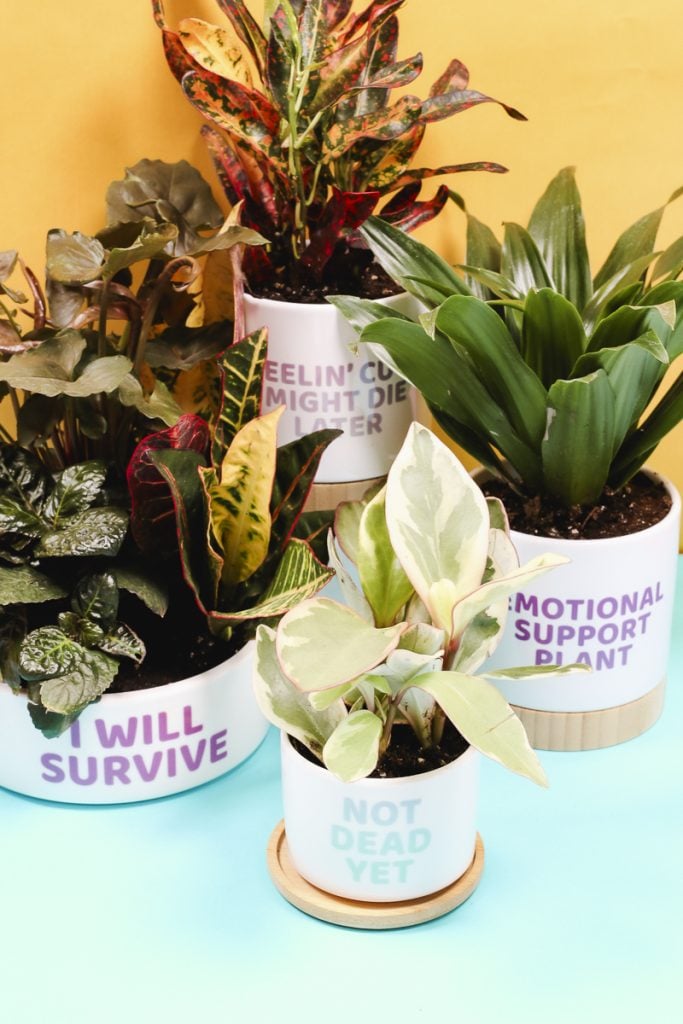
Sublimation Planters Pros and Cons
Let’s look at each of the different planters I used today.
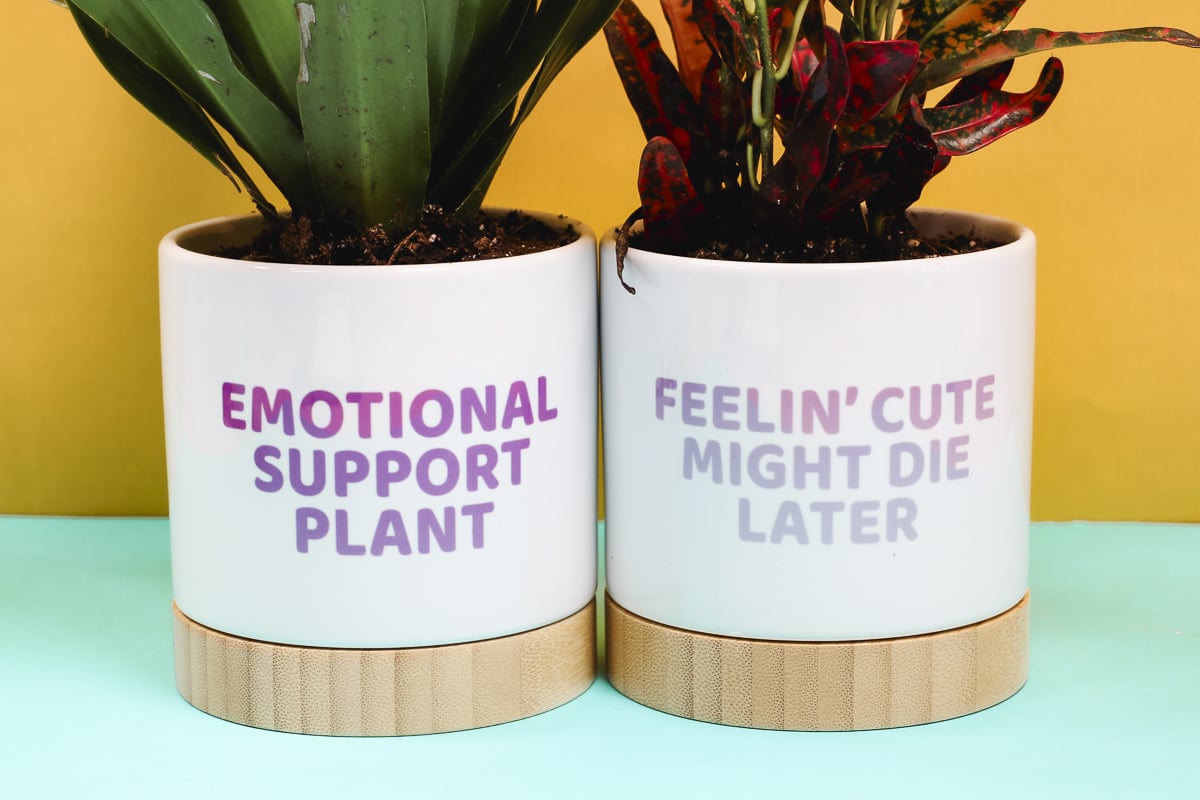
Small Amazon Planter
The Amazon version was my least favorite. It is very small and the tray is much larger than the pot itself and I don’t love that.
The tray is not very deep so I don’t think it’ll catch very much water.
Because the planter is more off-white than bright white the design isn’t as bright. The shrink wrap also stuck the worst on this version than the others.
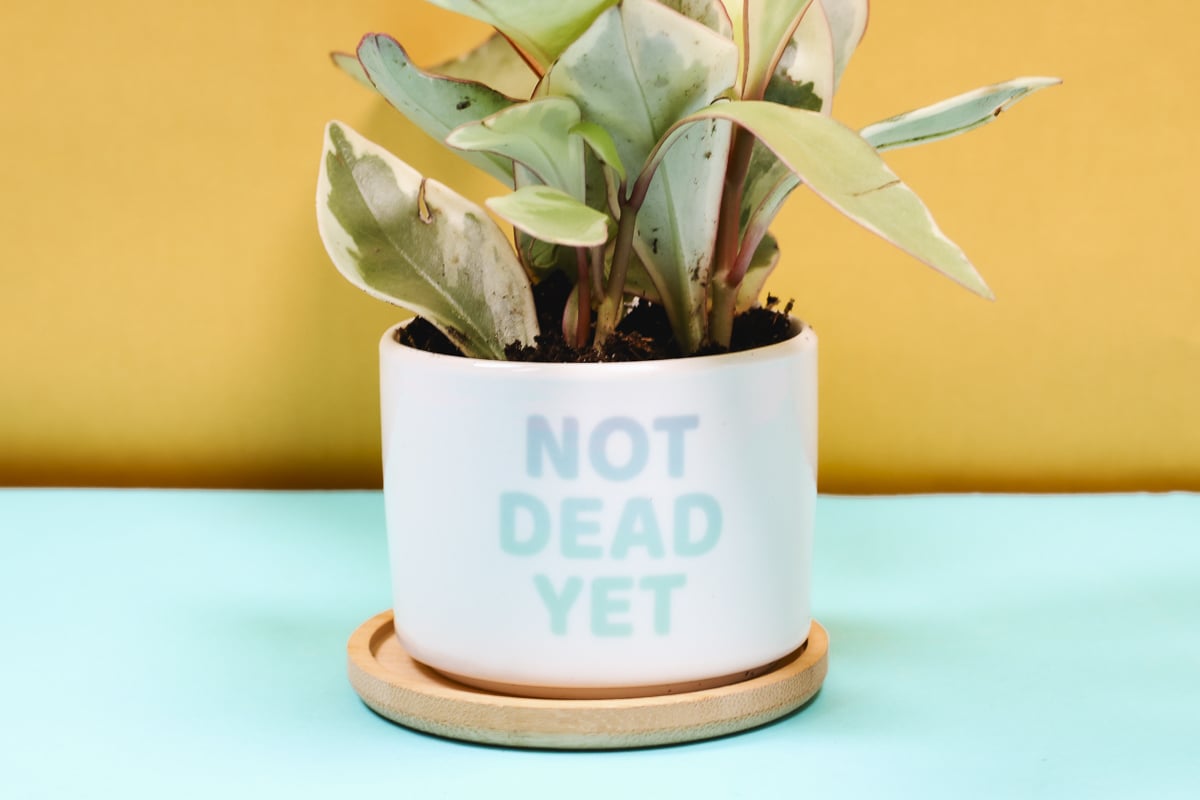
JPPlus Sublimation Planters
I really like this planter. It is a good size and the bright white sublimated great.
The shrink wrap came off much easier on these than the Amazon planter.
JPPlus Sublimation Bowl
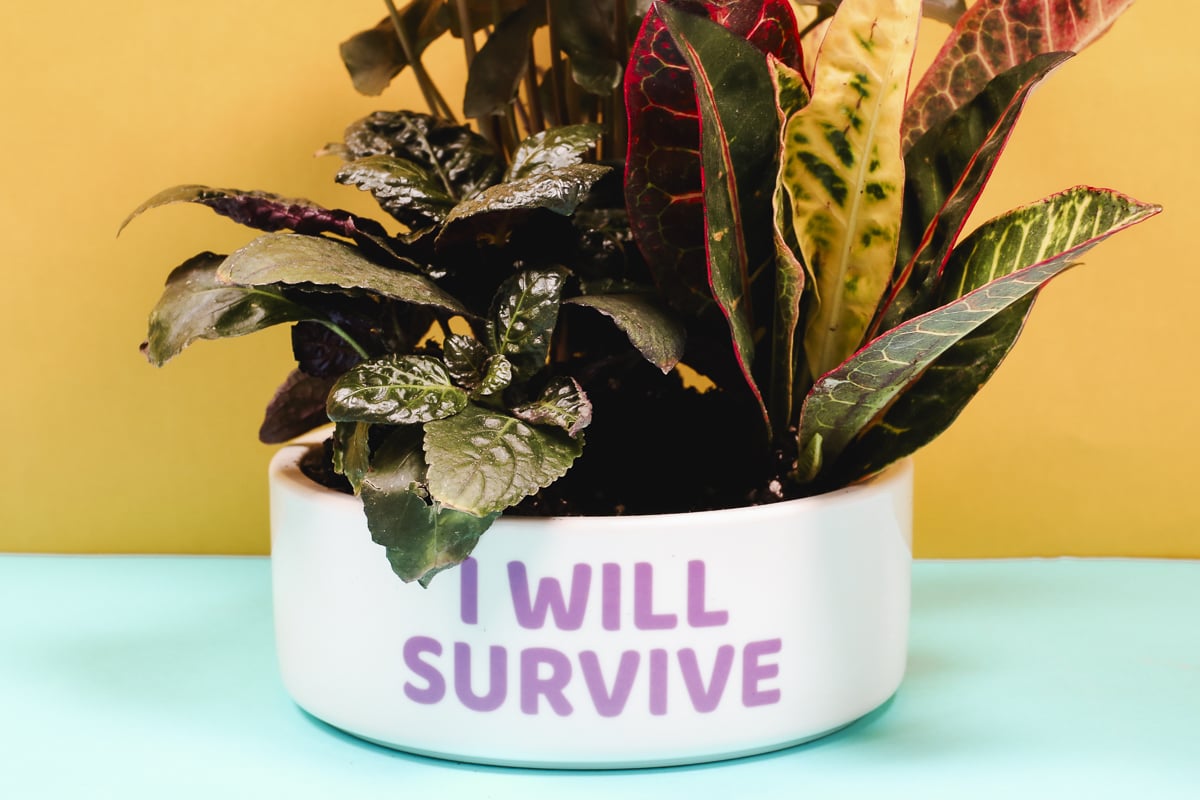
This planter is actually a sublimation bowl. Because it doesn’t have a drain hole you’d need to use rocks or something for drainage.
The shrink wrap came off this blank the best and I like the size of it.
My Recommendations
While all of these blanks sublimated great I would recommend the JPPlus versions over the Amazon because I like the way look and the shrink wrap came off so much easier.
If you’re making a lot of planters, the time it takes to remove the shrink wrap would make a significant difference in time.
If you’re looking for a budget-friendly option, the Amazon planter could be a good choice as long as you’re aware of the limitations.
All of these planters are very breakable. You will want to keep that in mind when ordering. I have had some arrive broken from Amazon and JPPlus. Getting a replacement from Amazon was much more difficult to get a replacement from than JPPlus.
When I contacted JPPlus, they sent out a replacement planter immediately. Customer service is a good reason to order from a place like JPPlus, not to mention I liked their planters better anyway.
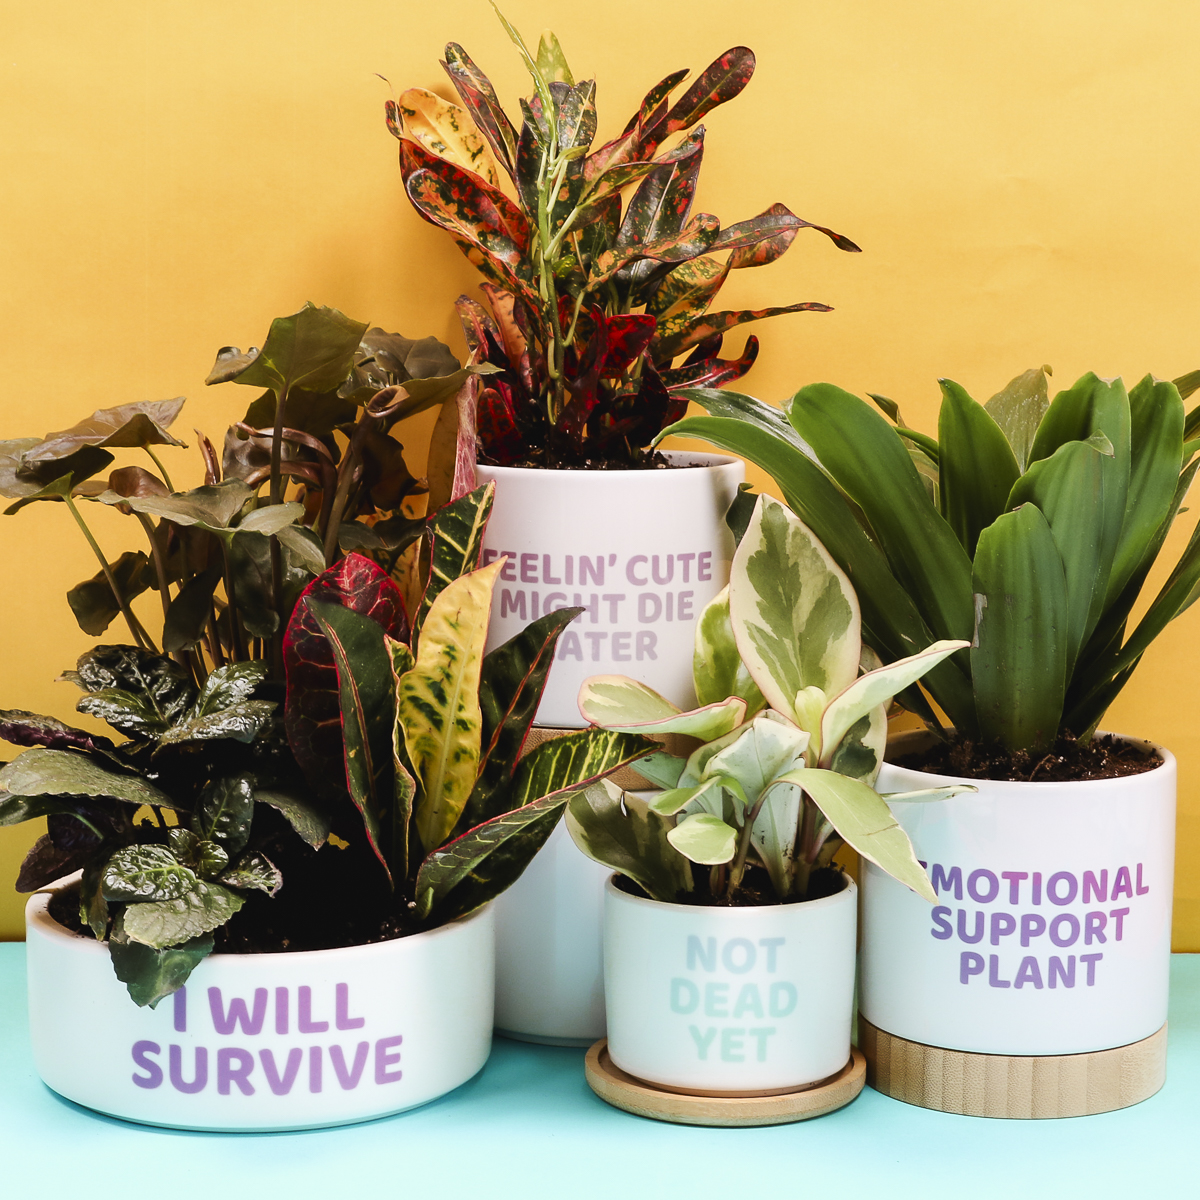
These were so fun to make. I think they’d make a great gift and they all turned out really well.
You can add any design to these sublimation blanks but don’t forget you can get these designs for free at the link in the supply list above.
I hope I’ve answered any questions you have about making sublimation planters. If you have any other questions, leave them in the comments and I’ll be happy to answer them for you.

