
Do you have a creepy basement too? This laundry room project is part of my basement renovation series and it’s a major upgrade to our home. Before this project our basement was dark and uninviting. Well, it was very inviting to our clutter, somehow there were donation bags just living down there. But I wanted to make this space bright and functional so that it was a space in our home that was easy to use. You’ll see we completely achieved that! It was a long one friends but it was so worth it.

To get the dream you need the team
My dad was a huge help with this project, it was definitely more than a one gal undertaking. But I also used some products that really streamlined the process. Some ready to assemble cabinets, and easy to modify countertops were among a few of the MVPs of this project. Keep reading to see exactly how I made my dream laundry room come to life!
This post contains affiliate links, which help support more projects on my website! For my full disclosure policy regarding affiliate links, click here!
Want to see this build in action? You can watch my build video here (+ make sure to subscribe to my channel)!
Materials + Tools
Products
Materials
Decor
Tools
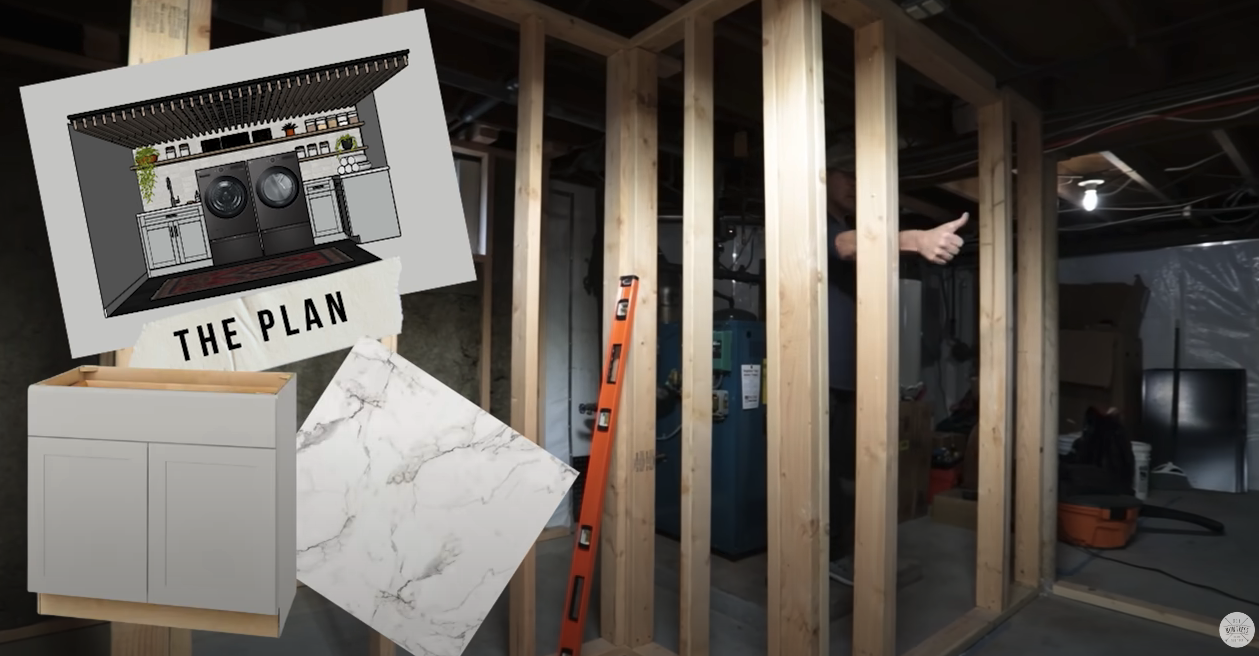
1. The Game Plan
This space has a lot of potential but right now it needs some help. We had a crazy storm that brought about 6 inches of water into our basement. So before I start working on renovations I did call in a company to waterproof the basement from future storms or leaks.

I really want this space to be bright and I’m on a quick timeline so I did decide to order ready to assemble cabinets and easy to install countertops that will make my vision come to life.
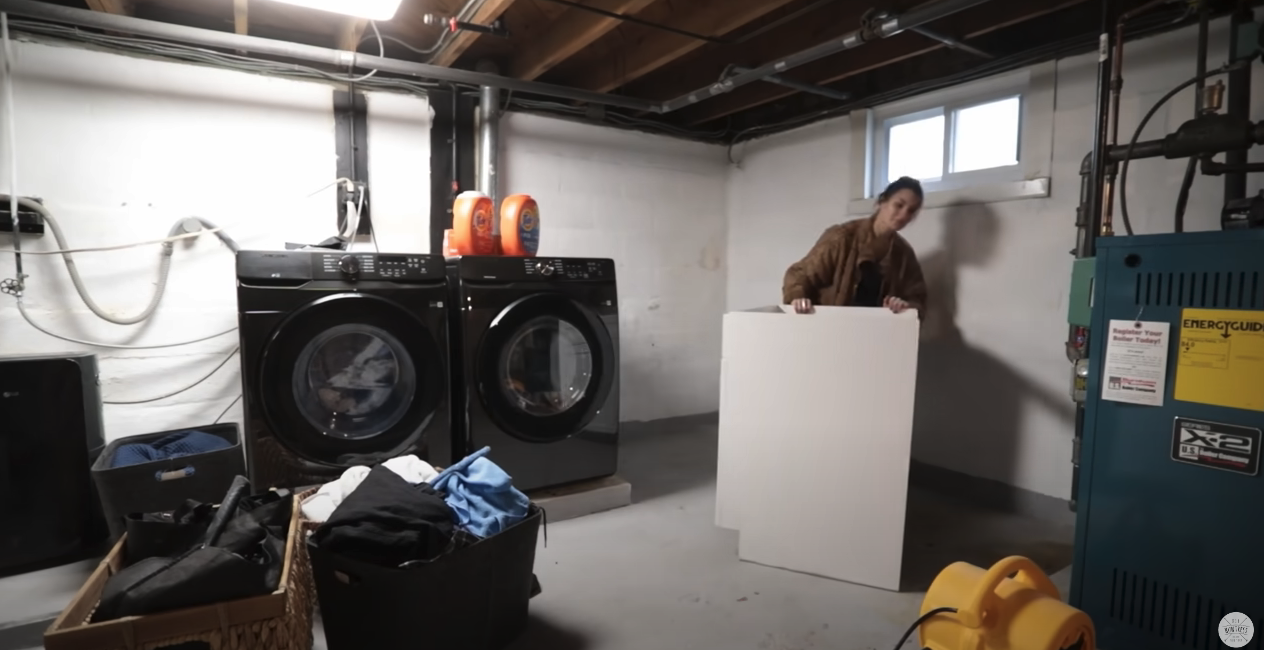
2. Demo & Cleanout
As with any good project I started by removing all of the things that had been piling up. Donation bags, furniture and boxes that had been damaged in the storm, and anything else that was in the way.
So glad I left this part to the professionals. The basement got membraned and drained and then it was ready for me to work my magic.
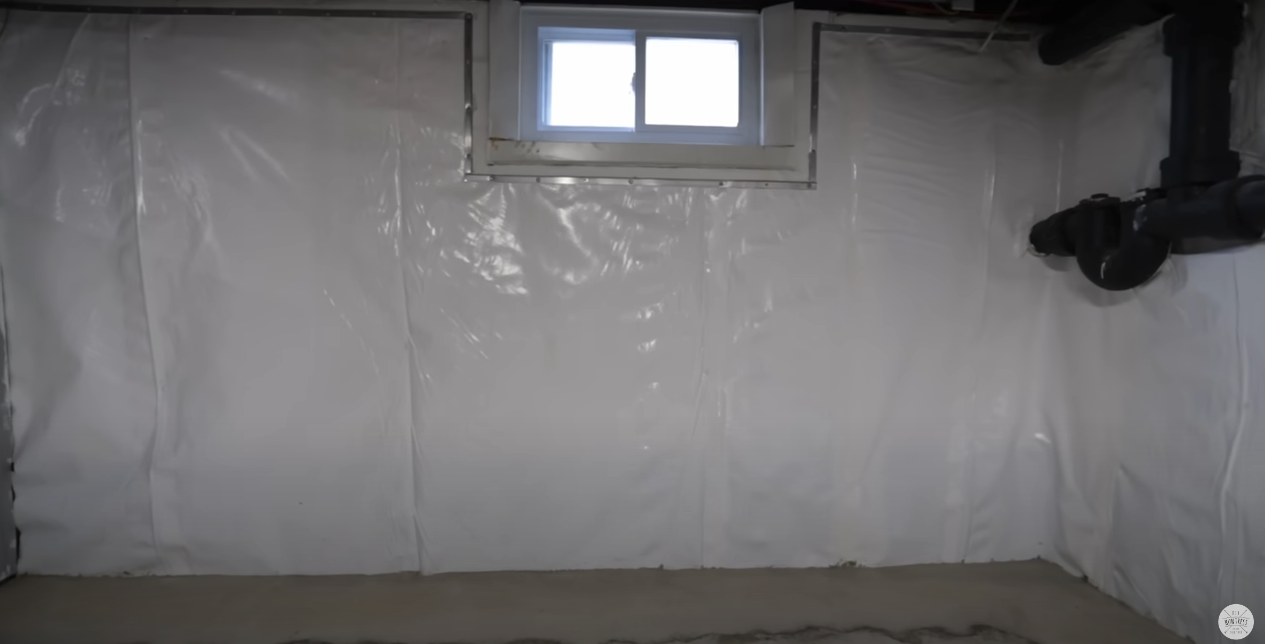
We even had a french drain put in for any water that might still get in. So reassuring to have this now!

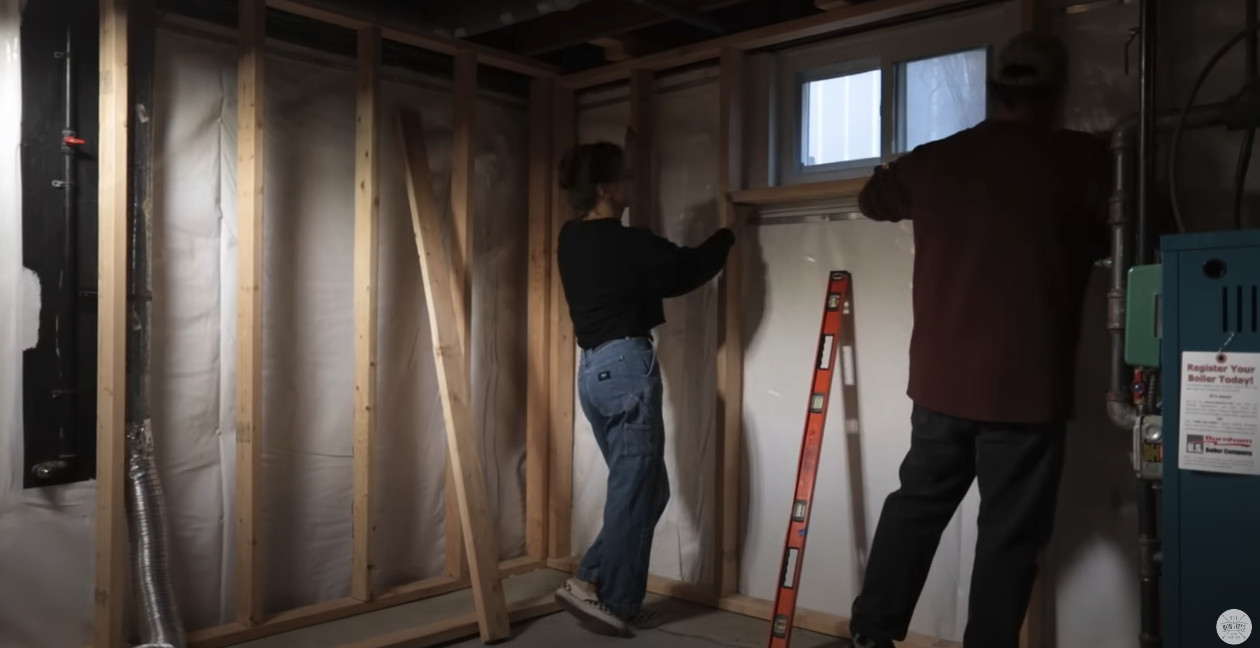
3. Framing Out The Basement
We decided to cut everything as we went because nothing in my house is level. Can anyone else relate? It was easier to cut each piece to size rather than making the frame on the floor, popping it up onto the wall and then putting shims in where the levels were different.

Dad and I made a pretty good team for this, I cut the pieces with the miter saw and he assembled.

Because of the new French drain we didn’t want to drill into the concrete so we used construction adhesive instead.

It took much longer than we anticipated it would, but we managed to get through the exterior walls by the end of the day.
At this point we decided to divide and conquer. Dad continued to work on the framing and I got started on the insulation. We had to frame out a little room for all of the utilities to be enclosed into so they wouldn’t always be visible, but they also had to stay accessible.

Once everything was framed out I brought down the drywall to get started on that!

4. Drywalling
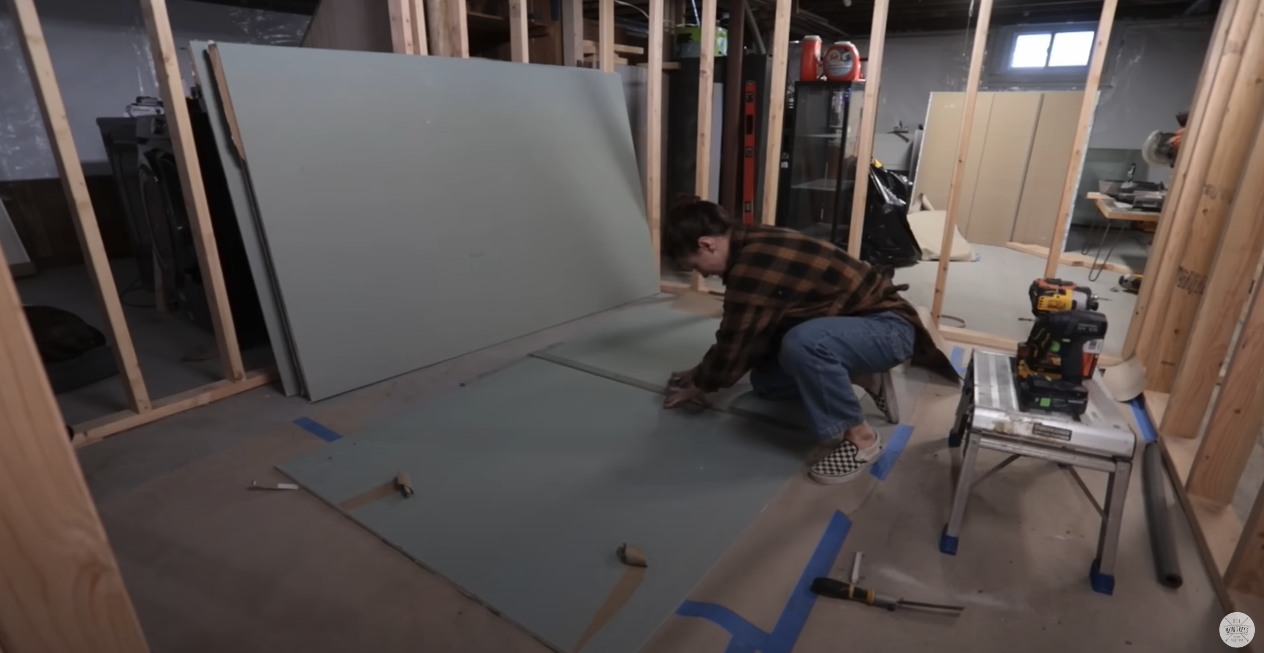

I cut down the pieces for the drywall and installed them along the exterior and interior walls. The ceilings are really low in the basement so every piece of drywall did have to be cut down to fit. (But this means I could reach the top!)
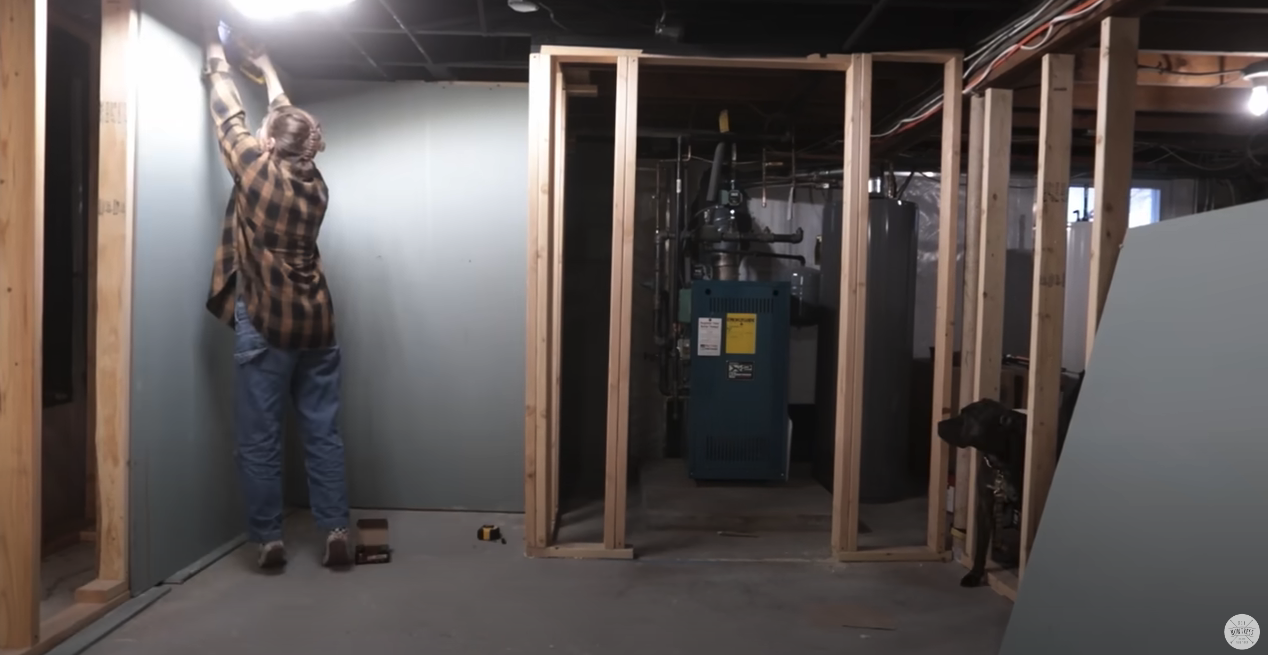
While I continued to hang the drywall Dad started mudding and taping. Divide and conquer was definitely the theme for this project.

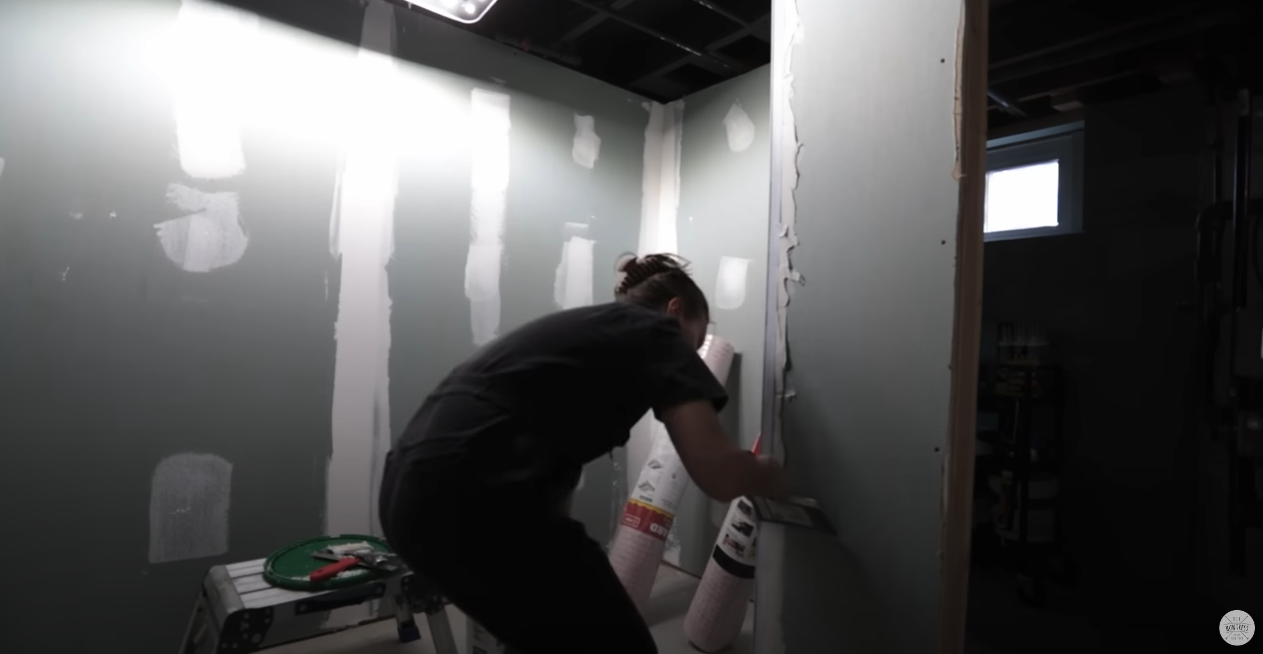
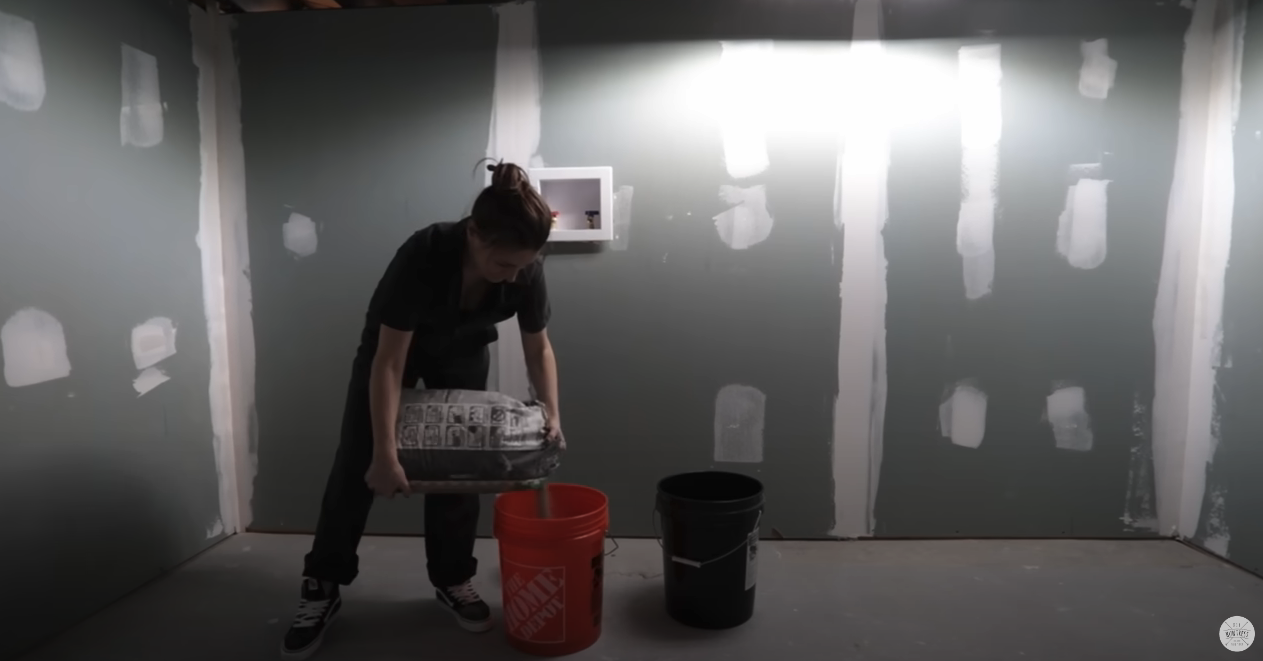
I did a few coats of joint compound. But as always, while the mudding dried it was time to multitask and get the floor started.

5. Tiling The Concrete Floor
I mixed up unmodeified thin set mortar to lay down first.
Then I installed the uncoupling membrane. On top of membrane I used modified thin set mortar before the tiles. But if you want to see a more detailed tile install check out this video that I made when I did my bathroom floor.
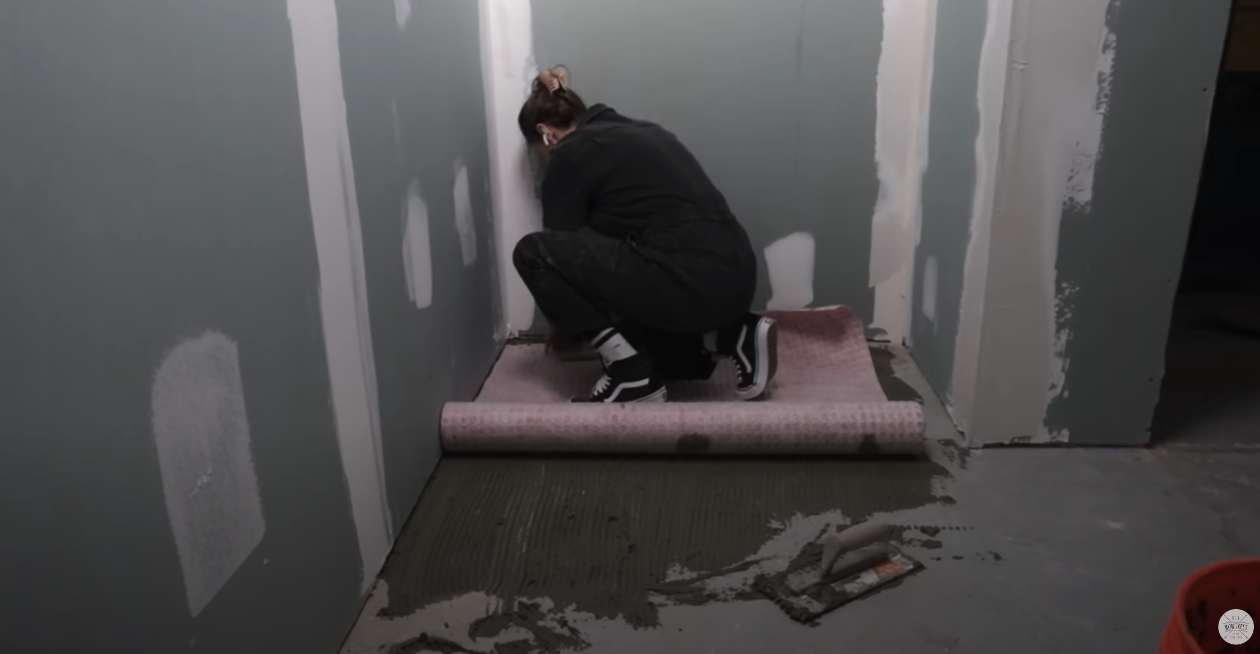
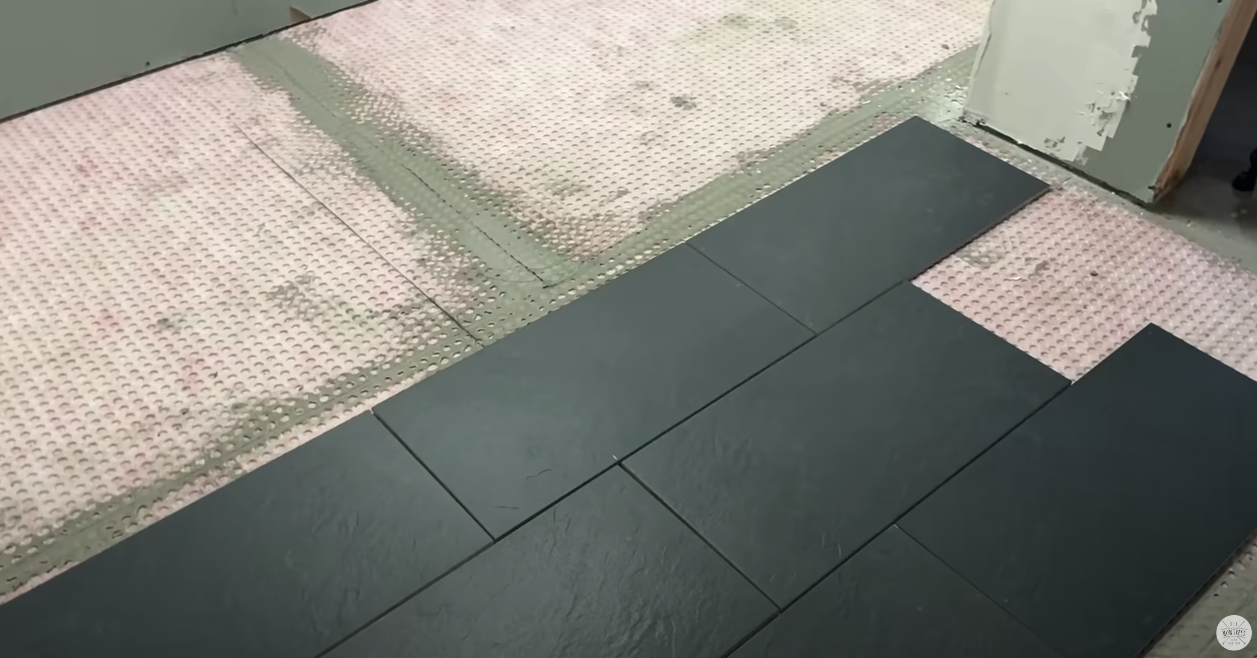
Next I found the center of the room, marked it and started laying the tiles out.
Oh, and make sure you leave yourself a path out of the space while you’re installing tiles, you don’t want to get boxed in.

The next day I did a little dance to kick all of the spacers out and got to grouting.

I’m obsessed with how this dark grout turned out. But like I said before, if you want more detailed instructions on installing tile be sure to check out this video.

6. Priming & Painting

I primed every wall in the basement to prep it for paint, and yes, it is necessary to have a personal jam sesh at this point in the project. Trust me, you’ll need it.

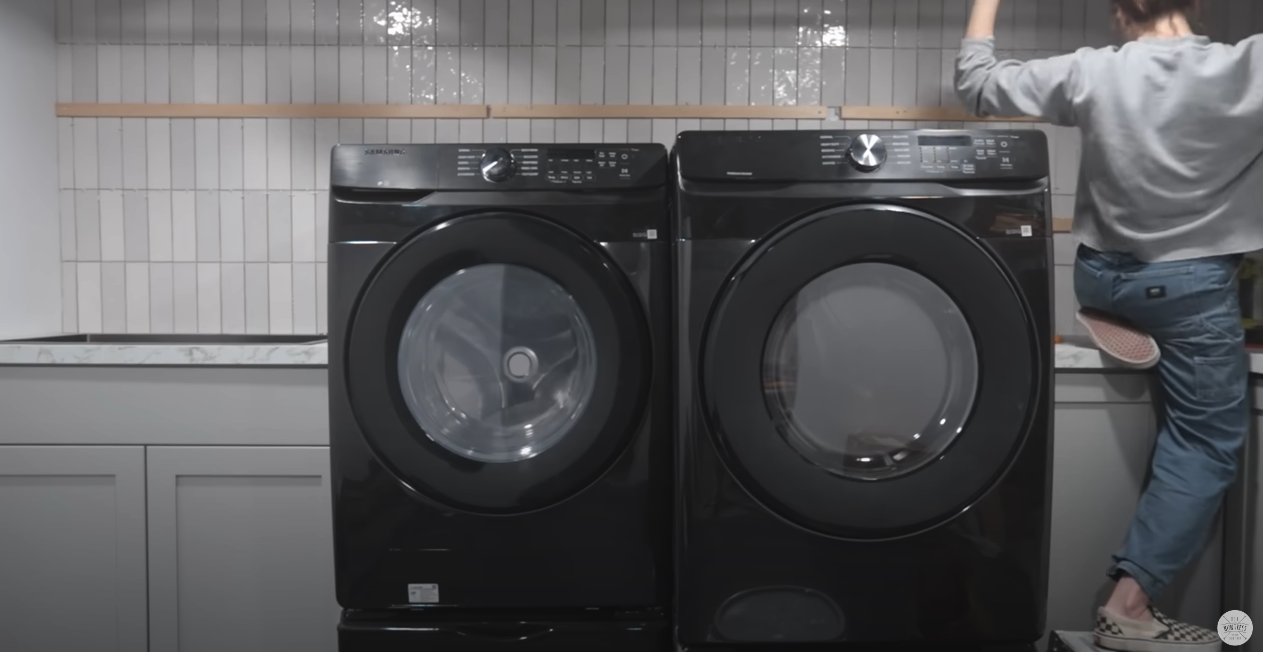
One of the most exciting parts of this project was bringing the washer and dryer back in. It was supposed to be about a week without laundry, but it ended up being about 3 weeks…that’s too long in my opinion.

7. Cabinet & Countertop Install
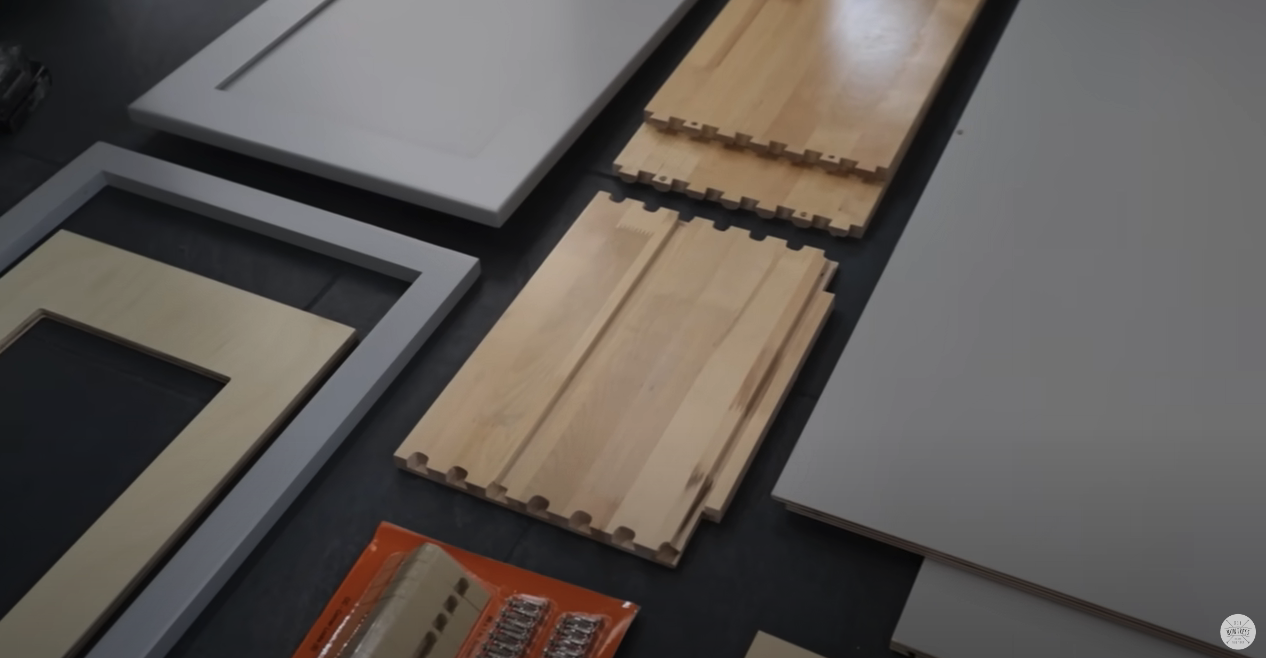
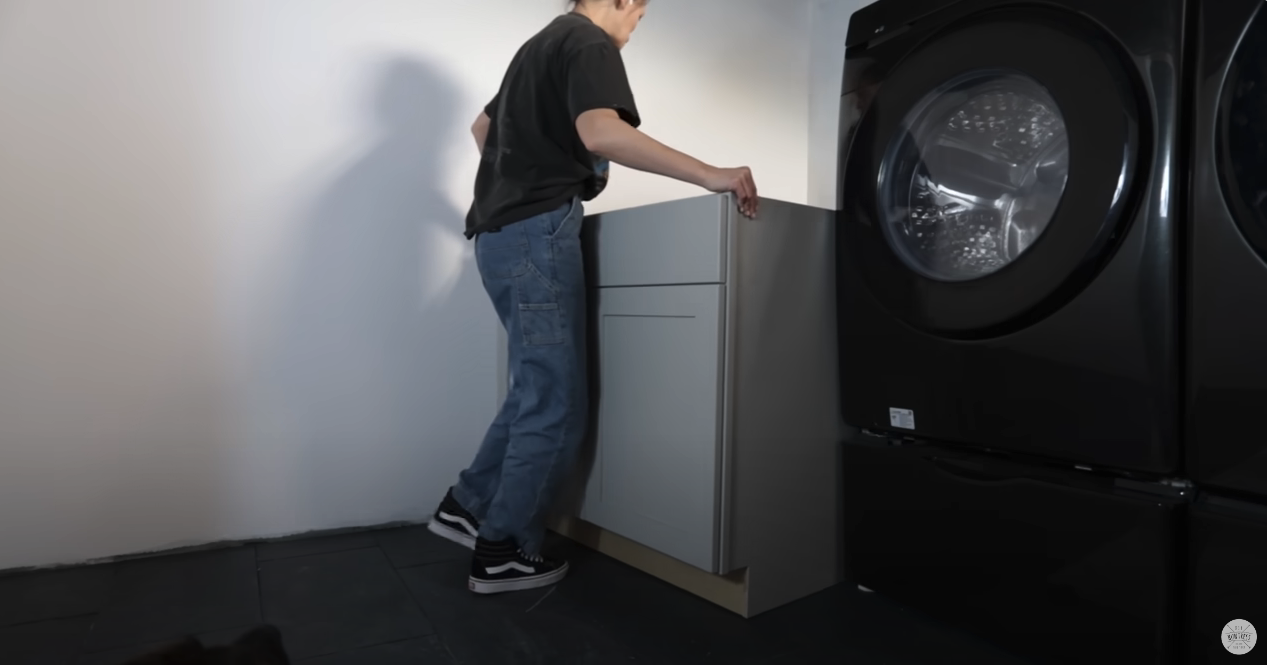
For my countertops I chose Hampton Bay’s ready to assemble cabinets, these are the same ones I used in my kitchen renovation last year and I am obsessed with them. They’re plywood construction so they’re super durable and they do ship as a flat pack, which means you don’t have to wait long for them to arrive.
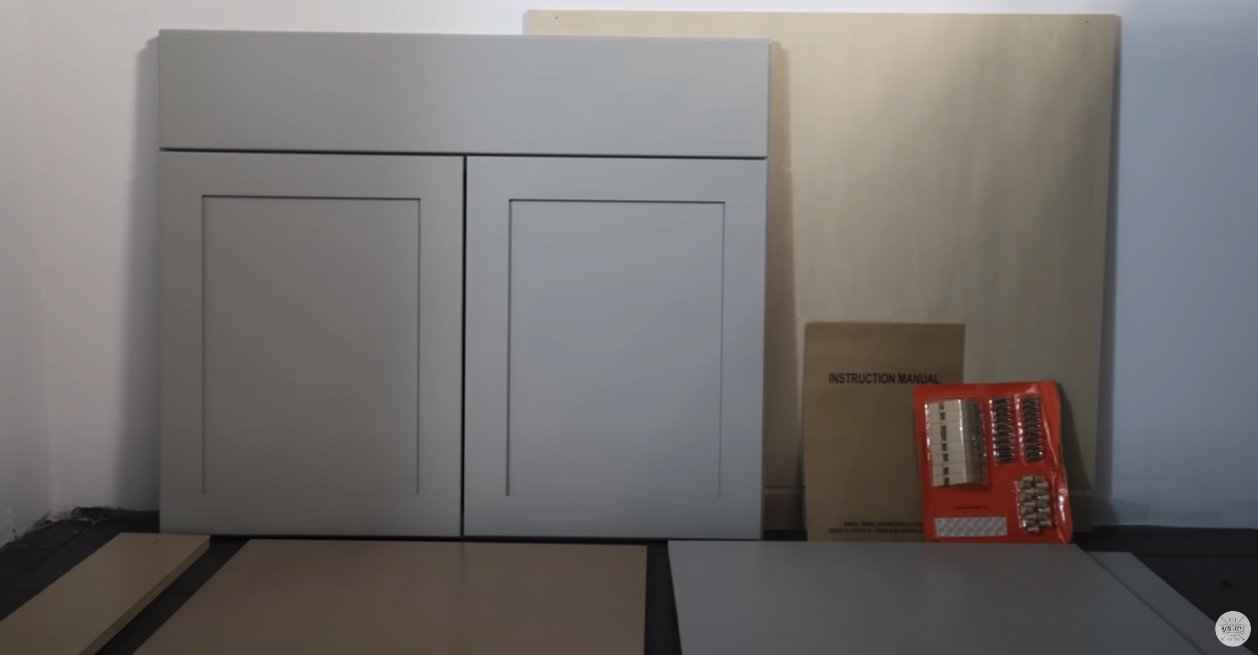
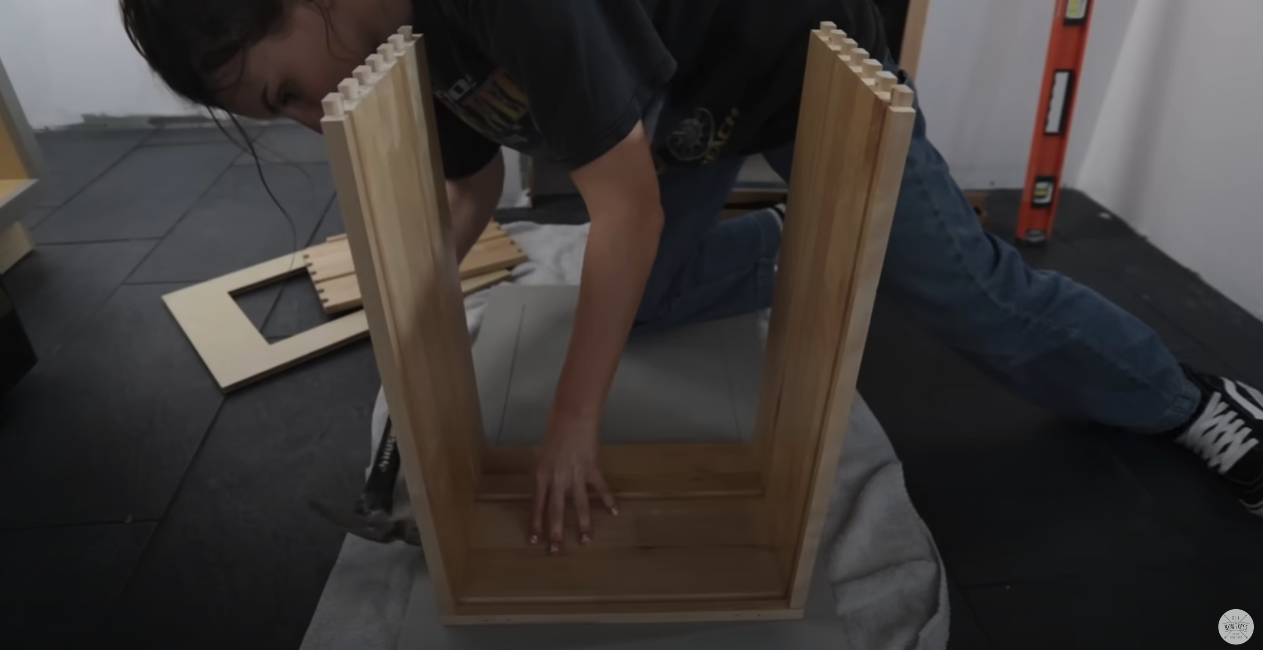
They come with instructions and everything you need so assembly is really a breeze.

In fact, it only took me 9 minutes and 2 seconds to put this together. That includes the time it took me to find music to listen to…

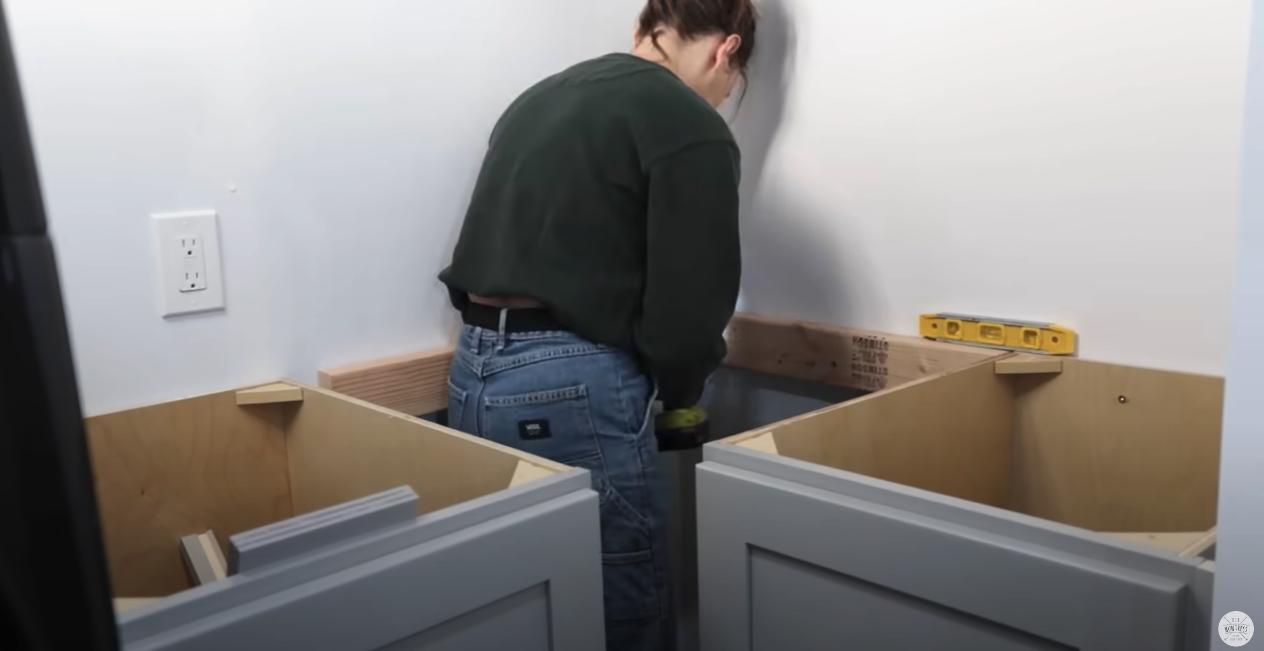
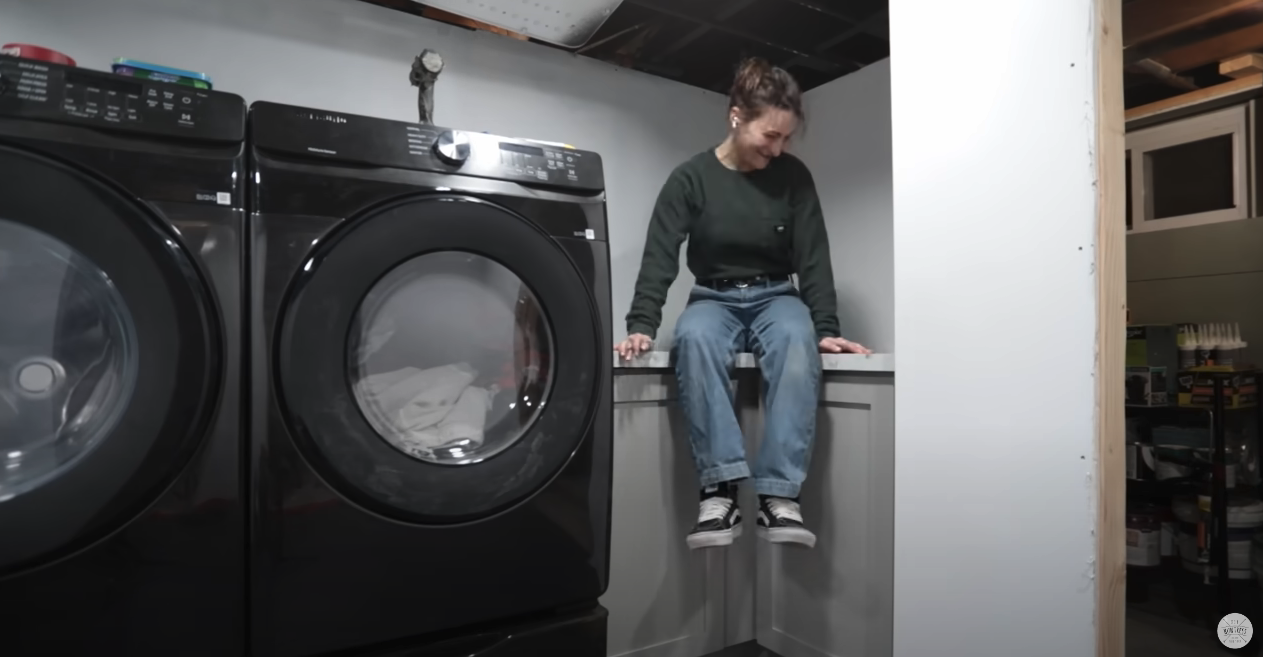
I slid the cabinet into place and it was an instant replay for the cabinet on the other side of the dryer.
The only difference was that this side was the trash can pull cabinet. But they really are so simple, they even include the hardware. So it’s a no brainer for me. I’m excited to use this drawer for laundry baskets.

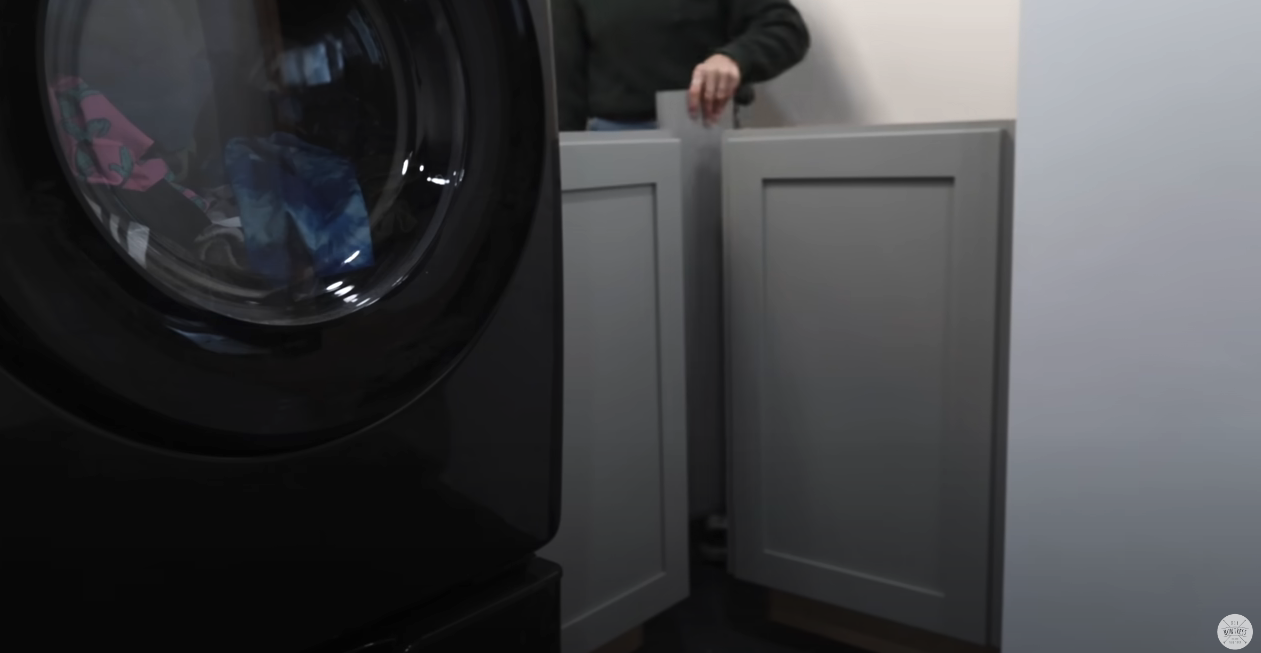
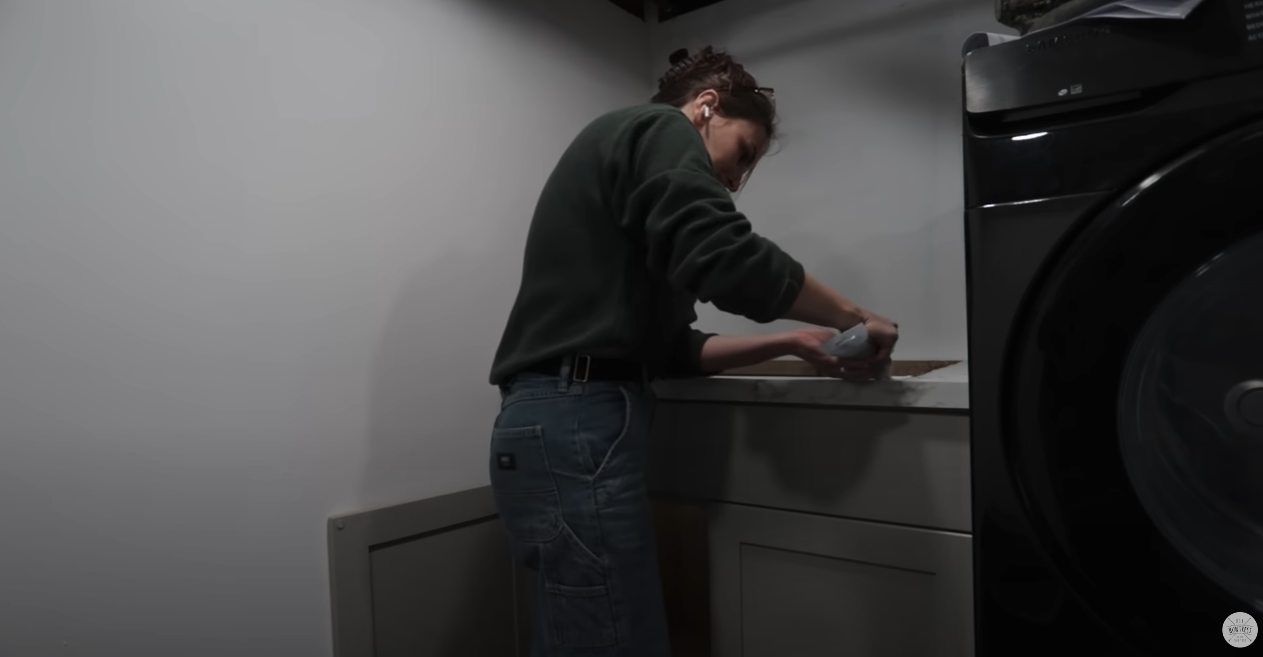
I did need to add a filler piece in the corner to help it look professional and complete. So I started by adding supports to the wall.
And then added the front facing piece to fill in the gap.
Countertops were next! These look like marble but they’re actually laminate which makes installation easy and they’re also so much easier to maintain than marble, which is perfect for me.
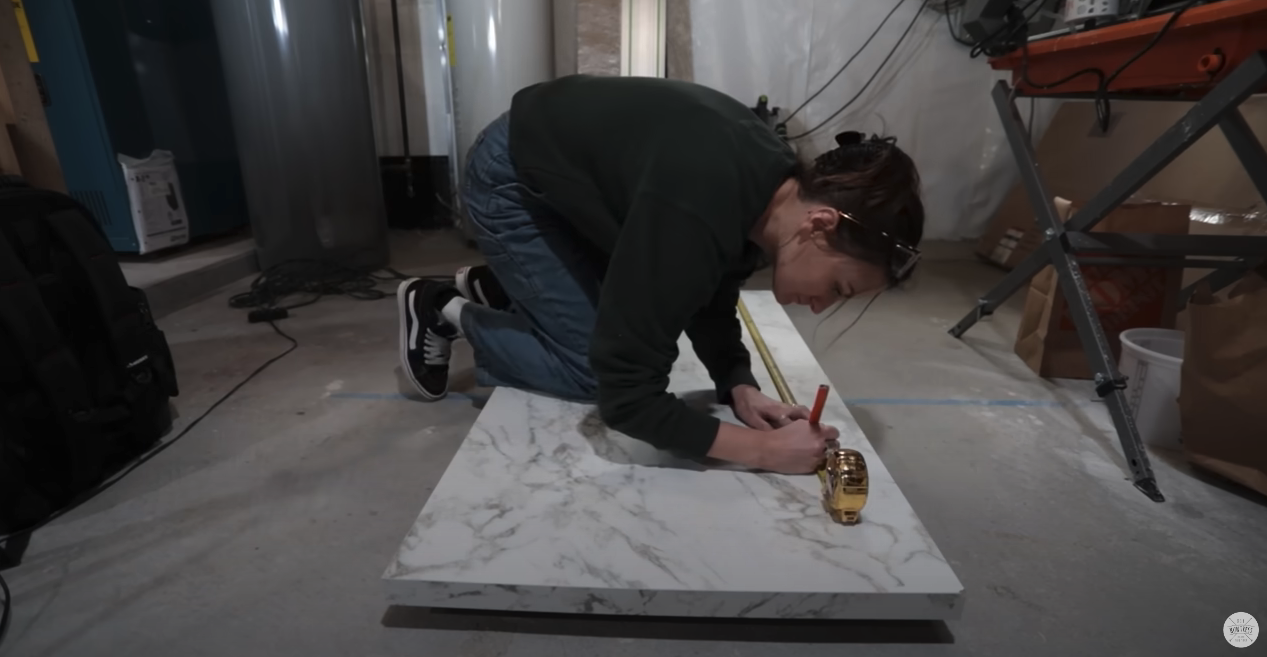
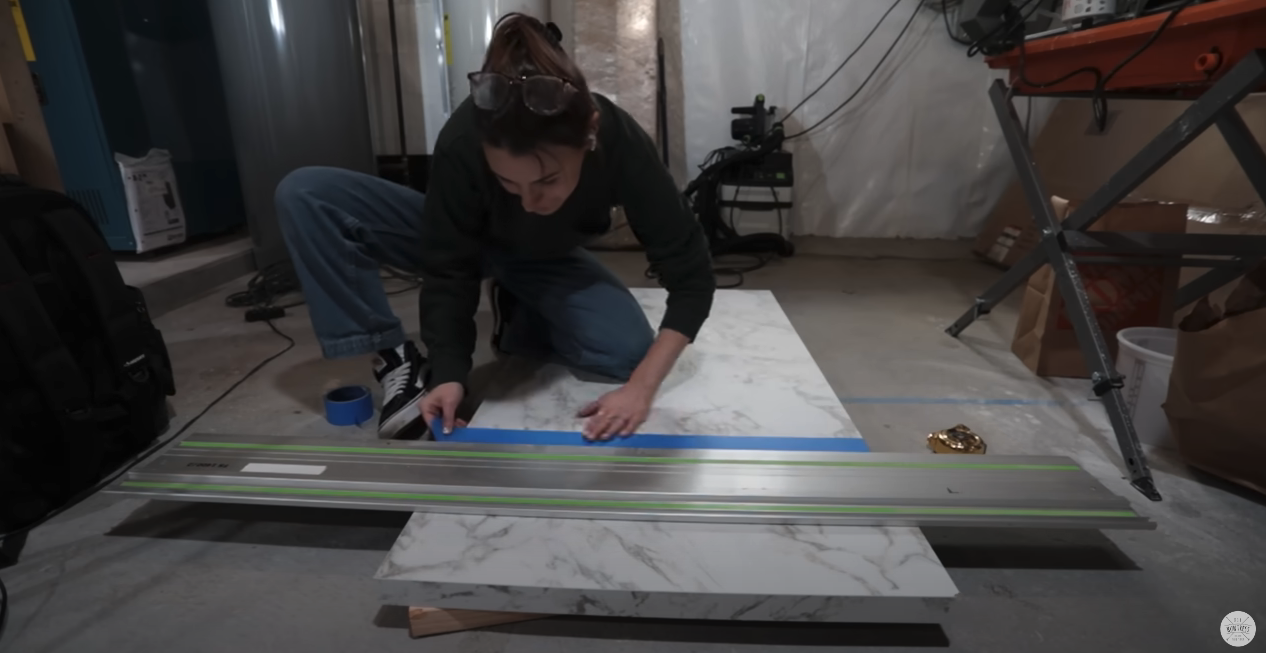
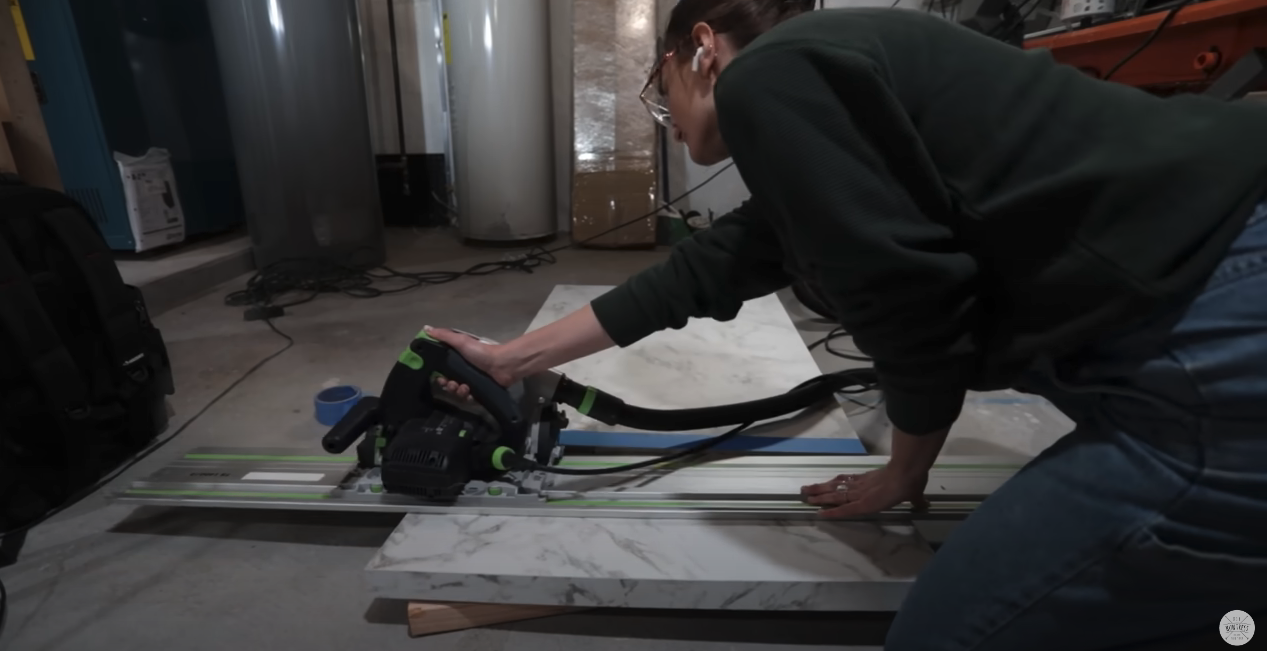
Another pro for these countertops is that you can use a track saw to cut your pieces down to size. Couldn’t be easier!
The cabinets came with brackets for the corners so you can install the countertops from underneath.

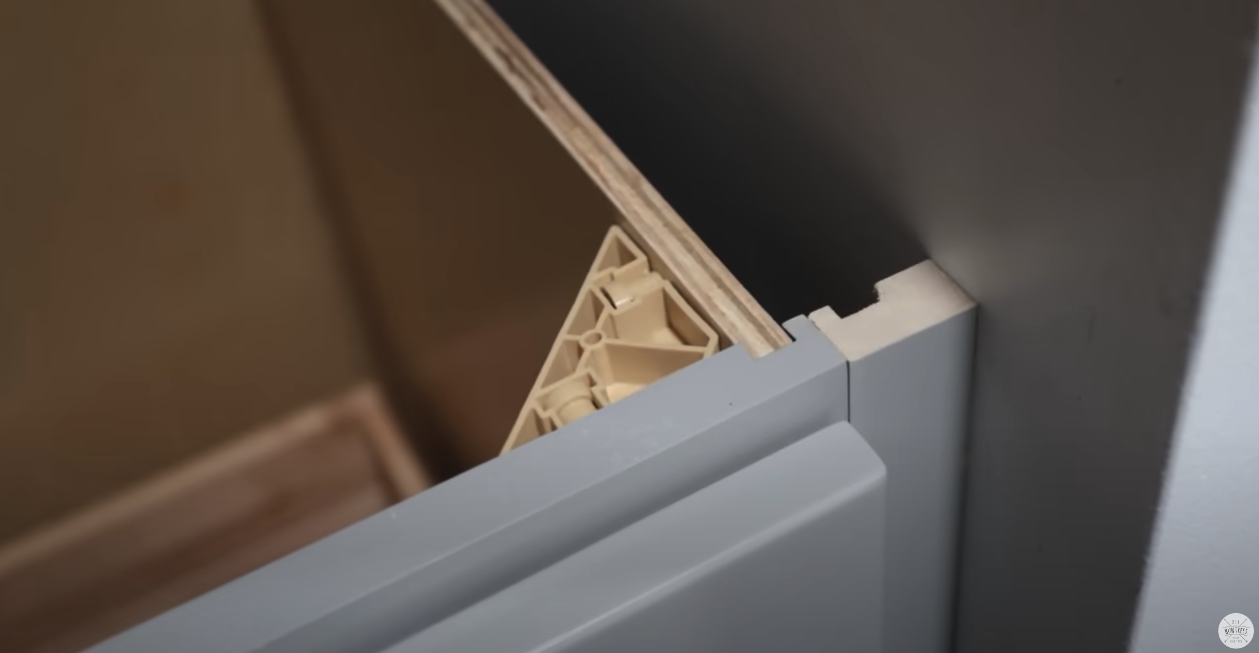
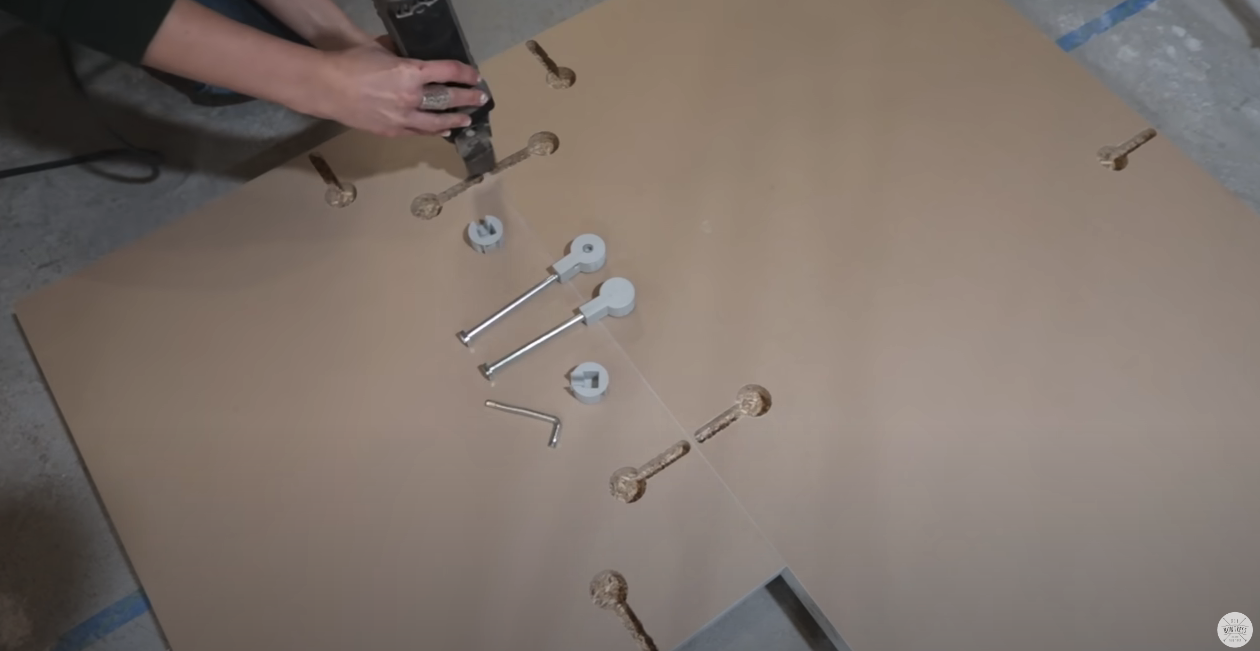
Let’s talk about doing the corner piece, which is pretty much just as easy as the other piece. So these laminate countertops are a universal system that comes with pre-matched routings on all of the sides so you can connect multiple pieces quickly. Once you figure out your layout you can flip the pieces over, cut away the extra tabs (I used my multitool) on the pre-routed channels, and then you connect them together using quick adjust tie bolts.
So happy with how it looks!!
Next up, sink installation. I was surprised with the size of the sink I ordered, but I’m here for it.
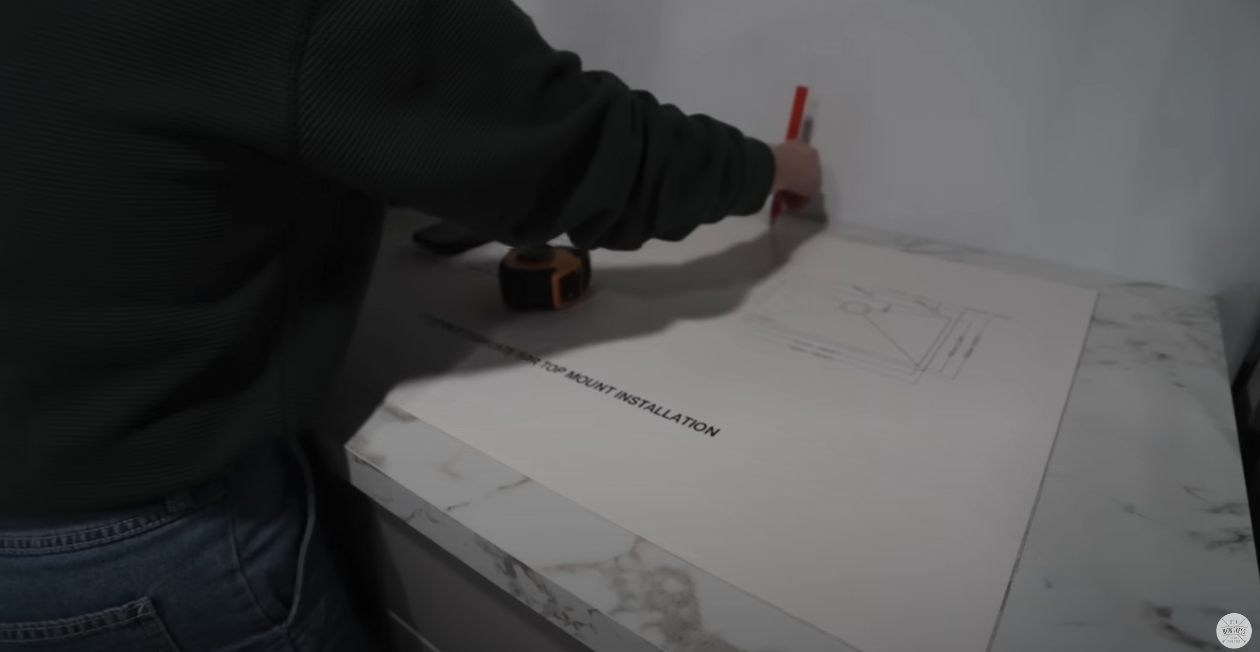
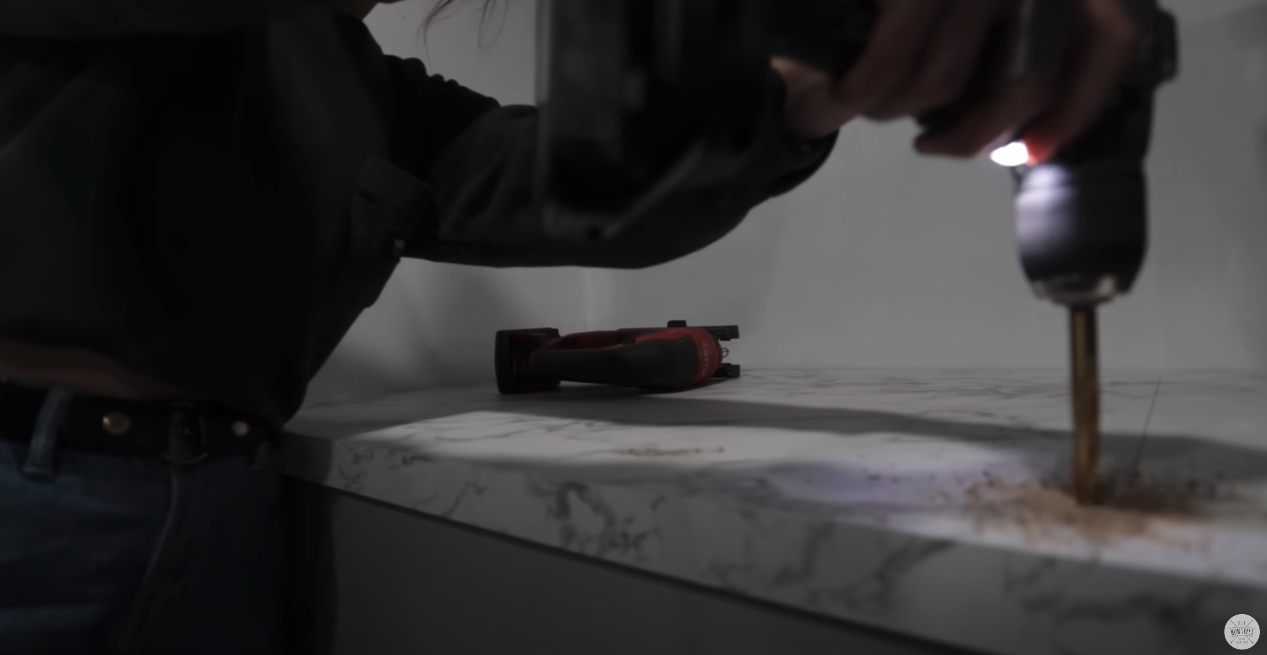
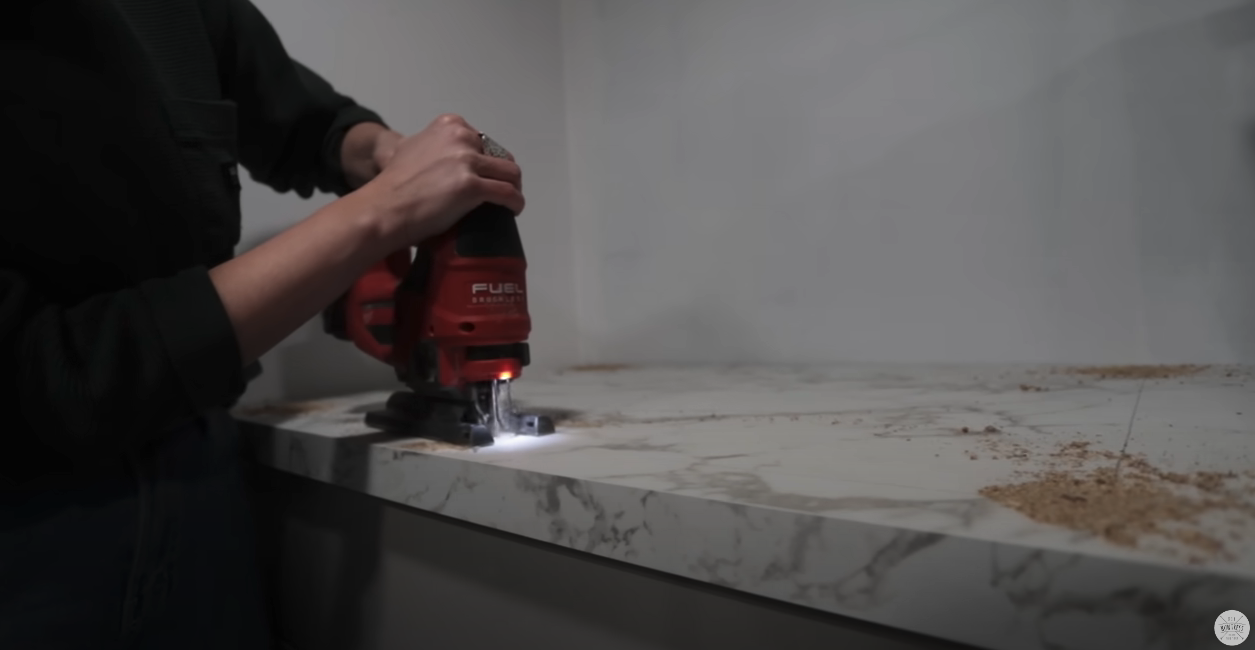
Drilling and cutting into these countertops is so easy. I used my drill to drill out the corners and then I used my jigsaw to cut out the rest of the hole. The template was very accurate so once I cut out along the line we were good to go.

All that was left was caulking and placing the sink. It fit like a glove!

8. Tiling The Backsplash
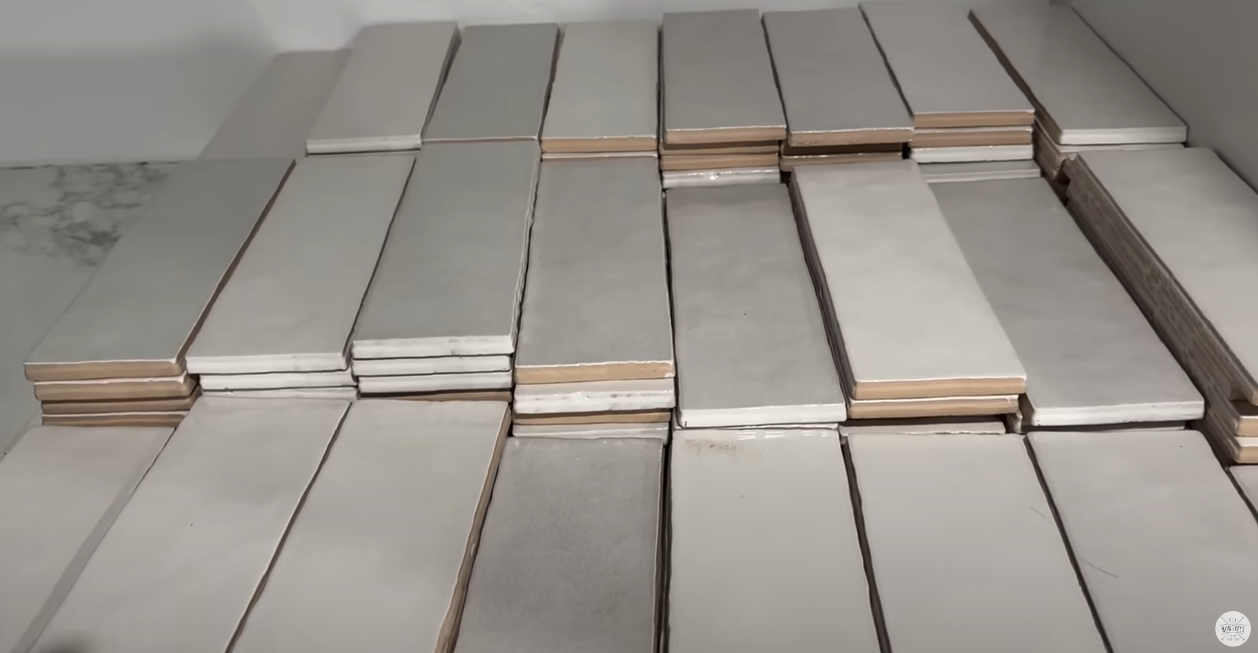
I got a few boxes of tiles for the backsplash and I always like to organize tiles by color when theres a variation so I can make sure I really place them in an organic pattern when they go on the wall. Sometimes different boxes of the same tiles can have a slight color difference and it’s better to randomize them from the start rather than notice after they’re up that they’re not quite matching right.
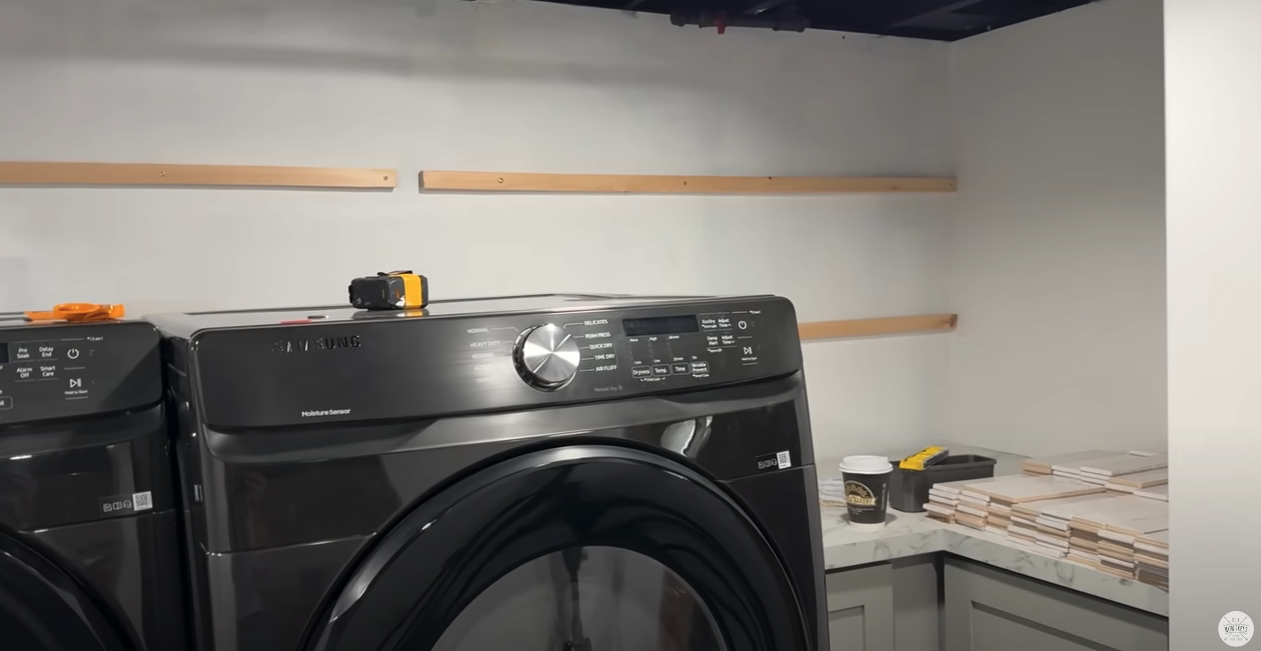
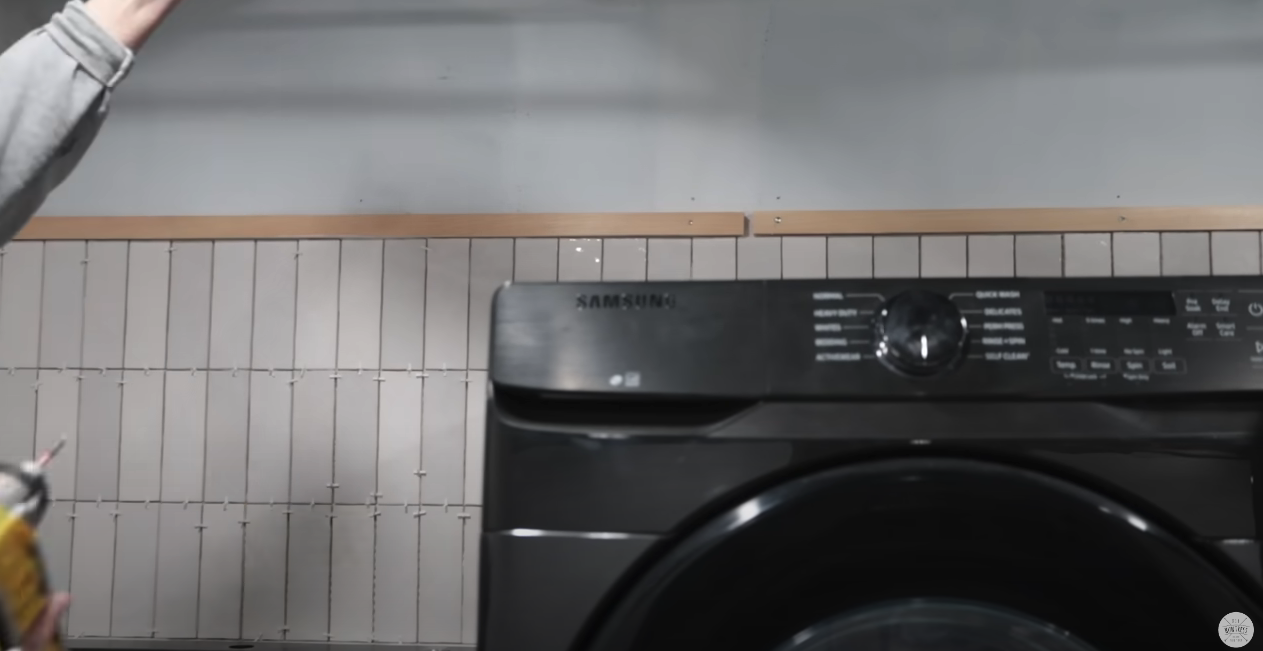
Next I placed wooden slats on the wall to mark out where the floating shelves will go. This way I know where they’ll be while I’m installing the backsplash.
Just like the floor tiles I’m going to skip through the details on how to do this backsplash because I have a full backsplash tutorial that you can see here if you want more step by step instructions.
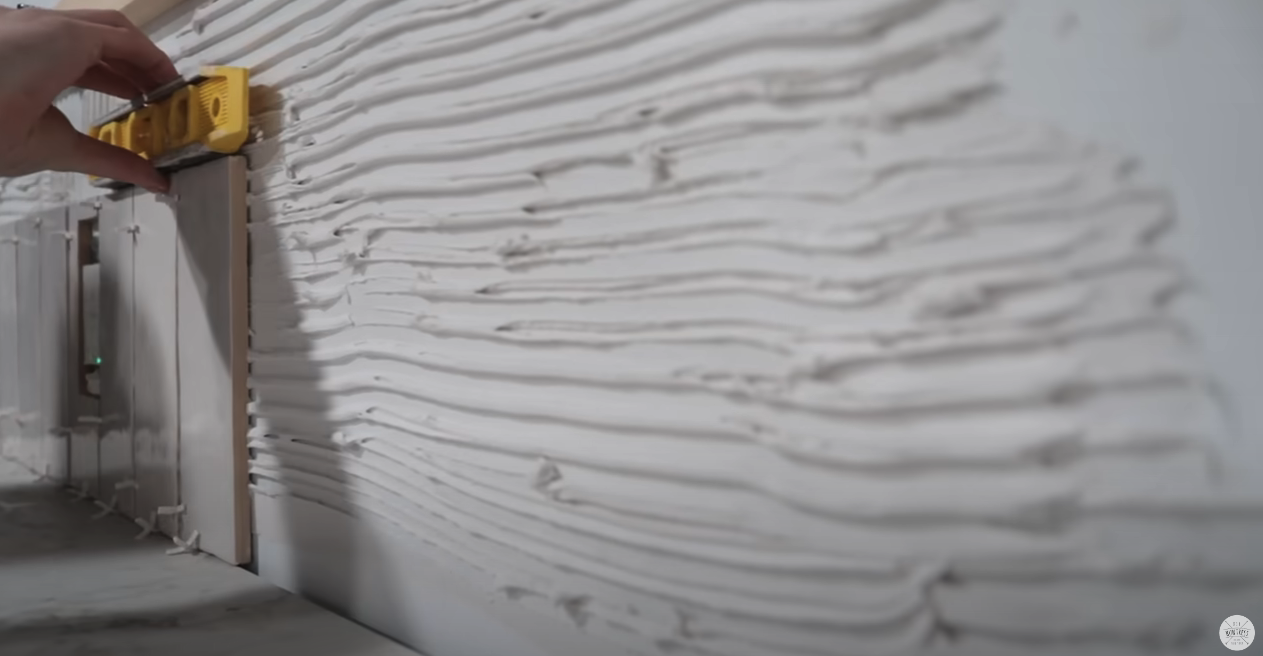
Because of how my first backsplash project went it gave me the idea to mark out where my floating shelves would be this time. Using these slats to do that was really such a win, highly recommend you do the same if you’re thinking of including floating shelves along your backsplash wall.
I just love the way the backsplash turned out!!
The next day I came back to add the grout.
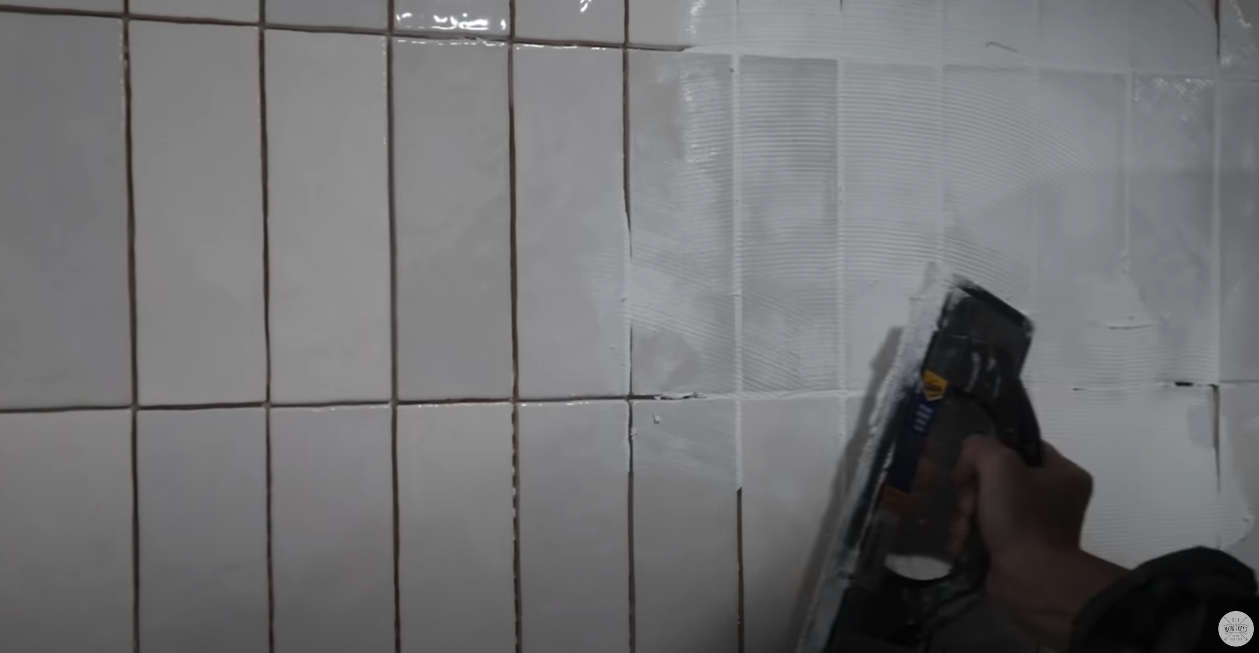
I went with a light tile and grout for the backsplash to contrast the dark floor tile because I do want this space to feel bright, even though it’s a dimly lit basement.

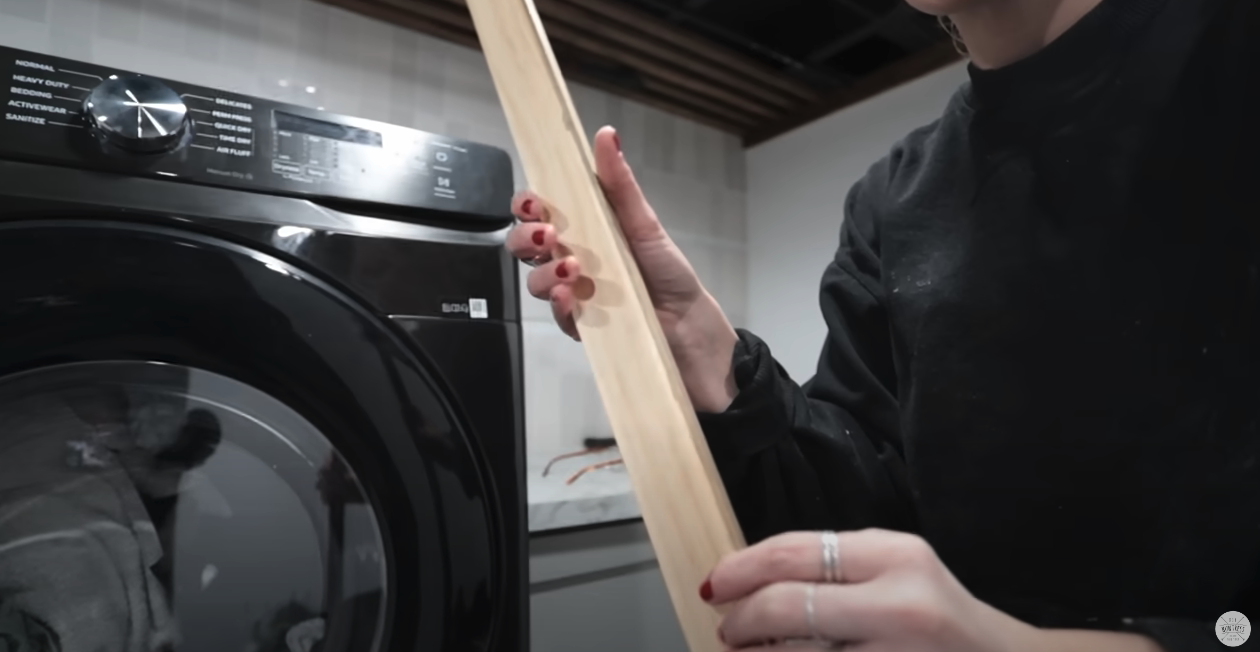
9. Getting Fancy With The Ceiling
After finishing the backsplash I stained a ton of 1×2 boards. I wanted them to dry overnight before installing them onto the ceiling.
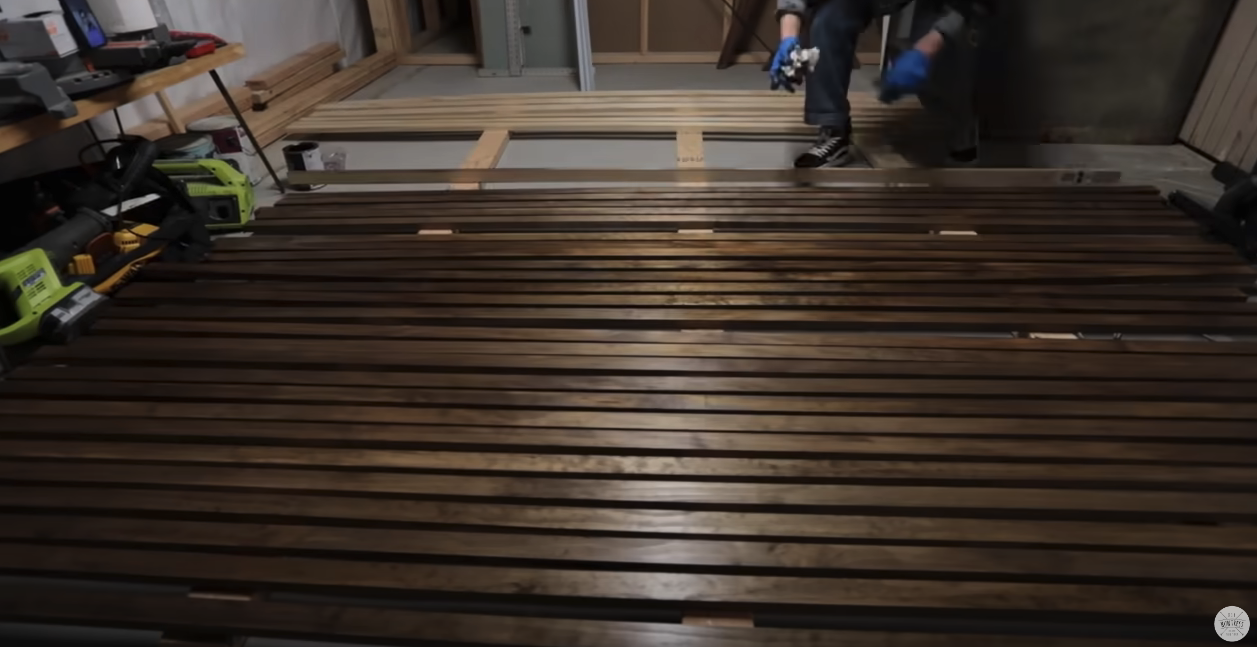
Then I got in there with my brad nailer and started installing them. Ouch, my neck did not love this.

When I ran into a not so straight pipe running along the ceiling I took my 1×2 out to my table saw and cut a channel into it. This way I didn’t have to give up on my pattern and I could still accommodate the pipes.
I would’ve loved to have drywalled the ceiling down here but there are just too many pipes, wires and shut off valves that I need to be able to access in case of an emergency. So in reality the slatted ceiling really worked out well even though it was a beast to install. I will say, it looks really nice too!

I used drywall to create a soffit around the wires so I could finish installing the ceiling.

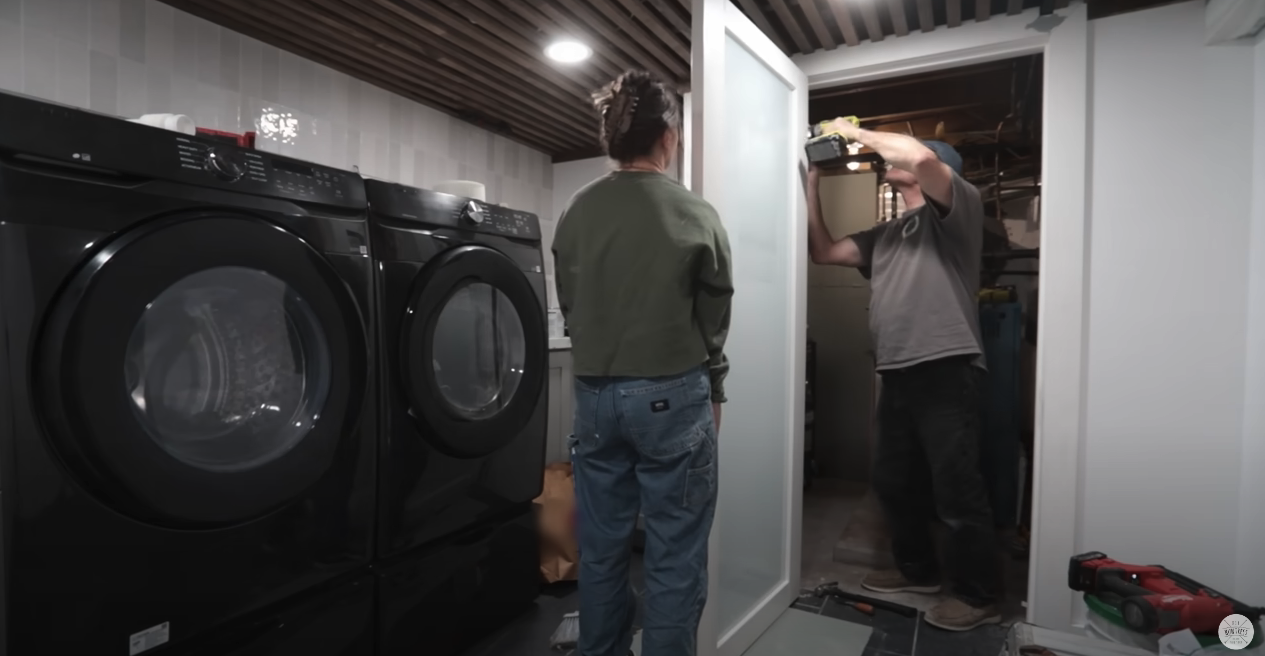
This isn’t really part of the ceiling installation, but we did need a door. So at this point we had to install it.
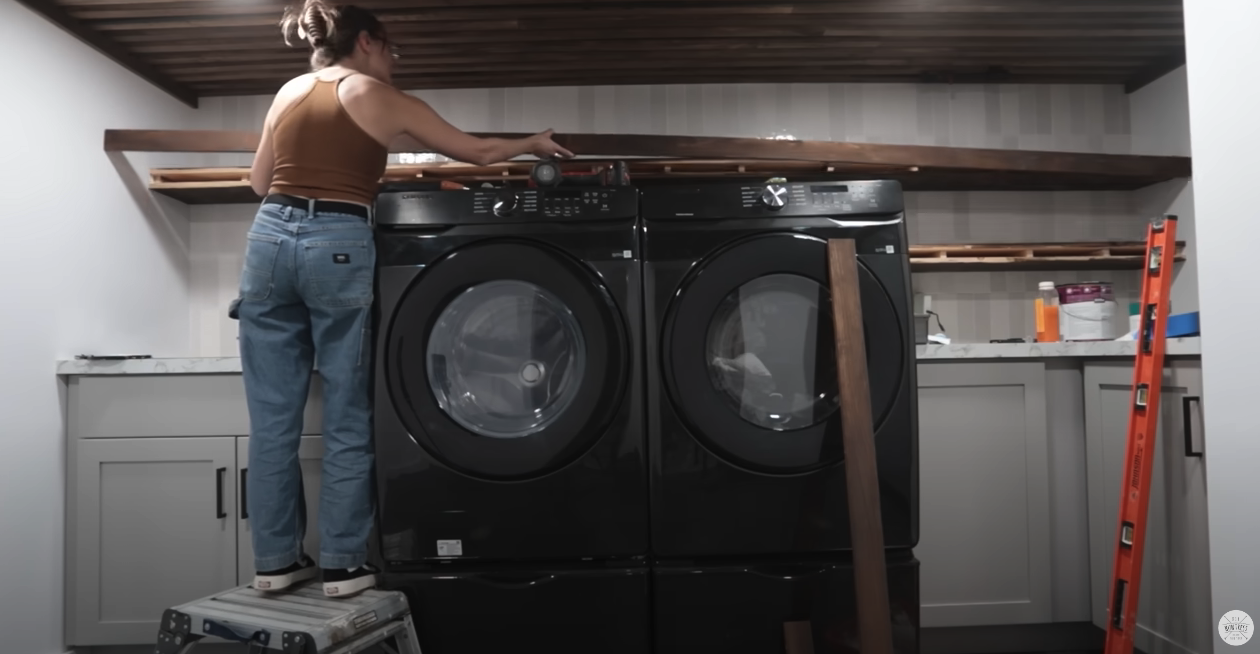
10. DIY Floating Shelves

Then it was time to install those floating shelves. Just like with the tiling I won’t go into detail here because I have a full tutorial on how to build these same shelves. So if you want to see the step by step instructions you can check that build out in this video!
11. Finishing Touches!
It was time for the baseboards to go in. I used my brad nailer to attach them.


Then the hardware for the cabinets went up in a breeze with my kreg jig.

Not pictured, I also painted the door trim black, obviously couldn’t just leave that as is, and I added the sink faucet, some plants, and glass jars to store some items we needed.
The Big Reveal
Let’s just remember where we started….
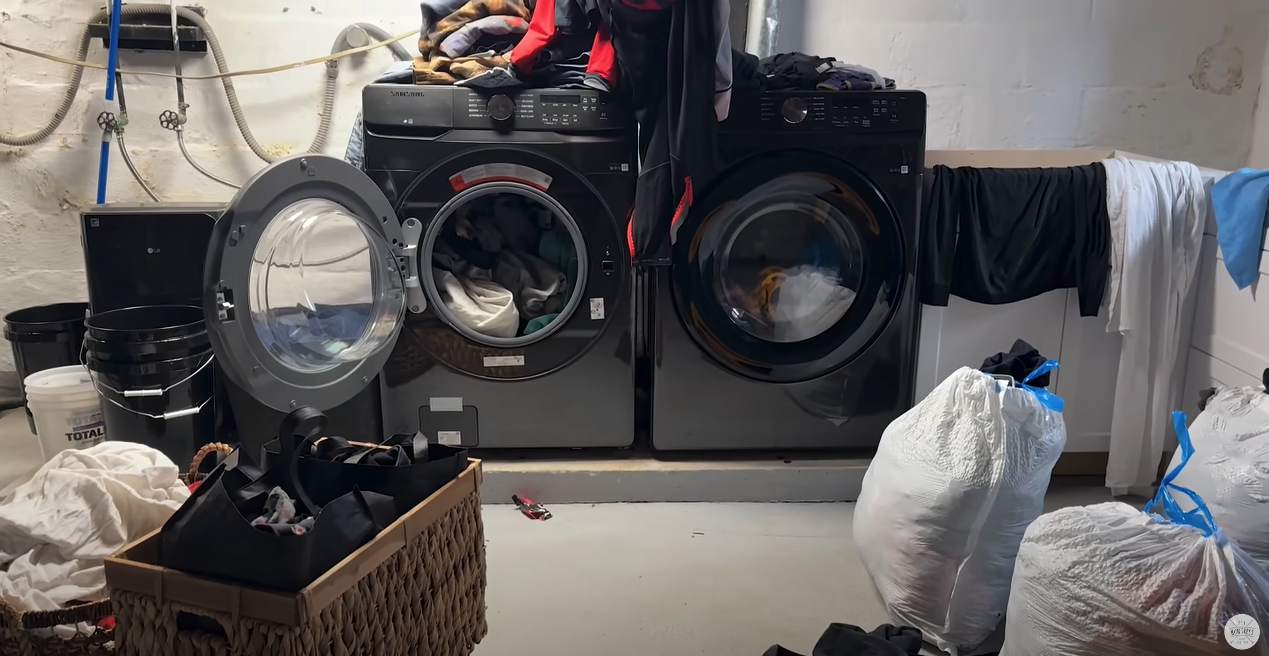
Can you even believe this is the same space??? Literally my dream laundry room.
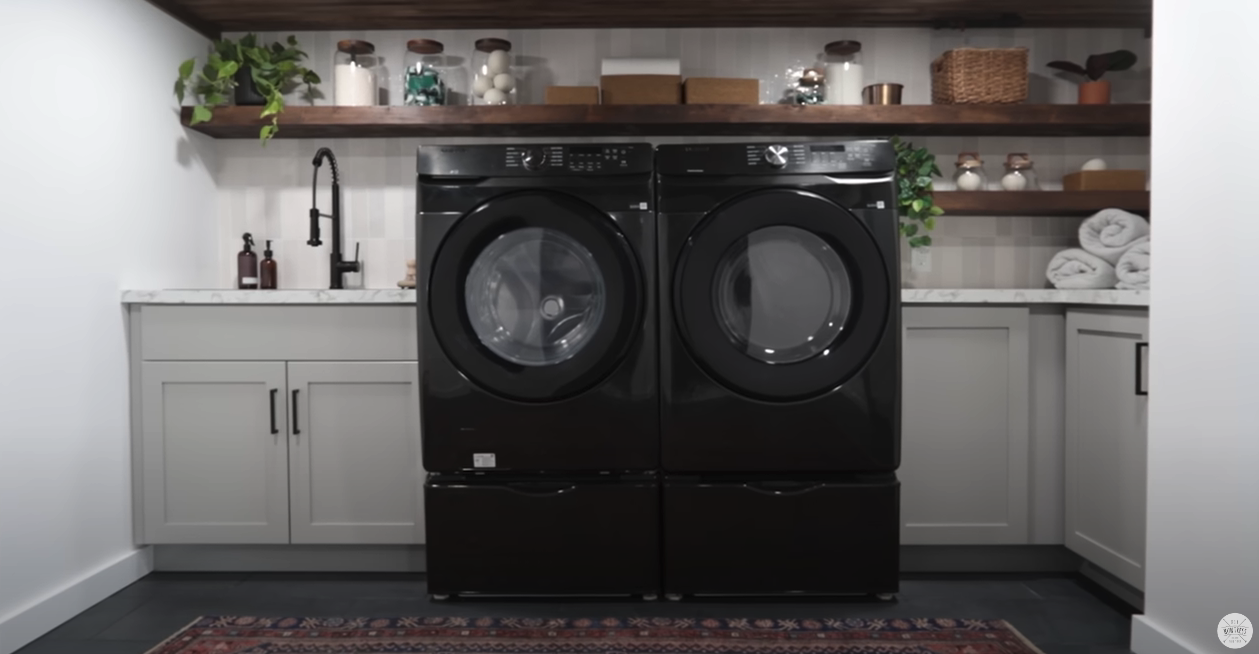
We can certainly say that we achieved the bright space I was hoping for. This is officially no longer a creepy laundry room. This project really tested me, it took a long time and had so many steps. I’m so grateful my dad was able to help me along the way.
Now this truly is a serene space to take care of our laundry and it no longer feels like the chore it used to be. I hope this helps inspire you to tackle a big project you’ve been waiting to do. You can do it friends, happy DIYing!
Save This for Later
I hope you enjoyed this project! If so, make sure to Pin It for later!
