This post and photos may contain Amazon or other affiliate links. If you purchase something through any link, I may receive a small commission at no extra charge to you. Any supplies used may be given to me free of charge, however, all projects and opinions are my own.
Today I am excited to teach you how to use Cricut Printable Iron-on! Cricut recently released two new printable iron-on materials and I couldn’t wait to put them to the test. I’m going to show you how to use both of them, compare how they work on colored fabrics, and put them to the test through the wash.
Learn all about Cricut machines and which one is right for you in my updated 2023 Cricut comparison post.
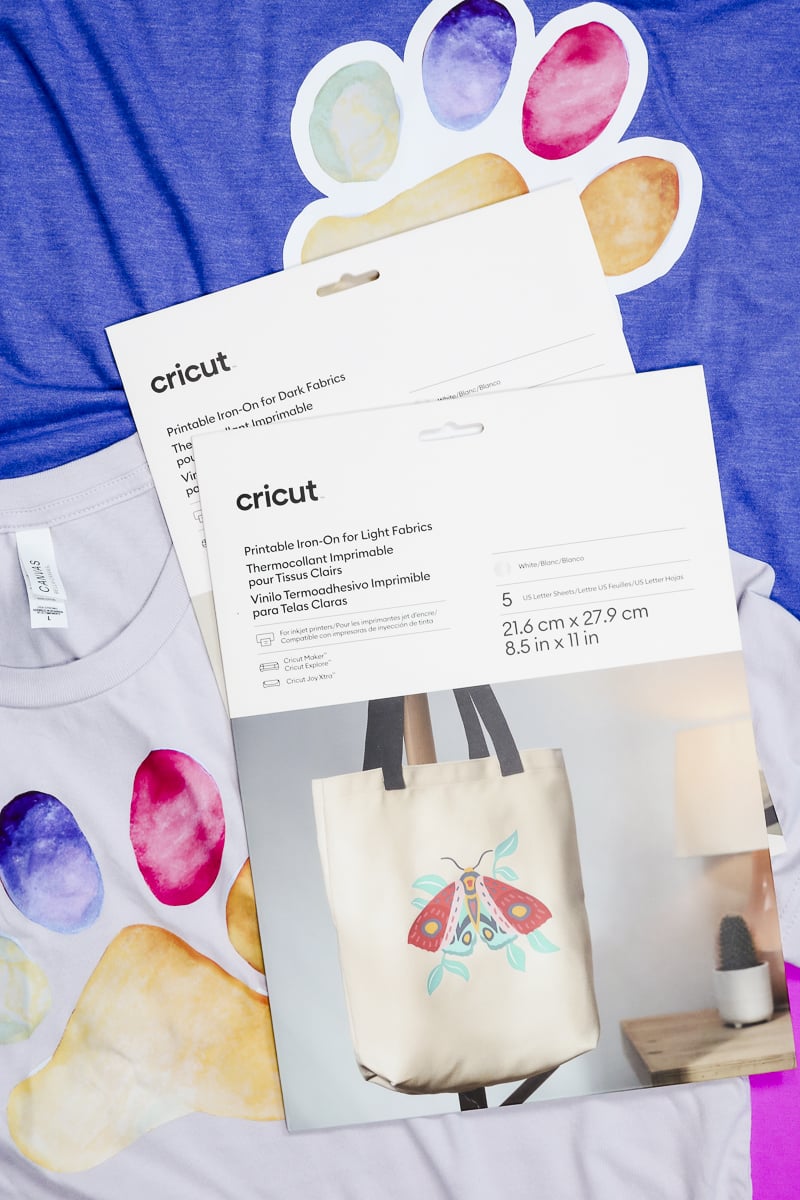
Cricut Printable Iron-on
These new iron-on materials are made specifically for both light and dark fabrics. I thought it would be helpful to show you how each of them performs on different colors of fabric and how they look after washing multiple times.
IMPORTANT: This new product is for inkjet printers with regular inkjet ink. You don’t use sublimation ink with this iron-on material.
You can watch me go through the whole process for both materials by pressing play on the video below.
Supplies Used:
What is Cricut Printable Iron-on?
Cricut Printable Iron-on is a material that you run through your regular household printer and cut with your Cricut to create iron-on designs that have multiple colors much like a printable sticker.
What is the Difference Between Cricut Printable Iron-on Light and Dark?
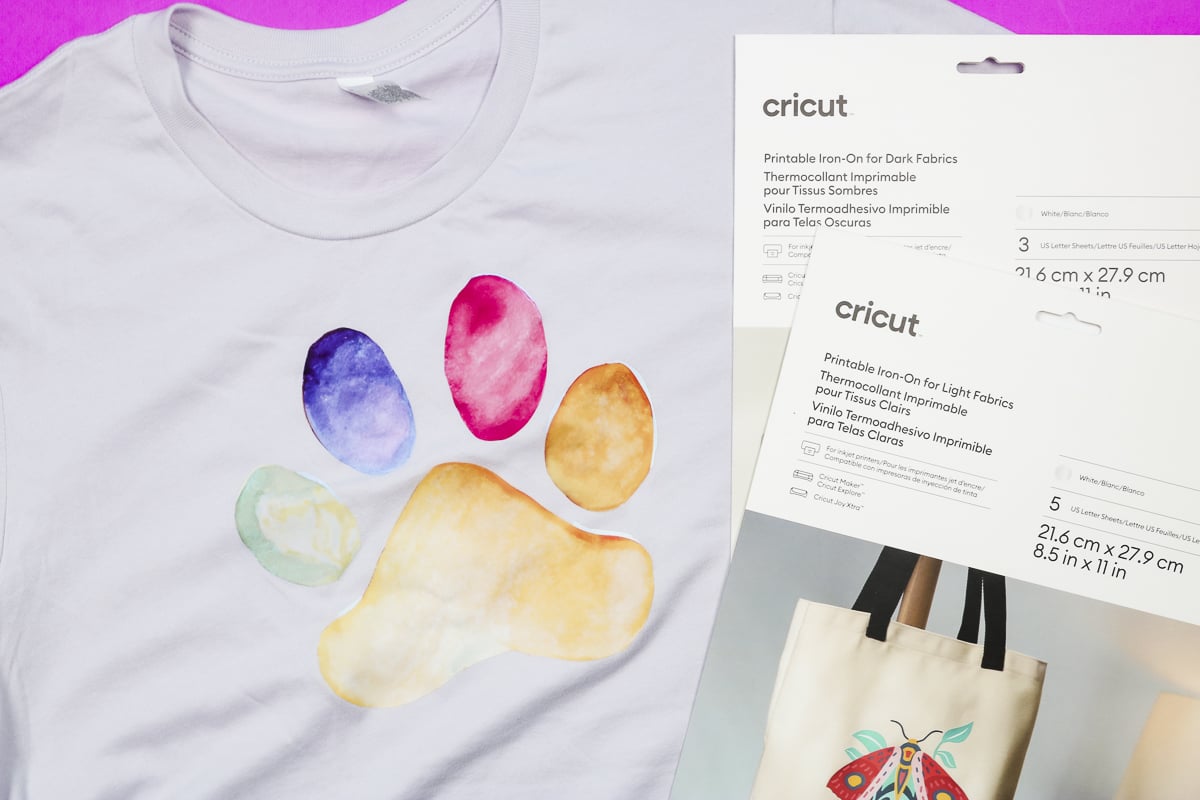
Printable Iron-on for light fabrics is made for very light or white fabrics. It is a thinner material and darker colored fabrics can show through it.
Printable Iron-on for dark fabrics is a thicker material that works well on different colors of fabric.
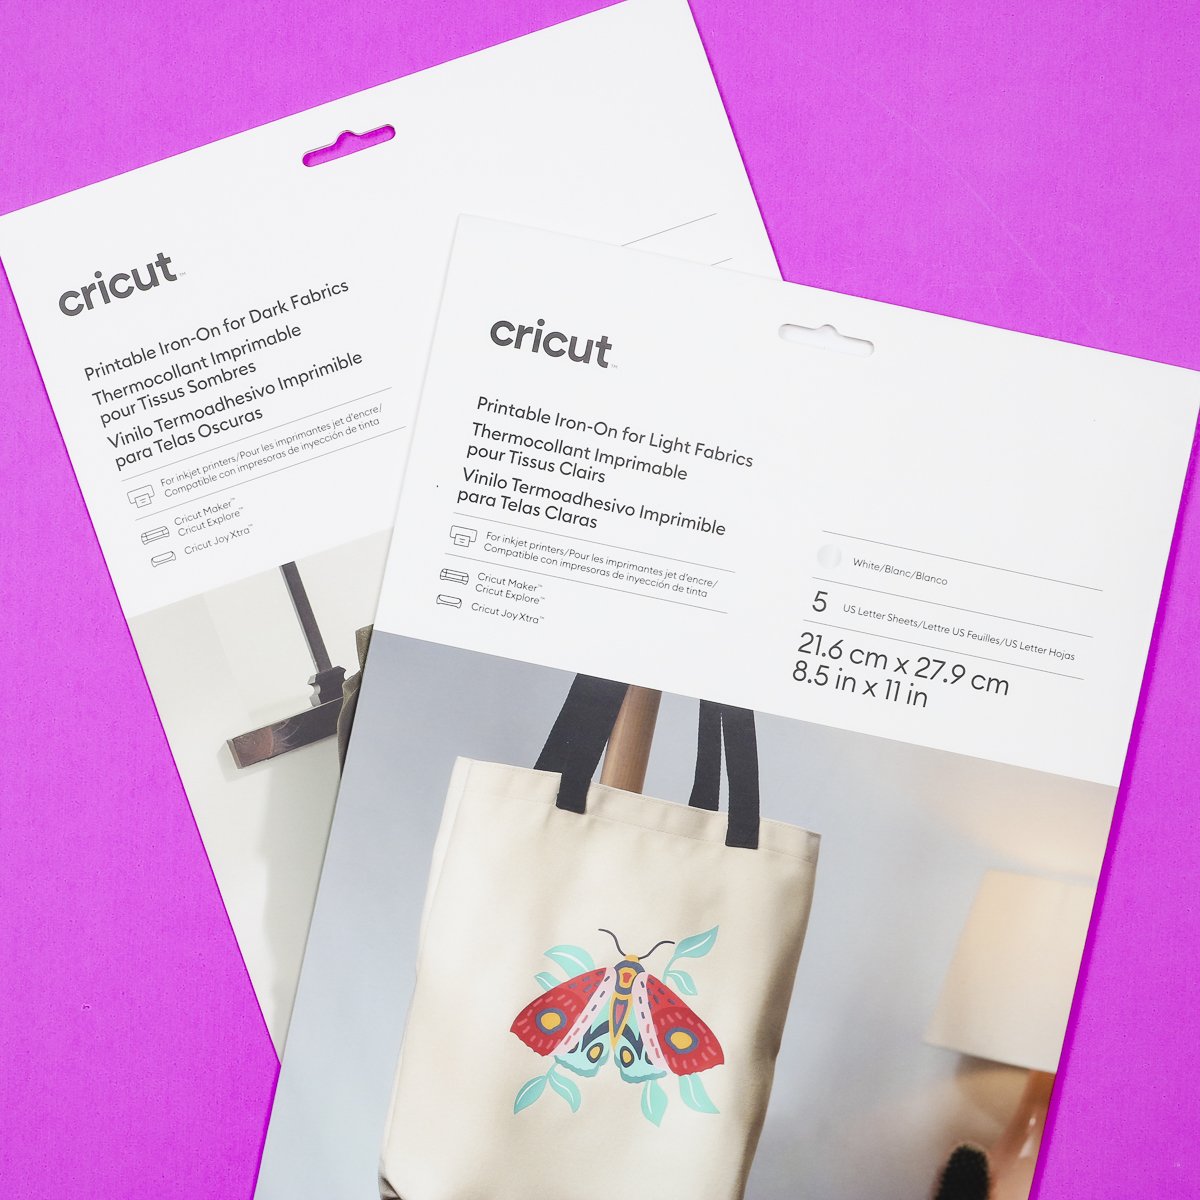
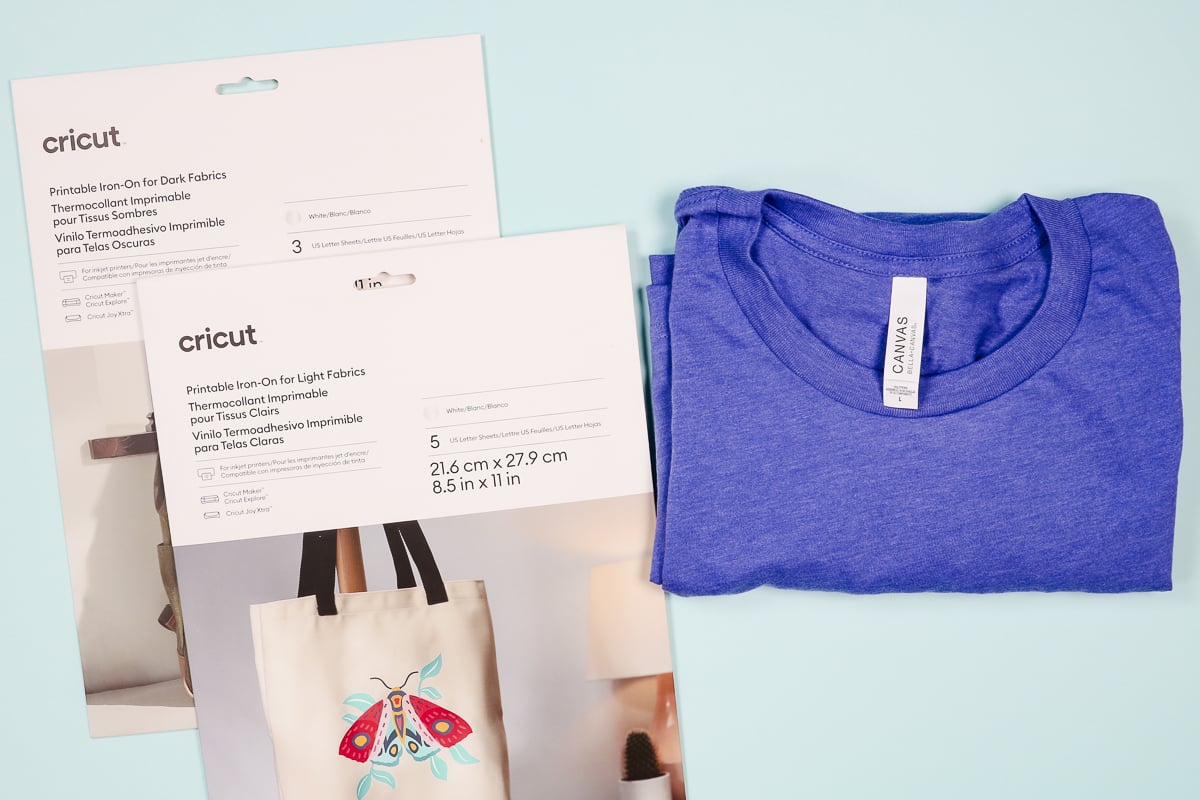
The Cricut version of printable iron-on for light fabric comes in a pack with 5 sheets of iron-on material and a pressing sheet. The printable iron-on for dark fabrics package has 3 sheets of iron-on material and a pressing sheet.
When the materials are outside of their packaging you can tell them apart because the backing sheet for the iron-on light has a grid with green lines and the Cricut logo.
The iron-on for dark fabrics has a solid backing sheet that has a QR code that will give you instructions on how to use the material.
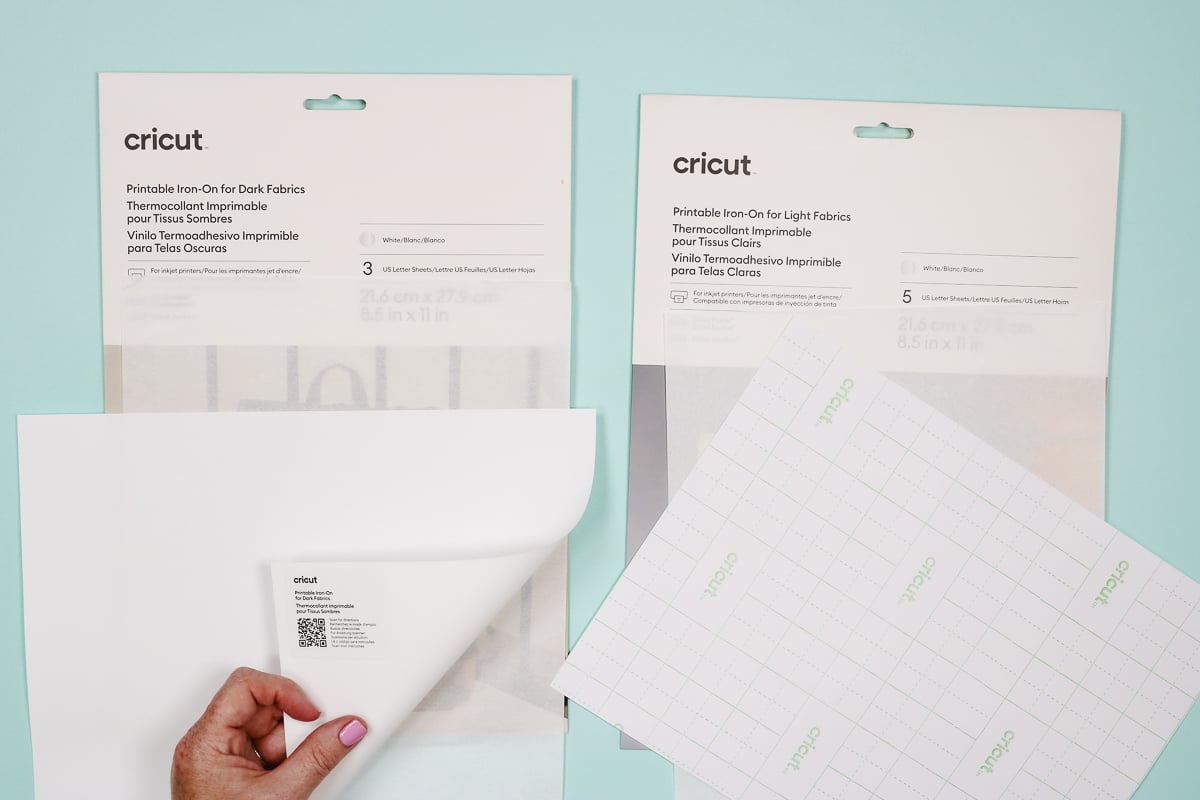
The QR code and green grid are the back of the backing paper so you will print on the opposite side. Make sure you know how your paper feeds through the printer so you print on the correct side.
Another thing to note is that the backing for the light material is paper-like and the backing for the dark material is more like a carrier sheet.
How to Print Designs
Now that we’ve looked at the Printable Iron-on materials let’s use them!
Load Design into Design Space
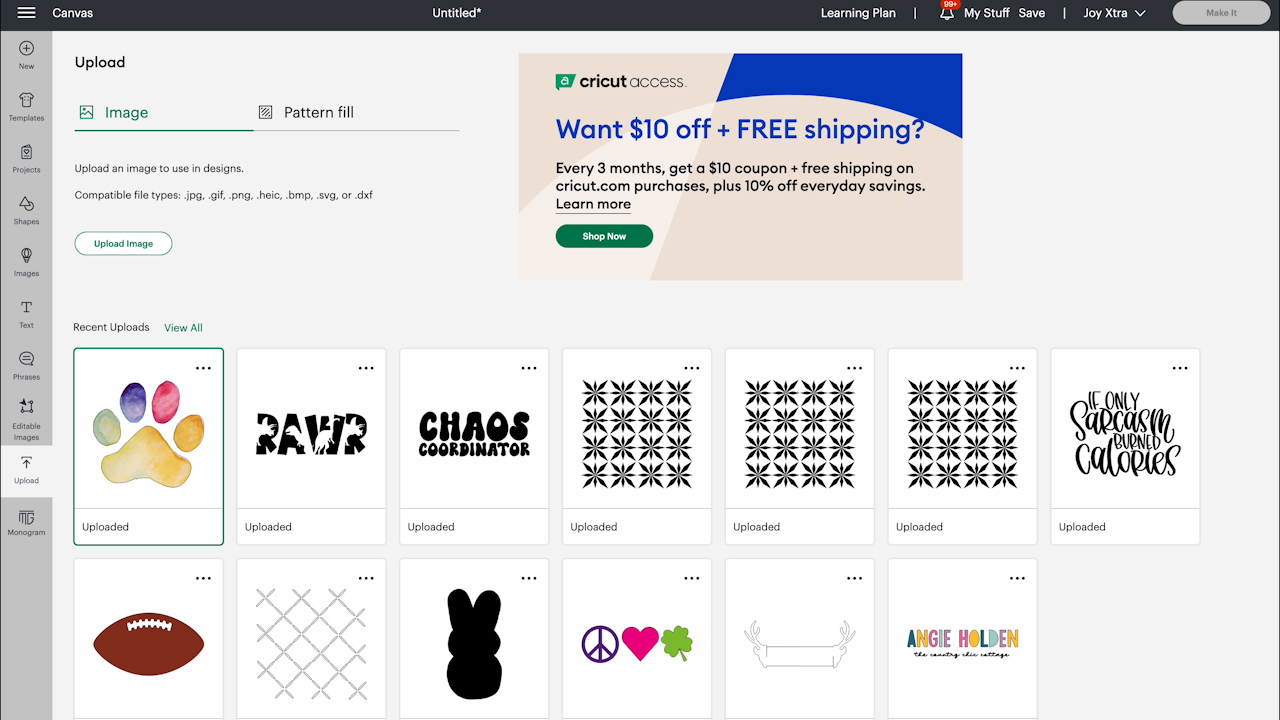
To create our project, we need to upload the design into Design Space. From the canvas, click Upload, Upload Image, and then browse to find the image on your computer. You can get the image I’m using today here.
Upload and save as a Print Then Cut image and add it to your Canvas. Because this is a Print Then Cut image you are limited to the maximum size set by Design Space for the paper size you’re using.
How to Add Offset
You can print the design exactly how it is but I am going to add an Offset to show you how that can be helpful with Printable Iron-on.
To add an offset, you’ll need to click on Offset in the upper toolbar and then decide how large you want the offset to be.
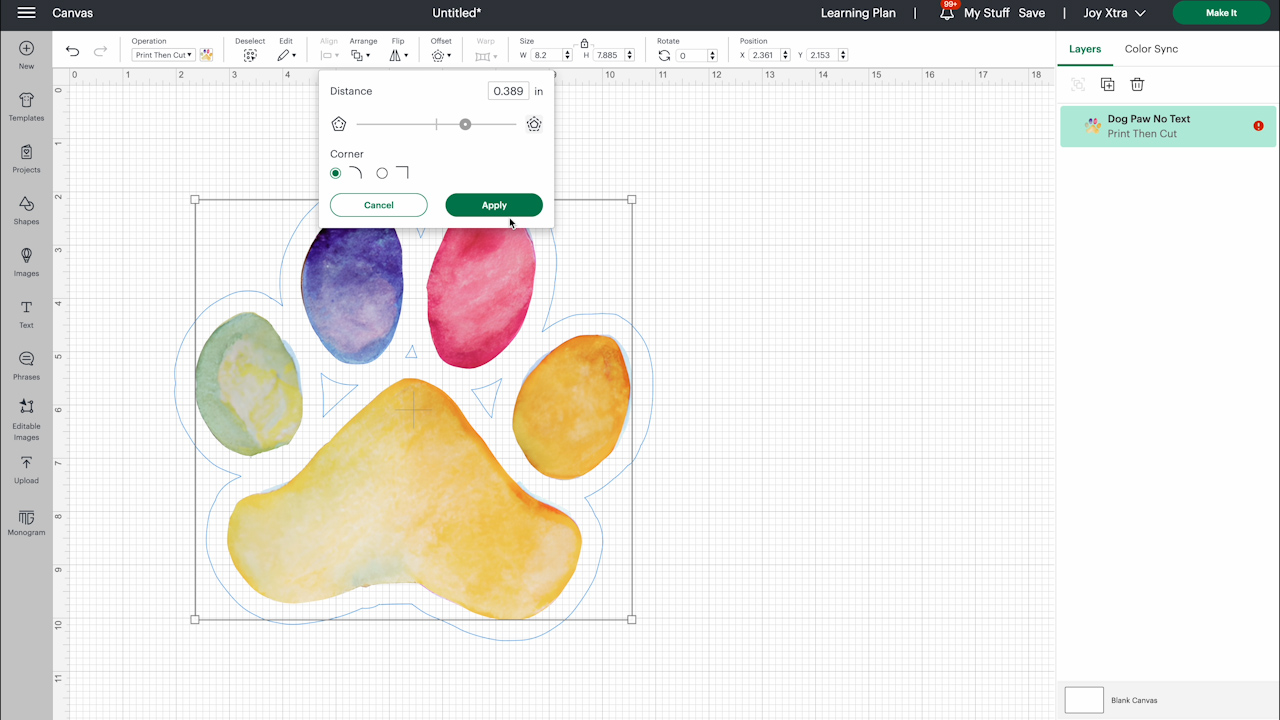
Depending on the size of your offset you may need to click Contour in the layers panel and then click Hide All Contours to make sure it is one solid piece.
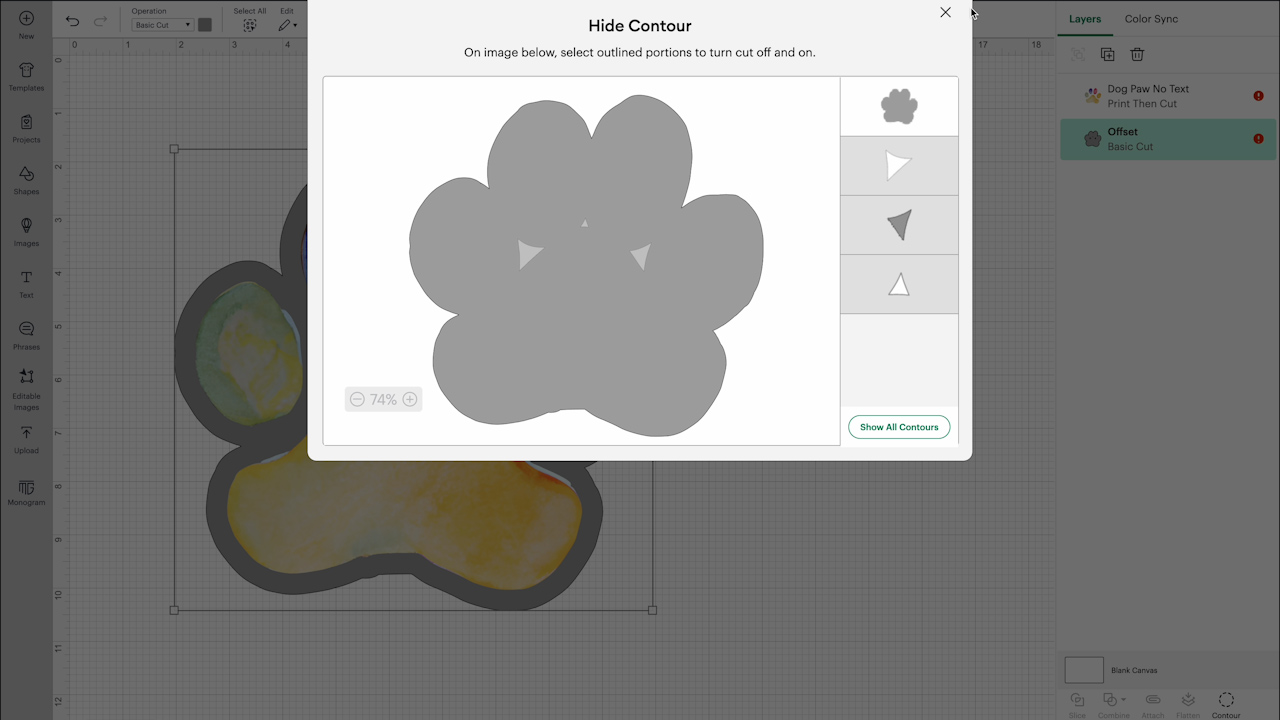
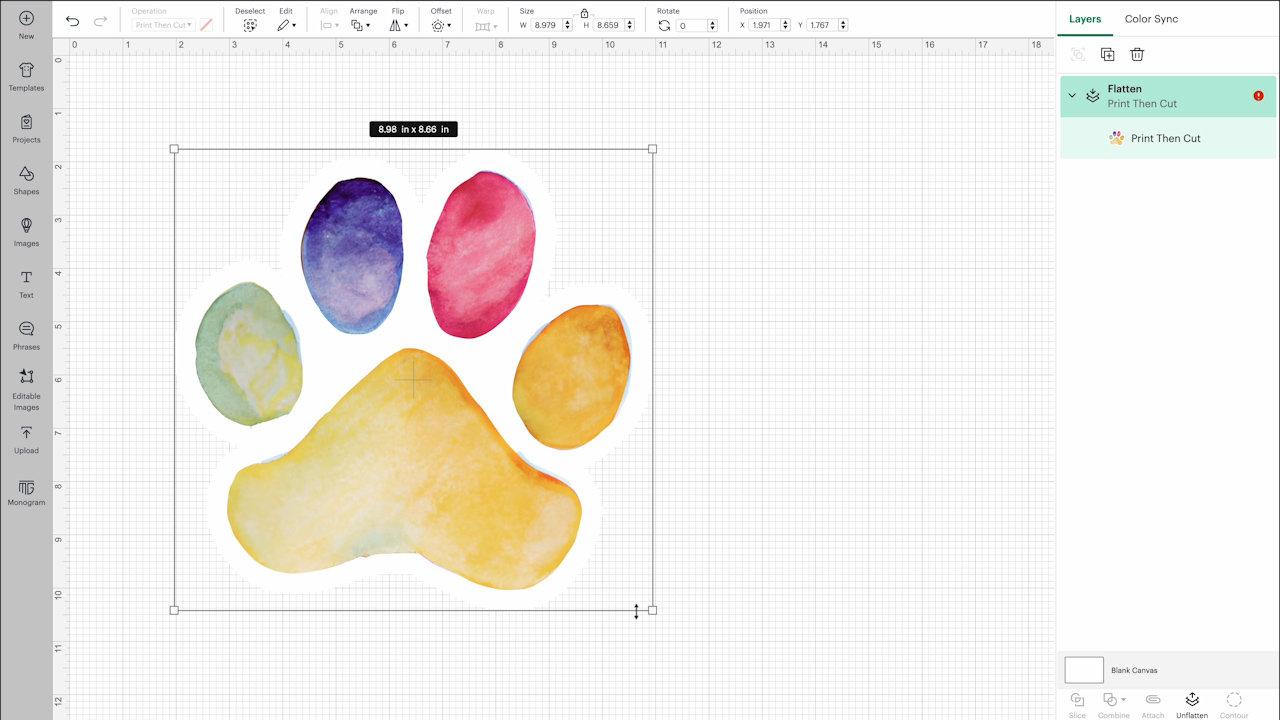
I changed the color of my offset to white and then to make sure the whole design is ready for Print Then Cut select all the layers and then click Flatten.
Resize Design
The Printable Iron-on sheets I’m using today are all 8.5″ x 11″. In the toolbar, look at the layer for your design. If there is a red exclamation point, you can click on that and allow Design Space to auto-resize the image so it’ll fit correctly on the paper.
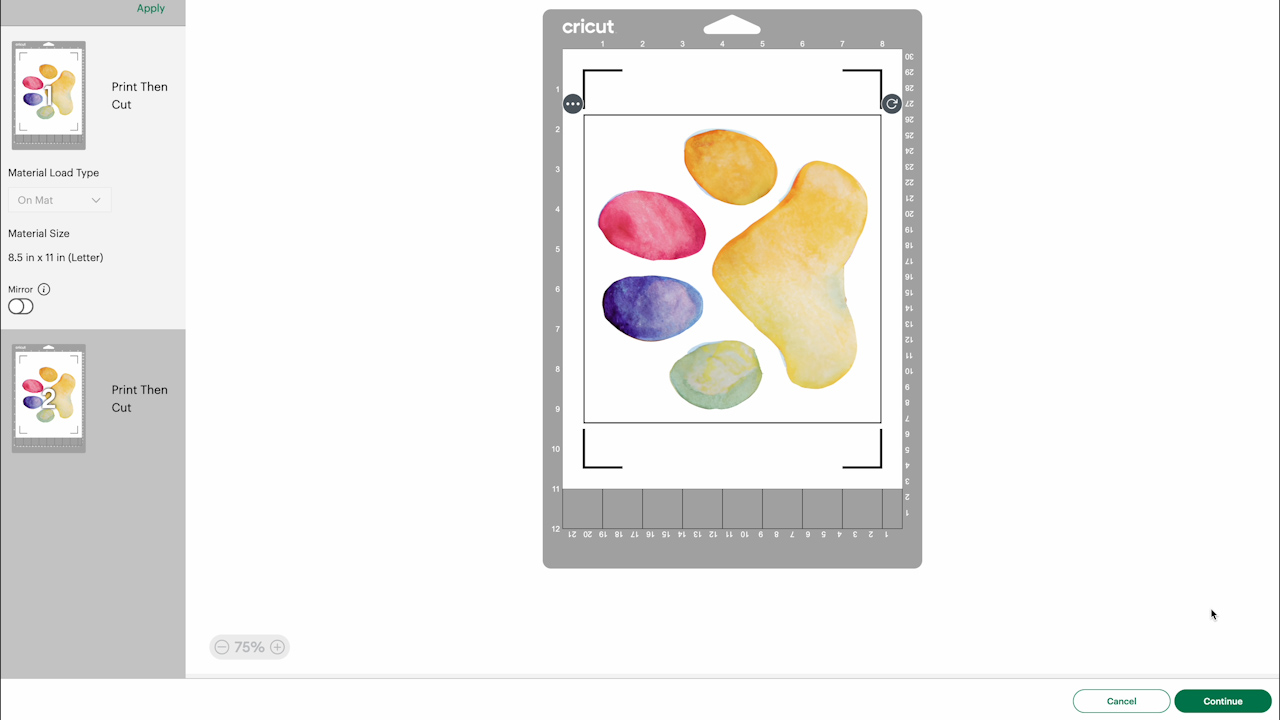
Click Make It and then choose how many prints you want to print. I am printing a couple so I can test them on different fabrics.
IMPORTANT: Even though this is an iron-on material we do not mirror our designs for this material.
Send the Design to the Printer
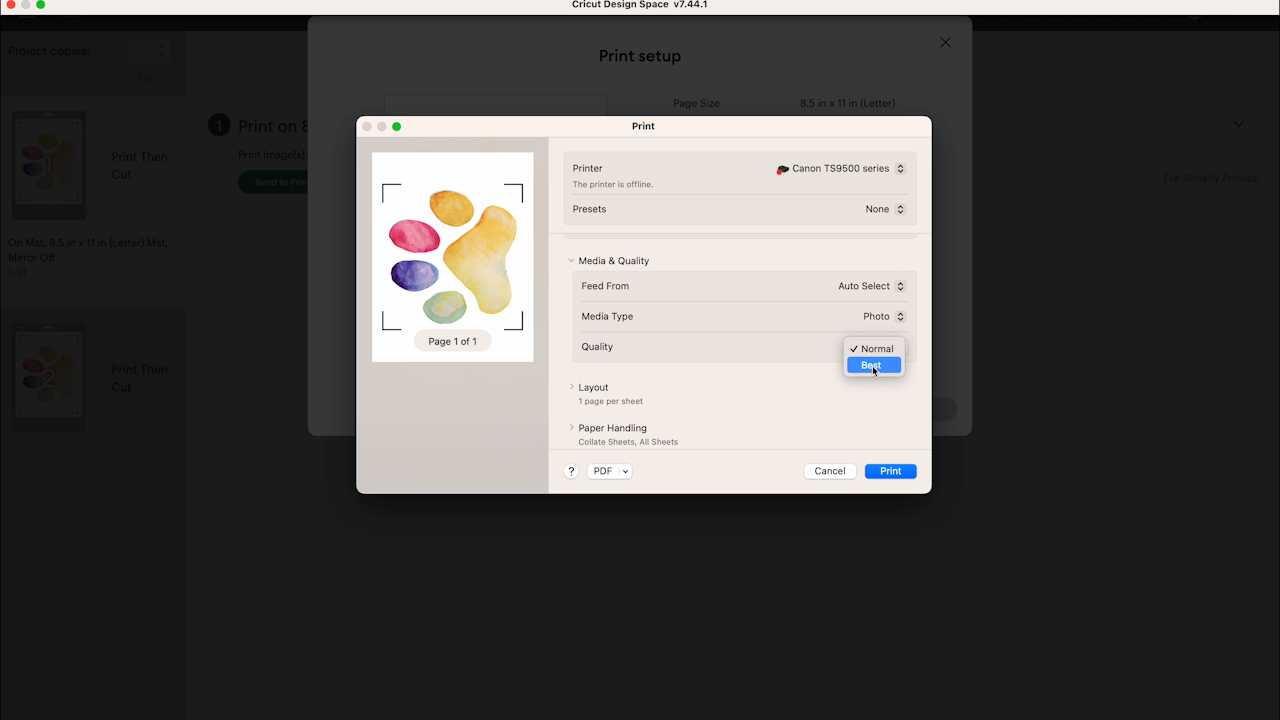
Click Continue and Send to Printer. Because I made my offset white, I am turning off Add Bleed and then click Use System Dialogue, and Print.
From here how your screen looks will depend on the printer you’re using. You do want to look at a couple of different things. For Media Type, I like to choose a photo paper and make sure the quality is set to whatever the best quality is.
Close Up of Both Materials
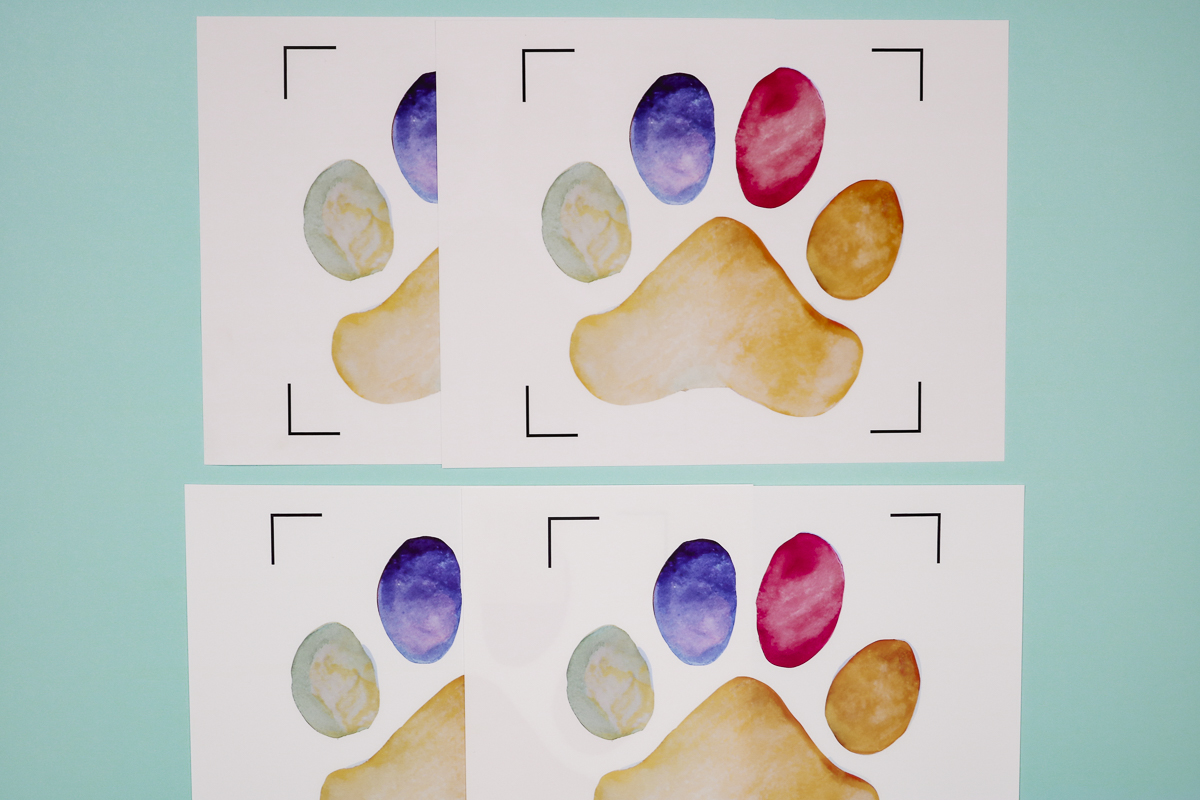
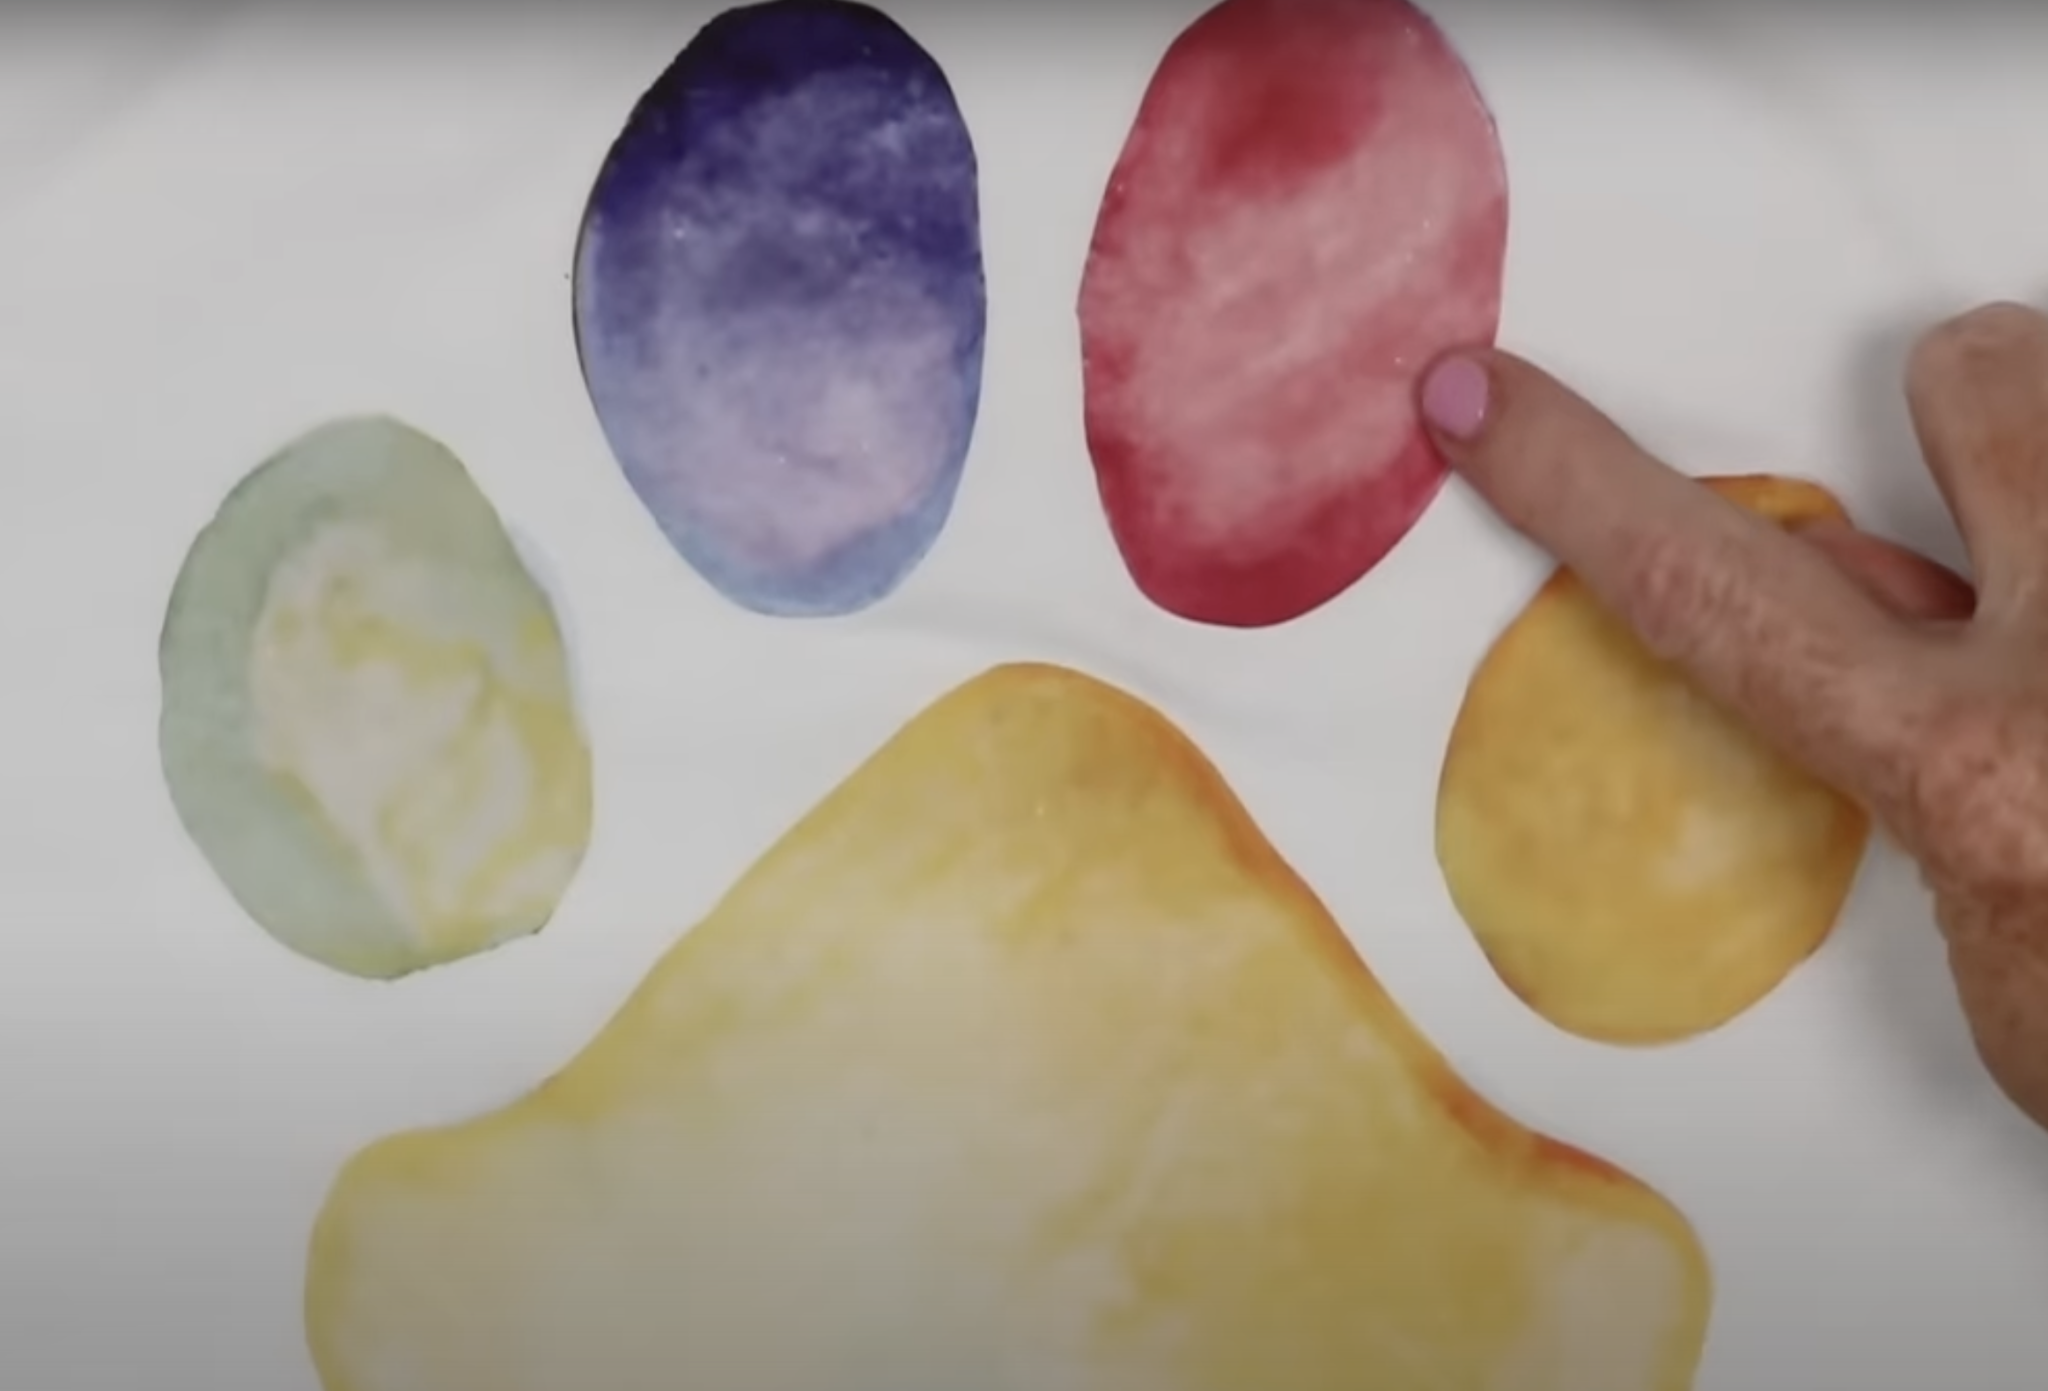
I printed the same design on both the light and dark materials and both were completely dry when they came out of my inkjet printer. Both materials fed through the printer easily and the prints are gorgeous. At this point, they look the exact same.
How to Cut Cricut Printable Iron-on
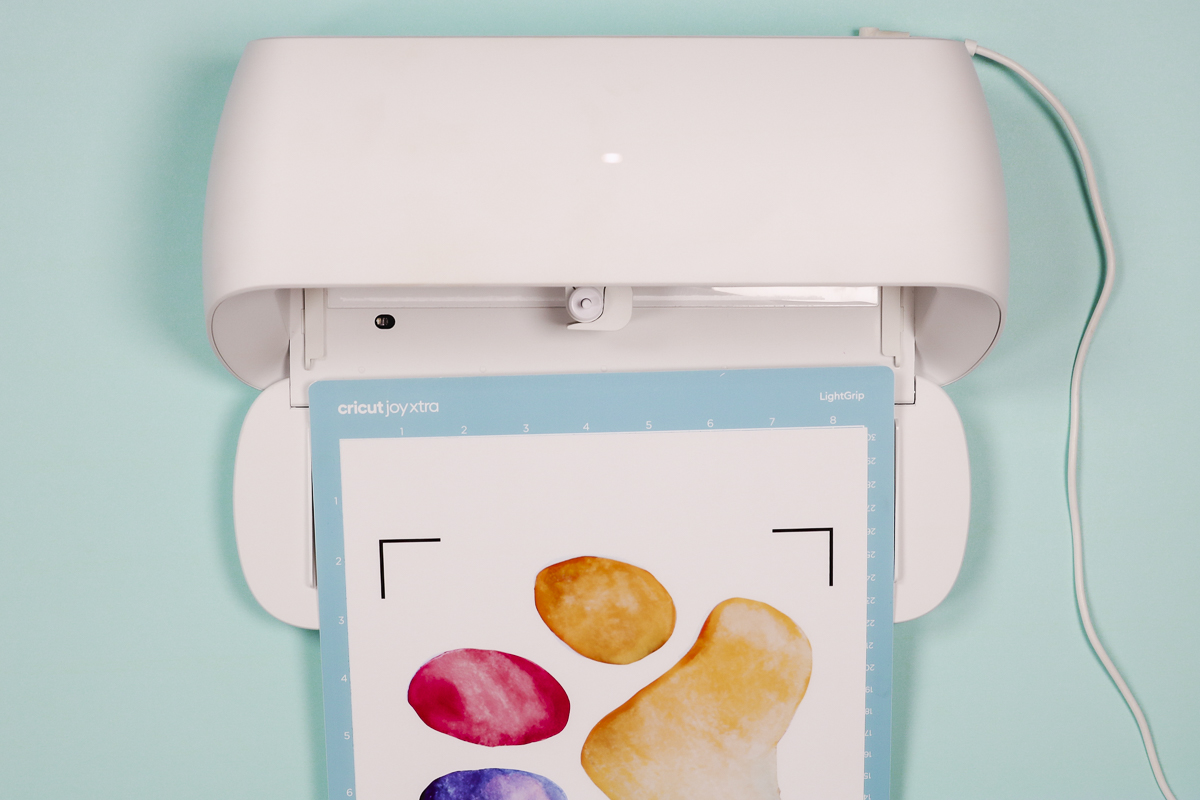
To cut both materials with your Cricut machine, you need to add the material to your cutting mat. When adding the material to the mat, make sure you’re applying it in the same orientation that it is on the screen.
Select which material you’re using and then load the mat into your machine. I am using the Cricut Joy Xtra for this project but you can cut this material on any Cricut machine that can do Print Then Cut.
The Cricut will first read the registration marks and then will cut around your design.
How to Weed Printable Iron-on
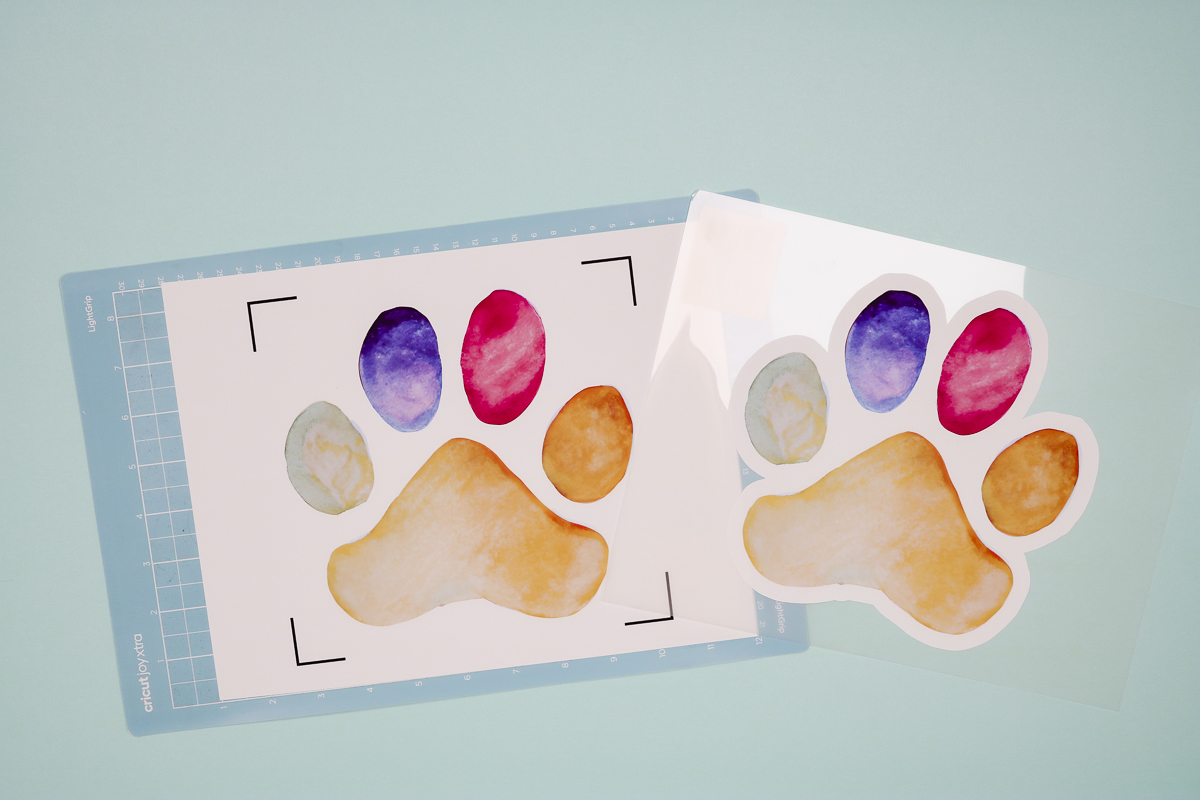
Now that the machine is done cutting, unload the mat. Let’s look at the best way to weed this material.
First, you want to remove the material from the mat and then starting at the corner slowly peel back the area that is not printed. Because I added the offset around my design I don’t need to weed anything from the inside of the design.
Close Up of Weeded Printable Iron-on Material
Now that we have the material weeded I wanted to show you how different the materials are.
The Printable Iron-on for dark materials is a fairly thick white material. You can’t see the ink through the back at all.
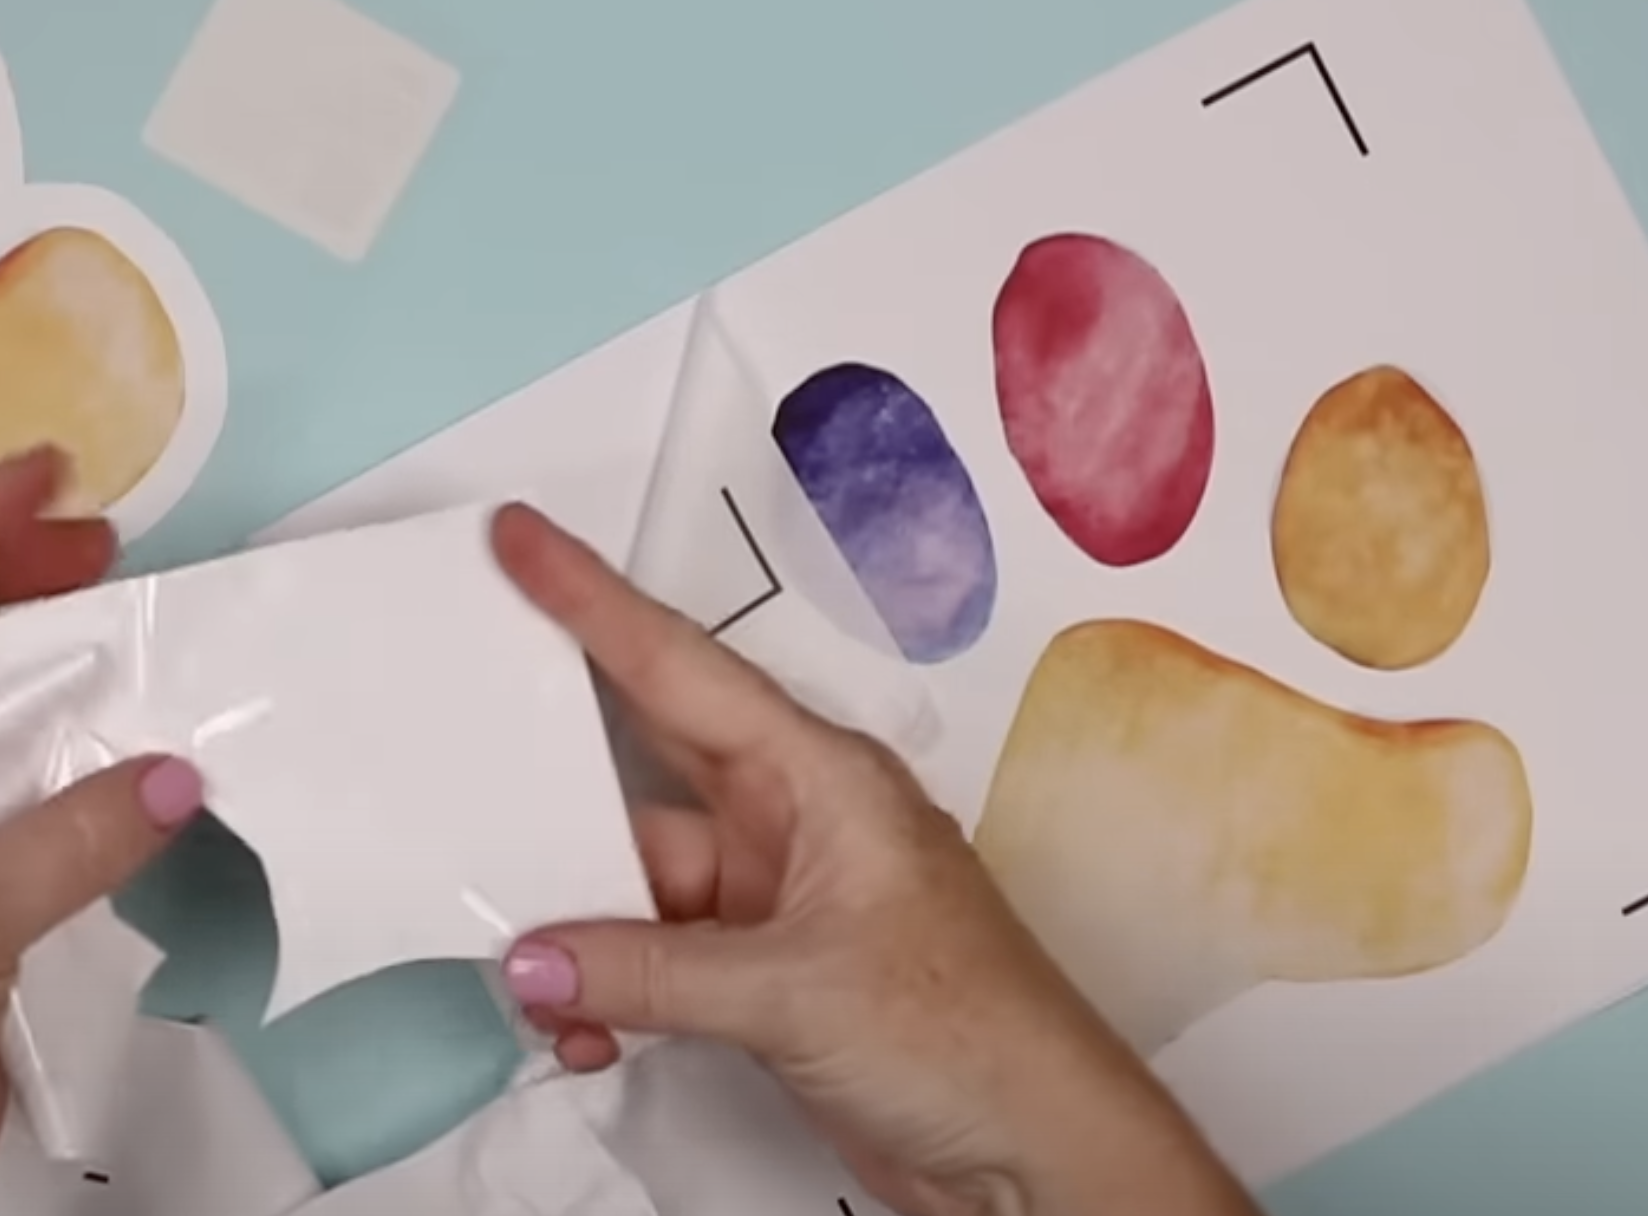
The Printable Iron-on for light materials is very thin and you can see the ink through the back.
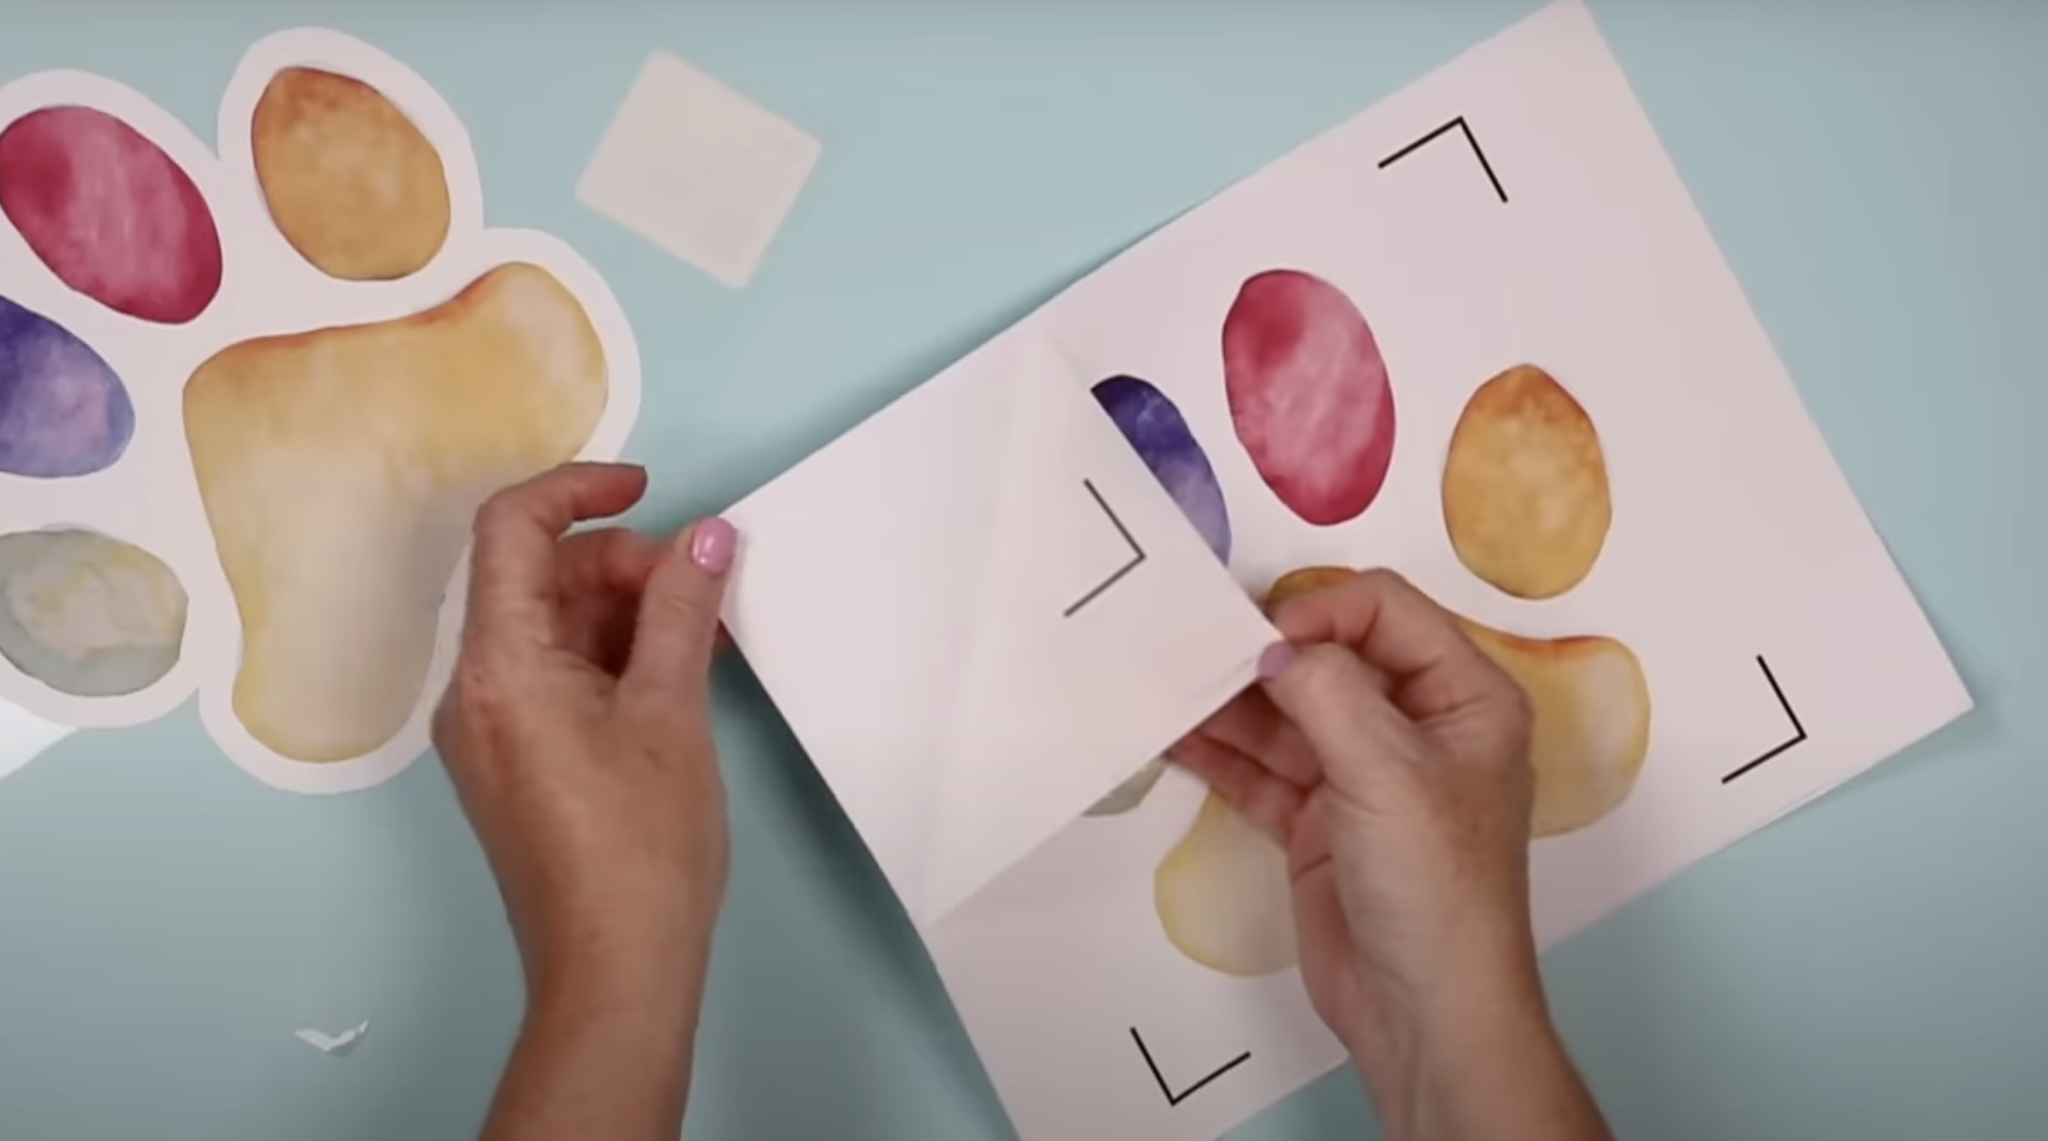
This already gives me an idea of how they will work on fabric.
How to Apply Cricut Printable Iron-on onto Fabric
Now that the materials are weeded we can add them to our shirts.
The application process is essentially the same for both materials. The heat settings for both are 315 degrees for 30 seconds. I am using my EasyPress and EasyPress Mat and I’m adding both materials to the same shirt so we can see any differences.
Just like other iron-on materials, you need to pre-press your material to remove any wrinkles and moisture. Five to ten seconds should be long enough.
How to Transfer Printable Iron-on Material
For both the light and dark materials you need to remove the print from the backing and place it down on the fabric printed side up.
NOTE: Cricut does not recommend using any type of transfer mask because it can peel up the ink when you remove it.
This is why I added the offset. This turned my design into one solid image that I could peel and place all at once.
With both materials, but especially the light, make sure you’re peeling it off slowly so you don’t stretch or tear it. When the backing is removed locate the design onto your fabric right where you want it. My location isn’t important because I am adding multiple designs to one shirt to test the different materials.
How to Press Printable Iron-on
Each package of Cricut Printable Iron-on comes with a pressing sheet. Place that on top of the design and then press with firm pressure for the full 30 seconds.
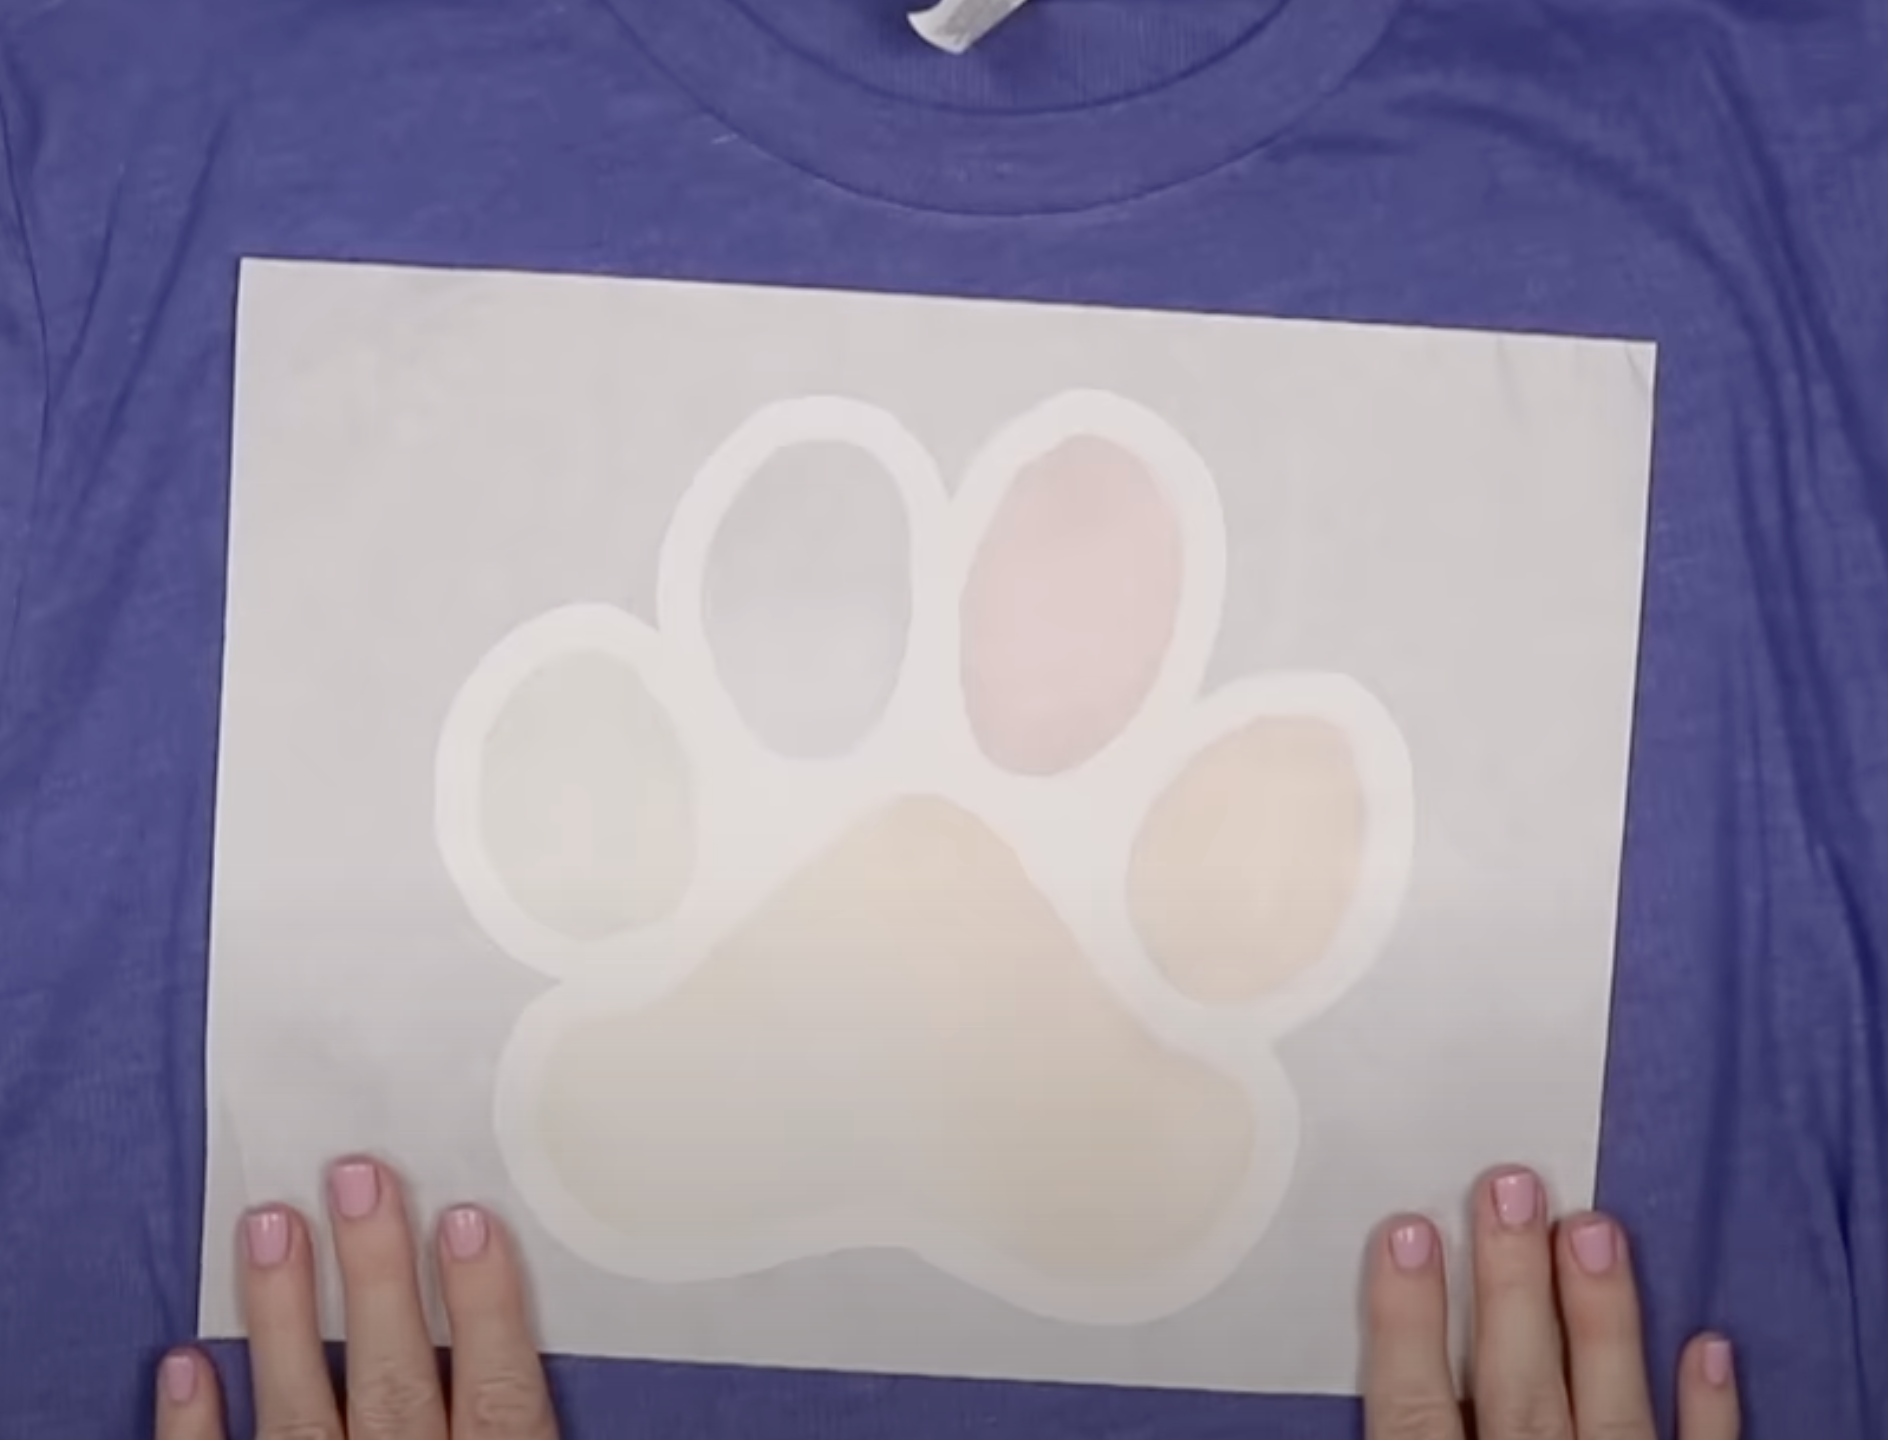
Because these materials call for firm pressure if you’re using an EasyPress you need to press down the entire time.
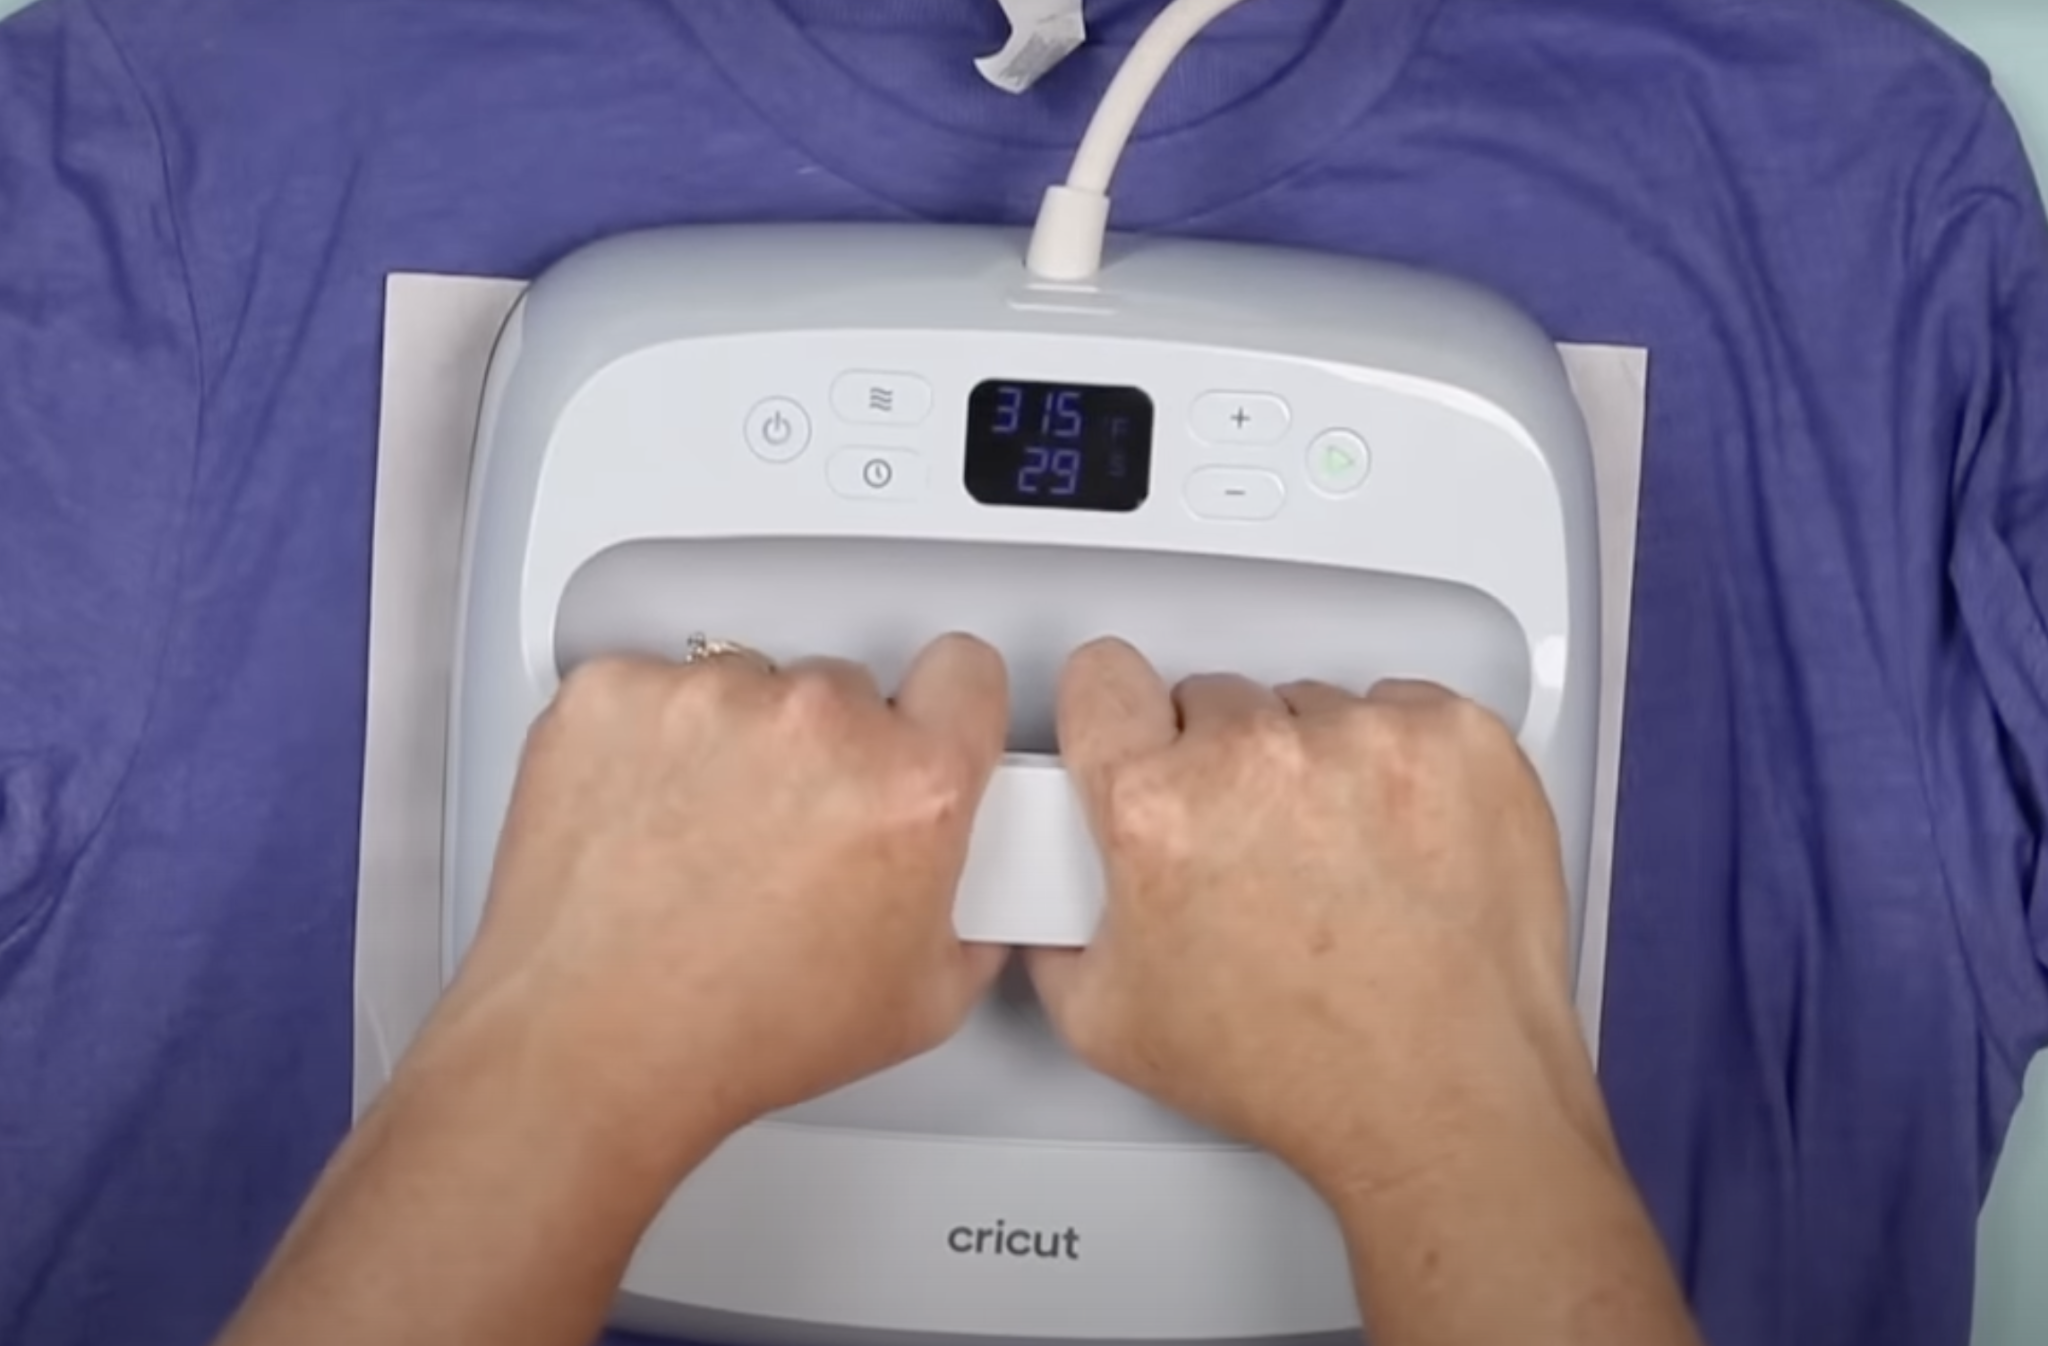
When the time is up, lift the EasyPress off and remove the pressing sheet. Cricut says to allow the adhesive to cure for 48 hours before you wash these printable iron-on materials. When you wash it, wash it inside out in cold water and hang it to dry.
Light vs Dark Cricut Printable Iron-on
This is a great example of how different these two materials are after they’re pressed onto fabric. The Iron-on light has the color of the shirt showing through all the colors and has completely changed the color of the white area.
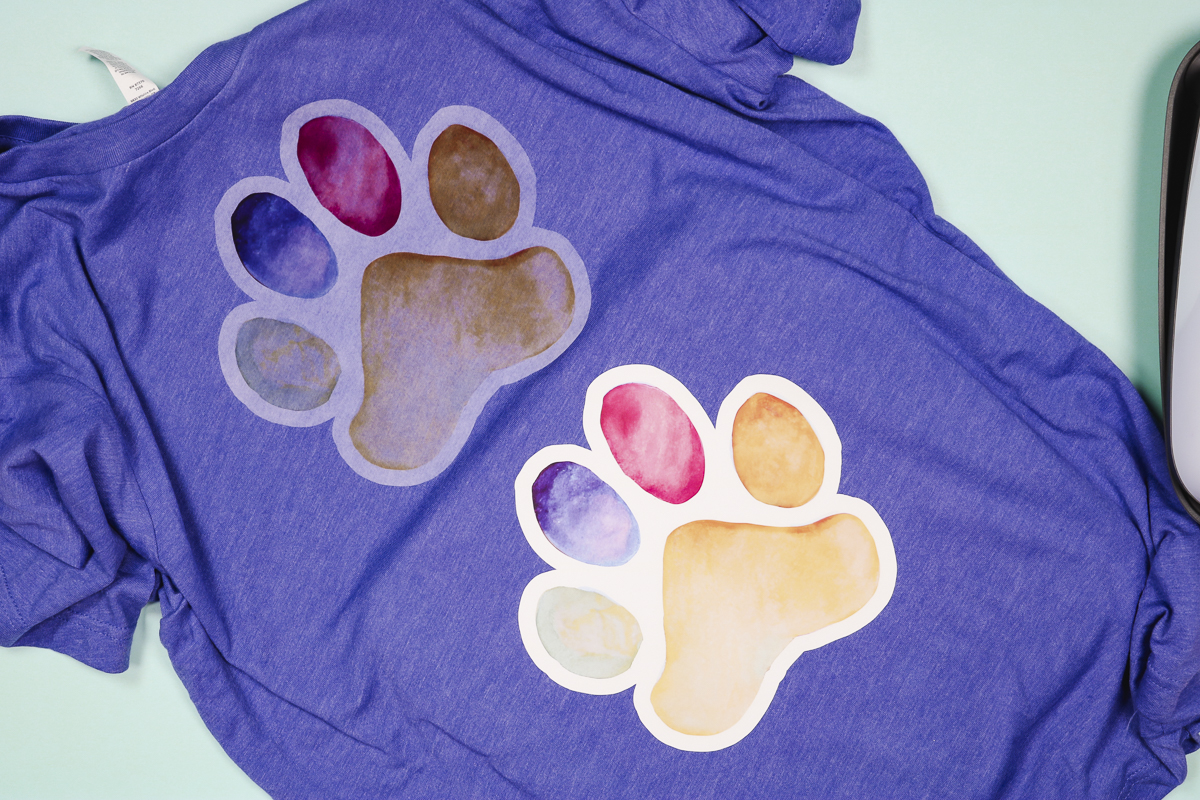
The Iron-on dark blocks all the color from the fabric so the white is very white and all the colors are exactly how they were before adding them to the shirt.
If you want to add printable iron-on to fabric that isn’t white or a very light color you will definitely want to use the Printable Iron-on dark option. I think even light-colored fabrics will show through the light material so be aware of that.
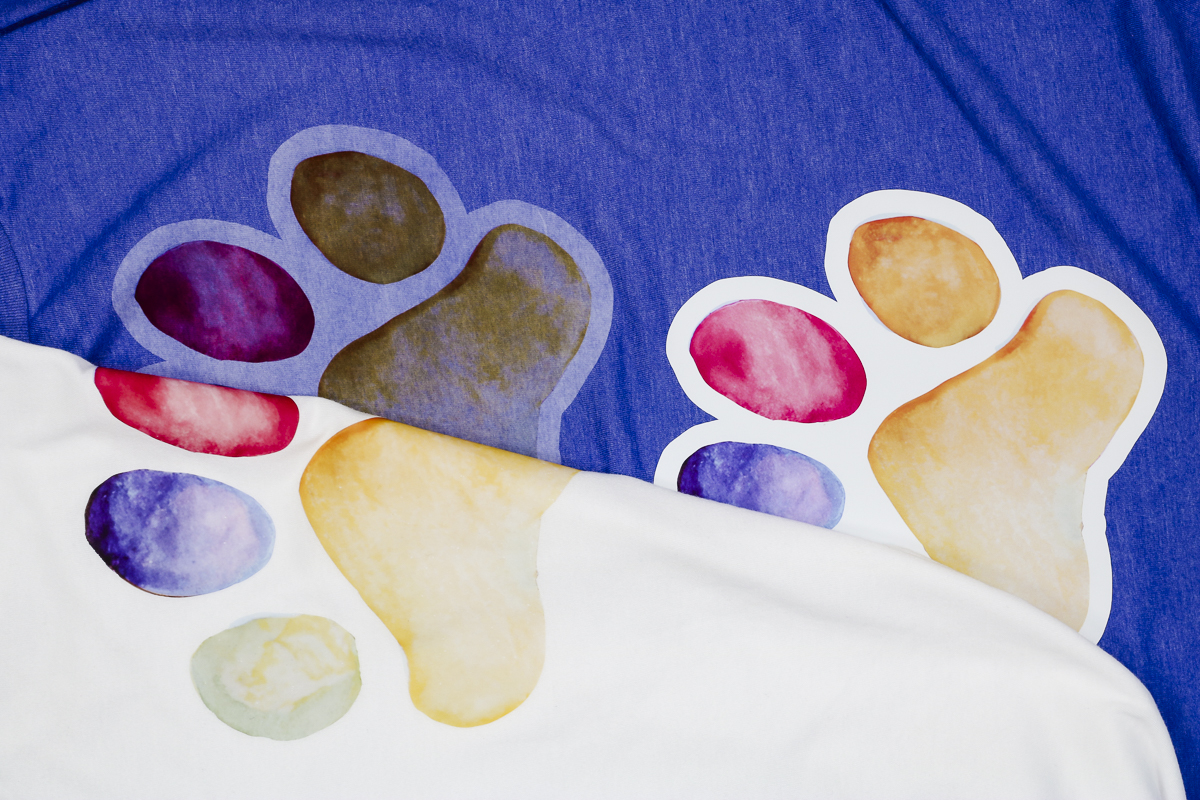
In the photo above you can see how the Printable Iron-on for light materials looks on white fabric and on a darker fabric. It works beautifully on white fabric, the colors really pop off the fabric and look just as good as the Iron-on for darks.
Can I Use a Heat Transfer Mask with Cricut Printable Iron-on?
Cricut doesn’t recommend using any type of transfer tape or transfer mask with their printable iron-on materials. I did want to test this so I cut the same design without the offset.
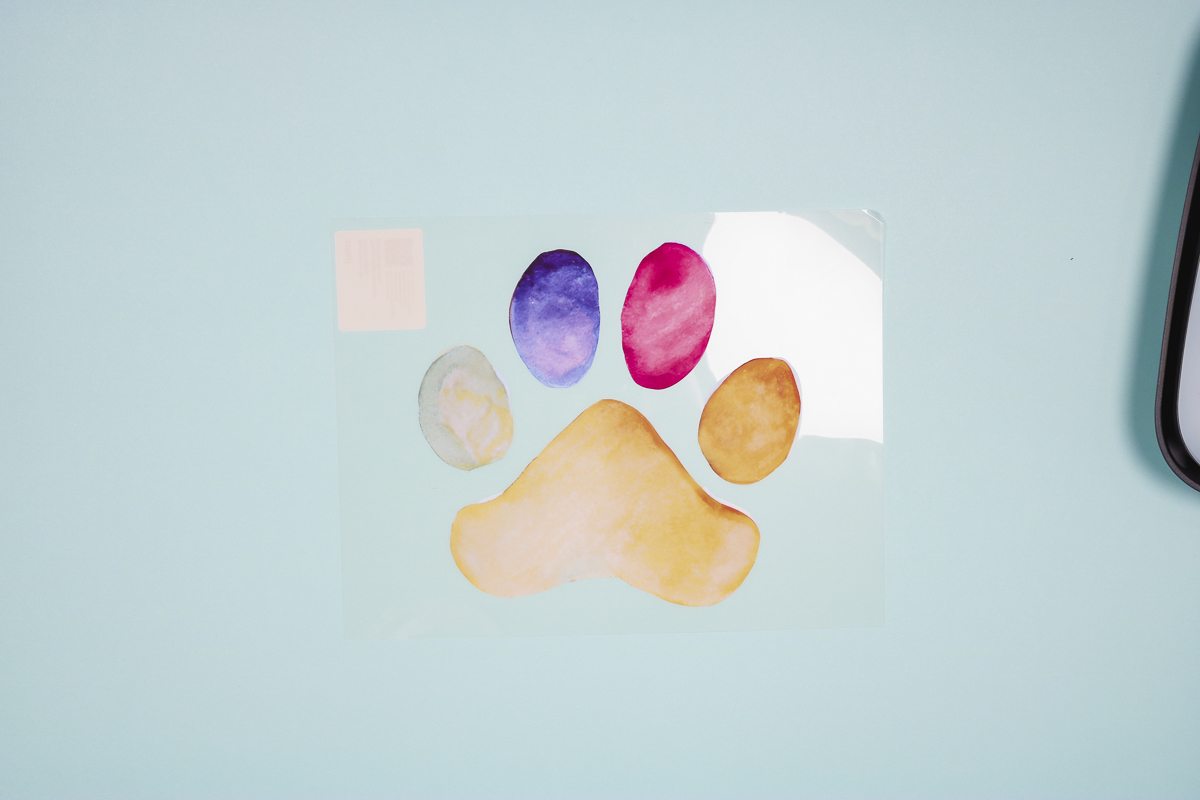
This design is still pretty simple to weed and apply to fabric because it’s just five larger pieces. However, I still have to lift each one and then place them on the fabric in the correct place. Anything more detailed could be difficult.
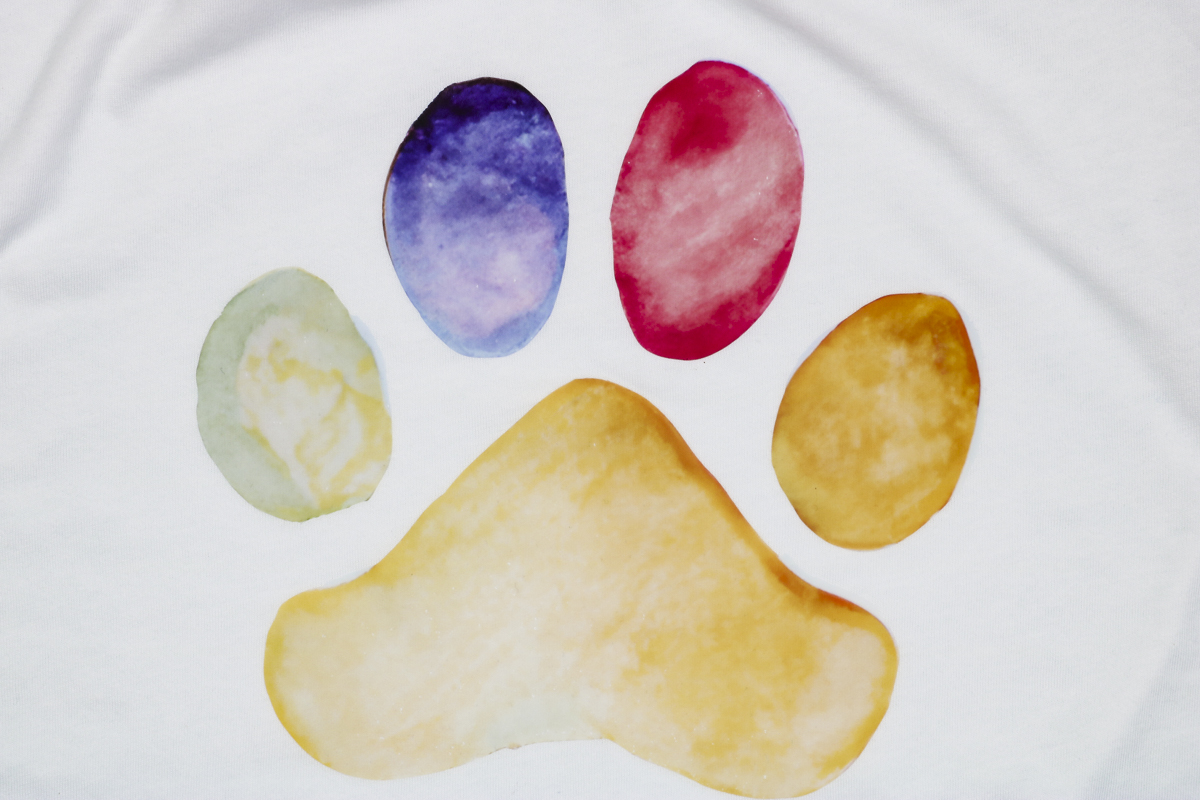
I added a heat transfer mask to the design to apply it to my shirt and then pressed for the recommended times.
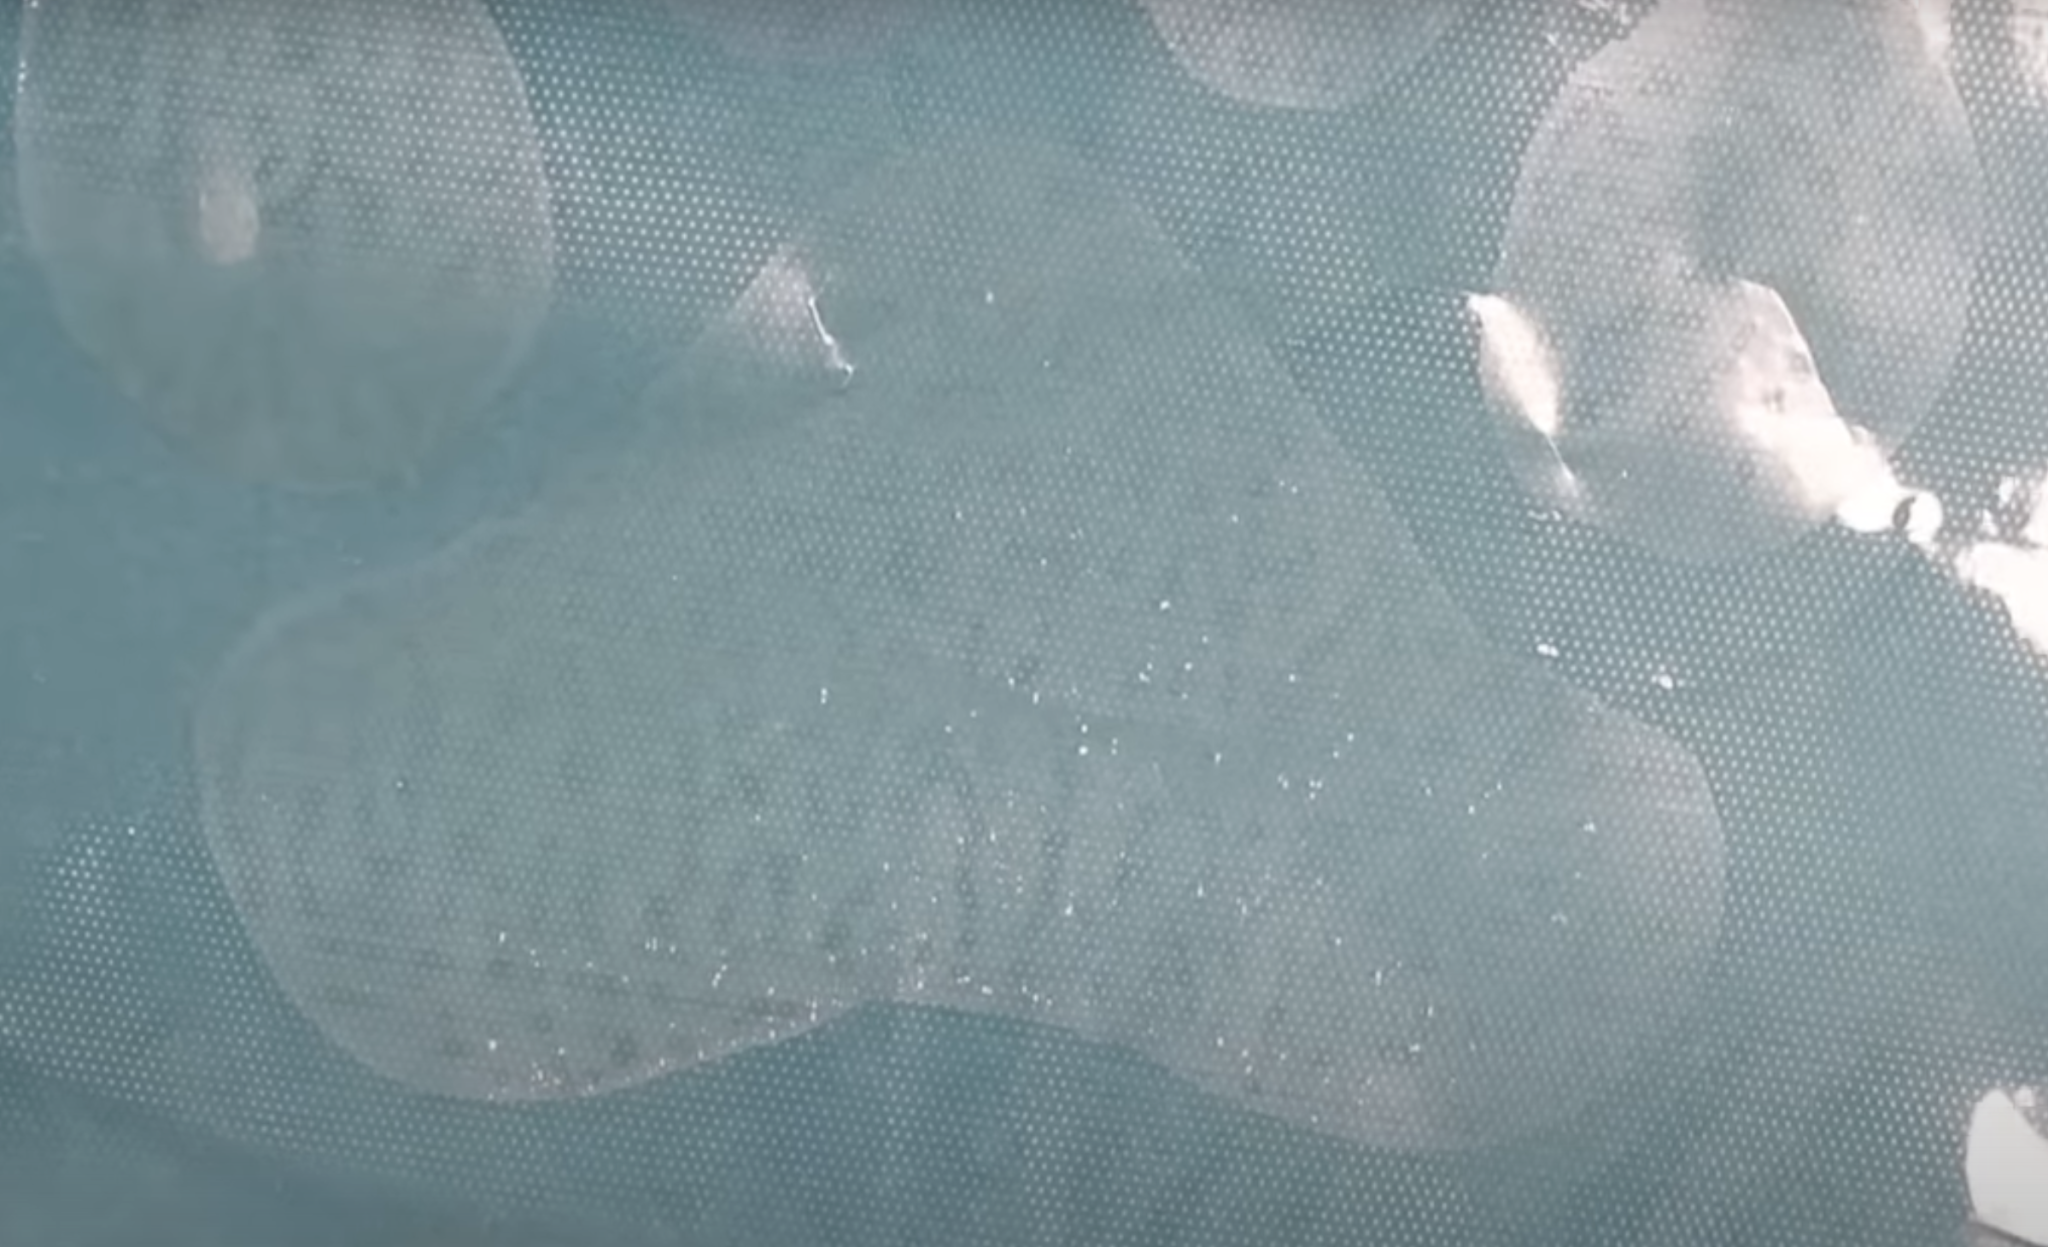
If you look closely at the photo above you can see a lot of small white dots on the mask and those are all areas where the ink lifted off the fabric.
Look closely at the paw print itself and you can see there are white spots that align with the dots on the mask. This is where the adhesive stayed on the fabric but the ink peeled off onto the mask.
I tested different techniques including both hot and cold peel and had the same results every time. I also feel like the adhesion isn’t as good on the ones where I used the heat mask. Around the edges, I can feel where there is a little lifting or it just isn’t as smooth on the fabric as when I didn’t use it.
I agree with Cricut that you shouldn’t use a heat mask or transfer tape with this material. Because of this, you may not want to use a very intricate design with this material unless you’re okay with adding an offset to the design.
How Does Cricut Printable Iron-on Last Through Washing?
Now let’s look at how this product held up through the wash. For my washing test, I followed all of Cricut’s recommendations. Wait 48 hours, wash on cold inside out, and hang to dry.
I washed the bottom shirt in the photo below 15 times! You can see that both materials held up really well. It is slightly faded compared to the original but there is no lifting or cracking.
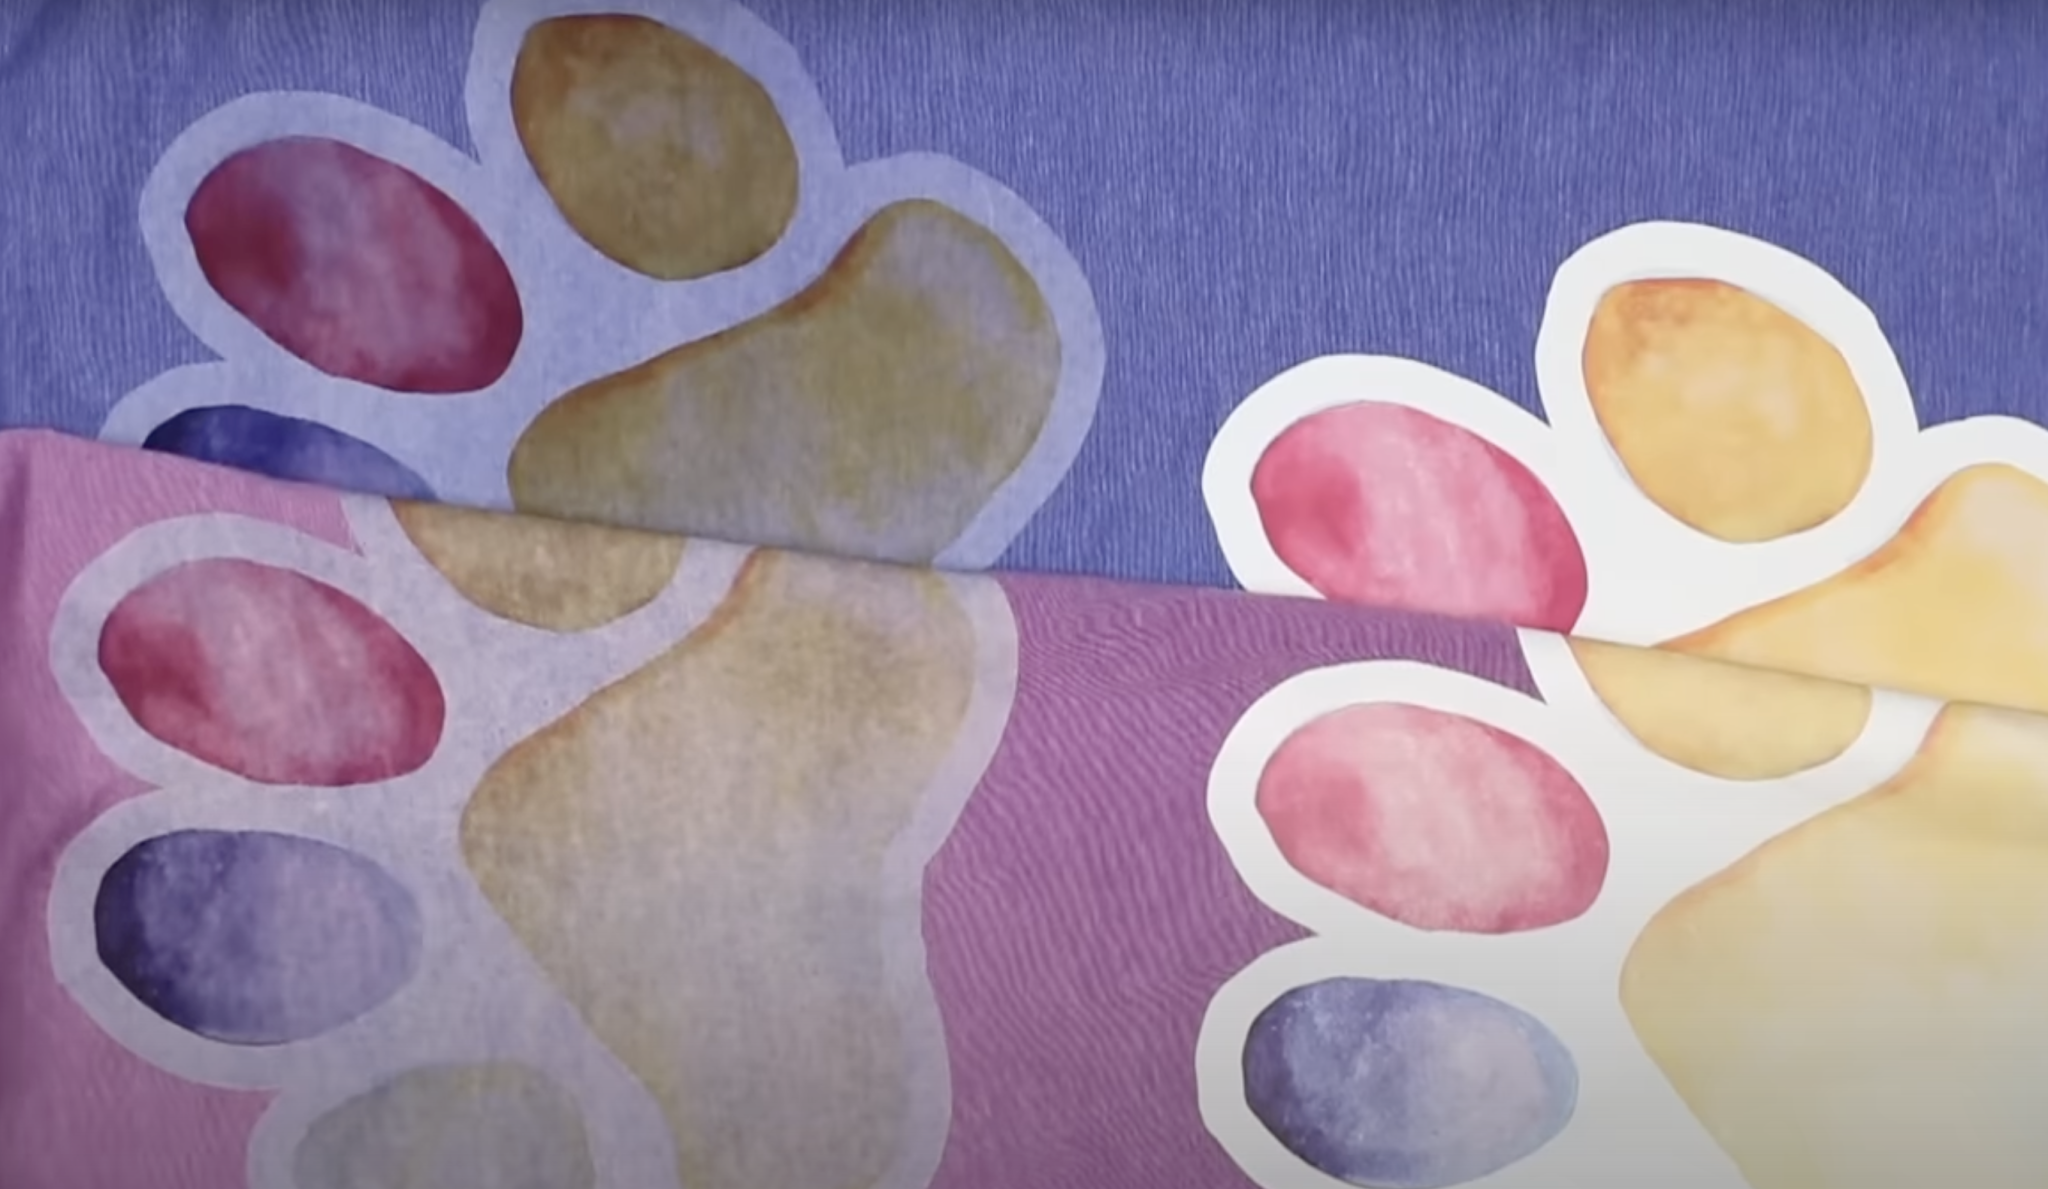
I found that the fading happened evenly over the washes. Sometimes with printable iron-on materials, you get a lot of fading on the first wash and that didn’t happen with these materials.
I’m really impressed with how well it held up in the wash. I wasn’t expecting it to do this well after 15 washes.
Which Cricut Printable Iron-on Material Do I Recommend?
Which material is right for you is likely to depend on the project you’re making. If you’re using a white fabric, the printable iron-on light looks just as good as the material for dark fabrics.
I was surprised that after applying the materials to the fabric I actually liked the feel of the dark material a little more. Because the light material is thinner I expected to like the feel of it more but that wasn’t the case.
Both packages of Printable Iron-on are the same price but the light material has 2 more sheets making it less expensive per sheet. I would not recommend the light material on darker fabrics but you can use the dark material on any color fabric and get the same results.
Because the light material is less expensive and performs well in the wash I would probably use it for white fabric or on light fabric with a design that doesn’t have much white in it. For any fabric that has color to it or when your design has a lot of white, I would use the printable iron-on for dark fabric.
Final Thoughts on Cricut Printable Iron-on
I was really impressed with the new Cricut Printable Iron-on materials. I have tested other printable iron-on and printable HTV products in the past and it has been very hit or miss on whether it performs well through the wash and if it feeds through the printer or not.
You can feel the material on the fabric but it feels like regular HTV. I do like the feel of the material for dark fabrics just a little better than the material for light fabrics which was surprising. From my testing, both materials lasted well through those 15 washes following Cricut’s recommendations.
If your fabric has any color to it I would use the iron-on for dark materials. I do not recommend using any type of transfer tape or mask or you risk the ink sticking to that and ruining your design.
Does This Printable Iron-on Replace Sublimation?
In my opinion, it does not. I would definitely choose sublimation for light-colored polyester fabrics. This is a great option, however, if you don’t own a sublimation printer or you want to add a printable design to cotton or dark fabrics.
I hope I’ve answered any questions you have about the new Cricut Printable Iron-on materials. If you have any additional questions, feel free to leave them in the comments and I’ll get those answered for you.

