This post and photos may contain Amazon or other affiliate links. If you purchase something through any link, I may receive a small commission at no extra charge to you. Any supplies used may be given to me free of charge, however, all projects and opinions are my own.
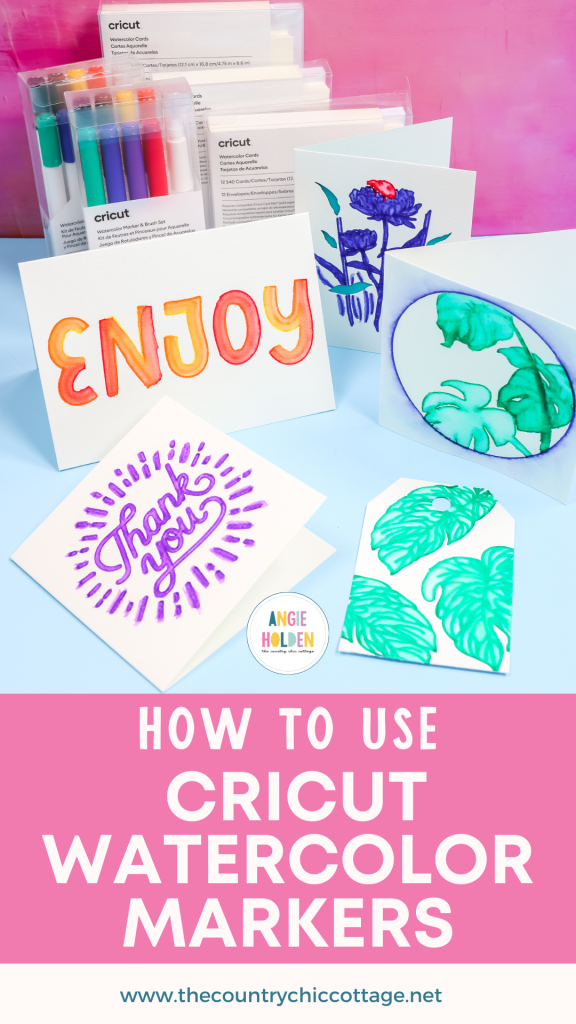
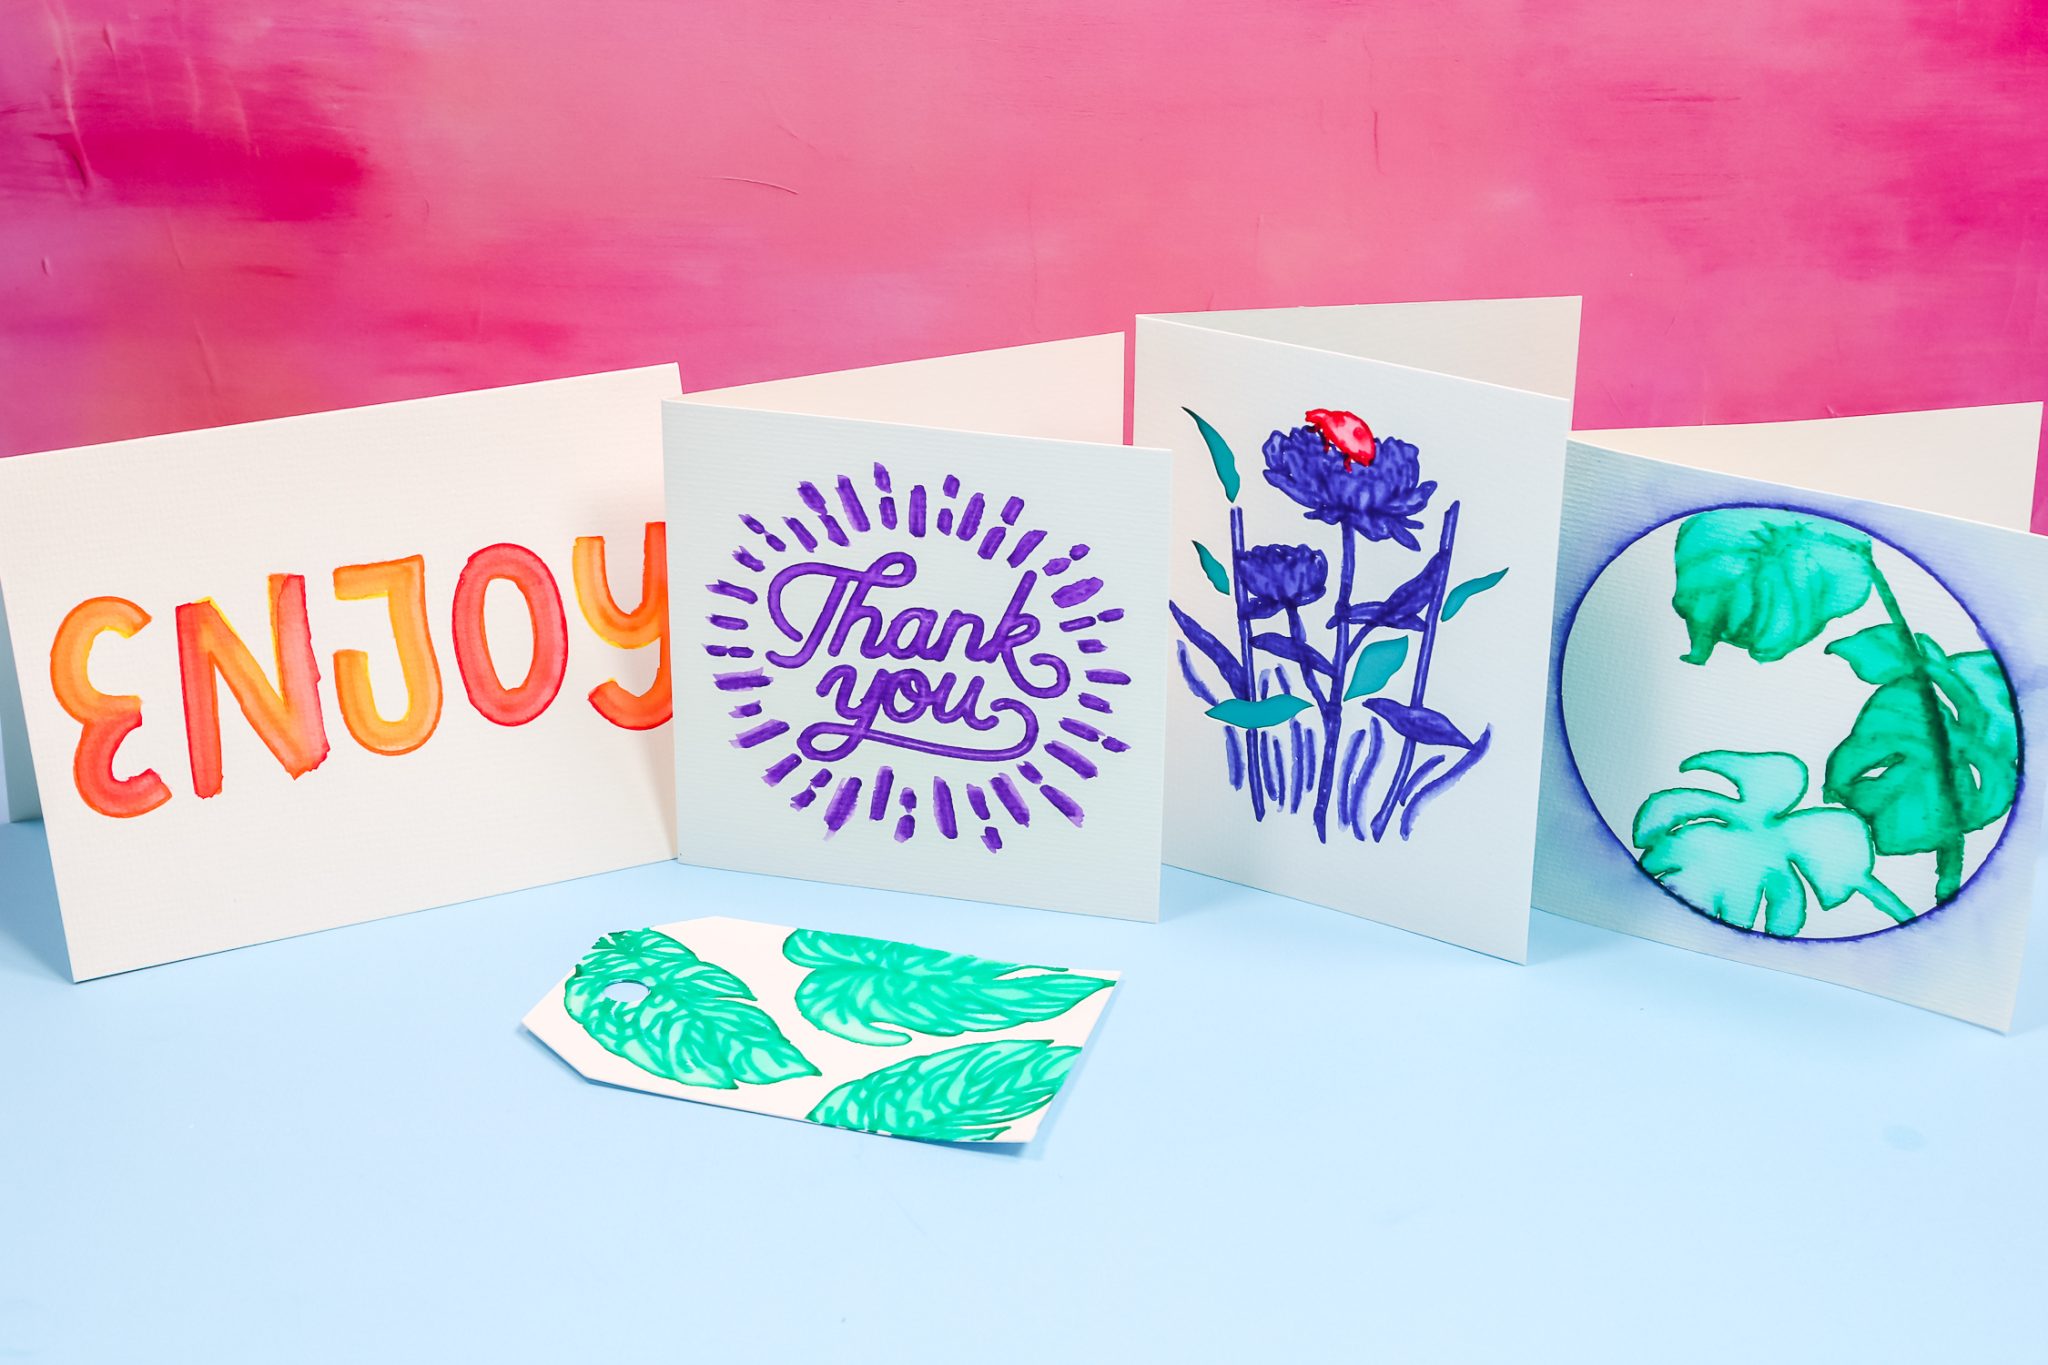
If you’ve been itching to try your hand at watercolor, you need to try the new Cricut Watercolor Markers and Cards! These new products are so fun and you’re going to love them. They make watercolor art easy and possible with your Cricut machine. So, grab your supplies and give them a try for yourself!
If you’re ready to try these cards, learn all about the Cricut Card Mat here.
Cricut Watercolor Makers and Cards
You can actually watch me test out these new Watercolor Markers and Cards. Click play on the video below:
Supplies Used:
What are Cricut Watercolor Markers?
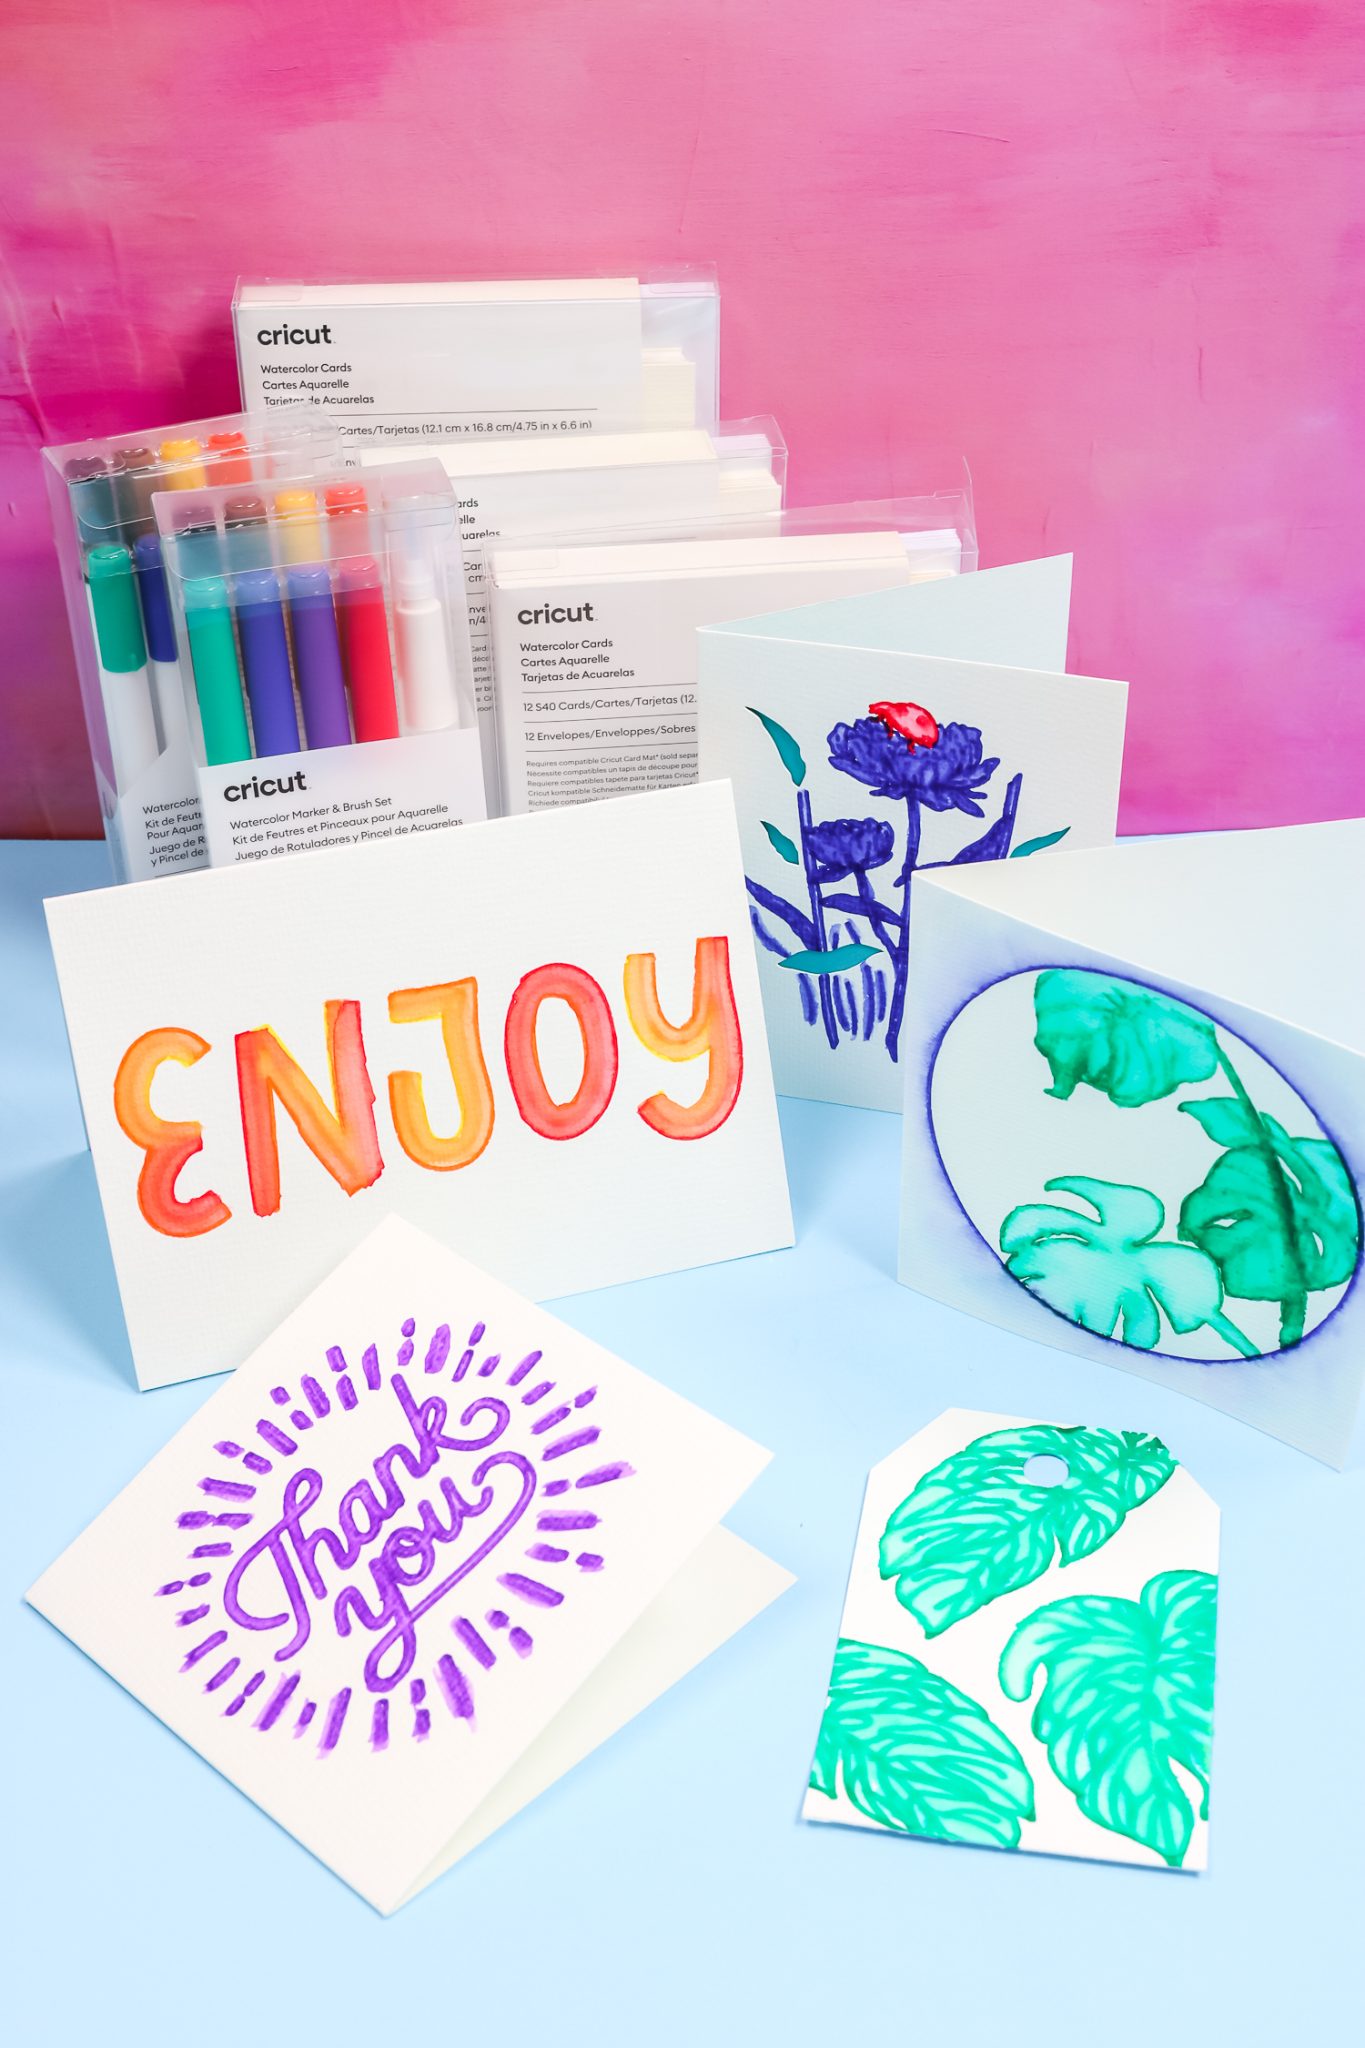
Cricut Watercolor Markers are new special markers you can use in your Cricut machine to create beautiful watercolor projects. I’m going to use them to create watercolor cards and a watercolor tag.
What Comes with the Watercolor Markers?
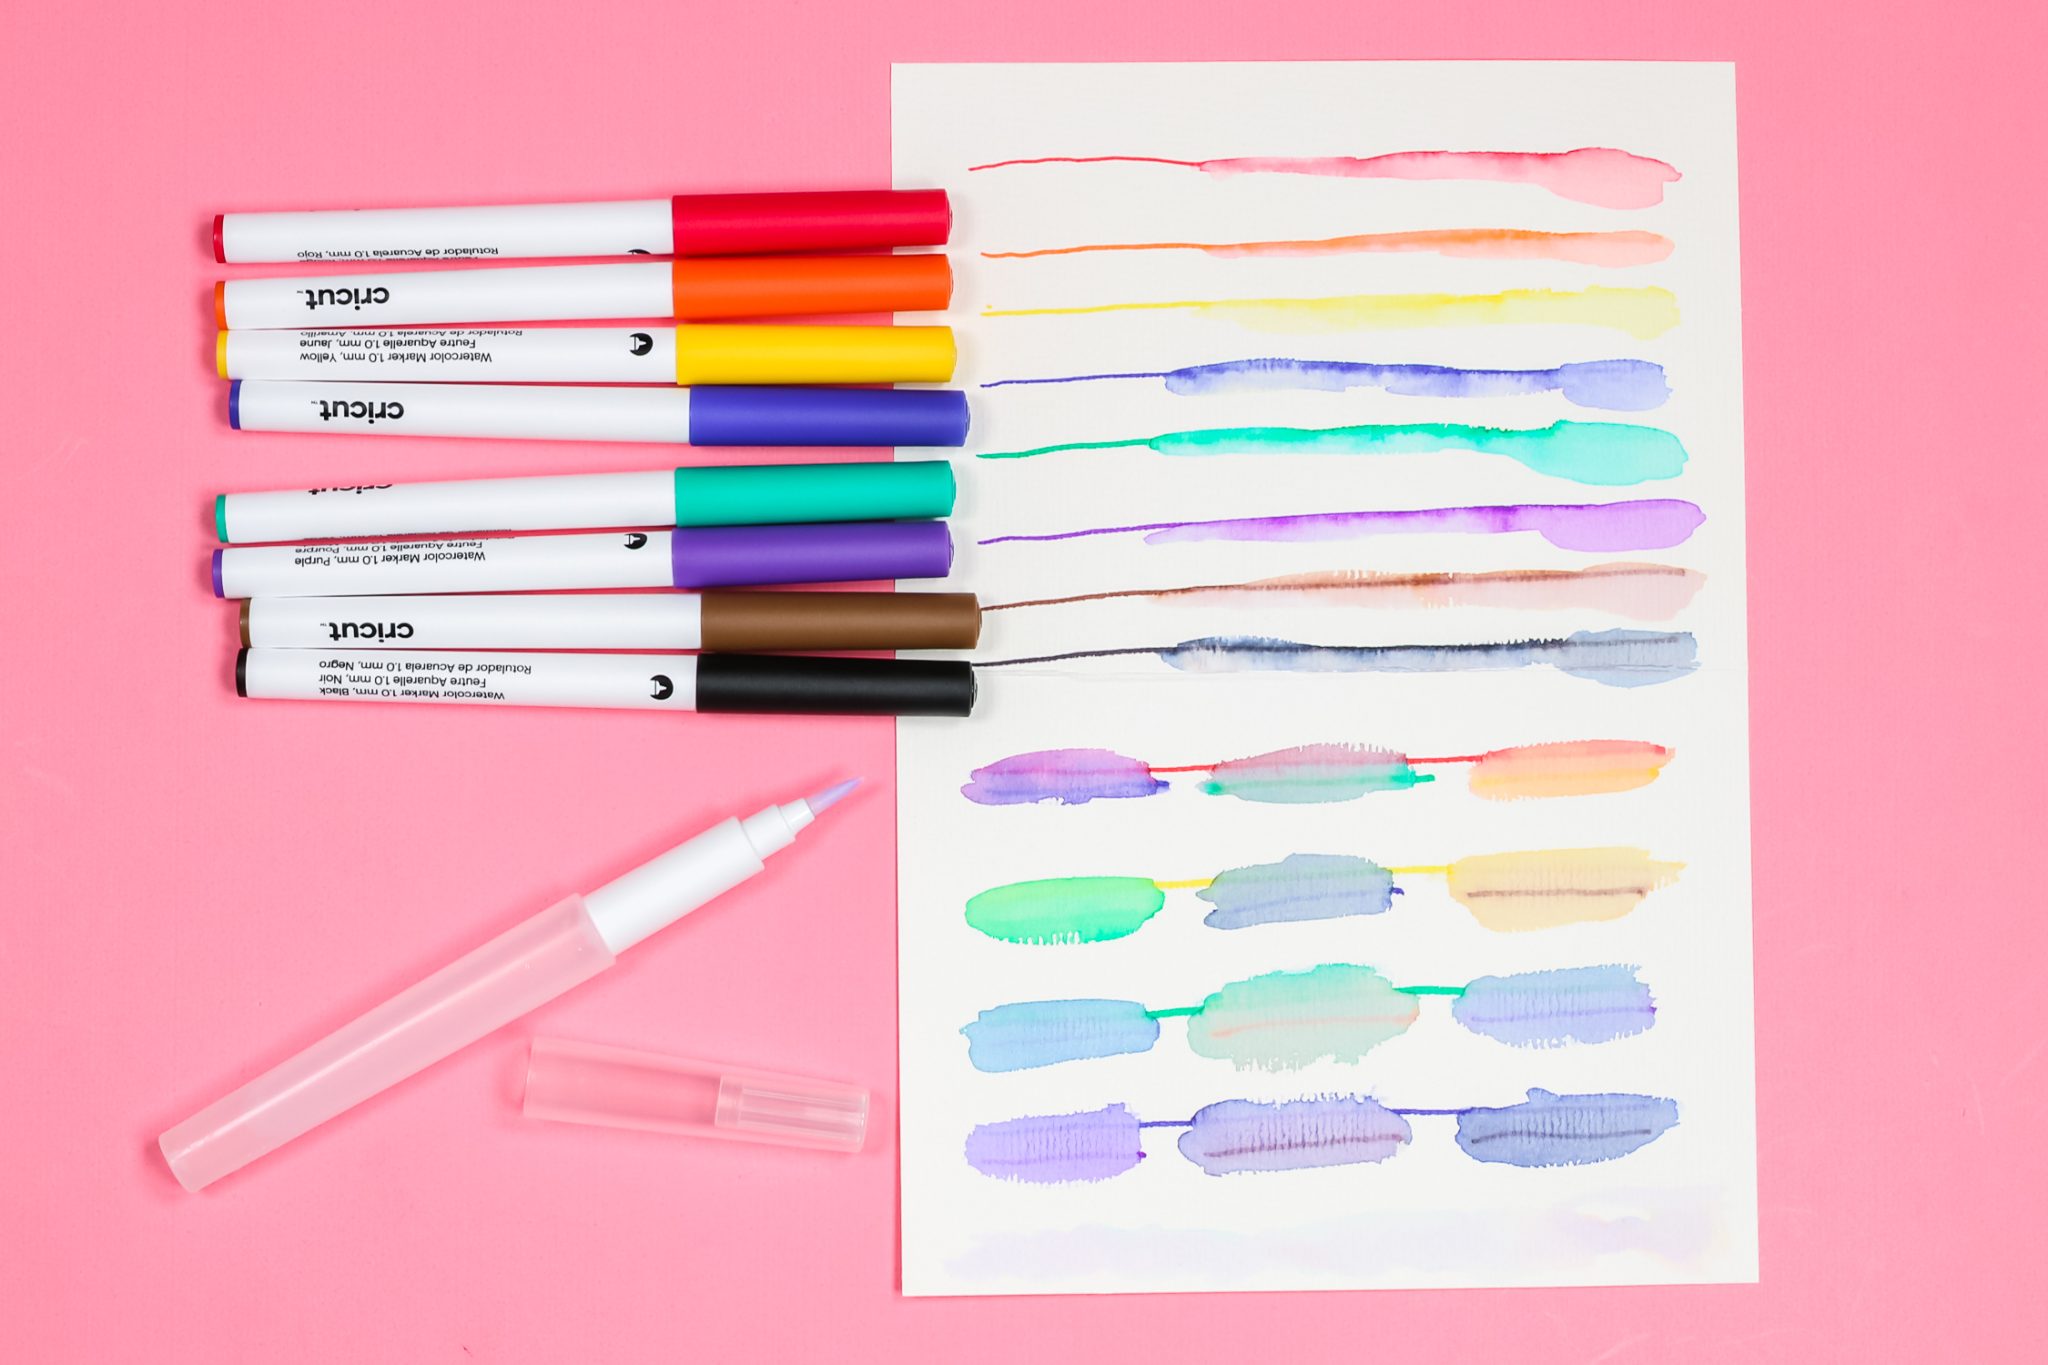
Included with the marker set I am using are eight markers in red, orange, yellow, green, blue, purple, black, and brown. Also included is a water paintbrush pen. By adding water to the pen, you can brush water over the watercolor marker lines to create a watercolor effect.
What Else Do I Need to Make Watercolor Projects with Cricut?
Along with the watercolor markers, Cricut also released various sizes of watercolor card kits. I do recommend you use watercolor paper when using the Cricut Watercolor Markers. Regular paper won’t hold up after adding water to the ink.
Which Cricut Machine Do I Need?
You can use any Cricut machine with the Watercolor Markers. Make sure you select the right size markers and cards to fit the machine you’re using. The Cricut Joy pen and card sizes will be different than other machines.
How do I use Watercolor Markers?
Before we use the markers in the machine let’s look at what they look like when applied to the watercolor card. I used Cricut Watercolor Markers and just drew lines onto one of the Cricut Watercolor cards. After drawing the lines, I filled up my water paintbrush pen.
How to Use the Water Paintbrush Pen
To fill the pen, take off the top and then unscrew the white cap. Use regular water and fill the inside of the pen and then screw the top back on. Hold the pen in your hand with the brush pointing down and squeeze the water-filled portion of the pen. Water will flow down to the bristles and then you can brush over the pen lines.
It may take a little practice to control how much water comes out. I suggest practicing with just the water on a paper towel and then moving on to practice with watercolor paper.
As you can see in the photo above, I started with a solid pen line and then lightly started applying water. I added more water toward the end of the line and you can see that as more water is applied the marker color gets lighter and looks more pastel.
At the bottom of the paper, I tried some blending techniques. It’s likely you’ll have lines drawn close to each other so I wanted to see what those may look like when the colors run into each other. You can see what some of those blending combinations look like at the bottom of the photo.
I do highly recommend having a paper towel on hand for cleaning your brush. If you don’t want colors blending together, make sure you wipe the brush on a paper towel a few times to keep the colors from blending on the brush itself.
How to Make Watercolor Projects in Design Space
There are several ways to find watercolor designs in Design Space to make a project. You can actually use ANY design with these pens as long as you change the lines to draw lines. Let’s take a look at a few ways to find and make designs.
Ready to Make Projects
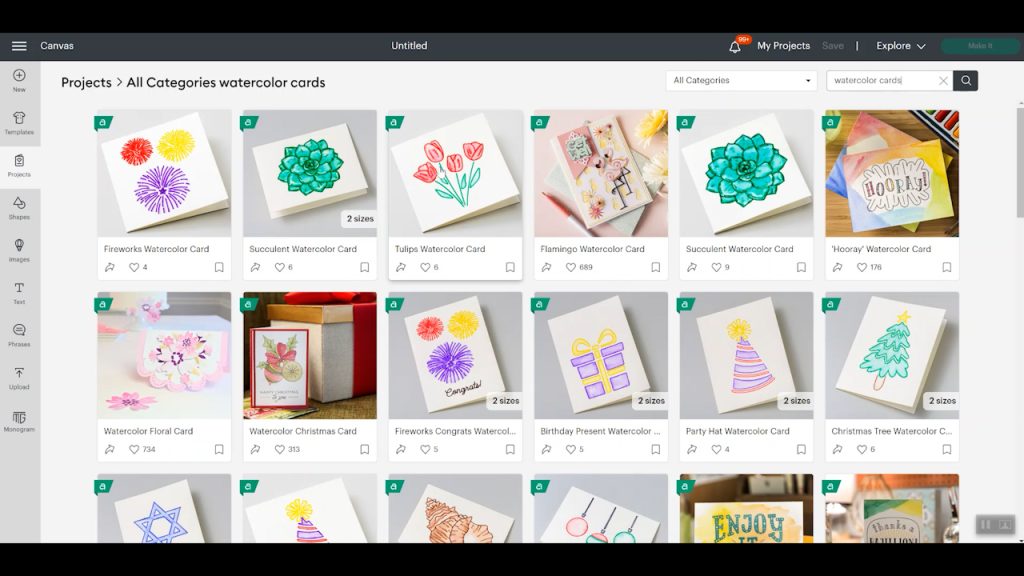
The first option would be to go to projects and then search for watercolor cards. This would pull up projects that are already in Design Space that Cricut has intended to be used with the watercolor markers. You could pick any of those projects, select the finished size, and then select Make It.
If you want to change size or add/remove images, you can click customize which will put the image on the canvas where you can make those changes.
These same steps can be used with any of the pre-made designs in Design Space.
How to Make Your Own Watercolor Design
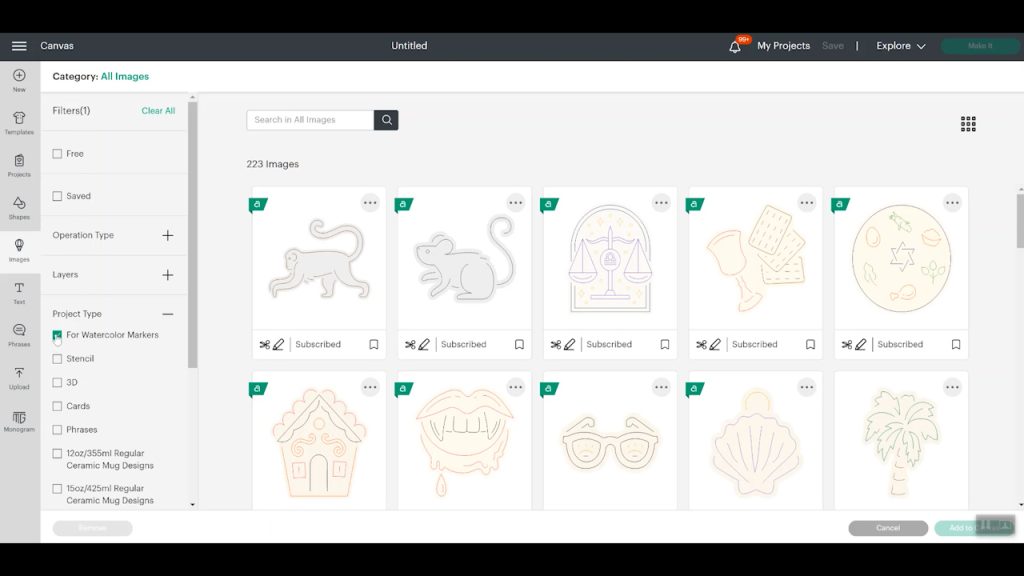
To make your own watercolor design, go to images and then click “browse all images”. From there you can go to “project type” and they have added a type for watercolor markers. If we click on that category, we can see all the designs that were intended to be used with the watercolor markers.
You don’t have to use the images under the Watercolor Markers category. You can use any drawn image with watercolor markers.
If you select a drawn image and add it to the canvass, it will come in as a pen line. To change the pen line to a watercolor marker line, click “Operation” in the top toolbar and select “Pen”. After you select pen, click on the box with the color selected, and then select marker. In the drop-down under marker, you can see all the different marker options. At the bottom of the list are all the watercolor options.
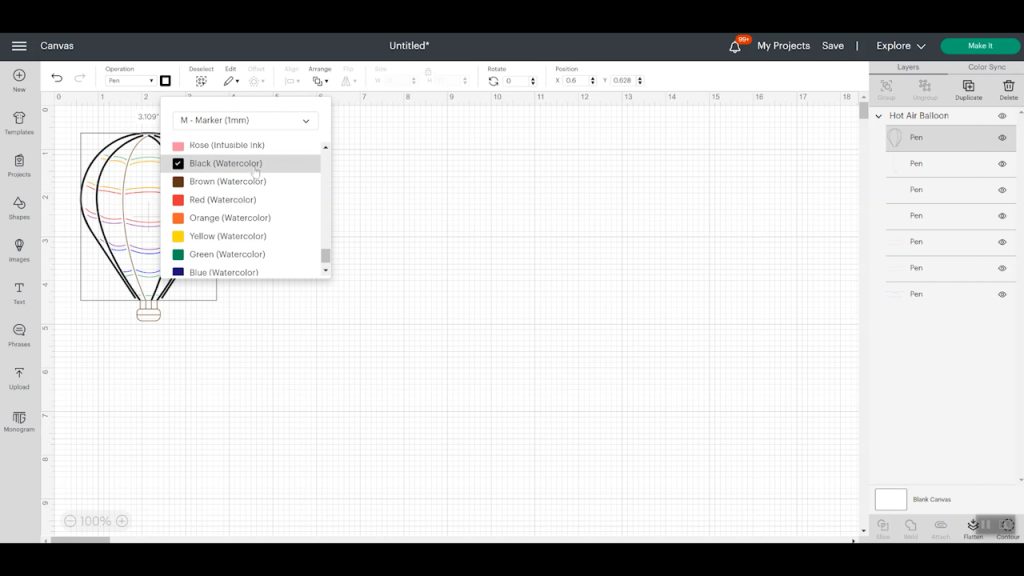
You don’t have to change from a pen to a marker. Your Cricut machine won’t be able to recognize what pen is in the machine itself. The main reason I like to change the pen is that it does change the look on your canvas. It will make the lines thicker/bolder which gives you a better idea of how it will look when it’s finished. This is helpful if you are worried about how close the lines will be when drawn with the markers. Also, changing the markers to what you plan to use will make sure Design Space prompts you with the correct marker.
Can I Use Watercolor Markers on Text?
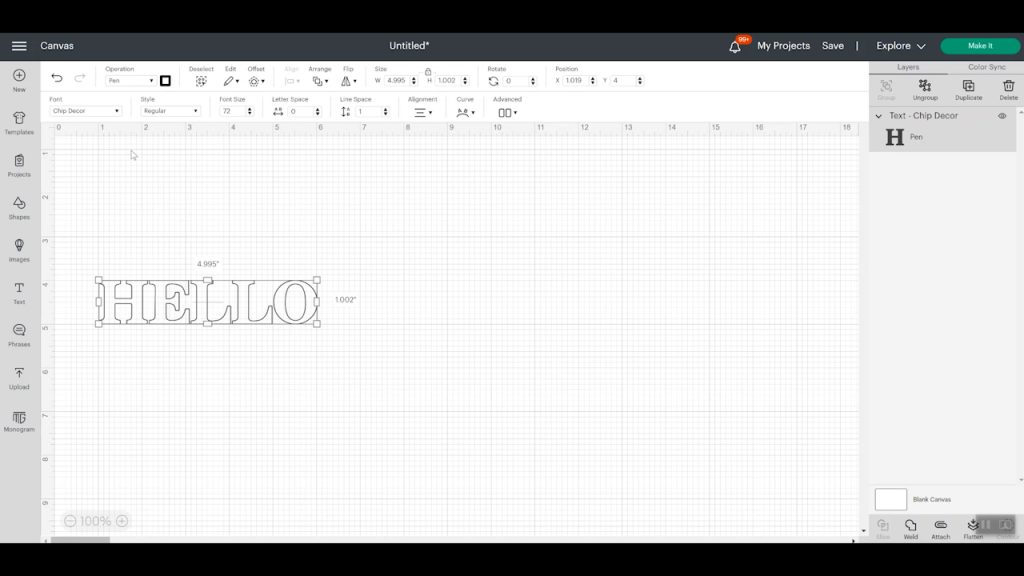
Yes, you can! Typically when I talk about using text in Design Space I recommend looking for fonts that have a writing font. If you don’t find a single line or writing font, your pen will follow the path of the cut line and you’re left with kind of a bubble letter look.

With Cricut Watercolor Markers, you can use any font you want and then use the water paintbrush pen to fill in the middle of the letters. This would also work with shapes or other images that are set as a cut image that you change to a drawn image. Your Cricut machine will never fill in the middle of those drawn lines but now we can fill those in ourselves with a really cool watercolor effect.
Making a Simple Watercolor Card
Let’s make our first watercolor card. Find any image you want to use with the methods mentioned above and select make it. I am using the Cricut Card Mat so I chose it and then we can select our material.
When using the Cricut Card Mat, make sure you move all the star wheels into the middle to protect your design. Choose “watercolor card” as your material and load the correct watercolor marker into your machine.
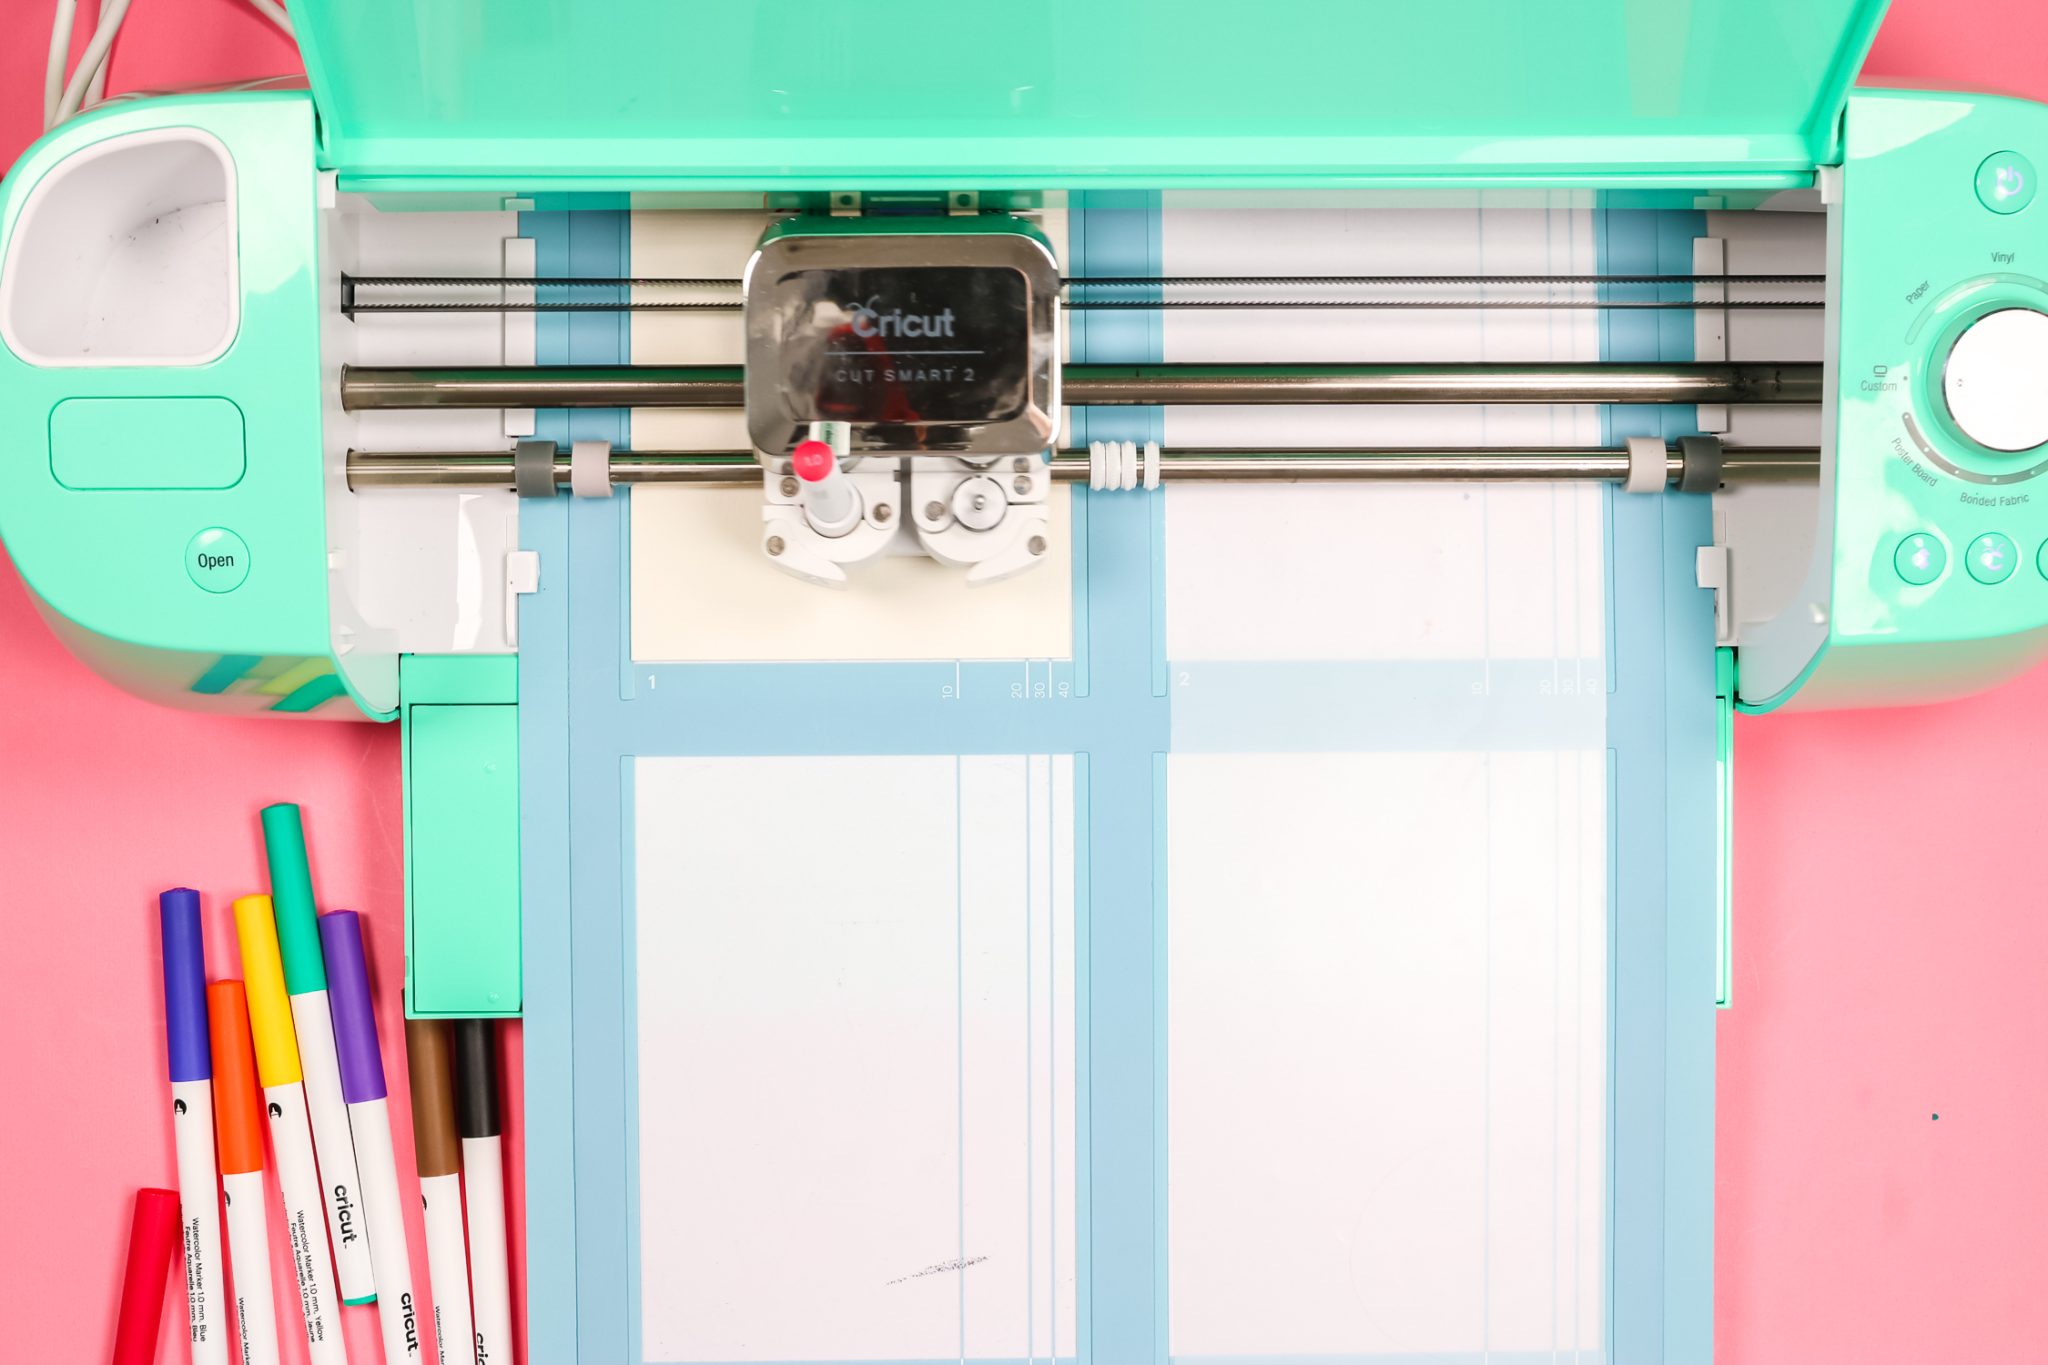
Select go and follow the prompts in Design Space. My design uses 3 different colors of Watercolor Markers so I will change out the marker each time without unloading the mat.
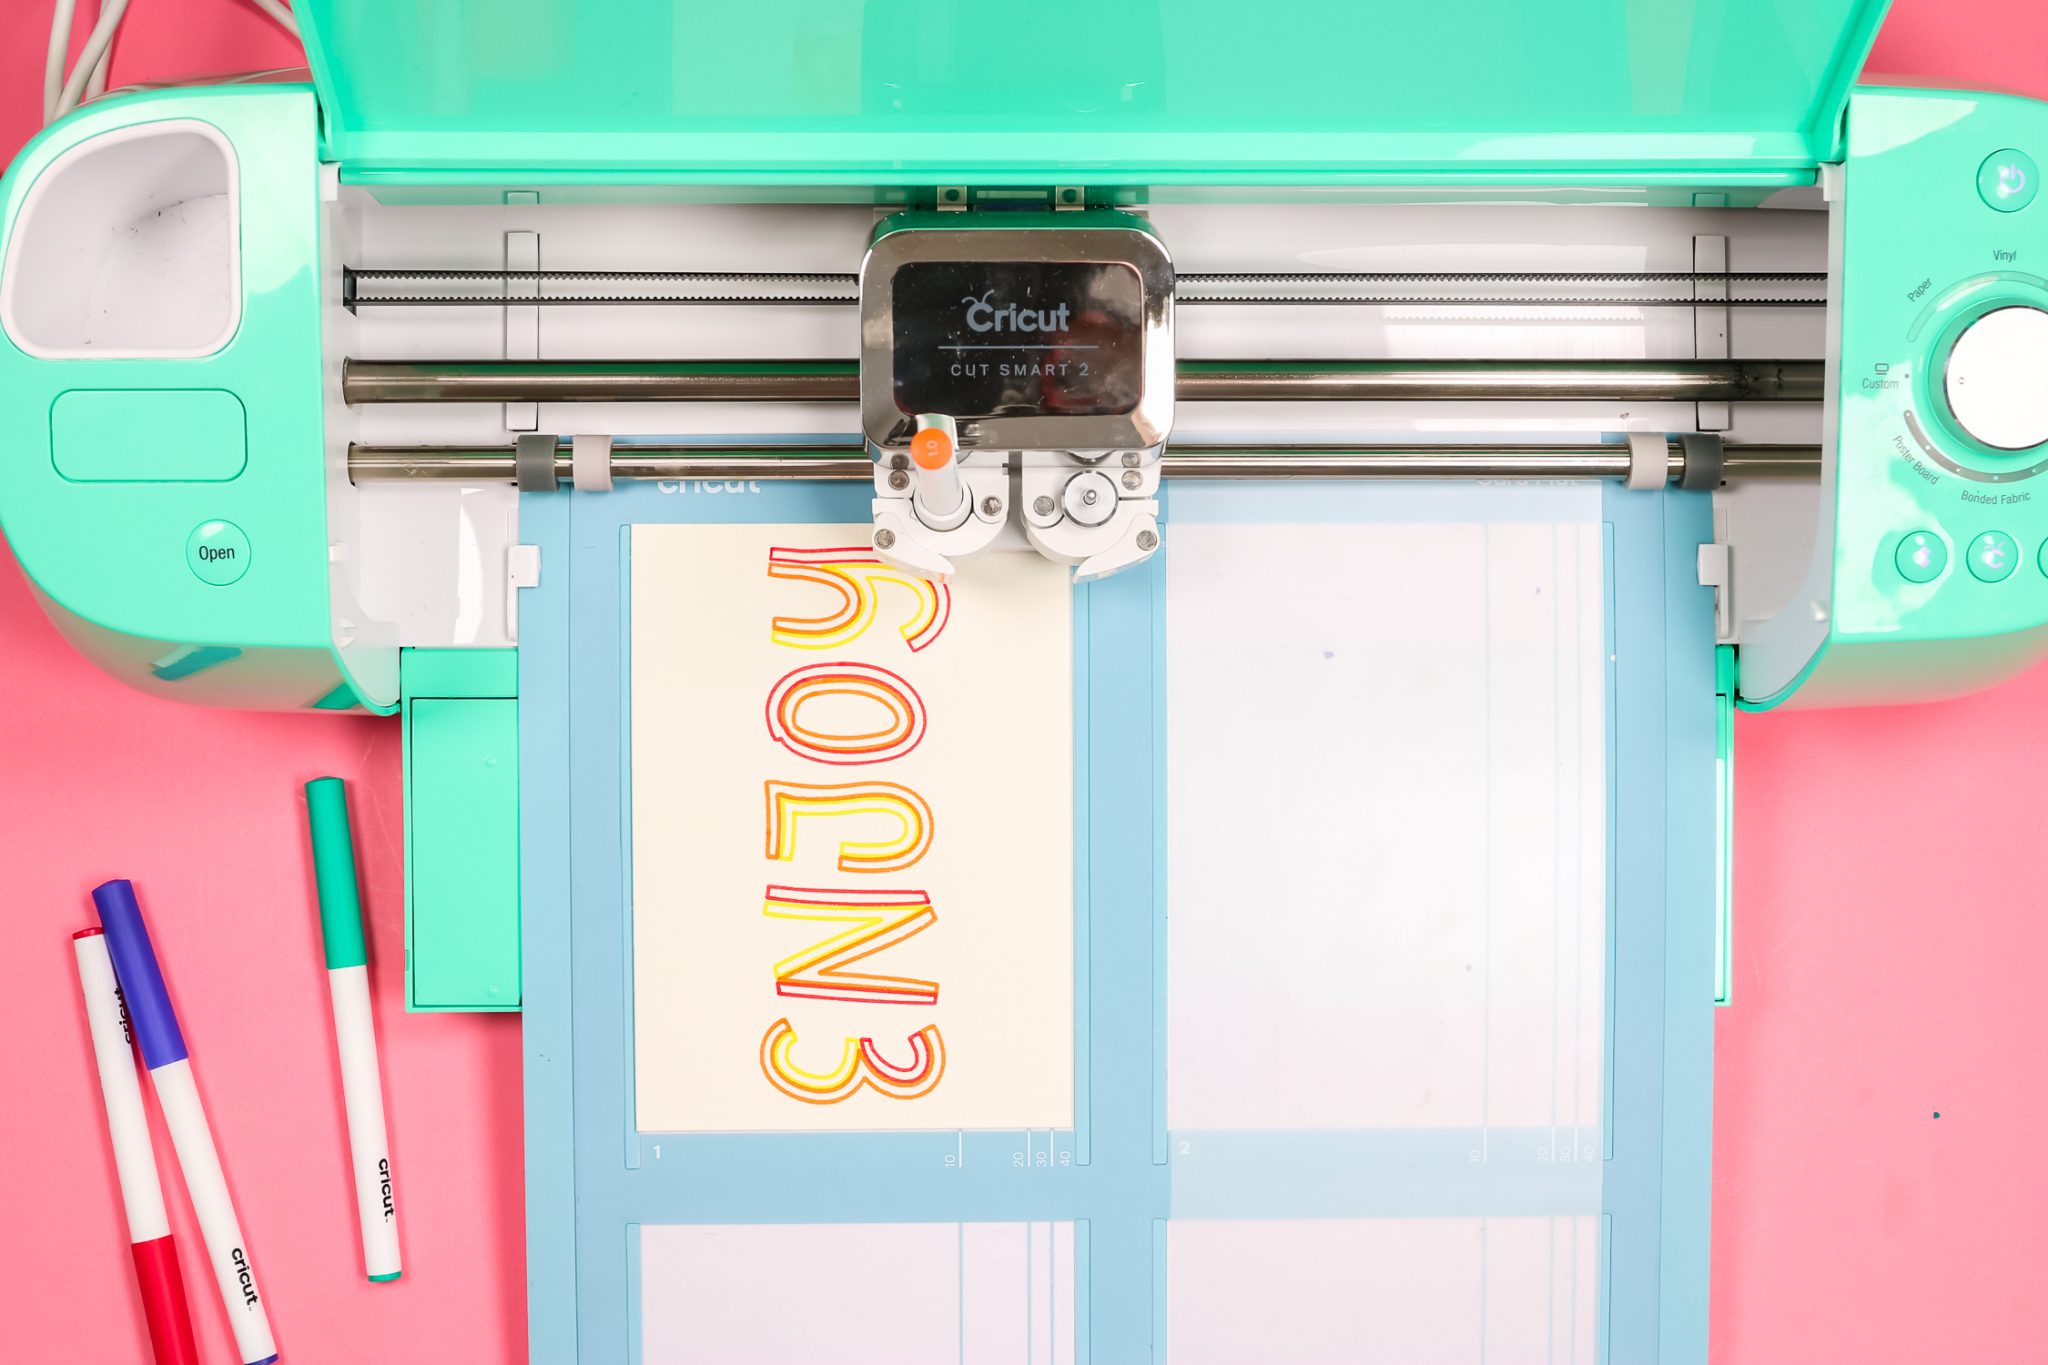
Once the machine is finished unload the mat and gently remove the card from the card mat.
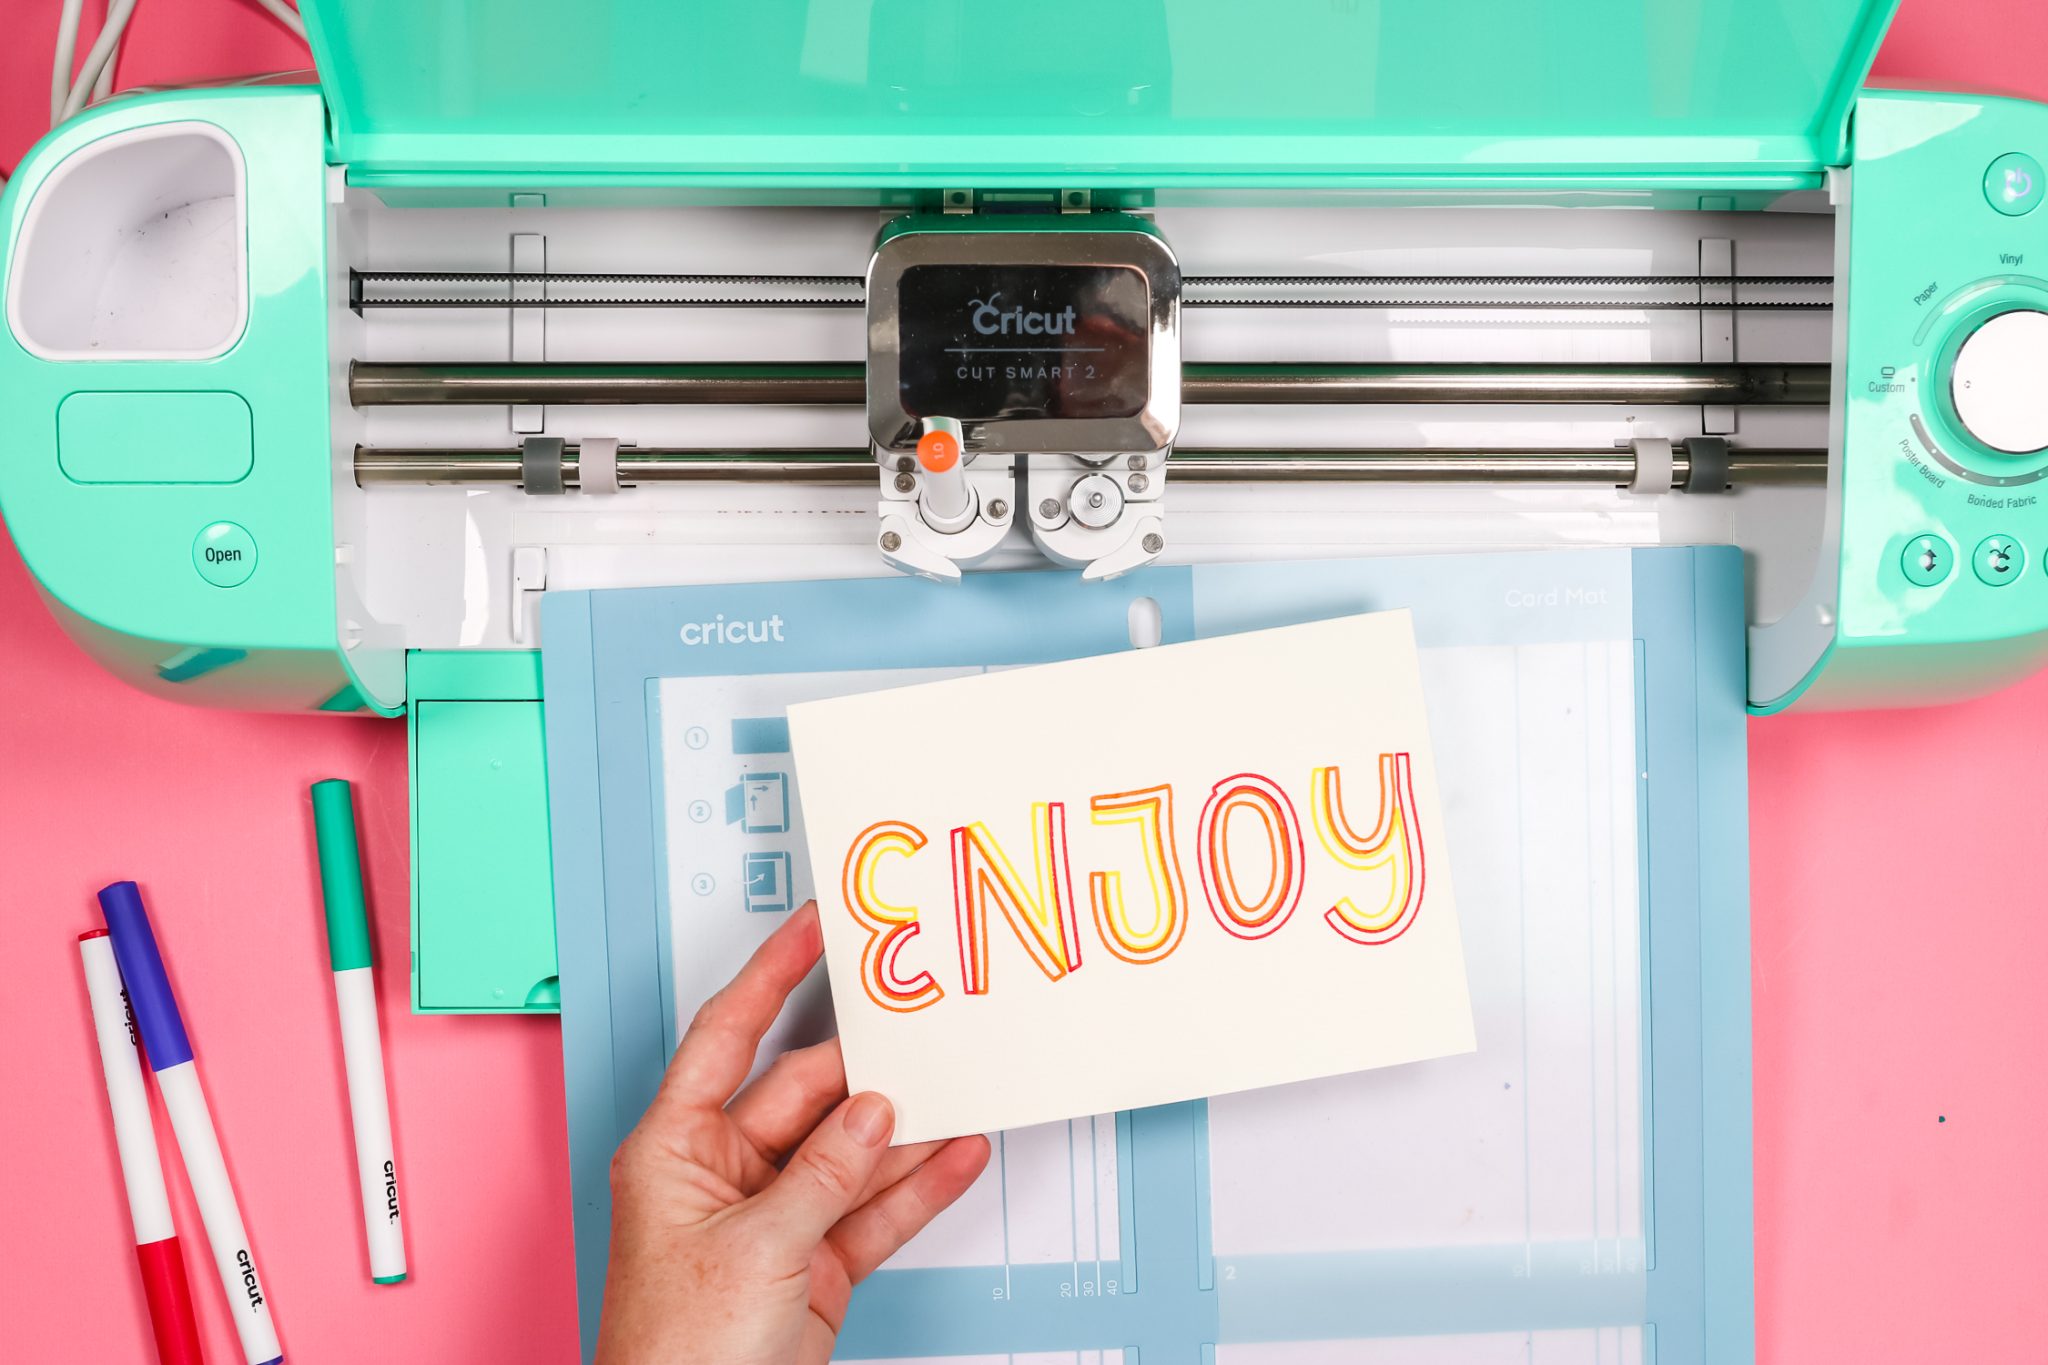
How to Apply Water to Watercolor Designs
Now that the Cricut machine has finished drawing the image, we can use the water brush pen to create the watercolor effect. Beginning with the lighter colors, use the brush pen to go over the marker lines filling in the areas between marker lines.
You do have the option of staying within the lines or brushing outside the lines to let the watercolor spread outside the drawn lines. Make sure you clean your brush between colors to prevent color blending on the brush itself. Or you can embrace the blending and allow the colors to mix together.

As you can see in the photo below the more you go over the lines with the water pen the lighter the lines themselves get.

How to Make a Watercolor Tag
I wanted to try out the Cricut Watercolor Markers on regular watercolor paper. To begin, load the watercolor paper onto a LightGrip cutting mat and load it into the Cricut machine.
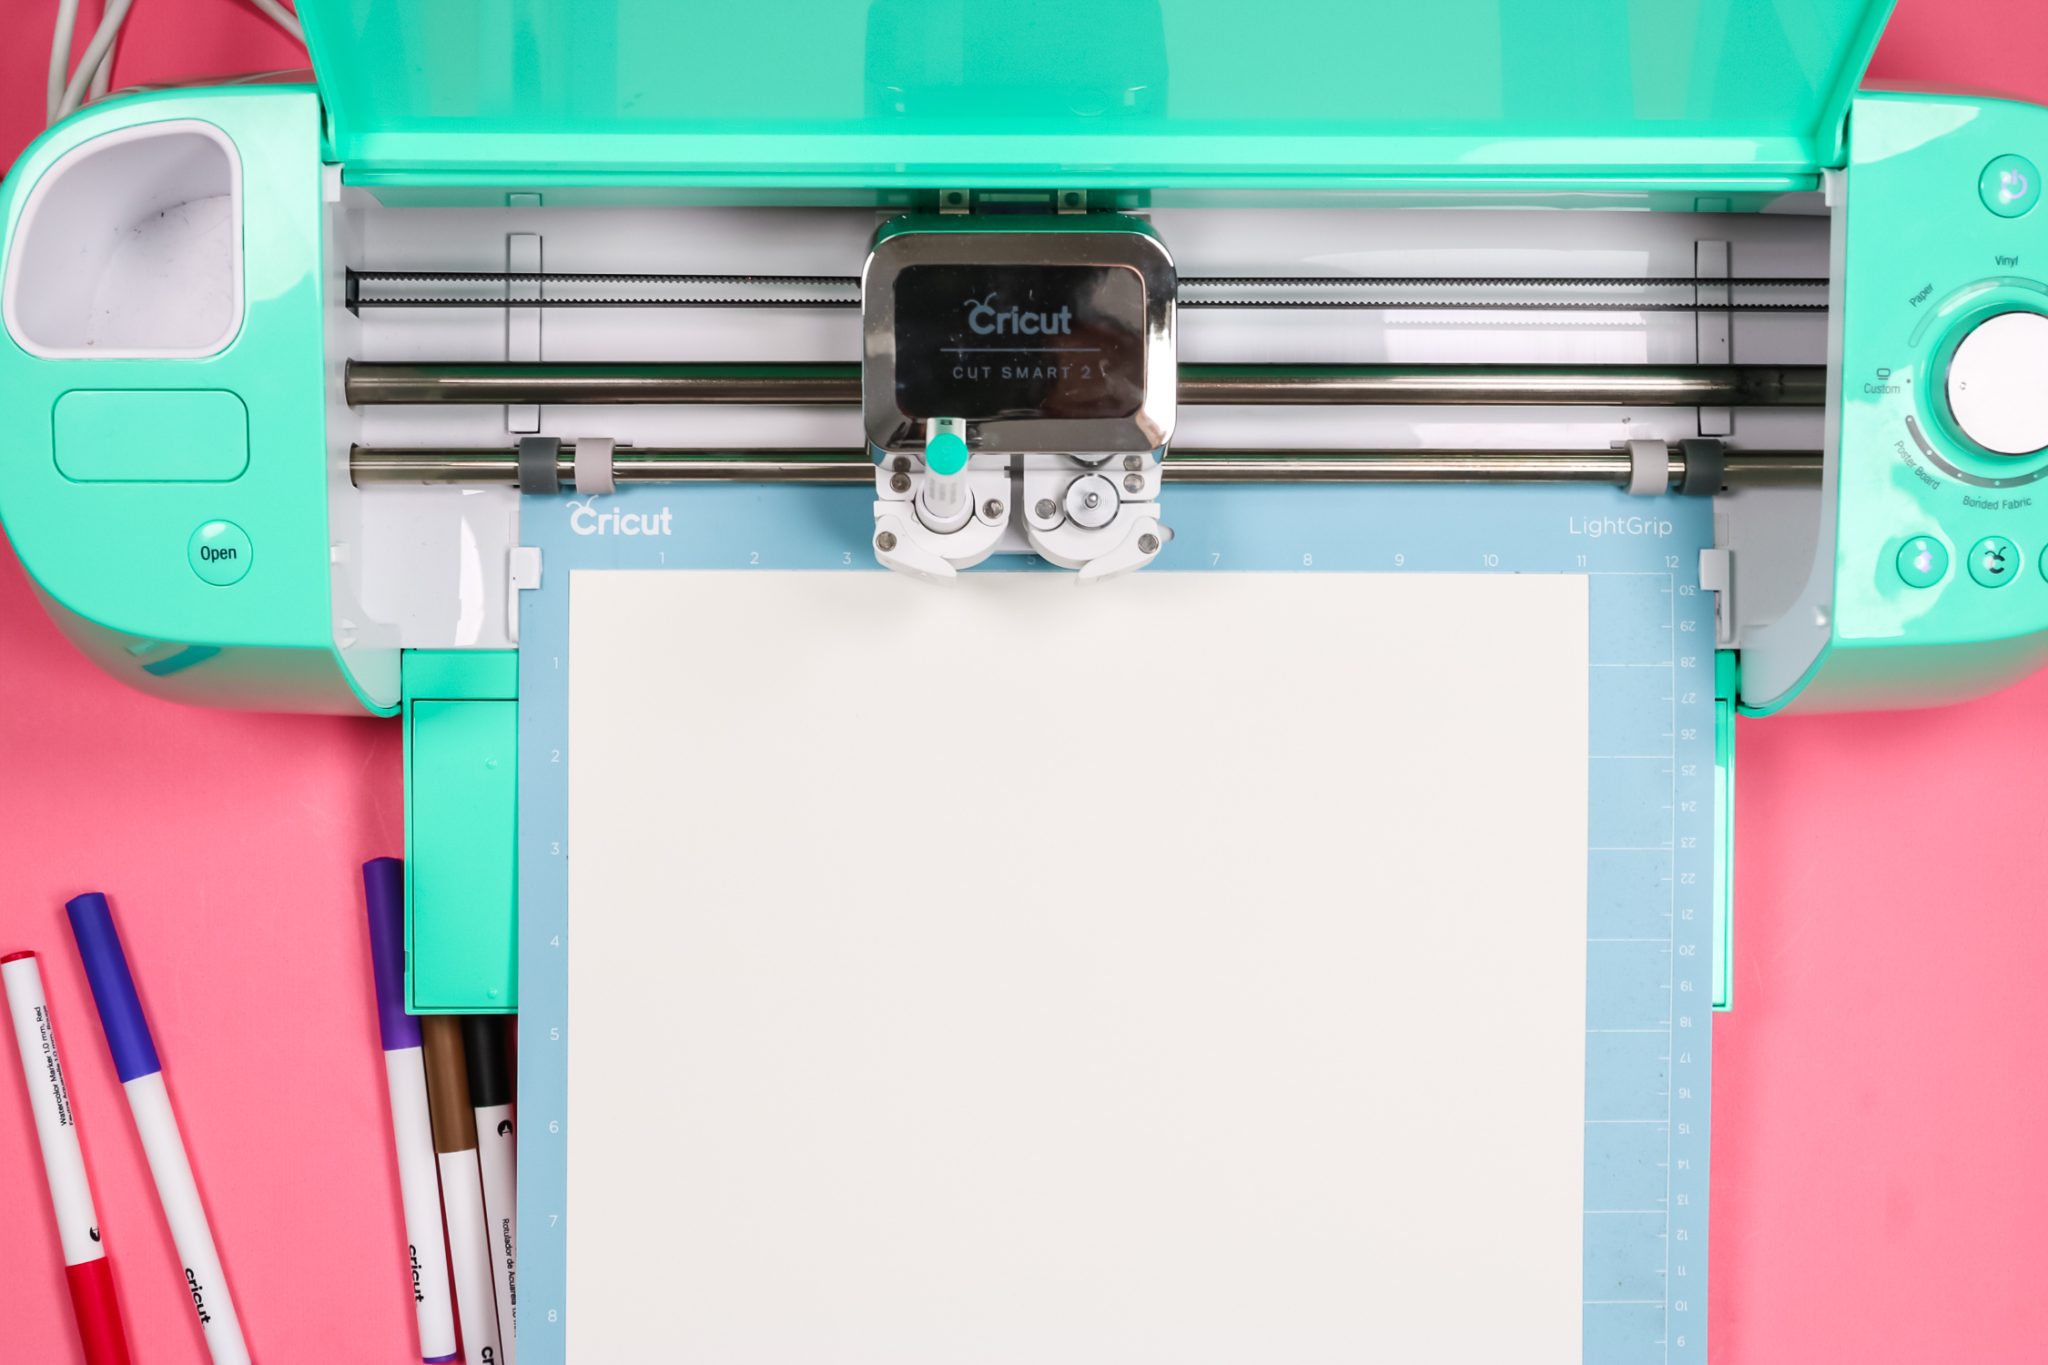
I selected Heavy Watercolor Paper as my material. Load the correct color watercolor marker into the Cricut machine and press go.
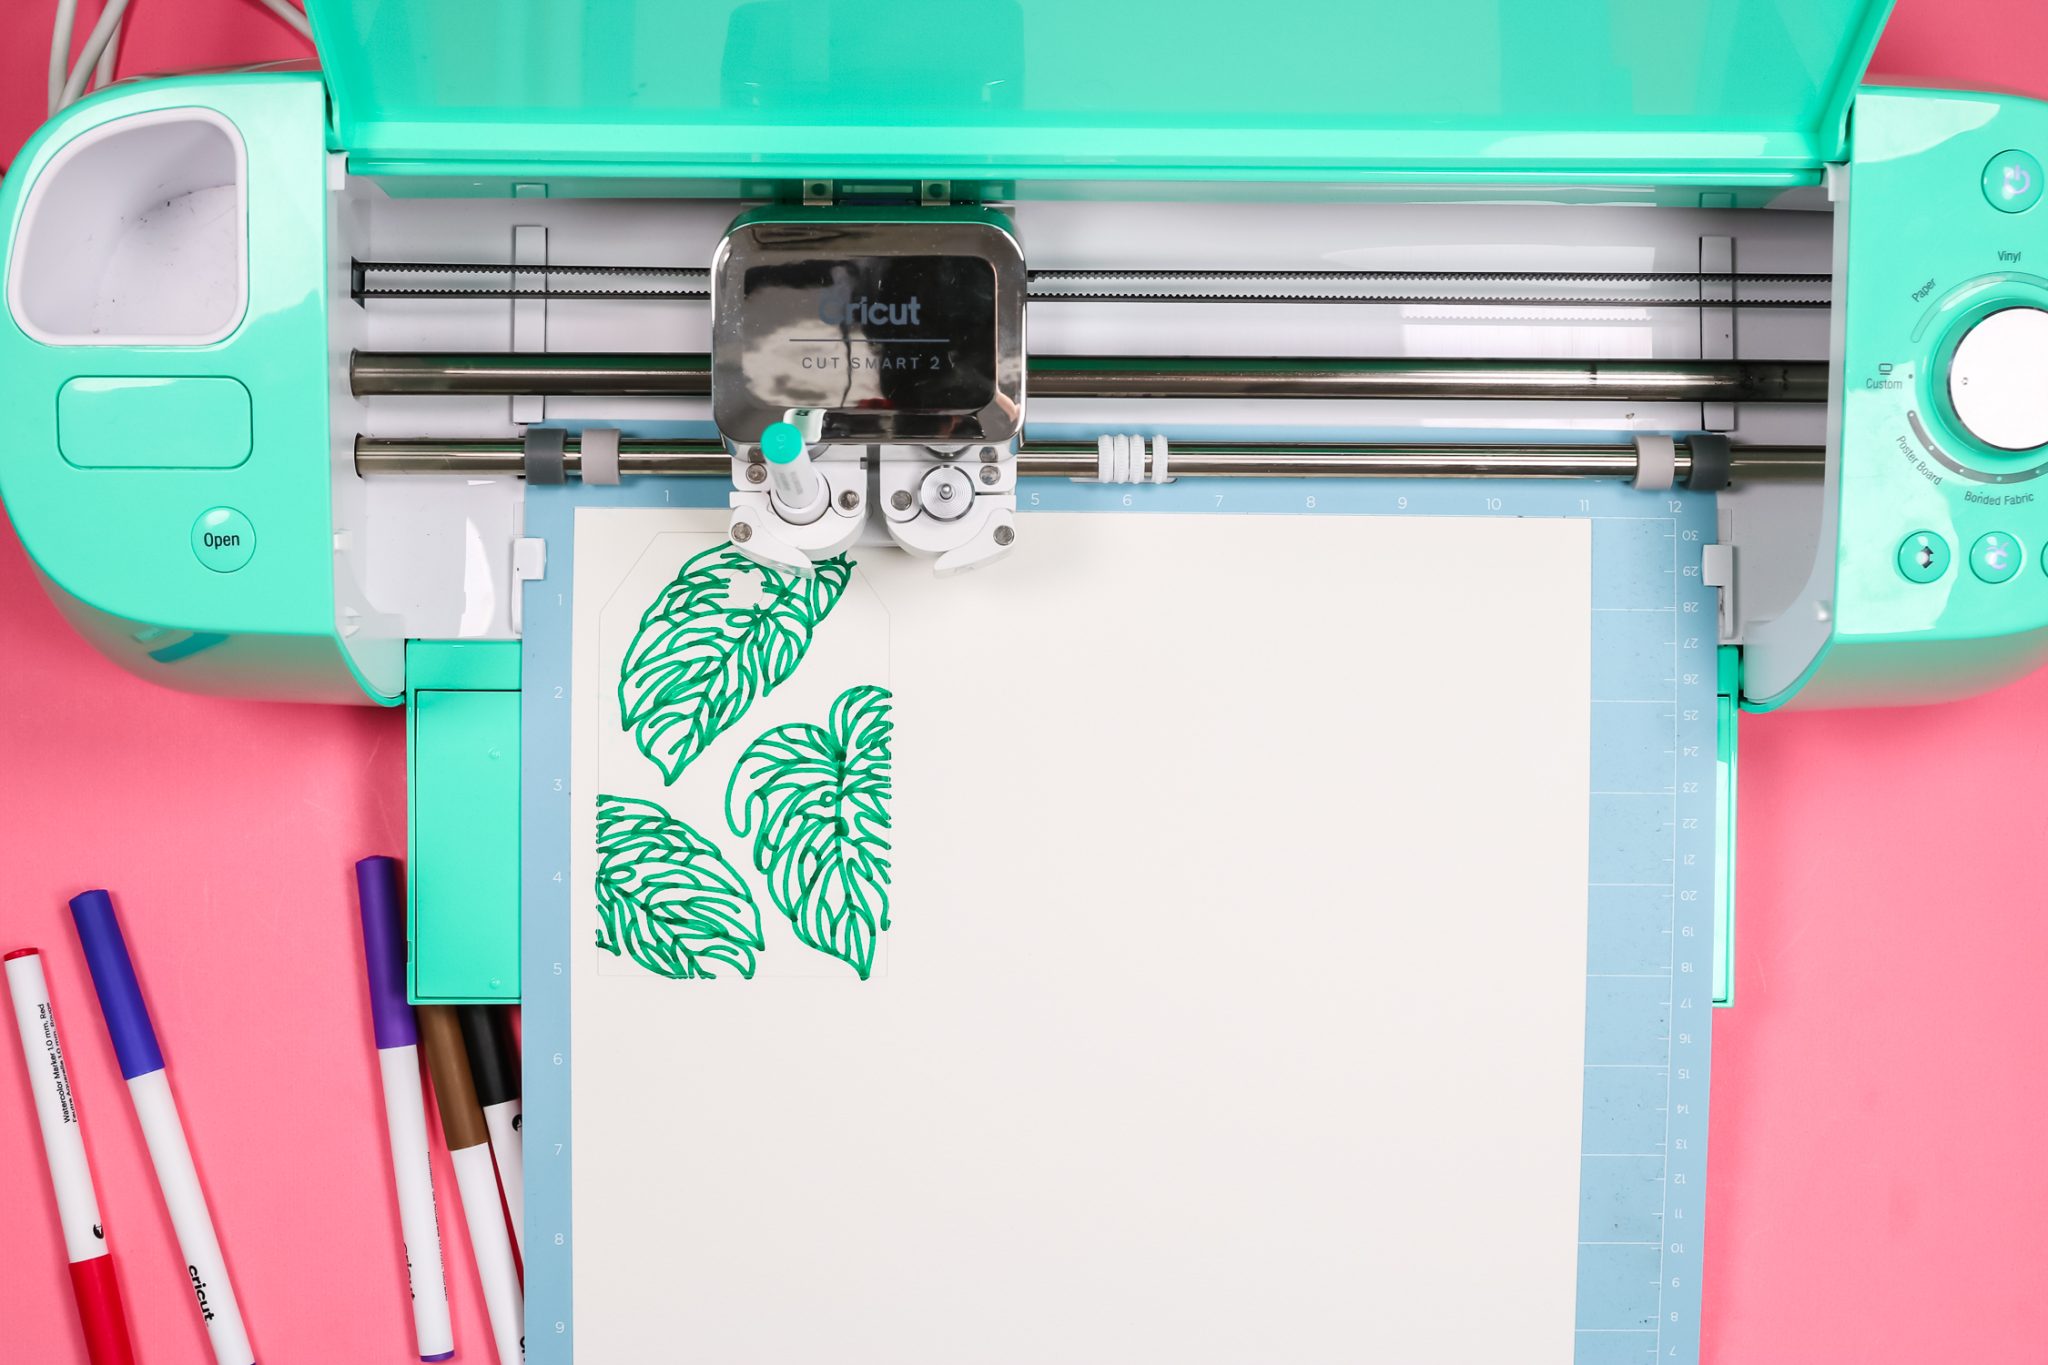
Your machine will draw the image first and then cut out the tag shape. When your machine is finished, unload the mat and then remove the tag from the mat. I will say, my watercolor paper is very thick, this setting didn’t quite cut all the way through everywhere but other than that it worked great.
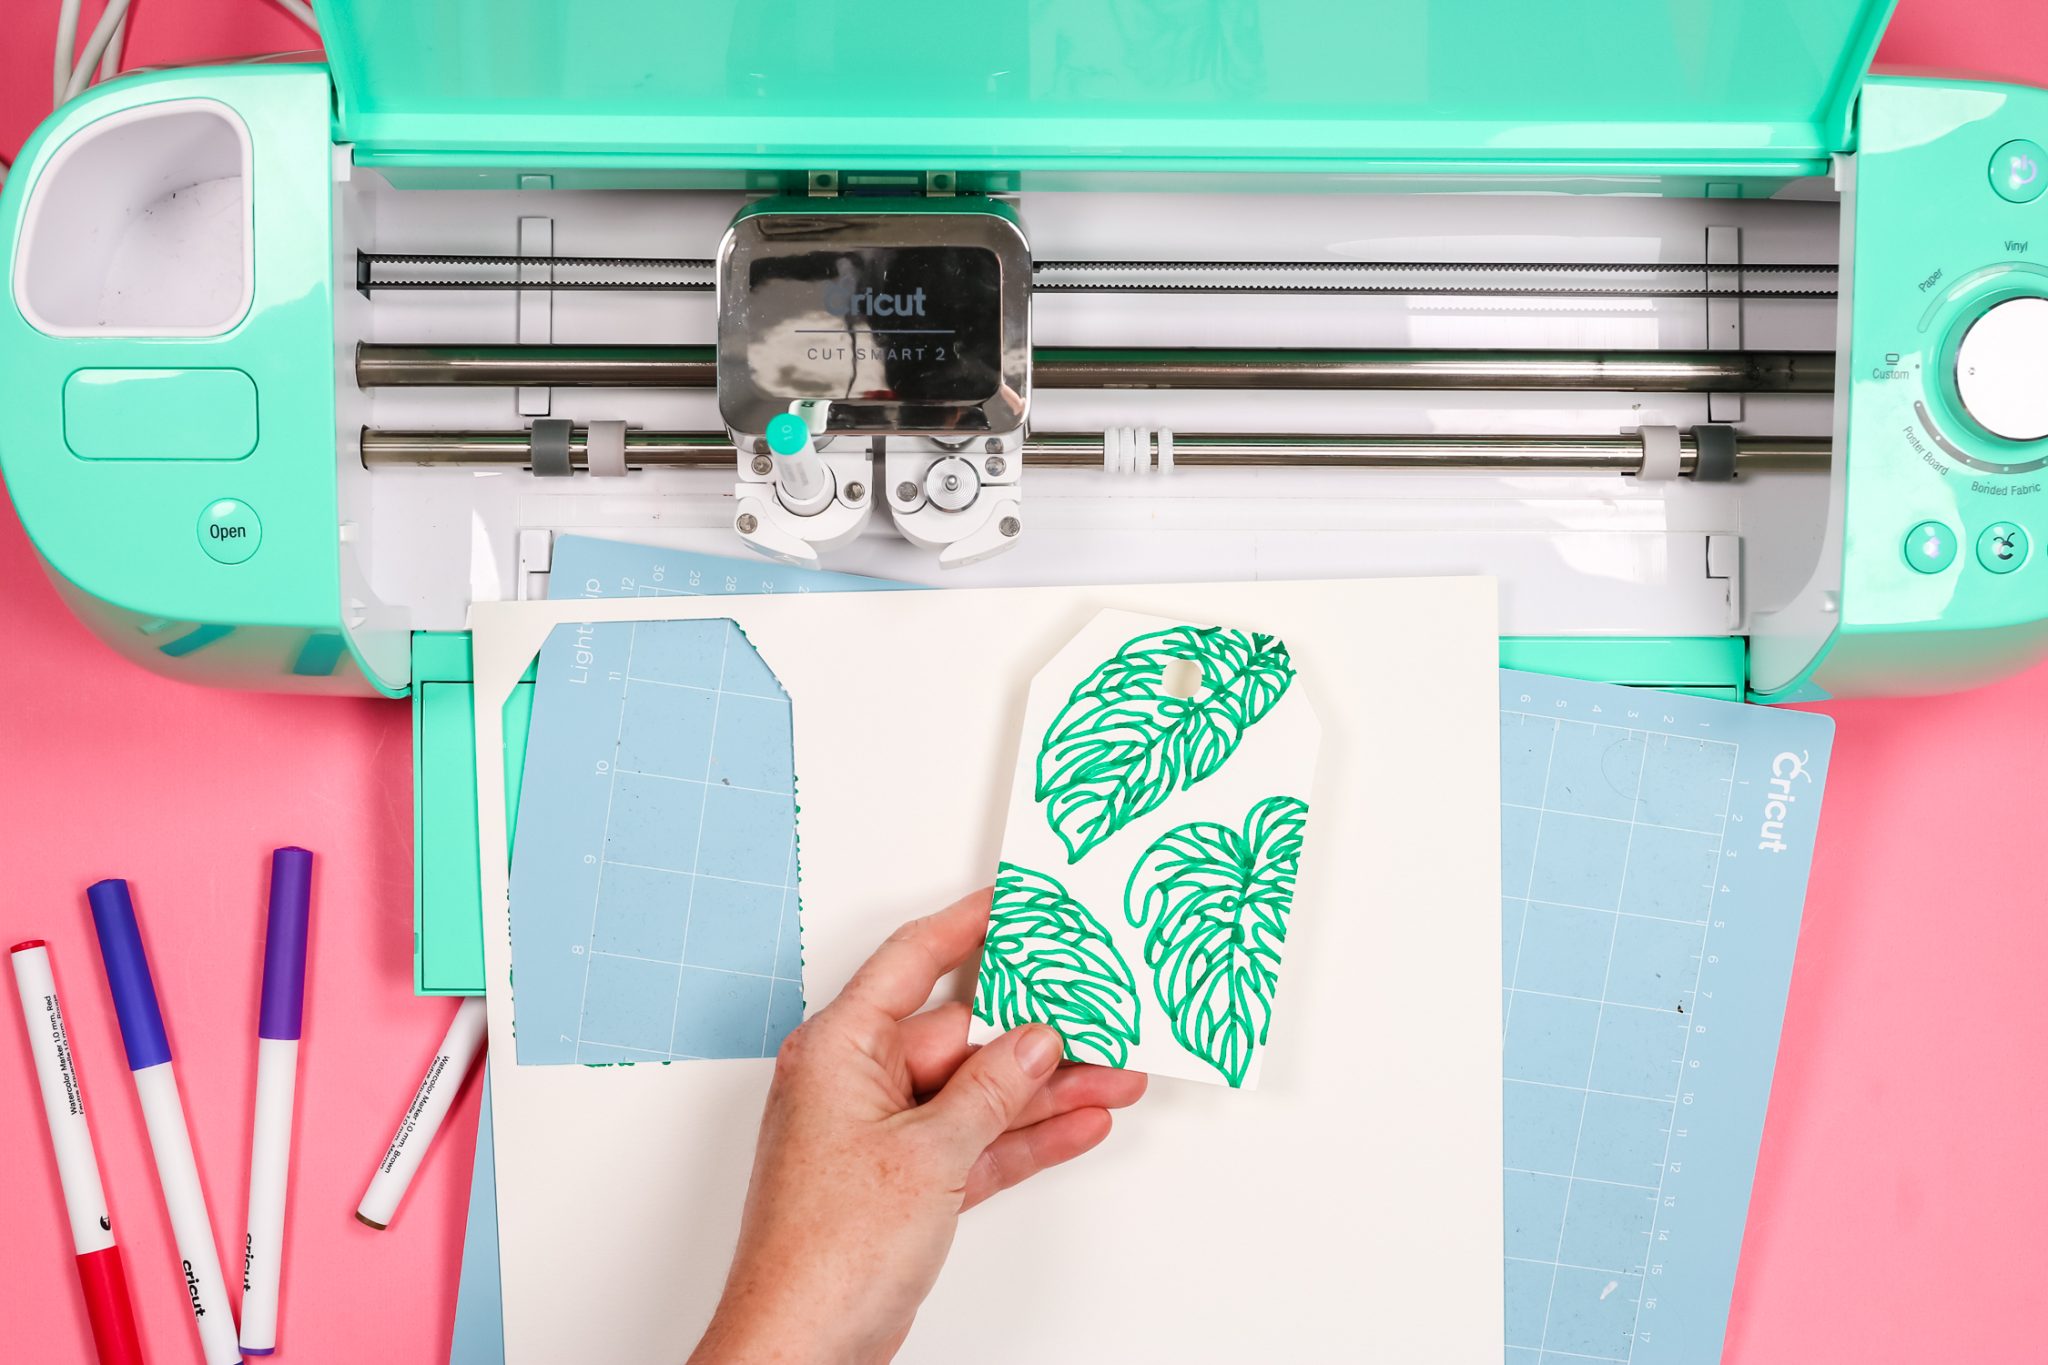
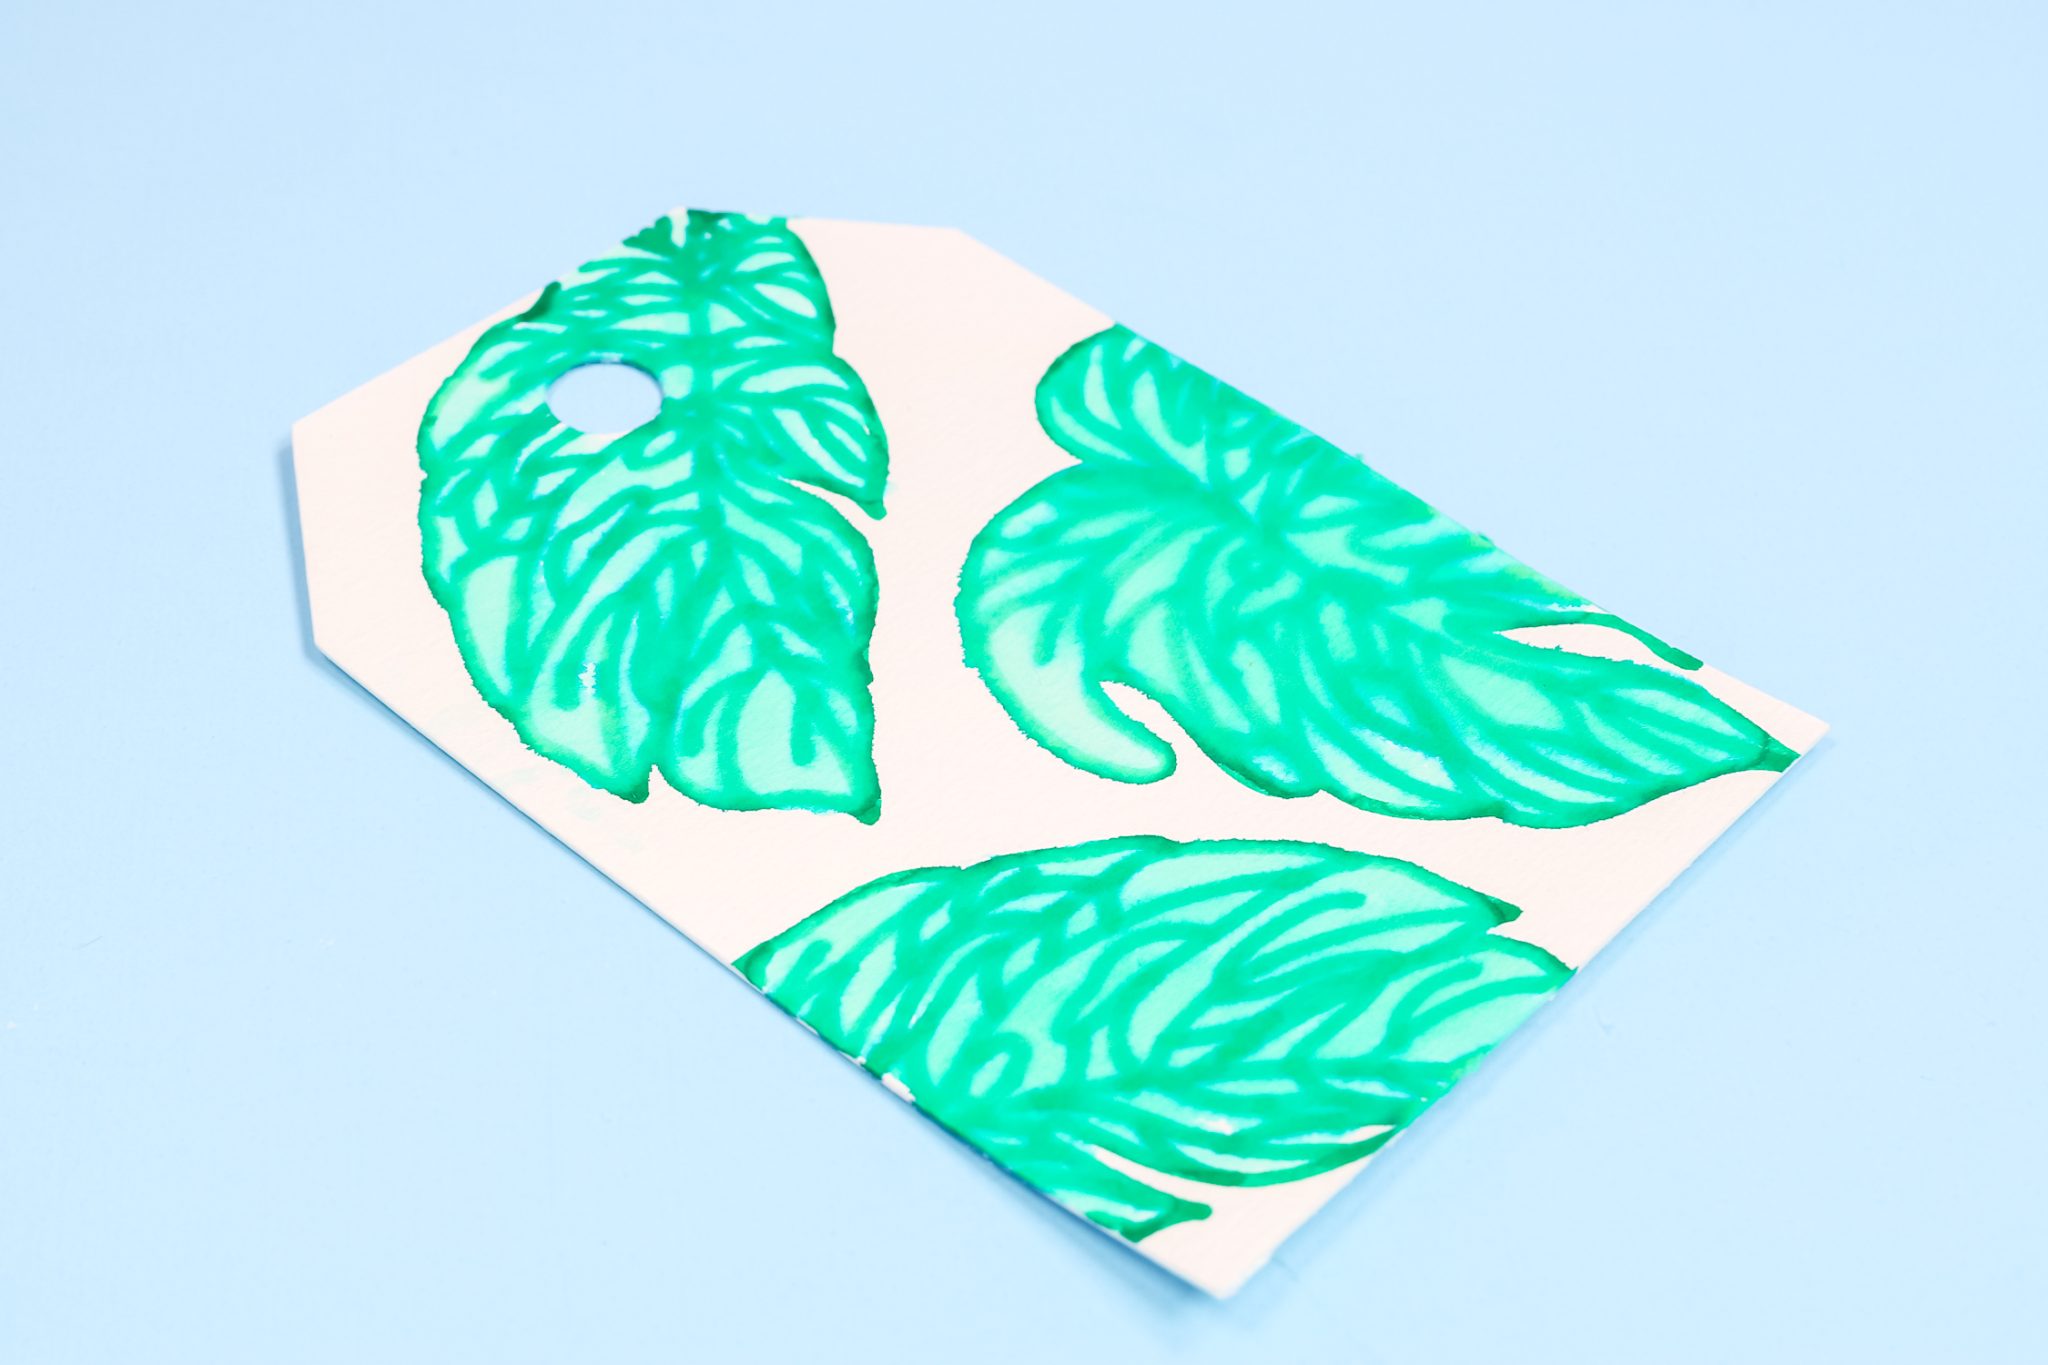
I used the water brush pen to fill in the area inside the leaves. In this case, I stayed inside the lines to keep the outside line bold and lighten the inner lines. I really like how this tag turned out and can see myself making more!
How to Make an Insert Card with Watercolor Markers
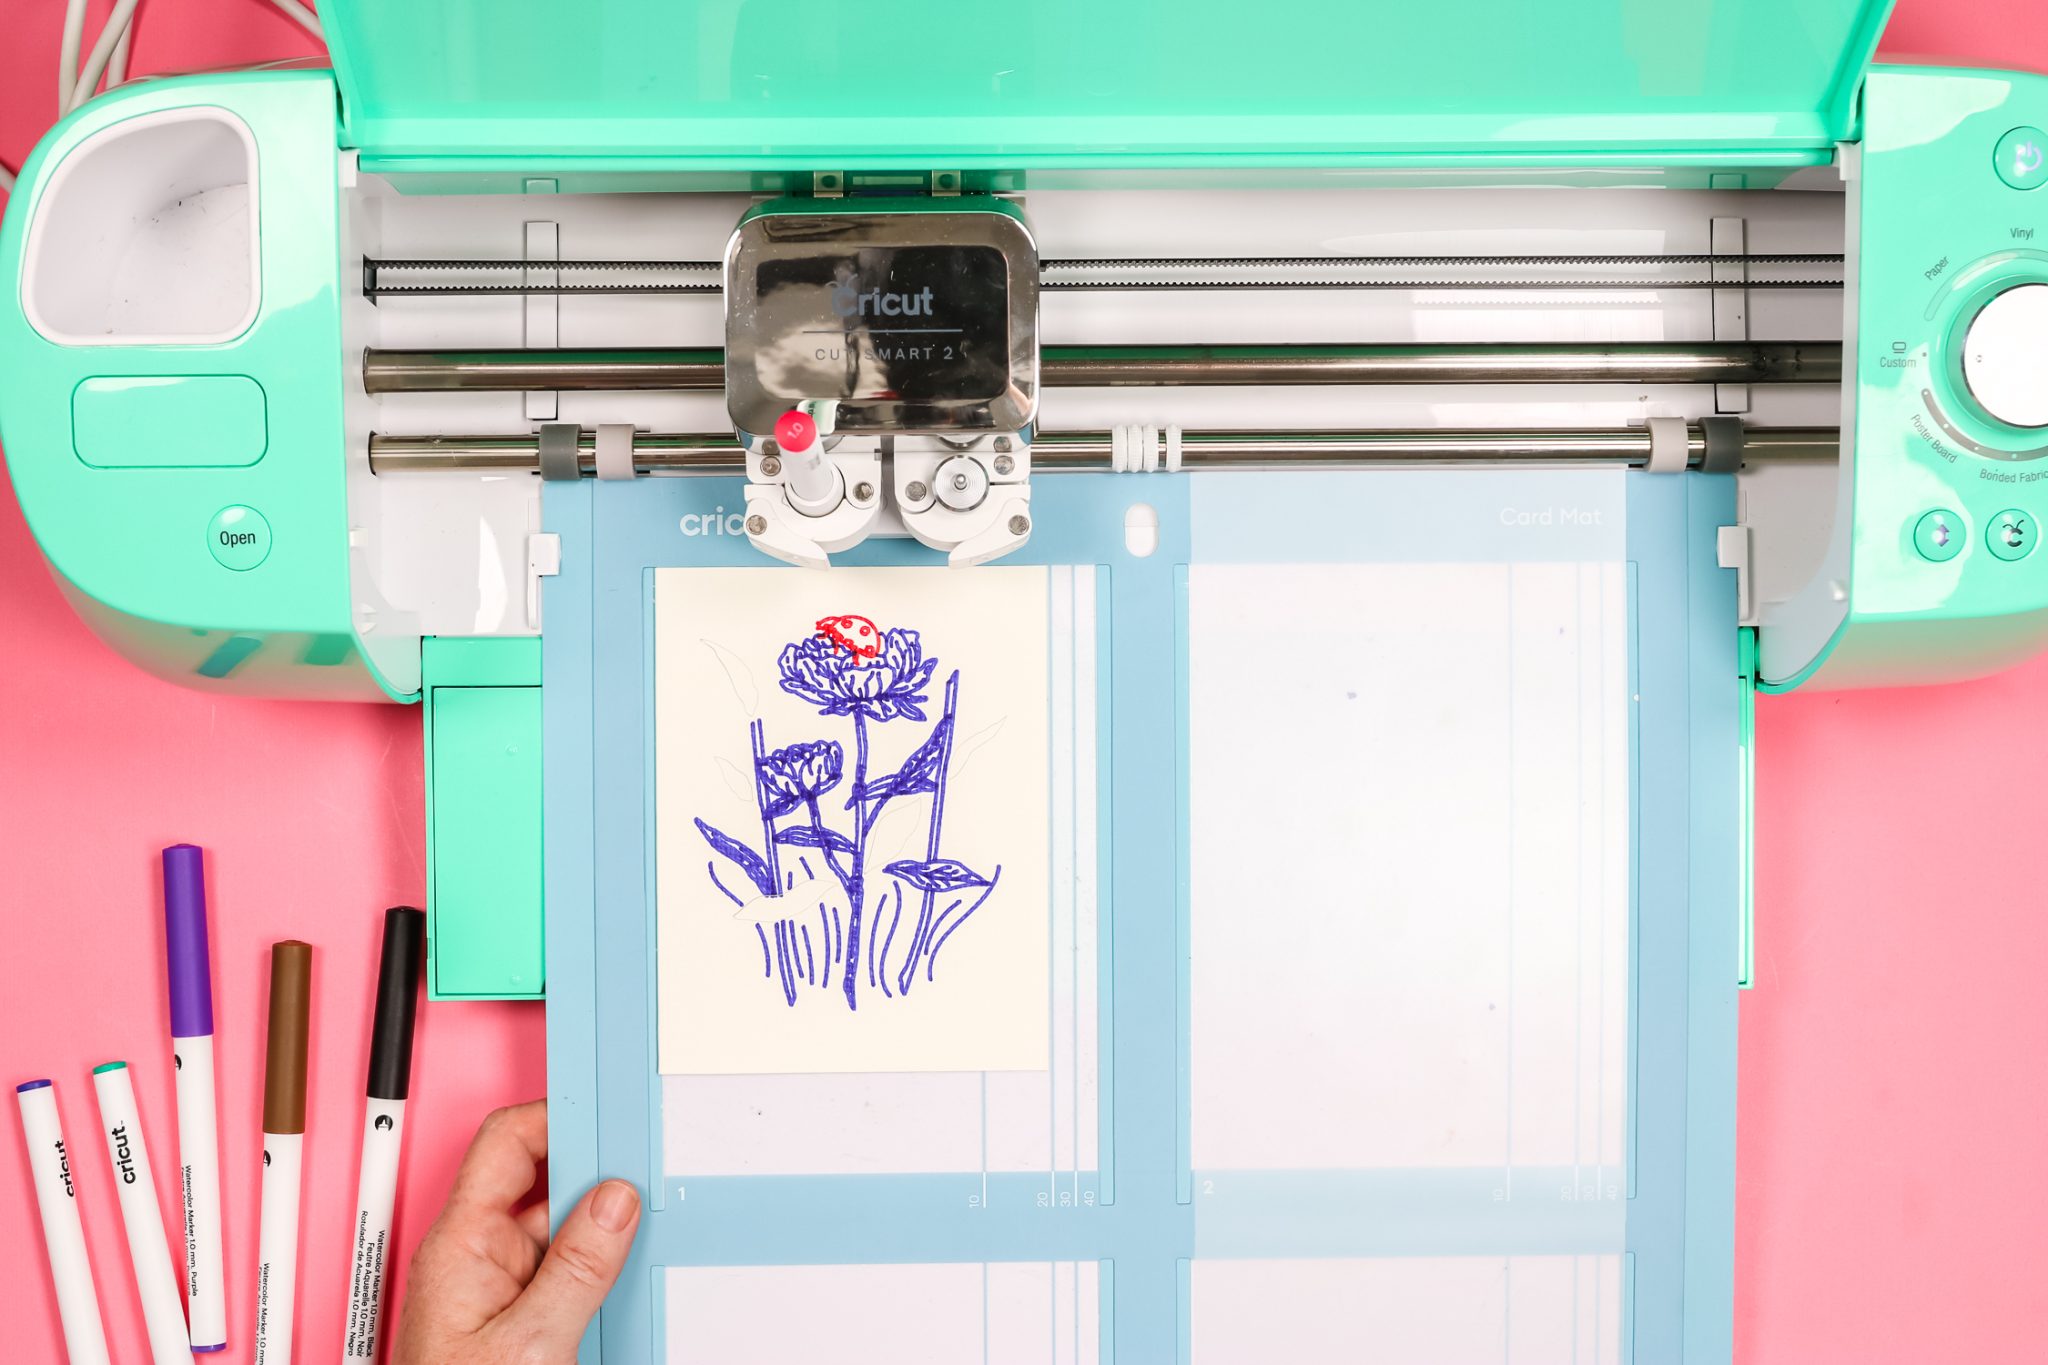
I know what you’re wondering, can you make an Insert card with the Cricut Watercolor Markers? Yes, you can! Begin by loading your Watercolor Card onto the Cricut Card Mat and load the card mat into the Cricut machine.
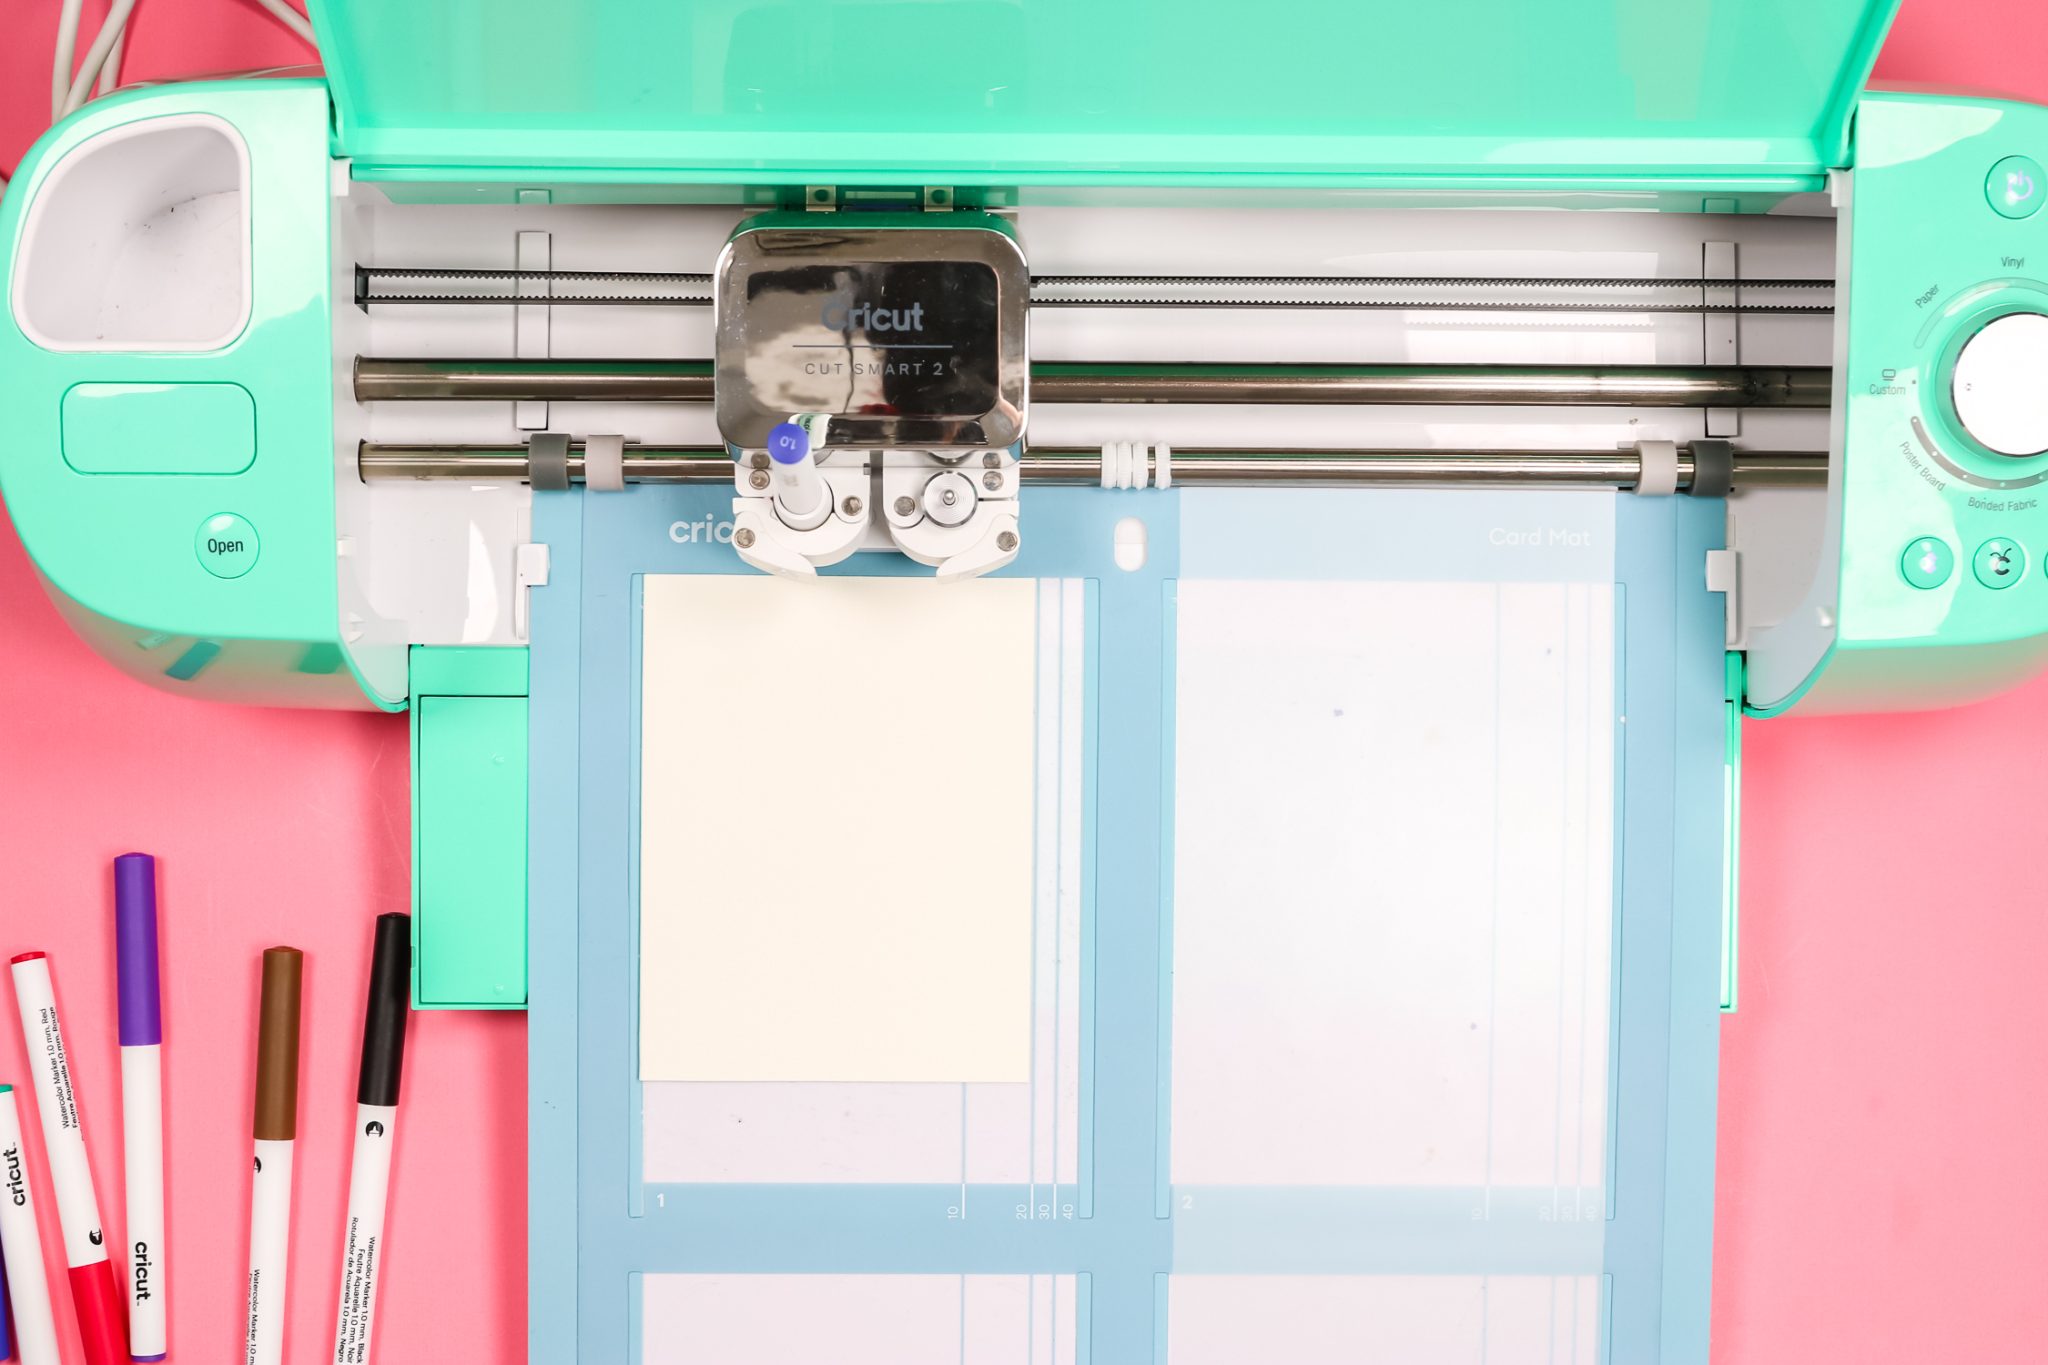
Follow the prompts in Design Space to load the correct watercolor markers and click go.
Can I Cut Watercolor Cards?
The watercolor cards cut beautifully with Cricut machines. This means you can create beautiful multi-layered projects like Insert Cards with watercolor cards. Here I cut the leaf shapes from the watercolor card and I am going to add an insert behind them.
When the design is finished, remove the card from the Cricut Card mat.
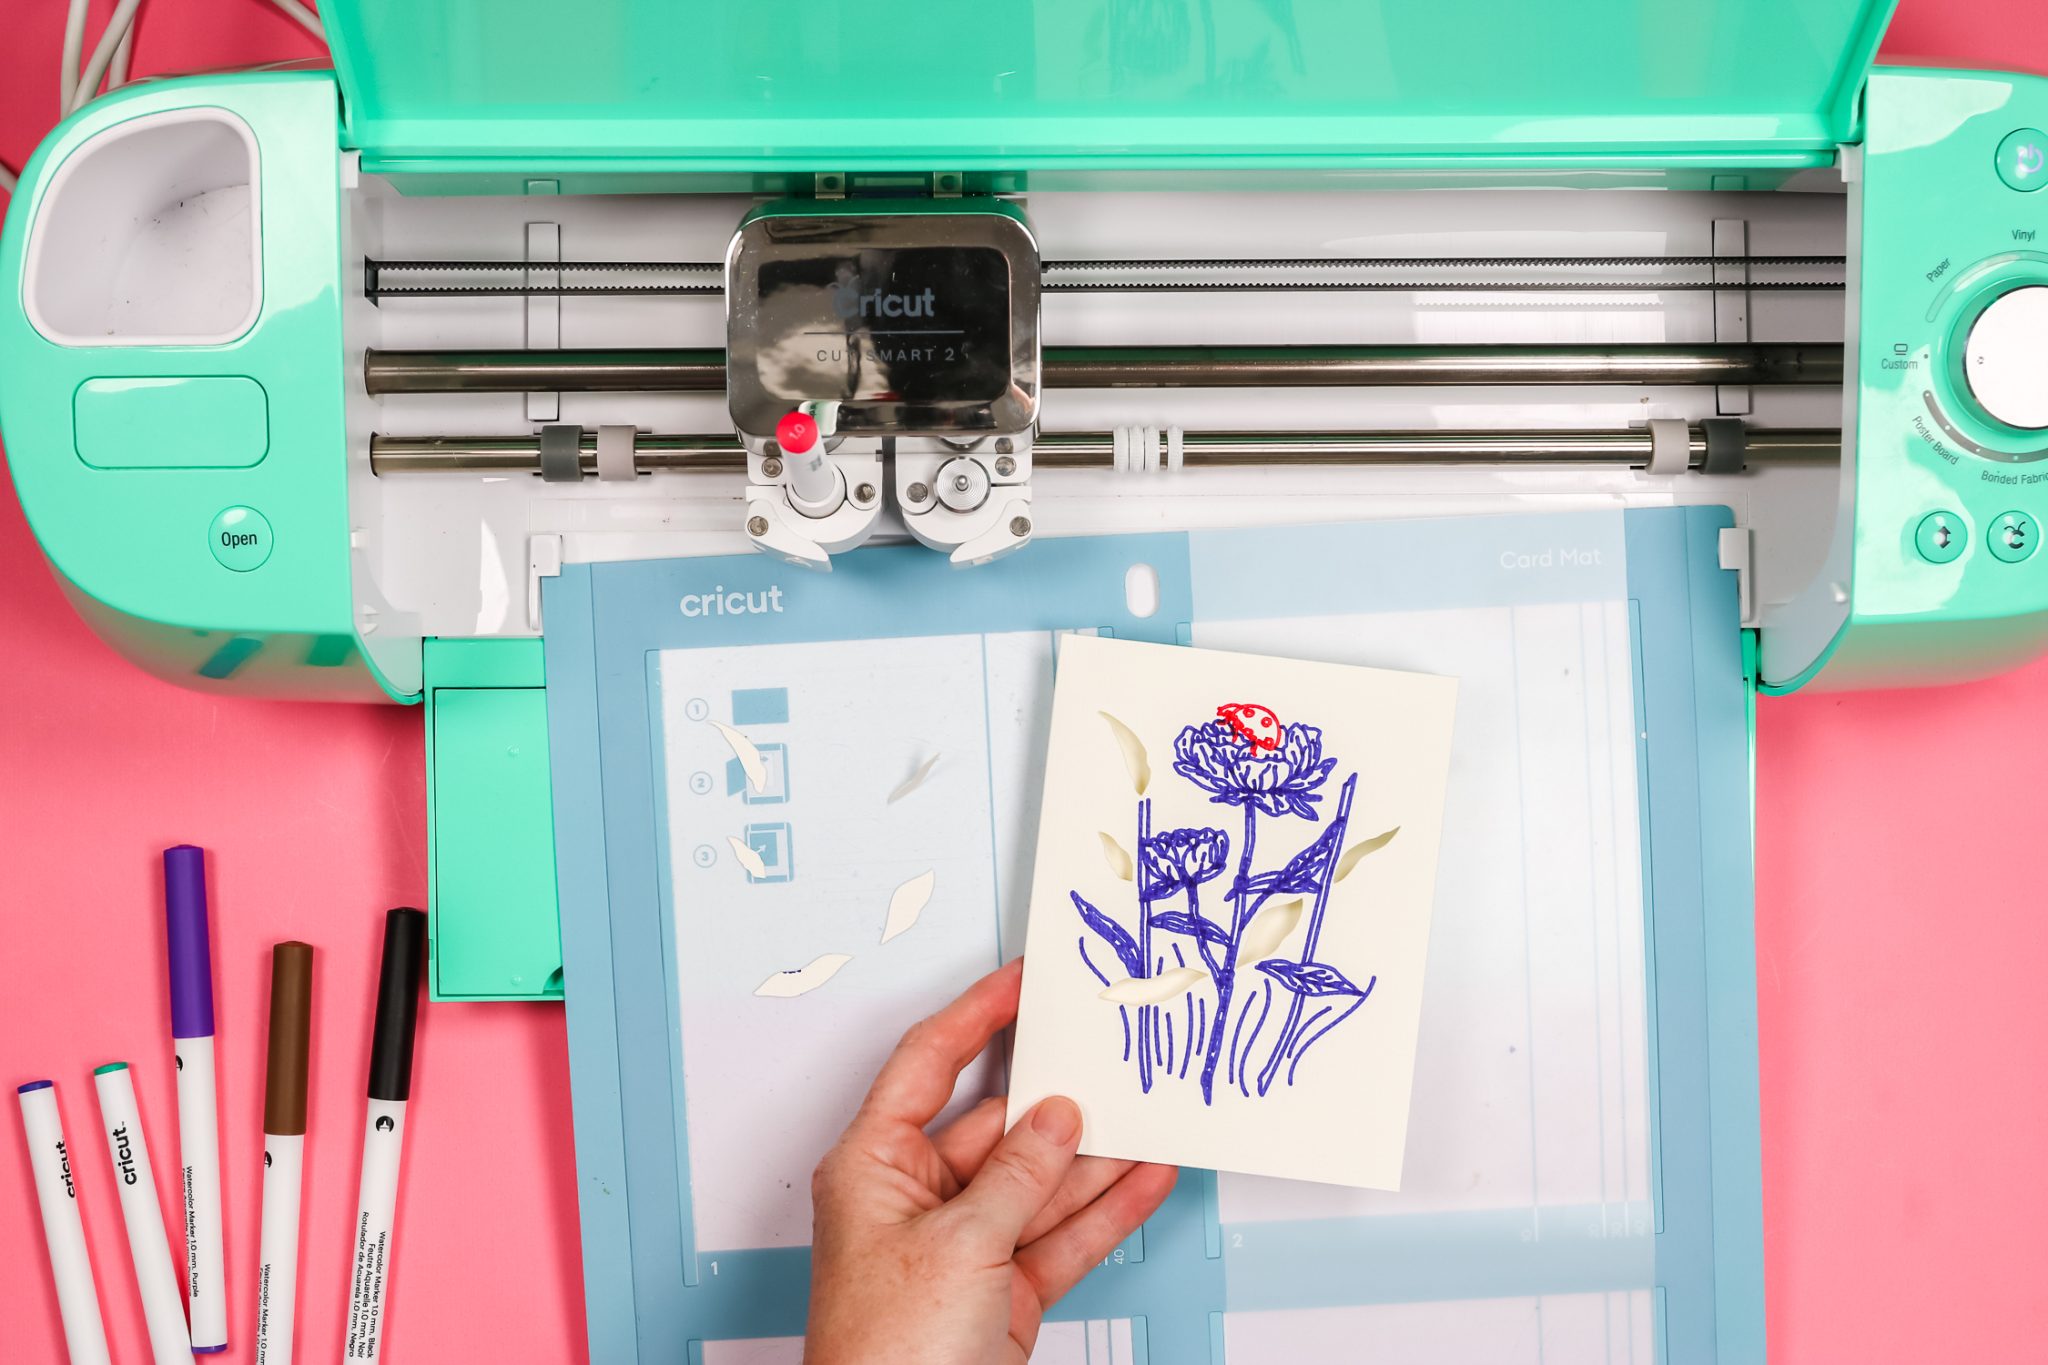
For this specific card, I removed the corner cuts from the design and am choosing to just use adhesive to attach the insert to the card. First, use the water pen on your design. You will also want to use your Cricut machine to cut a rectangle out of cardstock that will fit on the back of the front of your card and cover all of your cutouts.
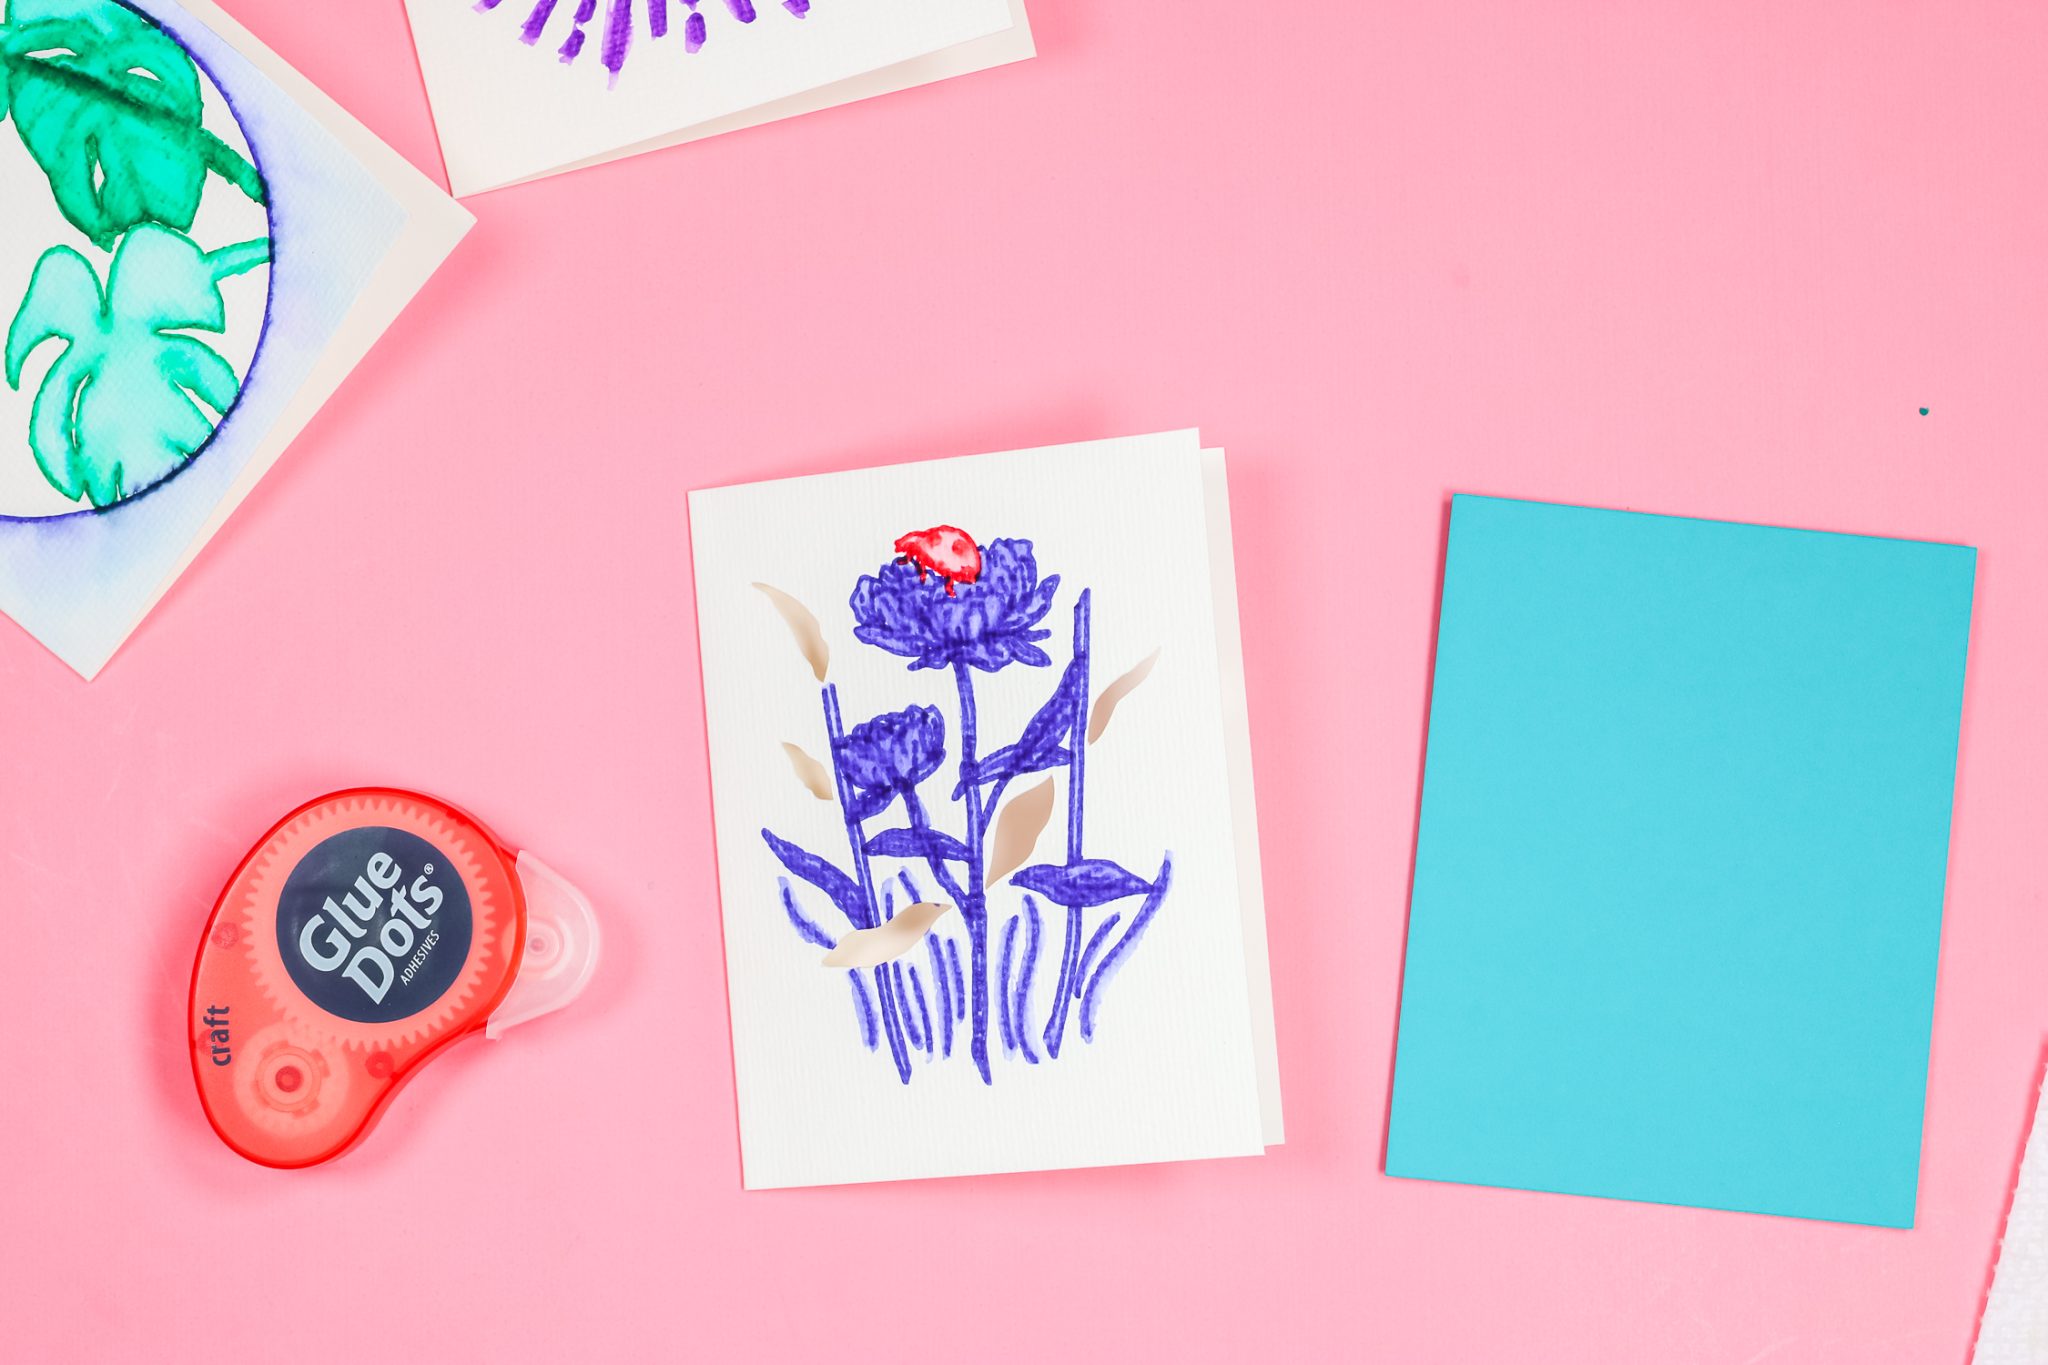
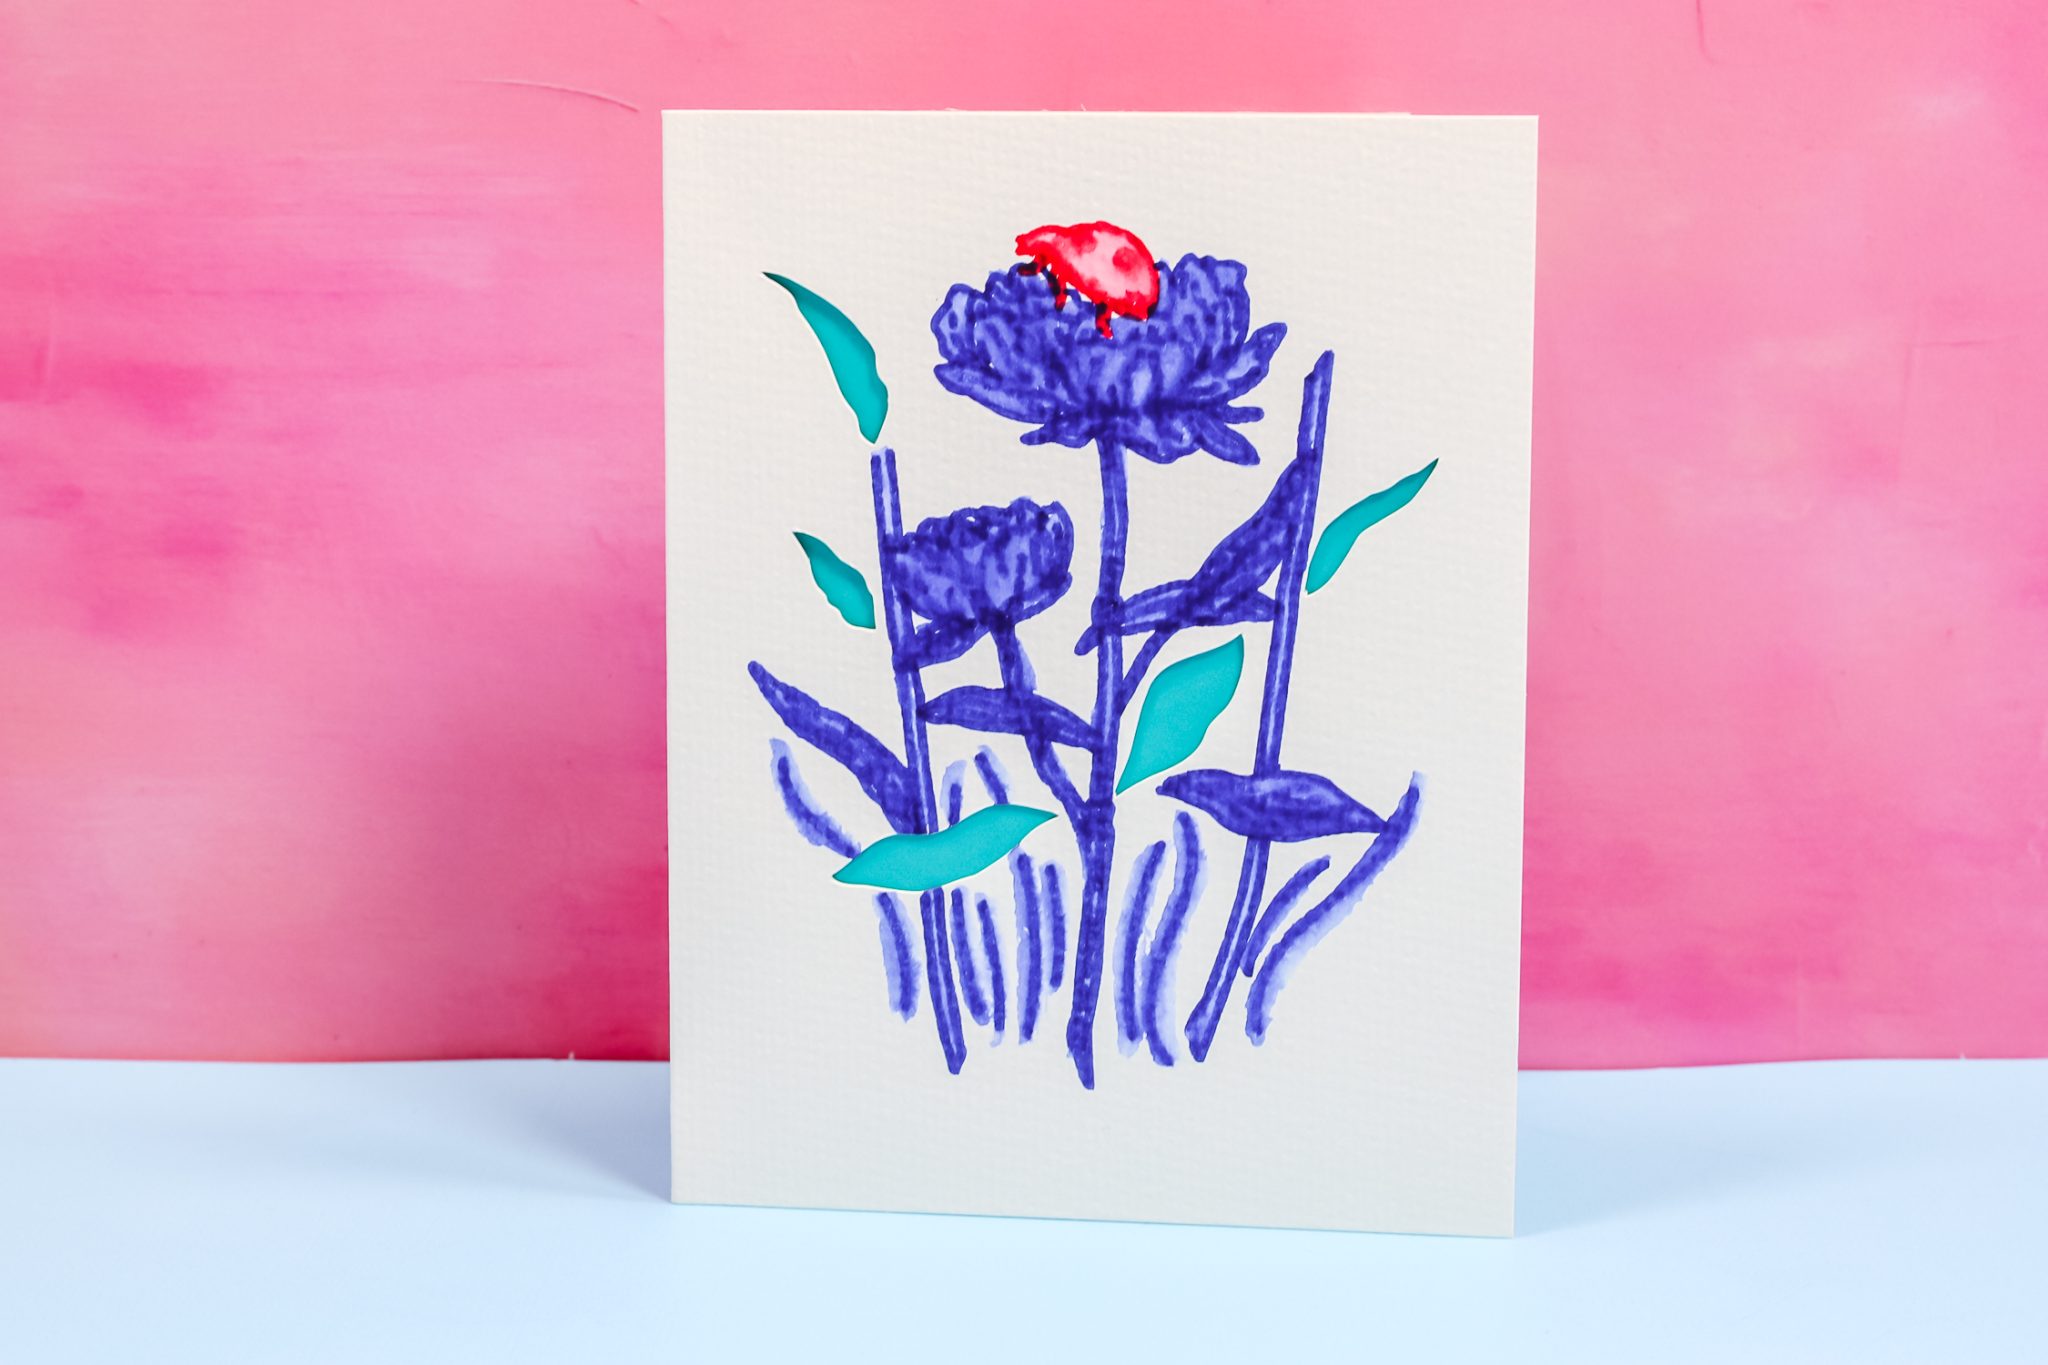
Then just use any adhesive to add the insert to the inside of your card. This one looks great and is ready to give!
NOTE: When I turned the card over to add the insert, water and ink from the card got on my table surface. It wasn’t a problem for this project but you need to be careful because that water and ink could transfer to another project. Just make sure and let the ink dry completely before flipping it over or stacking projects.
Creating a Framed Watercolor Effect
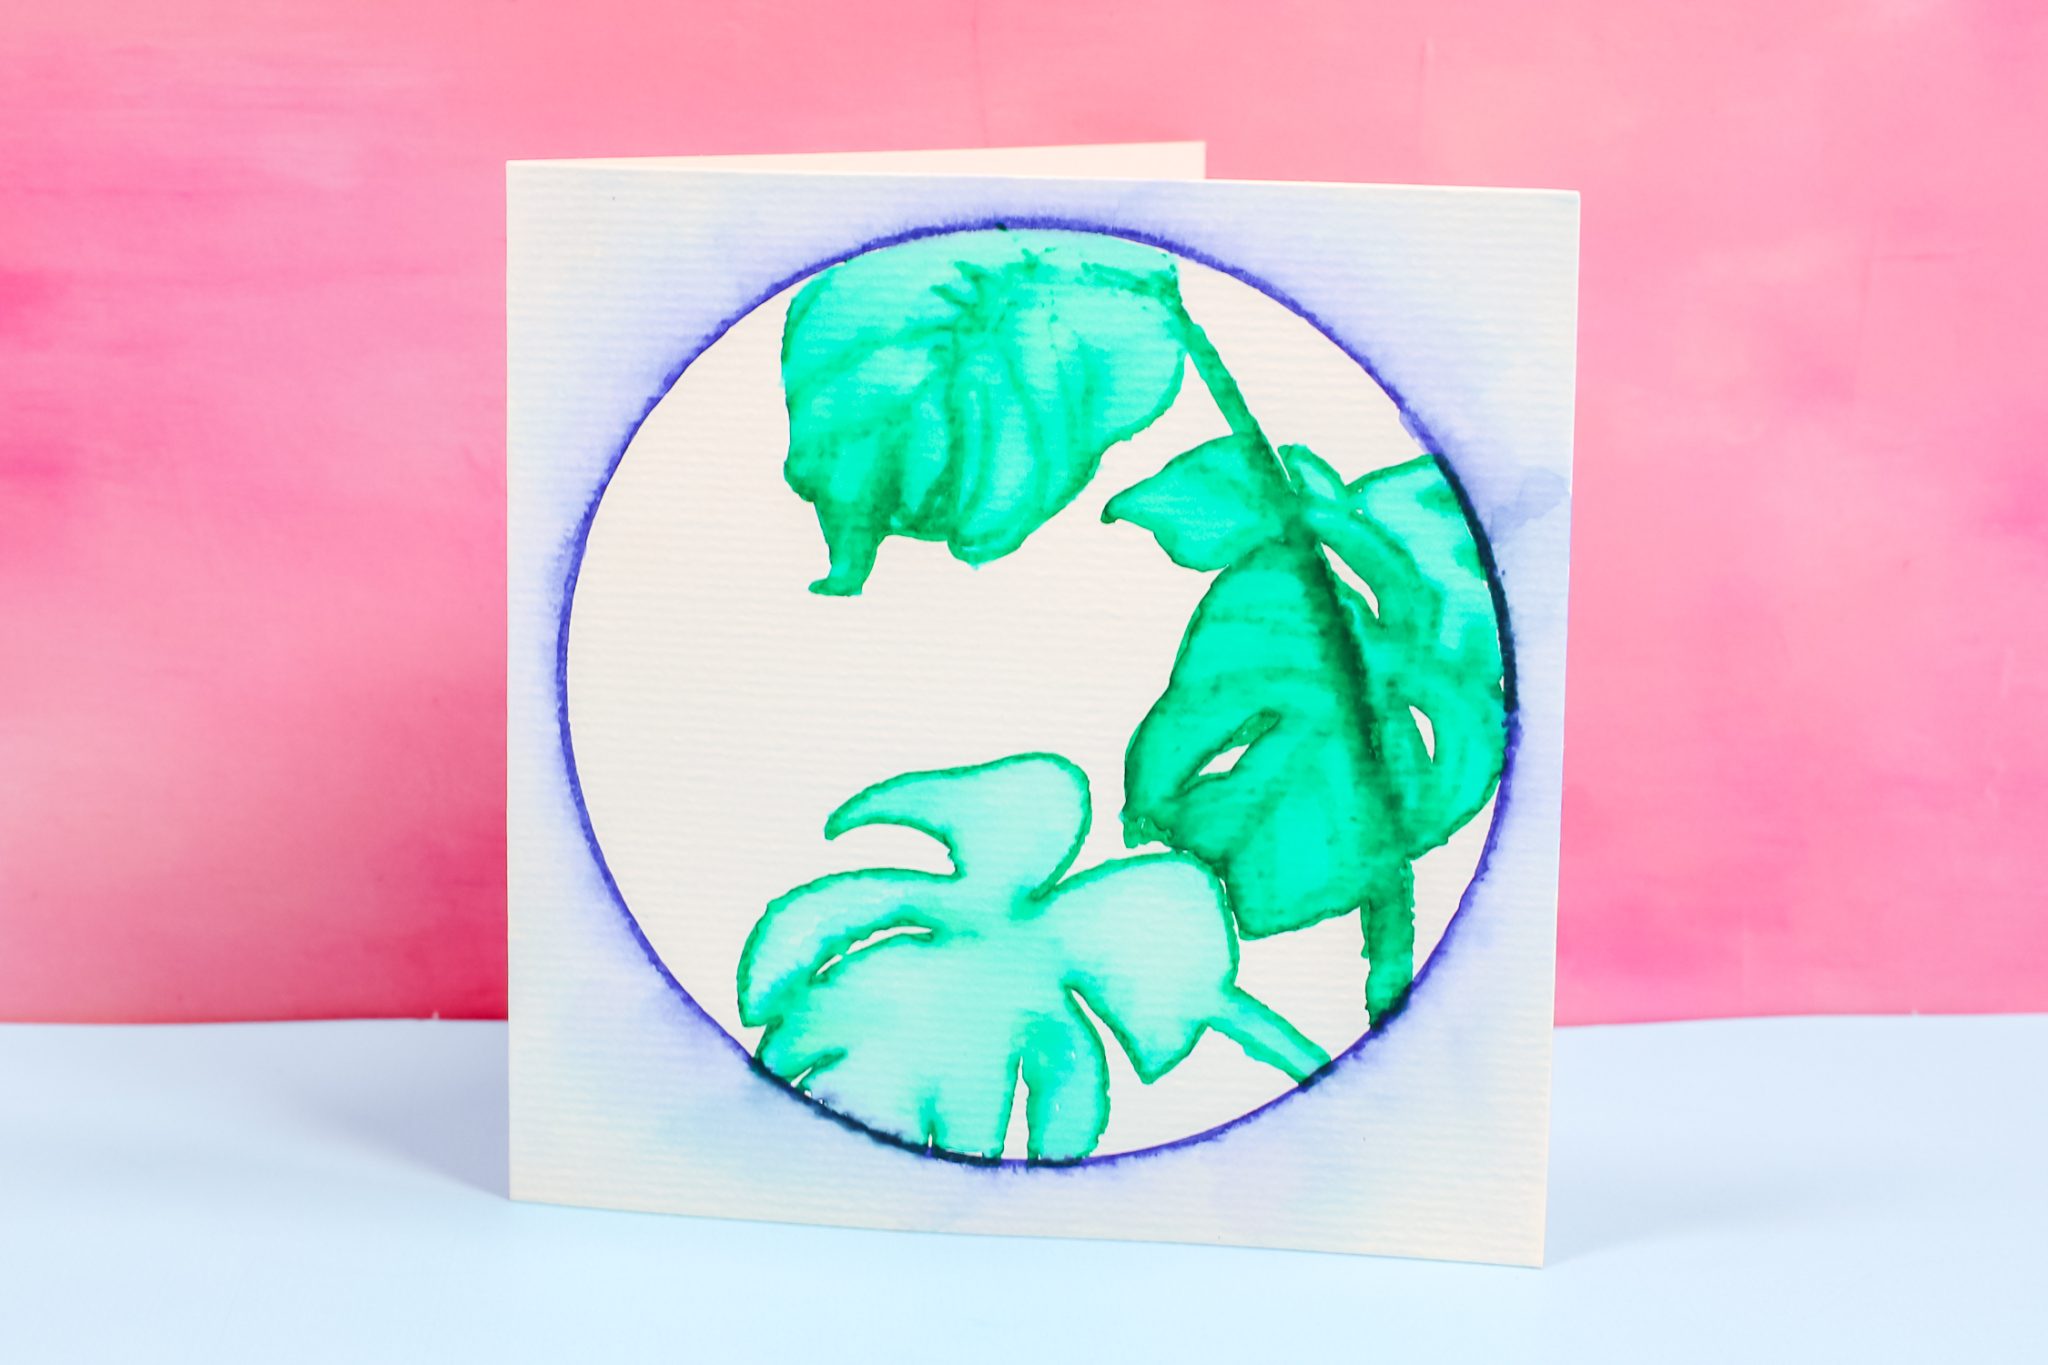
I thought this image would be fun to create a framed watercolor effect. I used the water brush pen to create the watercolor look on the leaves. After doing the leaves, I used the water brush pen to pull the ink from the circle out away from the image to create a watercolor look outside the image. There are a lot of really cool things you can do with these watercolor markers.
Final Thoughts on Cricut Watercolor Markers and Cards
I think these markers give a really cool artistic effect. If you love the look of watercolor I think you would really have a lot of fun with these markers. As someone who can’t really draw, I love letting my Cricut machine draw for me, and then I can use the water brush to make a really cool watercolor card or tag.
You could have a lot of fun creating watercolor art for your home or to give as gifts. You can use the Cricut Watercolor Markers on regular watercolor paper or the watercolor card sets. I really like that the markers come with the water brush pen. That is great because you can just get creating right out of the box.
Quality of Watercolor Cards
I think the cards are very nice quality. They’re heavy enough that the water doesn’t go through them at all. I think the markers write on the cards really nicely and they cut really well with the Cricut machine.
I will say they are more of a cream color. The watercolor paper I used was more white but still had a bit of a cream color. I am not an expert on watercolor paper. If you are looking for a true white, you may have to shop around a little bit for the right paper.
I hope this answered all your questions about Cricut Watercolor Markers and Cards. If you have any questions about them, leave them in the comments below and I’ll be happy to answer them for you.
