This post and photos may contain Amazon or other affiliate links. If you purchase something through any link, I may receive a small commission at no extra charge to you. Any supplies used may be given to me free of charge, however, all projects and opinions are my own.
If you’re interested in adding sublimation to tapered blanks, I’m here to help. Today I’m going to show you how to use curved templates the right way so you’ll have beautiful sublimation projects with proper placement every time!
If your blank doesn’t come with a template, don’t worry. I’m going to show you how to create a curved template using free programs so you can make your own.
If you’re just learning about sublimation, my Sublimation Beginner’s Guide is a great place to start.
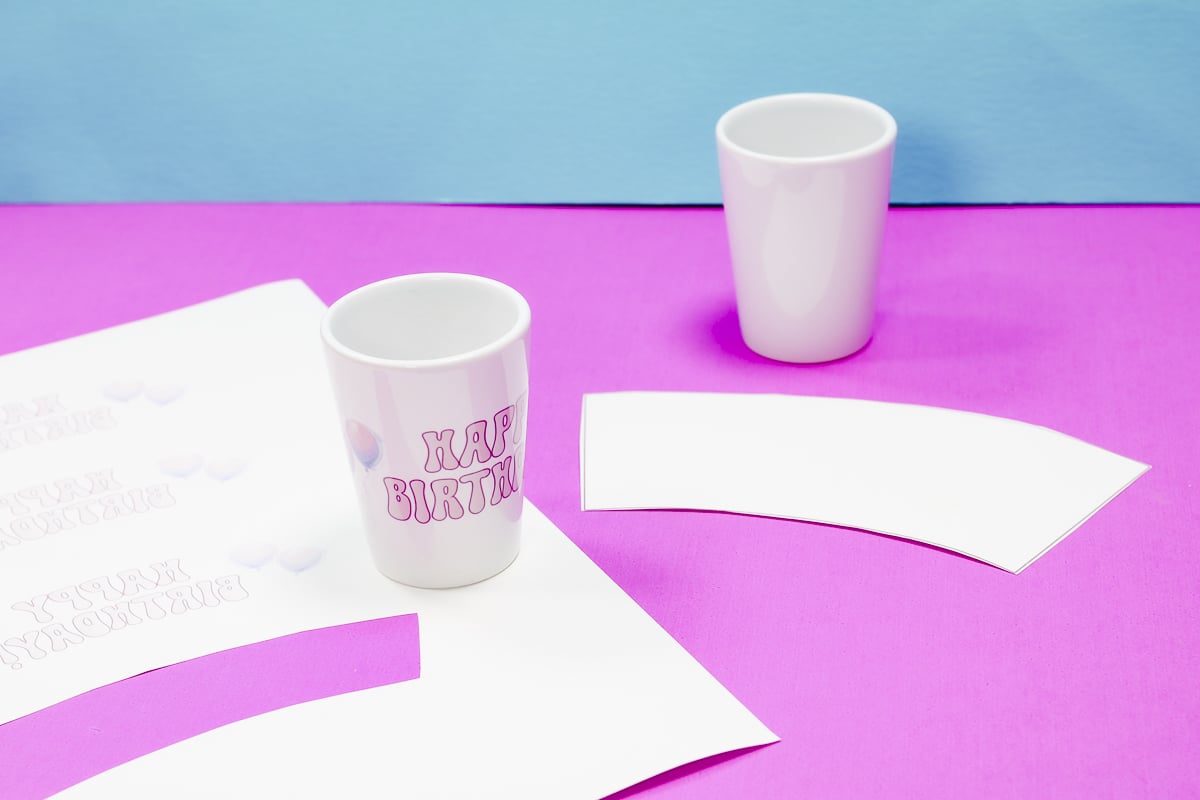
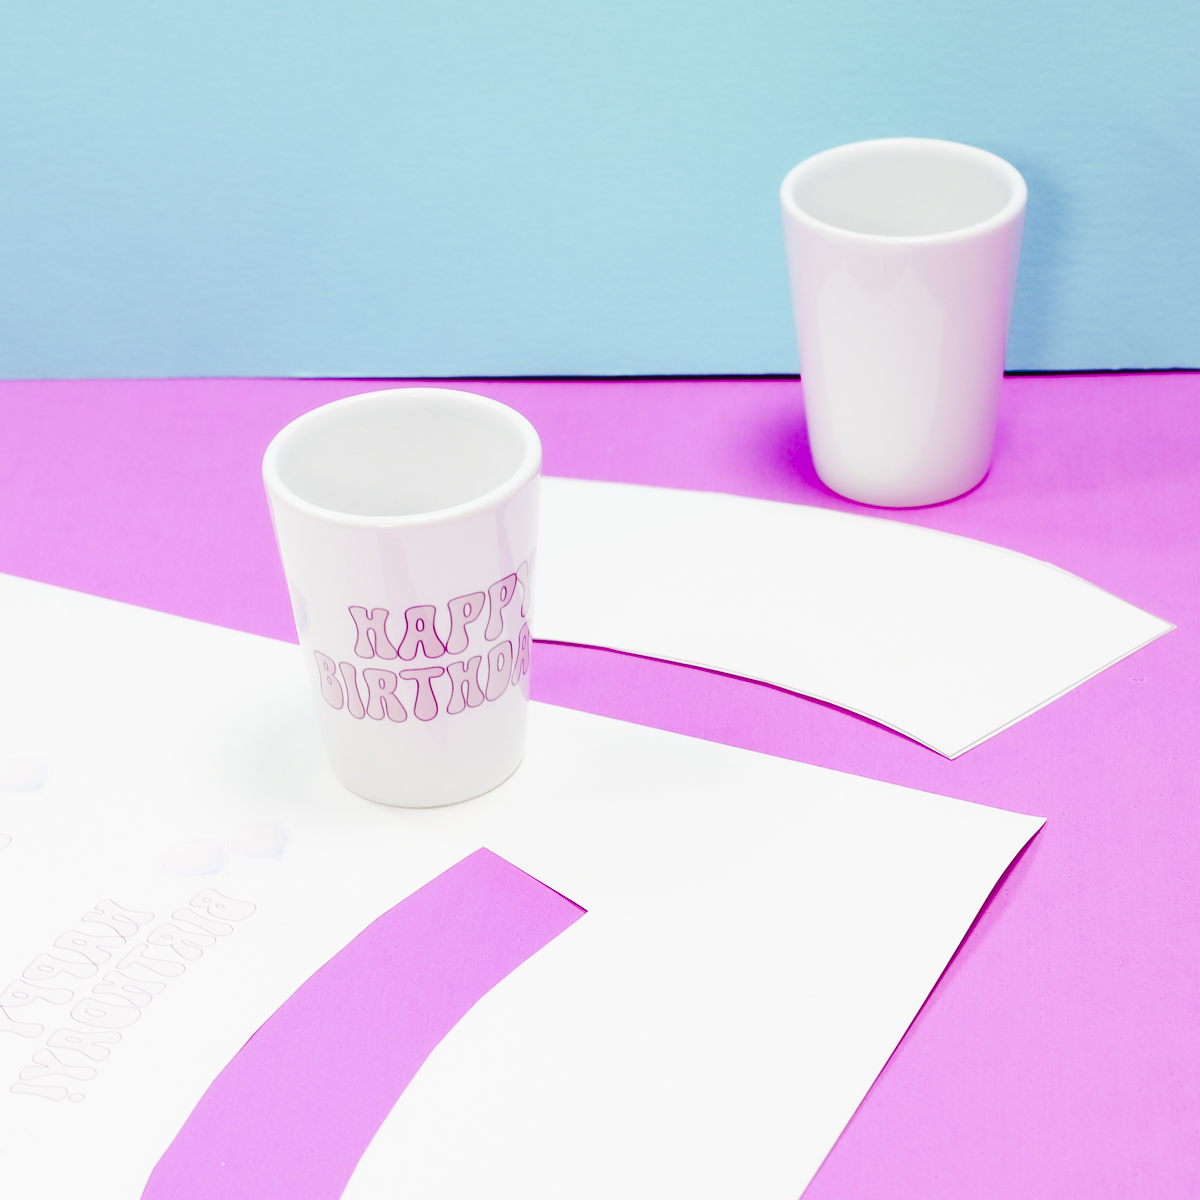
For today’s project, I am using a sublimation shot glass. The glass has a tapered surface which is why we need a curved template to get the design straight.
You can watch me make this project and the template from start to finish by pressing play on the video below.
If you’ve never used a tapered blank, the idea of making a curved template may be confusing. Let’s talk about why we need a curved template.
Table of Contents
Why Do You Need a Curved Template?
To explain why you need a curved template, let’s look at a tapered blank.
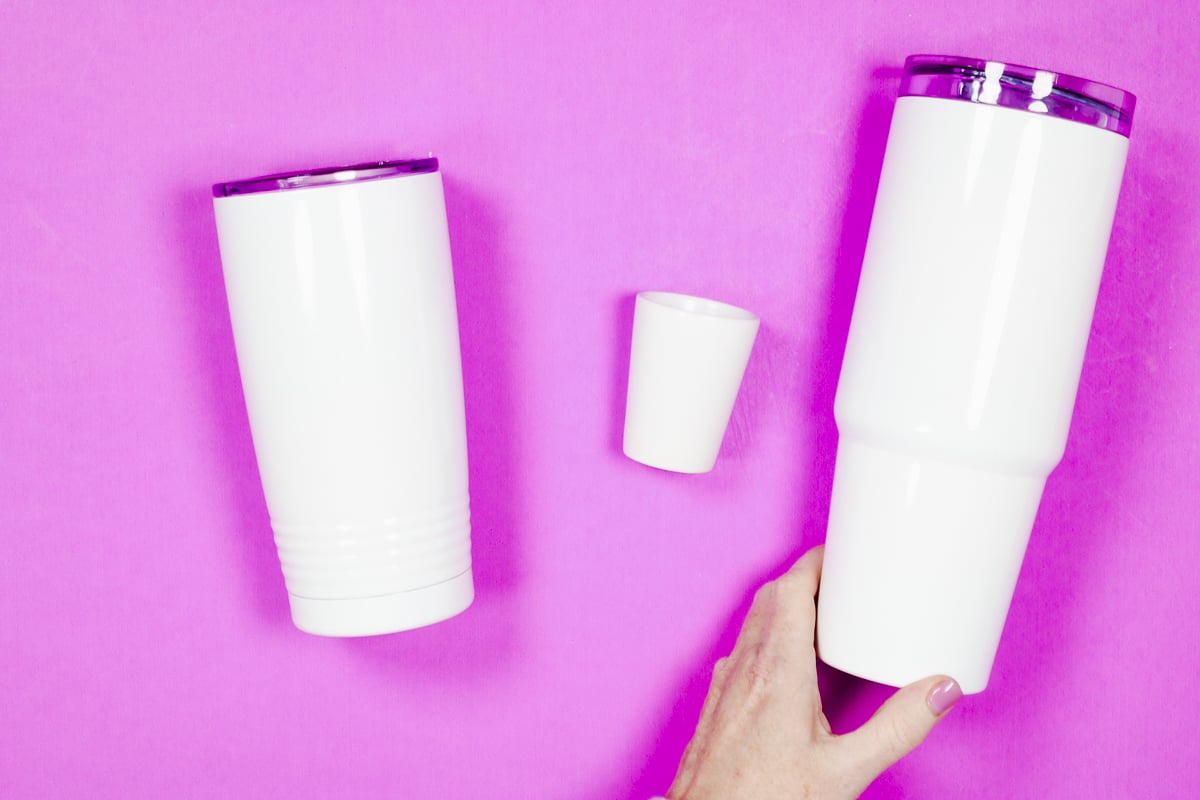
I will be using the sublimation shot glass for today’s tutorial but there are a lot of tapered sublimation blanks on the market. In the photo below, you can see a few different examples. This process will be similar for any tapered blank.
I do want to note if there is a ledge or groove they can impact the finished product. If you’re blank has a ledge or groove and you want a full wrap design, I have hydro sublimation method here that would be helpful for those blanks.
To show you why you need a curved template, I want to show you what it looks like if you take a straight piece of paper and wrap it around a tapered blank.
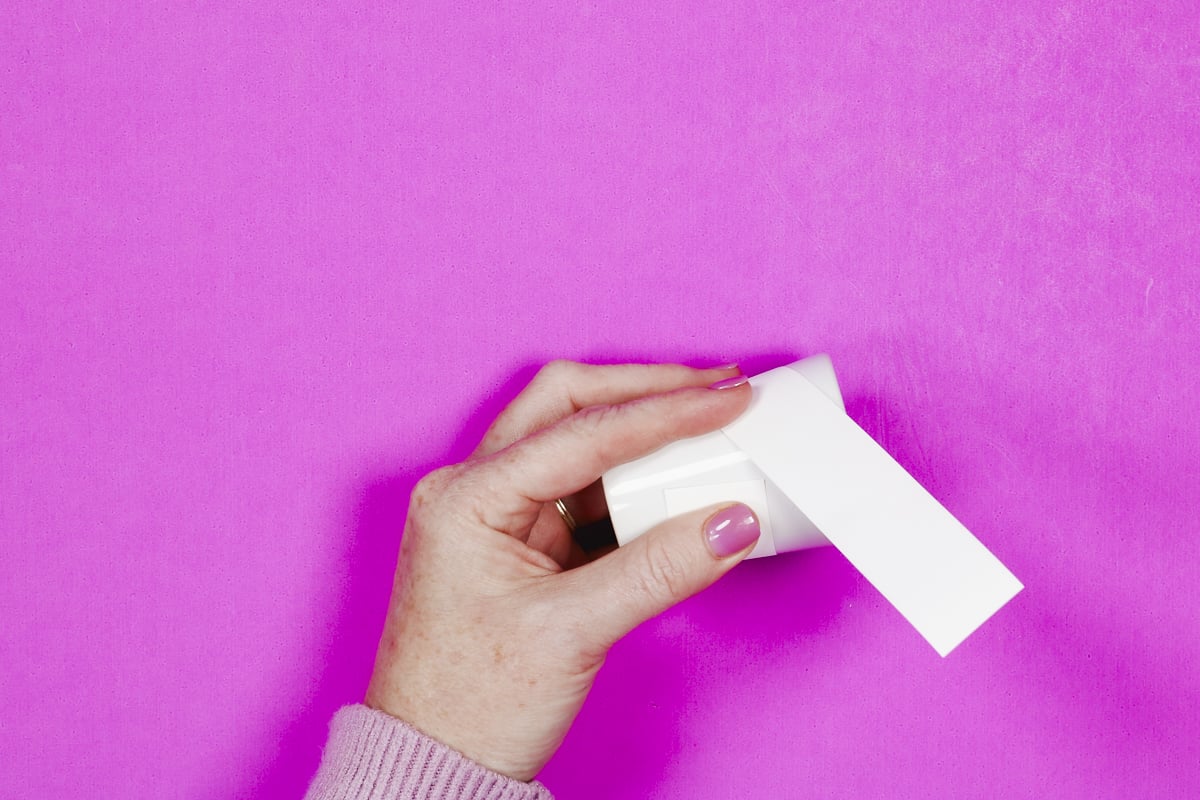
For this example, I am using a 1″ piece of paper that is cut perfectly straight using a paper trimmer. You can see in the photo above that when I pull the paper tight around the shot glass the ends of the paper do not line up.
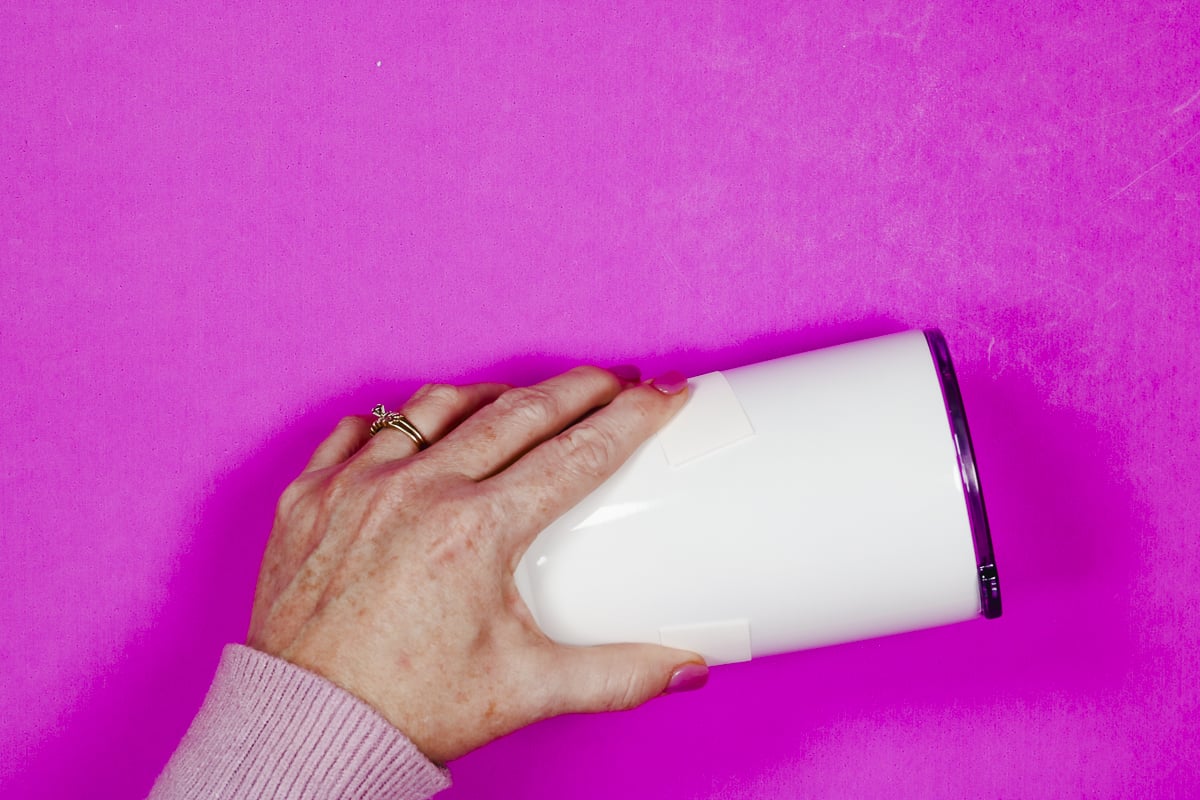
This is another blank example that has a less extreme taper. You can see, that even on this blank, the paper will not line up as it wraps around the tumbler.
Because a straight piece of paper will wrap up and around the blank instead of straight around it, we need to create a template with a curve so our design ends up correct on the blank.
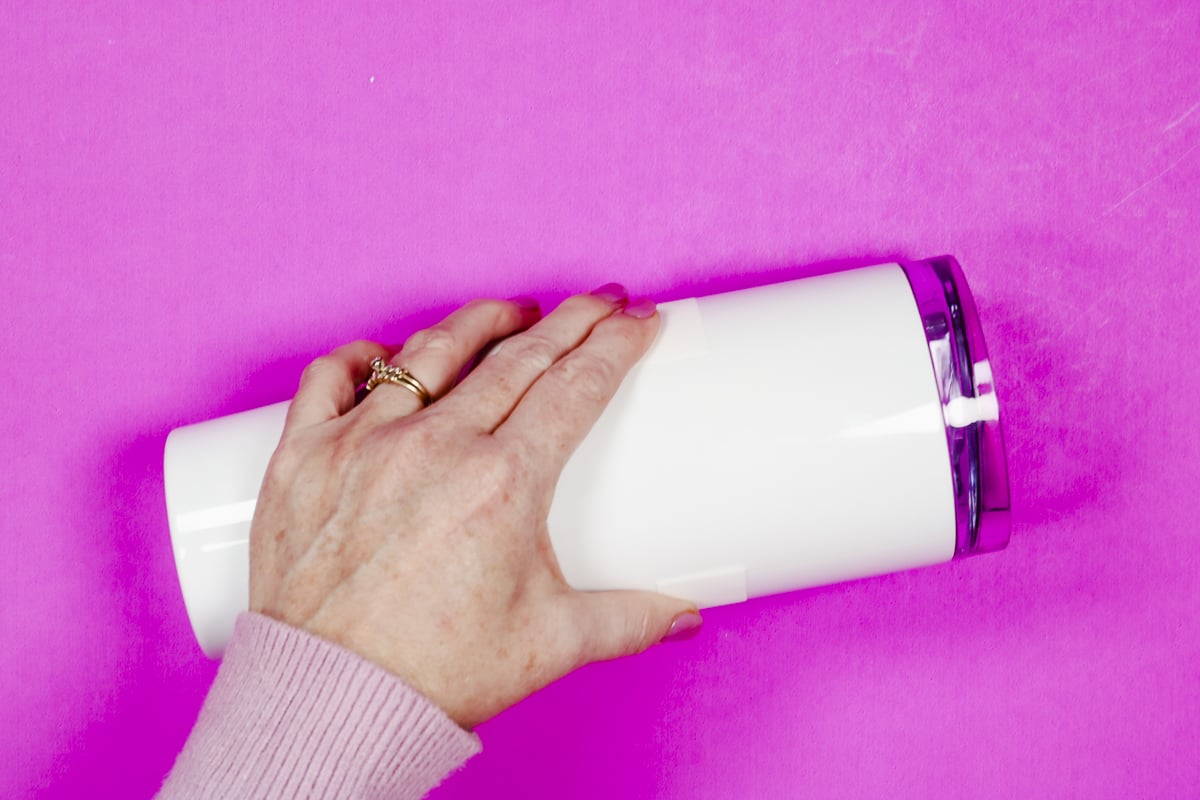
Here is that same strip of paper on a straight-sided tumbler. While it’s not long enough to wrap all the way around, you can see that the ends would meet if it was longer.
How to Make Curved Templates for Sublimation Projects
I’m going to show you step-by-step how to create a curved template. If you’ve ever used a tapered blank before, you know why having a curved template is important. For this portion of the tutorial, you will need the Online Labels Tapered Label Generator.
If your blank already has a template, you can skip this section of the tutorial. If you don’t have a template or you want to check the template size I’ll walk you through creating your own.
Step 1 – Measure Your Blank
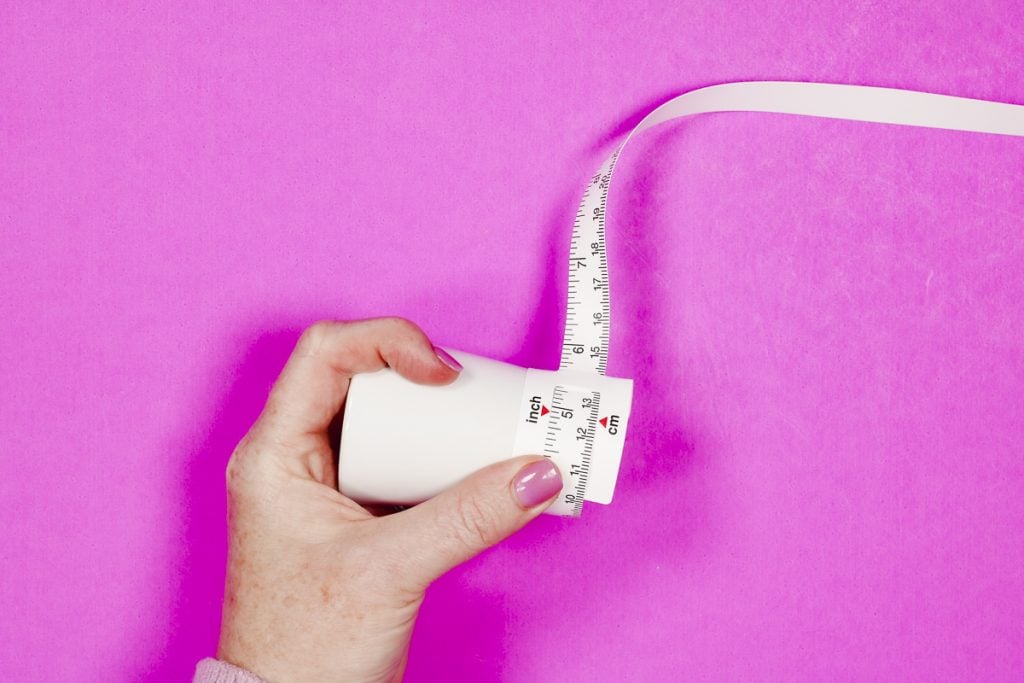
When measuring around something like a tumbler or glass I like to use a tape measure similar to the one in the photo below. This flexible tape measure feeds through itself making it very easy to read the exact measurement.
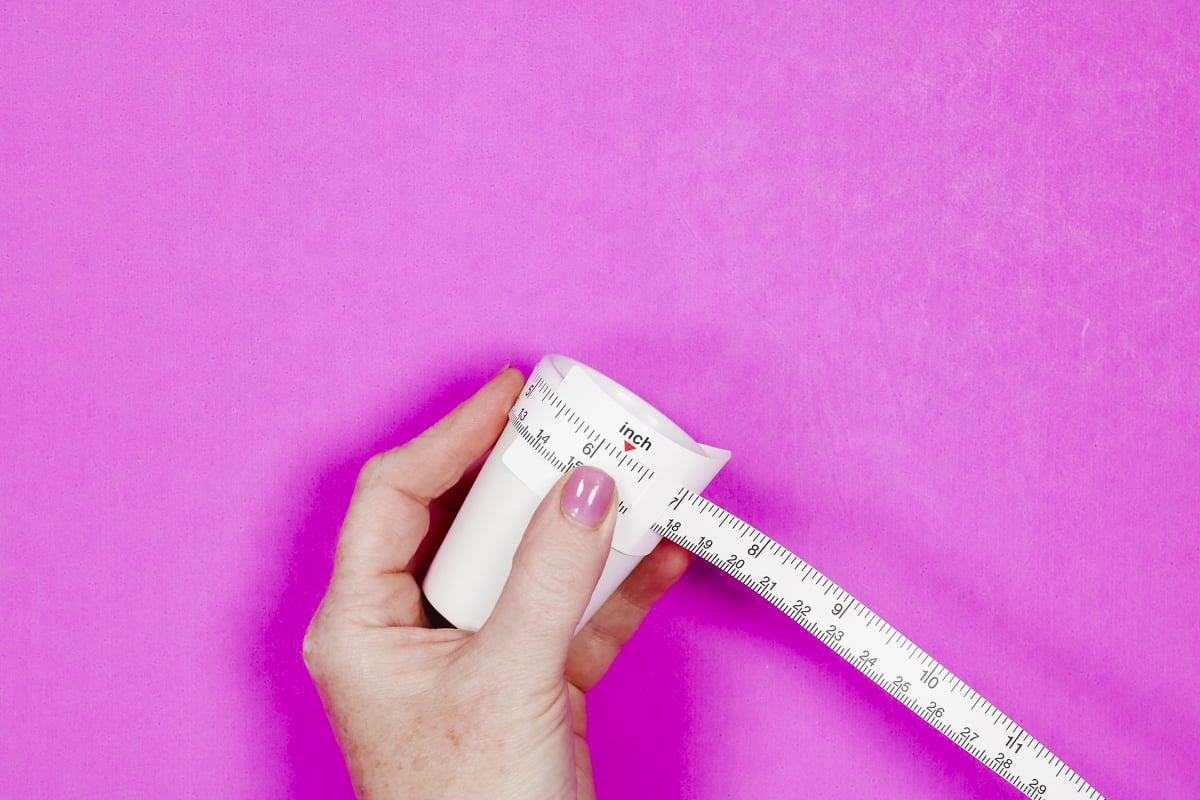
First, measure the top of the blank and then measure the bottom of the blank. Write down those exact measurements.
I like to use a firm straight ruler to measure the height. Make sure you line up the first actual measurement marker to get the exact measurement.
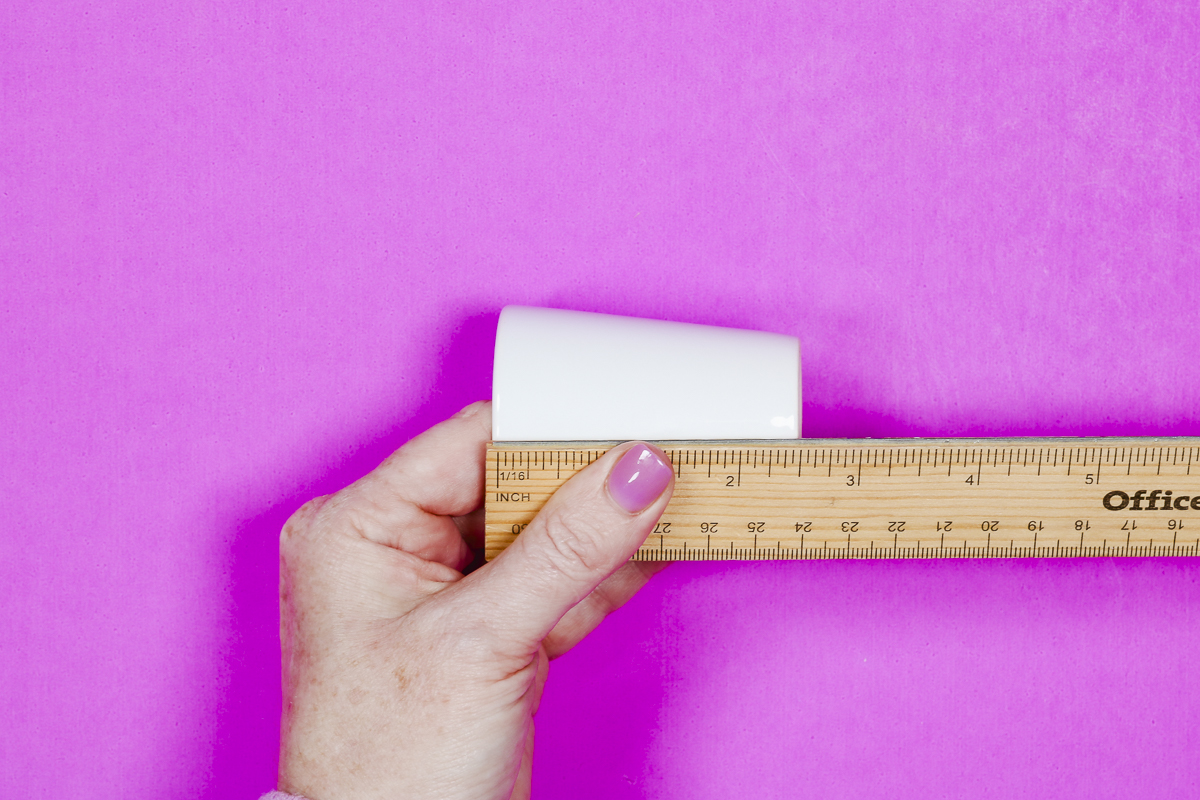
My measurements are 6 3/16″ by 4 13/16″ by 2 1/2″. These are the measurements we’ll use to make the template.
Step 2 – Add Measurements to Tapered Label Generator
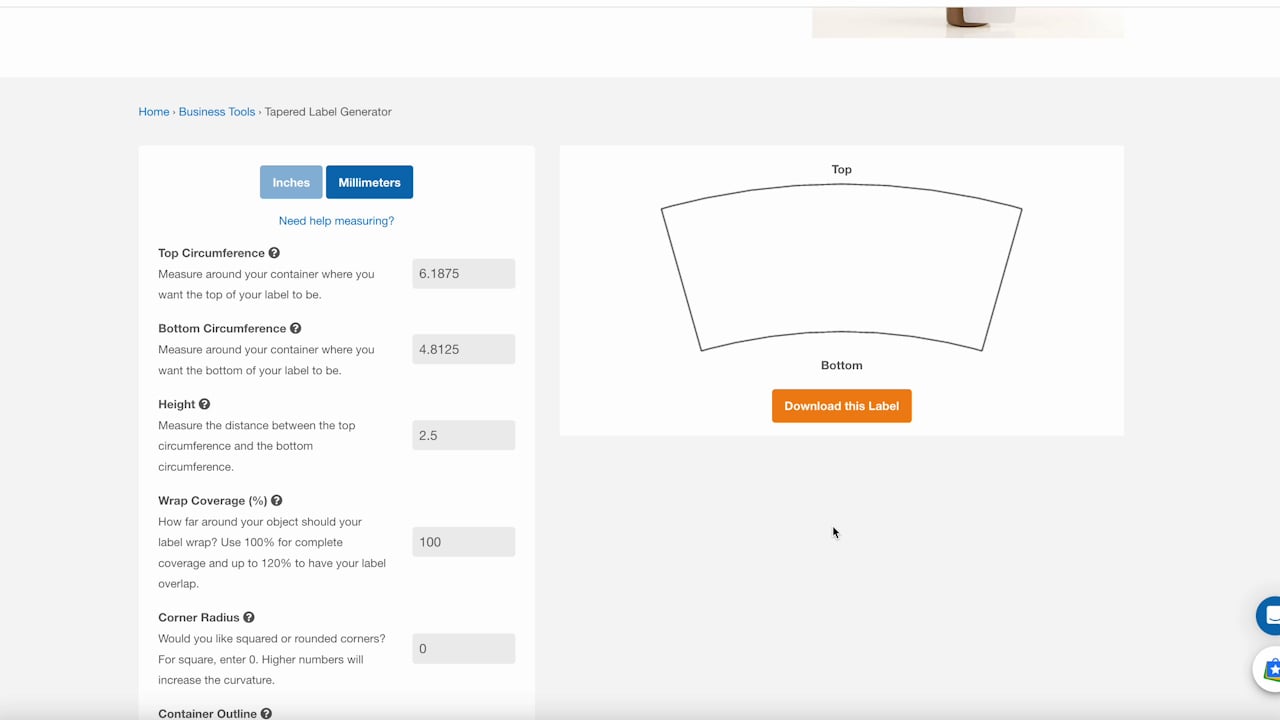
To create the template I am using the website Online Labels and using the Tapered Label Generator.
In the generator, you’ll need to input the measurements. For this generator, you’ll need the fraction portion of the measurement as a decimal. My measurements ended up being 6.1875″ by 4.8125″ by 2.5″. These measurements will create a full wrap template.
Because this is a label generator it has other options that you’ll need to set. Since I want my template to be a full wrap I am going to set Corner Radius to 0 and I don’t need a container outline.
Next, click Generate Template, and as you can see I now have a curved template! Click download and you may need to enter your email address to get the download.
Step 3 – Test the Curved Template
I recommend that you print the template to make sure it’s the right size and has the right curve. I printed mine as a PDF file and used a pair of scissors to roughly cut it out so I could test it against my shot glass.
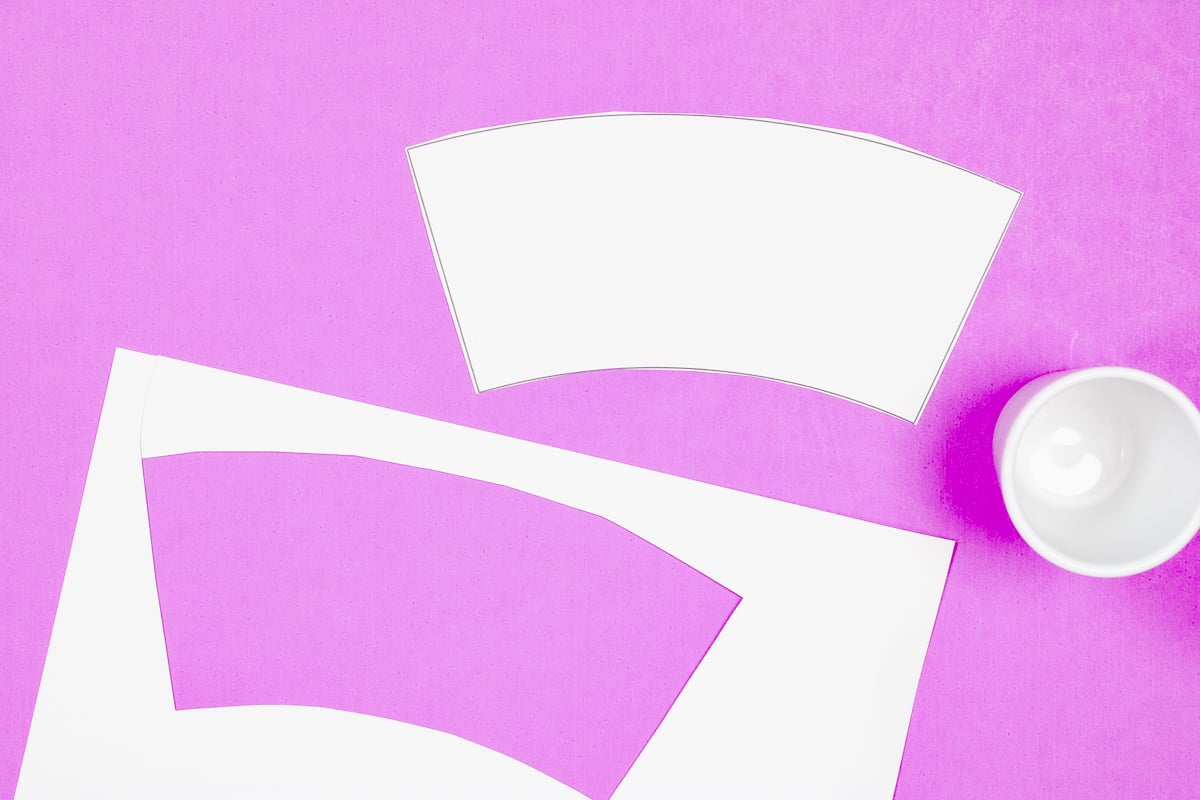
Here you can see that I’ve pulled the curved template tight around my blank and the ends are lining up.
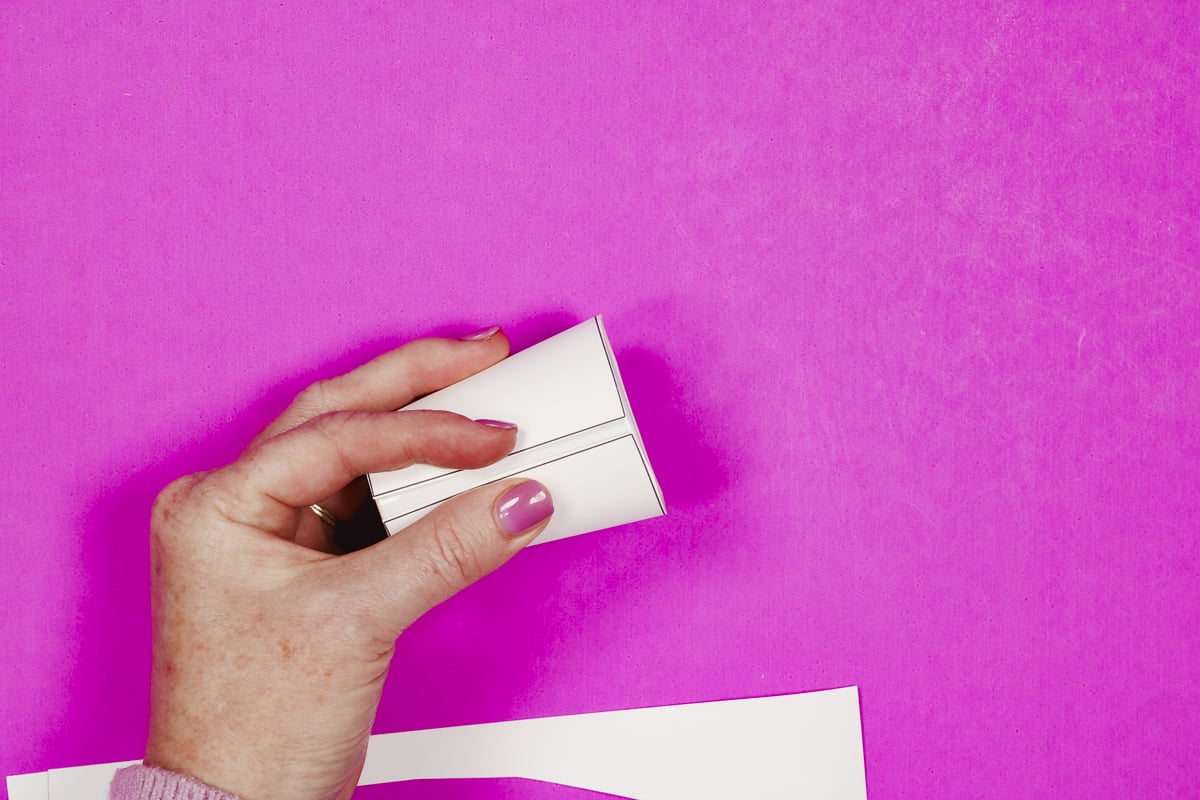
If I wanted to create a full wrap design, I would continue to adjust this template so that it was long enough for the ends to actually meet. I am not doing a full wrap design and the curve is correct on this template so I am going to use it.
How to Create a Design that Fits a Curved Template
Now that we have a curved template that is the right size it’s time to create our design to fit the template.
Before we proceed you will need to turn your PDF file into a PNG file. For this process, I am using pdftopng.com. Click Upload Files, find the PDF on your computer and it will upload to the website. When it’s done you’ll see a download button, click on that and your PNG file will download to your computer.
Step 1 – Measure the Template
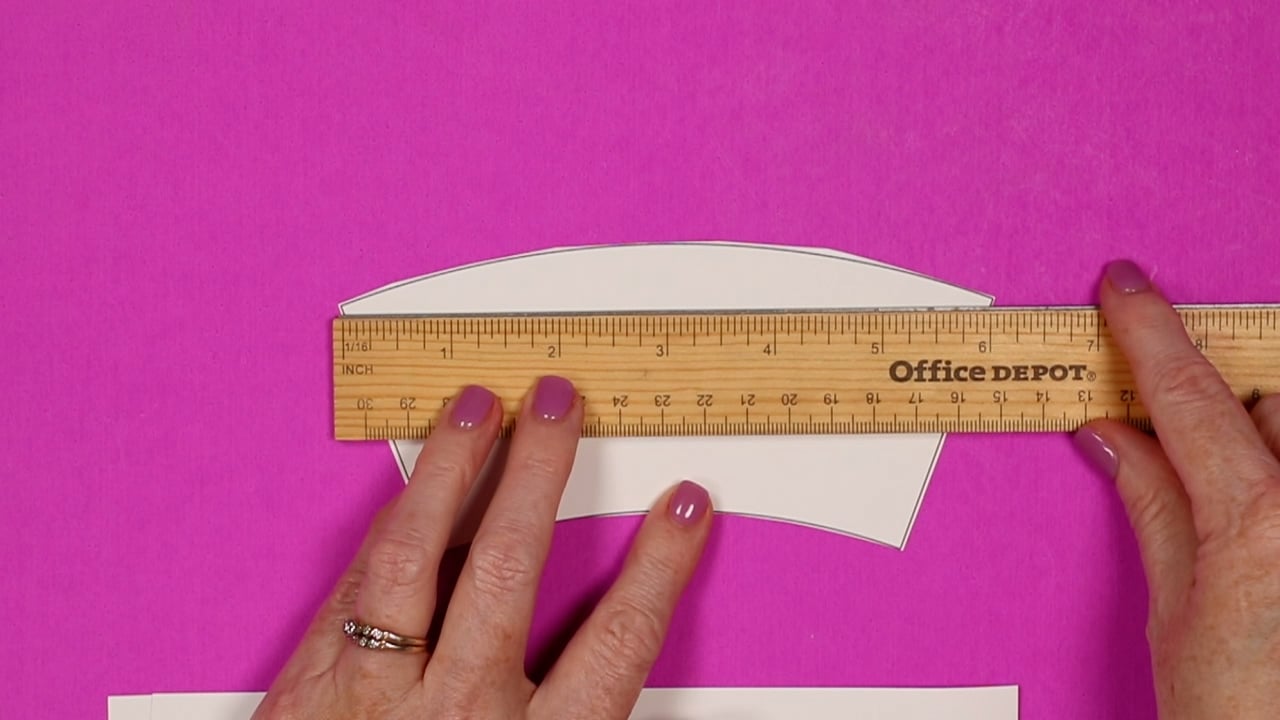
No, you don’t need all the measurements we used before. This time we’re going to lay out the template flat and measure it straight across from the top corner to the top corner. My template is about 6 inches.
Step 2 – Create a Design to Fit the Curved Template
Open Photopea.com and click New Project. I like to change the measurements to inches and set them to the size of my sublimation paper. In this case, that is 8.5″ by 11″.
Make sure your DPI is set to 300 pixels per inch so you can resize as needed without distorting the design. Make sure the Background is Transparent and click Create.
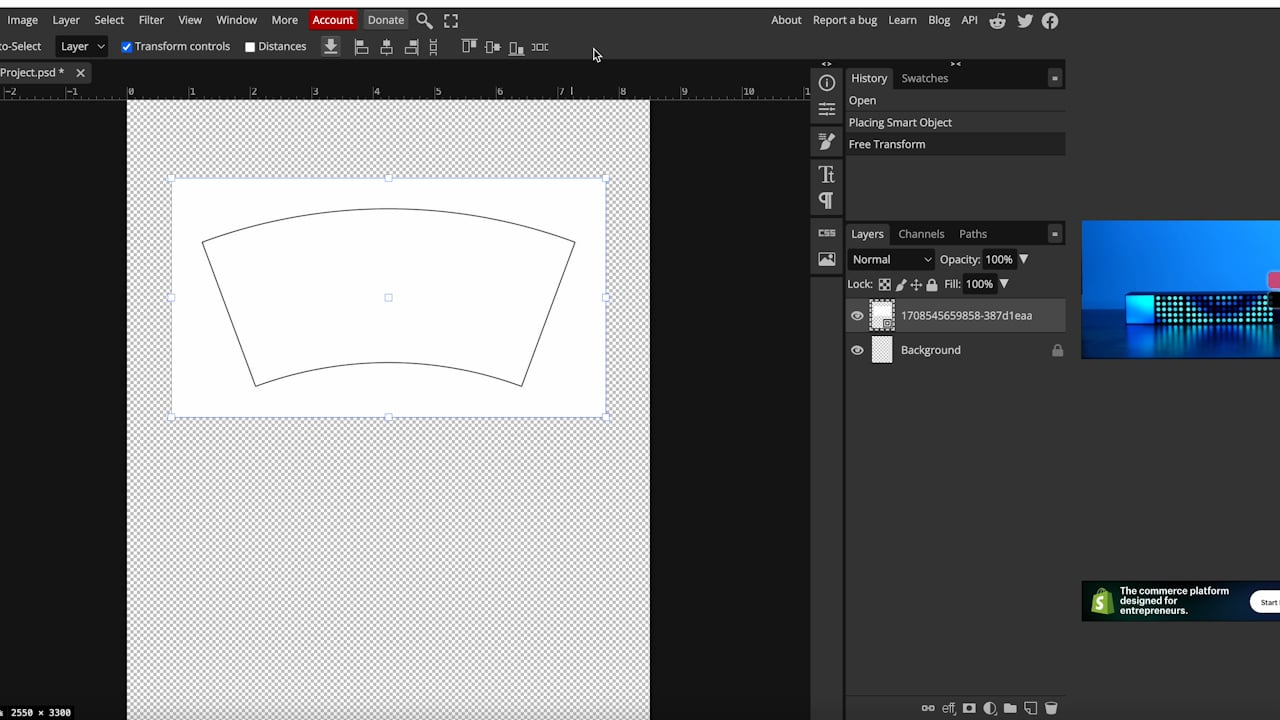
Next, we need to add the PNG curved template to the canvas. The design should come in the correct size but double-check that. If the template is not the correct size you can adjust that. Use the rulers on the screen to make sure the size is correct. You should be able to use the 6 inch measurement above to check the size.
When you have the size right click Accept Size and that will keep the curved template on the canvas in the right size.
Step 3 – Add Design to Template
For this tutorial, I am using this free happy birthday file.
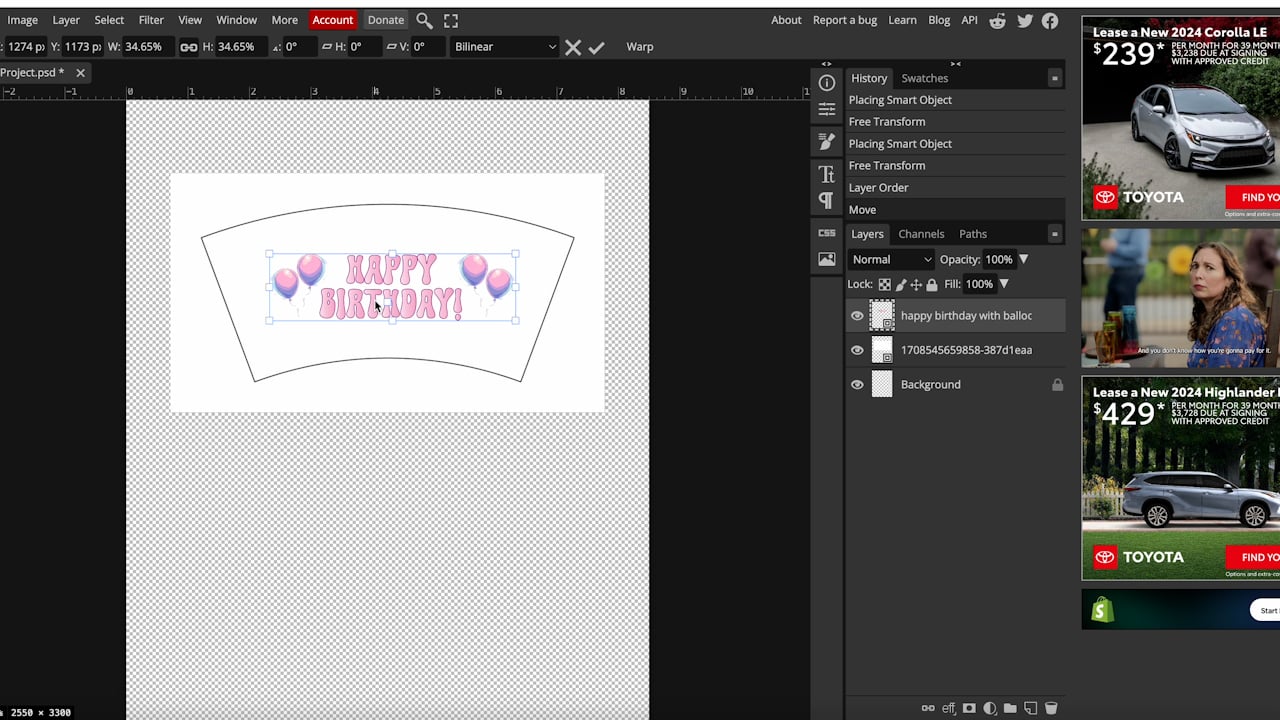
Click File, Open, and Place. Find the design on your computer and open that file. Arrange the layers so the design is in front of the template.
Resize the design to fit your template. I am resizing mine to approximately 4 inches wide.
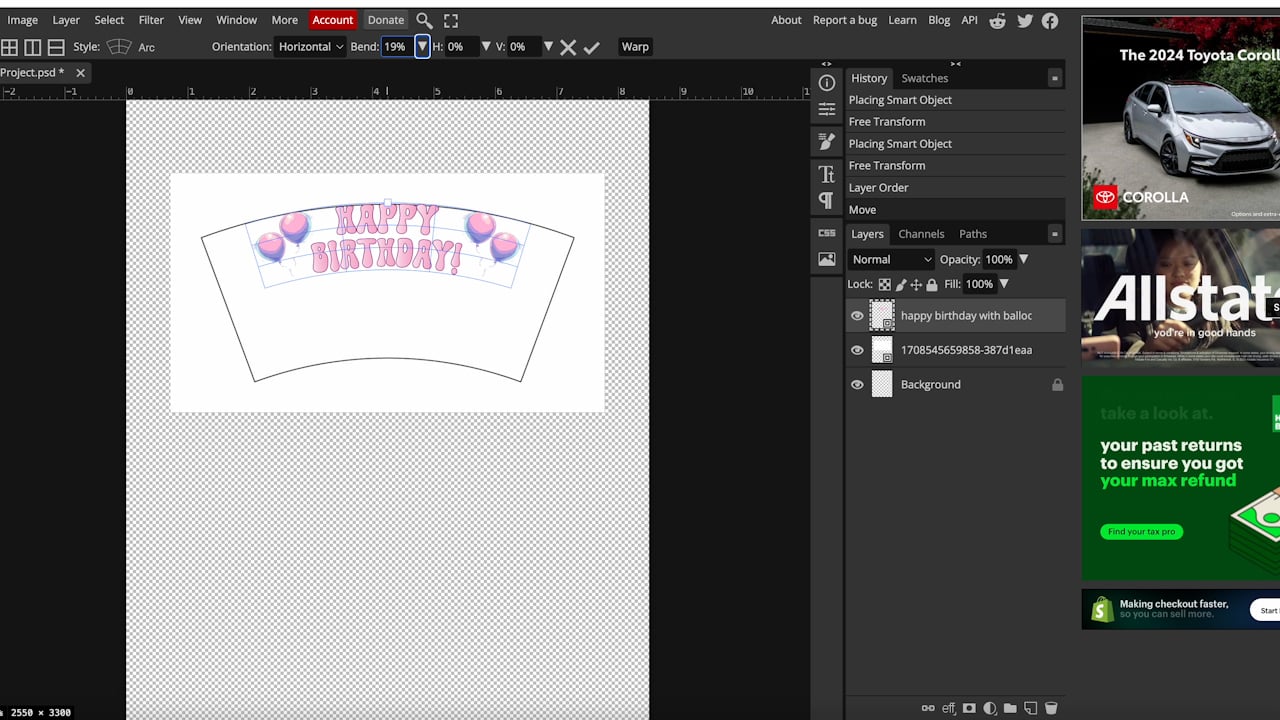
Step 4 – Warp Design to Match Template
The reason we made the curved template is so that we would know the type of curve we need to add to the design so it will be straight on the blank.
Click Warp and then under style click Arc. The arc’s default is 50%, that is more than I need so I am going to adjust it for my blank. The goal is to get the arc to match the template itself. For my template, 20% looks good. When you’re happy with the bend click the checkmark to accept the setting.
Step 5 – Print Curved Design
When it comes to printing, we don’t need to print the template. Click that layer and then delete it from the design.
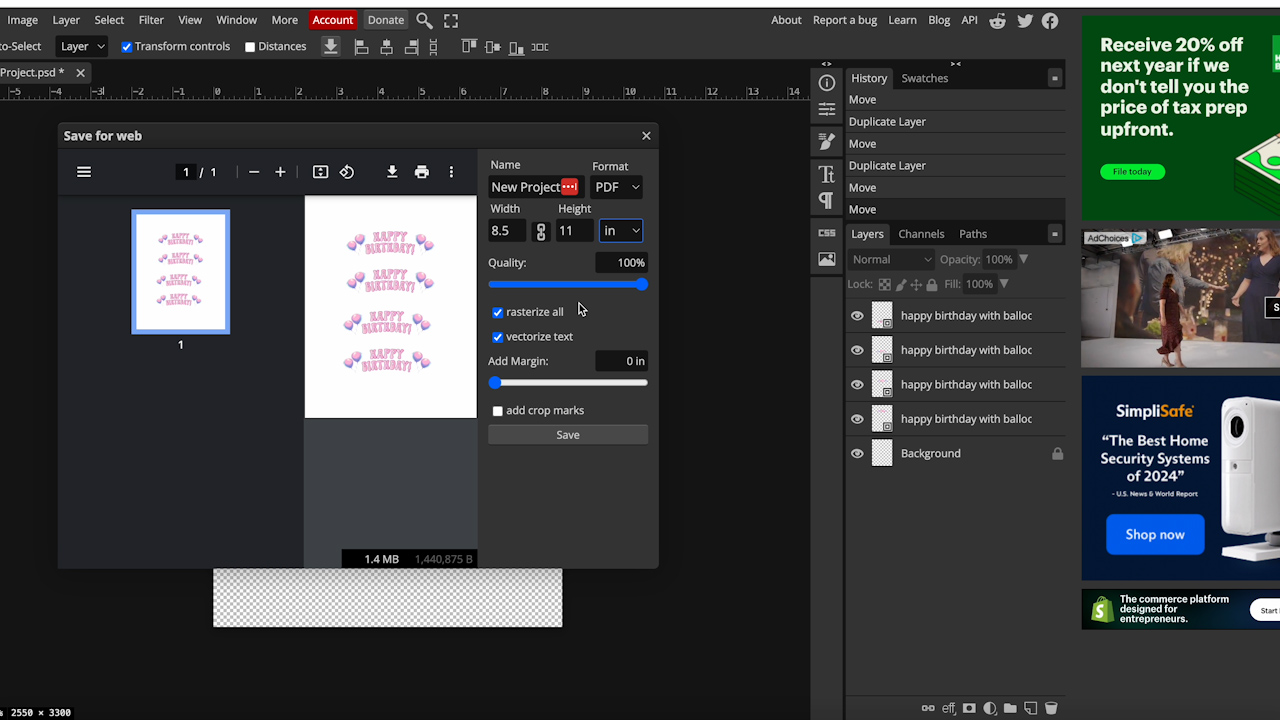
With the design warped to fit the template, we’re ready to print. If you want to print more than one per page you can click to duplicate the layer as many times as you want to.
Click File, Export As, and you can export as a PNG or PDF. I like to use a PDF for my Brother sublimation printer.
To keep the design how we laid it out with the curve, make sure the Rasterize All and Vectorize Text boxes are checked. This will make sure everything stays the way you designed it.
Change the measurements to inches and make sure they’re set to the size of your paper. My measurements are 8.5″ by 11″ with no margin. This will ensure it prints out exactly how I have it created.
Now we’re going to save this to our computer. And now we can print that design with those curved designs that fit our template.
Sublimating a Tapered Blank
With the designs printed, we’re ready to sublimate our tapered blank.
NOTE: I am using a sublimation print that is sublimation ink printed on sublimation paper from a sublimation printer.
Supplies Used
Step 1 – Wrap the Design Around Tapered Sublimation Blank
I printed out the curved design and the regular design to test both designs so you can see the difference.
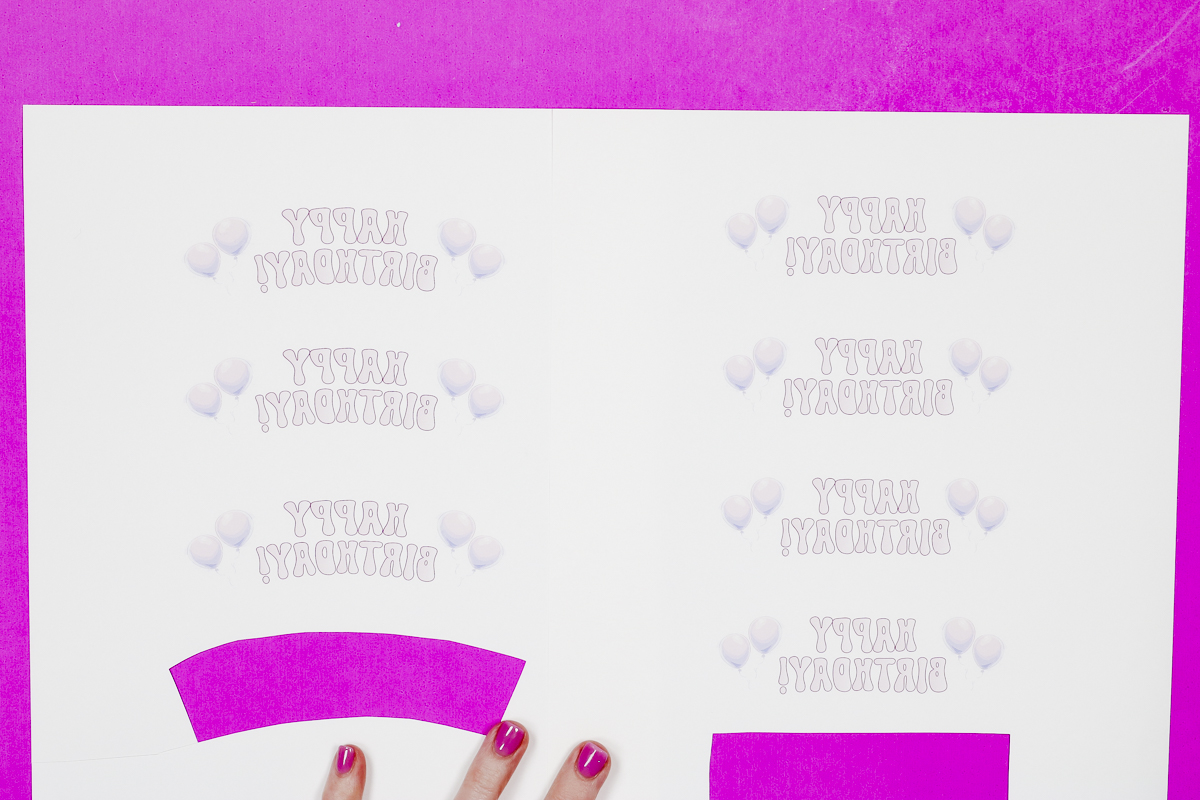
Clean your sublimation blank using a lint roller or lint-free cloth.
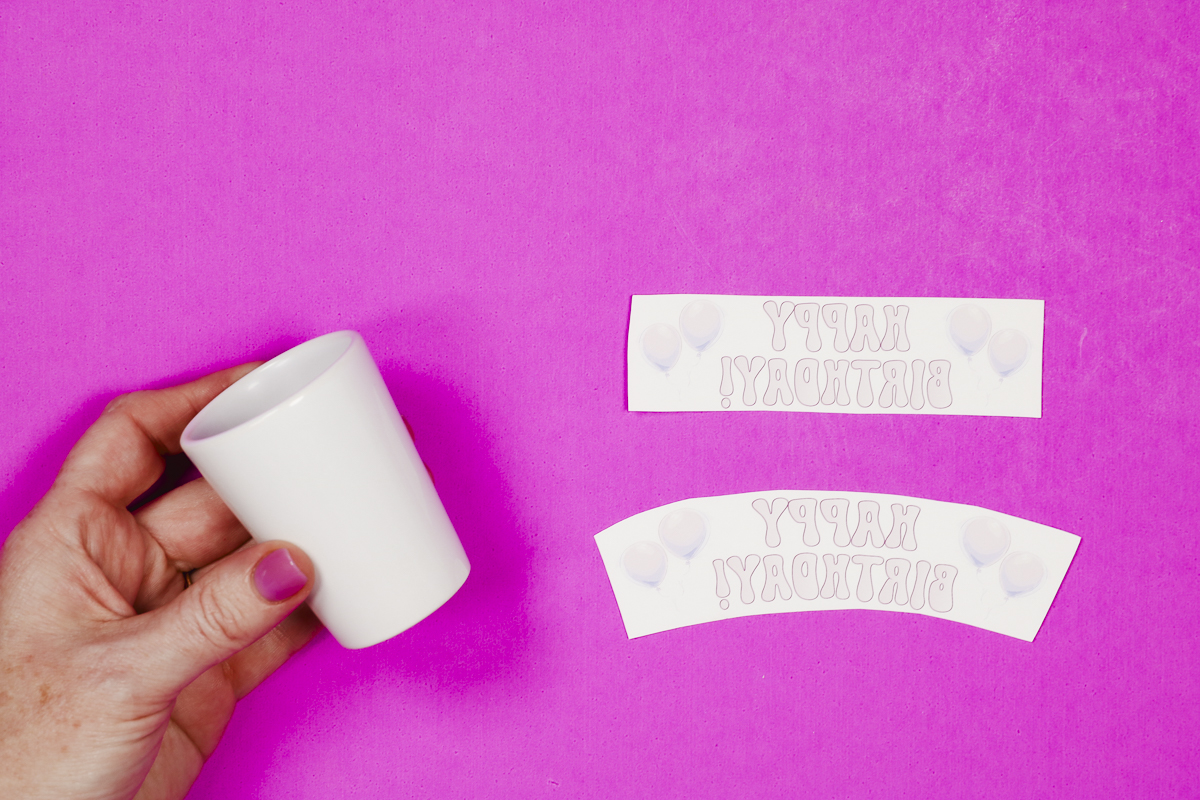
Use heat-resistant tape to secure the design in place. This is the straight design. As you can see, the design curves up so the ends don’t line up.
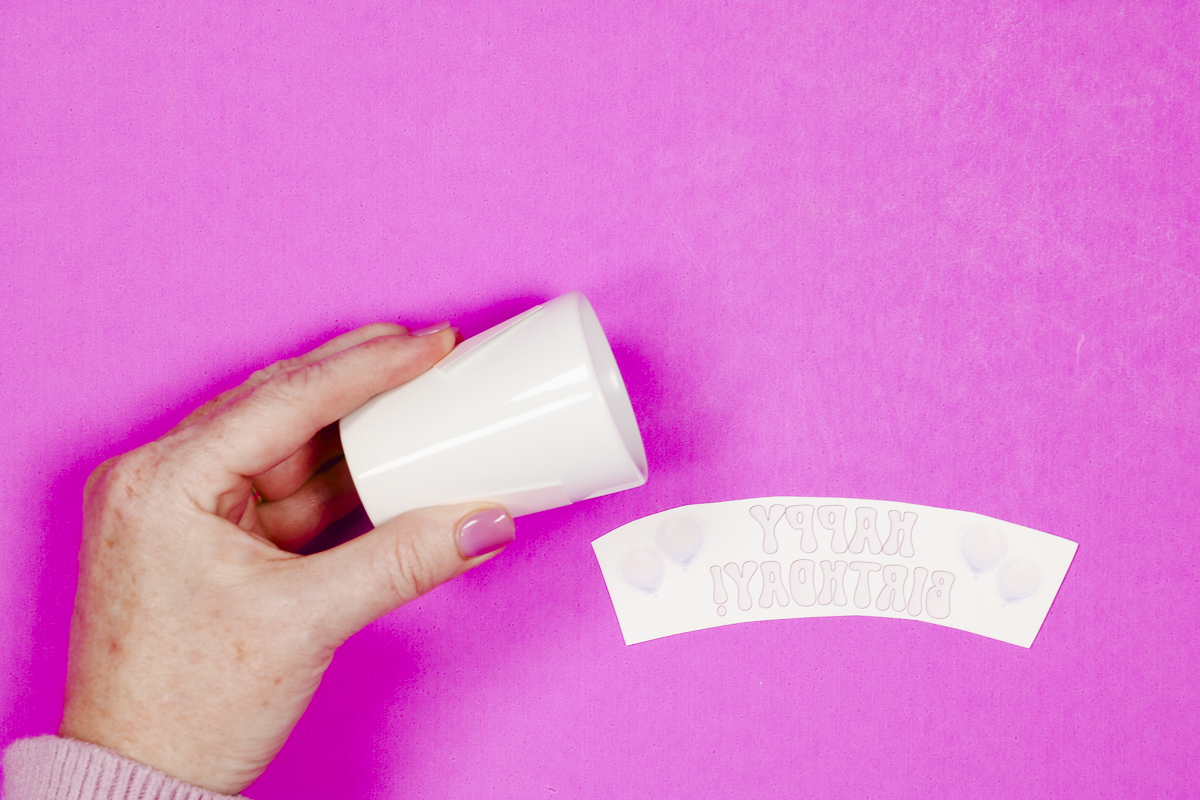
This is the curved template. Here you can see that the ends are even. The top and bottom corners line up with each other so the design will look straight on the shot glass.
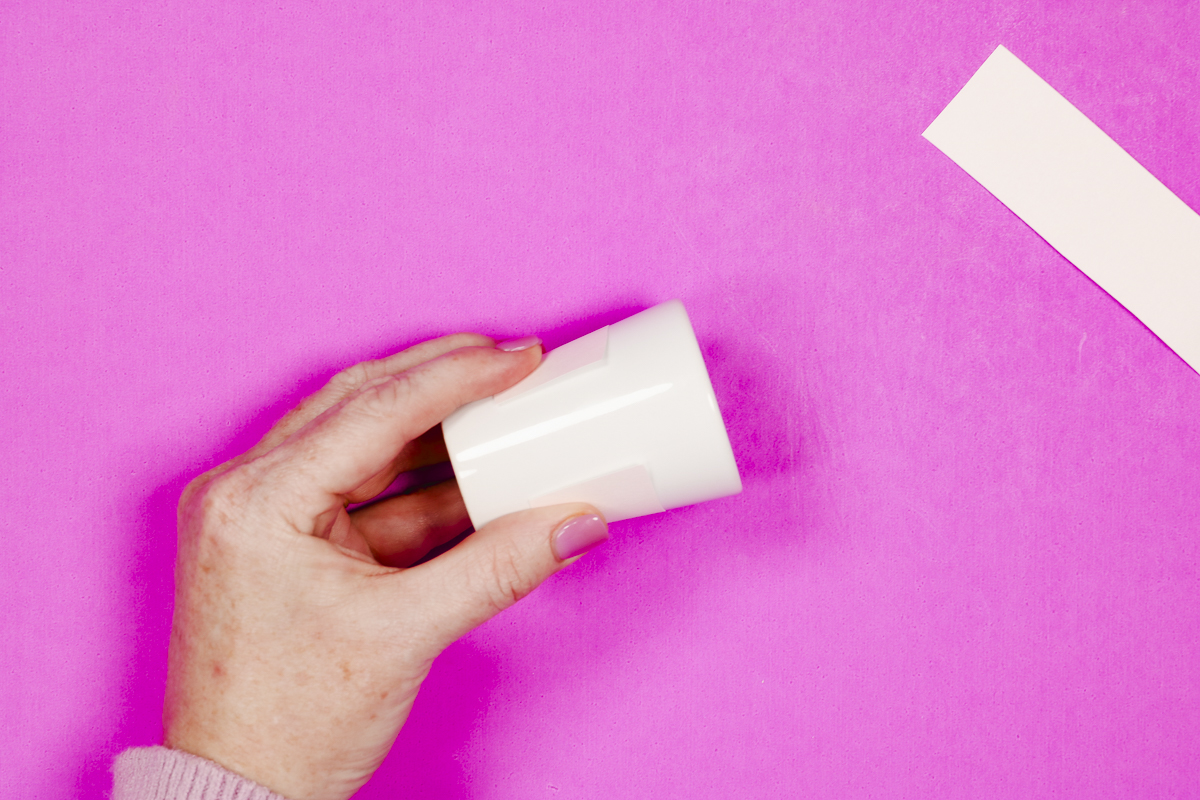
It may seem counterproductive to make a curved template to get a straight design. I hope you’ve seen why this step is necessary.
Step 2 – Shrink Wrap Design on Cup
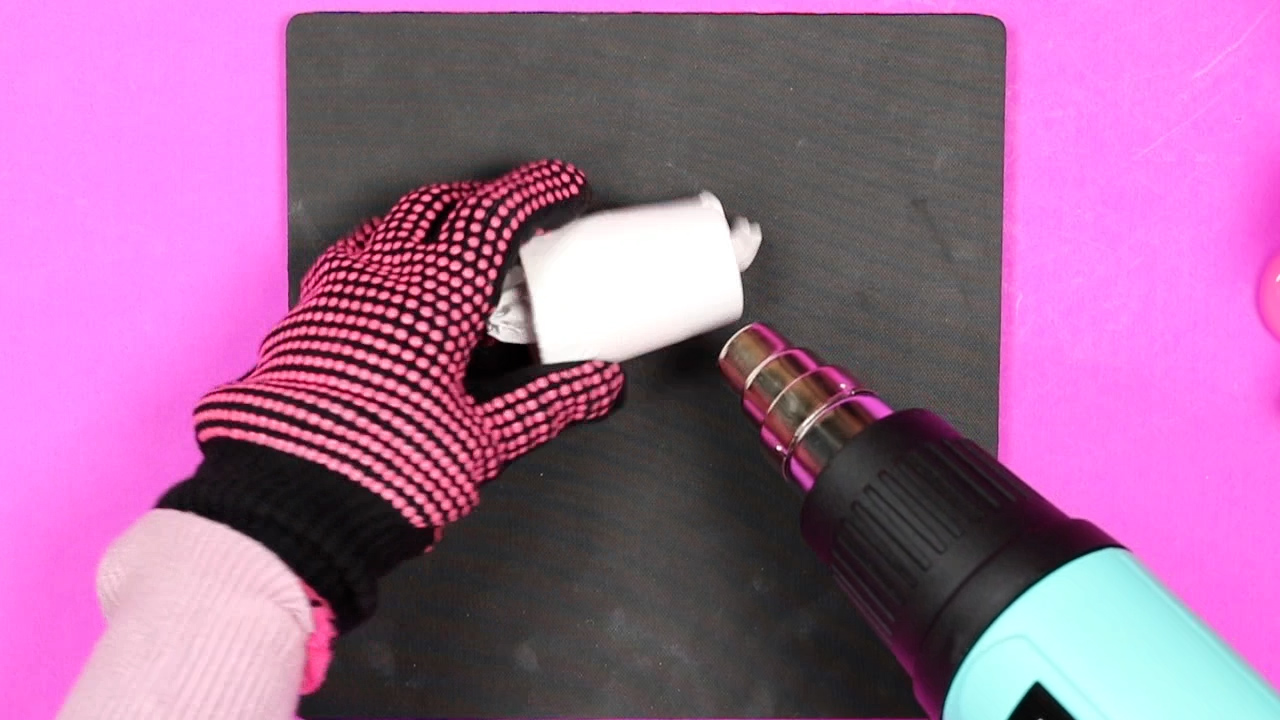
With the design taped into place with heat-resistant tape, set the blank on a heat-resistant mat and add a sublimation shrink sleeve. We need to add pressure to the design and the shrink sleeve will do that for us.
My shrink sleeve is larger than the blank I’m using so I cut a longer one in half and then used a heat gun to shrink it to size. Apply the heat with the heat gun moving it continually so you don’t burn through the shrink sleeve.
Shrink the sleeve as much as you can and get out as many wrinkles as possible.
Step 3 – Bake Tapered Shot Glass in a Sublimation Oven
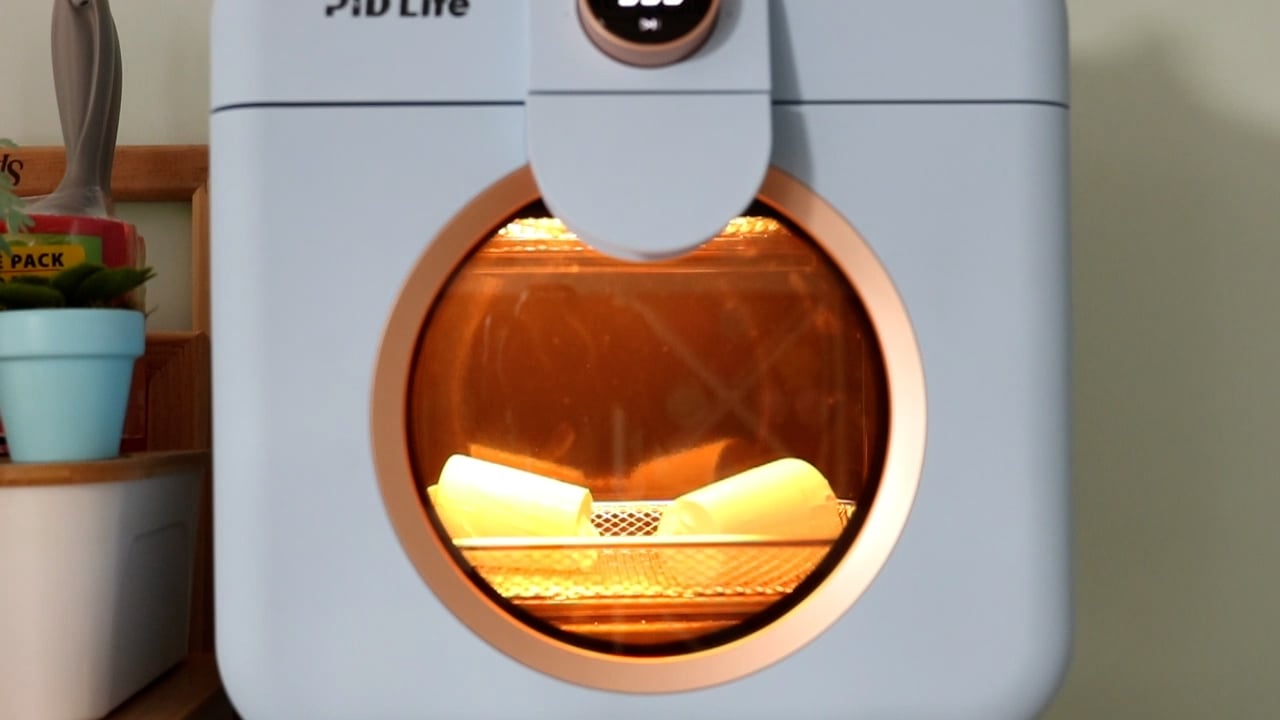
Check the setting recommendation for the blank you’re using. Mine calls for a temperature of 390 degrees for 8 minutes.
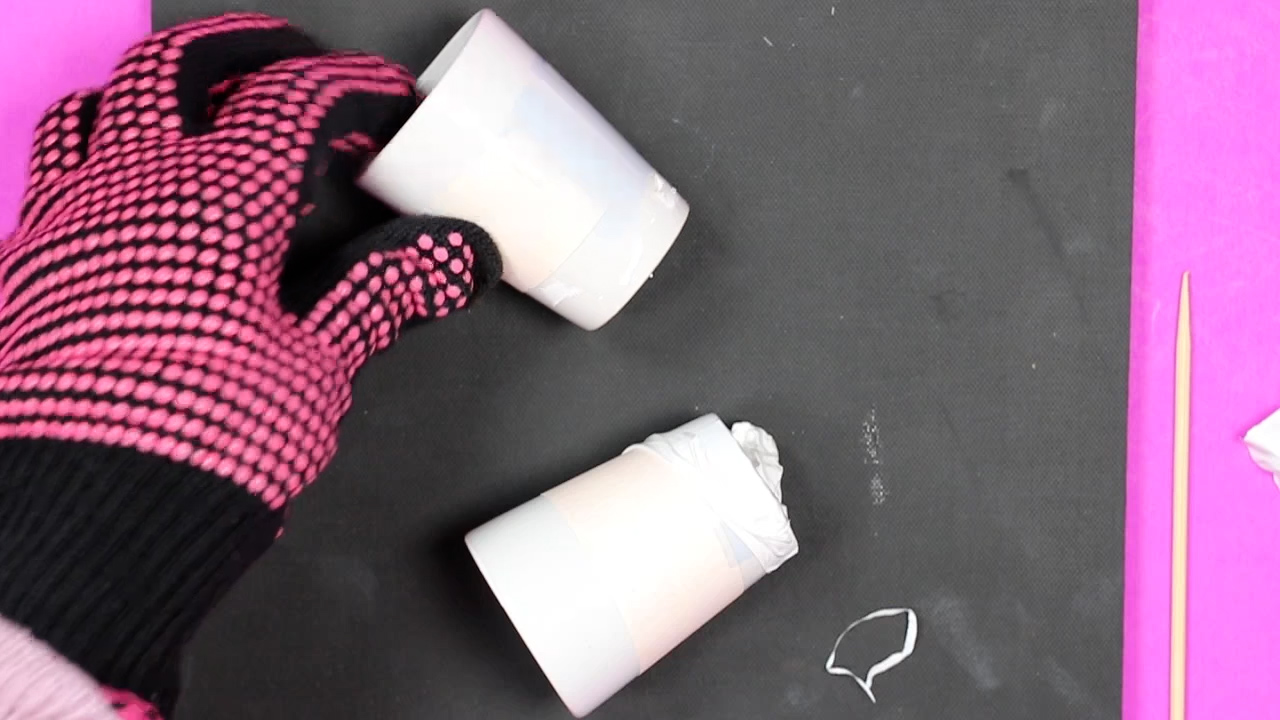
When the time is up, remove the shot glass using heat-resistant gloves and place them on a heat-resistant mat.
Step 4 – Remove Shrink Wrap
Shrink wrap removes easier when it’s hot so I like to remove it as soon as possible. You can use scissors or a weeding hook to lift the shrink wrap away.
If the shrink wrap sticks to the blank, use a wooden tool to help scrape it off. Don’t use anything that might scratch the design or surface. If it’s really stuck, you can use the heat gun to warm it up again to make it easier to remove.
Step 5 – Reveal Design
When the shrink wrap has been removed, you can remove the sublimation print to reveal the finished design.
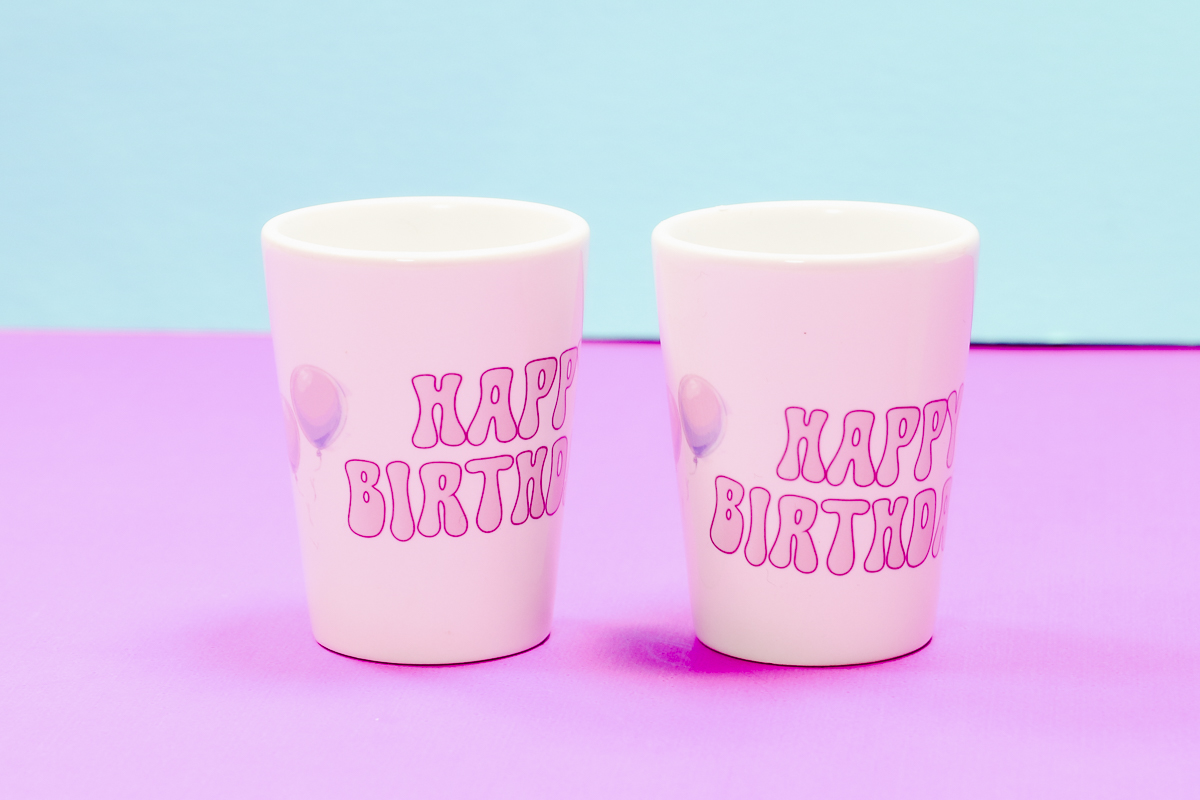
Here you can see both of the finished shot glasses. The one on the left used the curved template and the one on the right used the straight design.
In the photo below, you can see the finished shot glass using the curved template design. You can see that the finished design is straight on the shot glass and looks so good.
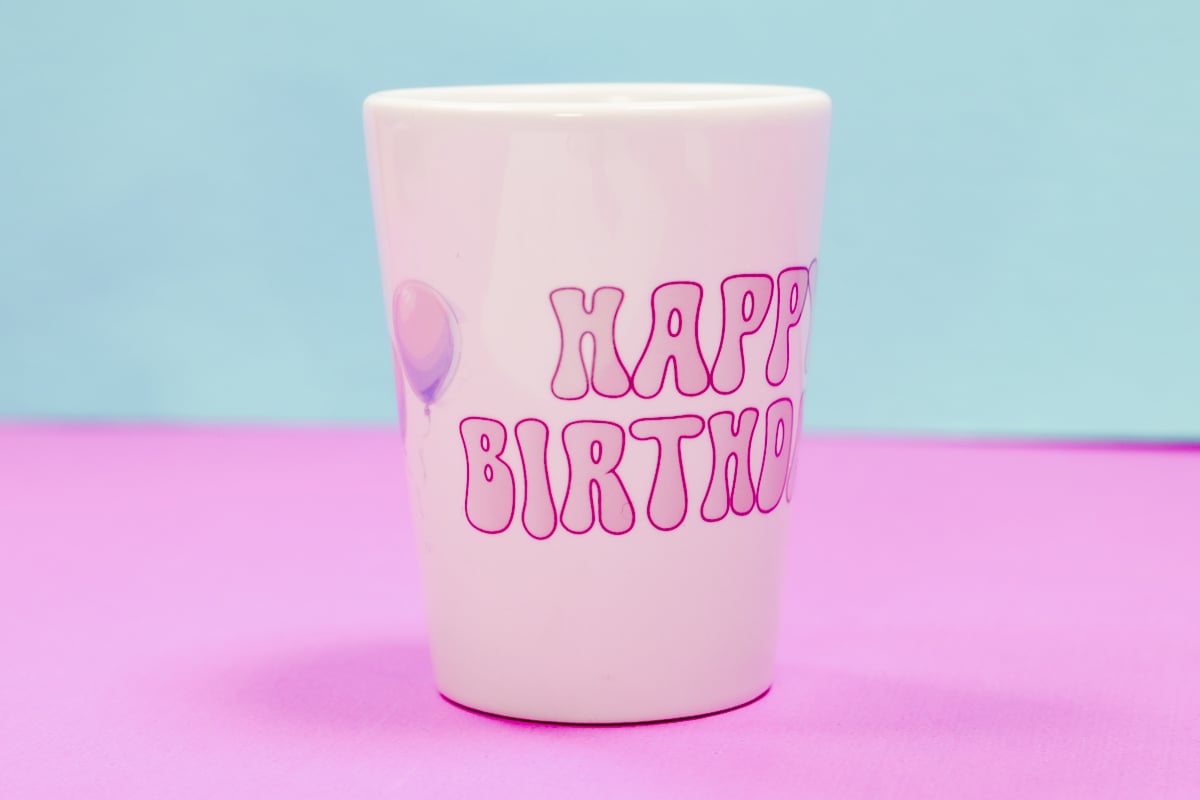
For the photo below, I used a design that was not curved.

The design is definitely crooked. The balloons on the left are higher than the design and it wraps lower on the other side so the other balloons are lower.
I’m not happy with this design at all. It doesn’t look professional and customers wouldn’t be happy with it.
Do I Always Need to Use a Curved Template with Tapered Blanks?
I hope this tutorial has helped you see why curved templates may be something you want to use with tapered blanks.
I found this process pretty easy. If you have an Adobe Photoshop subscription, you can do this same process within Photoshop. I wanted to give anyone a way to do this with free programs so having to pay for a subscription isn’t required.
You do not always need to use a curved template with tapered blanks. When the design doesn’t have an orientation that is set, like a random pattern, you could print the design out larger than the blank and wrap it all the way around it.
If your design has words or part of an image that you want straight I recommend following these steps to get a look that is how you want it.
If you have any questions about creating curved templates, leave them in the comments and I’ll be happy to answer them for you.

