This post and photos may contain Amazon or other affiliate links. If you purchase something through any link, I may receive a small commission at no extra charge to you. Any supplies used may be given to me free of charge, however, all projects and opinions are my own.
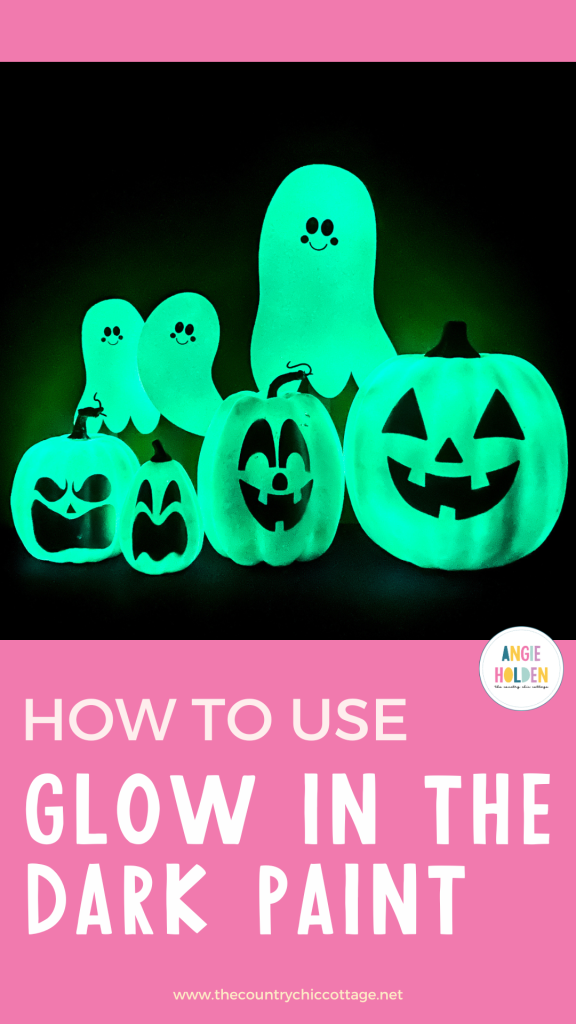
Are you ready to make the cutest Halloween projects using glow in the dark paint from Rust-Oleum? Today I’m going to teach you how to use glow in the dark paint to create projects that look perfect in the light of day and of course glowing at night. These will look perfect when paired with my glow-in-the-dark candy bucket project on Halloween night!
This post is sponsored by Rust-Oleum, all projects and opinions are my own.
I’ll be using my Cricut machine to cut out vinyl decals to use in these projects. Learn how to cut vinyl with your Cricut in my How to Use Cricut Vinyl tutorial.
Use Glow in the Dark Paint to Make Halloween Decor
You can watch me create glow-in-the-dark pumpkins and these adorable glow-in-the-dark yard ghosts by pressing play on the video below.
Supplies Used:
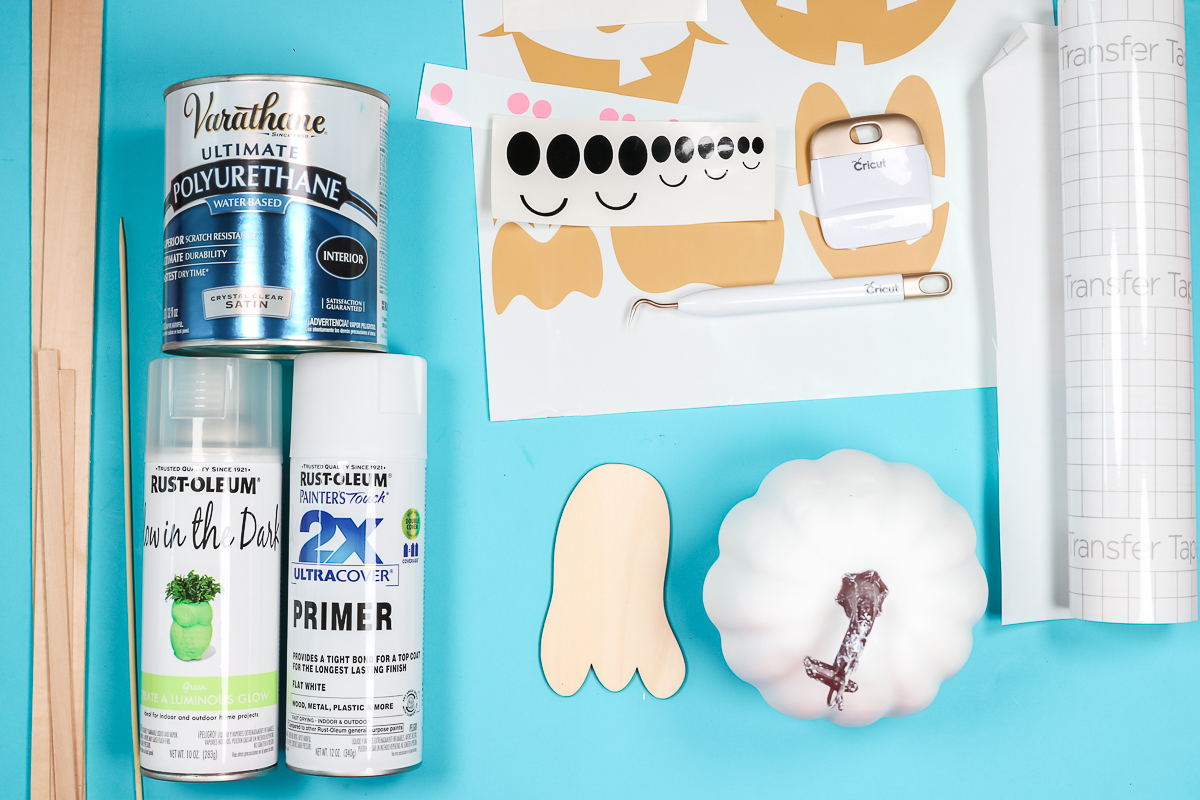
NOTE: You do need to start with a white blank for this type of glow in the dark paint. If your surface is already white, you can simply spray the glow in the dark paint over the top. If the blank isn’t white, you need to paint it white first. Make sure your white paint is completely dry, RUST-OLEUM recommends allowing it to dry for 24 hours before applying glow in the dark paint.
How to Make Glow in the Dark Jack-o-lanterns
For our first project today we’re going to make glow in the dark jack-o-lanterns. I am using foam pumpkins that are already white and vinyl jack-o-lantern faces cut out with my Cricut machine. Use a weeding tool to remove all the excess vinyl leaving behind only the faces.
What Type of Vinyl Should I Use?
I am using a removable vinyl today but the vinyl you use doesn’t matter. You can use permanent or removable vinyl and the color also doesn’t matter. We’re using these faces to create a mask that we’ll remove after adding the glow in the dark paint.
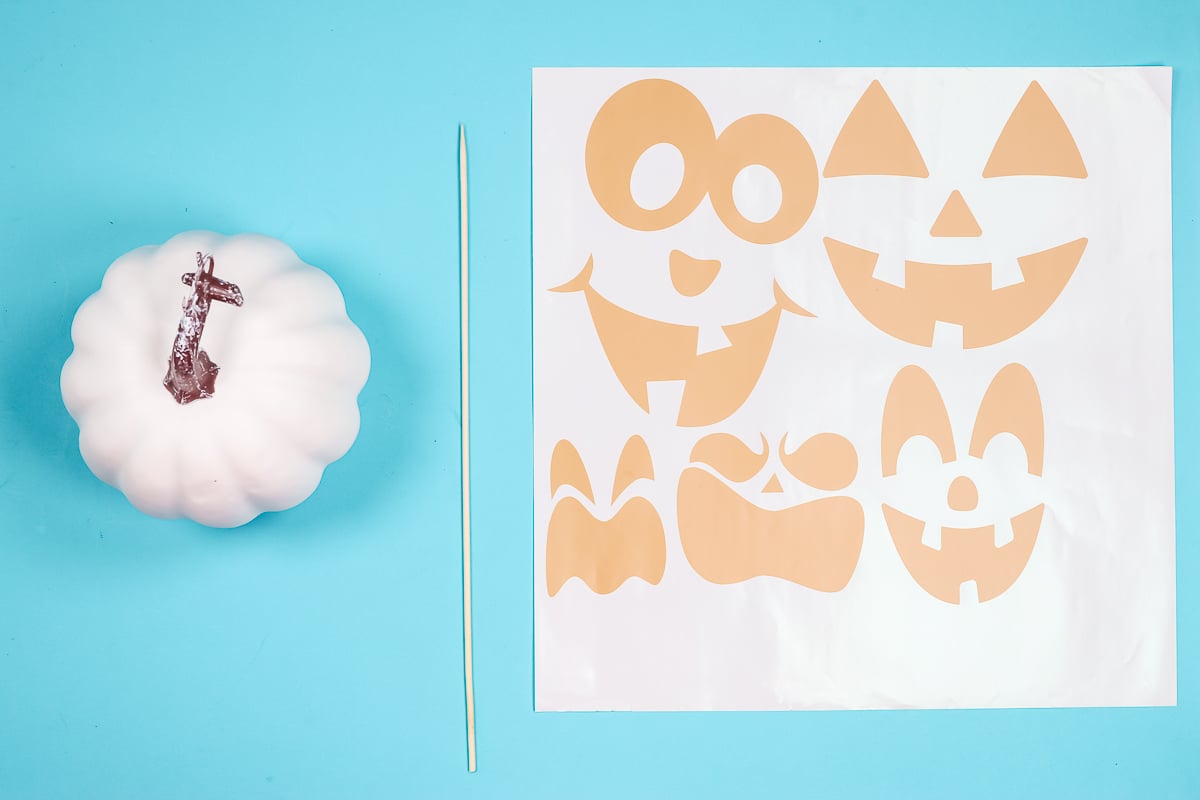
If you’re using a faux pumpkin, I like to remove the stem. If you’re using a real pumpkin or a faux pumpkin that doesn’t have a removable stem, I would recommend using a painter’s tape to cover the stem while you’re painting it.
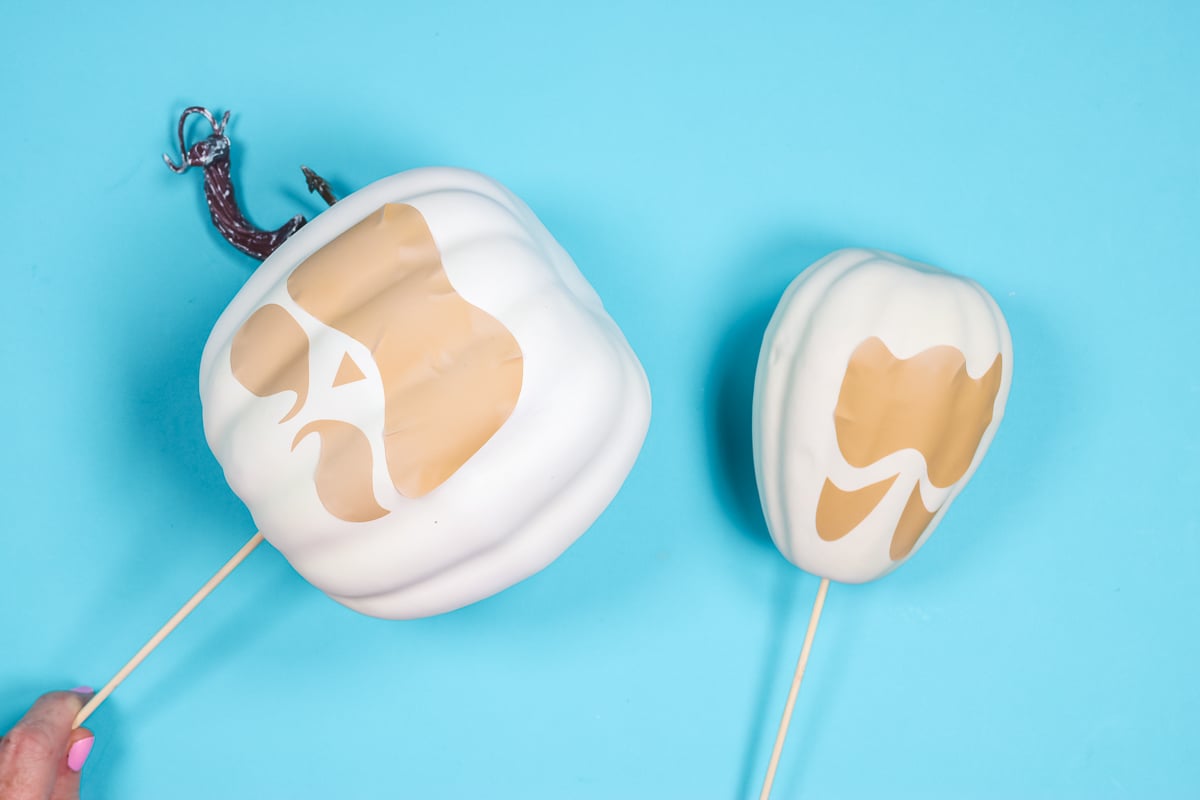
You can see that I added a wooden skewer to the foam pumpkin where the stem was. This allows me to easily rotate the pumpkin while painting so you can paint the top, bottom, and all the way around. When you’re done painting, use a foam block to hold the pumpkin in place while it dries.
How to Add Vinyl Mask to Faux Pumpkins
Because my vinyl pieces are solid and my surface has grooves, I’m not using transfer tape to place them on the pumpkin.
Lift the vinyl piece and apply it to the pumpkin. Start at one end and smooth the vinyl onto the surface and into the grooves.
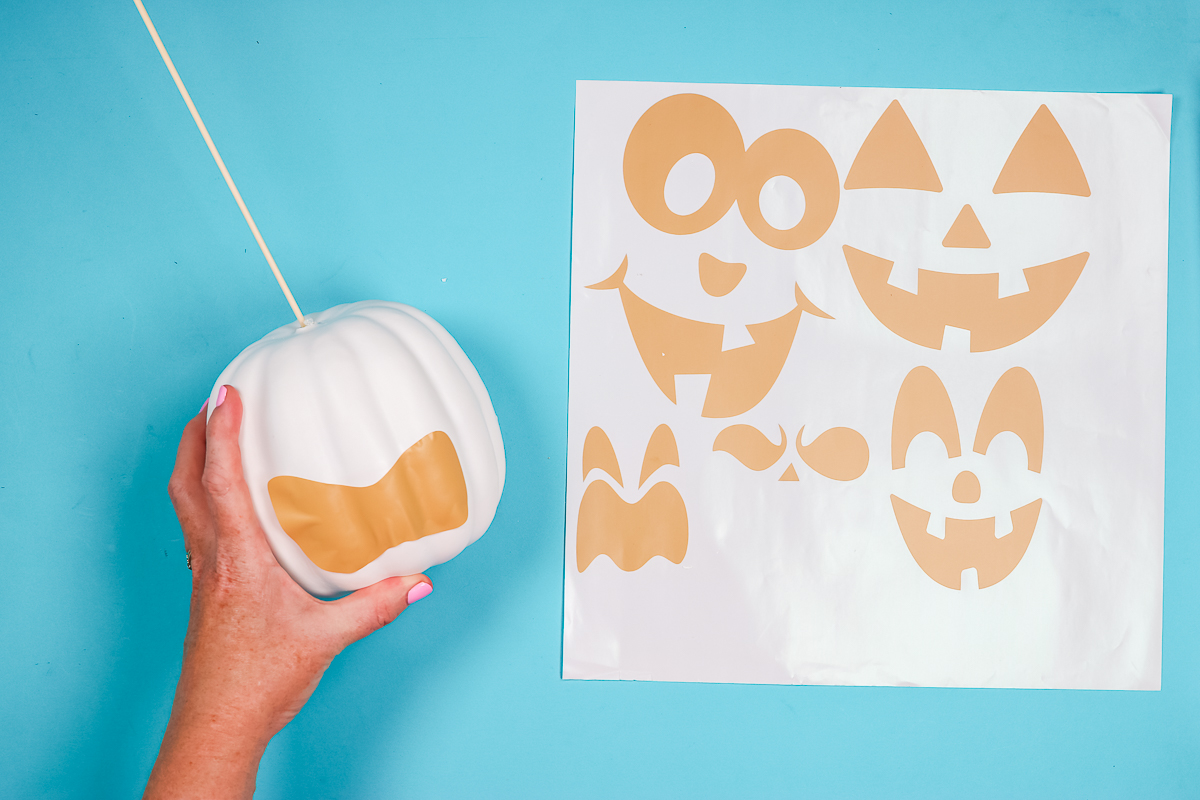
We want it as smooth as possible so the glow in the dark paint doesn’t get under the edges.
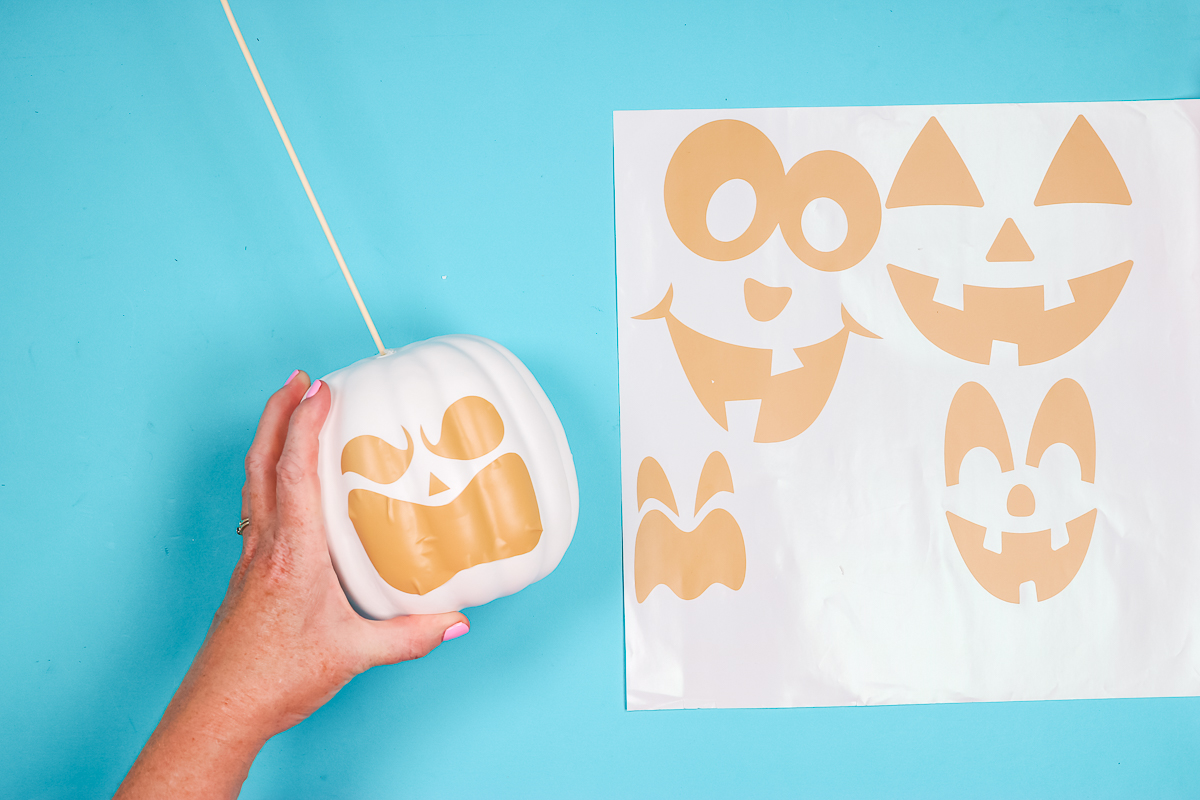
Once all of the faces are applied to the pumpkins it’s time to apply the glow in the dark spray paint.
This glow in the dark paint calls for light coats 10-16 inches away from the surface. Before you begin, shake the can vigorously for one minute and then continue to shake the can while you spray. Keep the coats light but make sure you overlap a little bit so the whole surface is covered.
You can apply multiple light coats of paint a few minutes apart. It is hard to see where you’ve applied the paint so I recommend doing multiple light coats.
When you’re done painting, remove the vinyl pieces when the paint is dry to the touch. It is dry to the touch in about 15 minutes and can be handled in 1-2 hours. You do want to allow it to dry fully which is about 24 hours.
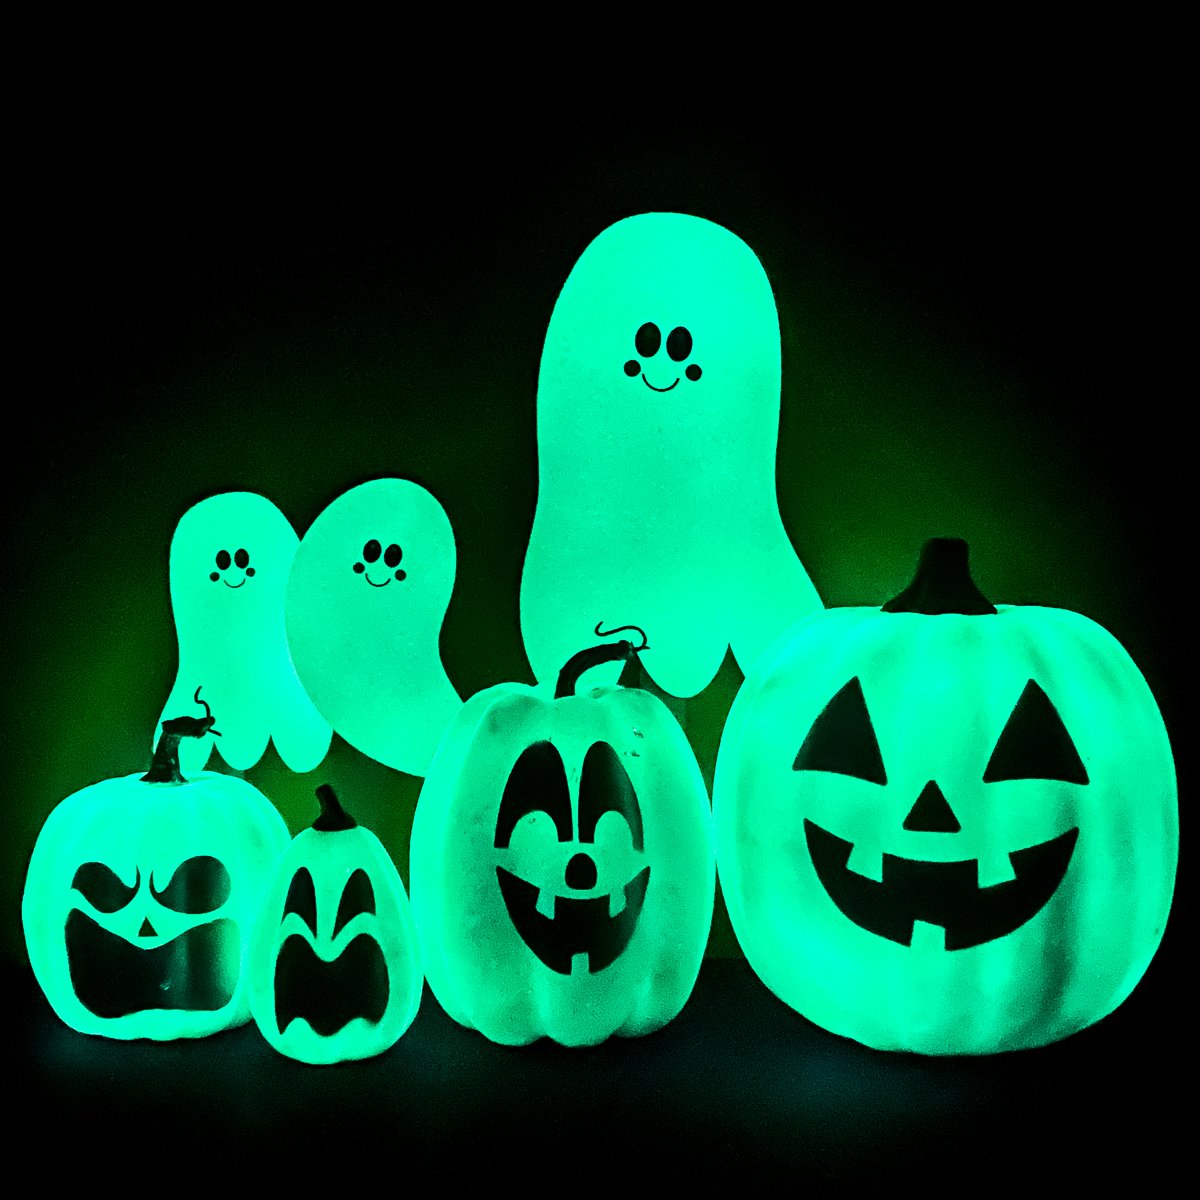
Look at how great these pumpkins turned out! Those jack-o-lantern faces only show up in the dark, in the light of day they just look like a normal white pumpkin.
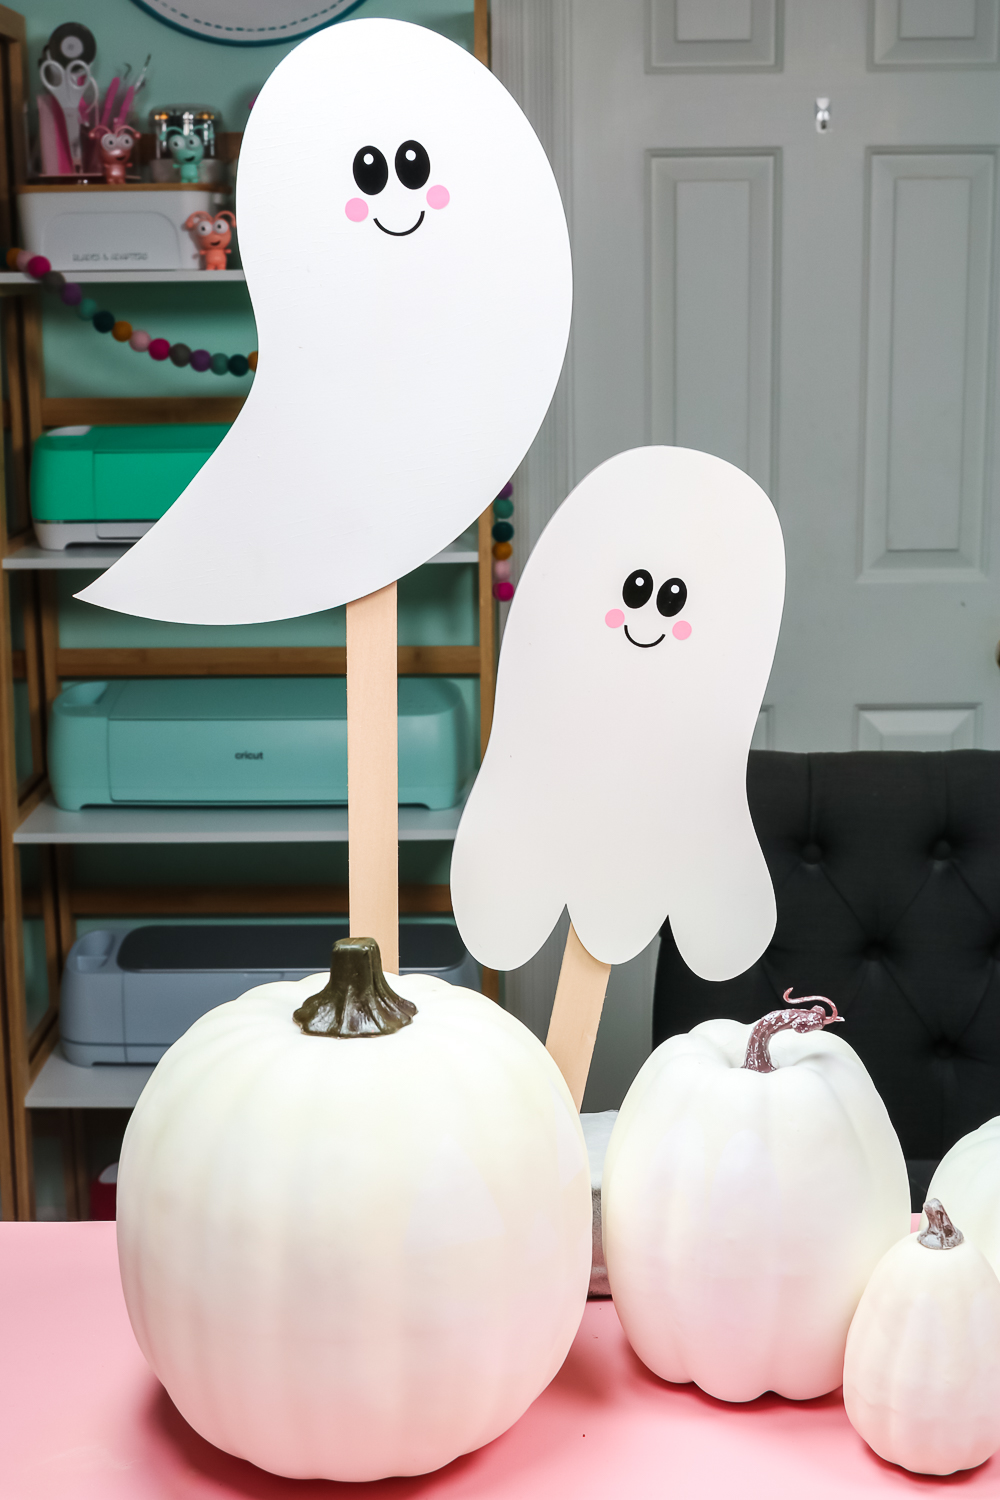
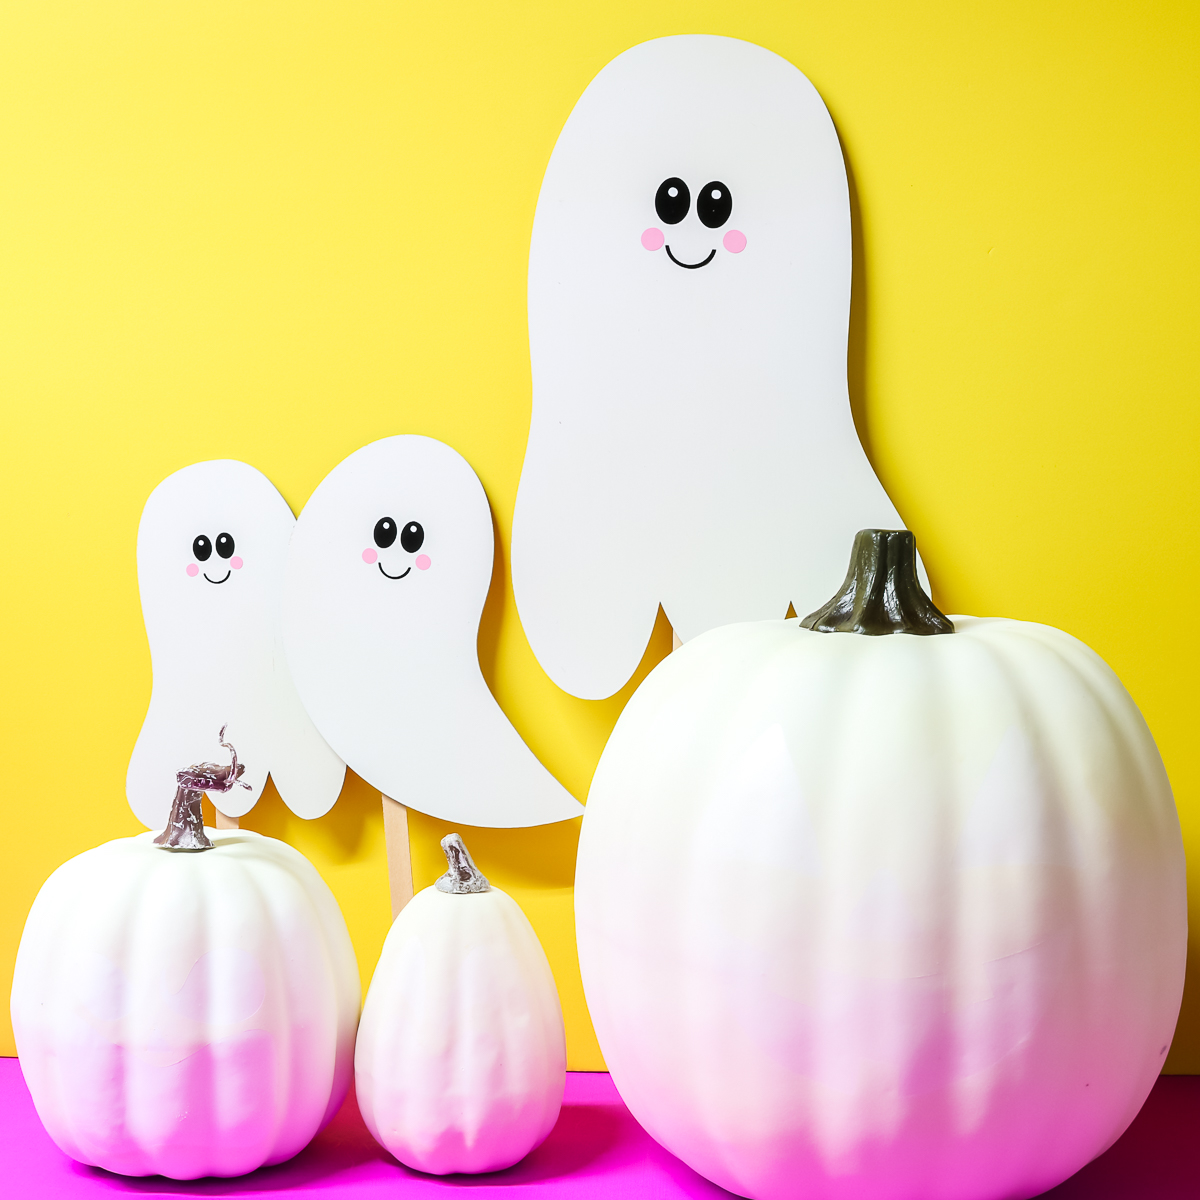
How to Make Glow in the Dark Wooden Ghosts
I cut my ghosts out with my Glowforge Aura using Glowforge Proofgrade Plywood. Since these ghosts are not white I need to paint them first. I am using RUST-OLEUM Painter’s Touch Primer.

To paint my ghosts, I placed them in a cardboard box and then applied a couple coats of white primer. Just like the glow in the dark paint make sure you shake the can really well before you spray it and continue to shake it often as you spray.
Since I’m putting my ghosts outside I want to paint the front, sides, and back of the ghosts before applying the vinyl faces.
After the primer dries for at least 24 hours, you can apply the glow in the dark paint. We’ll do this just like we did with the pumpkins in multiple light coats. Allow the glow in the dark paint to dry completely before applying the vinyl faces.
How to Apply Vinyl Ghost Faces
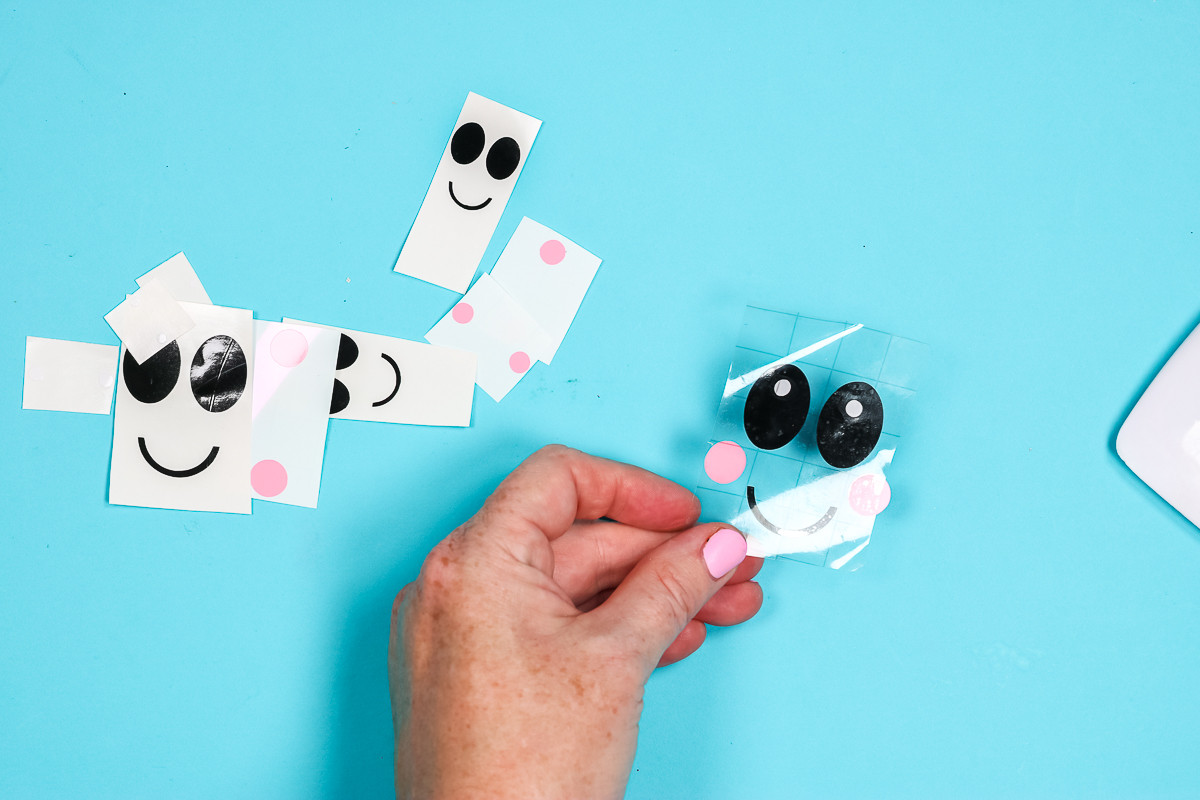
I am using transfer tape to apply the vinyl faces to the painted ghosts. I like to layer the vinyl on the transfer tape.
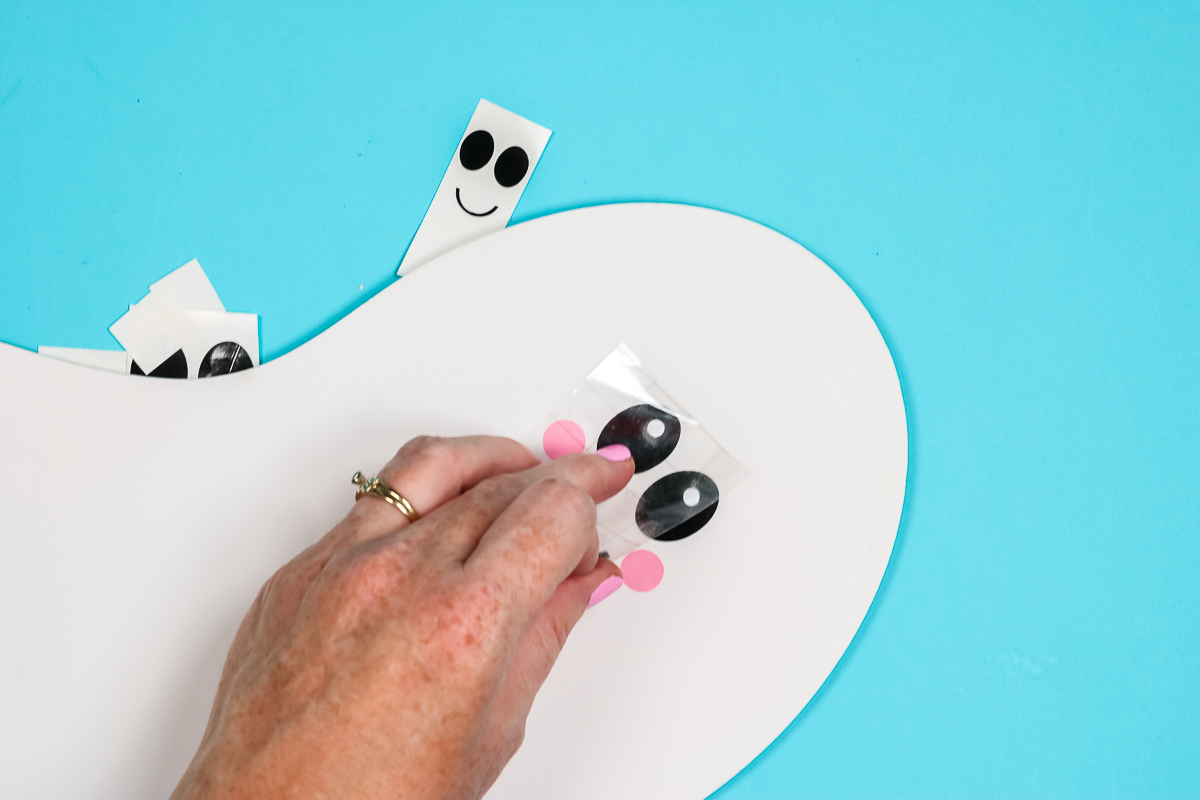
Cut your transfer tape to fit the largest piece of vinyl and then start with the top layer. Apply the transfer tape to the white part of the eyes first then remove the carrier sheet and add it to the black vinyl layer. Once again, remove the carrier sheet and then layer on the pink cheeks.
With all of the pieces layered on the transfer tape you can now apply the face to the ghost. Use a scraper tool to burnish the vinyl onto the wooden ghost and then remove the transfer tape.
If you’re using these ghosts outside in the weather, cover the surface with a clear sealer. This will protect your paint and the vinyl.
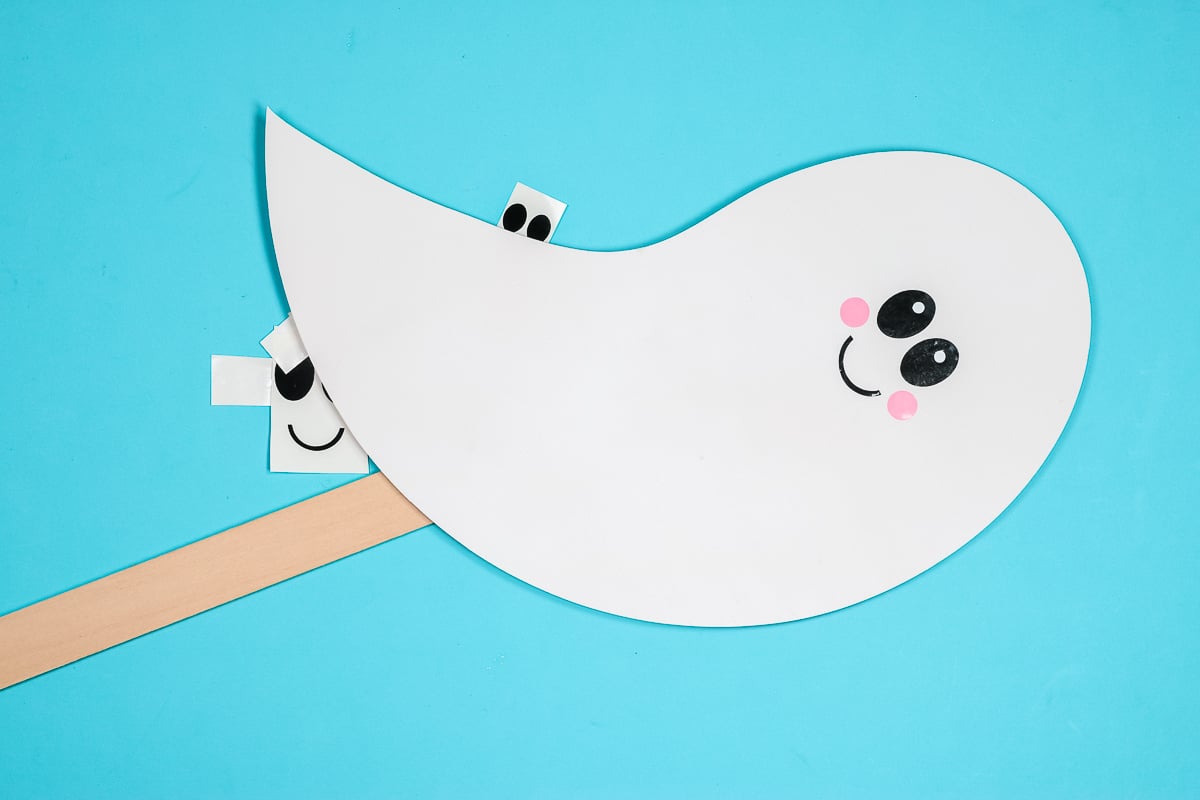
To make it easier to add these ghosts to flower pots or garden areas, I am adding wooden stakes to the back of the ghost.
Final Thoughts on Glow in the Dark Paint Halloween Projects
I am a huge fan of this glow in the dark paint by RUST-OLEUM. You can’t really even see it at all in the light, the project just looks like regular white paint. As you can see, the ghosts just look like white paint with cute vinyl faces and the pumpkins look like plain white pumpkins.
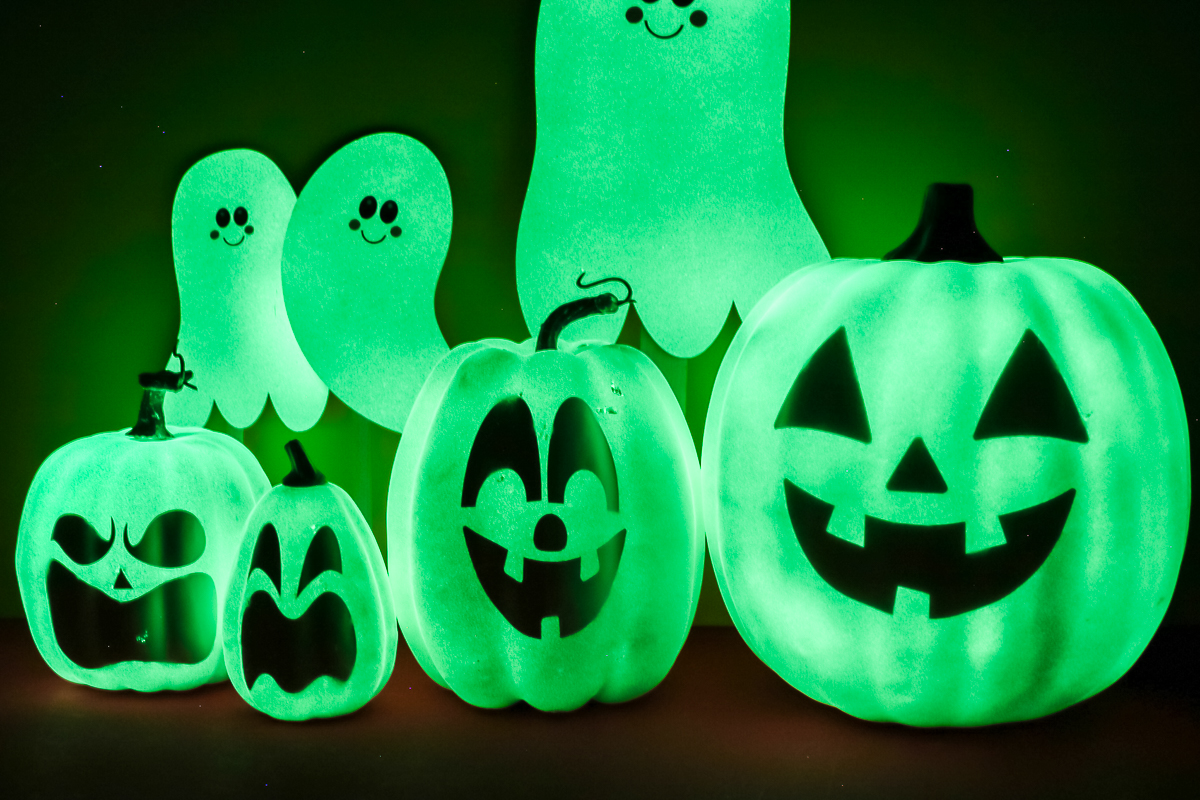
When the lights are out we have perfect glow in the dark ghosts and pumpkins. The paint glows really well which makes the faces really pop.
I found this paint really easy to use. It layers well over regular white surfaces and painted surfaces. I do recommend making sure any base layers of paint are completely dry before adding the glow in the dark paint.
You’ll get the best glow by starting with a nice solid white base. Make sure the surface is fully painted and the paint is completely dry.
You also really want to make sure you’re getting nice even coats of the glow in the dark paint. If your glow in the dark paint is uneven you’ll notice differences in the glowing.
Because seeing the glow in the dark paint is hard in the light of day to ensure you’re getting even coats you may want to bring the blank into a dark room between coats to see if you’re getting the coats even.
I really think you’ll love how easy this glow in the dark paint by RUST-OLEUM is to use. I hope I’ve answered any questions you may have. If you have any additional questions leave them in the comments below and I’ll be happy to answer them for you.
Love this and looking for more paint projects? Try the links below!

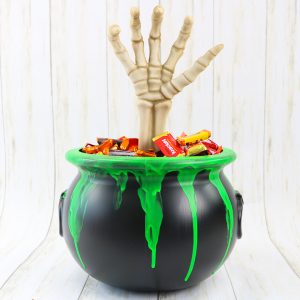
Make this Halloween treat bucket that glows in the dark with just a few supplies!
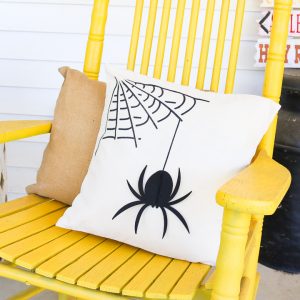
Add some fright to your front porch by using your Cricut to make a DIY Halloween pillow!