This post and photos may contain Amazon or other affiliate links. If you purchase something through any link, I may receive a small commission at no extra charge to you. Any supplies used may be given to me free of charge, however, all projects and opinions are my own.
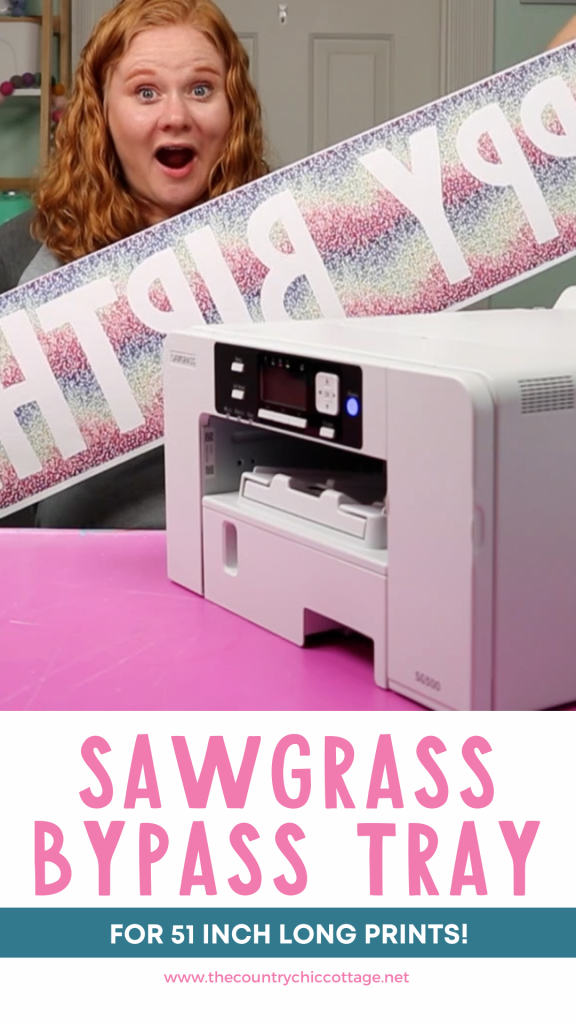
Are you ready to try making larger sublimation projects? Today I’m going to teach you how to use the Sawgrass Bypass Tray to make huge sublimation prints. You can use these to create customized banners, flags, blankets, and more.
We’ll be specifically talking about Sawgrass sublimation printers and the bypass tray that allows for larger prints. If you’re trying to decide which sublimation printer is right for you, check out my post about sublimation printers. That post has a lot of information about different sublimation printers. It can help you decide which option is best for you and your crafting needs.
What Sawgrass Sublimation Printers Have Bypass Trays?
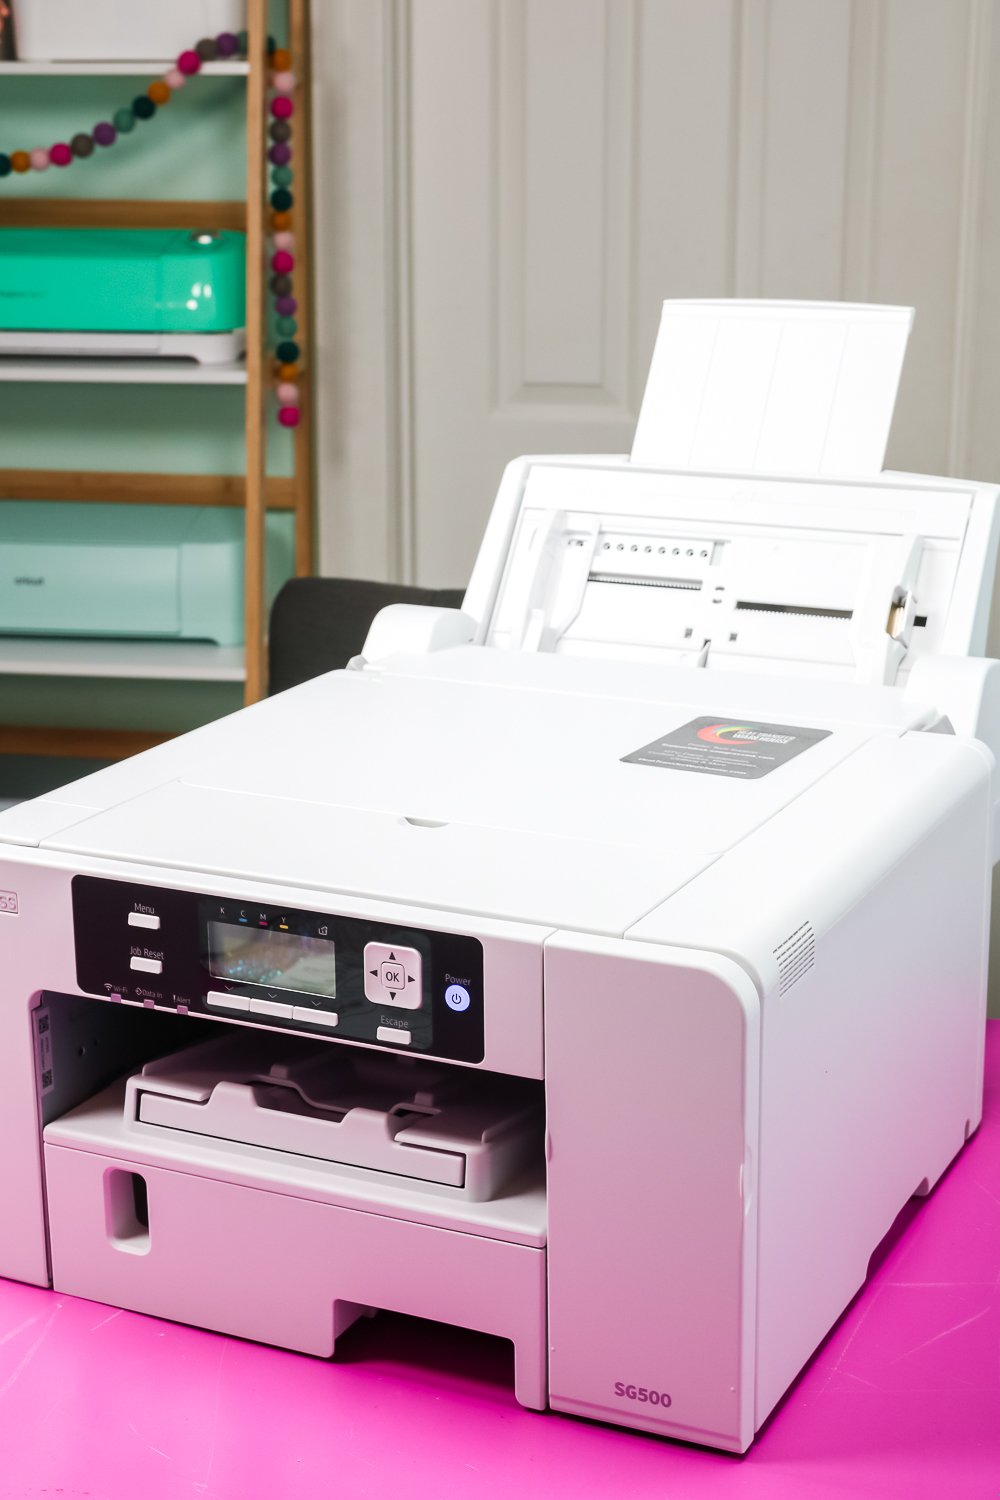
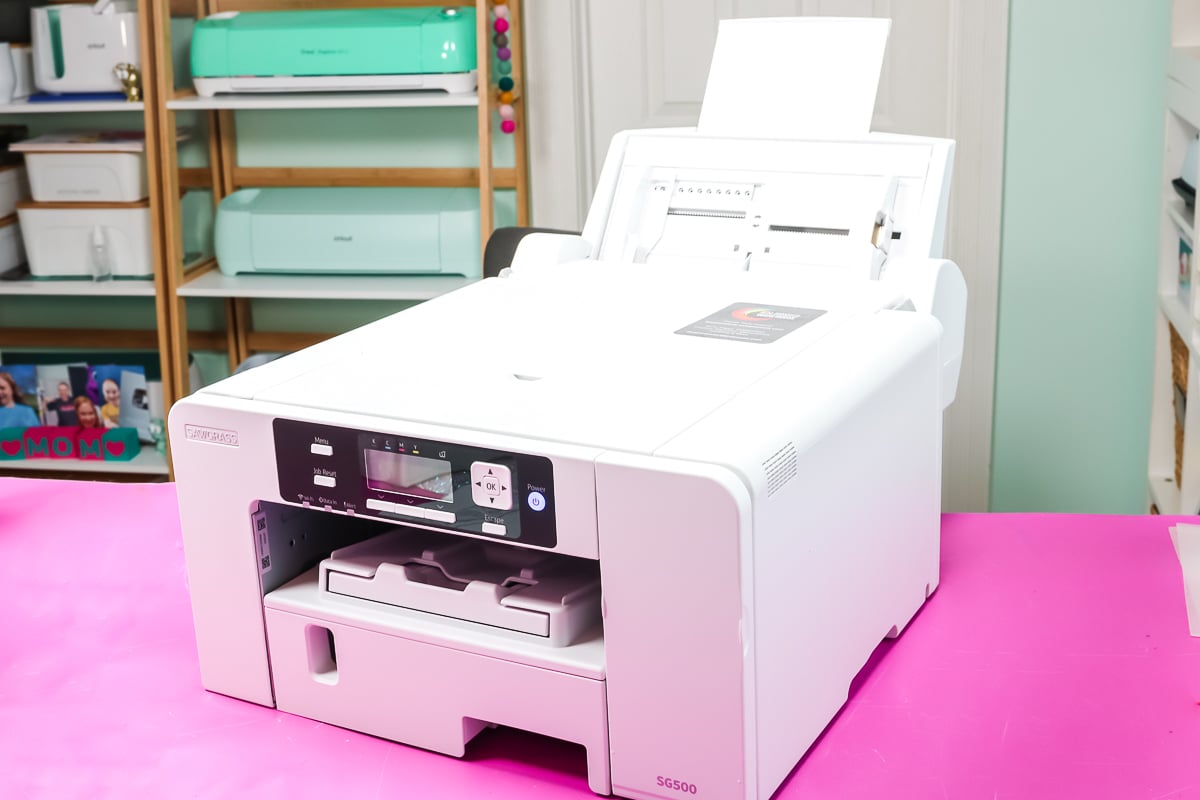
Both the Sawgrass SG500 and the SG1000 have a bypass tray that you can purchase separately that allows you to print sublimation designs much larger than you can without it.
The SG500 without the bypass tray has a maximum print size of 8.5″ x 14″. With the bypass tray attachment, you can print up to 8.5″ x 51″! That’s 37 inches longer than you can print without it!
The SG1000 can print a maximum size of 11″ x 17″ without the bypass tray. Adding the bypass tray allows you to print up to 13″ wide and 51″ long. That’s 2 inches wider and 34 inches longer than you can print without the bypass tray!
You can actually watch me walk through the whole process of adding the bypass tray to the printer by pressing play on the video below.
Supplies Needed to Create Huge Sublimation Prints
I’ve included the Happy Birthday banner design I used to test out the Sawgrass bypass tray. You can add this design to some polyester fabric to create some amazing party decor.
Sawgrass Bypass Tray
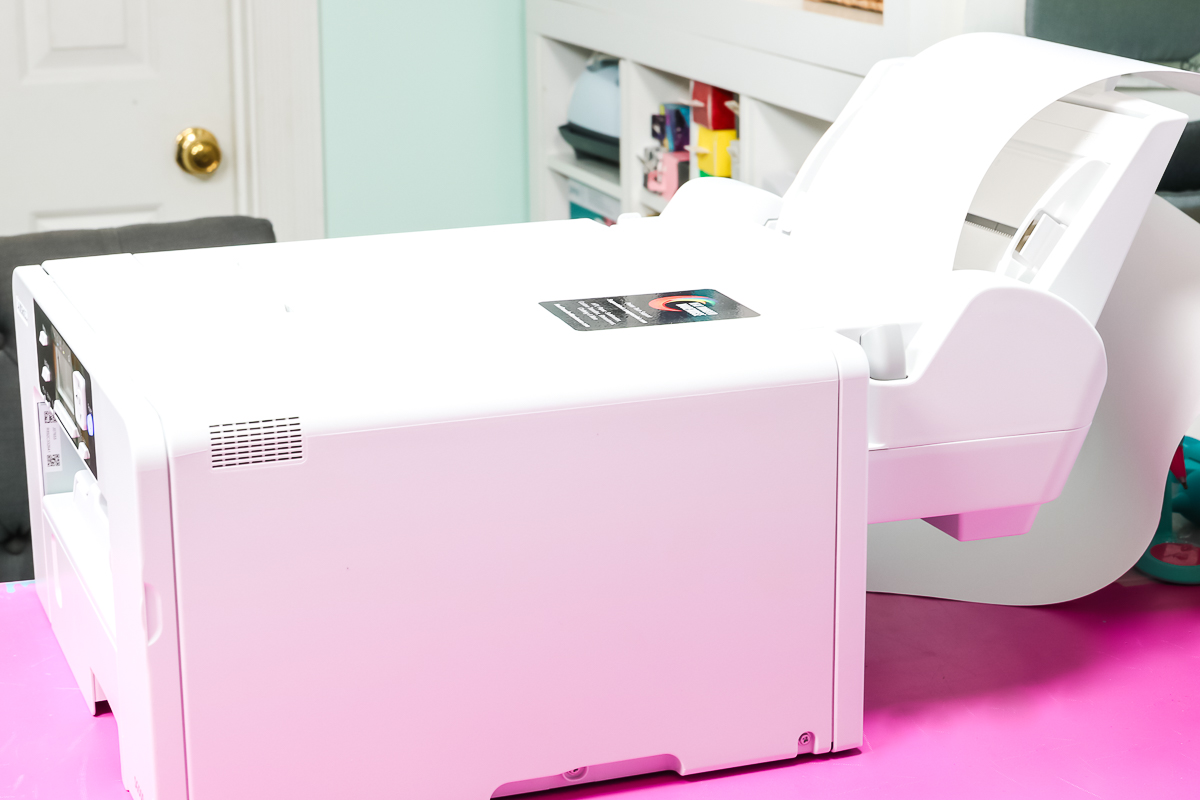
One of the great things about the Sawgrass bypass tray is that it is completely removable. You can add it to your printer when you want and remove it when you don’t need it.
This is great because with the bypass tray added the Sawgrass printer itself becomes a lot larger. It’s really no wider but it is deeper and it takes up more space with the bypass tray on it.
Unboxing the Bypass Tray
This is what the Sawgrass bypass tray looks like taken out of the box. All of those little blue pieces are tape that needs to be removed.
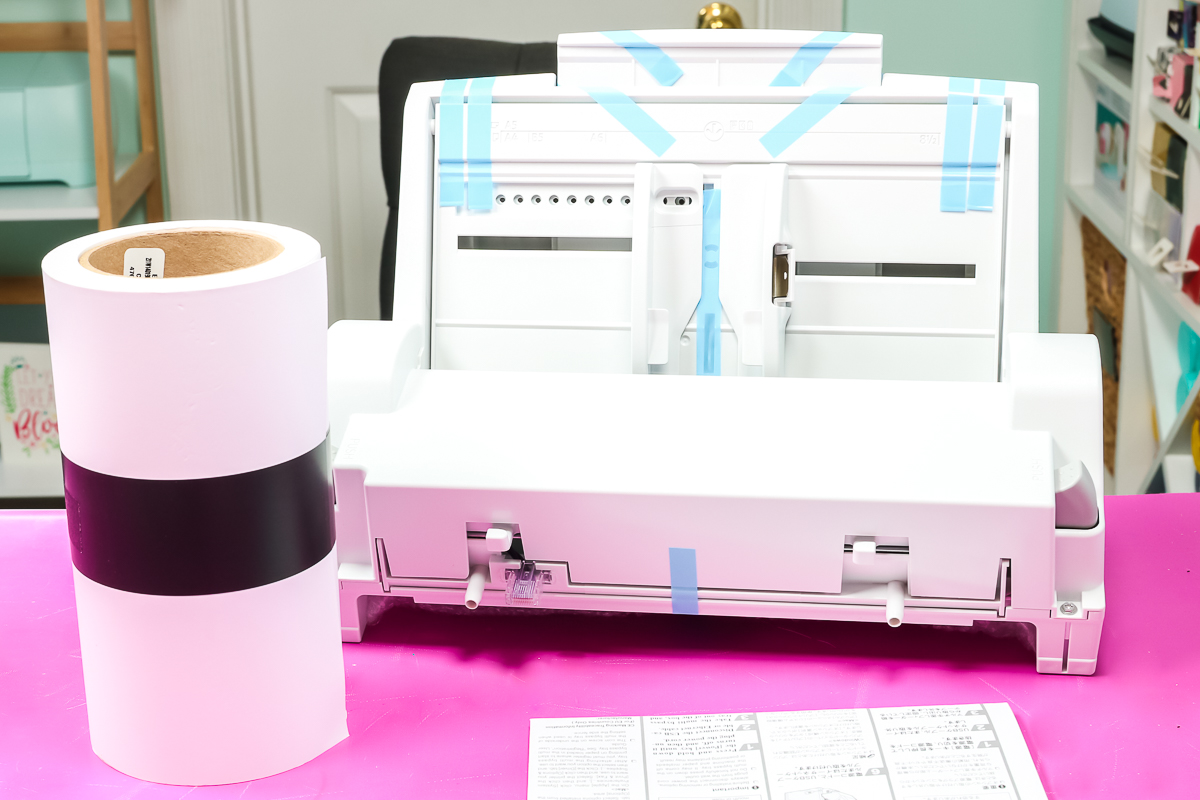
When you purchase the bypass tray, inside the package you’ll find the tray itself along with a set of instructions. It does not come with a roll of paper or anything else, you will need to purchase that separately.
Once you’ve opened the bypass tray, look it over and remove all of the pieces of blue tape. Don’t forget to look at the bottom, there is a piece taped to the bottom that you need. You’ll need to open that and attach the piece to the bypass tray.
Assembling the ByPass Tray
Once all of the tape is removed we need to attach that bubble-wrapped piece to the bypass tray itself.
Flip the bypass tray over and you’ll see that there are slots on the bottom of the tray. These all line up with the tabs on the piece.
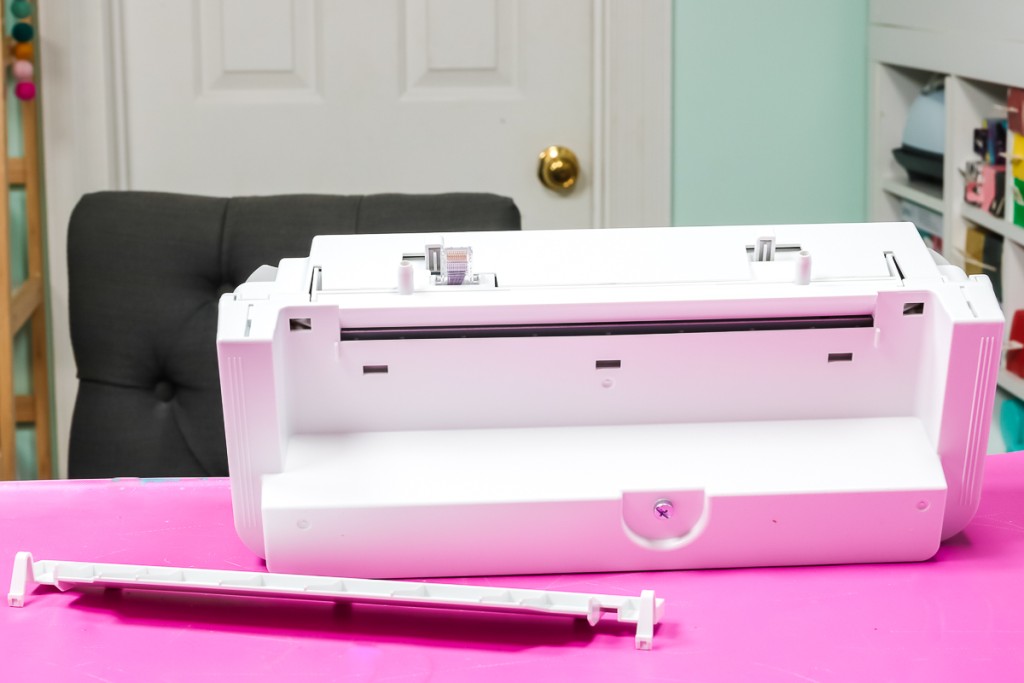
Line up the tabs on the extra piece with the slots on the bypass tray. Line up the 3 tabs and then push the piece up and lock the clips into place in the slots on each end.
Once that piece is installed it does not come off again and the bypass tray is completely assembled. Now we can look at how to add it to the sublimation printer.
How to Install the Bypass Tray to the Sublimation Printer
Before you attach the bypass tray to your Sawgrass printer make sure your printer is completely off and unplugged. I actually removed my cord from my printer so it was out of the way for this process.
For the SG500 ONLY, on the back of the printer, you’ll see two gray levers. We’re going to press those in and drop this tray down. On the tray, there’s a little flap and it has these little indentions. Put your thumbs in there and press. This should flip down and open.
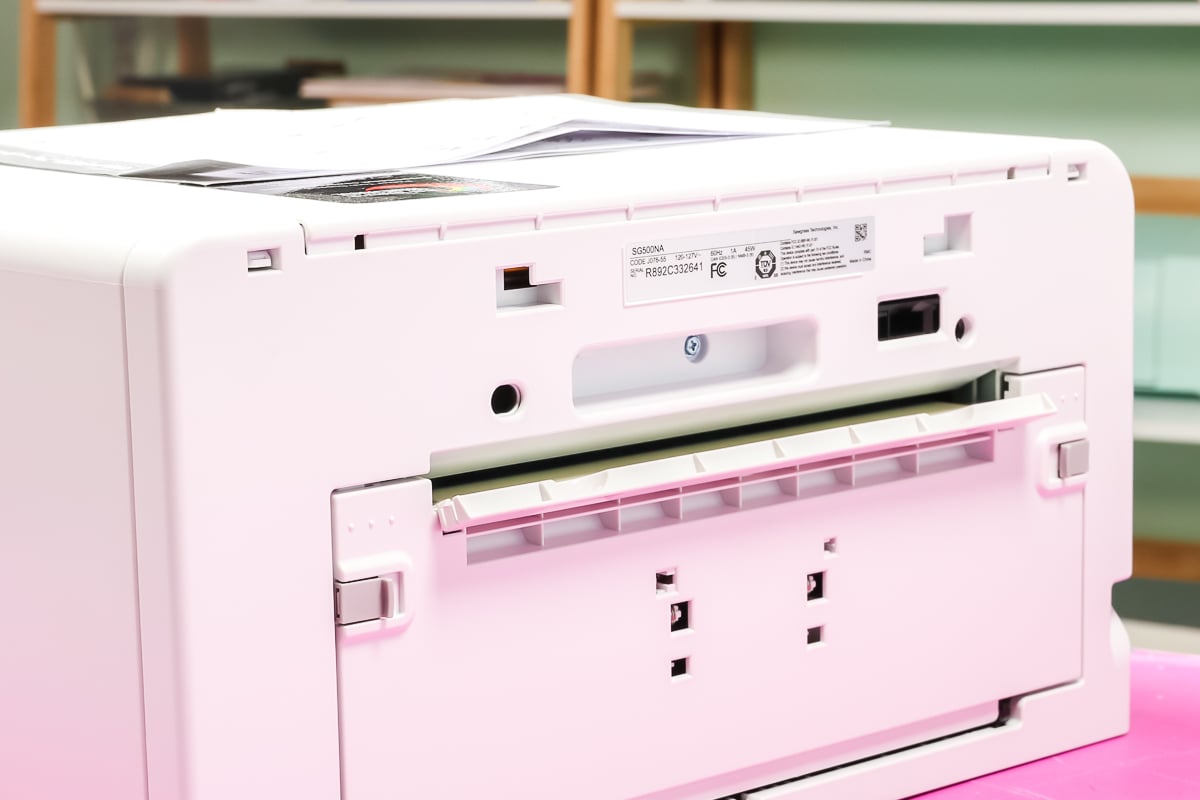
This area helps control the noise when you’re printing regularly. Because we need a way for the paper to get from the bypass tray into the Sawgrass printer itself, we need this section open.
When you’re not using the bypass tray you can close the door by pressing it and making sure the gray tabs lock again. With that section open, you’re ready to add the bypass tray.
Add the Bypass Tray to the Printer
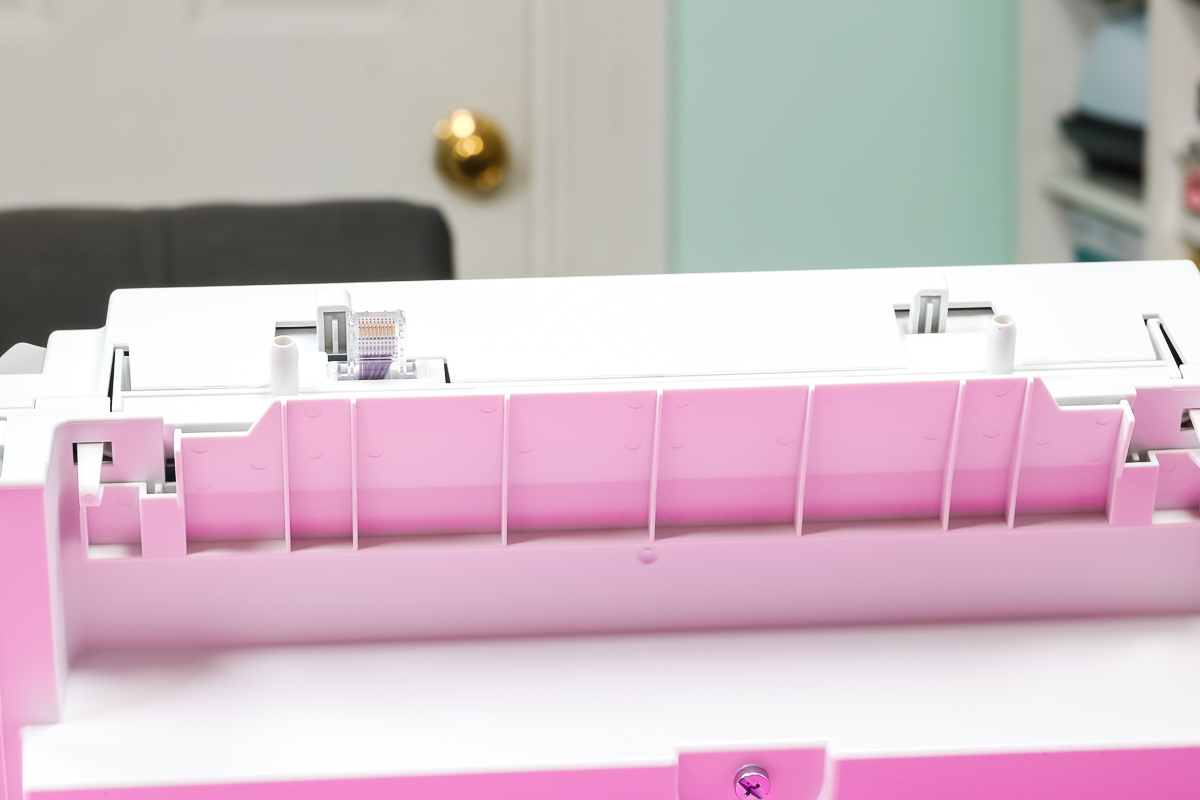
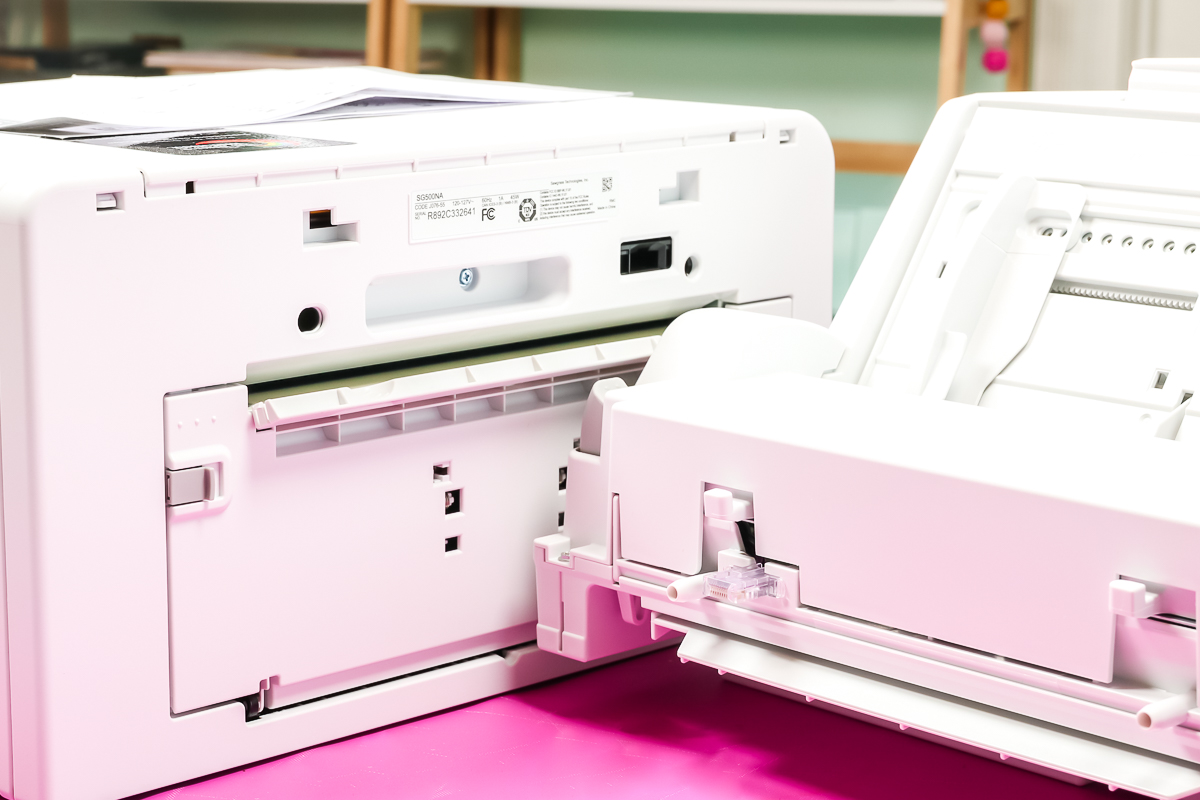
To attach the Sawgrass bypass tray you’ll need to align a few different areas. The portion we added to the bypass tray will rest on the area on the back of the Sawgrass printer and that is where the paper will feed through.
You’ll see the electronic plug on the bypass tray and it needs to insert into the back of the printer. There are a few other areas where the two parts fit together.
You’ll see there are two buttons on either side of the tray and you’re going to want to push those down. Line up the tray and push it into the back of your printer.
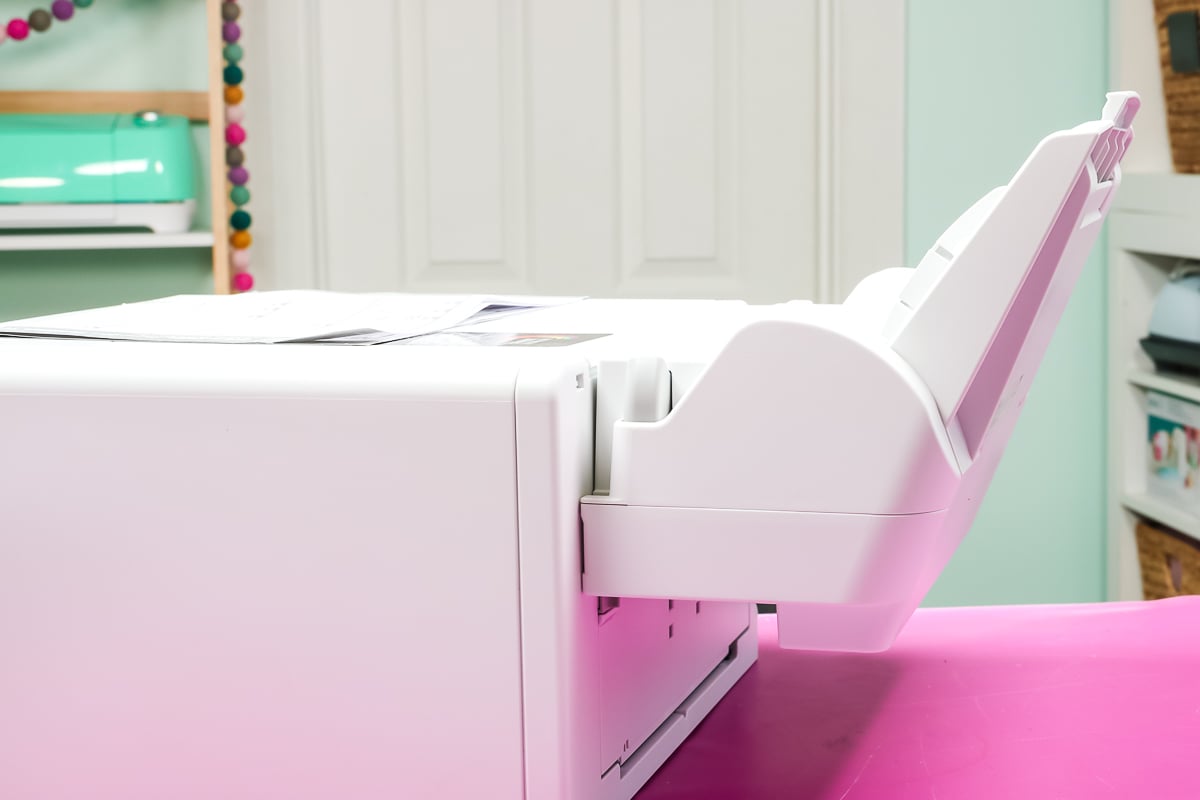
To lock everything into place, I’m just going to click the bypass tray into place and release these levers. Now, my bypass tray is on my printer.
If I ever want to remove the Sawgrass bypass tray I can just push the buttons again and remove the tray. It’s very easy to put on and off once you have it all set up. When the bypass tray is off the printer, you can close the back to help keep the noise of the printer down.
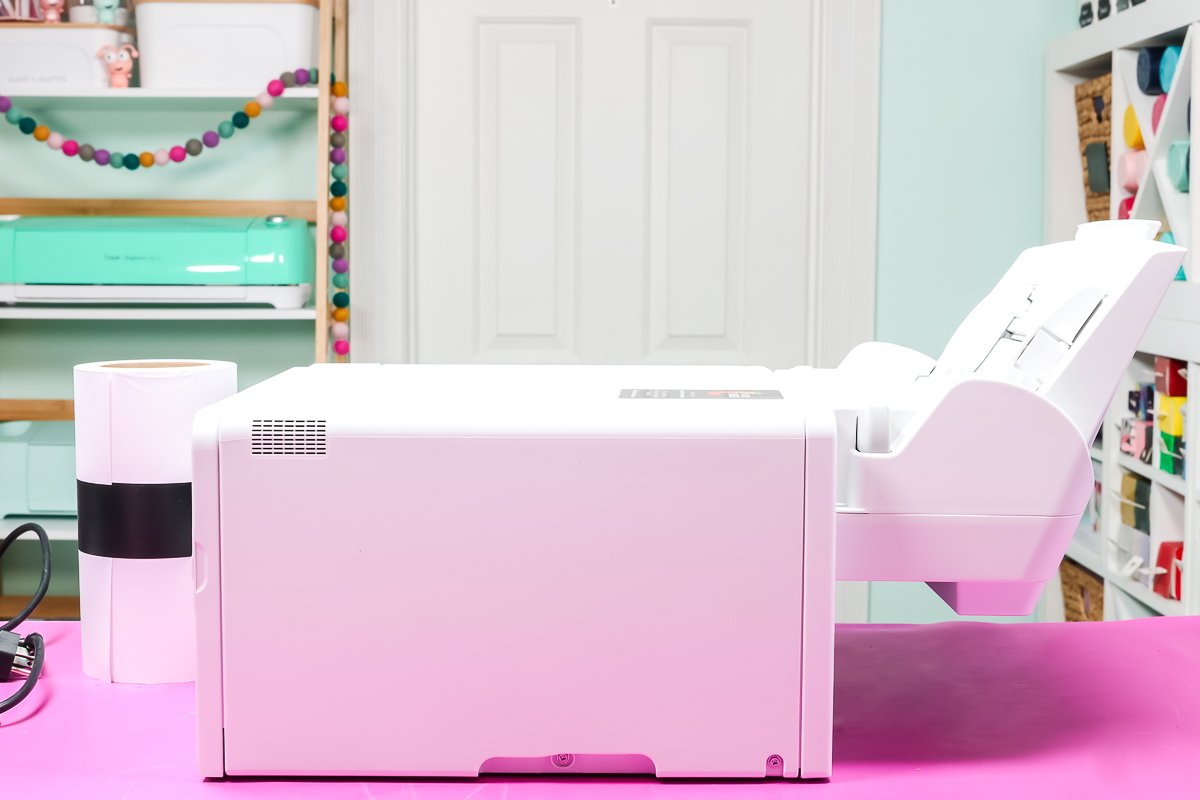
That’s the entire process for the SG500. The SG1000 has another bracket that you will need to install with a screw but it is very, very easy to install. You can watch this whole process in the video above if any of the steps are confusing to you.
How to Use the Sawgrass Bypass Tray
To use the Sawgrass bypass tray you’re going to need to plug in your printer and then make some changes to the printer properties to make sure it recognizes the bypass tray.
How to Change the Printer Properties
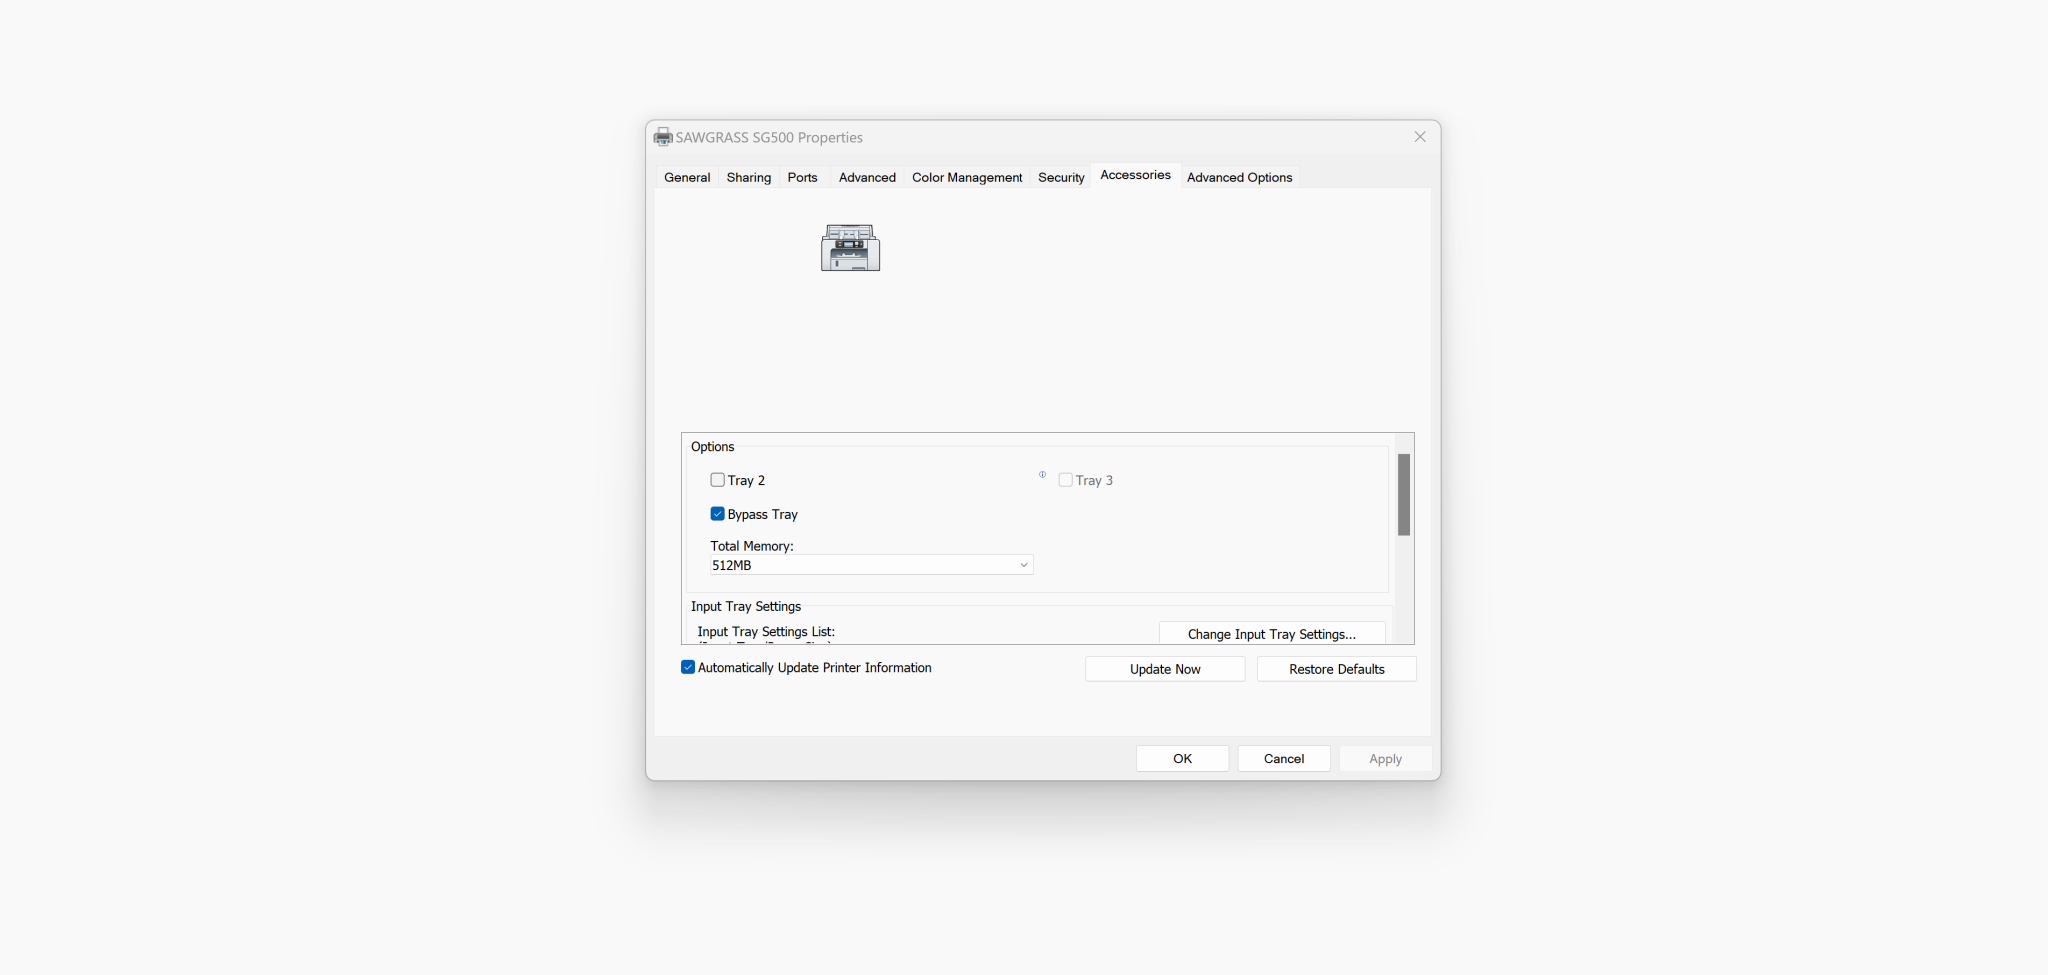
To change the print properties on your Sawgrass printer, you’ll need to open the Printers and Scanners folder and then find your printer. You should see the Sawgrass Print Manager as well as your Sawgrass printer, open the printer and then click Printer Properties.
Click on Accessories and then make sure that Bypass Tray is checked. It will probably automatically recognize it but if it doesn’t check it at this time.
How to Add Longer Paper Sizes
I want to add a paper size to print a really long banner. To add that new paper size, right-click on the Sawgrass Print Manager and then click on Manage Paper Sizes
Here I can add whatever paper size I want. I want to add the maximum width and length so I am going to create my paper size of 8.5″ x 51″. You can either type in the exact size you want or use the sliders to create a size that looks good to you.
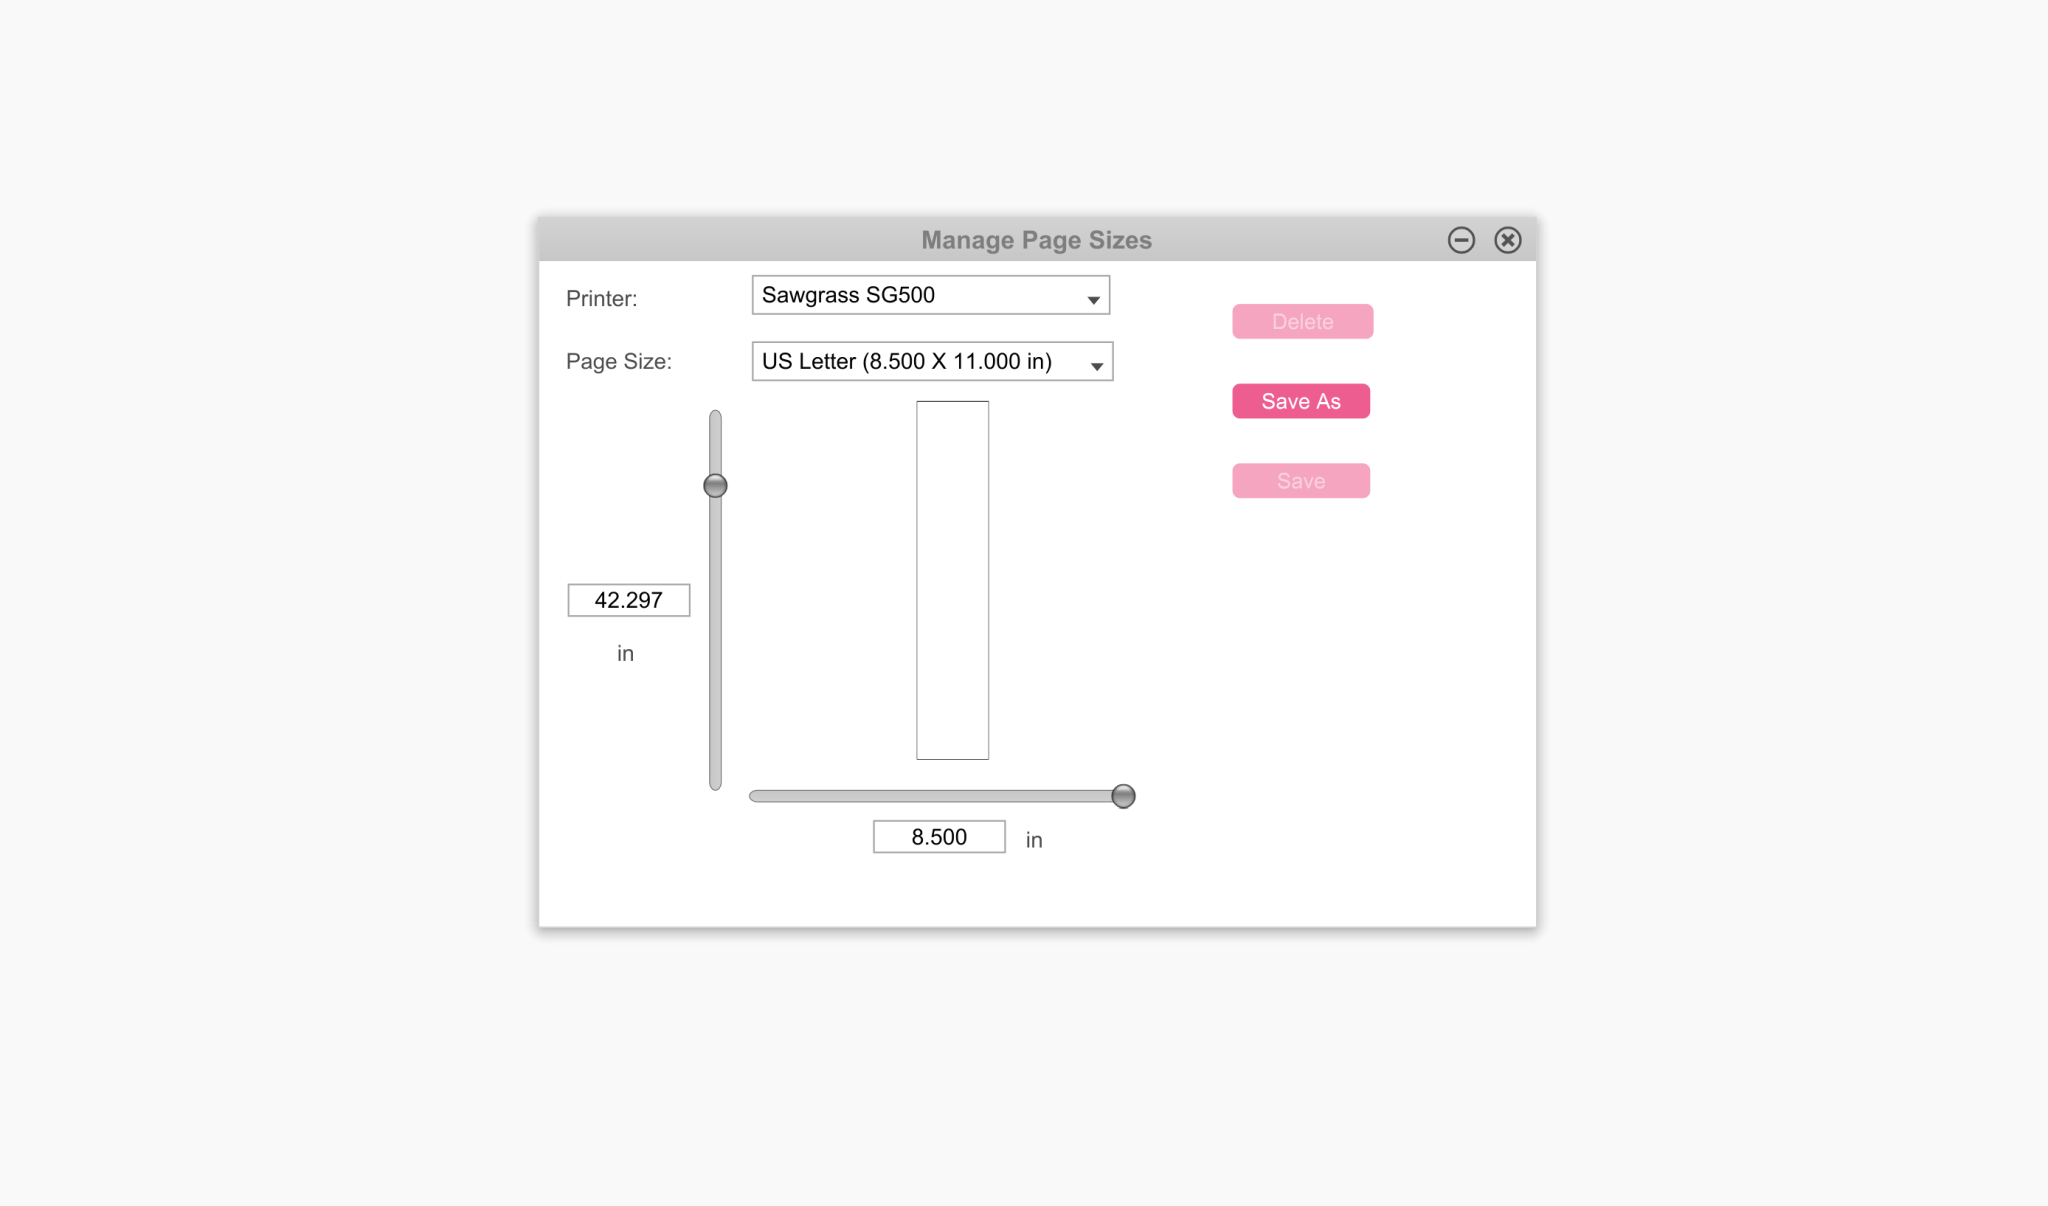
When you have the size put in correctly click Save As and then name it something that will help you remember what it is. Mine is named 8.5 by 51 bypass. Then click Save.
This adds that new paper size to the SG500 and it can now be used for future projects. You can do this for any different paper size you want to print on. Just repeat the steps for each different paper size.
Now that I have my paper size set we can go over to the Print Manager and set up my design to print!
How to Print with the Sawgrass Bypass Tray
To print from a Sawgrass printer, we need to open the Print Manager and then click Open Local File and find the file you want to print. I am going to print this Happy Birthday banner.
I am going to apply this sublimation print onto a white polyester fabric so I am going to select Polyester as my substrate and then High Quality as my print quality and then for source, I am going to click Bypass Tray.
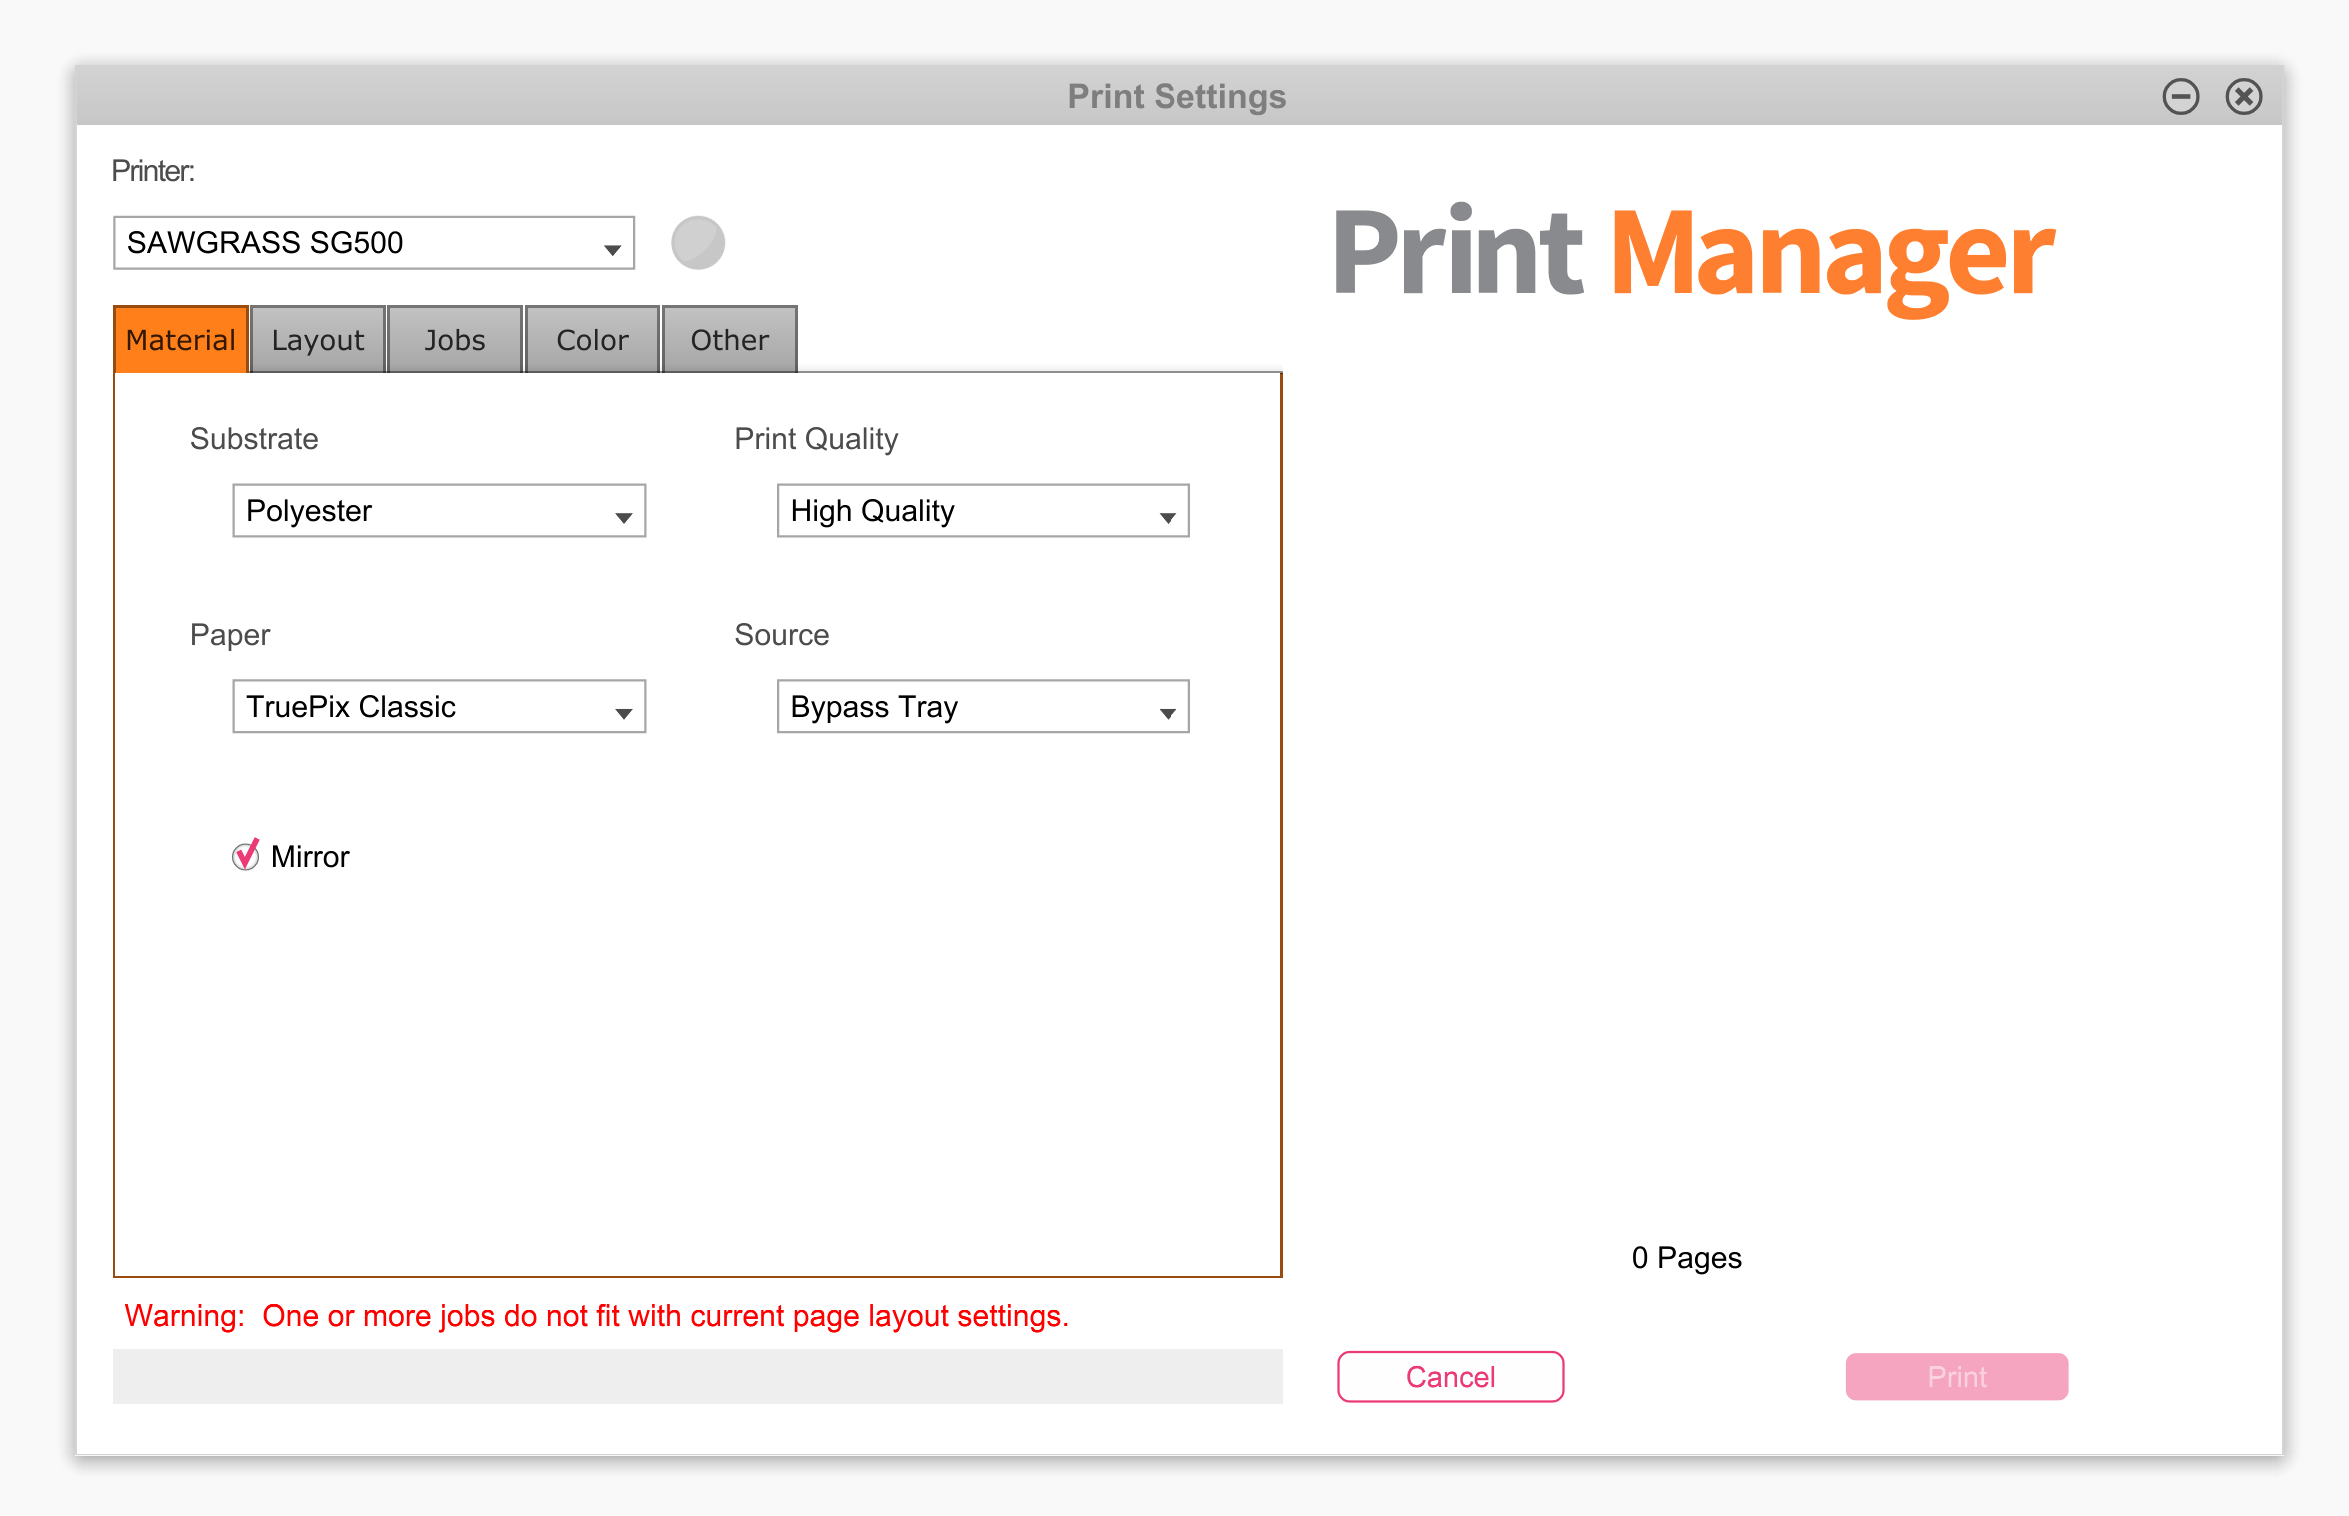
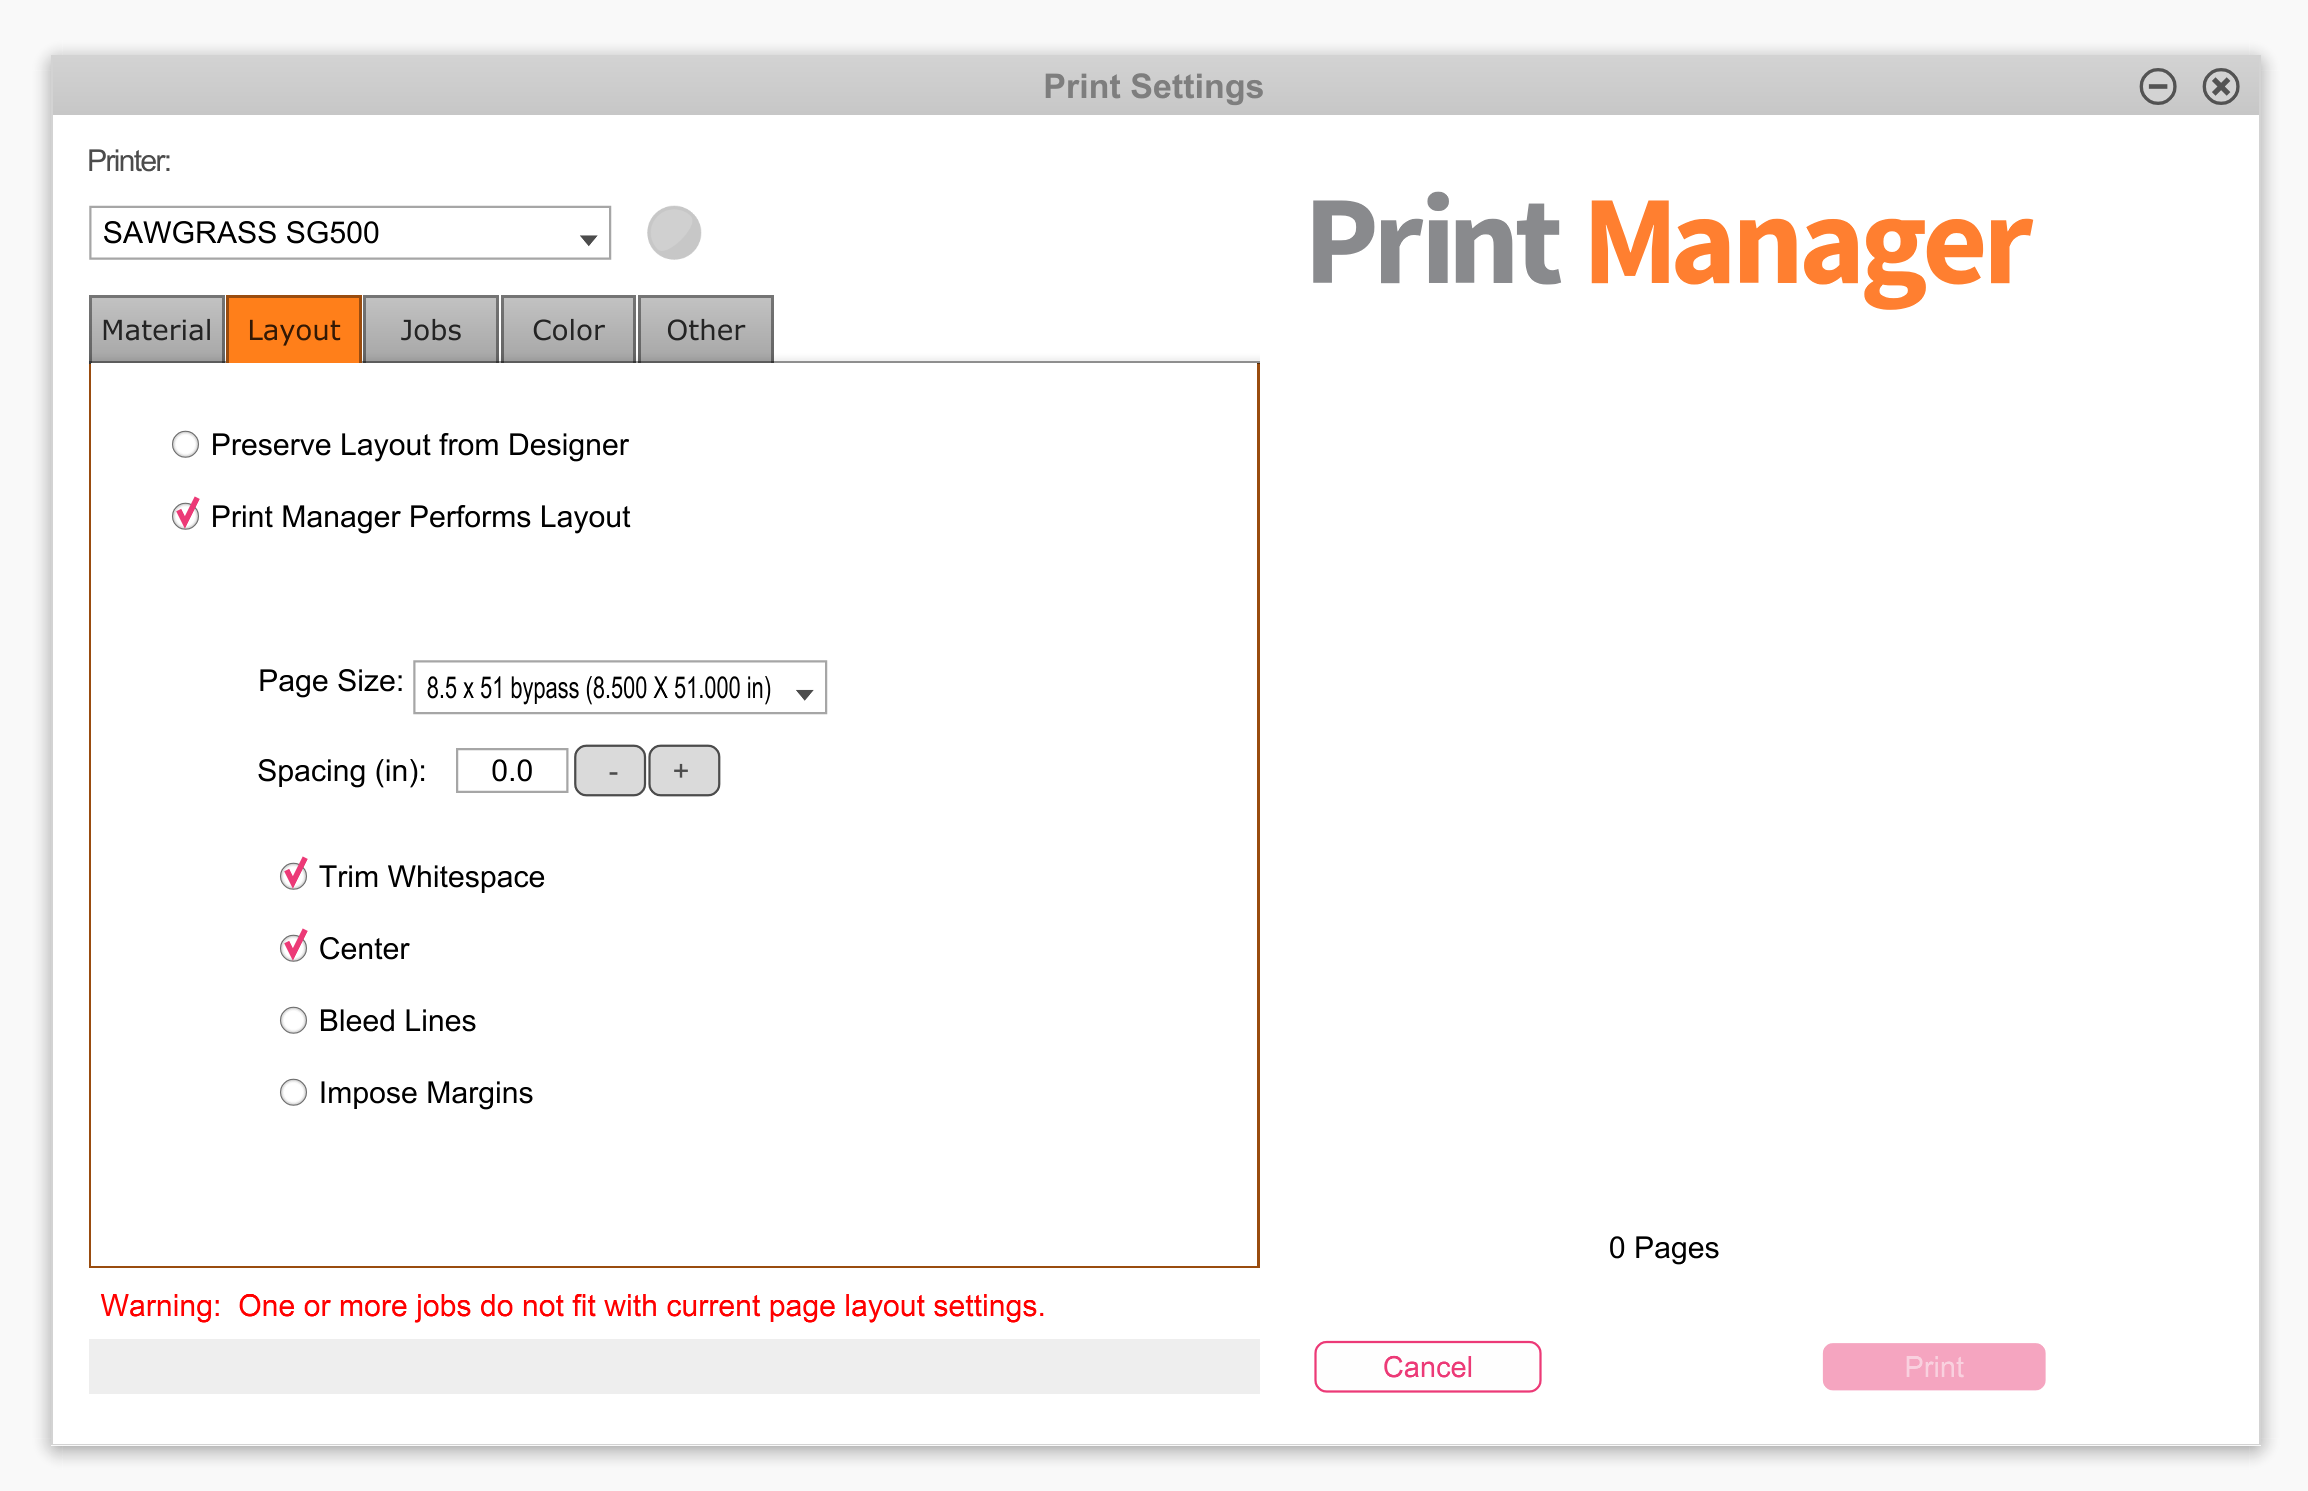
Next, click on Layout and then choose the paper size you want to use. I am going to choose the paper size I just added.
Now we need to click over to Jobs and here we can see that my design is exactly 8.5″ by 51″ but we do need to add the margins.
To do this I lowered my width size to 8.4″ and that automatically resized my length so the design will not be skewed at all, it’s just a tiny bit smaller.
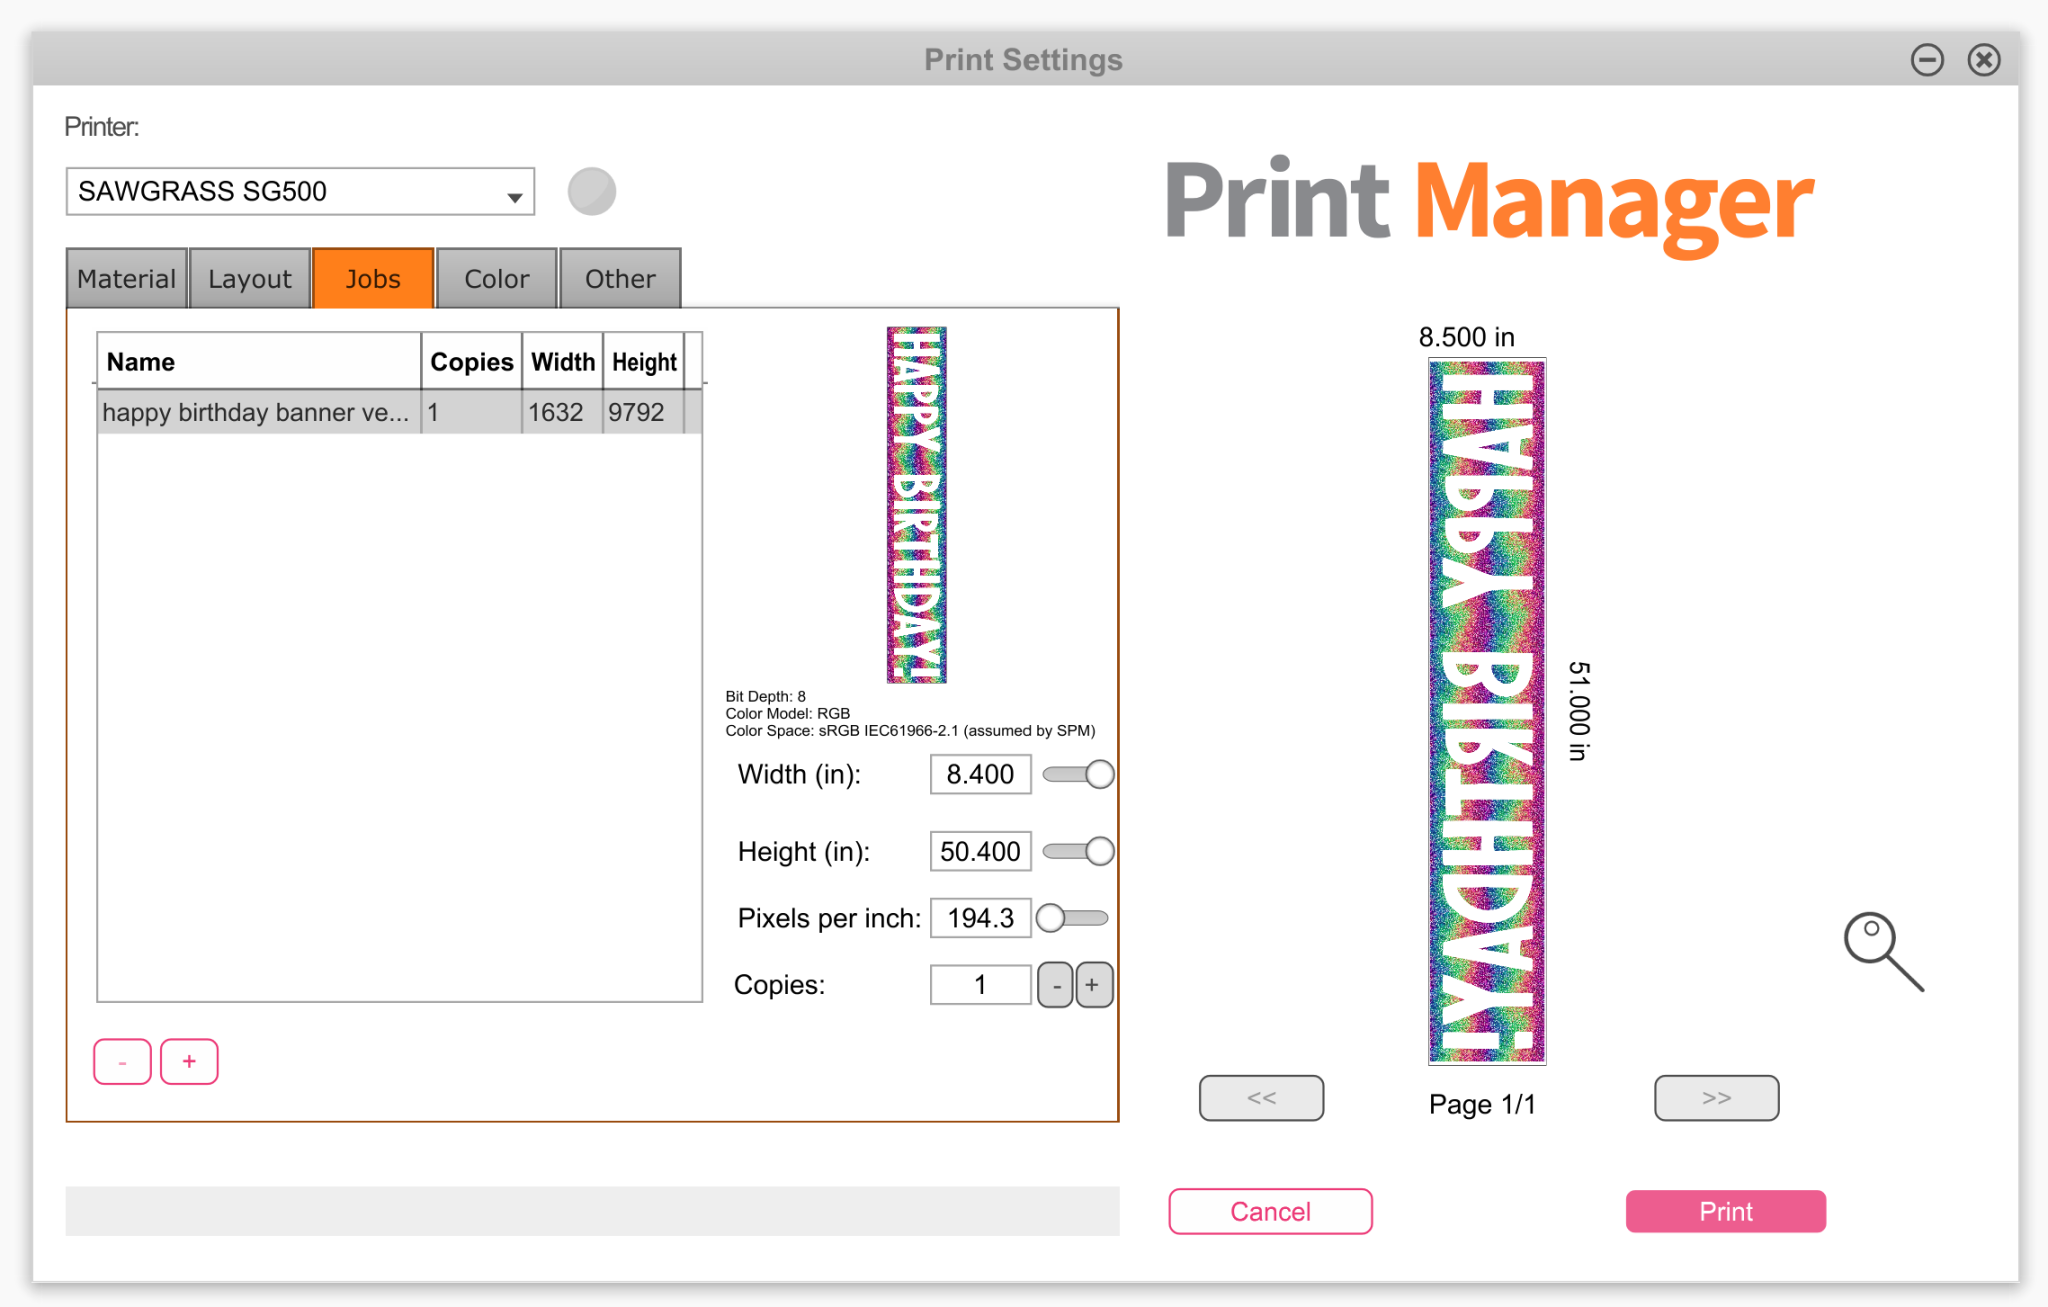
Now everything is ready to print and it’s printing at the maximum size available with the margins around it. Make sure you have your design mirrored so it looks right after it’s applied to the polyester fabric.
How to Add Sublimation Paper to the Sawgrass Bypass Tray
Now that we have everything ready to print to the bypass tray we just need to click Print and add our material to the tray itself.
Before I click print let’s look at adding the material to the tray. The Sawgrass bypass tray does not have a way to hold the roll of sublimation paper. You will need to manually cut the length you want to print on.
I recommend using a paper trimmer to ensure you have a nice straight edge to feed into the bypass tray.
Since my image is 51″ long I measured off approximately 51 inches and then cut it just a little longer than that. I would rather waste an inch or so of paper than waste 49 inches because my measurement was off and the whole design didn’t print.
Make Sure Your Paper is Sublimation Side Up
This sublimation paper roll that I purchased has a bright white side and an off-white creamy side. I want to print to the bright white side, which means I need to feed it into the bypass tray, bright white side up.
The bypass tray does have adjustable guides on both sides. Add the paper into the bypass tray under the guides and then squeeze the guides so the paper loosely fits within the guides so it can guide the paper straight into the printer.
You want to make sure the paper is all the way down and then it just hangs over the back of the bypass tray.
As I mentioned above the SG500 bypass tray does not have a place to hold the roll of the paper. It does have an extension on the back. Depending on the length of the paper you’re printing on you may find that it works better with the extension up or down. For this length, I like it better with the extension up.
All that’s left is to do is click Print and let the printer do its thing.
What to Do While the Printer Is Printing
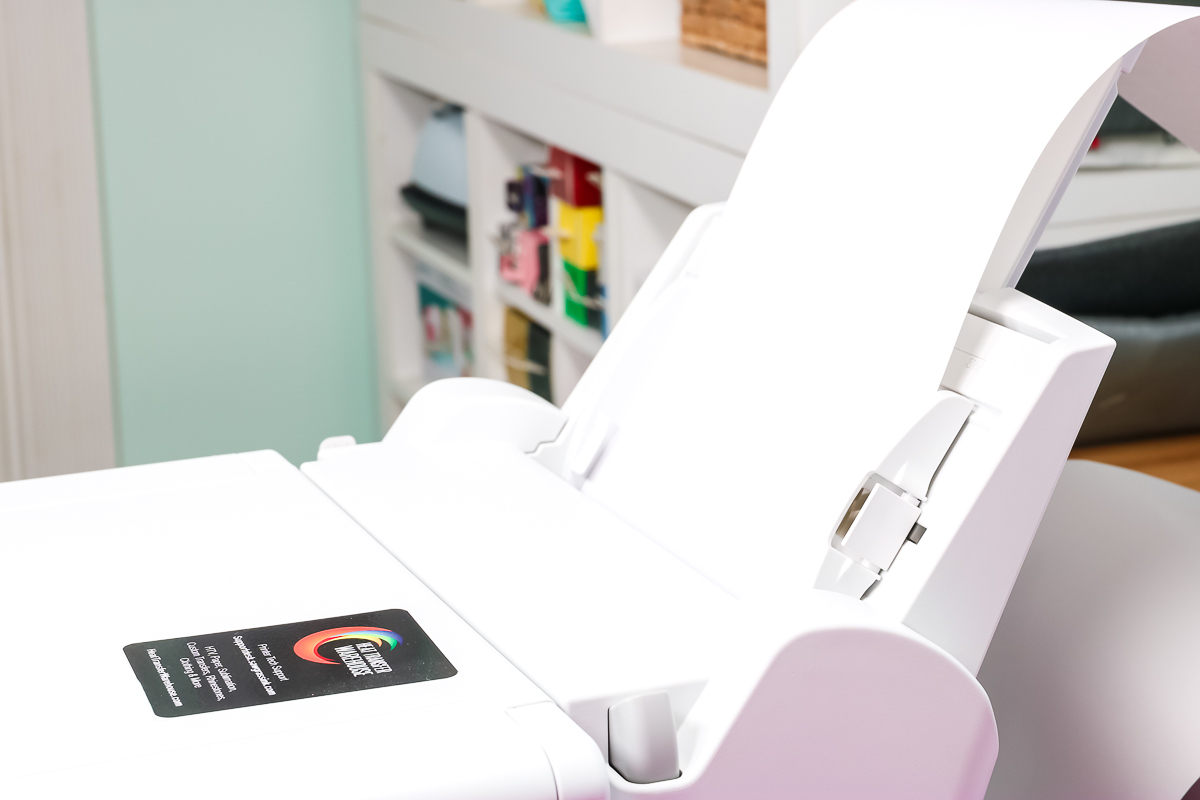
I do want to say that I would recommend, at least for the first few times you print something large, to not leave the printer unattended.
When the paper feeds through the printer, it can possibly jam up if it doesn’t have a clear path to go. I made sure that my print had somewhere to go that wasn’t going to jam the printer but had to keep moving the print as it was printing.
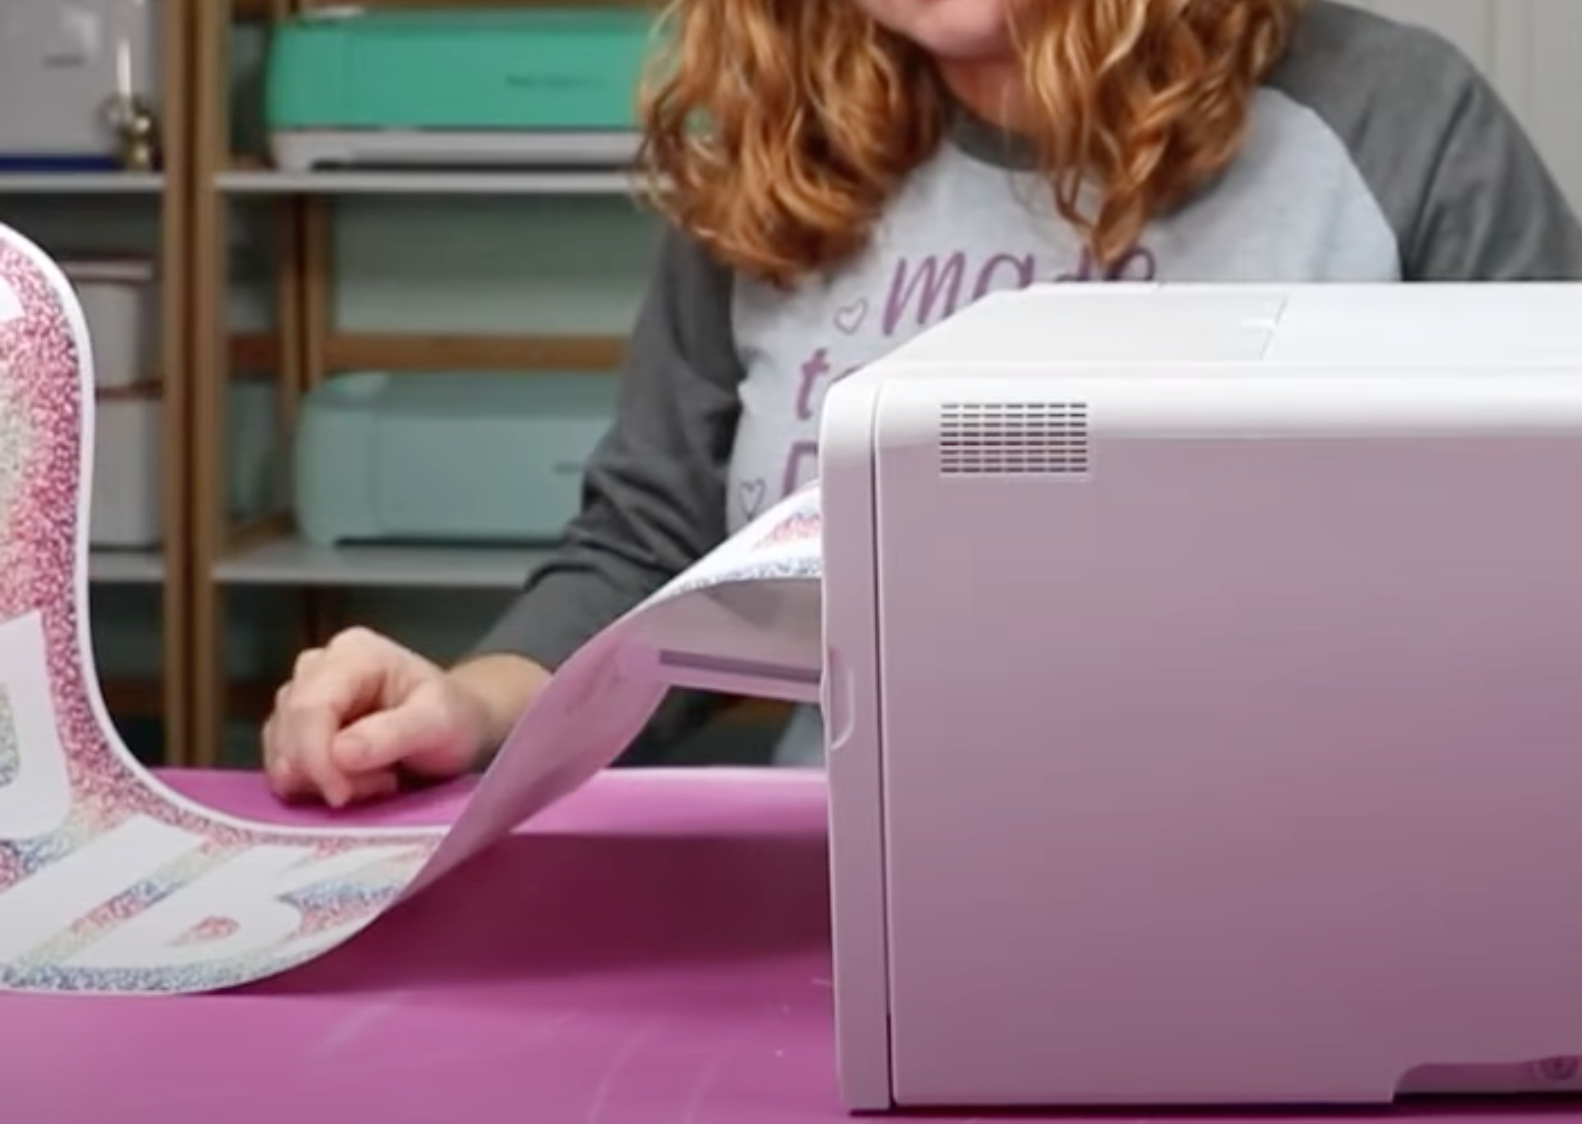
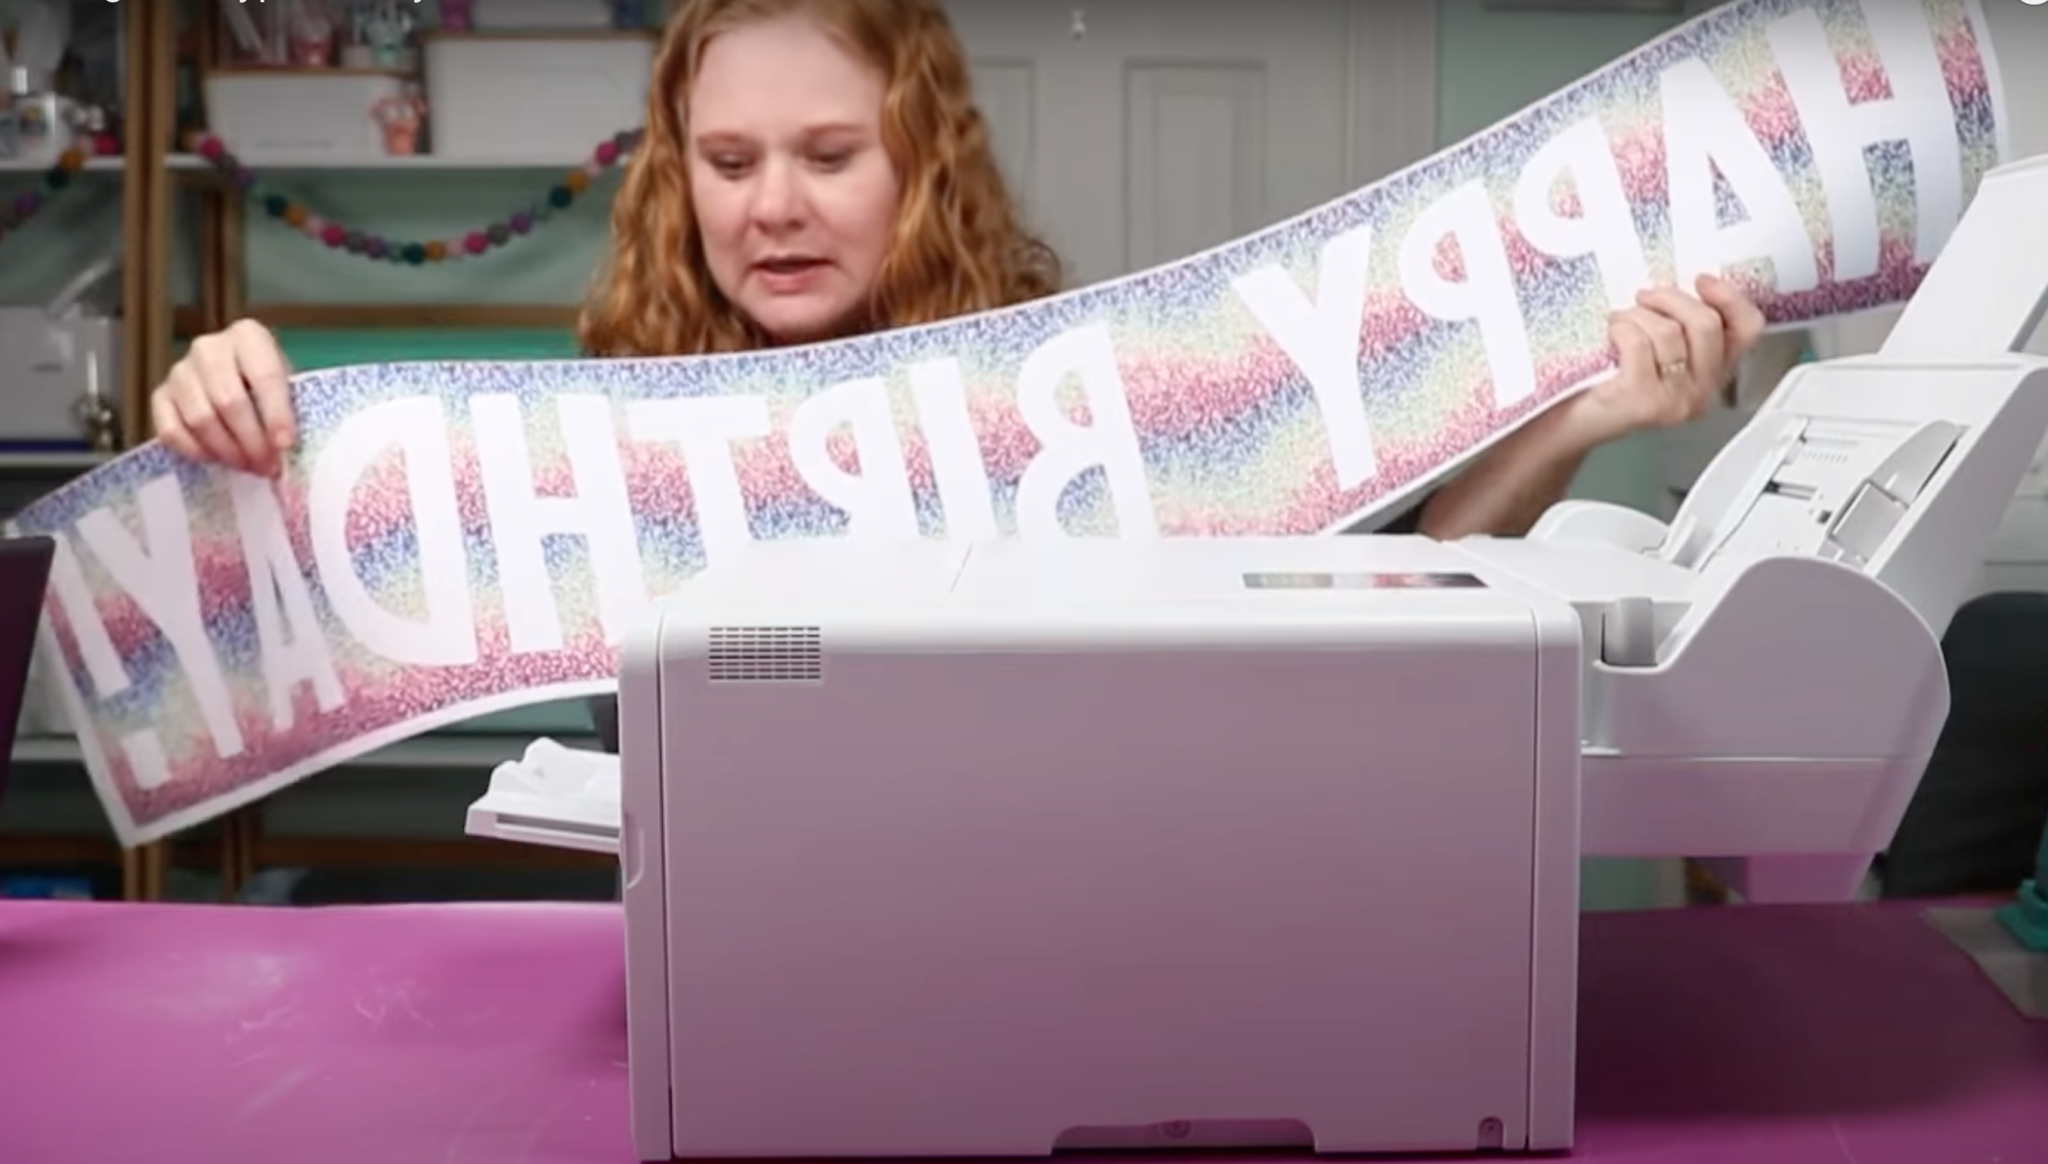
Finished Happy Birthday Banner Sublimation Print
It worked!! Look at how huge this sublimation print is! Look at what I was able to print with my SG500 and the bypass tray.
Sawgrass Bypass Tray Troubleshooting
I do want to walk through a couple of things that may come up as you use the bypass tray for the first time.
- I had to get used to the placement of the paper in the tray. It kept telling me the paper wasn’t loaded. I just kept pulling the paper in and out to get used to the placement. Now that I’m used to the placement I’m able to just drop it in and print.
- You can also change the size of the paper on the printer itself. It didn’t seem to make a difference in my case, changing it in the Sawgrass Print Manger seemed to be all I needed to do. However, if you are getting an error message you can try changing the paper size on the printer itself.
How to Change the Paper Setting on the Printer
To change the paper settings on your printer begin by pressing Menu and then Tray Paper Settings. Here you can choose the Printer Bypass Tray Size option and then choose Custom Size. Here you would actually type in the size you want to print making sure you don’t exceed the maximum 8.5″ x 51″.
While I didn’t need to do this, if you’re getting an error message you may find that making sure the paper size you have in the Print Manager and in the printer itself both match may help clear any errors.
Frequently Asked Sawgrass Bypass Tray Questions
There are a few questions I’ve seen come up about the Sawgrass bypass tray so I thought I’d answer those for you to help you decide if you need to add one to your craft room.
Why would you need to print such a large sublimation print?
I can think of a variety of different projects you could make that would be easier with a print size larger than 8.5″ x 14″.
As you can see, today I chose to print a giant Happy Birthday banner. You could make banners for any occasion – baby showers, graduation, weddings, anniversaries, and so on.
This same process could be used to add large designs to blankets, flags, pillowcases, etc. You don’t have to print all the way to 51″ for the bypass tray to come in handy.
Other than making banners when would I use the bypass tray?
As I was thinking about other reasons the bypass tray would be beneficial. I thought about one of my sublimation tips. Recently I shared about printing onto smaller paper to reduce wasting sublimation paper.
The same thing can be done here. For instance, let’s say I could print 2 full-wrap sublimation mug designs on an 8.5″ x 14″ sheet of sublimation paper. While both would fit on that 14″ paper my mug wrap isn’t going to be 14″ long which means I am going to be wasting sublimation paper.
I could likely print off 4 full-wrap mug designs by making my paper just a little longer than 14″. If my mug wrap needs to be 8″ long, I could print off 4 mug wraps on just over 16″ of paper. This could save a lot of wasted sublimation paper vs. printing onto two sheets of 14″ long paper.
You may also find that this saves not only paper but time. If you’re able to print a bunch of smaller designs, like koozie designs, at once you won’t have to load multiple sheets into your printer or wait for each new sheet to print. Essentially you’re saving time and money in cases like these.
Do I need the Sawgrass bypass tray?
I do not think everyone who does sublimation will need to purchase the bypass tray. It is a way to print larger designs with the SG500 and the SG1000 but it is probably not needed in all cases.
If you choose to purchase the Sawgrass bypass tray you will also need to purchase the sublimation paper on a roll in order to print those larger sizes.
Whether or not you need the bypass tray will depend on the projects you’re wanting to make with your sublimation printer. I like that I don’t have to try to piece together designs to create a larger project but if you’re not planning on making large projects the bypass tray isn’t something you would need.
The good news is, you can always decide later to get one if your needs change!
Can I remove the bypass tray when not in use?
Yes, definitely!
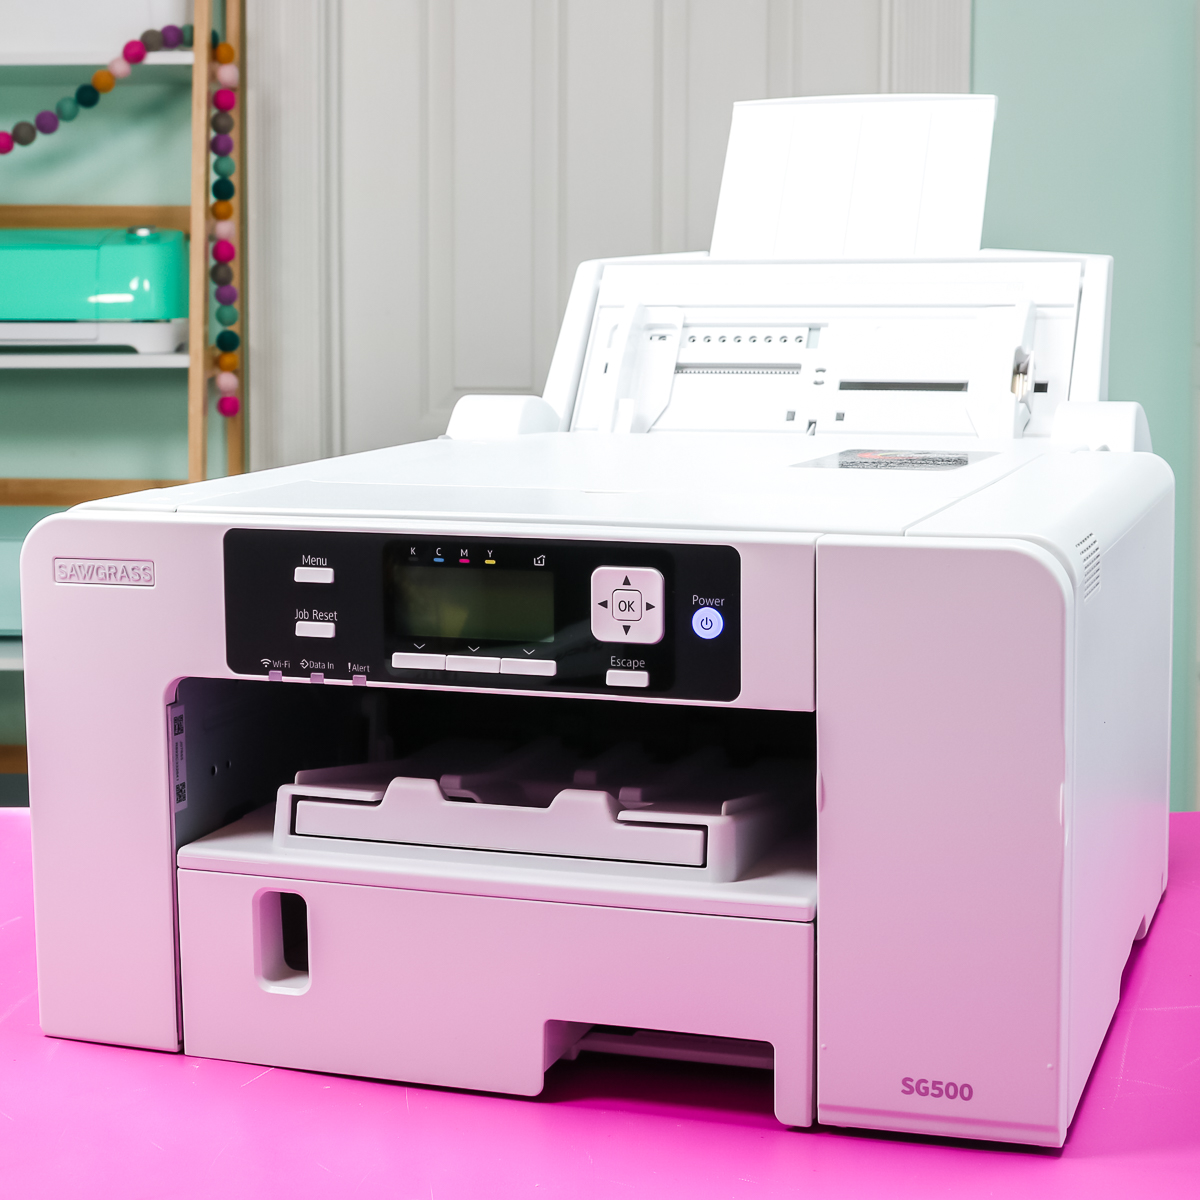
I do really love that the bypass tray can be removed from the printer. I like the smaller footprint of my SG500, I like how it fits on my shelf and doesn’t take up a lot of room. With the bypass tray attached, it doesn’t fit where I want it so it’s really a bonus for me that it can be added and removed easily.
Final Thoughts on the Sawgrass Bypass Tray
I really hope this has helped you understand what the bypass tray is, how to use it, and what projects it would be good for. After trying it out, I am definitely a fan, especially since I don’t have to leave it on my printer all the time.
I found it easy to use and my print on that 51″ sheet of paper turned out beautifully. If you have any questions about the Sawgrass bypass tray, feel free to leave them in the comments below and I’ll get those answered for you!

