This post and photos may contain Amazon or other affiliate links. If you purchase something through any link, I may receive a small commission at no extra charge to you. Any supplies used may be given to me free of charge, however, all projects and opinions are my own.
Today I’m answering all your HTVRONT Auto Heat Press questions in this full review. I’ve received a lot of questions about the HTVRONT Autopress and how it compares to the Cricut Autopress, today I’m putting it to the test.
I’m going to walk you through the whole press, and how it works, and make two projects so you can see it in action. I have been testing it for a while now so I can share my true and honest opinion with you.
If you’re trying to decide which heat press is right for your craft room, I have a variety of different reviews on my site that should help you decide.
You can watch me walk through the whole press and make a couple of projects by pressing play on the video below.
HTVRONT Auto Heat Press Features
If you’re in the crafting world, I’m sure you’ve seen the HTVRONT Auto Heat Press in a variety of different tutorials. You can use this review to decide whether or not this press is for you.
How wide does it open?
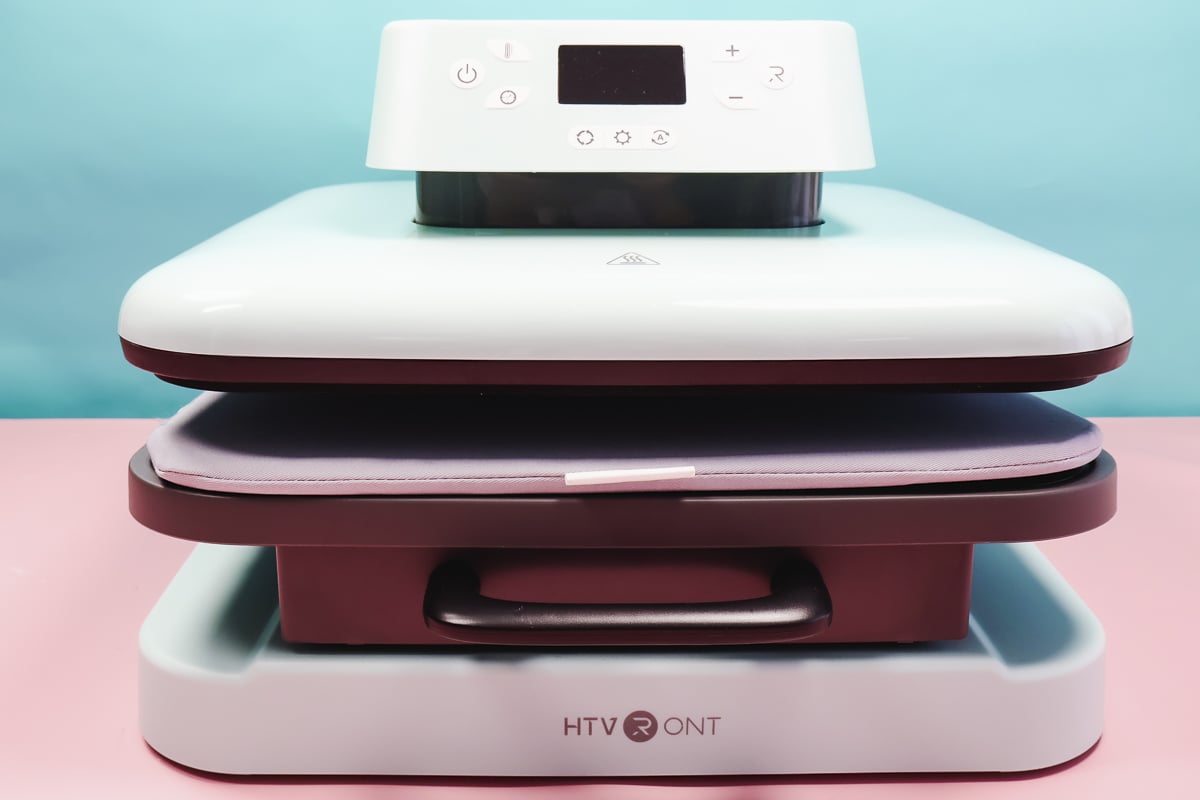
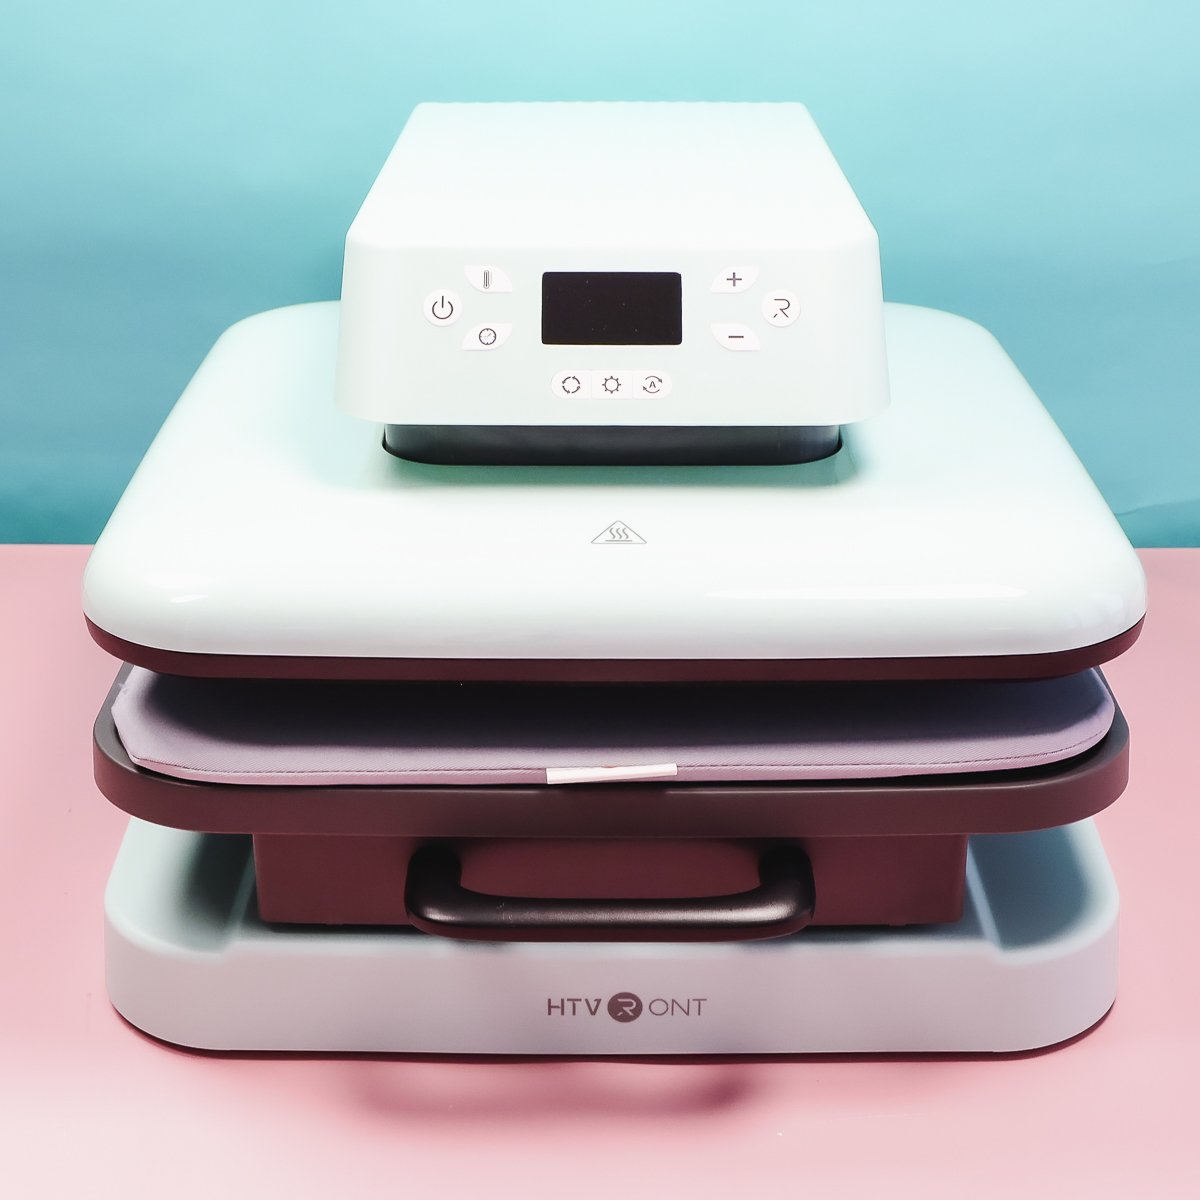
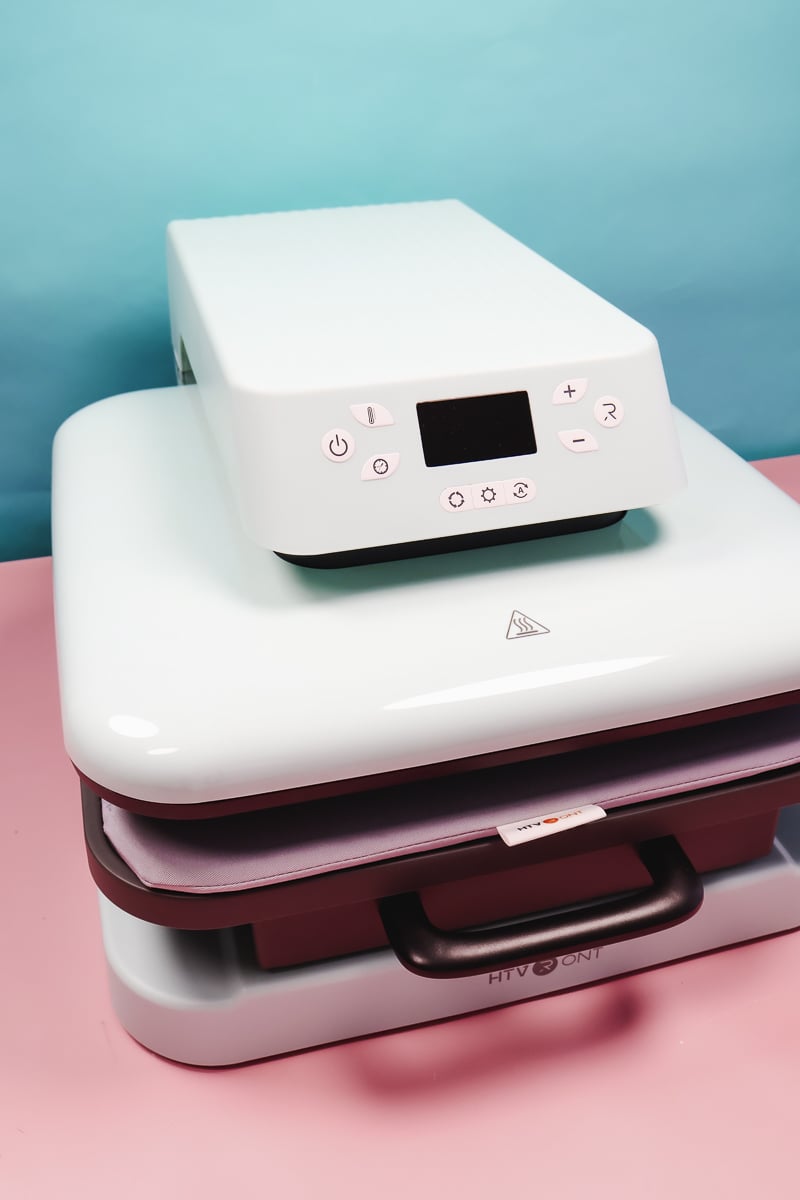
This is what the HTVRONT Autopress looks like from the front. As you can see, it has a control panel at the top and then has a top and bottom platen and a slide-out drawer.
This is what the Autopress looks like in its open state. This is as wide as the machine opens. The good news is that this heat press does have a drawer that slides out allowing you to place your materials without getting too close to the heat plate.
What size is the heat plate?
The heat plate is 15″ x 15″ which is nice and large. This size should allow you to press designs large enough for most shirt sizes.
HTVRONT Auto Heat Press Drawer
The drawer pulls out almost to a full extension which makes it easier to place materials on the bottom platen. There is a small section that remains under the heat plate so you need to be careful not to burn yourself when working in that area.
HTVRont Pressing Pad
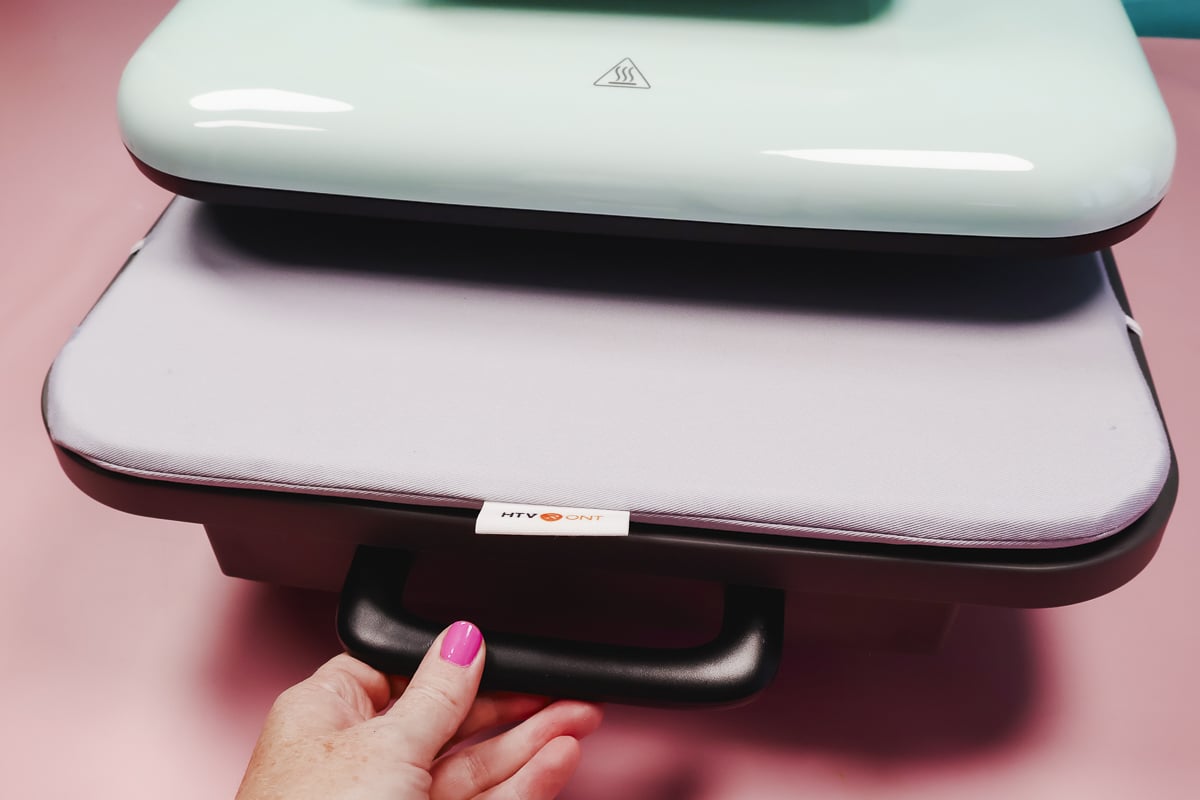
It does come with a pad that is on the bottom platen when you open the box. The pad is secured with elastic holding it in place. The surface under the pad is hard. It may be difficult to use different pads because of the way the drawer slides in and out and the fact that the press doesn’t open very far.
If you choose to try a different pad, you’ll want to make sure it’s no thicker than the pad that comes with the machine. I did find that the pad itself is fairly firm so I think it would work well for a wide variety of sublimation and HTV projects.
What is the maximum thickness you can press?
The distance between the top and bottom plates is not very wide. I think the thickest you should try to put into this space is about one inch. I don’t think anything thicker will slide into the press.
How Heavy is the HTVRONT Auto Heat Press?
The HTVRONT Autopress isn’t very heavy, especially compared to my other presses. This can be good if you need to move your press regularly. I prefer my presses to have some weight to them as they feel more sturdy.
HTVRONT Auto Heat Press Control Panel
The first button is the power button. Press it once to turn it on and press it again to turn it off.
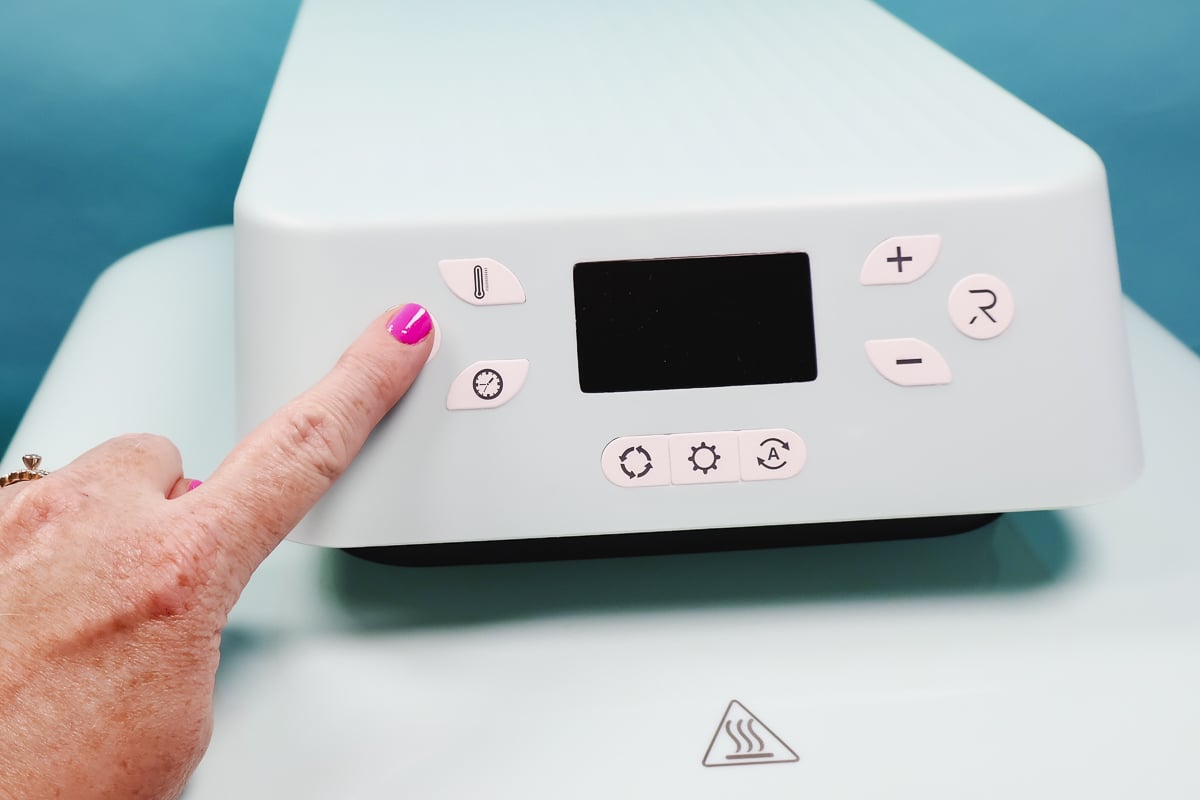
Next to the power button, you’ll see the temperature button on top and the time button below it.
To the right of the display, there is a plus button and a minus button. You’ll use those buttons to increase or decrease the time or temperature.
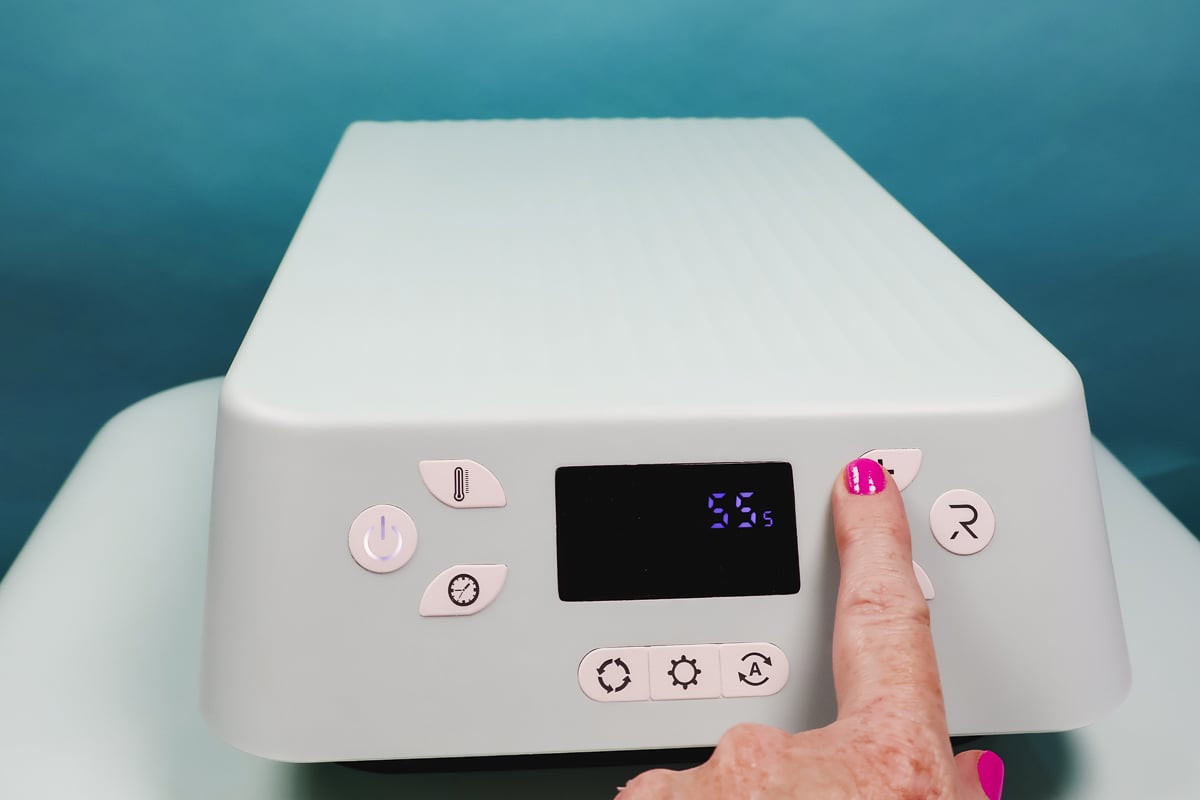
To select which one you want to adjust, first press the button on the left and then the plus or minus on the right. To set the time or temperature, press the button you’re adjusting again.
For example, click the time button then use the plus and minus buttons to adjust the time, and then click the time button again. This will set the time.
Repeat the same process for the temperature.
What Does the R Button Do on the HTVRONT Autopress?
On the far right of the control panel, you’ll see a button that has the R from the HTVRONT logo. This is the button you’ll use to manually open and close the heat press.
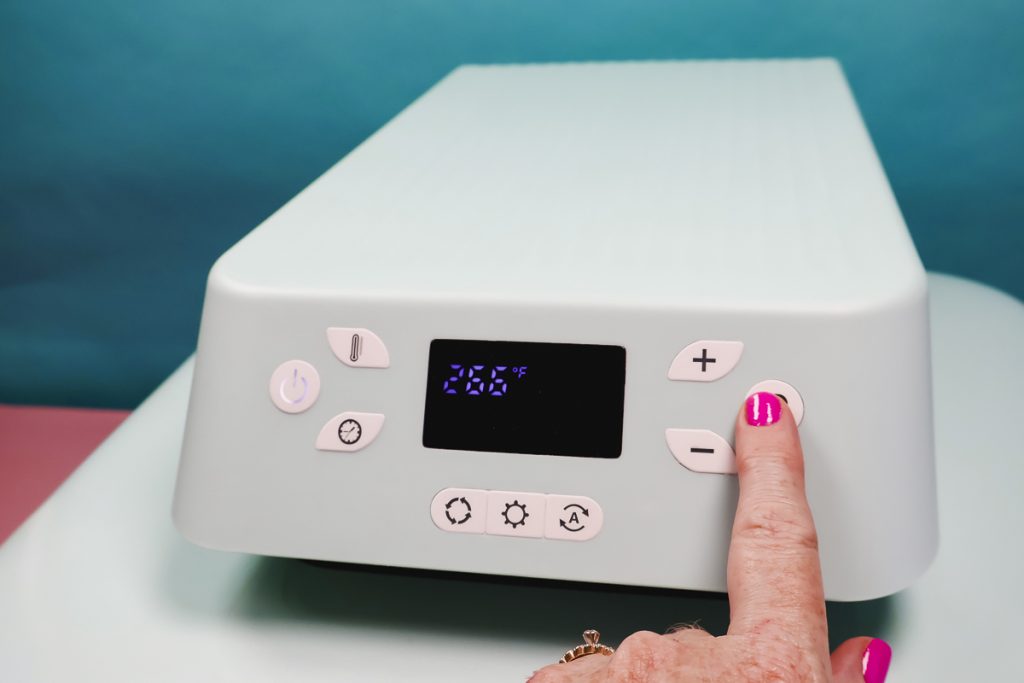
For the Autopress to close, you’ll need to have the drawer pushed in. With the drawer pushed in, if I press the R button it will close the press.
How to Open the Press
If I need to open the press at any point before the time is up, I can press the R button again and it will open. It’s nice to have the button right up front in case you ever accidentally auto-close the press and need to open it back up right away.
How to Use the Heat Press Presets
There are three buttons across the bottom of the control panel. The first button has five presets that come preset on the machine.
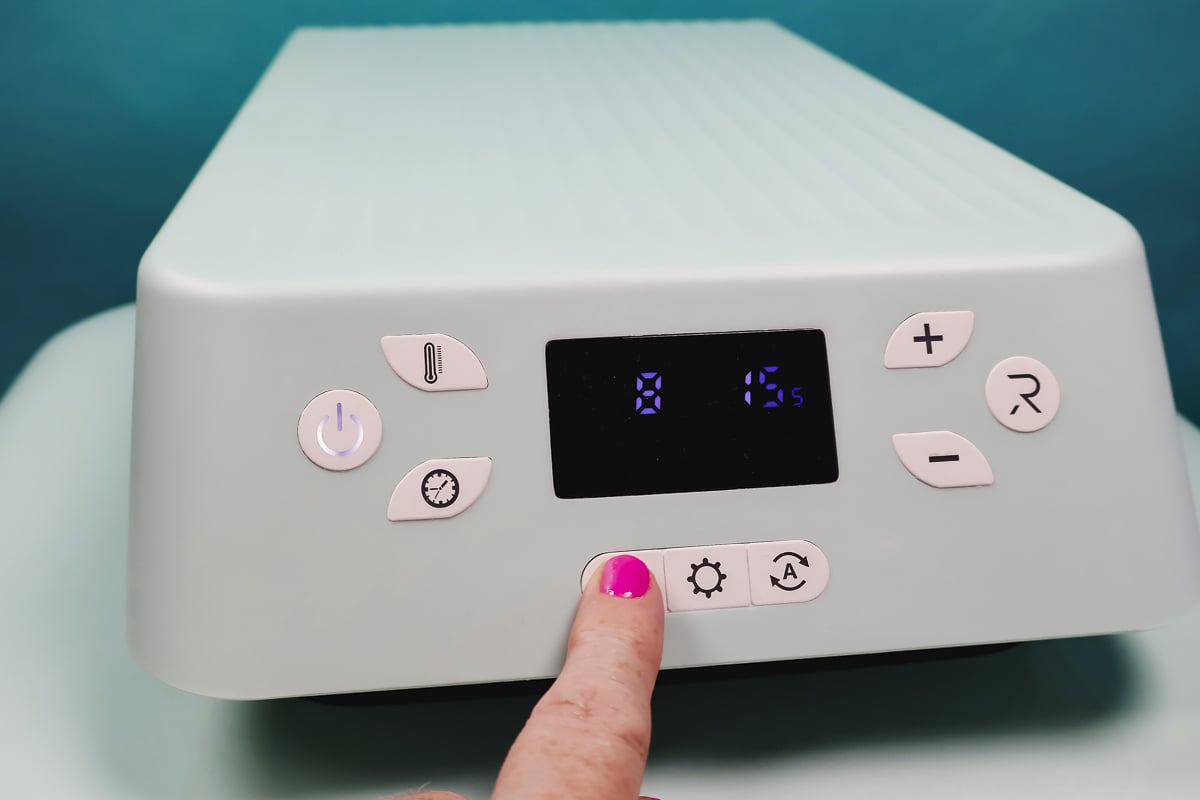
The second button allows you to set a couple of your own presets.
To set the time and temperature for the presets, press that middle button, adjust the time and temperature, and now you have a preset for a material you commonly use. Repeat the process to set the next preset for another material you commonly use.
How to Set the Autopress Feature
The last button on the bottom of the control panel is the Autopress button.
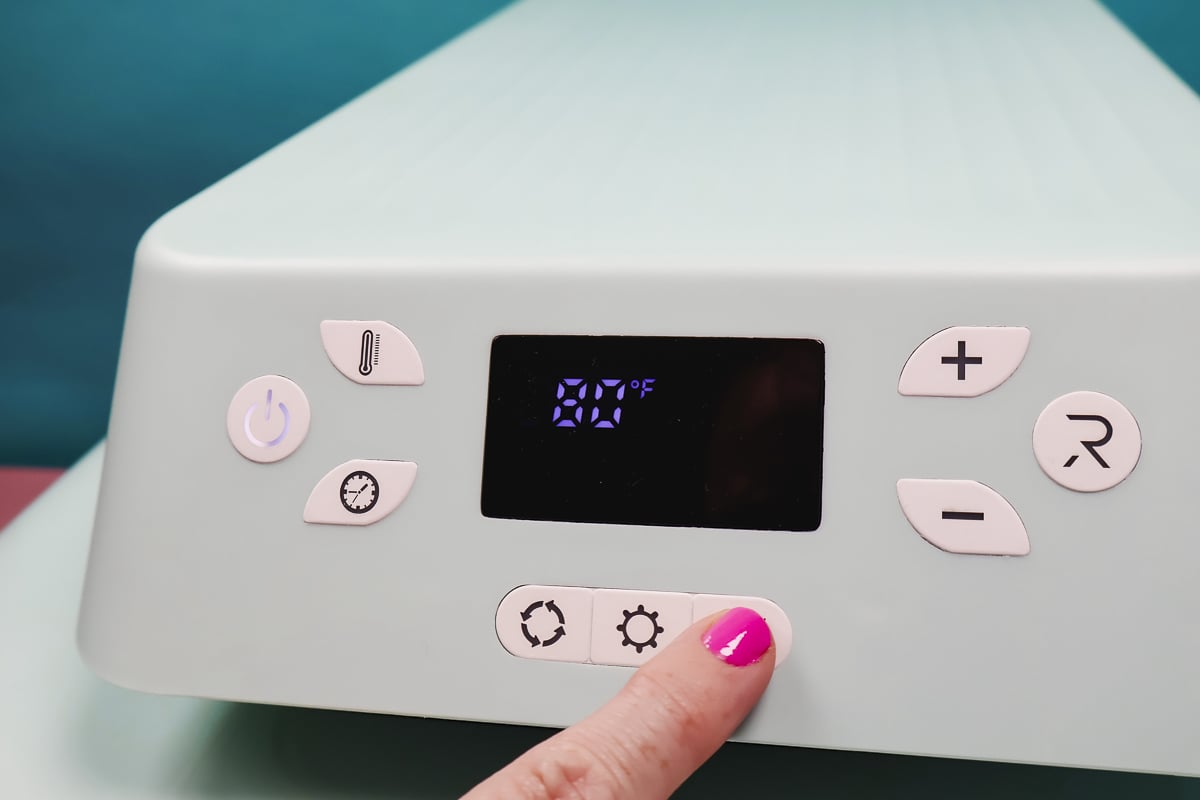
When the Autopress button is pressed, you’ll see an A appear on the display. Then as soon as you close the drawer of your heat press, it will automatically close and start.
With the Autopress button engaged, you don’t have to press the R button at all unless you need to open the press again before the time is up.

Not sure which heat press is for you? Heat Press Roadmap has your answer! This extensive course is designed to guide you on your journey to deciding on the best heat press for your needs, space, and budget.
Join Angie Holden and Cori George as they explore 17 heat presses in 27 videos. Get the details and sign up for Heat Press Roadmap here!
Projects with the HTVRont AutoPress
Now, let’s make a couple of projects in the Autopress. First, let’s look at the supplies I’ll be using for both projects.
Supplies Used
How to Make an HTV T-shirt with the HTVRONT Auto Heat Press
Now that we’ve looked at the HTVRONT press and how to set it up let’s make a project. The first project I’m going to make today is a t-shirt using HTV.
I am using Siser EasyWeed for this project so I’ll set the time and temperature recommended for that material which is 305 degrees for 15 seconds. The heat press will beep when it has reached the set temperature.
Step 1: Preheat Fabric
With the heat press set to the right time and temperature, we want to preheat the fabric to remove any moisture and wrinkles. To preheat the fabric, add the shirt to the bottom plate of the heat press.
How to Locate Fabric on HTVRONT Autopress
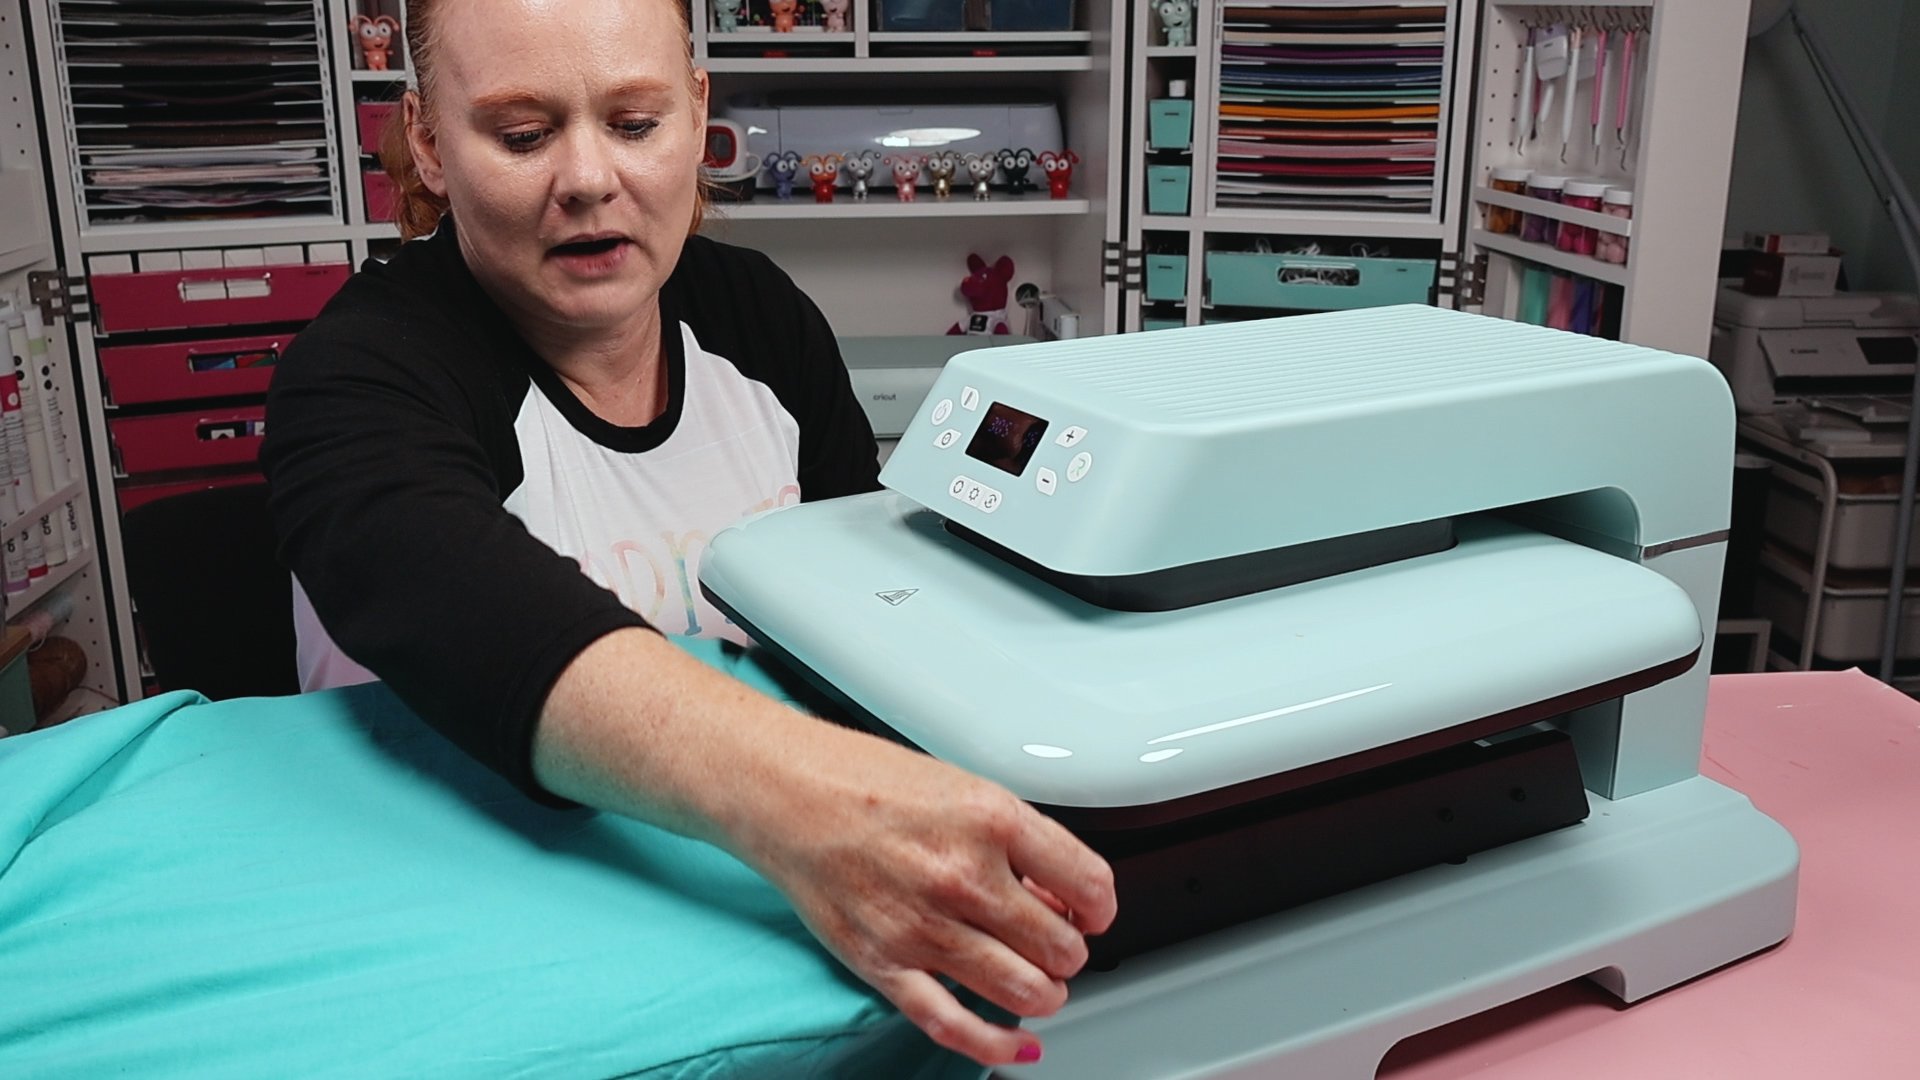
To locate the shirt onto the heat press, open the drawer of the heat press. For this shirt, I am going to locate it with the collar toward the press. I do want to warn you that the tray itself is a little limiting.
The drawer doesn’t open all the way so you need to be careful that you don’t burn yourself as you place the shirt in the press.
With the shirt located correctly close the drawer and pre-press for a few seconds.
How to Press Bulky Items
Because of how this drawer closes bulky items like hoodies can be difficult to press. If you have too much bulk at the top of the drawer, it cannot close all the way and the press won’t close.
I would rotate the hoodie so the hood is out the side and then move the sleeve up and out of the way so the drawer can close. If you turn your blank, make sure you orient the HTV or sublimation print the correct way.
Can You Thread Shirts onto the Drawer?
I like to thread shirts onto my heat press so I can press just one layer of fabric at a time. Unfortunately, I couldn’t figure out a way to make that work and get the drawer to close. The fabric got in the way of the slider and it wouldn’t close all the way.
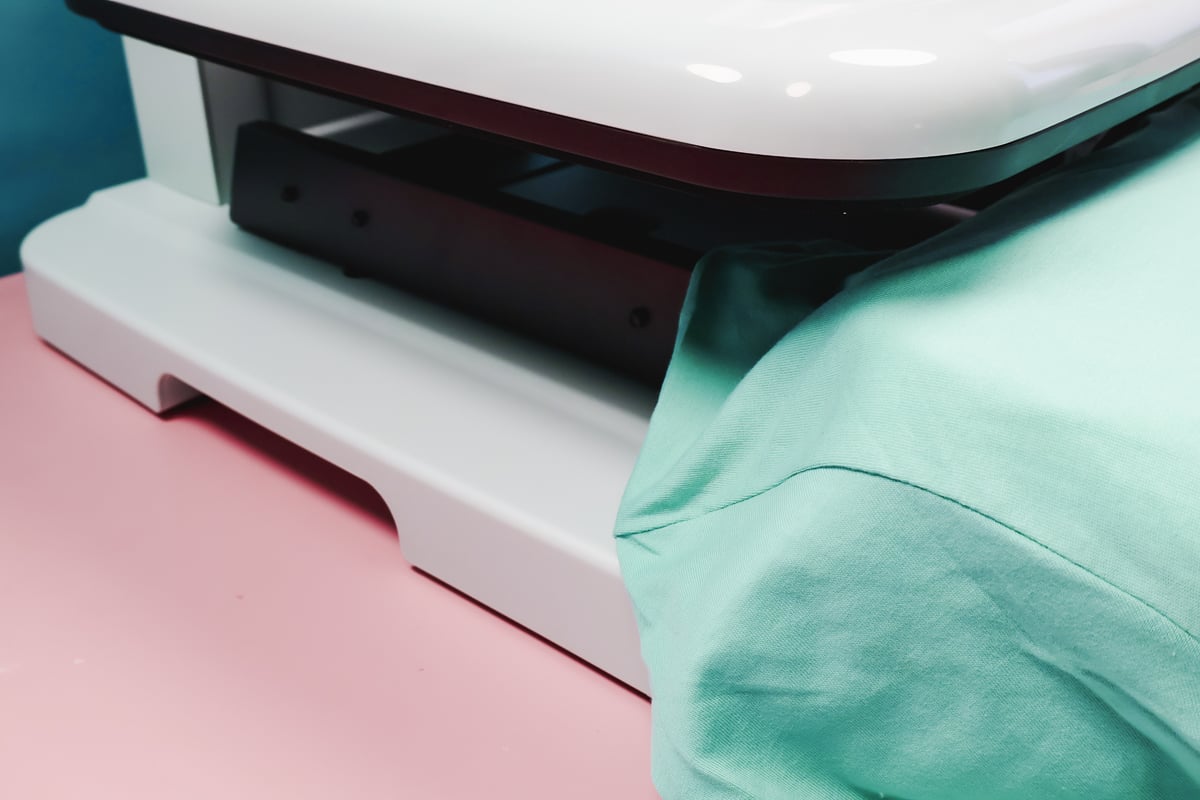
Something to note, if the drawer is not closed all the way the press will not close to apply the heat.
I do think there are drawbacks to the design of the drawer. Since the press itself doesn’t open up very wide, I feel like it limits getting materials onto the drawer correctly. Especially for things like hoodies.
Step 2: Add HTV to Shirt
Now that we have the shirt pre-pressed we can add the HTV. You want to locate the design correctly and then make sure the shirt is on the heat plate so the entire design can be pressed. Since the heat plate is 15″ x 15″ you should be able to easily press most designs all at one time.
I have my time and temperature set to the correct setting for my fabric and HTV and I have the Autopress option selected.
Once I close the drawer, the press will start automatically and press for 15 seconds. When the time is up it will open automatically as well.
I did want to mention that I haven’t had any issues with the pressure on my HTVRONT Auto Heat Press. I have seen people mention that their pressure wasn’t the same across the entire heat platen. While that isn’t something I have had a problem with, when I see multiple mentioning it I want to make sure you’re aware that may happen.
My HTV is a warm or cool peel. Once the time is up I’m going to let it cool for just a few seconds and then remove the carrier sheet.
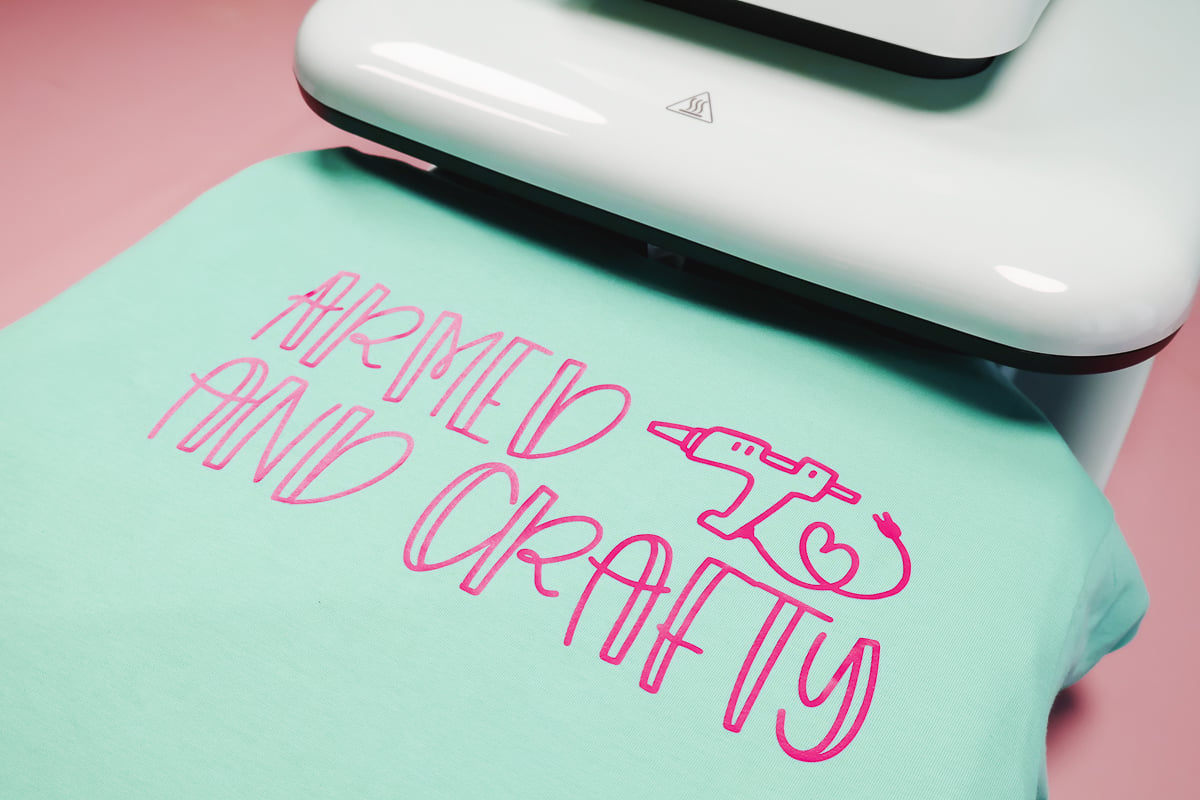
My HTVRONT Autopress pressed the HTV perfectly and it looks great across the whole design.
How to Make a Sublimation Notebook with the HTVRONT Auto Heat Press
For my next project, I wanted to test sublimation and a blank that wasn’t fabric. I also wanted to turn off the Autopress feature to show you how it works without that feature on. I am going to sublimate a notebook with a sublimation print I printed on my sublimation printer.
The time and temperature for this blank are 55 seconds at 385 degrees so I am going to set my HTVRONT Autopress to that setting.
Step 1: Prepare Sublimation Notebooks for Pressing
The way this sublimation notebook is made allows me to take the notebook apart so that I can remove the inside and only sublimate the front cover.
Since I am only pressing the front cover I am going to place that portion inside the press and hold the rest of it outside the heated plate. I have not tried that before with this press so I am going to test it to see if that will work.
Before I press for the full time I am going to do a quick pre-press to remove any moisture from the blank. I did add a piece of butcher paper to both the top and the bottom.
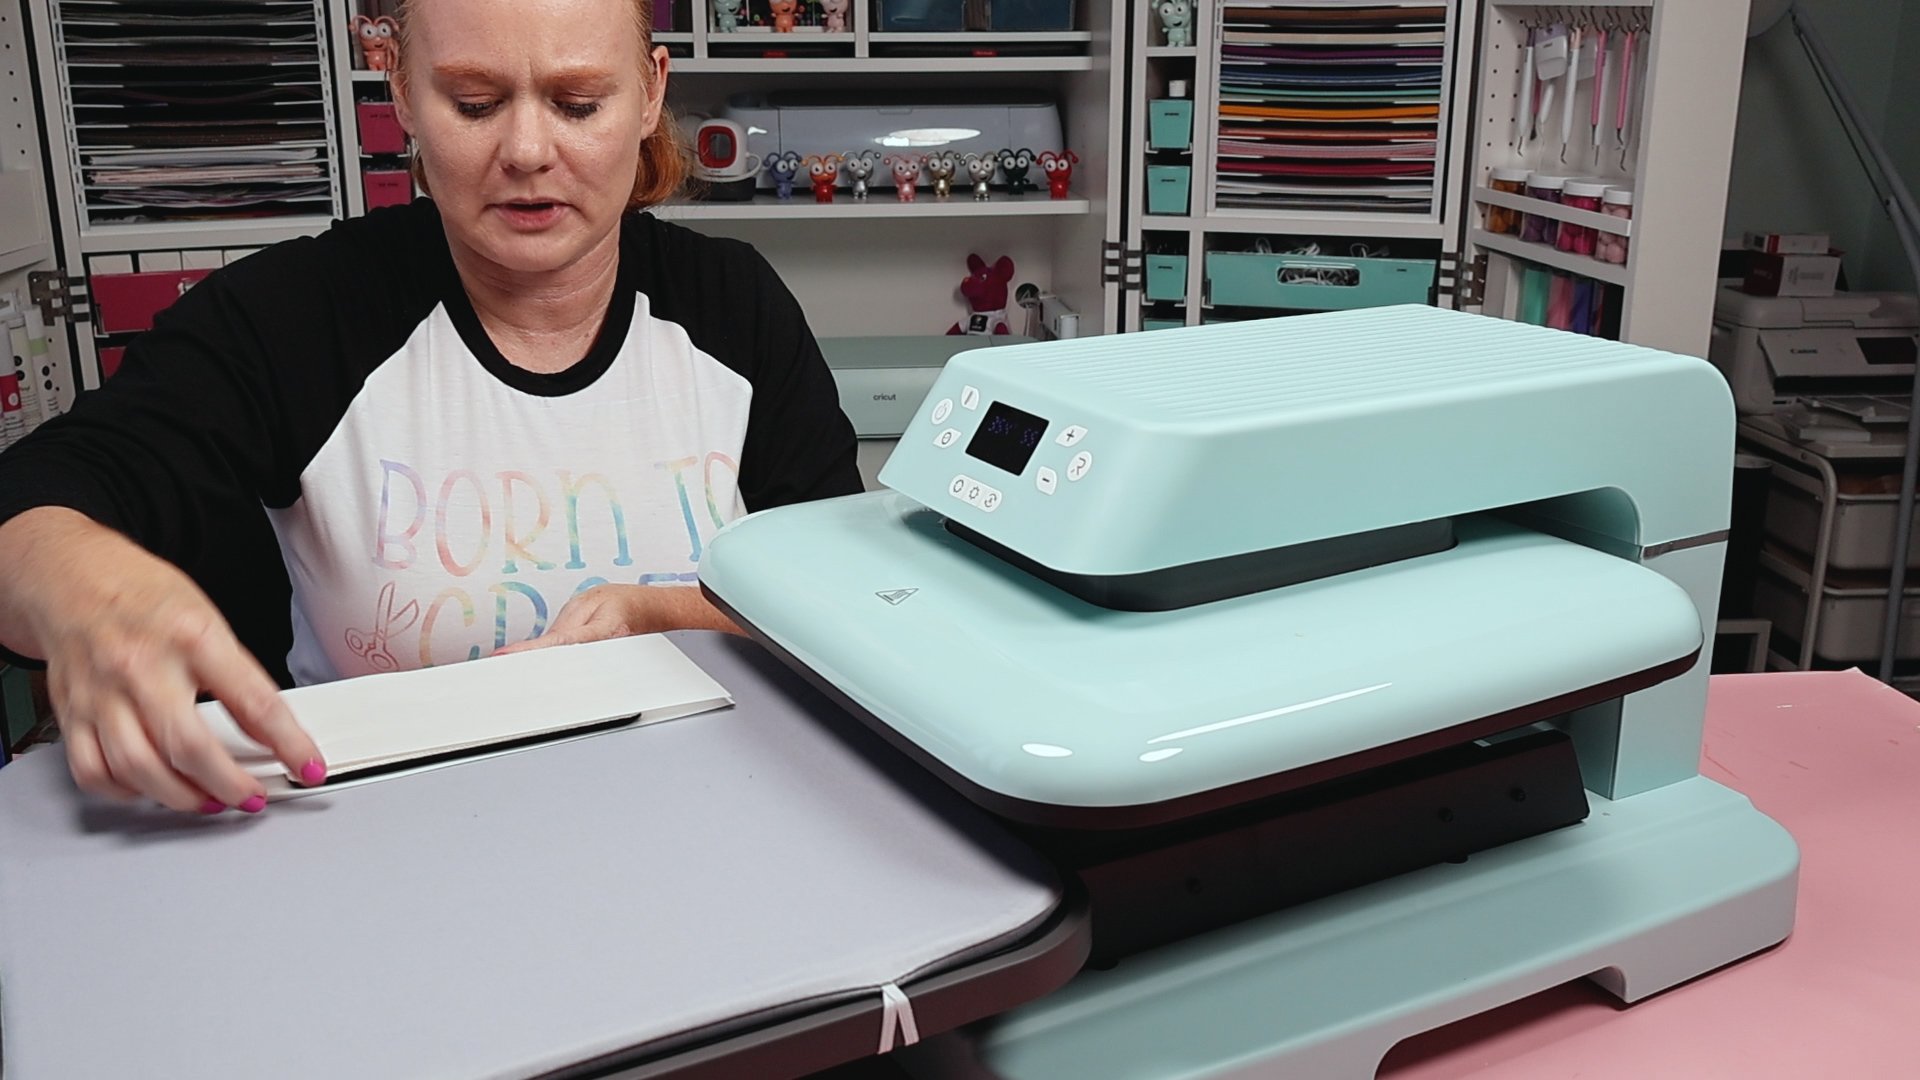
Close the drawer and because we have the auto press feature turned off right now I need to press the R for the press to shut and the timer to start.
I am only pressing for 10 seconds this time so I am going to press the R again after about 10 seconds since I have the timer set for the full press time of 55 seconds.
Pressing the R a second time opens the press so I can pull out the drawer.
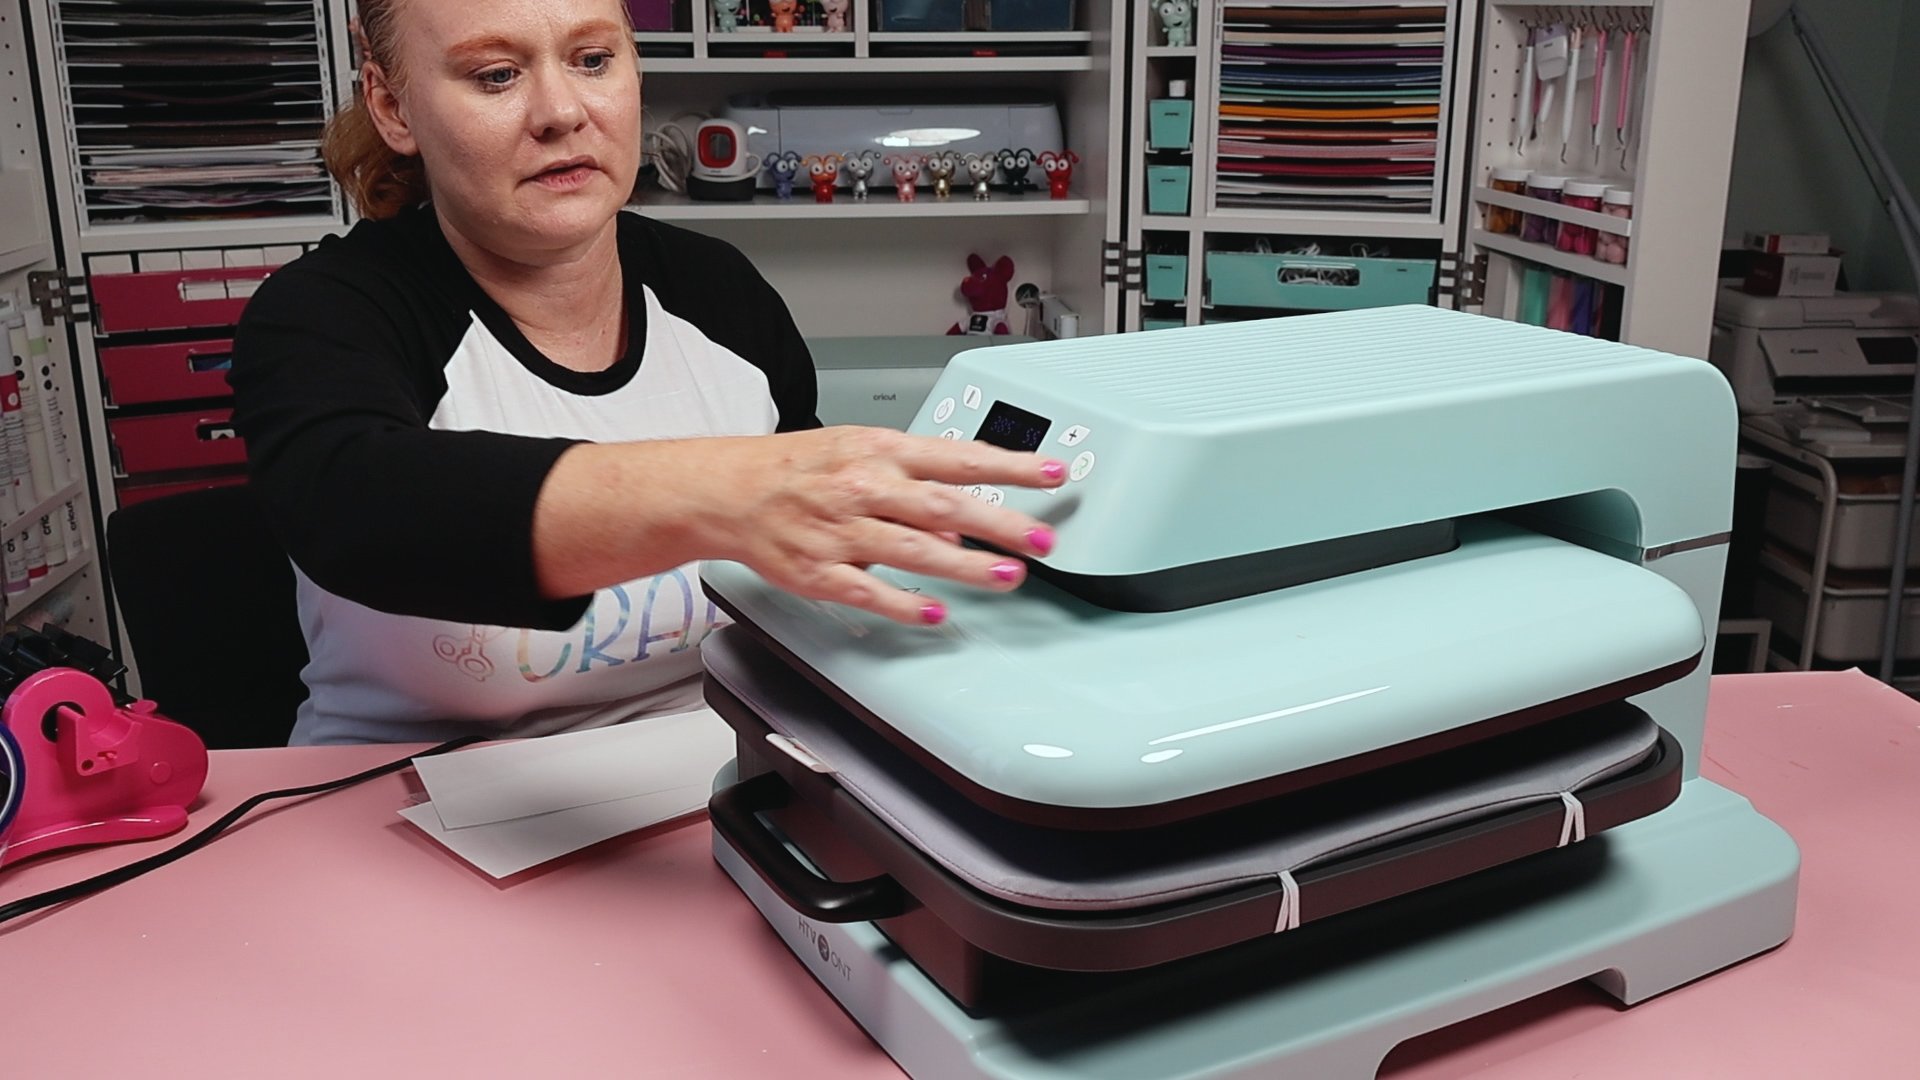
Static Cling – My butcher paper stuck to the top of the heat press. This is one reason I don’t like how wide this press opens. You can’t see the whole heat plate and when the butcher paper gets stuck with static cling you have to reach by the heat plate to remove it without really being able to see.
Step 2: Add Sublimation Print to Sublimation Notebook
Now that we pre-heated the sublimation blank to remove moisture we need to prepare it for the sublimation print.
Lint roll the surface to remove any dust, hair, lint, or other debris. Next, locate the print and tape it into place using heat-resistant tape. Make sure to tape it down well so it doesn’t lift with static cling like the butcher paper did.
Cover the sublimation print with protective paper to protect the press and close the drawer.
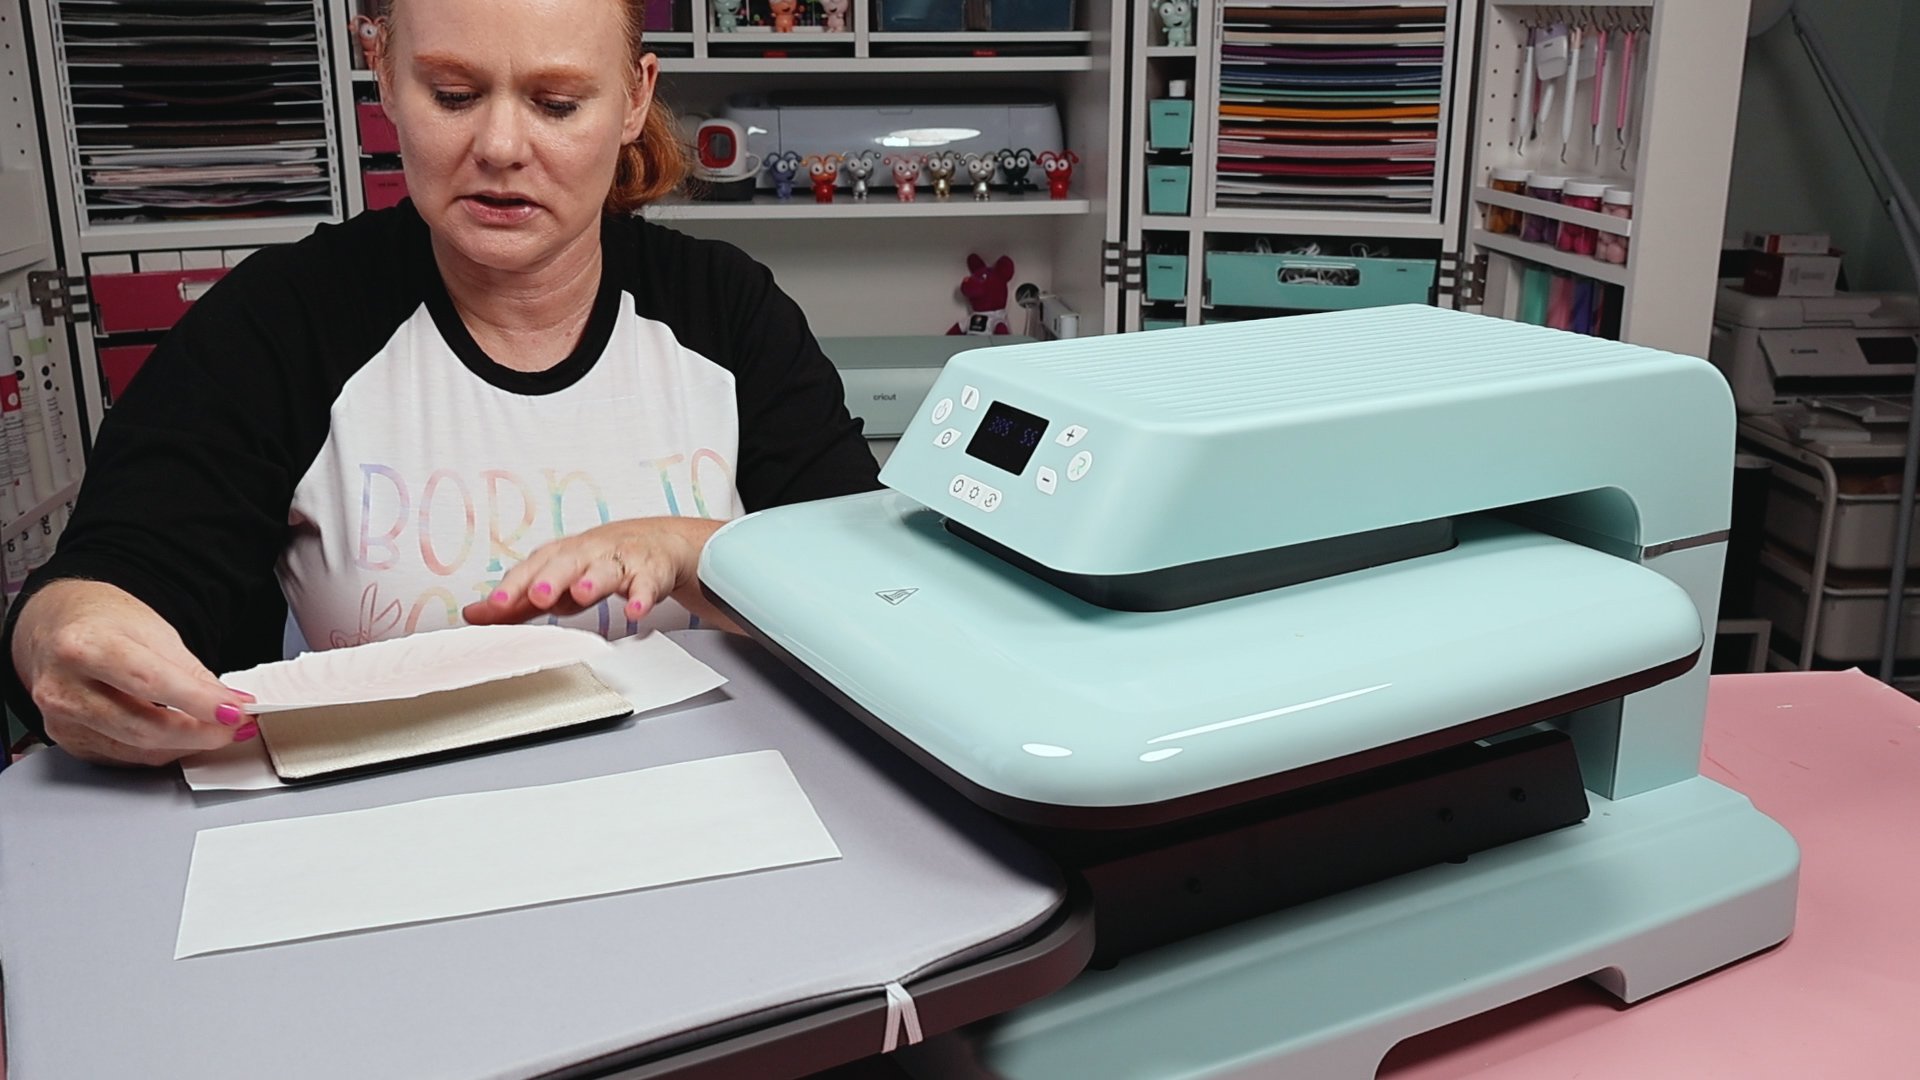
Step 3: Press Sublimation Prints onto Sublimation Notebooks
This time we are going to press the blank for the full time. Close the drawer and press the R to start the press.
This heat press is called the Auto Heat Press for a reason. Even though I don’t have the Autopress option turned on the press will still open automatically when the time is up.
After the press opens, you can open the drawer and remove your project.
Because I taped the sublimation print into place it is where it needs to be but the protective paper once again stuck to the top of the press. We don’t have to wait for the blank to cool to remove the print. Just make sure you lift it straight up off the blank to prevent any ghosting.
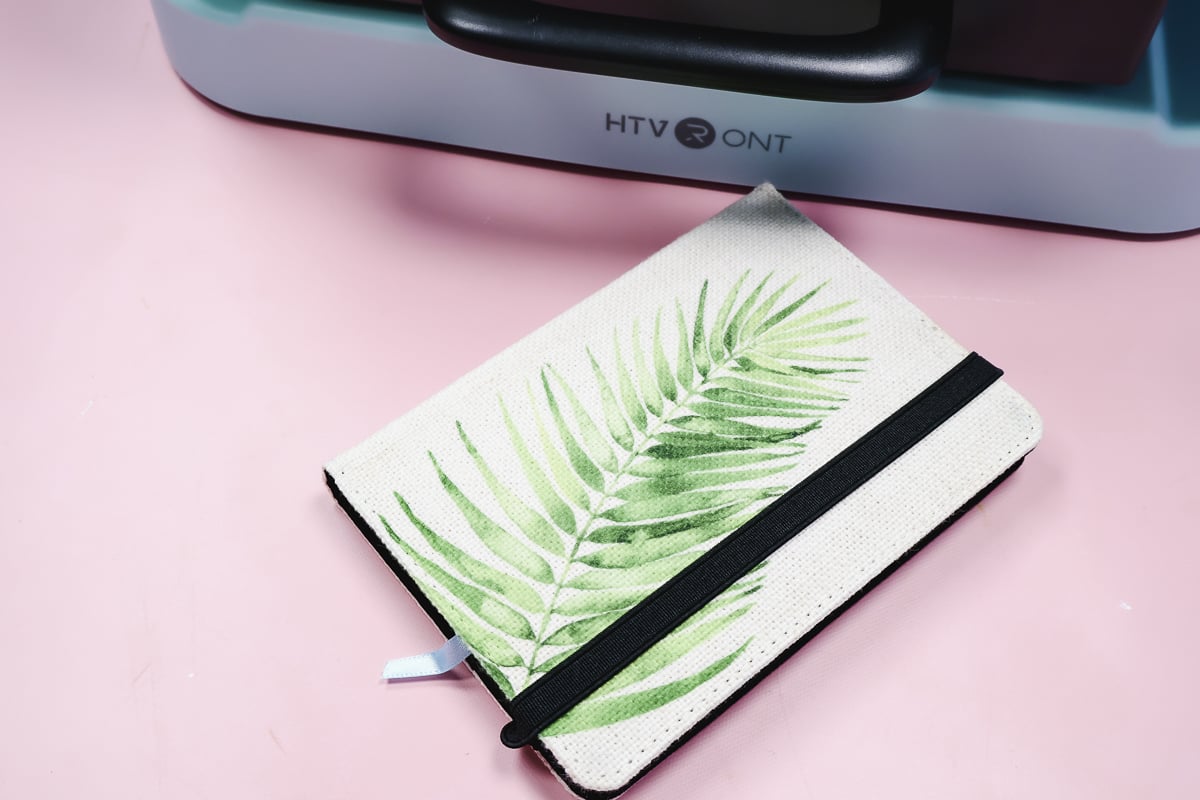
The sublimation turned out perfect on the notebook cover. I can now reassemble the notebook and the project is complete.
Pros and Cons of HTVRONT Auto Heat Press
I wanted to mention again that while I made two projects today with the HTVRONT Autopress I have been using it quite a bit to really test it out and see what I thought of it.
HTVRONT Auto Heat Press Pros
- I like that it has the auto close and auto open features. I’m also a fan of being able to turn off the auto-close feature if I want.
- I like that it heats up quickly because that means I can get crafting right away.
- If price is an issue, it is more inexpensive than the Cricut Autopress.
- It is also a lighter heat press than some of the other options. This is a pro if lifting heavier things is a problem for you. It may be a con over time as I’m not sure how long it will hold up to regular usage.
HTVRONT Autopress Cons
- The biggest con for me is the drawer. I found it limiting on how you’re able to press items and I don’t like that it doesn’t pull out all the way.
- The next biggest con for me is how small the opening is. I feel like my hands have to be way too close to the heat surface.
- I also think that the small opening is a con because it limits the blanks you can use inside the press itself. As an example, if my notebook didn’t come apart, by the time I added the sublimation print and the protective paper I would be very worried about it all catching on the top of the press when I closed the drawer ruining the print.
- I also found there seems to be a static cling. Each time I used the press with the notebook the protective paper stuck to the top of the press. I would be afraid that if sublimation prints weren’t taped down really well they would stick to it too.
- Another thing that can be a con is the auto close feature. I preferred to have that turned off because I was afraid it would close when my hands were near the heat plate. I would make sure to keep your hand on the drawer handle if you use the auto-close feature.
- Auto-pressure can also be a con. Because you can’t adjust the pressure any blanks/materials that call for heavy pressure will likely not work in this press. This is the same as the Cricut Autopress.
How Does the HTVRONT Auto Heat Press Compare to Other Auto Heat Presses?
You’ve likely seen me use the Cricut Autopress before so I am going to compare this press to that one.
- I am a big fan of how far the Cricut Autopress opens up. I’m able to get right inside it and adjust everything and not have to worry about getting close to the heat plate.
- I also really like that the Cricut Autopress has a two-inch maximum pressing thickness. That is significantly larger than the HTVRONT Autopress opening.
- The Cricut Autopress is a lot more expensive than this press.
- I felt like the pressure was the same and the heating time was similar as well.
- The Cricut Autopress is heavier but it has the ability to be stored upright which I really like. I can easily stand it up and store it in a closet or on a shelf, even behind a door if I want.
- The Cricut Autopress has an auto-open feature but it does not have an auto-close feature. If you are a fan of that, the HTVRONT Auto Heat Press would be the way to go there.
- Both presses are very easy to close. With the Autopress you only need 2 fingers to close the lid to the press and with the HTVRONT Auto Heat Press, you would just press a button to close it. If you struggle closing a regular heat press, either of these options would solve that issue.
If you plan to mostly do thin projects like t-shirts or other sublimation blanks, you may find that the HTVRONT Auto Heat Press may be just right for you. Want the ability to press larger things and not mess with the drawer? I would choose a different press.
Frequently Asked Questions about the HTVRONT Autopress
How Long Does it Take for the HTVRONT Auto Heat Press to Warm Up?
The press itself heats up very quickly which is definitely a positive for me and my crafting.
How Loud is the Autopress?
When the Autopress is on you’ll hear that a fan or motor is running. The sound turns off when the machine is off. You may find that you need to get used to the noise that comes from this heat press.
Can I Set the HTVRONT Autopress Temperature to Celsius?
Yes, you can set the temperature for both Fahrenheit and Celsius. To change it from one to the other simply hold down the temperature button until you see it change.
I hope I’ve answered any questions you have about the HTVRONT Auto Heat Press. If you have any additional questions you can leave those in the comments and I’ll be happy to answer them for you.

