This post and photos may contain Amazon or other affiliate links. If you purchase something through any link, I may receive a small commission at no extra charge to you. Any supplies used may be given to me free of charge, however, all projects and opinions are my own.
HTV is still one of my favorite crafting mediums. I love how versatile it is and I love that it’s great for both beginner and seasoned crafter. Today I’m sharing my 10 best HTV tips and tricks to help you get started.
Some of these tips you may have heard of before and some may be brand new. These tips are going to make your HTV crafting easier than ever.
You can watch me walk through all 10 of these tips by pressing play on the video below.
Table of Contents
HTV Tips and Tricks
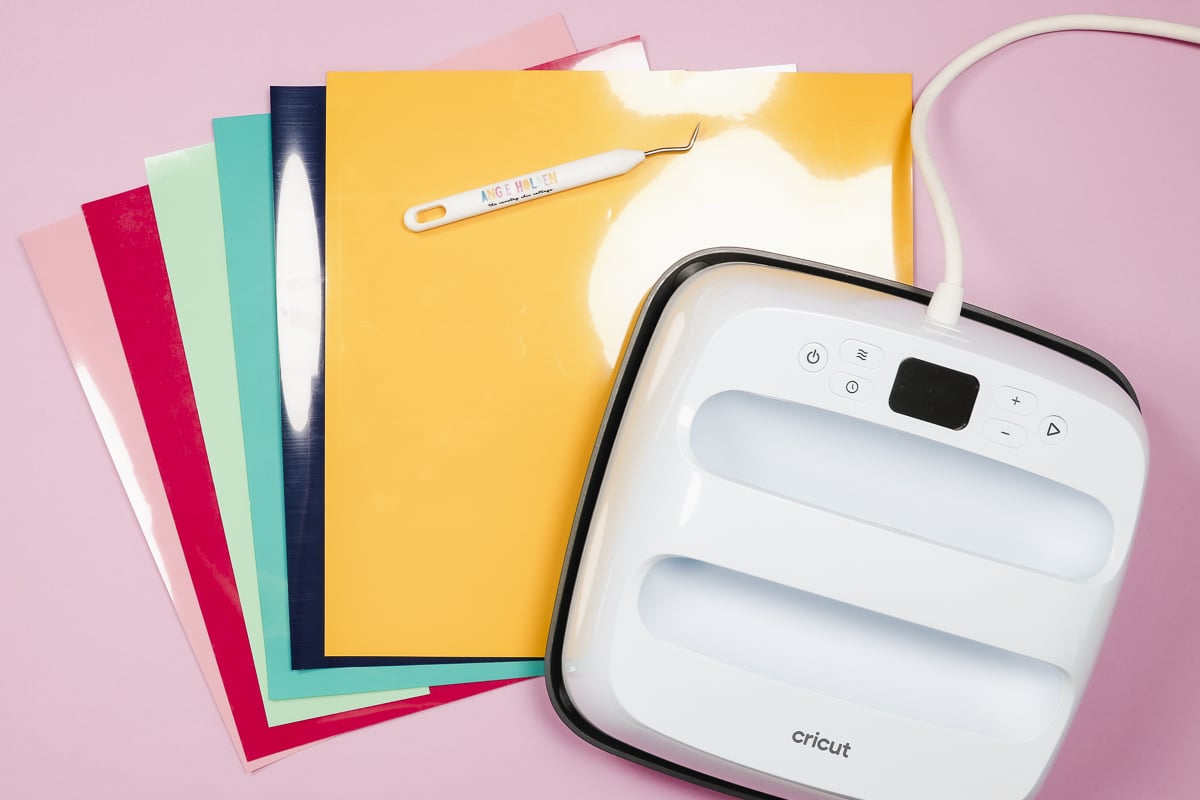
Before we get into the HTV tips and tricks let’s look at the supplies you may use when HTV crafting.
HTV Supplies
Tip #1 – Cut on the Correct Side
The first HTV tip is to cut on the correct side of your material.
The HTV you purchase likely has a carrier sheet on one side and the HTV on the other side. The side with the carrier sheet is actually the front of the HTV so you’re going to cut the back of the material.
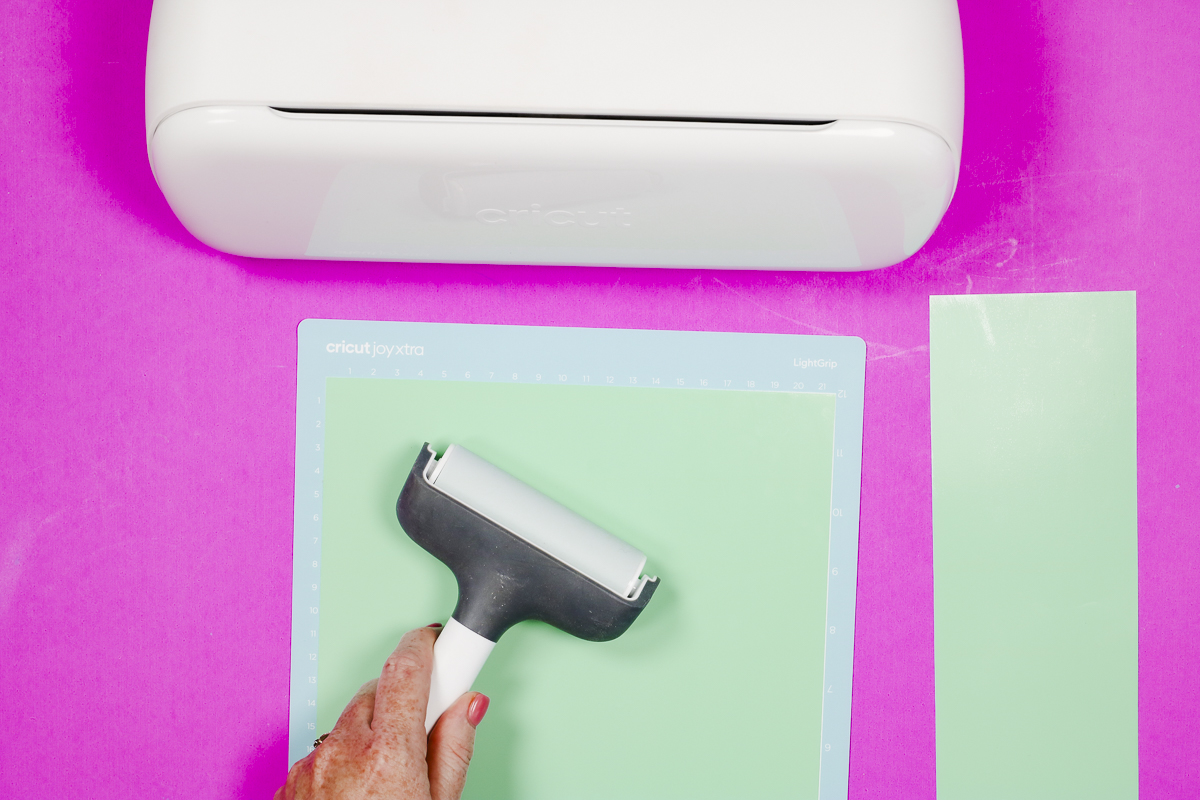
For most HTV types, the carrier sheet is the shiny side. This is the side you want to put down on the mat.
To ensure you’re cutting on the right side use your weeding tool in the upper corner of your HTV and peel the HTV back a little bit so you know which side is which.
Some HTV types, like Puff HTV, may actually be shiny on the back and have a matte carrier sheet.
Always place the carrier sheet side down on the mat so if you’re unsure which side is the carrier sheet do a test first.
Use a brayer to help stick the material to the mat firmly.
Tip #2 – Mirror the Design
Since we are cutting on the back of the HTV, we need to mirror the design before cutting.
In Design Space mirroring is simple and the program reminds you to mirror your design when you choose Iron-on as the base material.
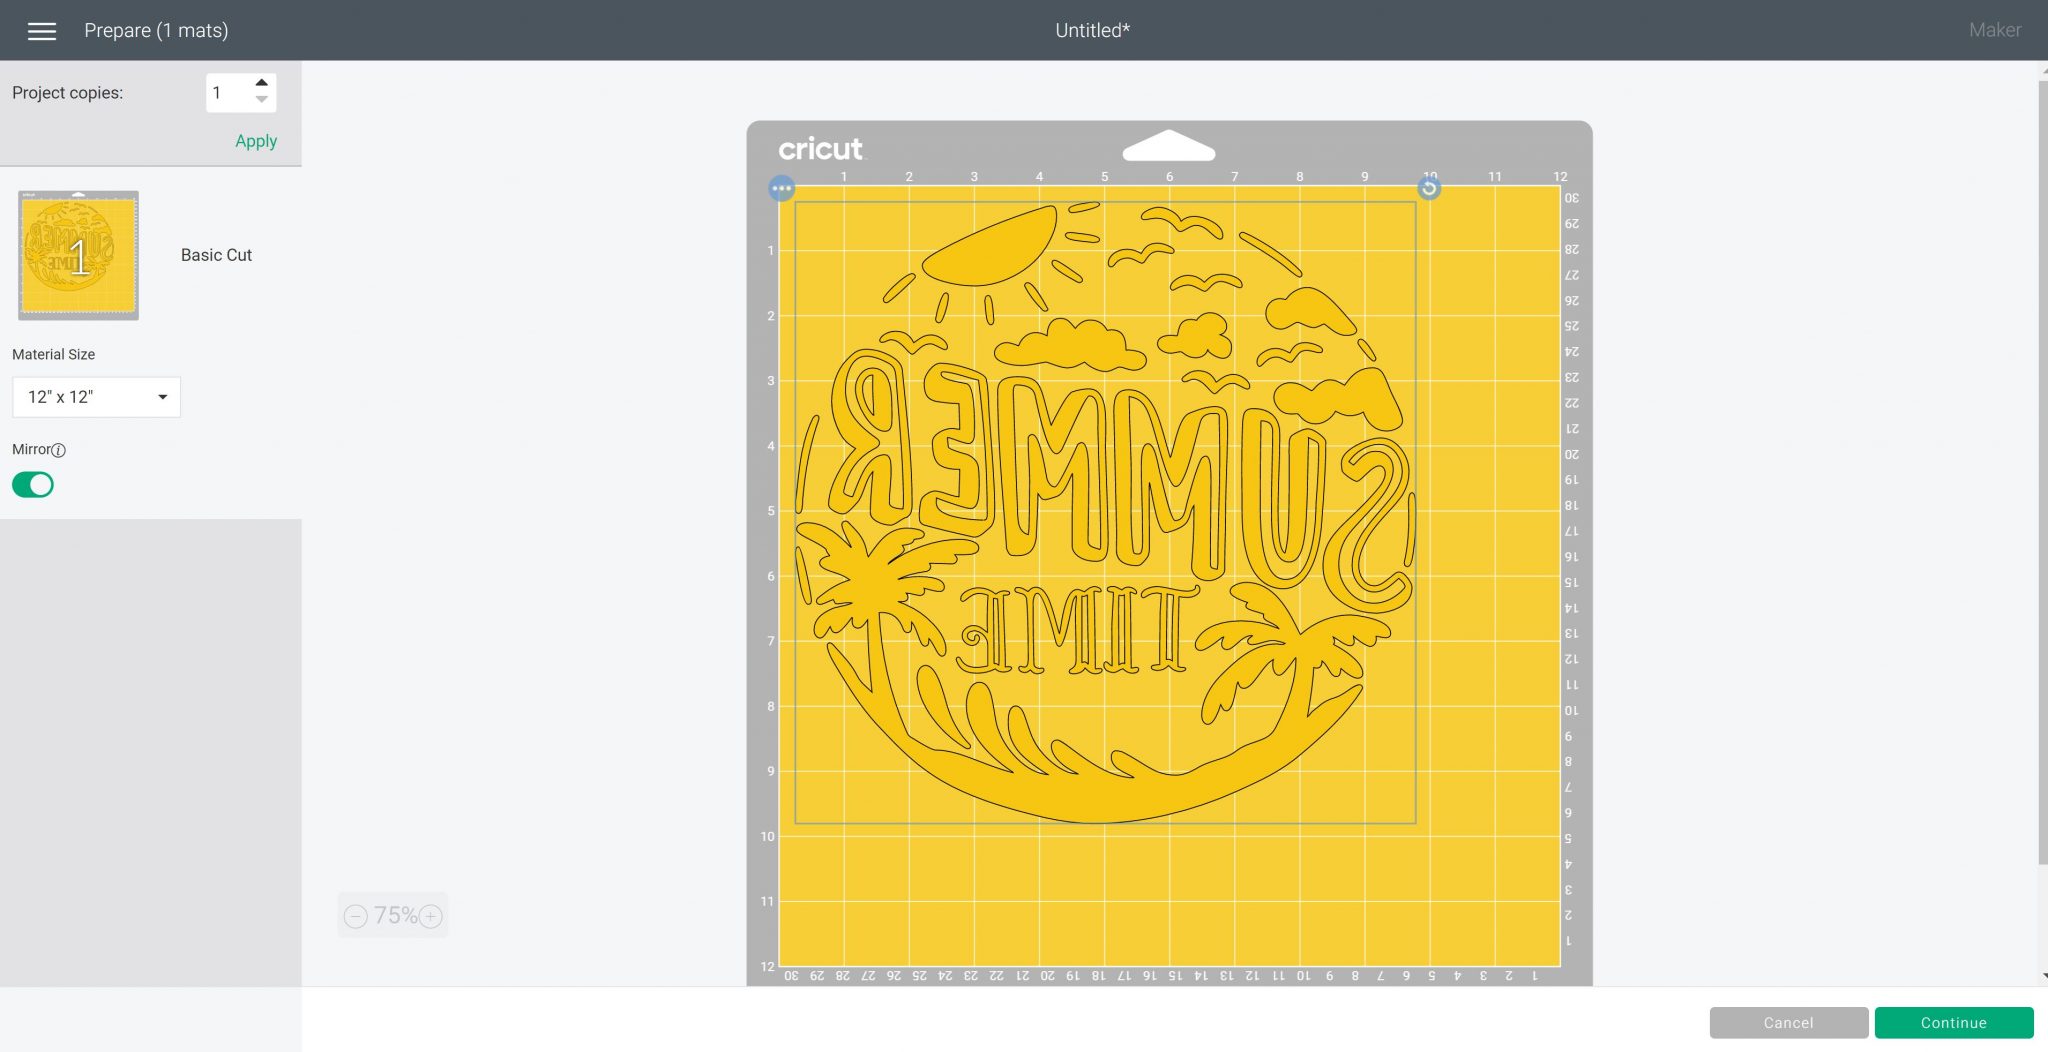
If you’re using another program, make sure you mirror or flip your design before printing otherwise any text or numbers will be backward.
Tip #3 – Choose the Right Cut Settings
Using the right settings is important. You want to cut through the HTV, not the carrier sheet. Within Design Space, there are a variety of HTV cut settings. You’ll find them referred to as Iron-on.
Everyday Iron-on, Glitter Iron-on, etc are all settings you can choose from.
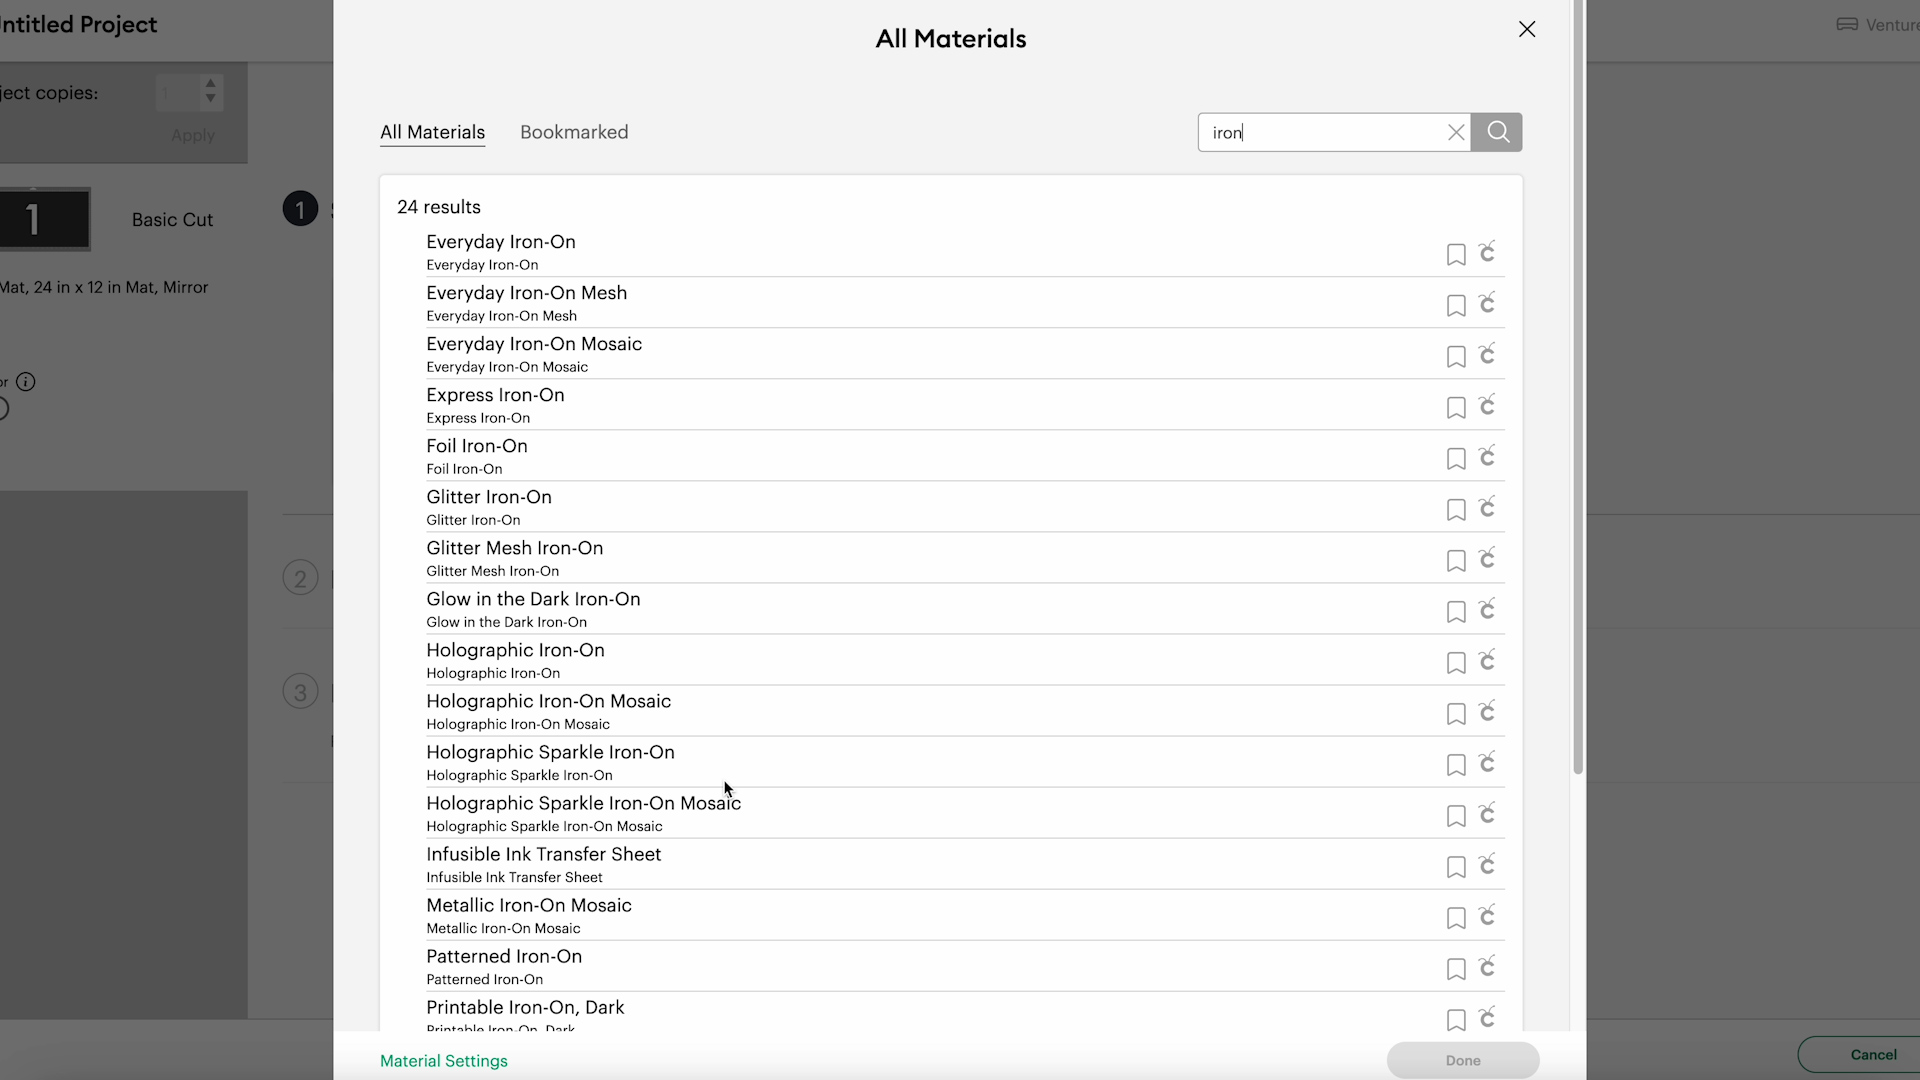
Do a test cut when using a new material, especially something that is not a Cricut brand. I like to do a small cut in the corner to make sure the cut setting is right. This helps me avoid wasting entire sheets of HTV if the setting is wrong.
When using materials that are a different brand from Cricut, it’ll be helpful to keep track of the settings so you know which settings work well with your material.
Tip #4 – Weeding HTV
When weeding HTV you’re going to remove all the excess HTV from outside the image and any little pieces inside like the centers of letters.
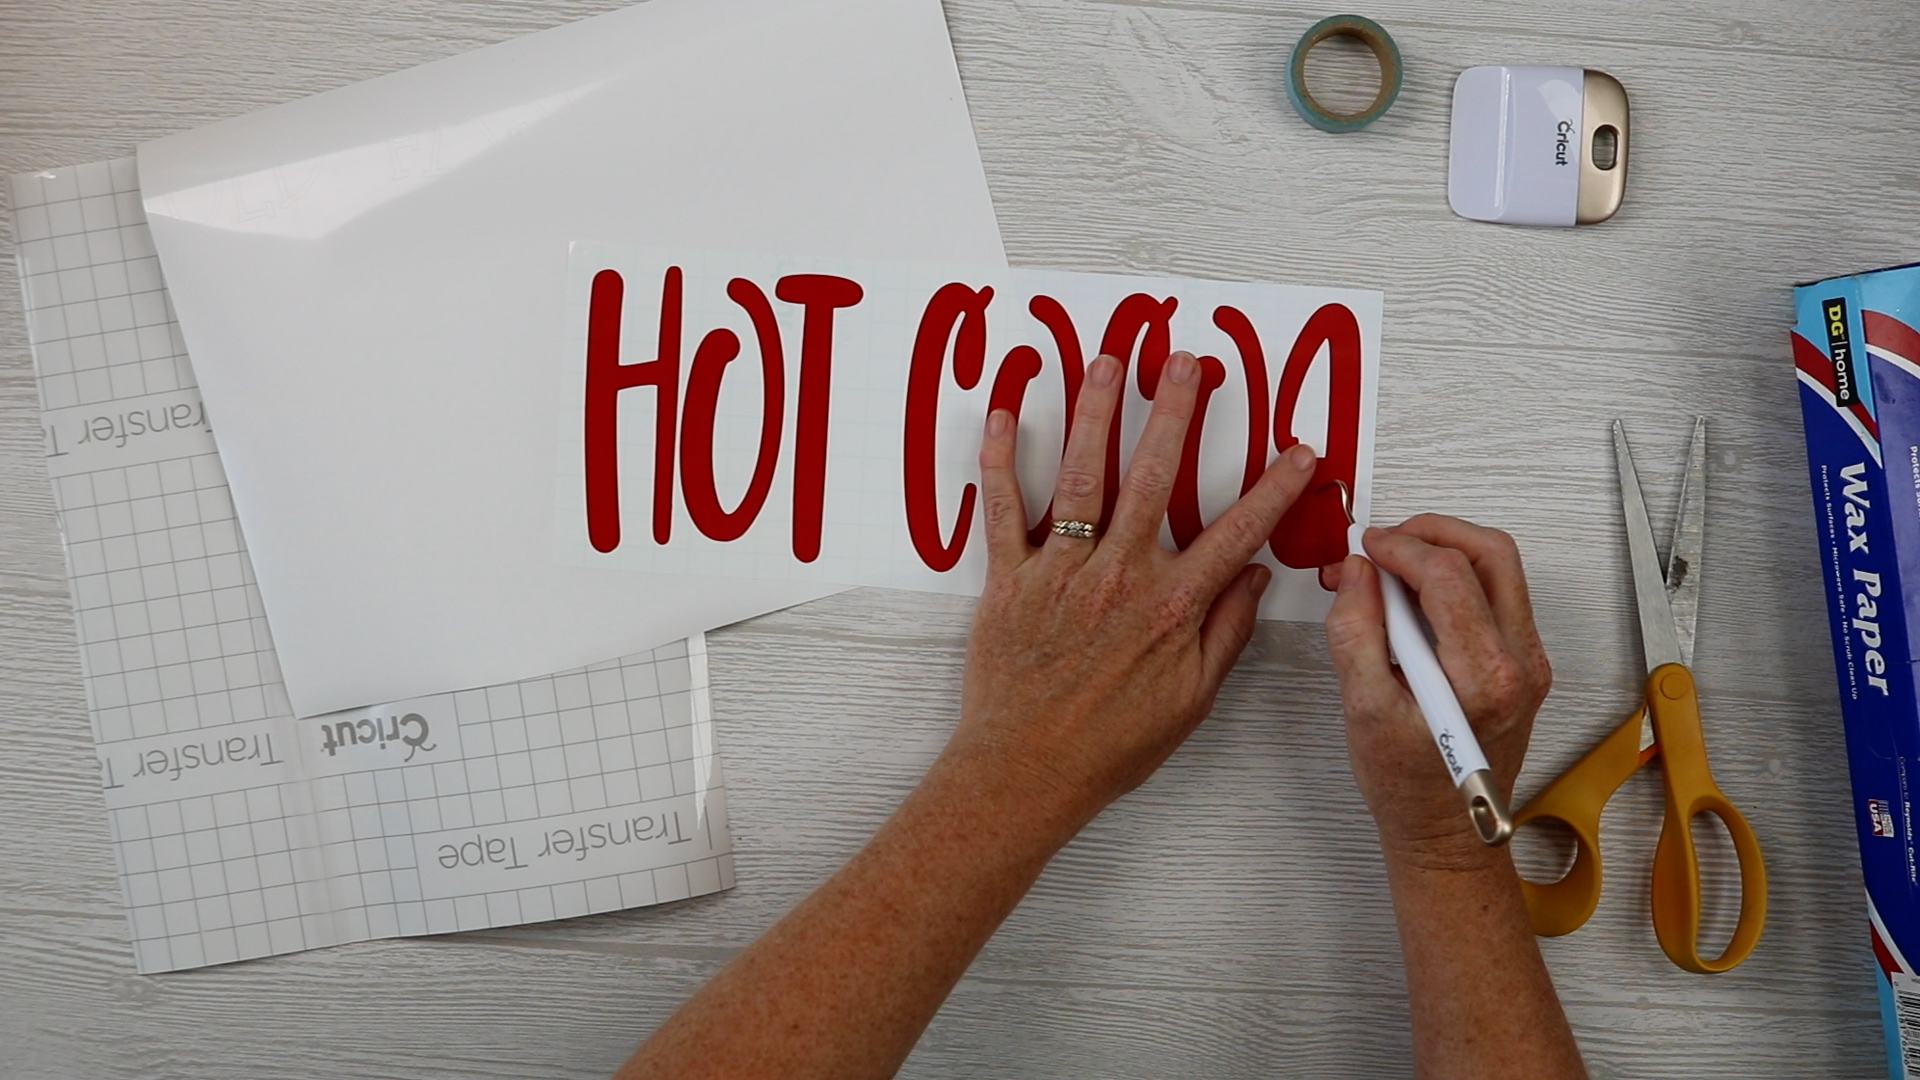
To make weeding easier, warm it up. You probably have your heat press preheating so the surface around the heat press is warm. Lay the HTV on the base to warm the carrier sheet up a little and it’ll weed easier.
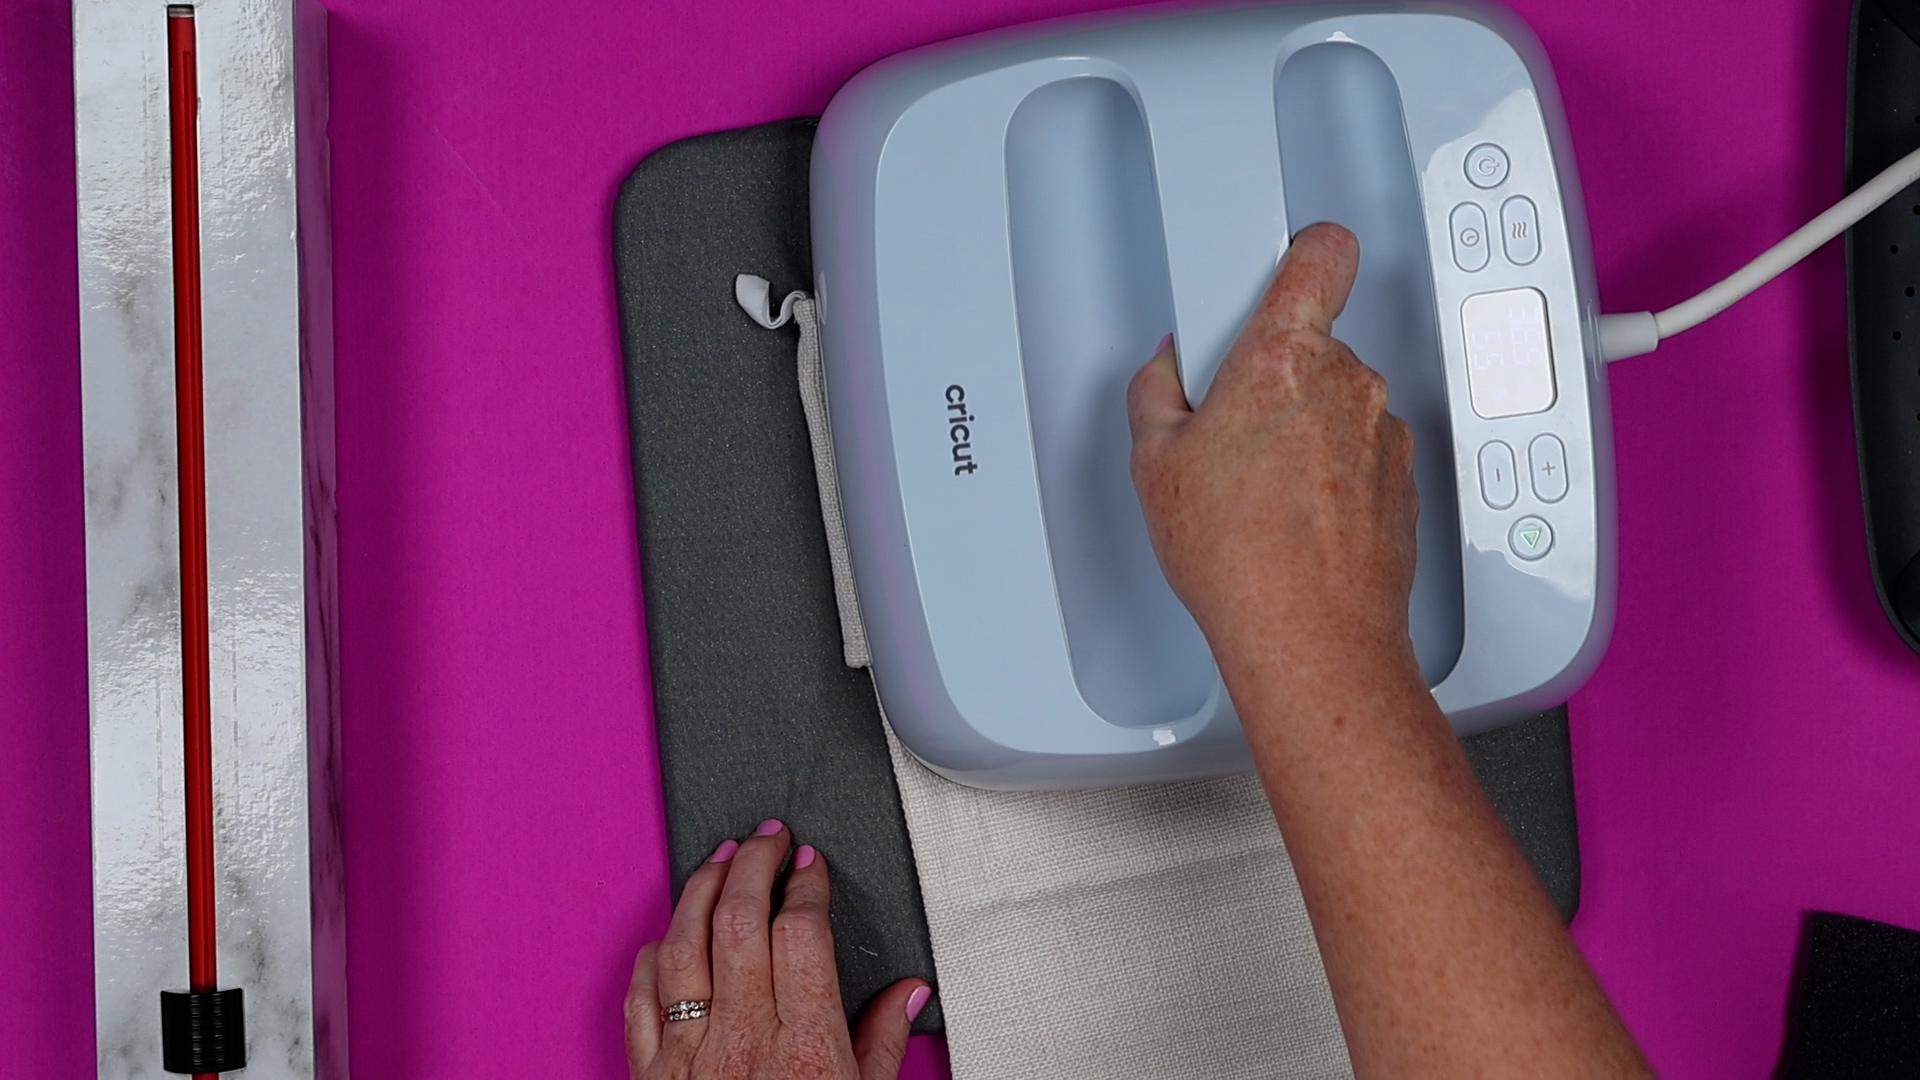
If you’re using an EasyPress, you can preheat the EasyPress Mat to warm it up and then weed the HTV on that to get the same effect.
With a warm carrier sheet, the weeding process is quick and easy.
Tip #5 – Preheat the Blank
When it comes time to press first, we want to preheat the surface. Preheating removes wrinkles and moisture and it can help pre-shrink your blank.
These steps are important for the longest-lasting HTV designs.
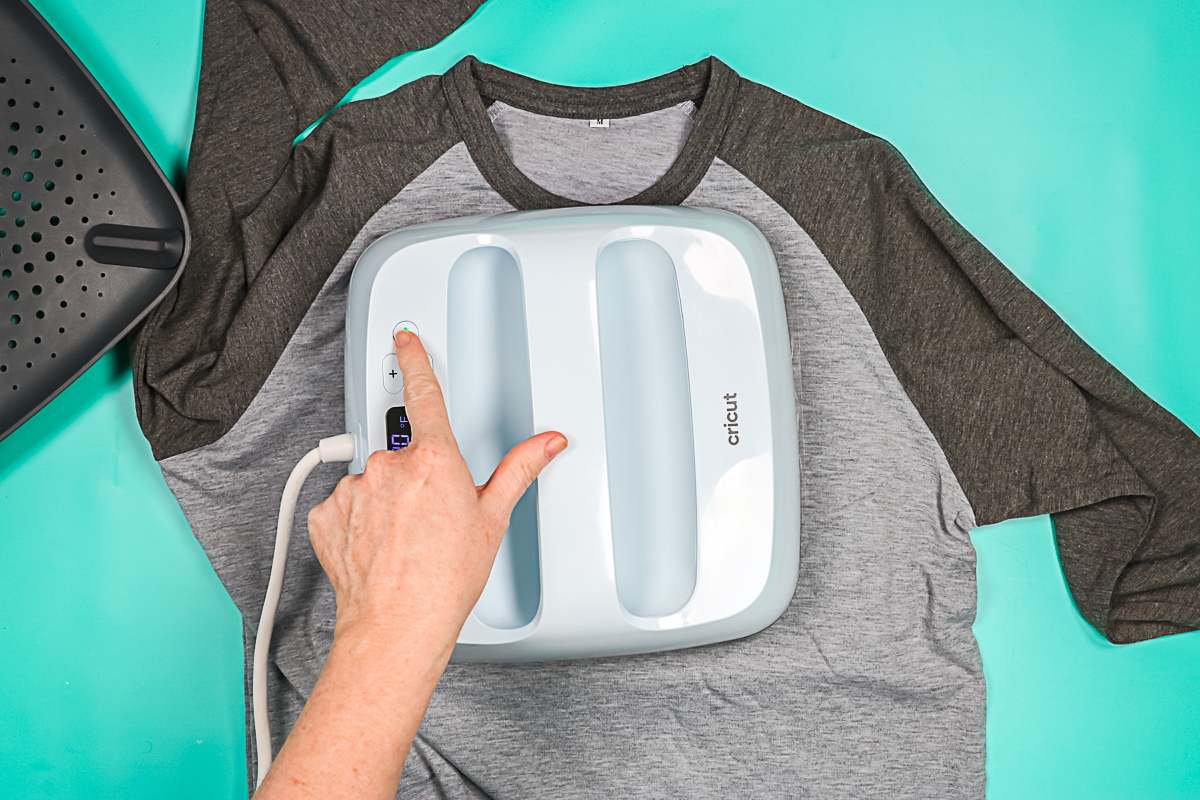
When pre-heating, you can fold a shirt in half to create a crease that will help you locate your design on the center line.
Tip #6 – Follow All Instructions
Every HTV is going to have different instructions for times, temperatures, pressure, and whether it is a cool, hot, or warm peel.
These instructions can change from one HTV to the next even when they’re the same brand.
For example, Cricut brand HTV has a pressing time of about 30 seconds. B Flex Gimme5 has a pressing time of 4 seconds. That is a wide range in time and the temperatures vary as well.
Make sure you check every package. Some types of HTV, like Puff, have different settings for different colors.
The biggest issues with HTV often come from people not knowing the exact settings needed for the material they’re using. Make sure you know the right temperature, time, and pressure.
Tip #7 – Press on a Firm Surface
When pressing HTV you need a firm surface to press on. Do not use an ironing board. Ironing boards flex away from pressure.
Use a solid table, not a folding table, or the floor to ensure you get even pressure. If you’re using an EasyPress place the EasyPress Mat on the surface to protect it from the heat.
Tip #8 – Pressing Multiple Layers
Certain types of HTV are a top layer only material. Make sure you check the instructions if you want to use them for layering.
Materials like glitter, sparkle, puff, etc should be reviewed before using as a bottom layer to make sure it’s approved for that.

If you don’t follow the rules for the material you’re using, the products are not going to last long. This includes knowing the times and temperatures for each material. You may need to change the temperature and time for each different material.
Tip #9 – Protect the HTV from Heat
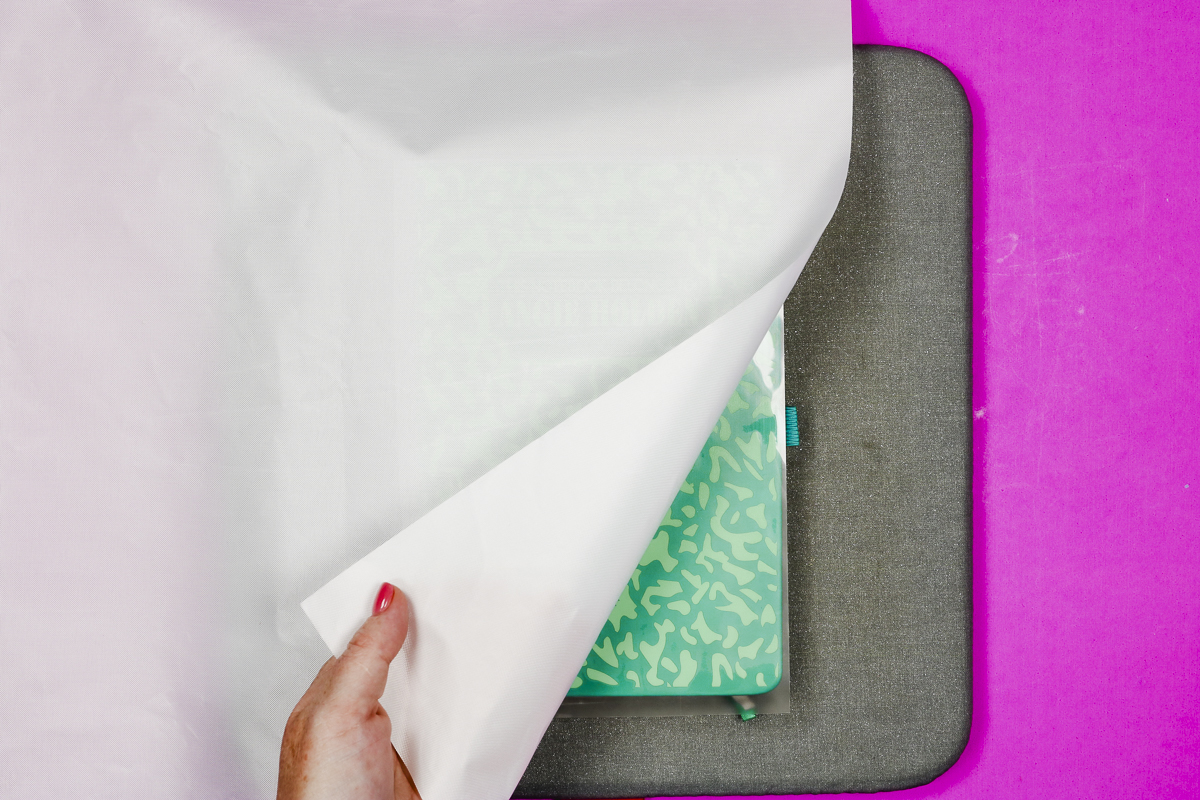
When layering, you need to protect the HTV from the heat source. If the carrier sheet doesn’t cover all of the HTV use something like a Teflon sheet to cover the exposed material.
A Teflon sheet can also protect odd materials like leather or wood from heat. Keep a Teflon sheet on hand when using HTV; it’ll help save your projects.
Tip #10 – Know Your HTV Types
My final tip is to know the different types of HTV. There are many different HTV options out there including puff, glitter, foil, stretch, and more.
Each type has different instructions but may also have different recommendations for the materials they can be added to.
If you are using a stretchy blank, you’ll want to use an HTV material that has stretch so it can move more easily with the material.
Some HTV products can only be used on certain substrates. The recommendation may be to use it only on cotton or cotton-poly blends. Anytime you’re using new materials, make sure you double-check that they can be used for the project you’re making.
If your blank requires a low temperature or a short time, I’d recommend B-Flex Gimme5 because I know it performs well and has a lower required temperature and a very short pressing time.
HTV Brands
These are my 10 best HTV tips and tricks. Now let’s talk about HTV brands.
I recommend that you stick with well-known HTV brands. I haven’t had luck with the unknown brands that you sometimes see on sites like Amazon listing 20 sheets for 99 cents. These materials are not going to be high-quality materials.
My three favorite brands are Cricut, Siser, and B-Flex. I’ve gotten great results with these brands.
Cricut is a consistent material across all the different types and I can find it pretty much anywhere.
Siser is also readily available and even has some HTV types that Cricut doesn’t have.
When I’m looking for something that has a low temperature or low time B-Flex Gimme5 is the HTV I reach for. With a recommended temperature of 285 degrees and a pressing time of only 4 seconds in a heat press. This is perfect for materials like wood, paper, and other materials that may need a low time and temp.
If you’re looking for the right HTV for the project you’re working on, one of those brands is likely to have what you’re looking for.
I hope you’ve found these HTV tips and tricks helpful. They’re sure to make your crafting easier. If you have any additional questions leave them in the comments and I’ll be happy to answer them for you.
