This post and photos may contain Amazon or other affiliate links. If you purchase something through any link, I may receive a small commission at no extra charge to you. Any supplies used may be given to me free of charge, however, all projects and opinions are my own.
We’ve been talking a lot about different types of printers and today I’m going to talk to you about printing white with a converted laser printer.
White Toner printers are perfect for a variety of different projects from textiles to hard surfaces. White Toner printers can also be quite expensive.
If you’re new to White Toner printers you can learn all about them in my What is White Toner Printing tutorial.
I am using the Absolute White toner cartridge today. You can watch me walk you through the entire conversion process by pressing play on the video below.
Table of Contents
Printing White with a Converted Laser Printer
I’m going to show you how you can add a white toner cartridge to a standard home laser printer instead of purchasing a white toner printer. With a converted printer, you can print regular prints and print on special film that will allow you to add the prints to fabrics and so much more.
Supplies needed:
What is the Absolute White Toner Cartridge?
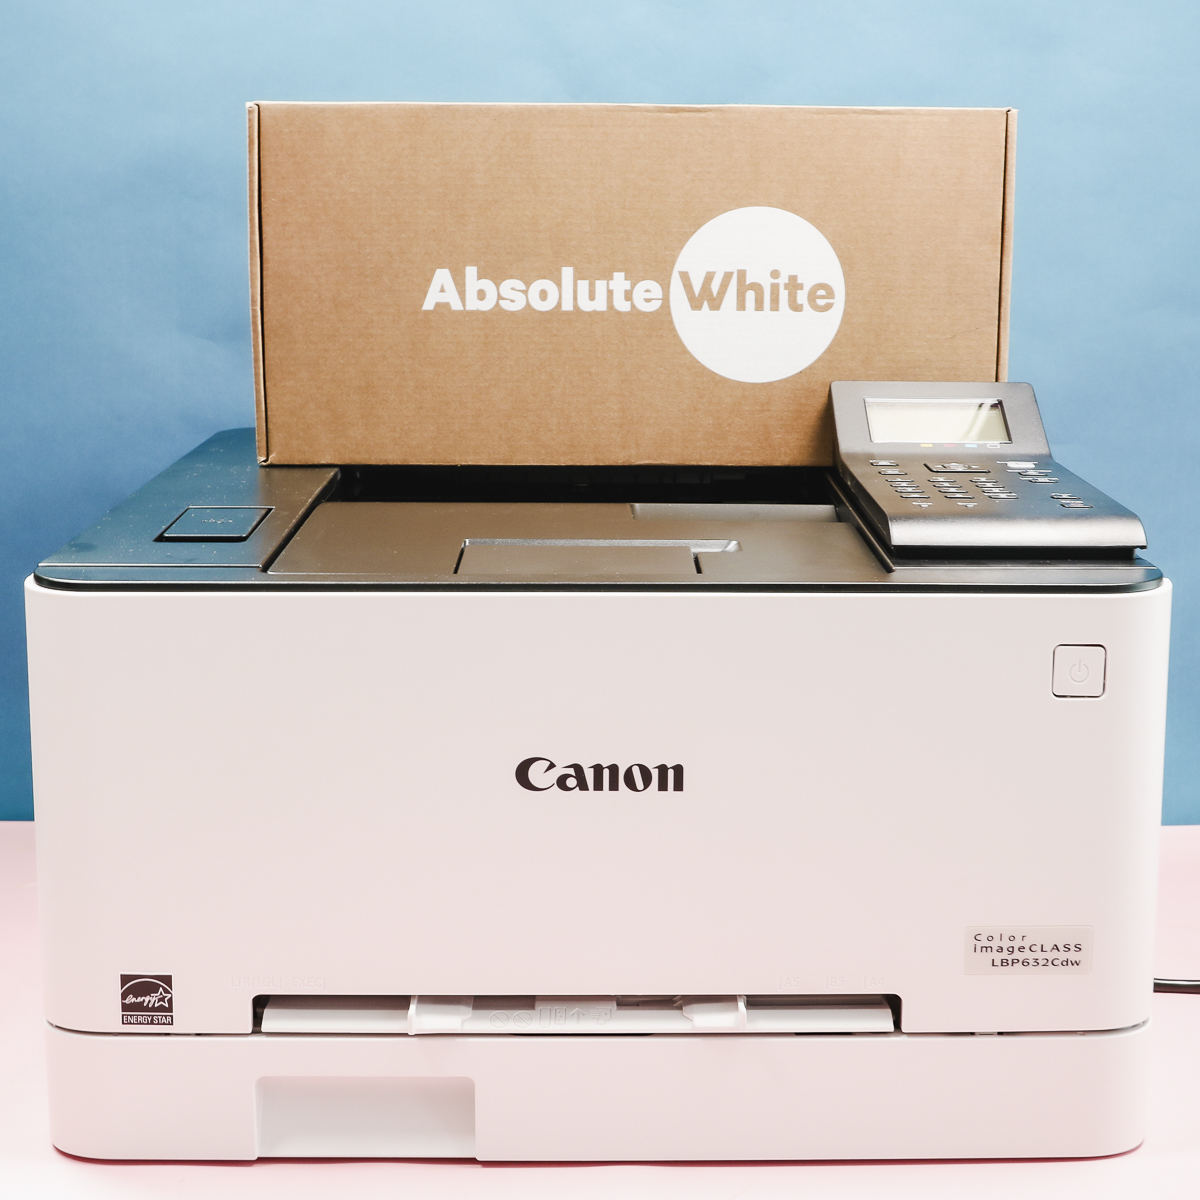
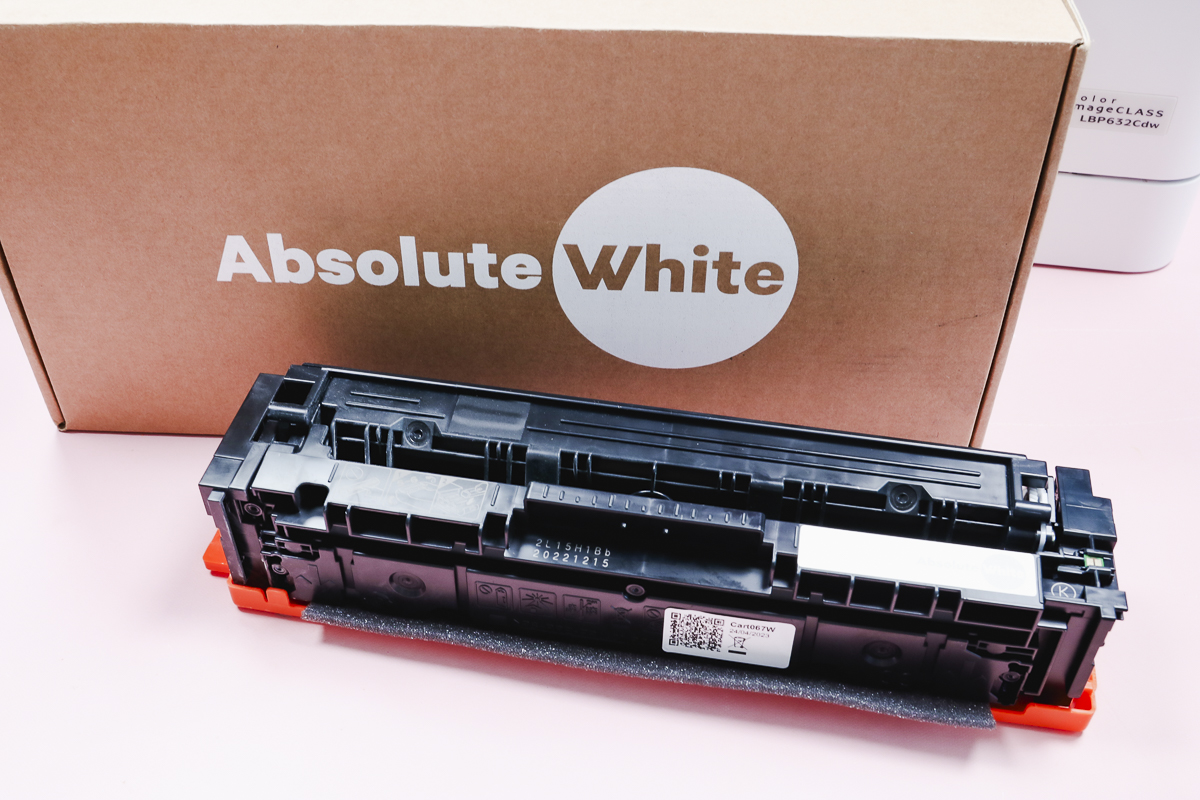
The ability to print white with a converted laser printer requires a special white toner cartridge. I am using the Absolute White Toner cartridge.
If you have a color laser printer at home, you can see if there is an Absolute White cartridge that fits your printer type.
There are not cartridges for every laser printer on the market. If you’re shopping for a printer that will allow printing white, I would check the printer list here before purchasing to make sure you get one that has a white toner cartridge available.
You need a laser printer or a toner-based printer for these projects. Make sure your printer is on the list by checking the website and looking for both the brand name and the model number.
Note – The Absolute White Toner cartridge is not cheap but you get a lot of prints out of one cartridge. This makes the print per page rather low. And the purchase of the cartridge does include the software that you need for printing white.
How to Choose the Right Printer
You need to choose the right kind of printer for white printing. Remember, we are essentially converting this regular laser printer to become a white toner printer.
Because we’re using this for something it wasn’t made for there will be a couple of extra steps vs using an actual White Toner printer.
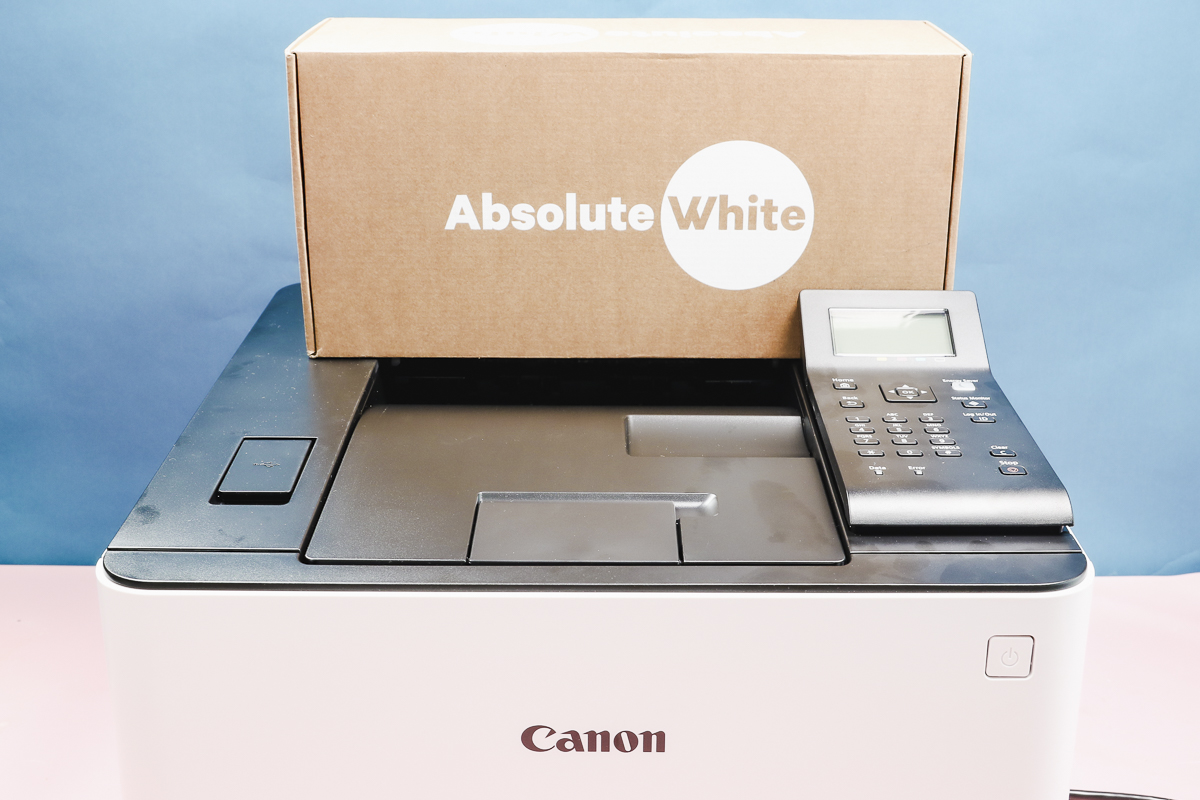
I am using a Canon printer that I ordered from Amazon. The printer was less than $300 on sale and it is on the list of printers that Absolute White has a cartridge for.
This is a budget-friendly option to get into white printing. It won’t give you the exact same results as a traditional White Toner printer but for getting started it may be the right option for you.
Step 1. Printer Setup
Because not all of us will have the same laser printer I recommend following all instructions that came with your printer for the setup process.
This isn’t like converting a printer for sublimation. For printing white with the Absolute White cartridge you’ll begin by setting the laser printer up completely with the cartridges that come with it.
You’ll likely have CMYK cartridges. That would be blue, magenta, yellow, and black. Install all of those into your printer.
The process of converting the printer is as simple as changing out the black cartridge for the white one.
When you’re ready to print the white layer, remove the black toner cartridge and add the white cartridge.
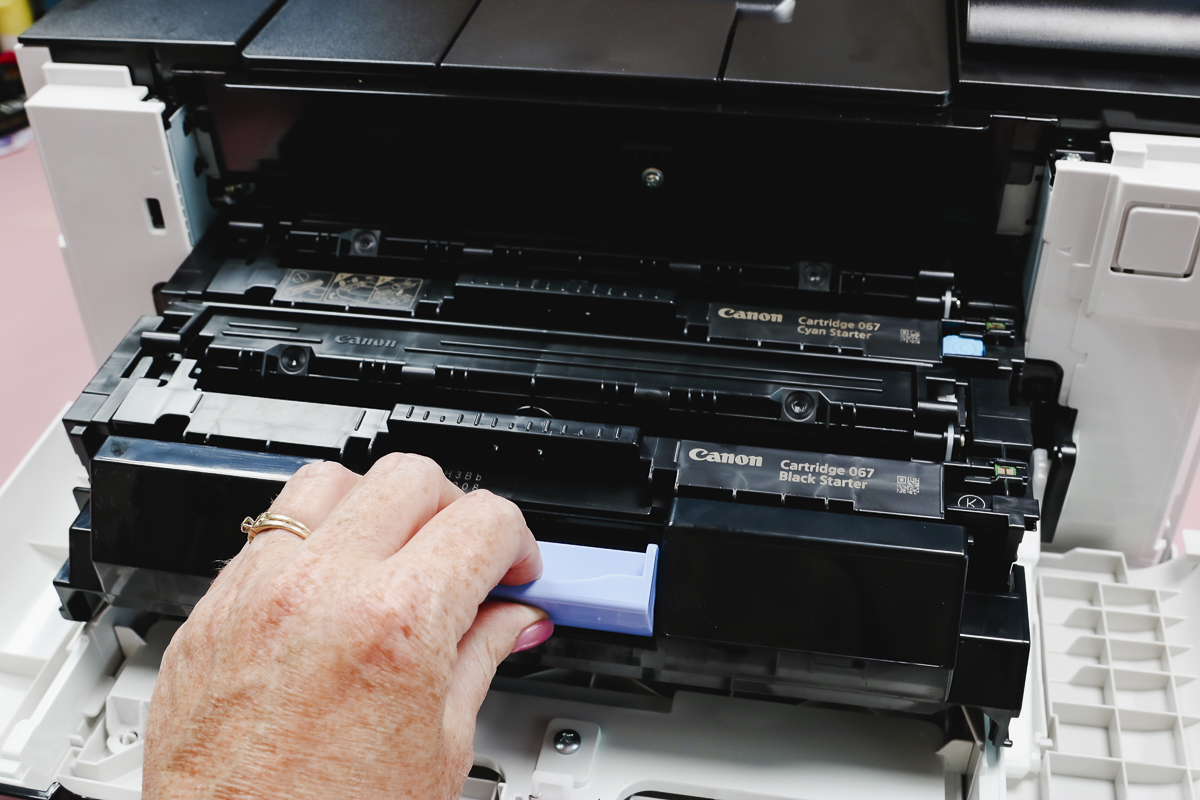
You will need to change out the cartridge and print on the same sheet twice. You may run into alignment issues so you will need to test the printer initially to learn how it feeds through when printing the second time.
Step 2: Using the Absolute White Toner RIP Software
When you purchase the Absolute White toner cartridge, it will come with a license key to the RIP software that you need to use when printing white. The RIP software will divide your image into sections and then you’ll print the design twice, once with color and once with the white cartridge installed.
For printing white, we’ll open the Absolute White cartridge and inside there Is a key to activate the RIP software that you need to print white.
Go to the website, download the RIP software, and use the key to activate it. Once you have the RIP software installed, you’re ready to convert an image into something that can be printed with the Absolute White Toner cartridge.
Open the RIP software and on the top left click Upload Design. You’ll see some sample files you can use but you can also use other files on your computer.
You can upload JPEG, Photoshop, PNG, Bitmaps, TIFFs, PDF, etc files. Basically, if it’s a file format that is an image it’ll work.
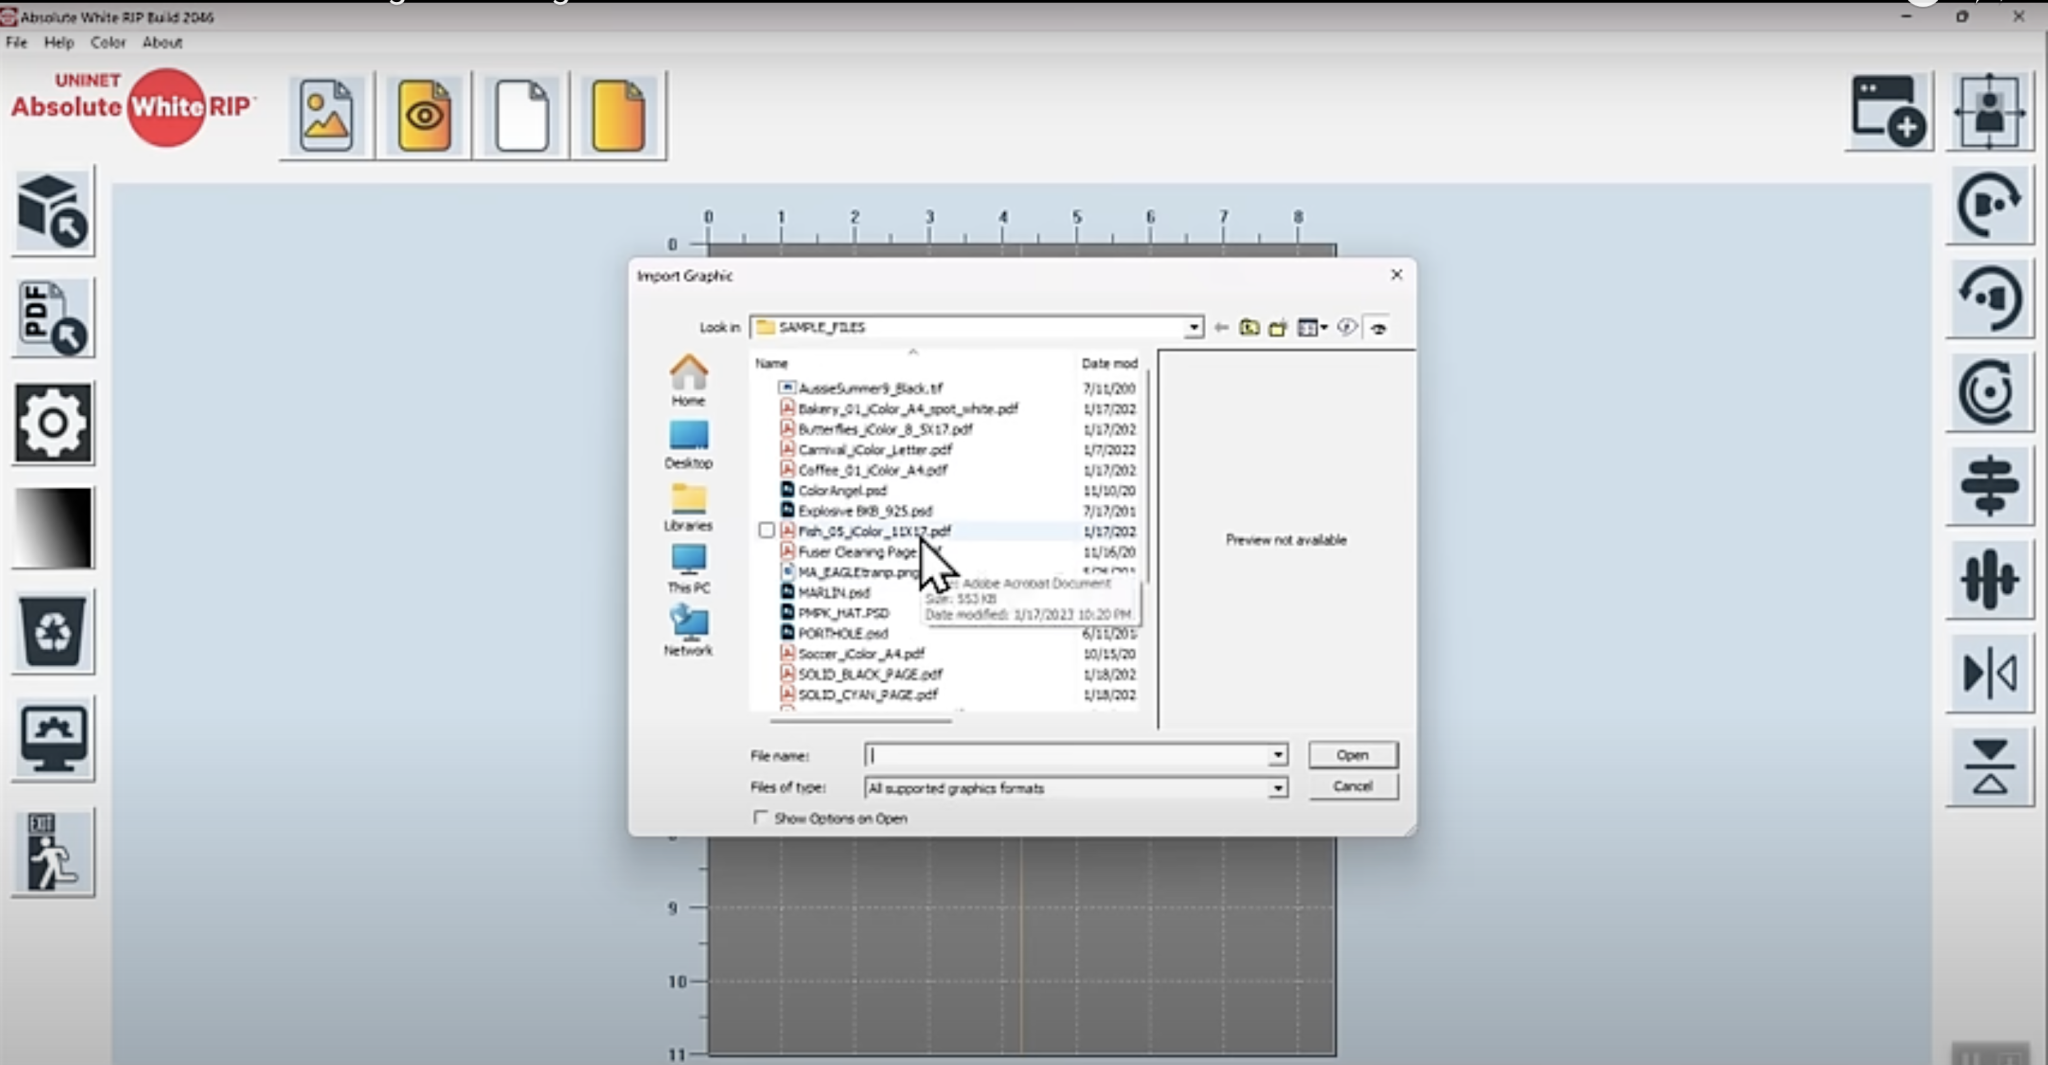
I am uploading this fun multi-colored lion design You can get it for free here.
On the right-hand side, there are things you can do to alter the graphic itself. Click the top button to expand the file to fit the entire sheet.
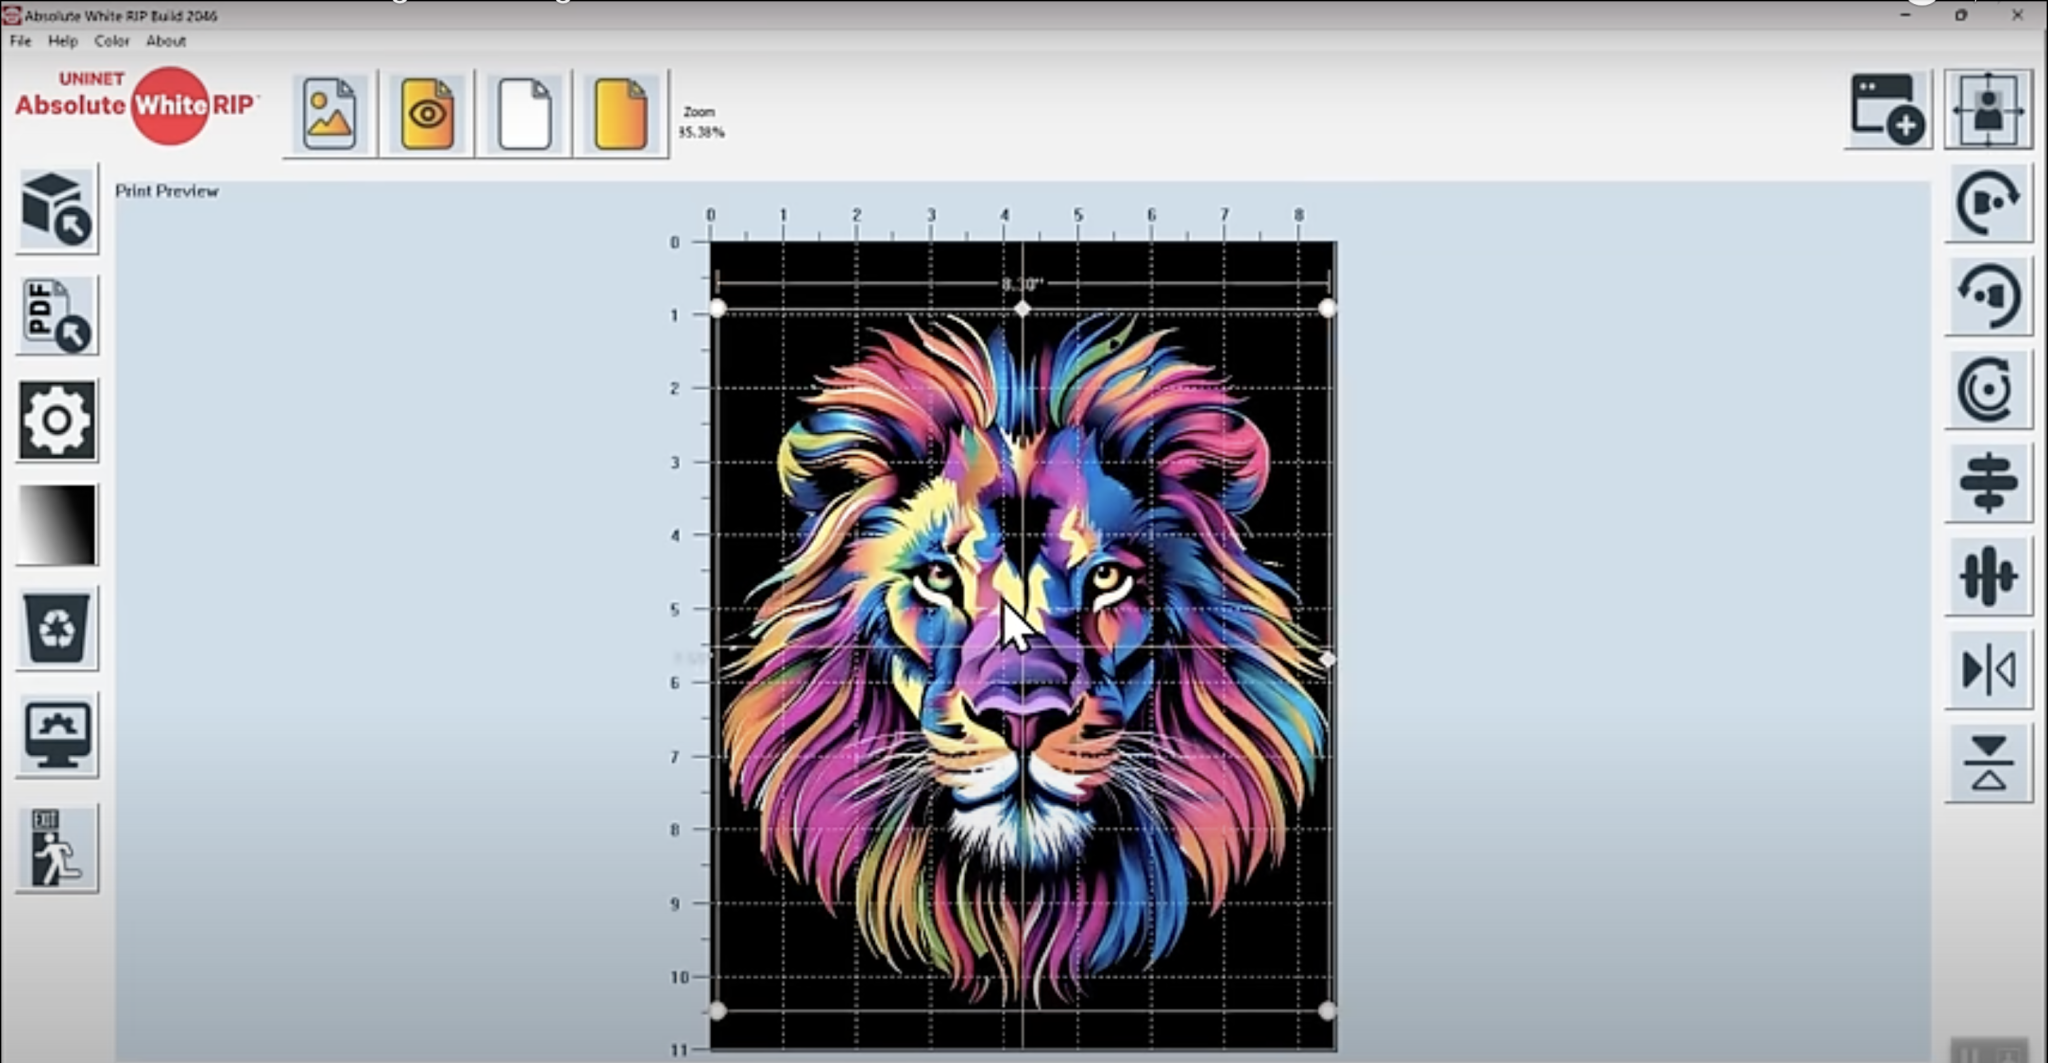
When you click the expand button a pop-up opens that allows you to remove all the blank space from your design easily. This will crop the design close to the image if you have blank space around the outside it will remove that.
Make sure the paper size you have selected is the paper size you’re using in the printer. There are several sizes already loaded into the software. I am using A4 size paper today.
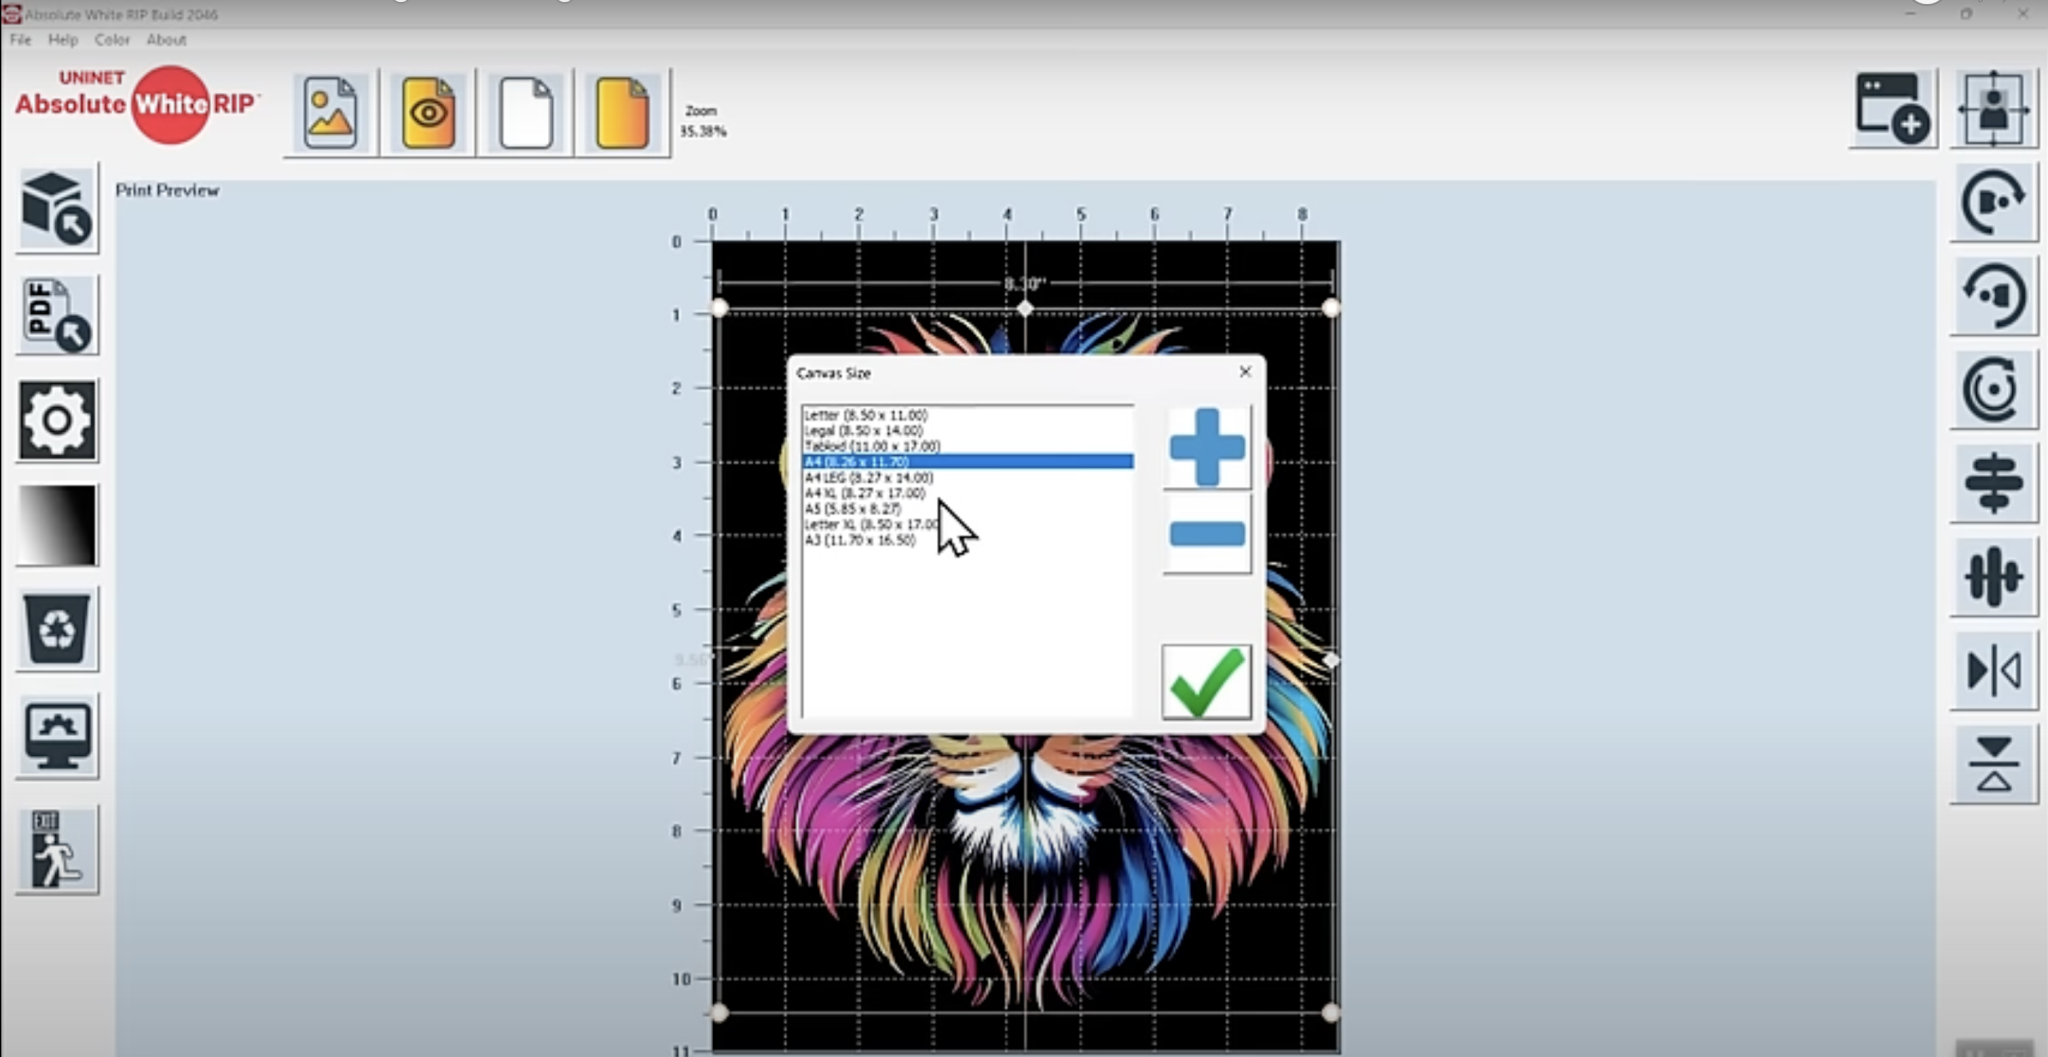
Make sure you select a paper size that will fit in your printer. If you’re using a special paper size, you can add that by clicking the + button.
Make sure your design doesn’t print too close to the edges of your paper. You can resize the design by clicking and dragging the handles in the corners. I have my design resized to 7.55 inches by 8.71 inches.
The RIP software will automatically mirror the design to print it. The only time you need to flip the design before printing is if you need the design to not be mirrored for some reason.
Step 3. Export the Design
Now we’re ready to export the design. You can use the buttons on the bottom to center your image both horizontally and vertically on the paper.
To preview how the image will look, click Print Preview and the background of your design will turn black. The black portion will be clear when you print.
When you export the image it will export as two PDF files, one is the color layer and the other is the white layer.
I would leave the settings at default. If your printer supports it, you can try CMYW instead of CMYK. CMYW leaves a mixture of colors to make black. With CMYK, you’ll have the color layers and change the cartridges out between prints.
Select Generate PDF and choose where you want the file to be saved.
For white printing, you want to select the Overprint option. This will print a white layer over the regular print. If you’re only printing white on something like black cardstock you would select Underprint.
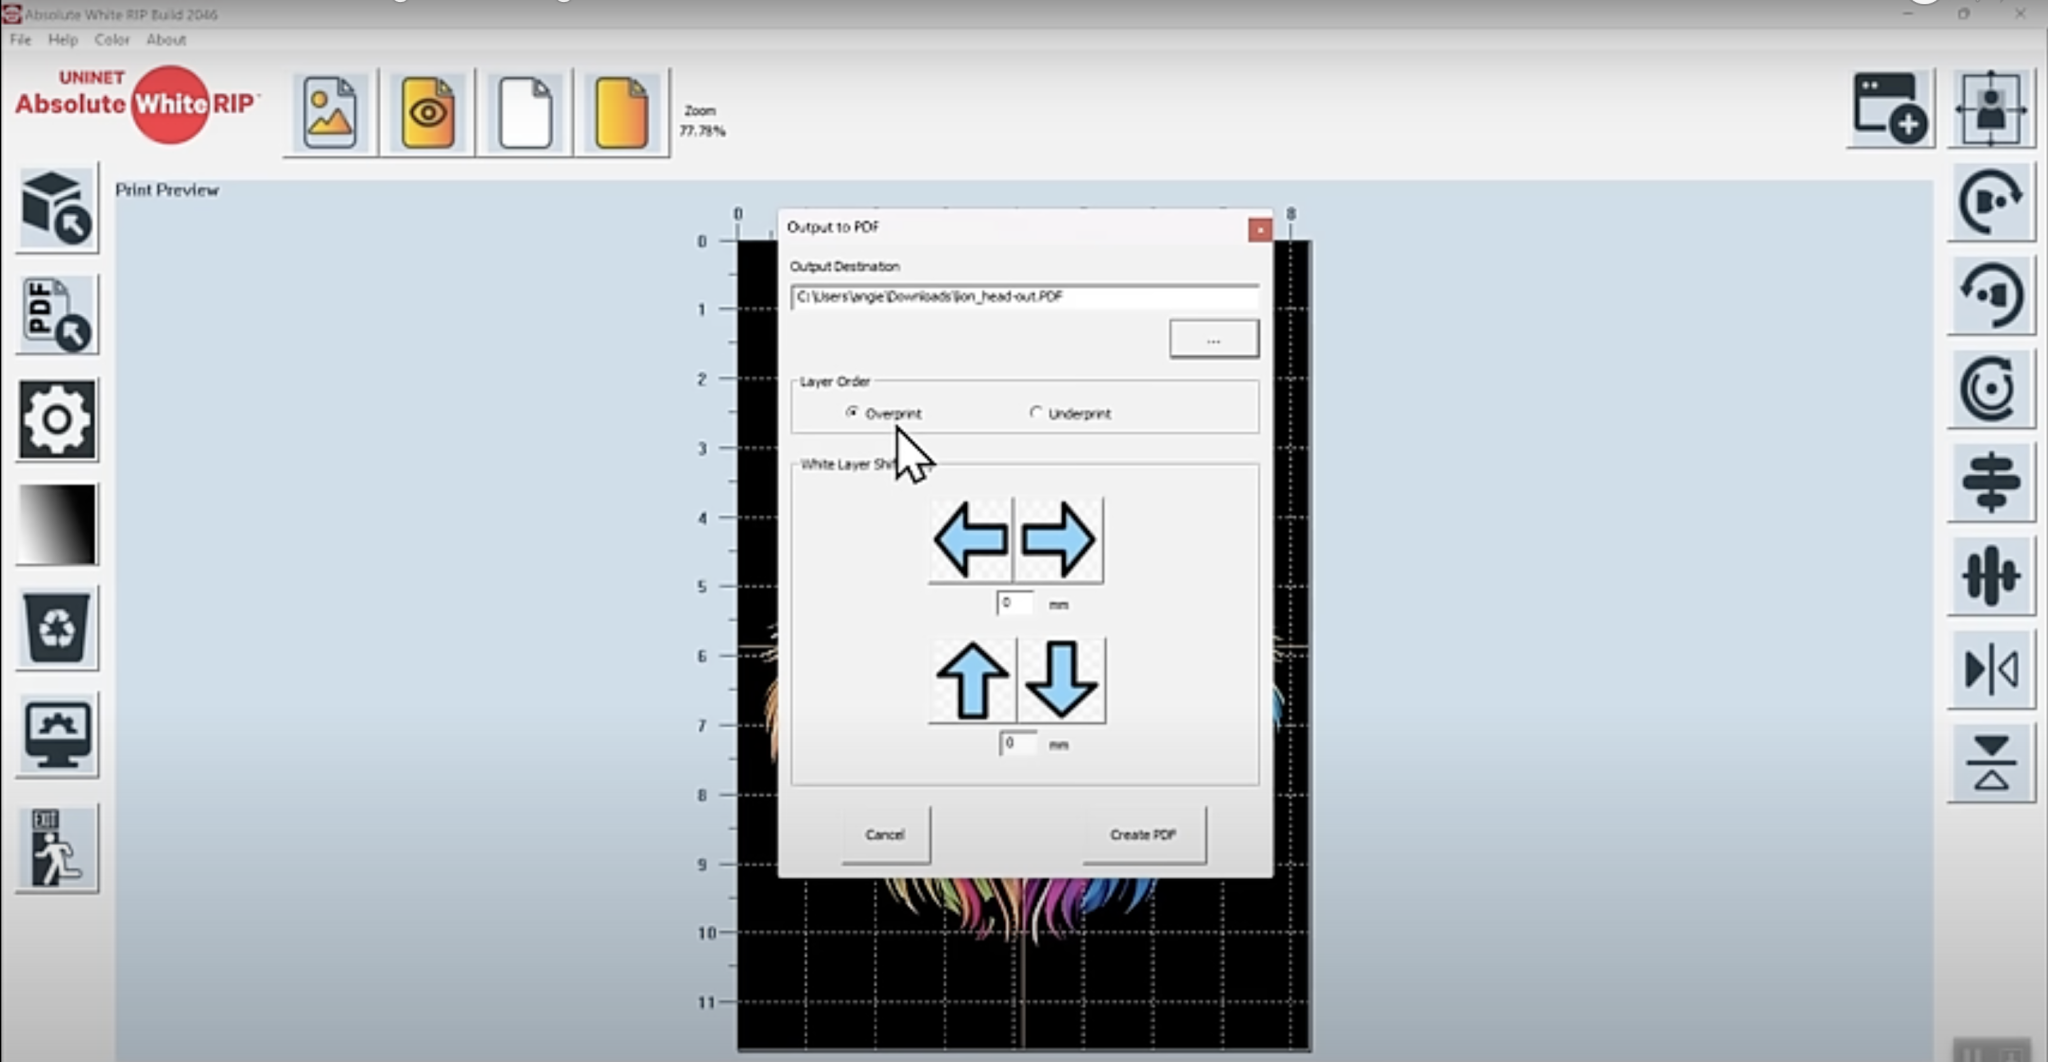
Next, you’ll see arrows that you can use to shift your design. You will use these if you need to shift the white layer because the printer shifts when you feed the paper through the second time.
Click Create PDF and when the PDF is created click OK. The files will open up and you’ll see both the color layer and the white layer.
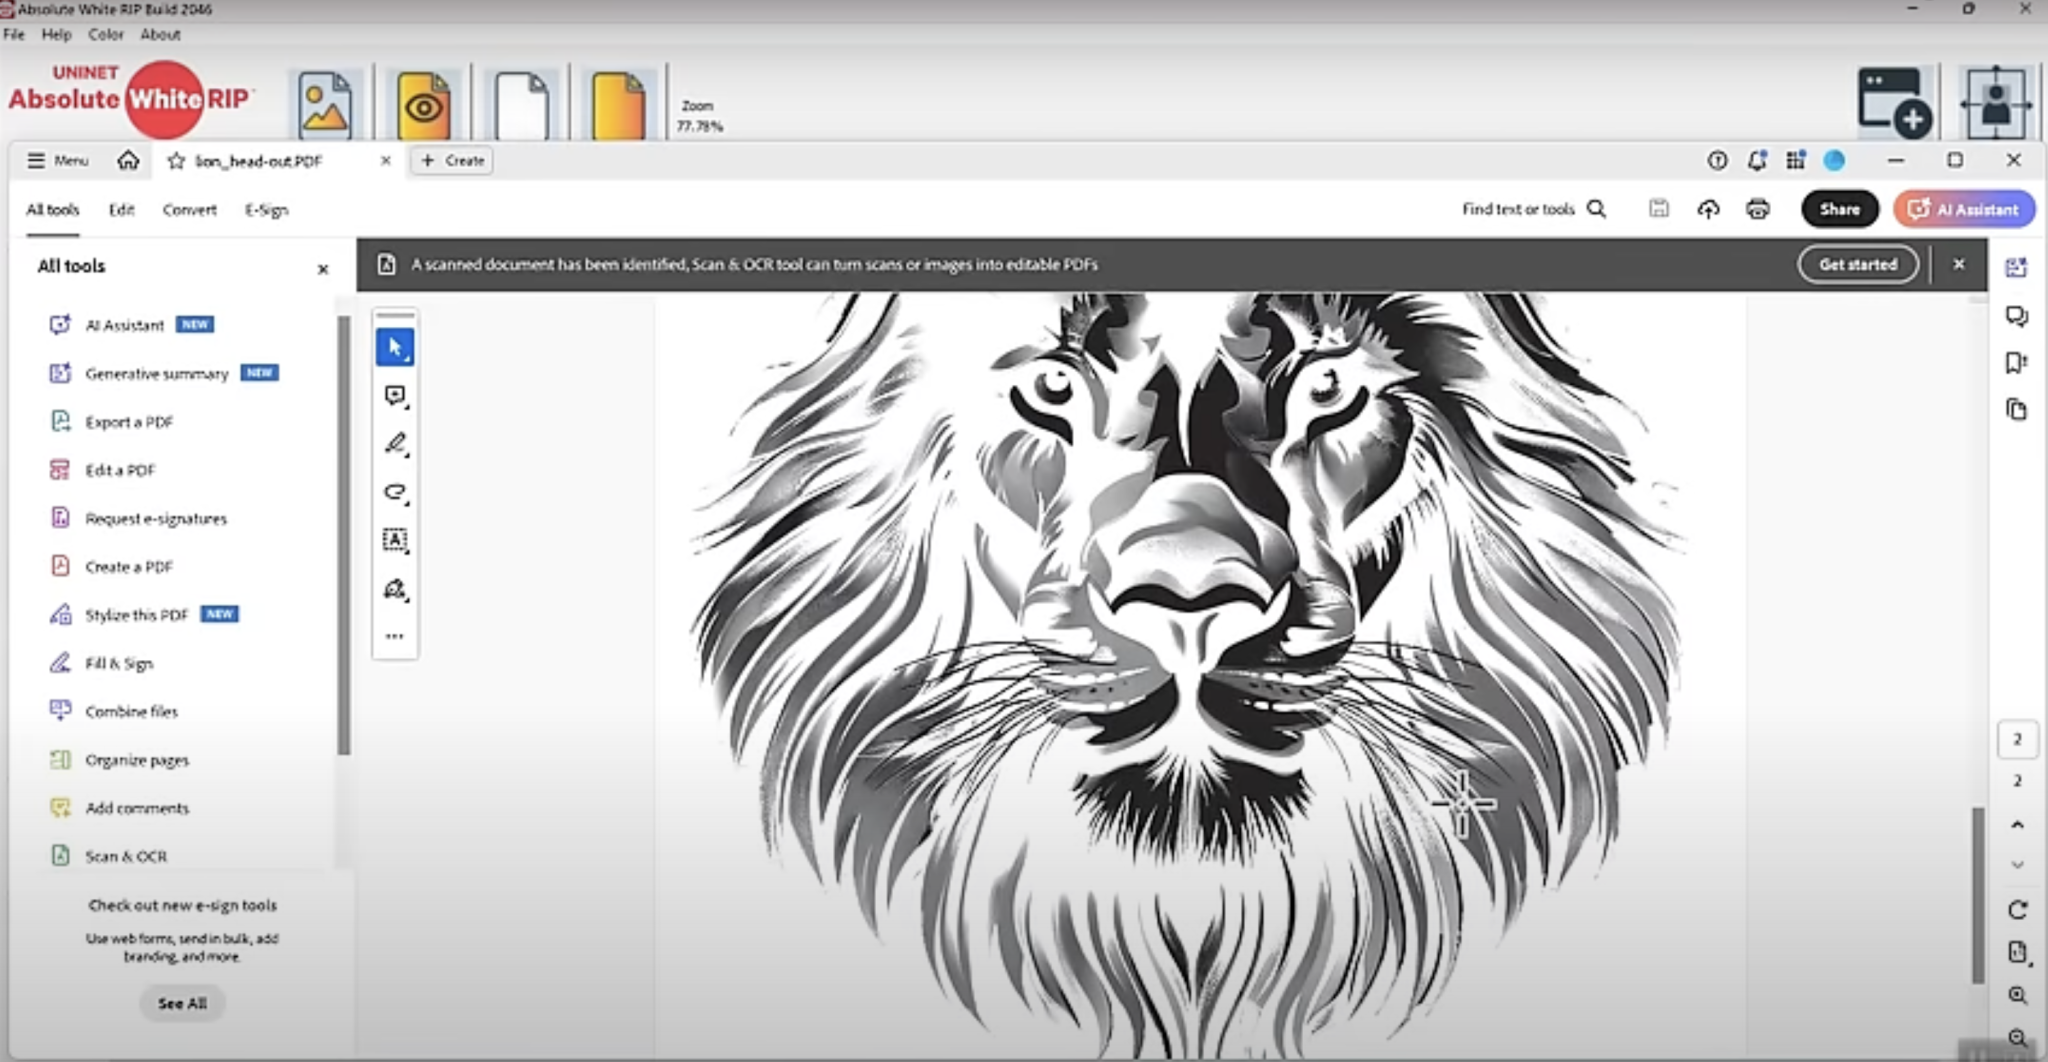
Note – For the white layer the design is going to look black. When you print, everything that is black will print white because we are going to remove the black toner cartridge and add the white toner cartridge.
OPTIONAL: Removing Black From Designs
If you are adding your design to a black shirt, you can remove the black parts of the image so the shirt shows through replacing the black in the image.
To do this, click the image and then click Configure White Generation. On the pop-up click Remove Black and then you can adjust the sensitivity as needed. You may find you need more or less saturation but starting with the default is a good place to start.
For the version where we removed the black, export the PDF file. When you do that, you will see the version with the colors will not have any black, because we are putting it on a black shirt.
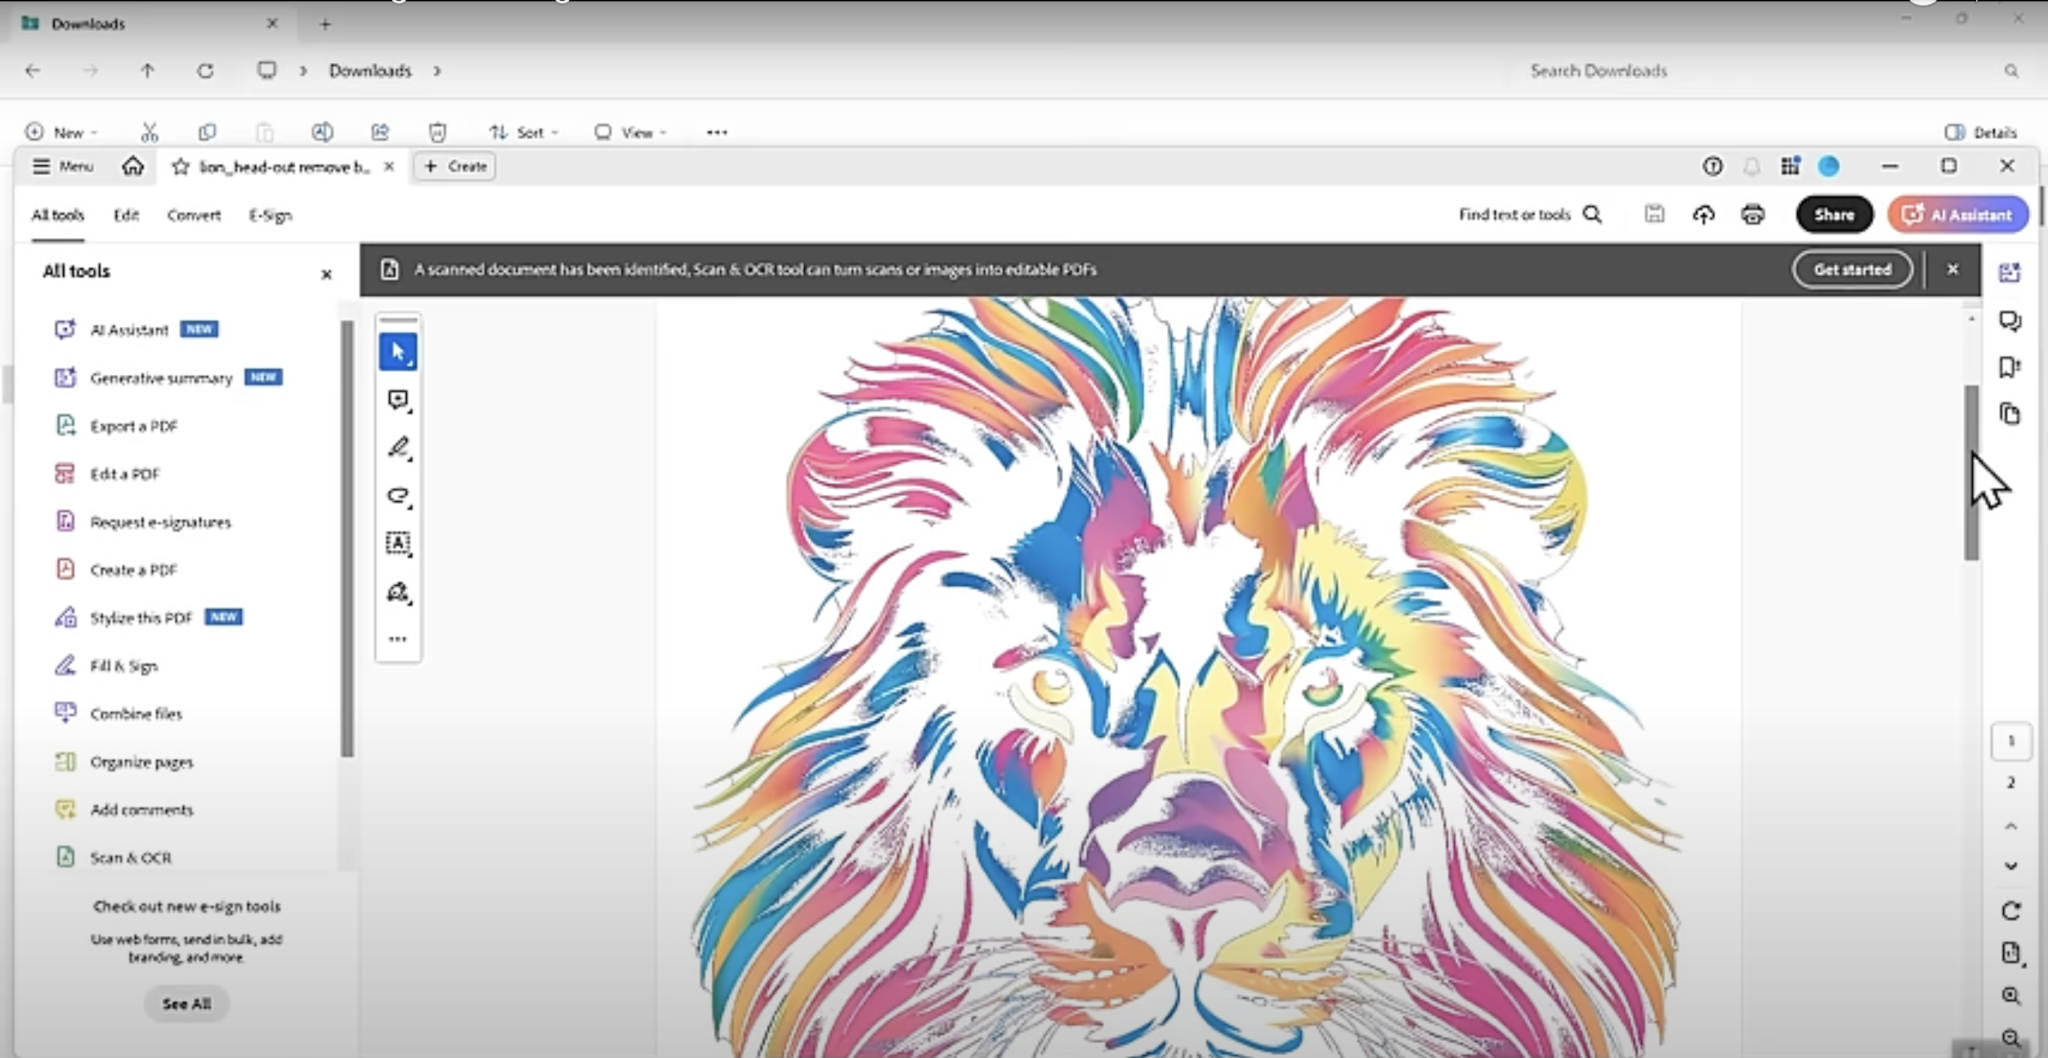
There are other options that you can use to adjust the design. I recommend that you start with the default unless you find you need to make adjustments. I ended up using a sensitivity of 70 for this example print.
Once you have the design how you want it click Save and Exit and you can see the full print preview for both pages.
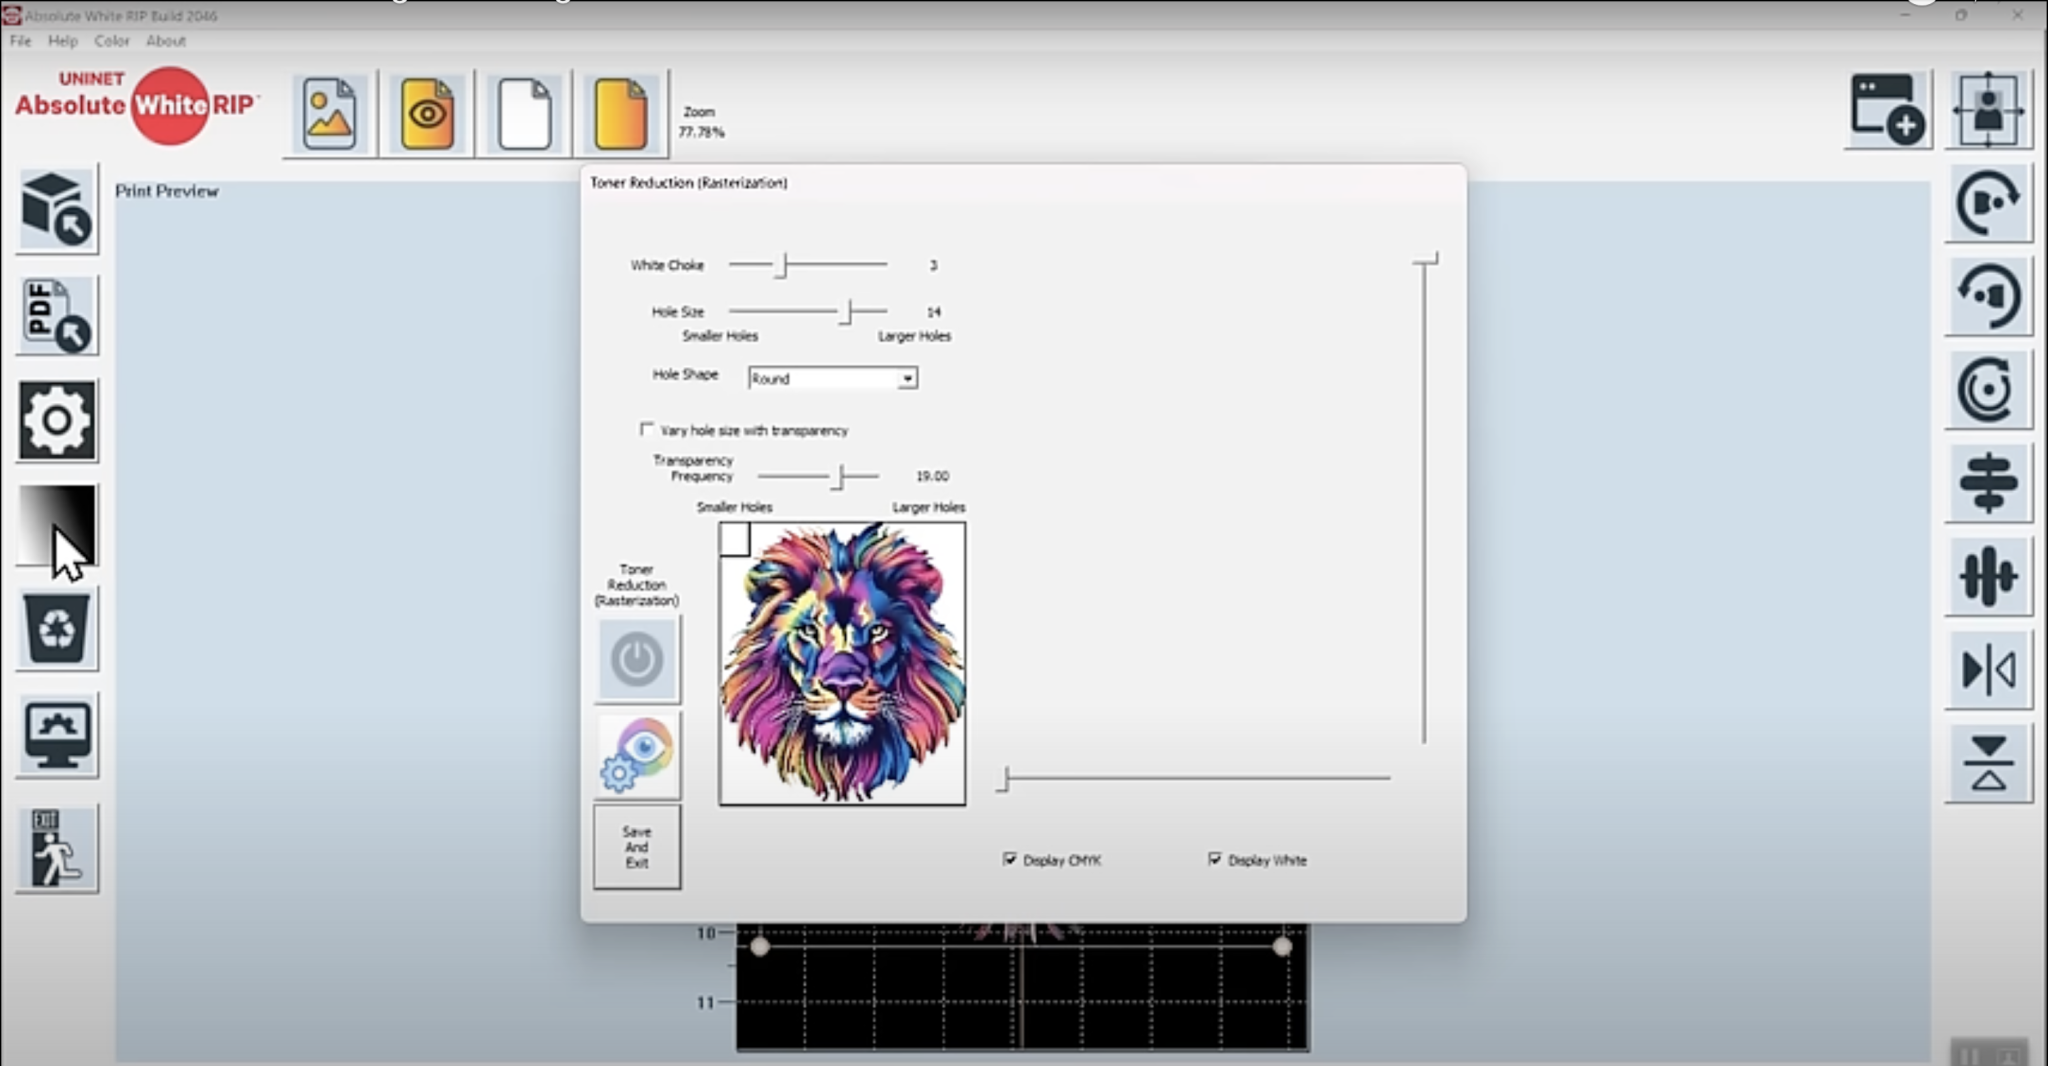
OPTIONAL: Add Rasterization
Rasterization puts small holes throughout your entire image. This can be used for large images to help how the product feels on the shirt.
I consider this more of an advanced technique so I’m not going to cover it in this tutorial. If you are printing a large design definitely look into rasterization.
Step 4. Printing Color and White
Now that we’re ready to print, we need to add A paper to your printer.
Make sure you know how the paper feeds through your printer. We need to print on the rough side of this paper so it needs to be loaded correctly.
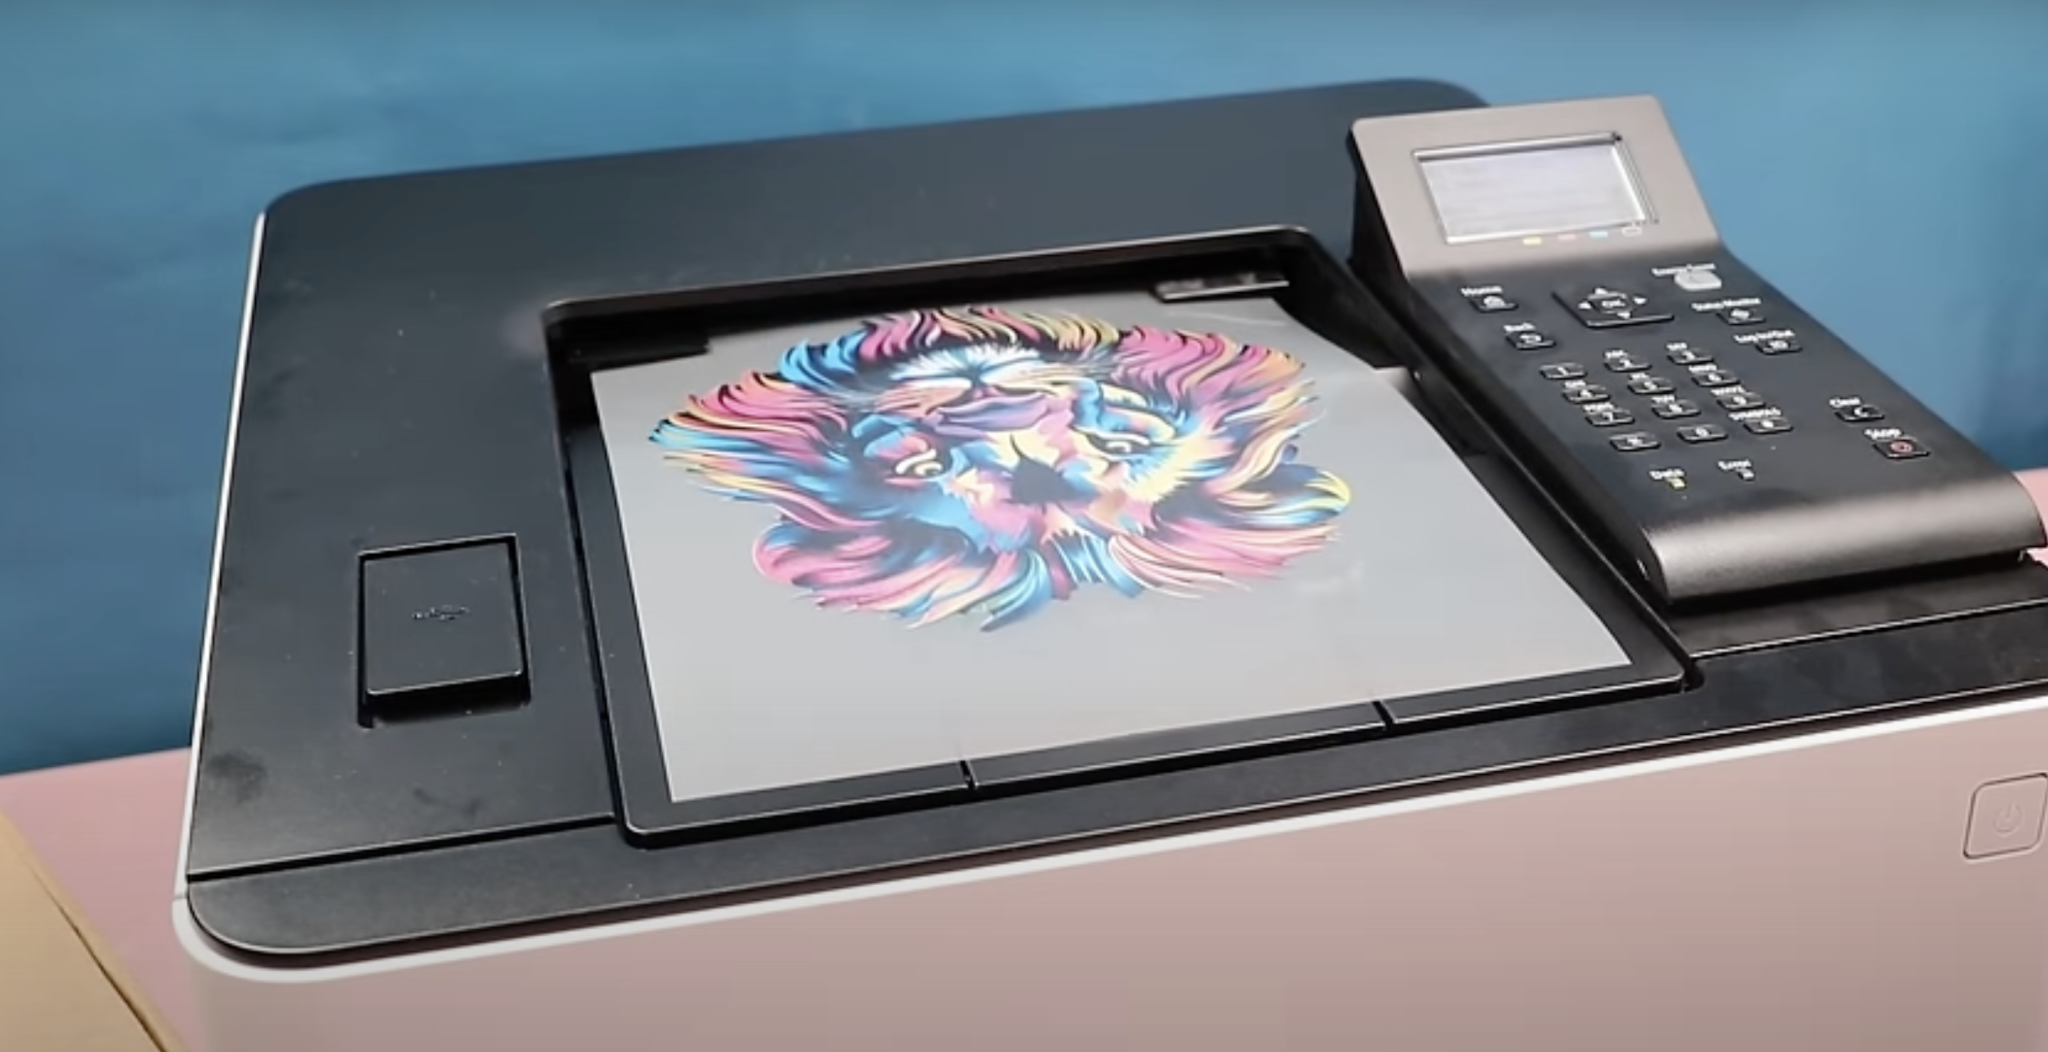
With the A film in the printer, I am going to print the first page. The first page is the full-color page. This page is printed with all the colors including black.
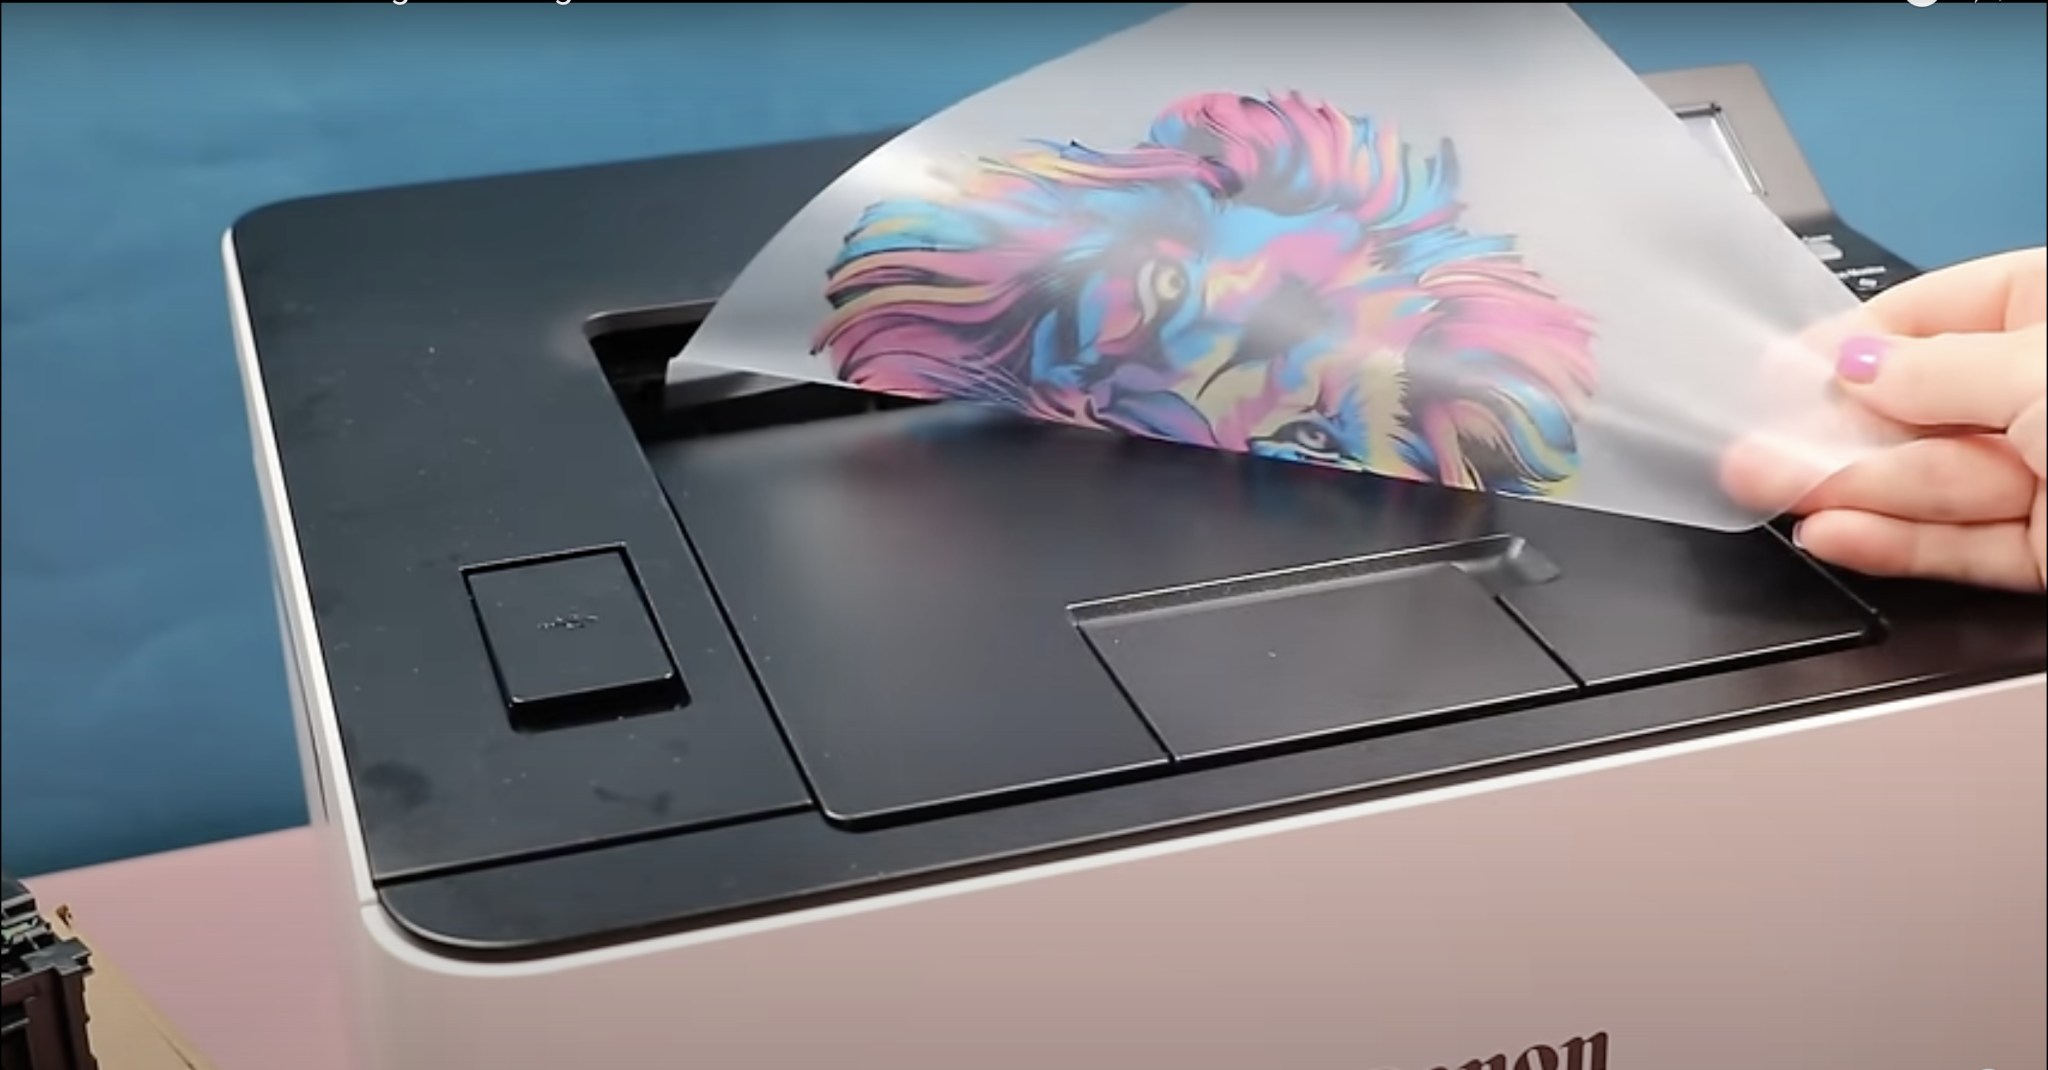
Next, take that same page and load it into the printer in the same orientation so that the white layer prints correctly on the film.
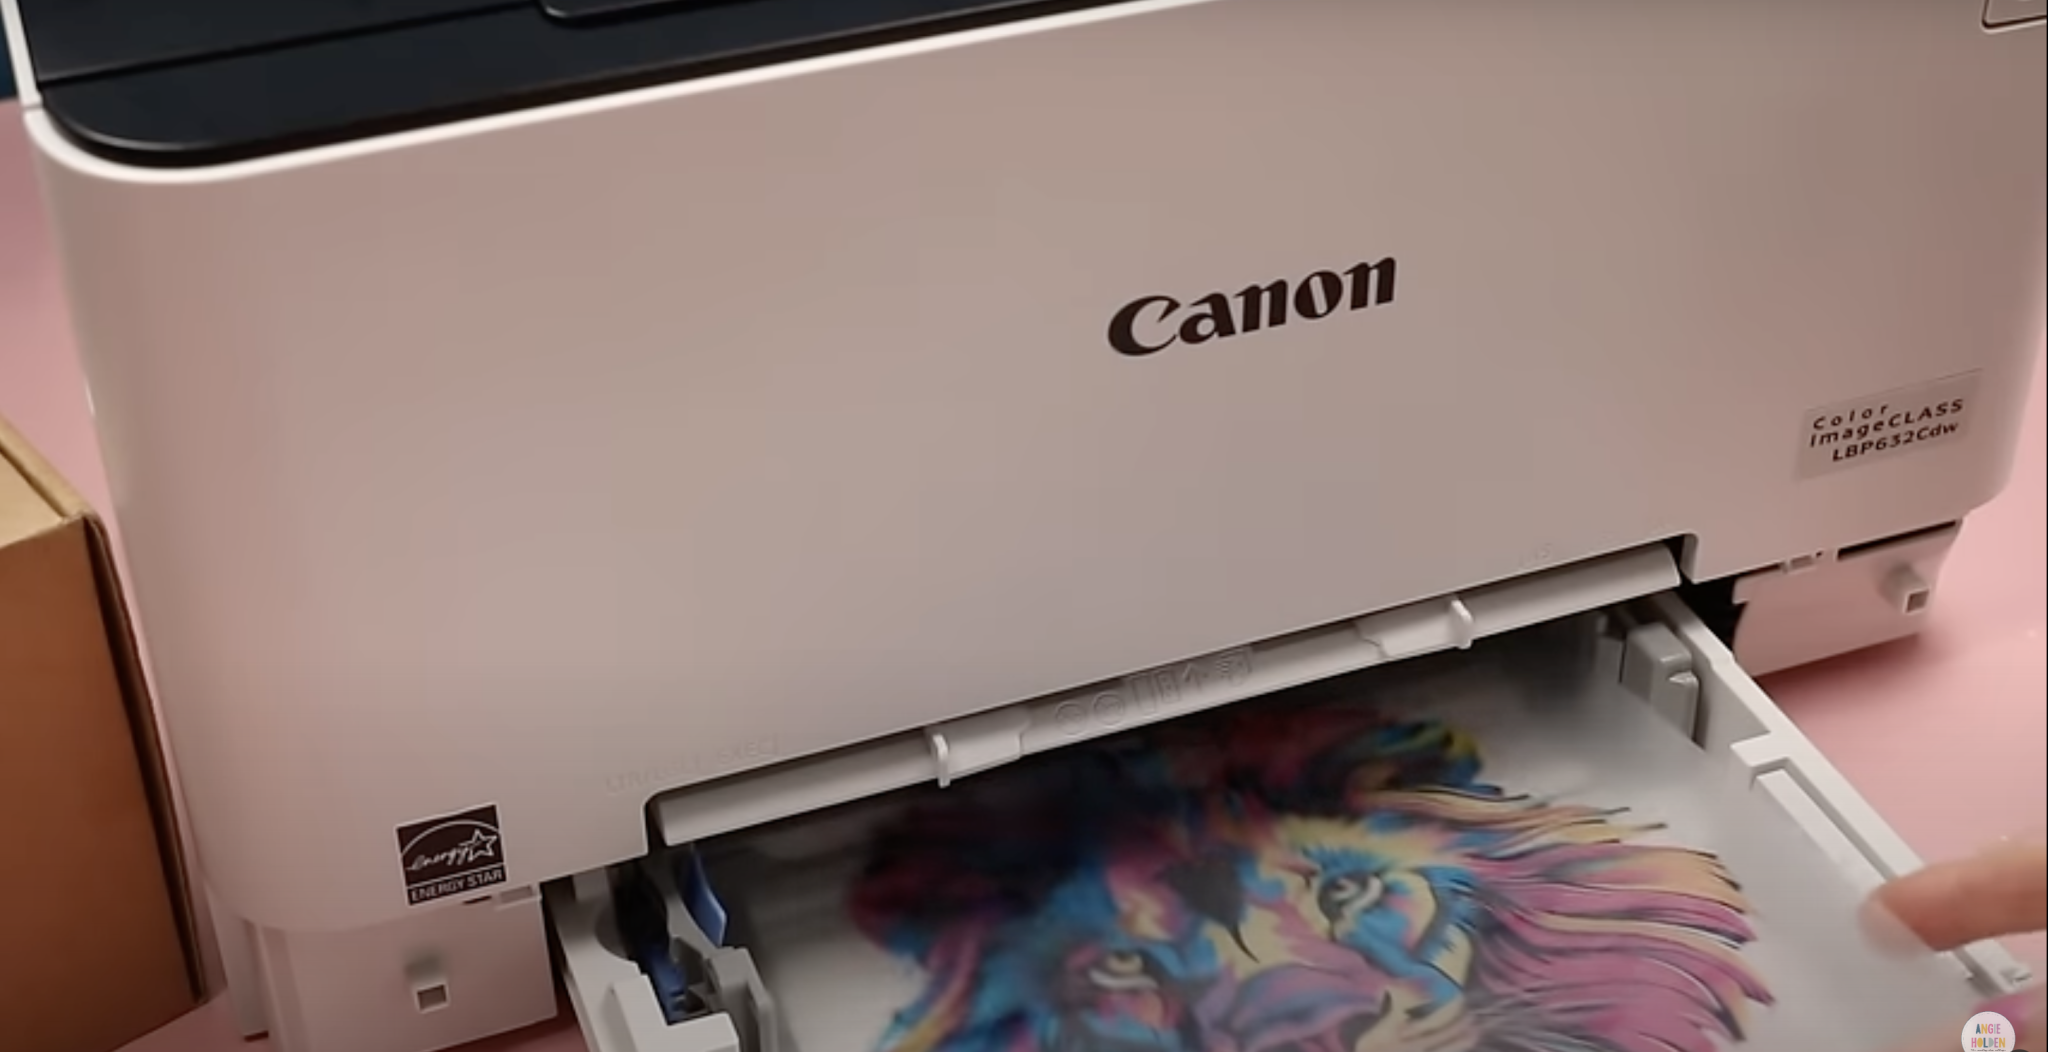
Open the printer and remove the black toner cartridge. Replace with the Absolute White toner cartridge.
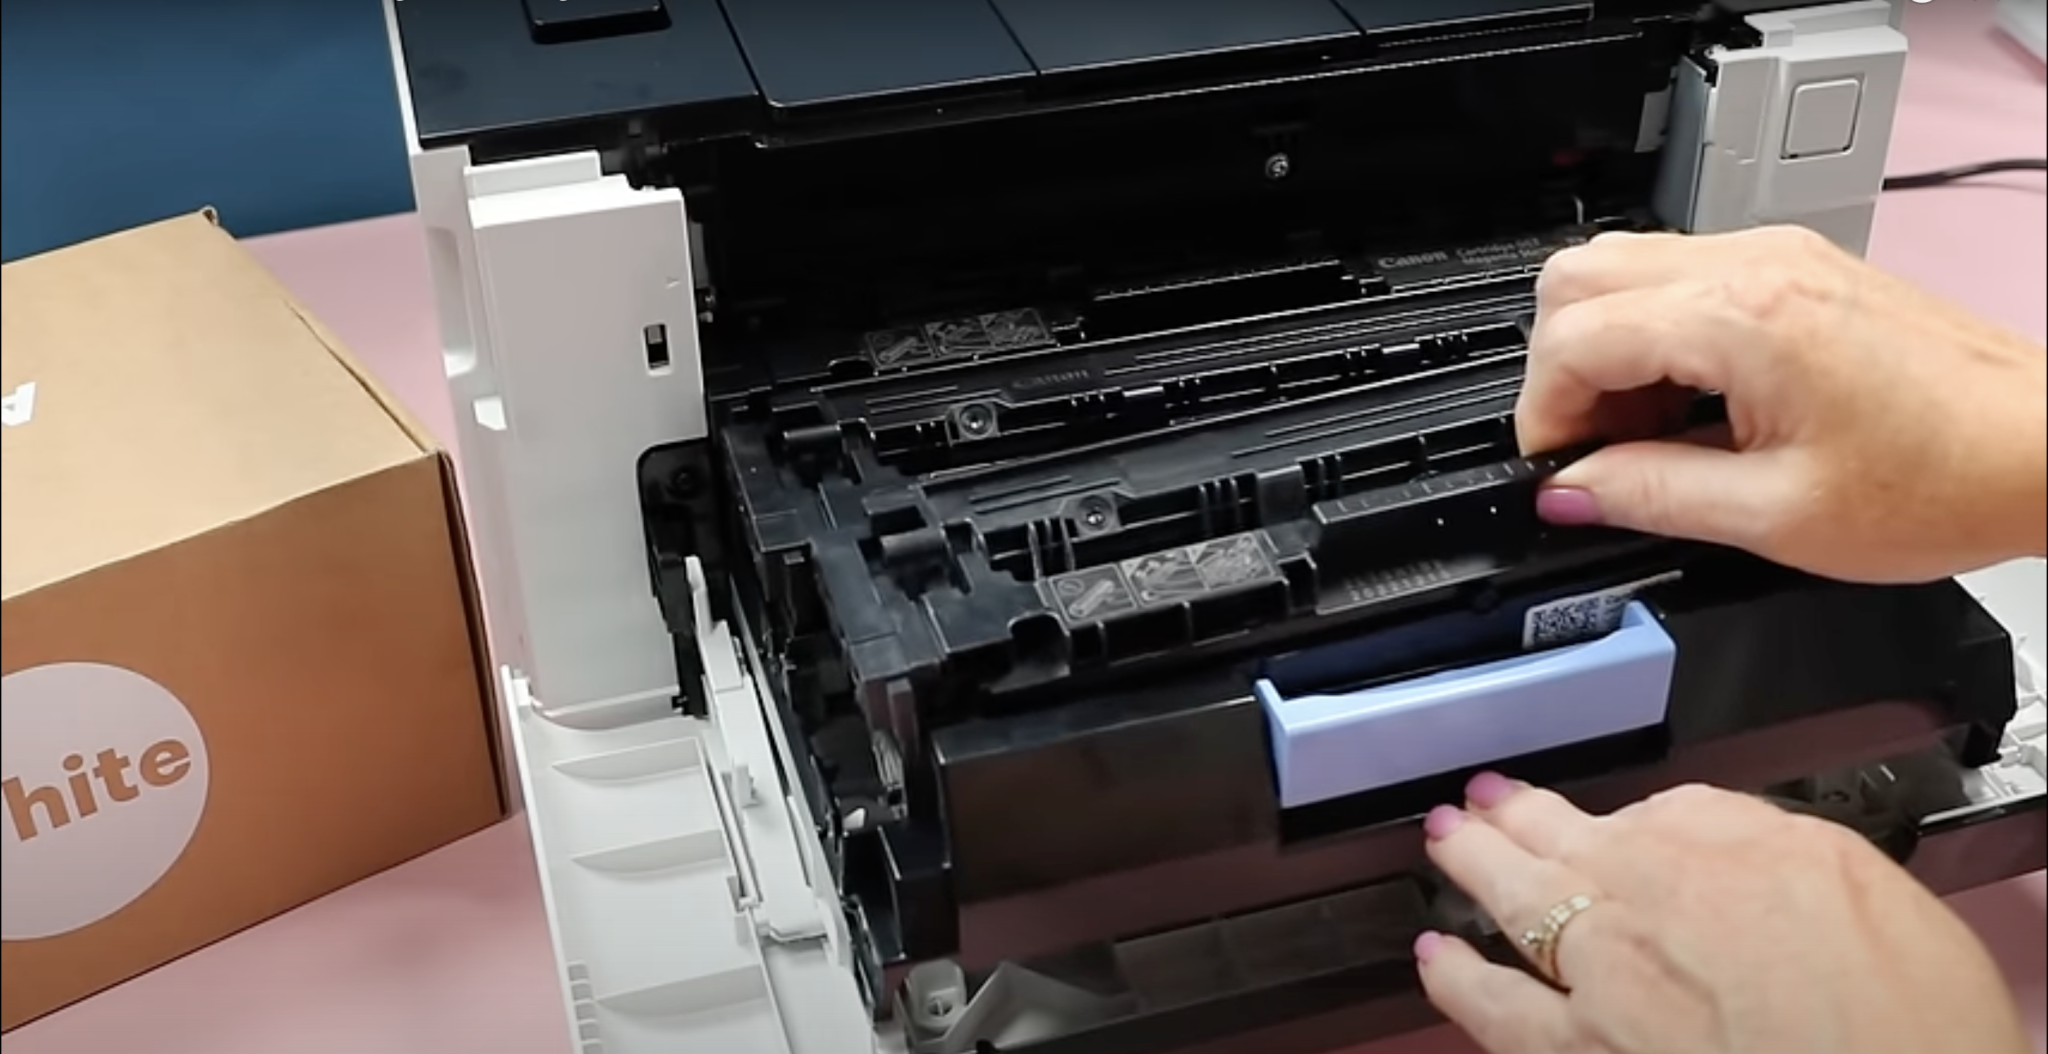
Don’t forget this step or you’ll end up with a layer of black instead of white.
Do not make any adjustments to your print, you want everything to stay the same size and location so it prints right on top of the color layer.
Print the white layer on top of the color image and that image is complete. Repeat the process for any additional prints, including prints where you remove the black.
Today I printed on the IColor standard paper which is a two-step paper for textiles. There are a variety of papers on the market that you can use. The process will be the same however you may need to adjust your settings for different papers.
I would always do a test print when using a paper for the first time to make sure you know the right way to load the paper and if any adjustments need to be made.
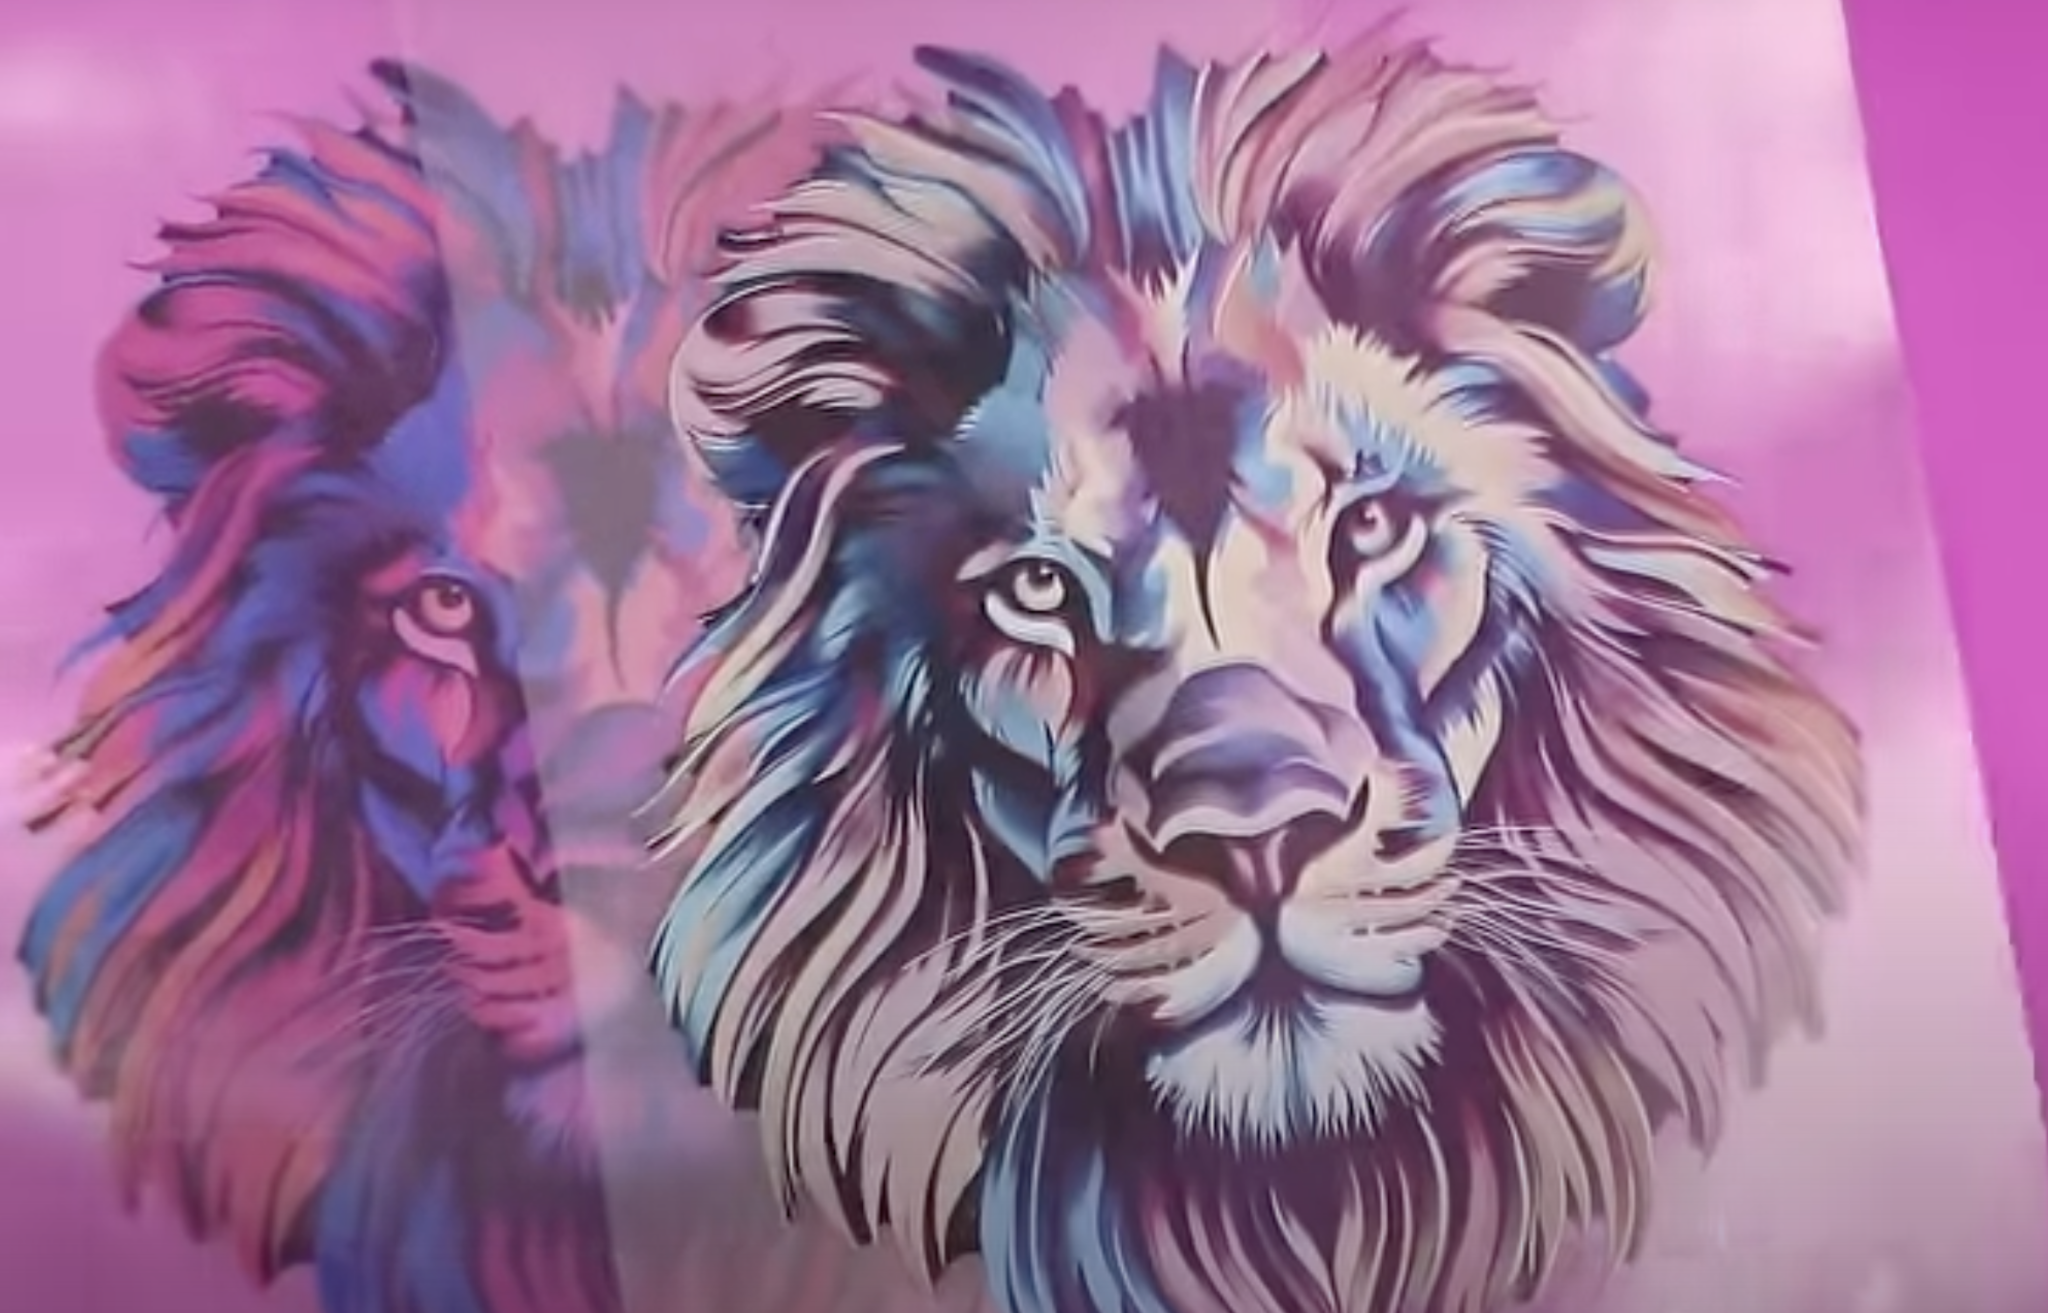
Before we add the adhesive layer to the prints I want to show you the difference between the print with and without the white layer and also what it looks like when you remove the black.
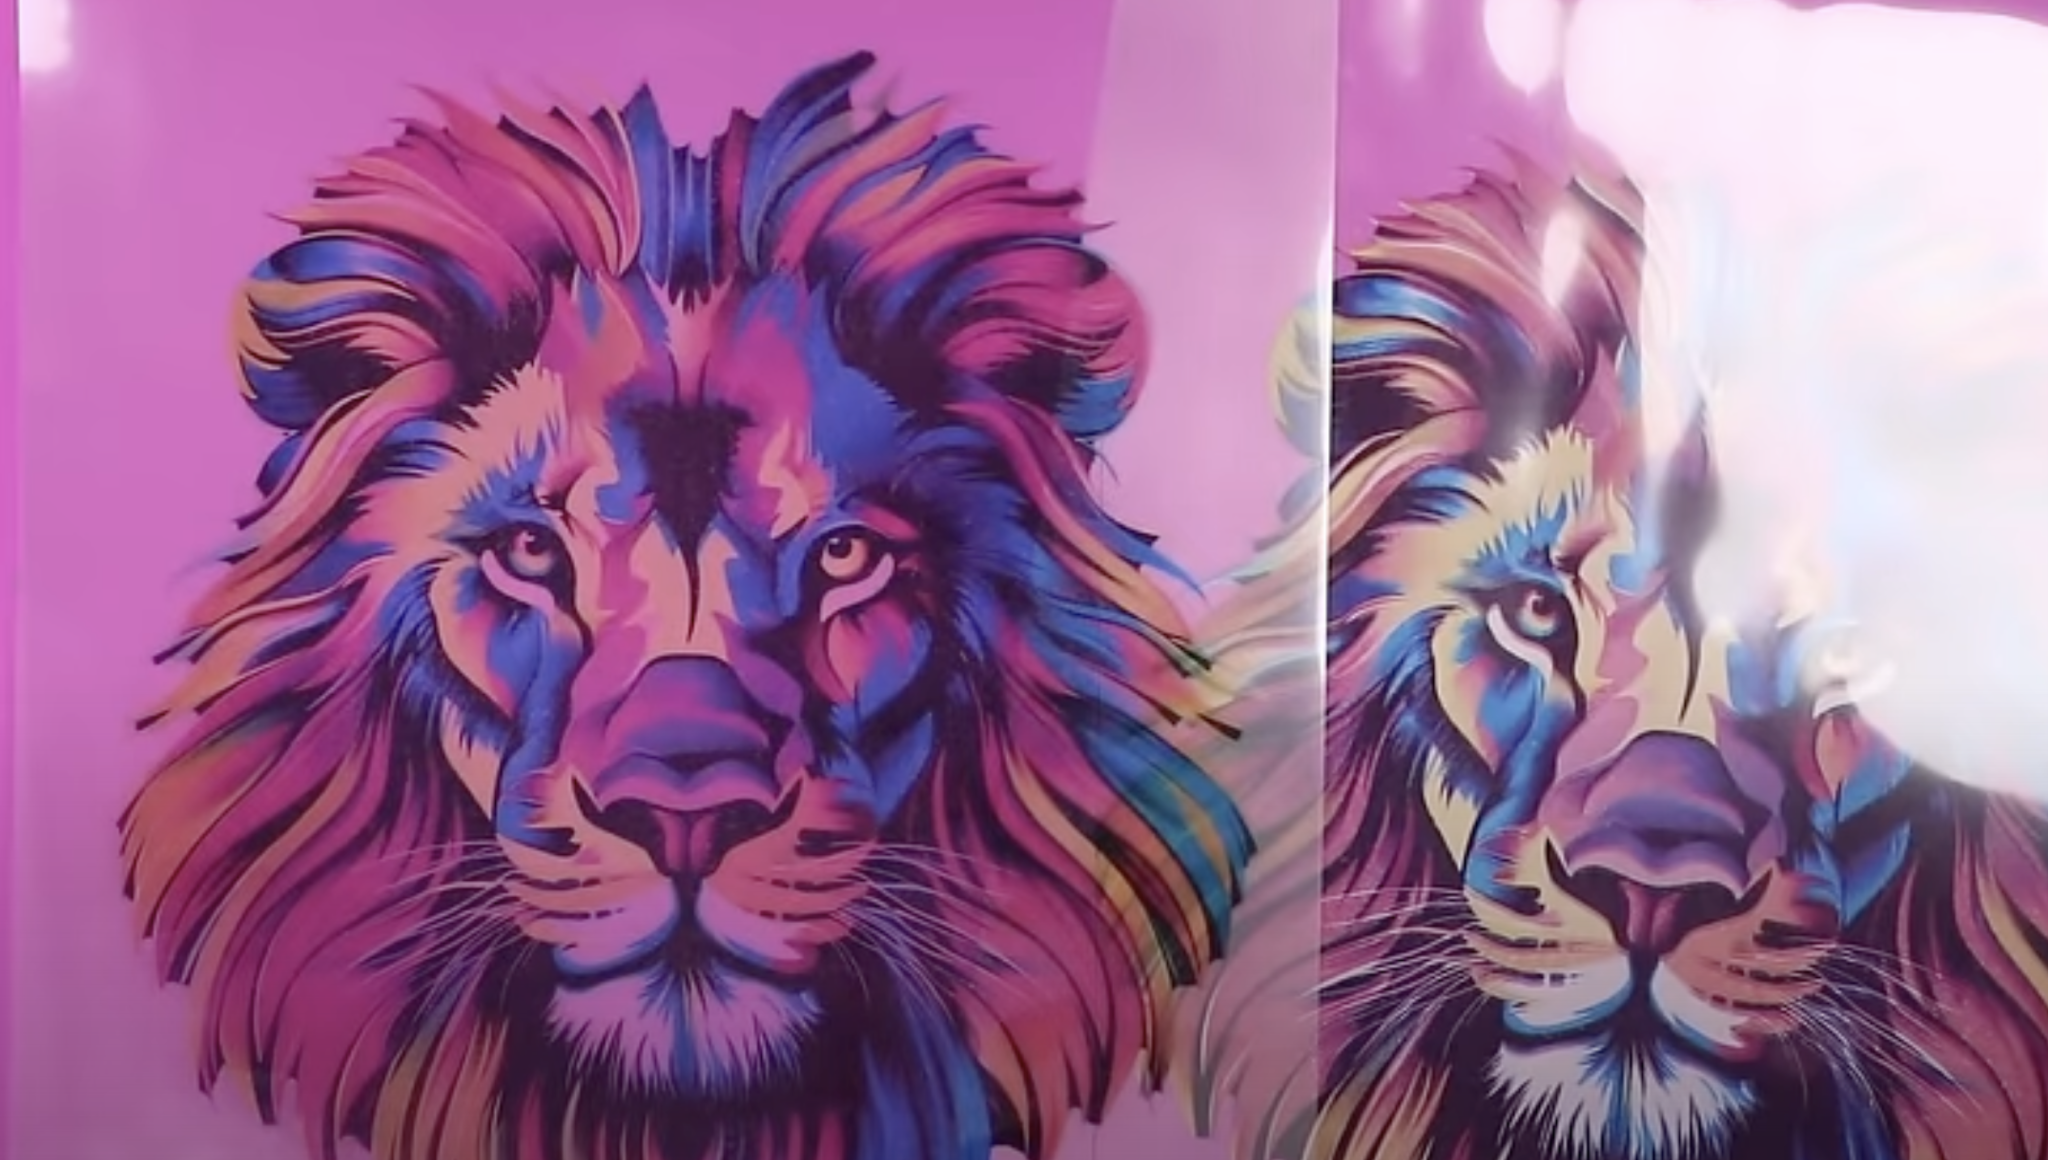
Above you can see how the design looks without the white layer and with the white layer added.
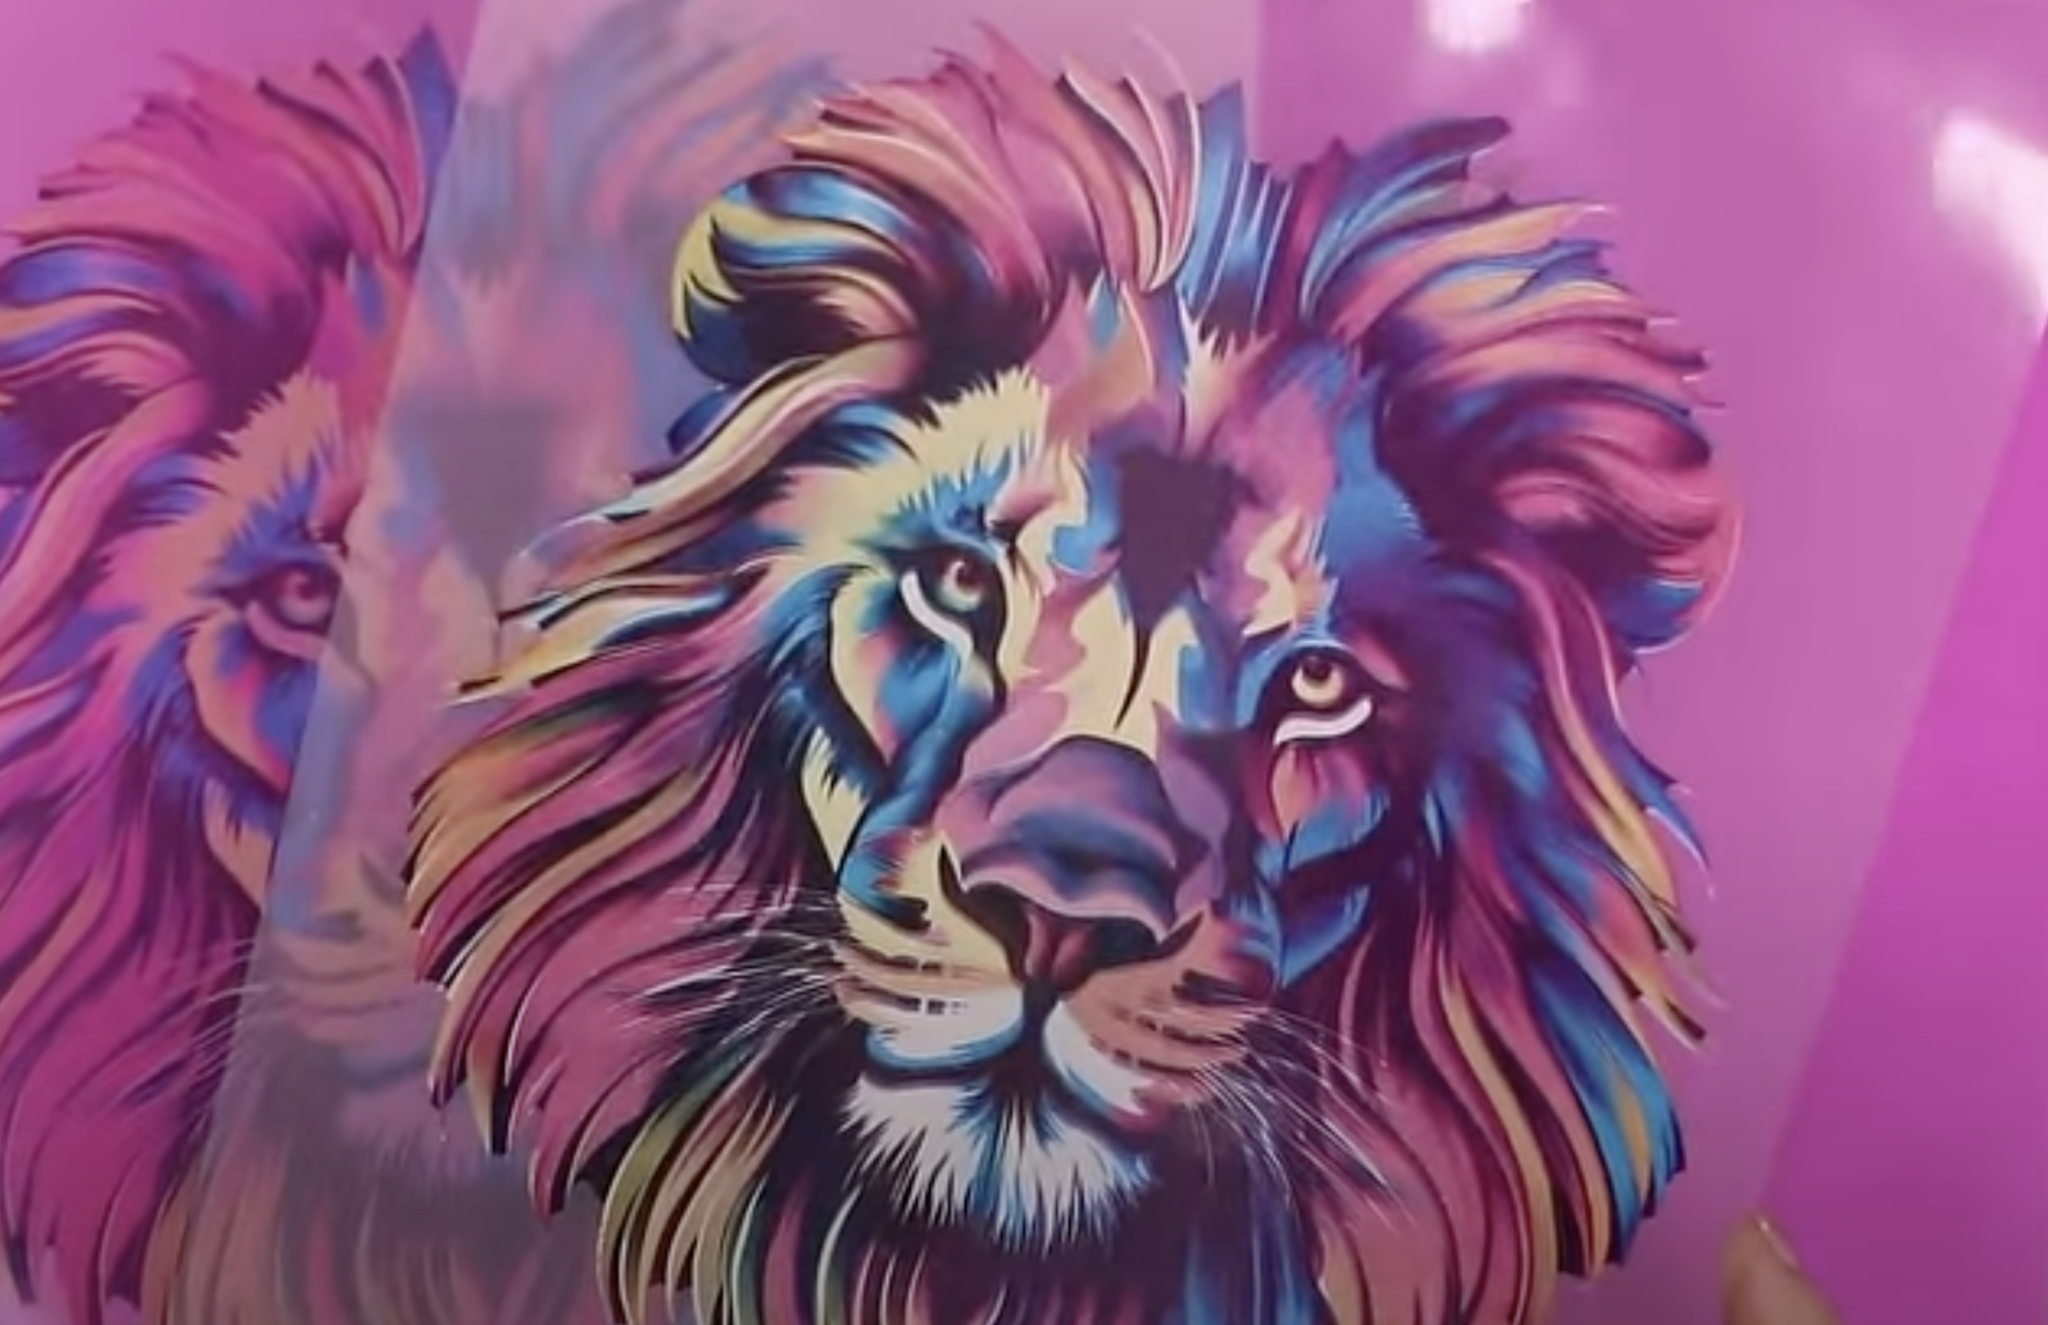
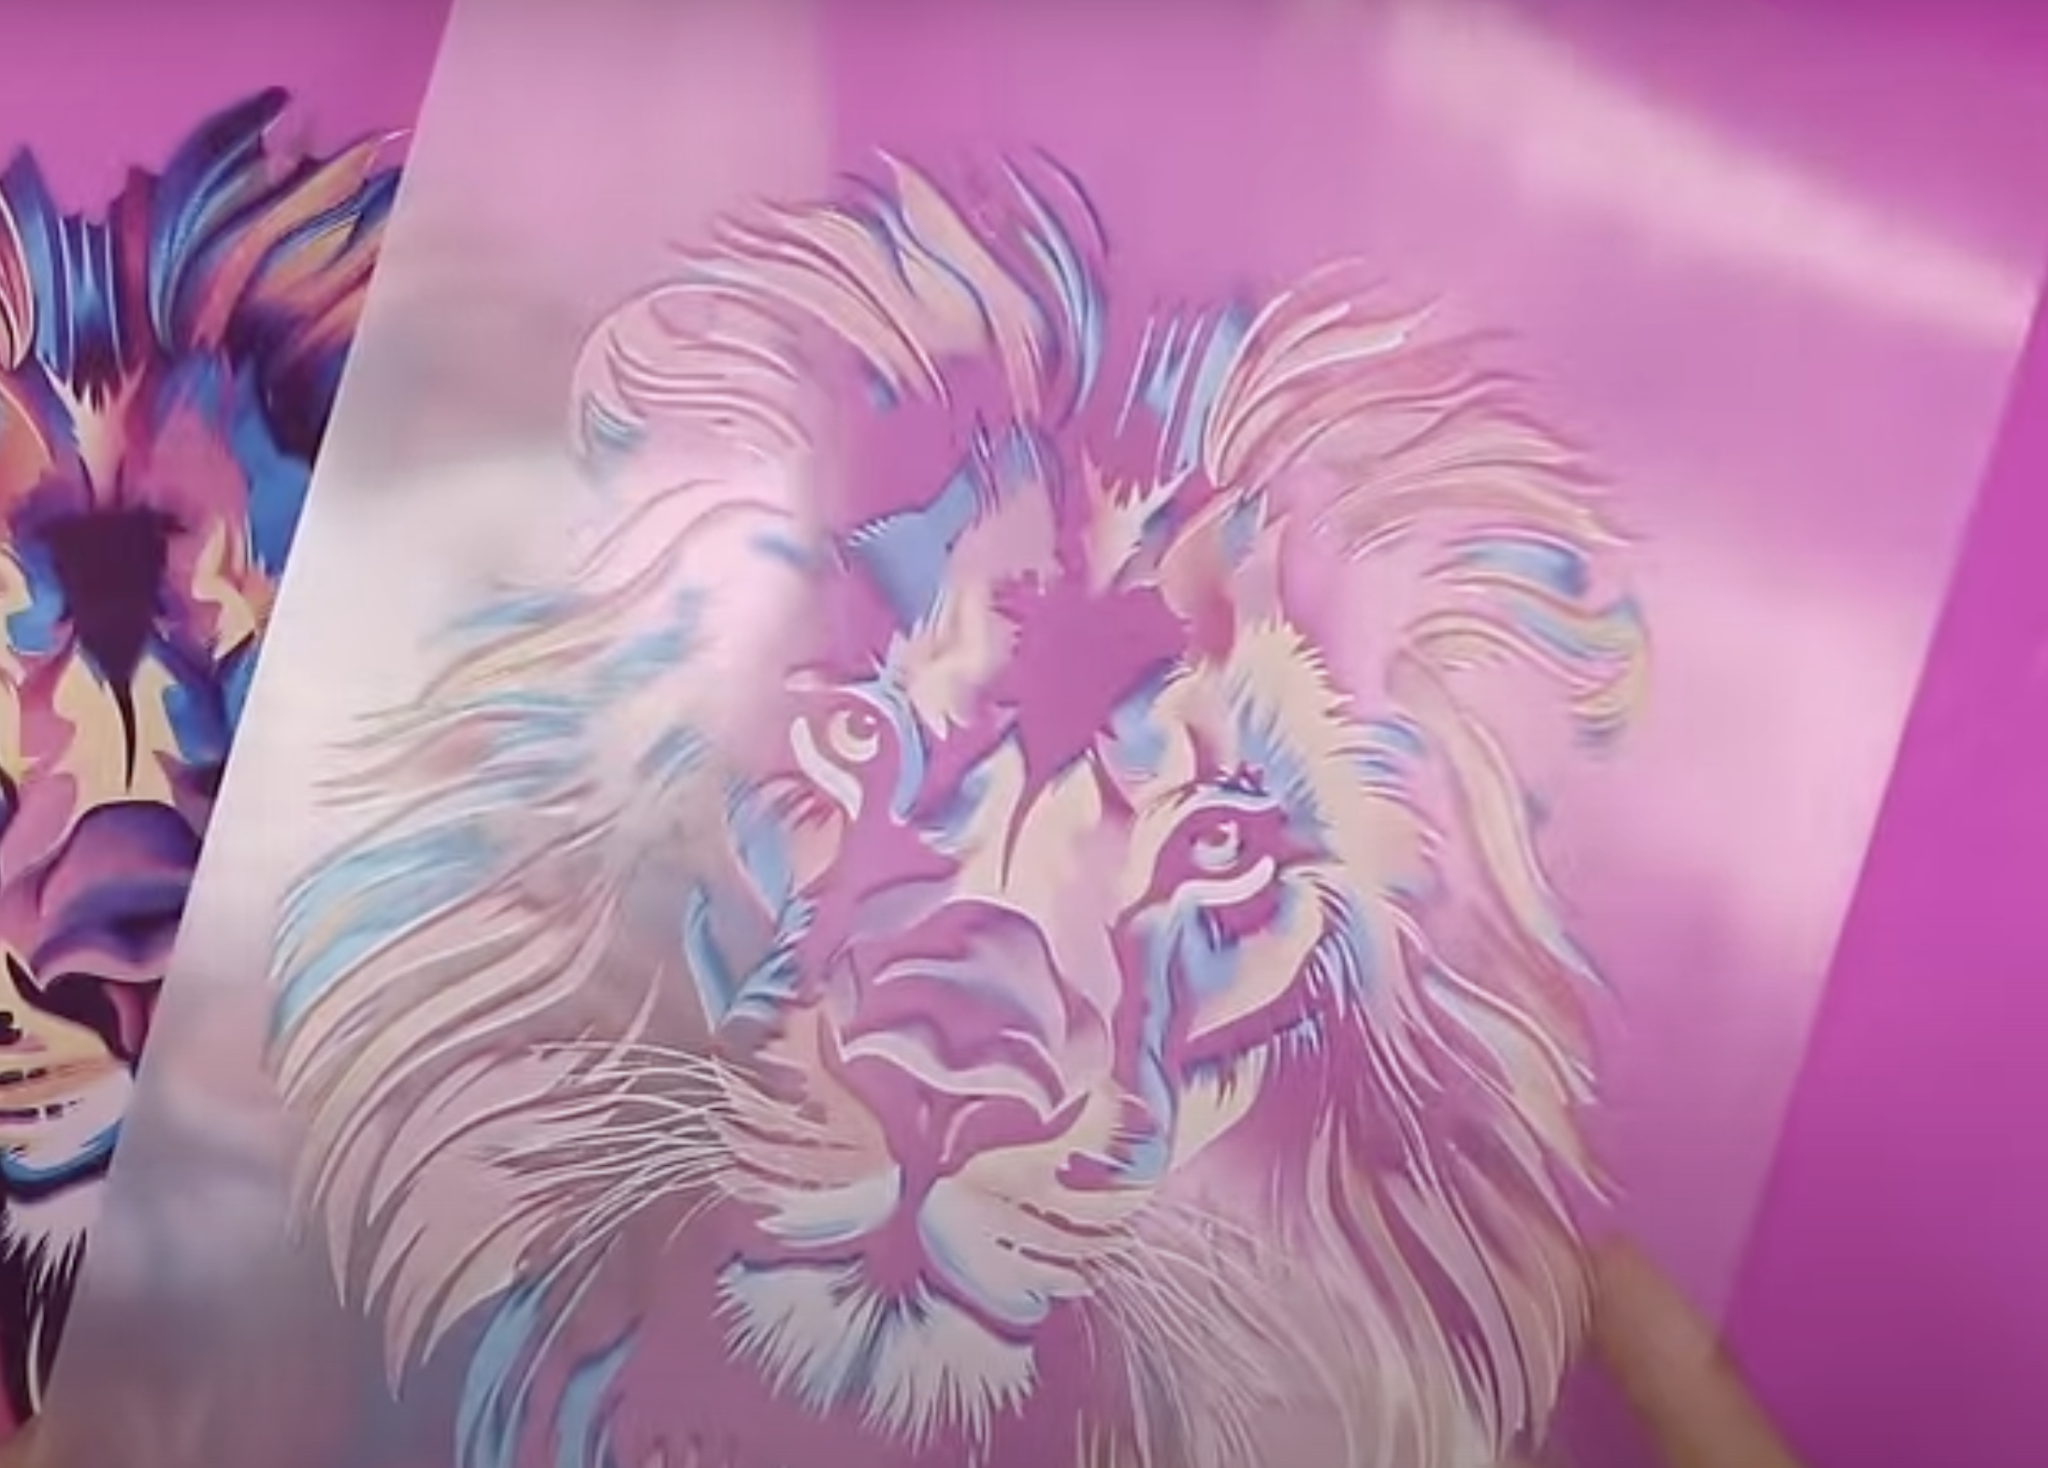
With the white layer, all of the colors pop more. If you look at the design from the back you’ll see there is a white layer on the back of the colors. This keeps the color of the blank from impacting the print color.
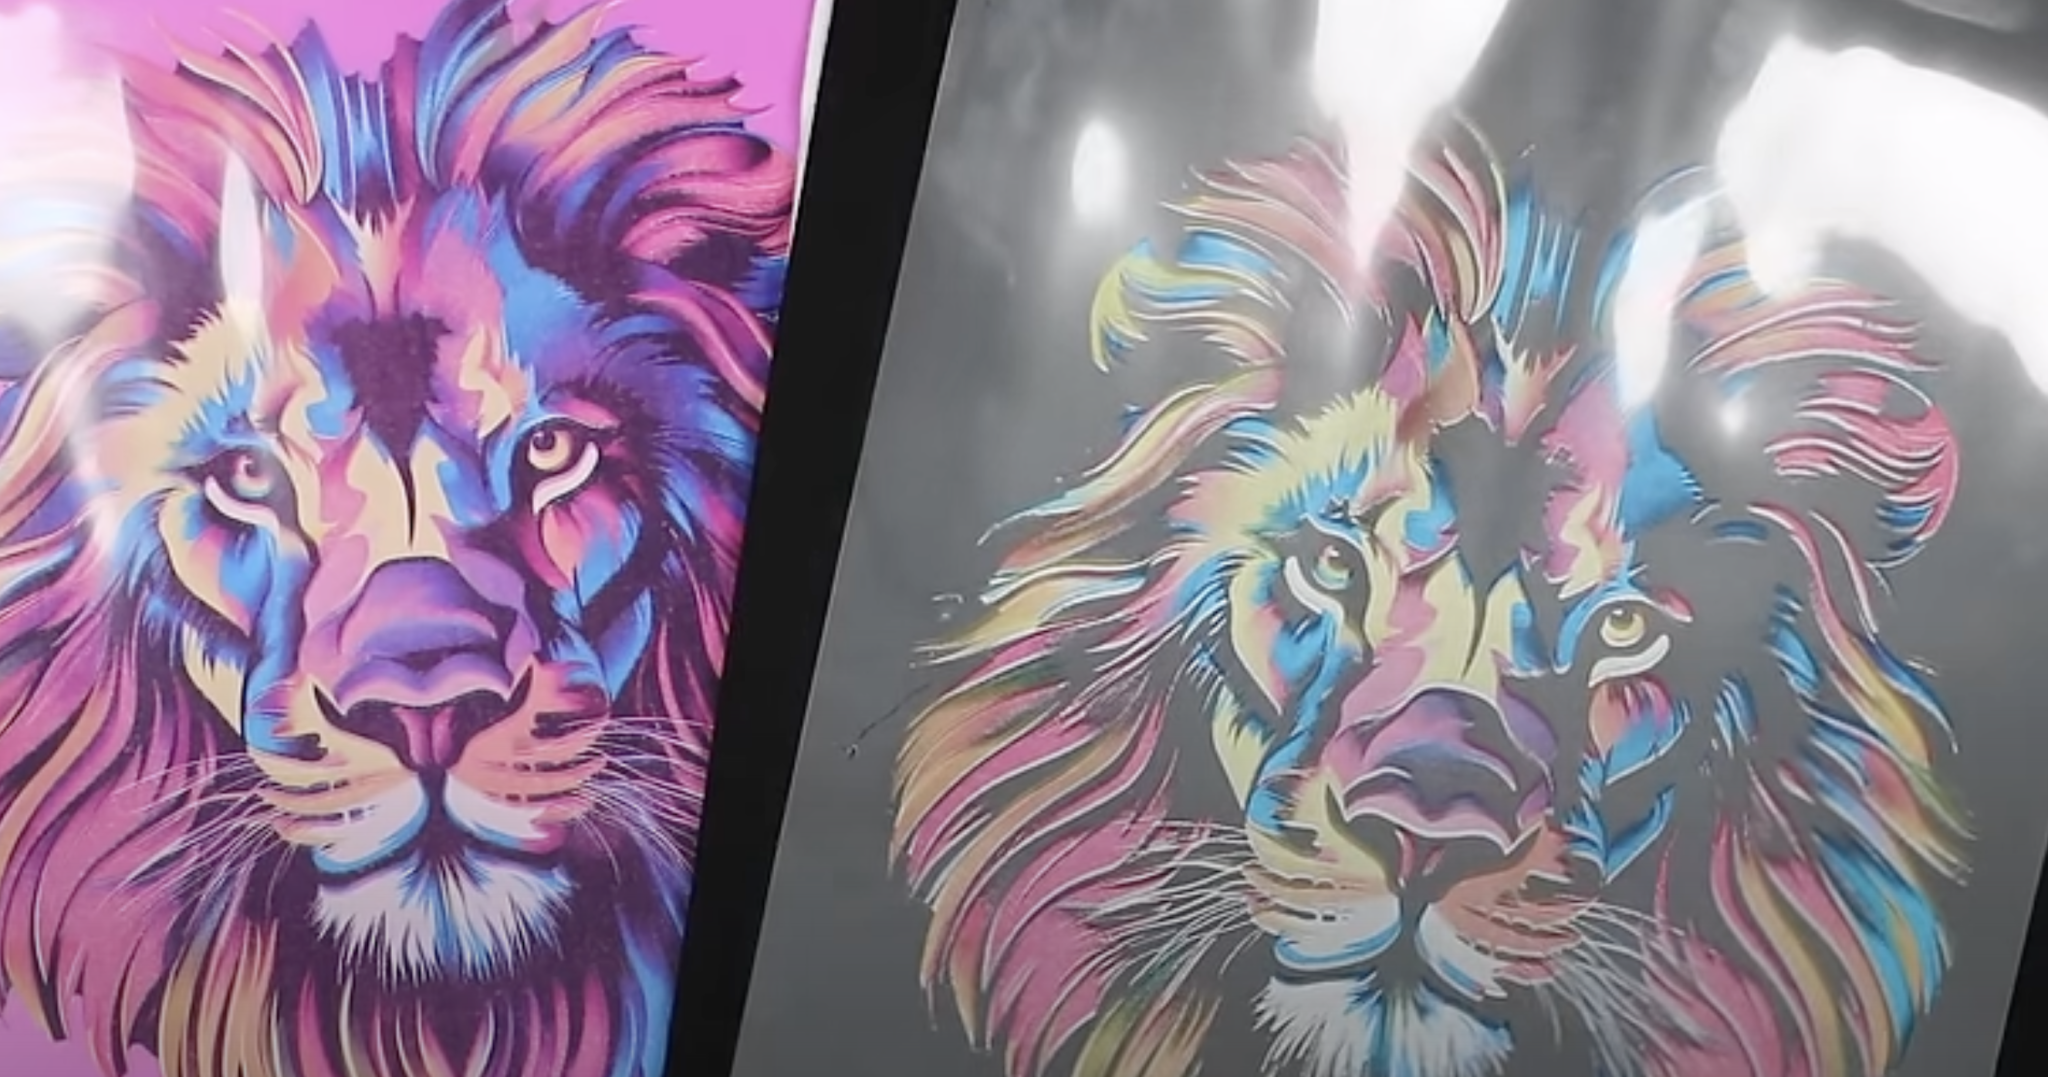
Here is the same design with the black ink removed. Since I am adding this design to a black shirt I don’t need to use the black ink. The print looks very different with the black removed. With the white layer the colors again pop more and then the black from the shirt will add all the black back to the design.
Removing the black ink not only saves you product but gives you a better feeling shirt as well because you have less of a solid print on your shirt.
How to Press White Toner Prints
White toner prints require a two-step paper. Let’s look at the process of applying the adhesive to the print and pressing it to a shirt.
Step 1: Apply Adhesive to Back of Print
Preheat the press to 310 degrees.
Close the press for at least 5 minutes while it’s heated to 310 degrees to preheat the bottom platen. This will increase your success rate.
Open the press, place butcher paper on the bottom platen, and add the print, print side up.
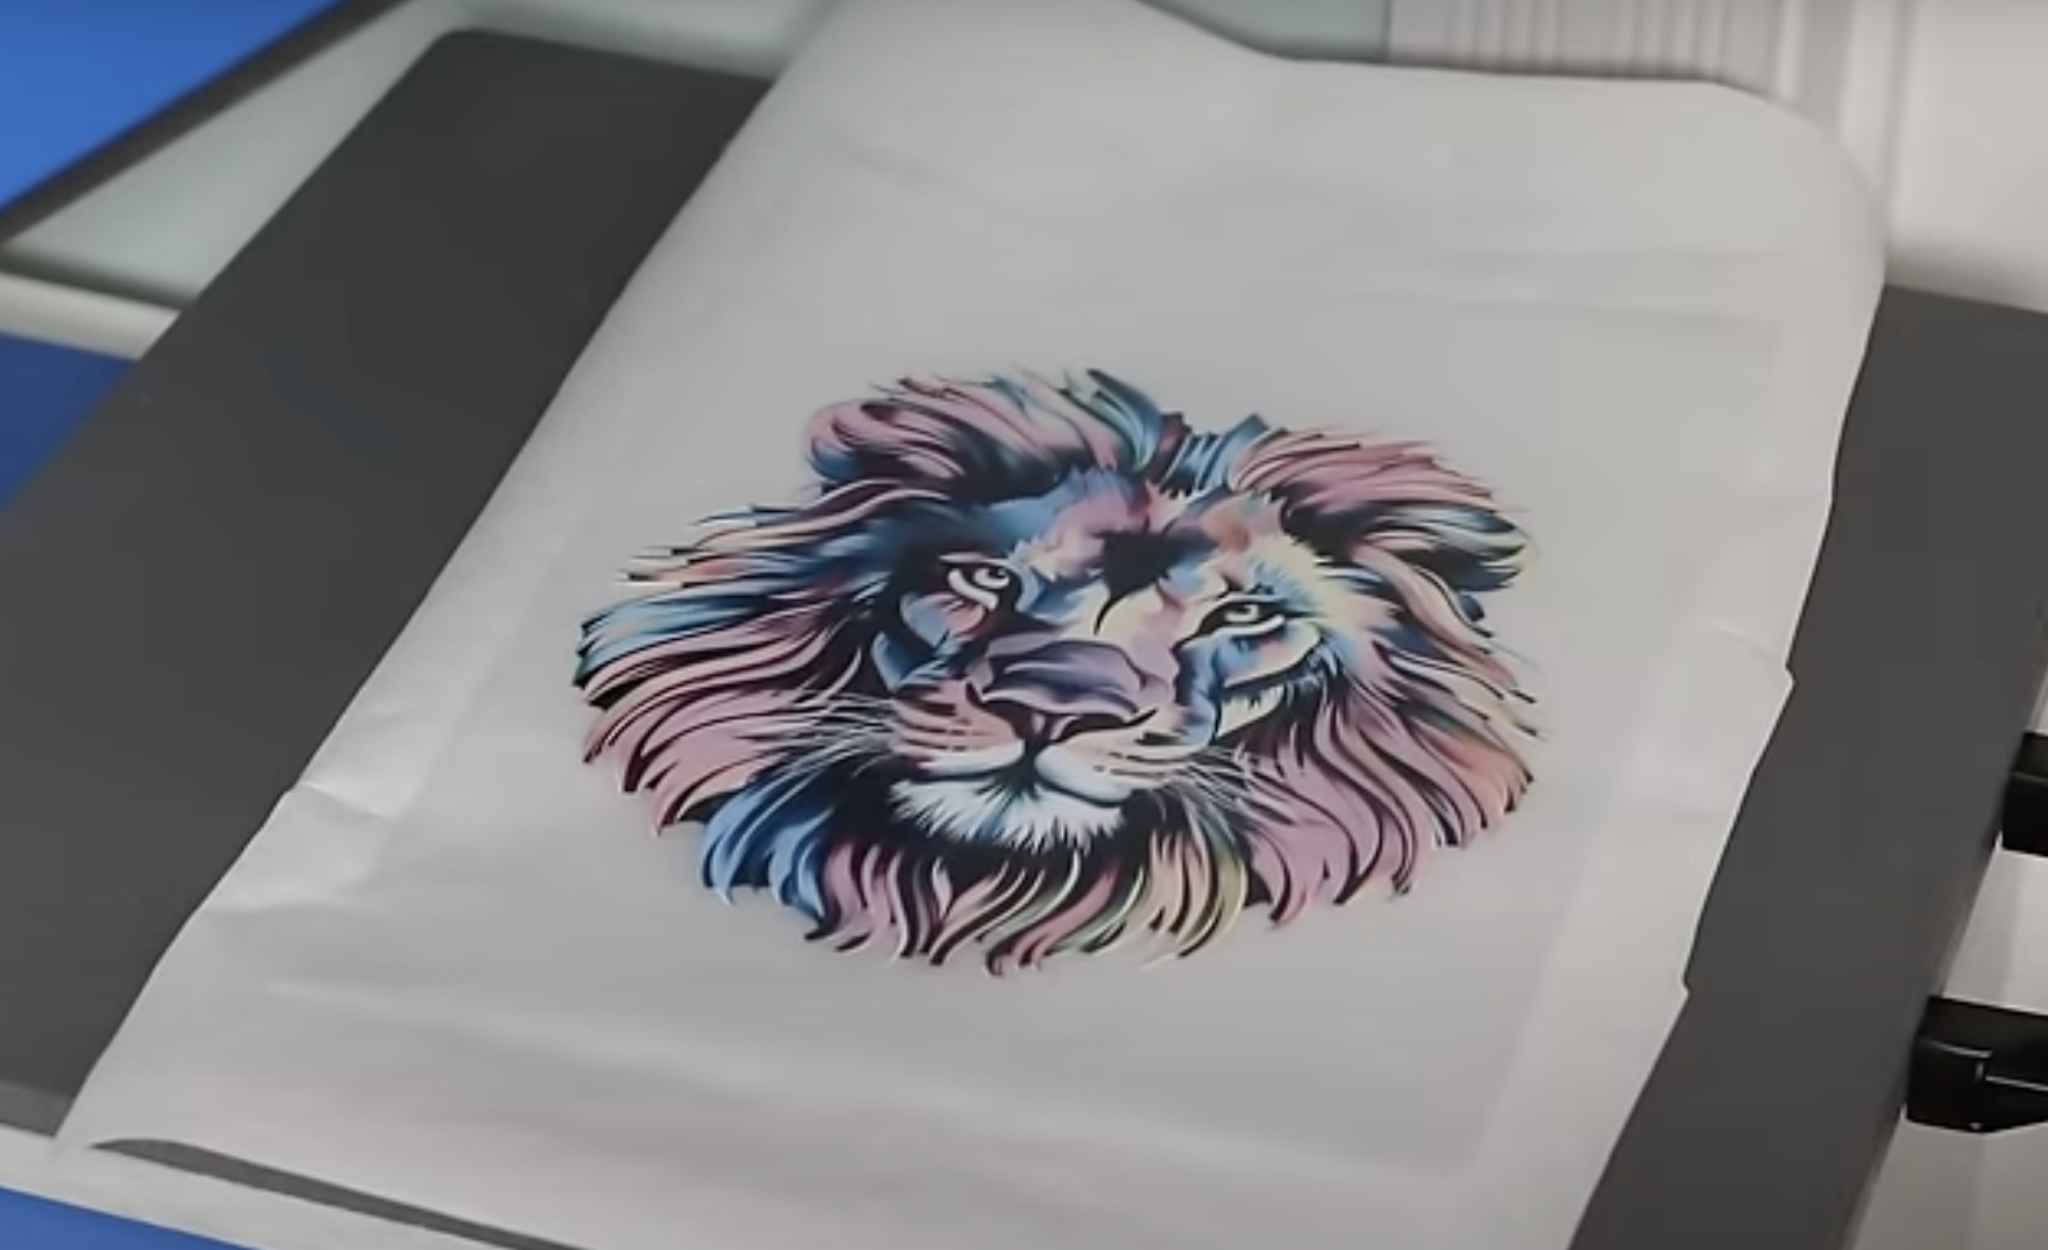
Lay the adhesive sheet on top of the print with the adhesive side down. Top with another sheet of butcher paper.
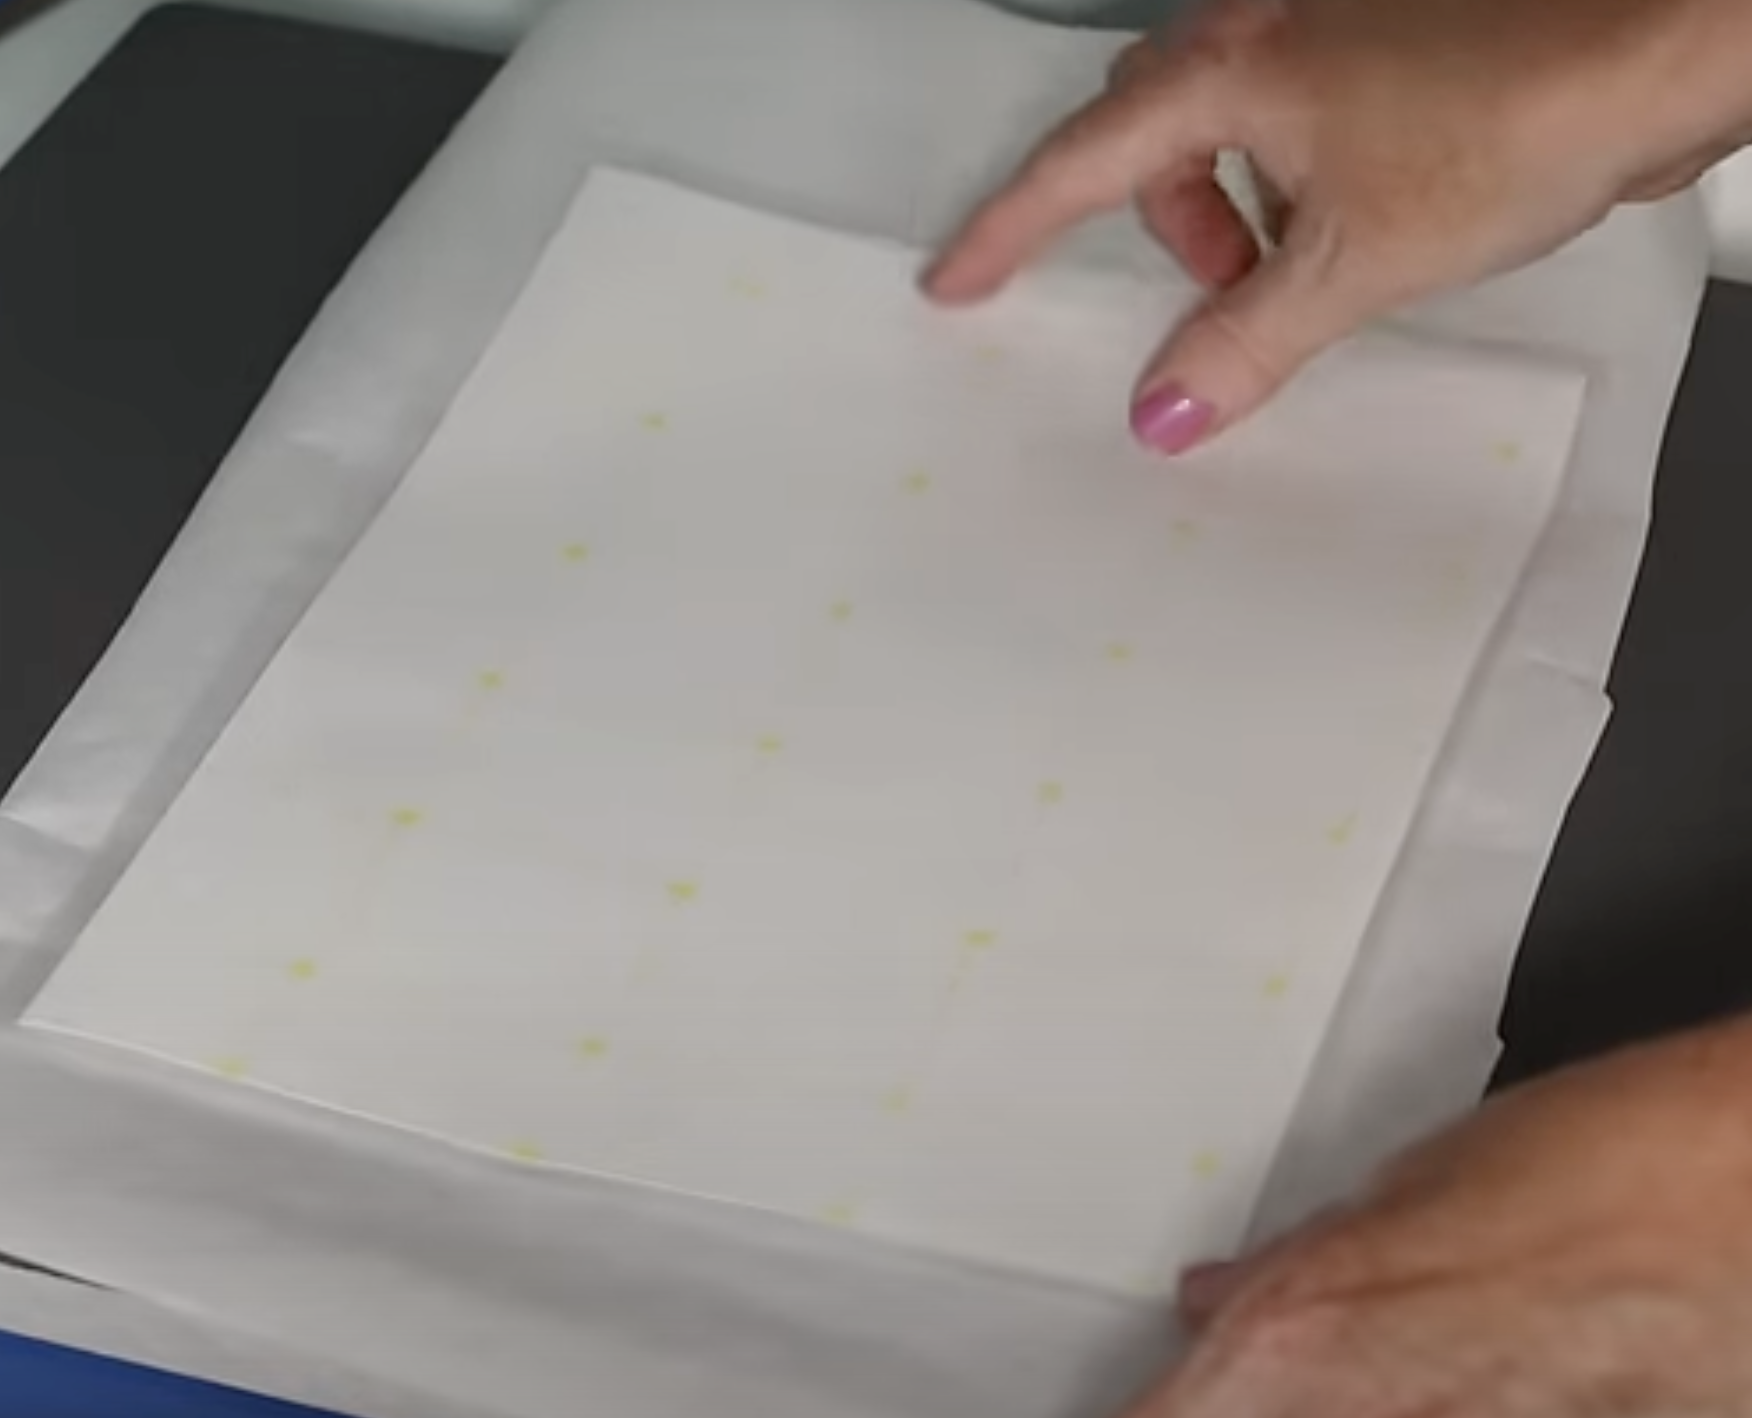
Close the press and press at 310 degrees for 120 seconds with medium pressure.
Open the press and while everything is hot rub the sheet with a piece of fabric. I’m using the shirt I am going to press on. Rub it for about 5 seconds.
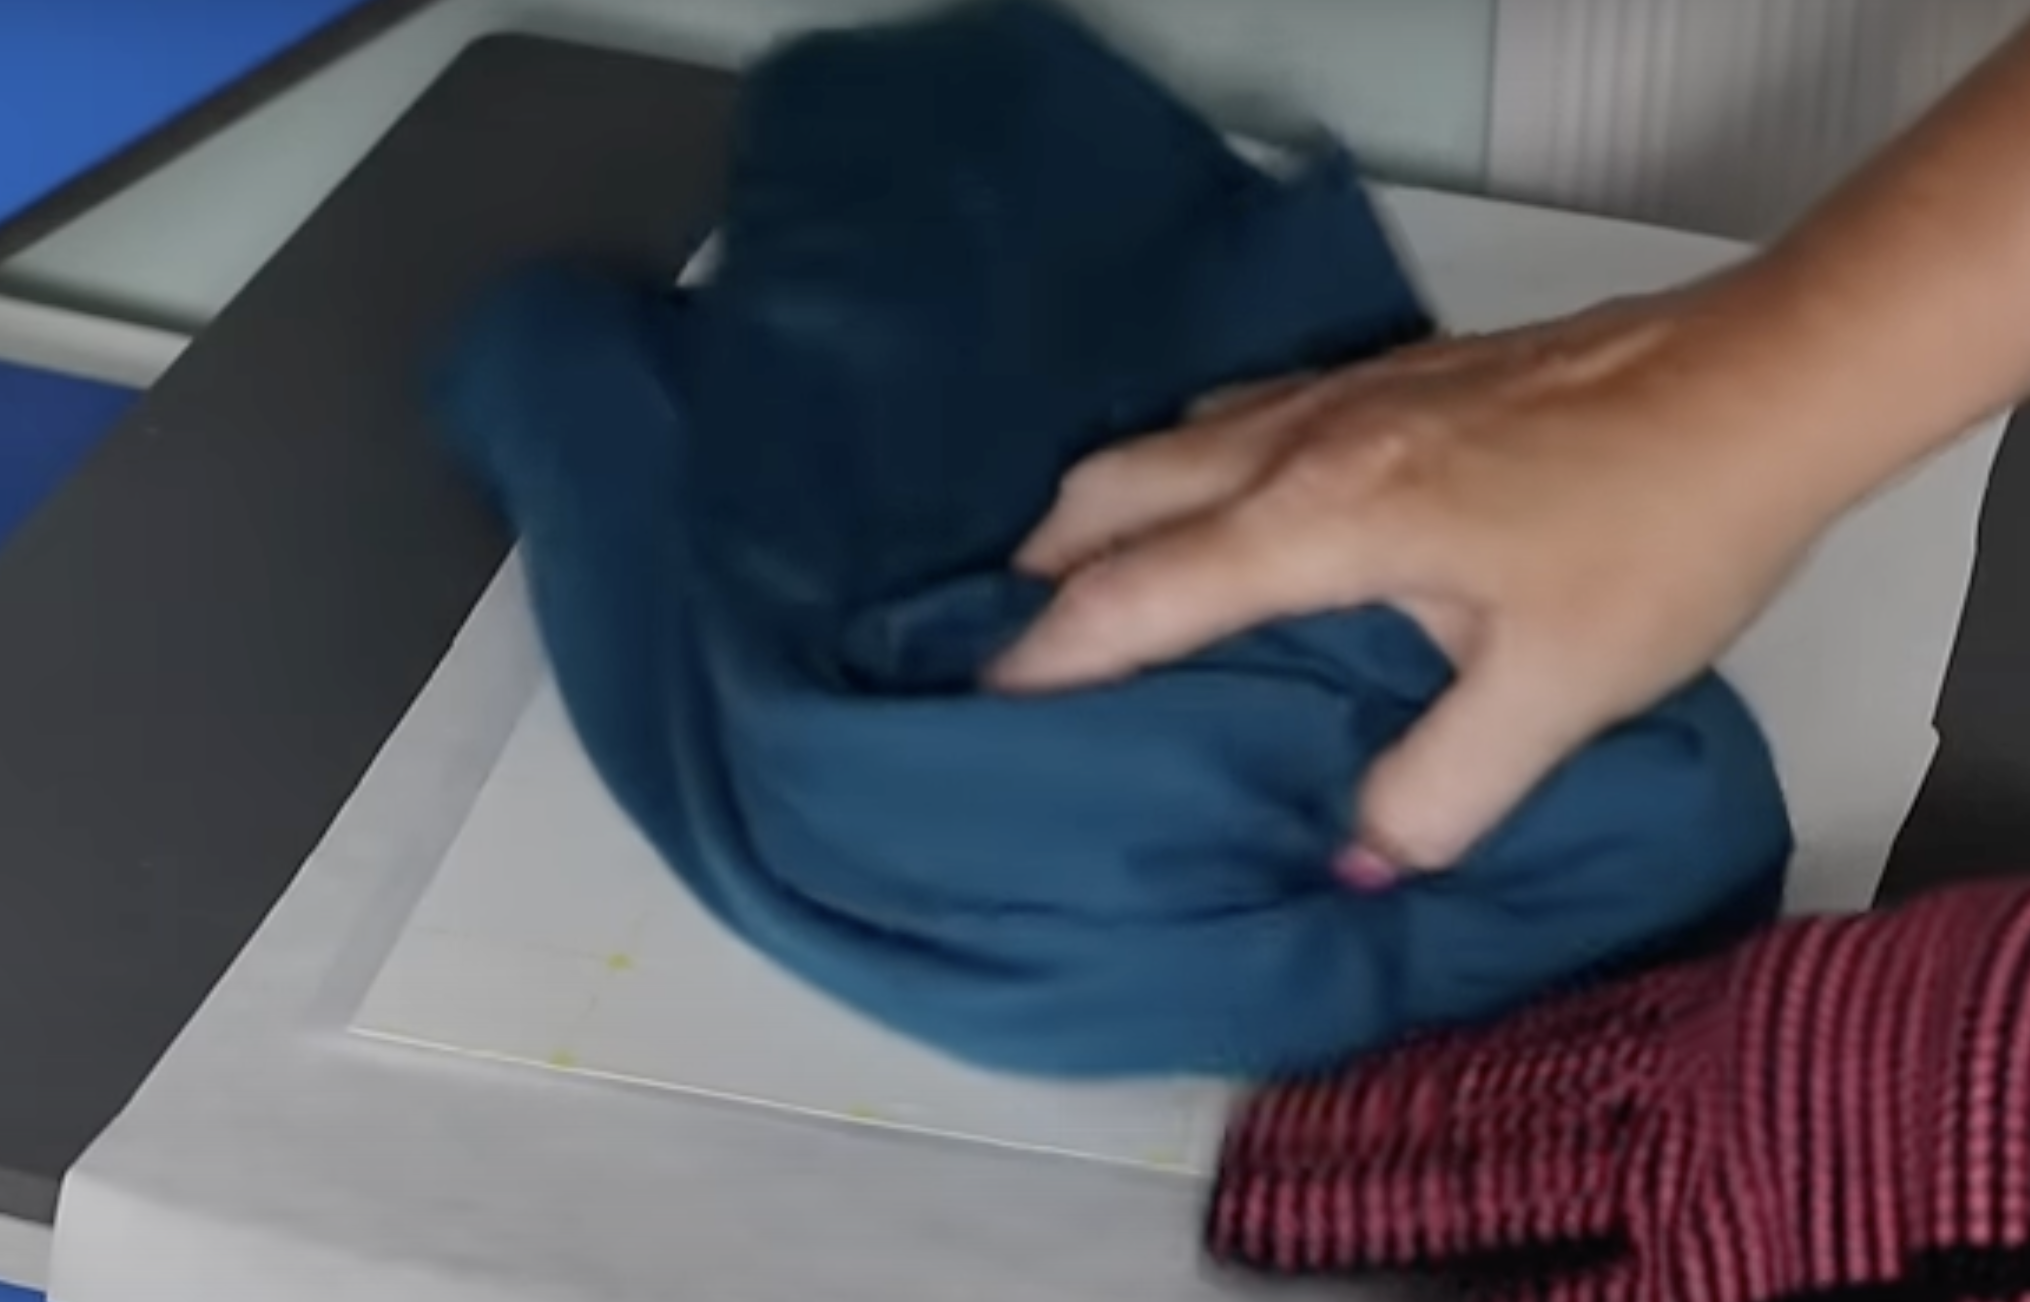
Leave the print on the bottom platen, we want everything to stay hot during the entire process.
Peel the adhesive sheet away from the print diagonally, slow and low with one fluid motion.
Let the adhesive sheet gently fall off so it doesn’t lift at the end.
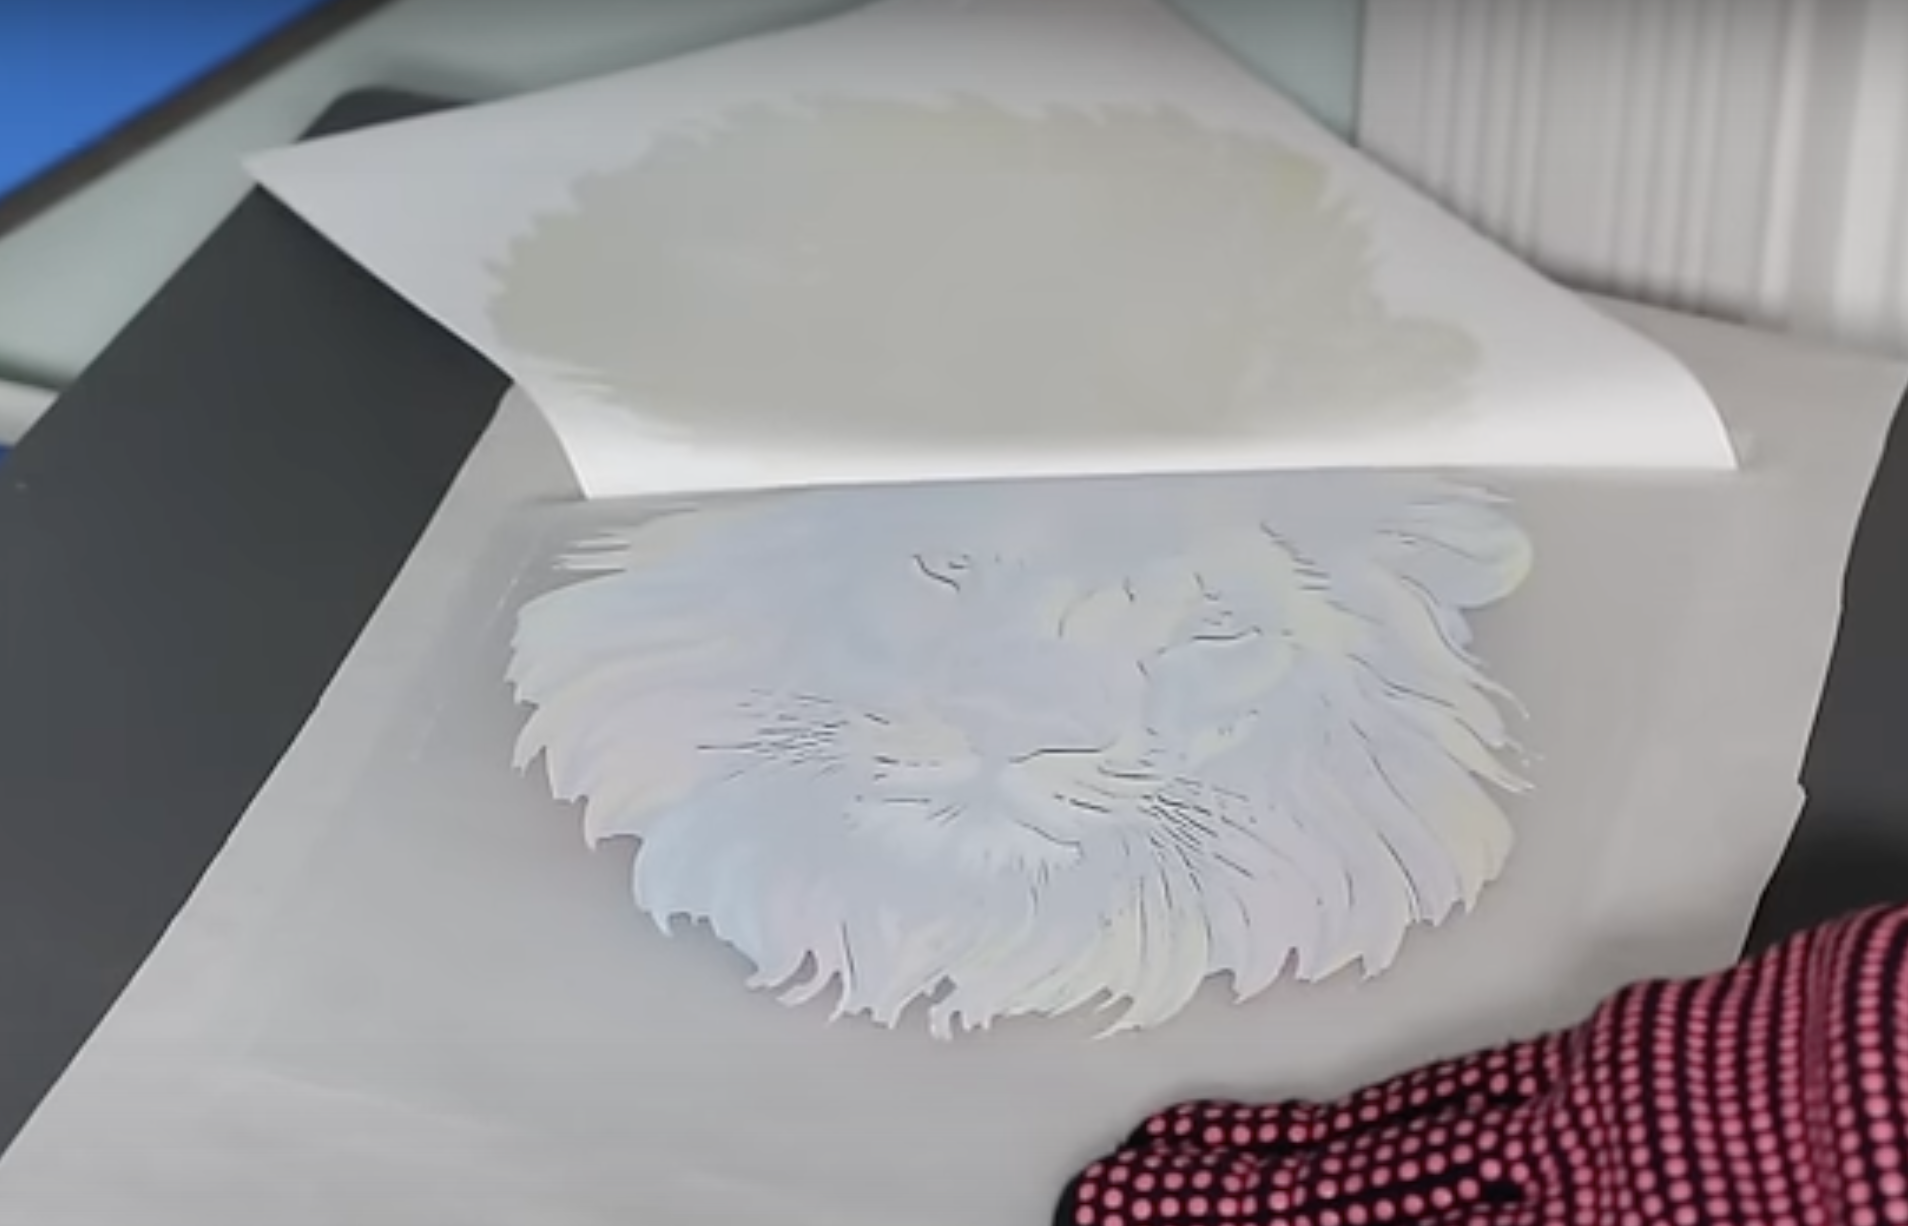
When looking at the adhesive sheet you should be able to see where the adhesive has lifted off. That adhesive is now all applied to the toner.
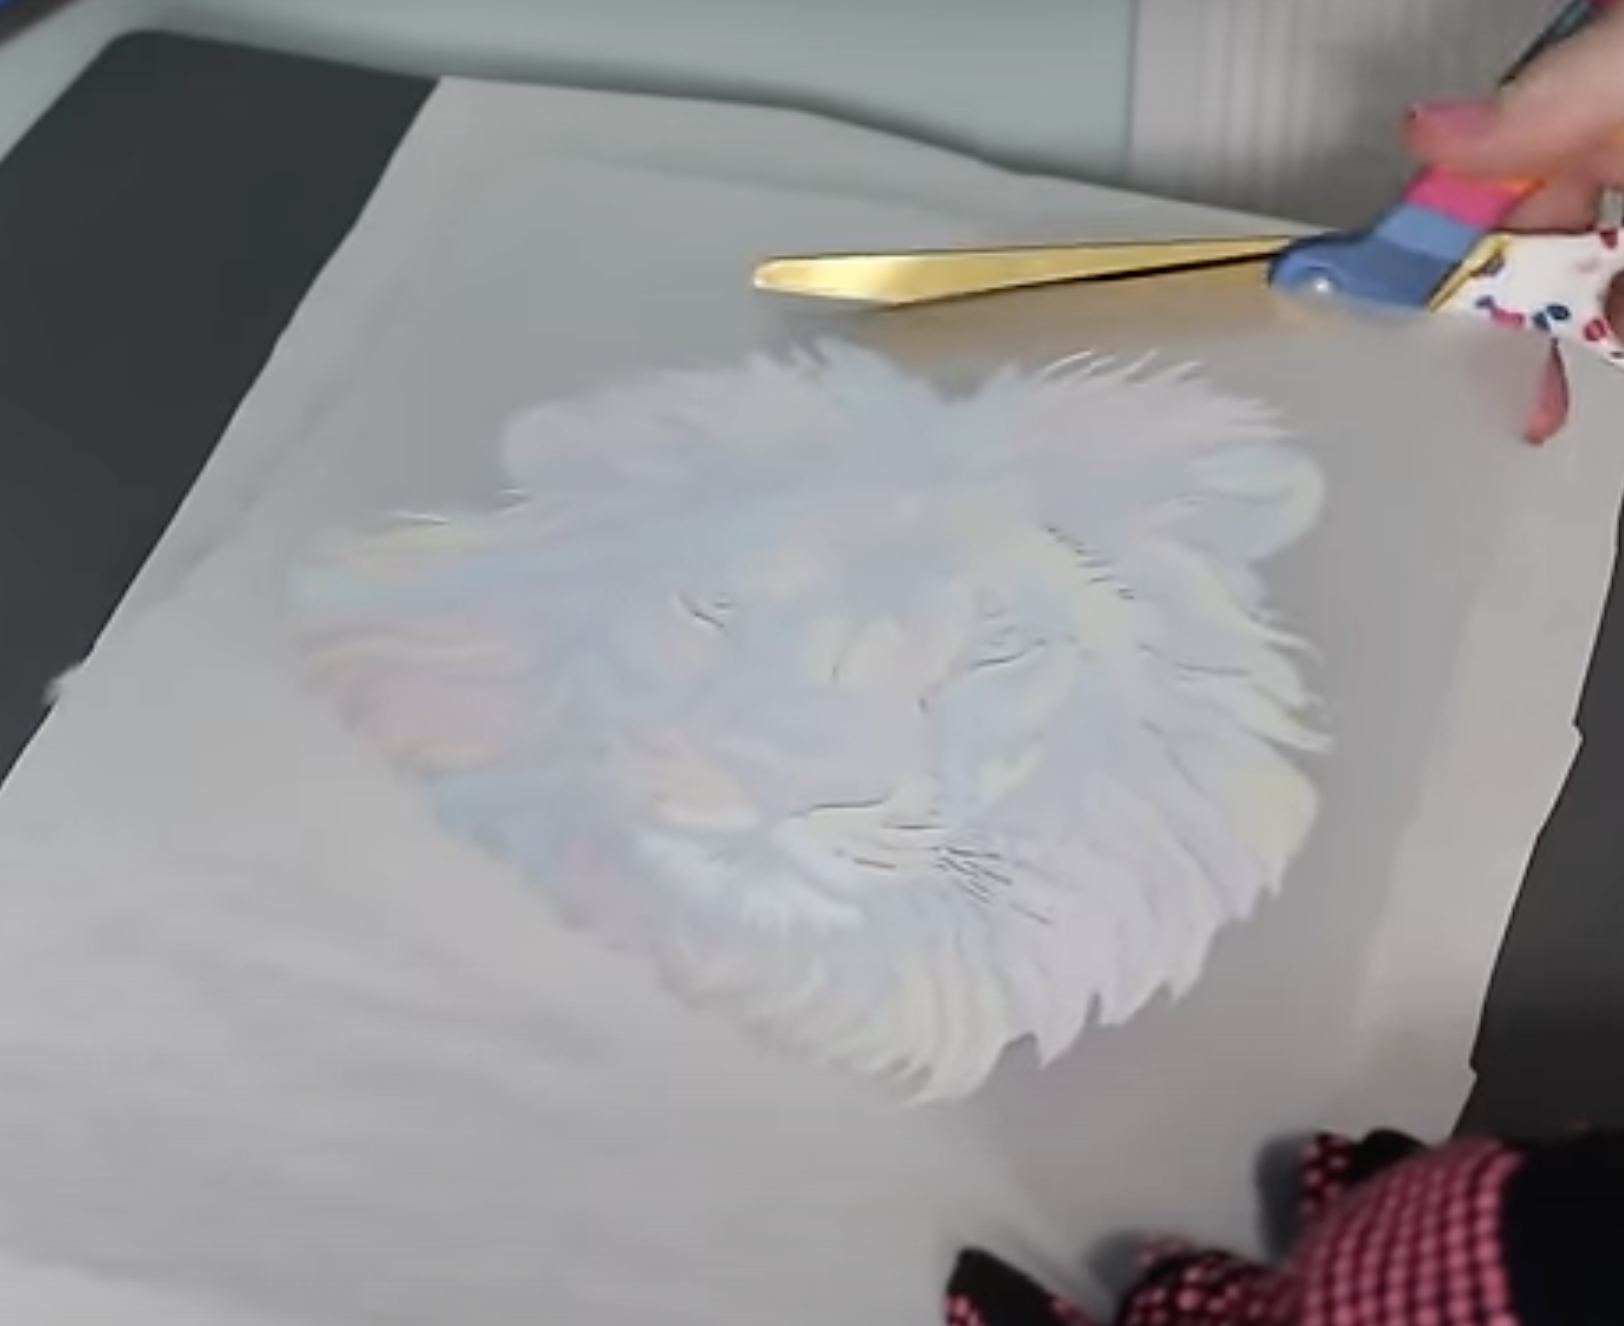
Use scissors to trim around the edge of the print. The edges of the adhesive sheet can leave a straight line on the print and you don’t want that transferring to your blank.
Step 2: Press to a Shirt
Now that we have the adhesive applied to the print let’s press it onto the shirt.
Preheat the shirt for about 10 seconds. This will start the heating process and get out any moisture and wrinkles.
Add the print with the adhesive side down and cover it with butcher paper.
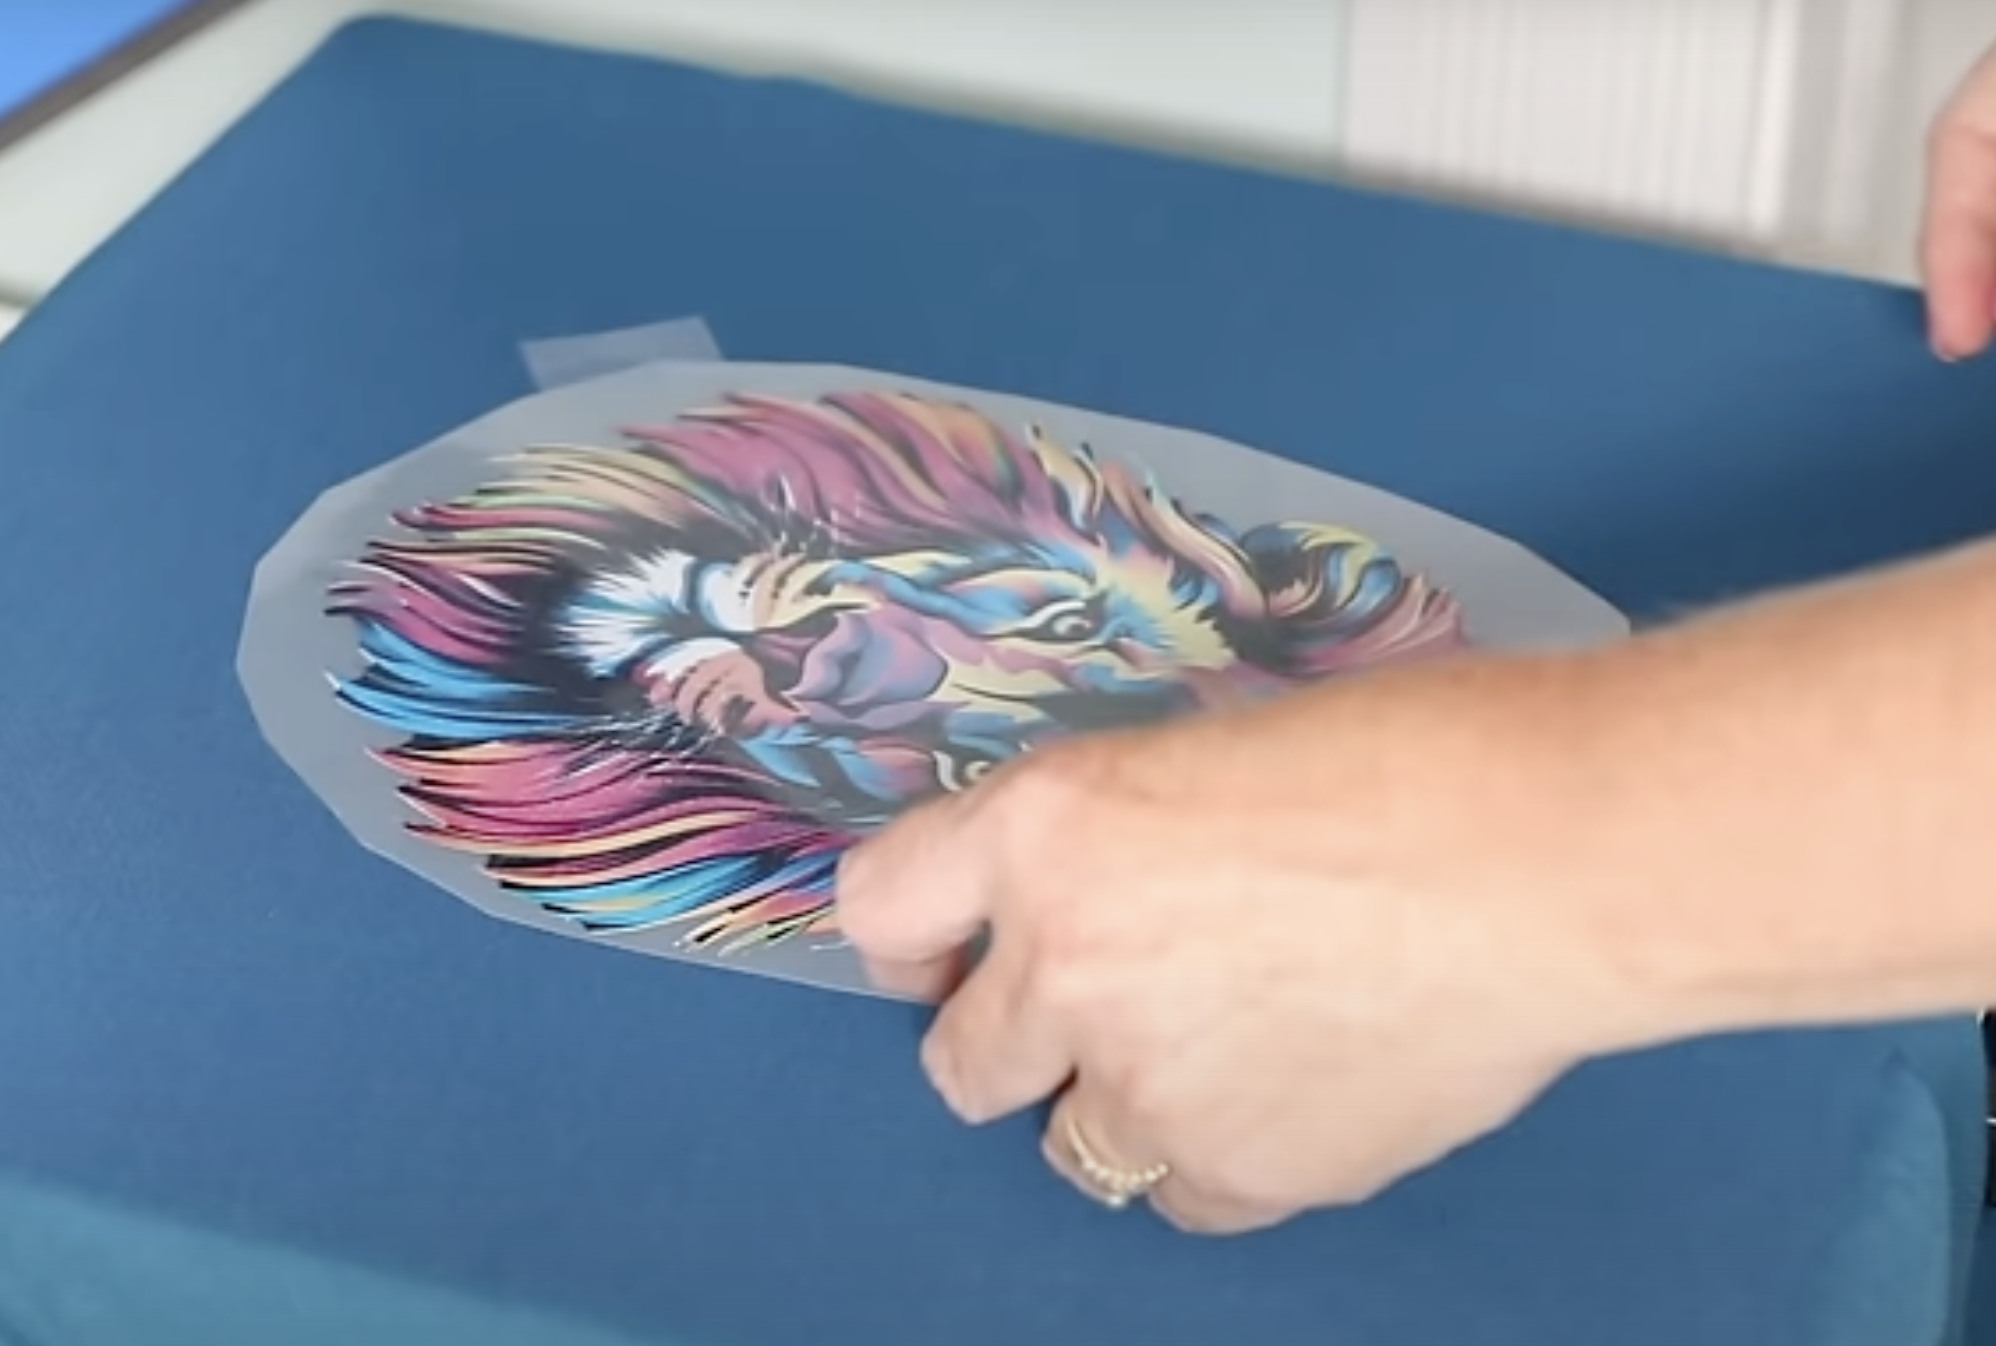
Press using the settings for your materials. I am pressing for 30 seconds at 310 degrees with medium-high pressure. Follow the recommendations for your blank and paper.
When the pressing time is up, open the press and remove the shirt from the press.
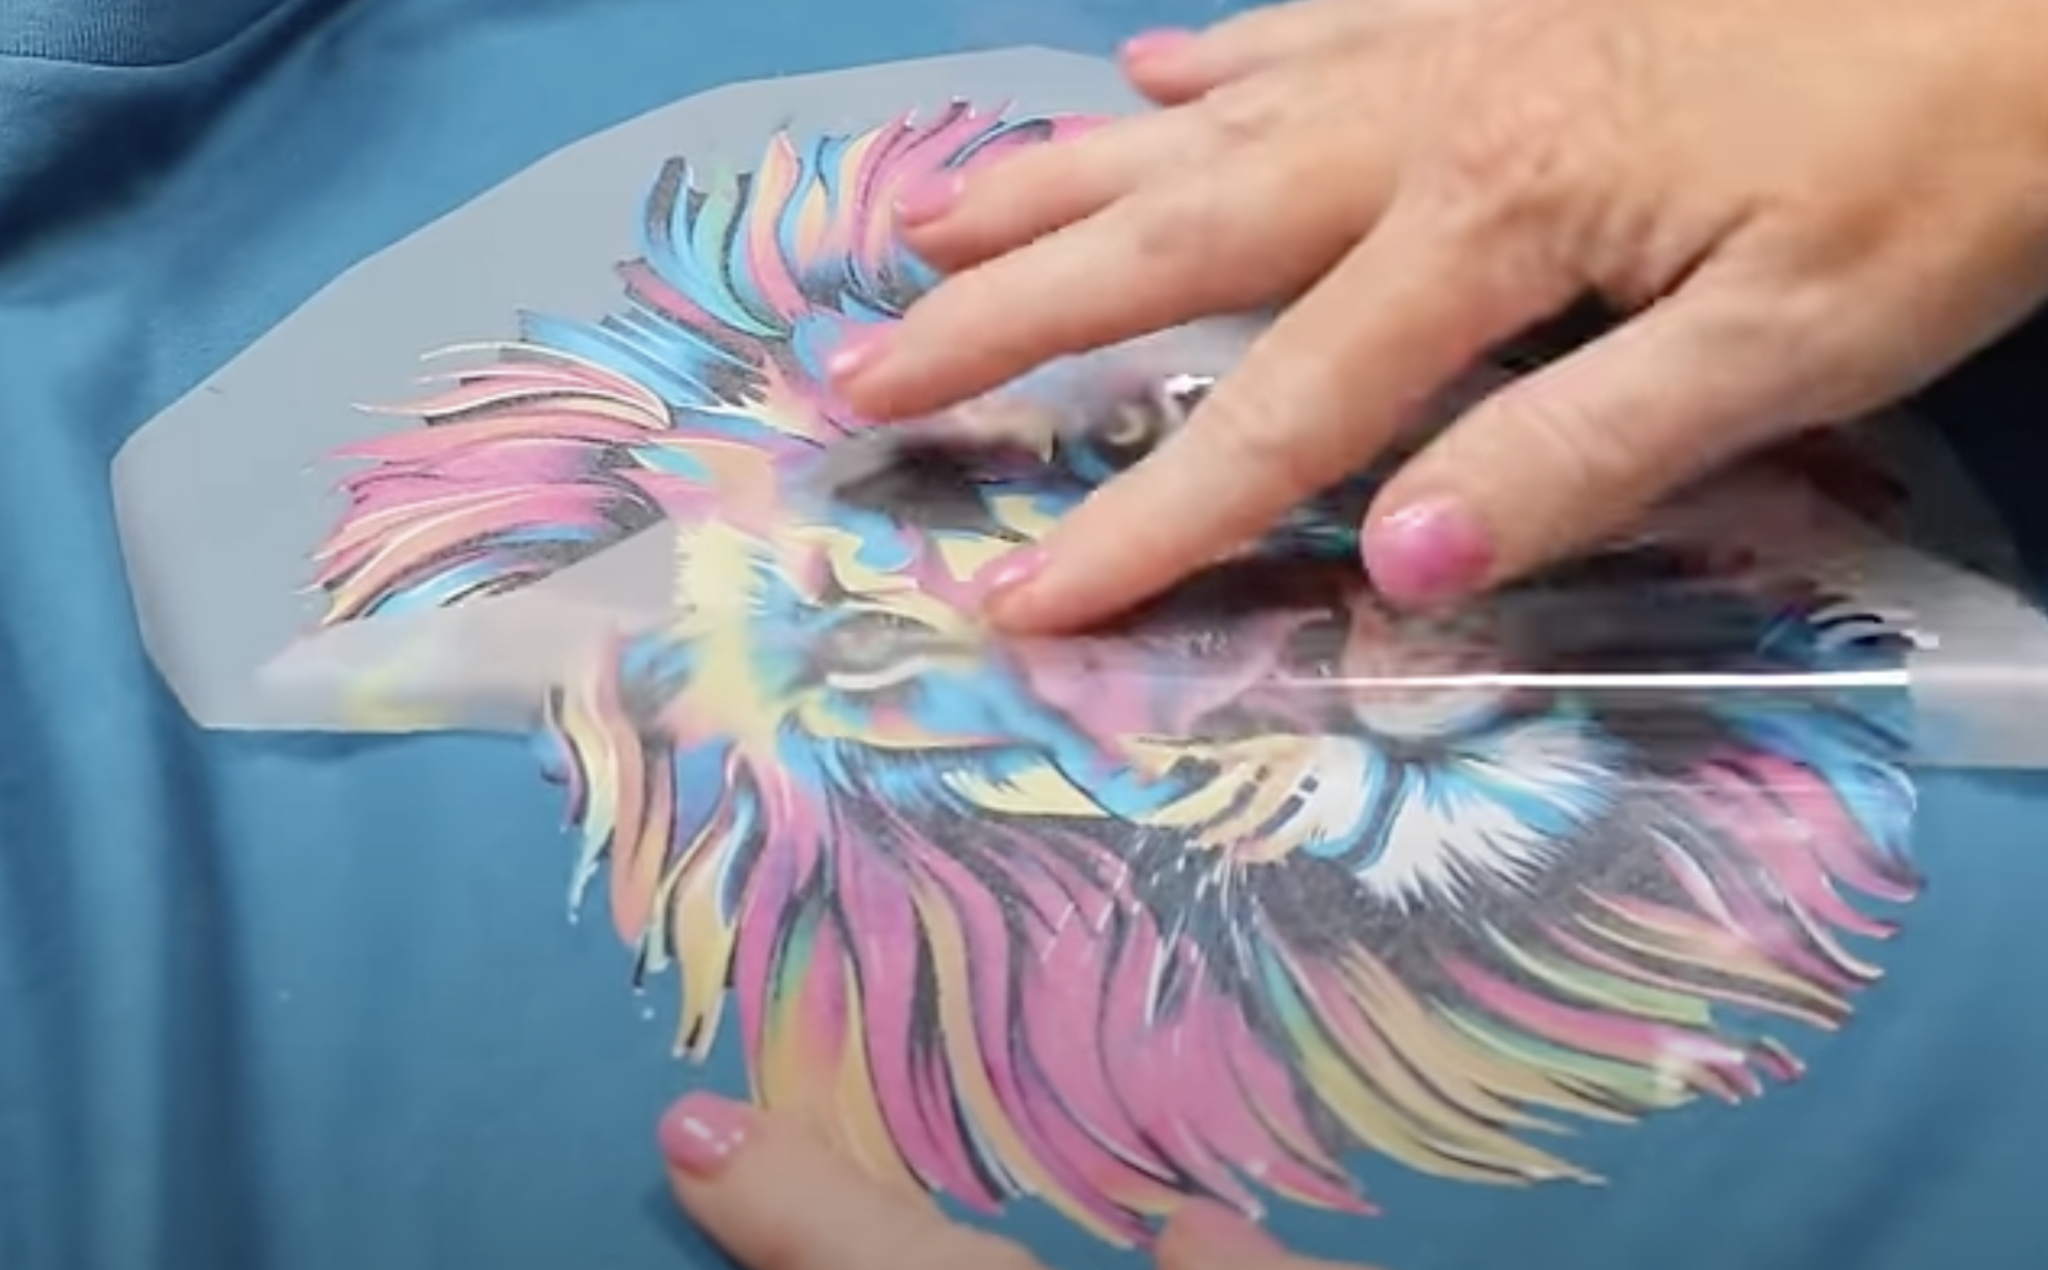
Allow the shirt to cool completely before you remove the paper. You can use something like a DTF cooling block to speed up the cooling process but make sure it’s completely cool before you begin.
Peel the paper back on itself diagonally in one smooth continuous motion.
Step 3: Post Press the Design
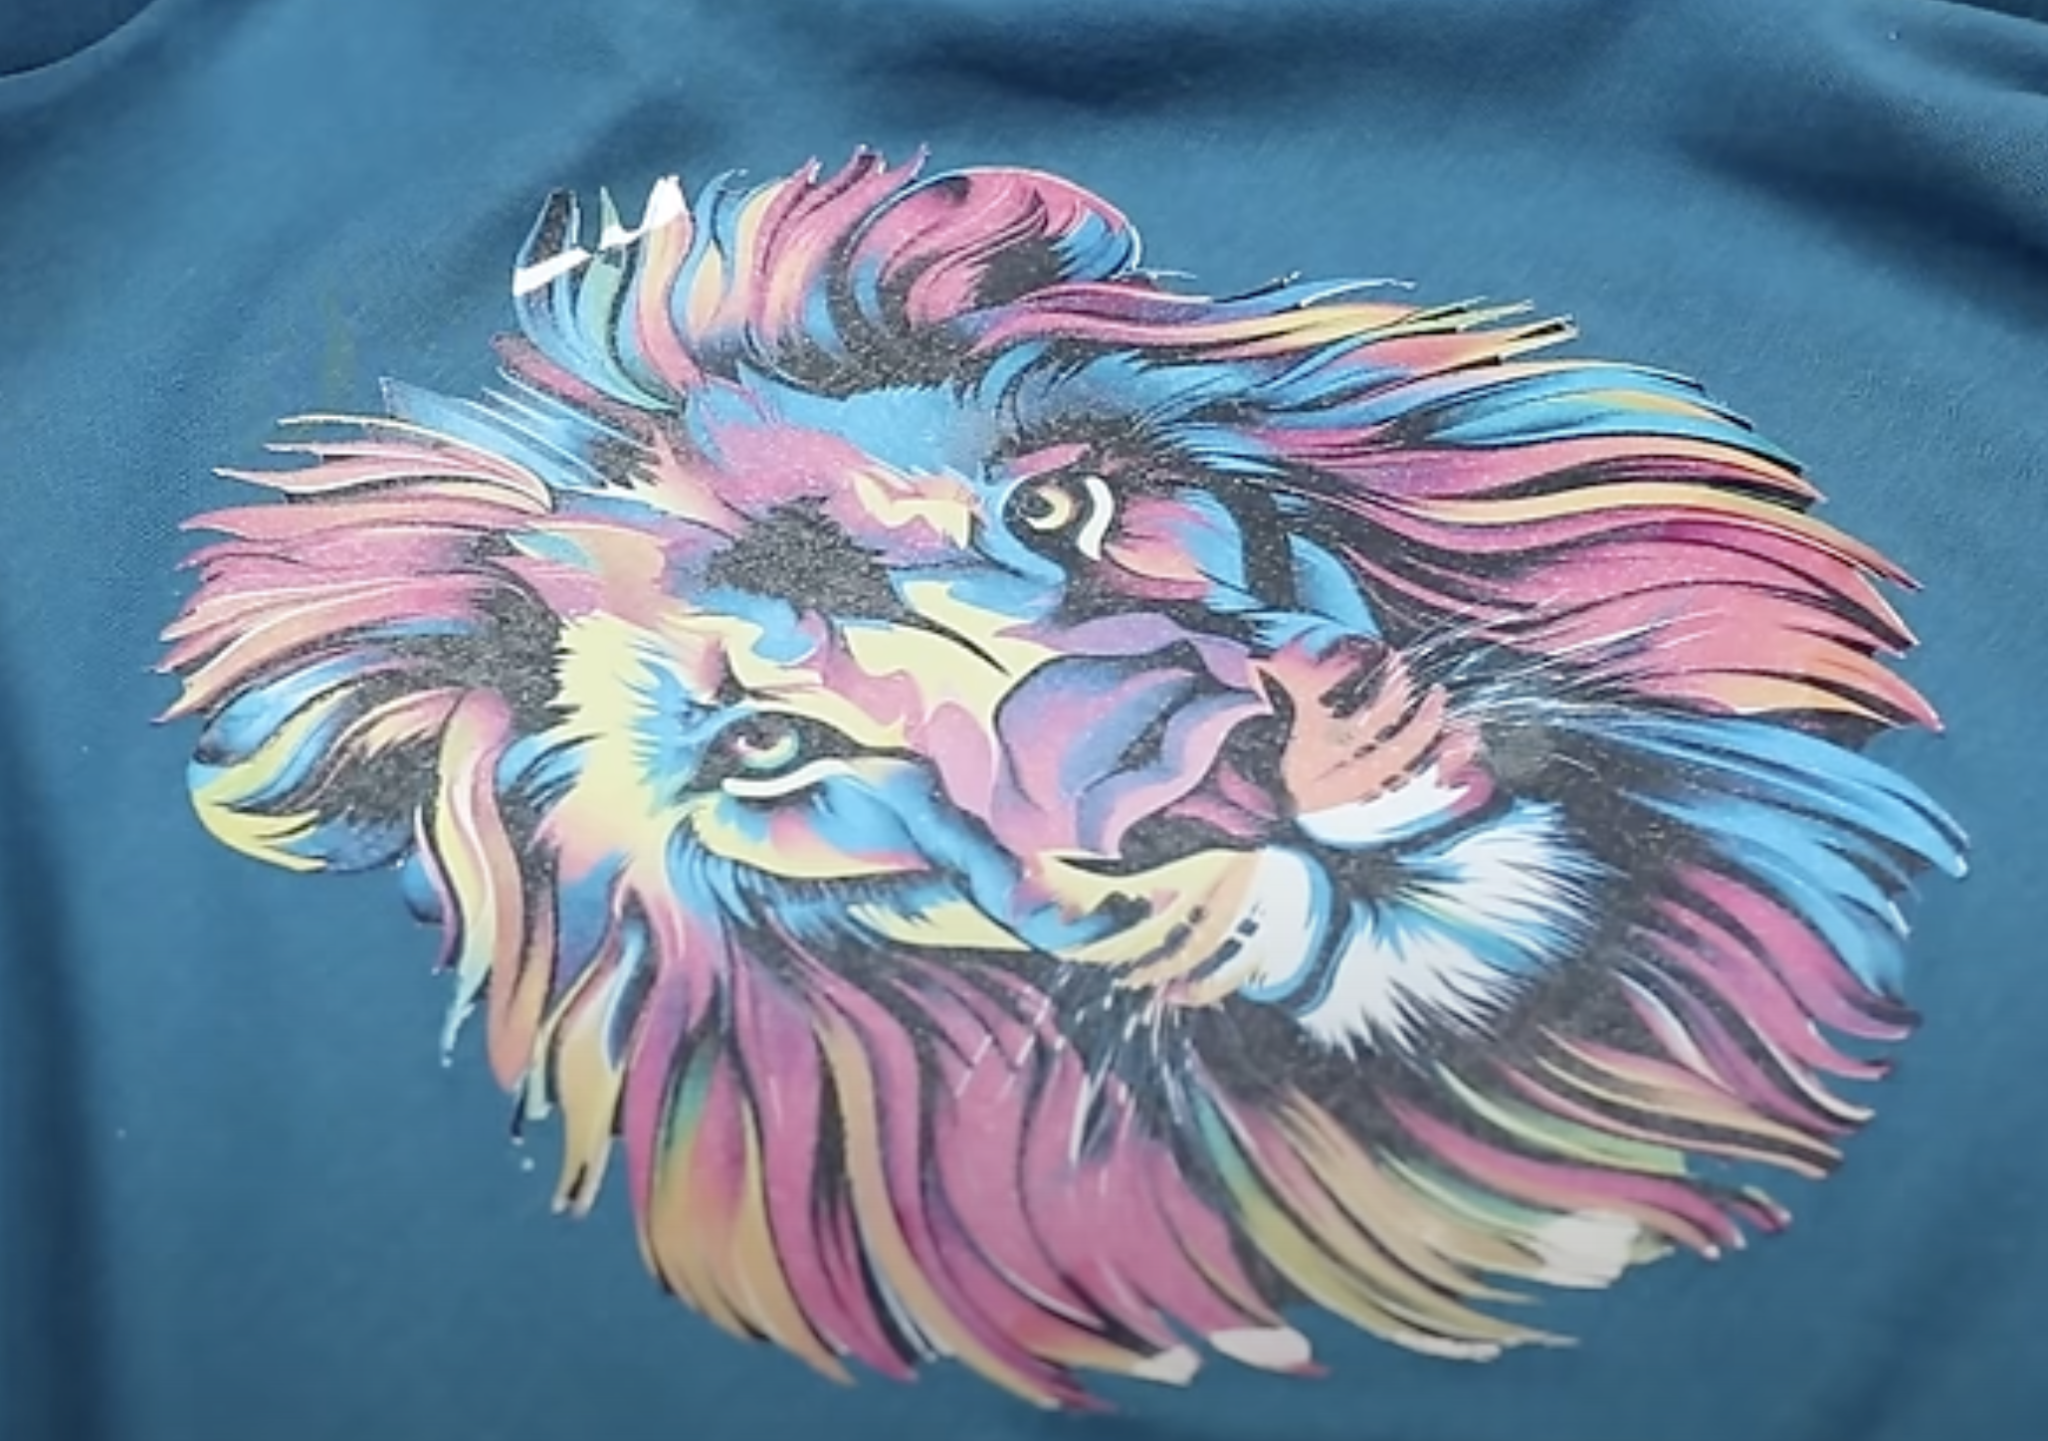
At this point, your print will look very shiny. This material calls for a post-press to finish the pressing process.
Place the shirt back in the heat press and cover. I am using the IColor T-Seal sheet to get a matte finish.
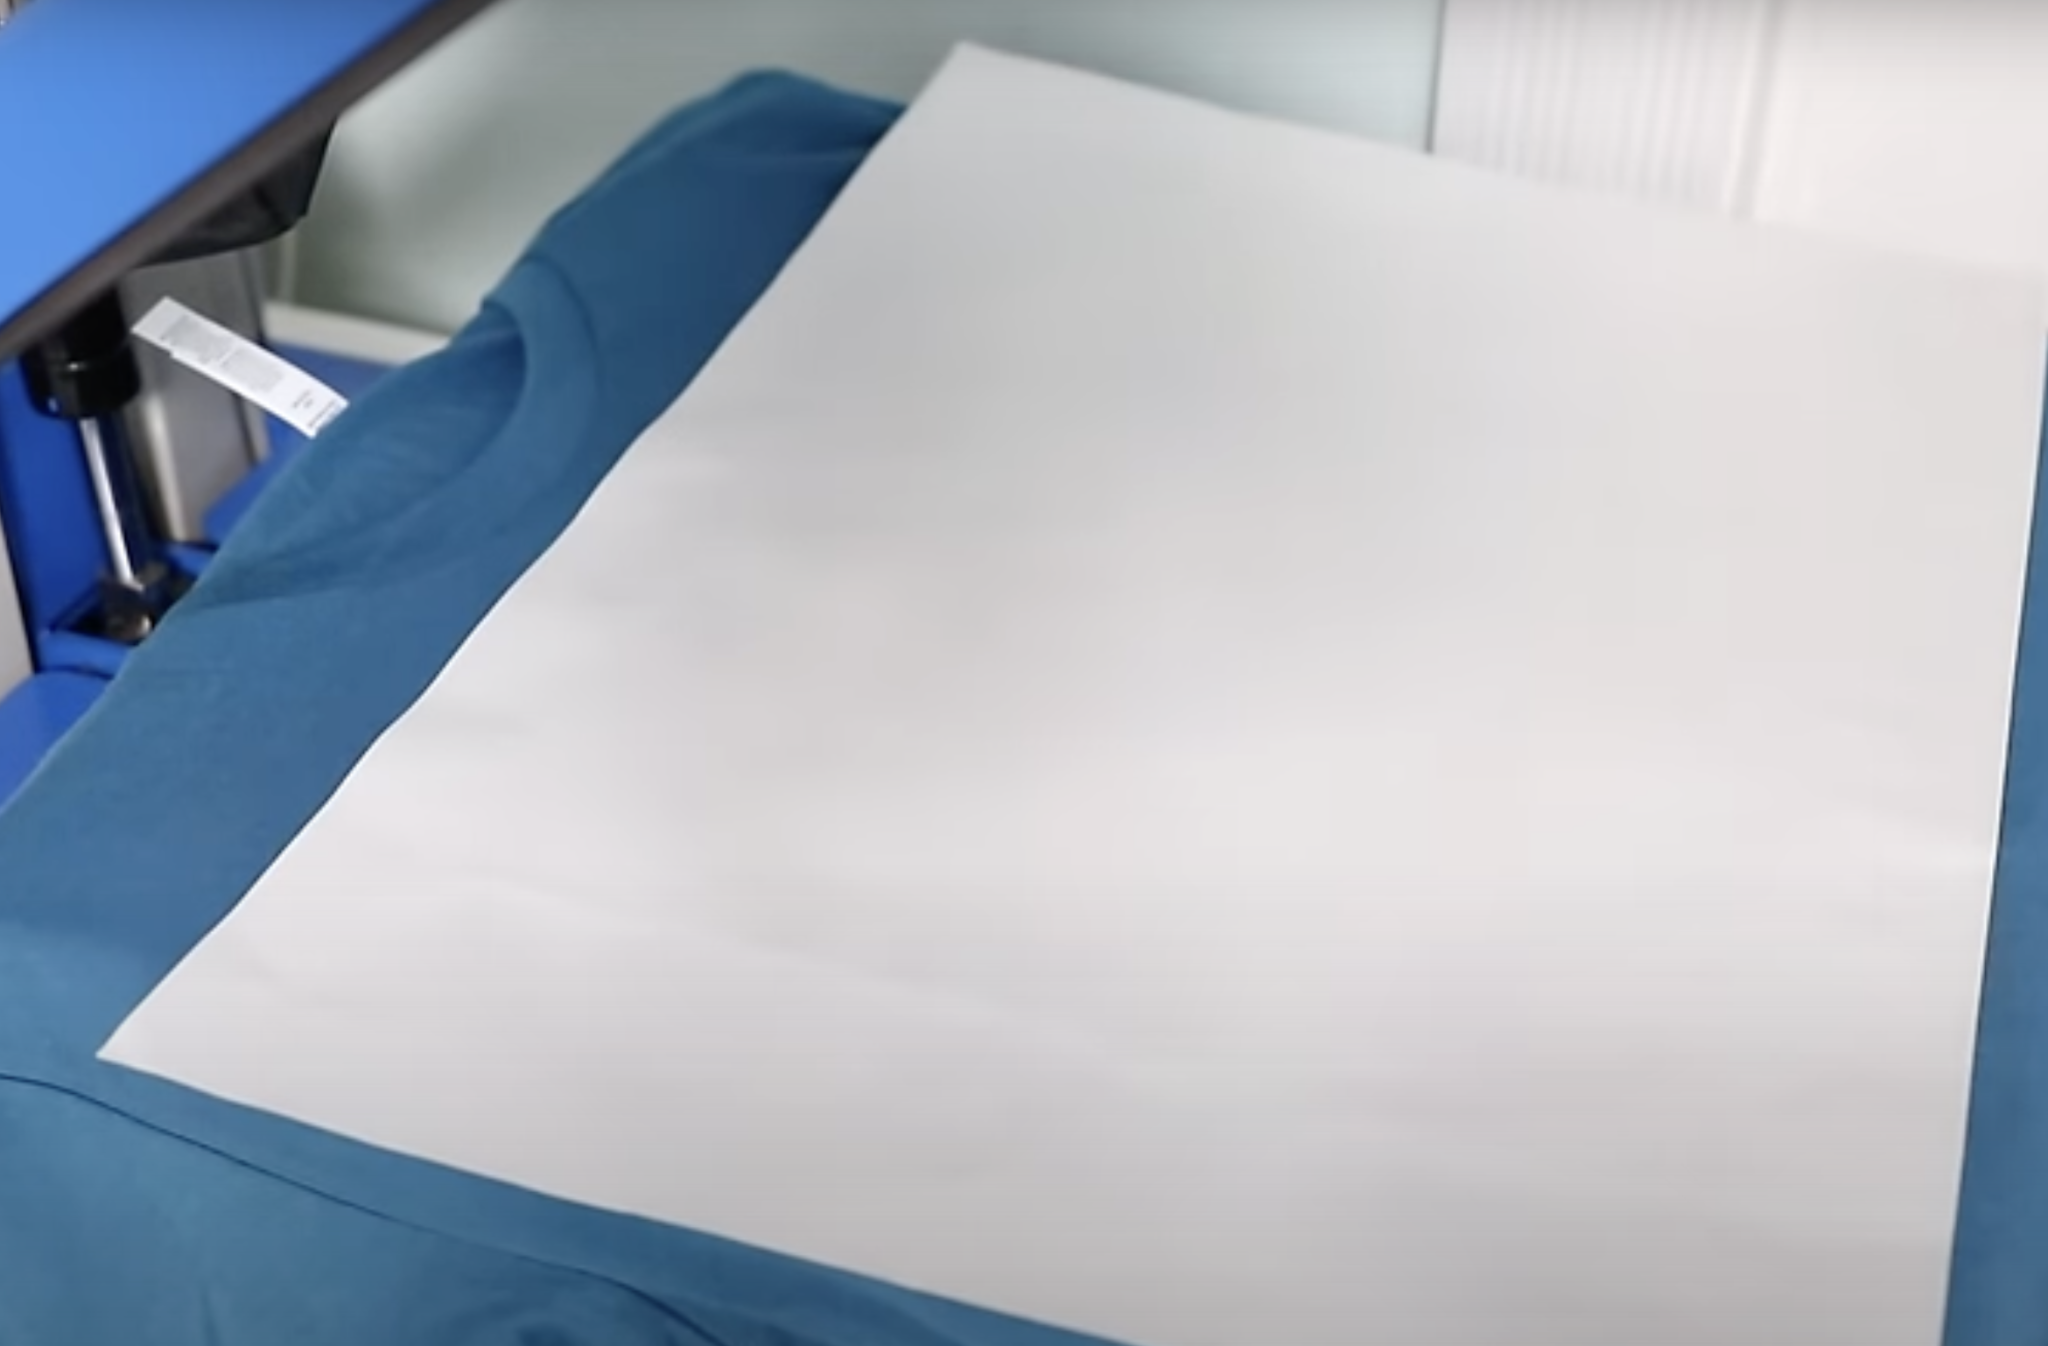
Follow the directions for your materials. I am pressing for 20 seconds at 310 degrees.
When the time is up, wait about 10 seconds before removing the T-Seal sheet. Remove it slowly in a smooth continuous motion.
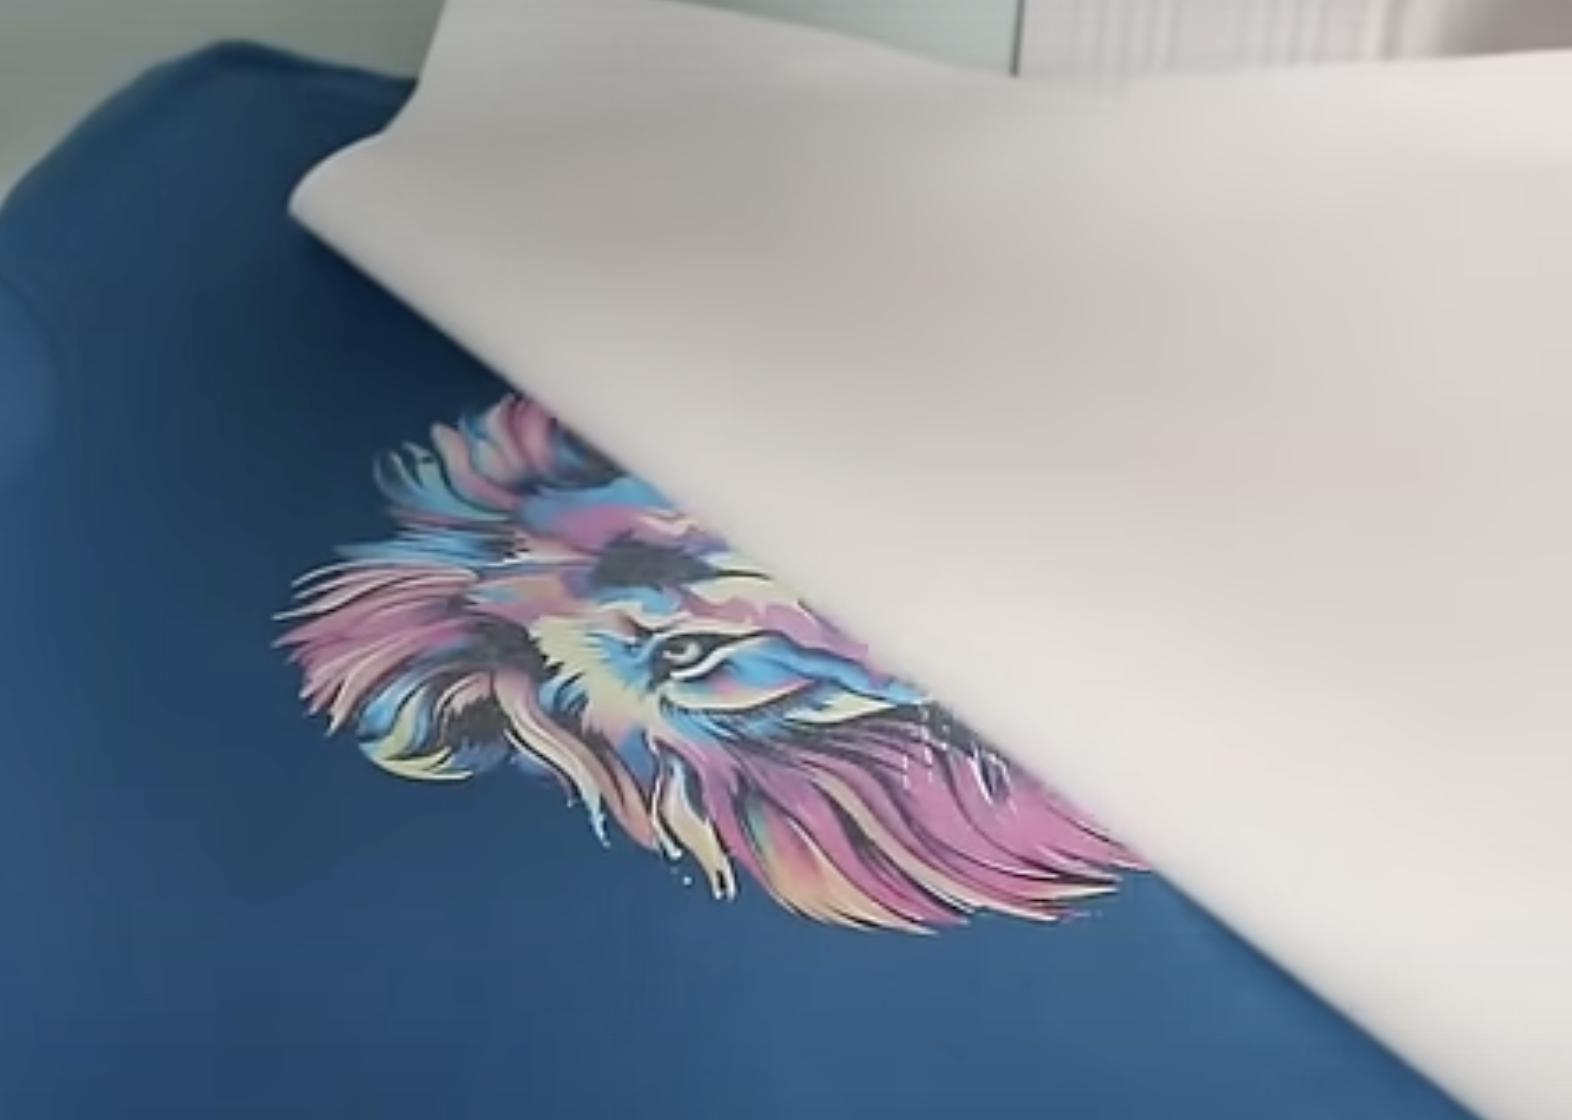
While the shirt is still hot, lightly stretch the fabric before removing it from the press and then you’re done.
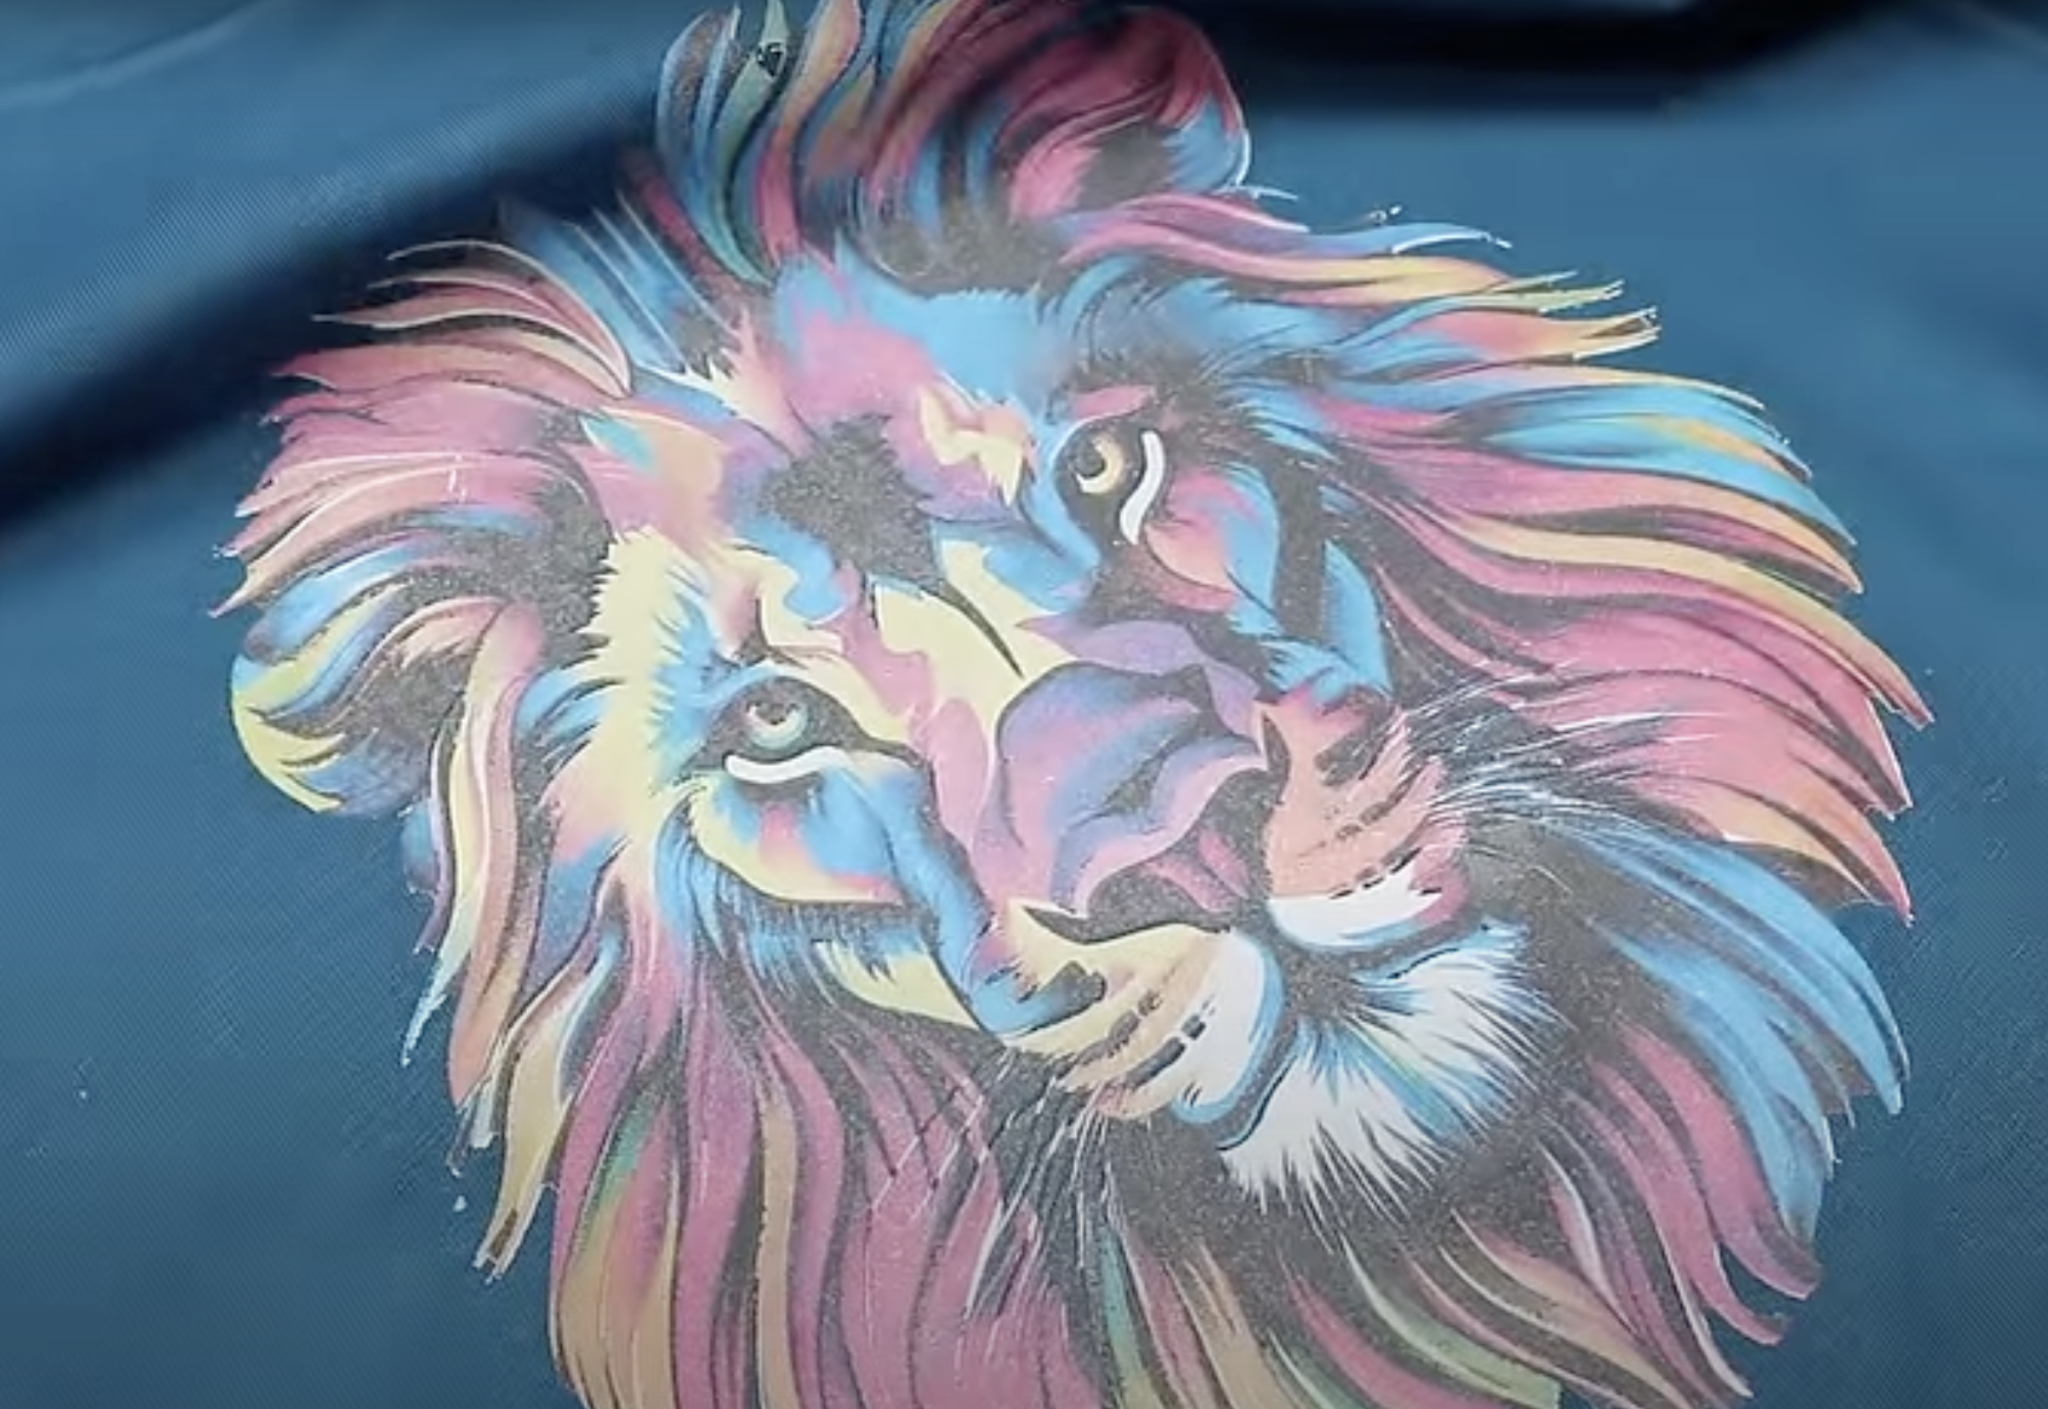
After the post-press, you’ll see the design is no longer shiny. This is one of my favorite parts of these projects. Seeing the matte finish is so satisfying.
You can see that even though I applied this design to a dark shirt because it has the white ink it transferred perfectly.
Frequently Asked Questions
Can I Print Only White?
Because this printer is a regular printer you can print regular everyday projects with it.
When you add the white toner cartridge into the printer you can use your printer to create regular paper projects on papers that aren’t white.
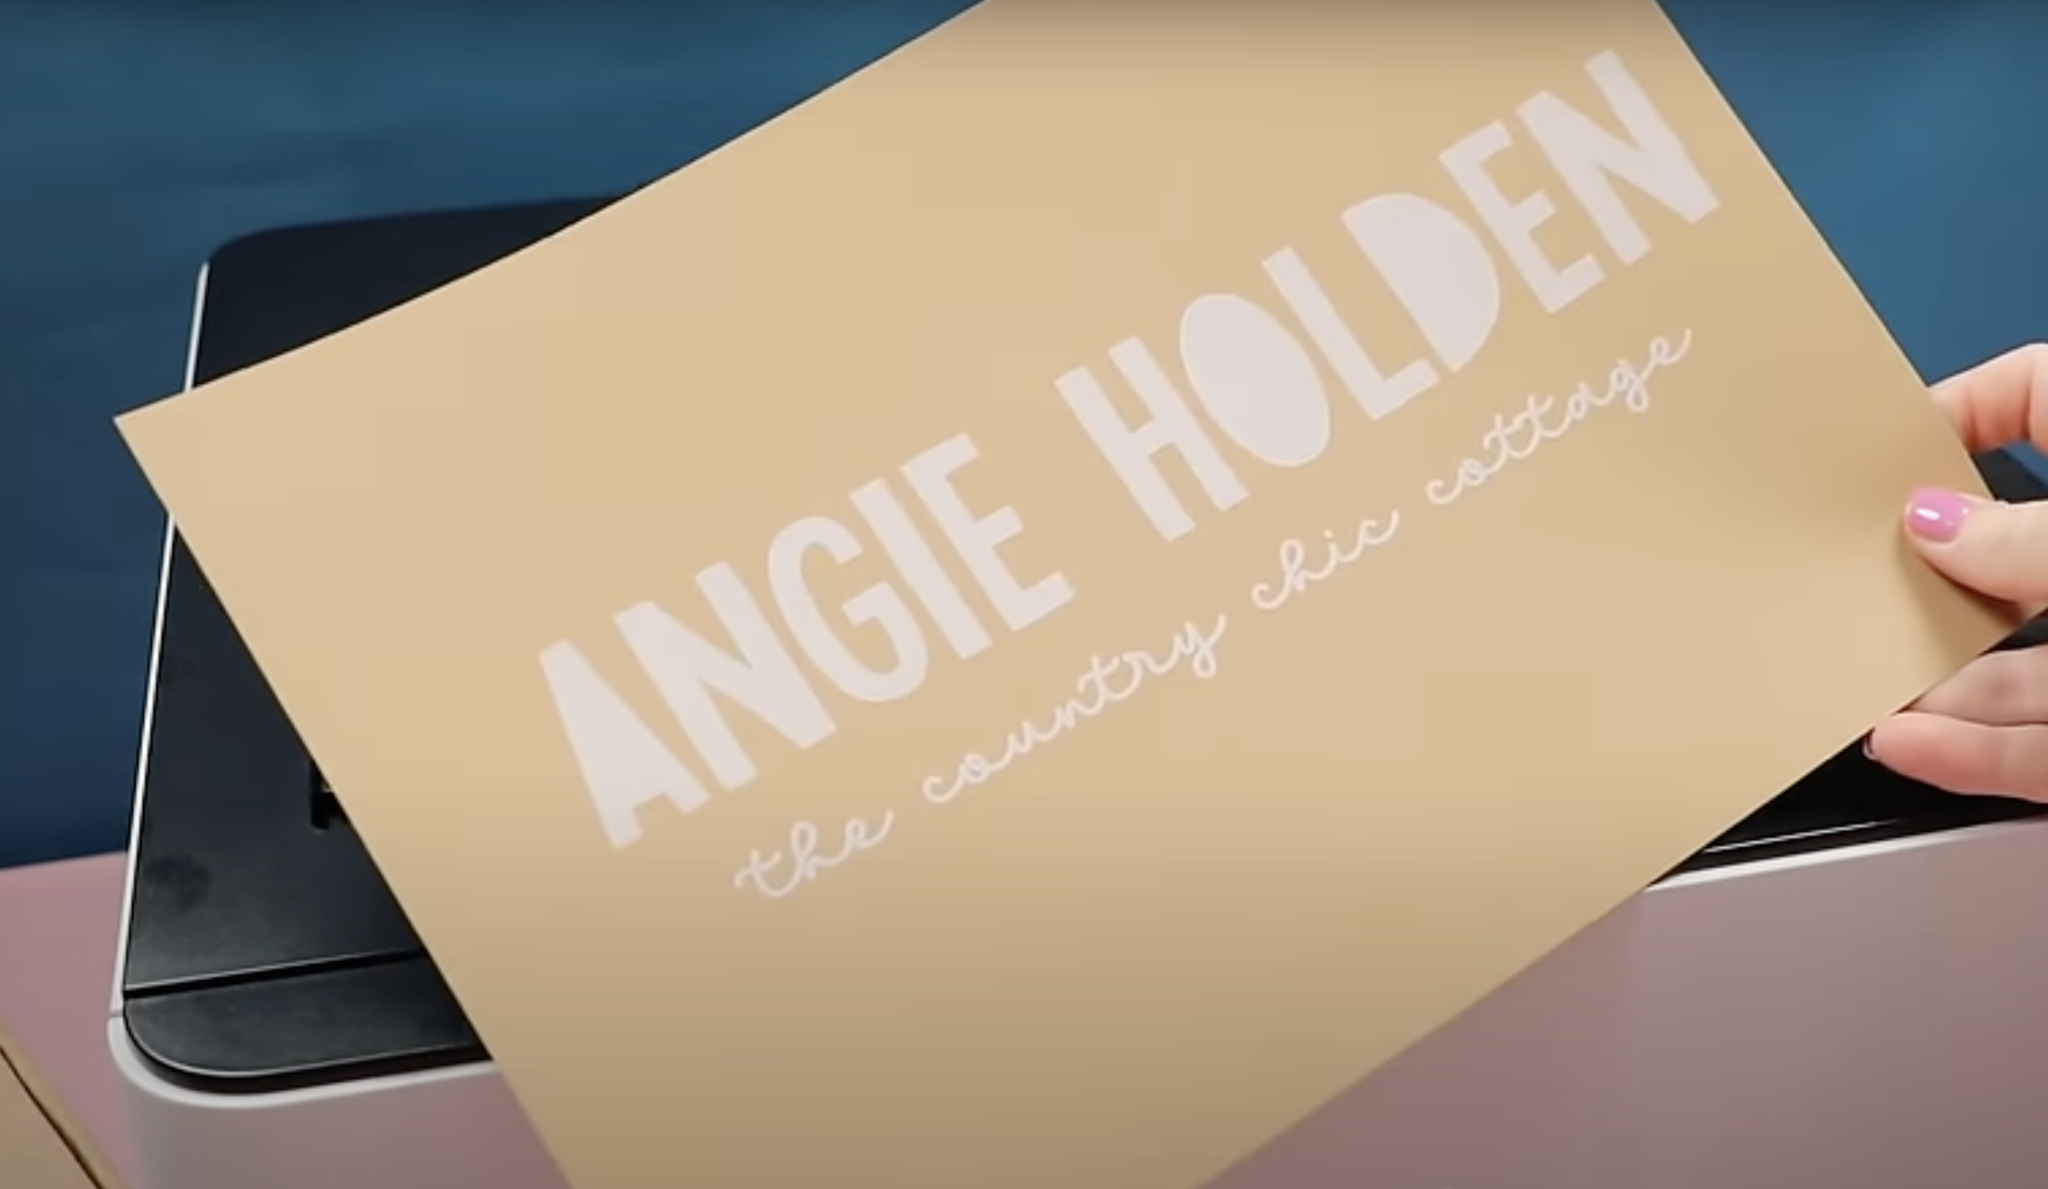
I tested my printer on brown craft-type paper and black paper to see how the white would look on those.
On the craft paper, the white toner looks amazing. I can think of so many projects I would use this for and the first one that comes to my mind is gift tags. They’d be so cute tied with colorful baker’s twine.
For this example, the black did not do well. It had streaks through the white but I think this has more to do with the thickness of the paper than the color.
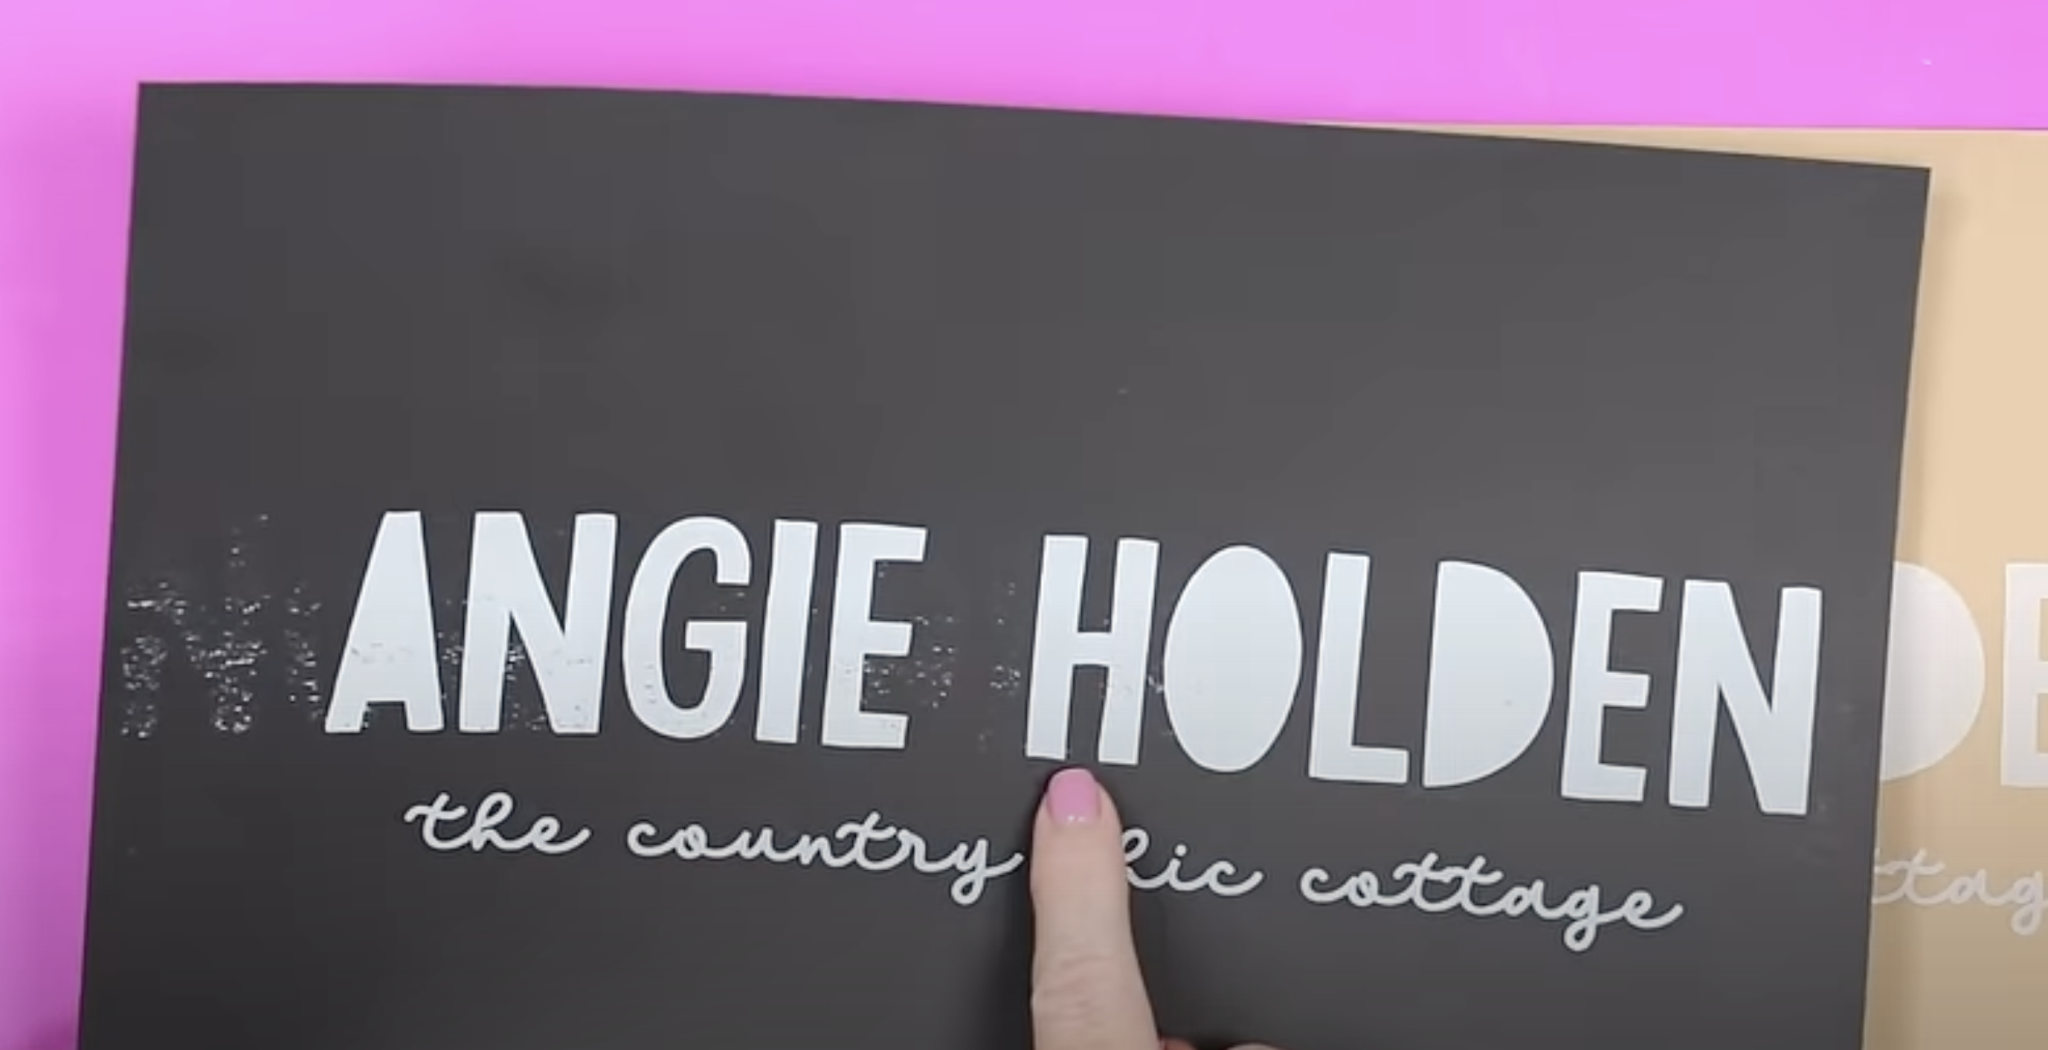
I only had thicker black cardstock. I will try it with a thinner black paper and see if it does better.
No matter what project you’re making I would do a test print first to ensure the material you’re using in the printer works well.
You’re not limited to printing on brown or black either. The white toner would be great on a wide variety of darker colors.
What maintenance is required?
This is my favorite part to share. As with any laser toner printer, there is no maintenance. Whether you use it daily or once a month your printer is going to print correctly every time.
With toner-based printers, there is nothing to clog so there is nothing you need to maintain. If you haven’t used your toner printer in a while don’t worry, plug it in and get printing!
White Printing Pros and Cons
Now that you’ve seen the white printing results let’s talk about the pros and cons of using the Absolute White toner cartridge vs buying a traditional white toner printer.
White Printing with Absolute White Pros
- The biggest pro is the cost. It is significantly less expensive to convert a laser printer using the Absolute White toner cartridge than it is to buy a white toner printer. This allows you to get into this type of crafting at a lower price.
- Another pro is that you get to print white whether you’re using the two step IColor sheets to put on textiles or you’re printing white for a wedding invitation or for other crafts.
- It’s very simple to change the cartridges in this printer. Because these are toner cartridges it’s as simple as removing one cartridge and adding the other. You don’t have to worry about anything spilling.
- The RIP software is very easy to use. Don’t let it intimidate you. There are only a few buttons you need to worry about and you’ll be printing gorgeous images in no time.
- A laser printer does not require any maintenance so you can print when you feel like it and not worry about it other times.
Absolute White Cons
- Because this is a converted printer you will likely have to make adjustments to get things printed correctly. I recommend always doing a test print so you know if you have alignment issues. If you do, you can use the arrows in the software to move where the design prints.
- You may also need to adjust the colors by adding more or removing some white to get the exact look you want. The adjustments you may need to make can vary depending on what type/brand of laser printer you purchase. I recommend keeping a notebook handy so as you find things that work and don’t work you can write them down and get the settings right easily with later prints.
- The biggest con is that you have to print twice, that is where most of those setting and alignment issues are going to come in. It also means you are doubling the printing time. The printer is fast but it would be faster if you only had to print your design once.
- With my printer, when I change the cartridges out it goes through a few cycles before I can print a second time. Sometimes that cycle time was lengthy.
- The other issue that I ran into sometimes was that the print smeared. This happened on the black cardstock and it happened once when I was printing on the clean film as well. This could be a specific paper problem but it could also be a toner + printer problem. Since it happened more than once I did want to mention that.
- The last con I am going to mention is that you have to remember to change the black cartridge to the white cartridge. If you forget, you’ve wasted those materials. I did forget a couple of times. You may want to add a sticker to the front of your printer to remind you to change the cartridge.
NOTE: If you buy an actual white toner printer, all of these things should be dialed in for you and you don’t have to print twice. These cons apply only for this option of using a cartridge in a regular printer.
Should You Try White Printing with the Absolute White Toner Cartridge?
Even with these cons the Absolute White toner cartridge worked great. If you want to give printing white a try, this might be the right choice for you.
I think the Absolute White toner cartridge is a great option if you want to try white printing without having to buy a more expensive white toner printer.
If you already have a color laser printer, check and see if there is an Absolute White cartridge for it and give it a try. If you don’t own a color laser printer but are interested in white toner printing, check the list first to get a printer that will work with the Absolute White toner cartridge.
I don’t recommend any of the DTF printing hacks due to safety issues and I know a lot of you are looking for options that are less expensive for projects like this. The Absolute White toner cartridge is a great option for getting into printing white at a fraction of the cost.
I hope I’ve answered any questions you have but if you have any additional questions leave them in the comments and I’ll be happy to answer them for you!

