This post and photos may contain Amazon or other affiliate links. If you purchase something through any link, I may receive a small commission at no extra charge to you. Any supplies used may be given to me free of charge, however, all projects and opinions are my own.
Have you ever wanted to try sublimation on acrylic? I’m testing out several different projects and materials today to help you really learn how to have success when creating acrylic sublimation projects. Sublimating acrylic can be tricky but it is so worth it with some of the projects you can create!
Are you new to sublimation? Check out my sublimation beginner’s guide here.
Sublimation on Acrylic
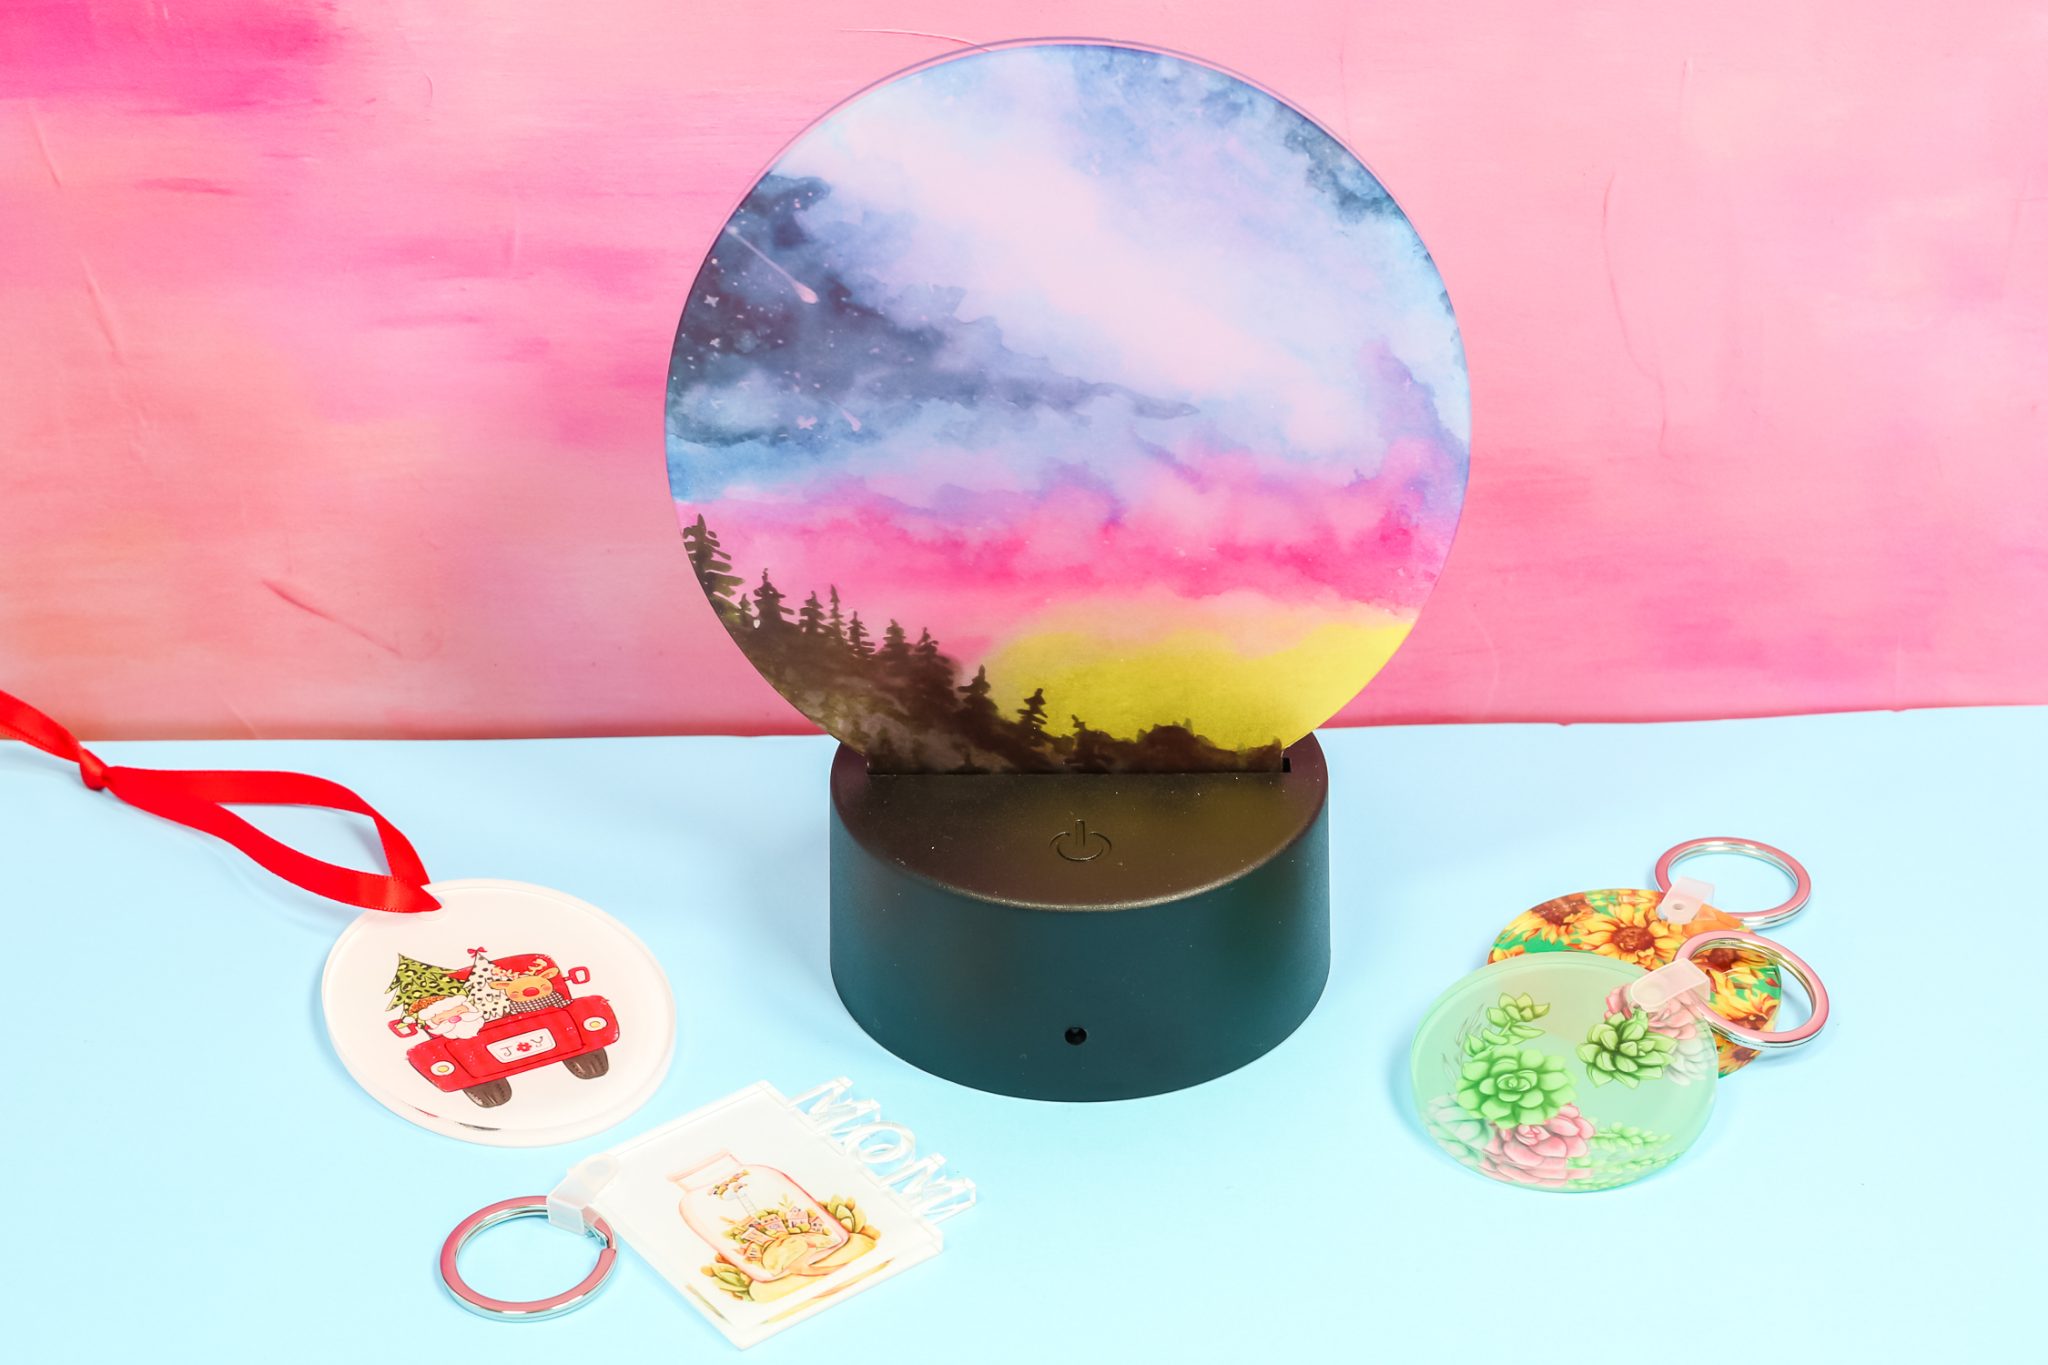
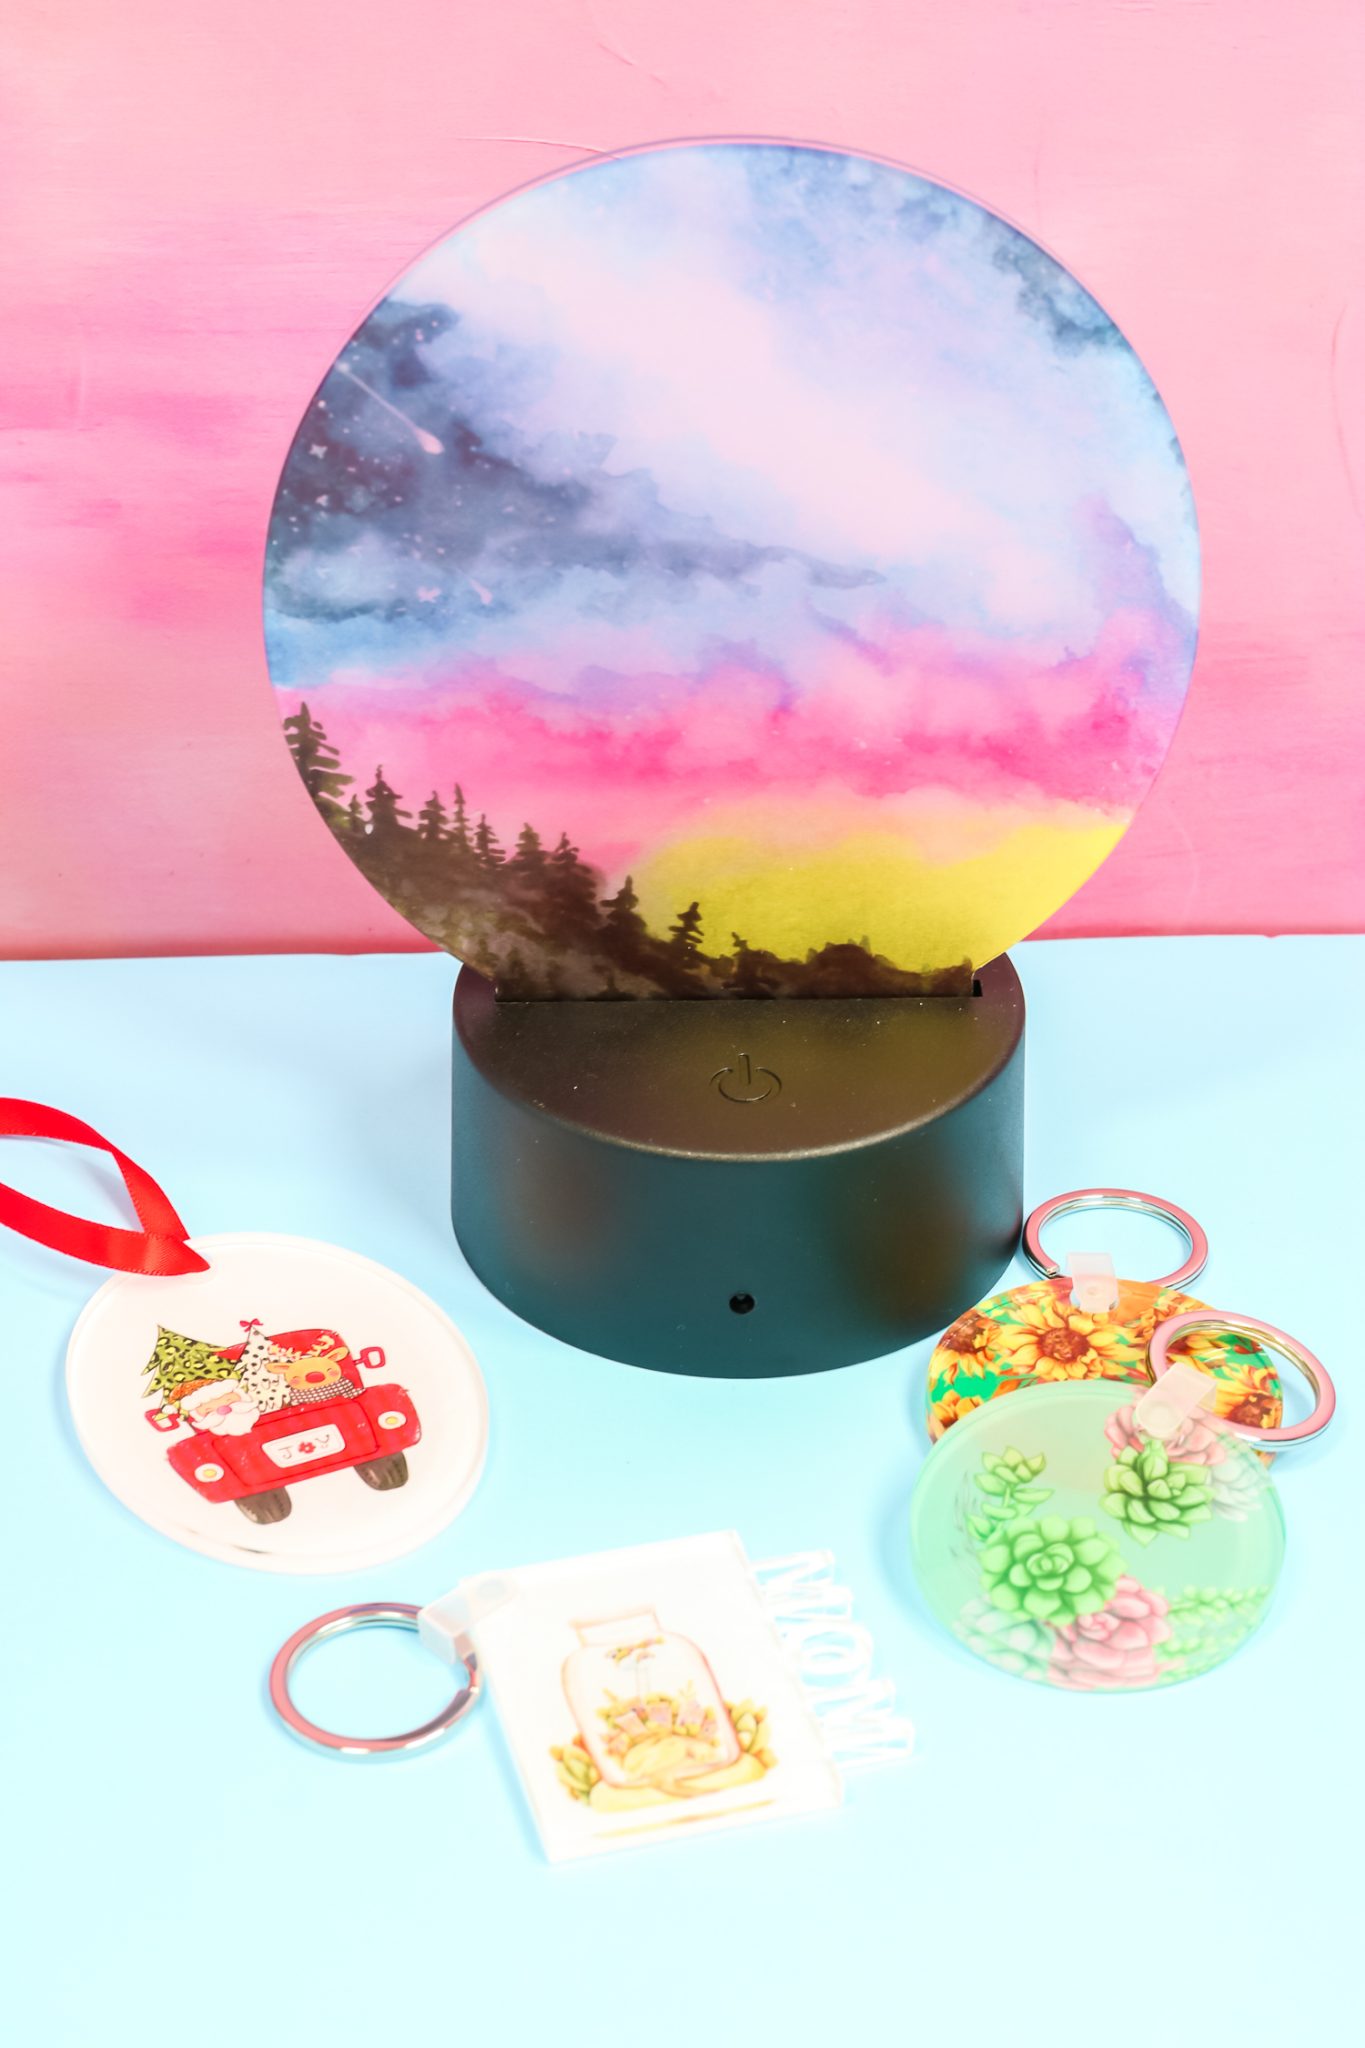
Today I’m going to show you how to sublimate on several different acrylic blanks. We’re going to test ornaments, key chains, a nightlight, and more. While we’re making projects we’re going to test sublimation acrylic blanks and some acrylic that isn’t specific for sublimation.
You can actually watch me test all of these blanks by pressing play on the video below:
Supplies used:
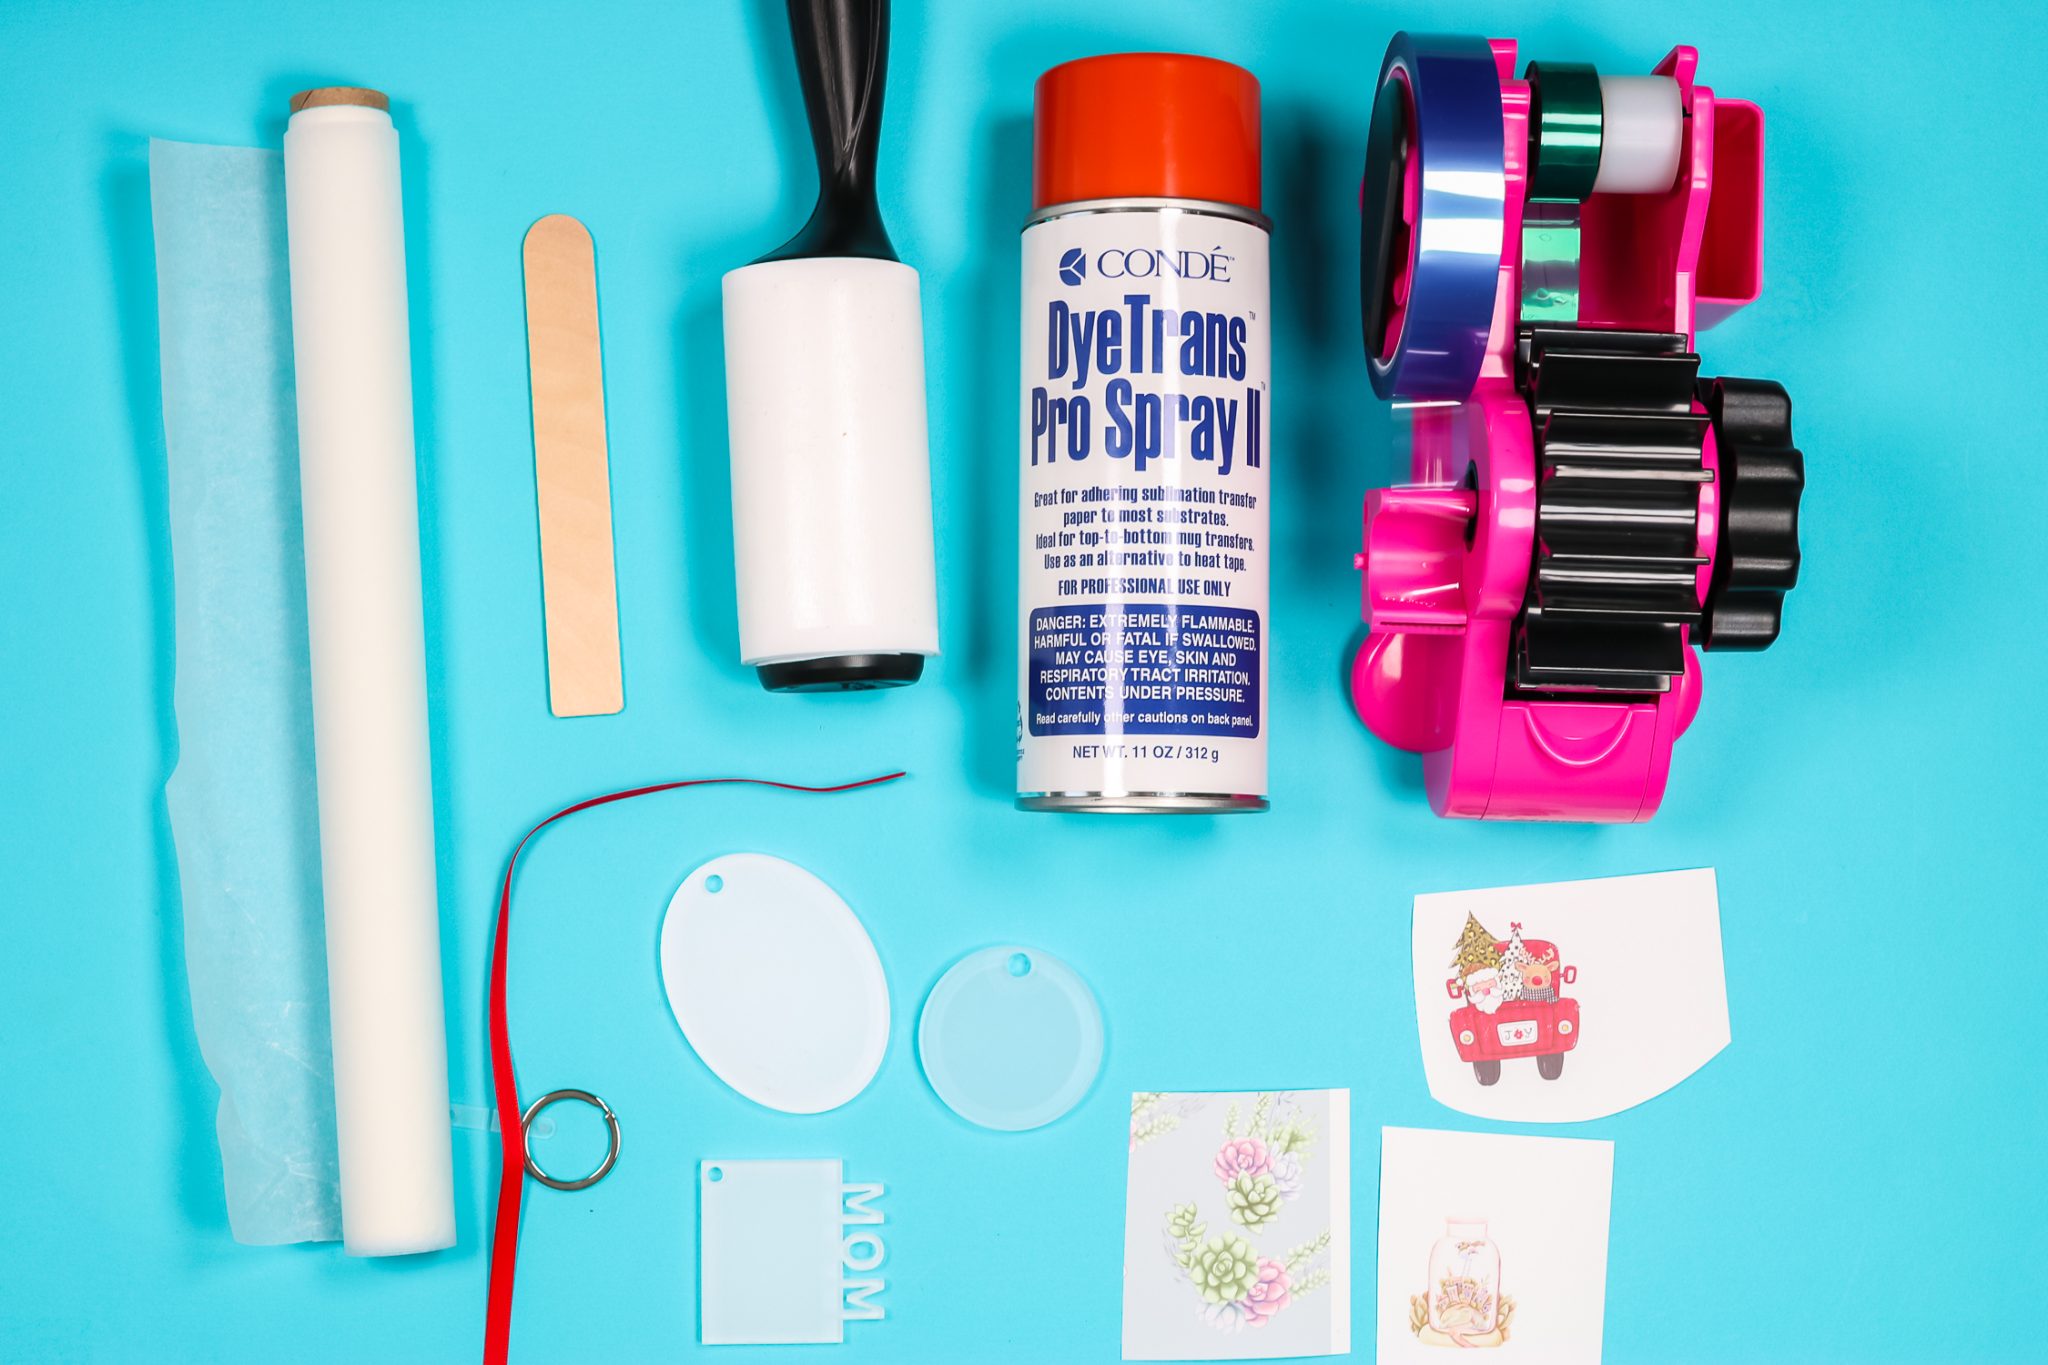
Let’s gather our supplies and get started. Remember when working with sublimation you need a sublimation print printed from a sublimation printer with sublimation ink on sublimation paper.
Blanks used:
Designs used:
NOTE: You can sign up for the Creative Fabrica deal I have right now. Get the first month free for up to 10 image downloads and then pay only $9 a month. That’s a $20 savings and you can cancel any time.
Prepping Sublimation Blanks
Before we prep our sublimation blanks let’s spray our prints. If you’re using heat tape you can skip this part. Make sure your image is sized to fit your blank. You will want your paper trimmed larger than the blank itself so you don’t end up with marks from the edge of the paper on your blank.
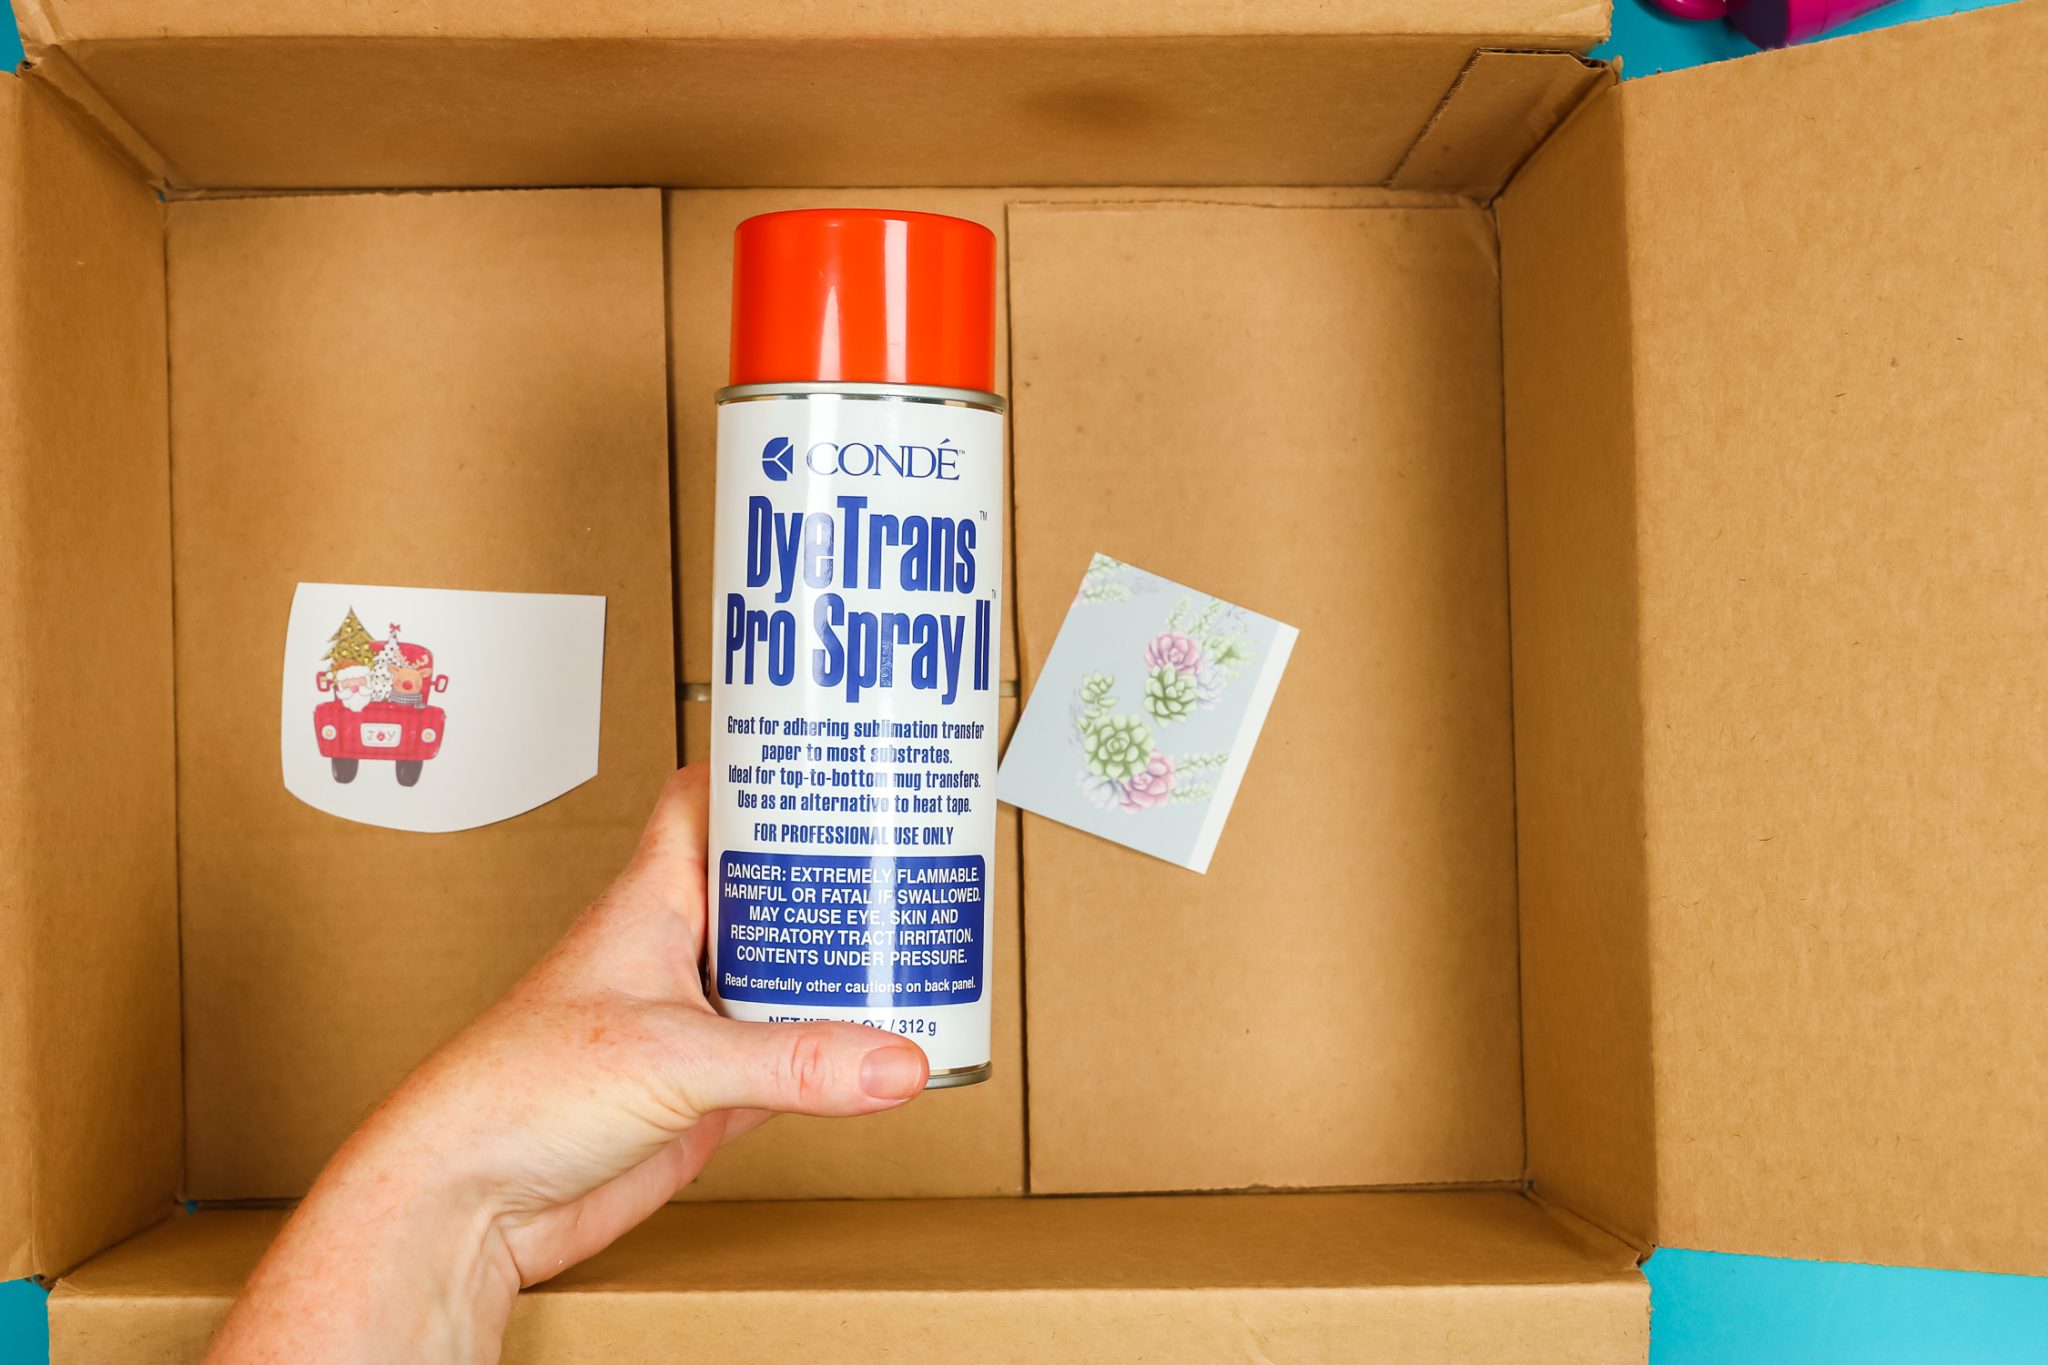
Spray a light coat of Pro Spray onto the design side of your print. I have mine placed in a box to prevent any over-spray in my craft space. You can do this outside if the temperature is right. Set aside to dry while you prep the blanks.
Remove Protective Coating from Blank
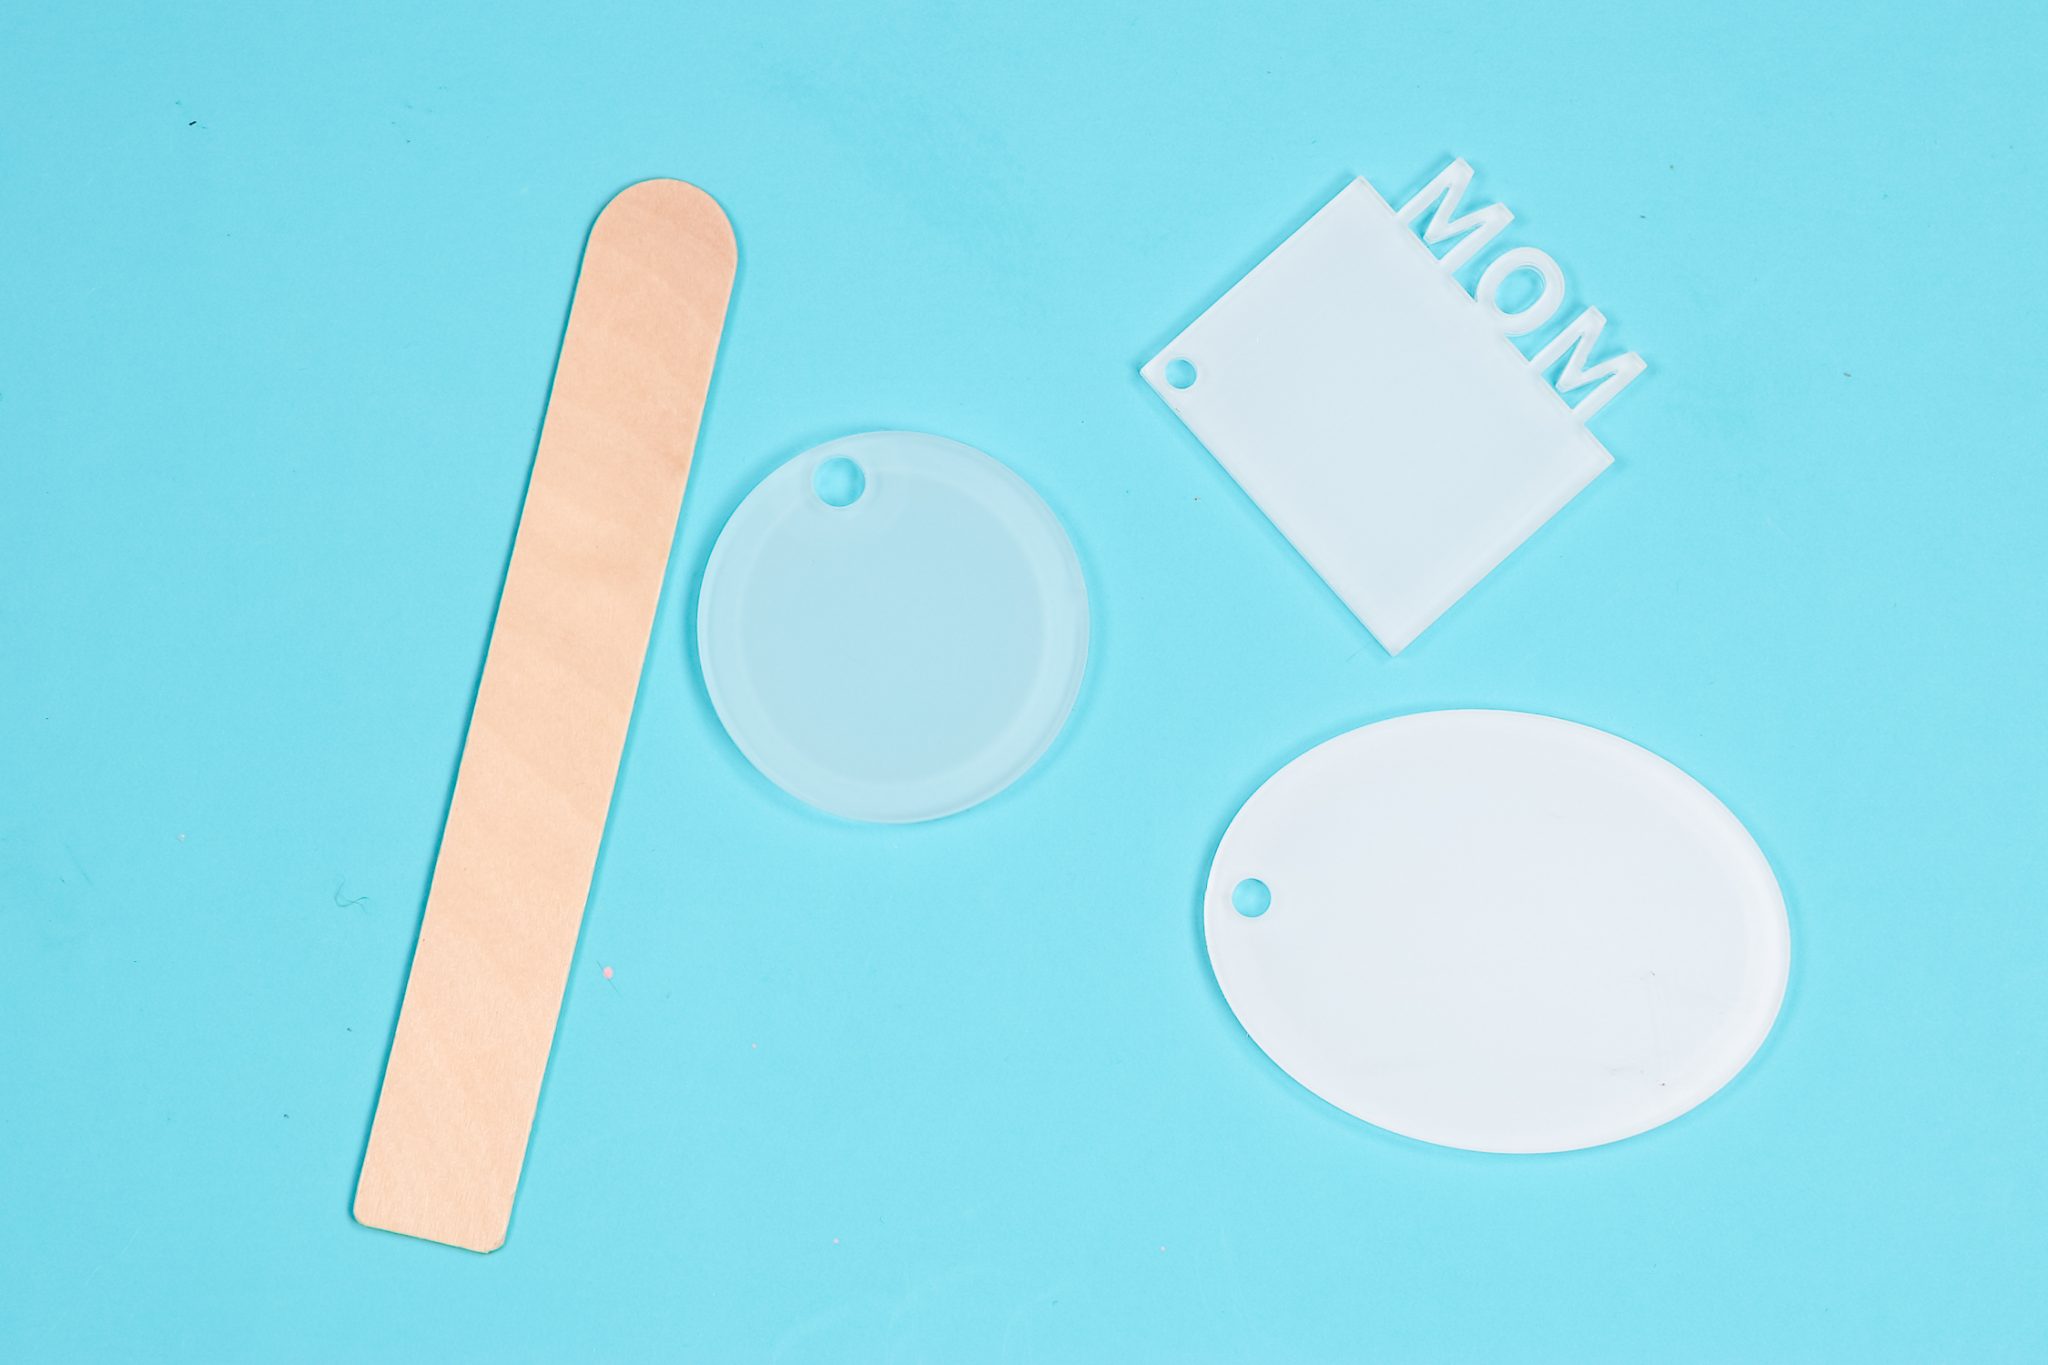
Most acrylic blanks are going to have a protective coating on one or both sides. I like to use a popsicle stick with one end cut to rub across the surface and I can usually feel if there is a coating on it.
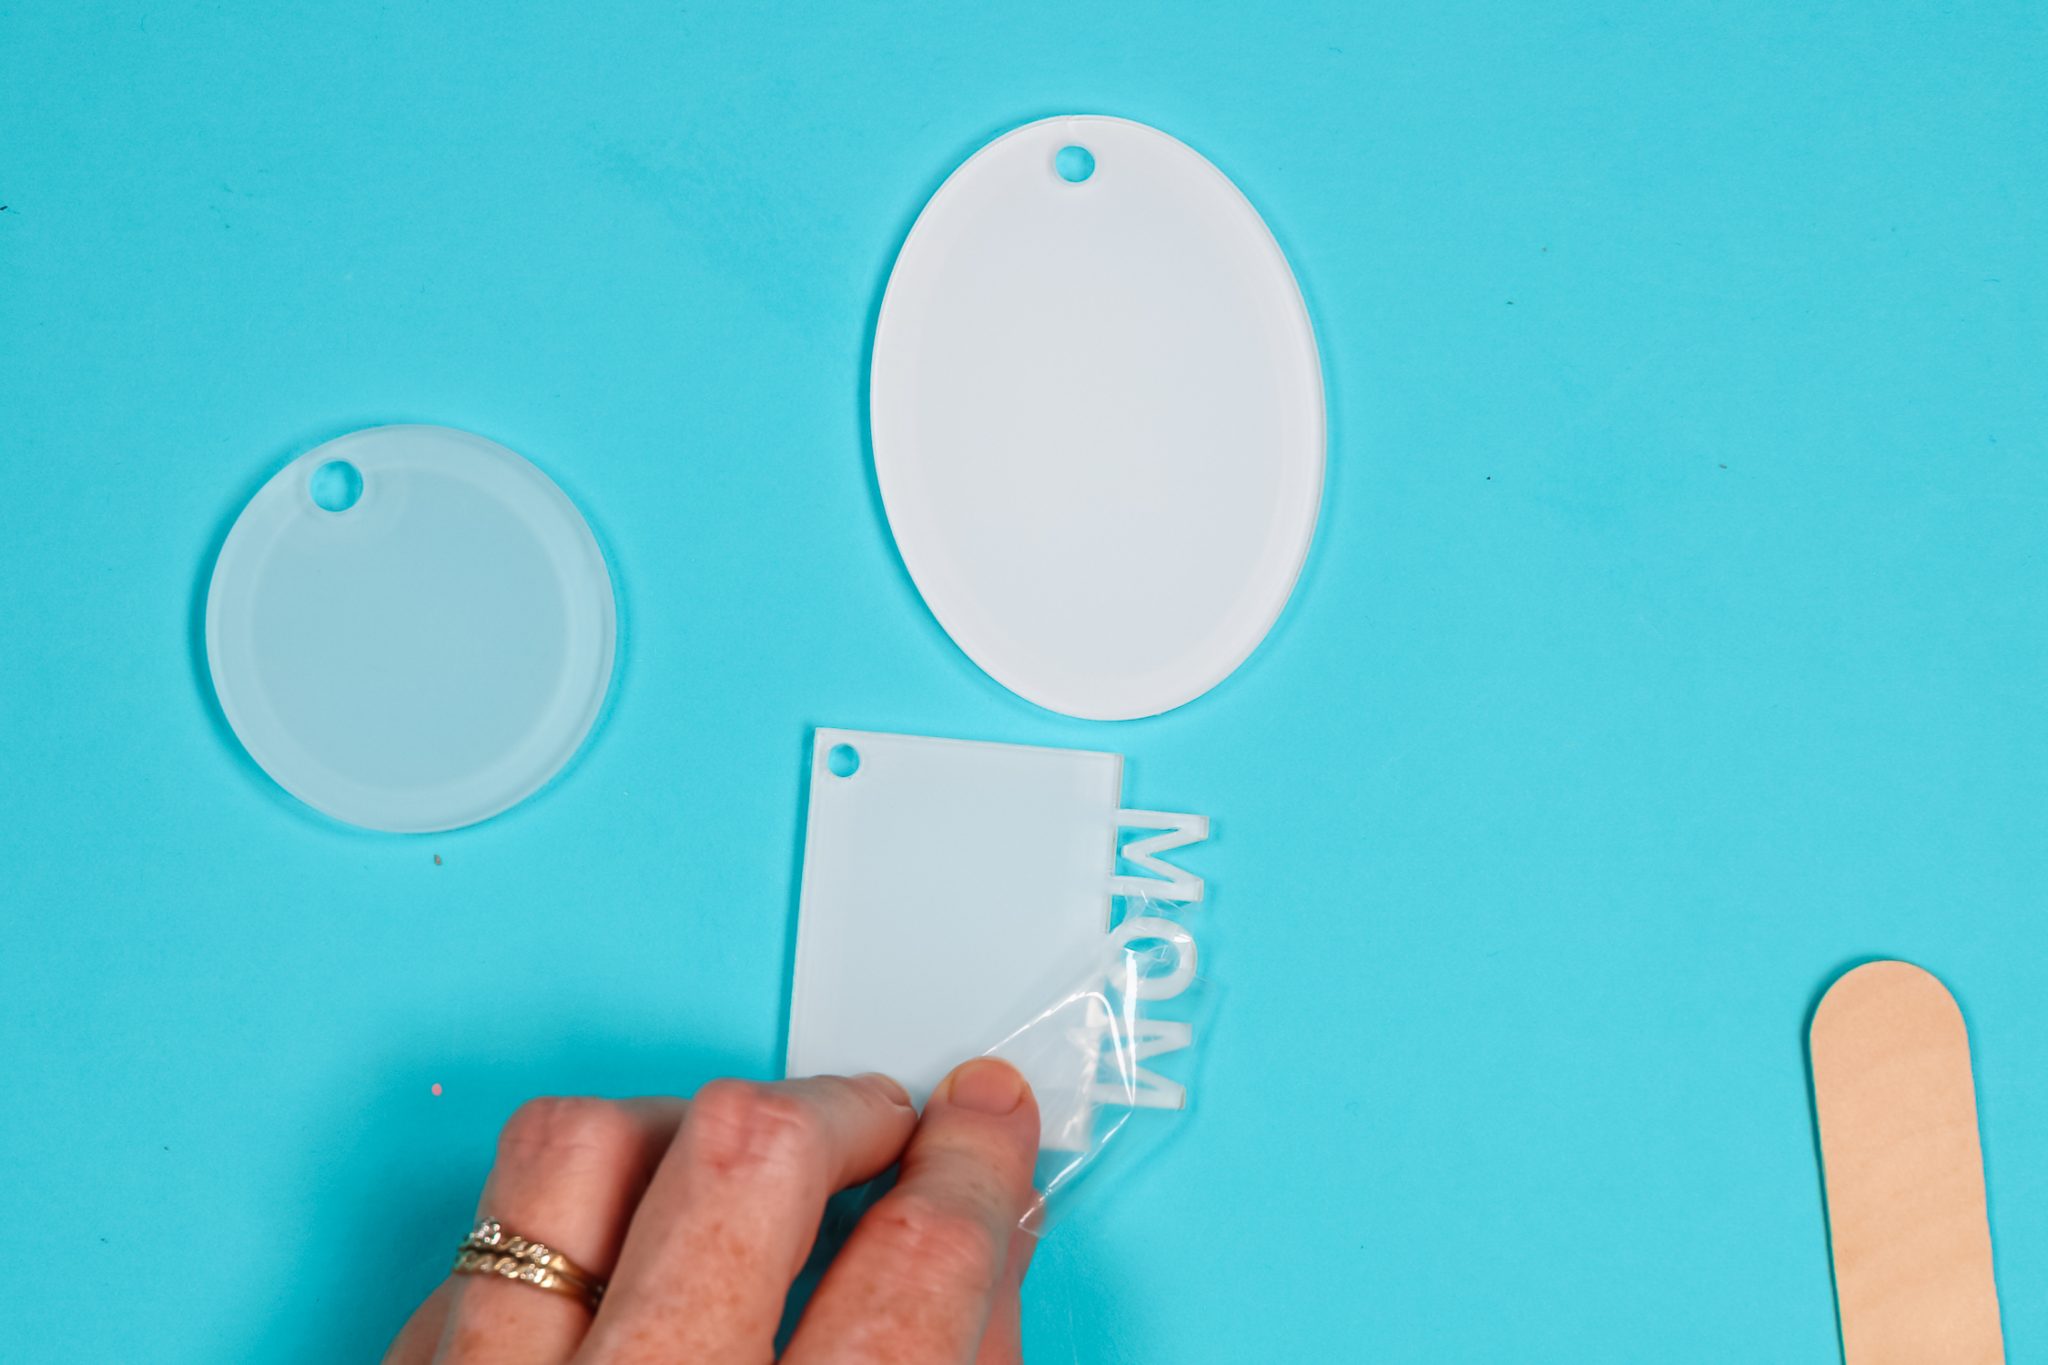
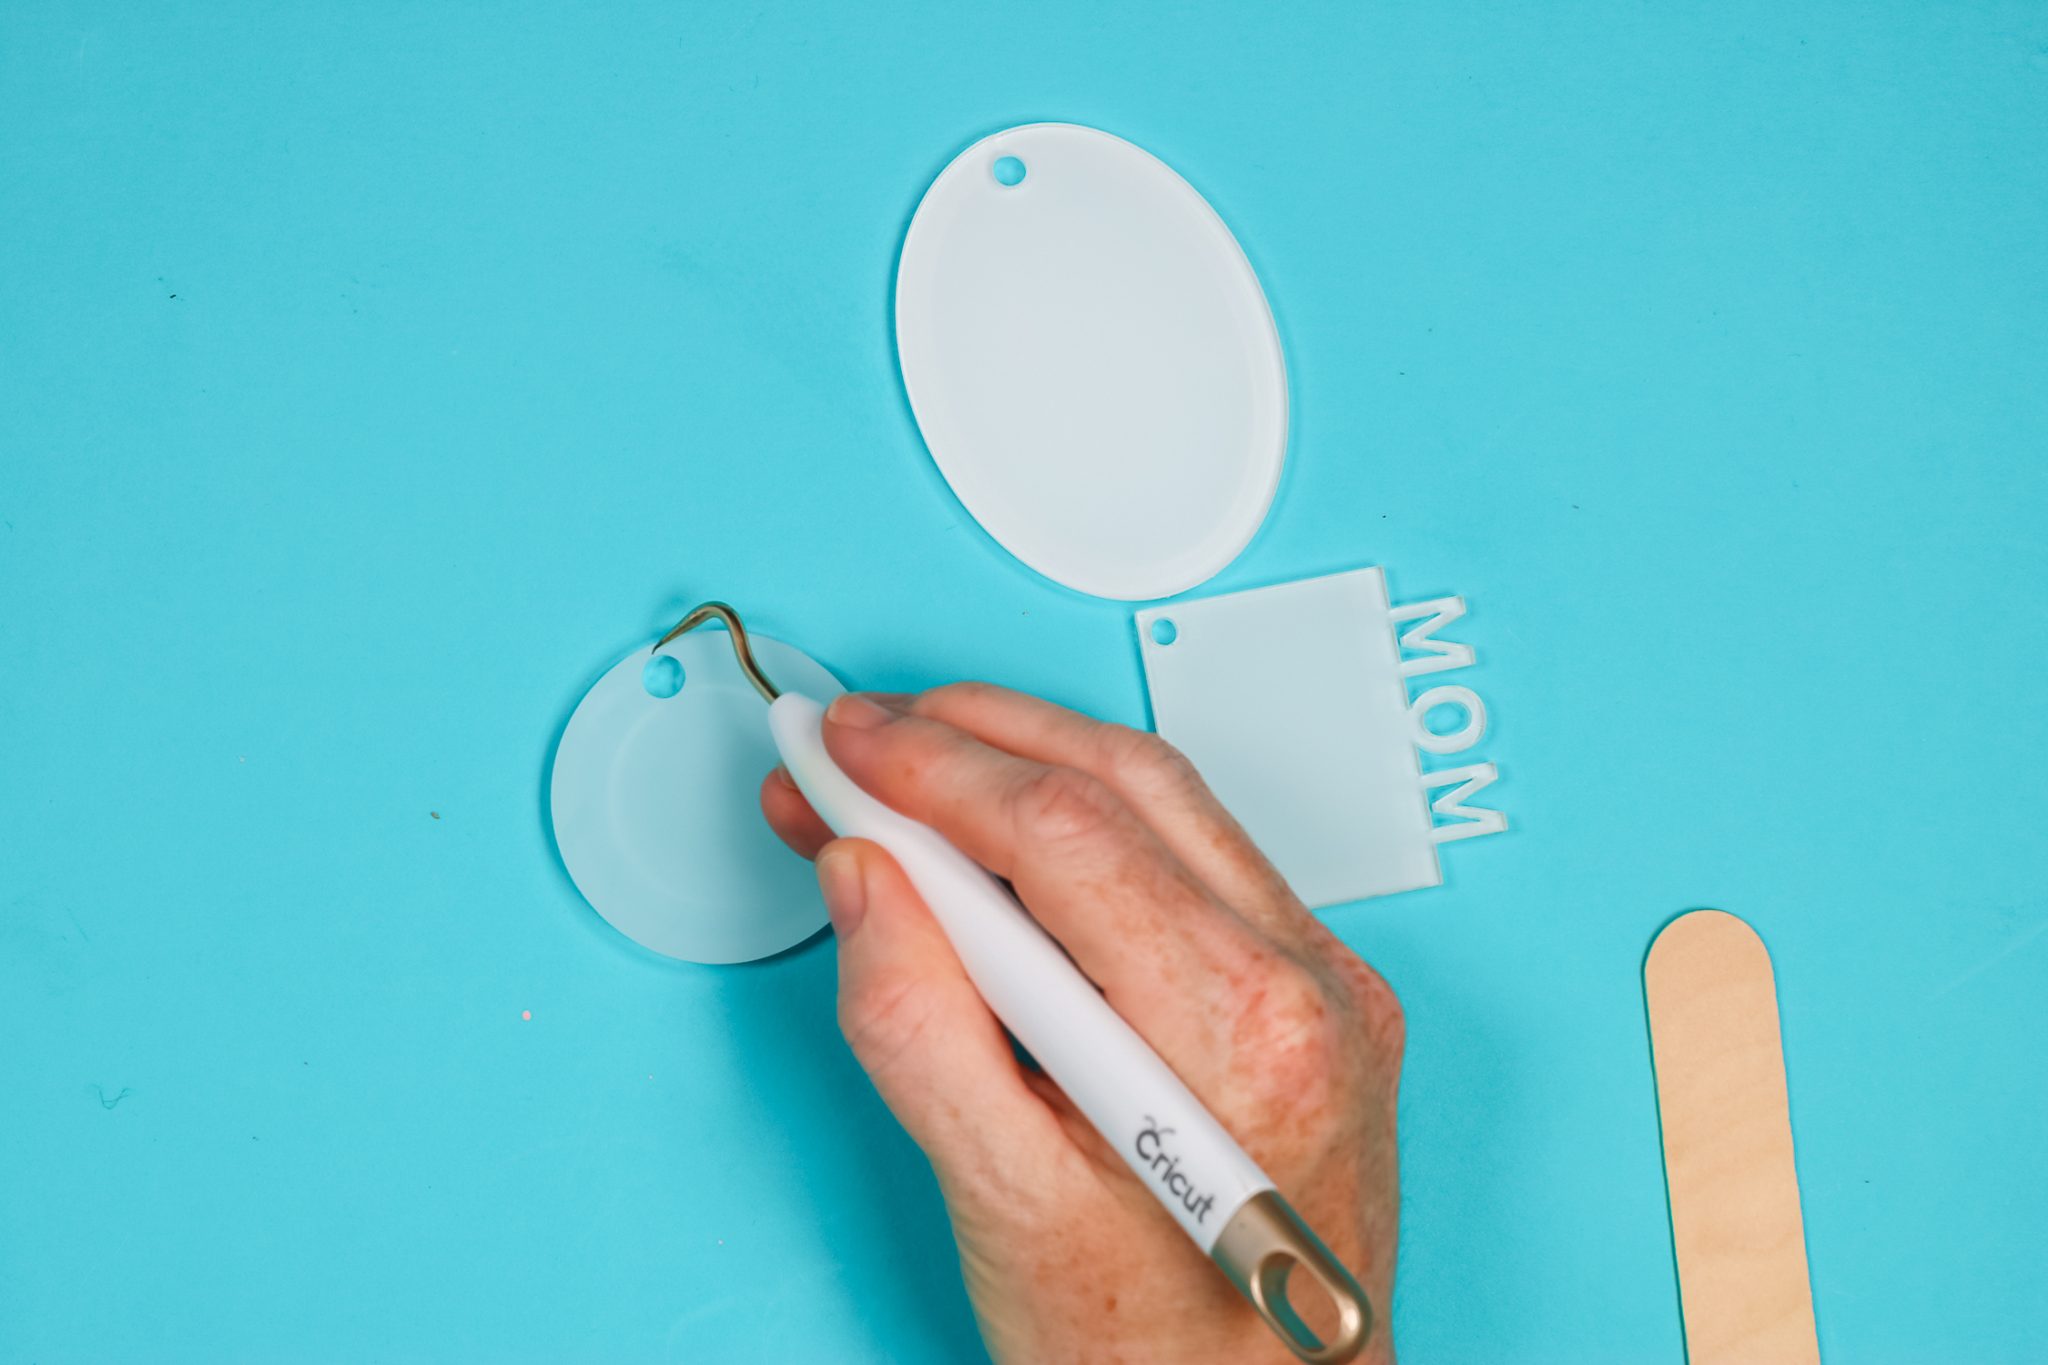
Don’t just assume, however, that there isn’t something there. I always test an area that won’t show when the project is complete with a weeding tool.
This blank, for instance, didn’t feel like it had anything but when I used the tip of the weeding tool it did lift off a coating. The area I tested will be covered with the ribbon so even if I scratched the acrylic a little bit it won’t show.
How to Sublimate on Acrylic
When sublimating on acrylic you always apply your design to the back. That means we’re going to sublimate on the white side of the blank and we do not have to mirror our image. After pressing, the image will show through to the front of the blank.
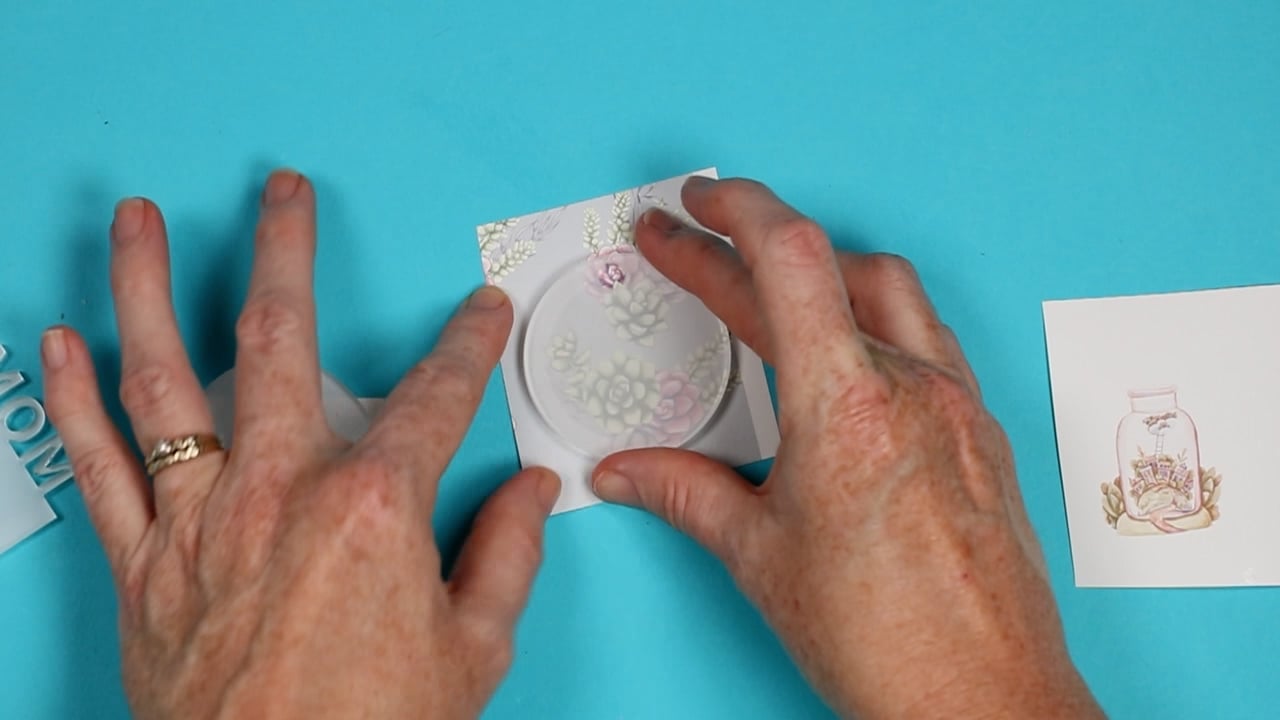
Now that all of the protective coatings are removed we can add our images to the blank. Lint roll or wipe down the blank to make sure it is clean and then press the blank onto the design. You can see through the white side of the sublimation blank well enough to locate the design right where you want it.
As I said before you want your image larger than your blank so you don’t get press marks in the acrylic. The Pro Spray can be readjusted if needed right after applying.
Pressing Sublimation on Acrylic
Once we have the design located on the blank, we will create our sublimation sandwich. You want protective paper on both the top and bottom of the project and we want to press with the print side up.
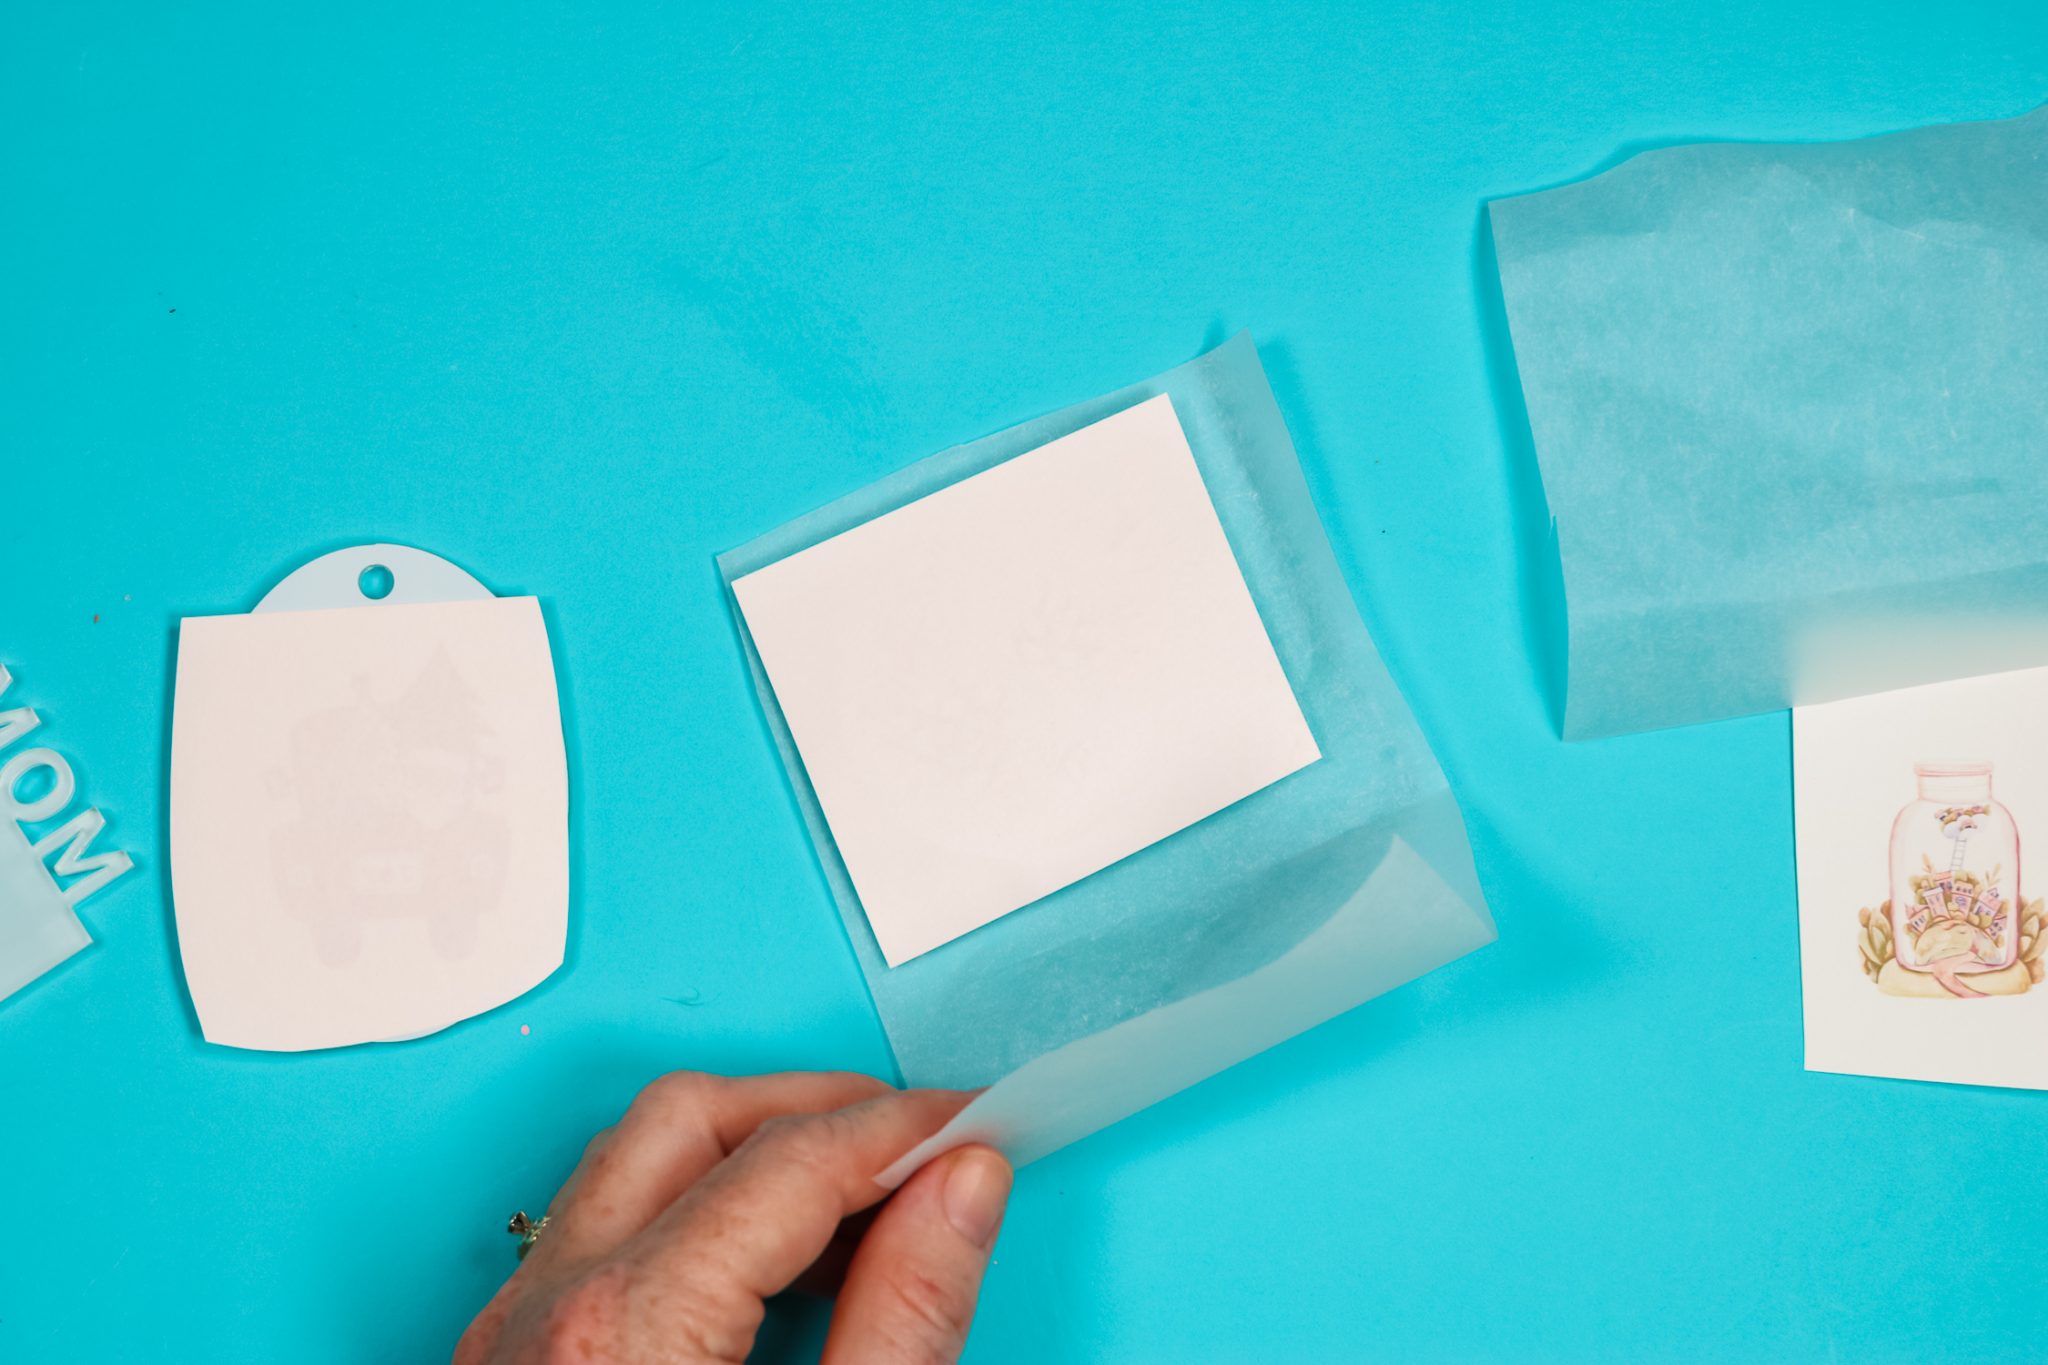
Check where you purchased your blank for the time, temperature, and pressure recommended. If you can’t find anything, 385 degrees for 60 seconds is a good place to start but it won’t always give the best results.
All of my acrylic sublimation blanks are different thicknesses so I am going to press them one at a time and adjust the heat press each time to make sure I have proper pressure. Place the protective paper-wrapped blank inside the press and press for the full time.
Remove the blank using heat-resistant gloves. You can peel the sublimation print right off. If it doesn’t peel off or leaves some paper residue, I’ll show you how to remove that below.
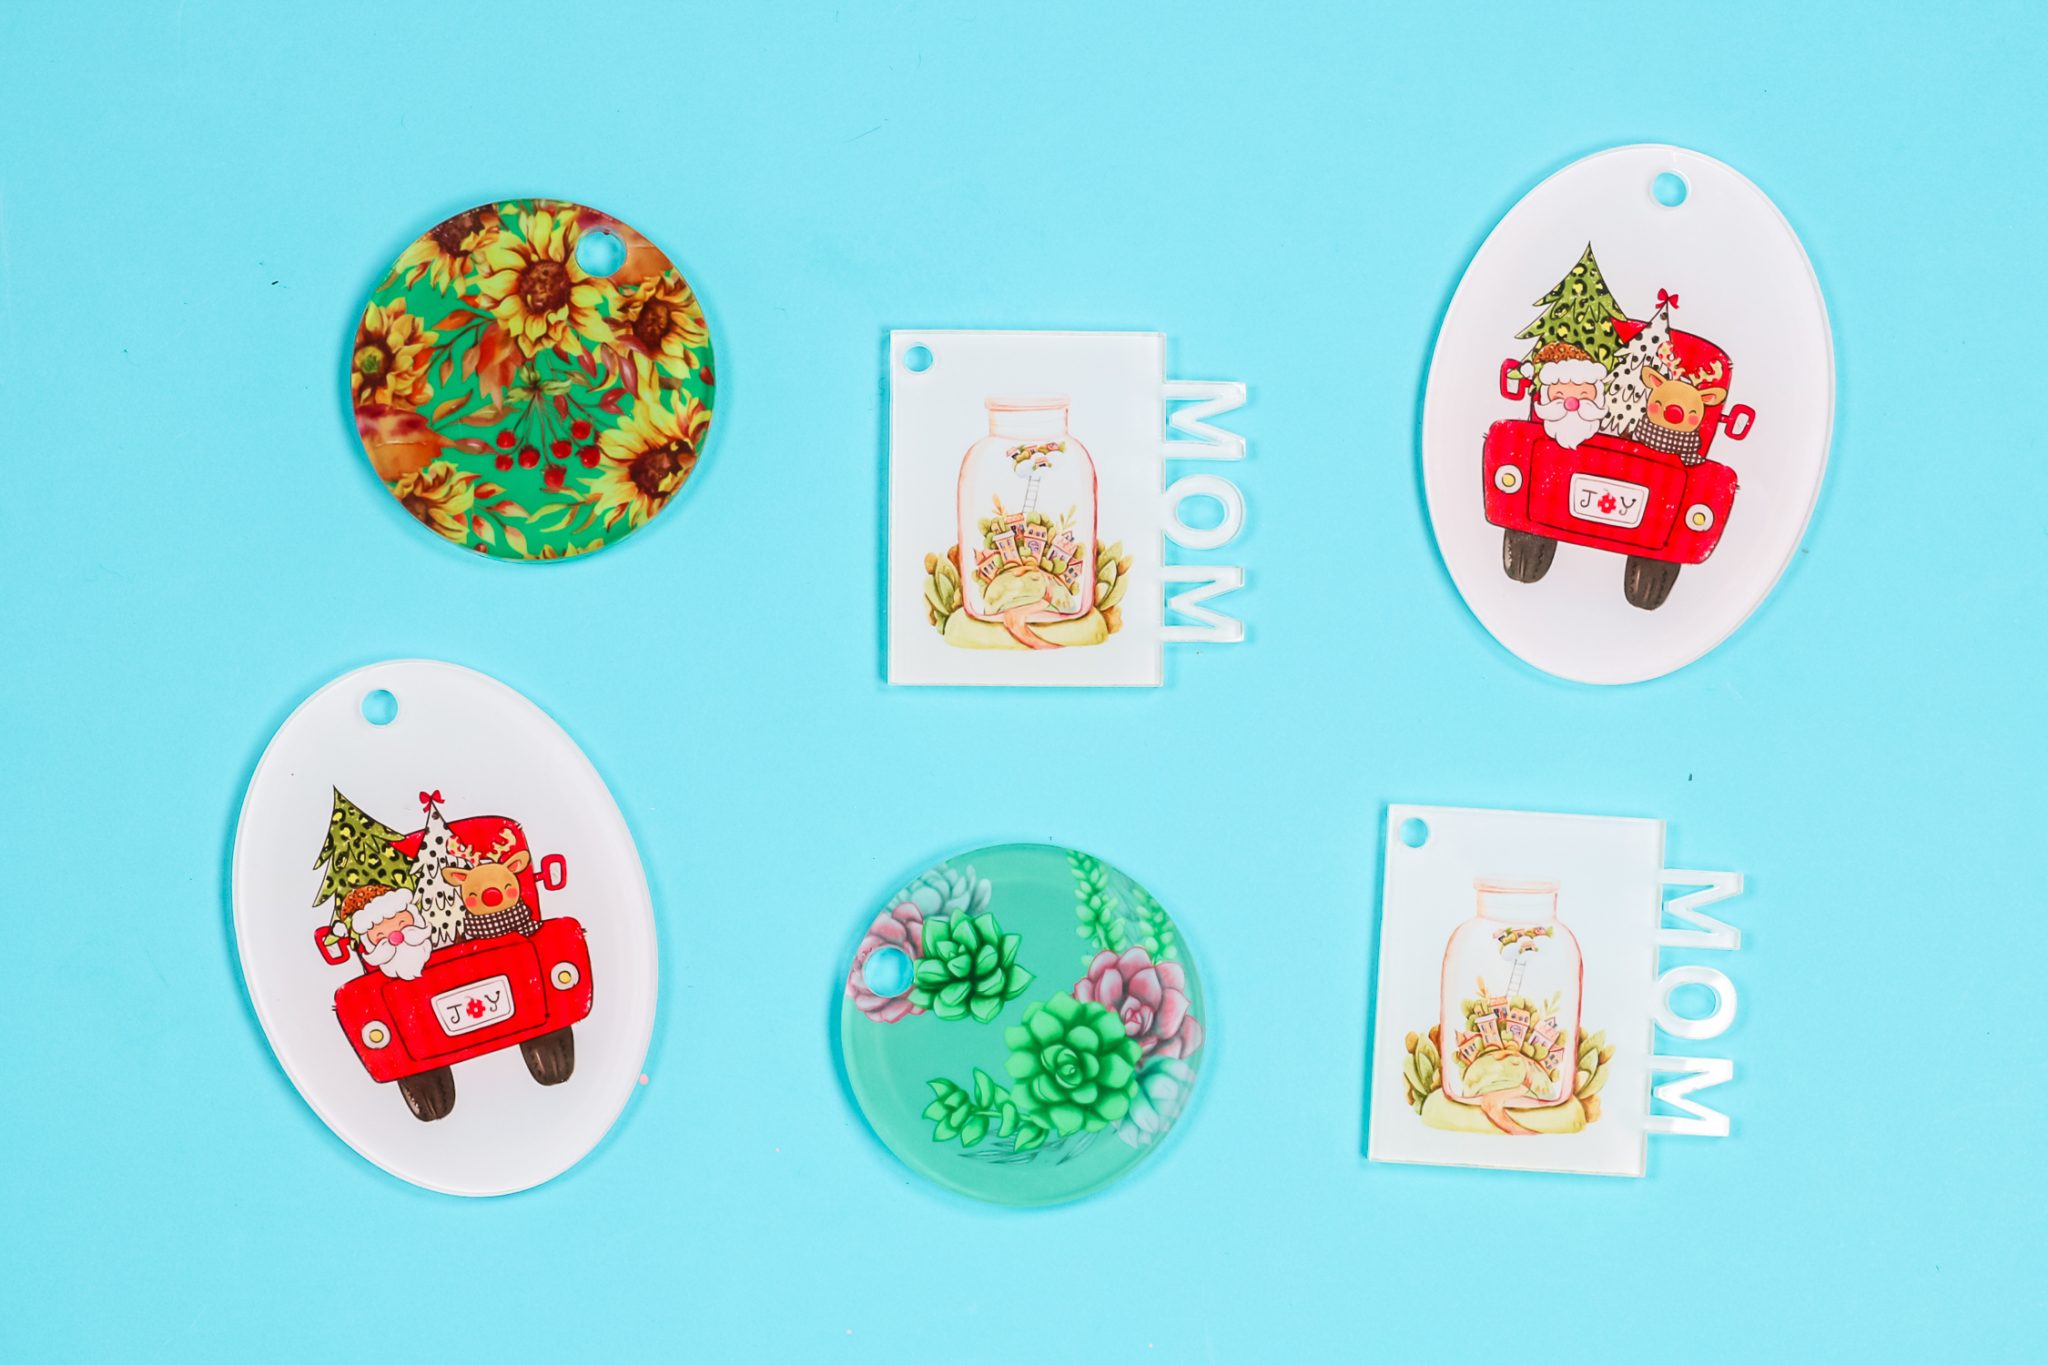
These all turned out amazing. Now I just need to add the key ring and/or ribbon to finish them off.
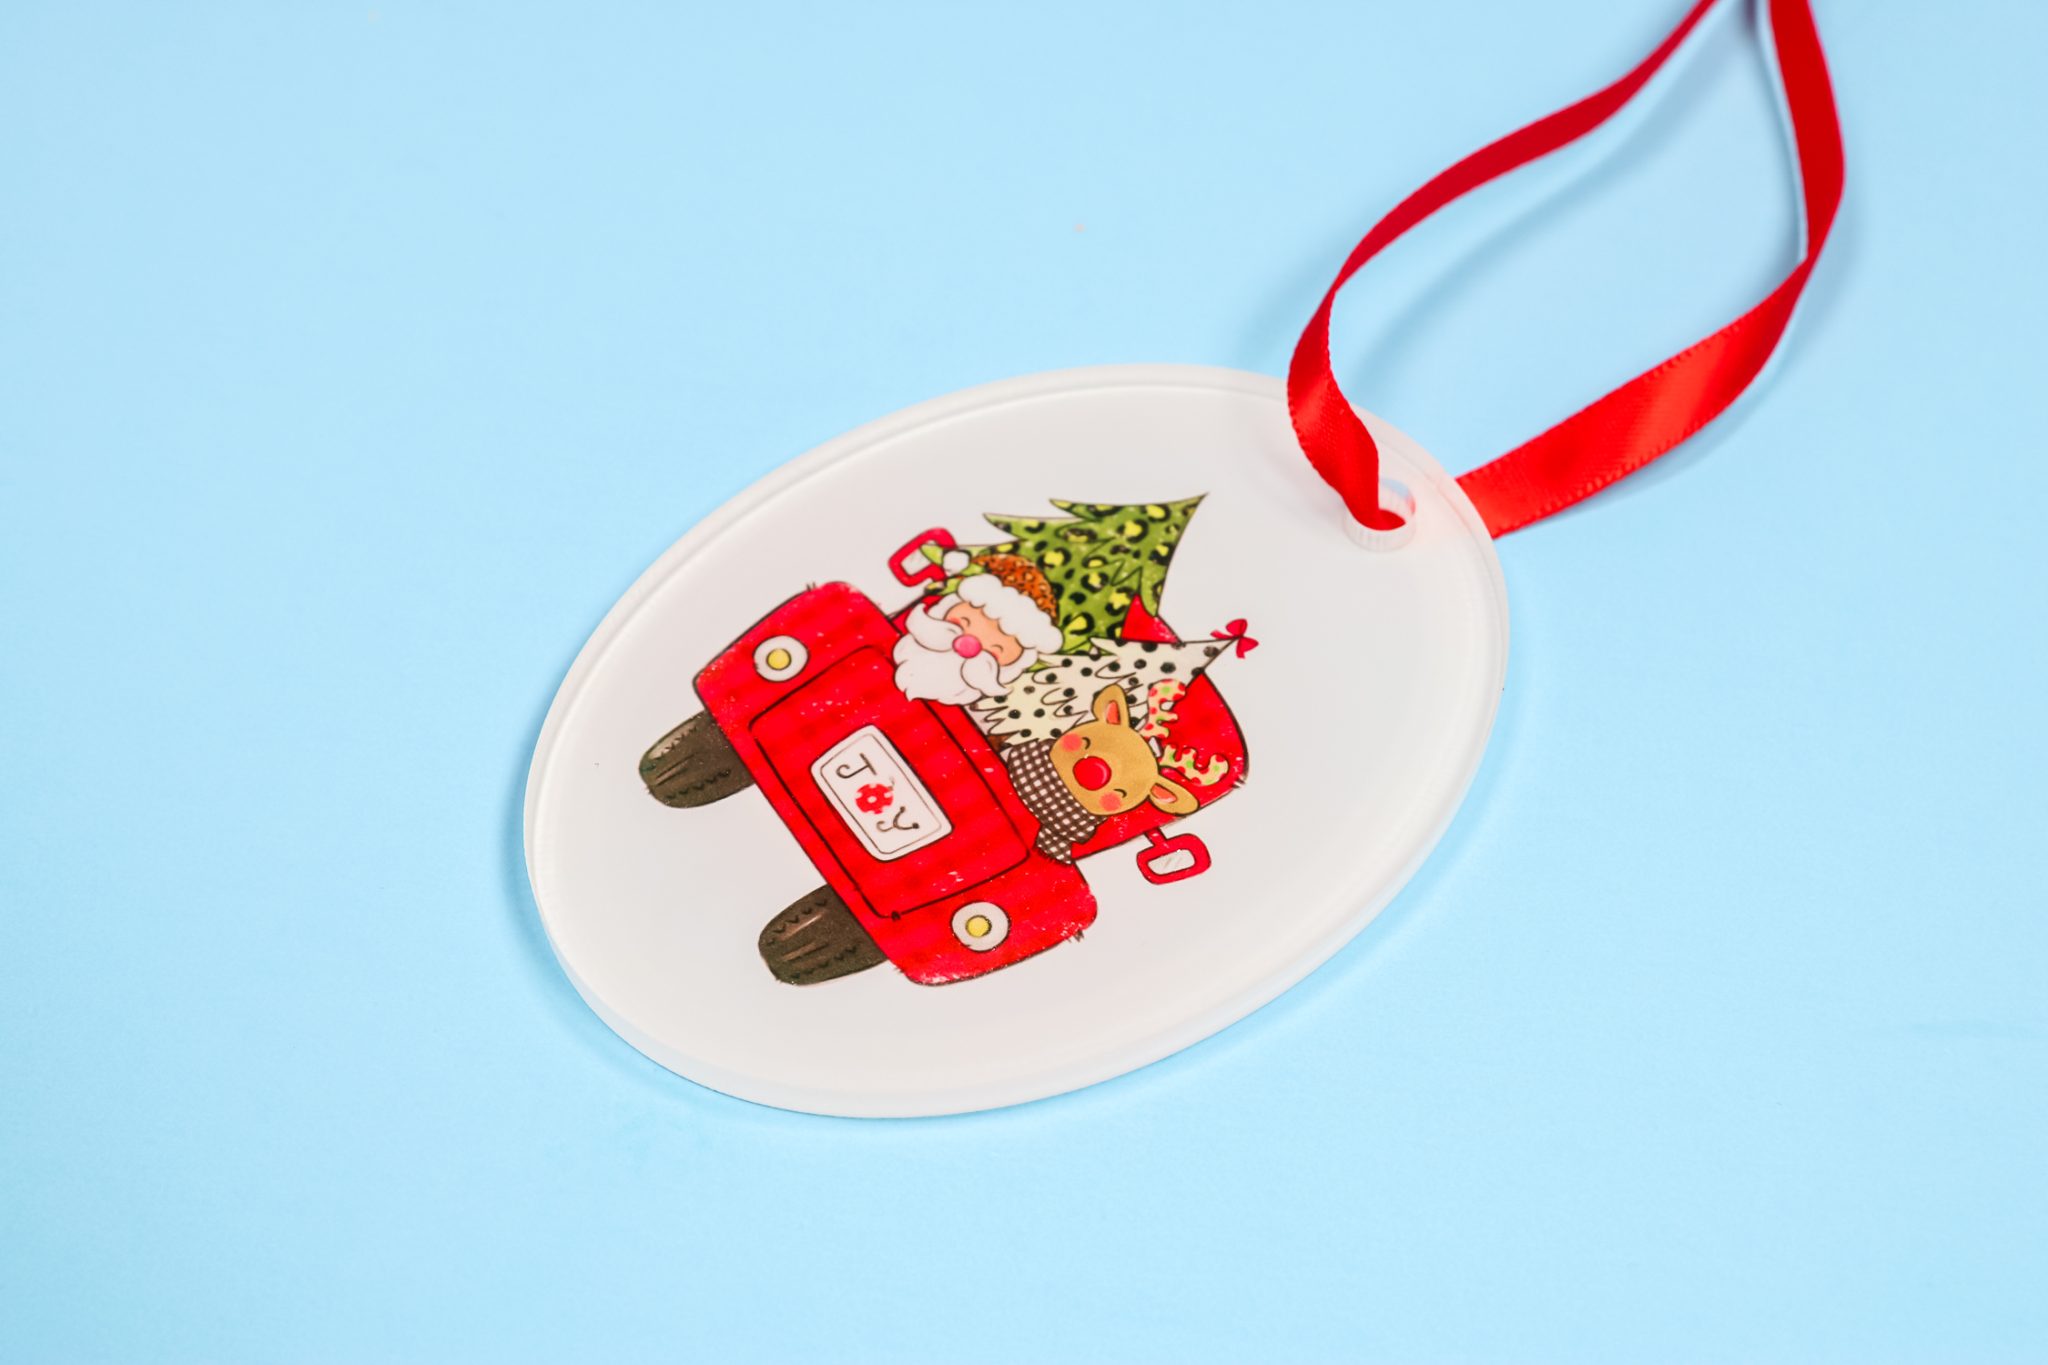
For this project, I didn’t add a background print. The ornament is white and I really feel like the print stands out and looks so good with no additional background.
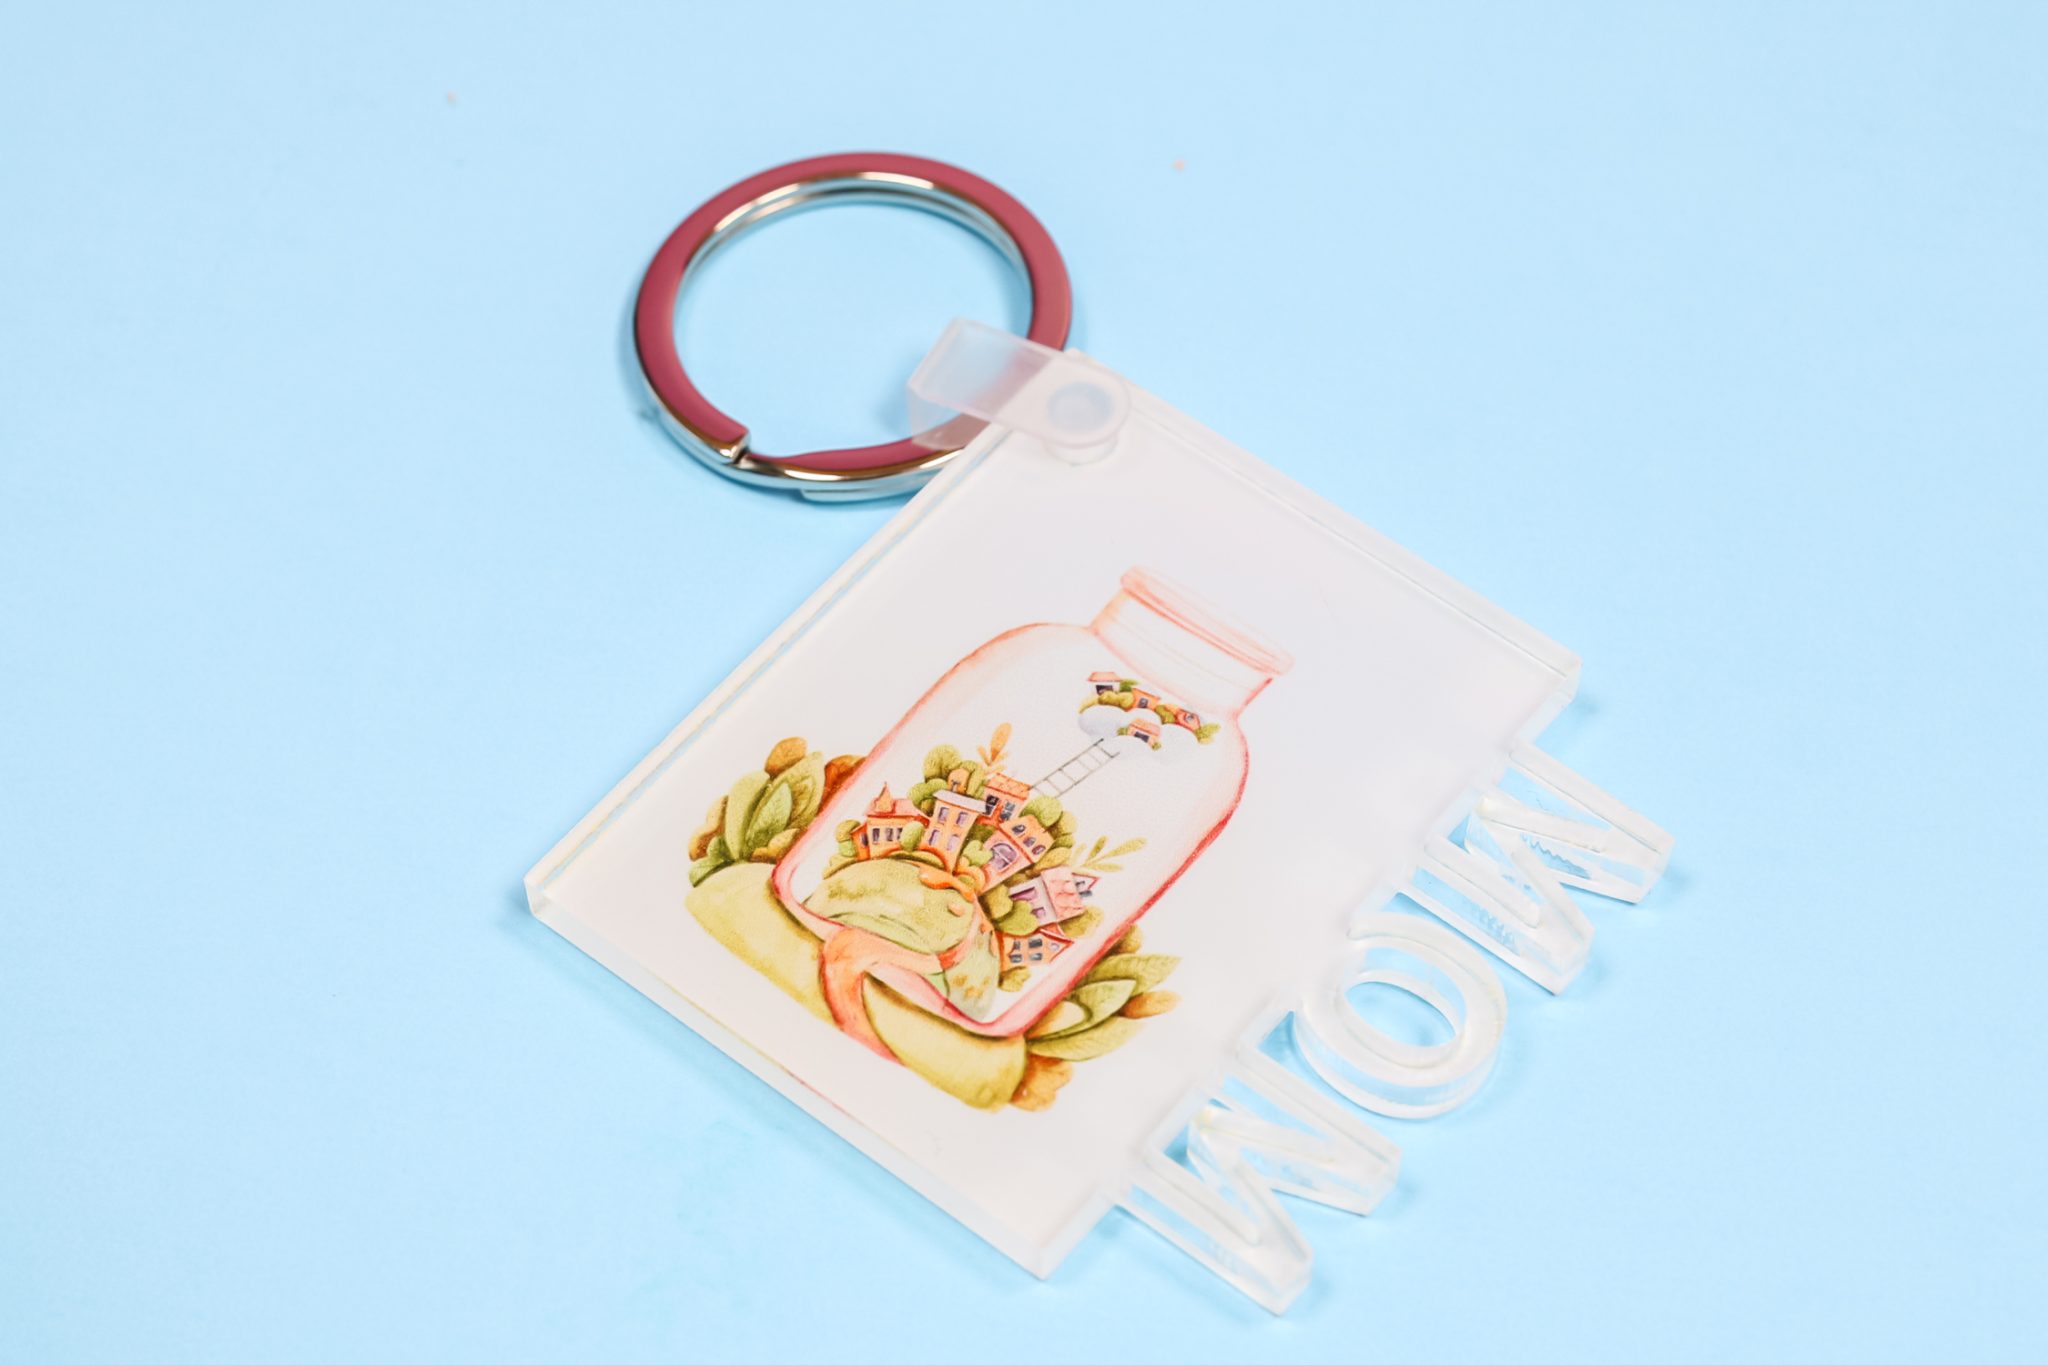
I did the same thing on the MOM keychain. I really like this look. For more sublimation ideas with keychains, you can see our post here!
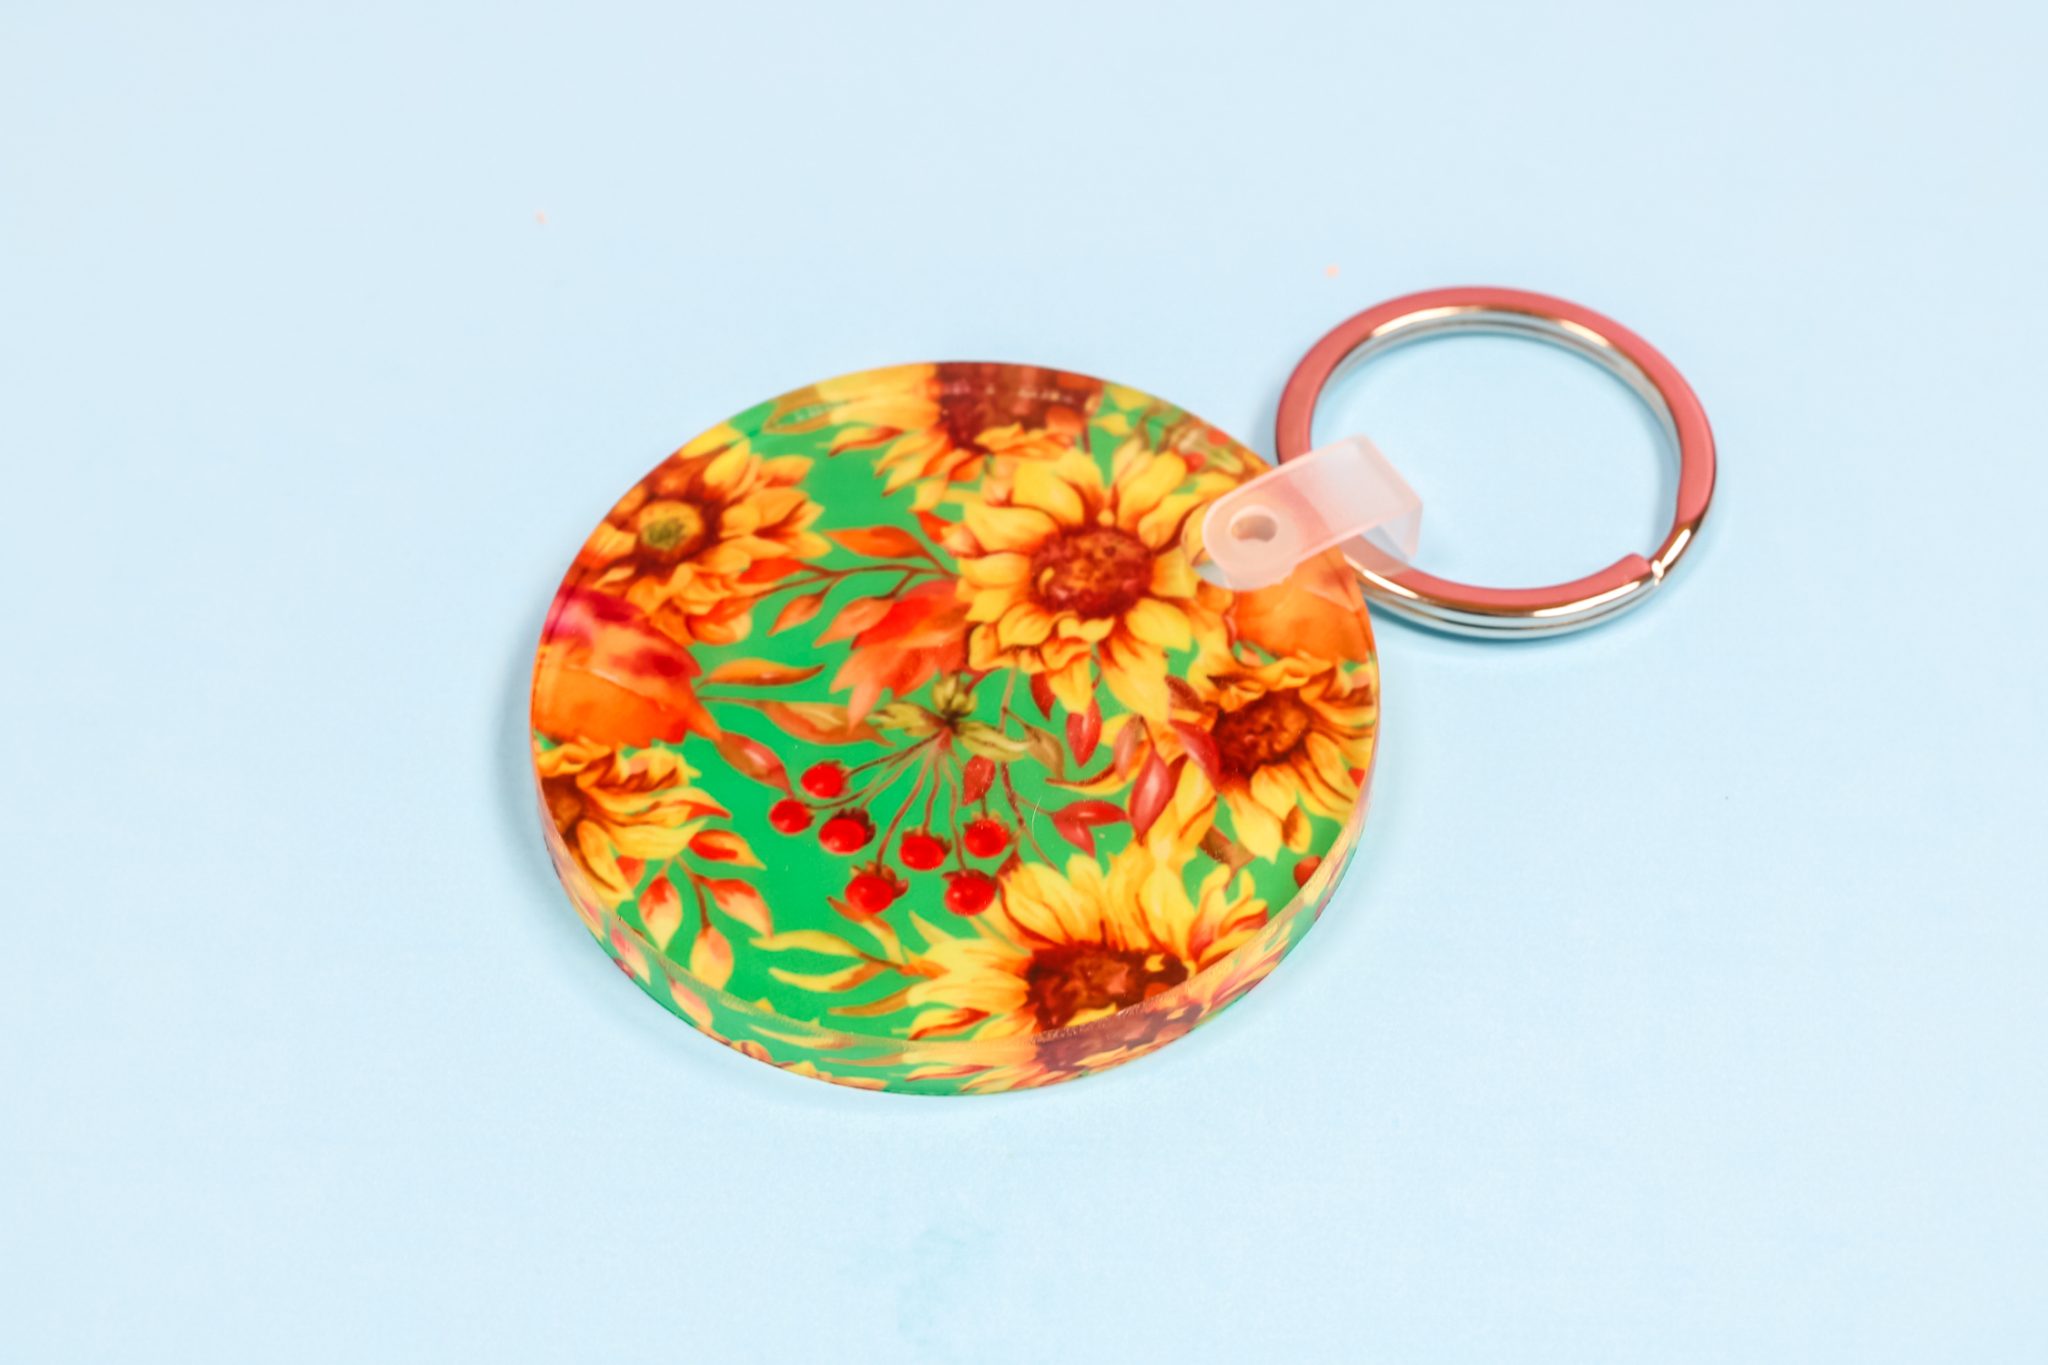
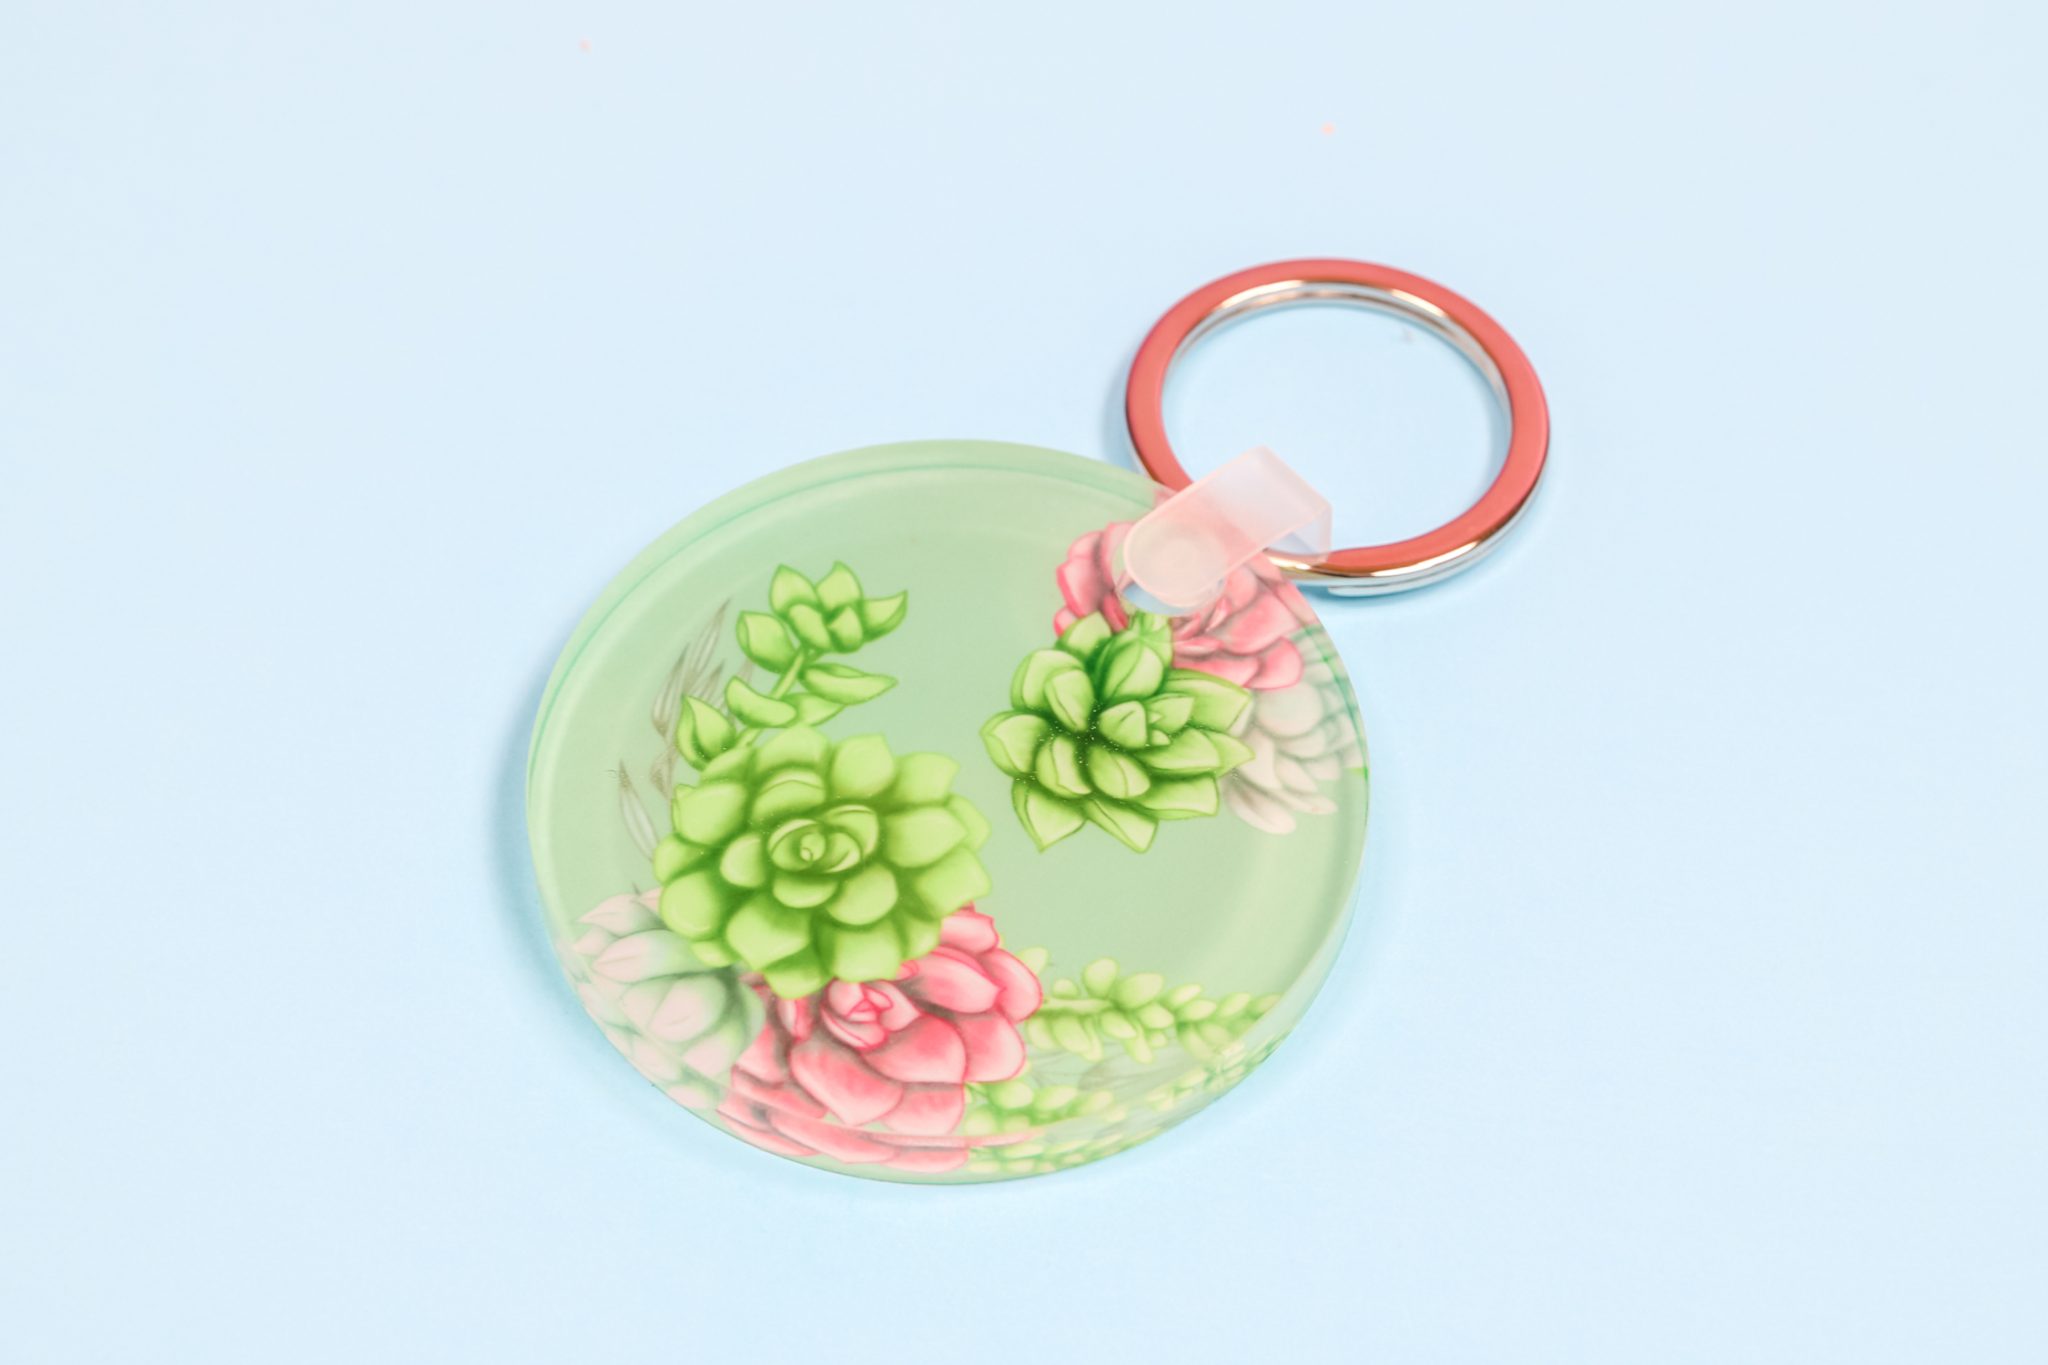
On these, I sublimated the entire thing. These had an opaque background on the back so you can only see through it a little bit.
Do I need to Use Sublimation Acrylic?
There are a lot of acrylic blanks on the market. Do we need to use acrylic blanks that say they are for sublimation? I decided to try out a variety of blanks to see if the blank matters when applying sublimation on acrylic.
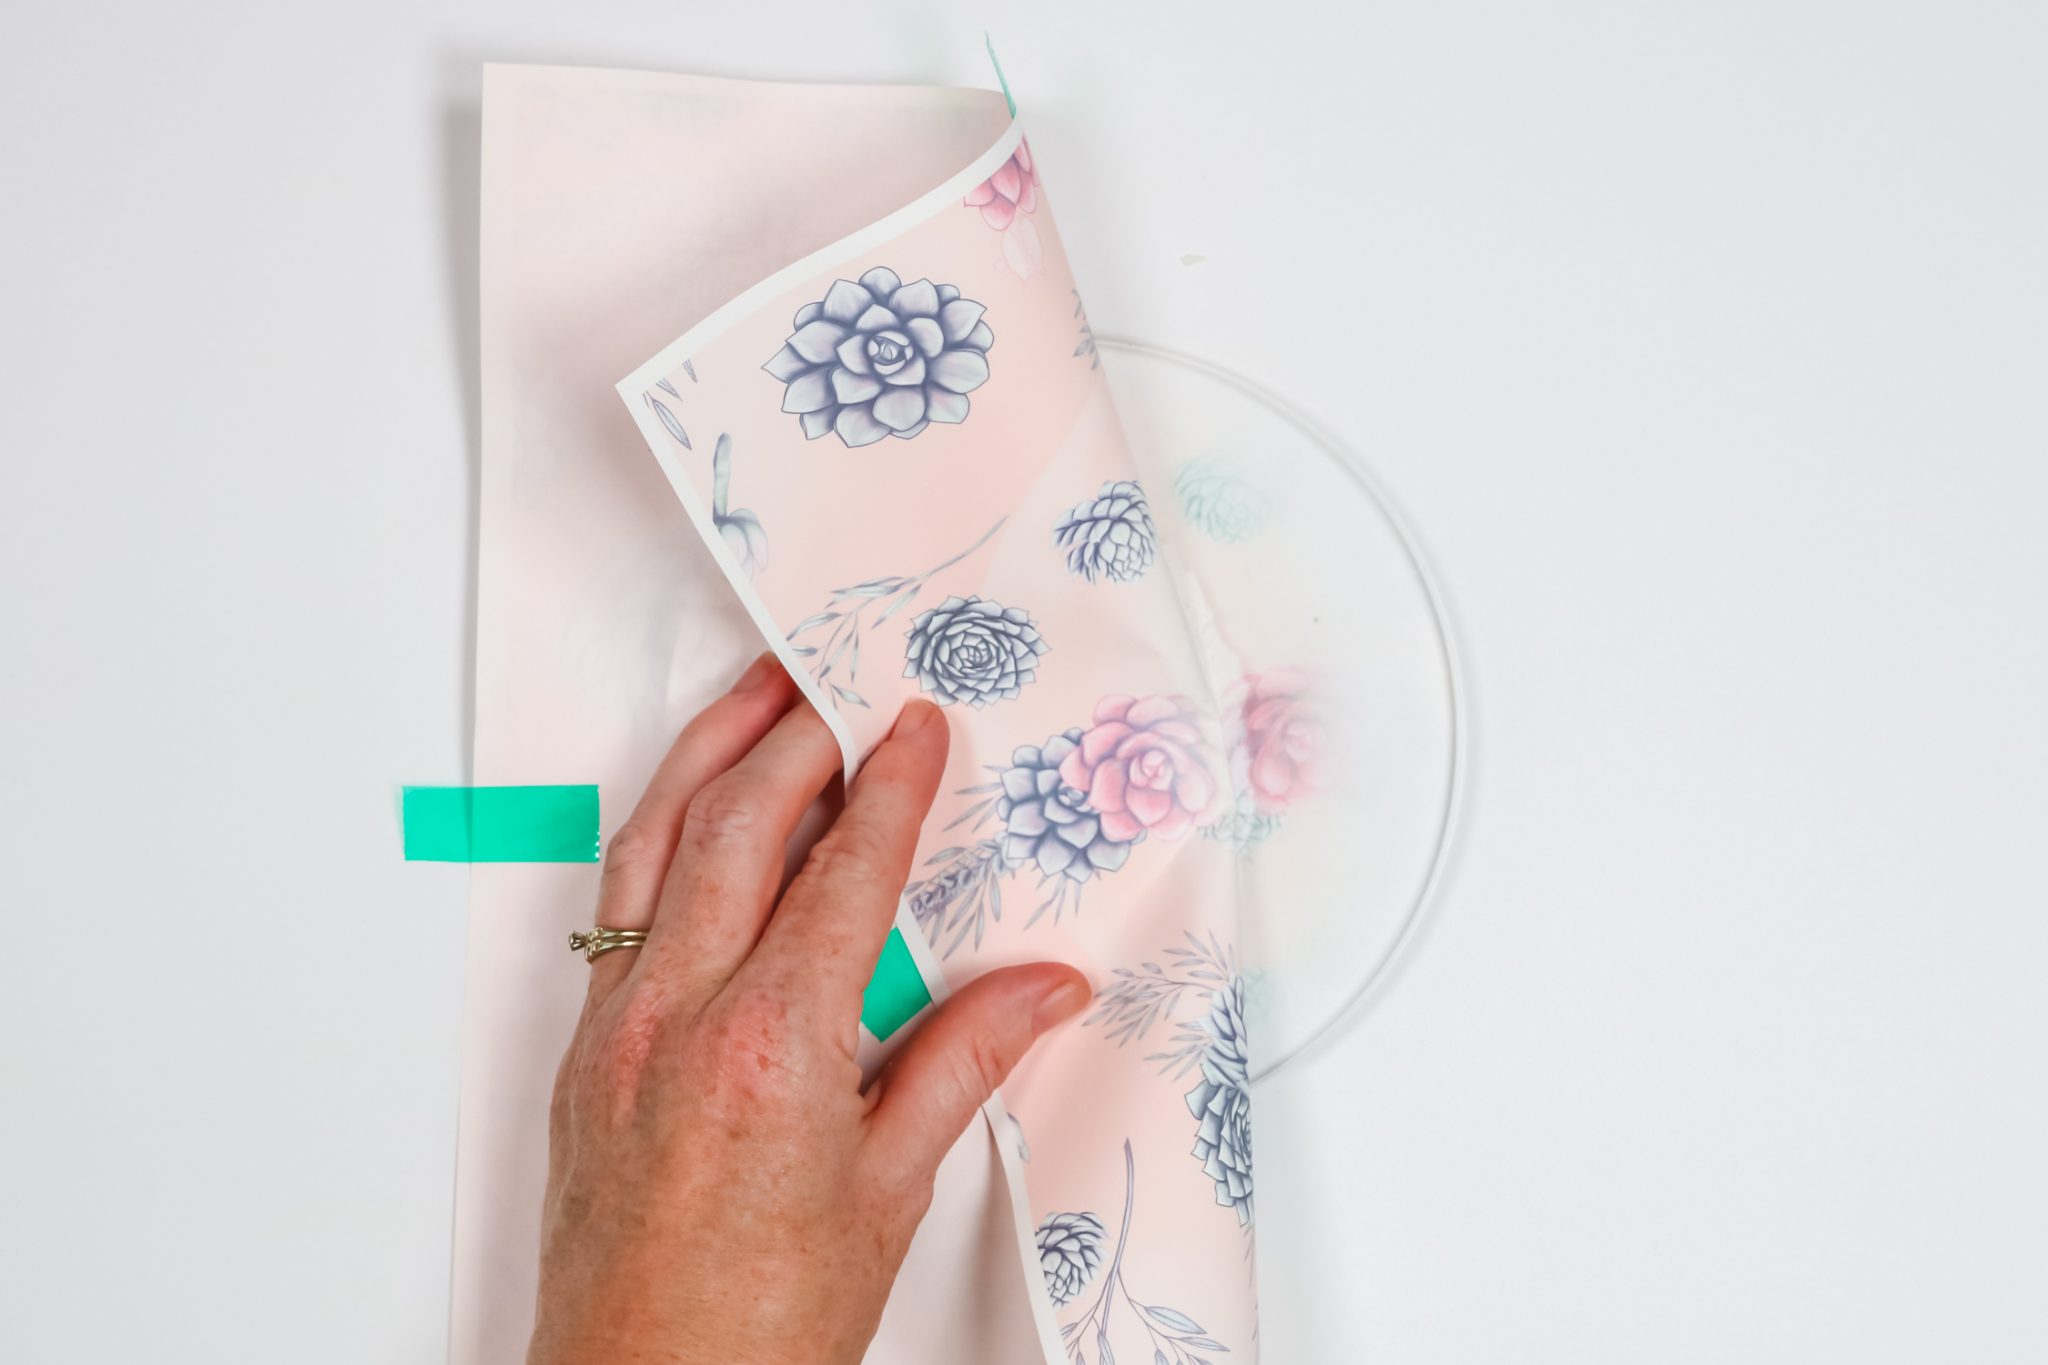
When you’re looking, you may find something called cast acrylic. Technically any cast acrylic will sublimate. This is a cast acrylic sheet. Something you’d use with a laser or Glowforge. I used a sublimation print and sublimated it onto the acrylic sheet. This is a clear acrylic sheet, you can see right through it even with the print applied.
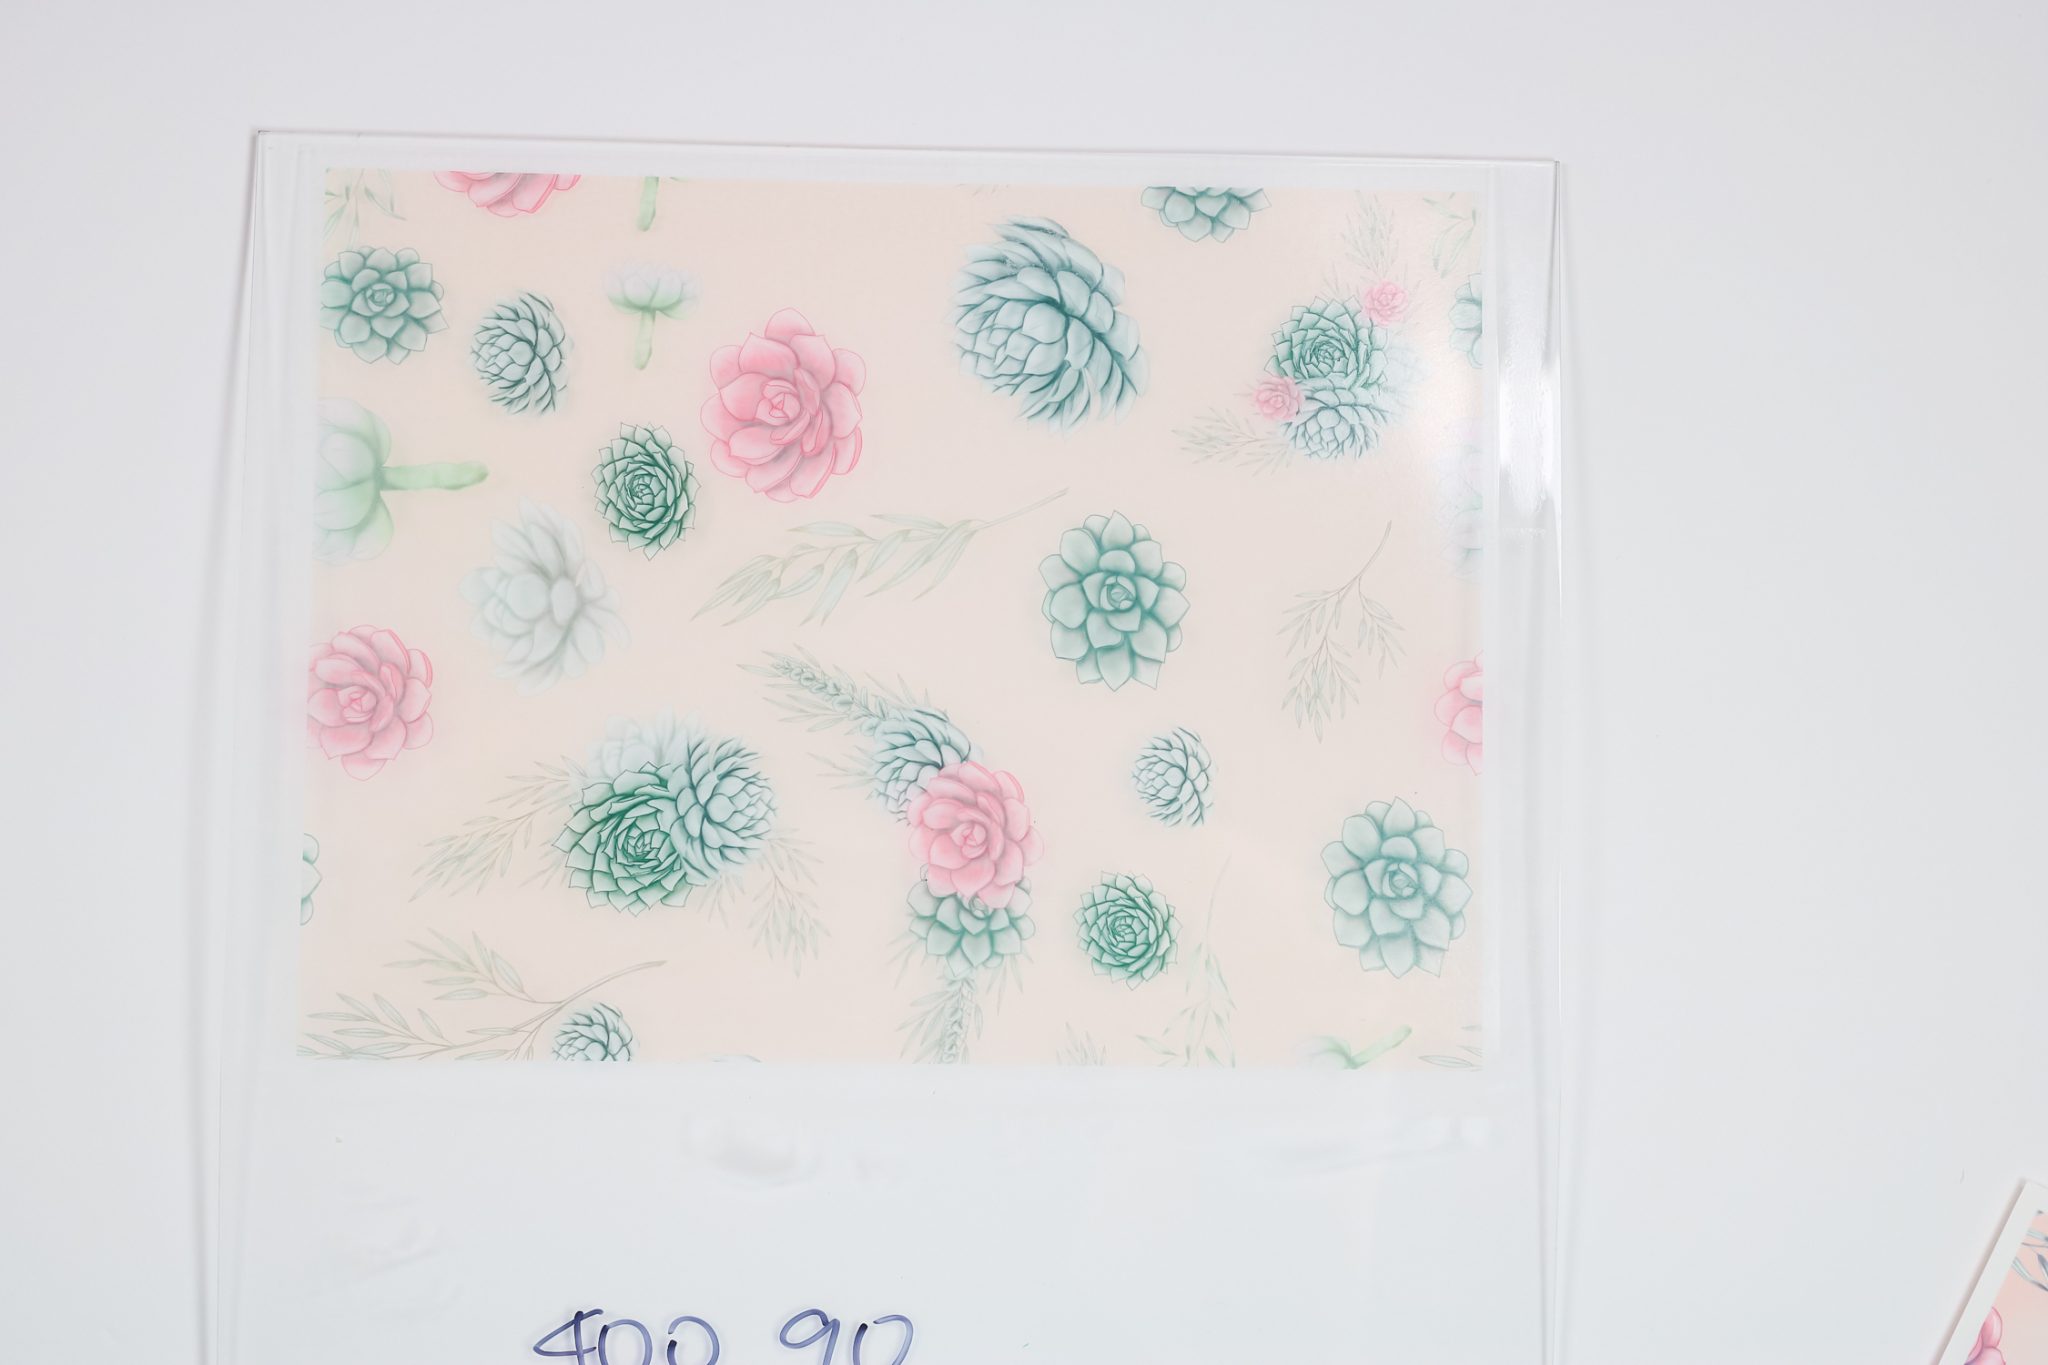
You definitely want your print to be larger than the piece of cast acrylic you’re using. After I finished, you could see where my paper was and where I taped it. The acrylic melted a little bit and it did warp as it cooled. You would want to put something heavy on top while it cools to keep it from warping.
I do think, regardless of the type of acrylic you’re using the thicker the better.
Can You Sublimate on Regular Acrylic?
I wanted to try to sublimate on acrylic that didn’t say it was for sublimation or was not cast acrylic. This blank wasn’t listed as made for sublimation or cast acrylic. After pressing, the paper stuck and it hardly sublimated at all. There is one area that has a little sublimation ink on it but not much at all.
Sublimation on Different Acrylic Blanks
I decided to test sublimation on acrylic further. These are different, random acrylic pieces I purchased to see what would happen when I sublimated on them.
Sublimation Acrylic Bookmarks
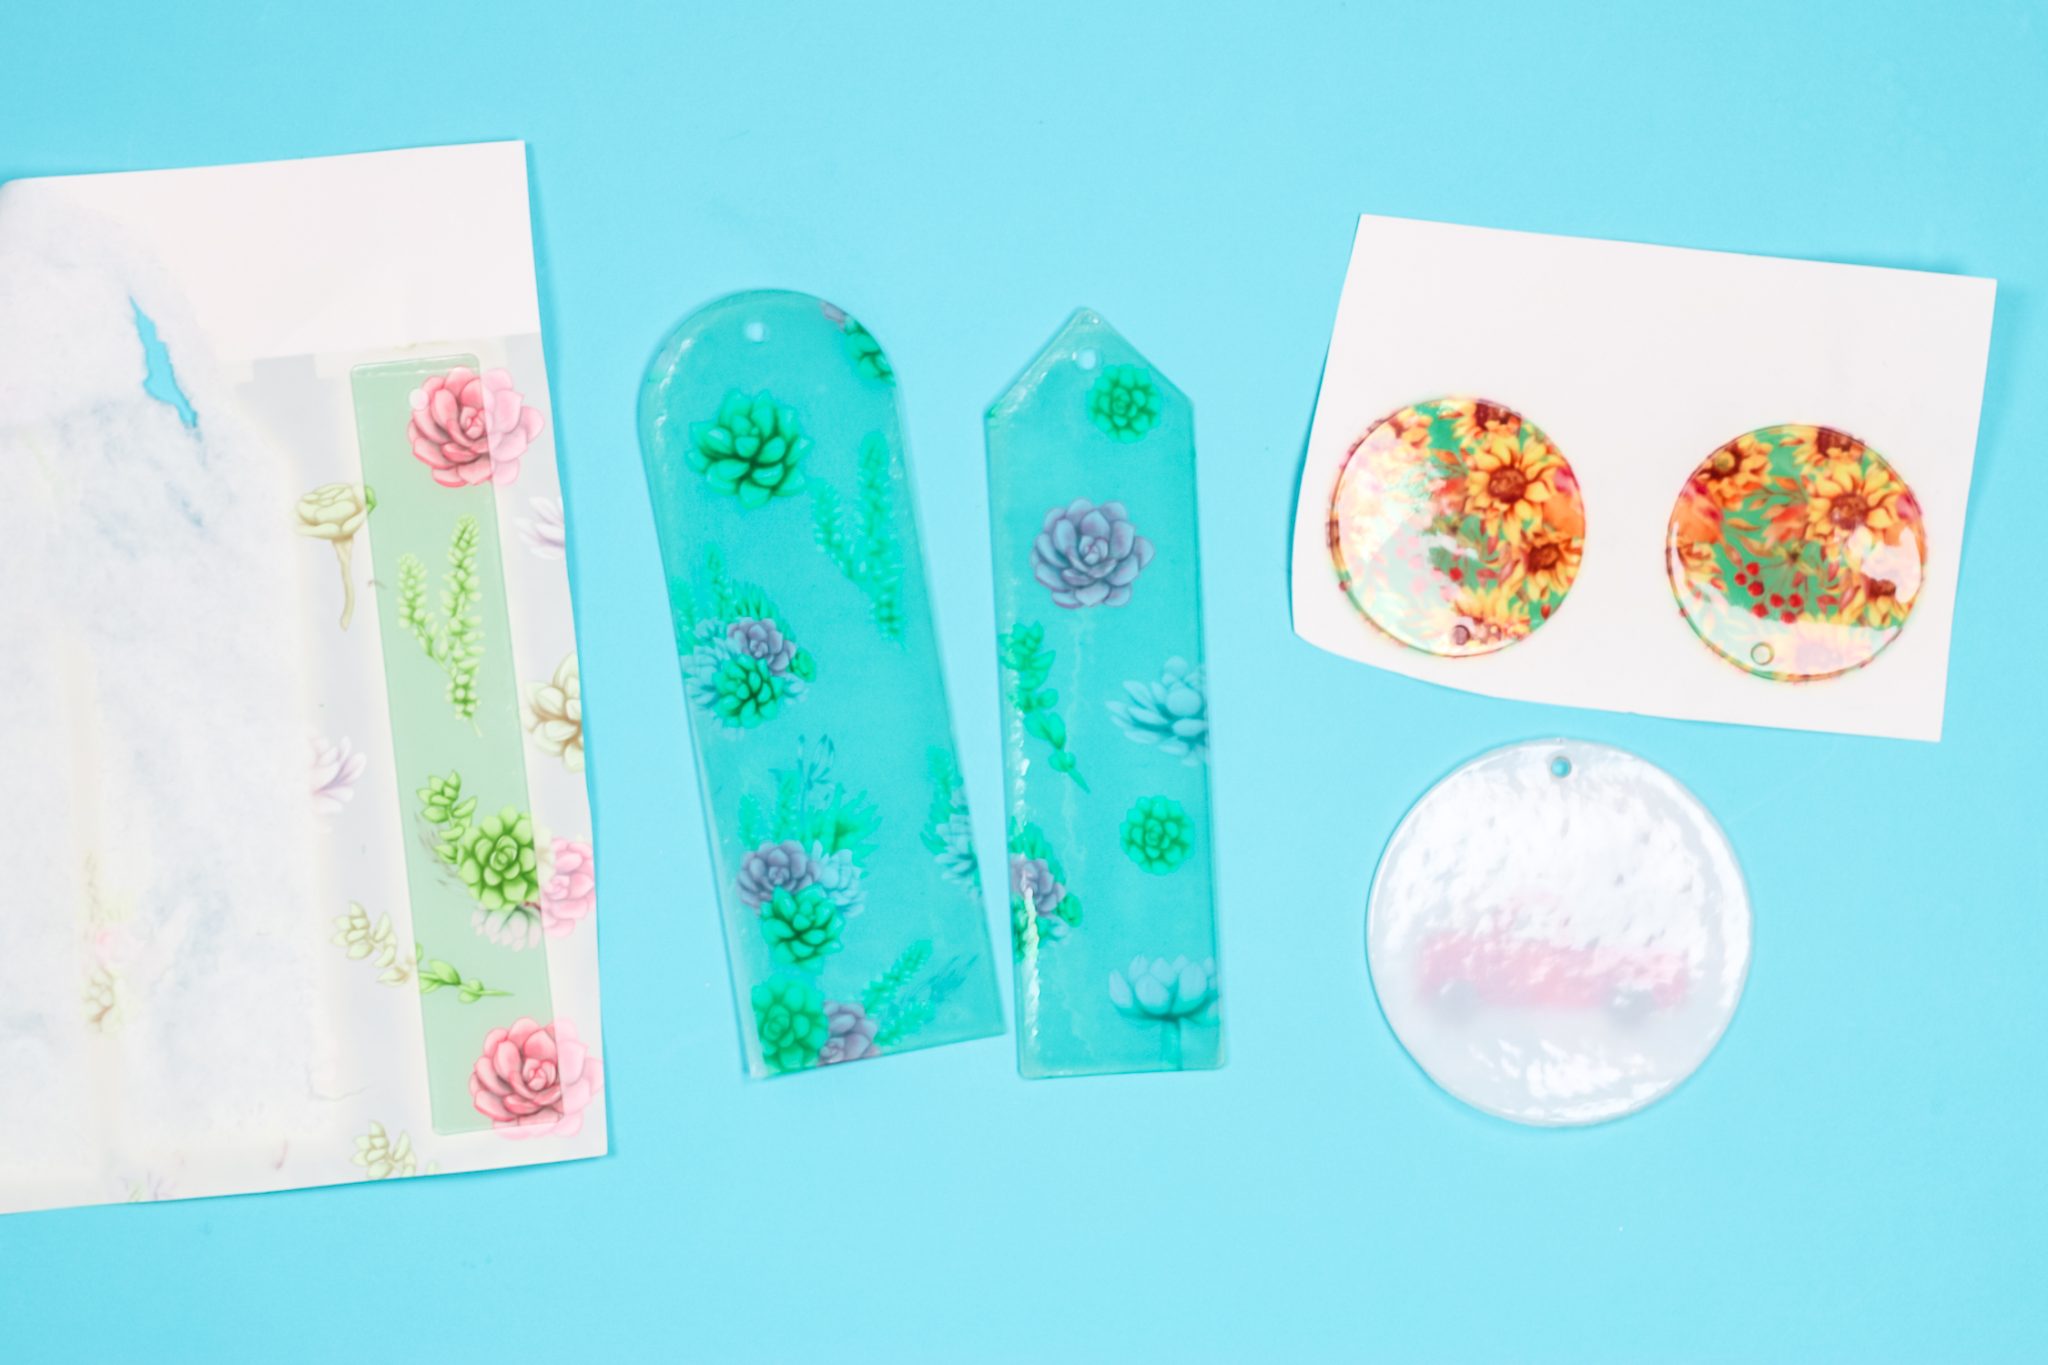
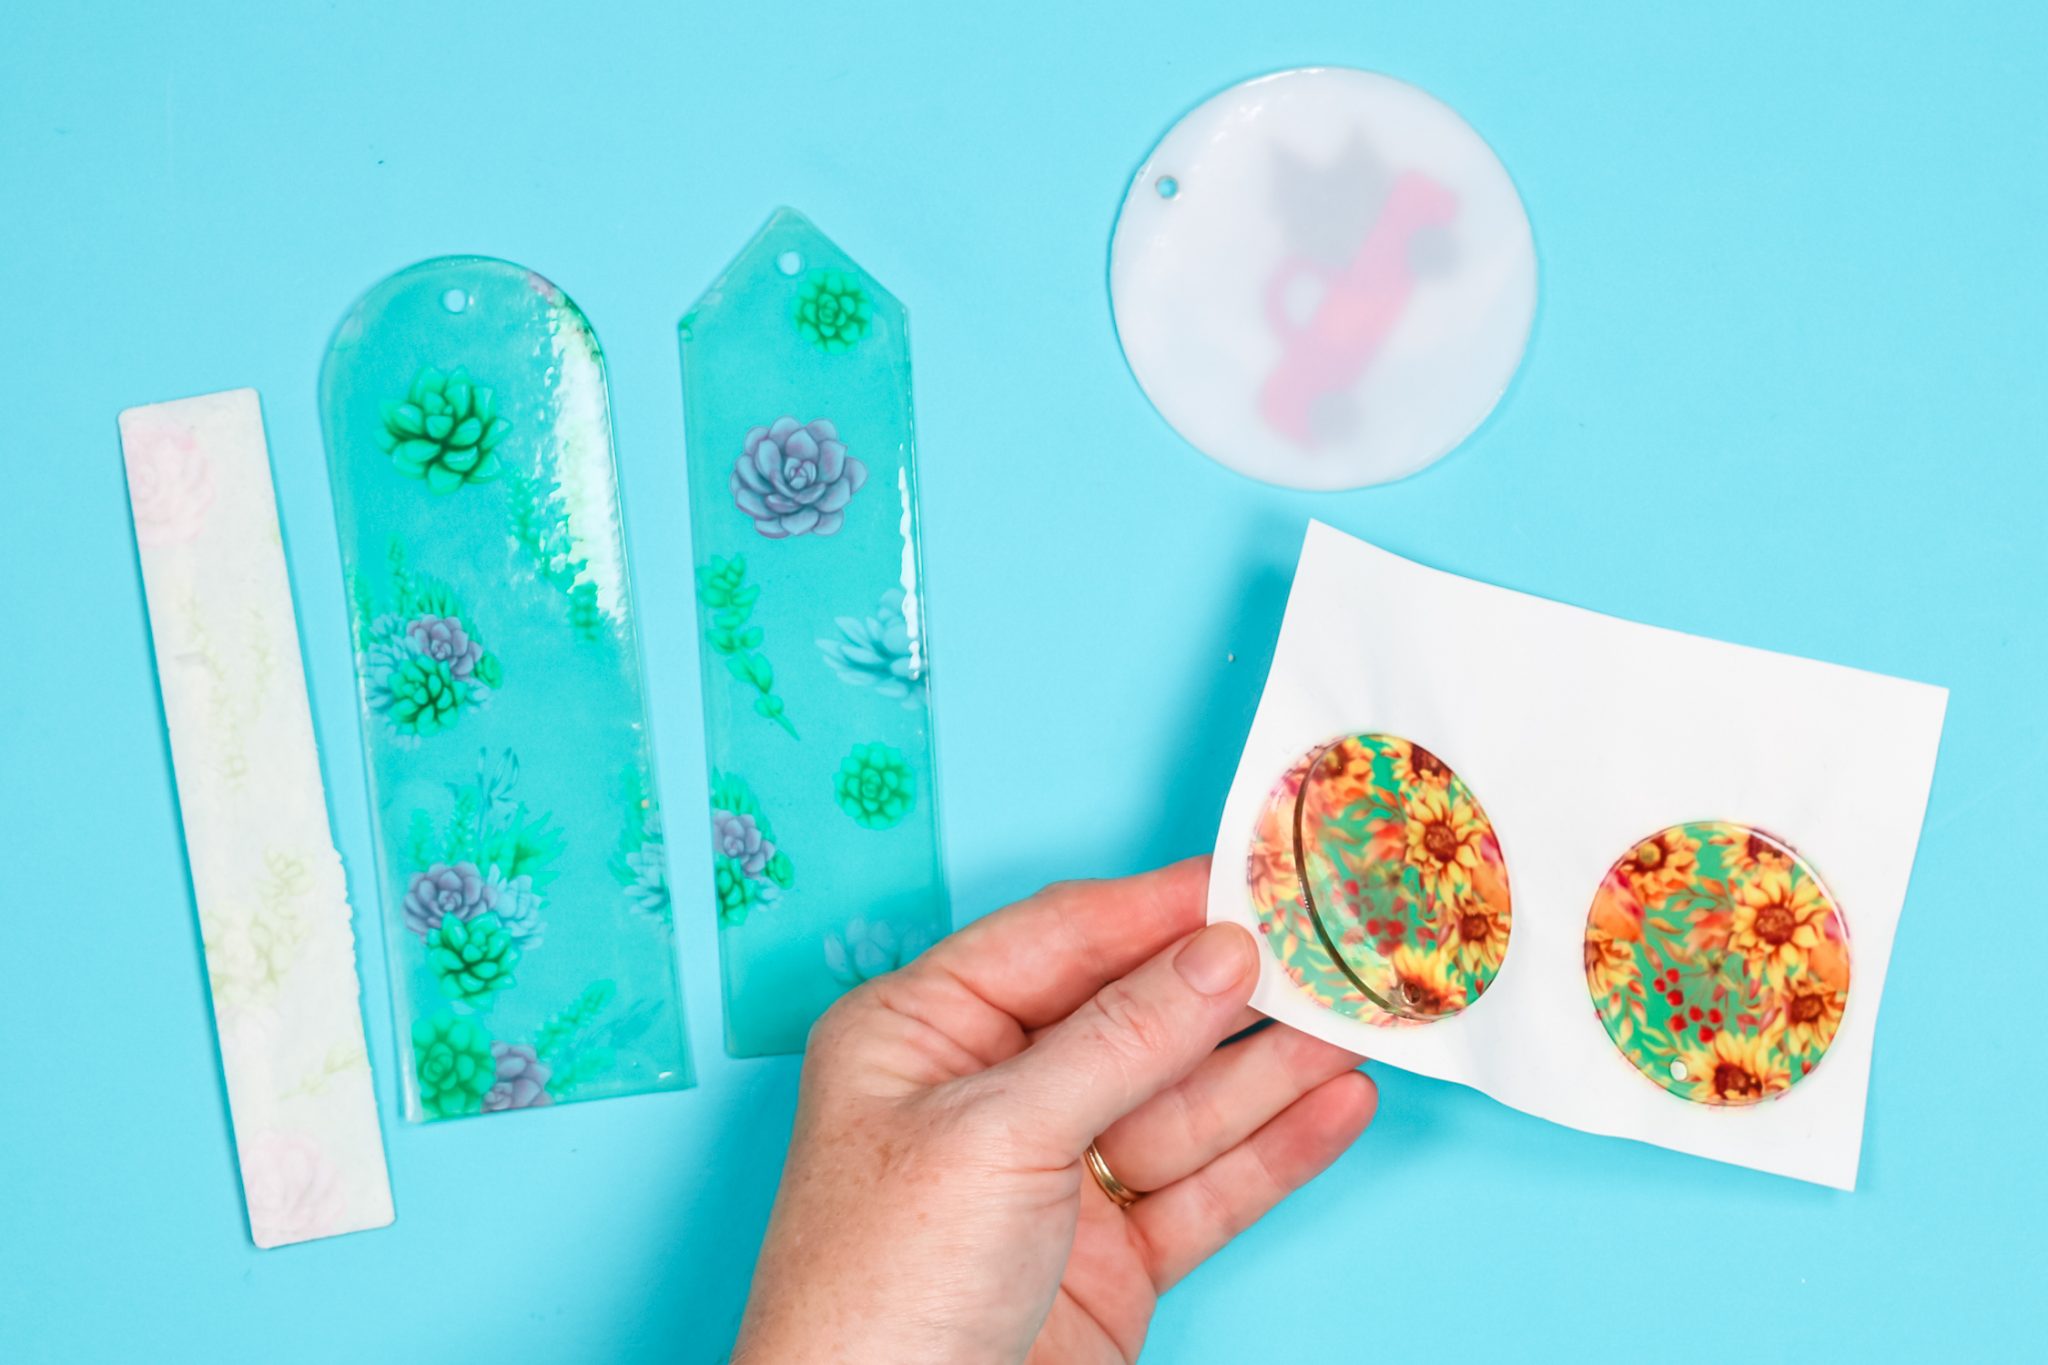
These are clear acrylic and were listed as sublimation bookmarks. They are very thin, like the thickness of paper. When I pressed the sublimation, the paper completely stuck to the blank. I removed what I could and then soaked it in water to remove the rest.
I’m not a big fan of these. The edges look weird and it really deforms with the heat because they’re so thin. I noticed the back ends up with a kind of film on it. I’ve scrubbed and scrubbed it and there is no paper left but it feels like maybe the paper melted and distorted the finish.
I would not purchase these again.
Sublimation on Regular Acrylic
This top ornament didn’t say it was a sublimation blank. I think it’s made more for vinyl projects. The sublimation doesn’t really show through the white back and it’s really thin so it is distorted with heat. The sublimation ornament didn’t warp, so I would make sure you’re picking a sublimation acrylic ornament.
Want sublimation ornaments that work? Try this post for options!
These acrylic keychains didn’t work at all. They were not listed as a sublimation blank and didn’t work. In fact, the coating that was on them completely came off on my paper!
When you purchase a blank that doesn’t specify it’s made to use with sublimation, it’s going to be a gamble and one that often won’t work out.
Sublimation on Acrylic Nightlight
The acrylic nightlight pieces did require some trial and error. Let me show you how things turned out.
- The blank on the left was pressed at 400 degrees for 60 seconds. It is very warped and the surface is melted. It has crater-type look that may be cool if you’re putting a moon design on it but otherwise it doesn’t look great.
- The middle blank was pressed for 50 seconds at 385 degrees. It is still a little warped but the melting on the front is better.
- The final blank on the right was pressed at 350 degrees for 45 seconds. It isn’t warped at all and looks much better. I actually cooled this one under a heat-resistant mat with something heavy on top so it would cool flat. There is still a little distortion on the front but it looks a lot better.
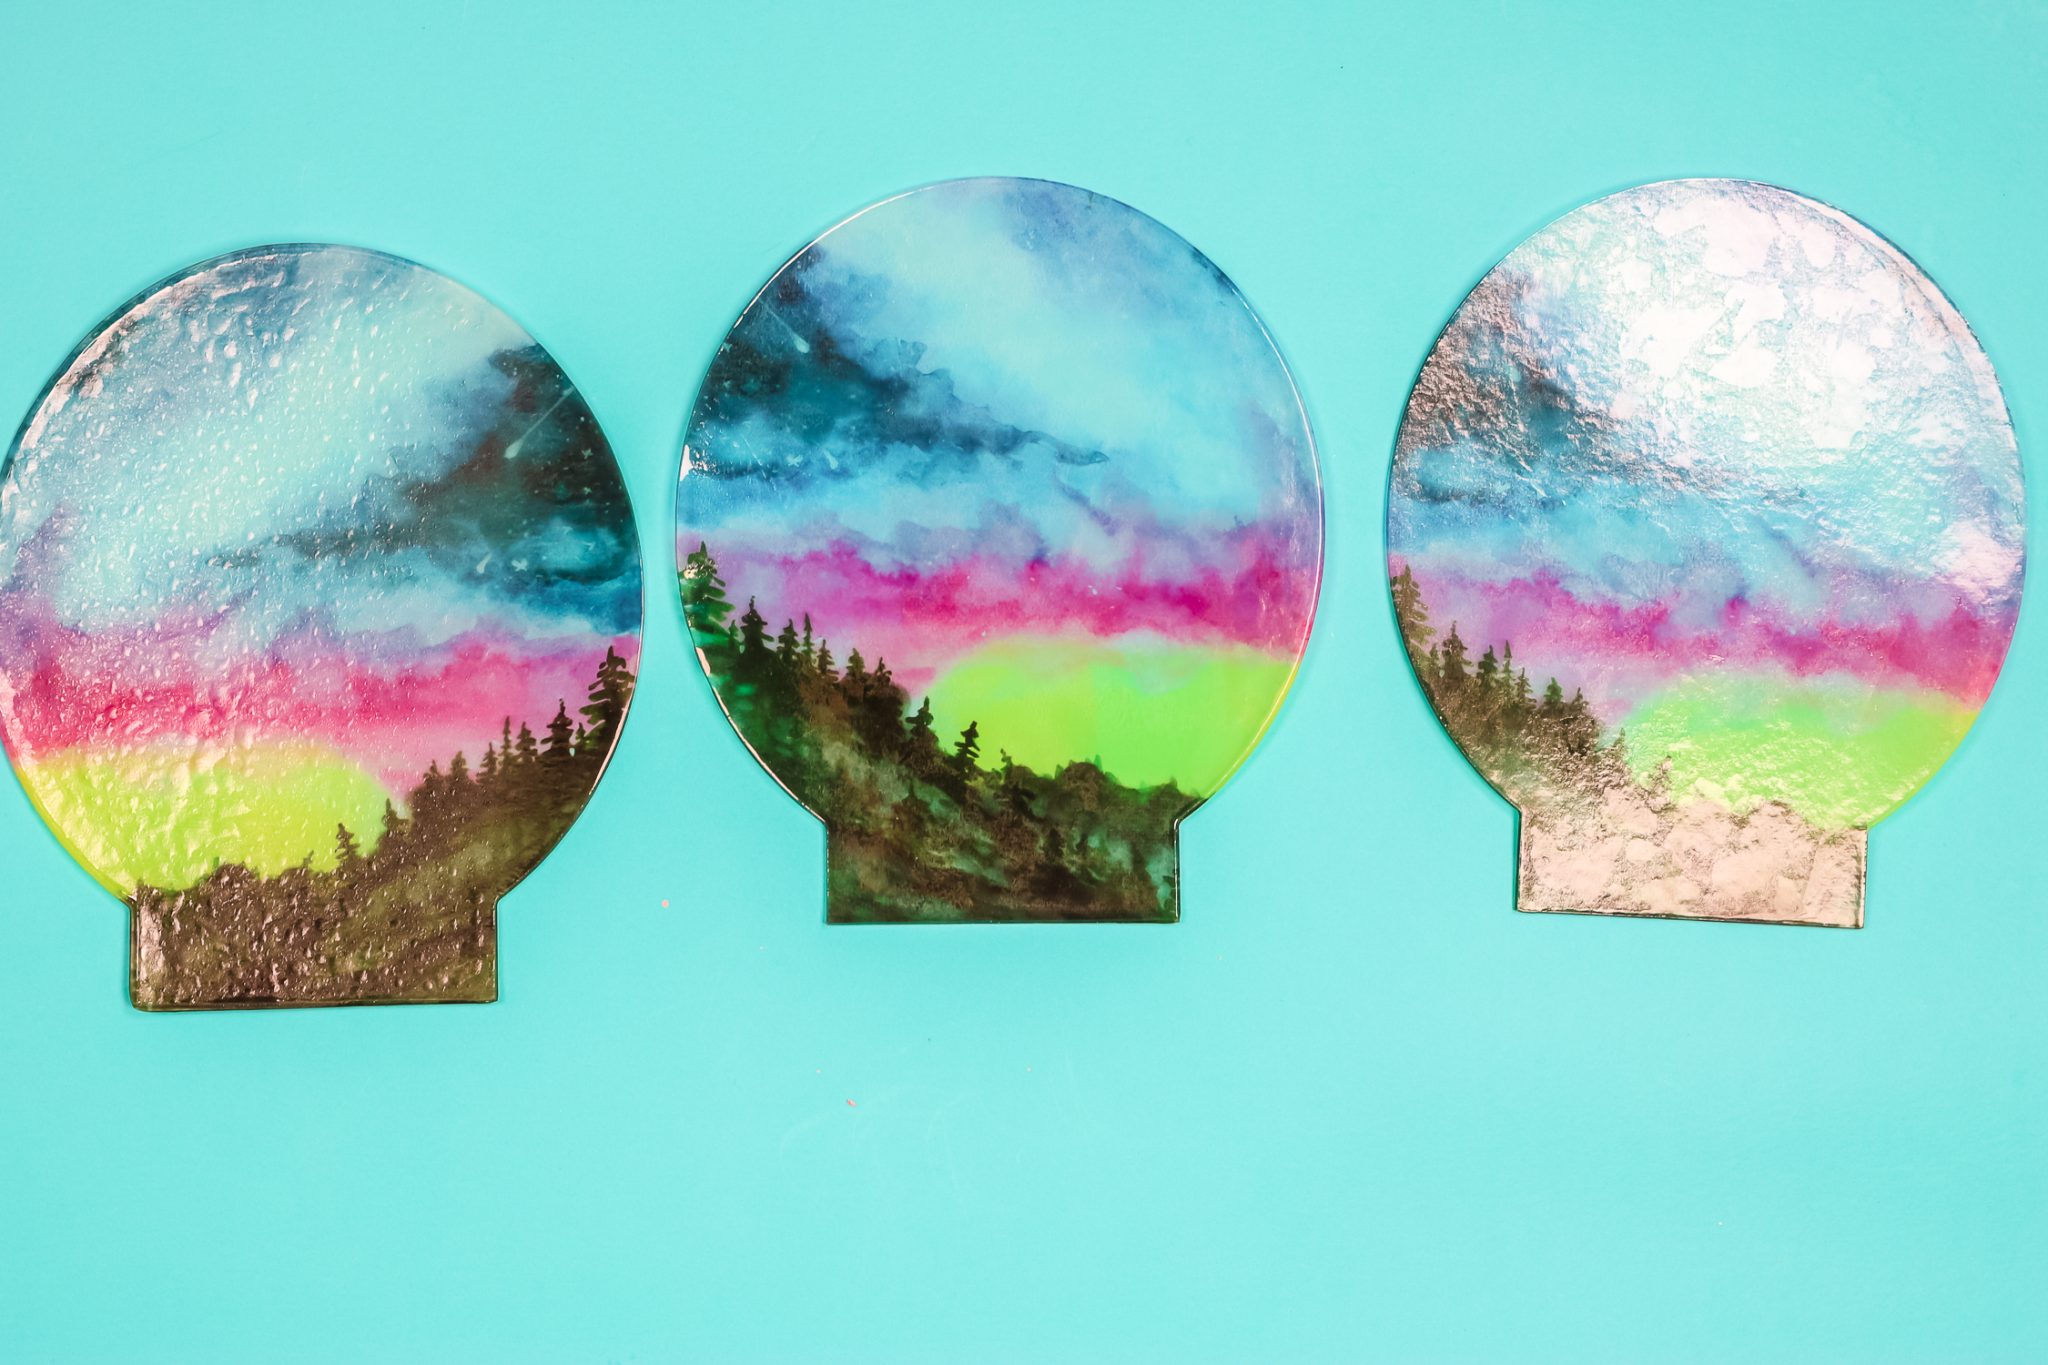
I consider the side that I sublimated on to be the back of the blank. That side does feel rough almost like it has a film on it.
The side I consider the front is nice and smooth and looks so good. It does have a little of the distortion the other ones had. I’m not sure if that is from the protective paper or what but I’m hopeful it won’t show when it’s in the base.
Removing Stuck Paper from Acrylic Blanks
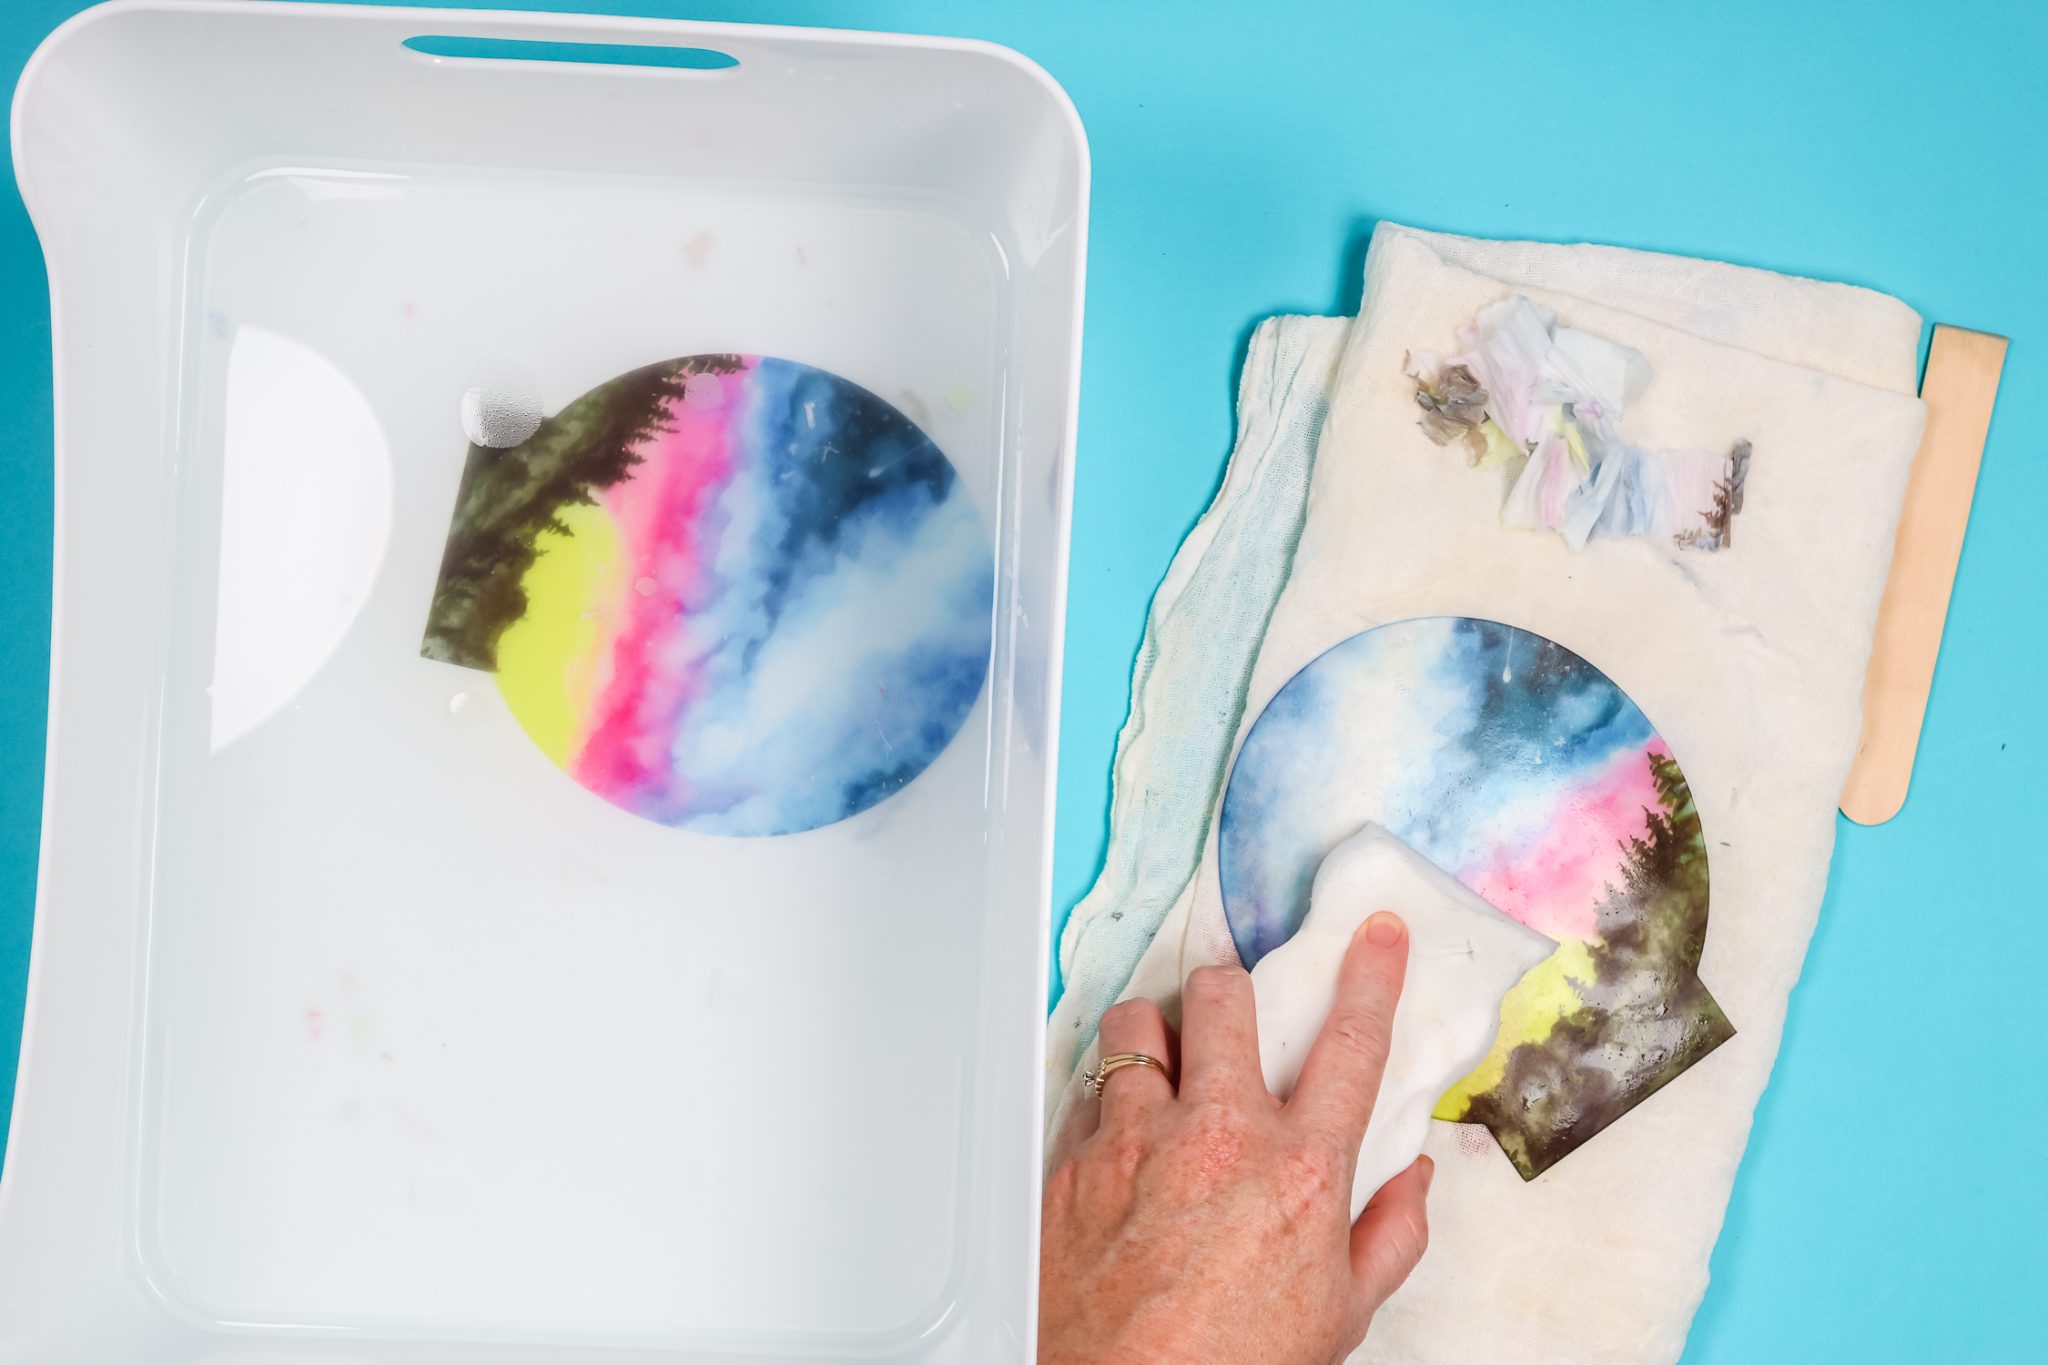
If your paper sticks to the back of the blank I found soaking it in a little bit of water makes it easier to remove. I soaked this blank for about 10 minutes and used the flat end of a popsicle stick to start pushing the paper off.
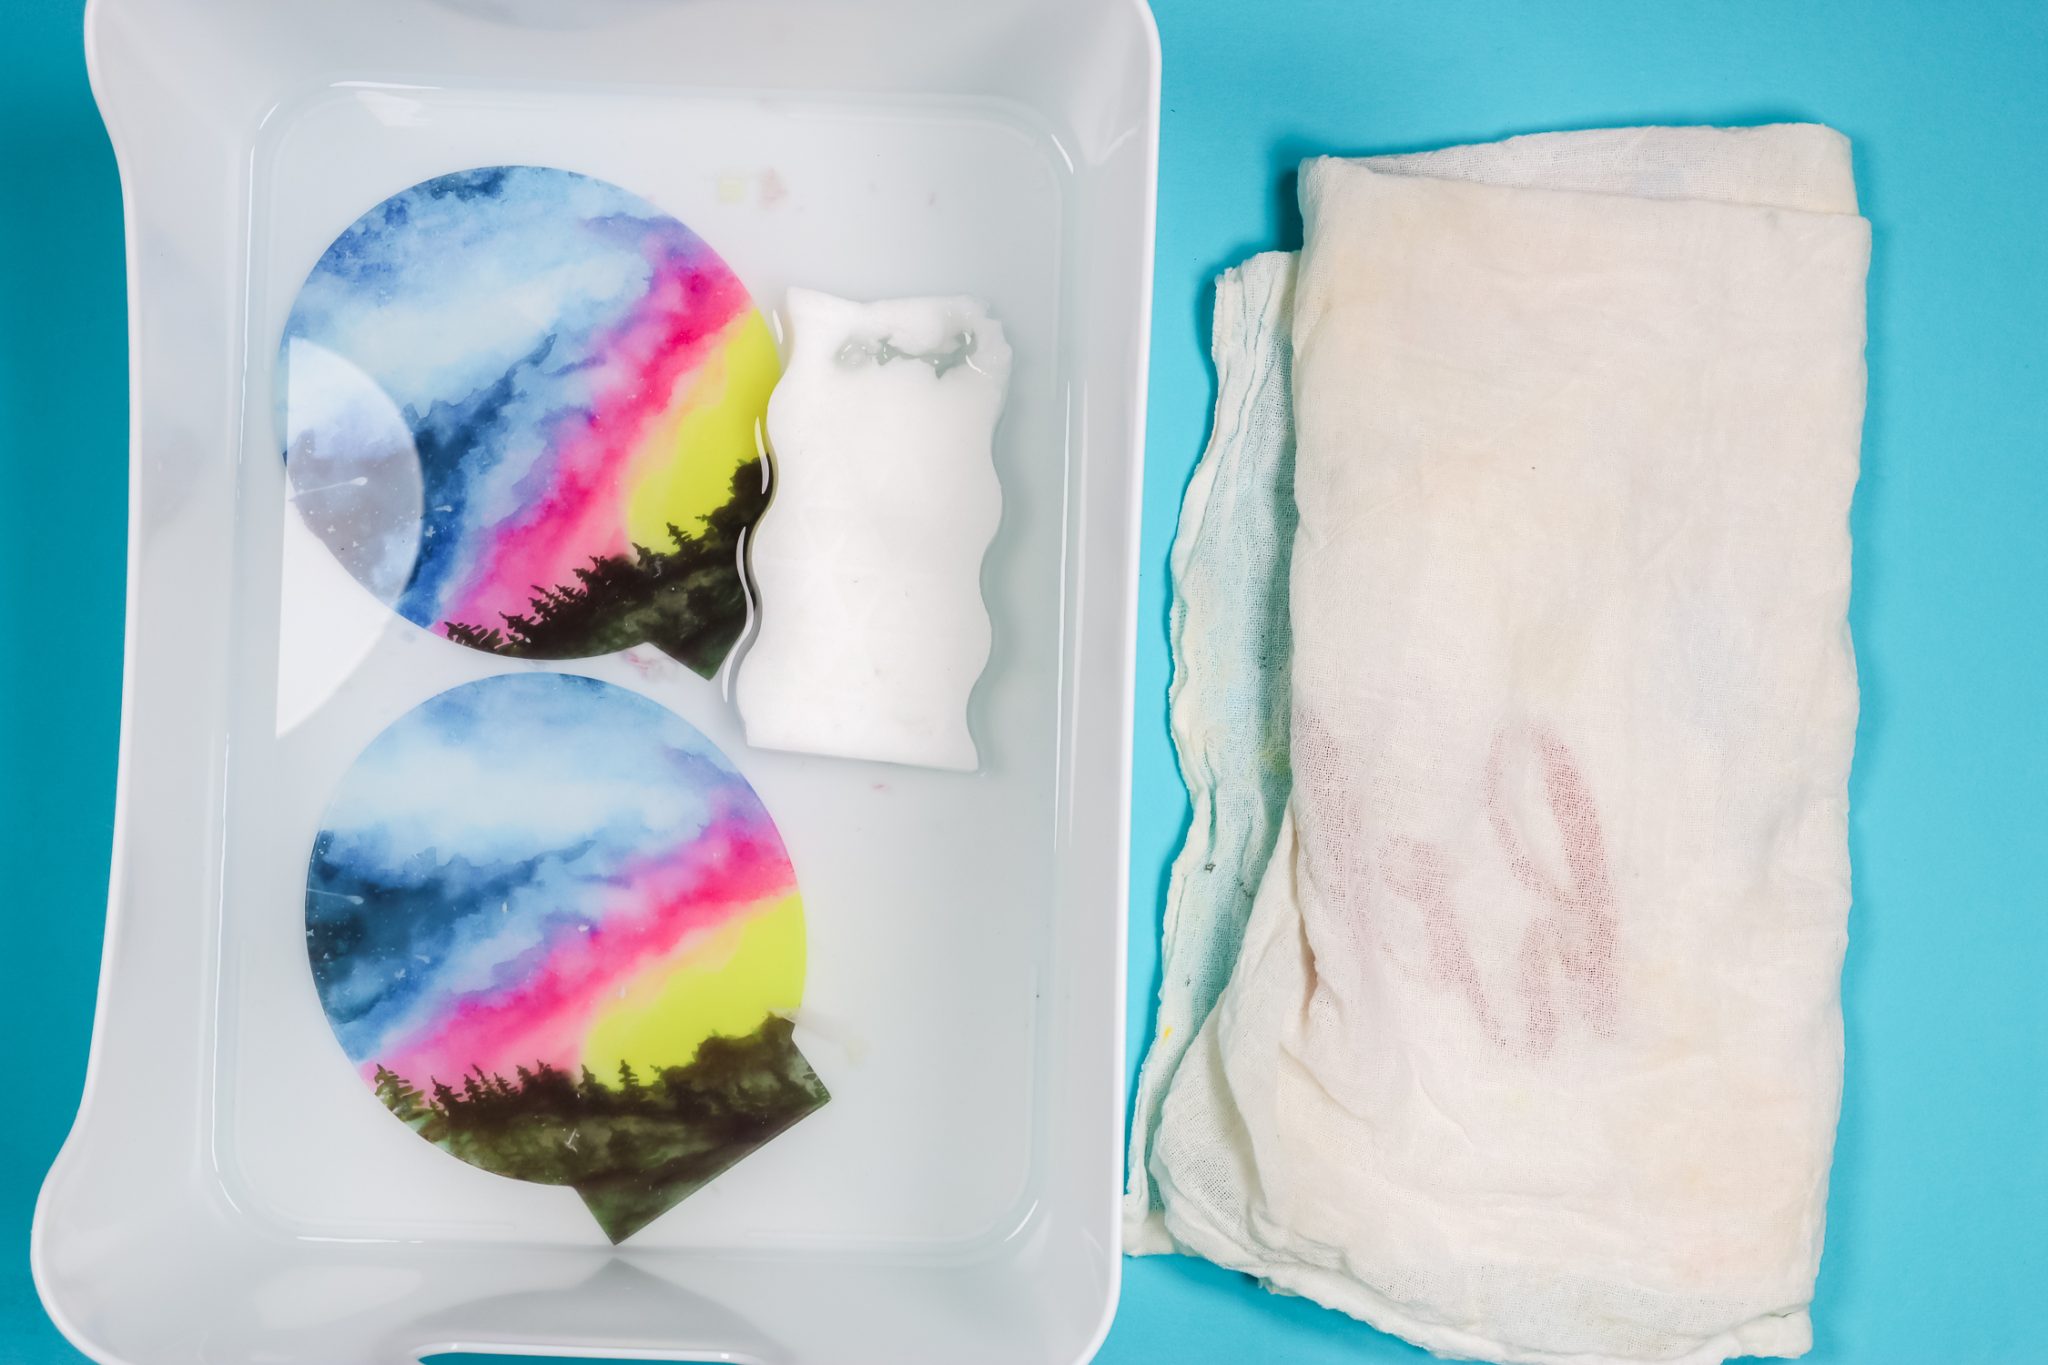
There was a little paper still stuck so I soaked it again. If you’ve soaked it a couple of times and still have paper stuck, use a magic eraser to get the rest of the paper off.
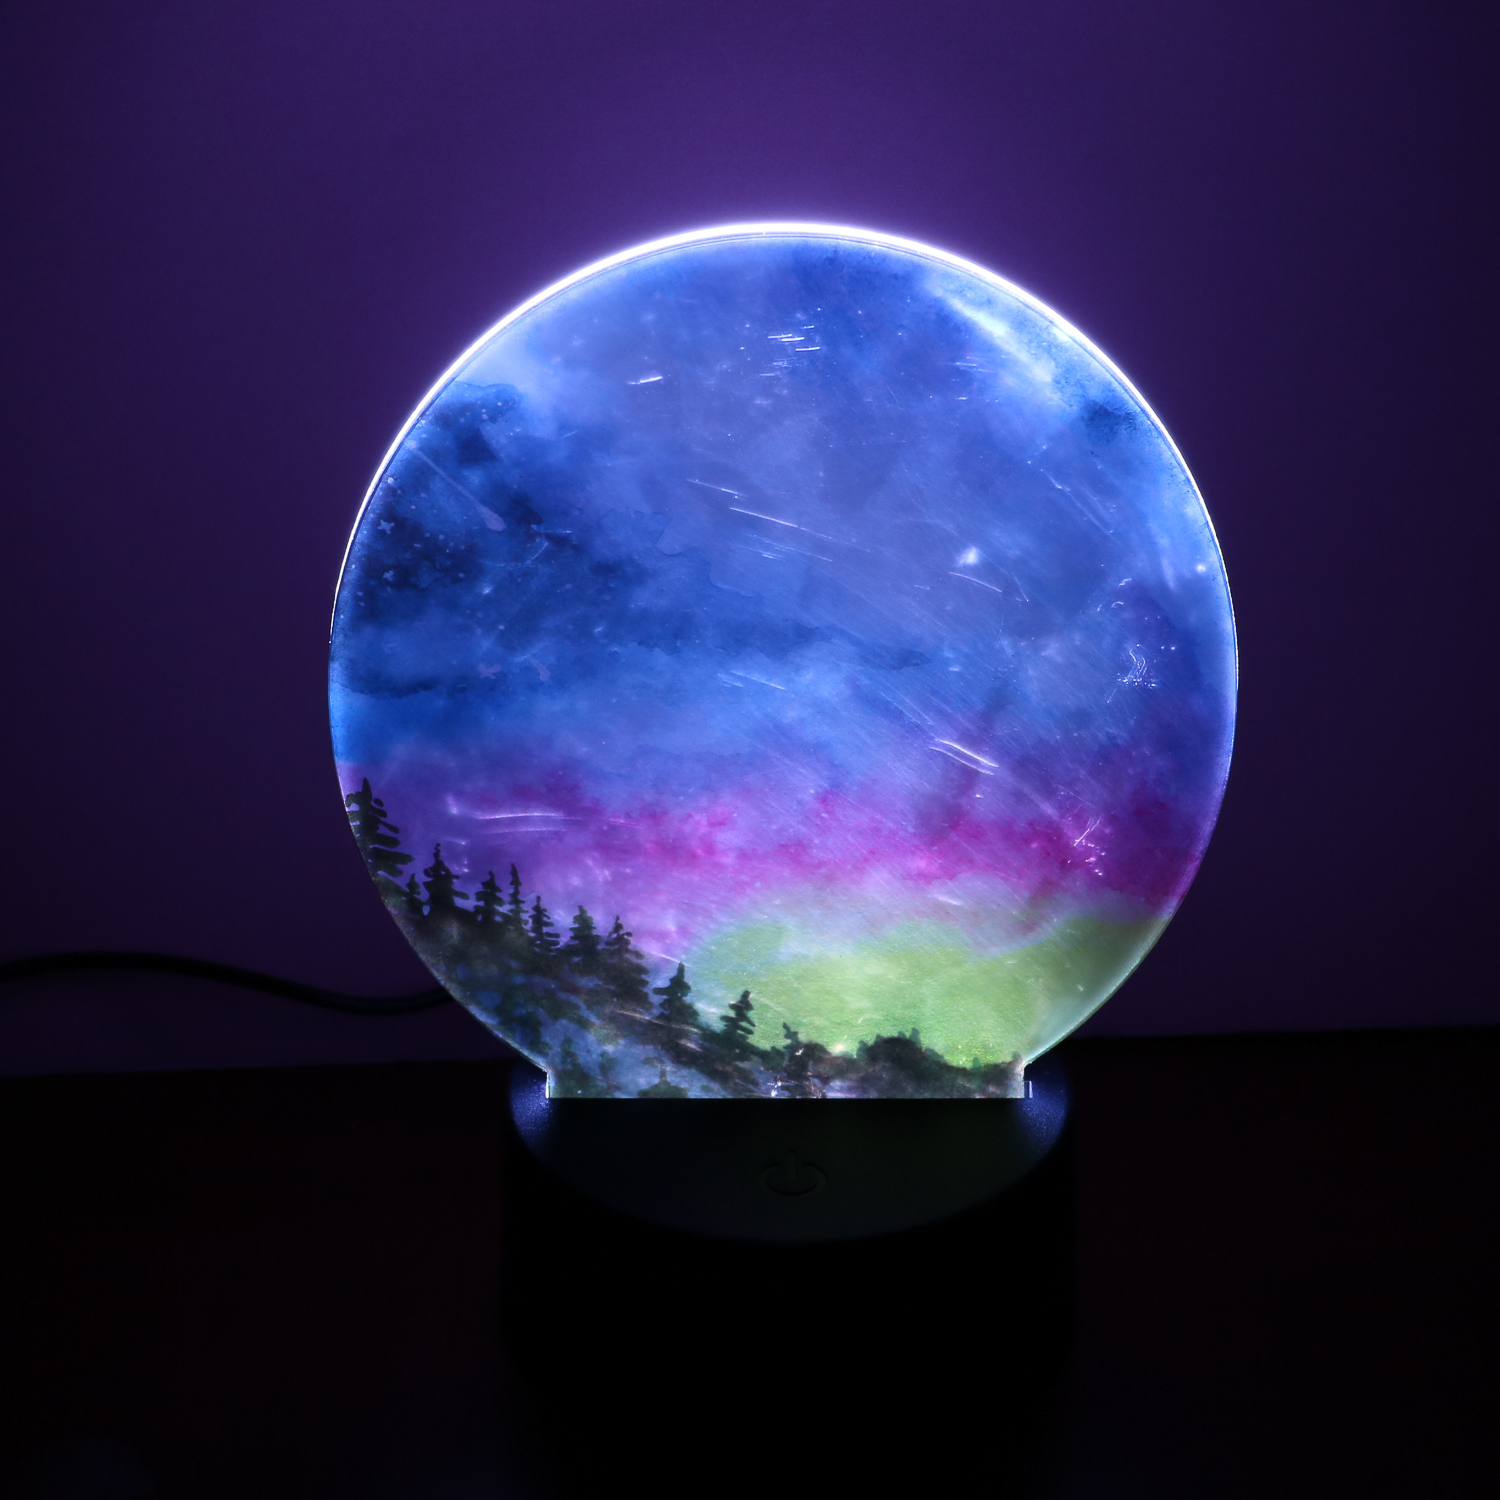
Adding Sublimated Acrylic to Nightlight Base
These acrylic pieces are made to fit into a nightlight base. This was the project I was most excited to make and was hopeful I would be able to get it to turn out right.
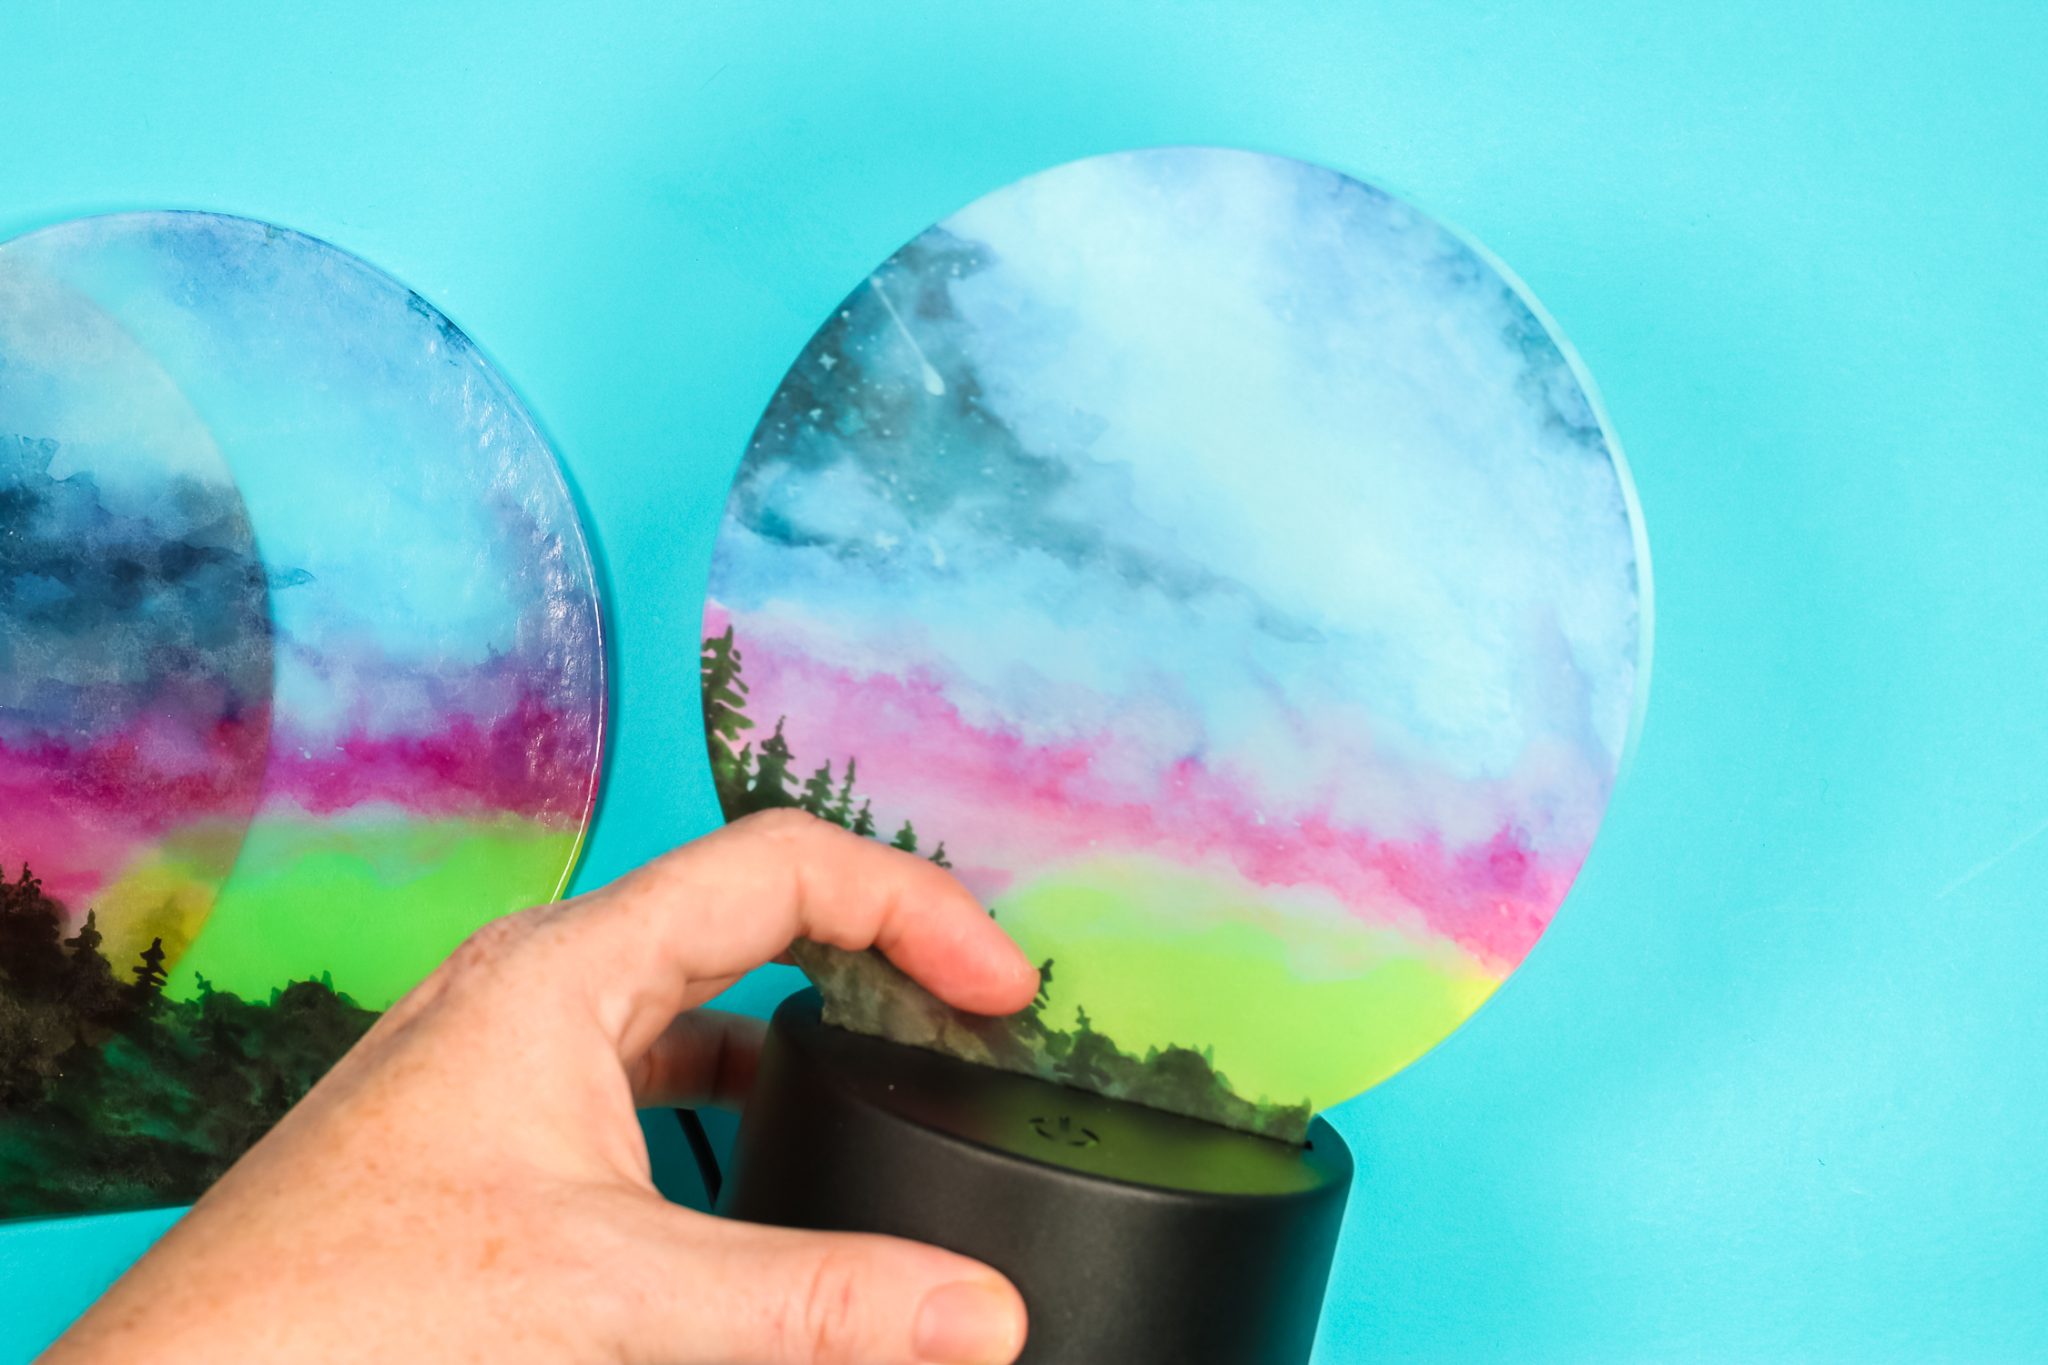
I did decide to add a blank acrylic piece to the back to give the whole project a more finished look. I really think it makes the whole thing look better. So it’s good to know that two pieces will fit into the blank.
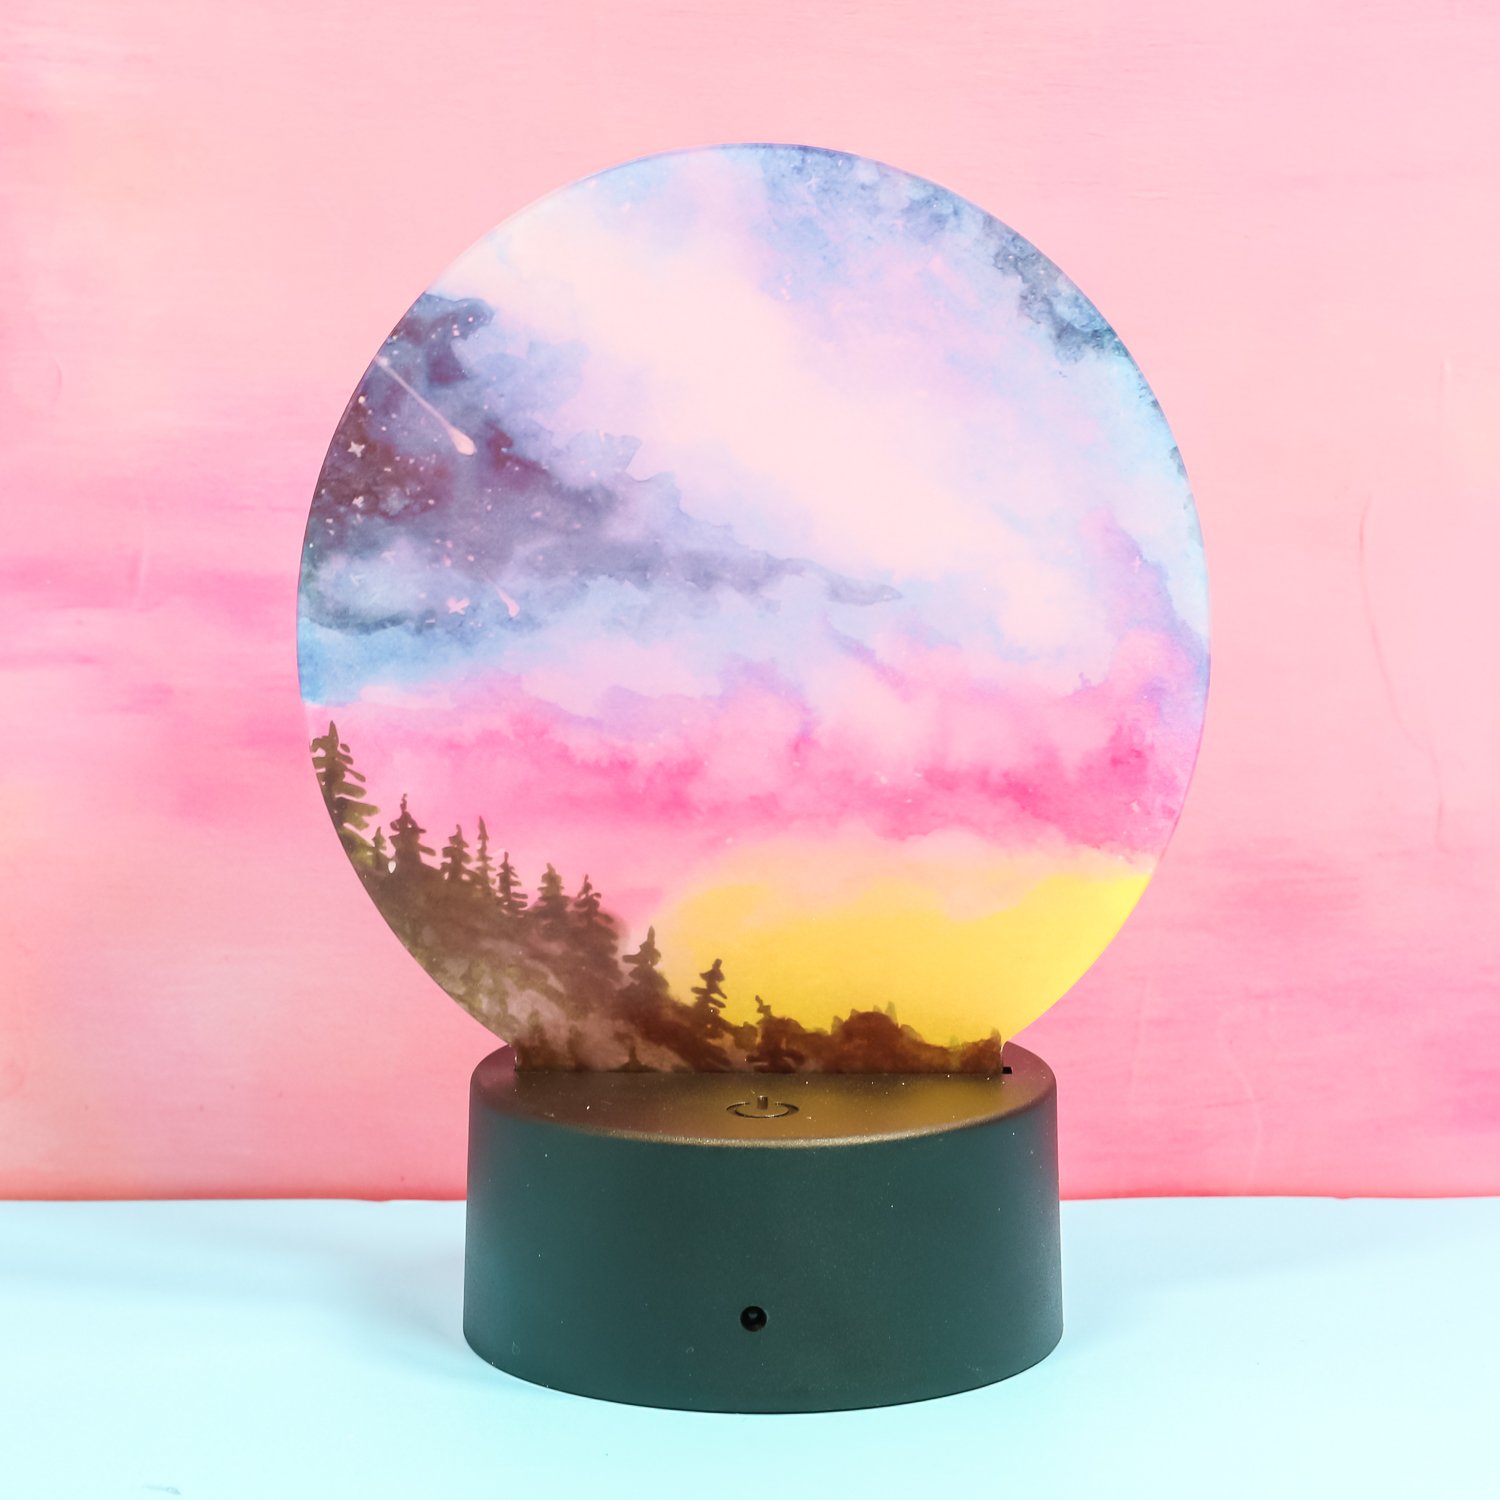
The nightlight was definitely my favorite project, it looks great all lit up. These nightlights also change color, which is so much fun. You can really use any design on these projects, the sky is the limit!
Final Thoughts on Sublimation on Acrylic
It was a lot of fun for me to try out so many different acrylic blanks. I had some success and some really unsuccessful projects. I really wanted to show you all the different options because acrylic is not the easiest surface to sublimate on. If you get high-quality acrylic sublimation blanks you’re going to have a lot more success.
Be prepared, regardless of what type of acrylic sublimation blank you use for some trial and error. Some blanks were so easy to use and others definitely had a learning curve. I do think sublimation on acrylic is so much fun that you should give it a try!
I hope I answered all of your sublimation on acrylic questions. If you have questions or want to know more feel free to leave them in the comments and I’ll get those answered for you.

