This post and photos may contain Amazon or other affiliate links. If you purchase something through any link, I may receive a small commission at no extra charge to you. Any supplies used may be given to me free of charge, however, all projects and opinions are my own.
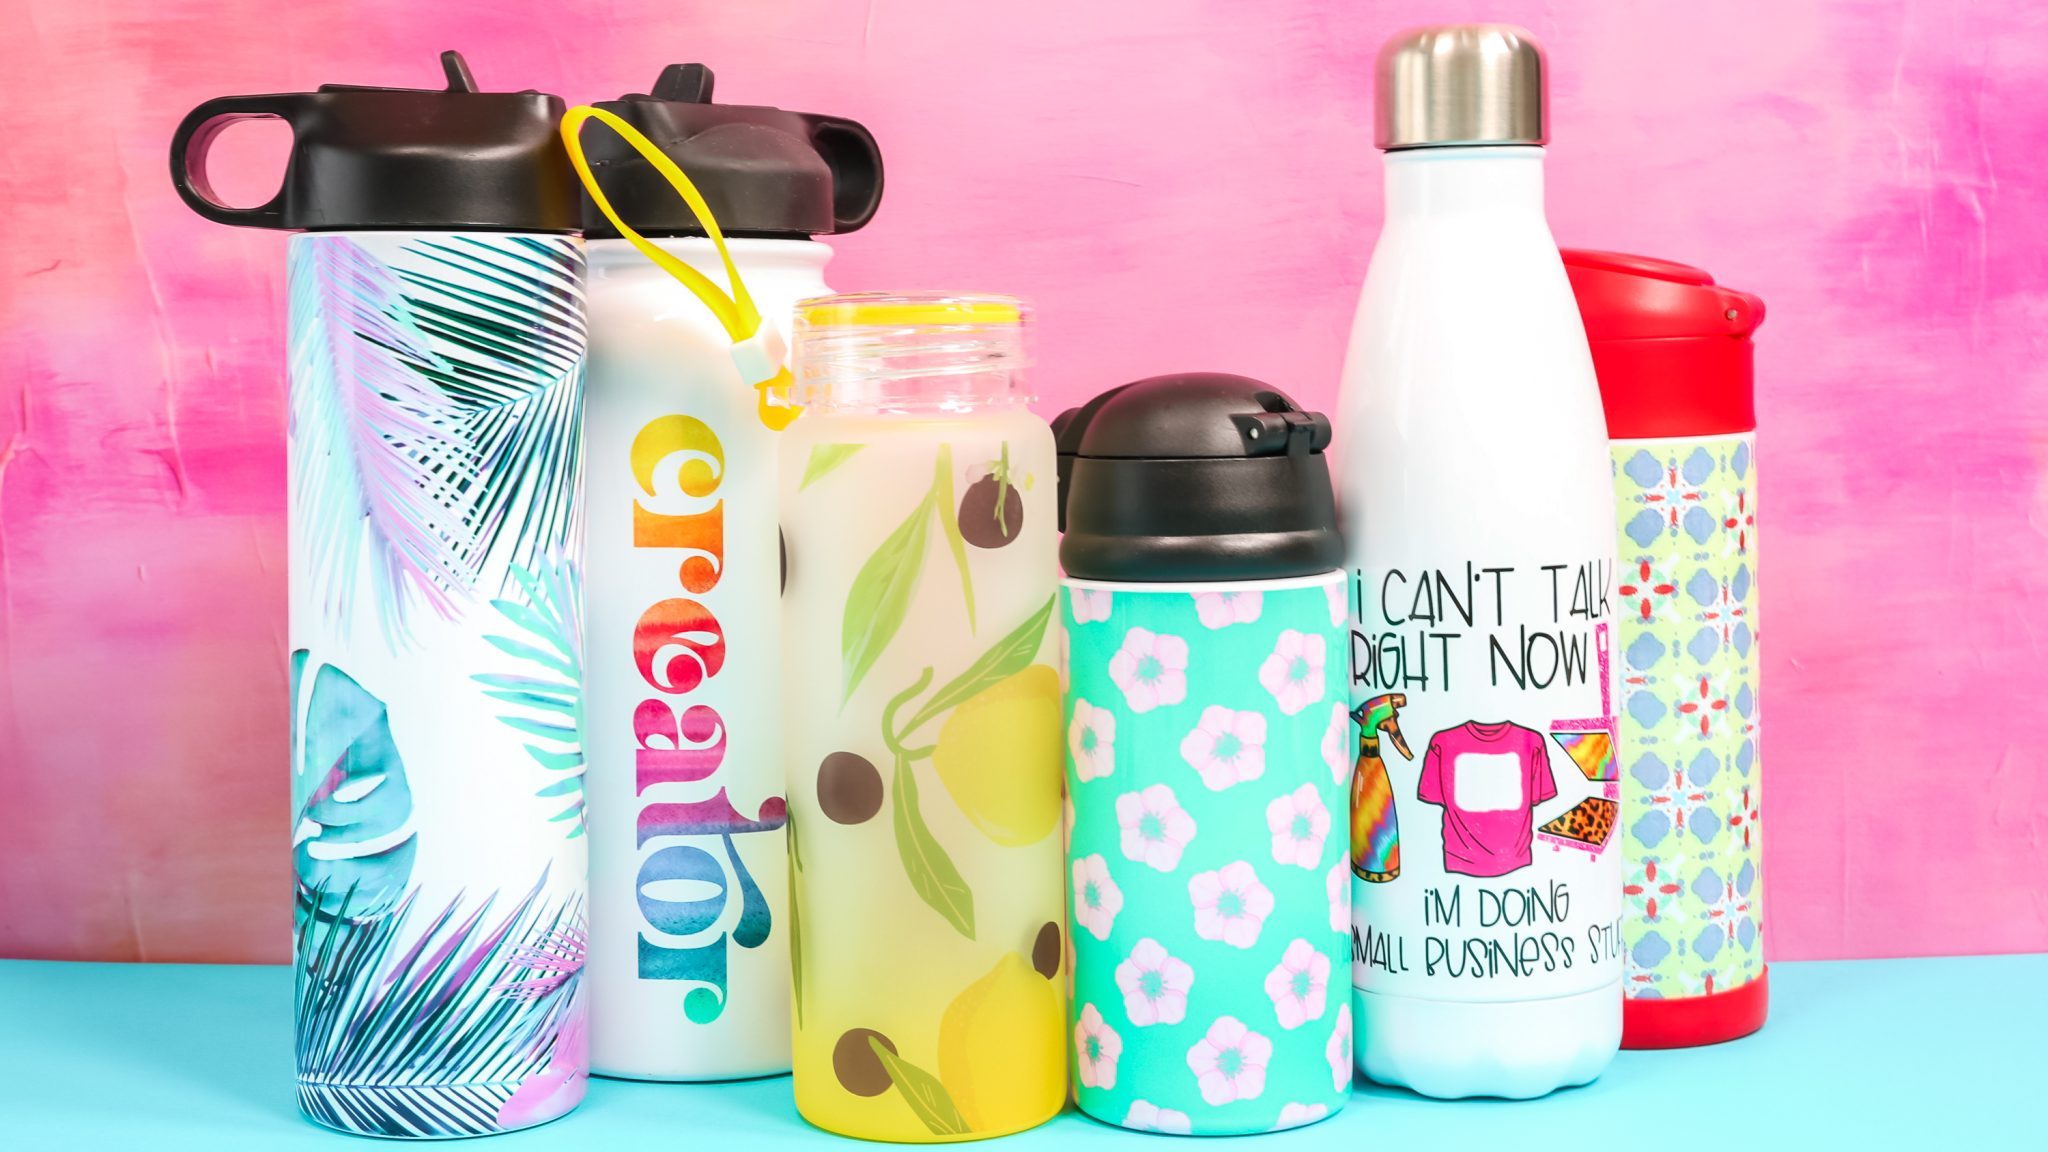
Are you ready to learn how to make sublimation water bottles? Keep reading to learn how to add sublimation prints to a variety of different sublimation water bottles. If you are in love with sublimation tumblers, this is another way to add gorgeous sublimation images to items for your home, to give as gifts, or to sell!
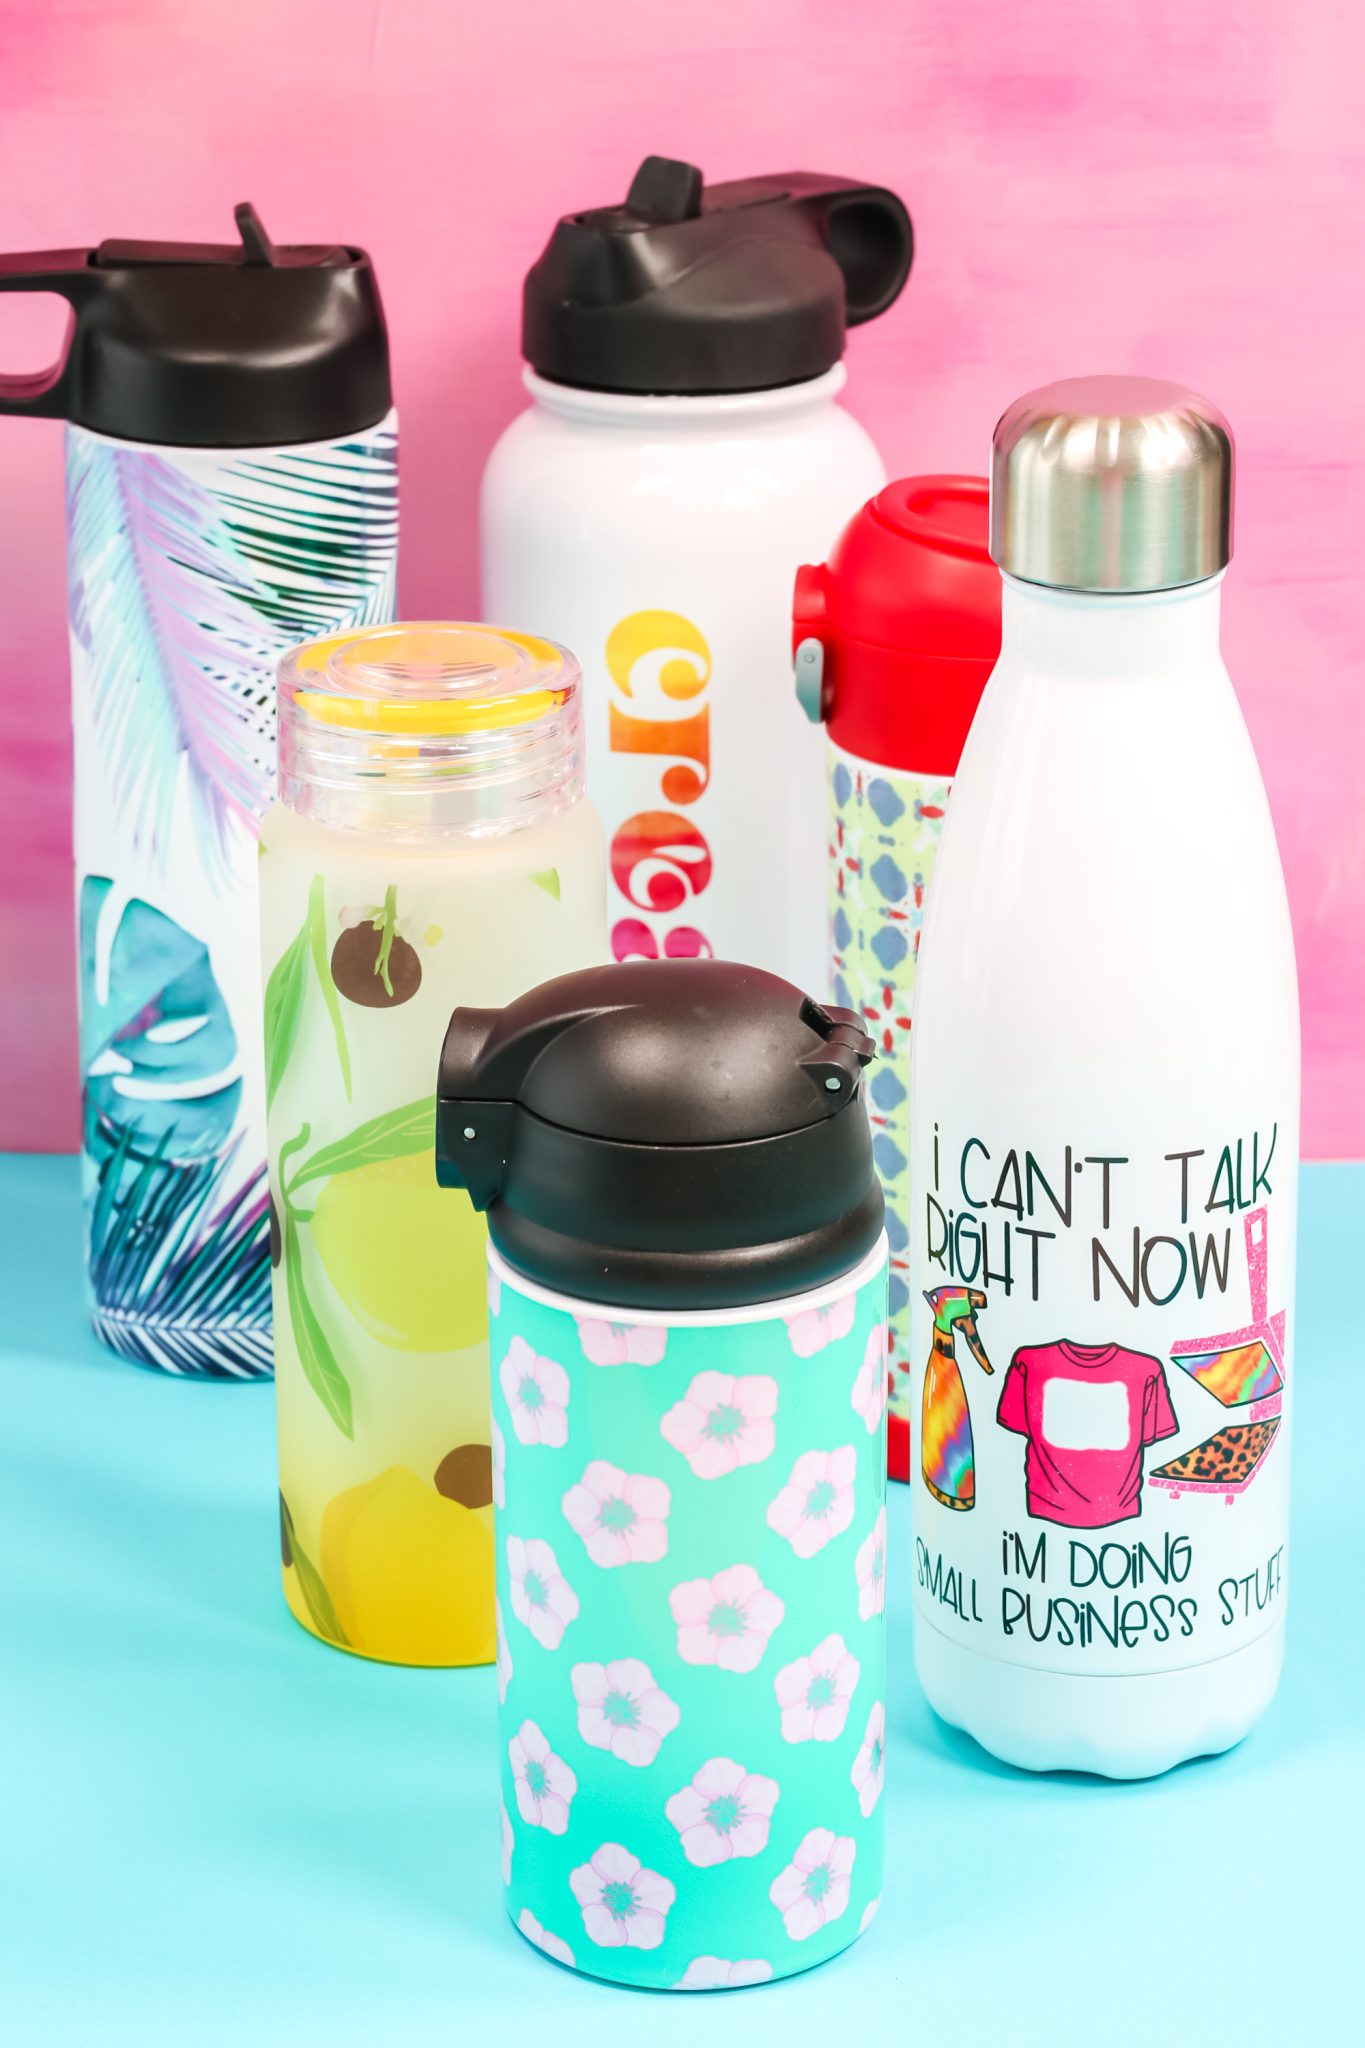
How to Make Sublimation Water Bottles
Today I’m going to show you how to sublimate on metal water bottles in a variety of sizes and even a glass water bottle. I’m also going to show you how to make these water bottles using three different heat sources. By the time we’re done, you’ll know multiple ways to make sublimation water bottles.
You can watch me make all of these sublimation water bottles. Just click play on the video below:
Tools and Materials Used:
Learn more about the Tumbler Press I’m using to make these bottles here.
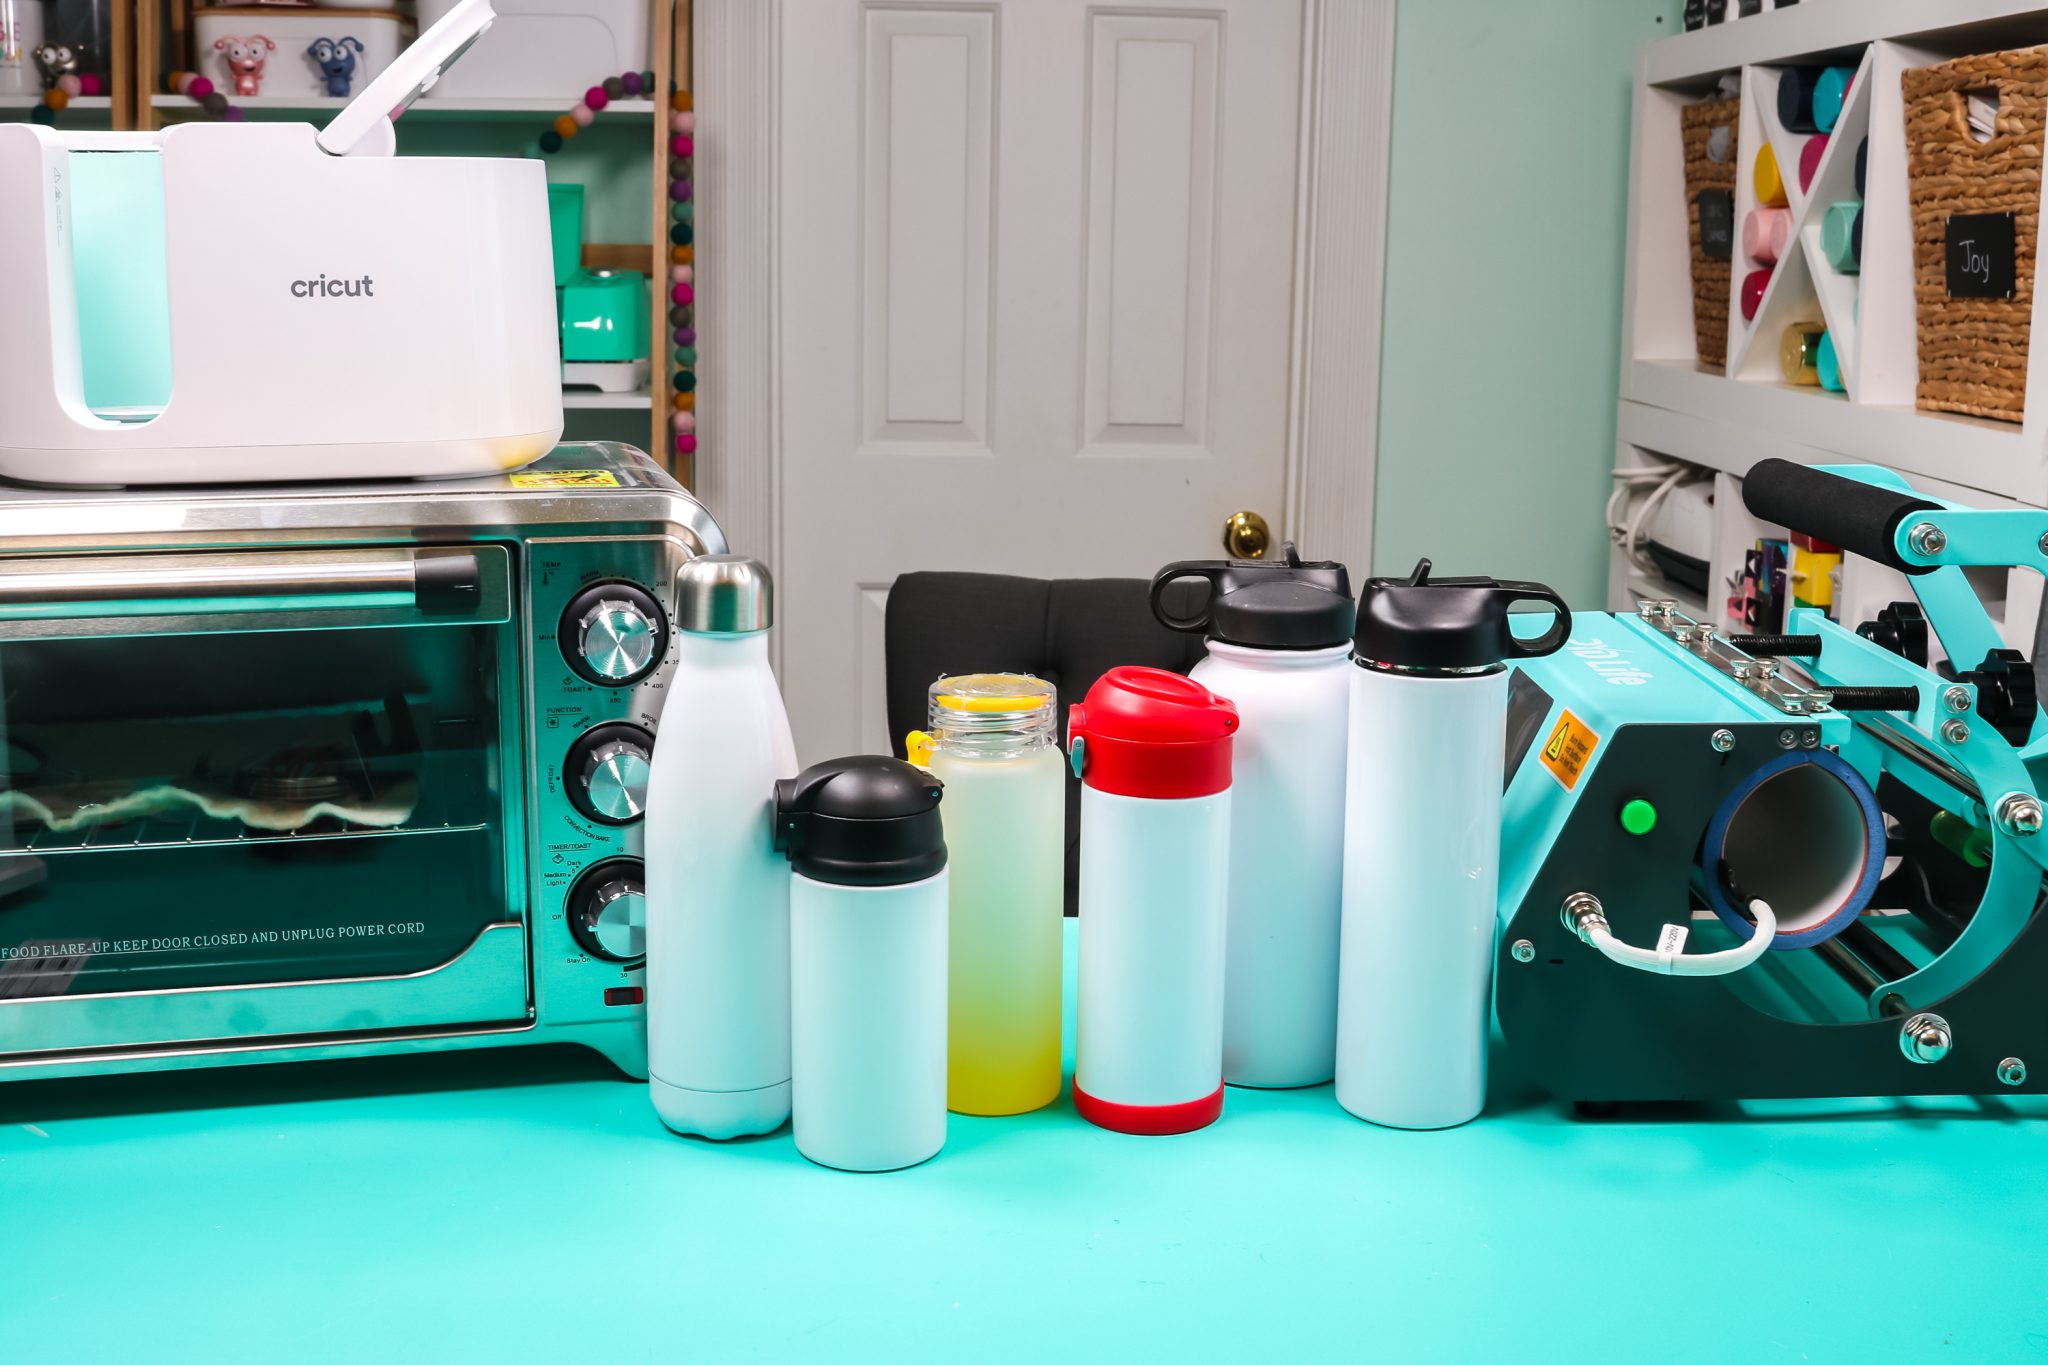
Blanks Used:
NOTE: These all need to be sublimation blanks with a sublimation coating in order to work properly!
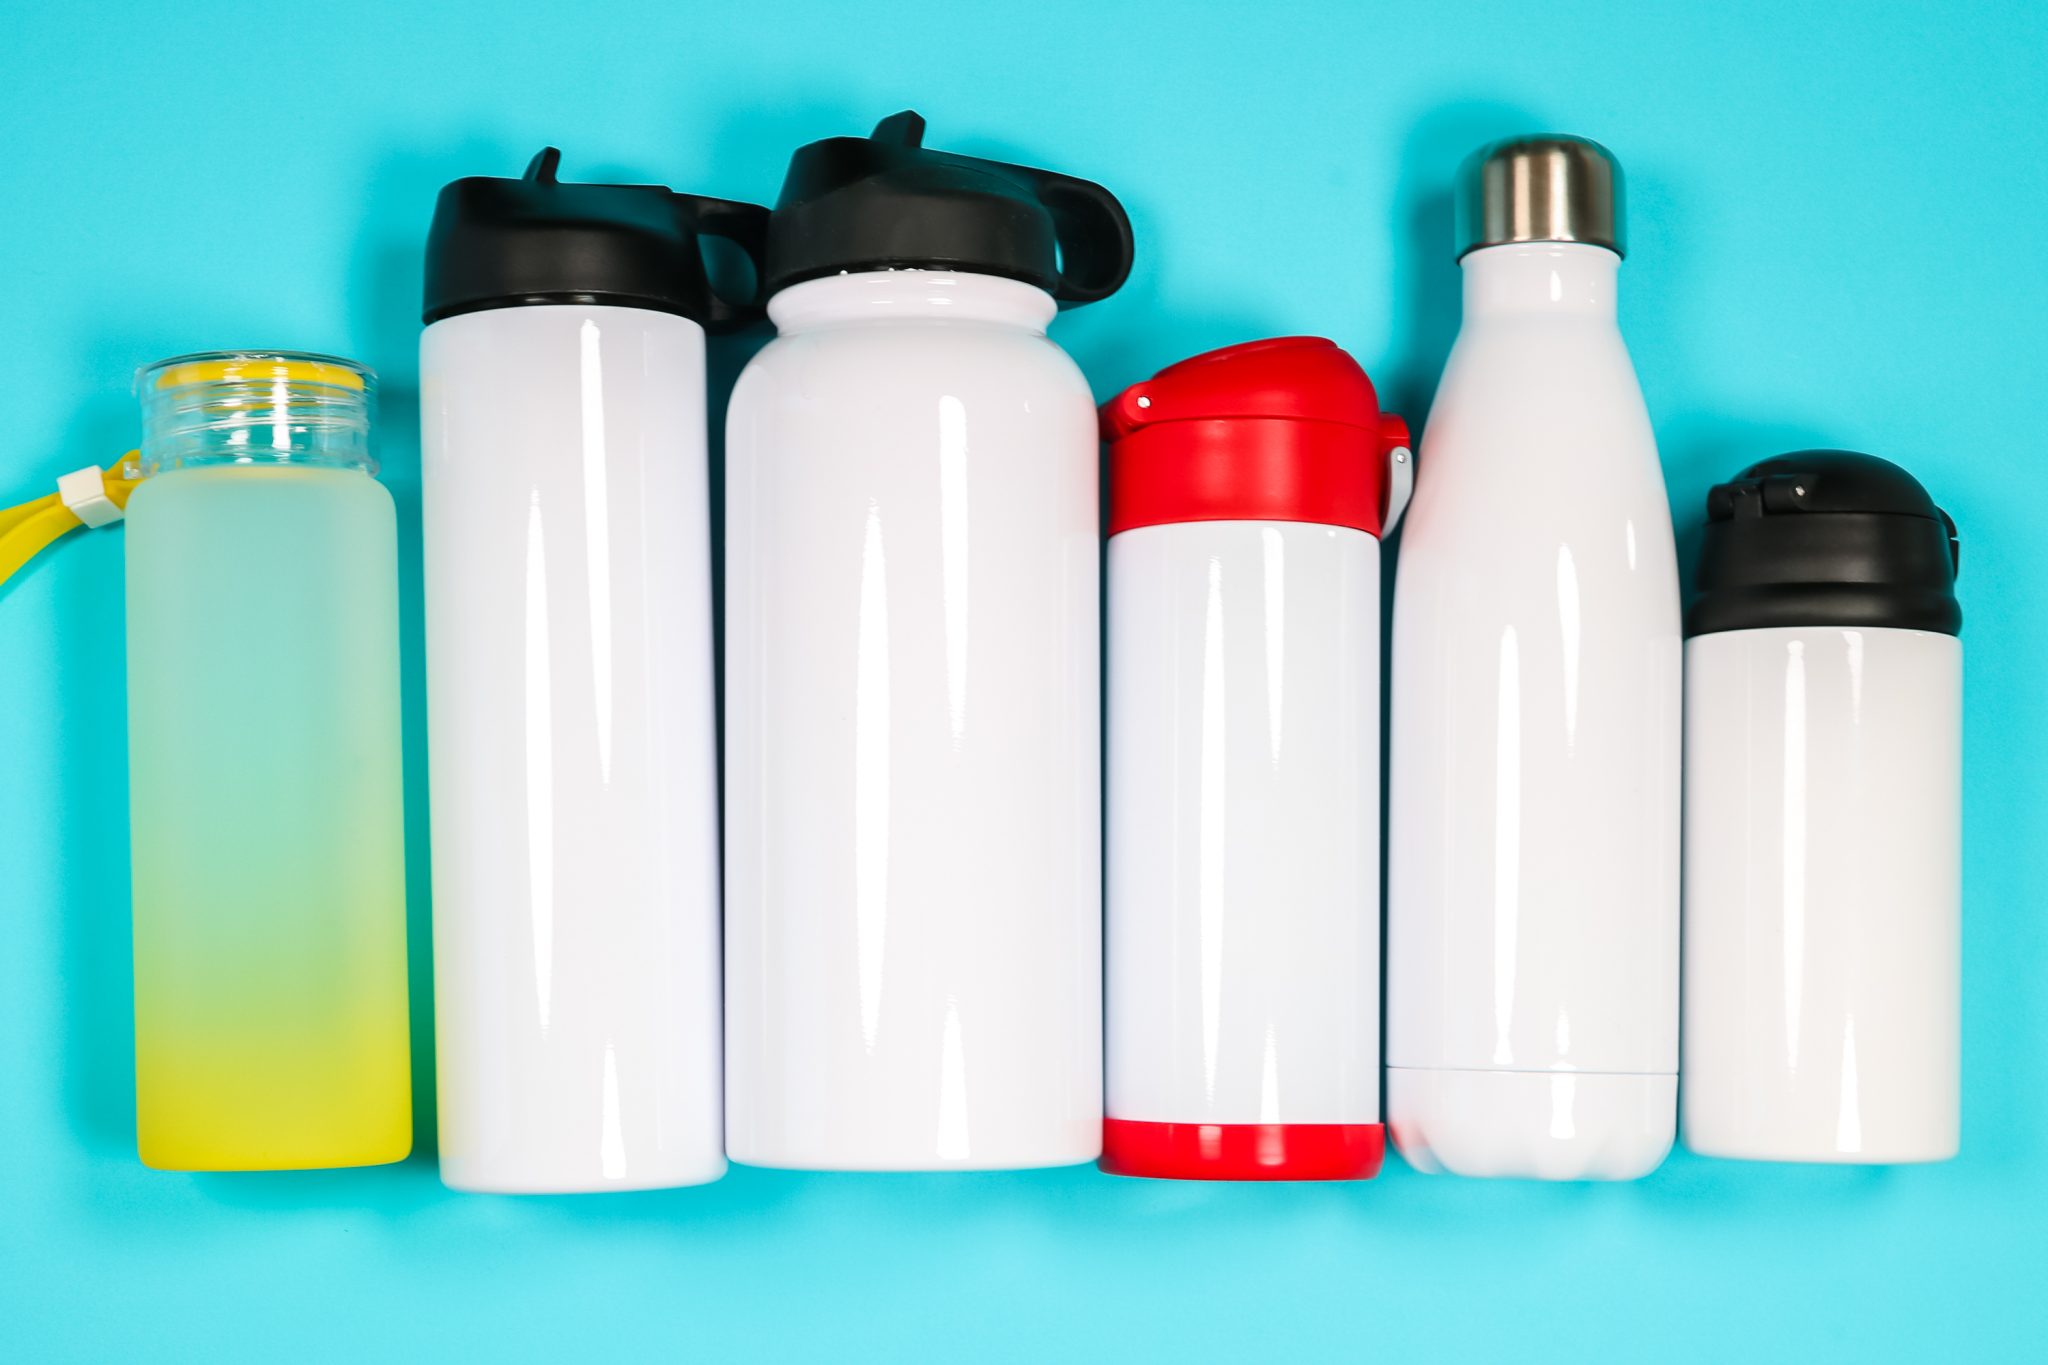
Designs Used:
Sublimation Prints
For all of these sublimation water bottles, I am using sublimation prints. These are special prints printed with sublimation ink, from a sublimation printer, onto sublimation paper. You need to have all the appropriate materials for a sublimation print to work correctly.
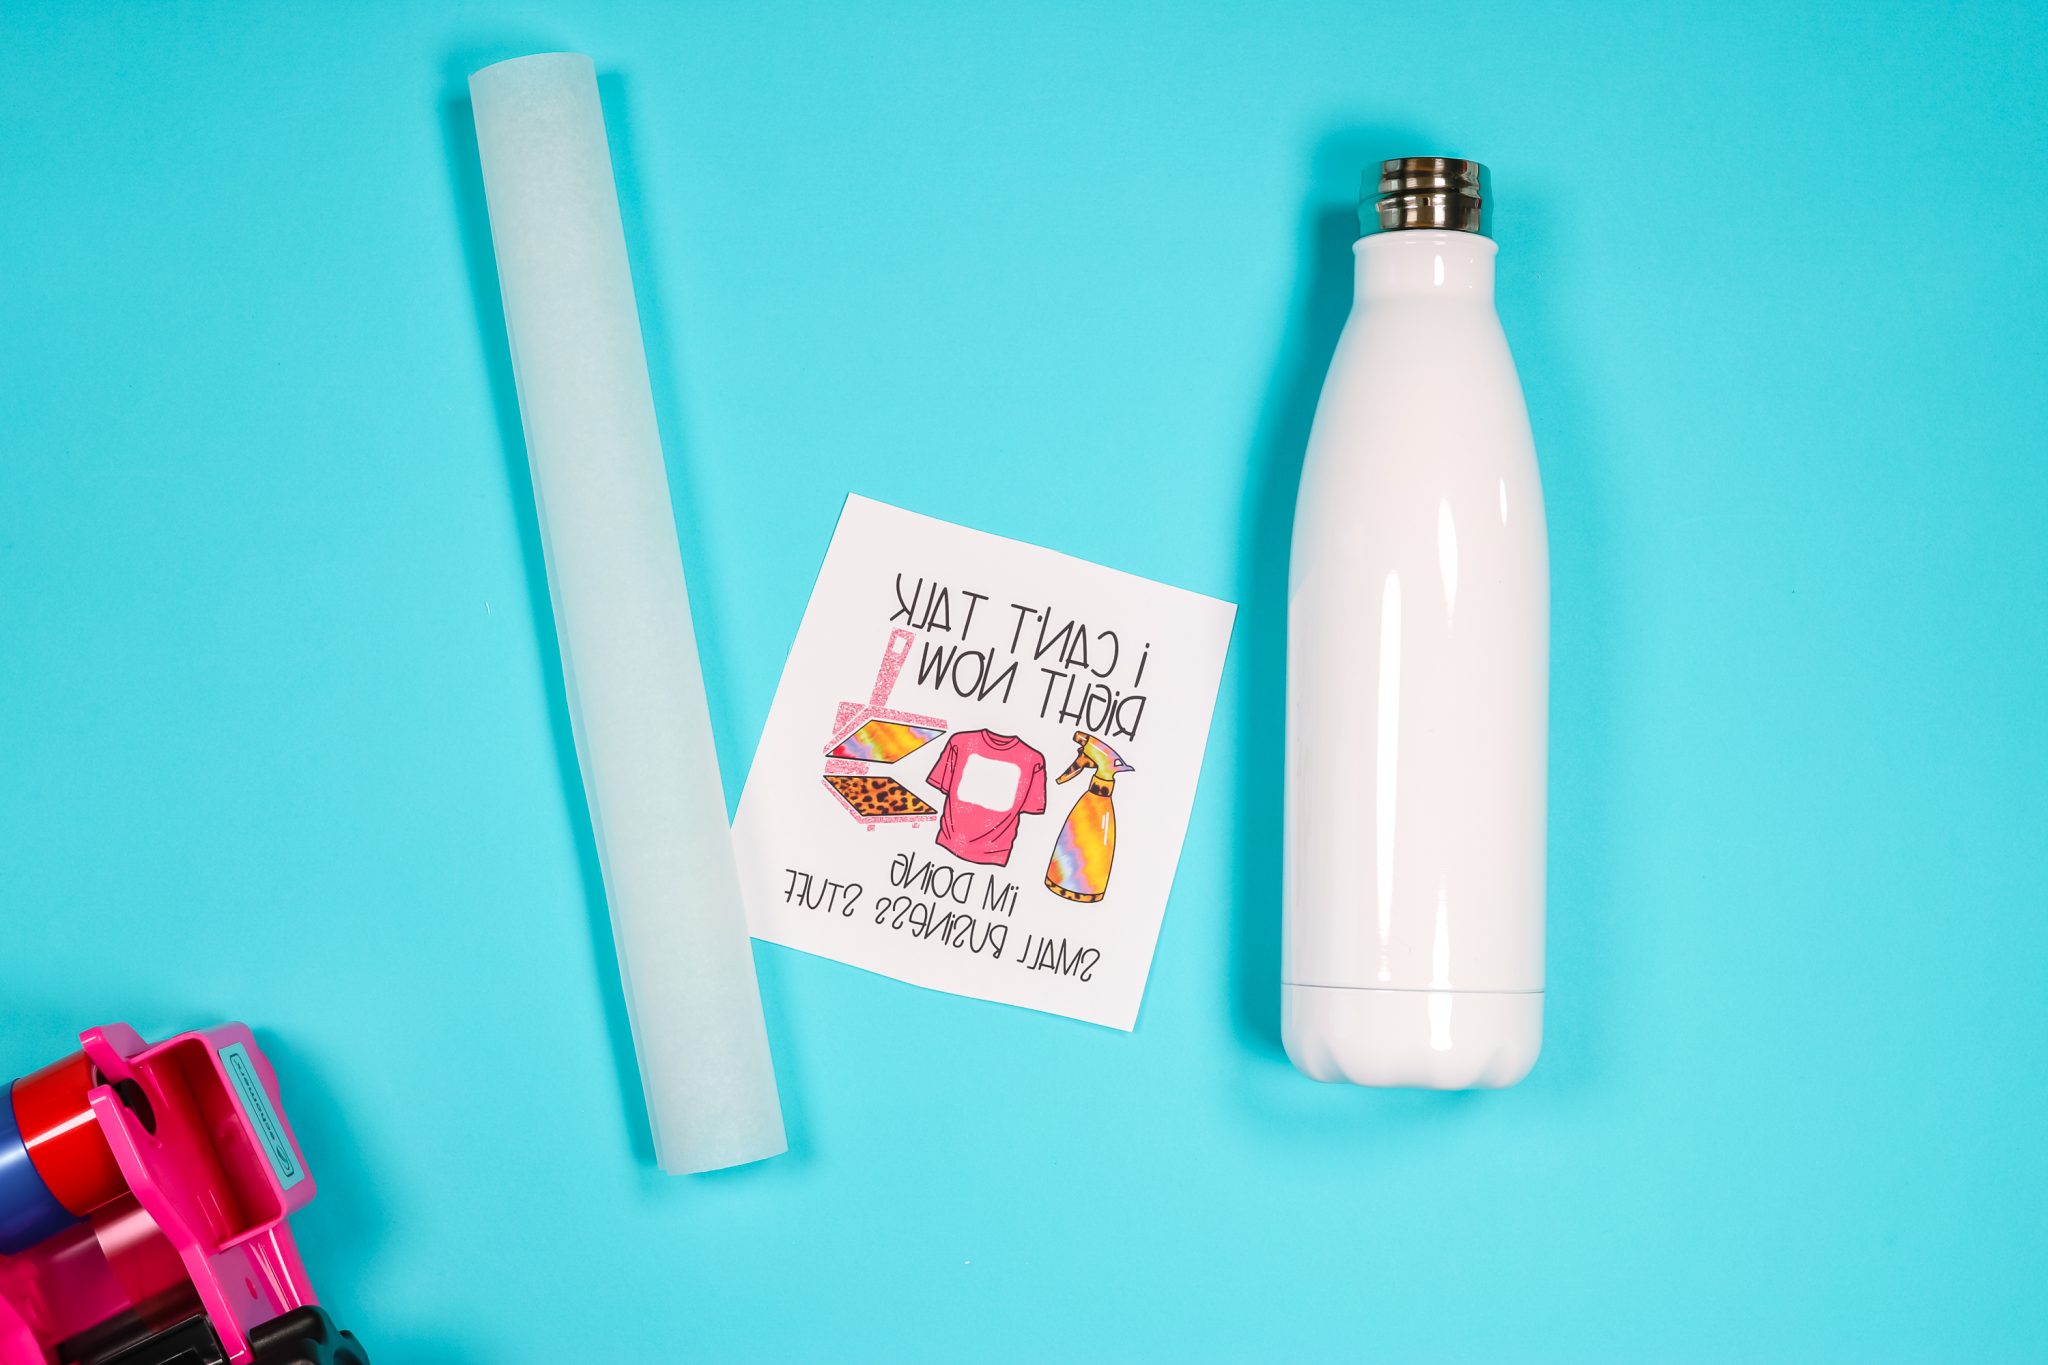
Remember, sublimation designs need to be mirrored when they are printed otherwise when they are applied they will be backward.
Sublimation Water Bottle in a Convection Oven
I’m going to teach you how to make sublimation water bottles with the Cricut Mug Press, PYD Life Tumbler Press, and convection oven. You can actually make any of these water bottles in a convection oven so I am going to show you how to use that first. I am only going to make one in the oven itself. The glass tumbler doesn’t fit in my tumbler press or my mug press so I will make that one in the convection oven.
Even if the glass tumbler happened to fit in the Mug Press I wouldn’t use it. I don’t do glass in my Cricut Mug Press because I’m afraid it’s going to break it. Learn more about using glass in the Mug Press here.
How to Prep Sublimation Water Bottles for Convection Ovens
If you’re using a convection oven to make your sublimation water bottles, you need to make sure you’re only using it for sublimation. The first step is to remove anything from inside the water bottle, the lid, and the straw. Next, clean your surface really well. I am using my lint roller to clean the surface of my water bottle all the way around.
Full Wrap Sublimation Water Bottles
For full wraps when I don’t know the exact size of a tumbler I like to print a full sheet of my design. This allows me to measure and cut the paper to size. To make sure my wrap goes on straight, I like to set the bottle on a flat surface and wrap it around keeping the paper lined up on the flat surface. This way the paper stays straight.
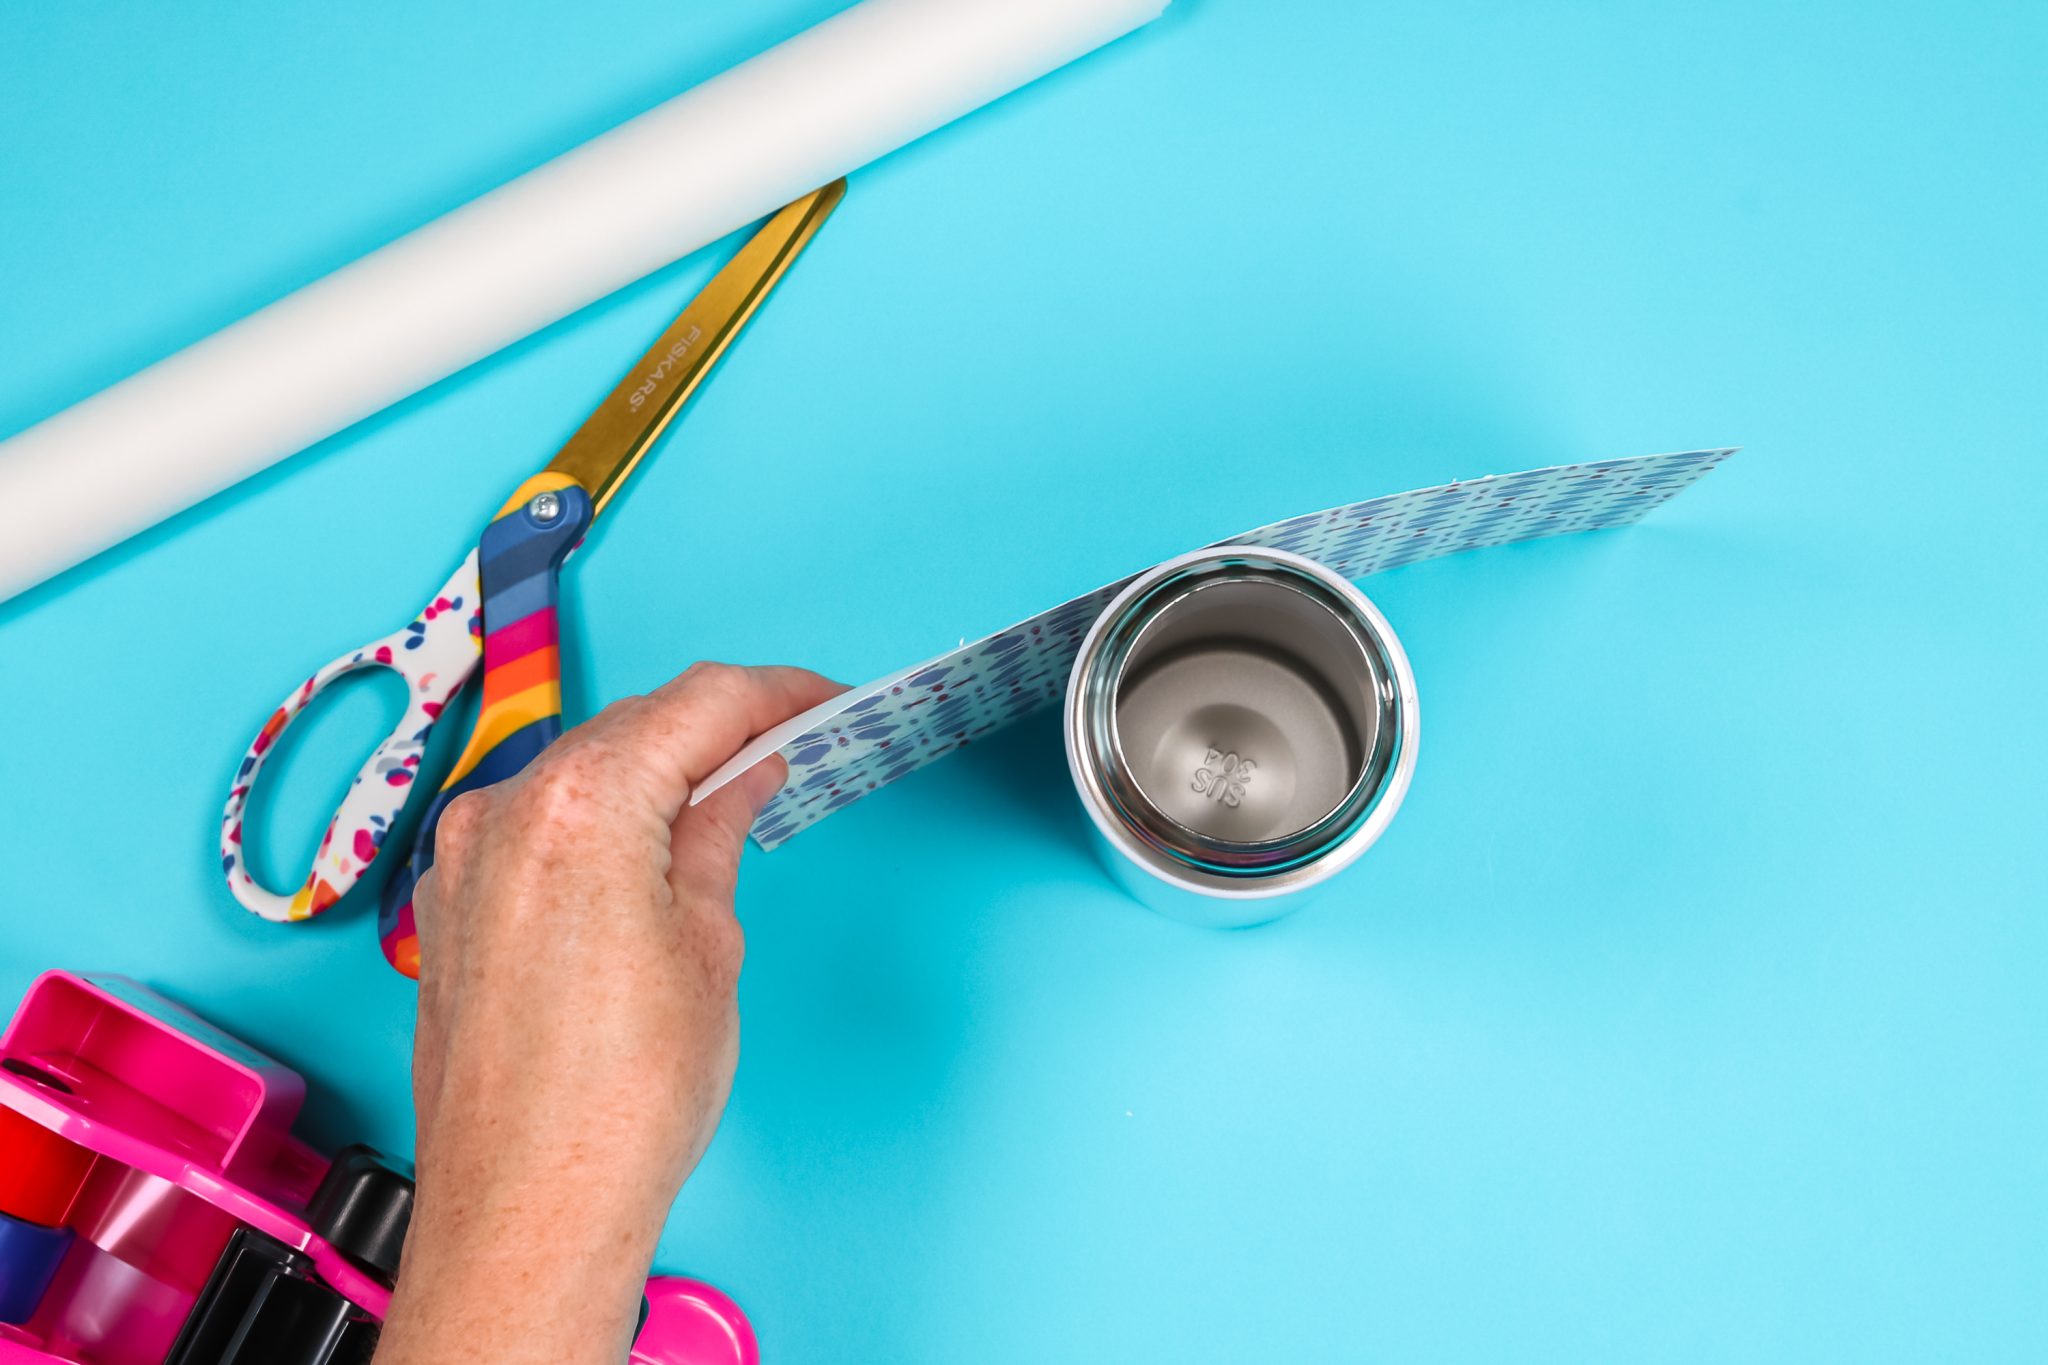
Make sure to pull the paper tight so there are no gaps. To ensure a complete wrap you’ll need to tape the paper to itself. I start at the bottom pulling tight and adding a piece of tape and moving up the seam continuing to pull tight and tape as I go.
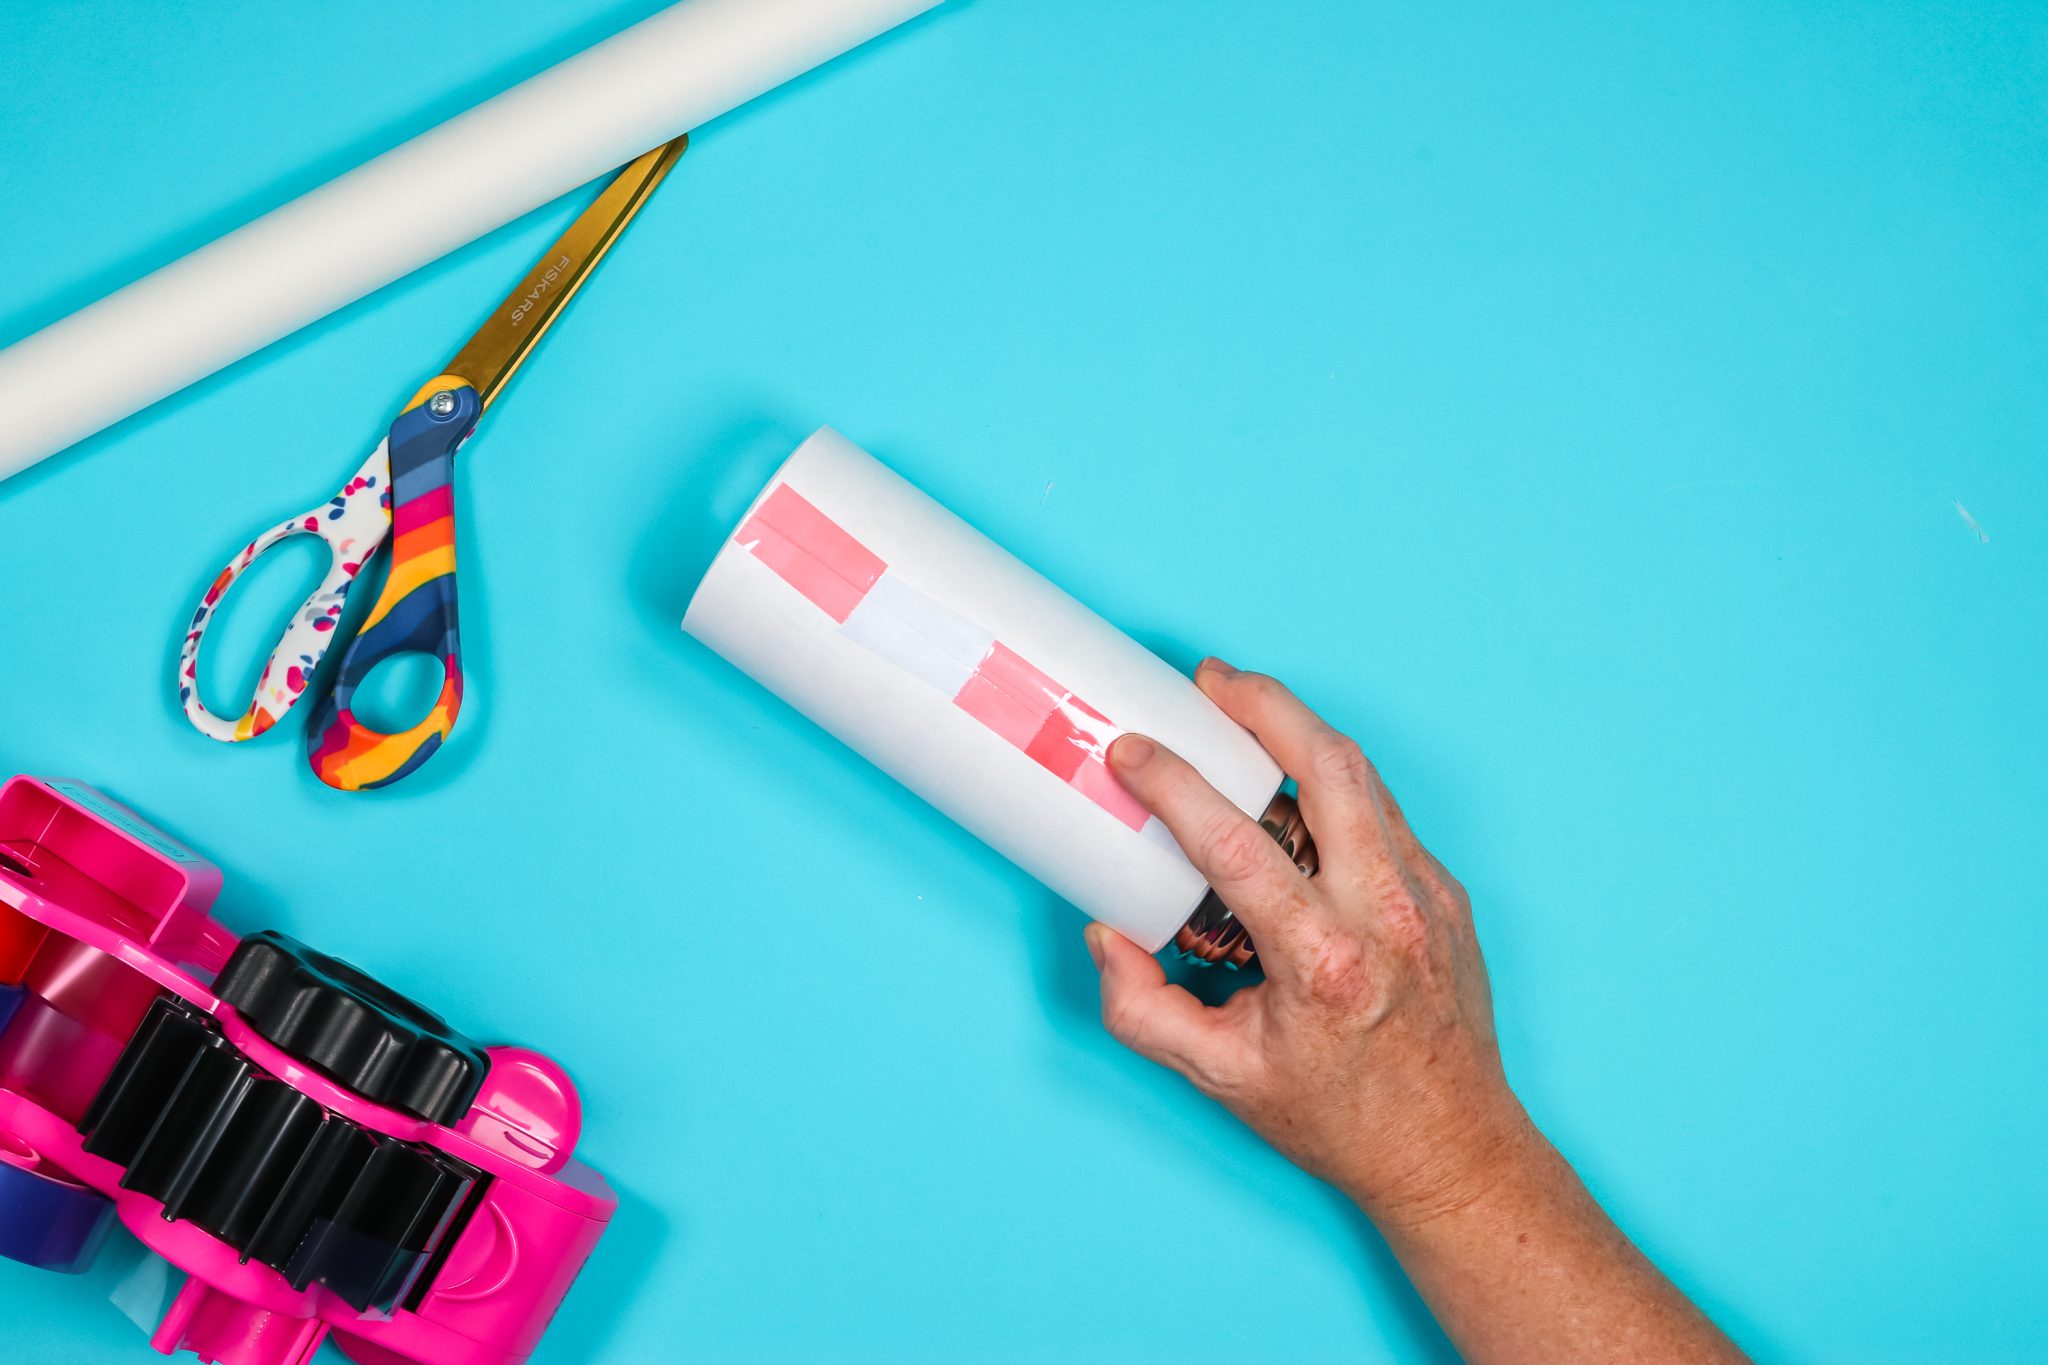
This print does overlap just slightly. Make sure to really press down along this seam to make sure everything is tight. I use your fingernail along the seam. Rub it on both sides, just make sure it’s down really well.
Next, I’m going to tape all the way around the bottom. Make sure everything’s tight. And now I’m going to go all the way around the top. I like to do this to make sure it’s held really tightly onto the surface. Sometimes your bottles can be just slightly tapered at the top, and this helps to hold all that in.
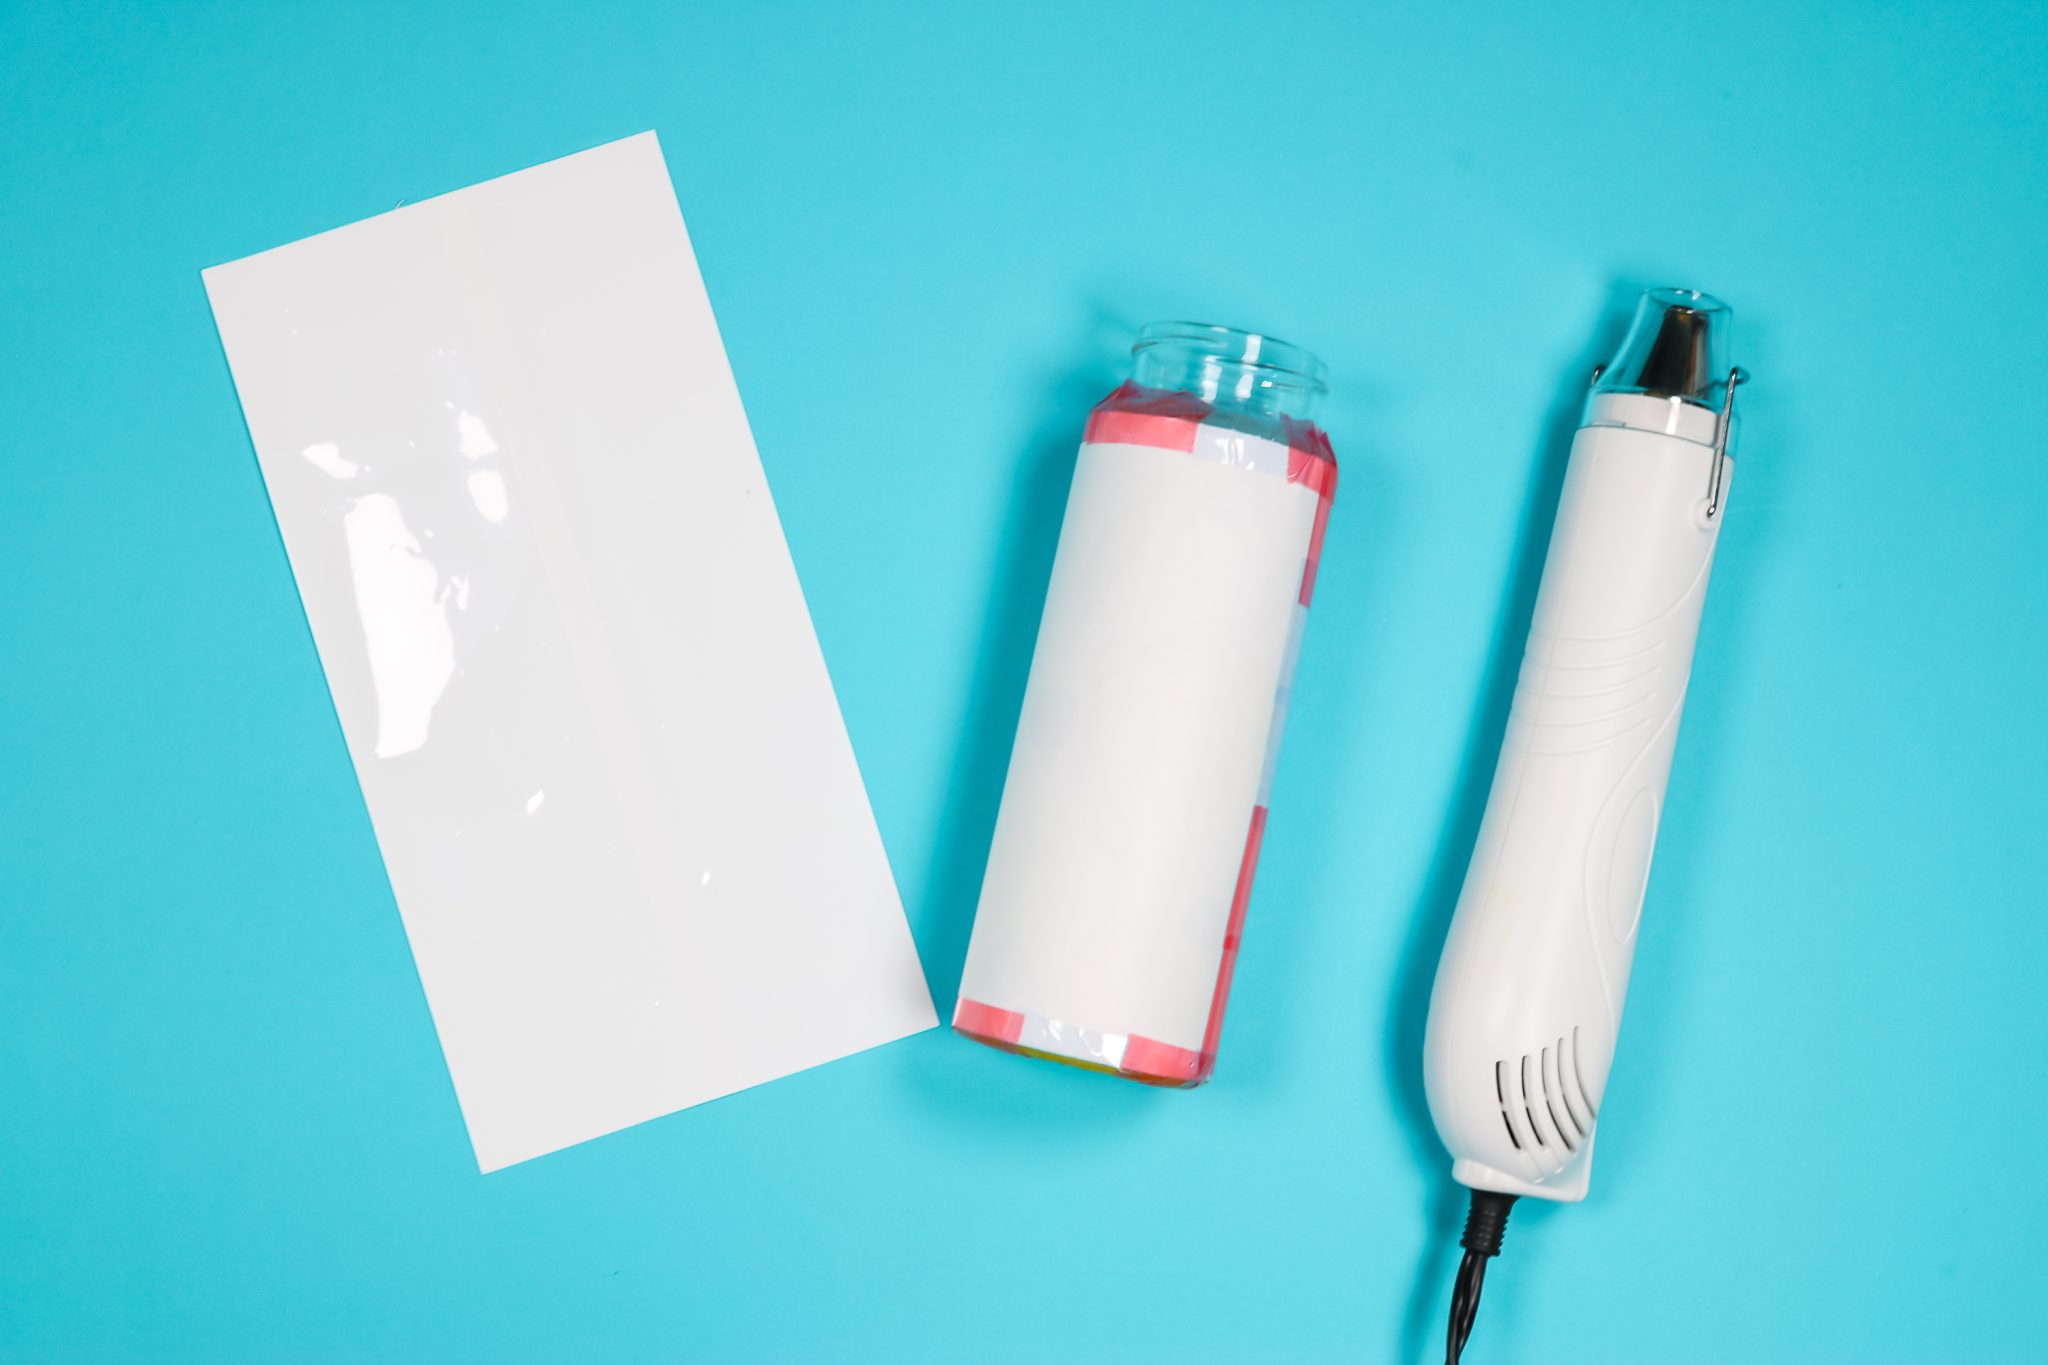
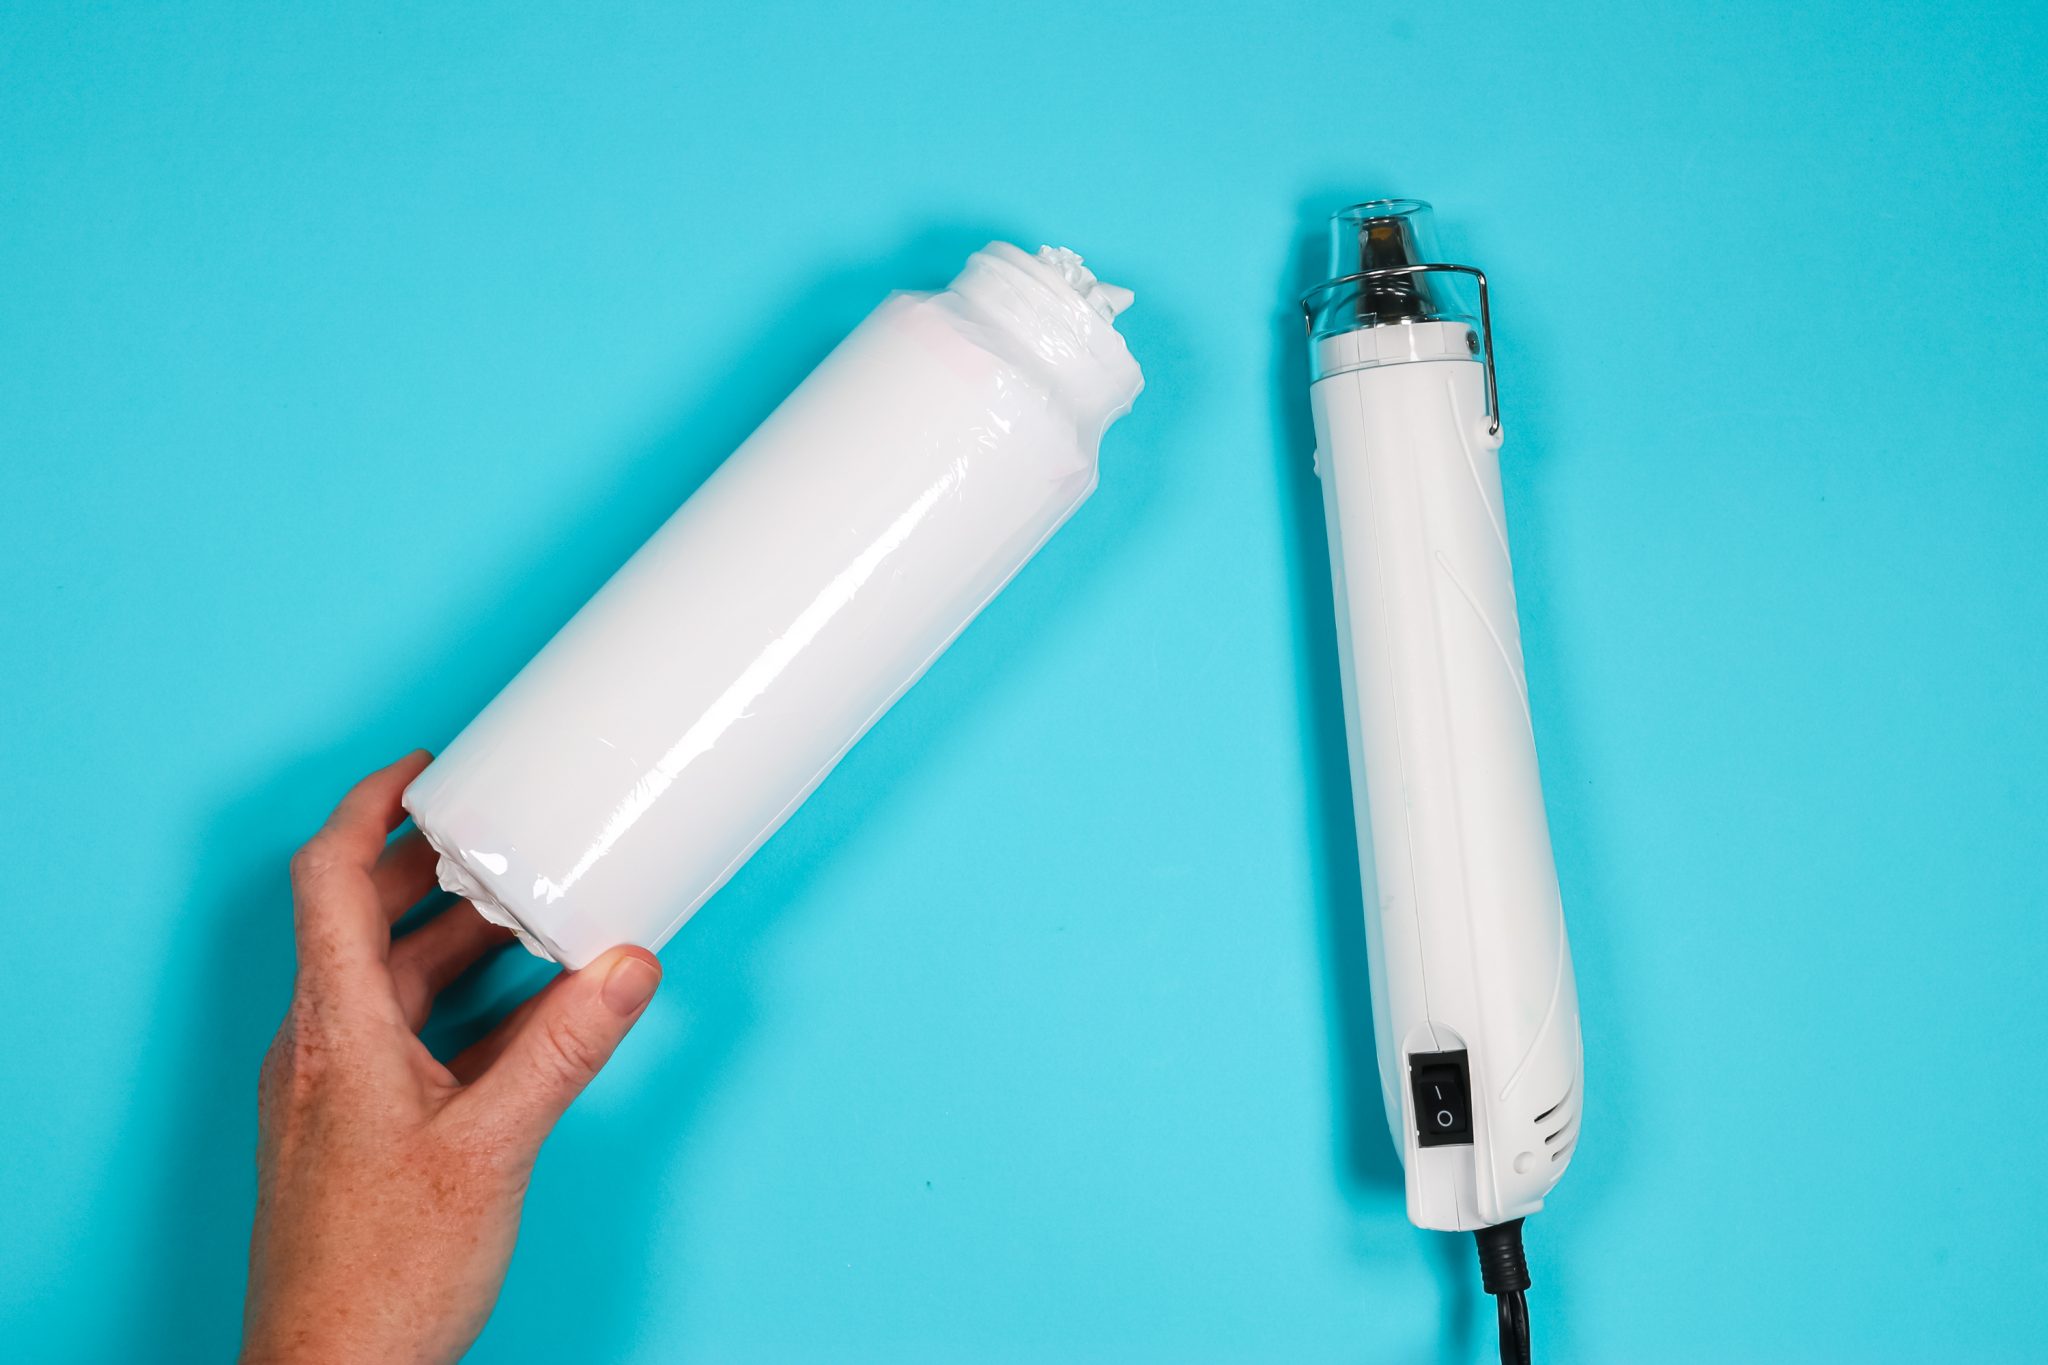
Once the image is taped into place, put the whole thing in a shrink wrap sleeve. I am using a heat gun to shrink the sleeve tight all the way around the bottle. You only need the sleeves when using an oven for sublimation. This helps to get the pressure needed for a good print. Now it’s ready for the oven.
Heating Sublimation Water Bottles in a Convection Oven
I have my convection oven preheated to 350 degrees and a timer set for seven minutes. To make sure everything is heated evenly I rotated the bottle halfway through the time.
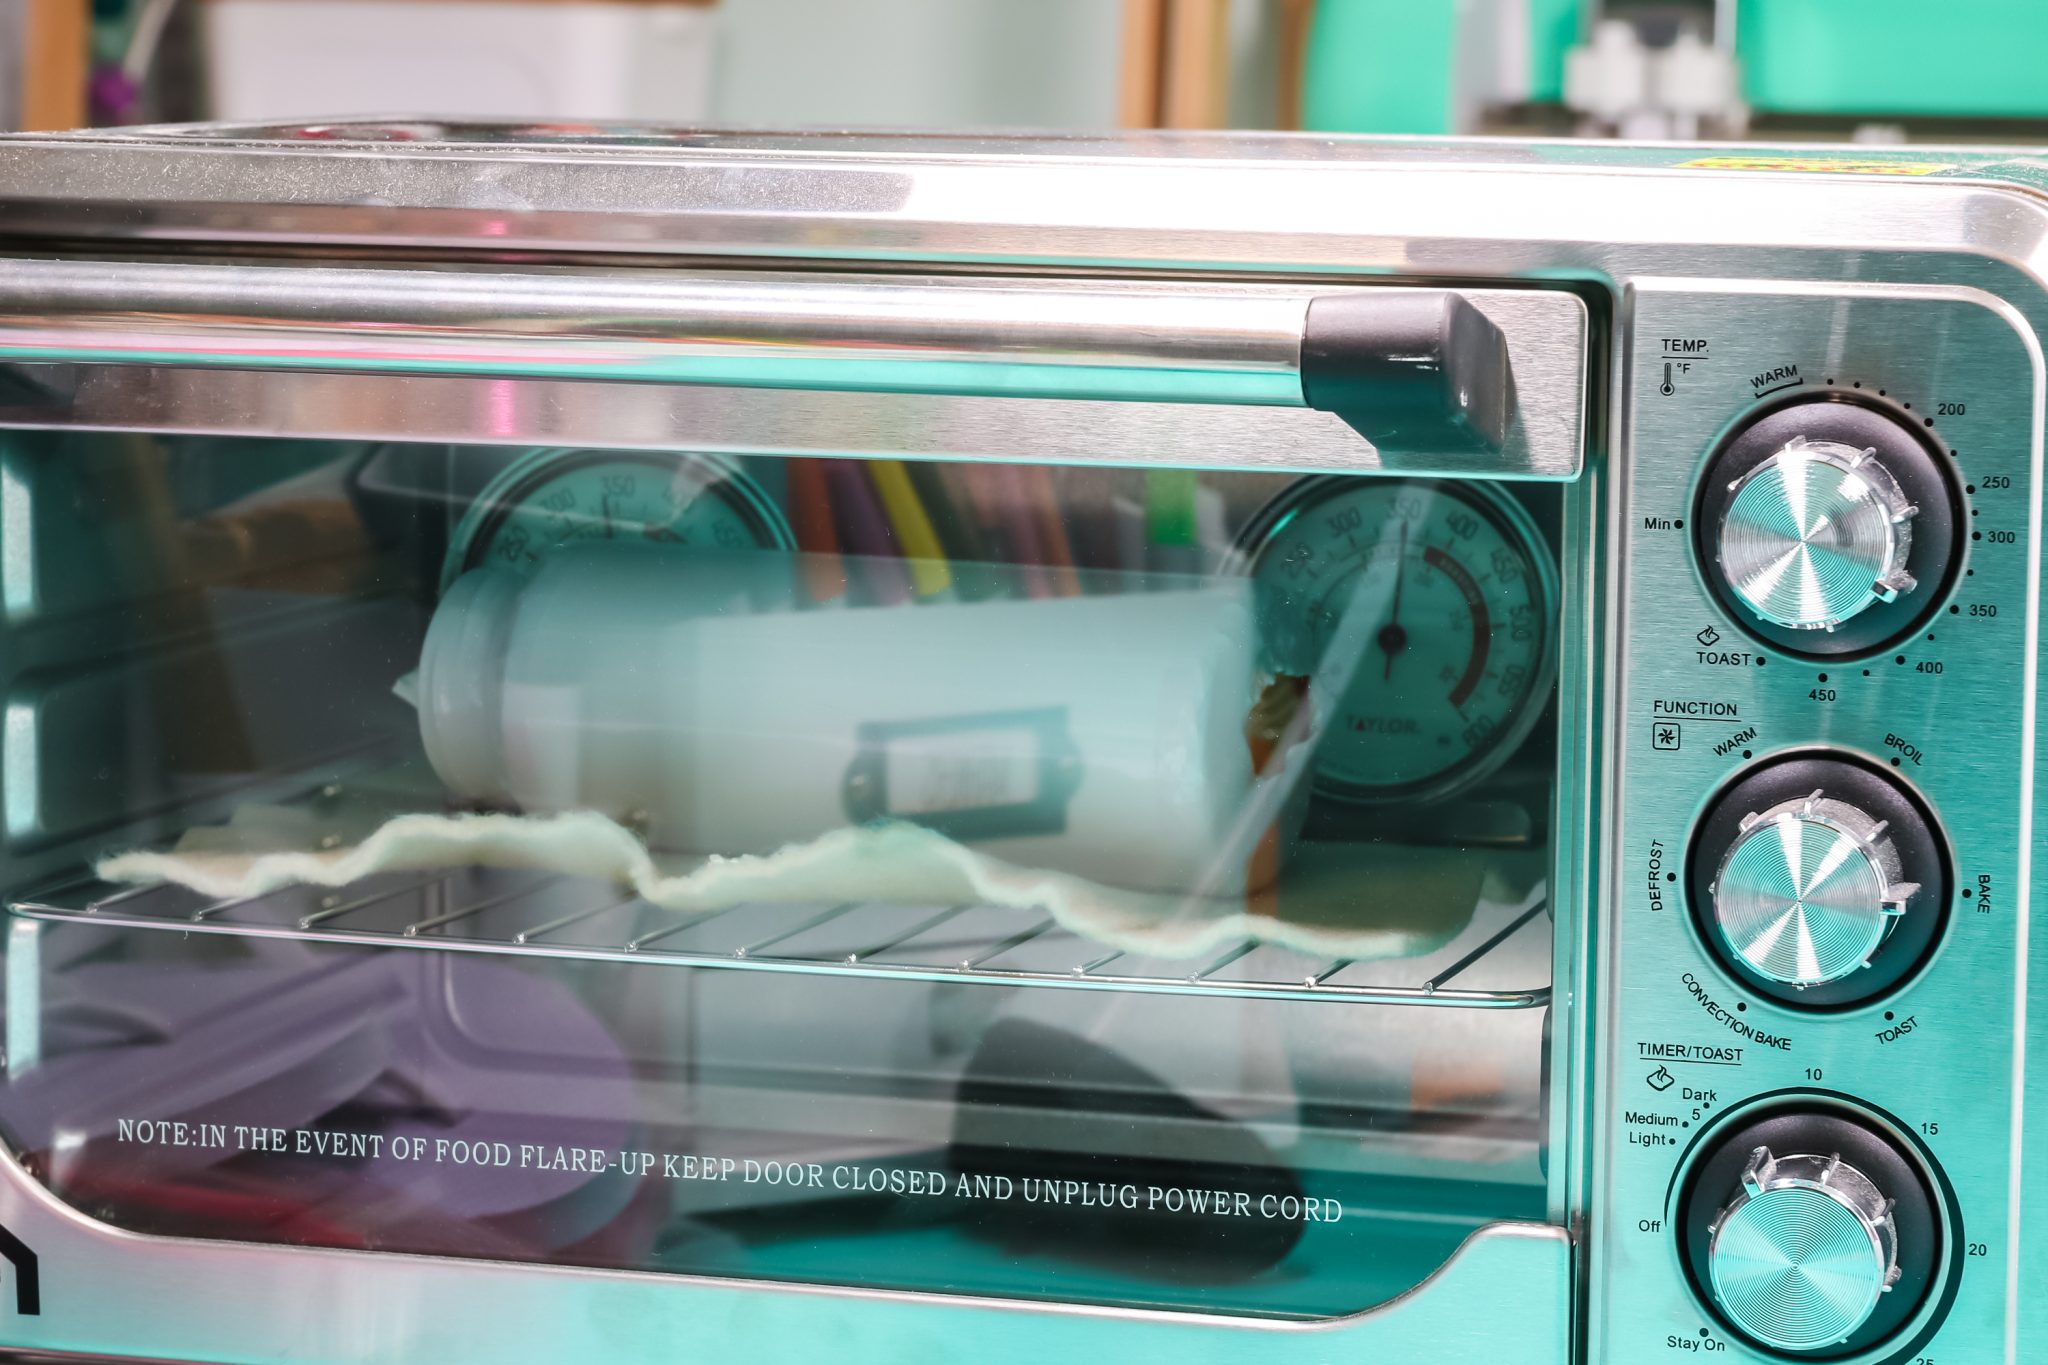
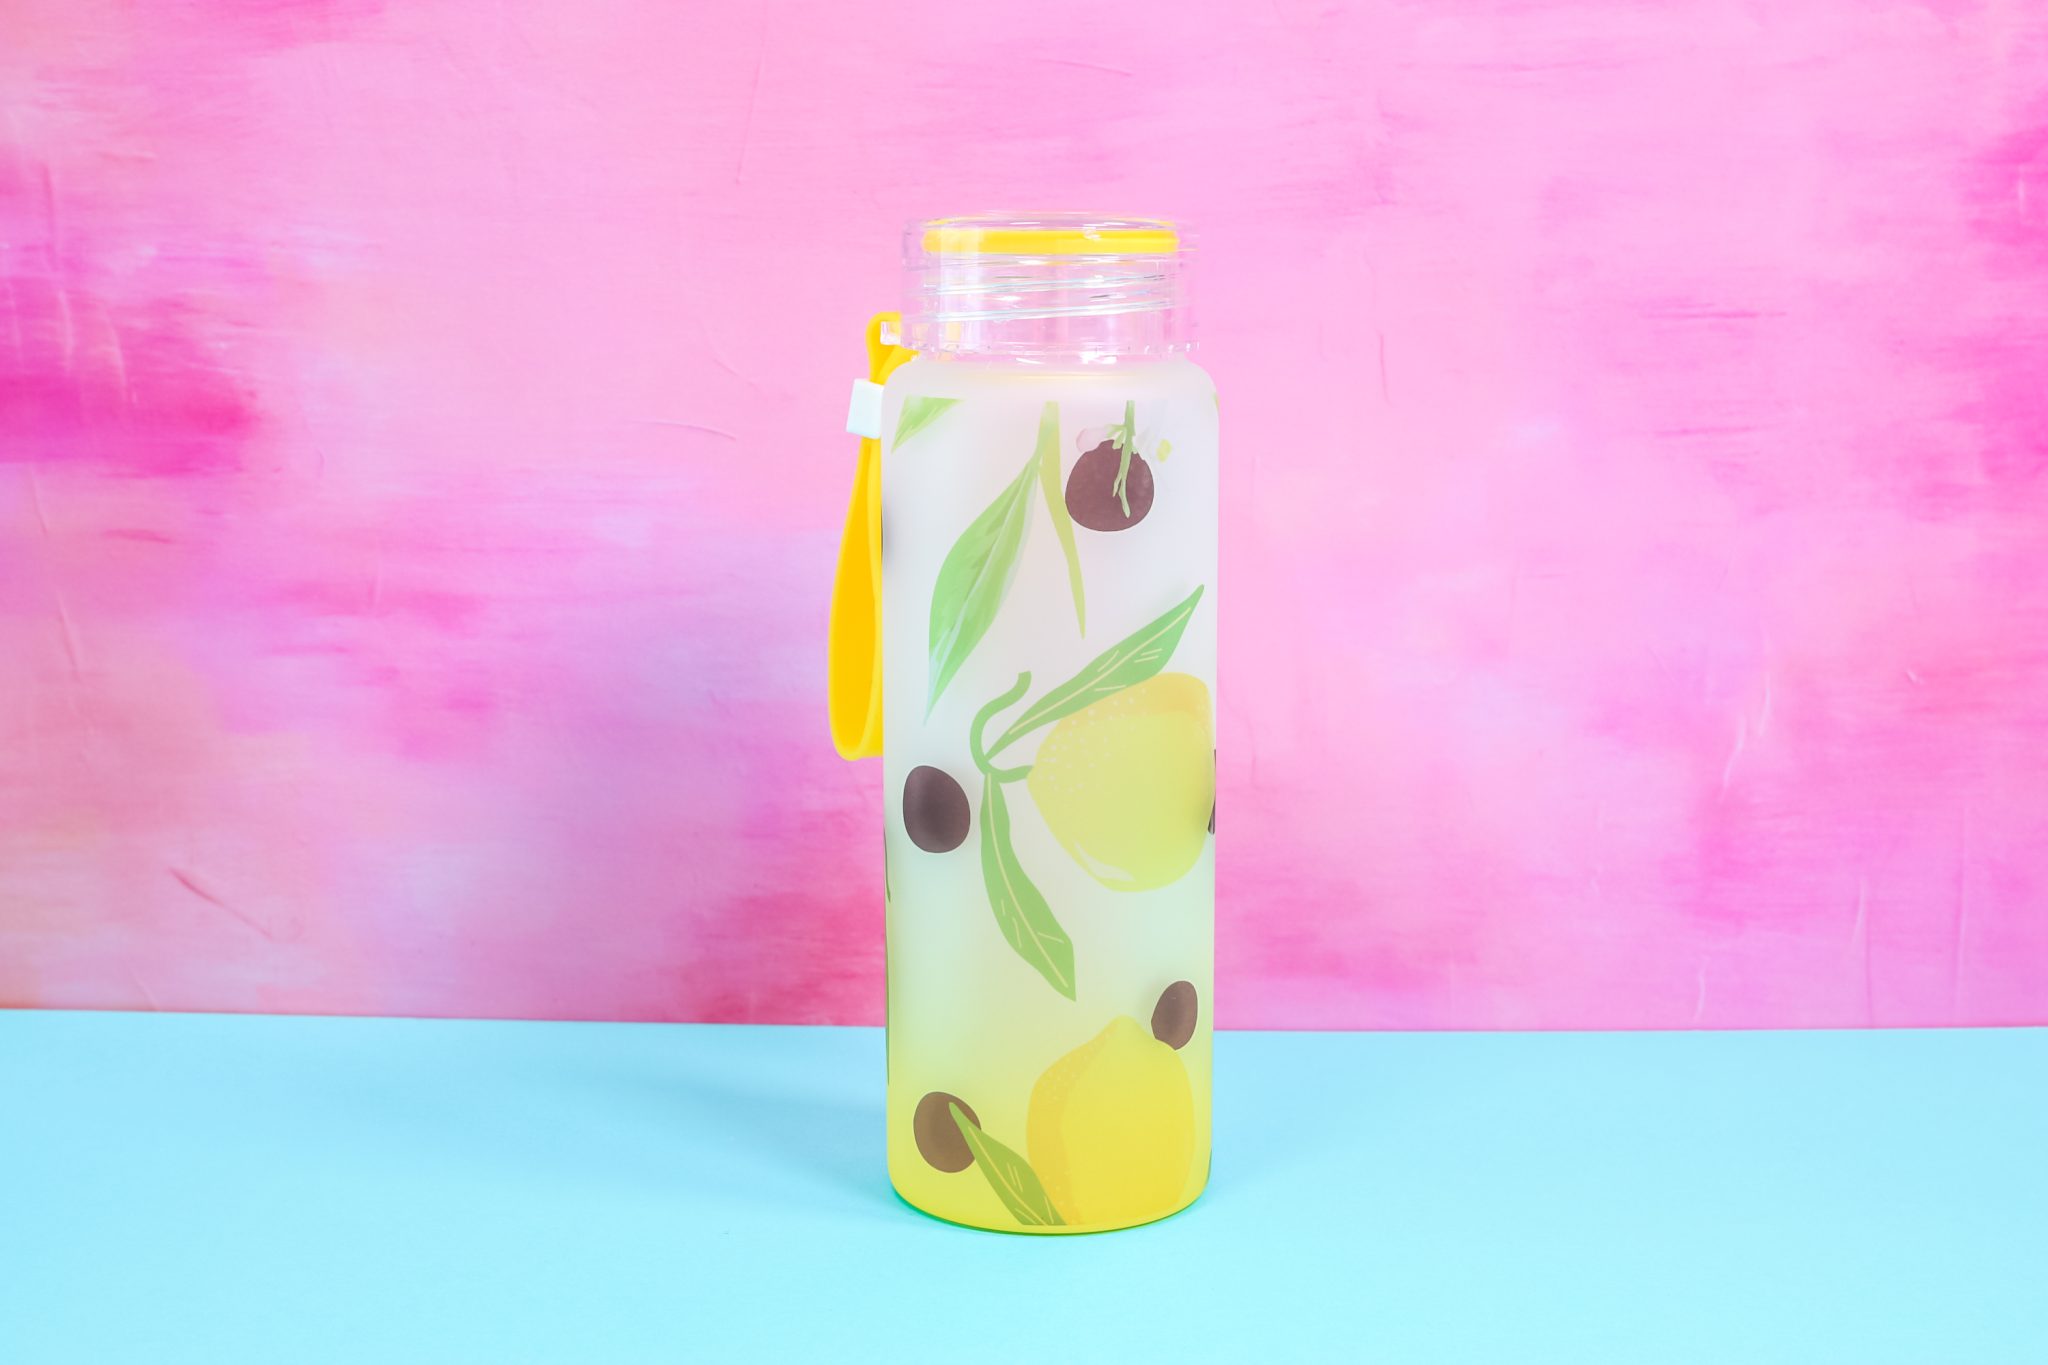
You should be able to see the sublimation print through the shrink wrap and be able to tell when it’s fully sublimated. Once you can see the sublimation print through the shrink wrap, remove the water bottle from the oven. Remove the shrink wrap and sublimation print as soon as you can. Use heat resistant gloves when touching the bottle. If you remove it hot, the shrink wrap will remove more easily.
Sublimation Water Bottle in Cricut Mug Press
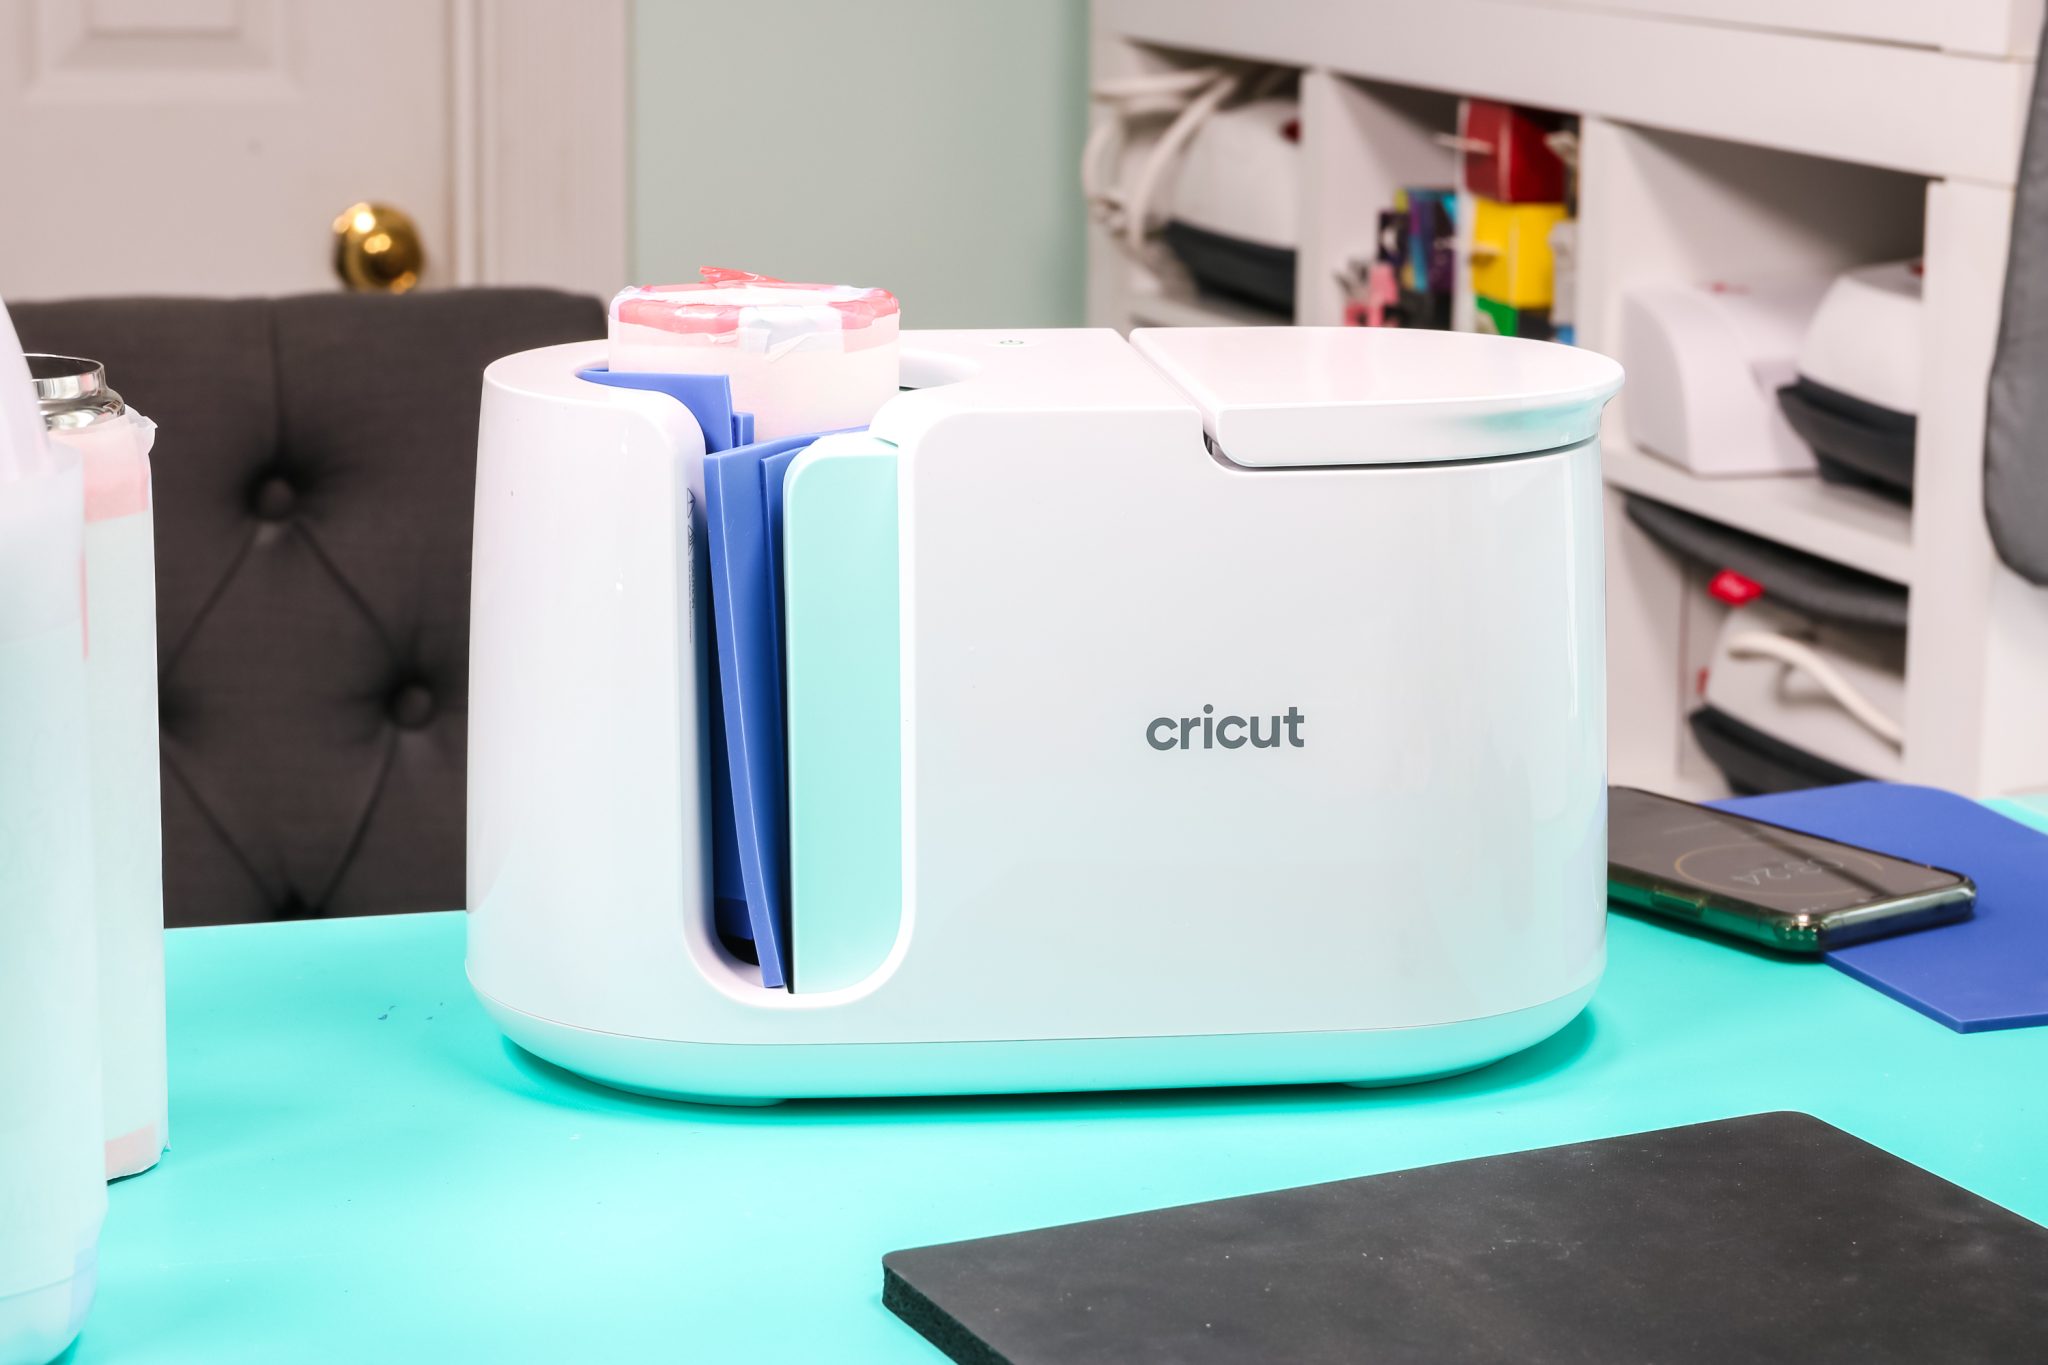
The Cricut Mug Press has a set size it can accept for mugs, tumblers, and water bottles. Because my sublimation water bottles are narrower than the recommended size I am going to use my PYD Life Inserts in the Mug Press.
Learn more about using PYD Life Inserts with the Cricut Mug Press here.
Prepping Sublimation Water Bottle For Cricut Mug Press
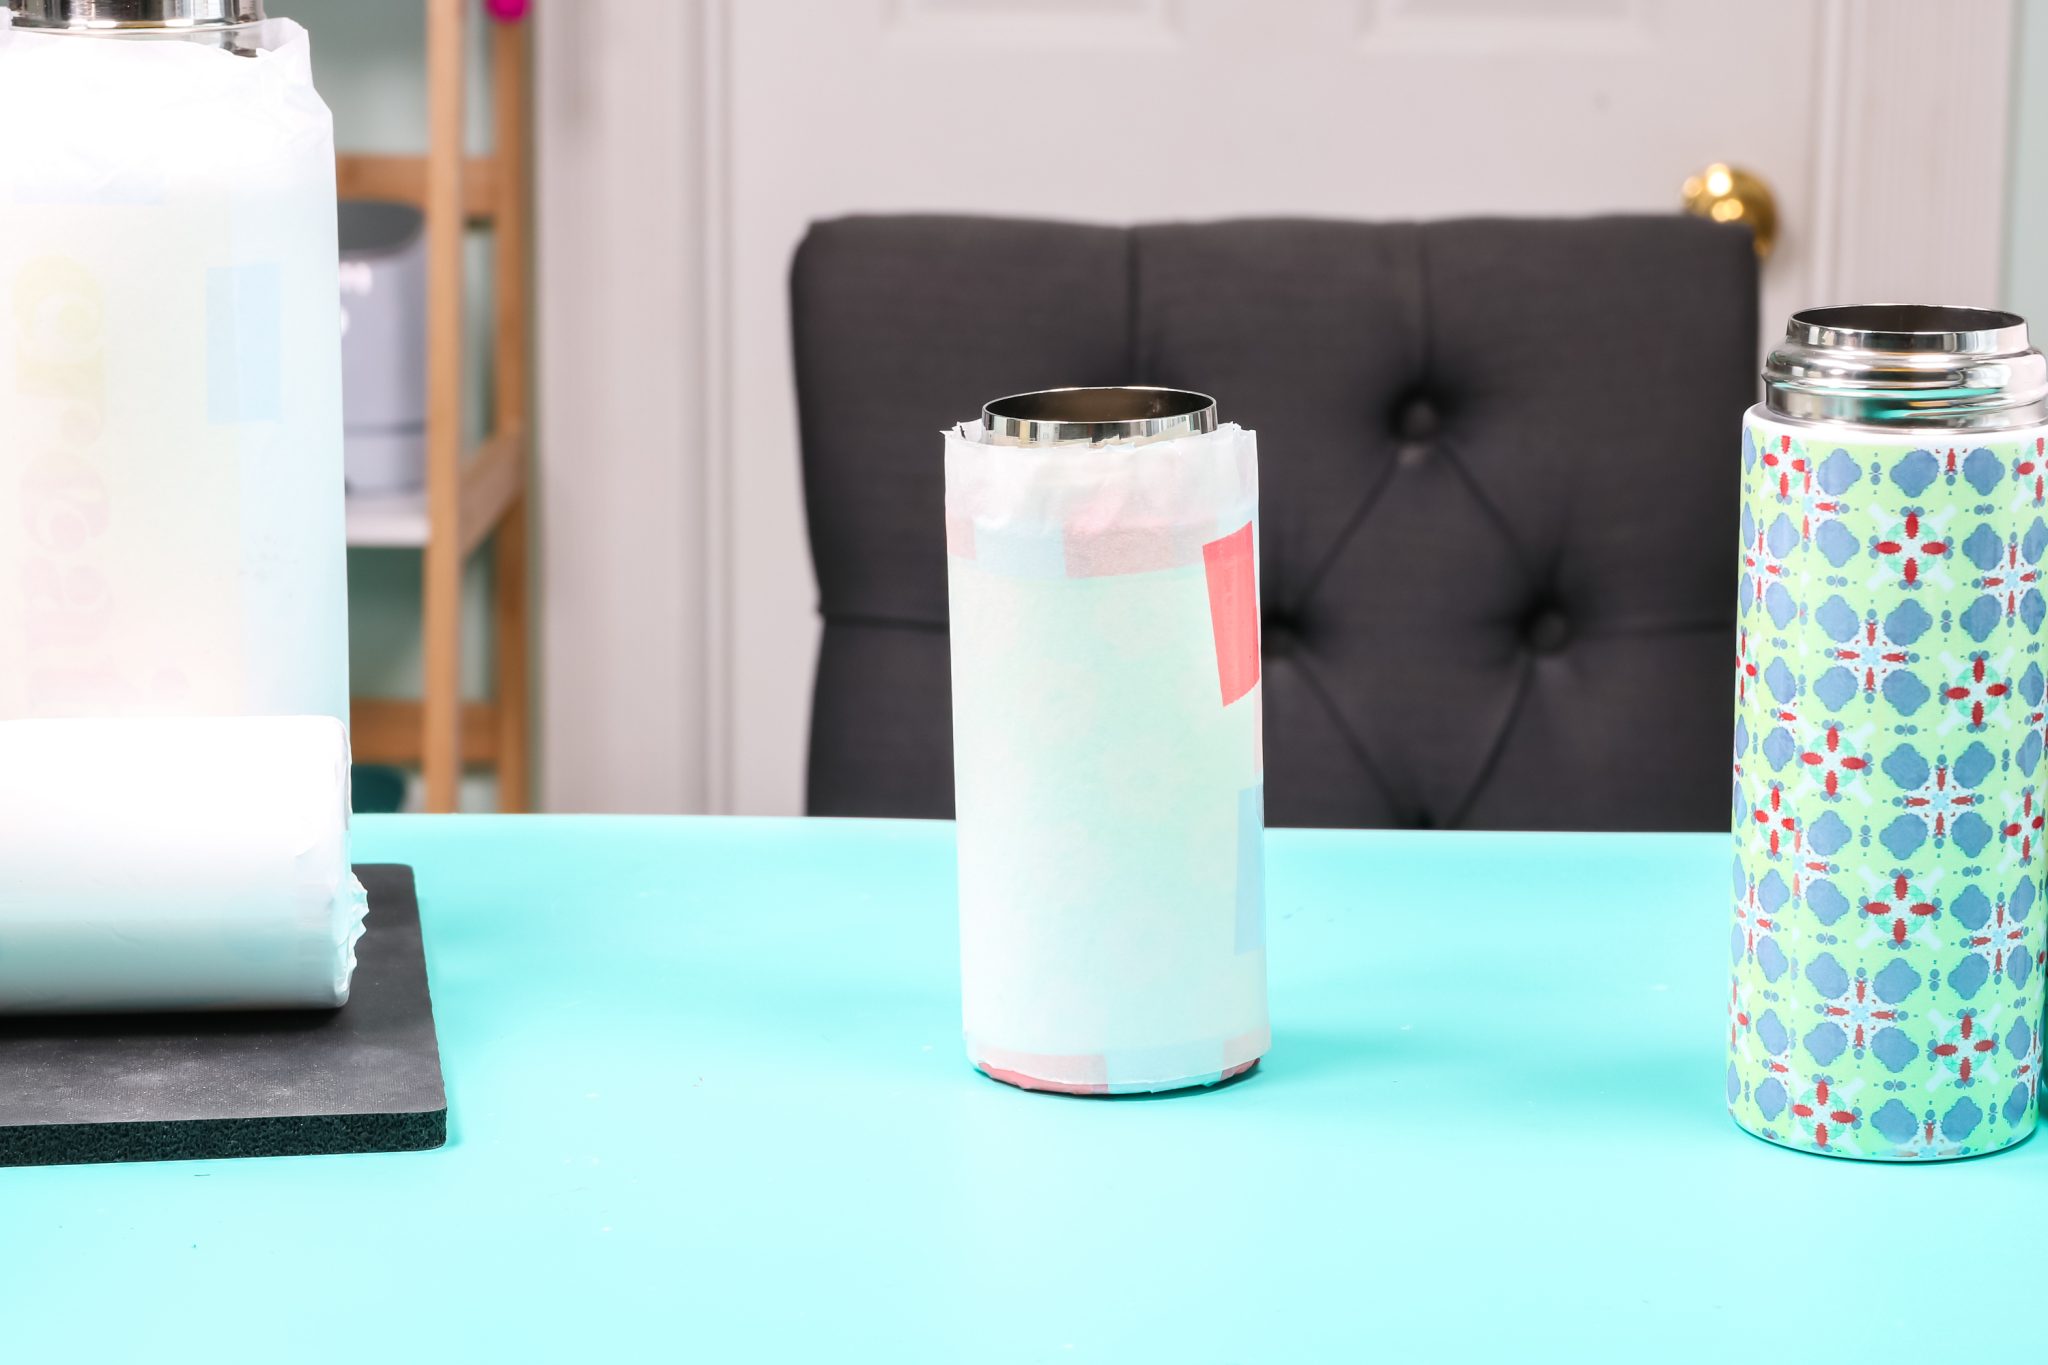
This is another example of a full wrap design. Prep the water bottle just like you did before. Clean it really well and apply the full wrap. The difference here is that we need to add protective paper to protect the inside of the Mug Press. Wrap the full water bottle in protective paper and secure with heat-resistant tape.
Heating Sublimation Water Bottles in Cricut Mug Press
I’m using heat-resistant gloves because this can get warm and I may have to use more than one insert for these. I did do a full video on the inserts and you can find it here. It’s basically just trial and error, seeing which ones work, and how many you need.
Because these water bottles are taller than the heat plates in the Mug Press the top is sticking out which means I will need to flip them over after the initial press and press again to get the whole image pressed. For these water bottles, I am using two of the PYD Life Inserts and am pressing as follows:
- Press for the full time until the Mug Press beeps.
- Rotate the water bottle (making sure the inserts don’t slide down) and press again for 2 minutes. I am manually timing the 2 minutes because the Mug Press is hot now.
- Remove the water bottle and re-insert, top down. Manually time for 4 minutes.
- Rotate the water bottle again and manually time for 2 minutes.
- Remove from Mug Press and allow to cool.
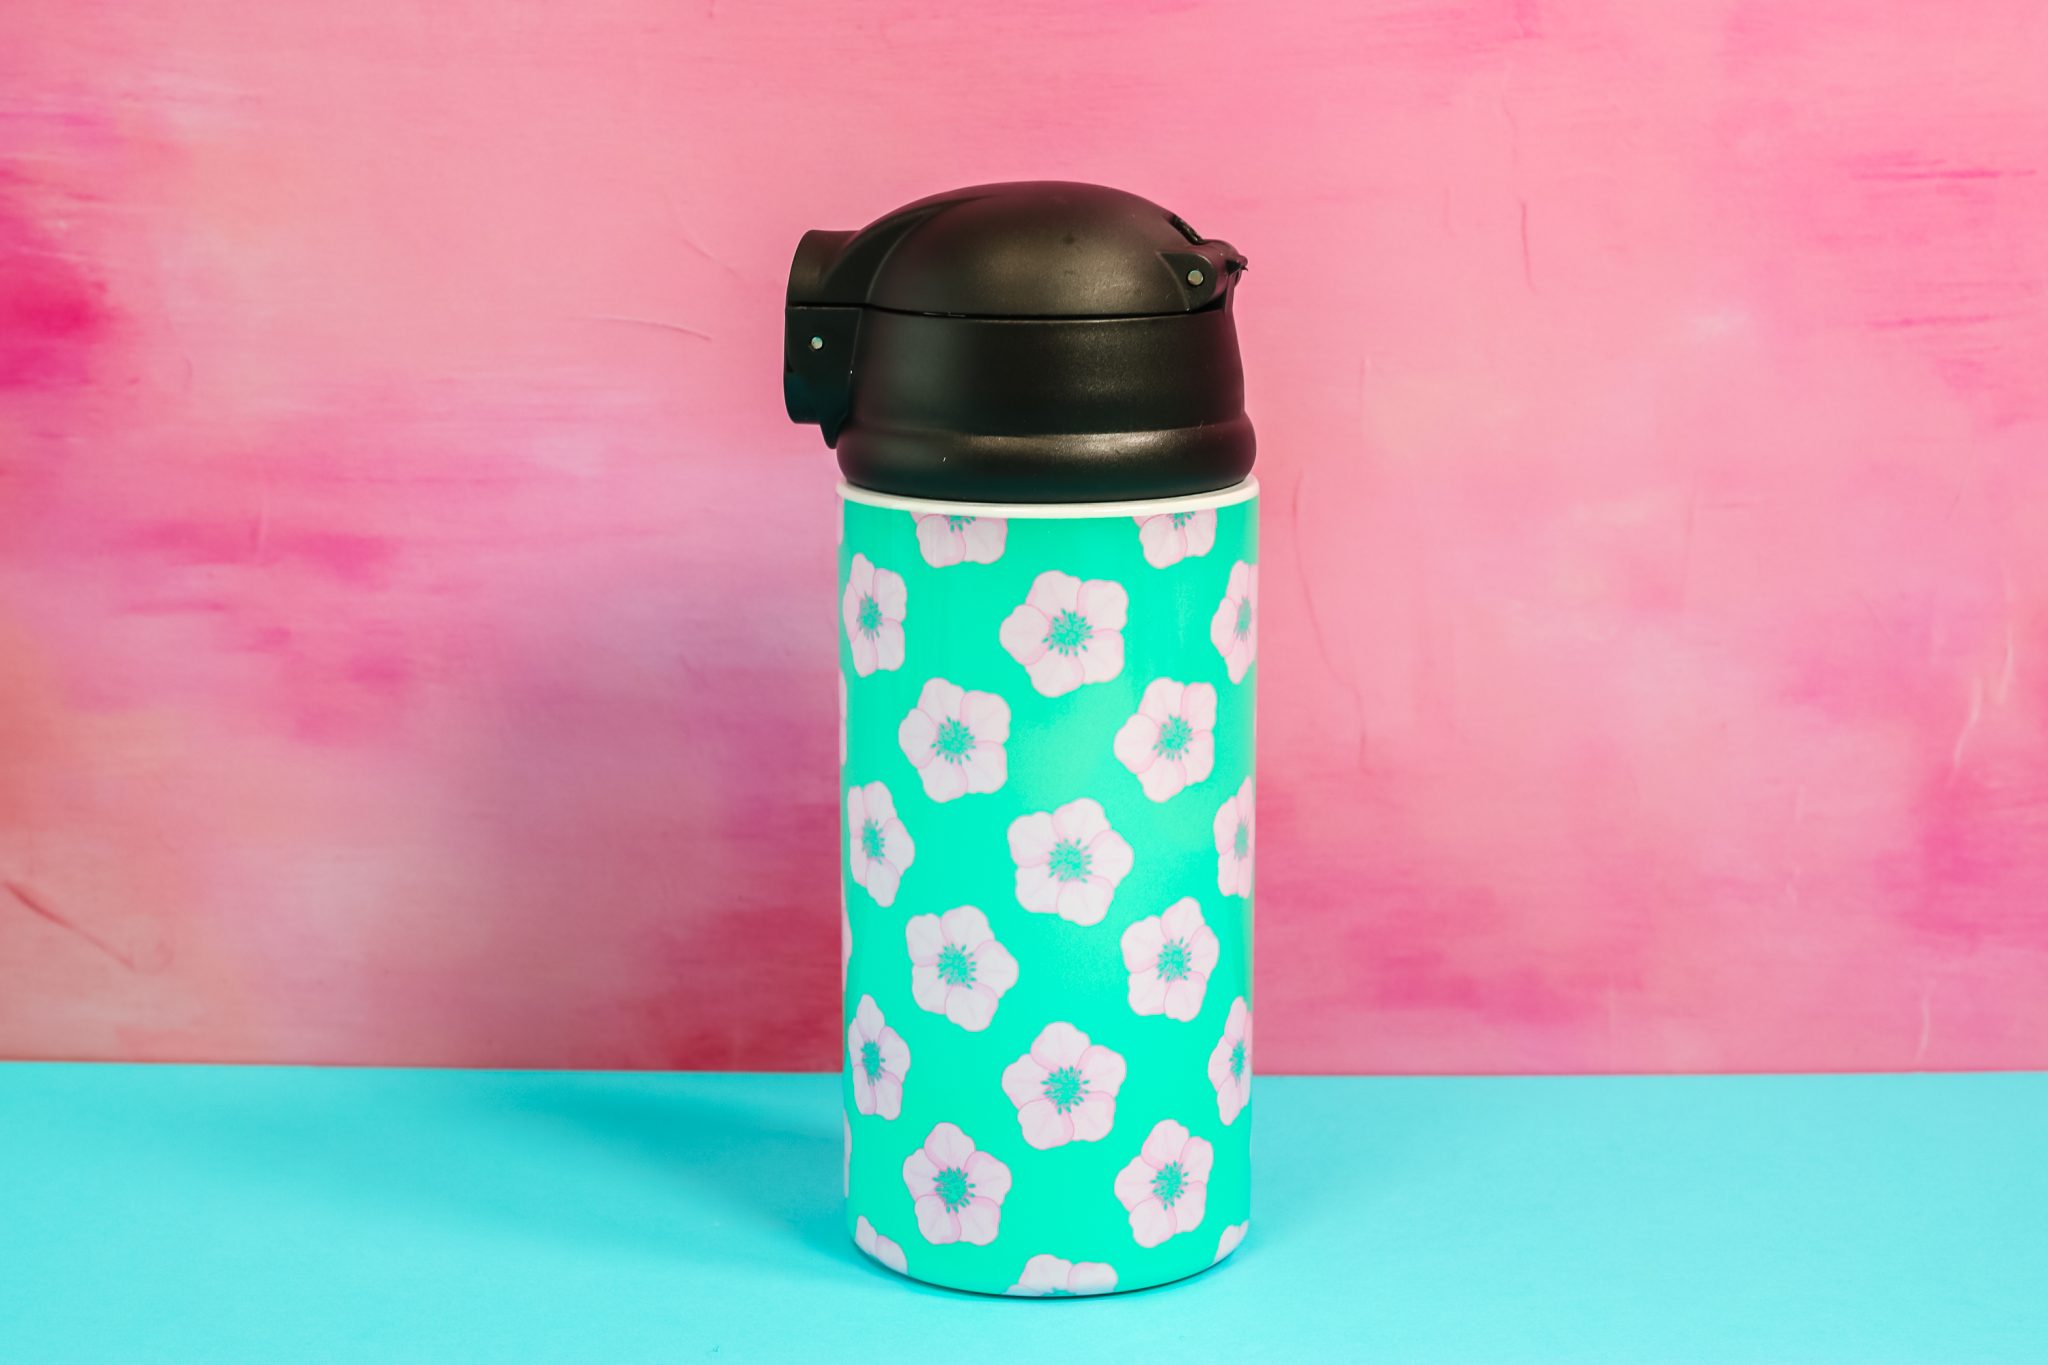
After the bottles cool some, remove your paper and sublimation print. I love how these water bottles turned out. They worked really well in the Cricut Mug Press with the PYD Life Inserts.
Sublimation Water Bottle in Tumbler Press
With blanks that are tapered or curved, I personally do not like to do a full wrap. It’s hard to get the wrap itself to go around these curves, to find the right template, to get the template correct, and then not have any ghosting in these tapered areas. So for me, I choose to use smaller designs on tapered blanks.
Prepping a Tapered Water Bottle
Because this water bottle is tapered I am using a small sublimation print. I’m going to clean the area where I’m applying the print with my lint roller. Take the time to make sure your print is straight and tape it into place. I like to add enough heat-resistant tape so the image won’t move and so there are no gaps between the print and the water bottle.
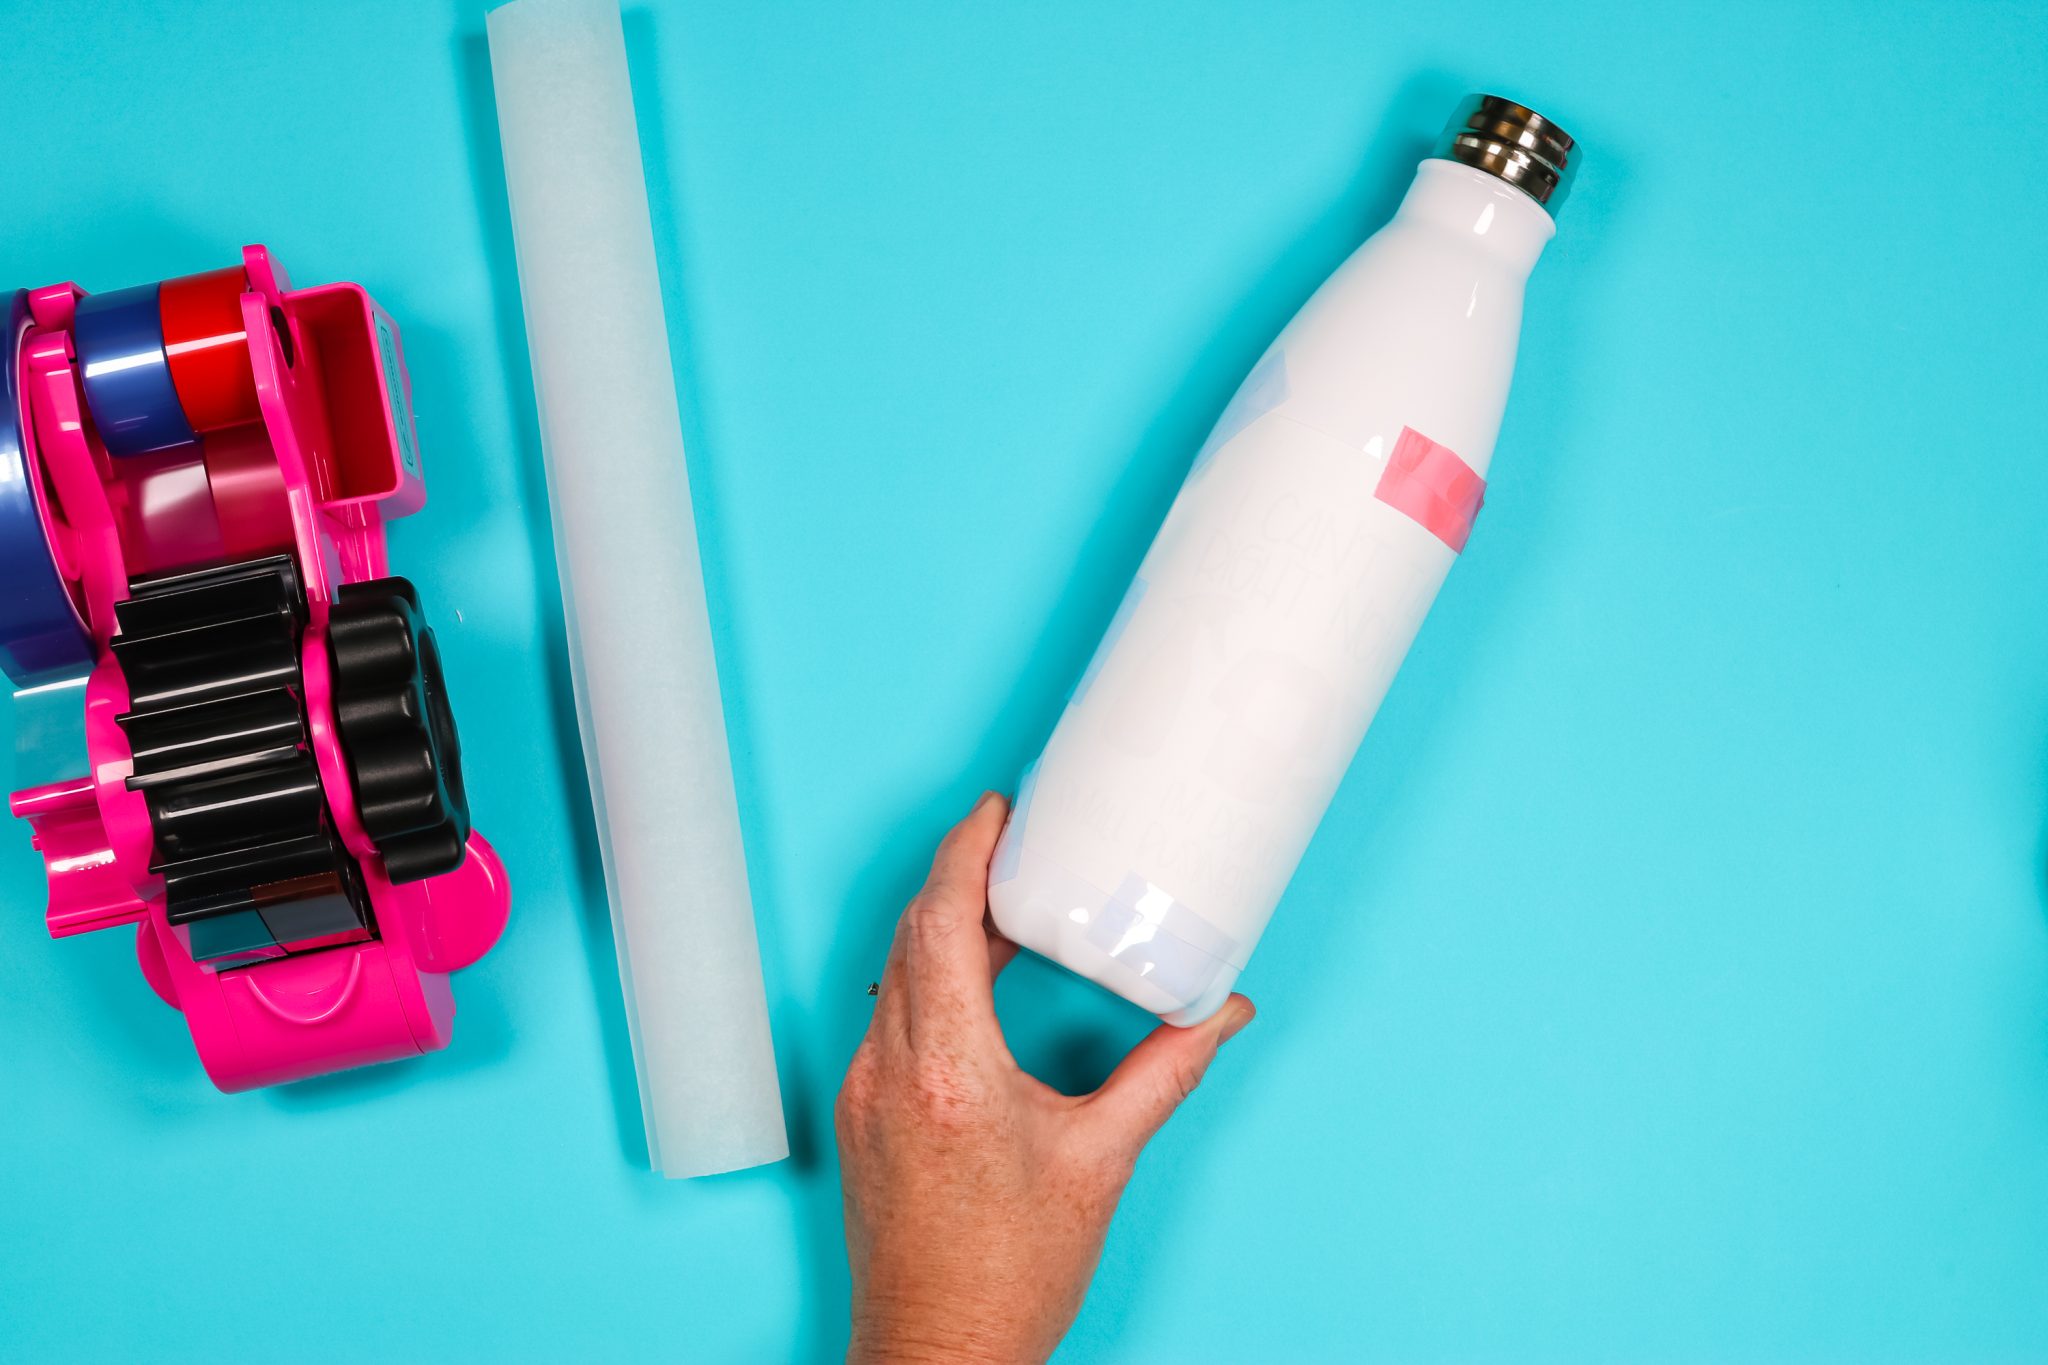
Add protective paper covering the whole print, or wrap it completely around the water bottle and secure with heat-resistant tape.
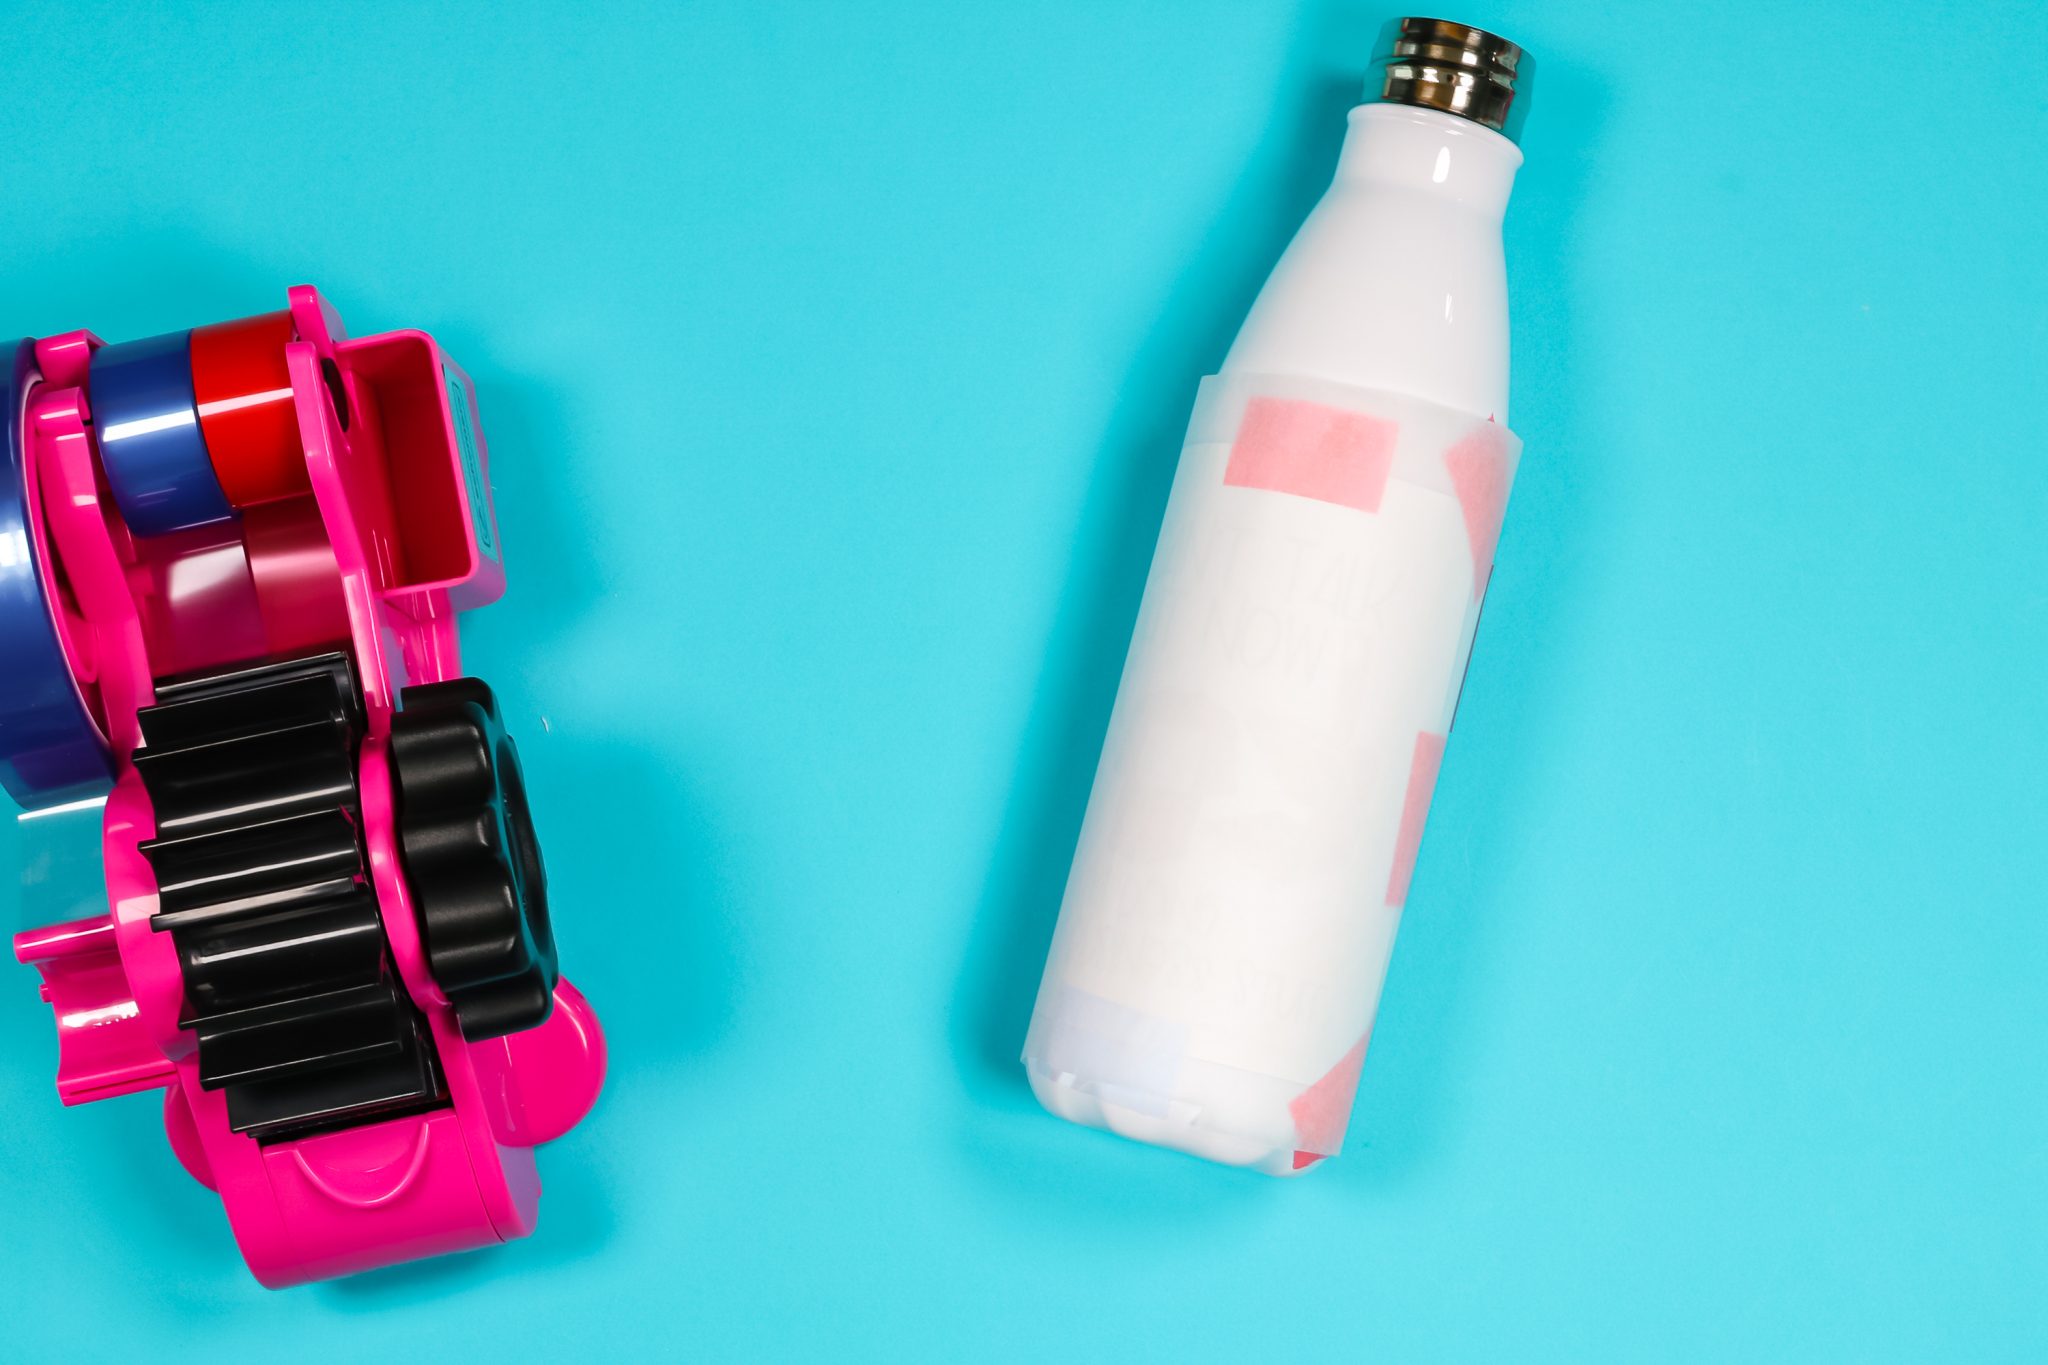
Heating Sublimation Water Bottles in a Tumbler Press
For this tumbler press, you can change the coils out to do larger items. I do have a full video on the PYD Life 2-in-1 tumbler press – you can view it here.
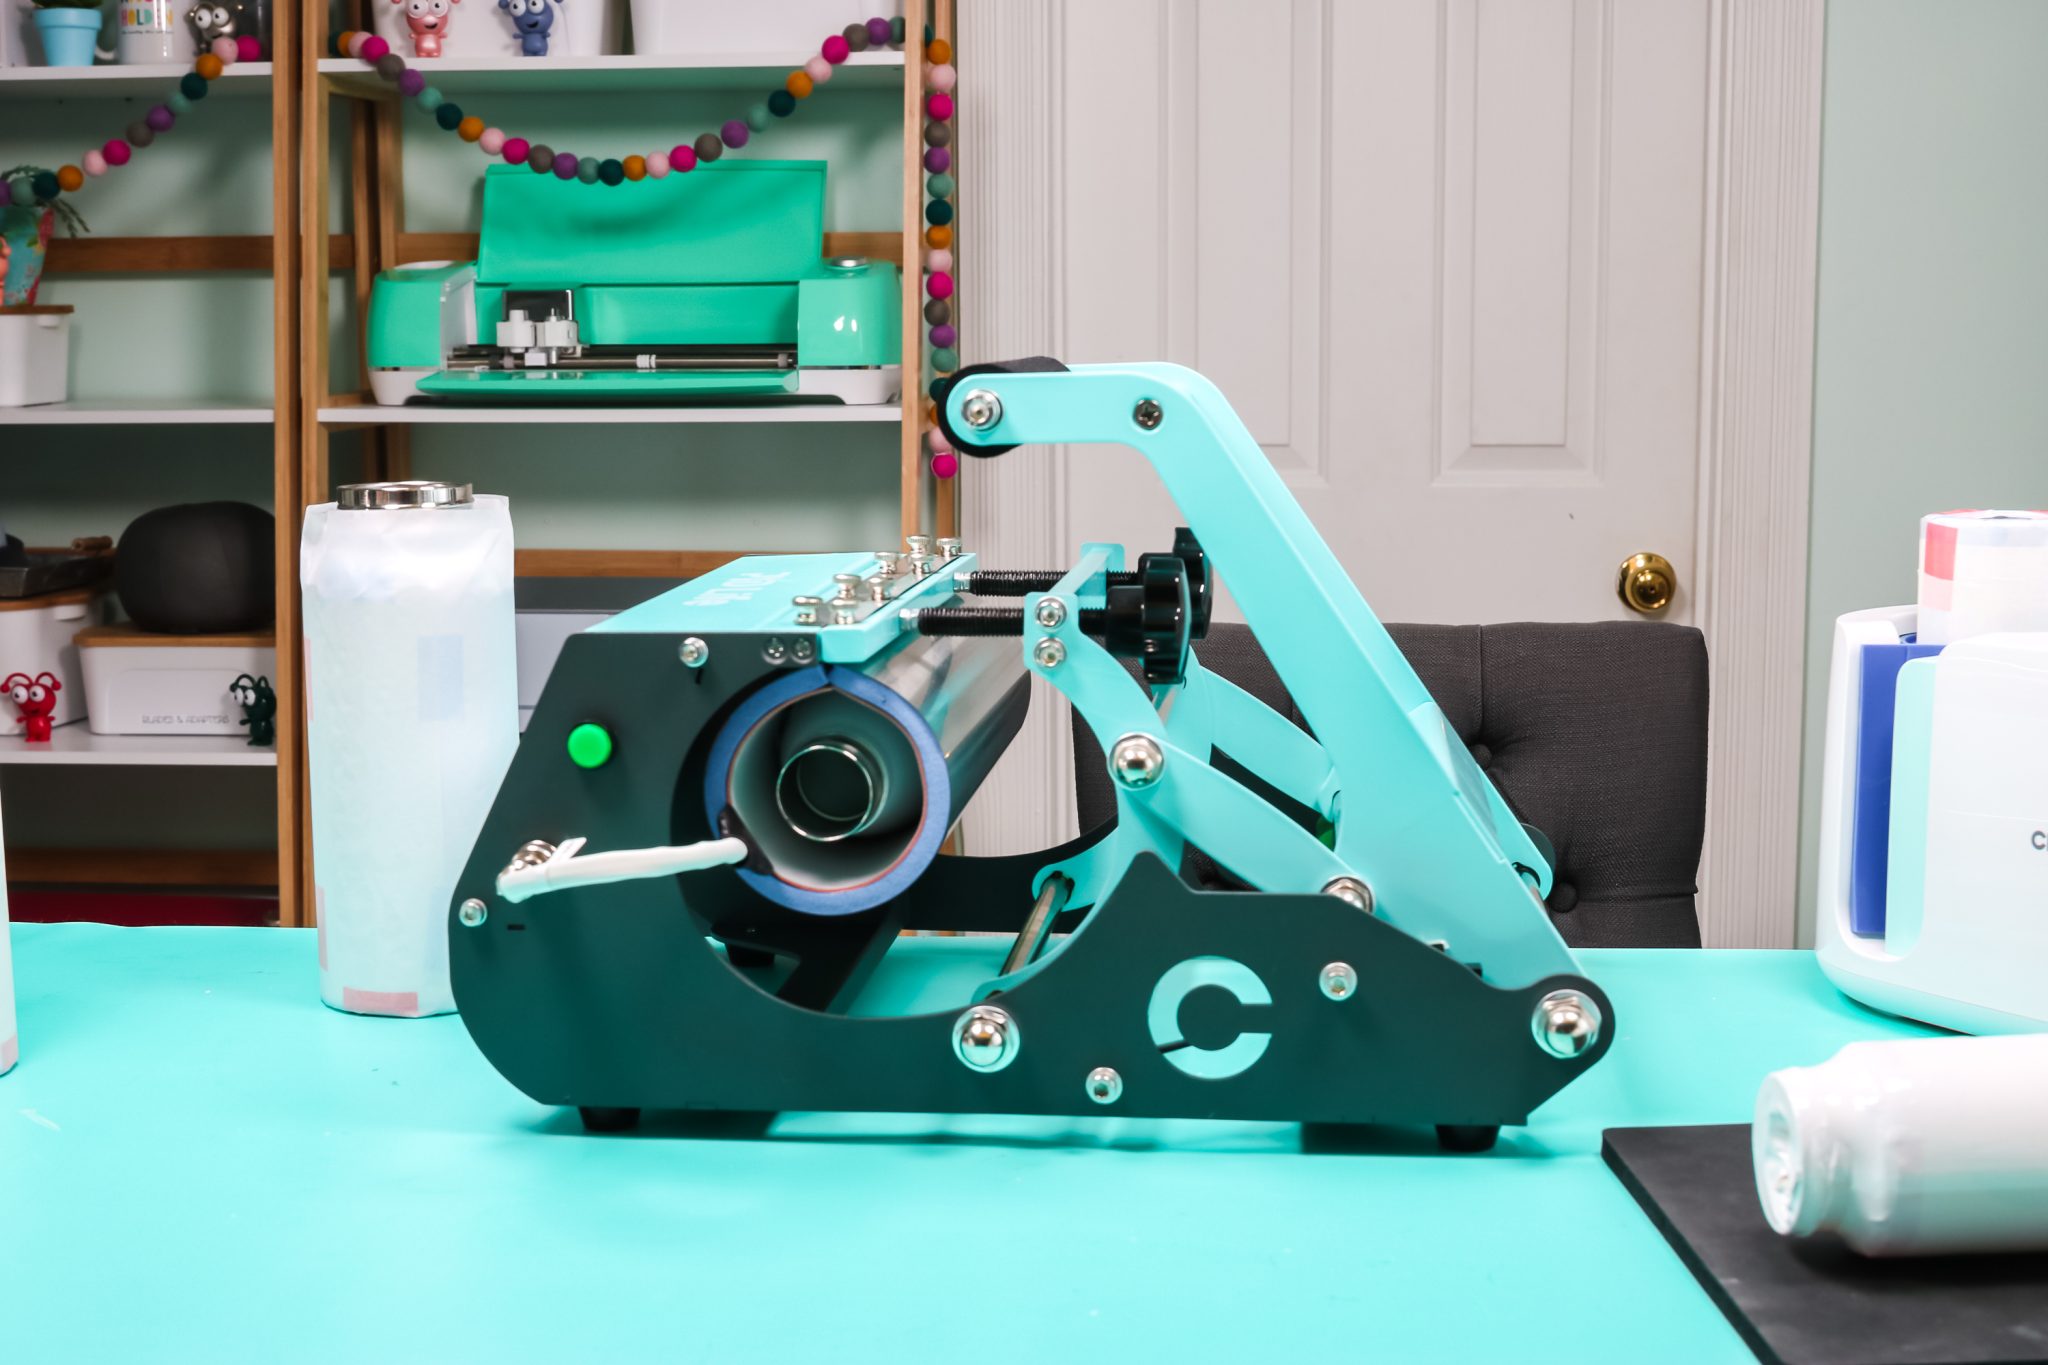
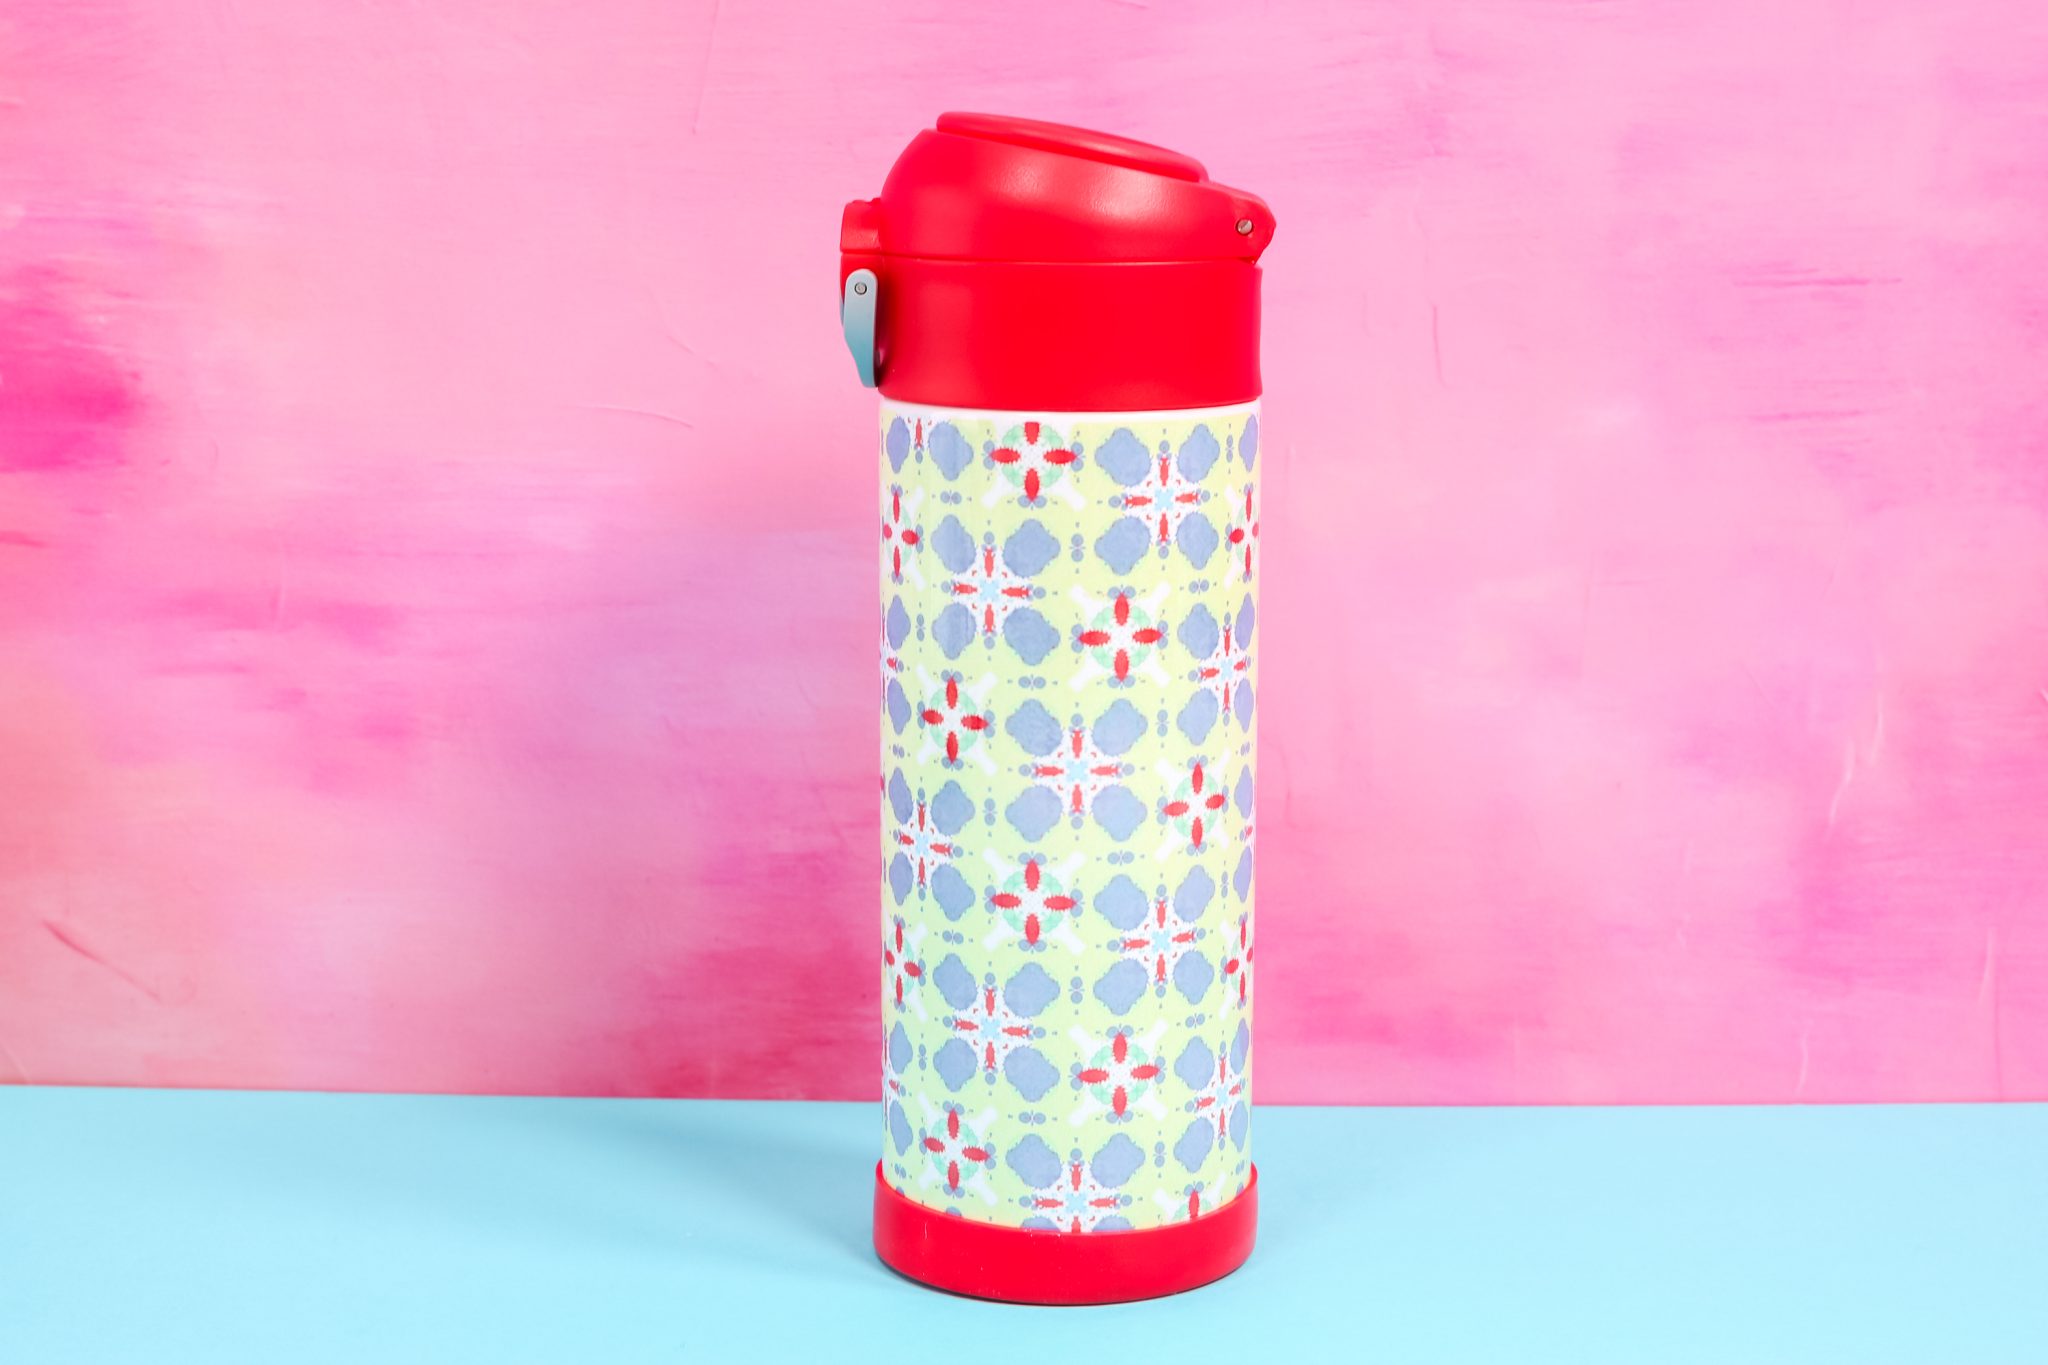
For this water bottle in the tumbler press, I’m going to use the time and temperature that is on the site for the water bottle. This tapered water bottle is only getting a sublimation print on one side so I can just press it for the recommended time. Make sure, when sublimating just one area that that area is inside the heat plates. Remove the paper and sublimation print once the press is complete. This tapered water bottle turned out so good. I love how vibrant the colors are!
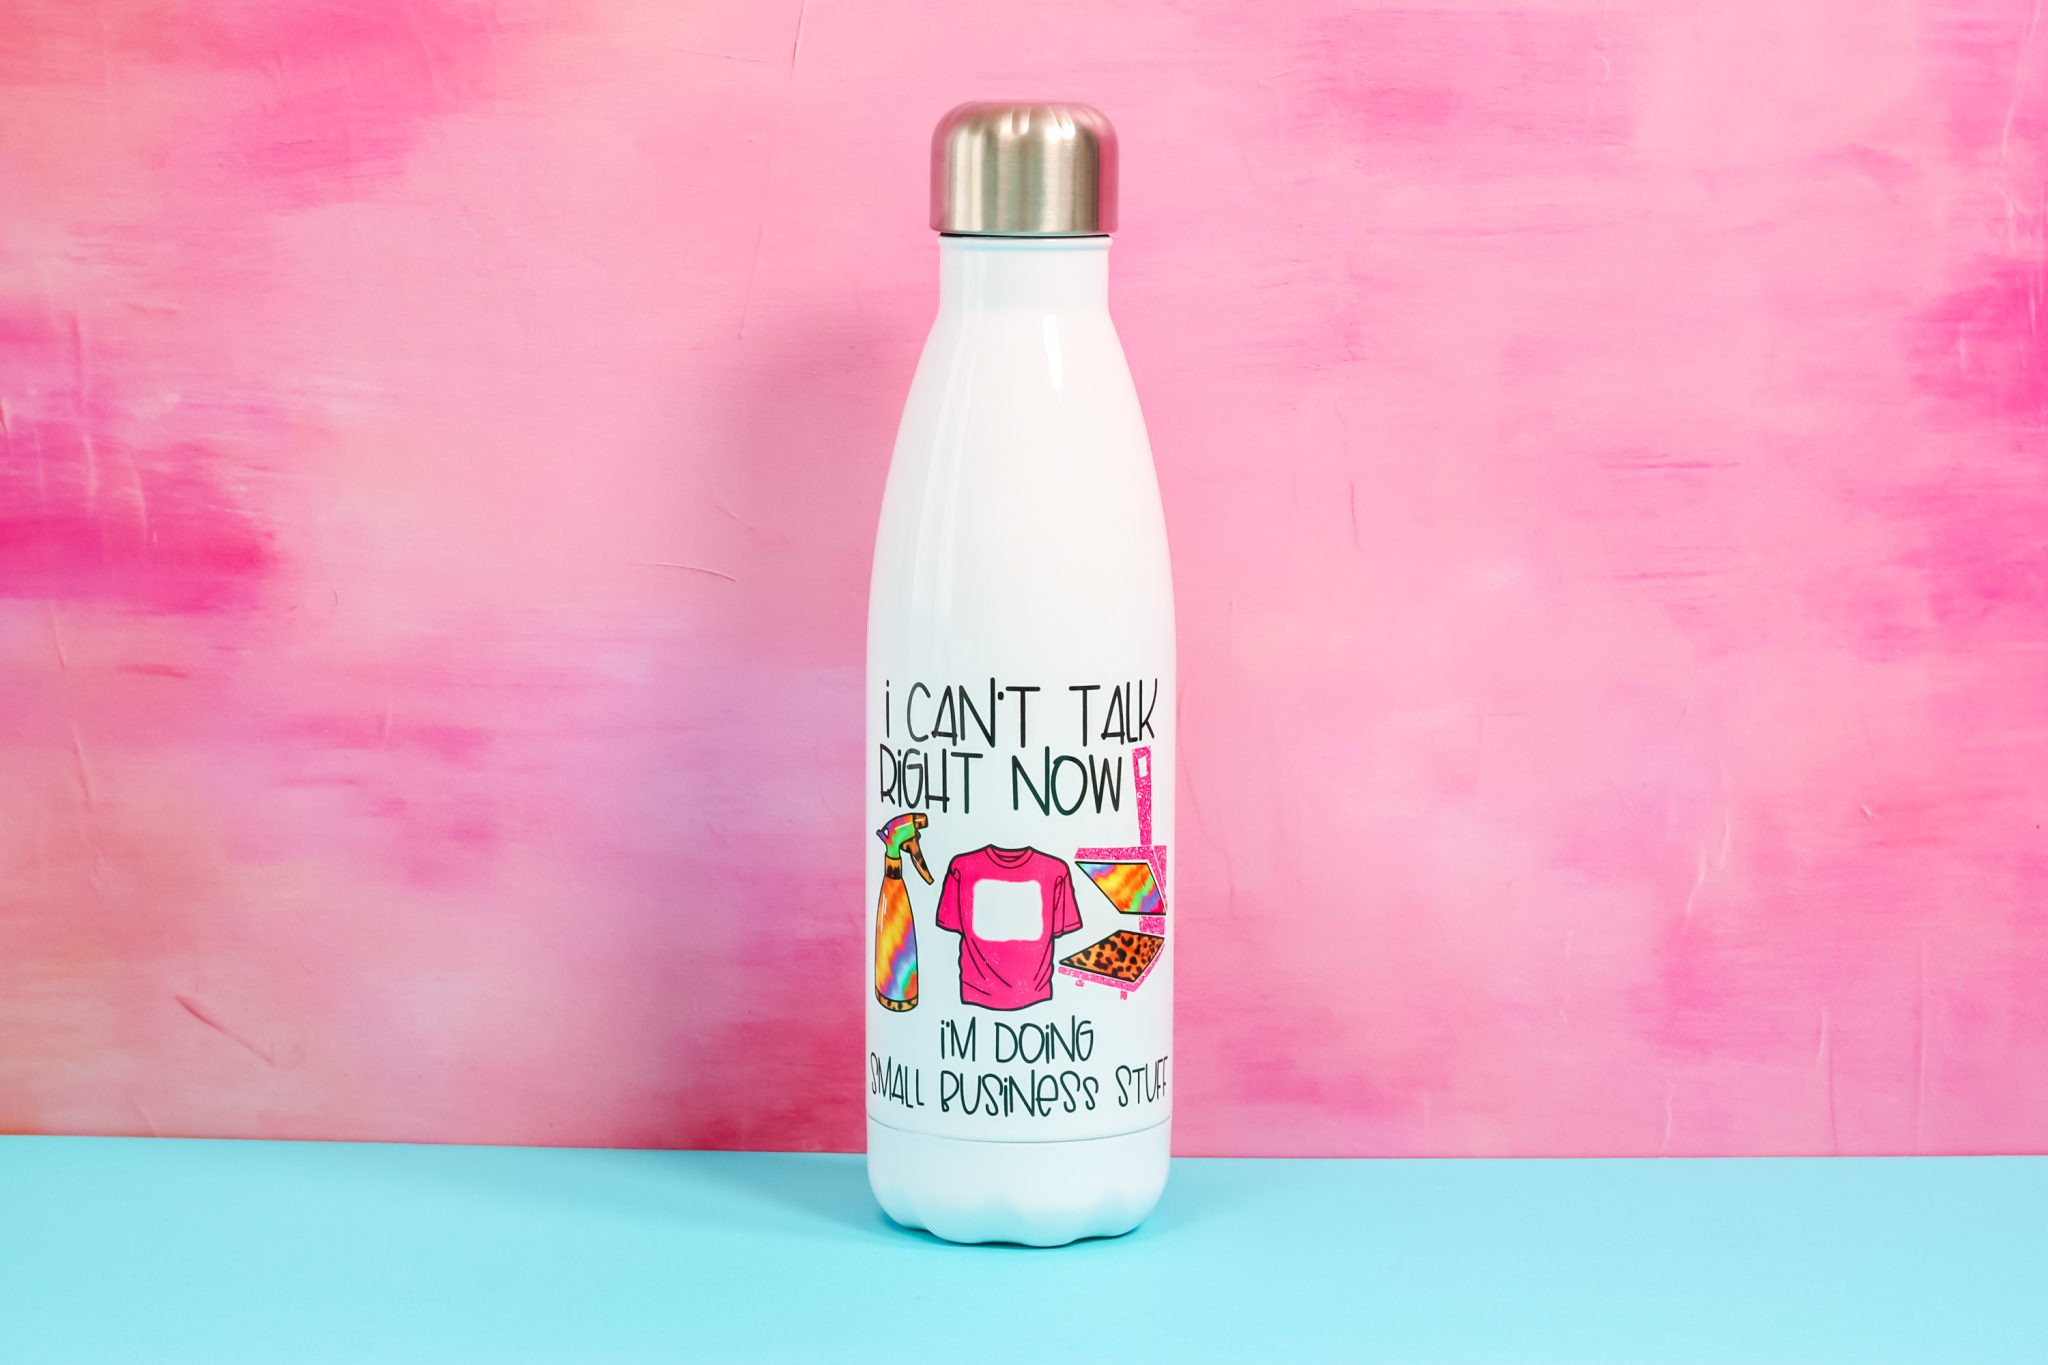
This is another sublimation water bottle I made in the tumbler press. These colors are so fun with this font, they look great together.
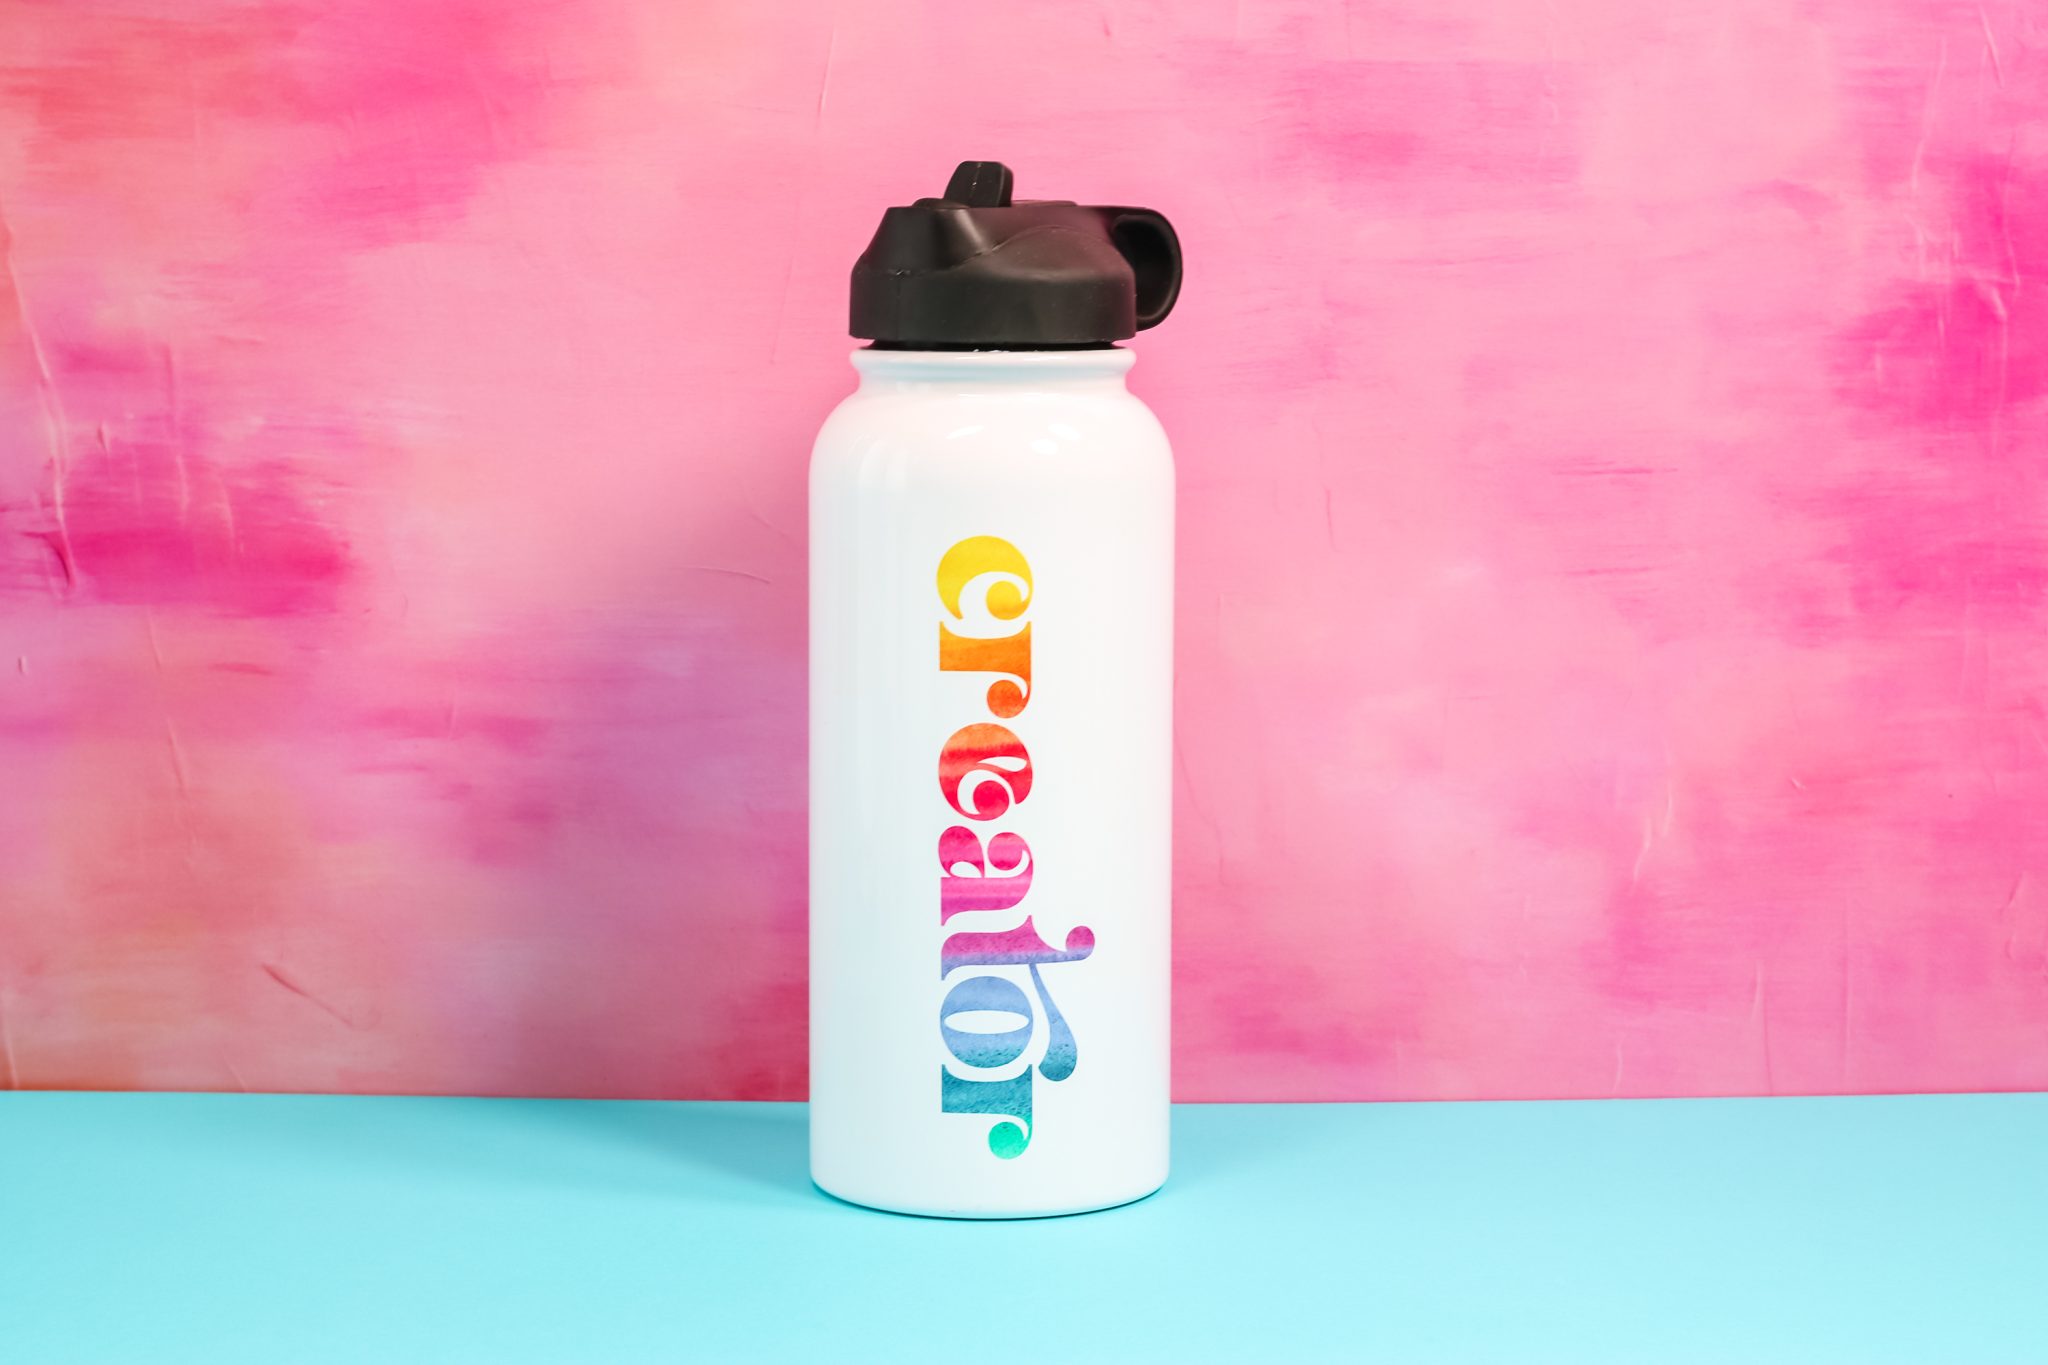
When pressing a larger image or a full wrap, you’ll need to press for the recommended time and then rotate and press again for the full time.
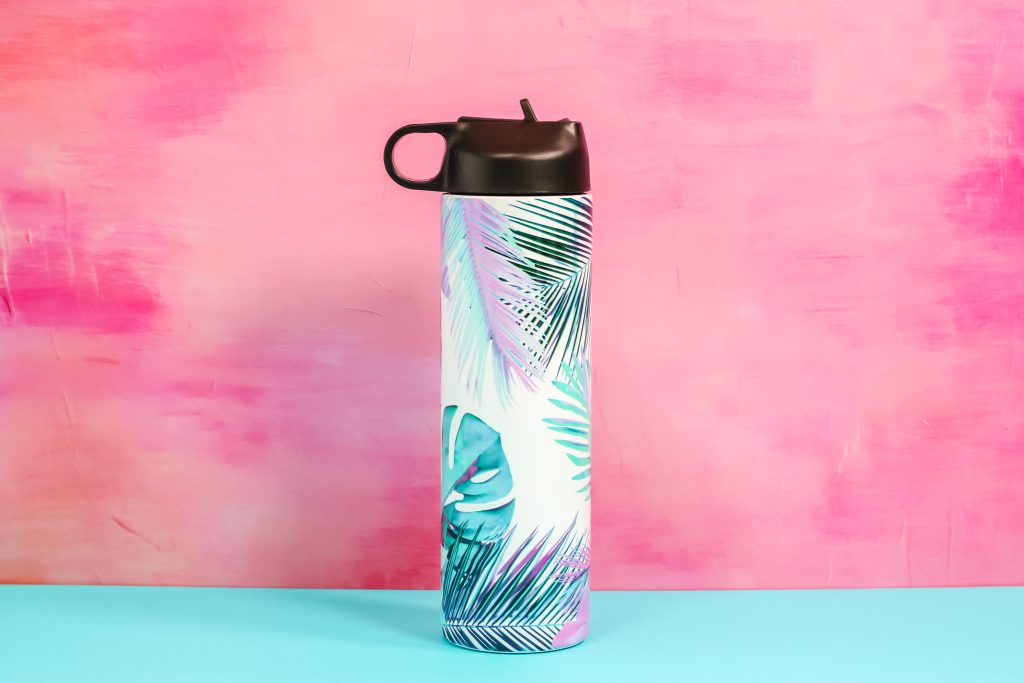
Final Thoughts on Sublimation Water Bottles
I’m in love with every single one of these. I don’t know if I can pick a favorite. Maybe the small business one, but I’m not sure. The full wrap ones also turned out great. I don’t think any of these turned out bad. The glass one might have been over-baked just a little bit, but if it is you can hardly tell.
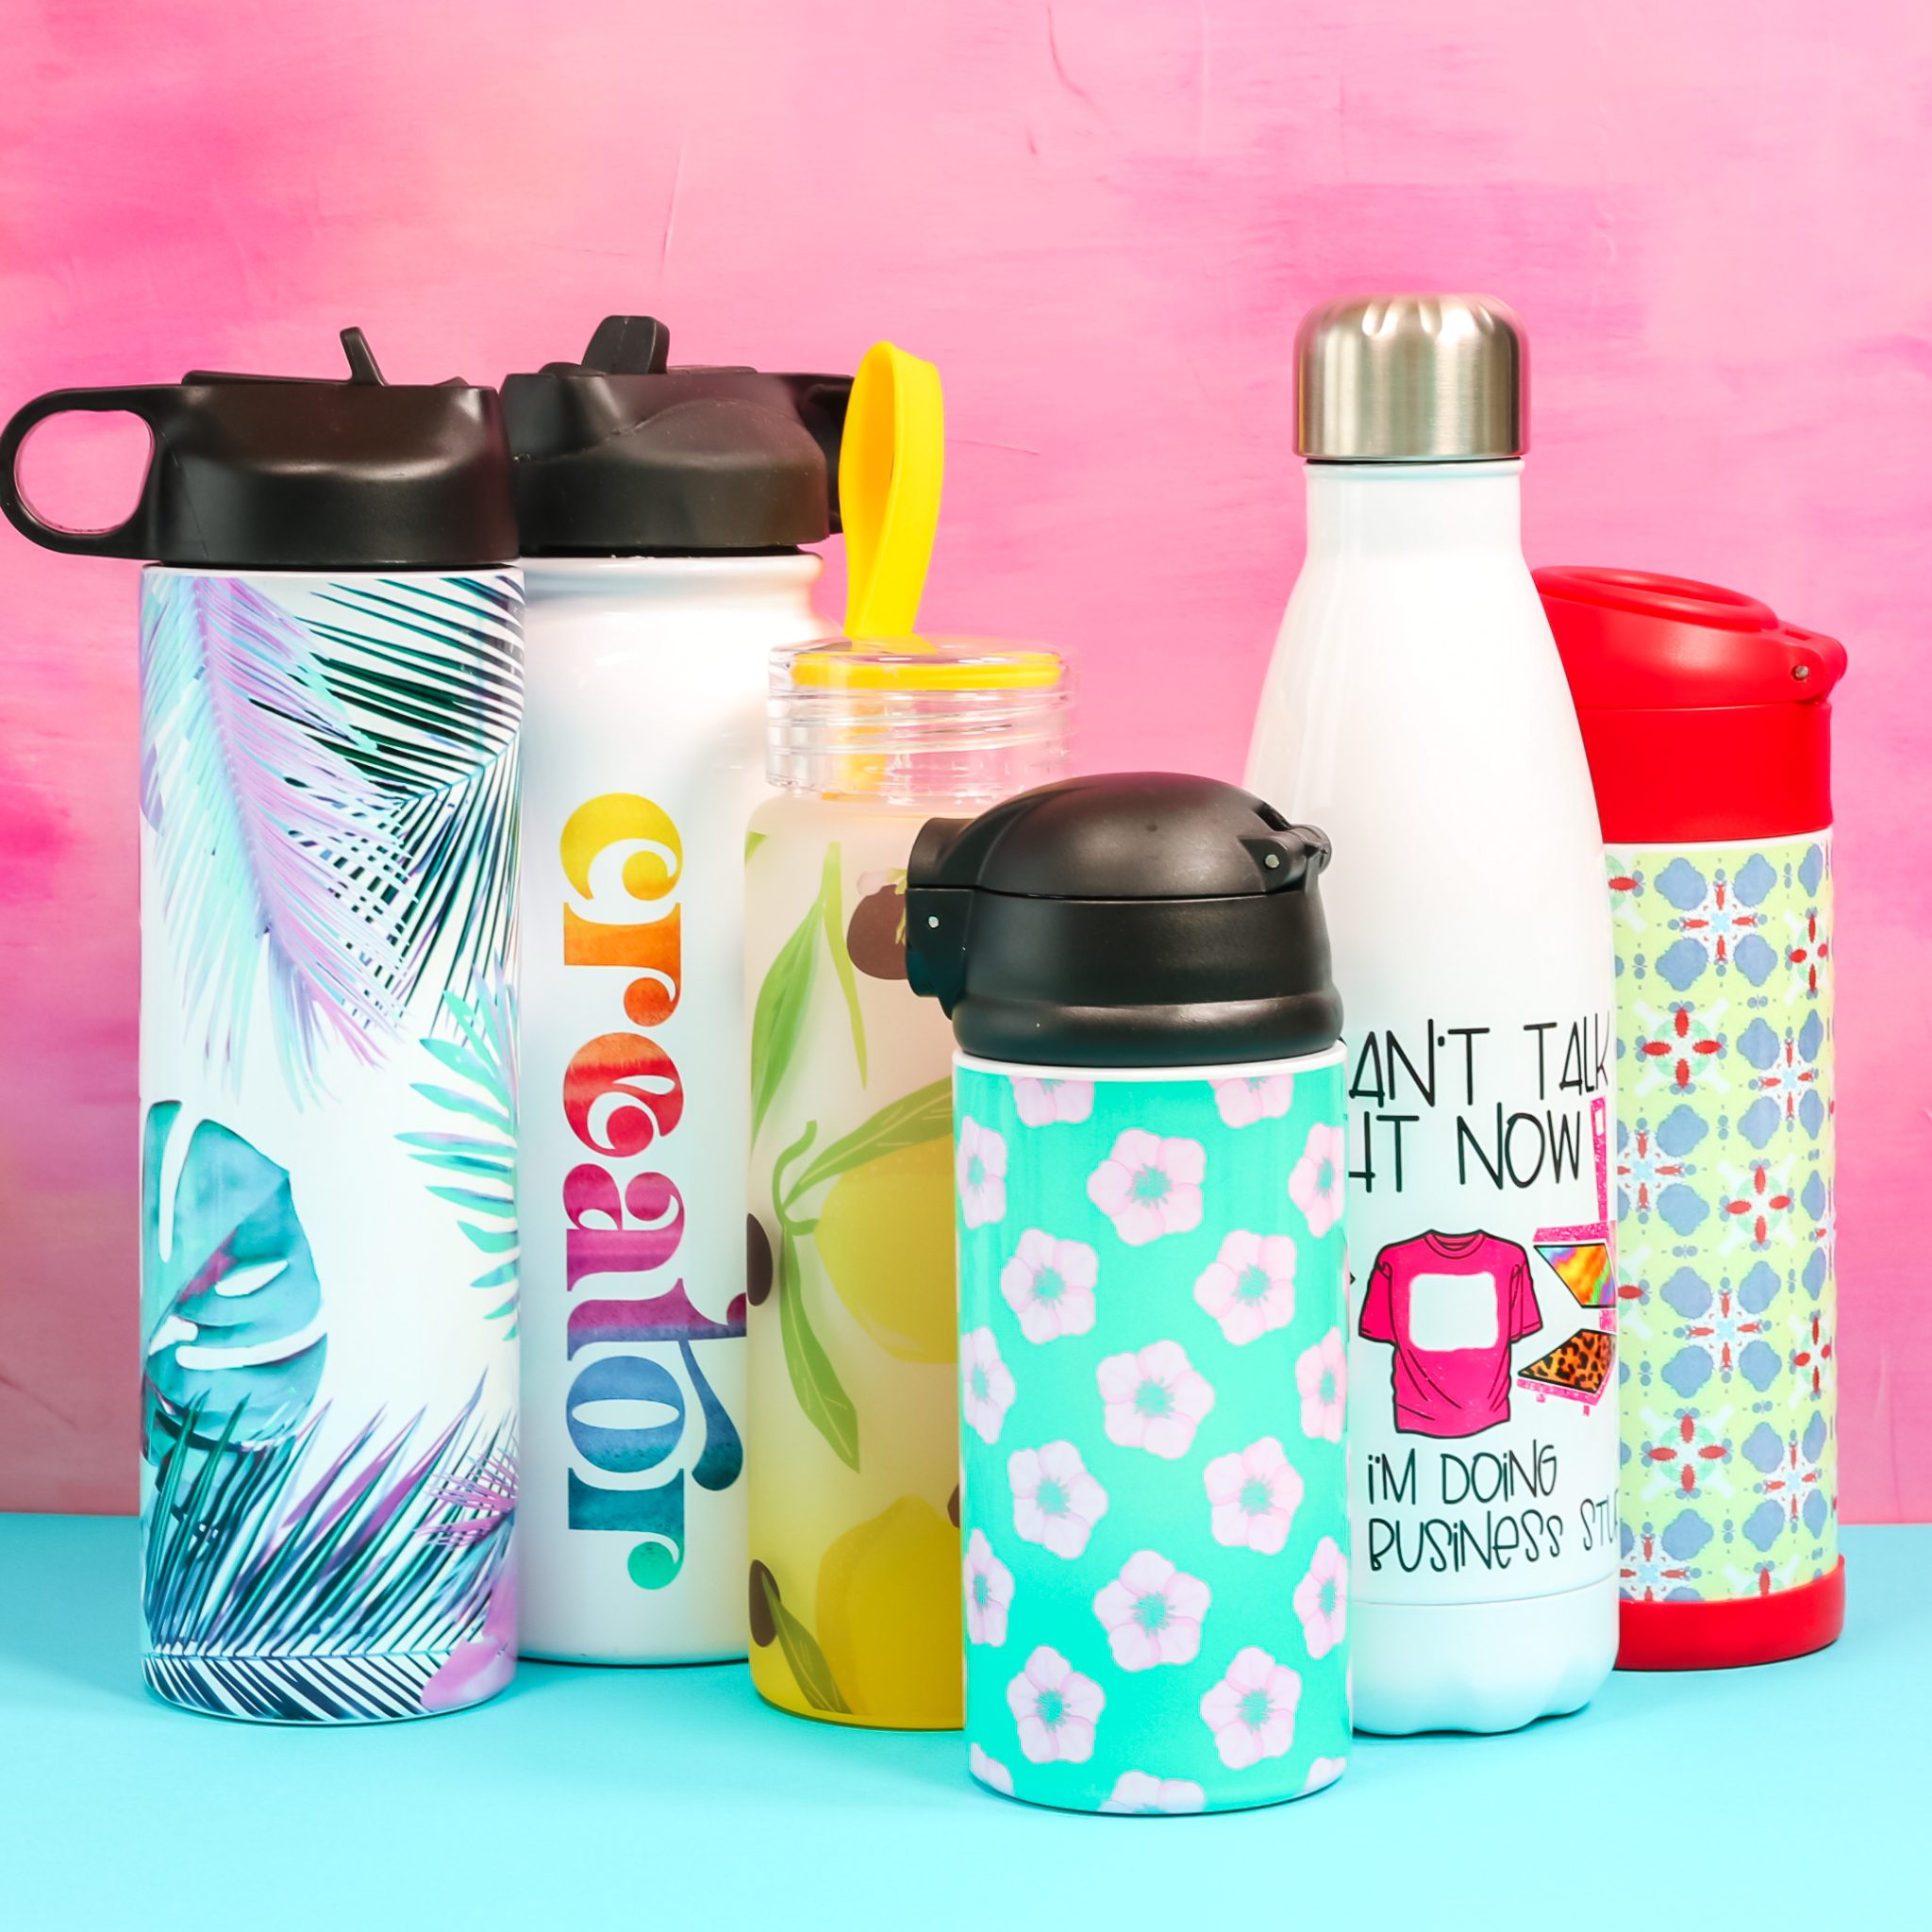
So, now you know you can make sublimation water bottles in a variety of sizes and shapes with a variety of different heat sources. I hope I answered all your questions but if I didn’t feel free to leave them in the comments and I’ll answer them for you.

