This post and photos may contain Amazon or other affiliate links. If you purchase something through any link, I may receive a small commission at no extra charge to you. Any supplies used may be given to me free of charge, however, all projects and opinions are my own.
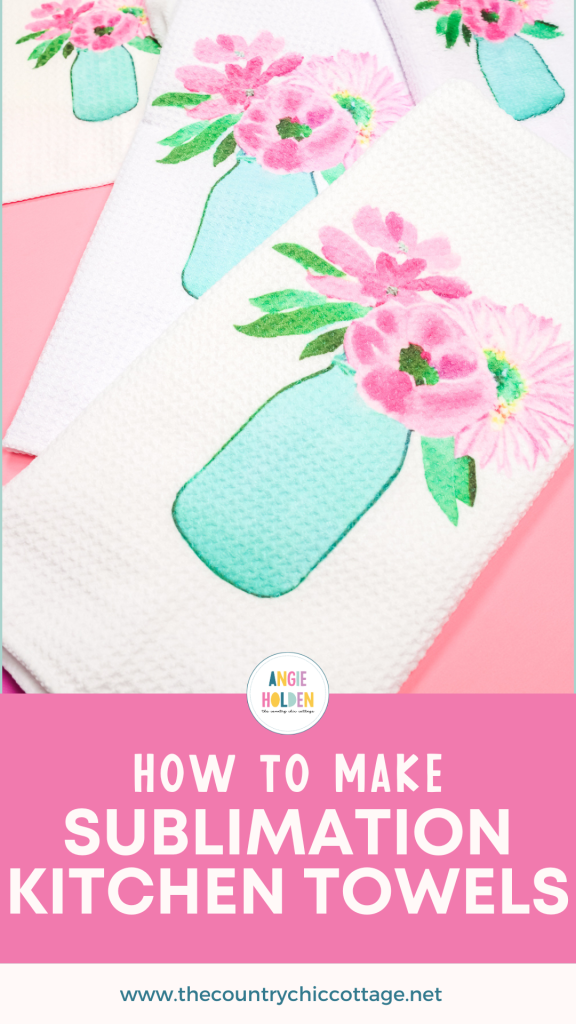
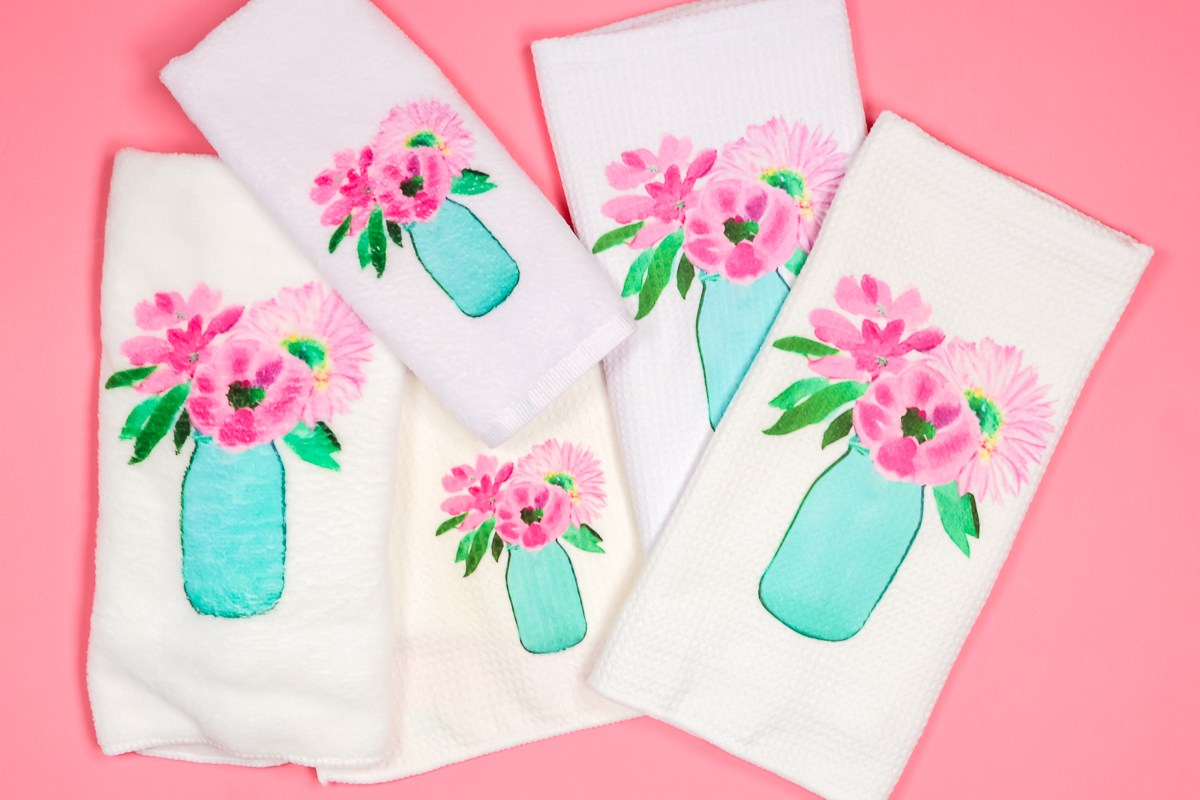
Can you ever have enough kitchen towels? Today I’m going to teach you how to make sublimation kitchen towels on waffle weave towels, hand towels, and microfiber towels. There are some tricks to getting the sublimation just right on these different towels so keep reading to learn all my tips for beautifully sublimated towels.
I’m going to test out a few different polyester towel options and sizes so you can decide which option is best for you. Then you can make sublimation towels for your home or to give as gifts.
If you’re not sure where to start with sublimation, my beginner’s guide is a great place to start.
Sublimation Kitchen Towels
Before we begin remember, to make these towels you’ll need a sublimation print. This is sublimation ink printed onto sublimation paper from a sublimation printer.
You can actually watch me go through the whole process of making these sublimation kitchen towels and get all my tips and tricks by pressing play on the video below.
Supplies Needed to Sublimate on Kitchen Towels
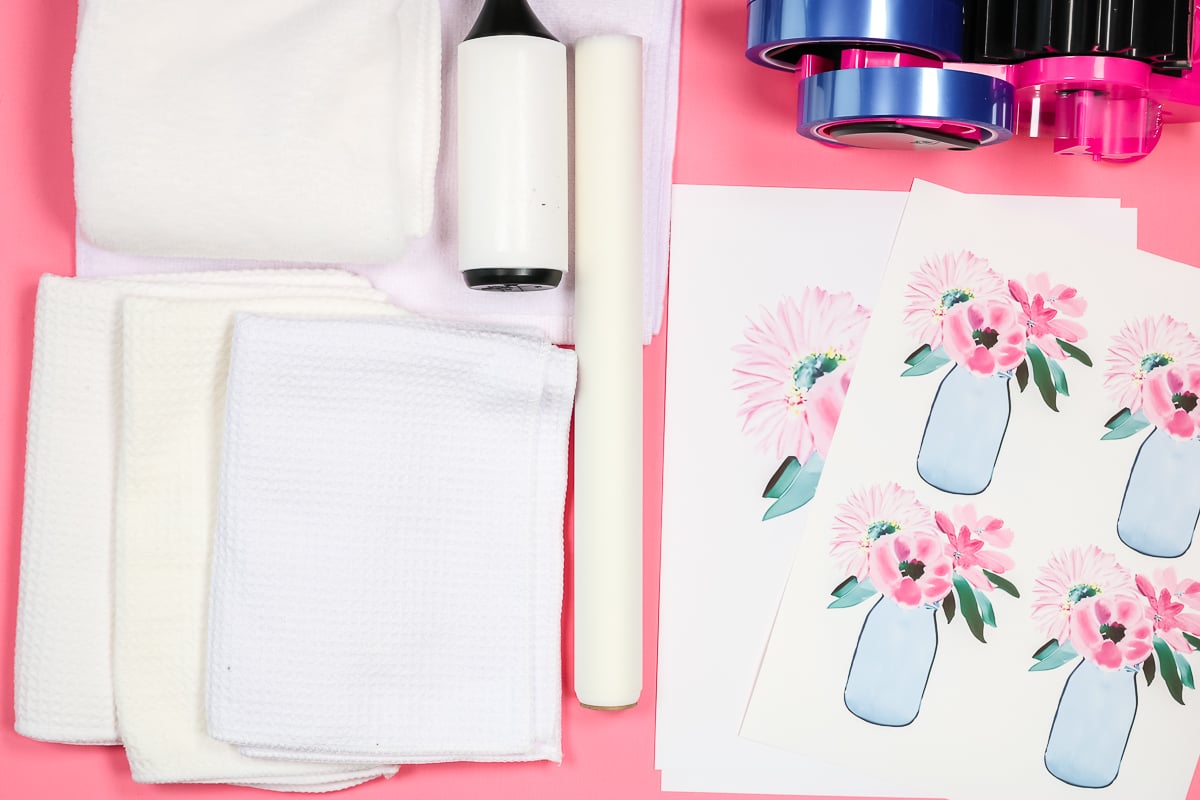
What Kitchen Towels Work for Sublimation
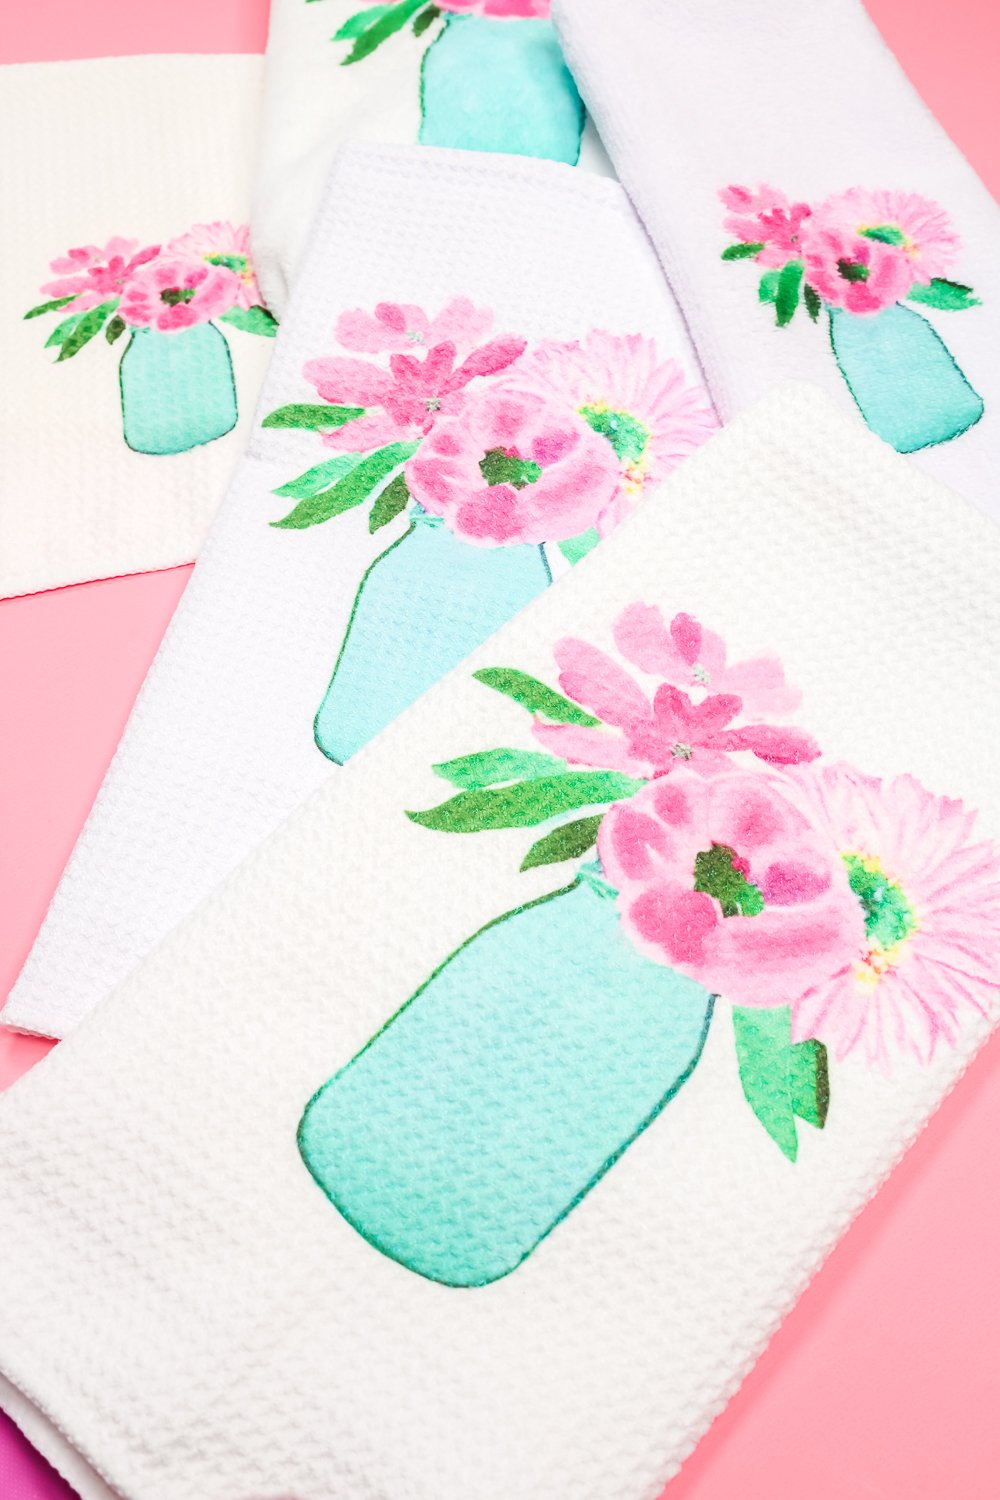
Just like any other sublimation project you need a polyester material for the application of your sublimation print. I love the waffle weave towels and wanted to try creating my own customized version.
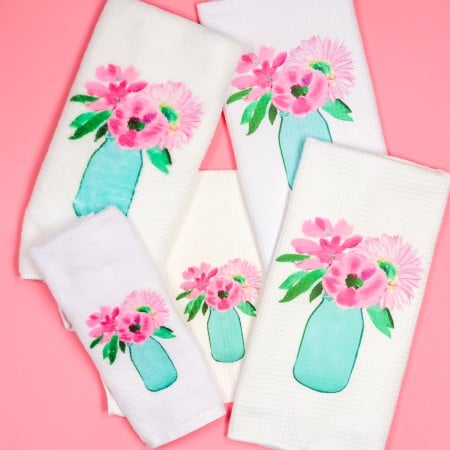
I am testing a few different sublimation towels. There are two different sizes of waffle weave towels from Conde and another version from Heat Transfer Warehouse. I also have a towel that is more like a bath towel material also from Conde.
The last option is a microfiber towel from the dollar store. This is a great inexpensive option if you’re wanting to just try this project out.
I usually tell you to follow the directions that come with your sublimation blank. That is not the case with these kitchen towels. I used a lower temperature and lower time for almost all of these towels.
How to Make Sublimation Kitchen Towels
Typically, I recommend using the time and temperature recommendations from the manufacturer. After testing multiple towels I found that less time and a lower temperature worked best for all of these towels.
I’m going to walk you through what I found worked best for making these towels, so let’s get started!
Prepare Waffle Weave Kitchen Towels for Sublimation
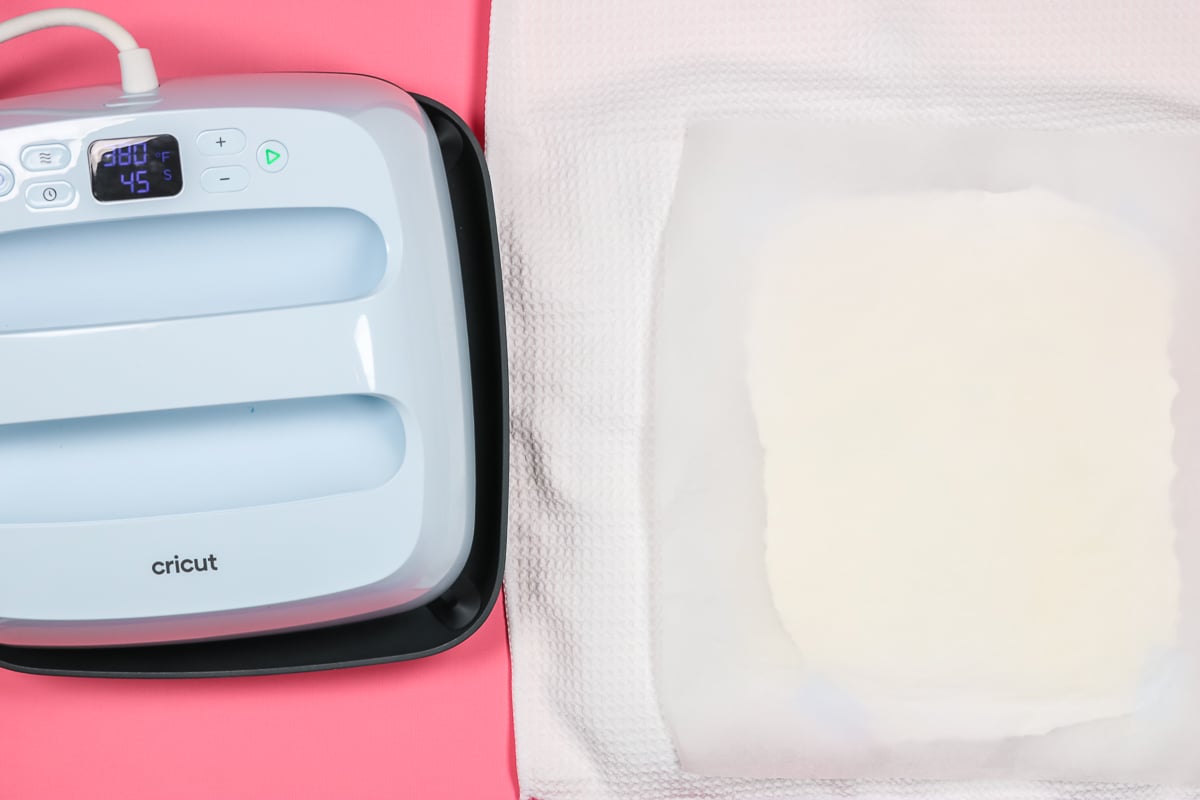
Just like any other sublimation project, there are steps that we need to take to protect our surfaces and to prepare the blank. I am using my EasyPress and EasyPress Mat, you can also use a heat press for these towels.
In all my testing, I have found that 380 degrees for 45 seconds work best for these waffle towels. Use protective paper to cover the EasyPress Mat, that will prevent any sublimation ink from transferring onto the mat.
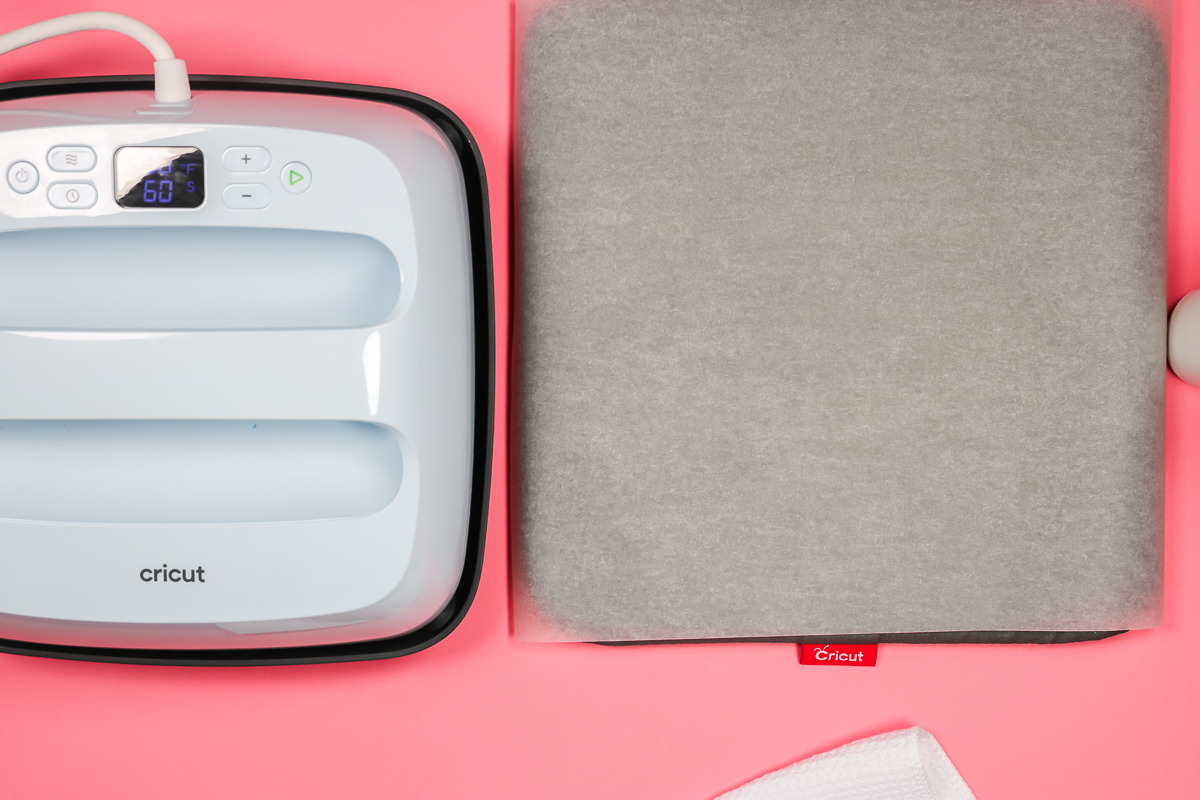
I have added a piece of foam that is larger than the sublimation print but smaller than the sublimation paper to the EasyPress Mat.
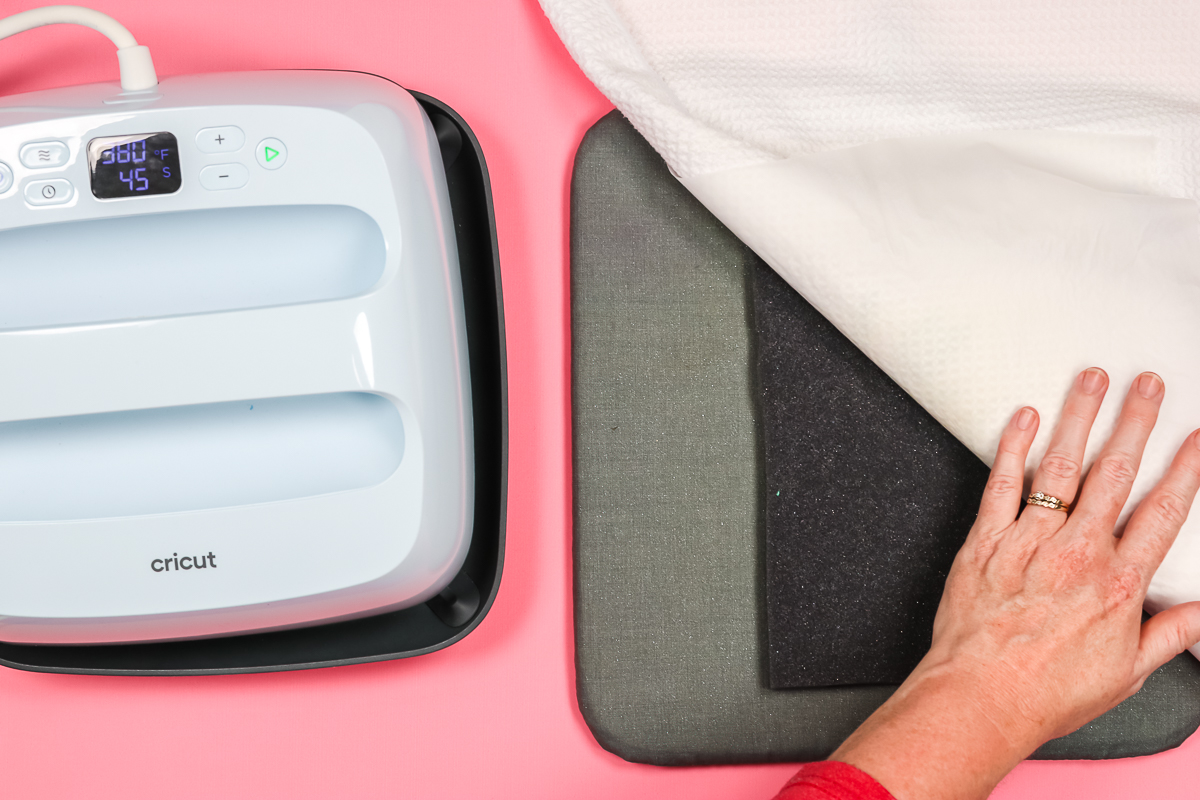
Preheat Kitchen Towel
Add protective paper to the top of the foam and EasyPress Mat.
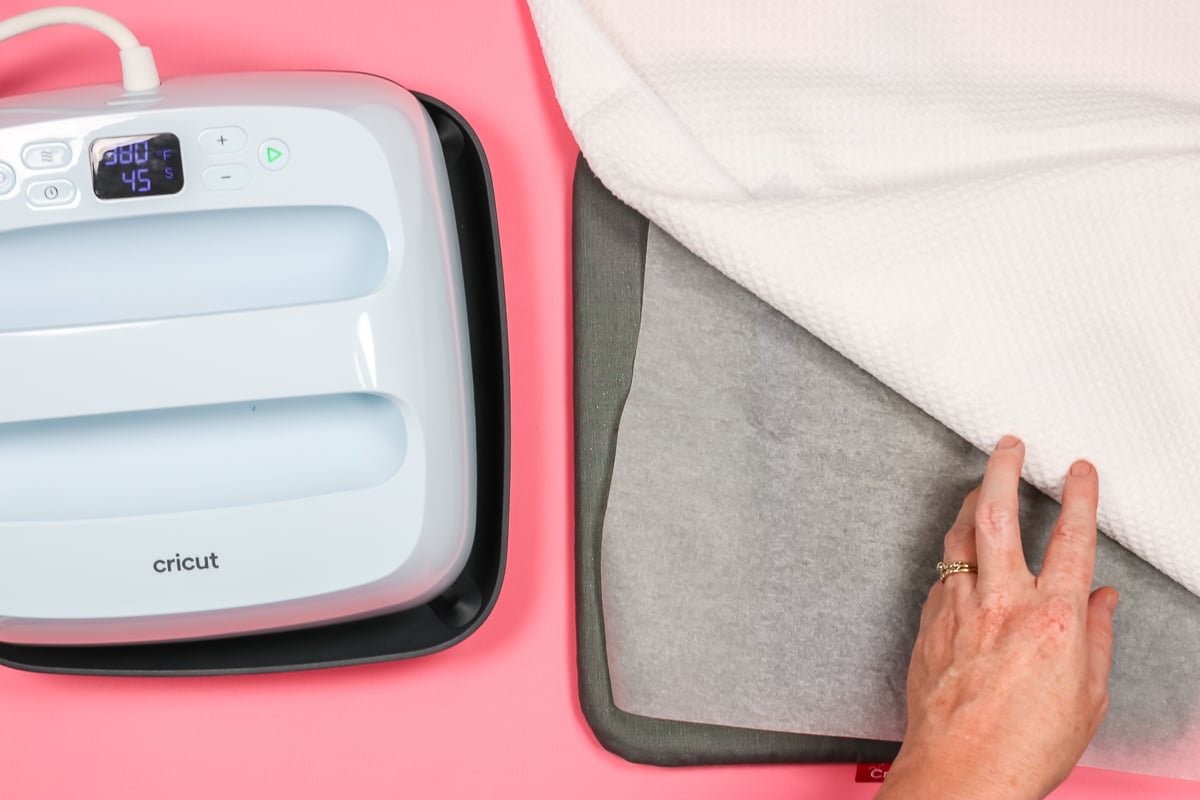
Arrange your towel so the area you want to sublimate is on top of the foam. You want the foam to be larger than the sublimation design. Preheat the area for 5-10 seconds. This will remove any moisture and wrinkles helping to ensure a beautiful finished sublimation design.
Allow the towel to cool completely before adding your sublimation print to avoid any ghosting.
While the towel is cooling, I like to lint roll at an angle. This will remove any lint or hair and also helps lift any areas of the waffle weave that may have been pressed down with the EasyPress.
Apply Sublimation Print to Waffle Weave Kitchen Towel
Now that our towel is ready it’s time to apply the sublimation print. As you can see in the photo below, my sublimation print has torn edges. The torn edges help prevent any harsh press marks from the EasyPress or heat press.
You want the print to be smaller than the foam but the overall paper to be larger than the foam. Use heat-resistant tape to hold the sublimation print in place. I like to add a piece to each corner.
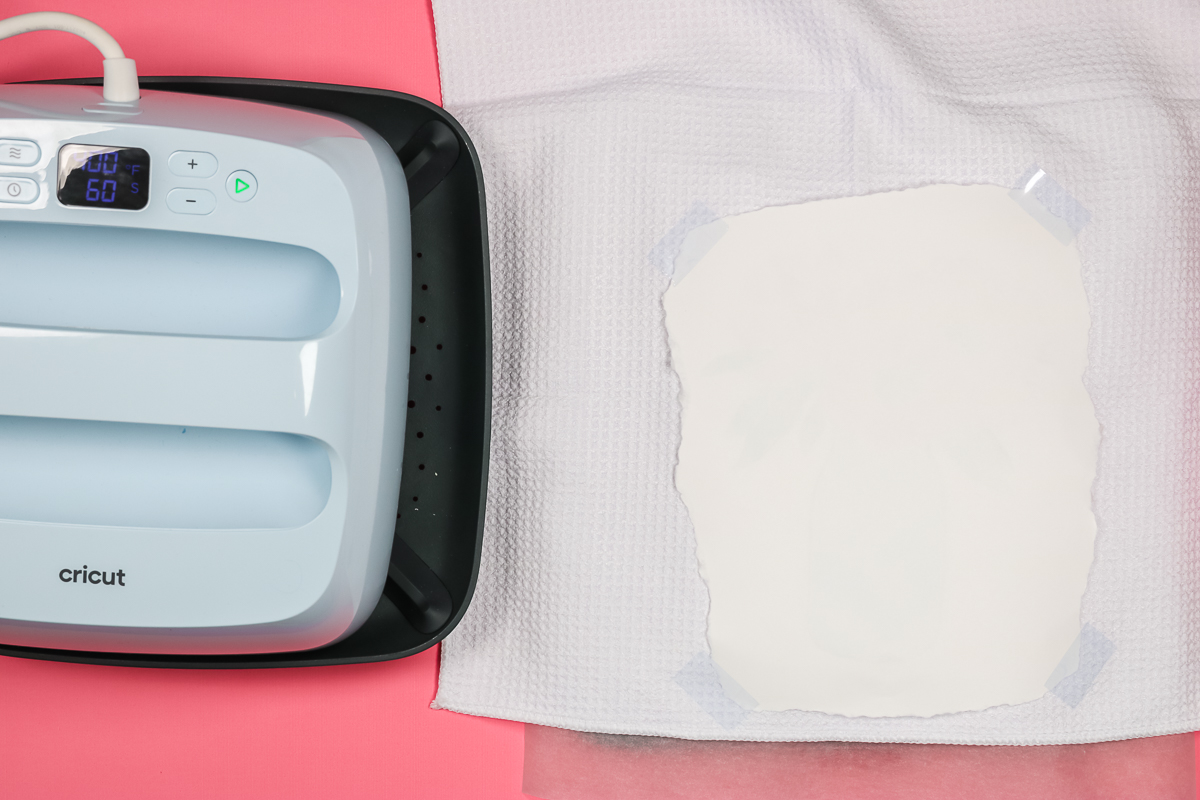
Cover the entire sublimation print with protective paper and we’re ready to press!
Applying Heat to Kitchen Towels
As I mentioned above, I found 380 degrees for 45 seconds worked best for these waffle weave towels. I think using the lower temp and less time kept the weave from being completely crushed down.
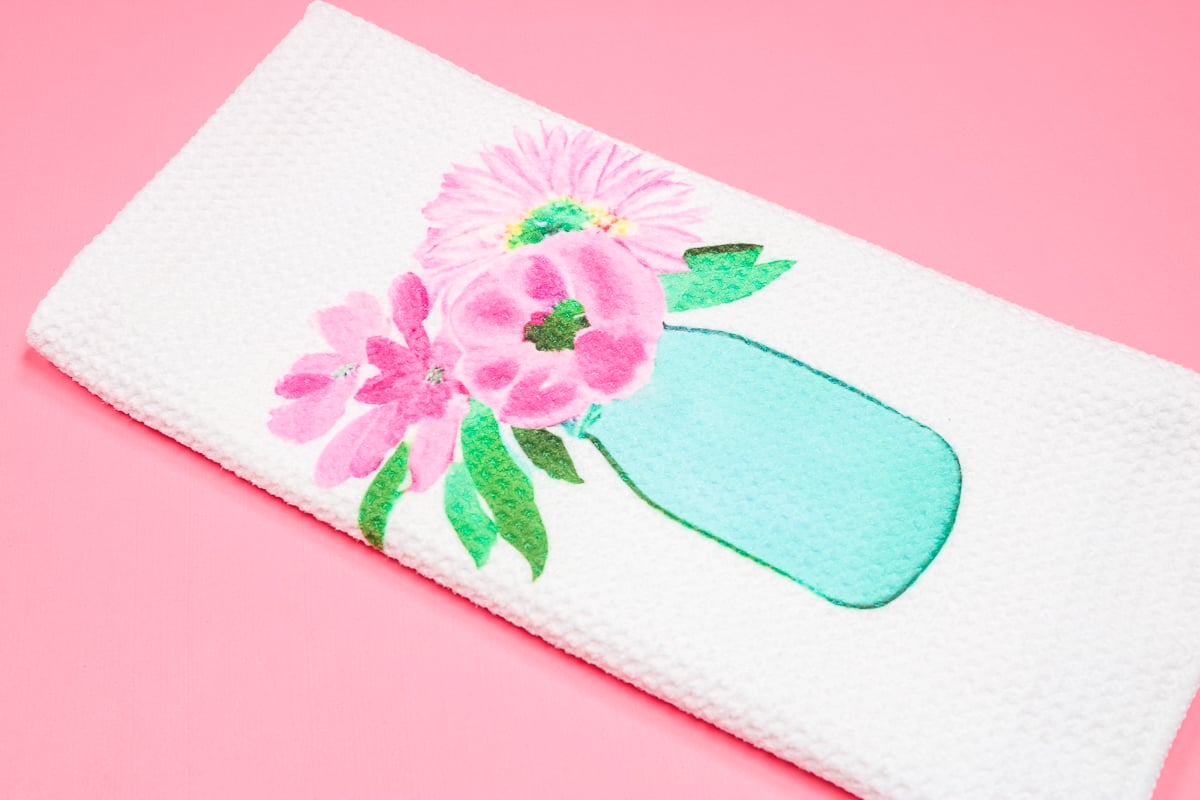
For pressure, we want to press down until the foam is compressed about halfway. Hold the pressure for the entire 45 seconds and then remove the heat. Peel back the sublimation print and reveal your new gorgeous towel.
If you find that the waffle is a little crushed, run a lint roller over it in both directions and that should lift all the fibers back up. If there are any press marks around the outside edge, I have success getting rid of them by going over them with my EasyPress Mini.
I did not need to use my Mini with these settings, it turned out great!
Finished Sublimation Kitchen Towels
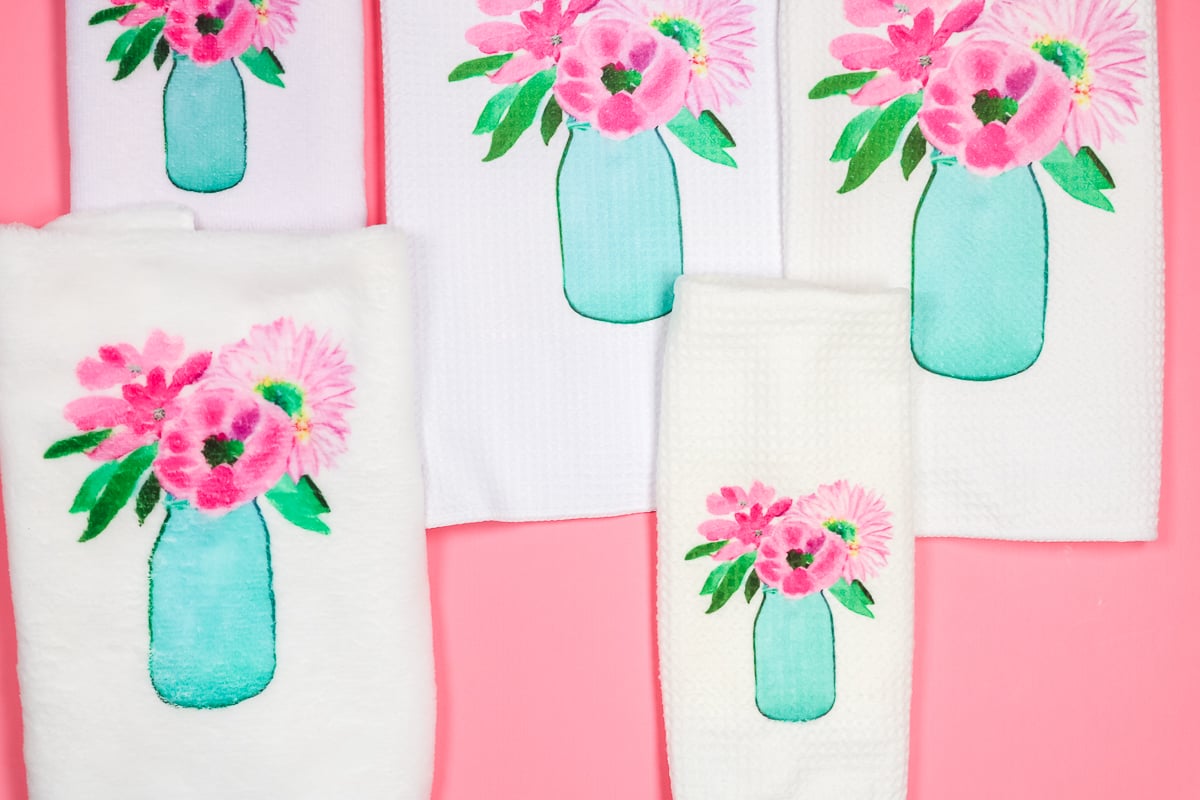
After testing all of these towels a few times, I found that the settings I used for the waffle weave towel worked great for all of these towels. I used the exact same process for every towel whether they were waffle weave or not.
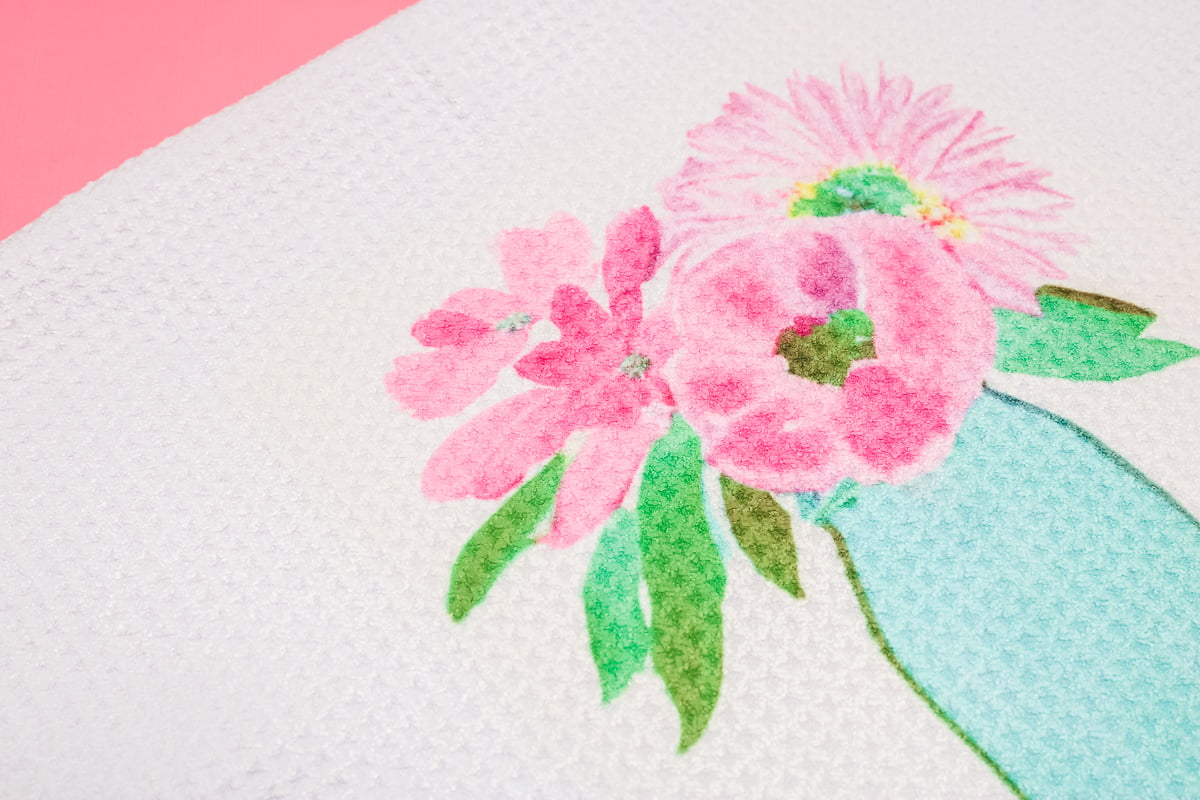
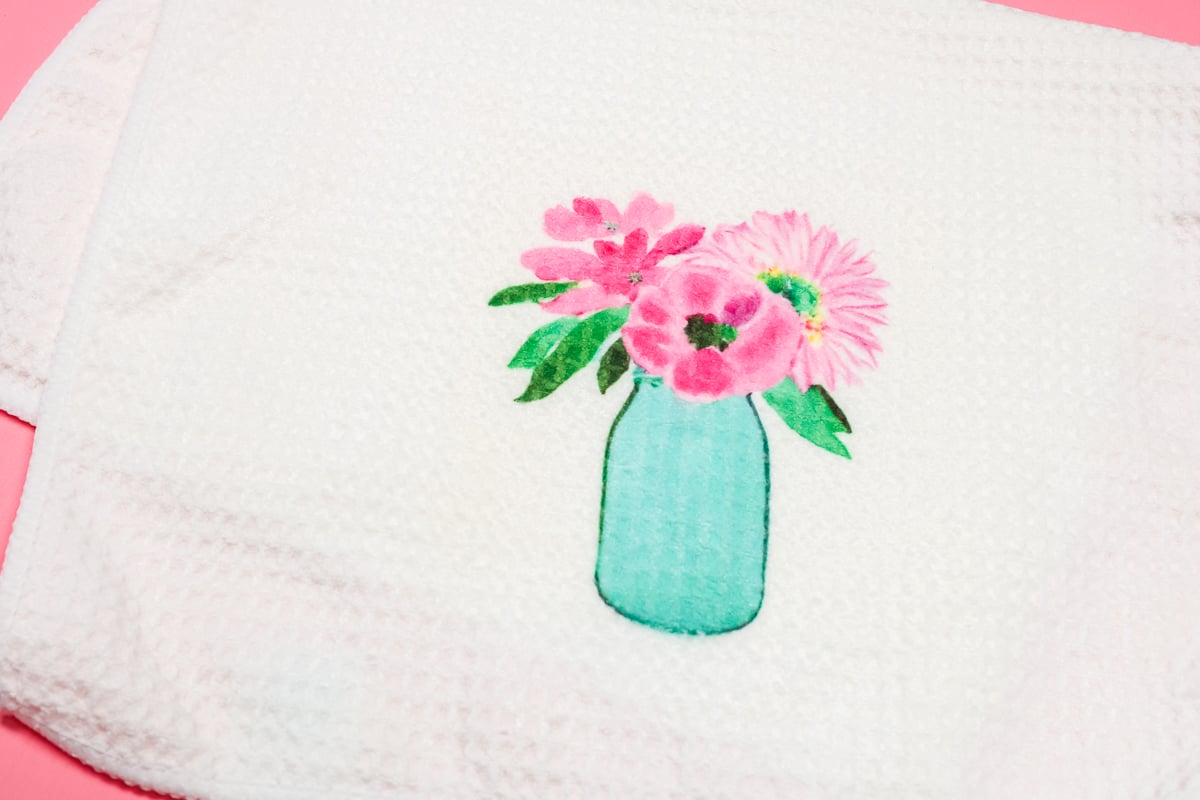
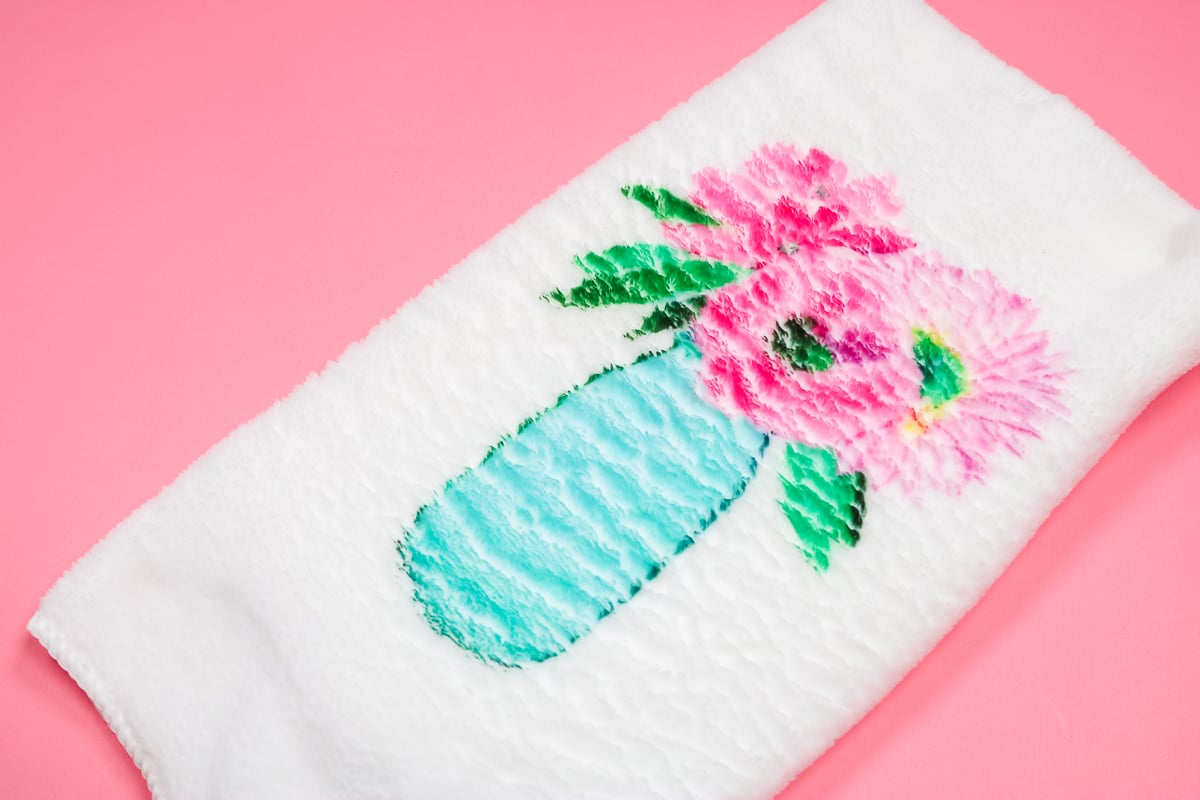
The first towel I showed you was amazing. I loved the way it turned out. I wanted to show you what happens if you use too much time or have the temperature too high.
What Happens if the Temperature is Too High?
On the towel below, I had the temperature too hot and the time was too long. No matter what I tried the waffle weave wouldn’t come back. It’s permanently down, kind of like it’s burned.
It’s hard to see in the photo but there is a discoloration and you can kind of see a shiny edge all the way around where the heat was applied.
If you’ve found the waffle weave is completely crushed, it may also feel weird when you run your hand over it. When that happens, it’s likely your temperature is too high or you left the heat on for too long.
Smaller Waffle Weave Kitchen Towel
This is the same Condi waffle weave towel in a smaller size. If you wanted a smaller towel, this one turned out great. The end results were the same as the larger version and I was really happy with how it sublimated.
Other Waffle Weave Kitchen Towels
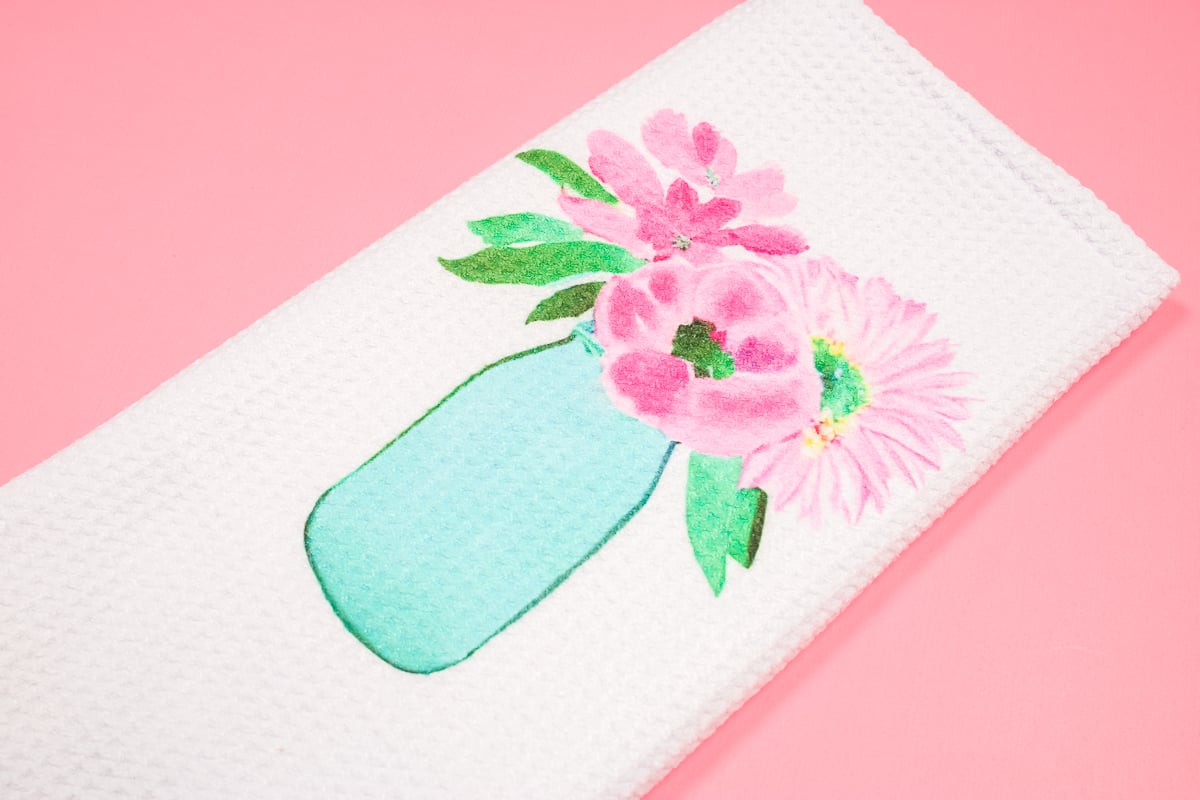
I really liked the Conde waffle weave sublimation towel options. I wanted to try others to see how they would do. This is the waffle weave sublimation kitchen towel from Heat Transfer Warehouse. It’s a brighter white than the Conde version which is nice but I feel like the Conde version is a nicer towel.
I had more trouble sublimating this version and keeping the waffle weave texture. I think the Conde version is a nicer towel all around. It feels like a higher quality.
If you’re watching from another country and can’t get these towels, there are other options out there. You can probably find waffle weave sublimation towels in many different places. There are probably some on Amazon.
I do want to say that they will likely come in varying degrees of quality. I would definitely order a few so you can test them. This will give you the ability to test the quality and the heat and time settings.
Now, if you don’t like the waffle weave texture, what are your options?
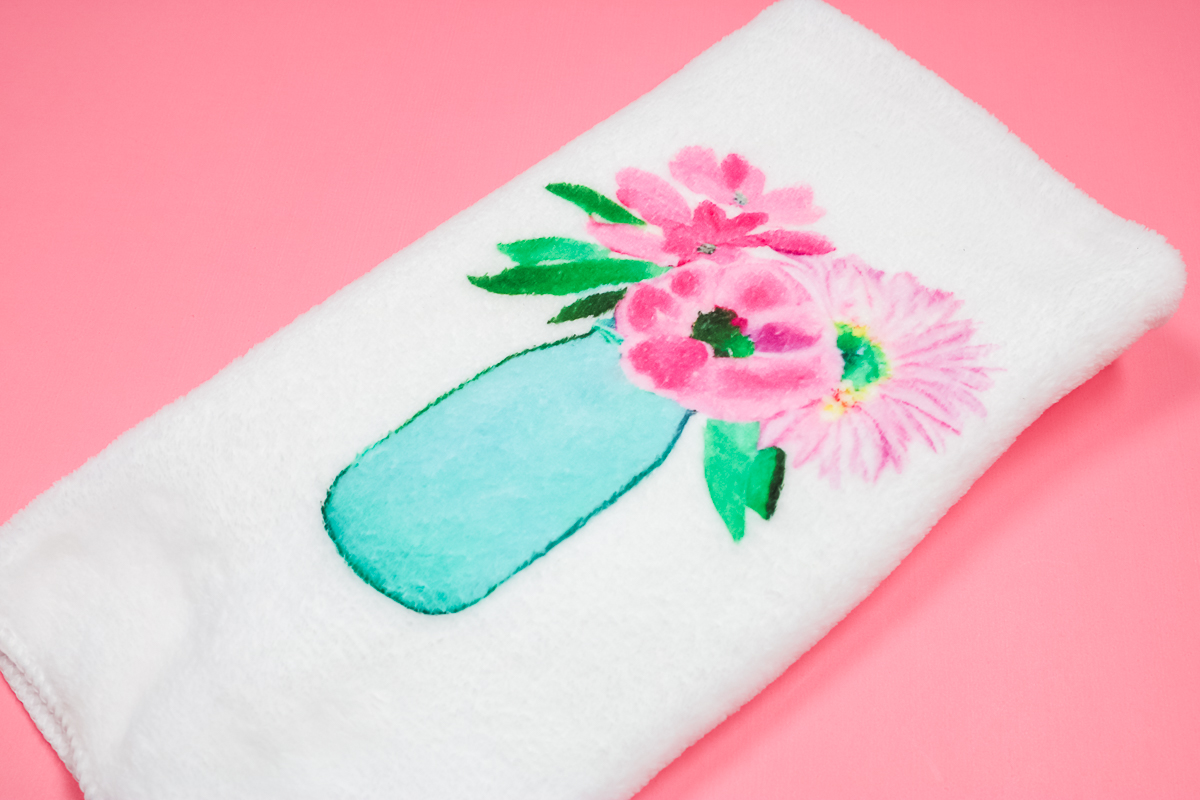
Sublimating on Bath Towel Fabric
I wanted to test out a couple of towels that are not waffle-weave material. This towel is from Conde and is a small hand towel, almost like a bathroom hand towel. However, it does have polyester for sublimation. I love the way it turned out using the same settings I used on the waffle weave towel. There are a few things to note when using this type of towel.
When sublimating towels like this you need to be aware of how the fabric of the towel is laying. This towel has a fuzzy texture like a bath towel. You want to make sure that you’ve smoothed the fabric so it’s all laying in the same direction before sublimating.
With the fabric all smoothed in the same direction, we’re ready to sublimate on the towel. Follow all the steps for the waffle weave towel above. I do want you to be aware that after sublimating if you brush the fabric fibers in the opposite direction you will see white gaps in the design.

This happens because you’re seeing the back side of the fibers where the ink wasn’t applied.
This will happen with anything that has a texture. I just want you to be aware that this happens because if you don’t like the way this looks you’ll want to find a kitchen towel that doesn’t have a textured surface.
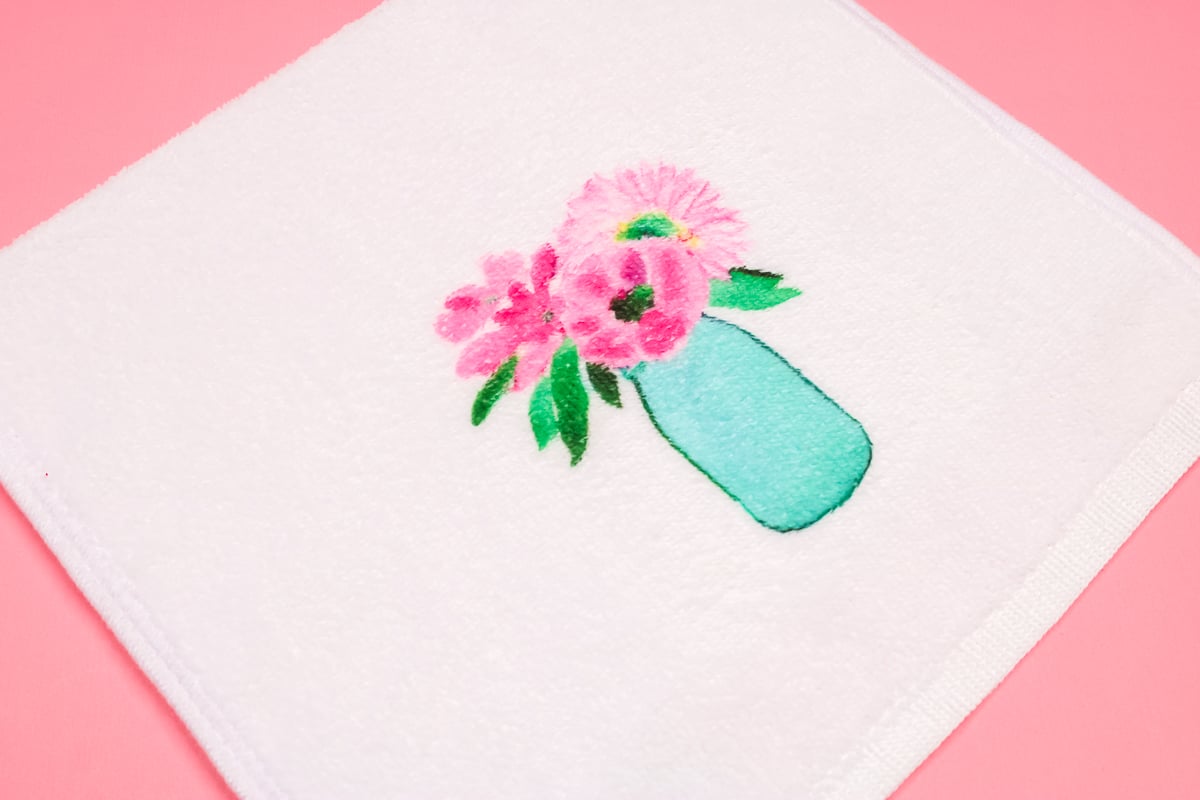
Sublimating on Microfiber Towels
Microfiber towels are a great option for sublimating. You can find microfiber towels easily and microfiber is typically 100% polyester which means you get beautiful vibrant finished designs.
This microfiber towel is from Dollar Tree and is only $1.25. You do want to make sure that before you add the sublimation print you have all of the fabric fibers laying in the same direction. Because microfiber is pretty fluffy you’ll get those white gaps in the design when you brush it in the opposite direction.
I do want to note, the microfiber towel was the towel I had the hardest time not getting pressing lines. I was able to get rid of them doing the same things I did with the waffle-weave towel. It did require a lot of fluffing after sublimating, especially around the edges.
Because microfiber has a lot of texture it gets crushed with the heat press. However, the finished product is really beautiful and it’s a great budget-friendly option.
Final Thoughts on Sublimation Kitchen Towels
Now that you’ve seen all the different sublimation kitchen towel options it’s time to share my thoughts on how each one did.
My favorite of all the options is the Conde waffle weave towel. Personally, I think waffle weave makes a great kitchen towel. I liked both sizes and they both worked great.
I do want to call out that the smaller version looks more off-white/creamy than the larger size. It’s possible that is just the batch I received. I do want to make sure you’re aware of that because it was a noticeable difference between the two.
If you’re looking for a really budget-friendly sublimation kitchen towel option, microfiber is a great way to go. Since microfiber is typically 100% polyester it’s easy to sublimate.
If you want to create sublimation kitchen towels, I recommend using white towels. Since sublimation ink is translucent, any color that is on your towel will show through the ink. That means those colors can alter the finished look of your design by changing the color.
I think after testing all of these towels any white towel that is 100% polyester can be sublimated on successfully. Follow the steps I shared here and get creating. I can’t wait to see what you make!
If you have any questions on how to make your own sublimation kitchen towels leave those in the comments and I’ll get them answered for you!
Supplies
- Sublimation Paper
- Protective Paper
- Heat Resistant Tape
- Waffle Weave Large from Conde
- Waffle Weave Small from Conde (sold out)
- Waffle Weave from Heat Transfer Warehouse
- Bath Towel from Conde
- Roll of Foam
Instructions
How to Prepare Waffle Weave Kitchen Towels for Sublimation
-
Use protective paper to cover the EasyPress Mat, that will prevent any sublimation ink from transferring onto the mat.
-
I have added a piece of foam that is larger than the sublimation print but smaller than the sublimation paper to the EasyPress Mat.
Preheat Kitchen Towel
-
Add protective paper to the top of the foam and EasyPress Mat.
-
Arrange your towel so the area you want to sublimate is on top of the foam. You want the foam to be larger than the sublimation design.
-
Preheat the area for 5-10 seconds. This will remove any moisture and wrinkles helping to ensure a beautiful finished sublimation design.
-
Allow the towel to cool completely before adding your sublimation print to avoid any ghosting.
-
While the towel is cooling I like to lint roll at an angle. This will remove any lint or hair and also helps lift any areas of the waffle weave that may have been pressed down with the EasyPress.
Apply Sublimation Print to Waffle Weave Kitchen Towel
-
My sublimation print has torn edges. The torn edges help prevent any harsh press marks from the EasyPress or heat press.
-
You want the print to be smaller than the foam but the overall paper to be larger than the foam.
-
Use heat-resistant tape to hold the sublimation print in place. I like to add a piece to each corner.
-
Cover the entire sublimation print with protective paper and we’re ready to press!
Applying Heat to Kitchen Towels
-
I found 380 degrees for 45 seconds worked best for these waffle weave towels. I think using the lower temp and less time kept the weave from being completely crushed down.
-
For pressure, we want to press down until the foam is compressed about halfway. Hold the pressure for the entire 45 seconds and then remove the heat.
-
Peel back the sublimation print and reveal your new gorgeous towel.
-
If you find that the waffle is a little crushed, run a lint roller over it in both directions and that should lift all the fibers back up.
-
If there are any press marks around the outside edge I have success getting rid of them by going over them with my EasyPress Mini.