This post and photos may contain Amazon or other affiliate links. If you purchase something through any link, I may receive a small commission at no extra charge to you. Any supplies used may be given to me free of charge, however, all projects and opinions are my own.

Citristrip etching with Cricut is a new trend that is everywhere right now. If you’re on social media you’ve probably seen people using Citristrip to etch tumblers that have been painted. I decided to give it a try and take it a step further – testing blanks that aren’t tumblers. Keep reading to learn how they all turned out and get tips and tricks for using Citristrip with a Cricut machine to make designs on painted surfaces!
Are you new to using your Cricut machine to create stencils? Learn how to use your Cricut machine to create stencils here.

Citristrip Etching with a Cricut Machine
When I first saw people using Citristrip to etch powder-coated metal tumblers, my mind immediately started thinking about other projects I could try this technique on. I’ve rounded up nine different blanks, including tumblers to test. For everything from a canteen to a bread box, we’re going to use this process on each blank to see which items work and which ones are best to skip.
Want to watch me test each of these blanks? Click play on the video below to watch these projects come to life:
What is Citristrip?
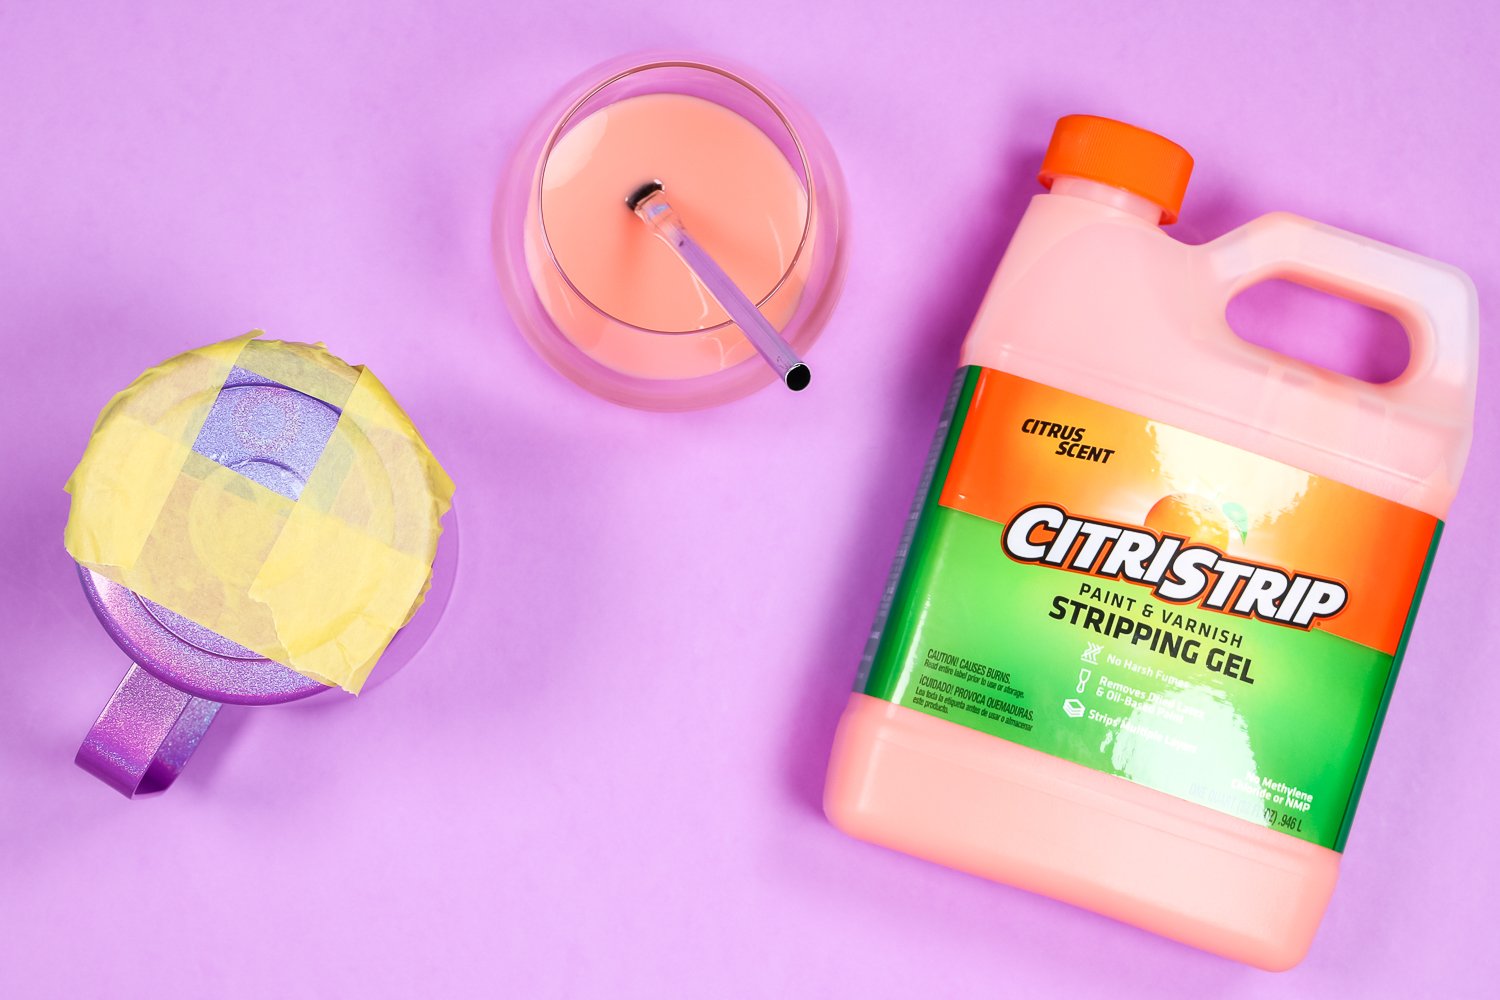
If you’re not big on furniture makeovers you may be asking yourself “What even is Citristrip?” and that’s a great question. Citristrip is an all-purpose stripping gel. It is known for its citrus scent and its ability to be used indoors.
It is a paint stripper though. I recommend making sure you’re in an area with good ventilation even with the citrus scent and always wear gloves when using.
What Type of Blanks Do I Need?
All of my blanks have a powder-coated metal surface. When Citristrip etching with Cricut, I recommend using something that has a powder-coated stainless steel or powder-coated galvanized steel for a lasting crisp and clean look. I just check the listing where I purchase to see what type of coating and metal the object is made from.
You could try a different type of metal if you want a more rustic look. Different metals are more likely to rust. Different blanks will likely call for different stripping times and the process may be slightly different. Let’s look at the supplies we need to create Citristrip stenciled projects.
Supplies Used:
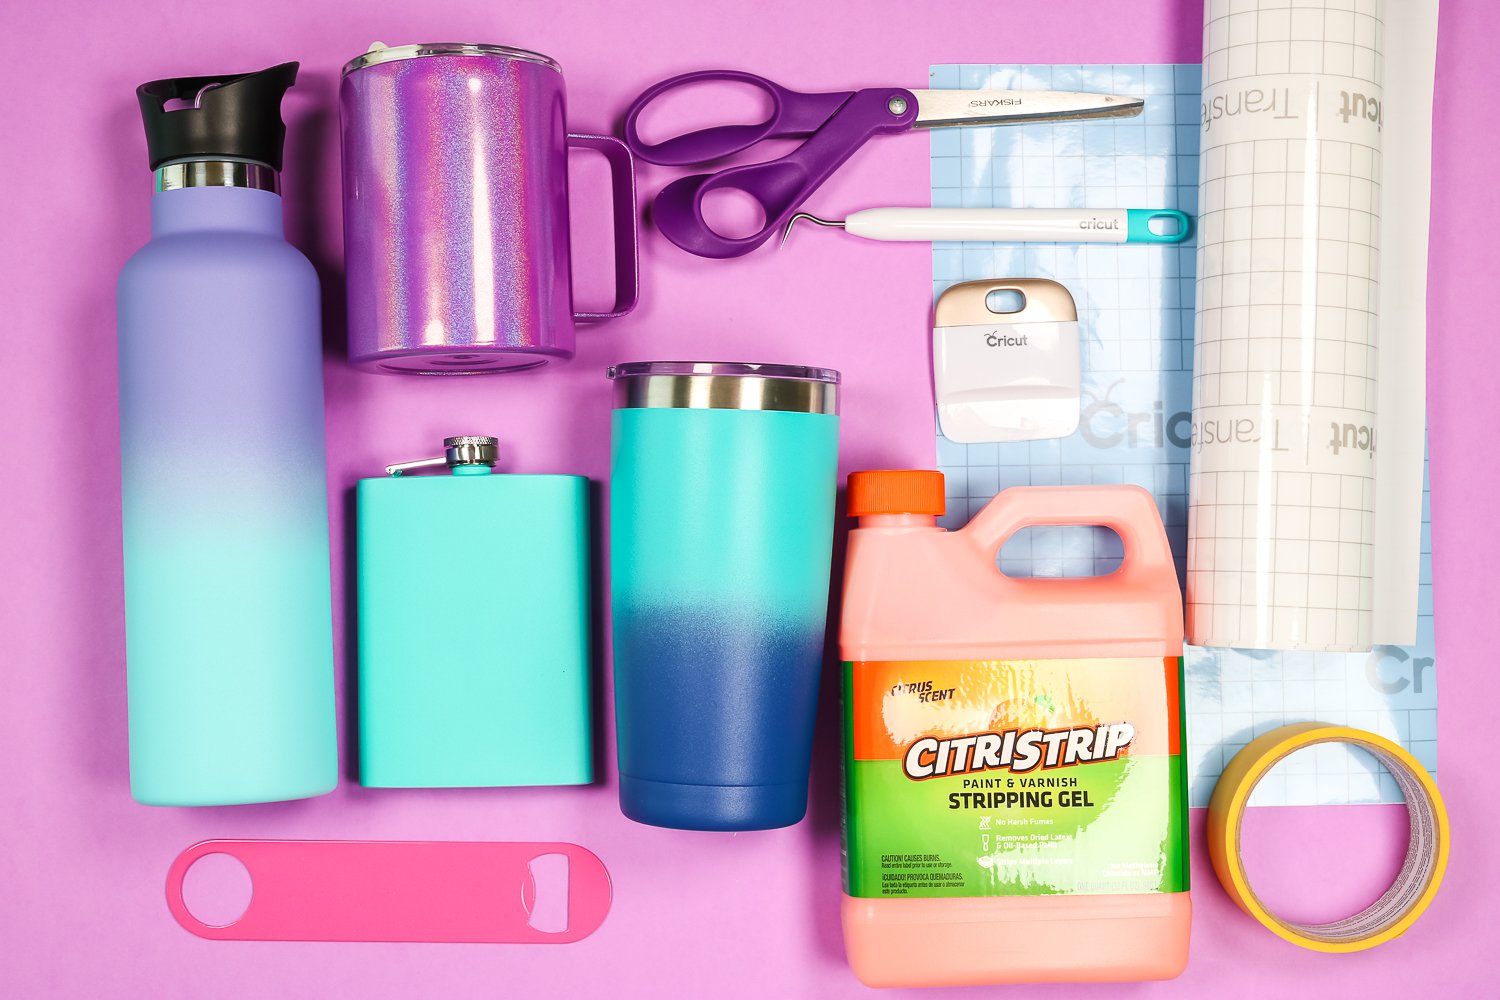
Blanks Used:
Designs Used:
Tools to Use when Citristrip Etching with Cricut
You might find it helpful to have tools on hand to help get the paint off. I like to have a dry washcloth or a piece of an old towel and some weeding tools.
The first is a weeding tool with a looped end that I like to use. These other two come in a set; although they’re metal, the ends are rounded. They won’t scratch the surface as easily. I also really like to use a wood skewer. The dull end is great for getting the paint off. These are some of my favorites. You can obviously try different things and pick the tools that work best for you.

Testing Blanks when Etching with Citristrip
As you can imagine not all blanks are the same. They’ll likely have different paints and possibly different thicknesses. Because I’m using so many different blanks and some for the first time it’s important to run a test.
Running a test on blanks like water bottles is easy because you can test the bottom of the bottle. Running a test will help you learn if this method will work on your blank. You’ll also learn how long it will take for your specific blank to be etched with Citristrip.
I am only trying this process with Citristrip Stripping Gel, while I am testing different blanks I am only using this stripping gel.
How to Apply Stencil Vinyl to Powder Coated Blanks
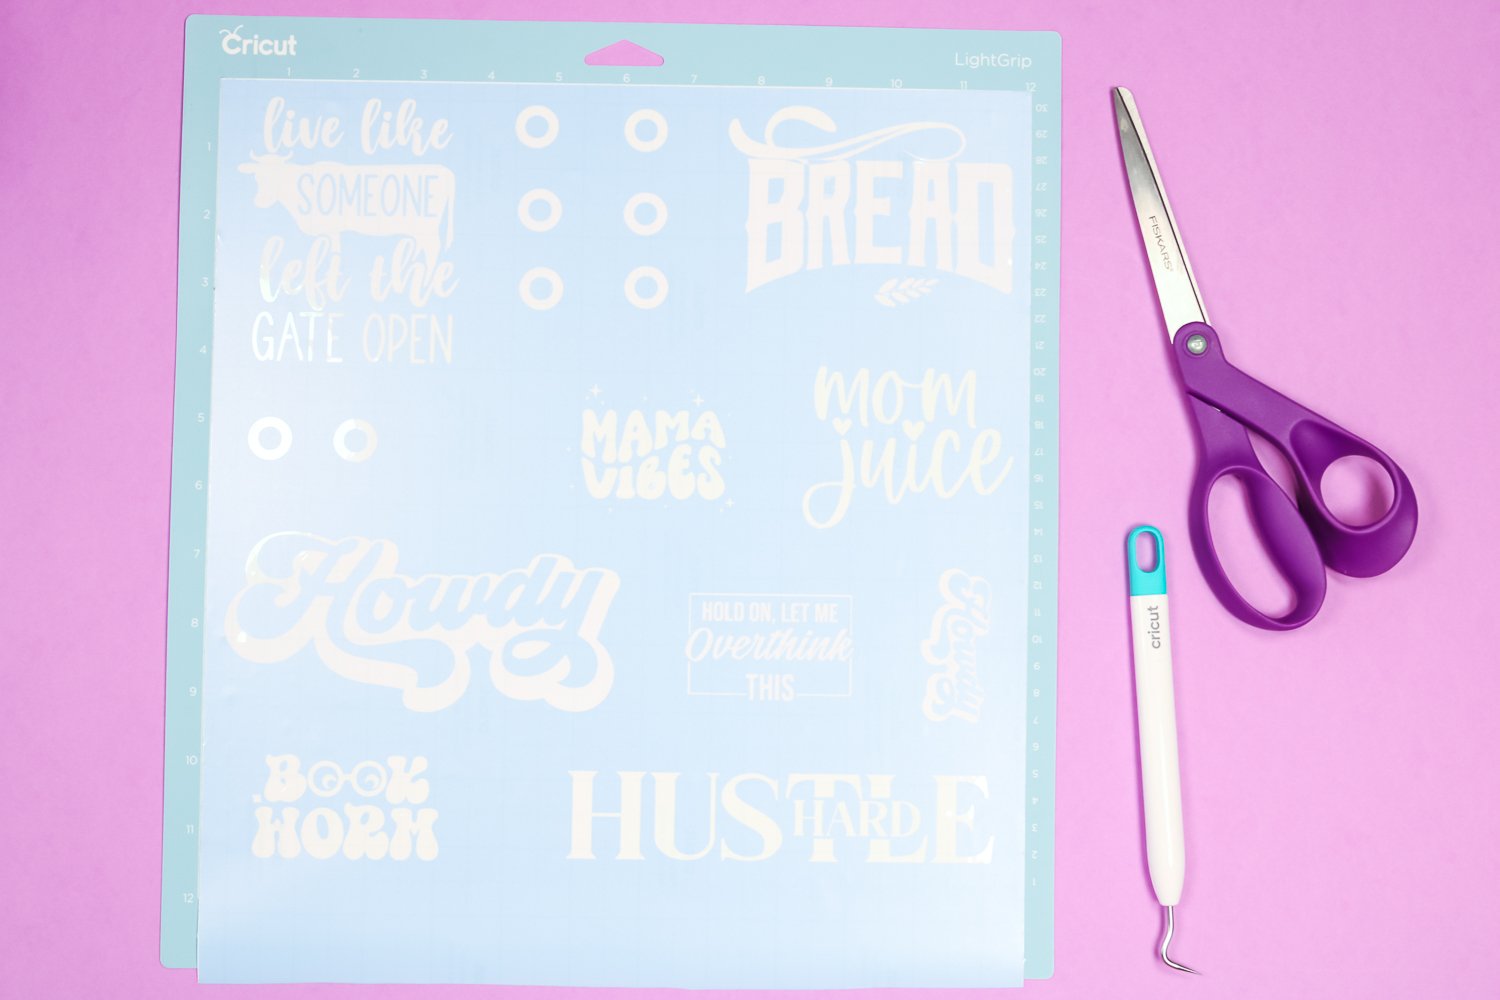
For my Citristrip etching projects, I am using Cricut Stencil Vinyl. You can use regular vinyl but personally, I like the stencil film. Let’s look at how you would test to see if Citristrip would work on any object without ruining it. I went ahead and cut a bunch of stencils onto one 12×12 sheet including the ones for testing.
For testing, I like to use a circle inside of a circle. Cutting stencil film is very similar to cutting regular vinyl. I have a video on it here. As you can see, we did a reverse weeding. You want to remove everything that you want to be etched.
The other thing you want to do is move your items around on the mat before you cut. This leaves as much area as possible around each of your designs so that you have more room around it when applying it to your surface. NOTE: I probably should have used even more room around my stencils and possibly even two sheets of material!
How to Size Test Stencils
Let’s remove some of these circles and I’ll show you how to use them for testing. Once these are cut and weeded, we can just trim away the ones we need. Leave as much area as possible around each one when you separate them. I like to use a circle within a circle just to make sure that the Citristrip will actually work on my base. The size of the circle is completely up to you. I made them small enough, that they would work on the bottom of the mug.

Adding Test Stencil to Blank
To test your item, you’ll want to turn it over to the bottom or back, wherever you are testing. Pick a spot that is not going to affect your final project.
You only have to do the testing once. If you’re going to do several of the same tumblers, I would only test once. This test is to get an idea of if Citristrip etching will work and how long the stripping takes.
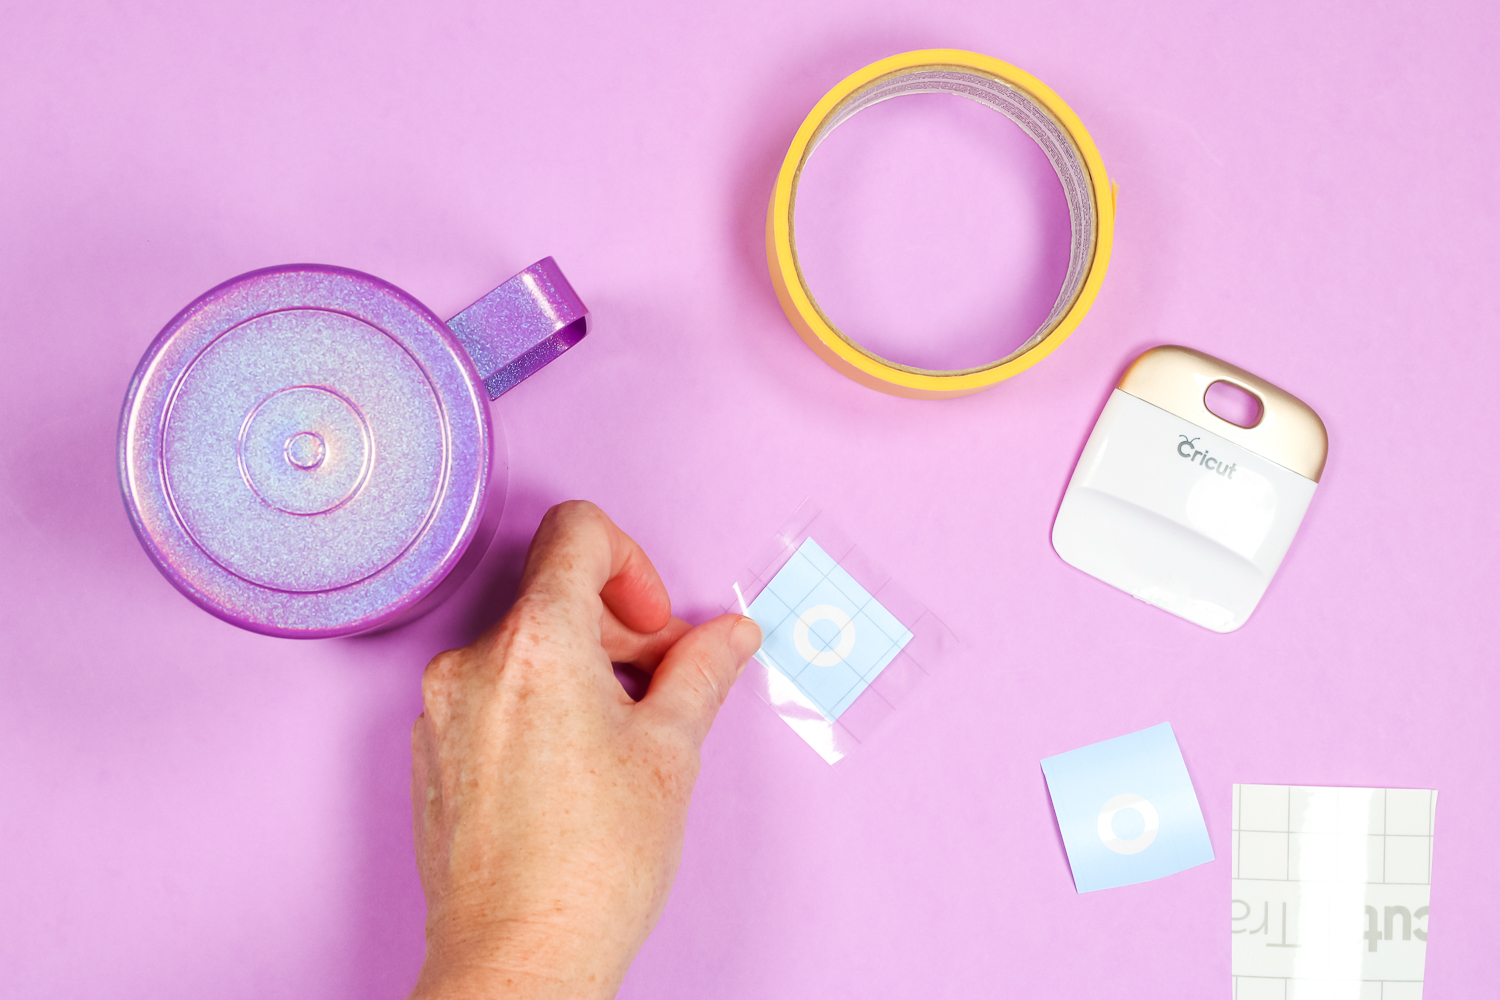
Begin by using a piece of transfer tape. Put that over the stencil. Burnish well from the front and the back. Then peel back the carrier sheet from the stencil film and apply that circle to a flat place on the bottom surface.
With your vinyl or stencil film applied, use a heat gun or a blow dryer. Run the heat over the stencil for about 10 seconds. After you apply heat, the vinyl is going to be really good and pliable so you can go around any edges and get it really stuck down, removing any bubbles from the surface. You should find that that makes it a little easier to get your stencil down.
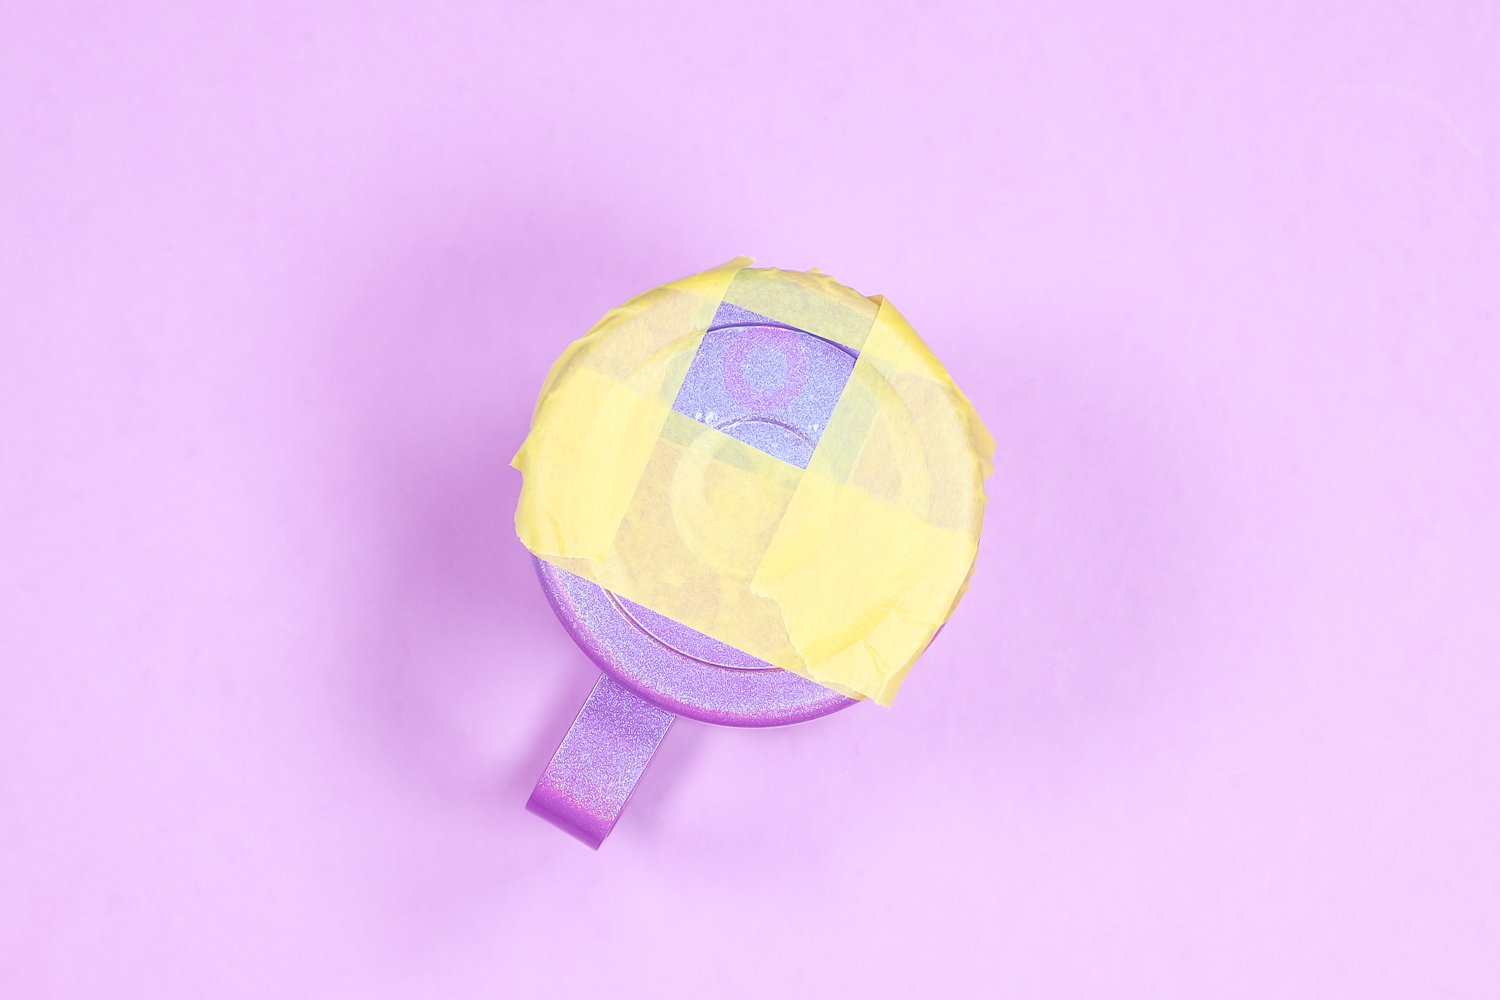
I found a flat area where my circle will fit and then we are going to press this down really well. My mug does have some ridges on the bottom so I need to make sure to press into those ridges as well as we can. Also, don’t get the stencil too close to the edge because the Citristrip might drip over.
Once the stencil is applied and down well add painter’s tape all the way around the stencil. Now, if this wasn’t the bottom and a test spot I would probably cover the entire surface with painter’s tape.
How to Add Citristrip to Blanks
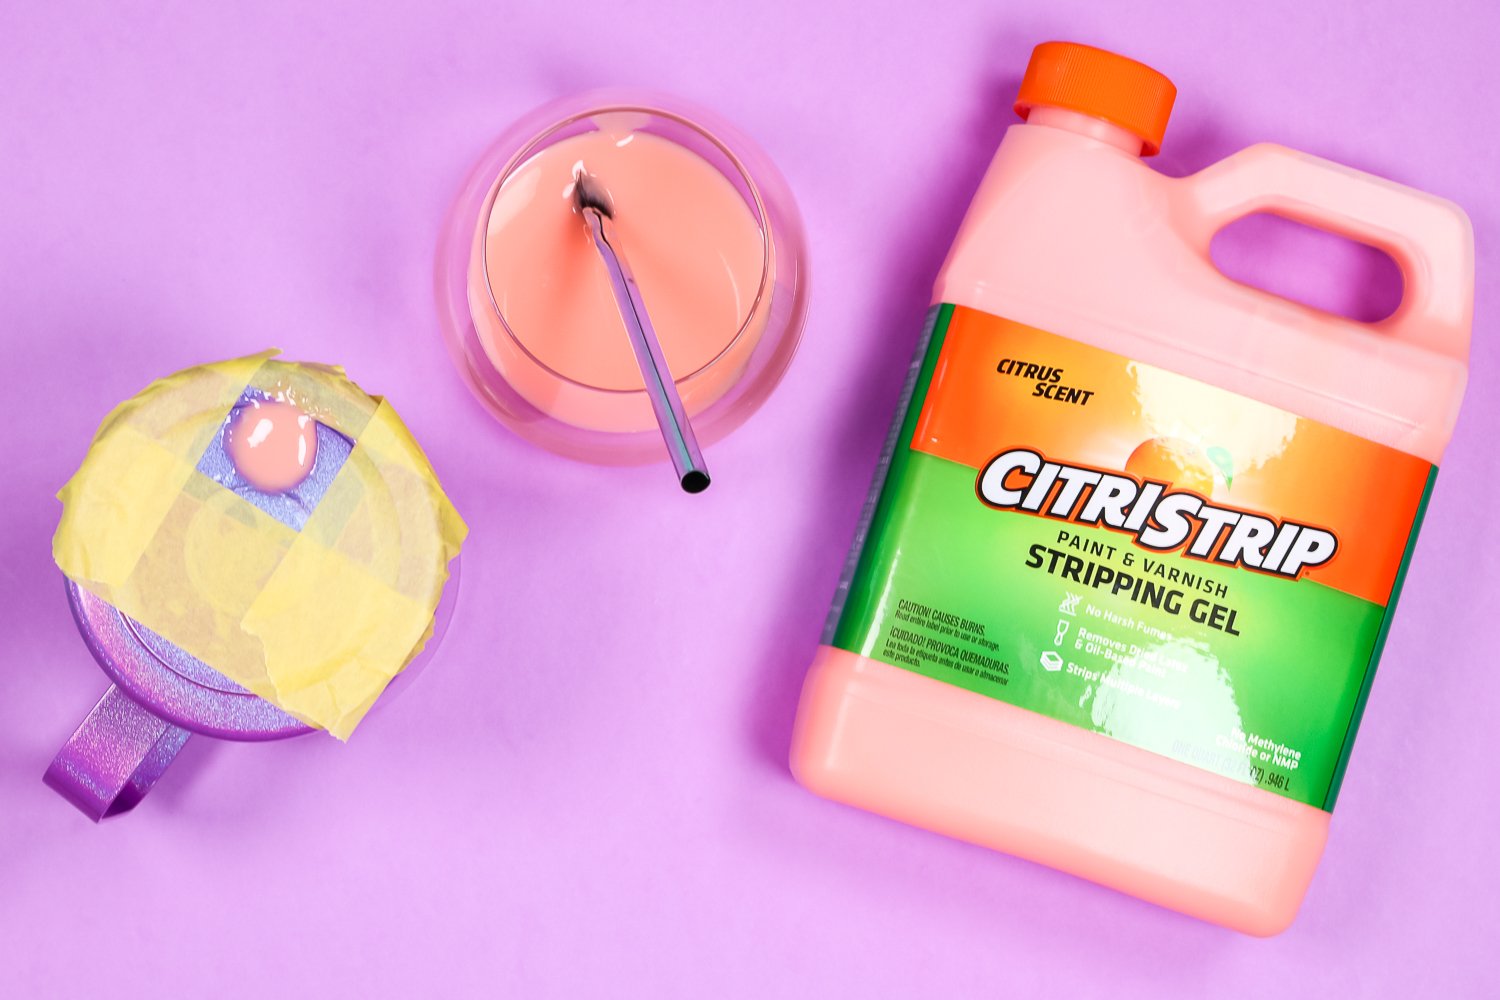
Now you want to put on some protective gloves. Shake your Citristrip well, and put it in a container that is not going to be affected by the paint stripper.
I used a glass container and I’m using throw-away paint brushes. You could also use one of those inexpensive sponge brushes. Make sure you use something you can throw away afterward because you won’t want to use it again after Citristrip etching. I’m going to apply the Citristrip in a really thick layer and set a timer.
Testing Paint While Stripping
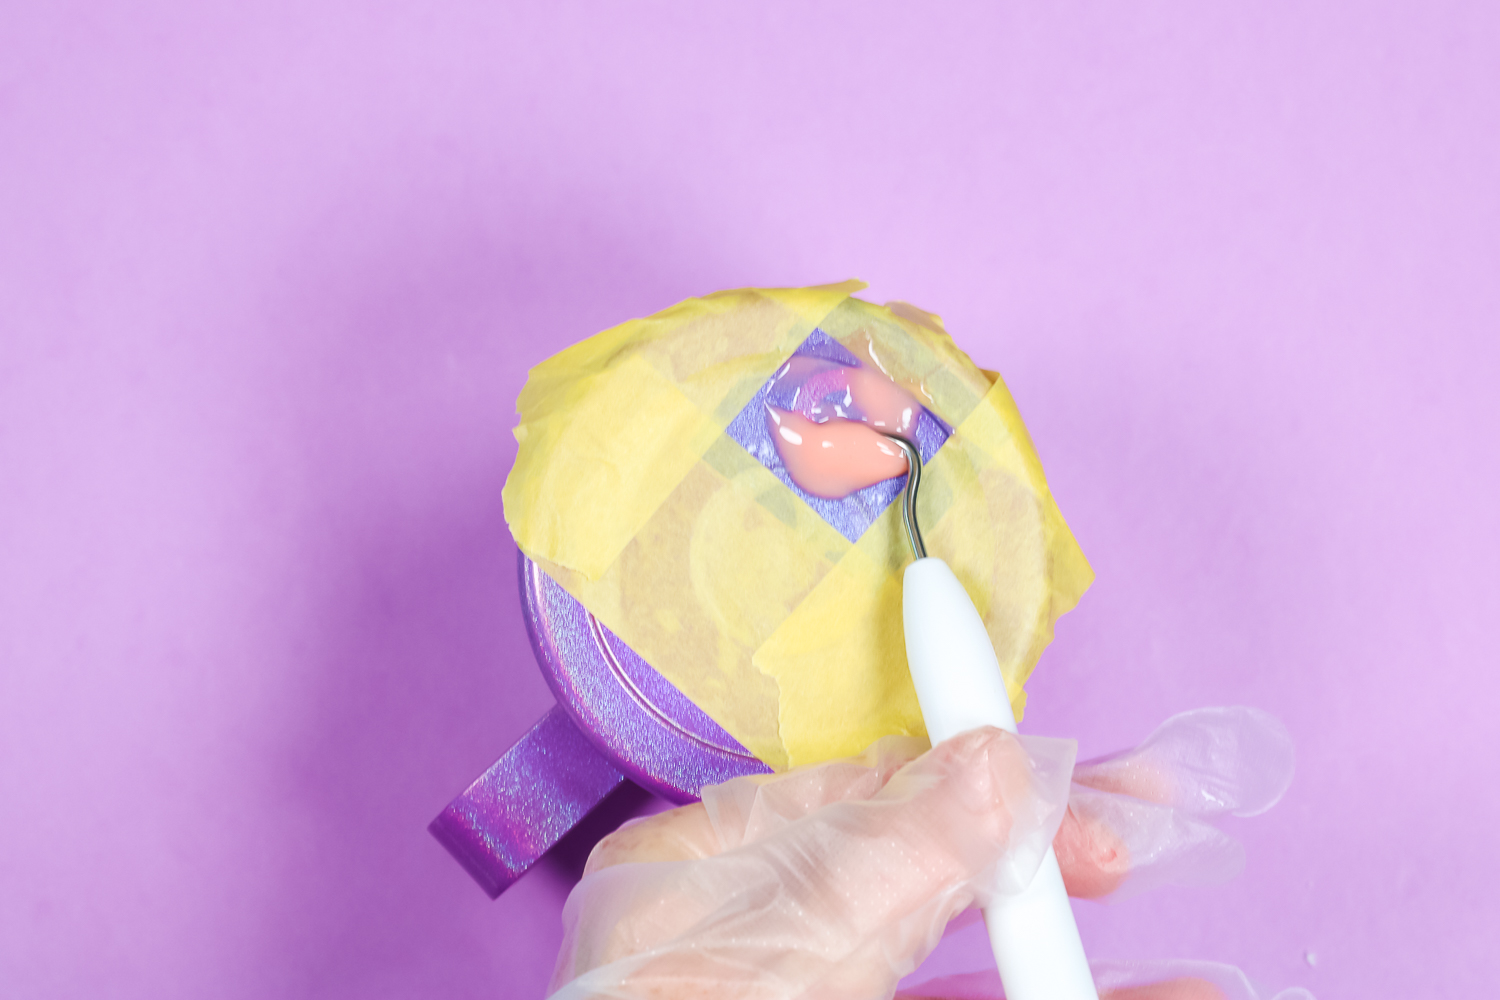
I recommend you start testing after about 30 minutes. To test, move the Citristrip around with a weeding tool. I poke the weeding tool into the paint to see if it’s going to peel away easily. You’re looking for paint that looks like it’s going to peel up pretty easily.
Check on your project in 15 minute increments. The process can take anywhere from 30 minutes to 2 hours or more. I occasionally test the paint until it looks like it’s lifting easily. Don’t be fooled, some of these blanks have multiple layers of paint. Make sure you’re getting all the way down to the metal when you check.
How to Remove Citristrip
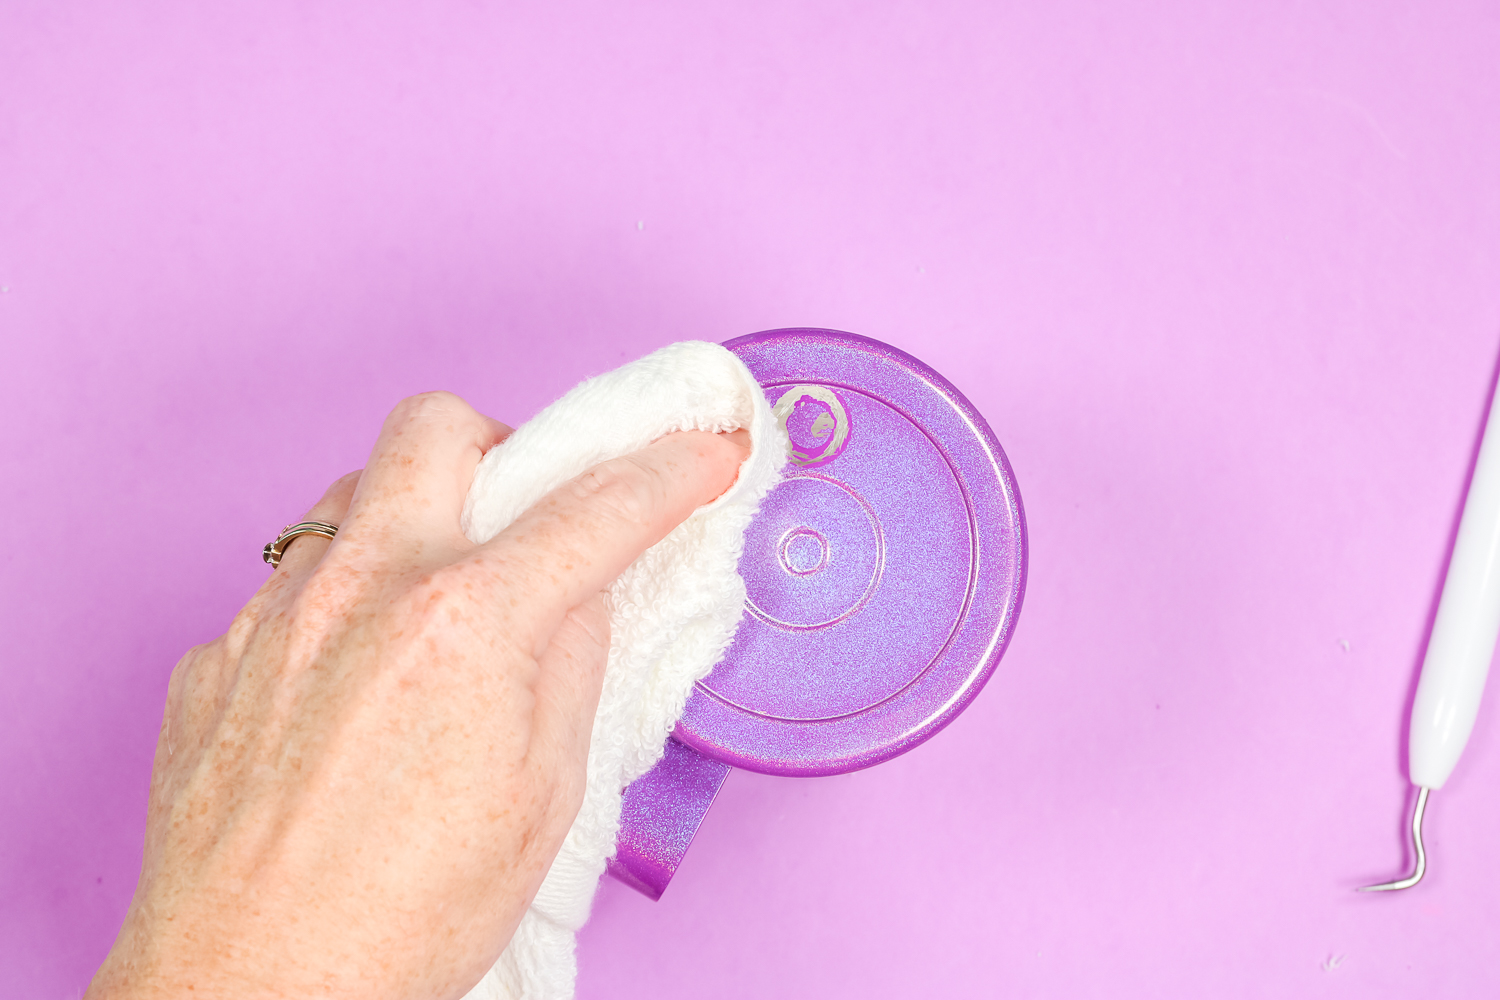
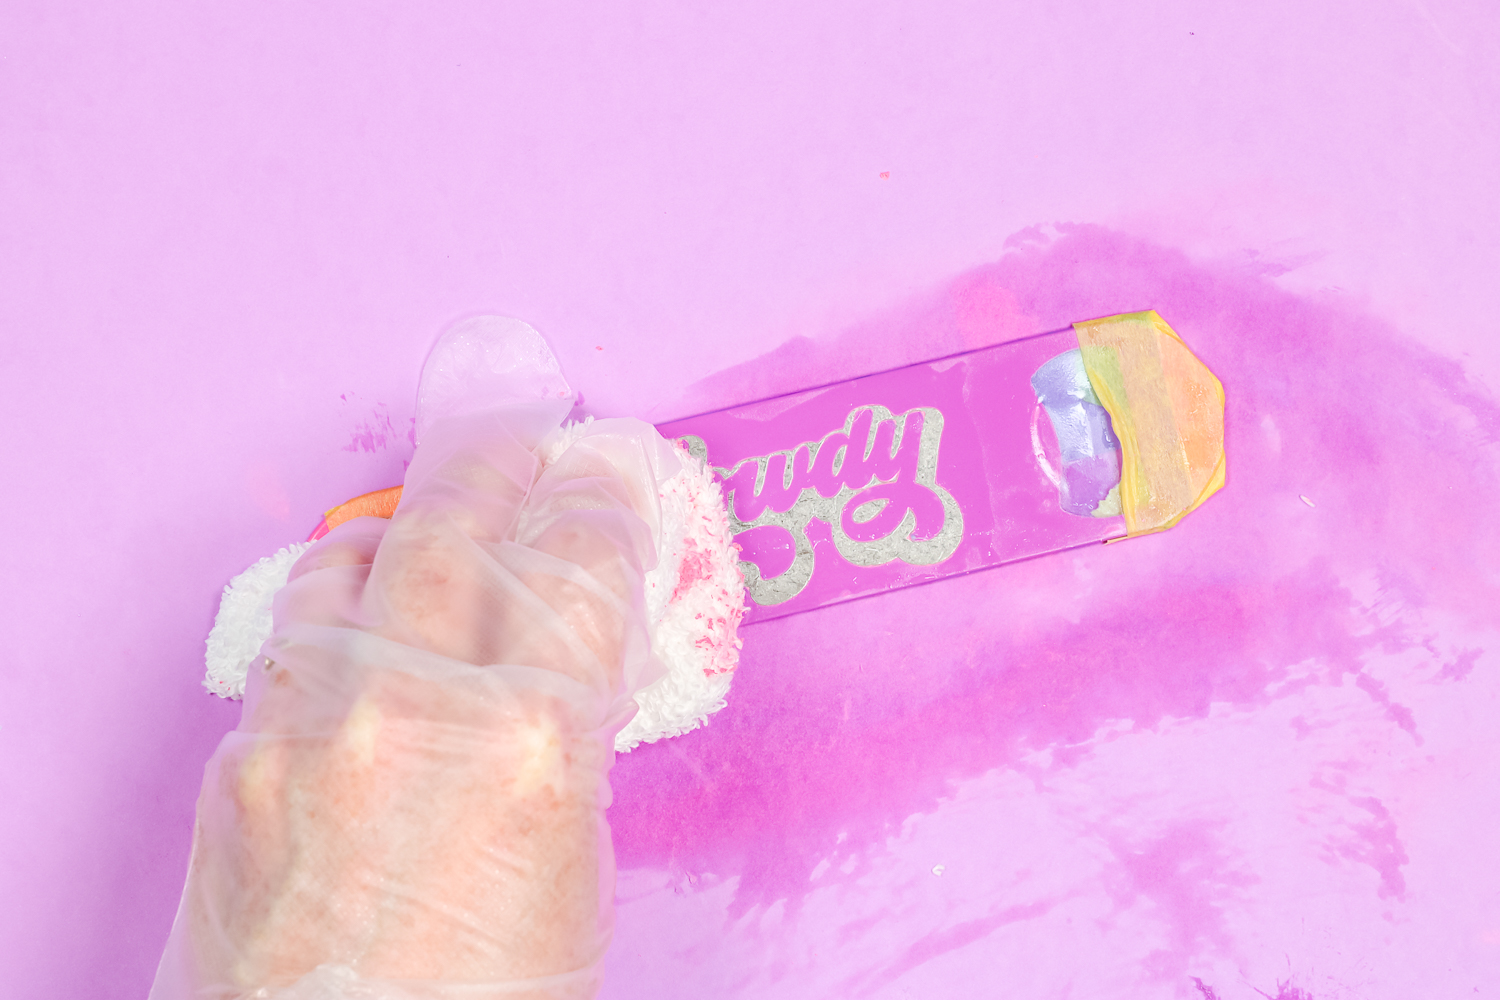
When the paint is lifting easily, it’s time to remove the Citristrip. You can take your blank to the sink and rinse it off or use a cloth to wipe it off. I like to scrub the surface with the stencil on first and get as much of the paint off as possible. Use the cloth to get into the edges as well as you can with the stencil still on.
Your stencil may start to lift while you’re scrubbing. If it does, that’s okay. Once everything is as good as you can get it, go ahead and remove the stencil and the painter’s tape. You may find you need to use one of the other scraper tools to remove the rest of the paint to get a nice clean etching.
How to Keep Track of Time
Make sure and document the time it took for Citristrip etching to strip your blank. That way you know for future projects how long to let the Citristrip sit. Document if you should have left it on longer or if there is anything else to note.
How to Make a Personalized Bottle Opener with Citristrip
Now that we’ve run that test and we know what we’re doing, let’s actually try to strip something. The process for stripping an actual image is the same as the test circle. I’m using all the same steps we used above.
- Apply transfer tape to stencil.
- Place the stencil onto the bottle opener.
- Use a heat gun or blow dryer and burnish the stencil onto the bottle opener.
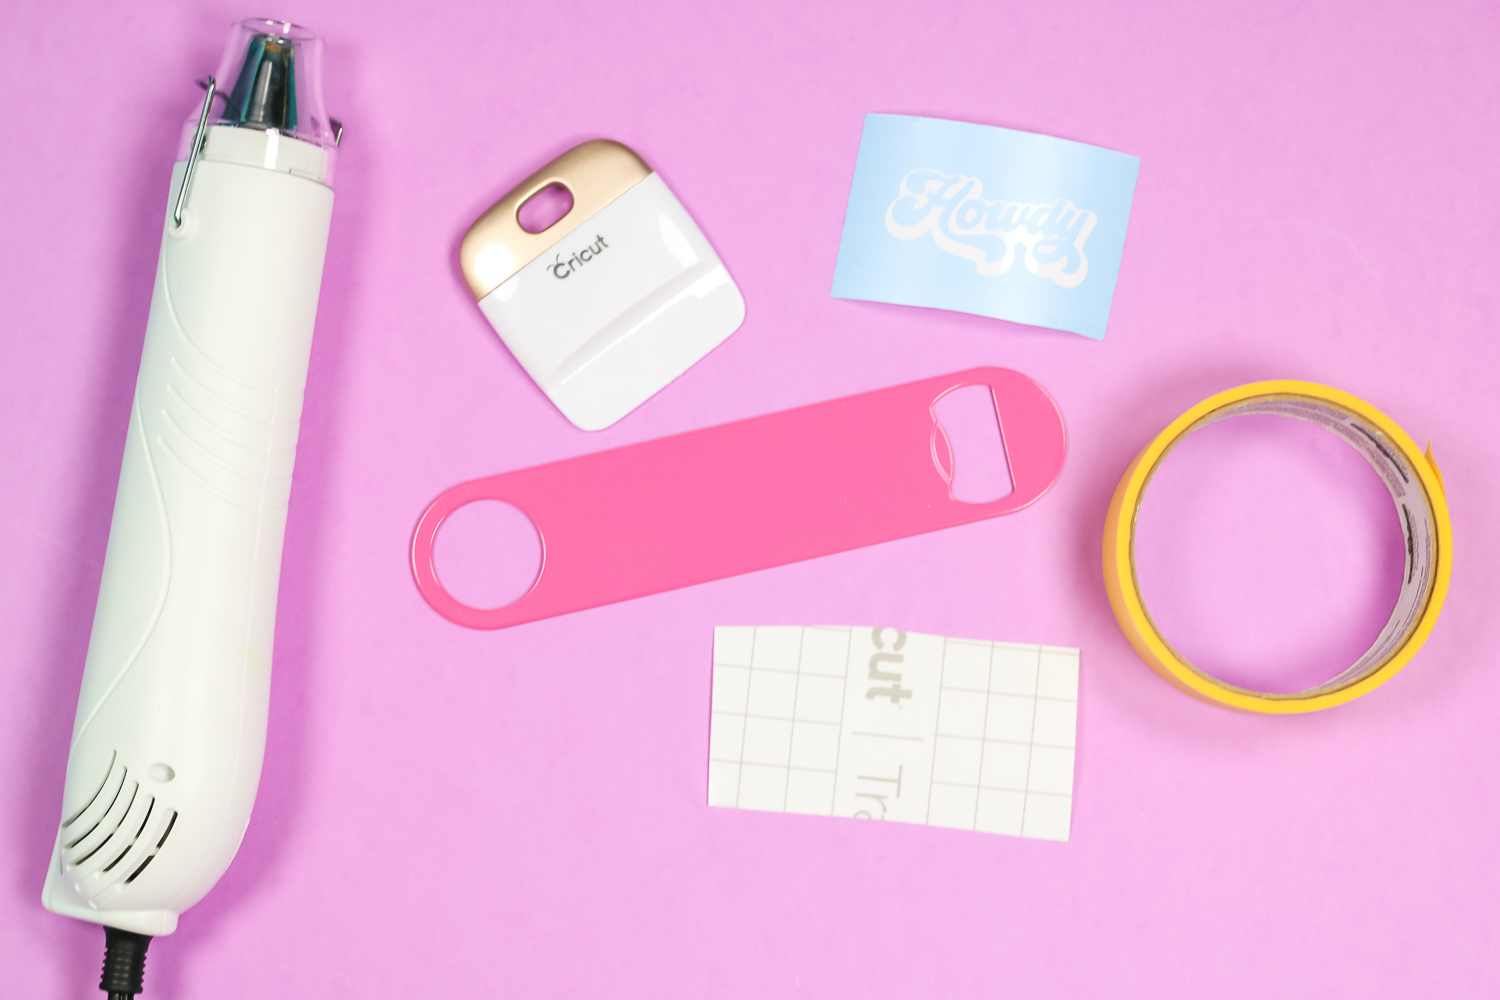
- Remove the transfer tape.
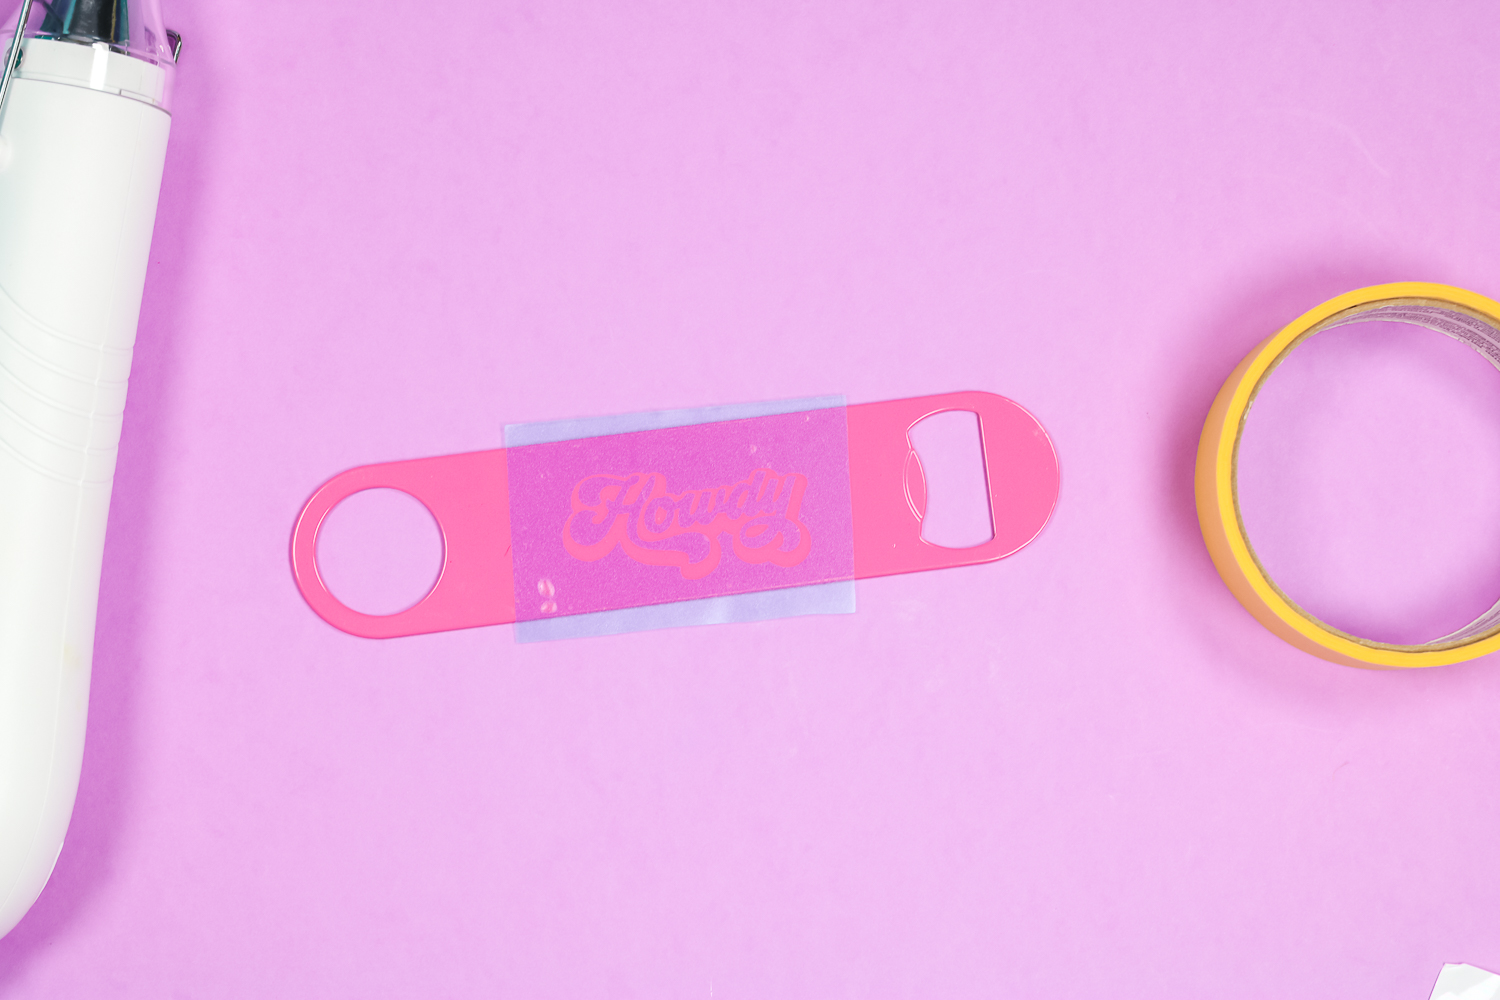
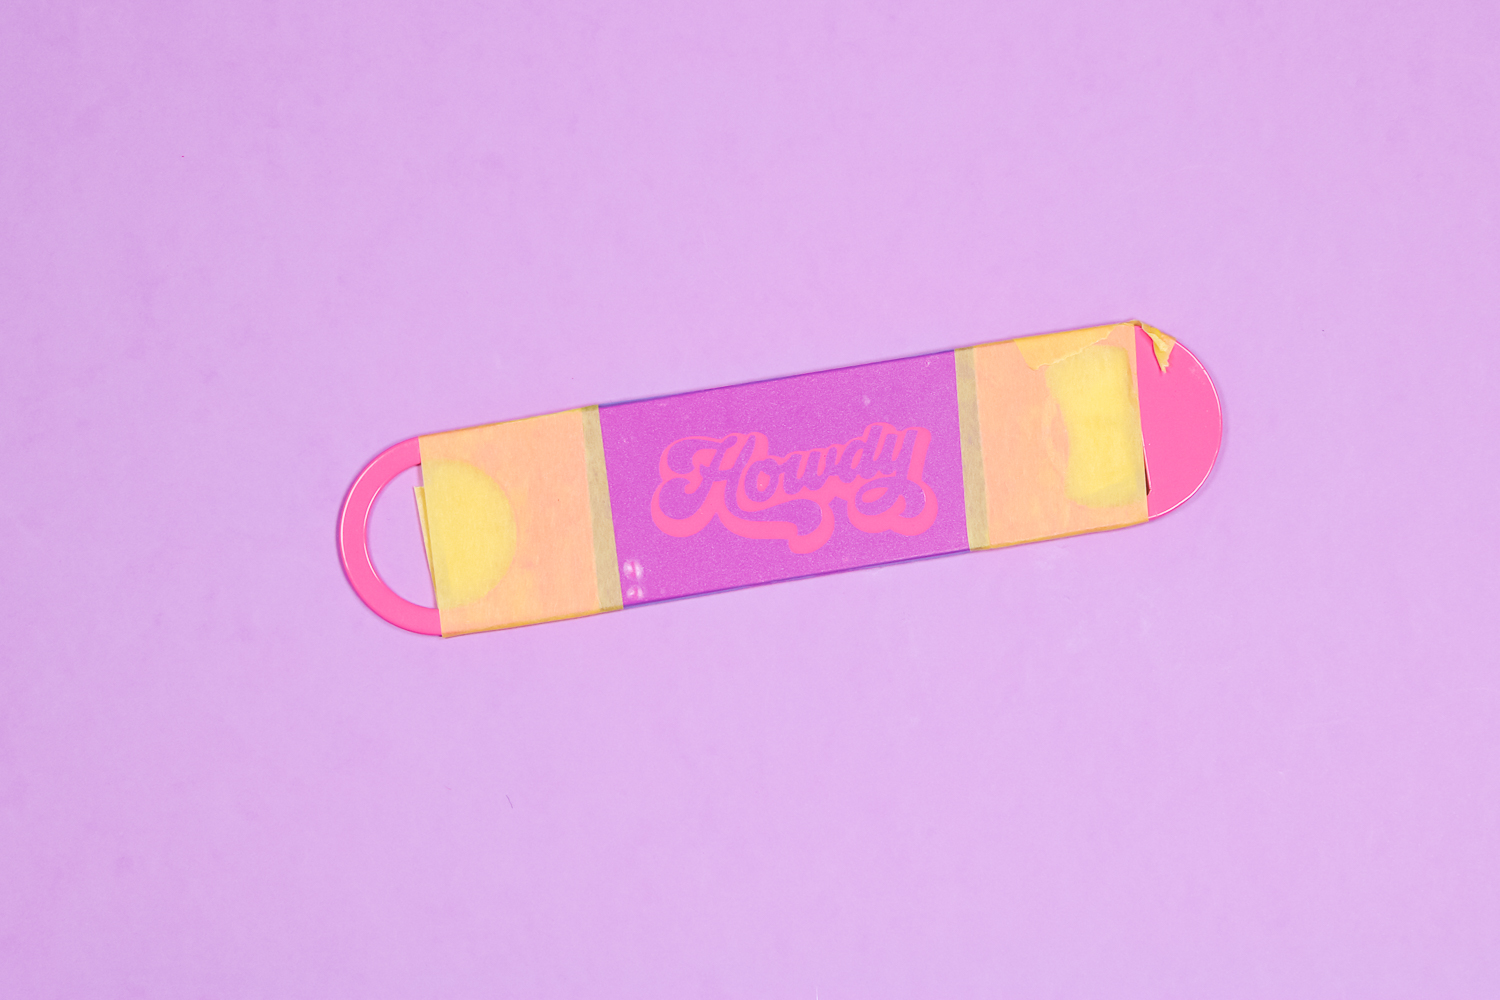
- Apply painter’s tape to protect the surface from Citristrip.
- Apply a thick layer of Citristrip over the top of the stencil making sure the entire surface is covered completely.
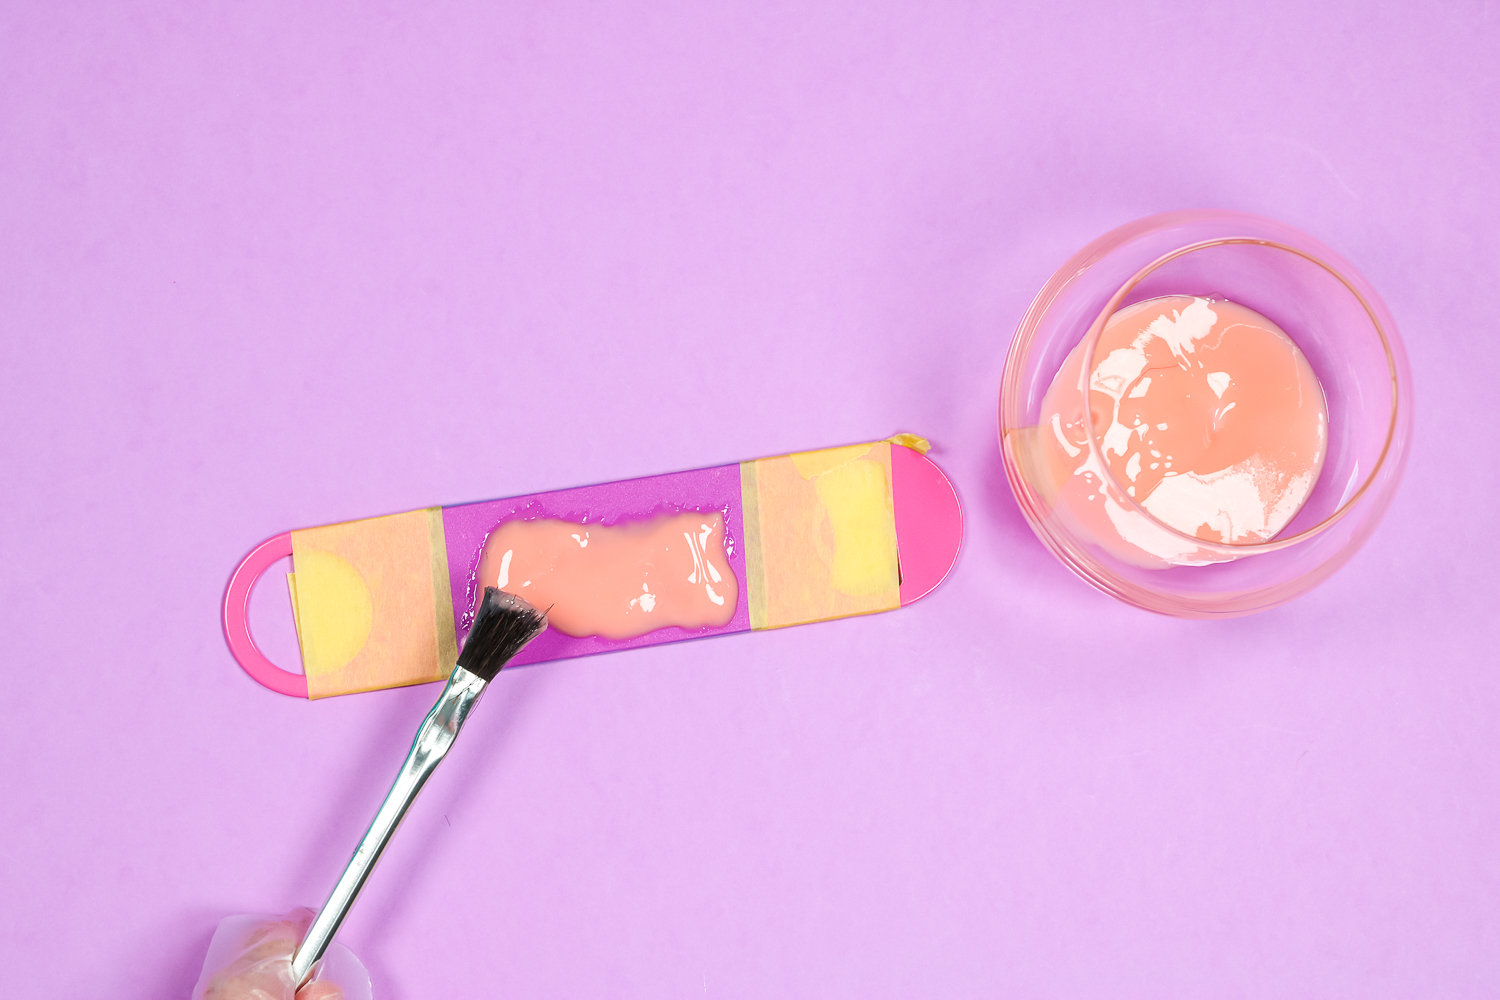
- Test the paint regularly and when it removes easily wipe off all the Citristrip.
- Using a dry cloth remove as much of the paint as possible. If needed, use any of the tools above to get the edges as clean as possible.
Why Should You Leave the Stencil On When Removing Citristrip?
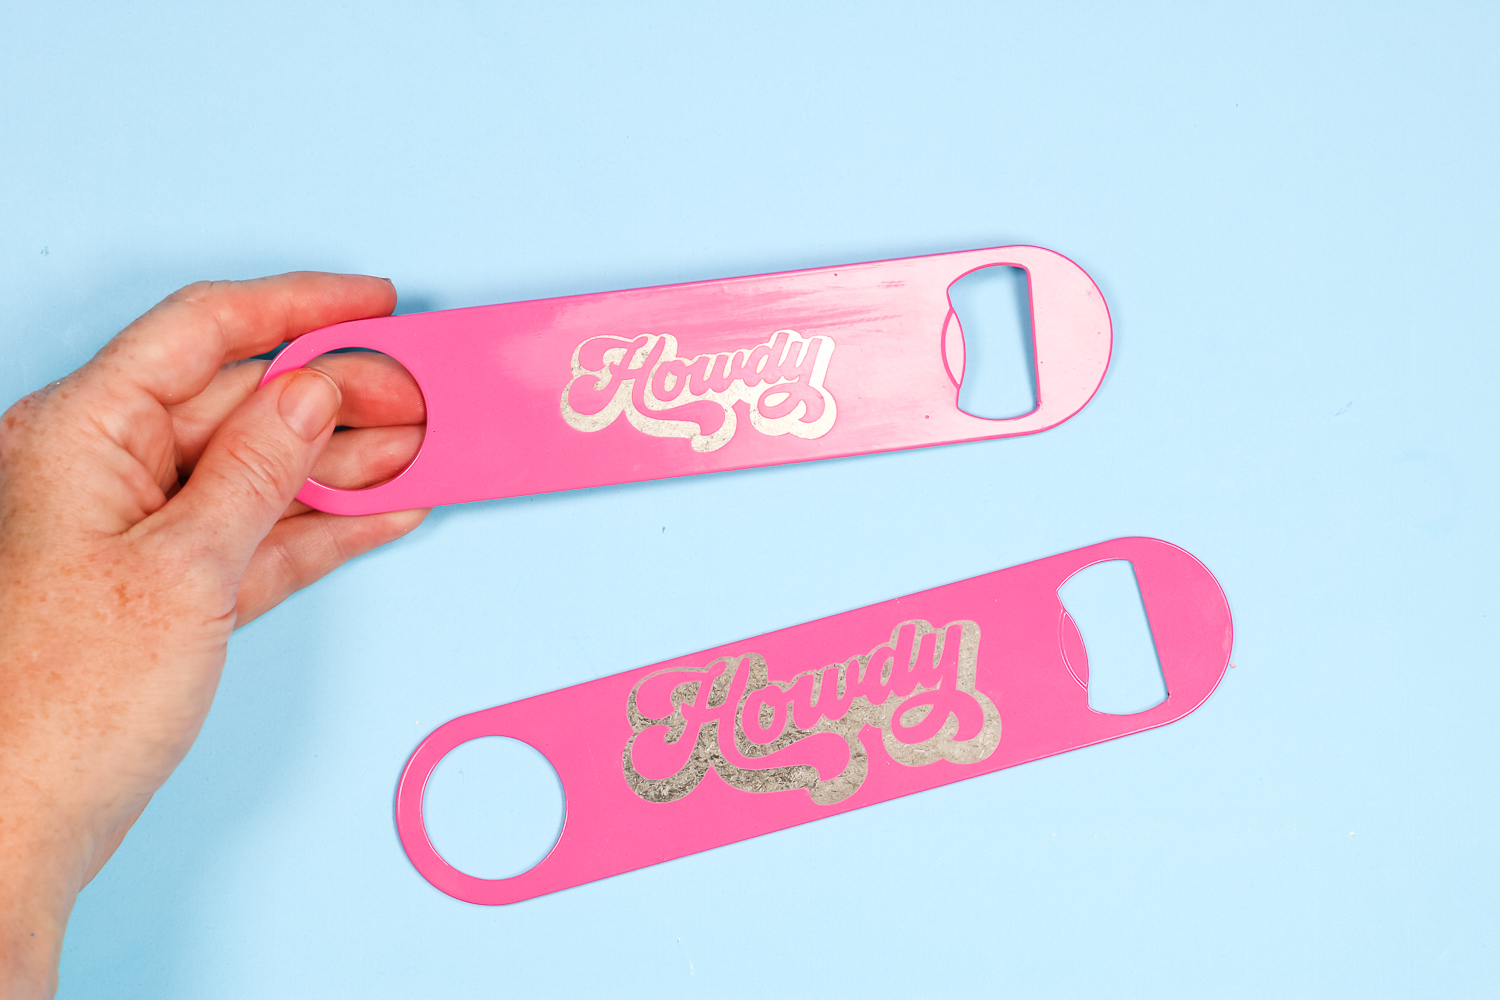
I wanted to show you the difference between the two bottle openers below. On the top bottle opener, I took the stencil off before removing all the Citristrip. You can see that the surface is dull and kind of streaky.
On the bottom bottle opener, I left the stencil on while I removed the Citristrip and the paint. It is much cleaner and the surface is bright and the lines are crisp. This seemed to happen more often on shiny paint surfaces but I just started leaving the stencil on my projects as long as possible when removing the Citristrip and paint.
Making a Tumbler with Citristrip
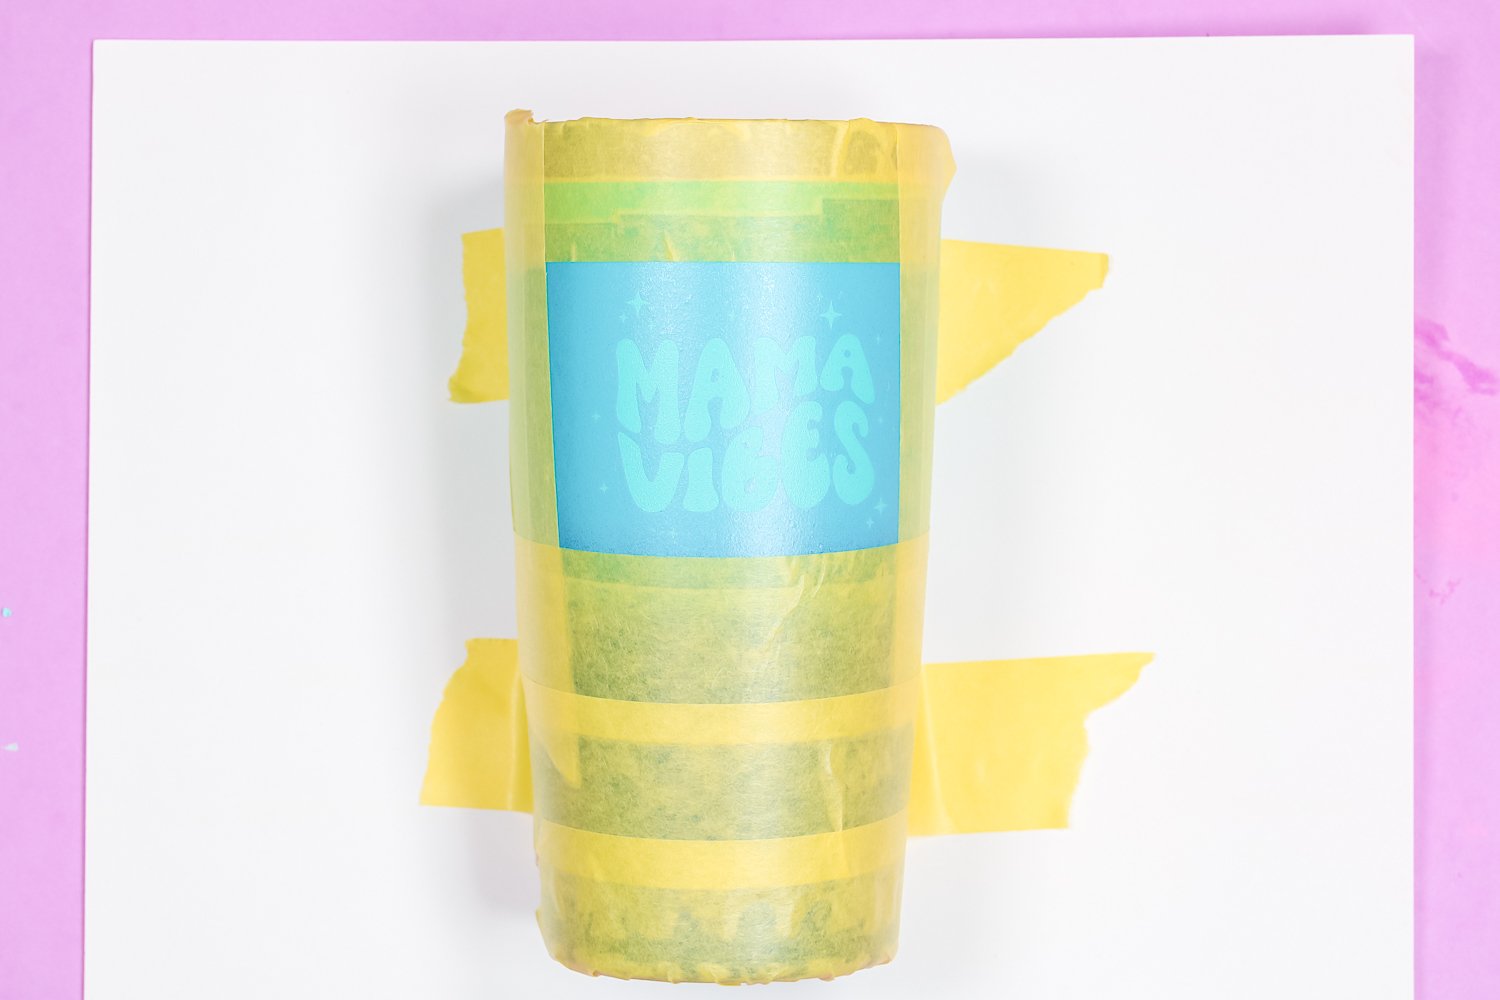
If you’re going to do a tumbler of any type, you will need to prevent it from rolling around. I don’t use anything special, just a few popsicle sticks, taped together. I use 3 of them and place them on a piece of card stock.
Lay the tumbler down flat and arrange the popsicle sticks where they will keep the tumbler from rolling. Lift up the tumbler and then tape the popsicle sticks to the paper.

Once things are taped in place lay the tumbler down and the popsicle sticks should keep it from moving. Now you can add the Citristrip on top of the stencil.
Does Citristrip Stripping Gel Drip?
Citristrip does kind of self-level after you pile it up. That means there may be some drips. That is why we need to make sure the whole surface is covered. Watch your project carefully and pick up any drips before they can harm your project or your surface. You will need to watch the Citristrip and make sure the stencil stays covered completely. Keep checking the paint after 30 minutes to see if the paint is lifting easily.
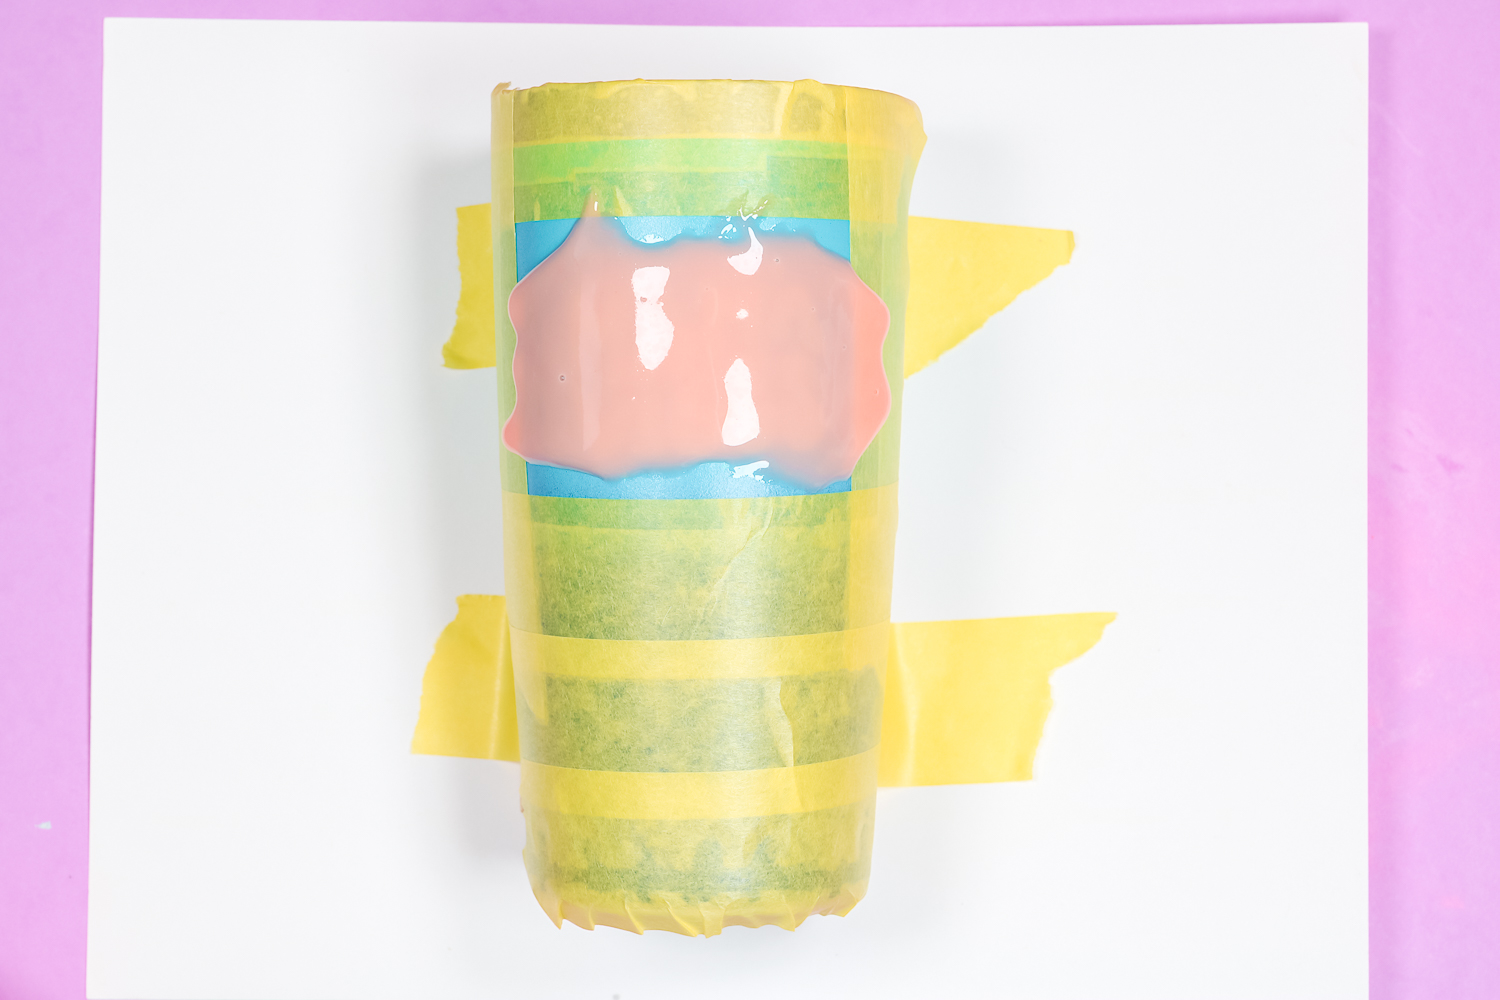
With this tumbler, after 30 minutes the paint is just coming right off. Remove the Citristrip as we did with the projects above. This one turned out beautifully, the paint peeled up really easily and cleaned off leaving crisp lines all the way around.

Things to Watch for When Stripping Paint
There are some things that came up while I was stripping these different blanks. Sometimes the paint became gummy and other times it didn’t lift evenly. Let’s go over the things I learned so you can not make the same mistakes!
How to Remove Multiple Layers of Paint
Some paint surfaces have multiple layers. This happens most often with smooth, shiny paint. I have found that they can sort of turn gummy once the Citristrip does its job. You want to make sure and scrape down to the bare metal. I am using the end of the skewer to get as much removed as I can.
With this compost pail, I removed the Citristrip and then used a Magic Eraser to get the gummy layer off. Using the Magic Eraser sometimes doesn’t go all the way down to the bare metal, especially when there are several layers of paint. That’s where the wooden skewer comes in.
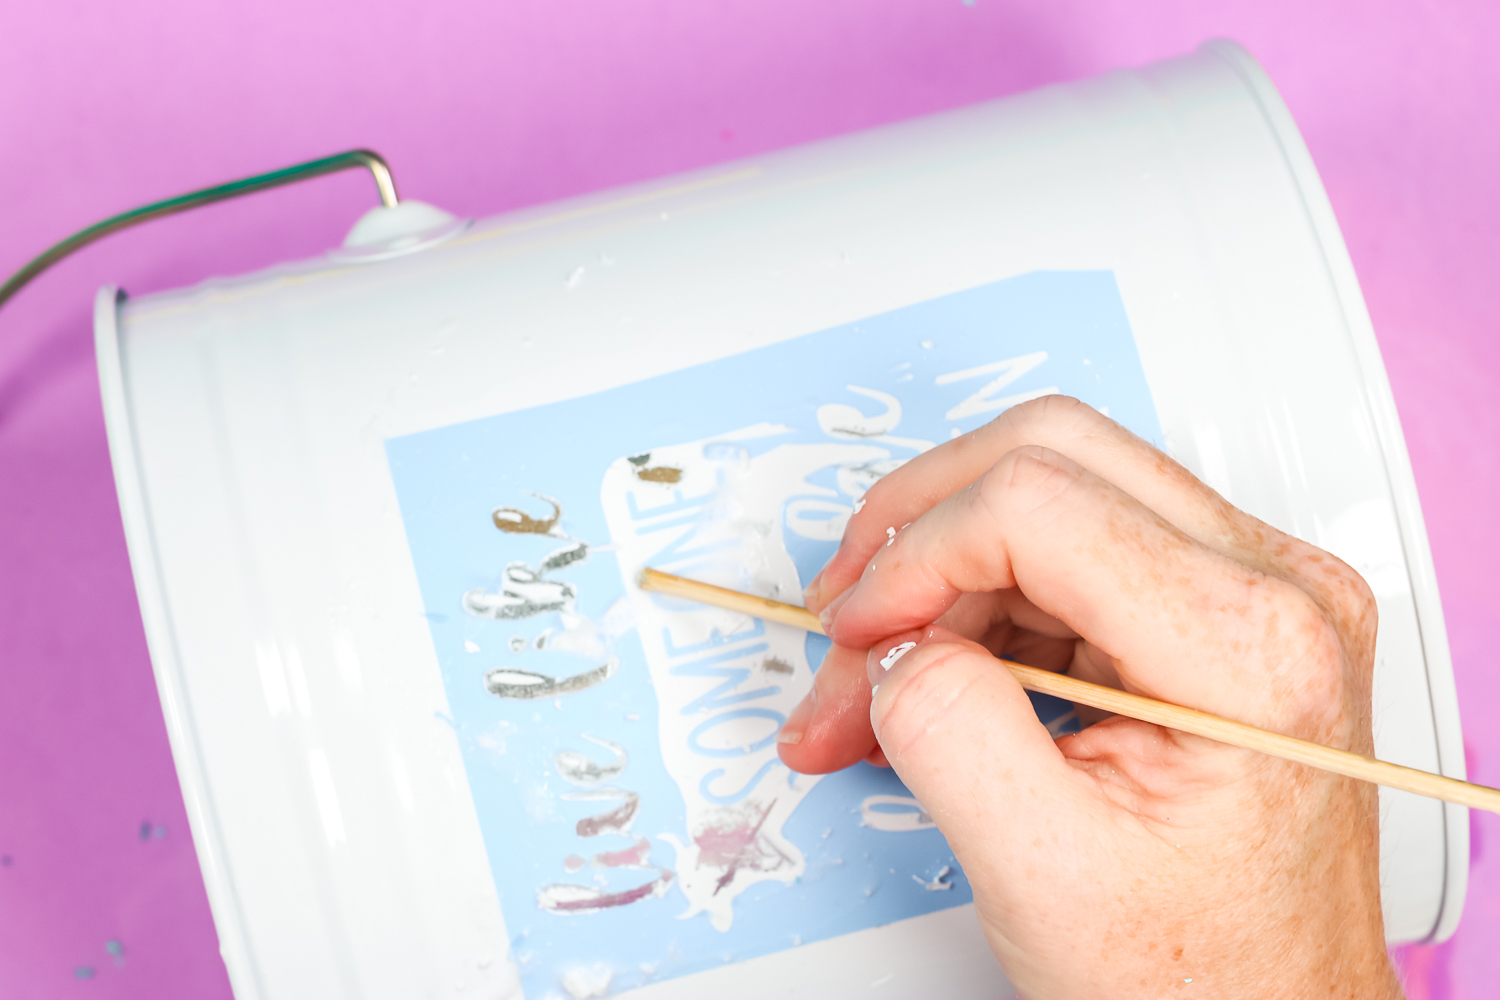
How to Use a Wooden Skewer when Stripping Paint
I love to use the dull end of the wooden skewer and just sort of burnish that paint off using a Magic Eraser every now and again to kind of wipe it away.
I get as much as I can off with the stencil still on. This is another one of those cases where the paint will leave streaks if you do not do it this way. Then you can remove the stencil and you have something that at least most of the paint is off.
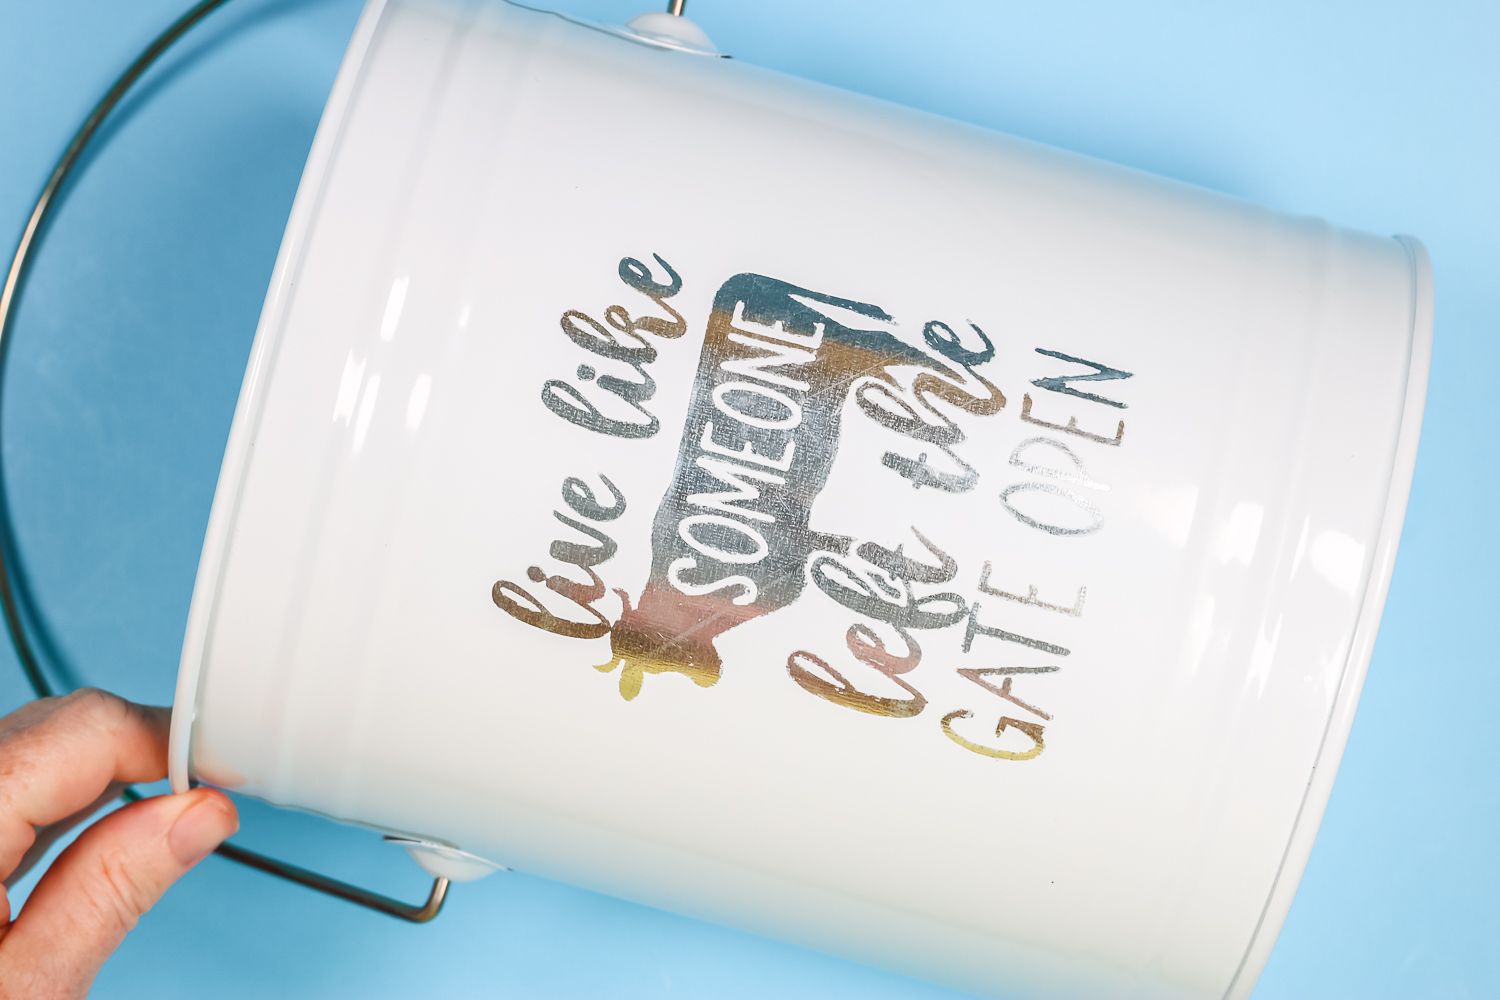
I went ahead and used that skewer again two or three more times over the surface. This is as good as I was able to get this one. I could try to go over it many, many more times, burnishing with that skewer and cleaning up these lines.
I do want you to realize that these are quite a bit of work. So anything with a shiny, smooth surface might be like this.
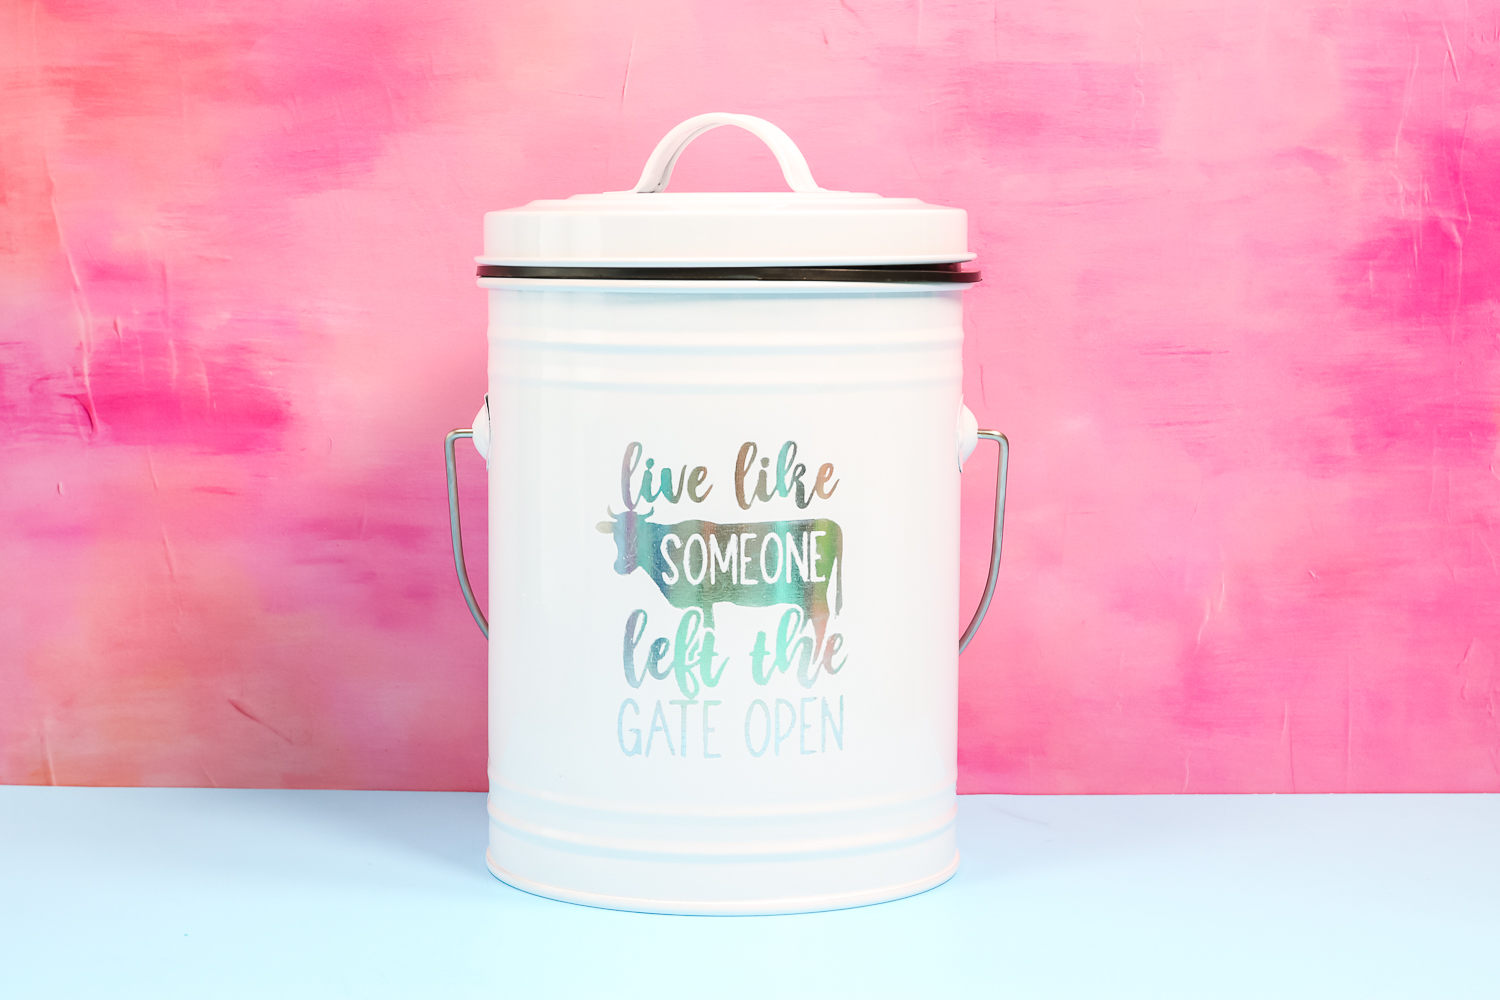
Check Paint on the Entire Stencil
Another problem I ran into was part of the paint lifting and other areas not stripping. This happened because I did not check the paint in all areas of the design.
On this blank, I checked the first H and the paint peeled easily but I didn’t check the end of the word by the E. The purple paint came off easily but the blue paint didn’t come off toward the end of the word.
If I had left the Citristrip on toward the end for another 30 minutes or so, the E, D, and L would have likely come right off. Make sure the paint comes off in all areas before removing the Citristrip and stencil.
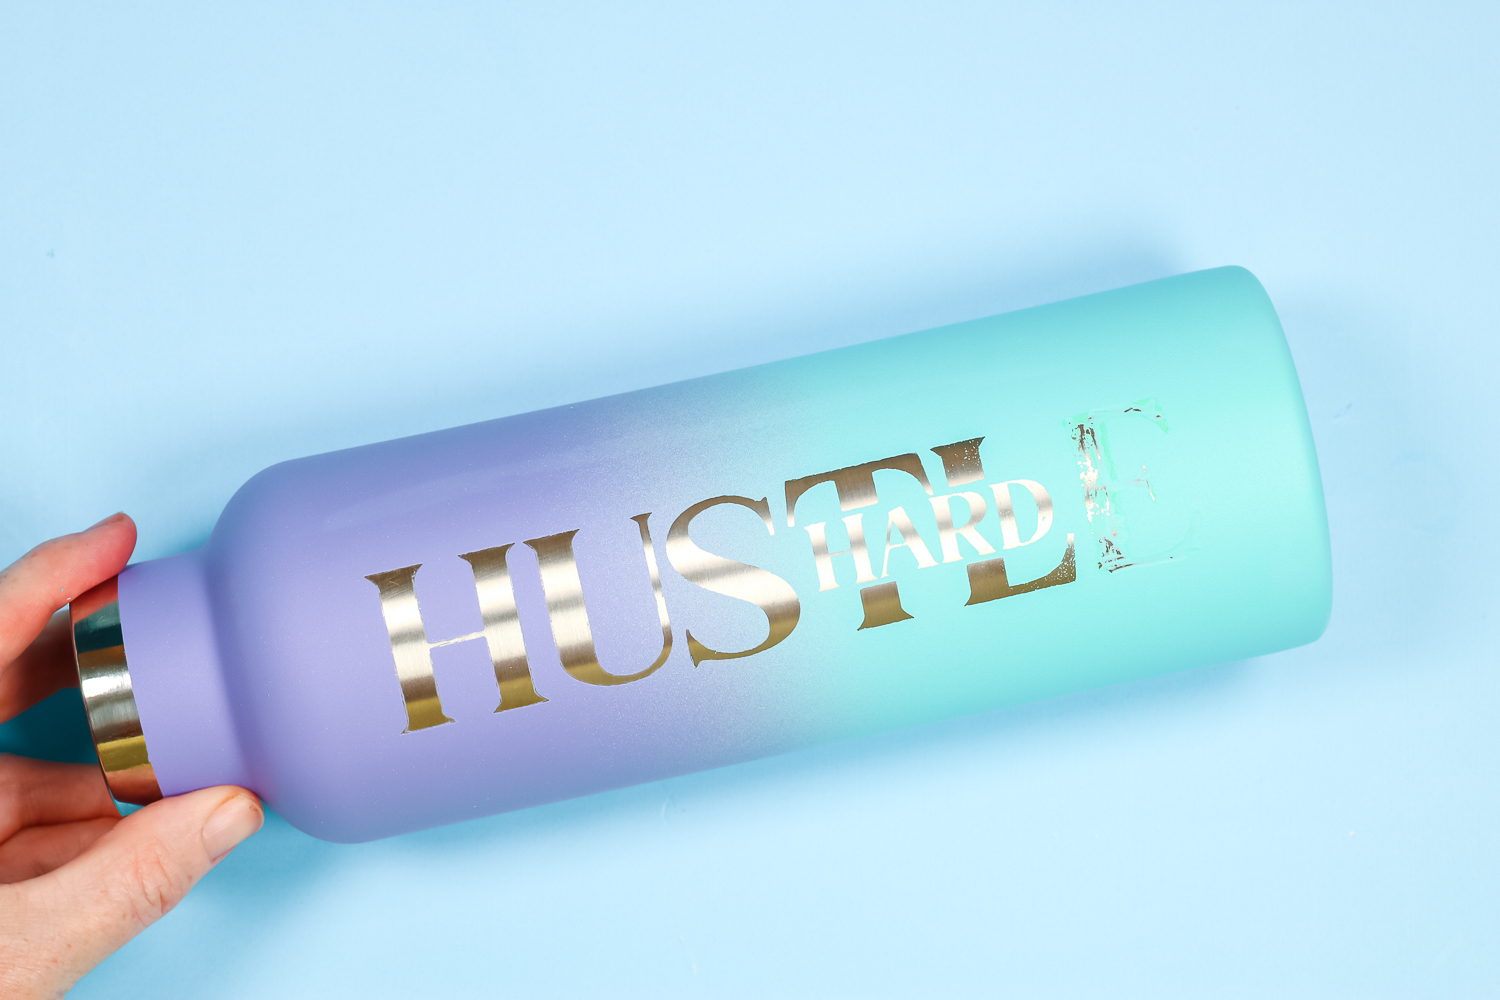
The paint on the H got a little gummy and I had to use my Magic Eraser. In the middle, the paint came off easily with just the dry washcloth and scrubbing over the top.
Down at the end of the word, I can’t even get it off with a metal scraper. It’s really, really stuck. It appears this tumbler had a different amount of paint depending on where it was on the water bottle, you need to watch for this on your blanks.
Make Sure Your Work Space Stays Clean
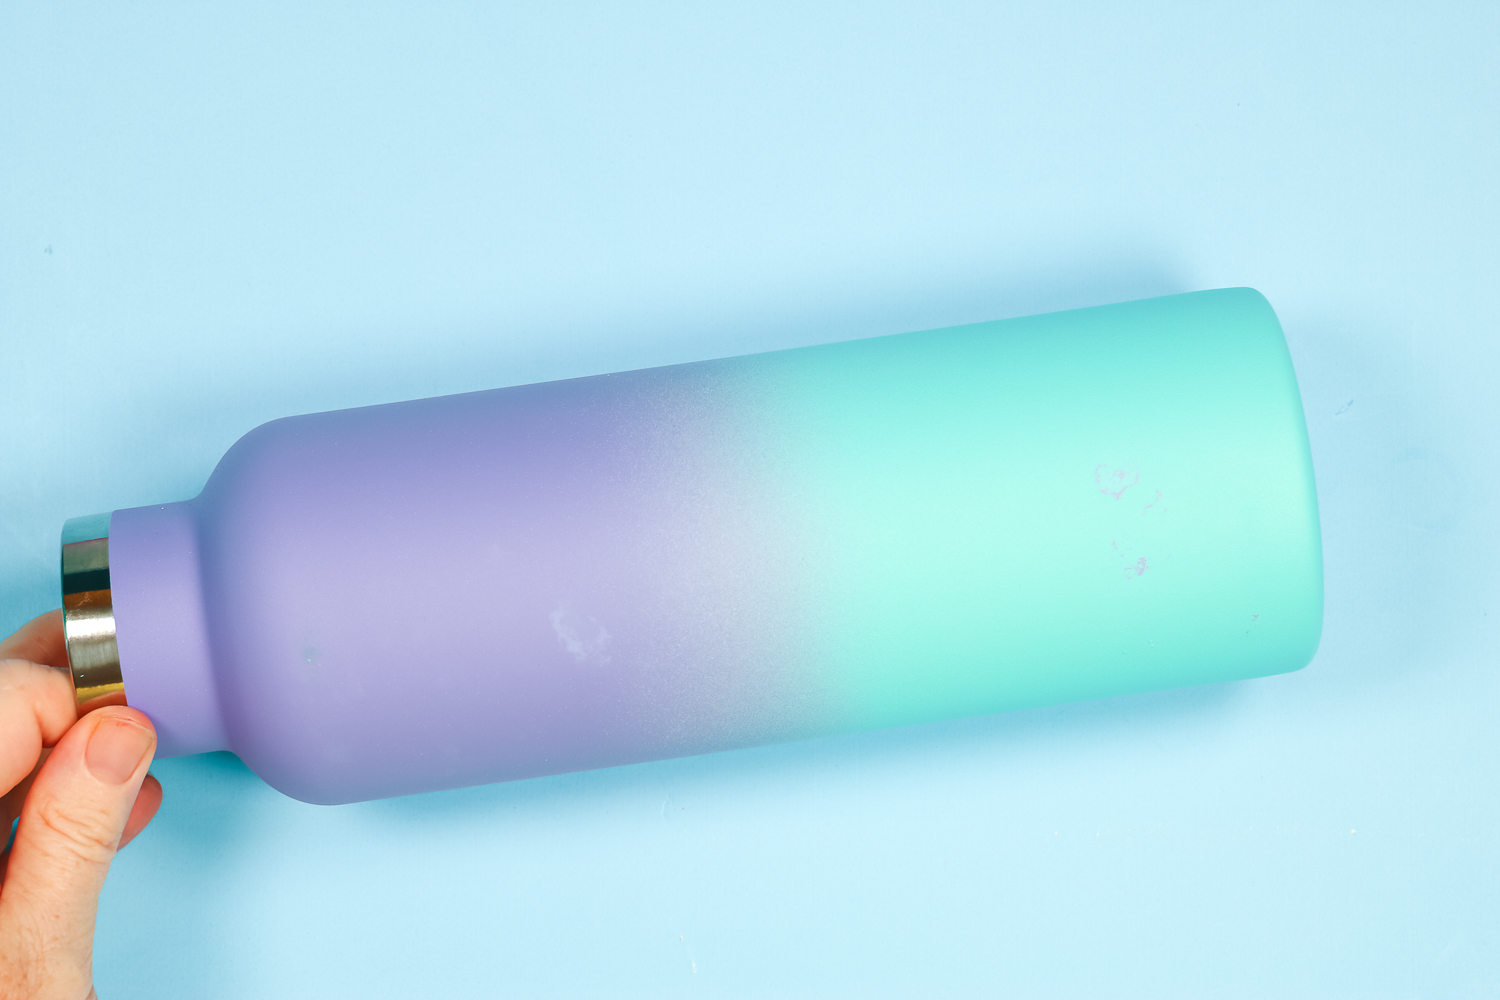
Another mistake I had with Citristrip etching with Cricut was paint transfer. This is a messy process and the paint you scrape can transfer to areas you don’t want. In this case, the water bottle was sitting on paint that had been scrubbed off. It stained the water bottle and I can’t get it off at all. Make sure you’re area stays clean so this doesn’t happen to your project.
How to Prevent Bleeding with Citristrip Etching
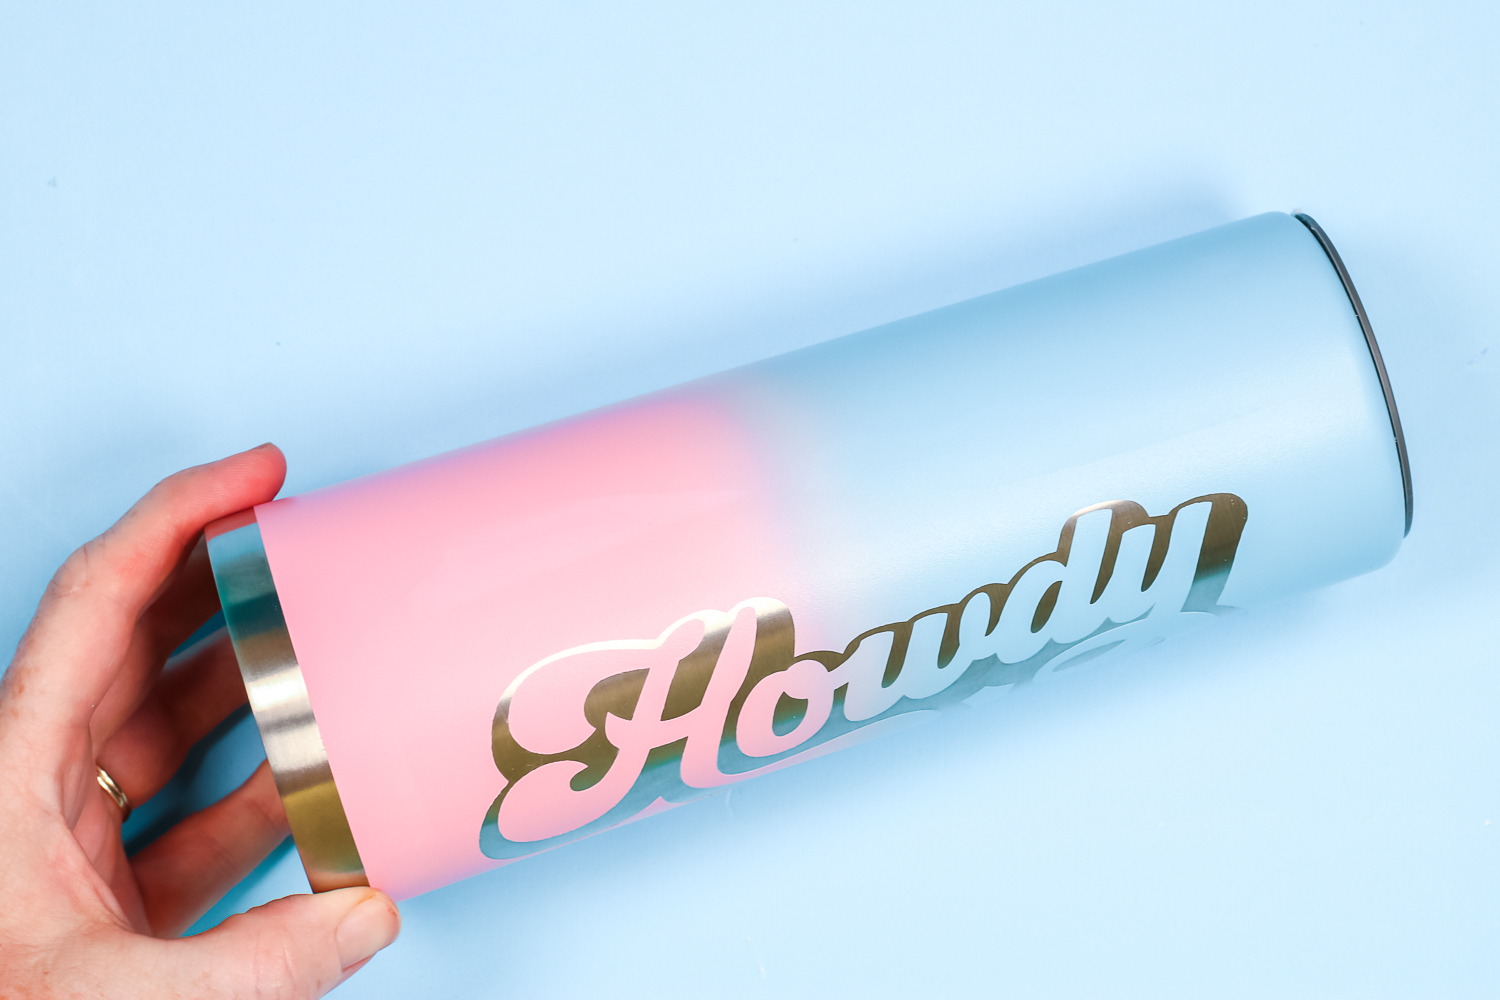
When I made my stencils, I tried to fit as many as I could on one sheet of stencil vinyl. I shouldn’t have done that. Even though I added painter’s tape around the outside of my stencil vinyl the Citristrip went under the painter’s tape just a little bit.
If you weren’t looking, you might not notice where there is fading from the Citristrip. But it is definitely there in the pink above the H. In the future I would say if you could make your stencil larger, even putting it into the middle of a sheet would probably be better than using painter’s tape.
Final Thoughts on Citristrip Etching with Cricut
So here are several projects that were a success that I really liked. I loved that I was able to get even super small details on these projects that looked great. I’m happy to say I’m kind of in love with this method. You can see Cori’s tutorial here on getting fine details when using the Citristrip method.

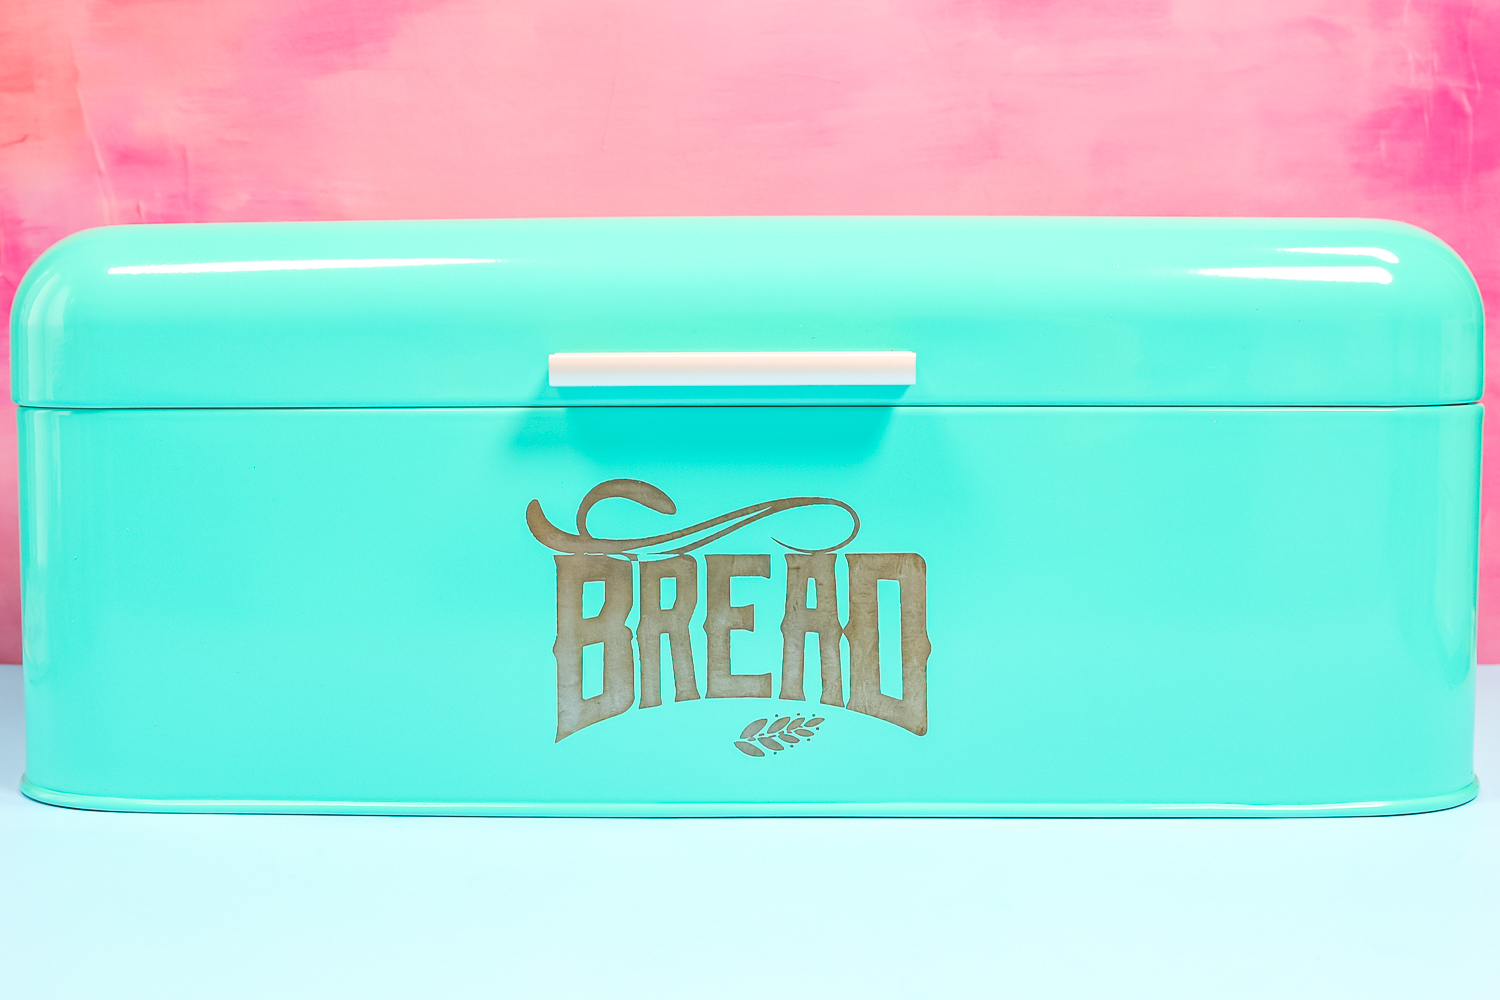
I even made a bread box. You can make so many different things, just look for powder-coated, metal bases.
Tips and Tricks for the Citristrip Method
Here are a few more tips and tricks for your Citristrip etching projects:
- Some blanks worked way better than others. The biggest tip I would give you is to allow Citristrip time to do its job. It could take more than 2 hours for the paint to be ready to scrape off. The bottle opener took about 30 minutes, but some of these blanks could have used more time making them take over 2 hours. You don’t want the paint to just scrape off you want the paint falling off as you scrape across it. If you stop too early you will spend a lot of time scraping and scrubbing and you may not get the clean lines you want.
- The paint can get gummy, I don’t think you’re going to get away from that. I think it’s going to be gummy regardless of how long you leave the Citristrip on. Use the methods I showed above including using the blunt end of the skewer to scrape and the Magic Eraser to wipe the rest.
- Be sure to leave the stencil on until you’ve rubbed as much of the paint away as you can. If the stencil starts to come up that is fine but leave it on as long as you can.
- Remember, this is a paint stripper. It is a chemical. Protect yourself, protect your hands. If you have respiratory problems or the smell bothers you do this project outside or open up the windows. No matter how great the smell is, Citristrip is still a chemical and you still need to use all the precautions that are on the bottle when you’re handling it and working with it in any space that you choose to work with this material.
I hope you found this tutorial on Citristrip etching with Cricut helpful. If you have any questions, leave them in the comments below and I’ll answer them for you. Have a great day and happy crafting!


Citristrip Etching with Cricut
Learn how to use Citristrip to etch powder-coated blanks with your Cricut machine.
Supplies
- 1 container Citristrip Stripping Gel
- 1 roll Cricut Stencil Film
- 1 roll Painter’s Tape
- 1 roll Transfer Tape
- 1 pair Protective Gloves
- 1 Wooden Skewer
- 1 Magic Eraser
Instructions
How to Apply Stencil Vinyl to Powder Coated Blanks
-
Cut stencils using a Cricut Machine. I prefer to use stencil vinyl
-
Reverse weed your material. You want to remove everything that you want to be etched.
-
Leave as much area as possible around each stencil when cutting and when you separate them.
Adding Stencil to Blank
-
Apply transfer tape to stencil. Place the stencil onto the blank. Use a heat gun or blow dryer and burnish the stencil onto the blank.
-
Remove the transfer tape.
-
Apply painter’s tape to protect the surface from Citristrip.
Adding Citristrip to Blank
-
Apply a thick layer of Citristrip over the top of the stencil making sure the entire surface is covered completely.
-
You need to watch the Citristrip and make sure the stencil stays covered completely as the paint stripper will drip. Keep checking the paint after 30 minutes to see if the paint is lifting easily.
Removing Citristrip and Paint
Removing Stubborn Paint
-
I love to use the dull end of the wooden skewer and just sort of burnish that paint off using a Magic Eraser every now and again to kind of wipe it away.
-
Another problem I ran into was part of the paint lifting and other areas not stripping. This happened because I did not check the paint in all areas of the design. Be sure all paint is removing easily before removing the Citristrip.
