This post and photos may contain Amazon or other affiliate links. If you purchase something through any link, I may receive a small commission at no extra charge to you. Any supplies used may be given to me free of charge, however, all projects and opinions are my own.
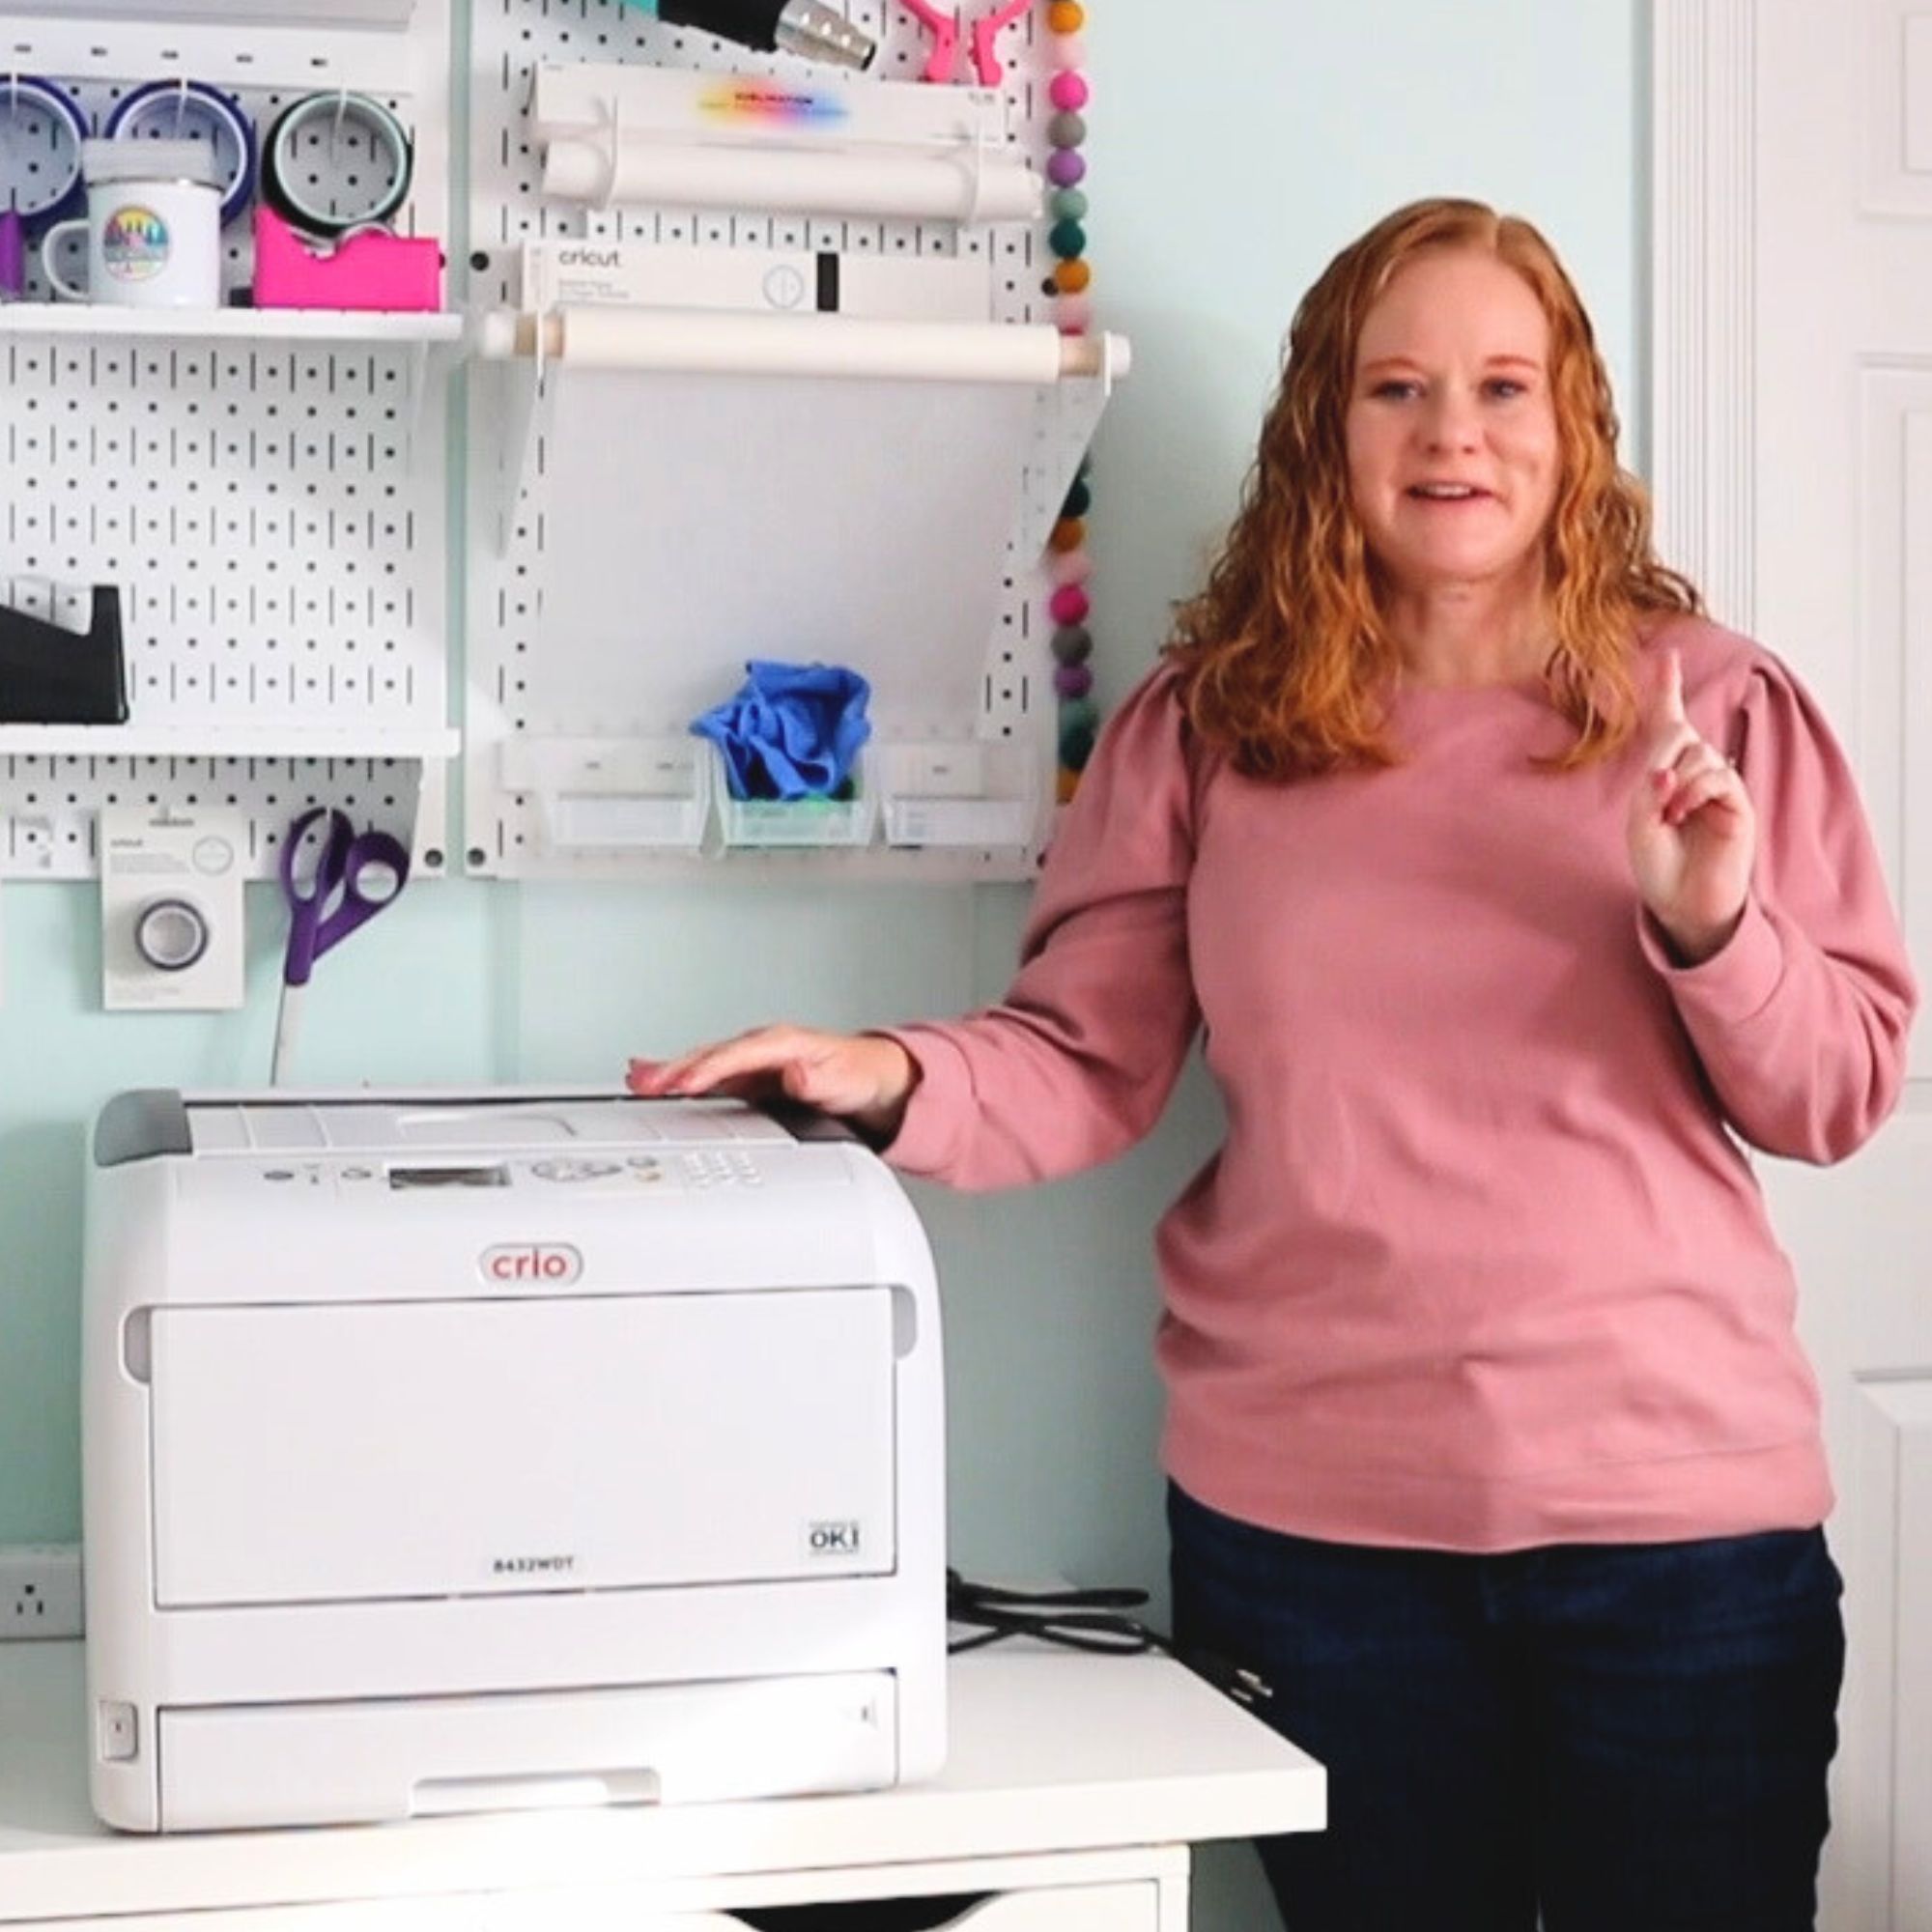
Are you trying to decide if a Crio White Toner printer is right for you? Today I’m going to show you how to set up your Crio White Toner printer and go over the maintenance required. As we go through the setup and maintenance, you may be surprised by how little maintenance is required.
If you don’t know what white toner printing is, check out my What is White Toner Printing post to get started.
You can watch me go through the whole setup process and see how to use the RIP software by pressing play on the video below.
Table of Contents
Crio White Toner Printer Setup
Let’s set up the printer first!
Step 1: Unbox the Crio White Toner Printer
When you unbox the Crio White Toner Printer you’ll find a packet of papers you need to make sure you read through.
The red piece of paper tells you how much room you need all the way around your printer and things that will void your warranty so make sure you read the red paper before you begin.
The printer includes a small tablet with videos that walk you through all the steps for setting up your printer. Click Get Started and then select the model of printer you have and follow the videos.
Within the box, you’ll find the cords for the printer, including the power cord and the cord to attach the printer to your computer. You’ll also find all the toner cartridges that you need to install inside the printer.
This is everything that comes with the printer. I told you, you’re going to love how easy this printer is to set up.
Step 2: Remove Packaging Material
Open the printer by pressing the button on the side. Make sure you remove any tape or packaging material. You can watch the videos on the tablet to ensure you’re not touching any parts of the printer you’re not supposed to.
Inside the printer, you’ll see these orange pieces. Lift the first one out of the printer and remove the protective film.
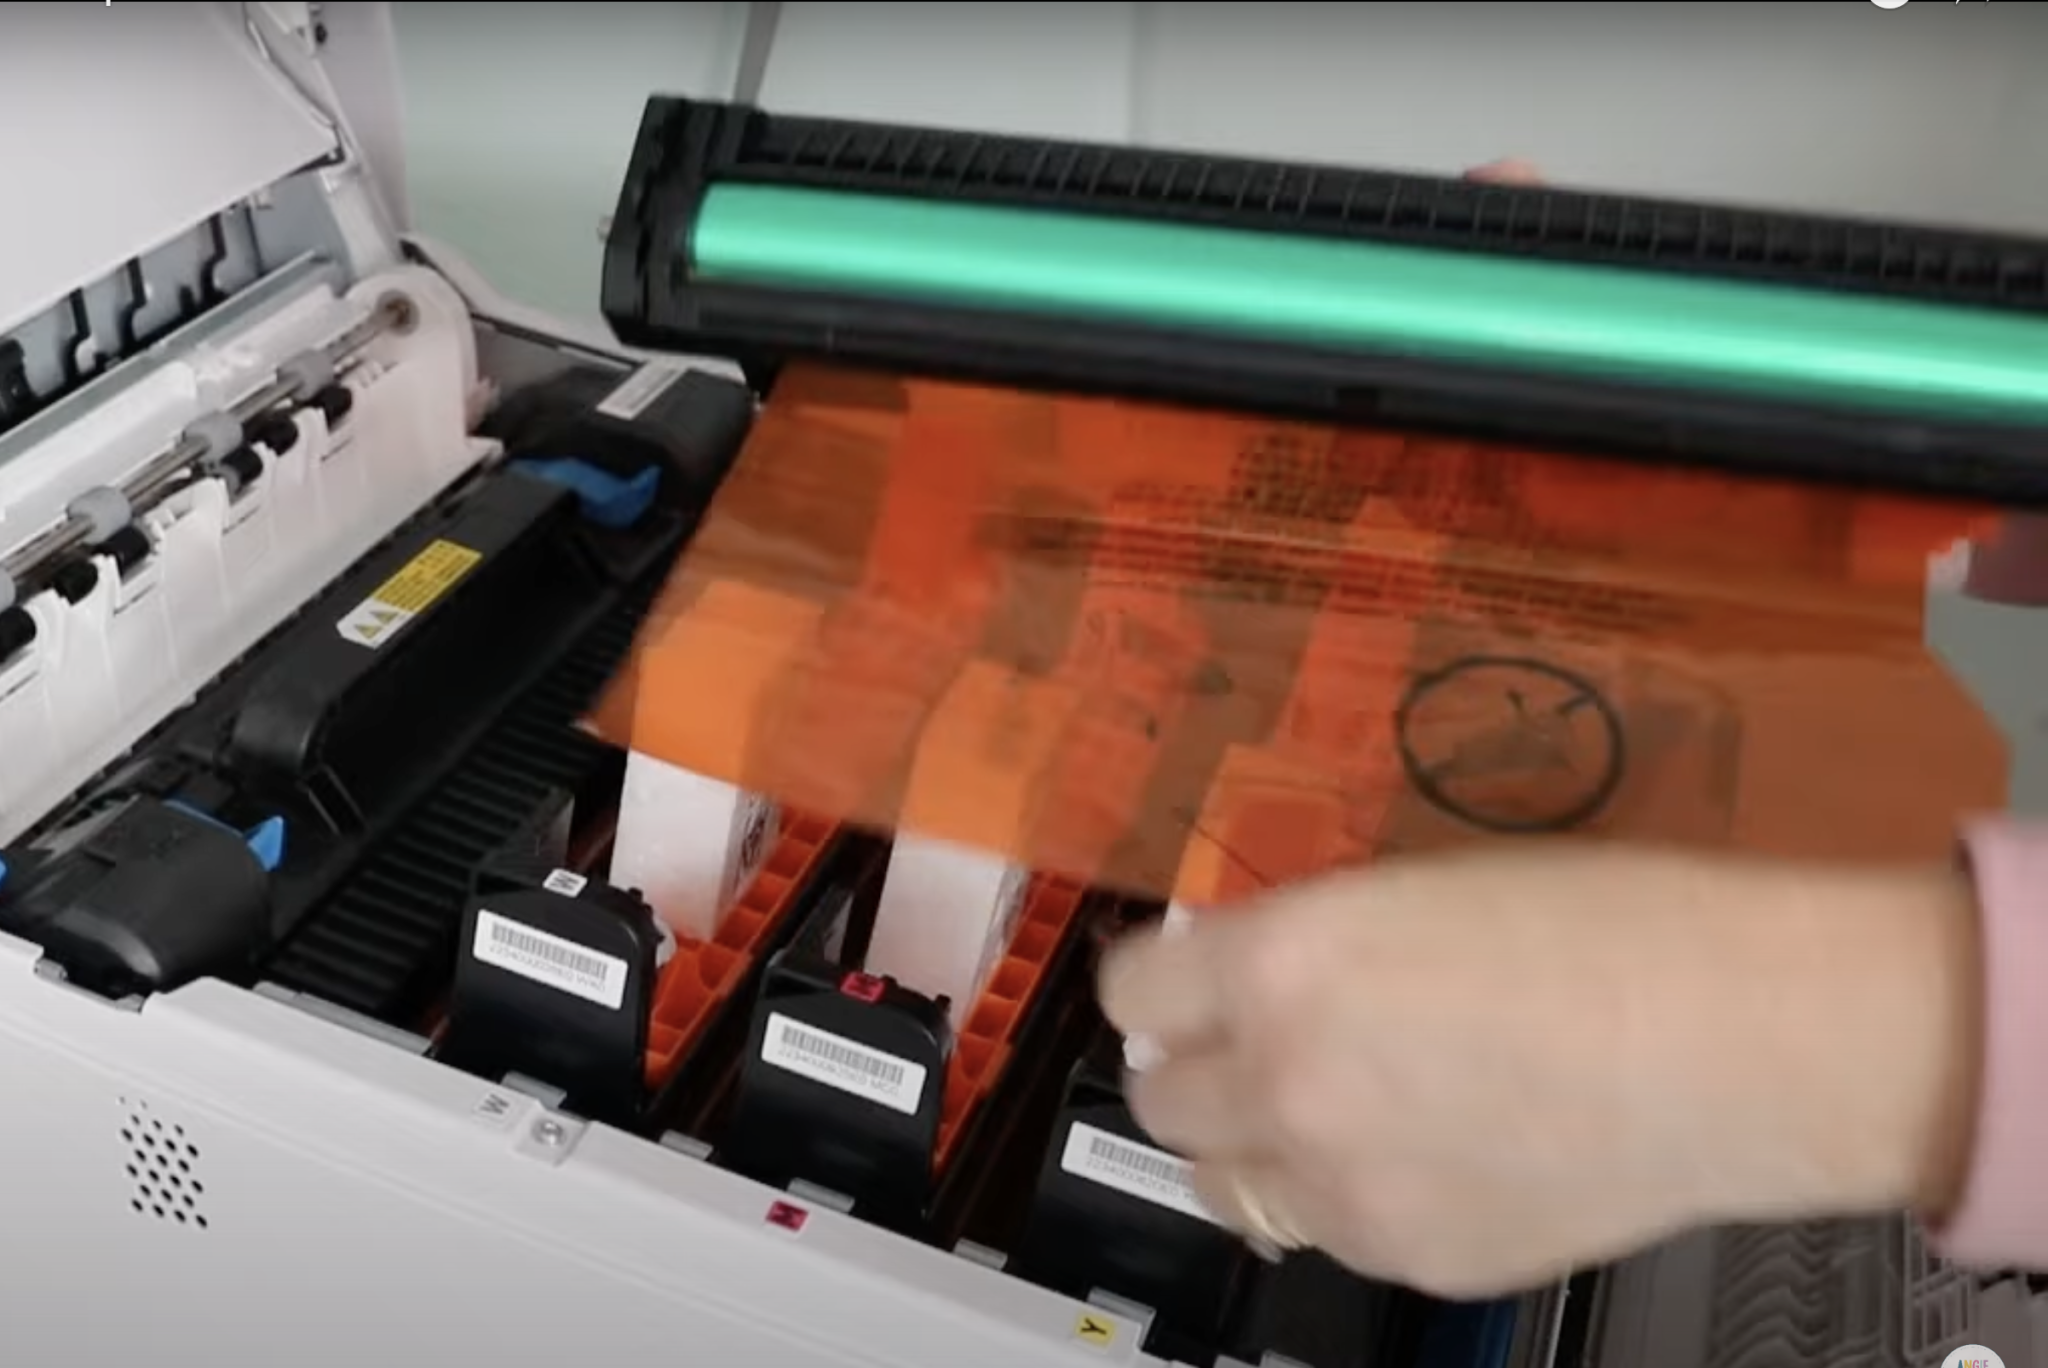
Peel back the orange protective film on each of the different pieces and discard the film.
Replace the piece into the printer and then we’ll remove the orange pieces from the top. Press the tab on the left and lift the whole piece out of the printer.

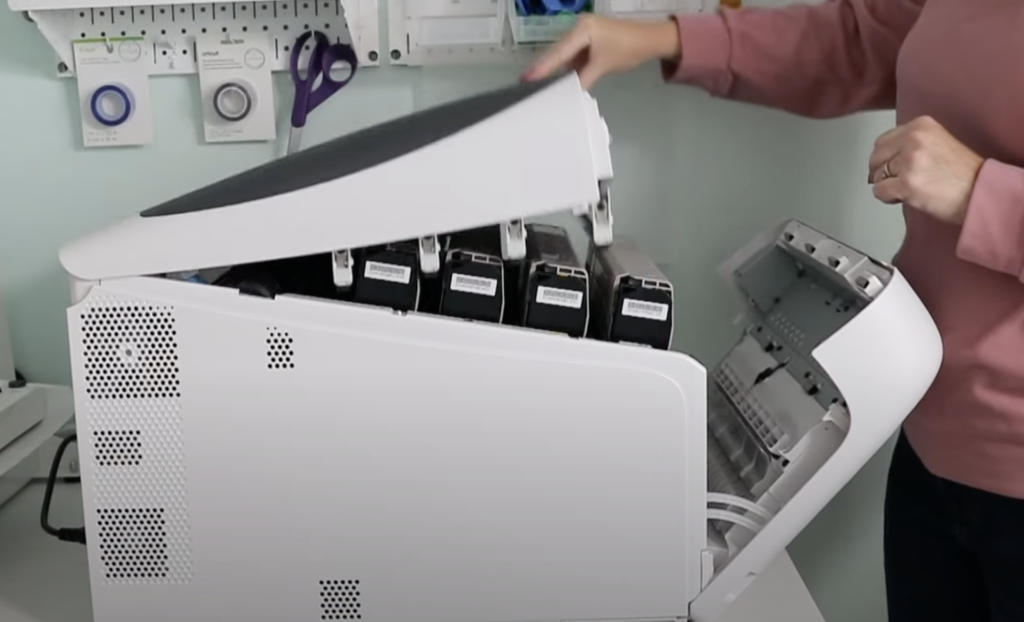
Remove and discard all of the orange pieces from the top. Now you’re ready to add the toner cartridges into the printer.
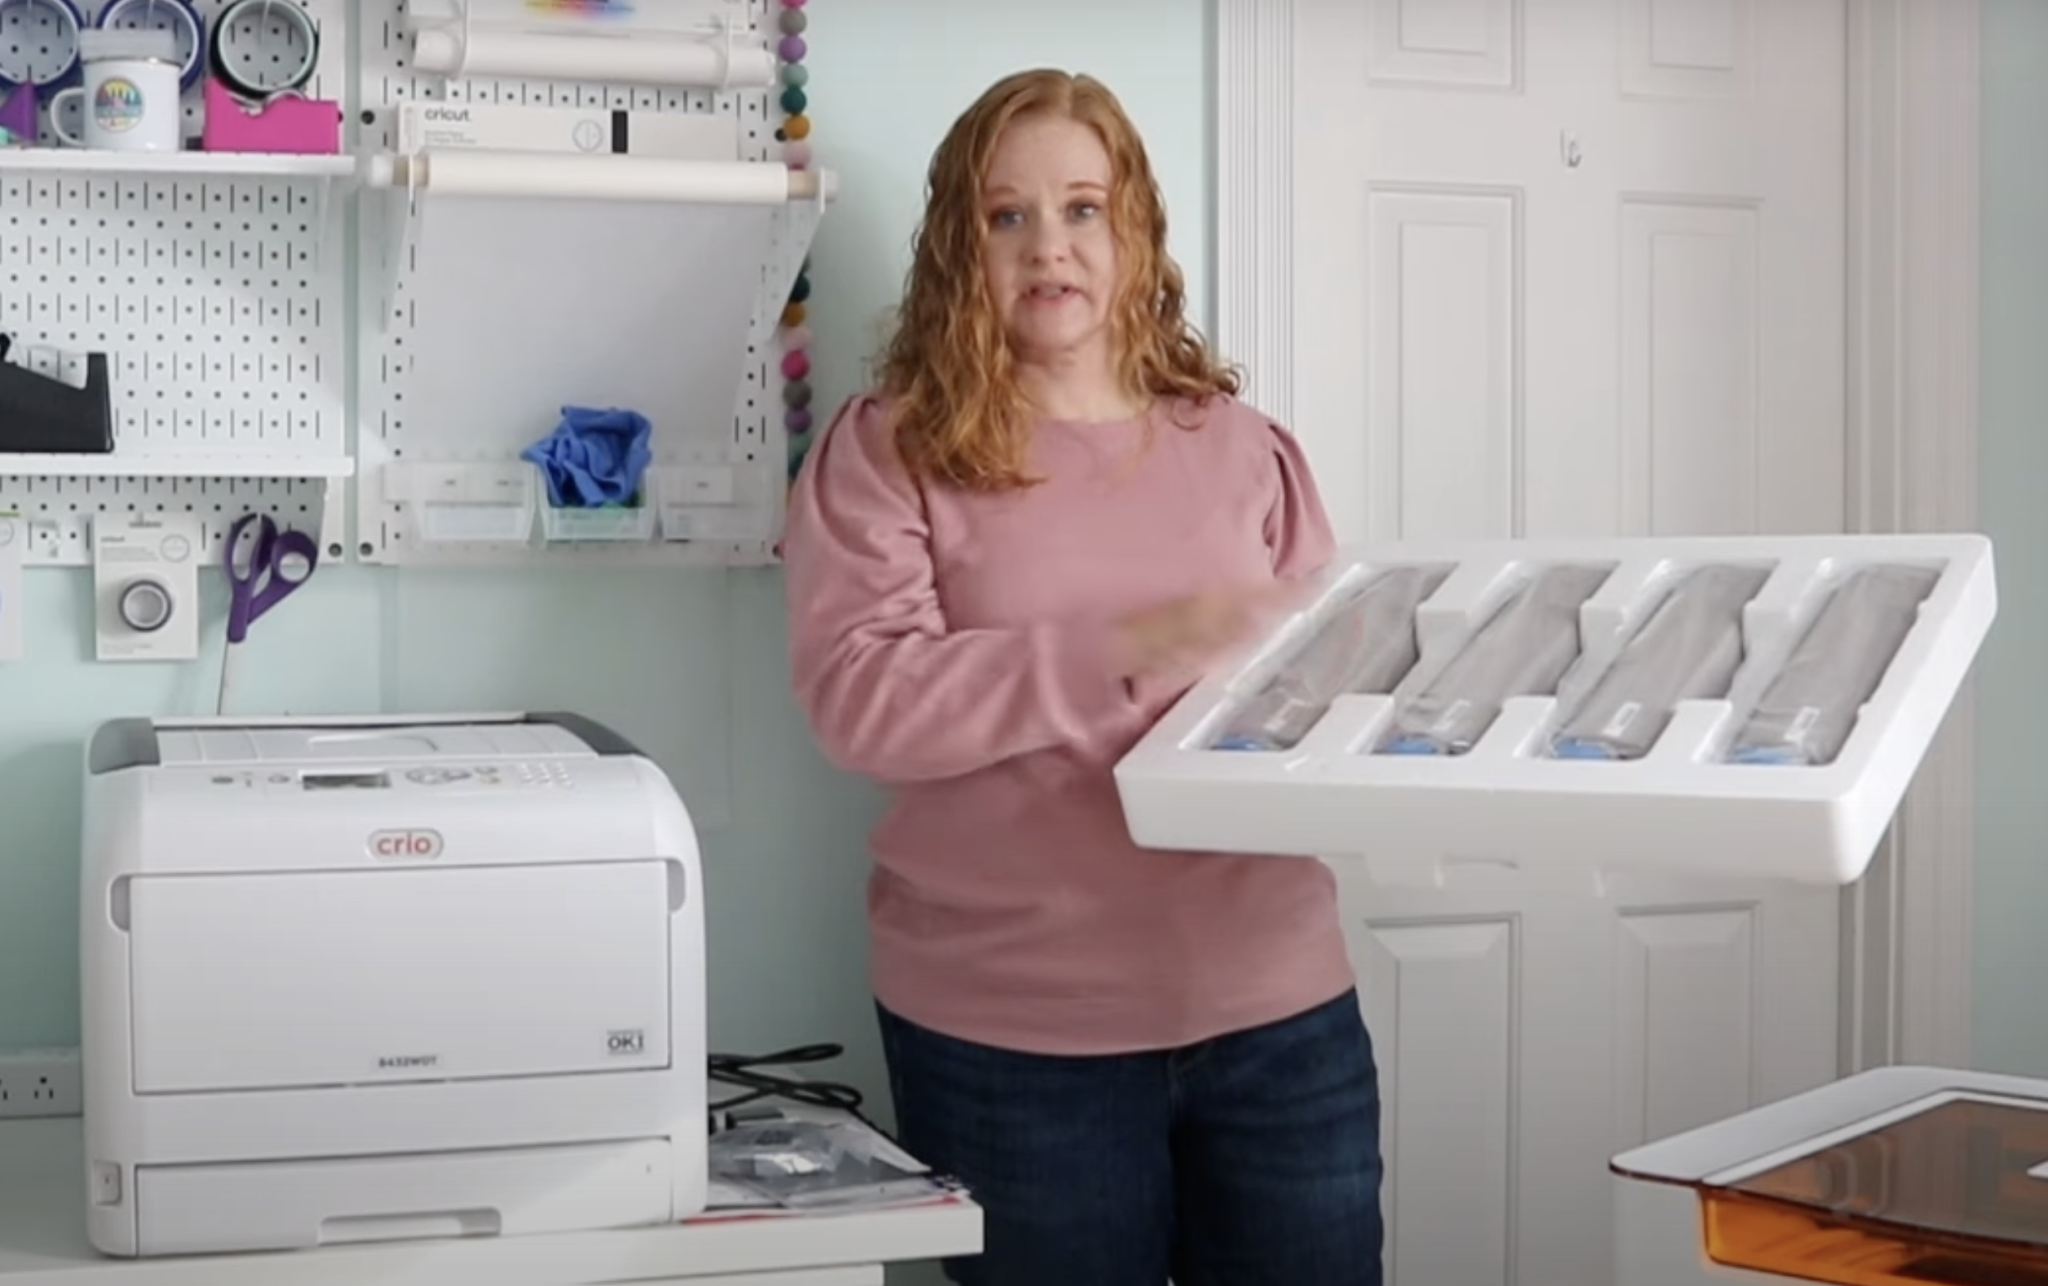
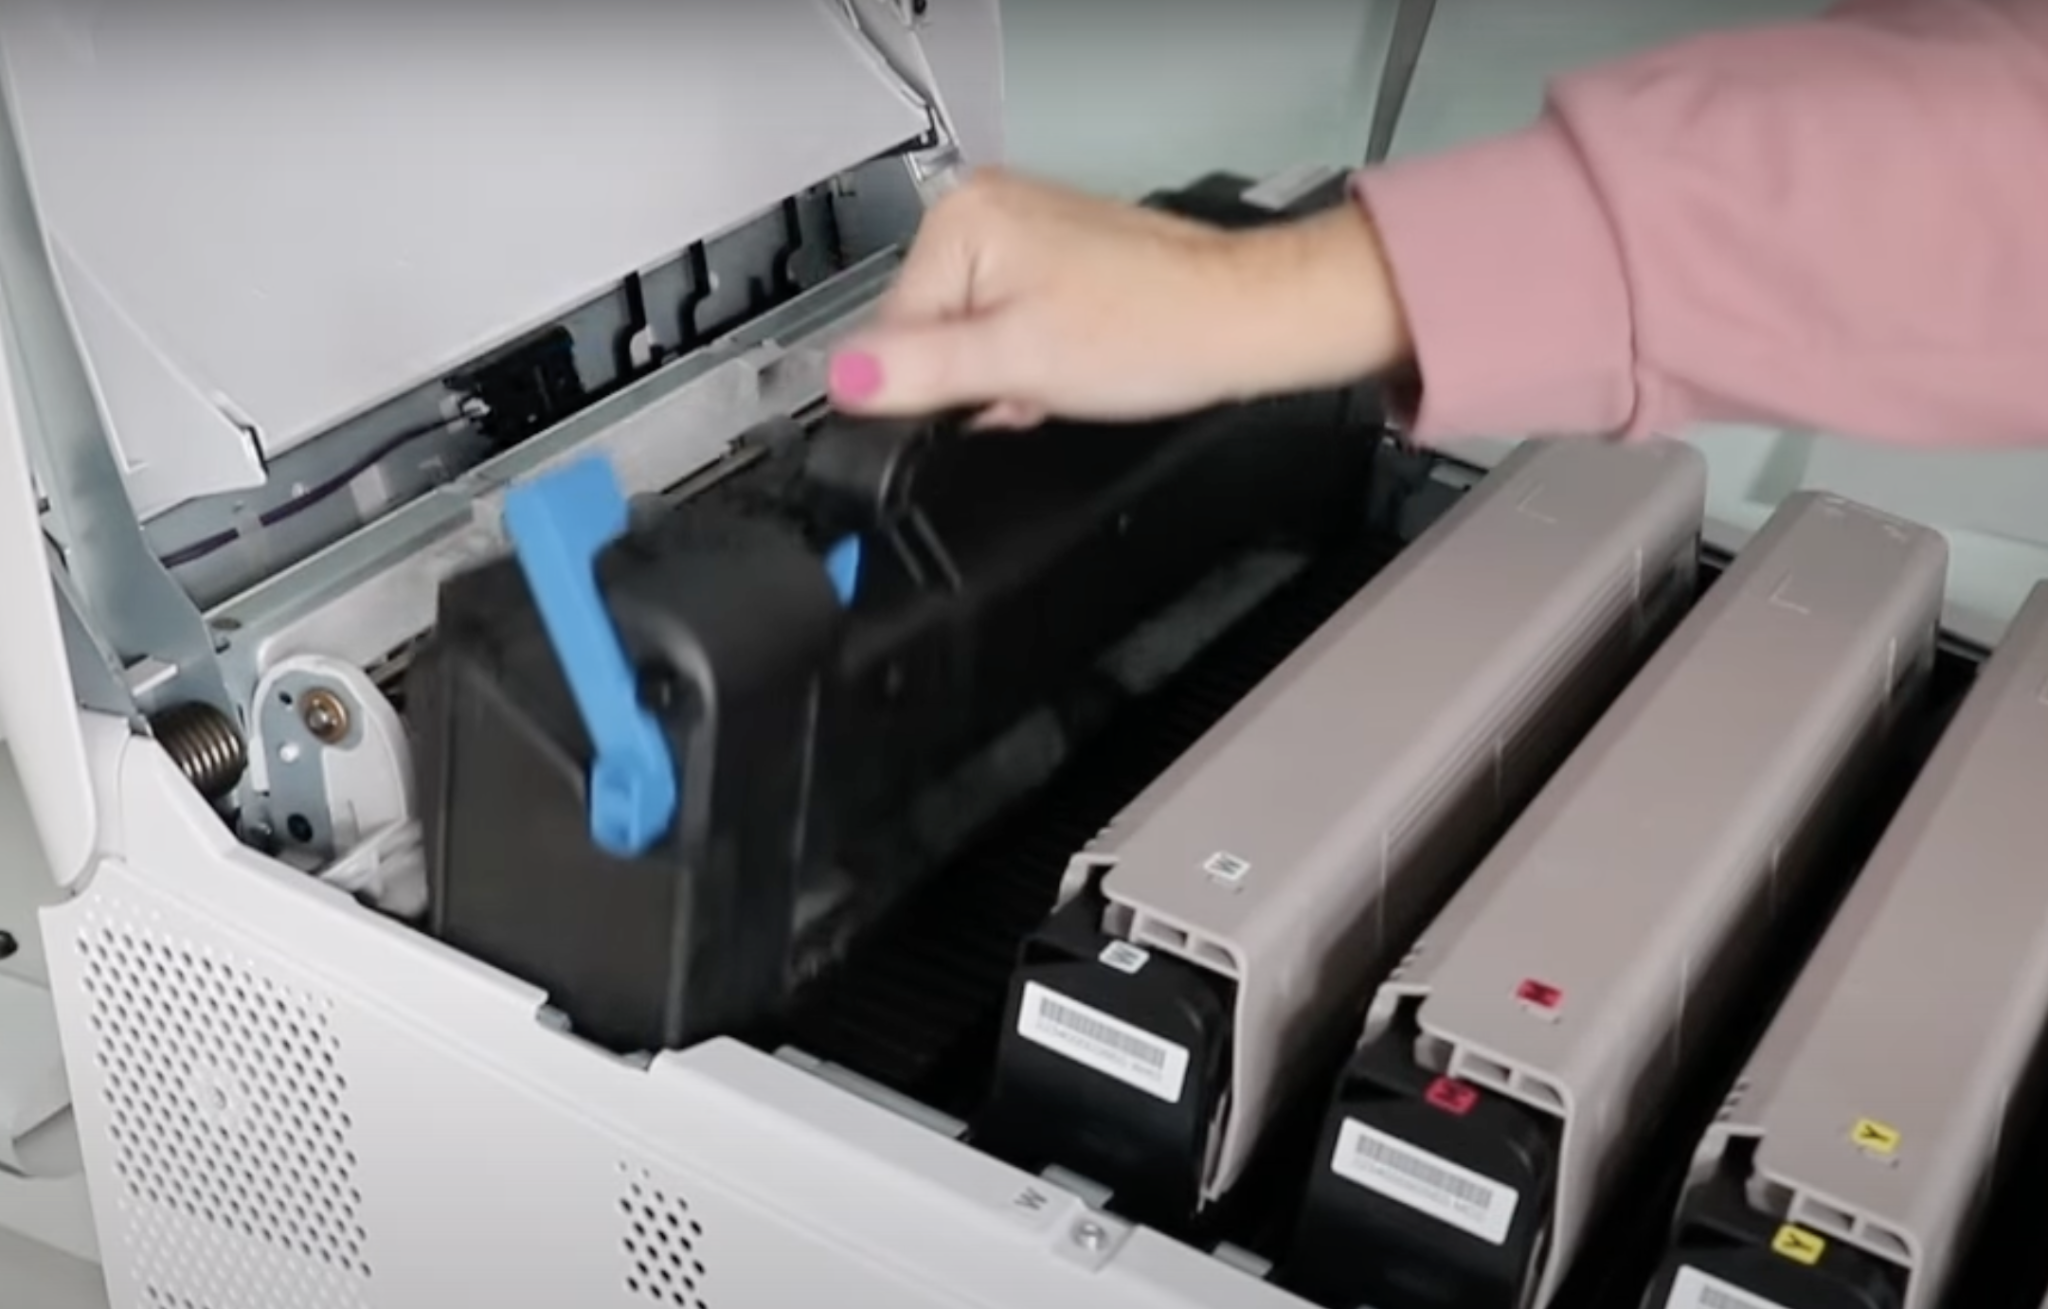
Step 3: Add Toner Cartridges
I am going to walk you through how to install the toner cartridges. There are videos on the tablet that you can follow as well.
Adding the toner cartridges is pretty easy. The first thing you need to do is remove the plastic packaging,
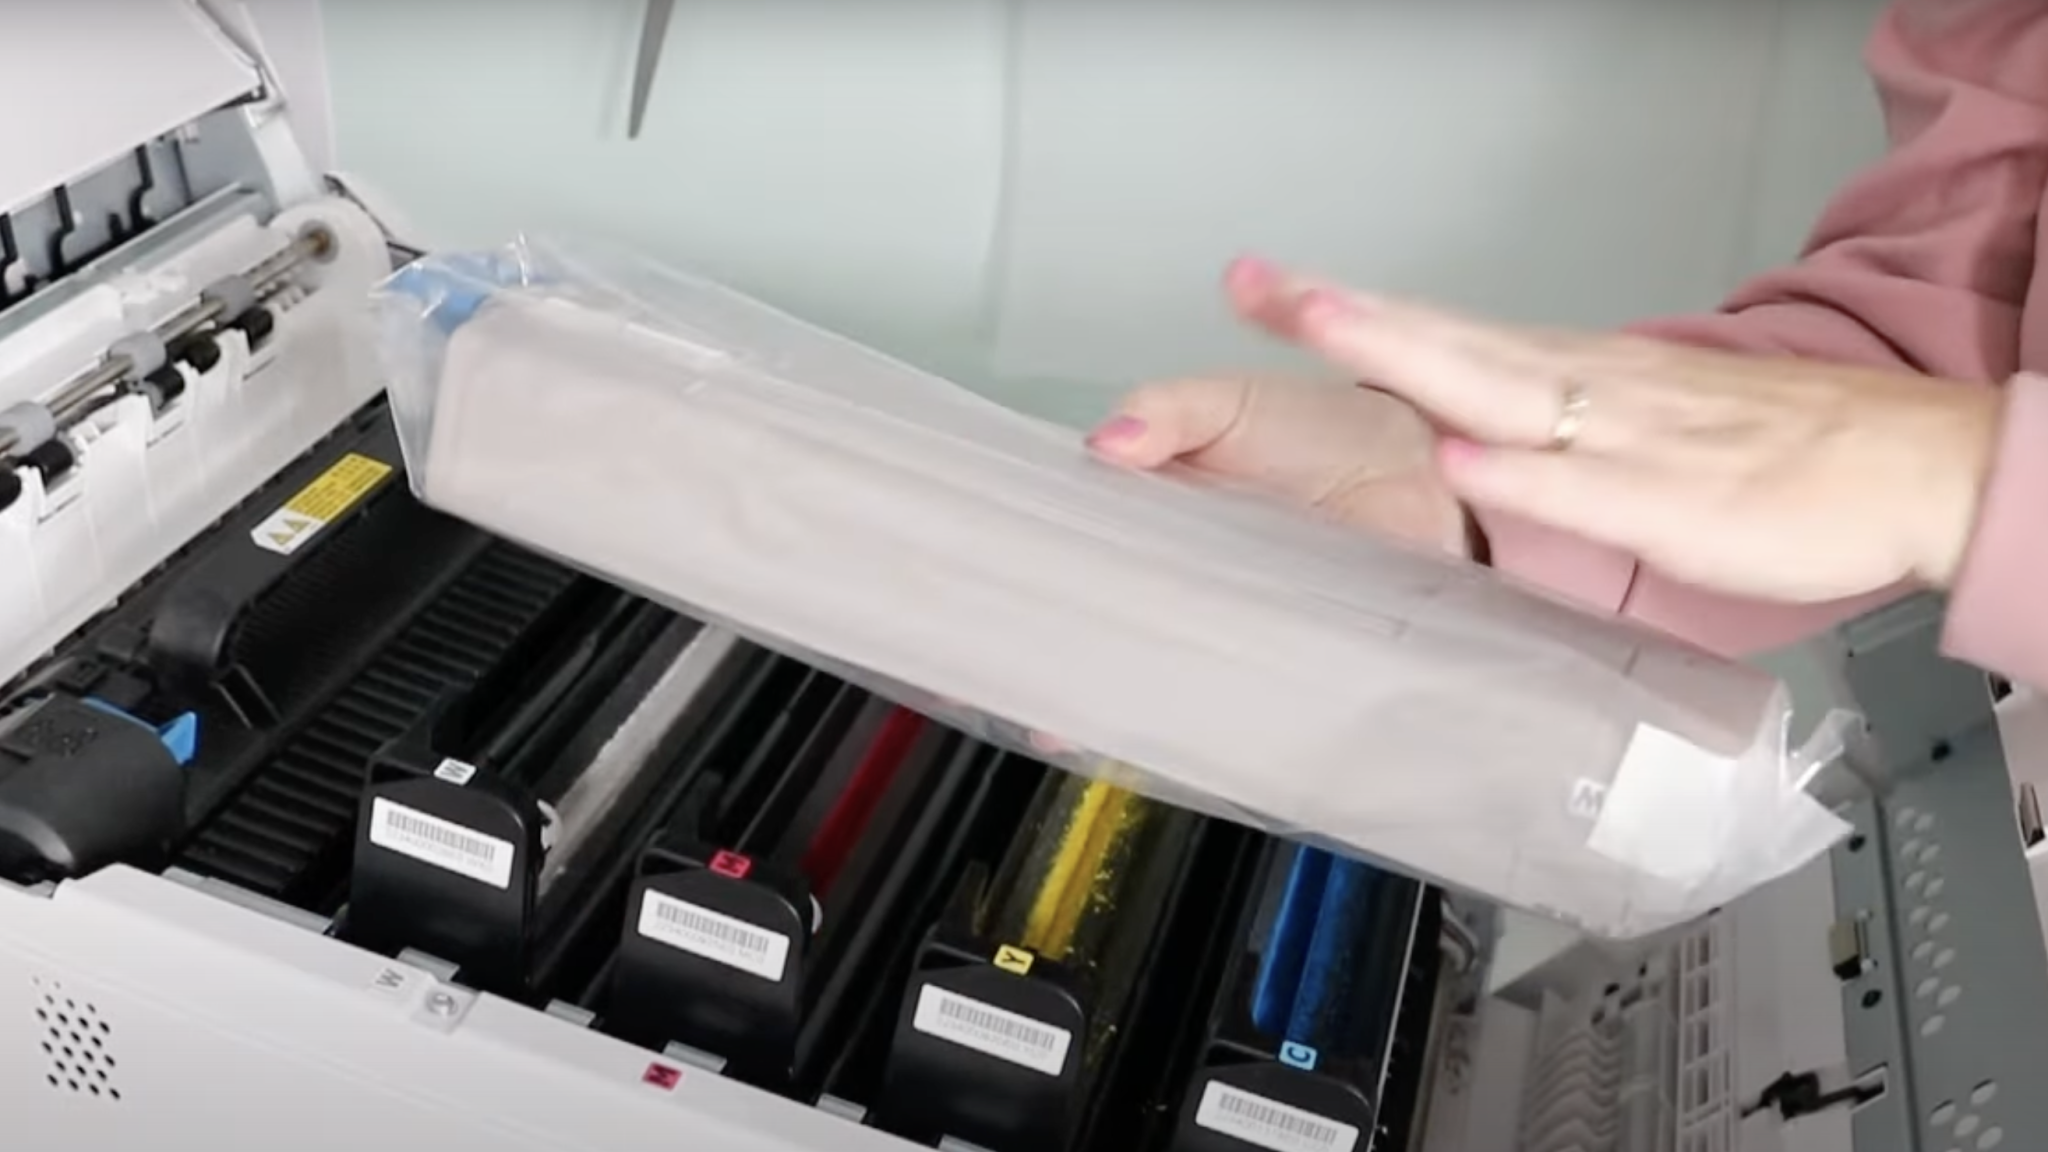
When the packaging is removed, hold the toner cartridge flat and shake it about 5 times.
After you shake it, remove the piece of white tape from the bottom.
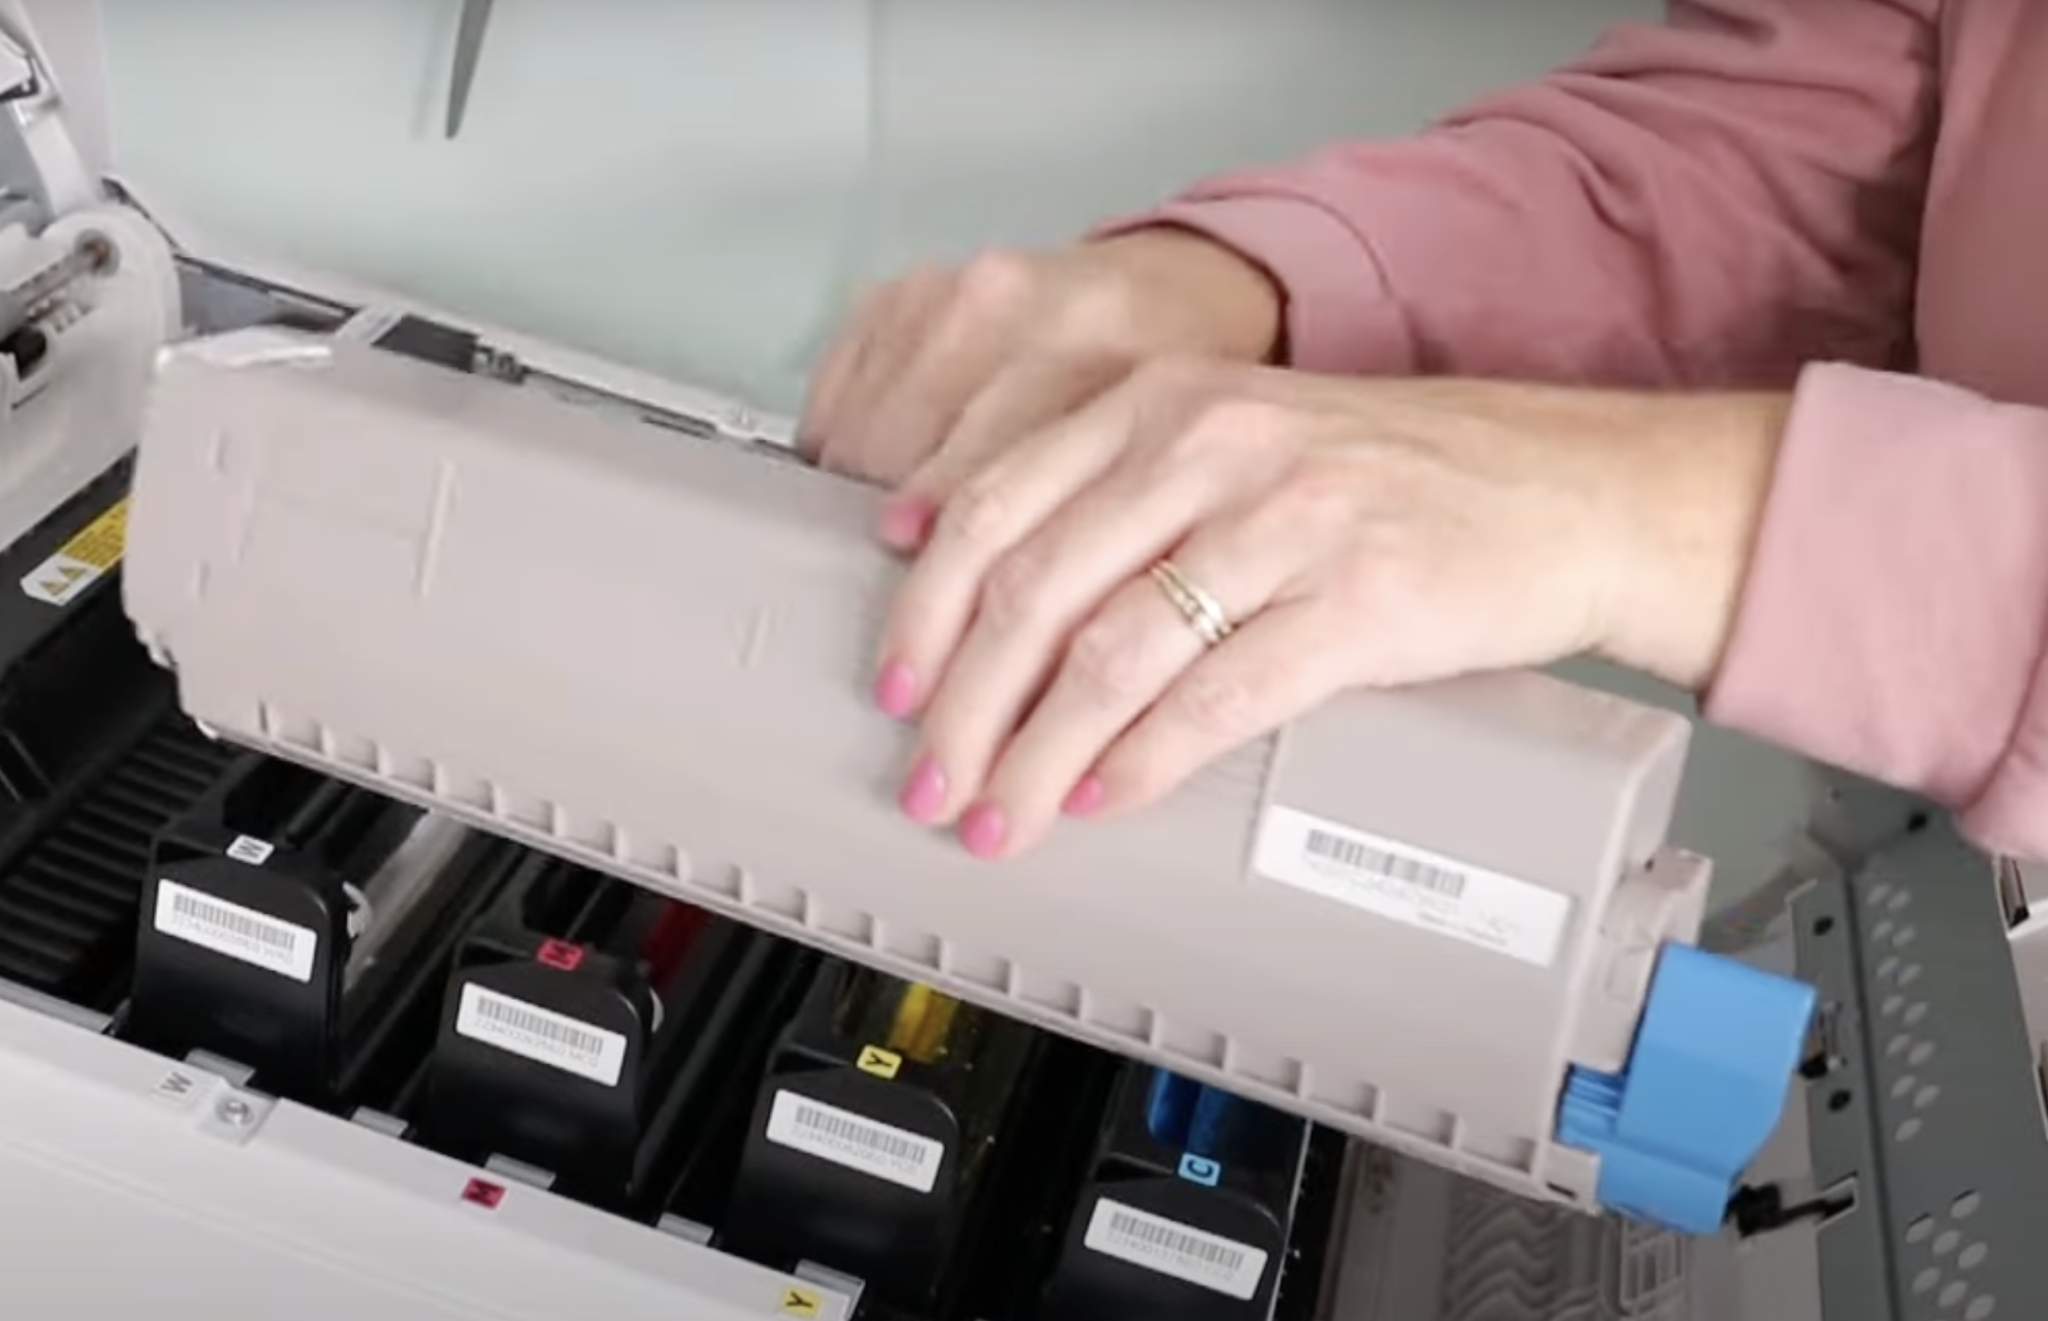
Double-check that you put the toner cartridge in the correct slot. Match the letter on the toner cartridge with the letter on the slot inside the printer.
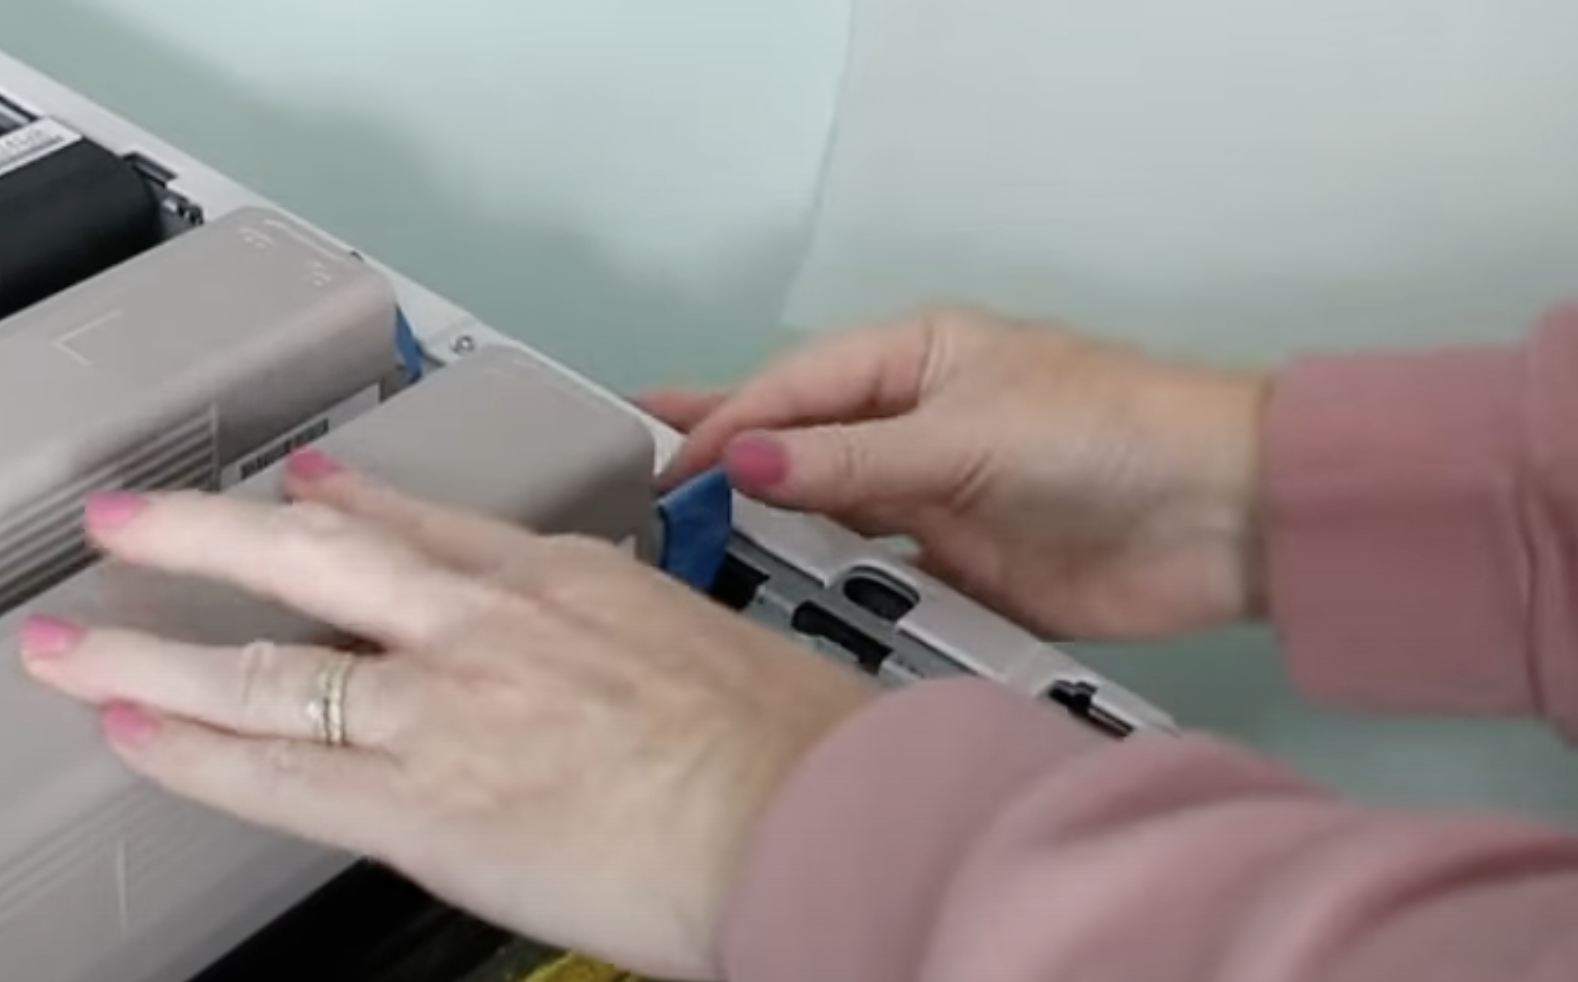
Slide the cartridge from the right to the left and make sure it locks into place. Press it down and then press the blue lever down and it will lock the toner cartridge into place.
Repeat the process for each of the toner cartridges making sure that you match up the letters on each cartridge.
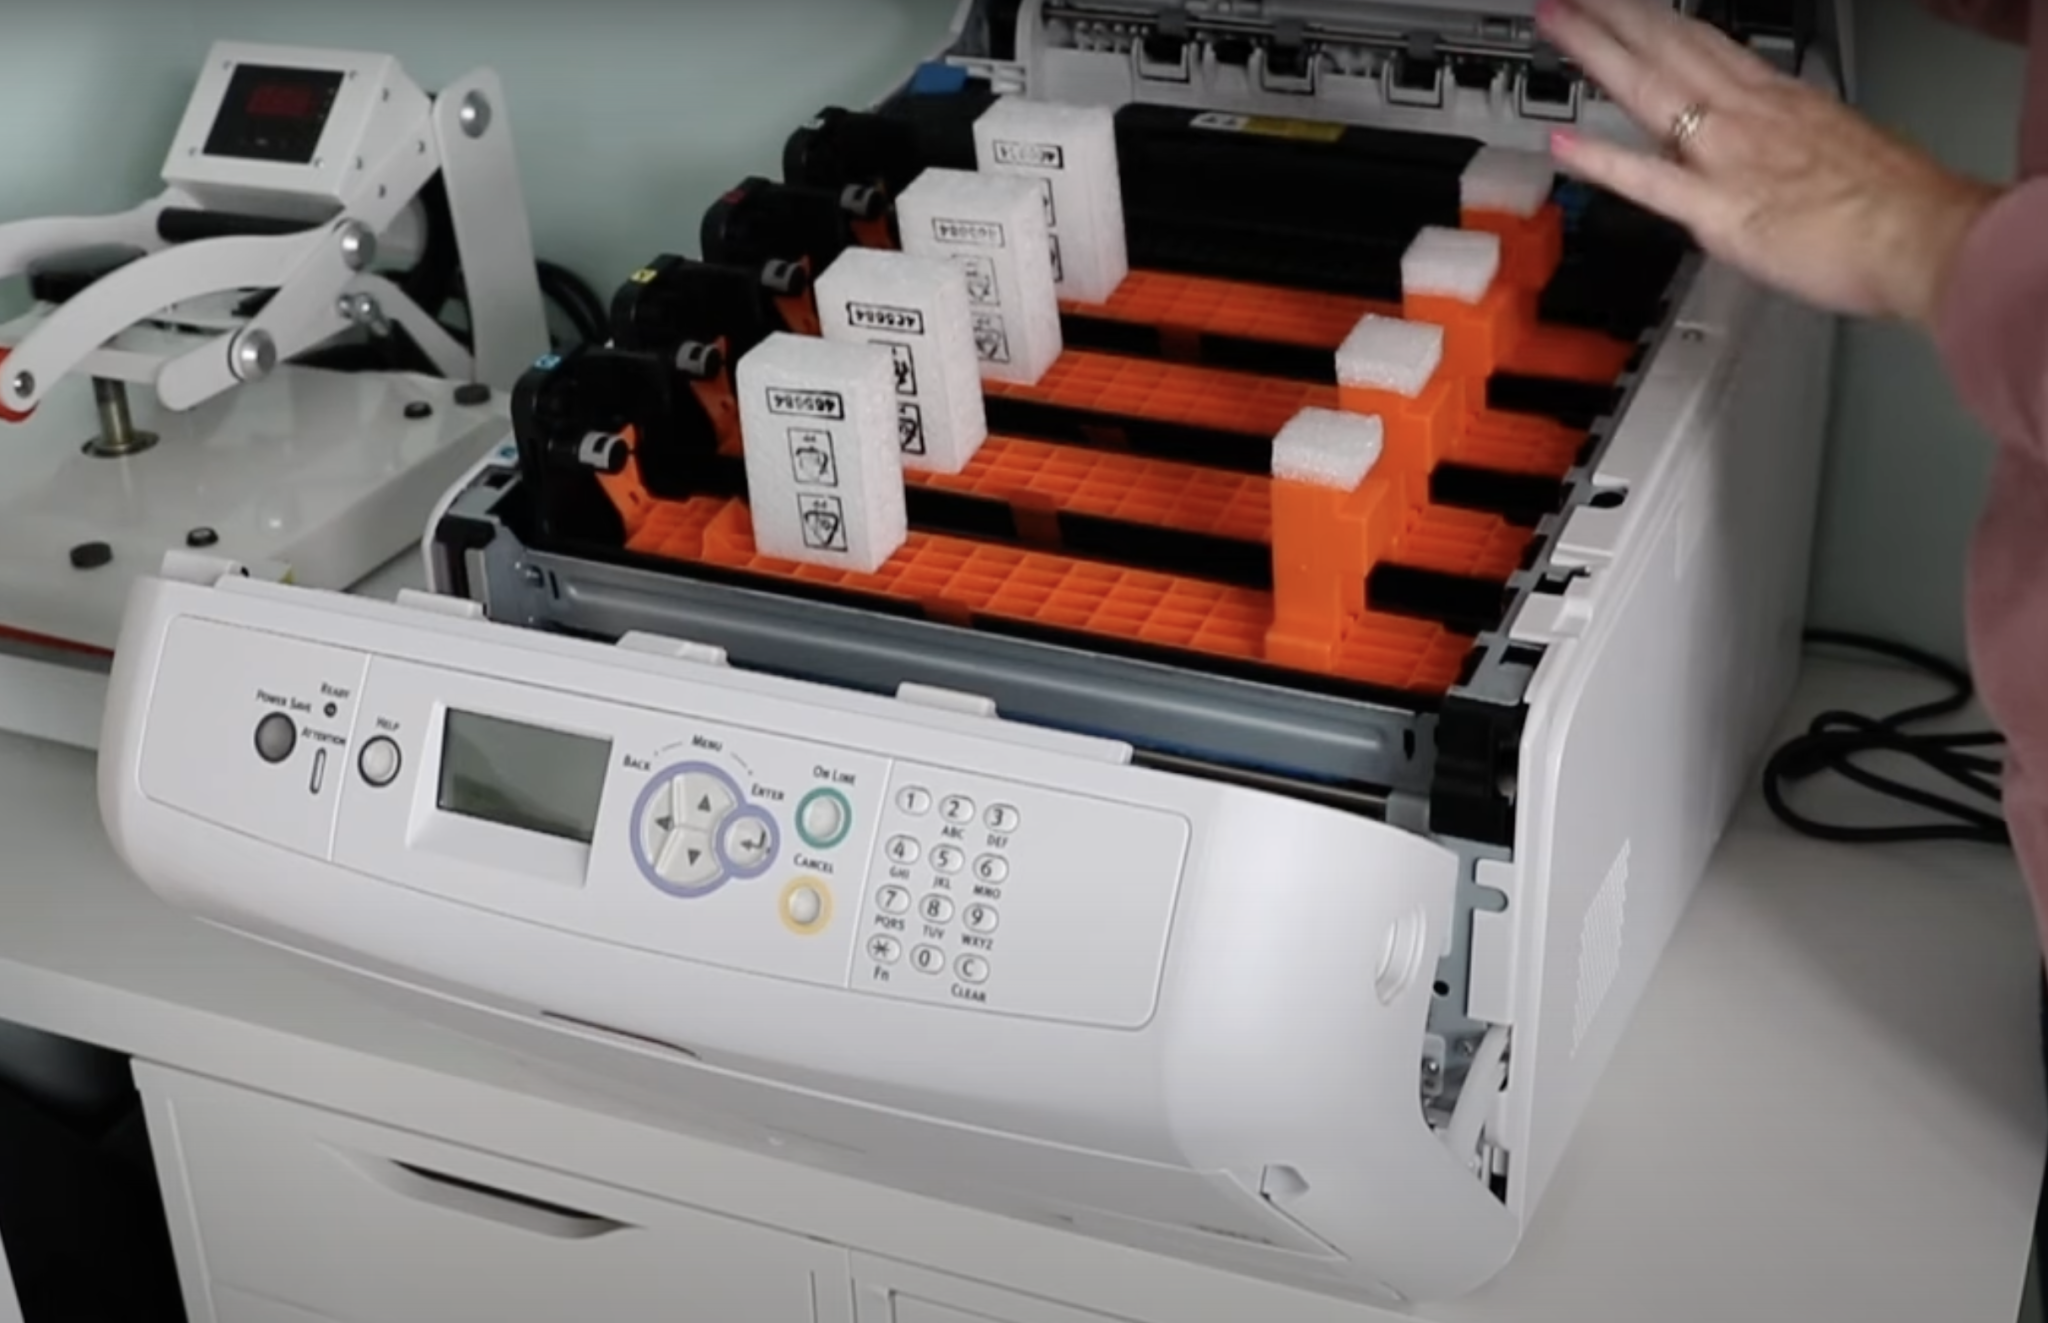
Step 4: Check the Fuser for Packing Materials
Now, we want to remove the fuser and check it for any packing materials.
Lift the lever and pull out the fuser. Check and make sure there is no packing tape or other packing materials on the fuser or in the area around it.
After you check it you can reinstall it and then press the lever back down to lock it into place.
Step 5: Close the Crio White Toner Printer
With all the packing materials removed it’s time to close up the printer. Remember, don’t touch anything you shouldn’t.
Close the top and then close the front and we’re ready to start the printer.
Step 6: Turn on the Crio White Toner Printer
With the printer closed, plug the printer in and press the button to turn the printer on. When you turn on the printer, you’ll hear it make some noise as it runs through some steps.
While the printer is running you can follow the directions in the videos and load everything needed on your computer.
Step 7: Load Software onto Your Computer
You will need a PC computer to run the Crio White Toner printer. Mac devices are not compatible with the software.
Download the RIP software and the printer driver onto the computer. There is a sticker somewhere on your printer, mine was on the back of the top, that has the activation code for the software. Don’t remove the sticker, you will need that code for the software installation.
The RIP software comes with the Crio White Toner printer and on the tablet, you’ll find videos on how to download the software and how to set it up. Following their videos is the best way to make sure you get everything set up correctly.
Crio White Toner Printer Maintenance
Now that the printer setup is complete you can see how fast and easy it is. If you appreciated the ease of the setup, you’re going to absolutely love the white toner printer maintenance.
What type of maintenance do you need to do with the Crio White Toner printer? Nothing.
You do not need to print regularly to avoid clogs. You do not need to keep it plugged in all the time.
Because it is a toner printer you don’t have to worry about clogs. This is one of the reasons I love white toner printers. They are easy to use whenever you’re ready to use them, even if it’s only once every couple of months.
How to Use a Crio White Toner Printer
Let’s print and make something now that we have everything setup and ready to go!
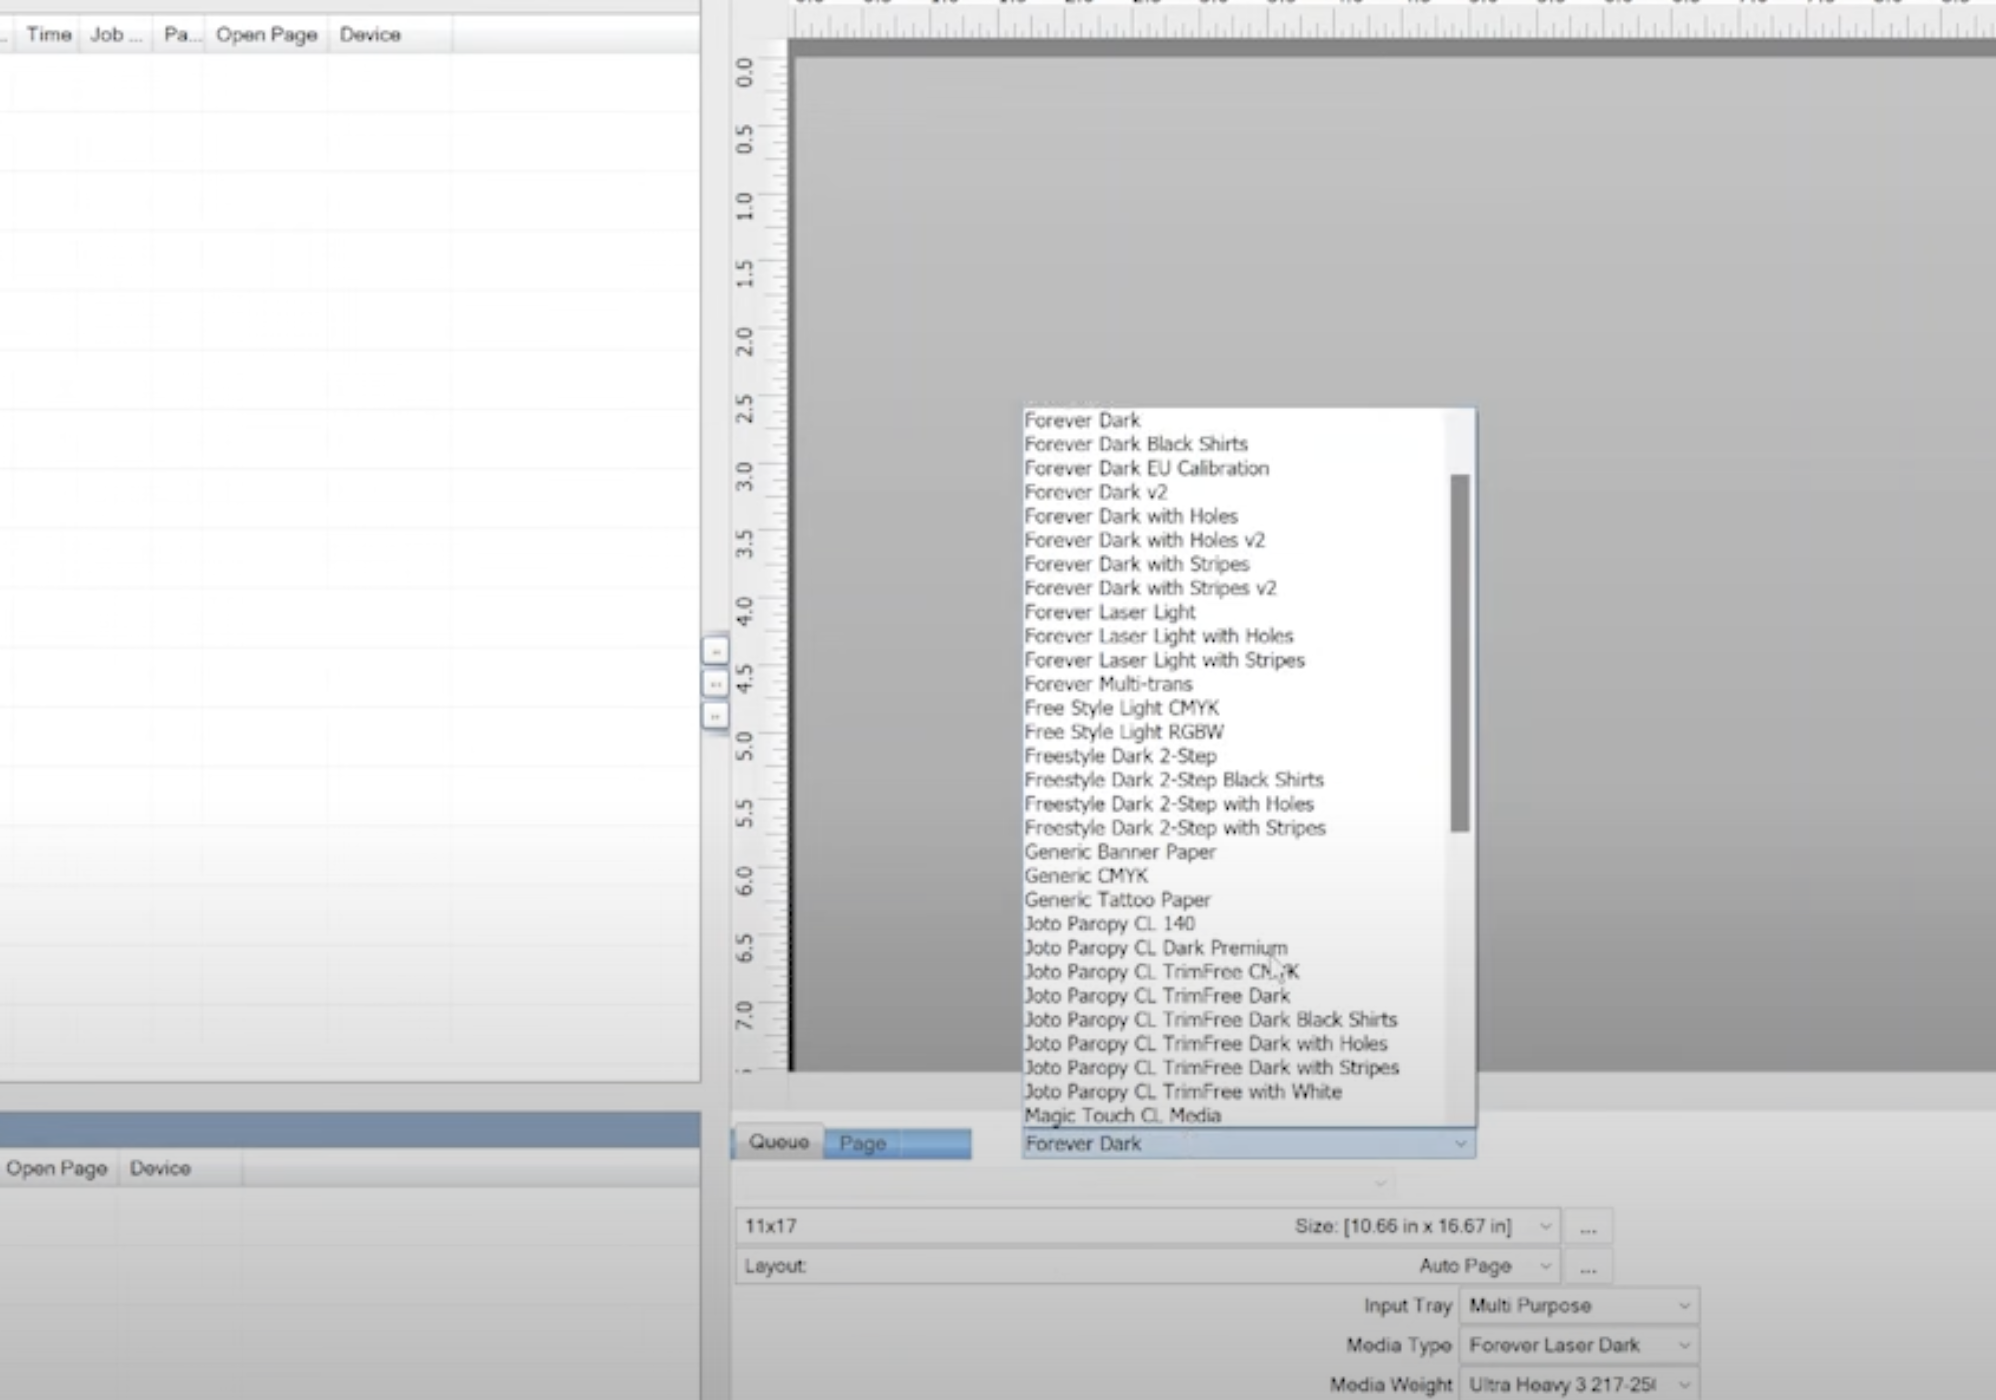
Step 1: Choose the Type of Paper You’re Using
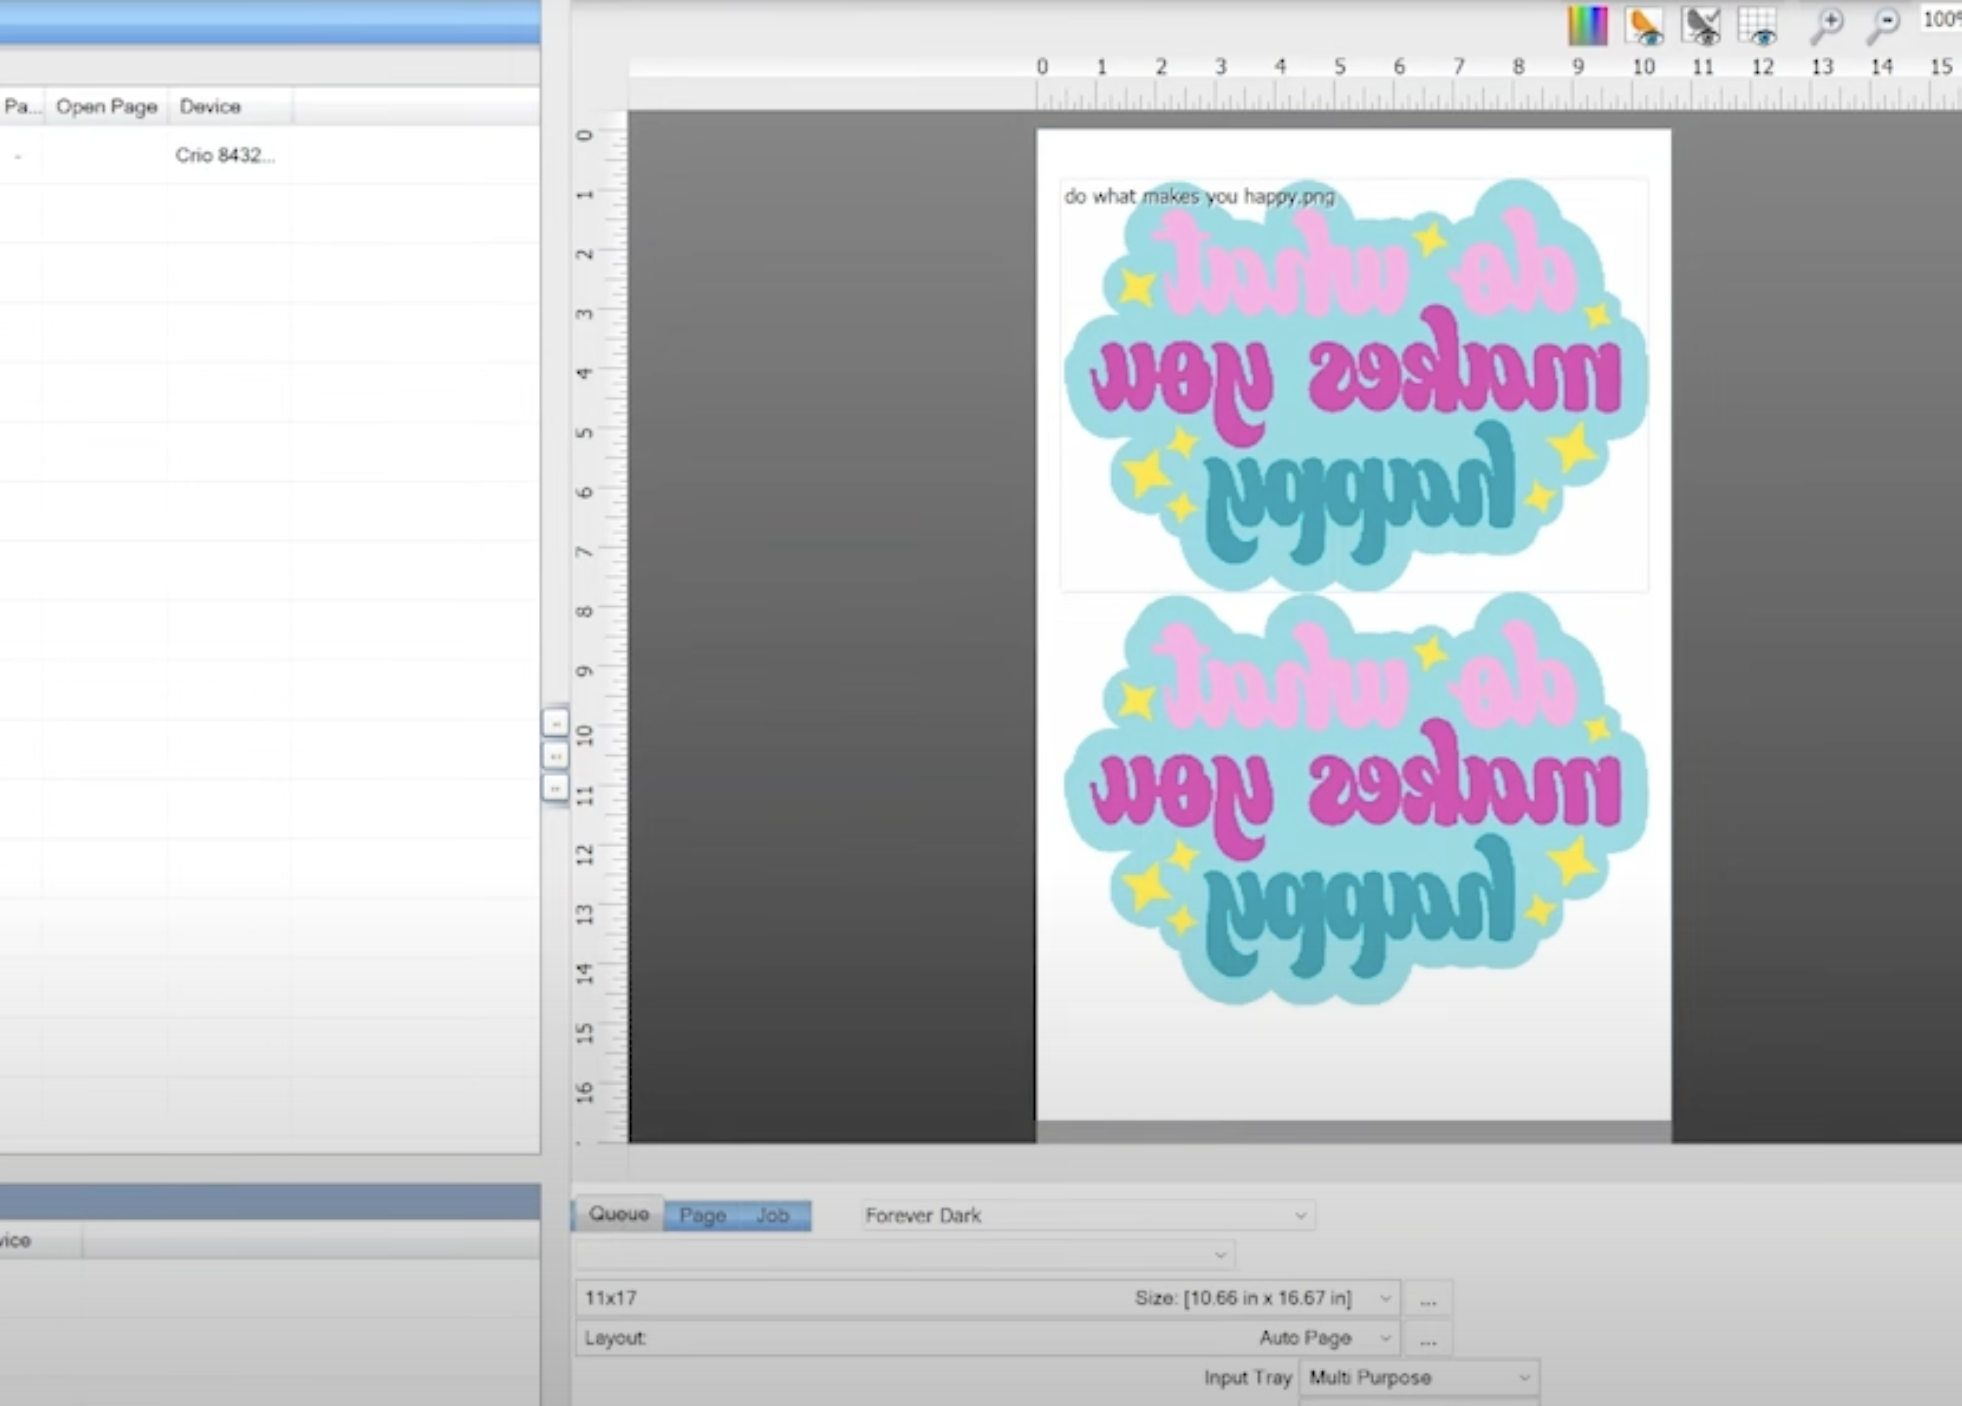
To begin, connect to your printer, and then you will need to choose your paper type. There are a lot of different paper types already loaded into the software. When you choose one of the preloaded paper types the software will automatically change the settings for you.
I am using the Forever Dark paper so that is what I have selected and all of the settings automatically changed for me.
Step 2: Upload an Image
Next, we need to upload the image we’re going to use today.
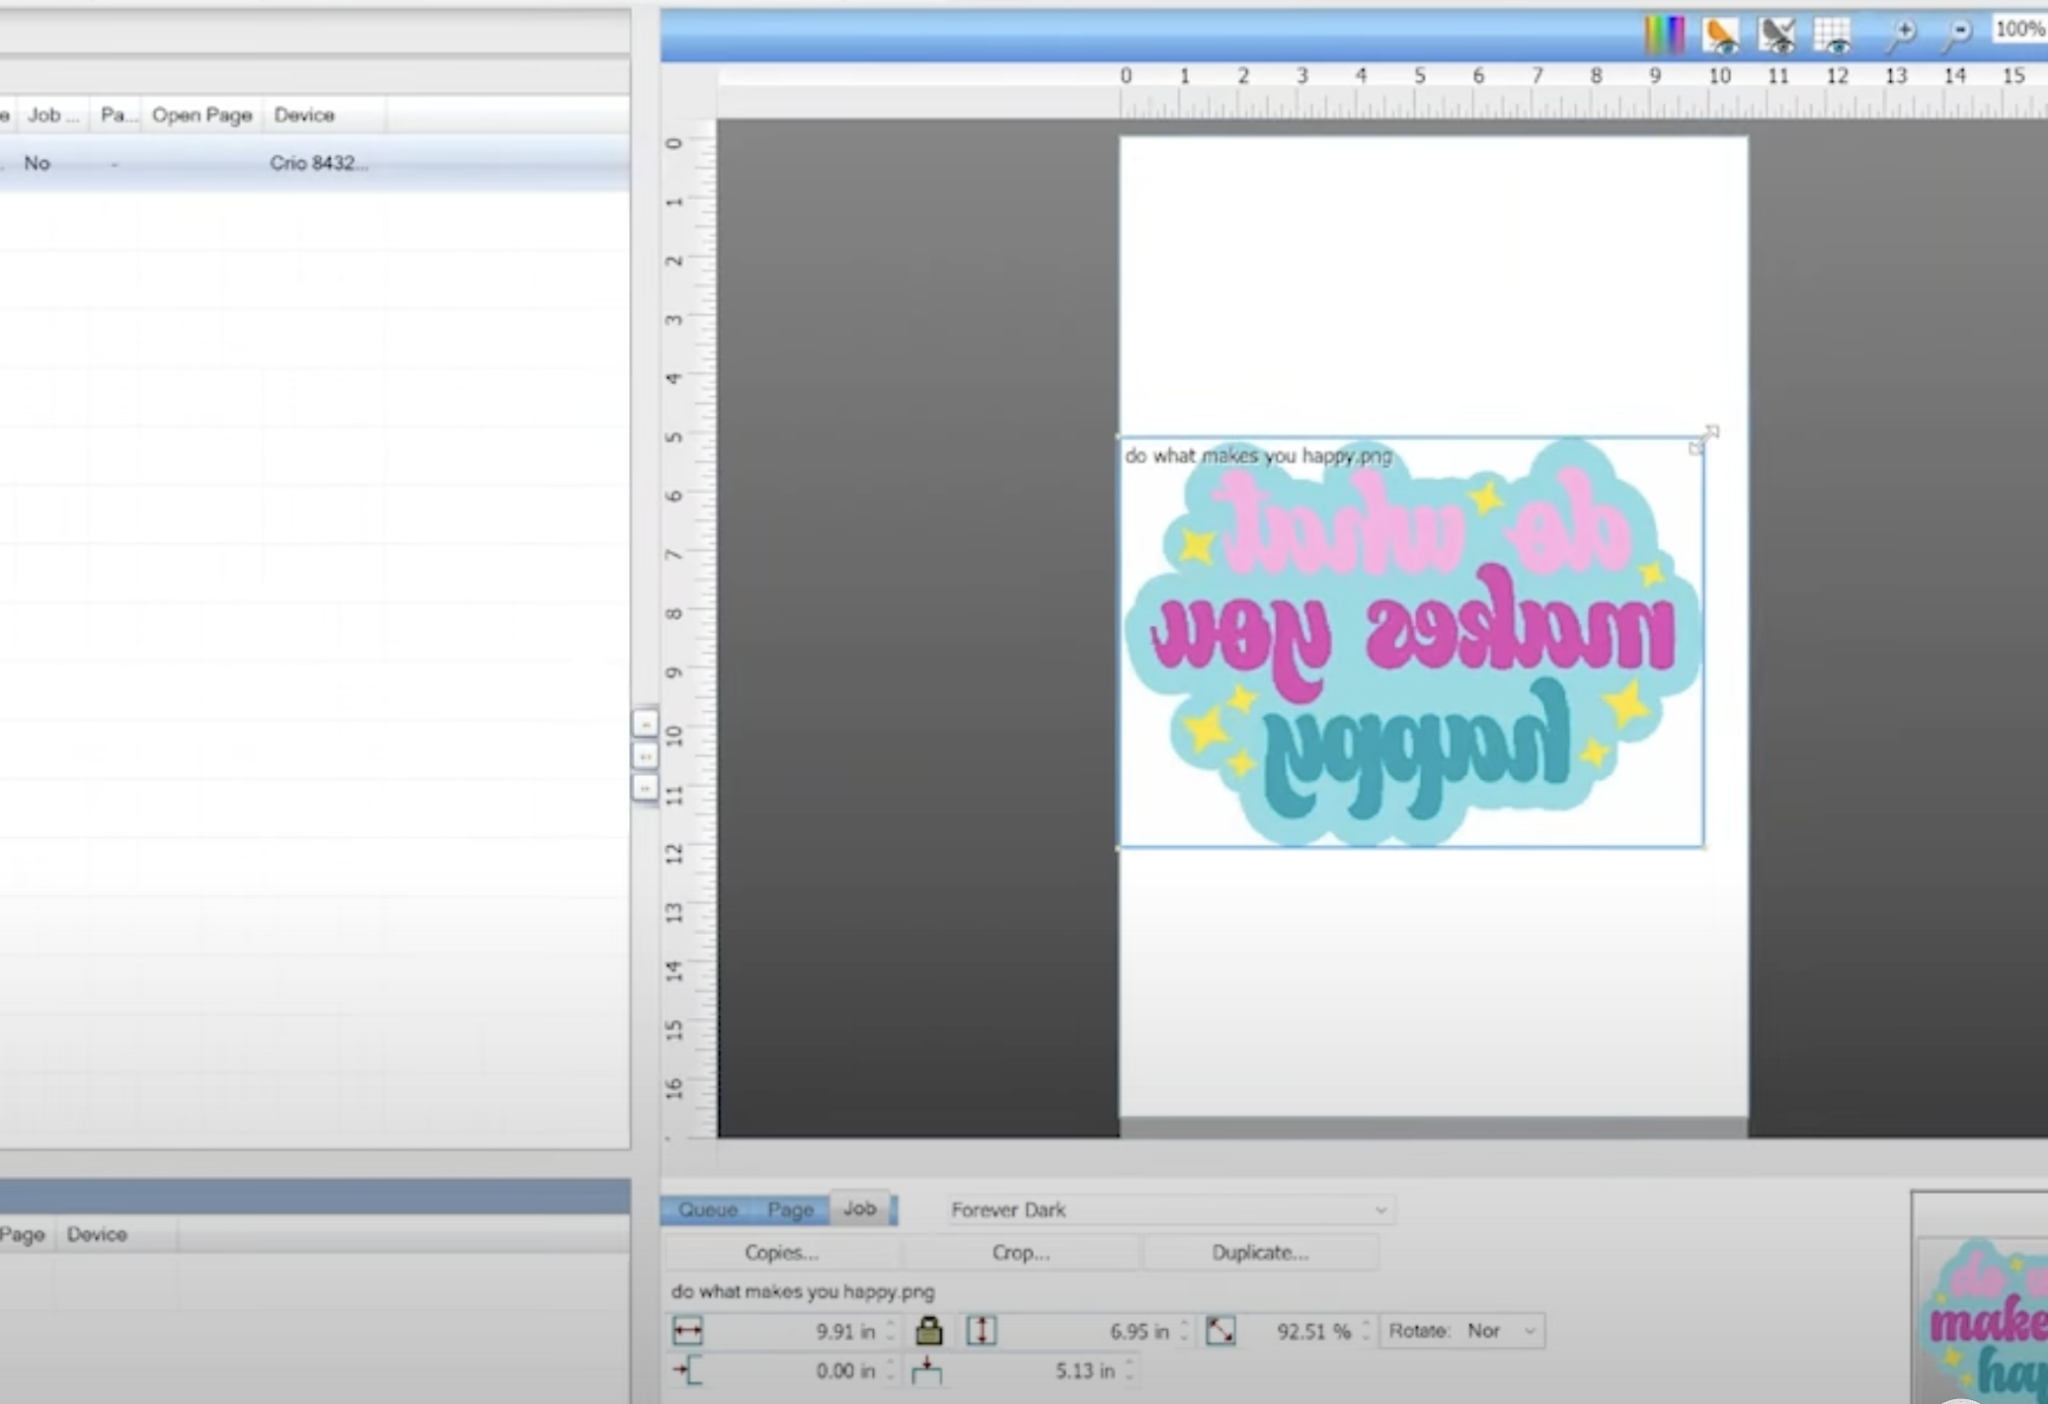
When you have the image uploaded it will appear on the right side of your screen. The white background represents the size of your paper. Make sure you mirror your design, it needs to be mirrored before printing.
You can click on the image and resize it, move it around, and even duplicate it if you want by clicking the Copies button and it will duplicate the image.
Step 3: Print Image from Crio White Toner Printer
Now we’re ready to print our designs. If you need to make adjustments to your image, click Queue at the bottom and then select Color Adjust and you can adjust the saturation here. If you feel like your printer is not printing with enough saturation or you want to adjust the colors in another way, this is where you’d make those adjustments.
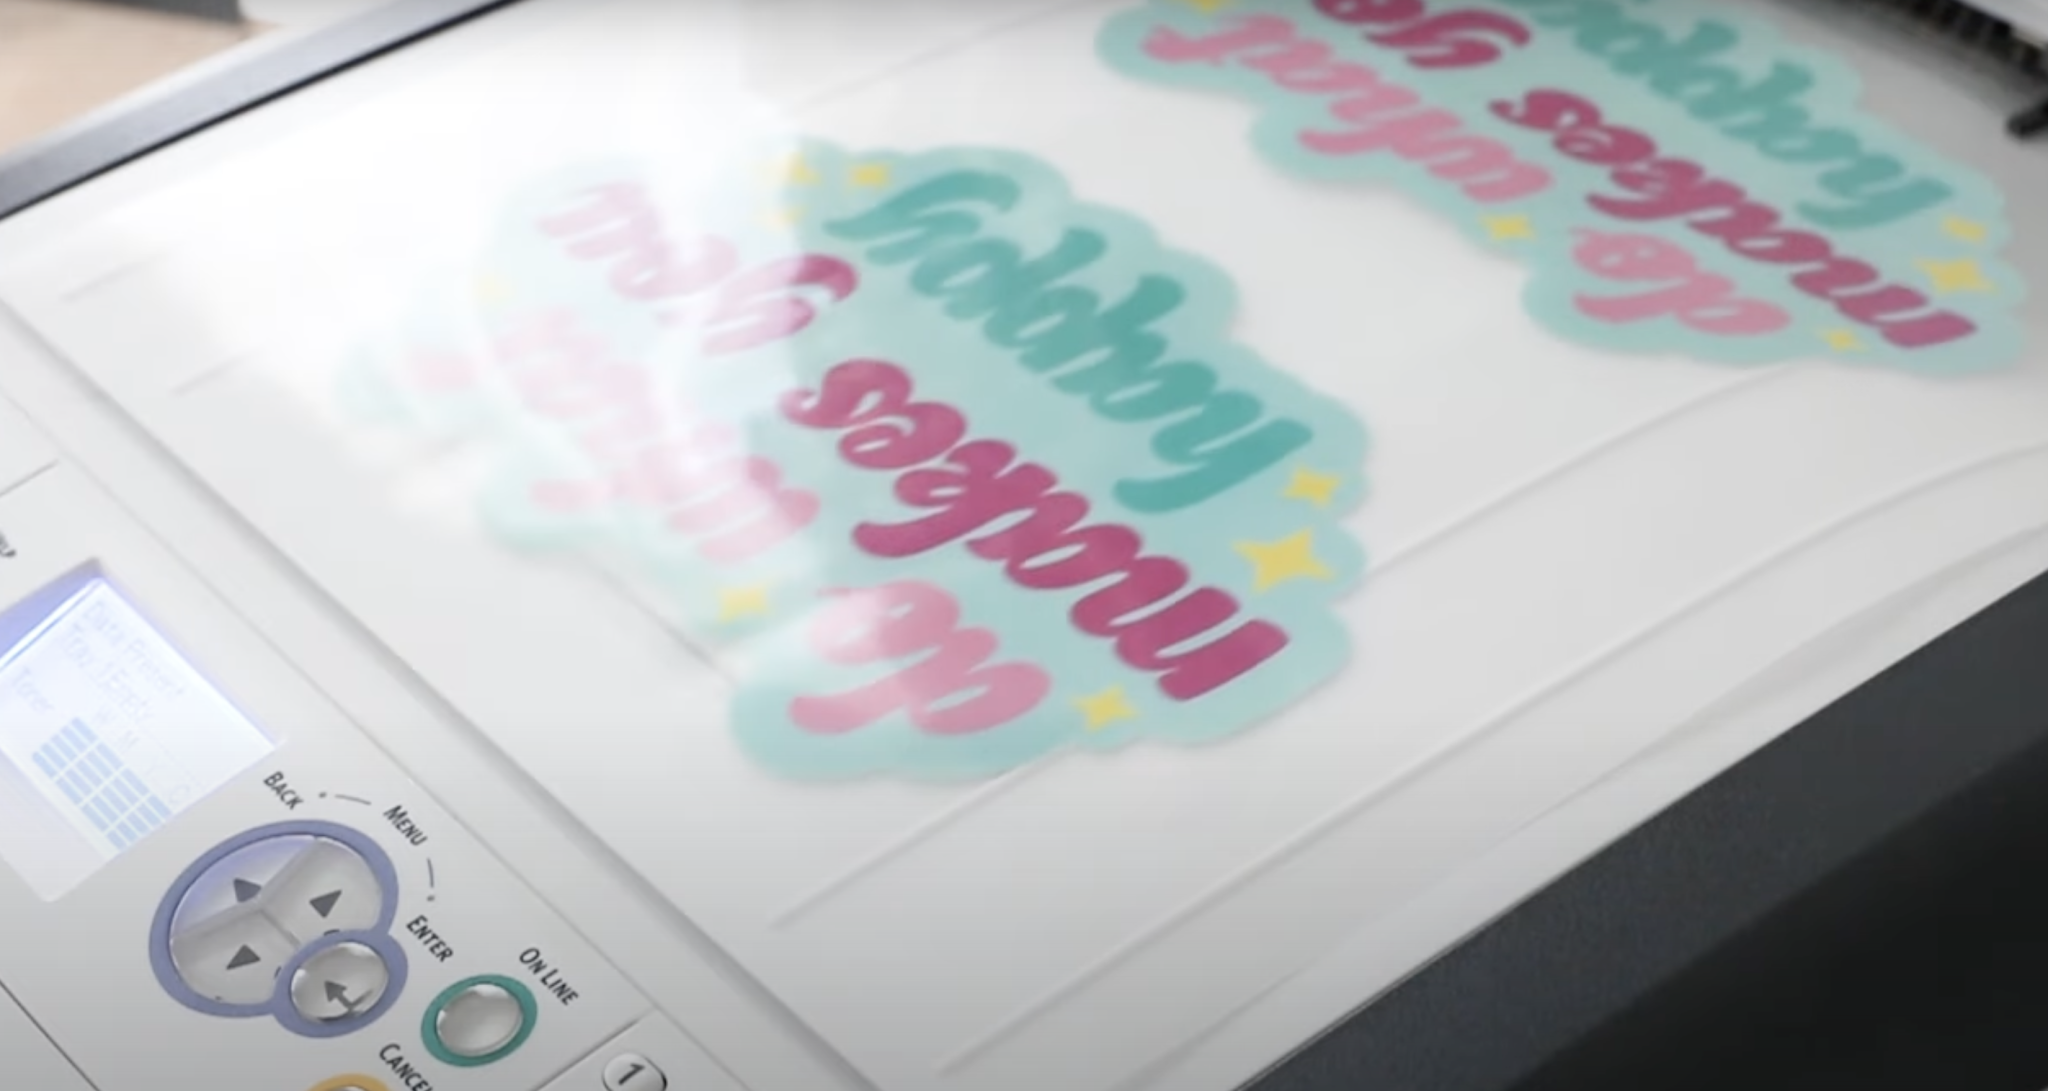
When you have any adjustments made, click Print and it will send the design to the Crio White Toner Printer to print.
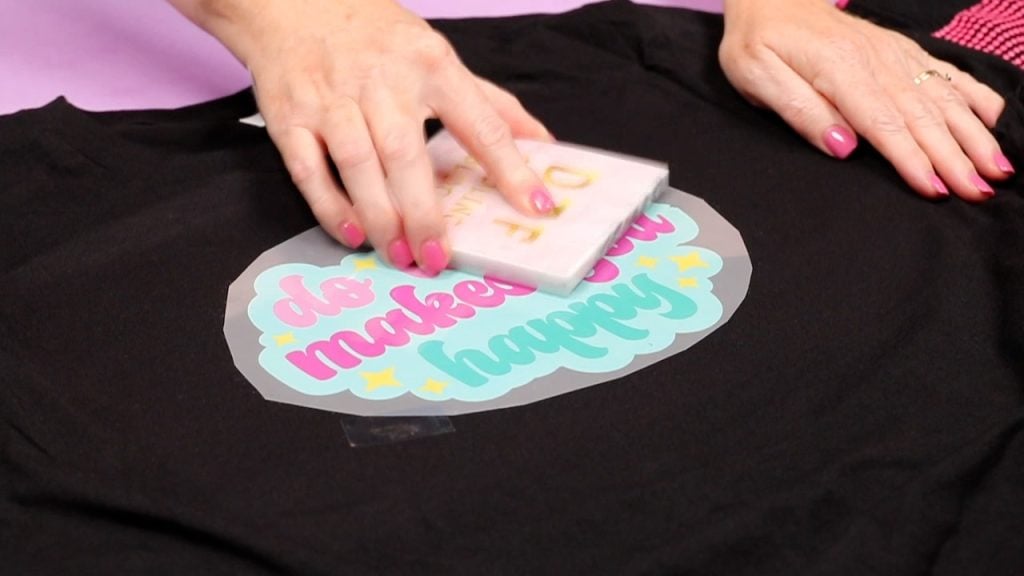
Step 4: Marry White Toner Print to Adhesive
When you print you are printing directly to a film with the toner. Printing onto the film isn’t the only step. Next, we need to marry the print to the adhesive before pressing it onto the blank.
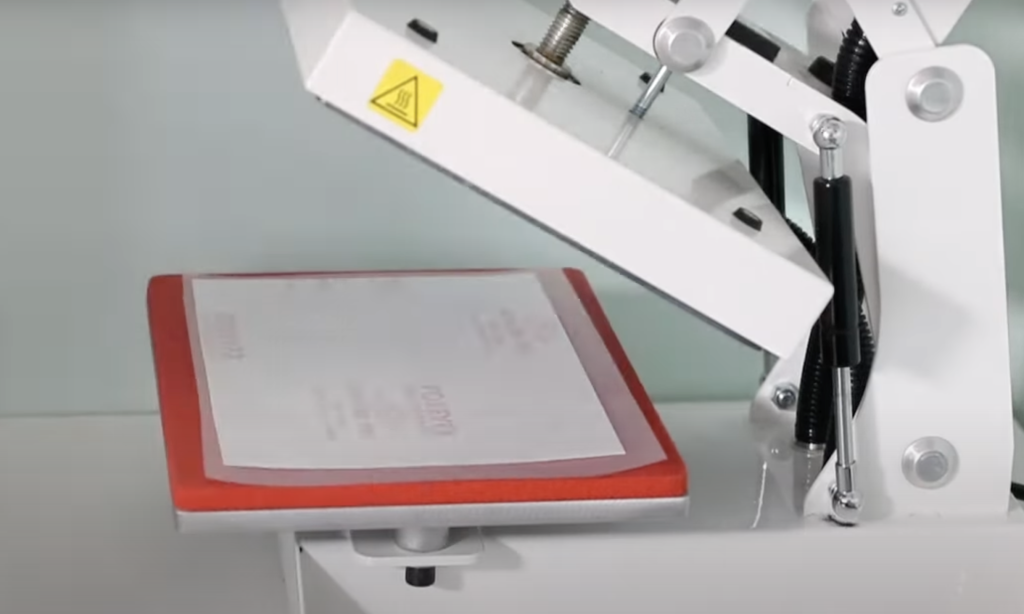
The pressing process is a little more involved than the printing process.
Follow the directions for the materials you’re using and then press the adhesive to the white toner print.
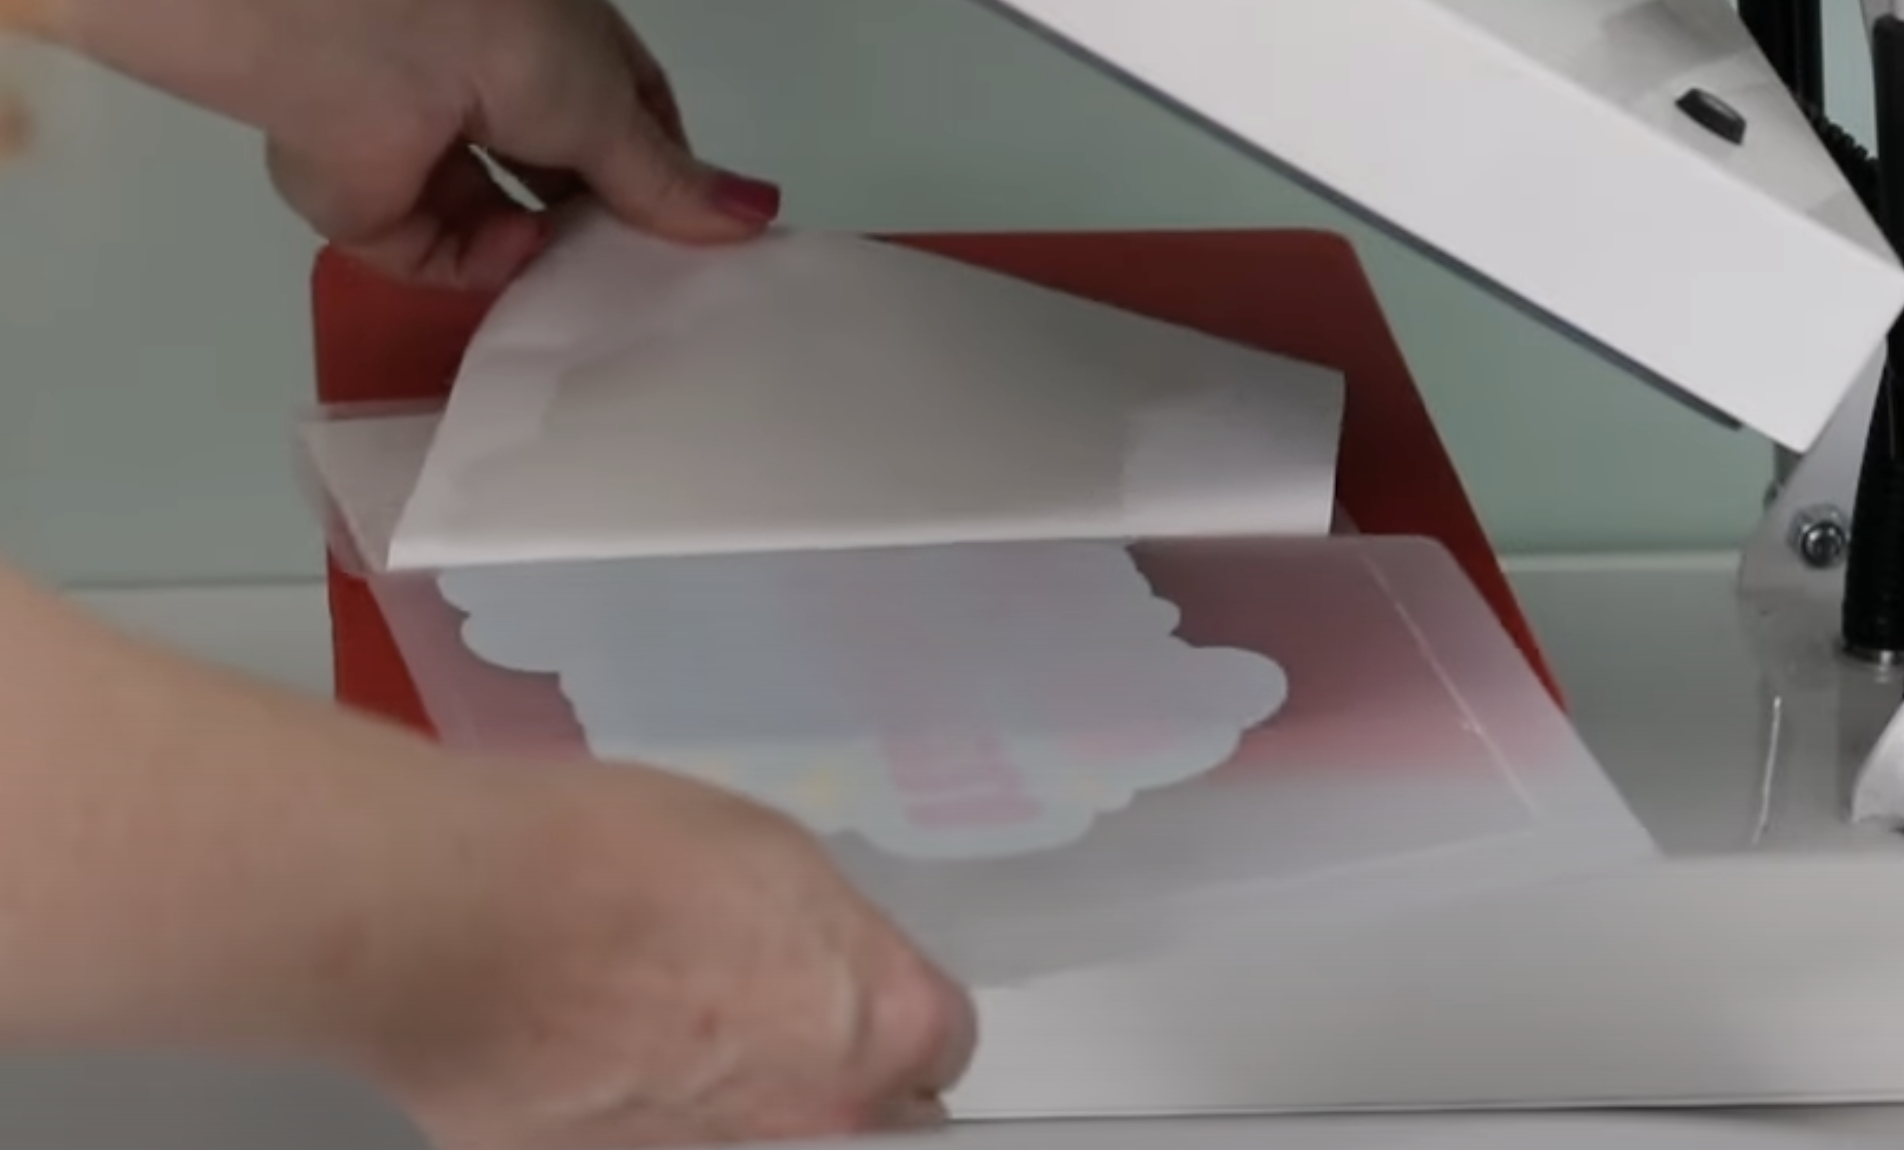
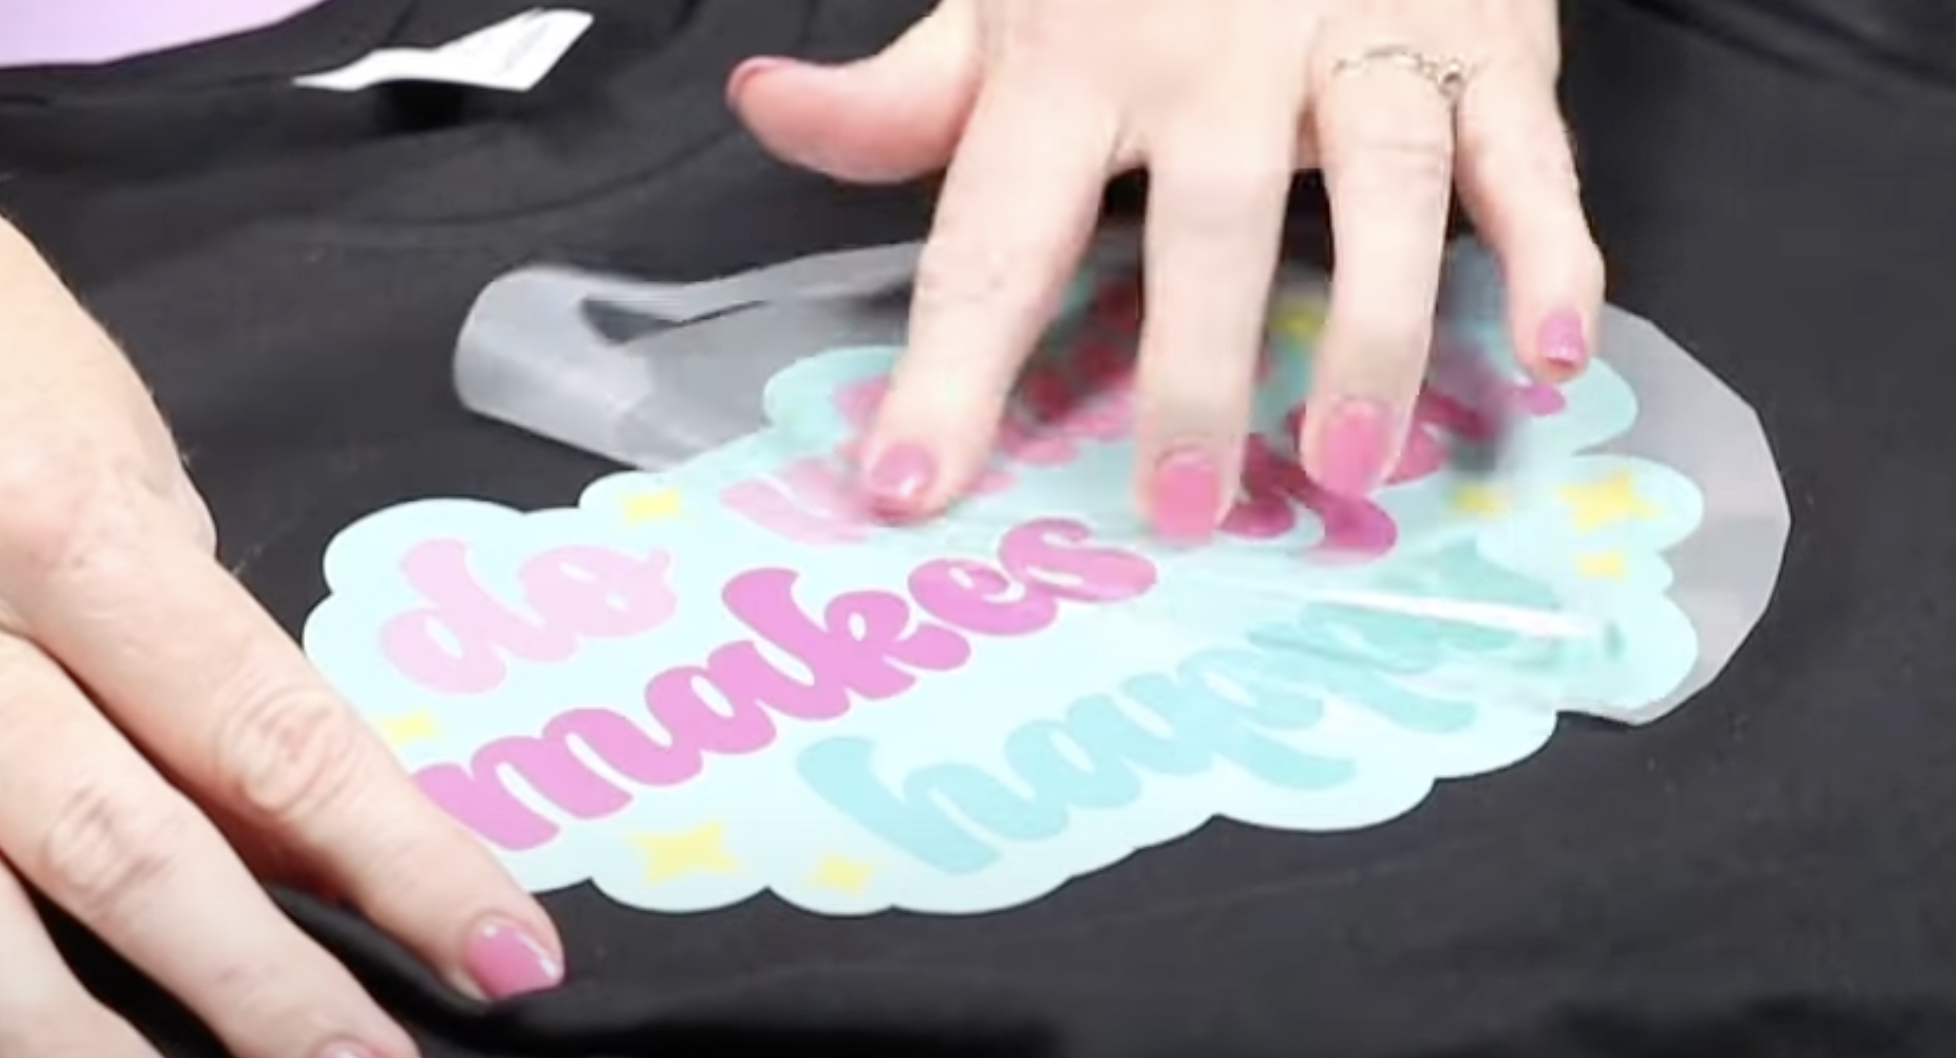
When you peel back the adhesive sheet, you’ll see that the adhesive sticks only to the printed portion of the sheet.
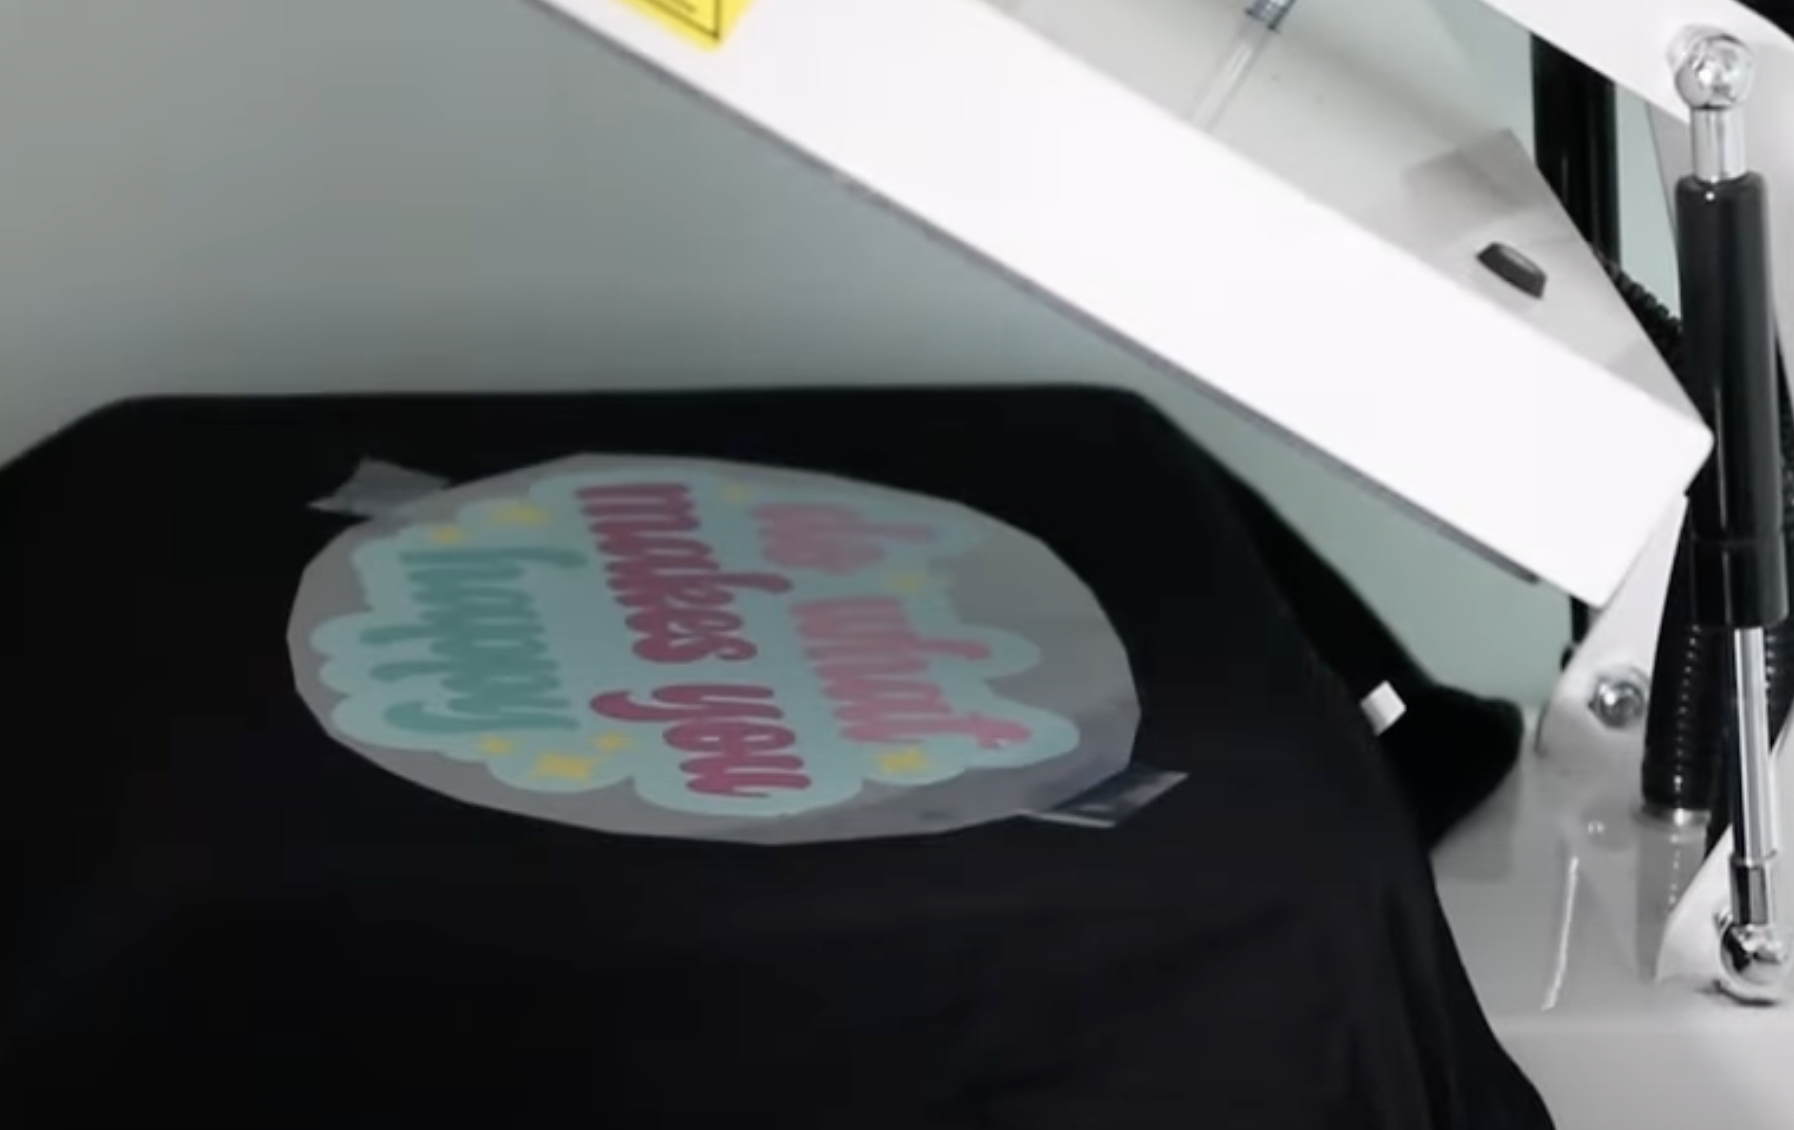
Step 4: Press the Print onto the Shirt
Trim the film around the print and then locate the print where you want it on the shirt. I used a couple of pieces of heat-resistant tape to hold the print into place.
Follow the settings for the materials you’re using and press.
The print needs to cool before removing the carrier film. You can use a cooling block to help speed up the cooling process.
Remove the carrier film and then press again with a T-Seal sheet to finish the pressing process.
Frequently Asked Questions
Now that we’ve walked through the whole setup process and made a project let’s answer some of the most frequently asked questions.
How Much Does the Crio White Toner Printer Cost?
White Toner printers are very expensive. The Crio White Toner printer that I used today costs around $8,000 as of the writing of this post. There are less expensive white toner printers on the market. White Toner printers vary in price and size but all of them are on the more expensive side.
I consider a White Toner printer an investment for your business. If you decide the Crio White Toner printer is right for you, I hope you find this tutorial helpful.
Can You Use White Toner Prints on Blanks That Aren’t Fabric?
Yes! You can use White Toner prints on a wide variety of blanks. Make sure you use the right film and adhesive for the blank you’re using.
How Easy is it to Get Support from Crio?
One of the reasons I recommend the Crio White Toner printer is because of how great their customer service is. There is a learning curve to using white toner prints. Printing from the printer is extremely easy and there is no maintenance but the actual pressing portion can be a little tricky.
I would recommend attending live sessions that Crio offers to learn more about the printing process, the RIP software, and the pressing process. They offer live sessions multiple times a week so it is really easy to attend those sessions.
You can also find prerecorded videos on just about anything you may have questions about. They have videos for different surfaces and more advanced techniques like knocking out colors and more.
If you need additional support, you will contact the dealer you purchased your printer from first. If they cannot help you they will then get you in touch with Crio to get the support you need.
I am very happy with my Crio White Toner printer. I hope I’ve answered any questions you have, if you have additional questions leave them in the comments and I’ll be happy to answer those for you.
If you’re interested in white toner printer content, sign up for my newsletter specifically for white toner printers to make sure you never miss a post.